For the lamp itself were used:
- scrap of plywood;
- aluminum corner;
- LED modules of 0.5 wt;
- power supply for LED modules at 6.0 wt;
- screws;
- a collar on 16 for pipes.
Instruments:
- hacksaw for wood;
- a hacksaw for metal;
- file;
- drill 3 mm;
- a screwdriver.
Lamp manufacturing process
Step one. Preparation of the basics.
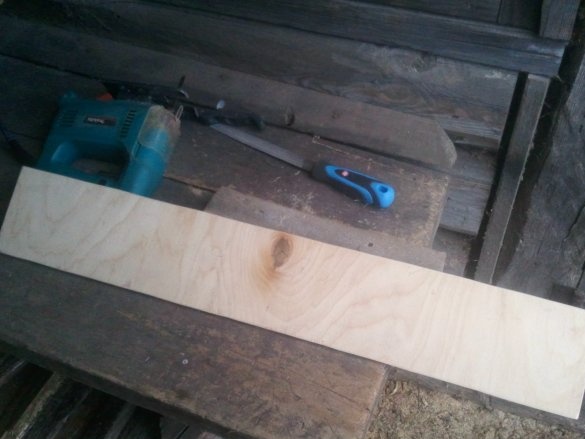
From plywood, cut a rectangle. You can specify any size. I had a piece of plywood 120 mm wide and 800 mm long. We also cut the aluminum corner with a length of 800 mm. We process the edge of plywood and the place of cut of the corner with a file.
Second step. Assembly of the lamp.
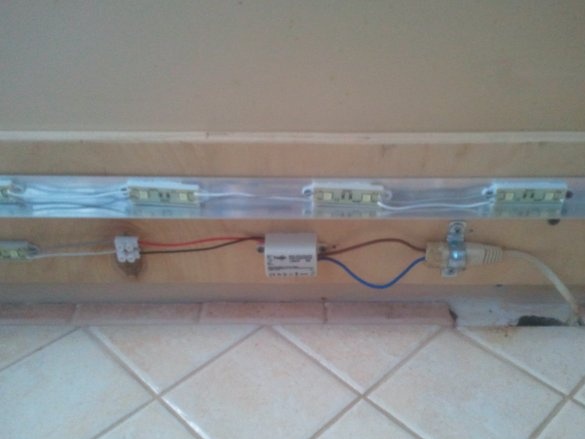
Carefully lay out the power supply and LED modules and fix them on the attached double-sided tape. Chinese adhesive tape, began to unclip after 5 minutes. But for preliminary marking this was enough. Carefully drill holes in the aluminum corner and fix everything with screws.
Step three. Installation
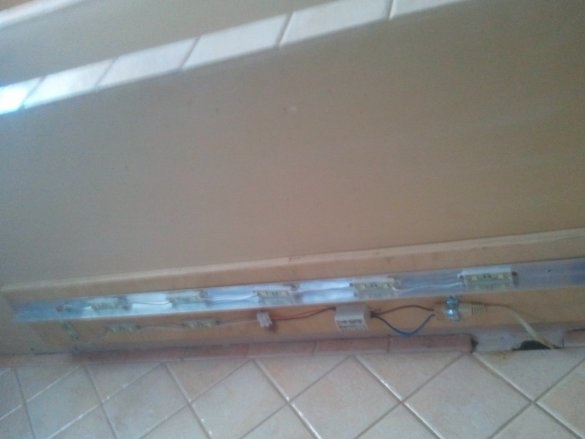
We drill in the plywood base two through holes and fix the lamp in place with two screws. We connect the lamp to the mains.
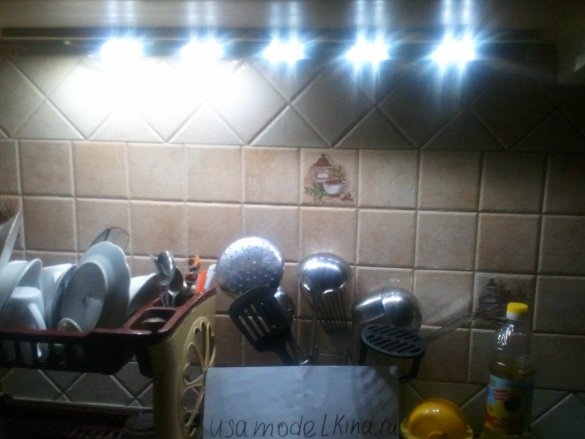
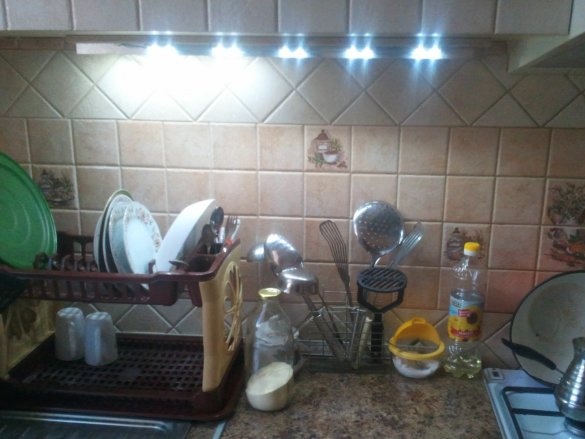
That's all, homemade ready, everything looks great - it illuminates, but does not blind. In addition, the lamp fulfilled its aesthetic task with its body - it closed a hole in the wall from where the power cable came out.
I hope that you liked the lamp and found useful thoughts for yourself. Good luck and inspiration to you if you decide to repeat this. Do not forget to share your ideas and homemade things with us!
[center]


