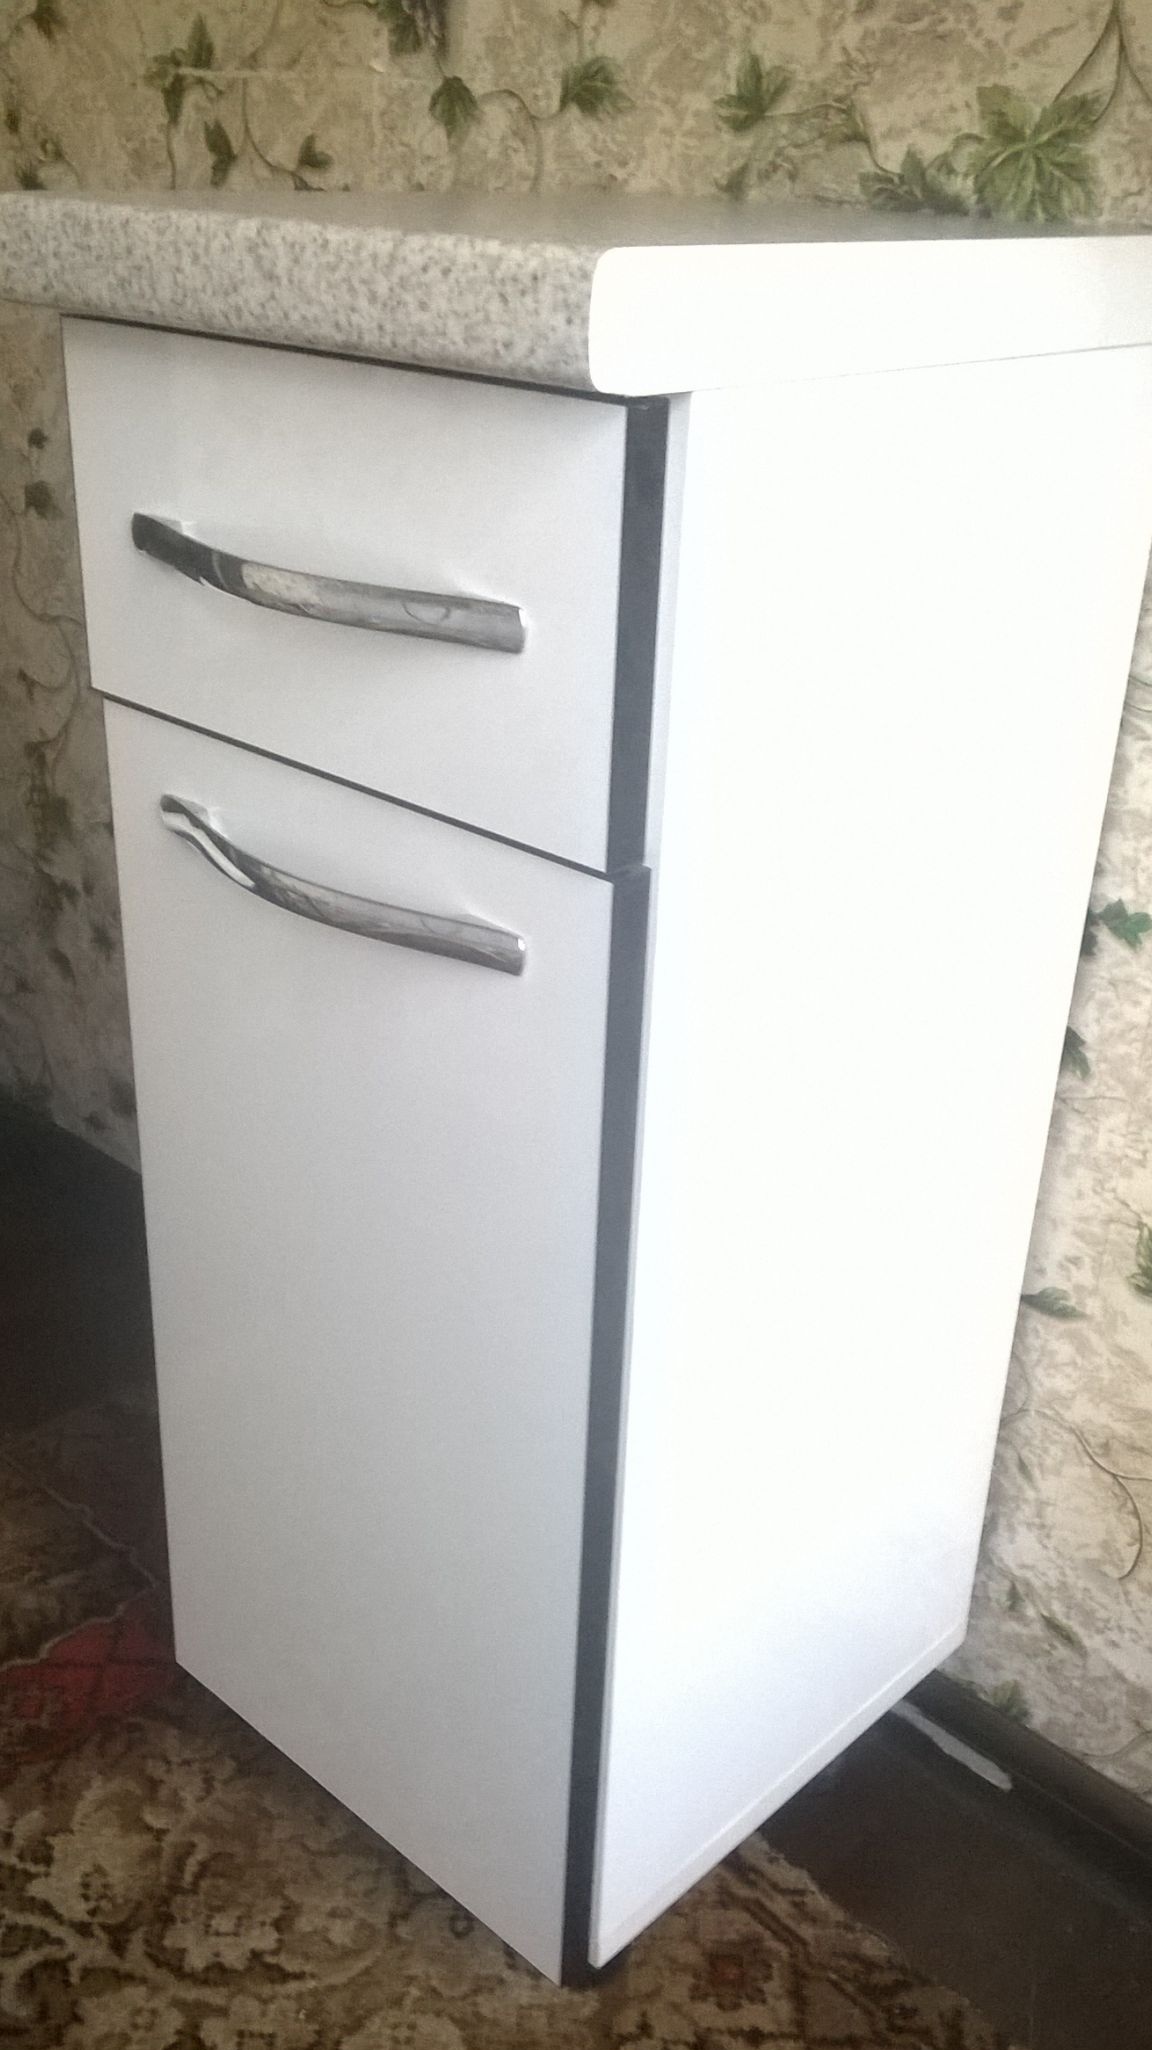
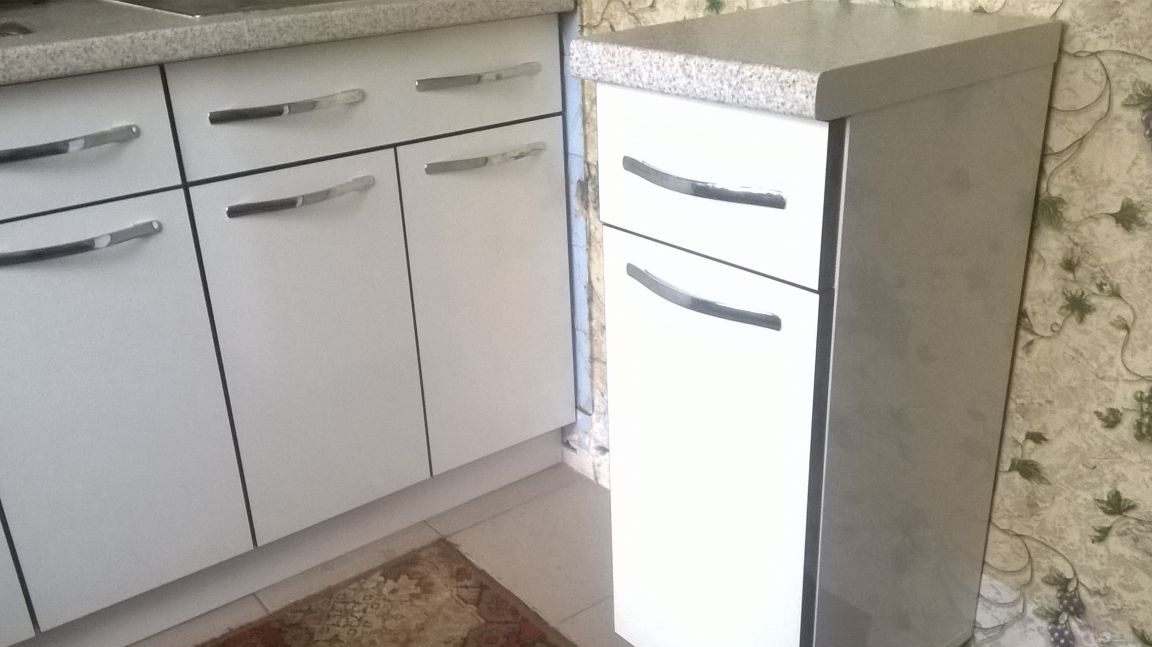
At one time, I made myself a kitchen, but I still did not have enough space. And I decided to add another small bedside table.

Here are the dimensions for cutting chipboard. All dimensions are calculated for a laminate 18 mm thick.
White
1) 300 * 100 2 pcs. Side box.
2) 202 * 100 2 pcs. Jumper box.
3) 674 * 320 2 pcs. Sidewalls. Bedside table.
4) 310 * 300 1 pc. Bottom. Bedside table.
5) 360 * 305 1 pc. Cap. Countertop.
6) 264 * 280 1 pc. Shelf.
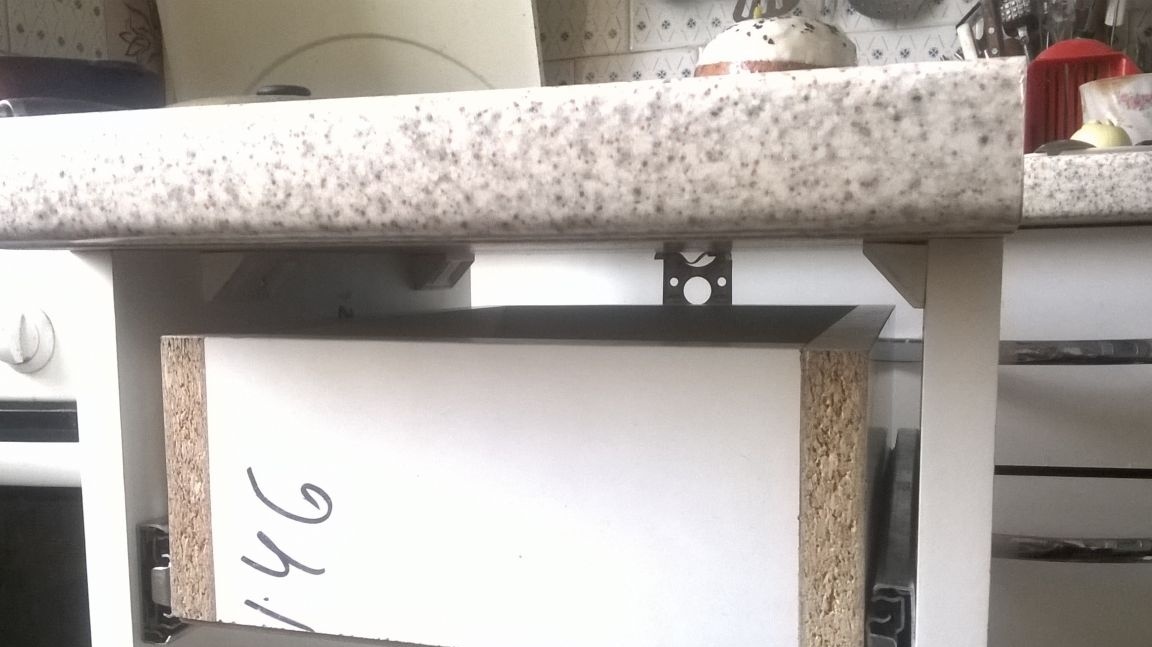
7) 296 * 146 1 pc. Facade. Box.
8) 296 * 538 1 pc. Facade door.
Dimensions for fiberboard.
295 * 235 1 pc - bottom of the box (white).
725 * 295 1 pc. - back wall (white color).
It is a pity that I did not know about this site, I would have laid out the whole kitchen.
From the tools we need:
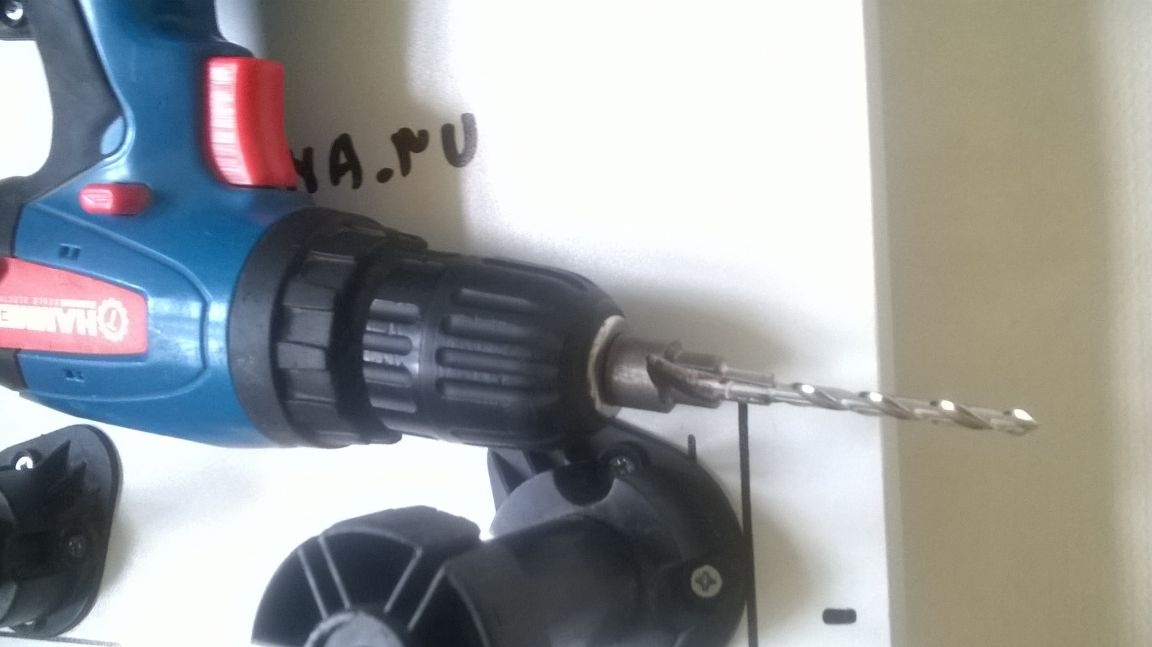
Drill.
Screwdriver (or Phillips screwdriver).
Drills by 4.5 mm, 2.5-3 mm.
Furniture hexagon 6 mm.
Awl.
Hammer.
The square is construction.
Iron (for gluing edges).
And a clerical knife.
Fittings:
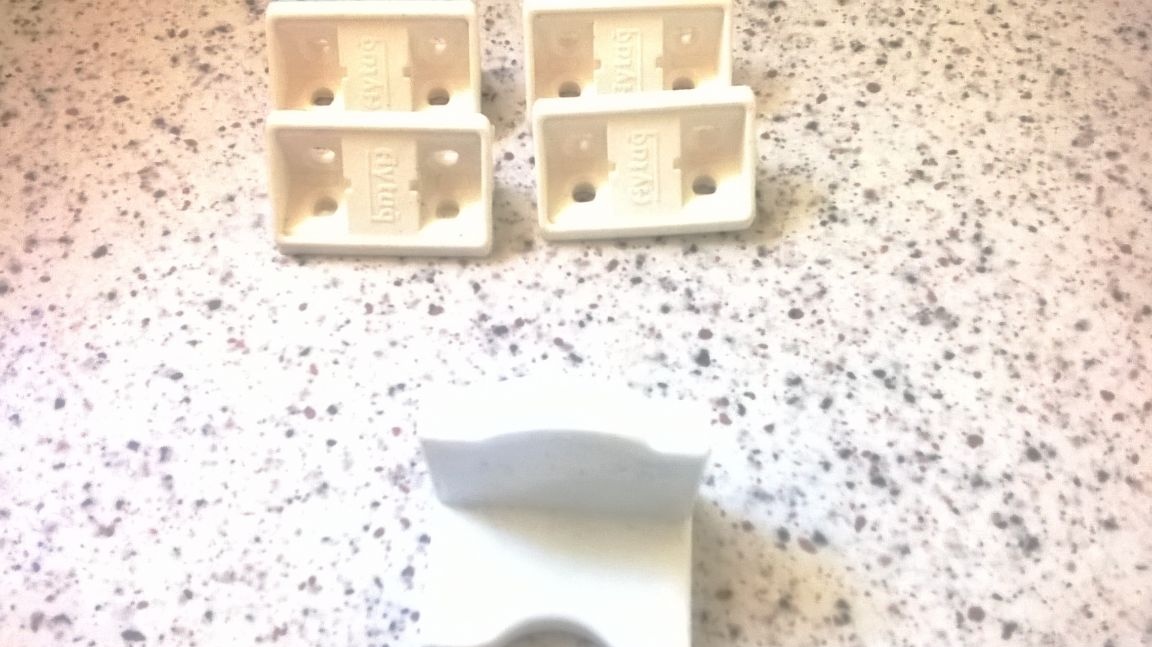
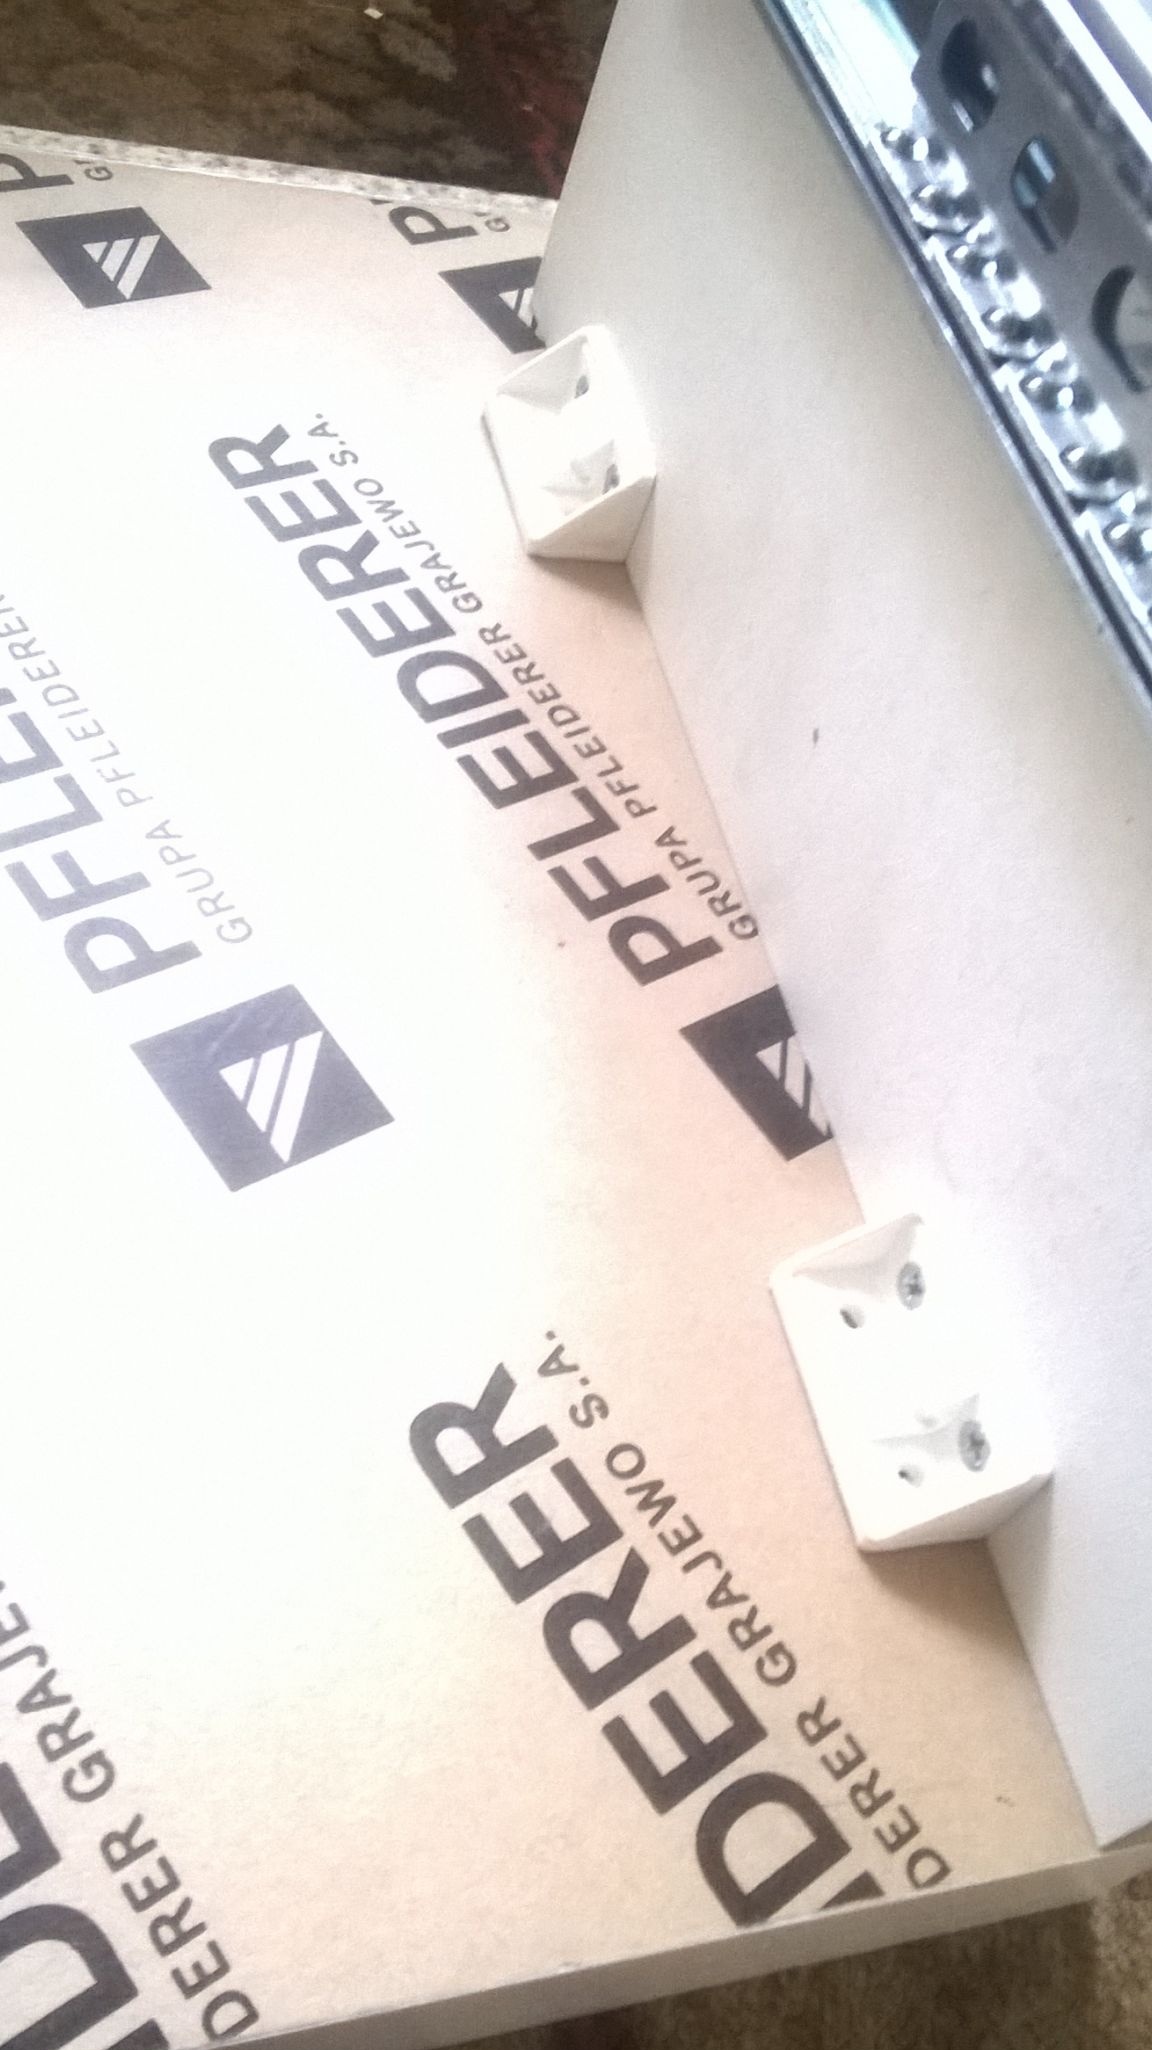
Plastic corner 4 pcs.
Shelf support 4 pcs.
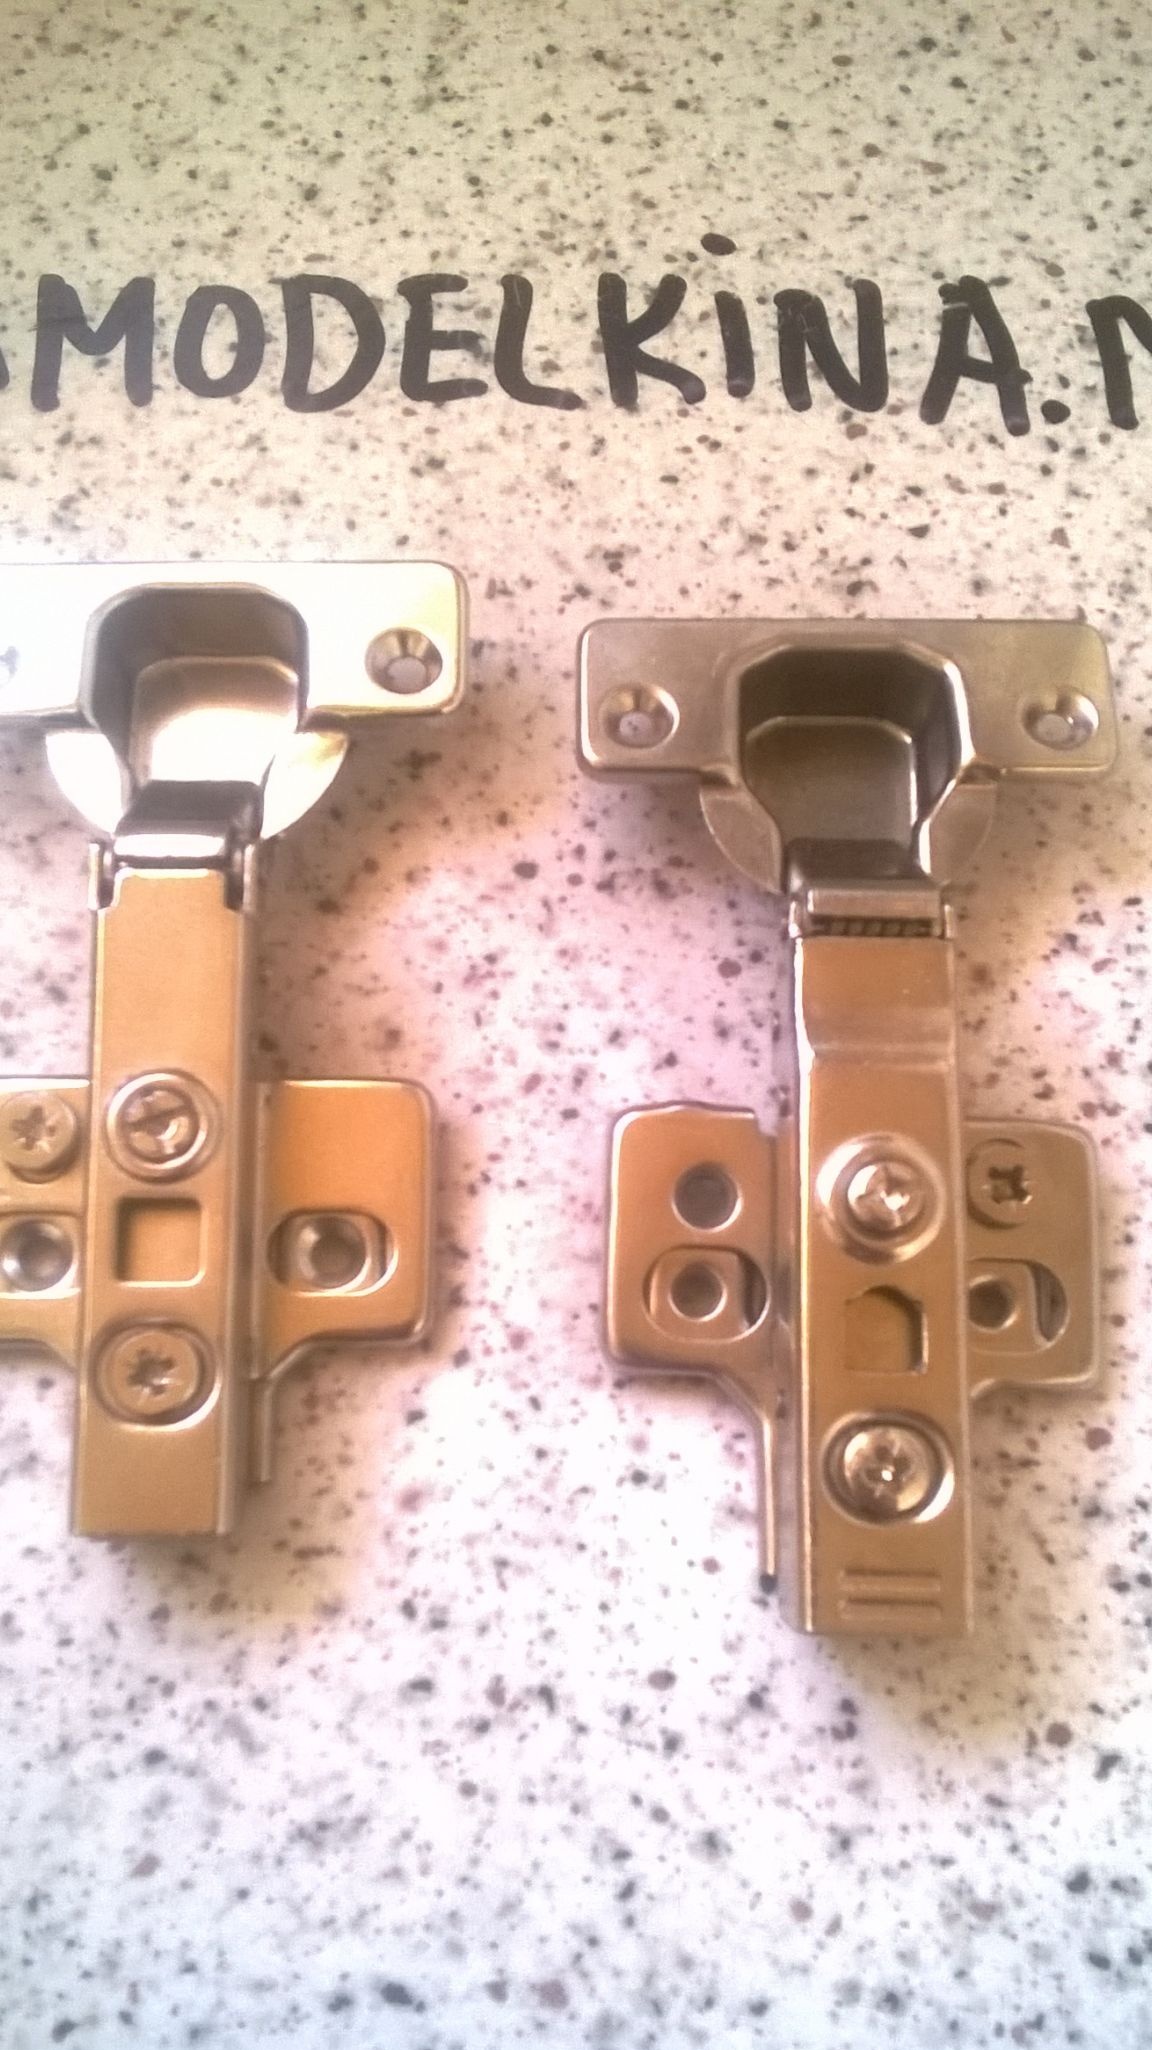
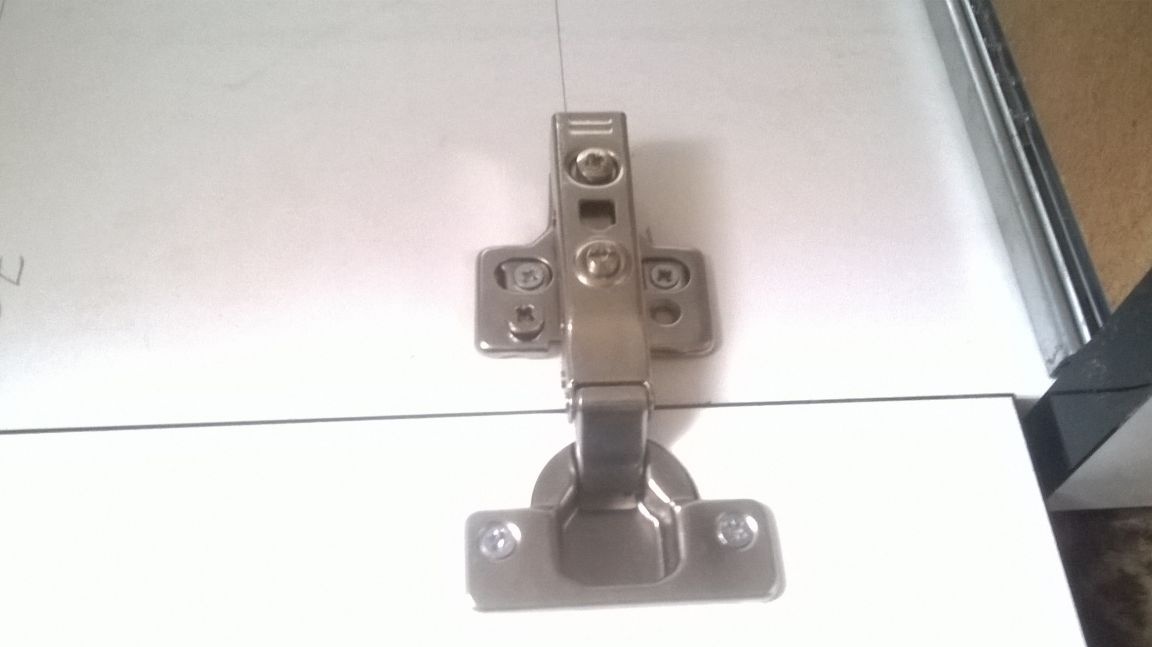
Furniture hinge with lapping 2 pcs.
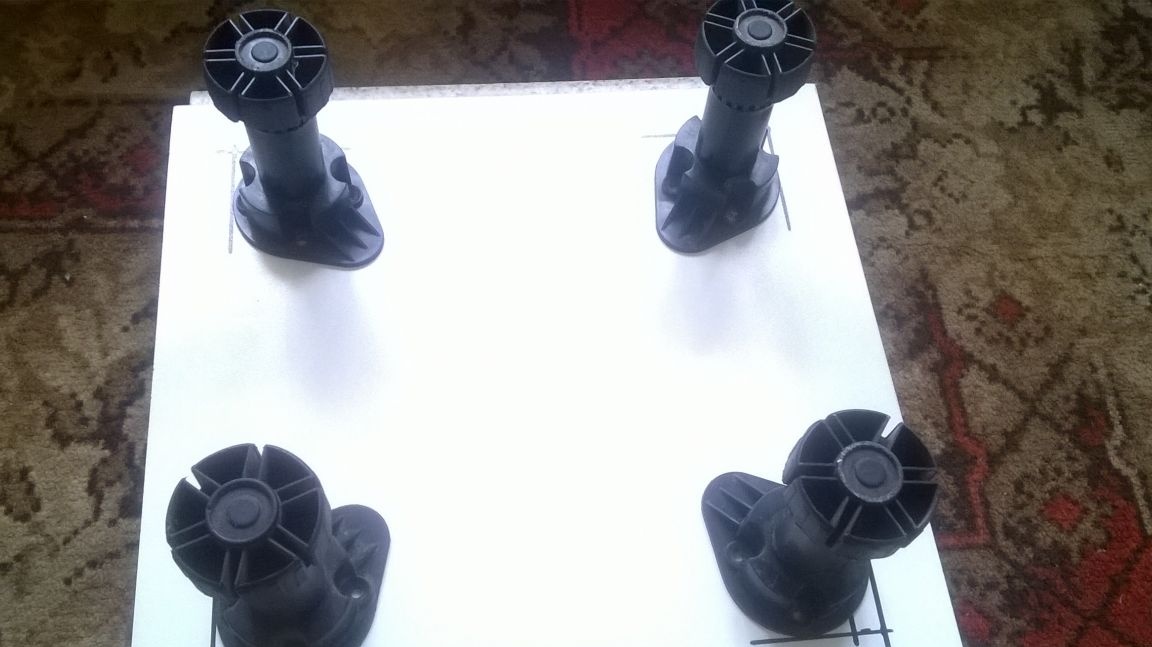
100 mm plastic legs. 4 pieces.
300 mm ball guides, 1 set.

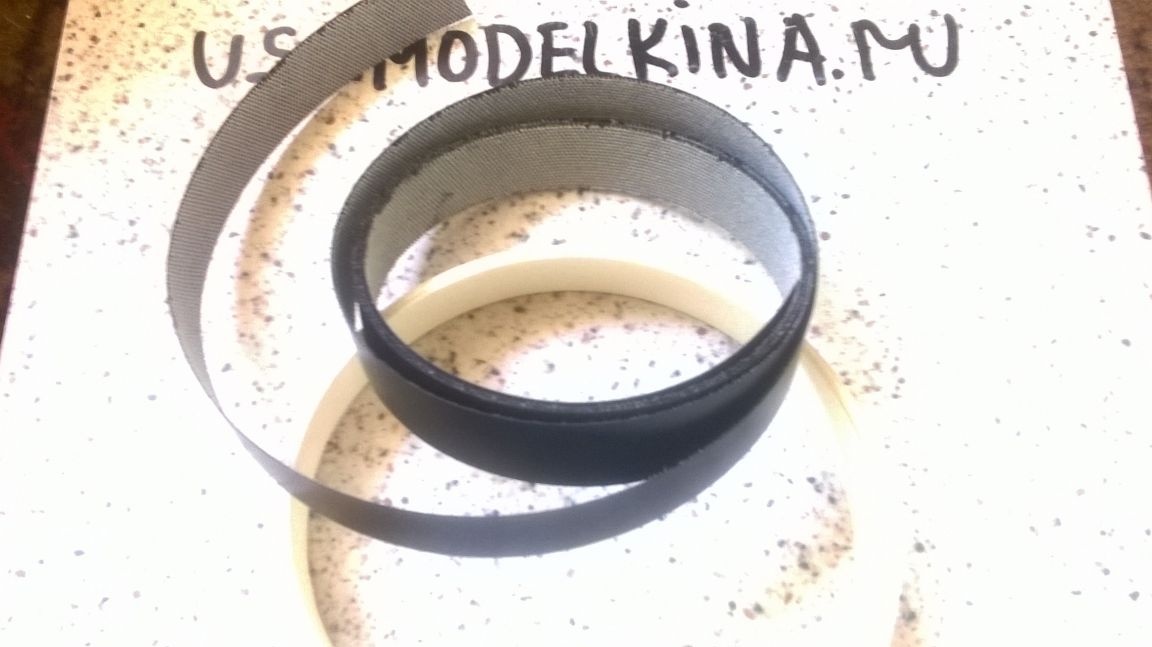
Edge for gluing chipboard (narrow - 2.5 m (white), (Narrow - 2.5 m (black for facades), (wide for the lid - 1 m).
We glue the sides of the nightstand on one longitudinal side, with a white edge.
We glue the bottom on three sides 310-300-310, also with a white edge.
We paste the facades from four sides, in a circle (black edge).
The cover is also on three sides wide white.
We mark on the details of a box 300 * 100 mm in size the following ... 50 mm on top and 10 mm from the edge on both sides.
And we drill a through hole with a diameter of 4.5 mm.
We begin the assembly. We attach another 202 * 100 mm in size to our drilled part (300 * 100) and drill them together.
And pull them together with a furniture screed.
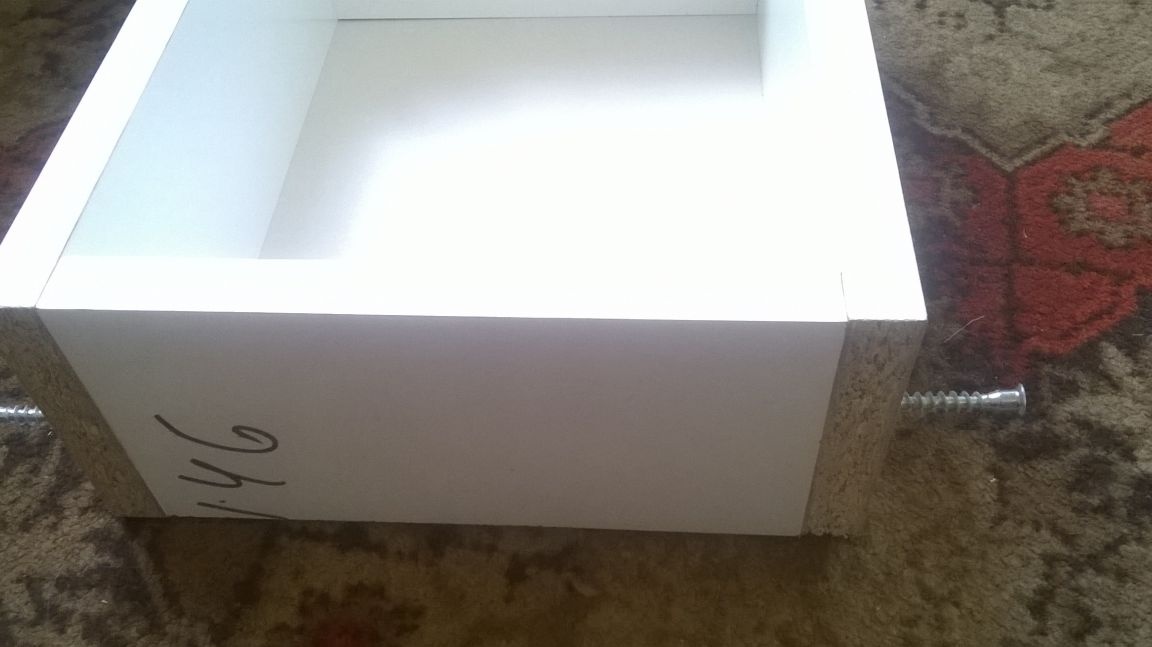
It turns out here is such a box.
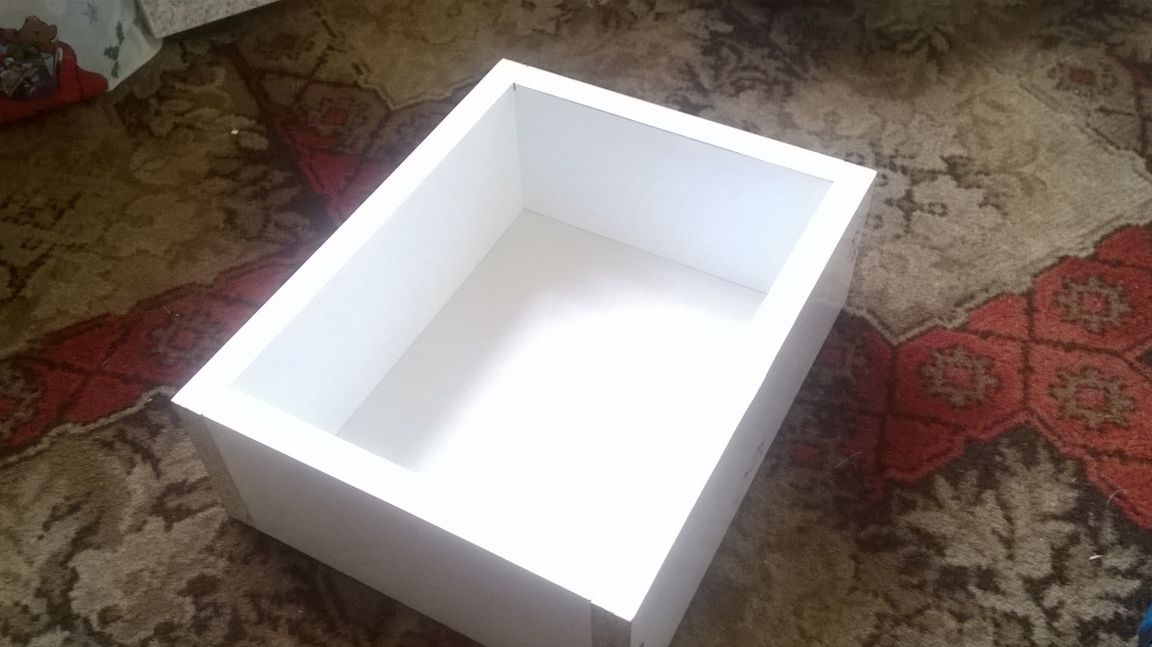
Now it’s stuffing the bottom, while unforgettable to check the diagonal.
On the bottom, mark 30 mm on each side and draw lines with a square (the location of the plastic legs).
Then stepping back from the edges (on the side of 310 mm) of 50 mm and 10 mm, we drill four holes 4.5 mm through.

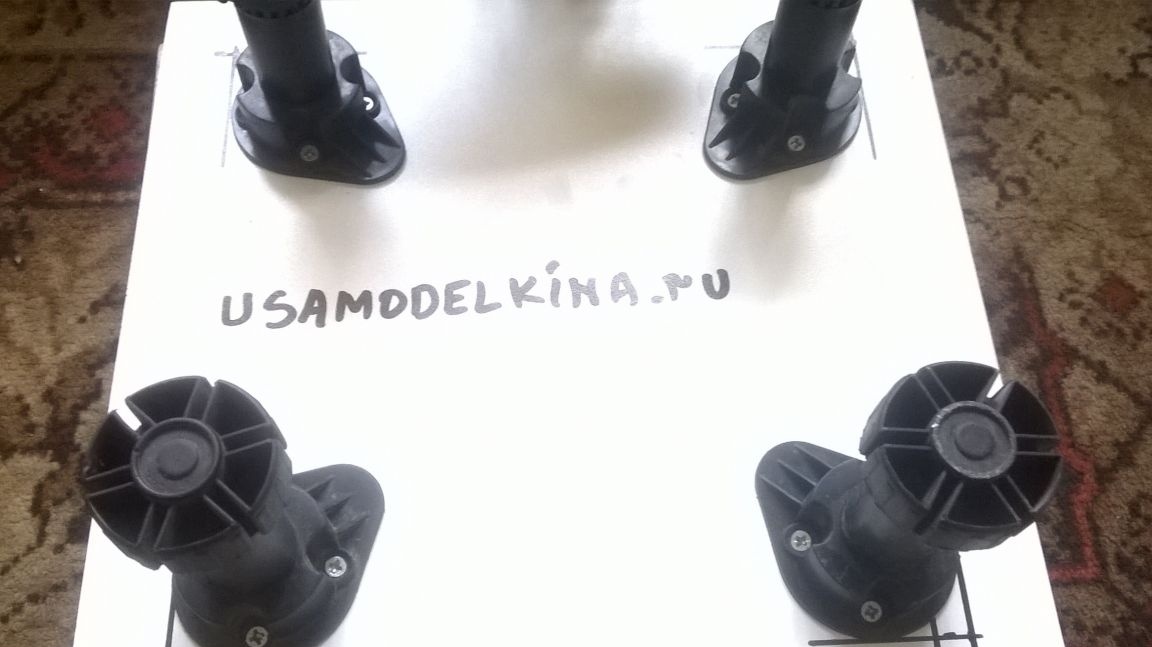

Let's deal with the sides of the nightstand. First, we decompose them mirrored, face down, and the edge inward, to each other.
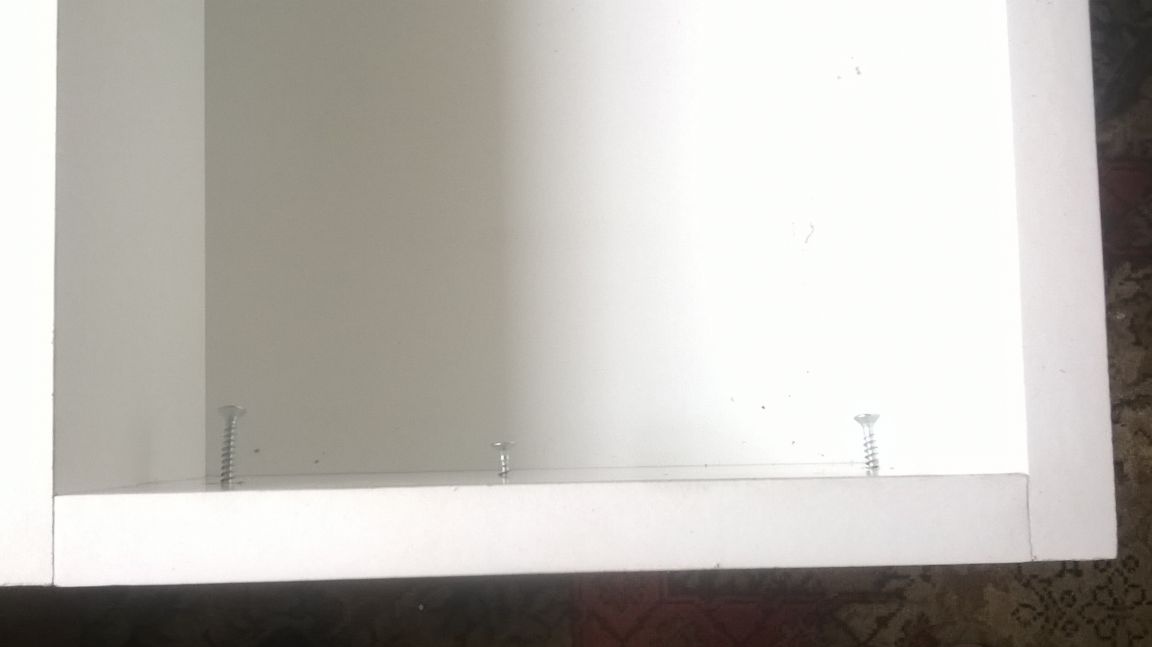
From the top we screw in two plastic corners, on each side.
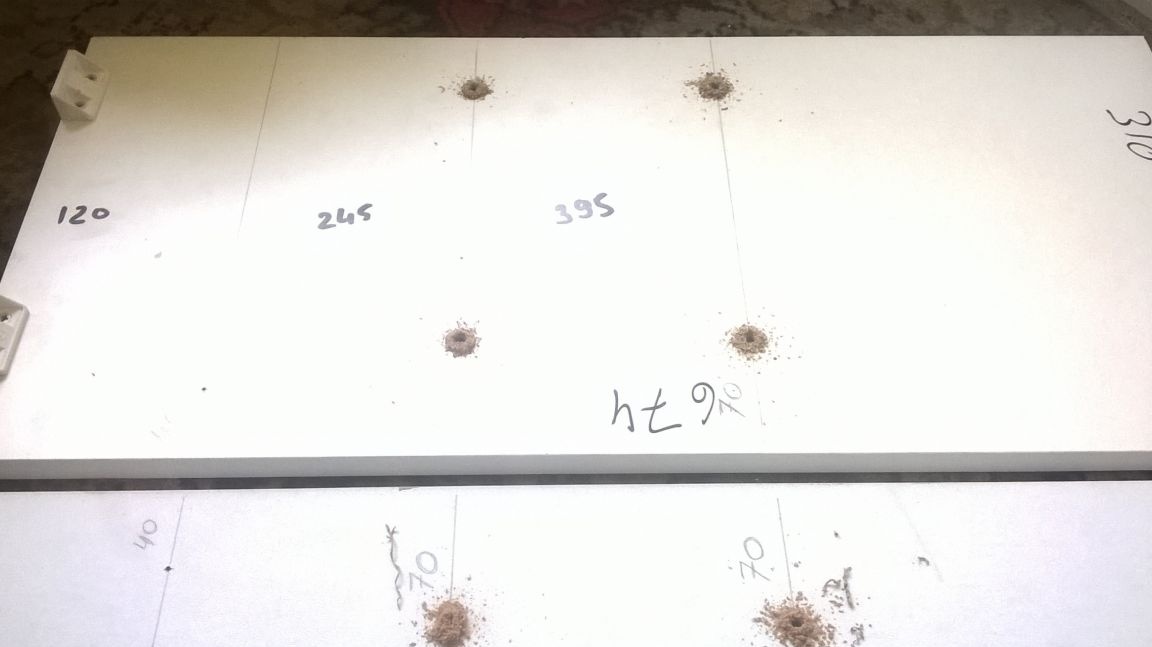
Also from the top we note the following dimensions. 120 mm and 395 mm. We draw the lines using a square.
Now, with the help of an awl and tape measure, we mark the marks. From the edge (from the side of the edge) we measure 40 mm (Under the guides, Top line) and make a puncture with an awl, a mark for attaching the guide.
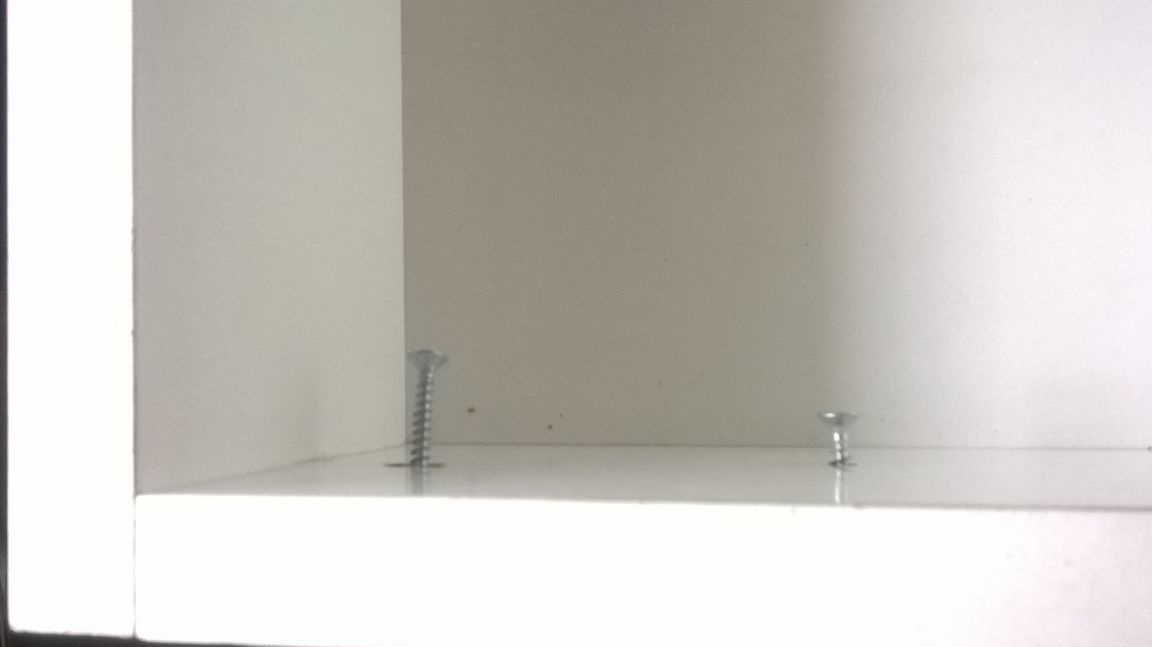
And 70 mm and 260 mm from the edge for shelf holders. We drill 4.5 mm deep no more than 10 mm. We hammer shelf holders.
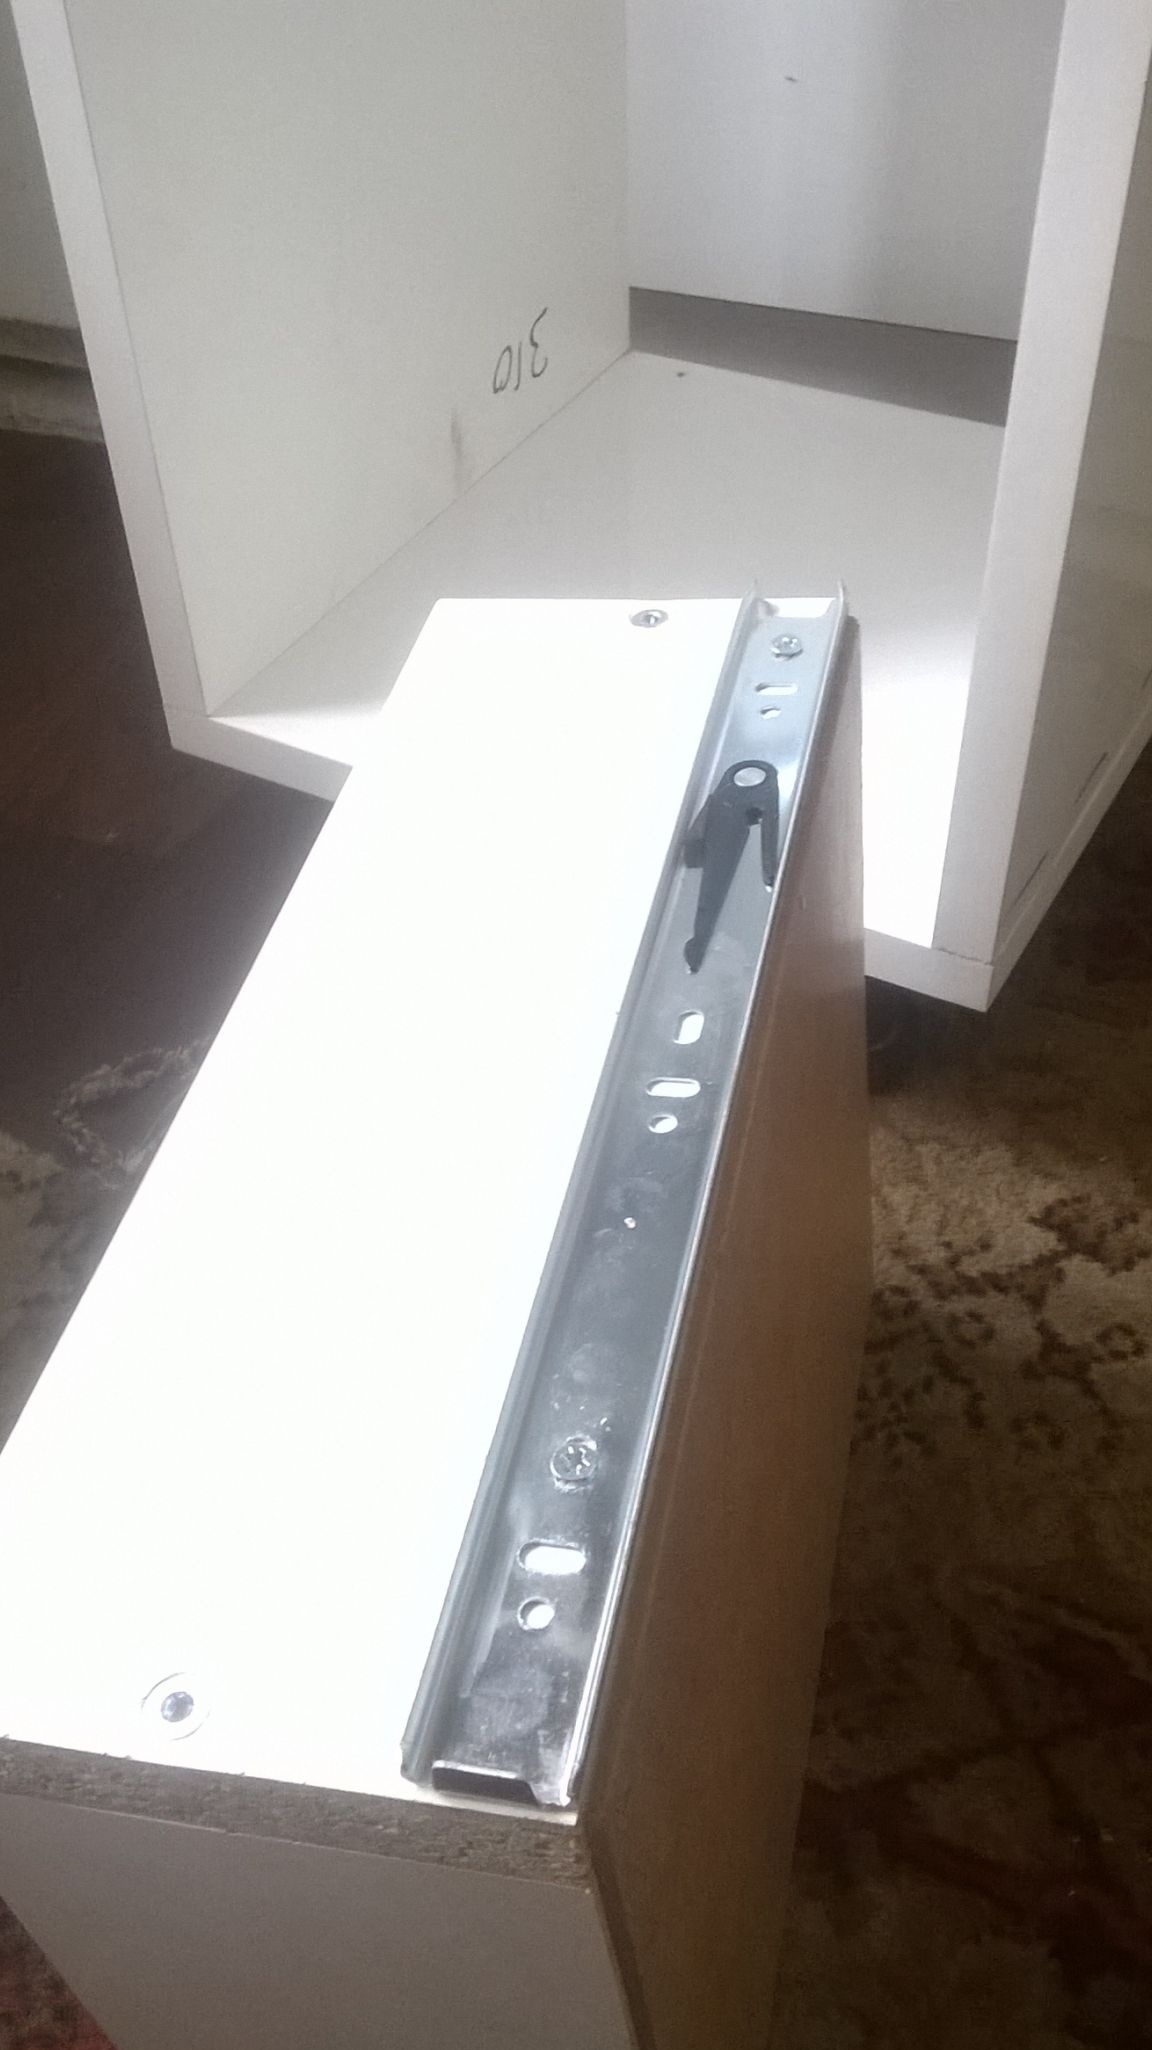
Now half the guides.
Raise the plastic lever and pull out the half.
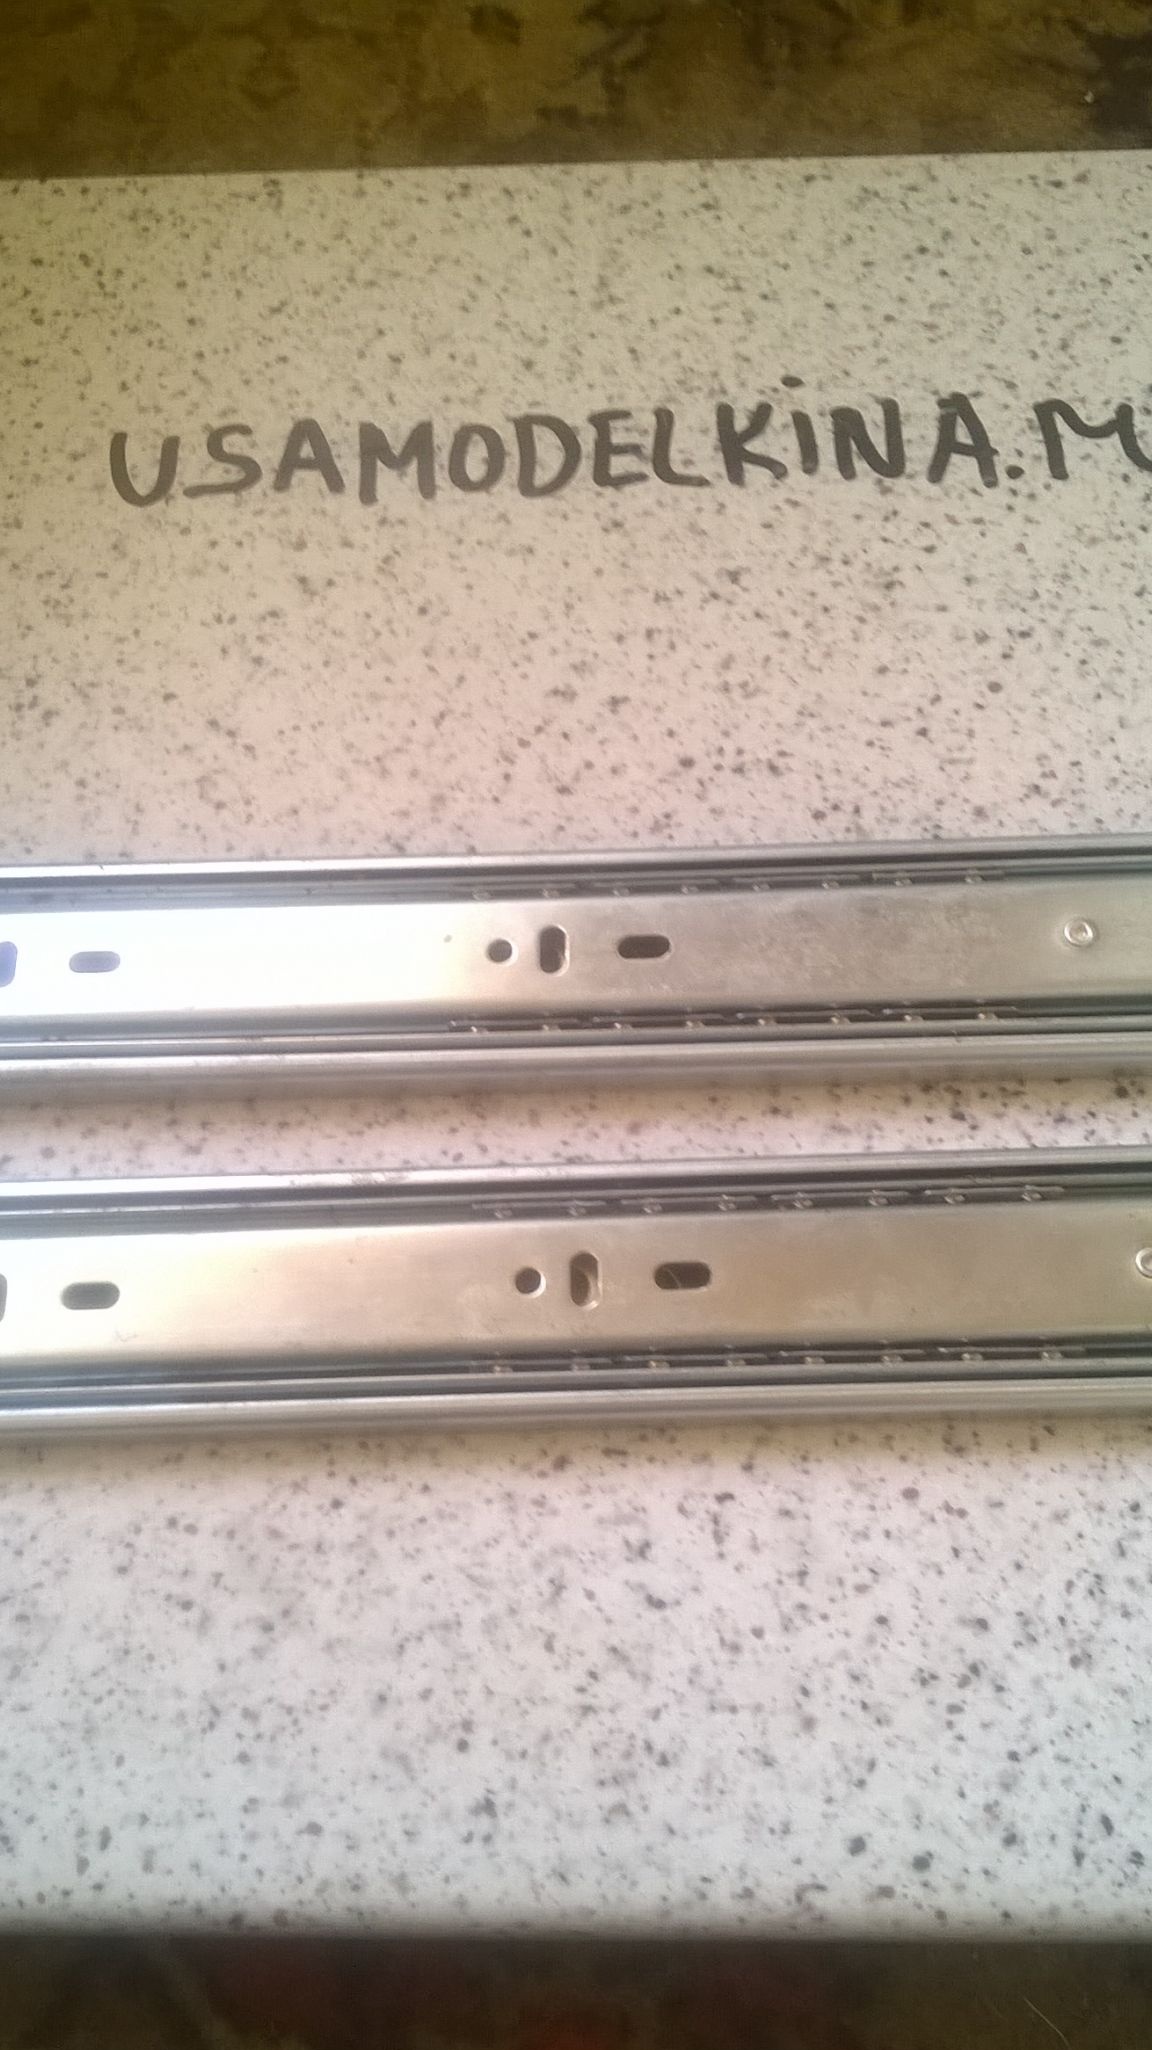

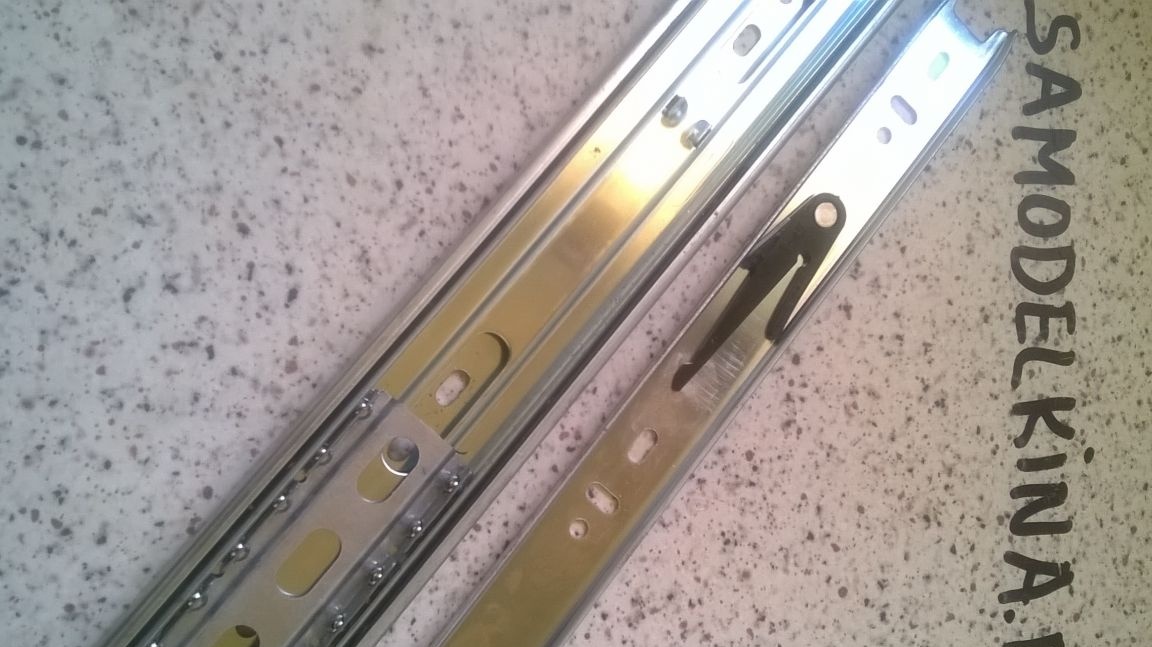
Having placed the guides, we fix them with 16 mm screws.
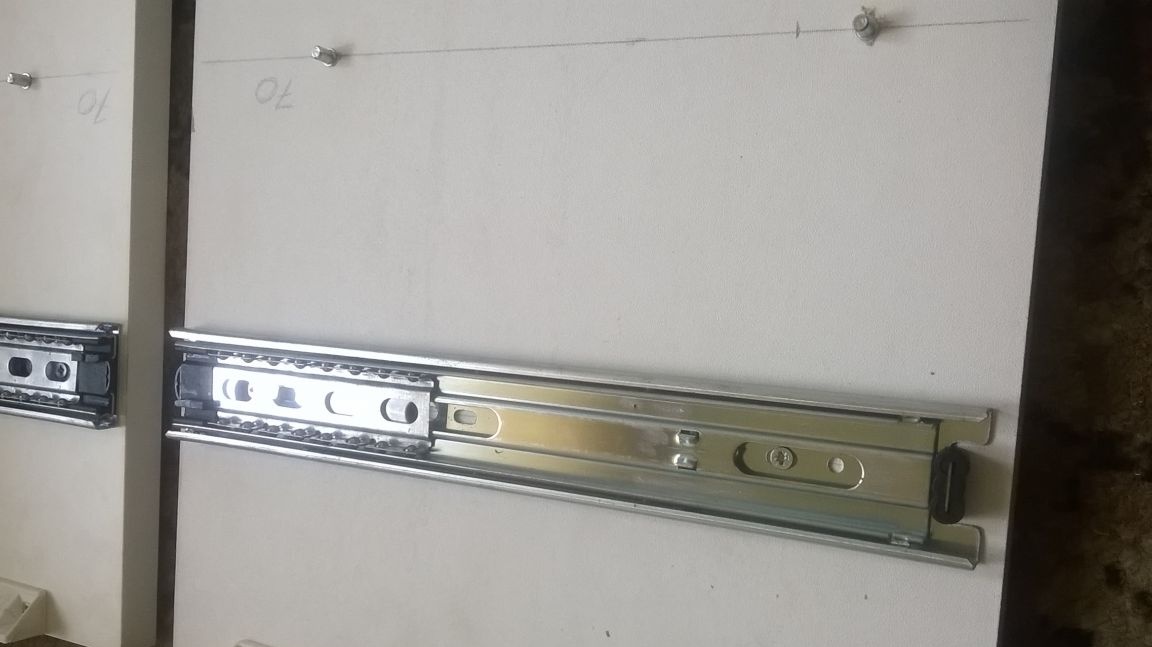
And along the line we expose the back and also fasten.
We remove the remaining bars until we return to them later
We lay the lid and put our frame on top. Fasten to the screws through the corners.

On the sides we leave two mm. from the edge.
Turn the bedside table over and break through the back wall. Unforgettable about the diagonal.
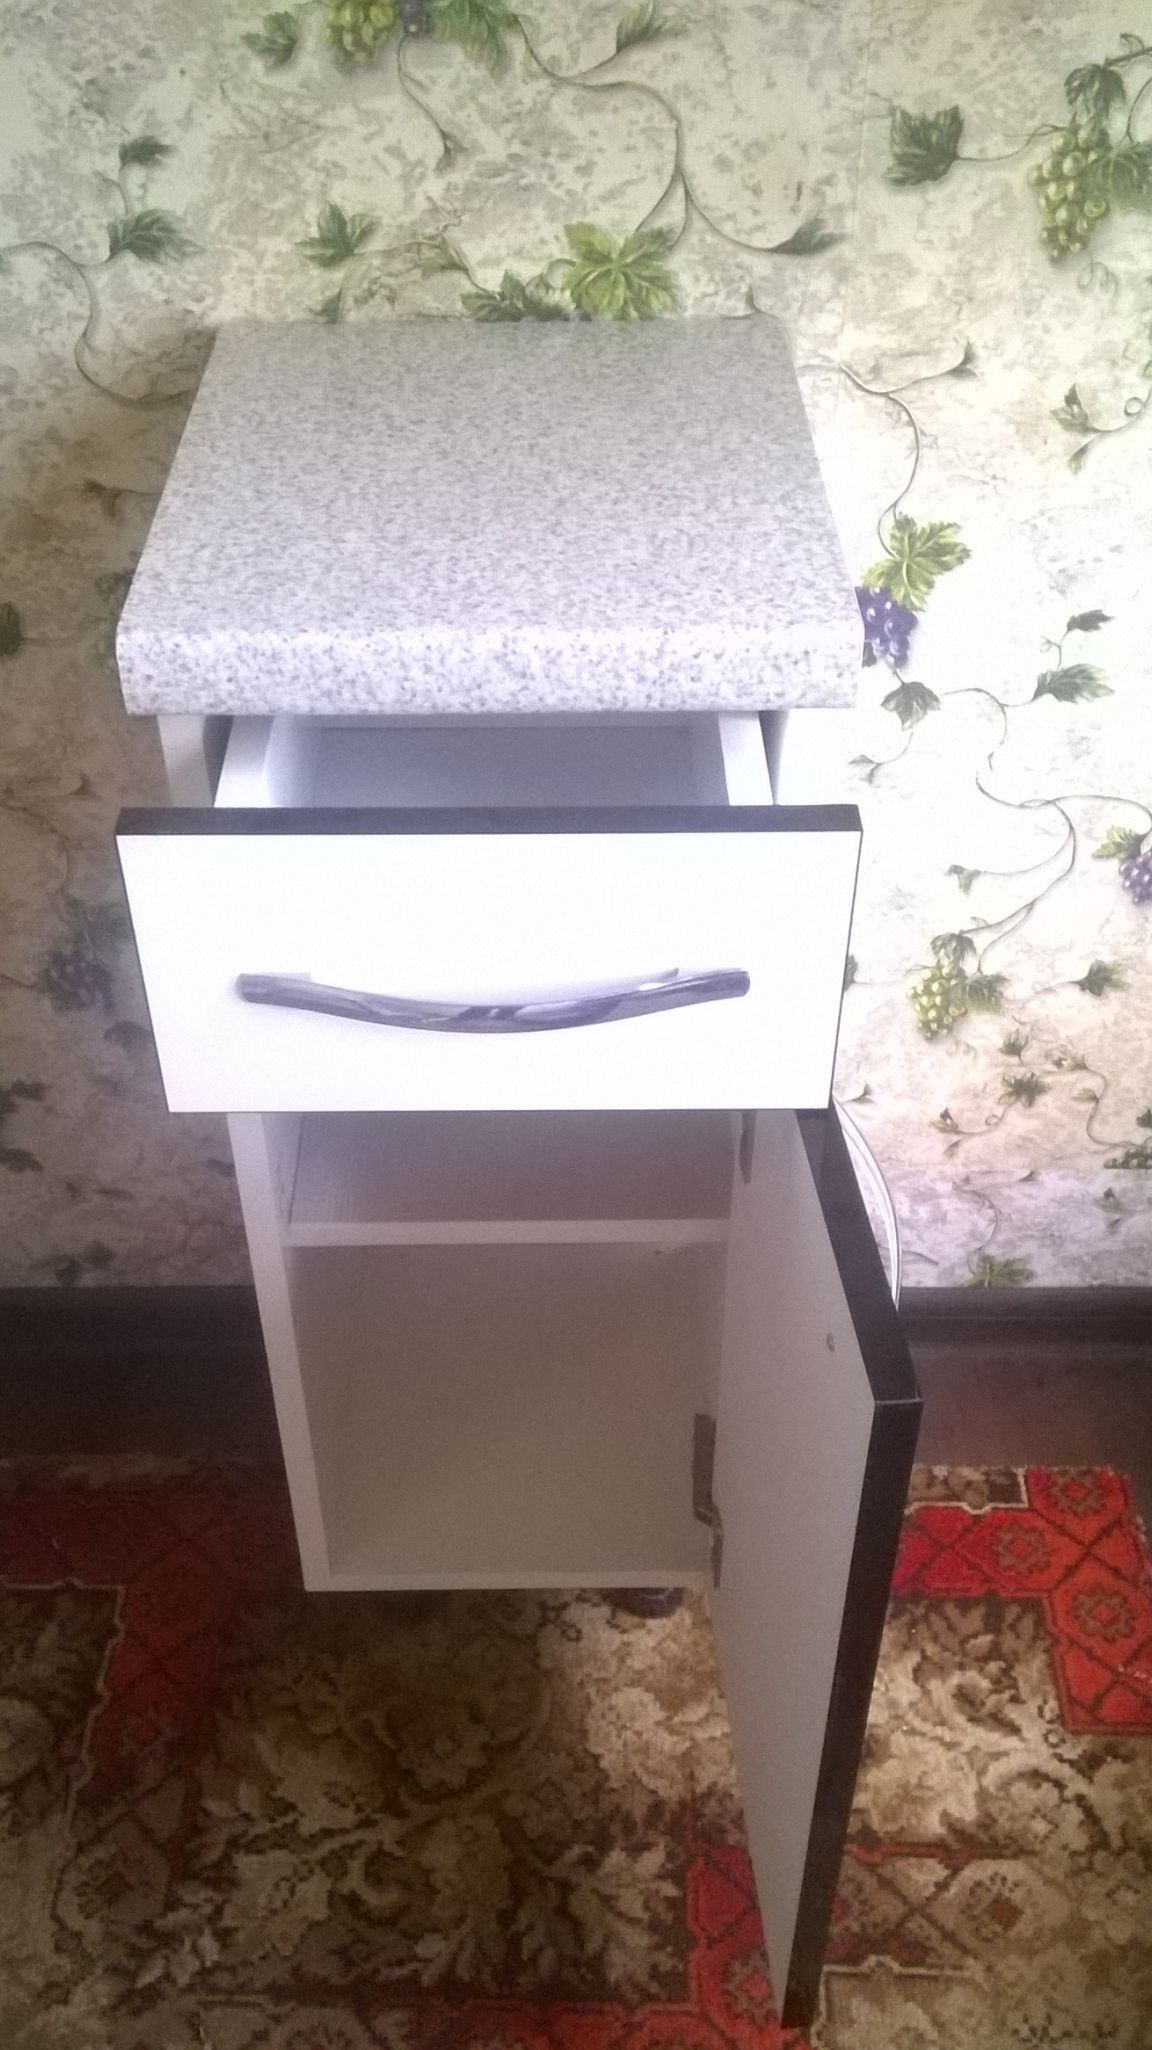
Take the straps from the guides and fix them on the box. Insert the box.
Having departed from the edge of 5-6 cm on each side, drill through holes of 4.5 mm.
And in the middle of the hole is 2.5 mm. This is a hole for adjusting facades.
We screw a 30 mm self-tapping screw into the middle hole from the inside, so that it extends 4-5 mm. We put the facade to the bedside table, approximately expose it in height and on the sides. Once you are convinced of the correct arrangement, slightly strike on a facade. A small dot from the screw will appear on the other side of the facade. It should be slightly expanded with an awl.
Lean back the facade, combine the hole with a self-tapping screw. We twist the screw. We close the box and again set the facade, making sure that everything is smooth, twist one more self-tapping screw on each side.
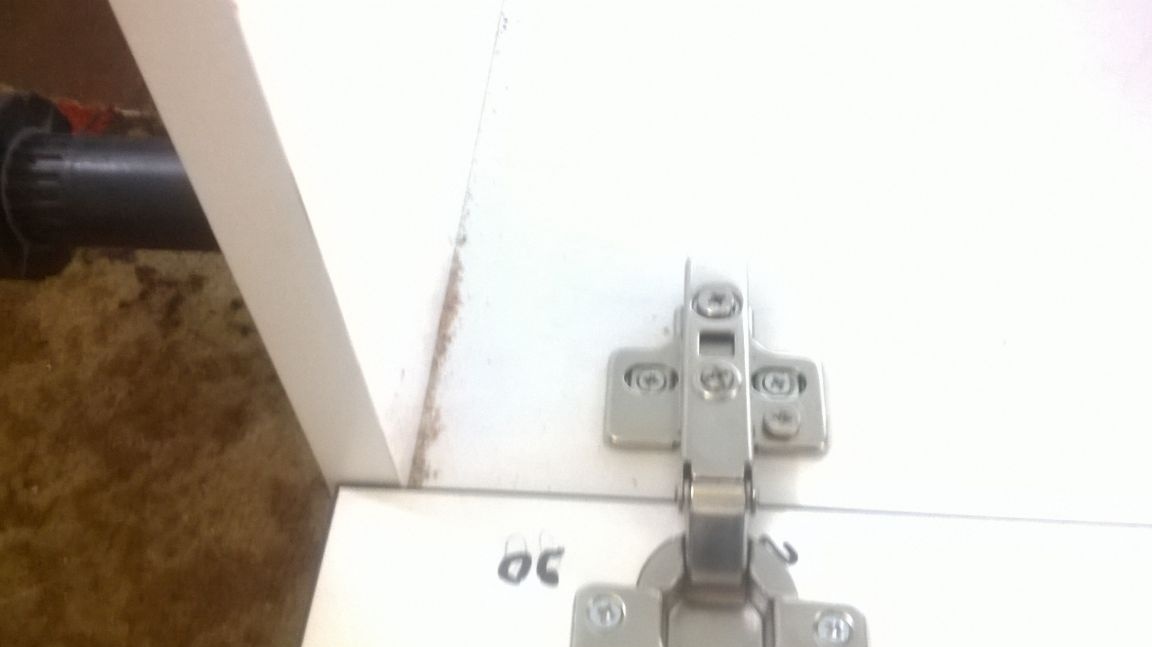
We sit holes for the hinges (the cutter should be 35 mm in diameter.) If not, ask for attachment at the factory.
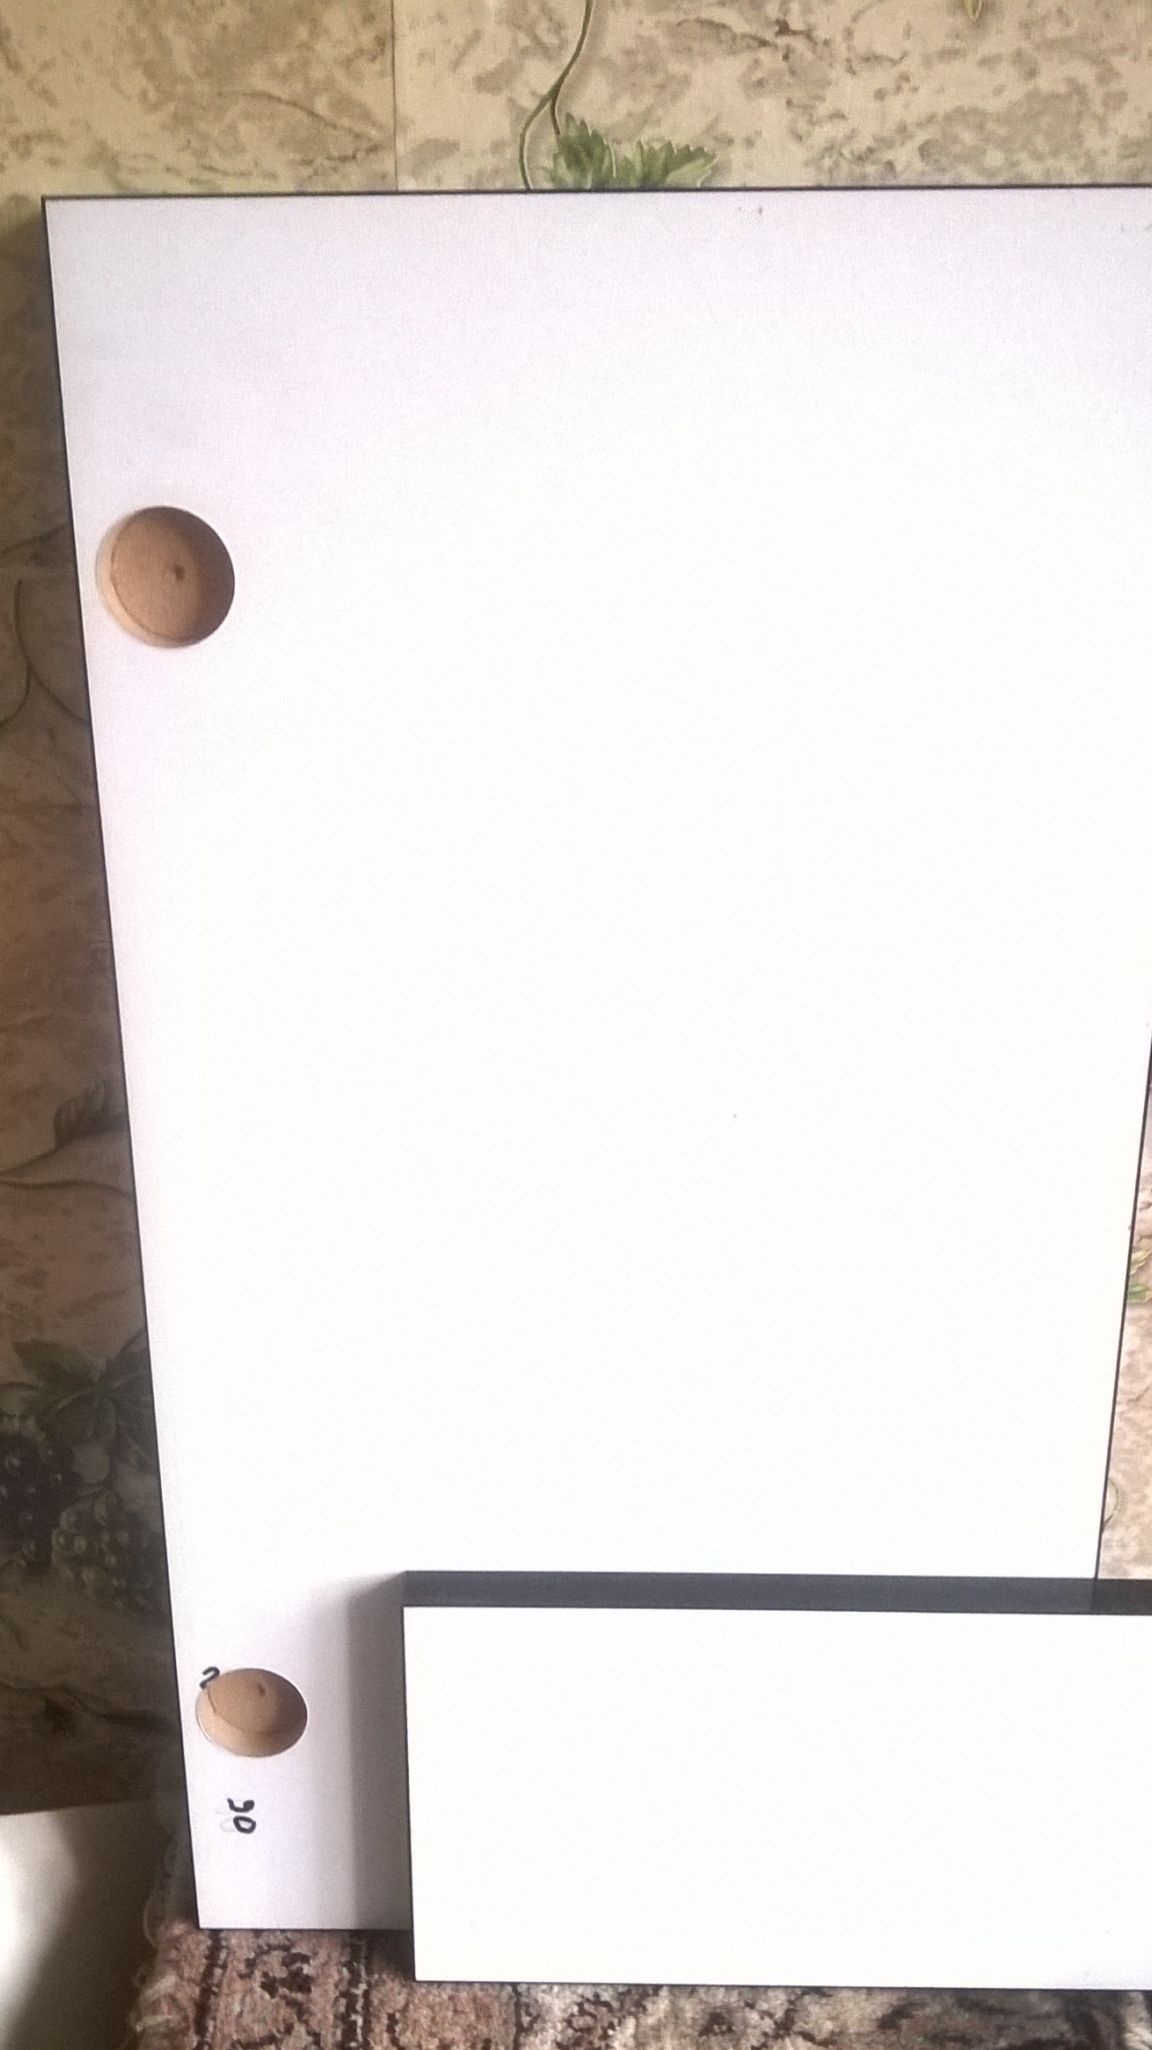
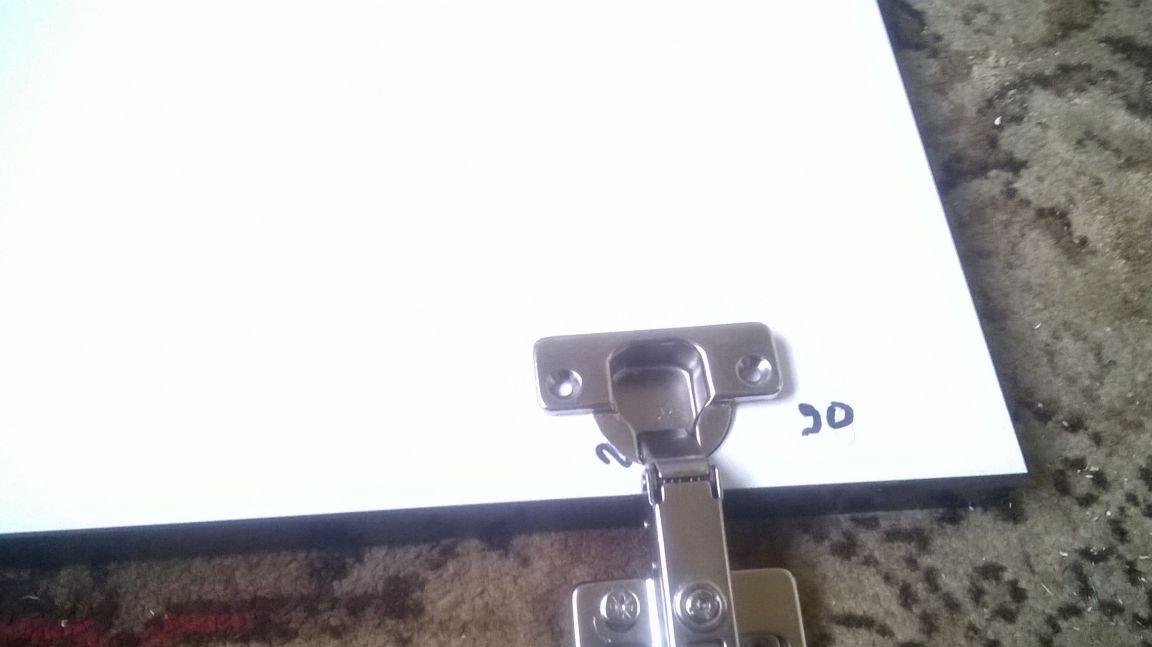
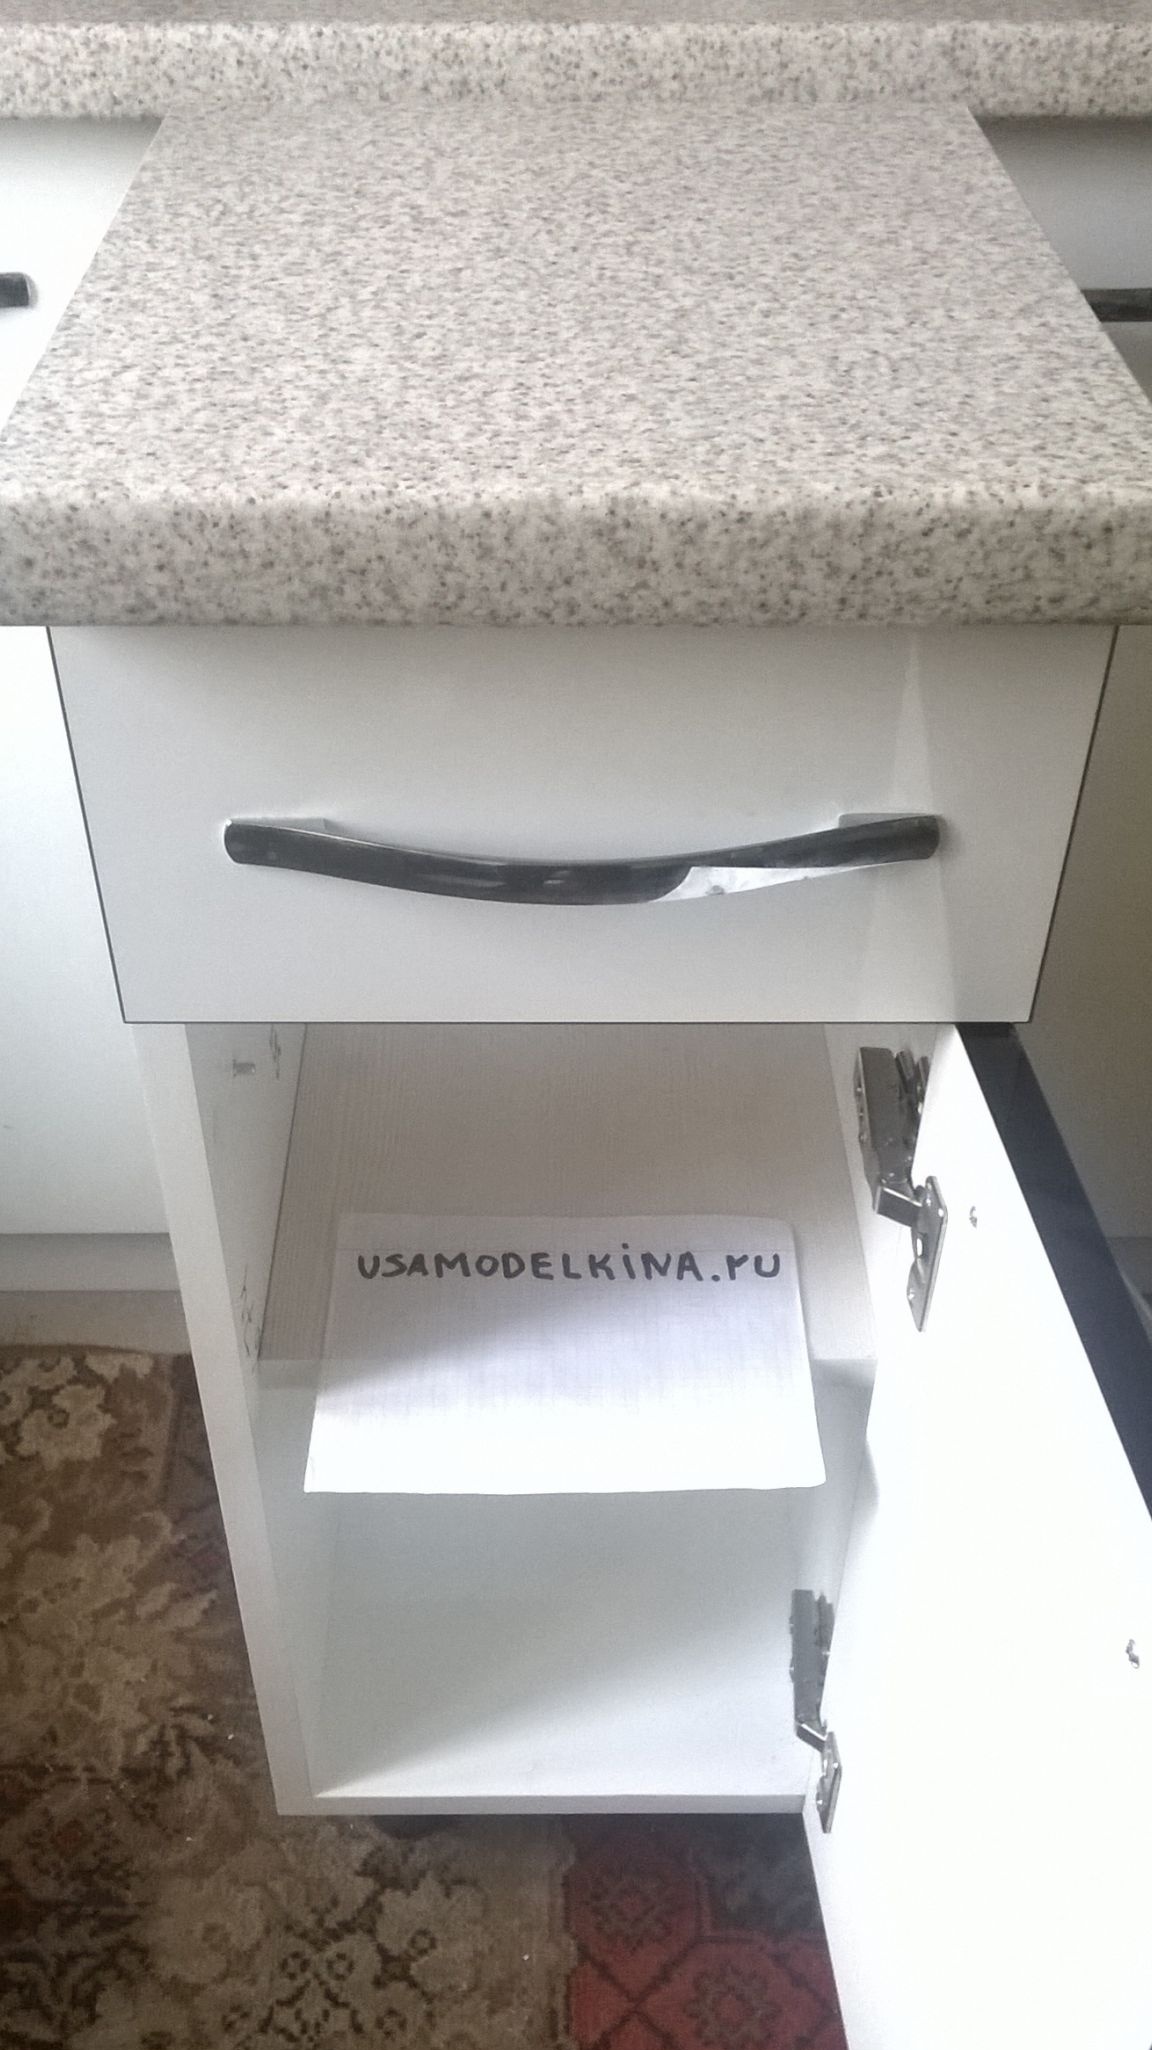
We hang doors.
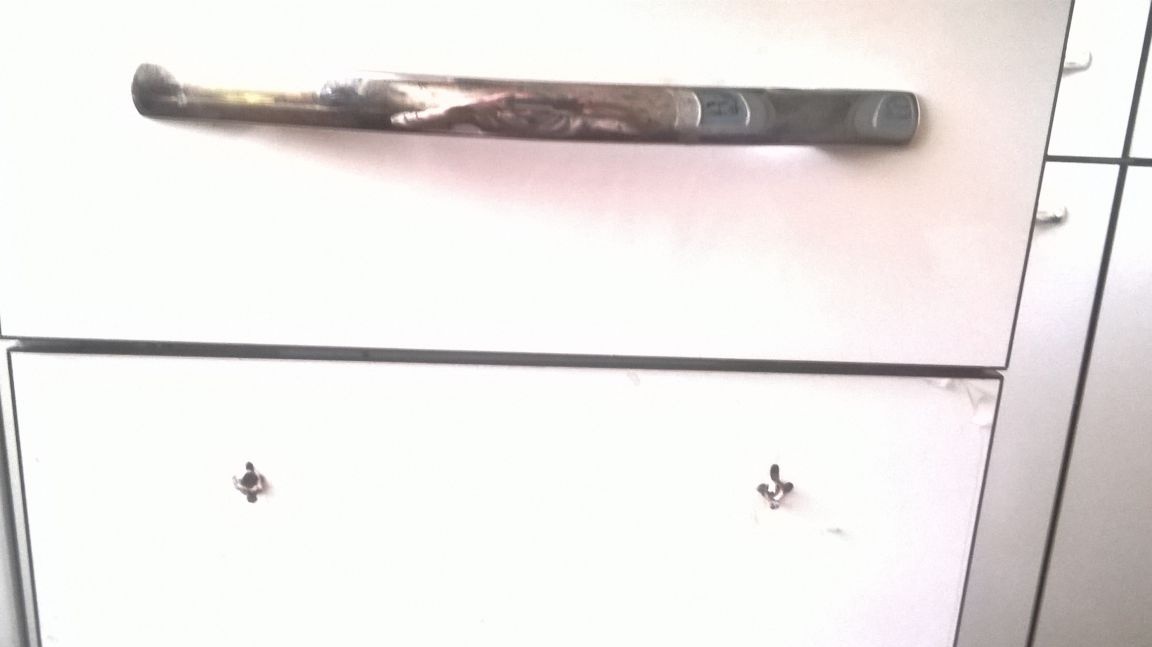
Mark the holes for the handles. We also drill 4.5 mm. 20 mm screws are included with the handles. They will be short for us, so we need to buy two 40 mm screws.