
And again, time is precious to everyone. Today we’ll look at how the author of the Young DIY channel made himself such a screwdriver do it yourself.
The list of all materials used by the author for this homemade.
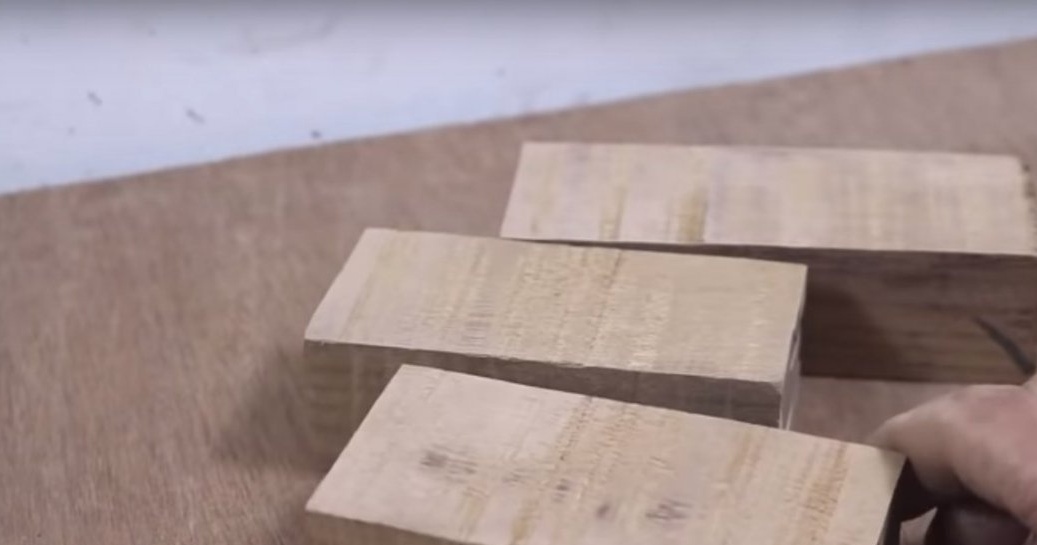
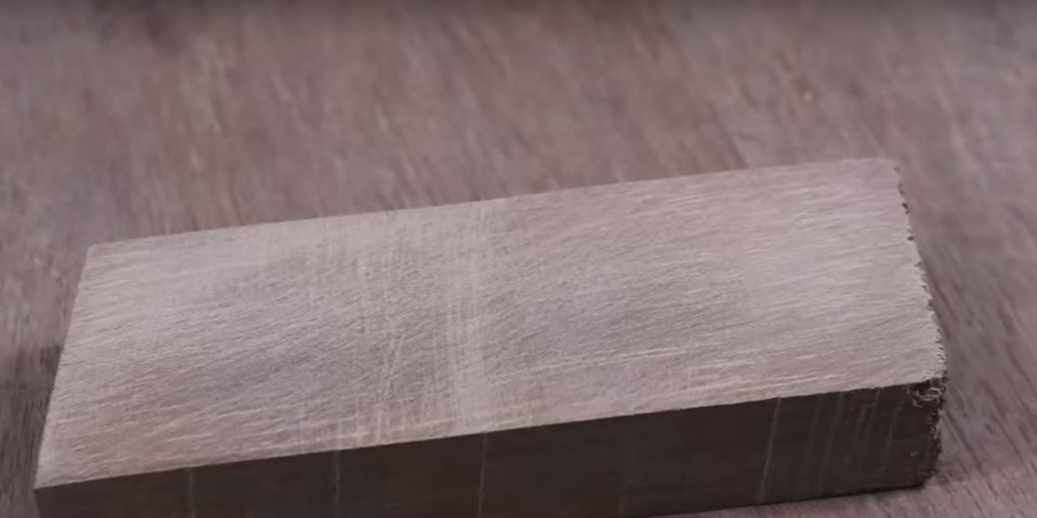
Not big pieces of timber.
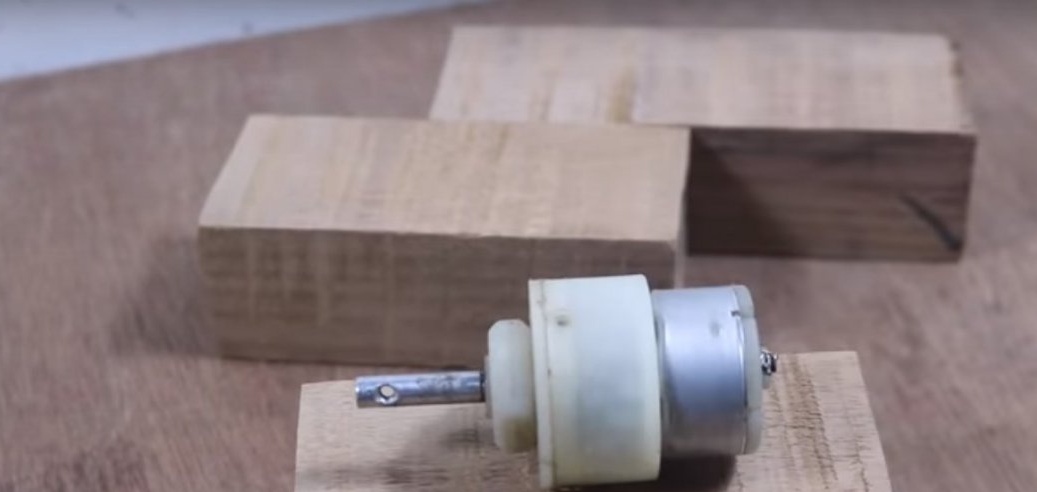
Motor with gearbox.
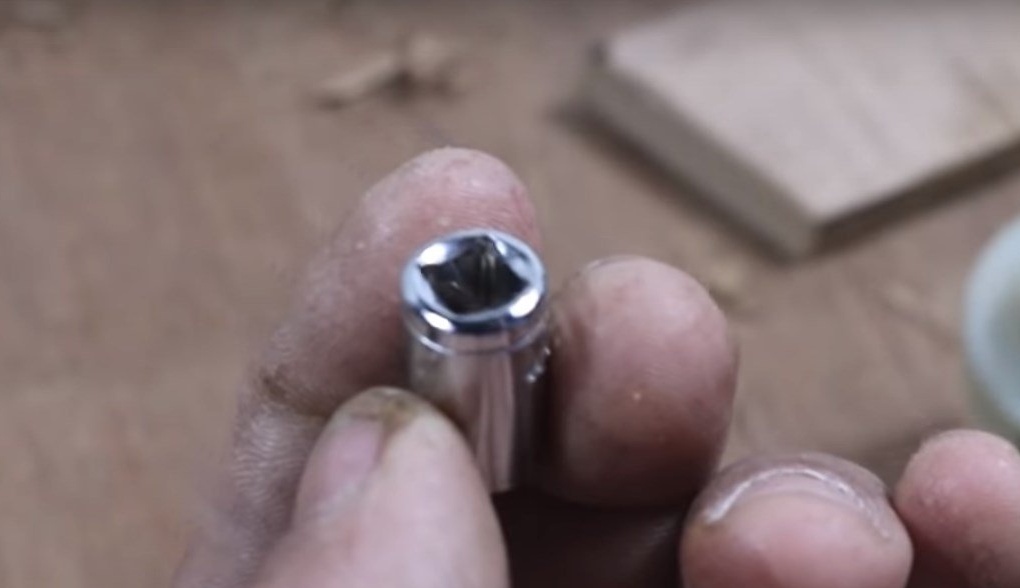
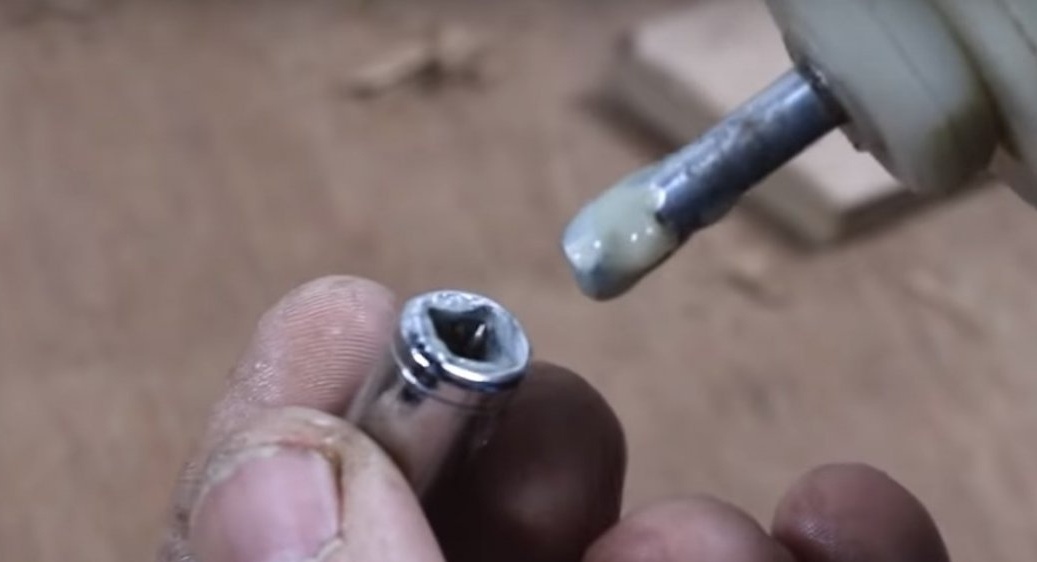
The head for the bits.
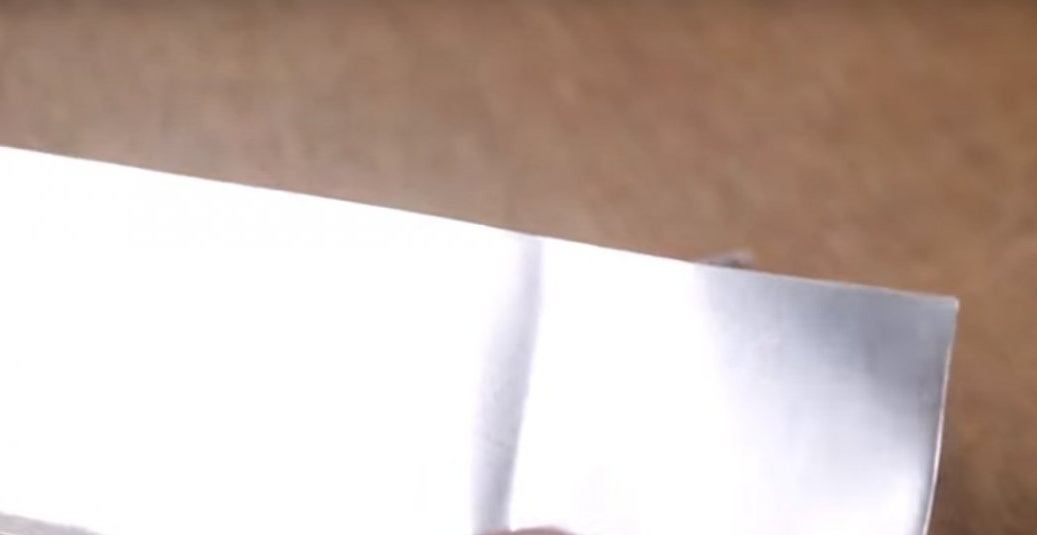
Aluminum plate.
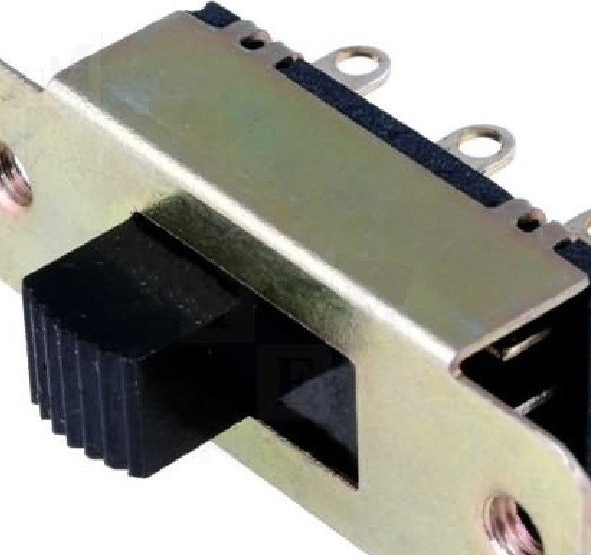
Slide switch 2 positions.
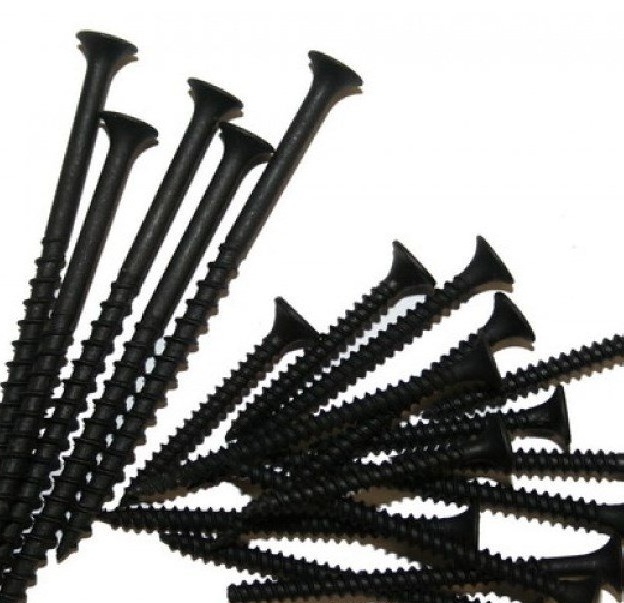
Wood screws.
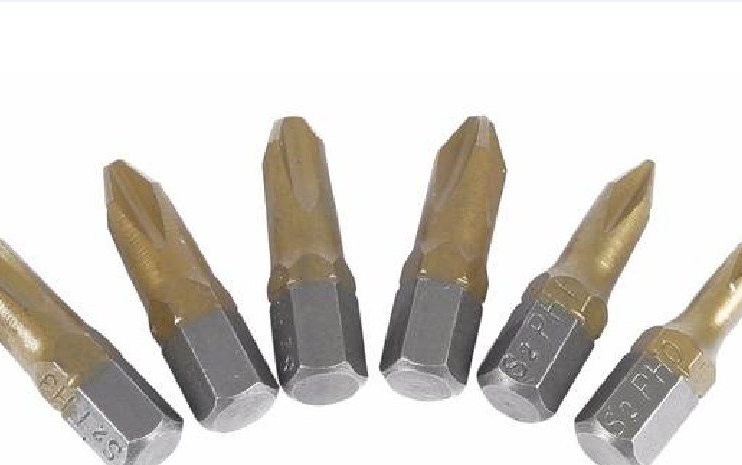
Screwdriver bits.
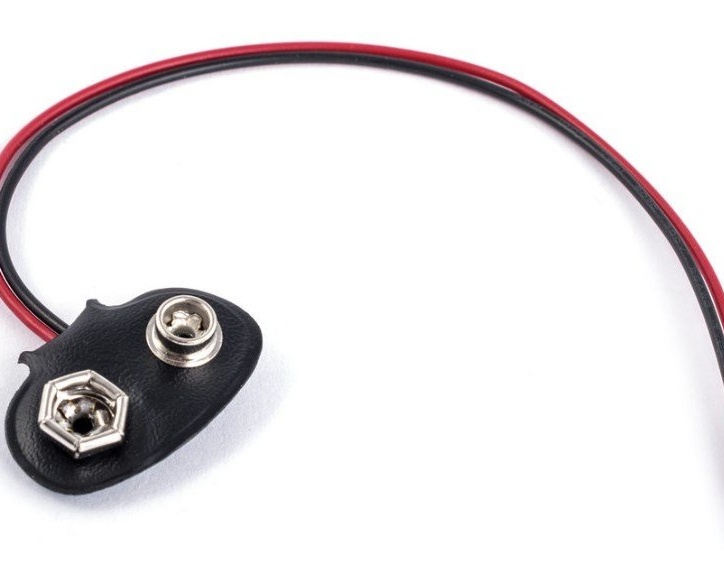
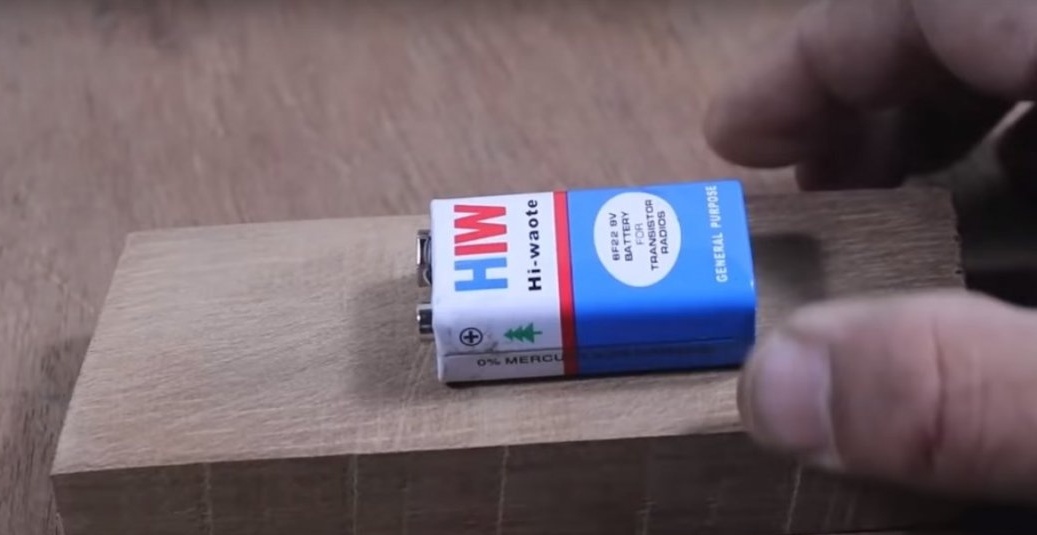
Battery crown.

Contacts to her.
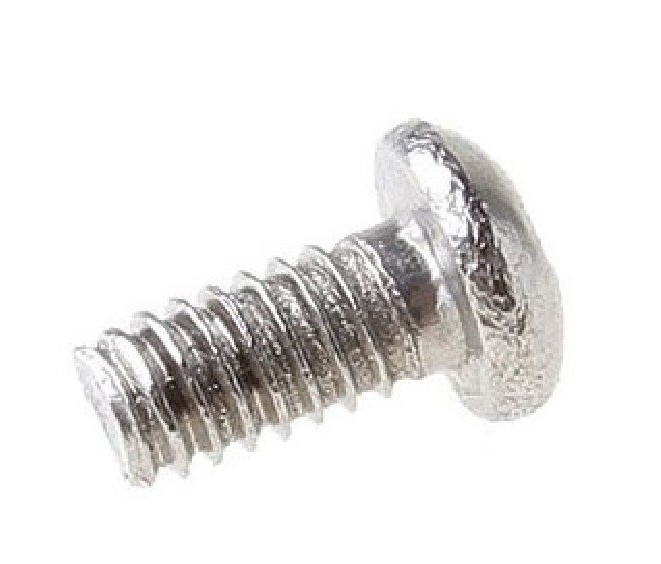
Small screw.
Instruments:
A simple pencil.
Chisels.
Screwdriver.
Drill.
Drill.
Sandpaper.
Clamps.
Glue for wood.
Continuity tester.
Knife.
Nail file for metal.
Hammer.
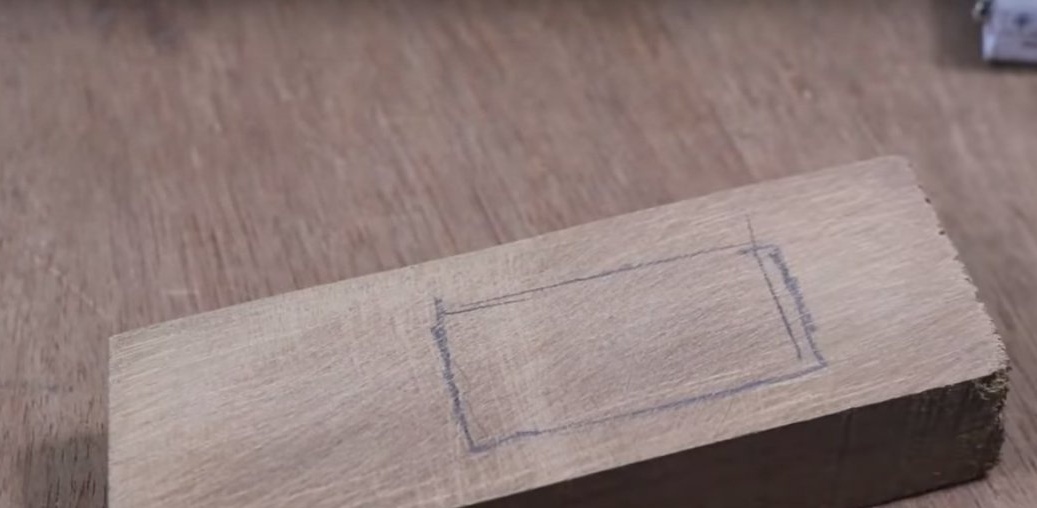
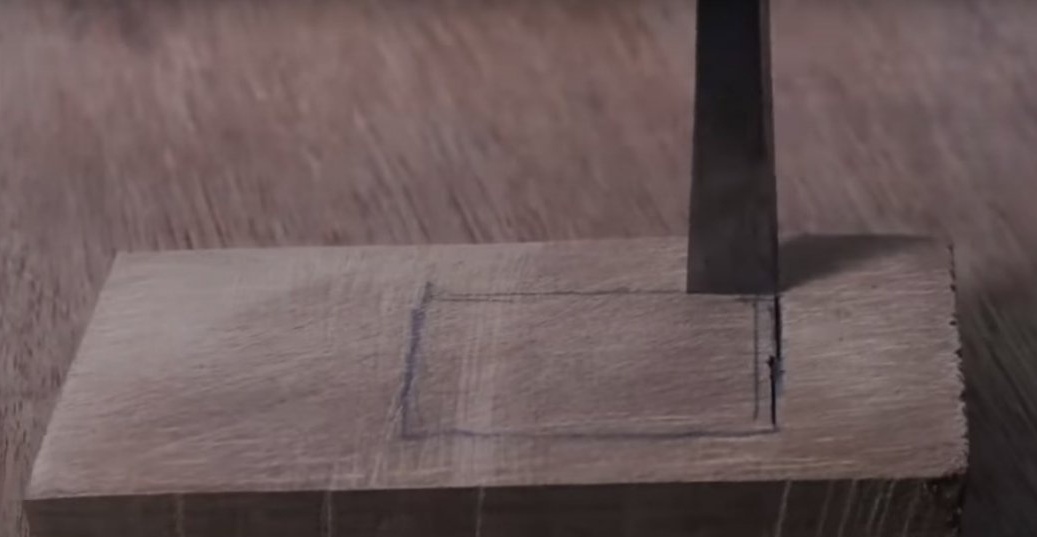
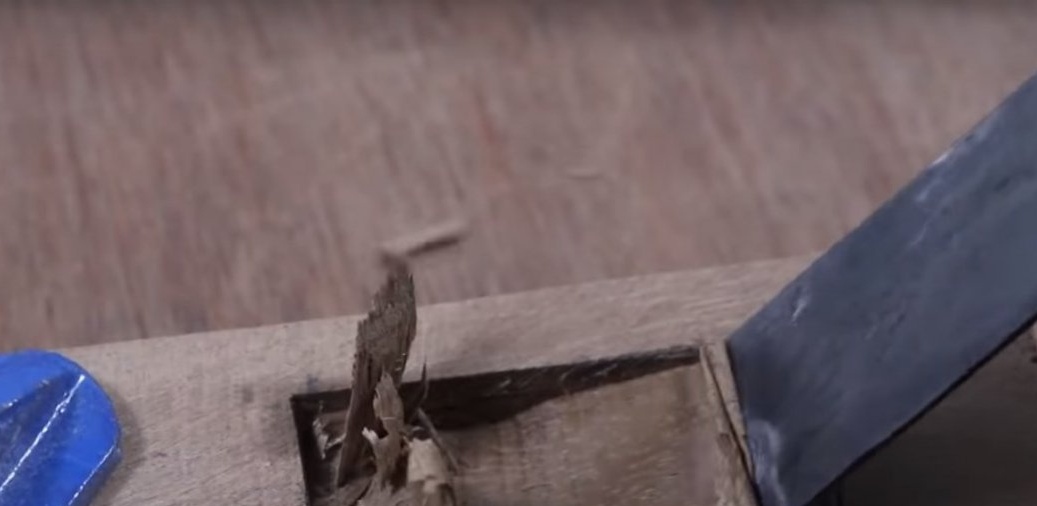
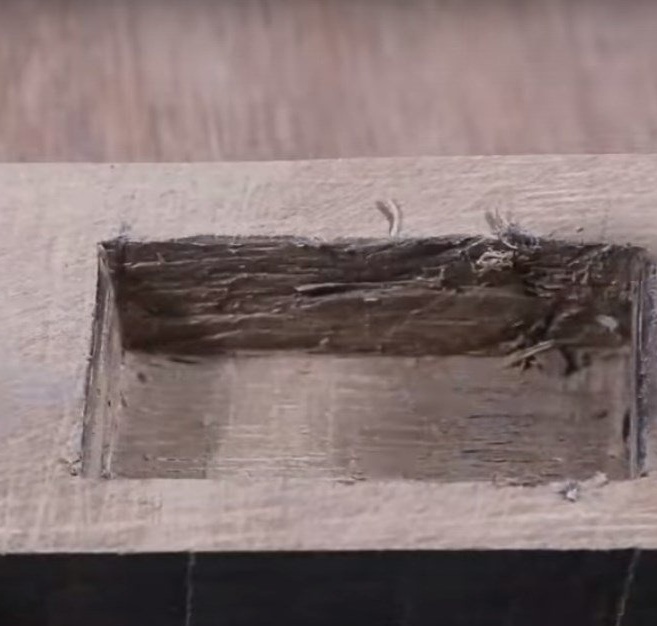
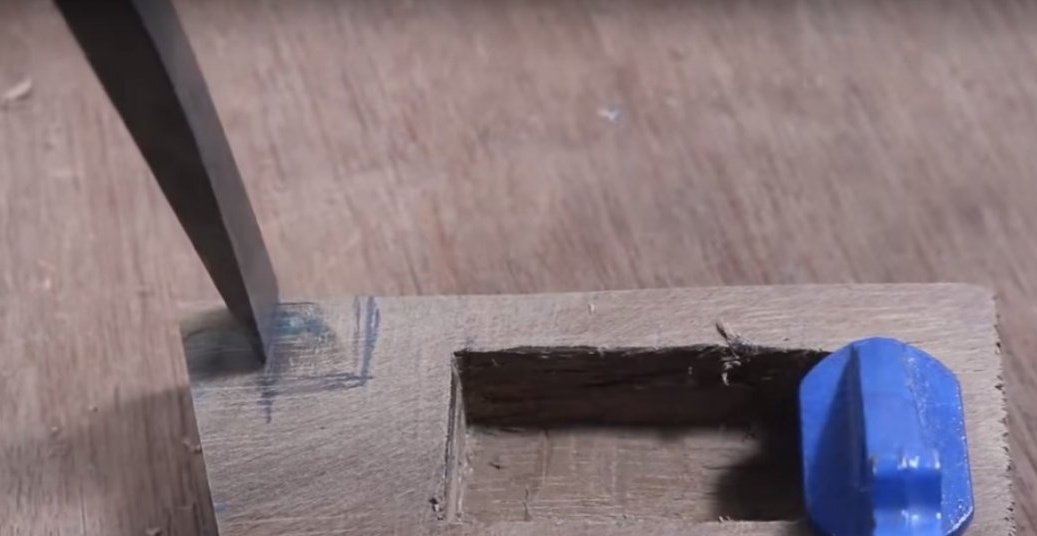
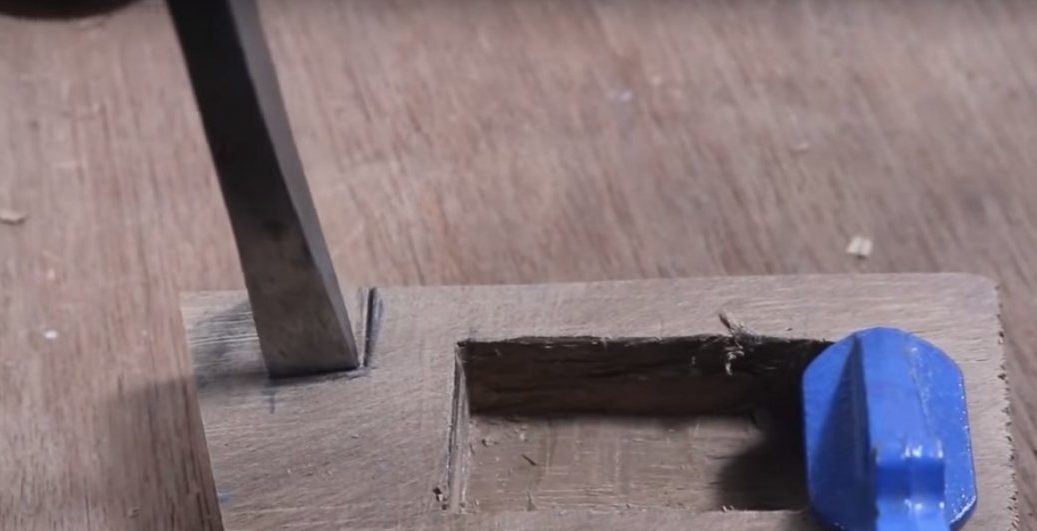
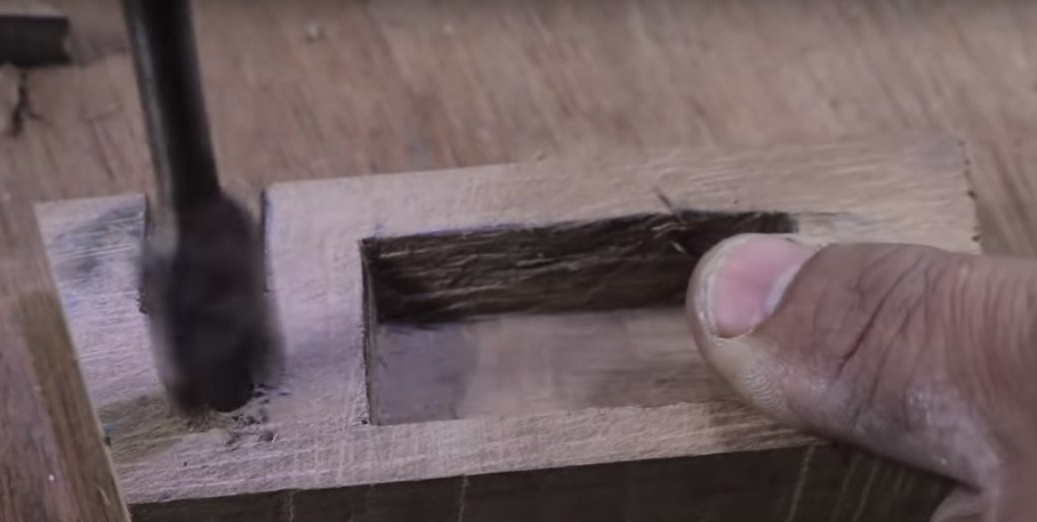
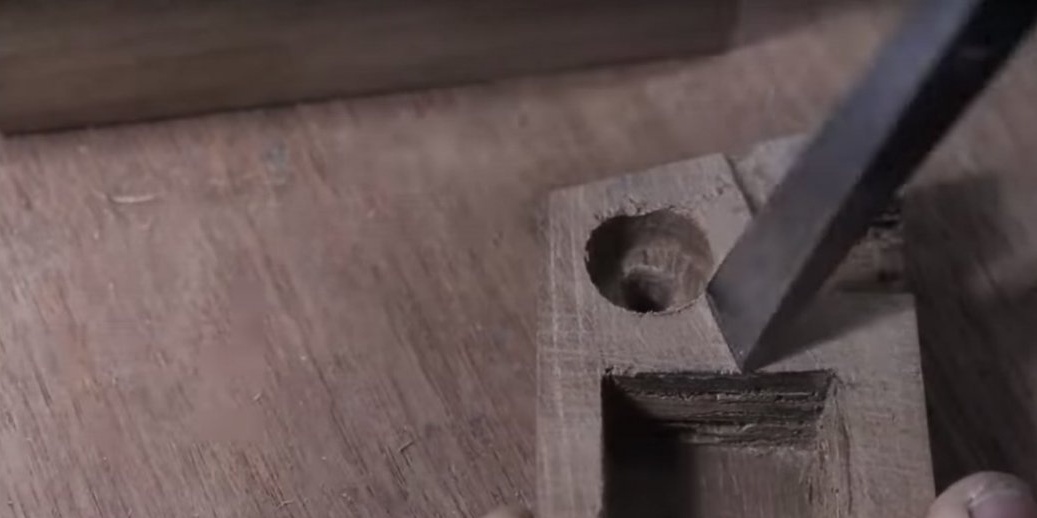
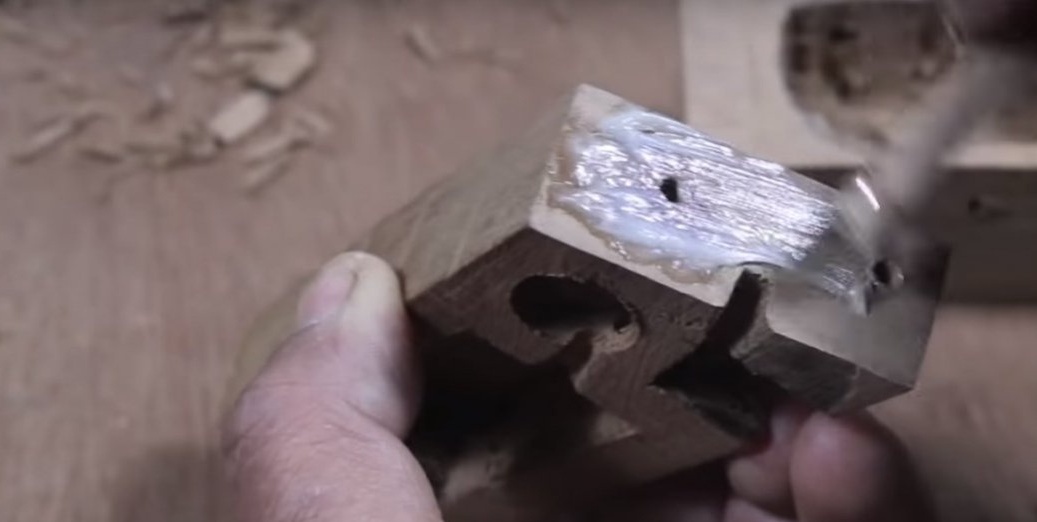
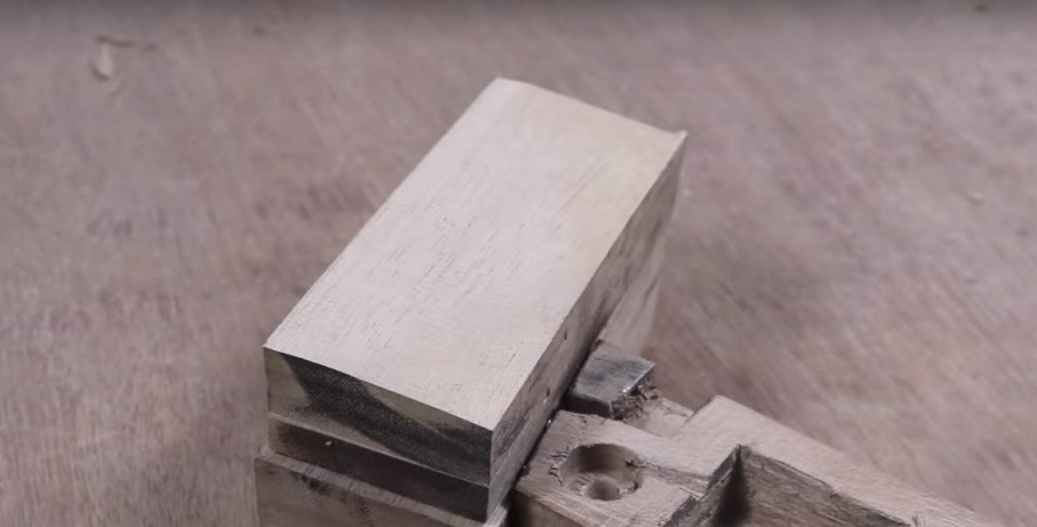
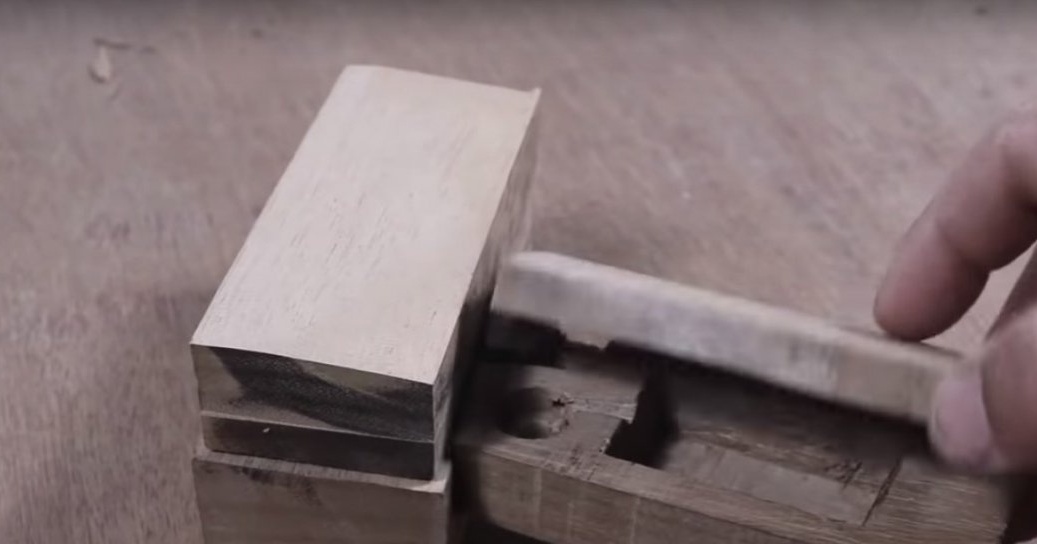
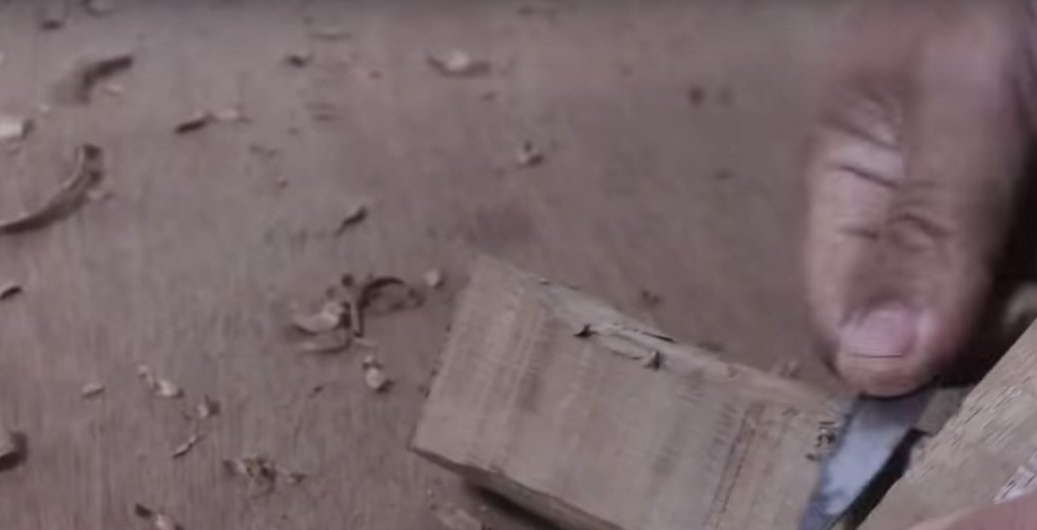
Taking one piece of the bar, the author made a recess in it under the motor.


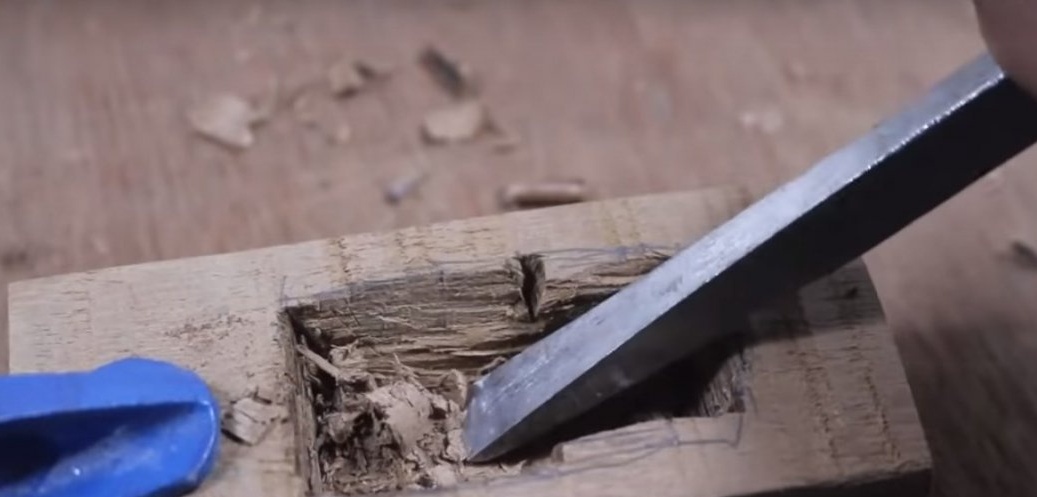
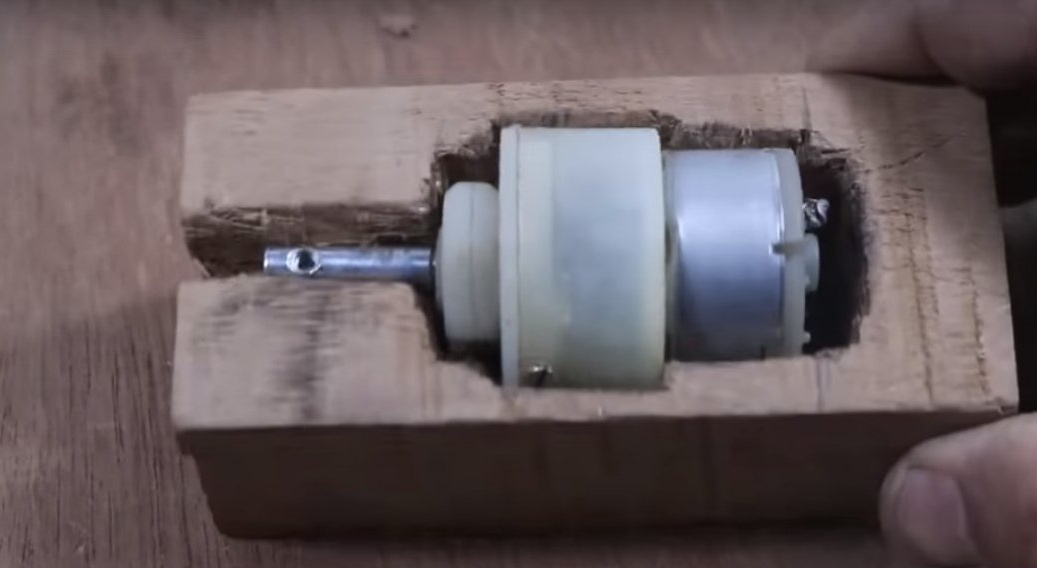
Fitting.
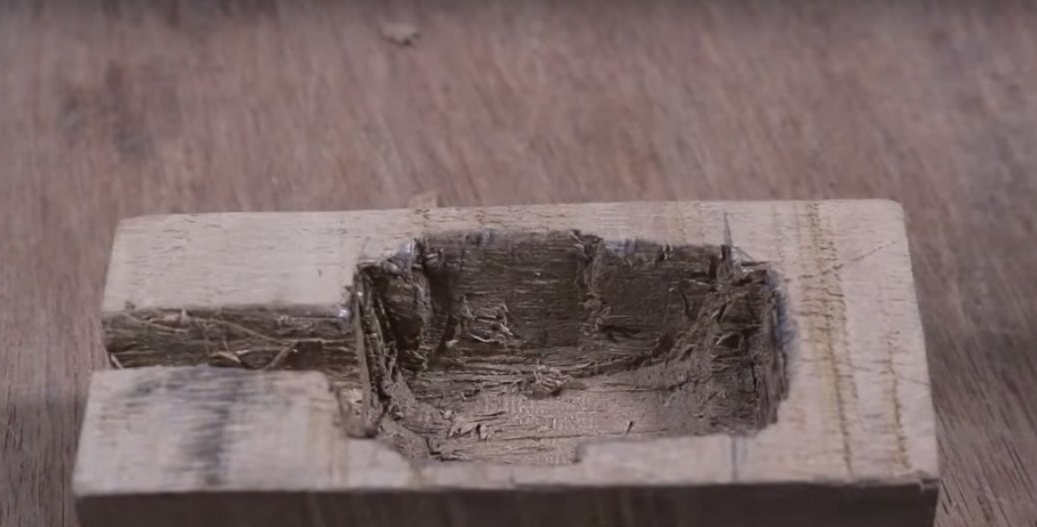
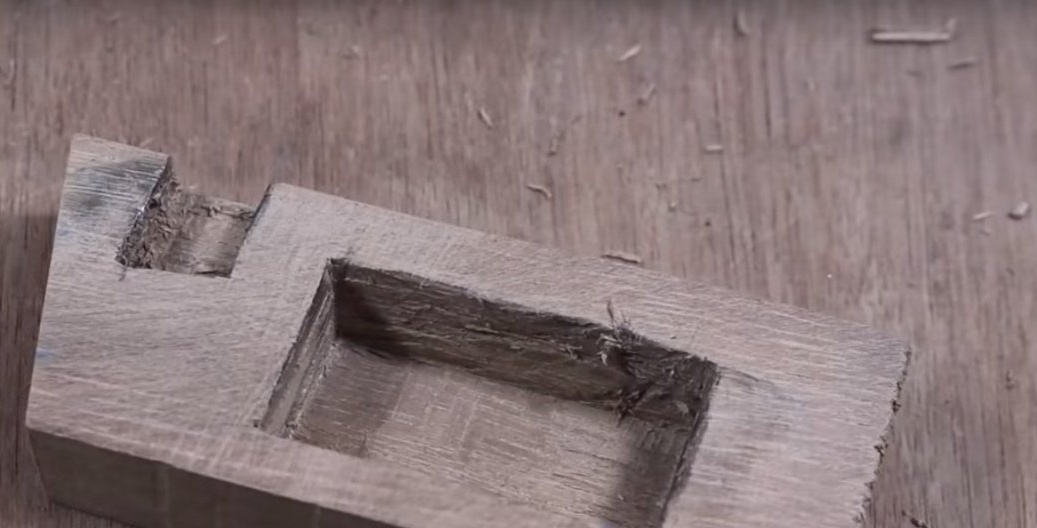
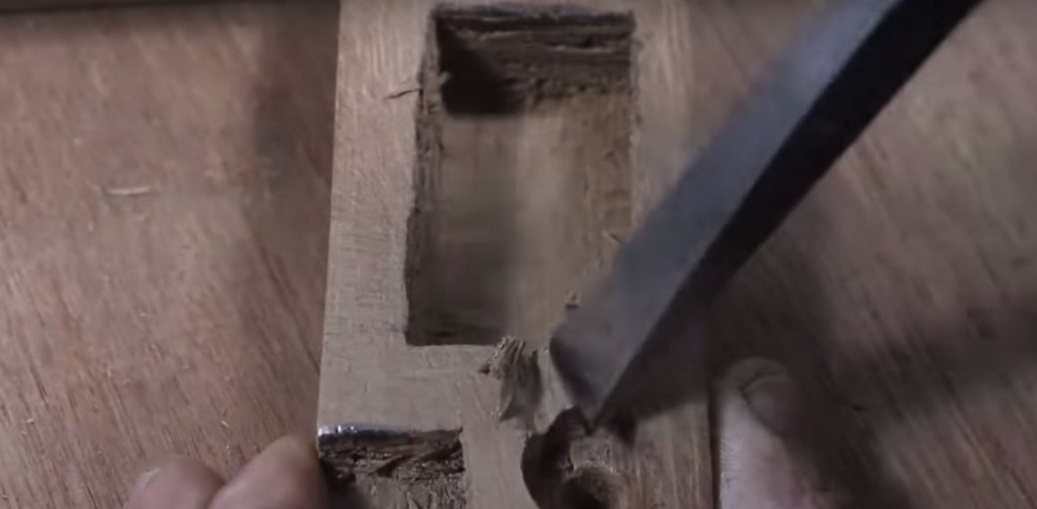
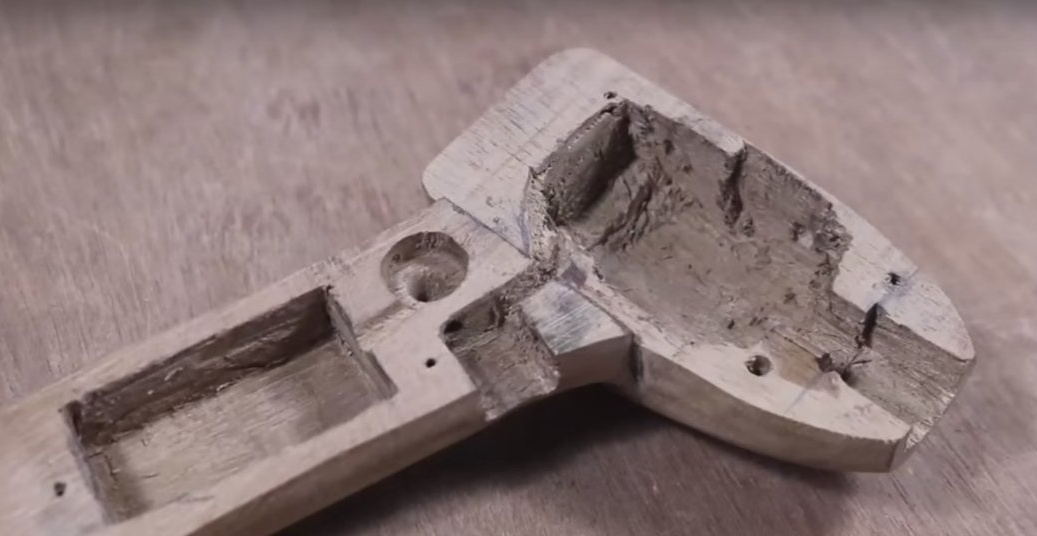
In the second bar, the author also made a depression.
It turned out two halves of the body.
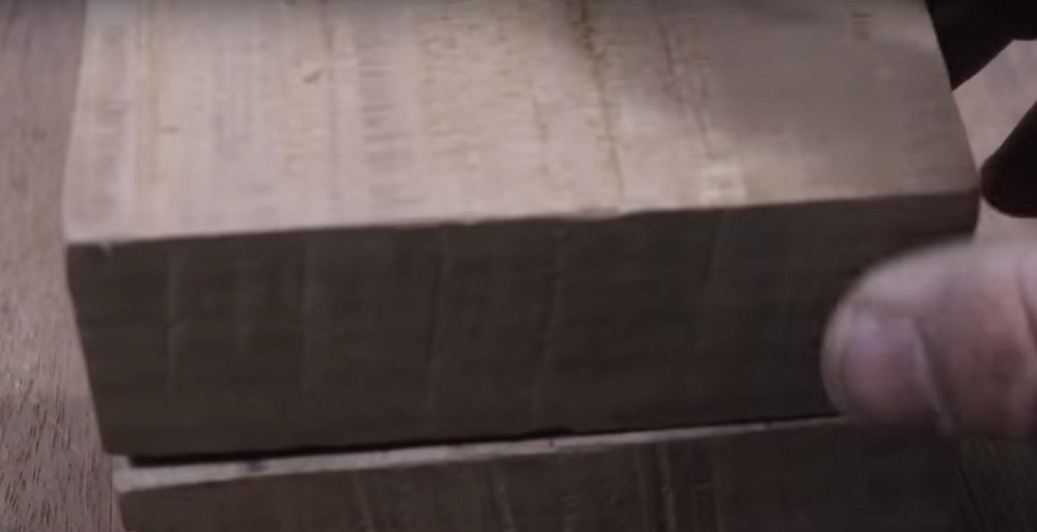
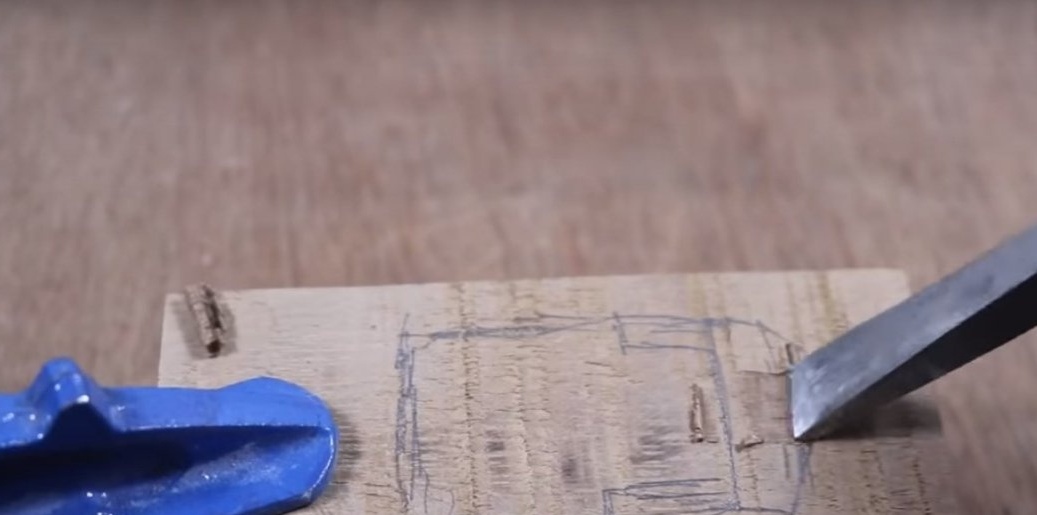
The author sawed the third bar along.
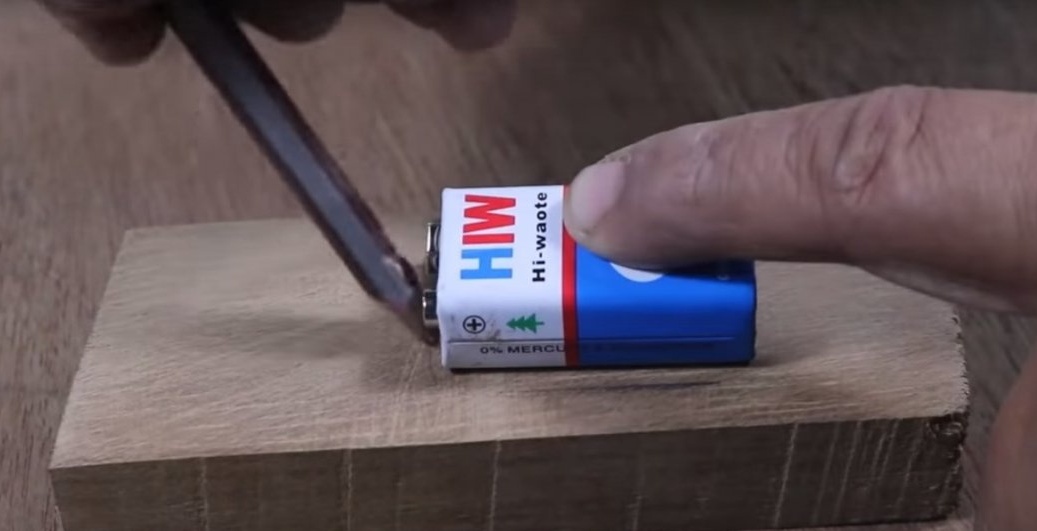
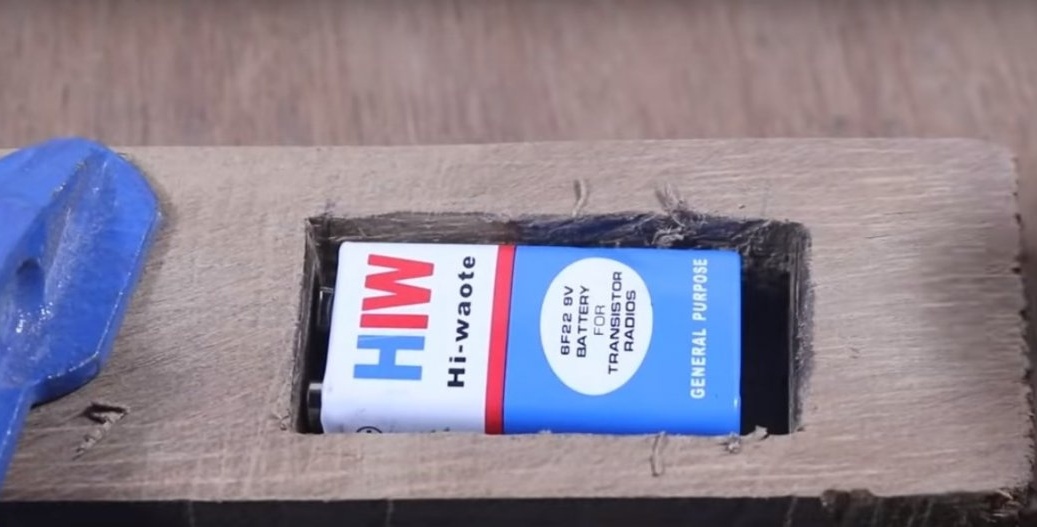
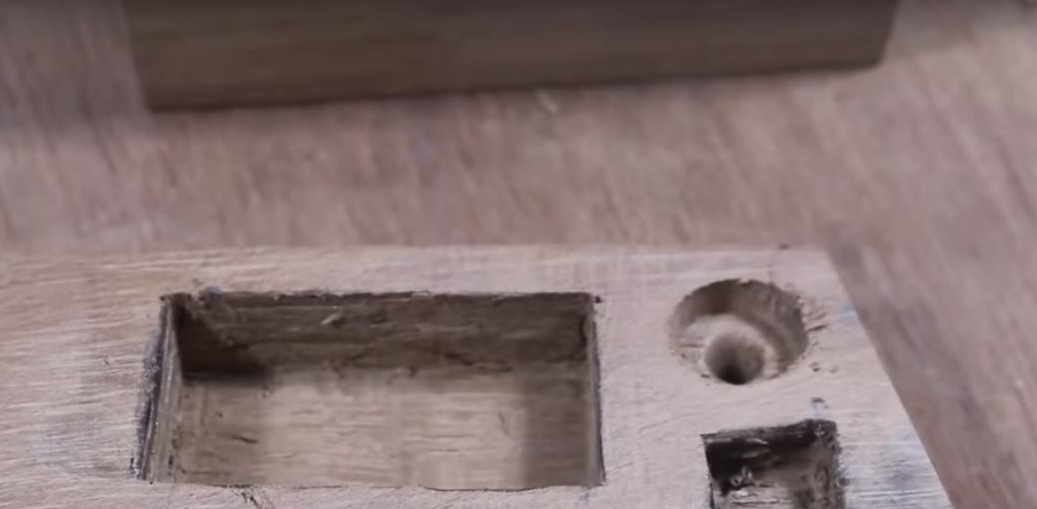
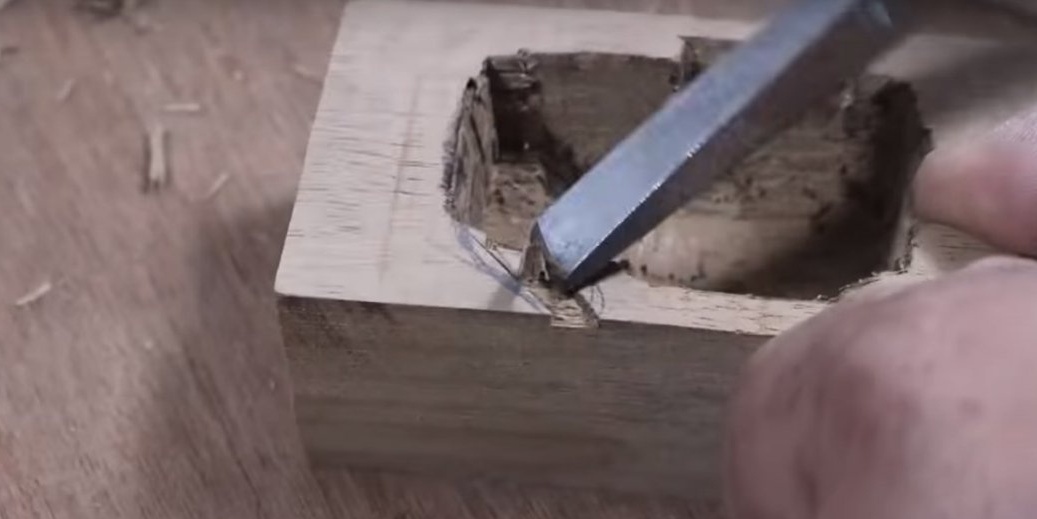
These will be the halves of the screwdriver handle. In the pen, the master will place: a battery, a button and a switch. First of all, he will make a recess for the battery.
Fitting.
After making his way to the button.
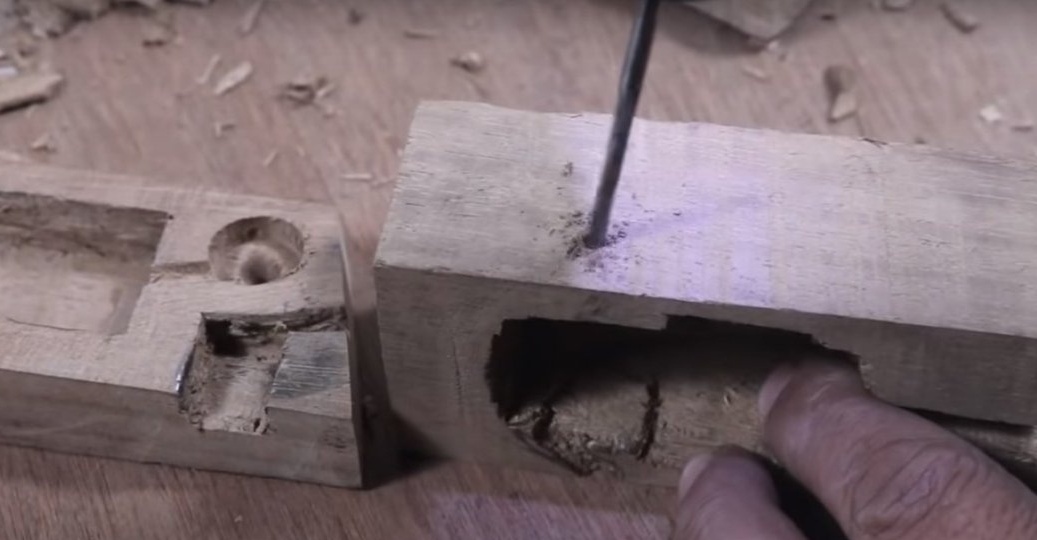
Then in this place, made no through hole.
Next, I made grooves for the wires.
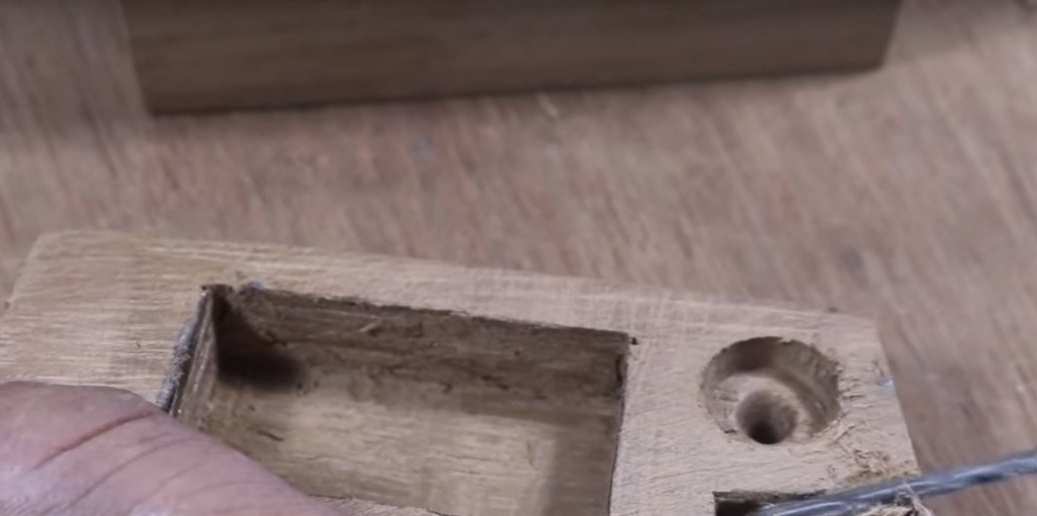
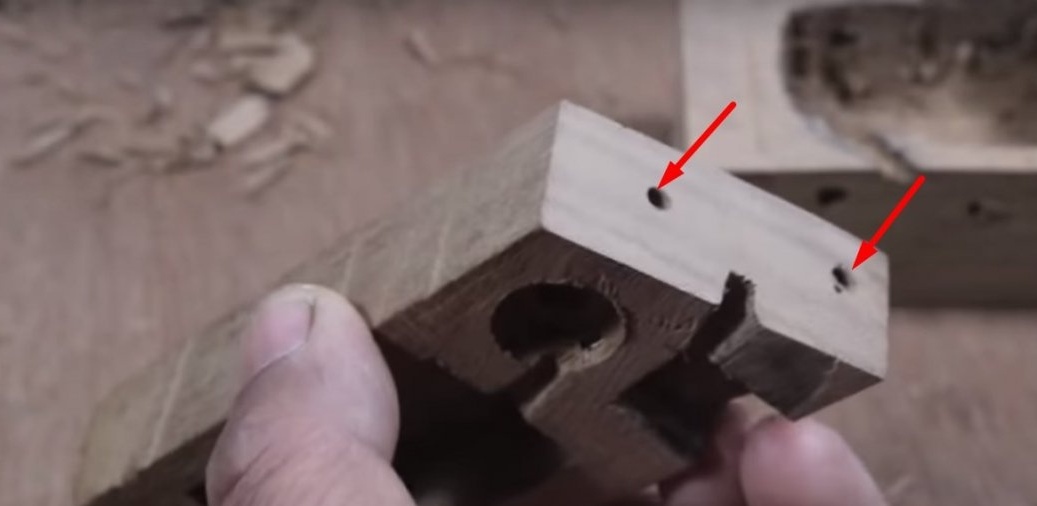
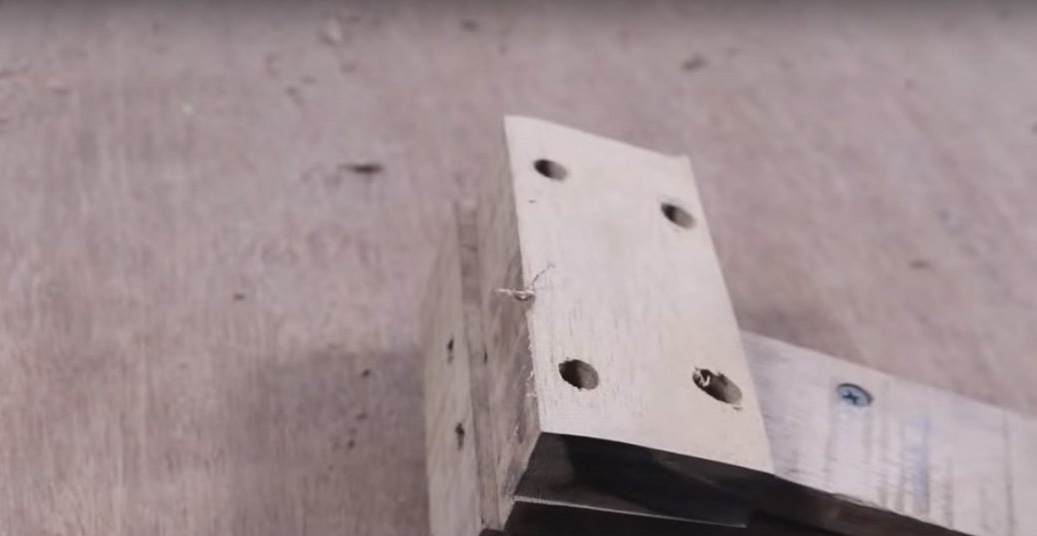
After in the first part of the case, I made two through holes for fixing the handle.
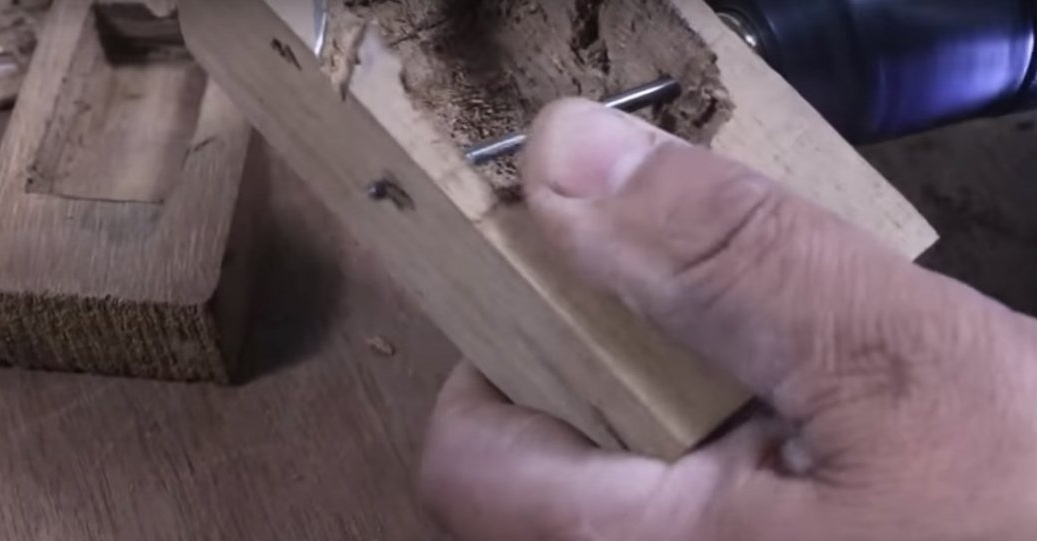
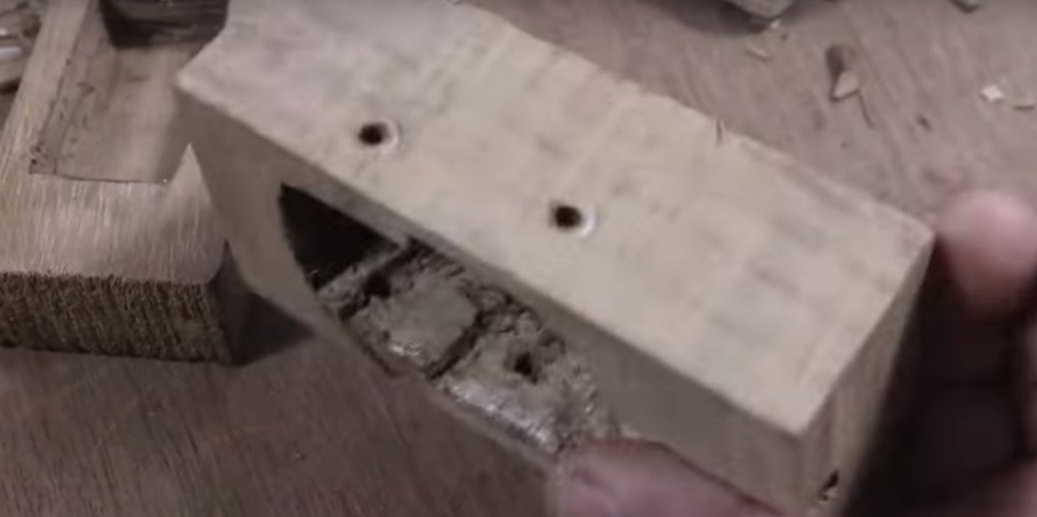
In the pen, the author also made two holes for fastening.
Then he put glue on the handle and connected the handle to the first part of the case.
And fixed both parts with screws.
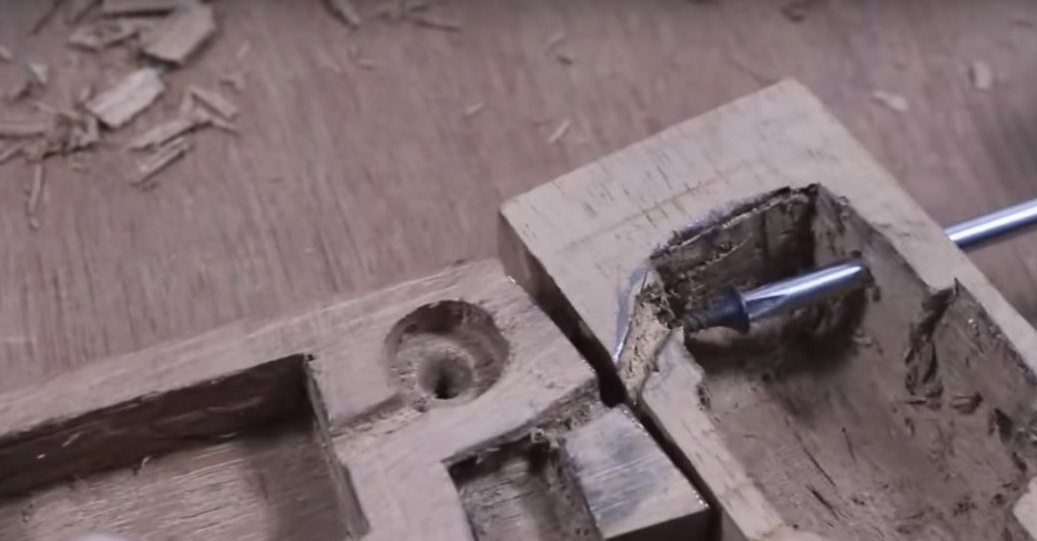
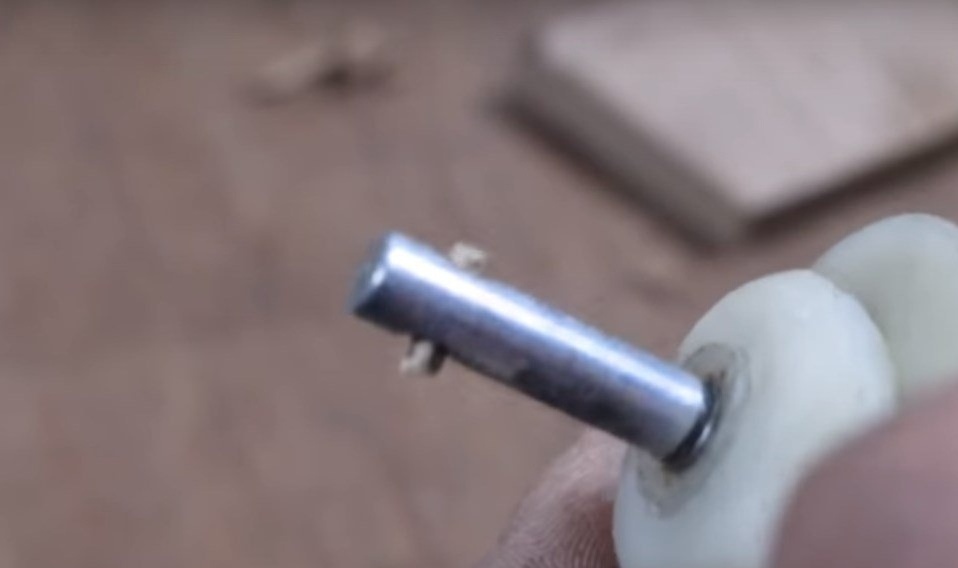
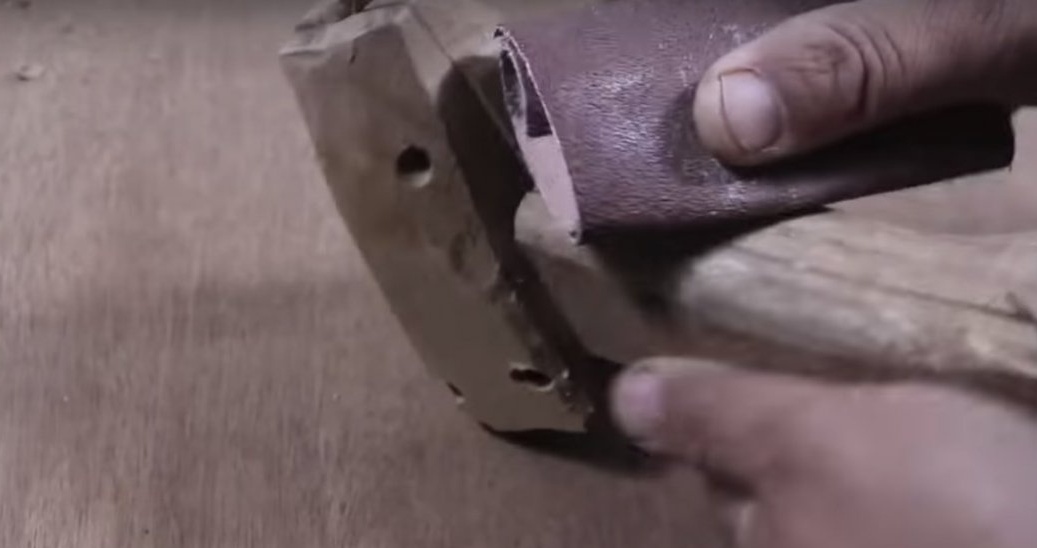
Next, a wooden pin was installed in the motor shaft.
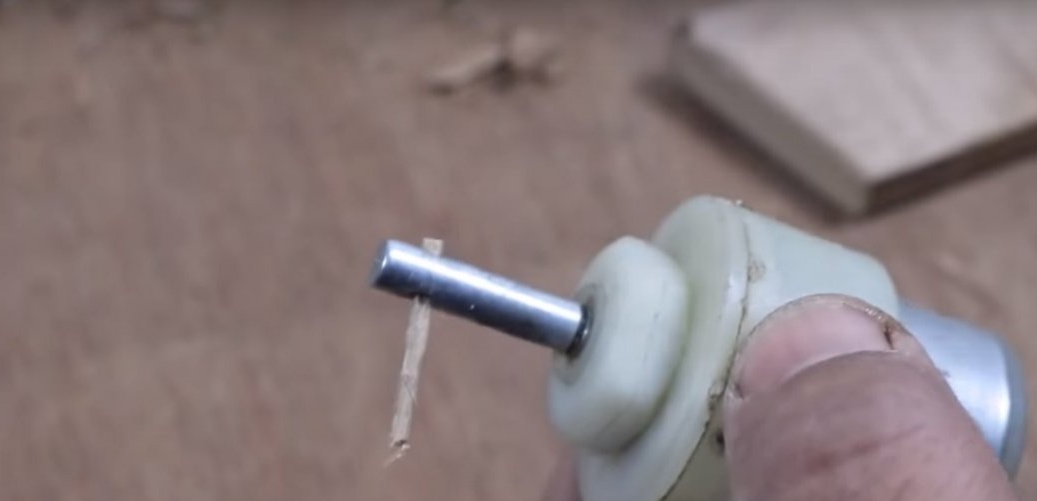
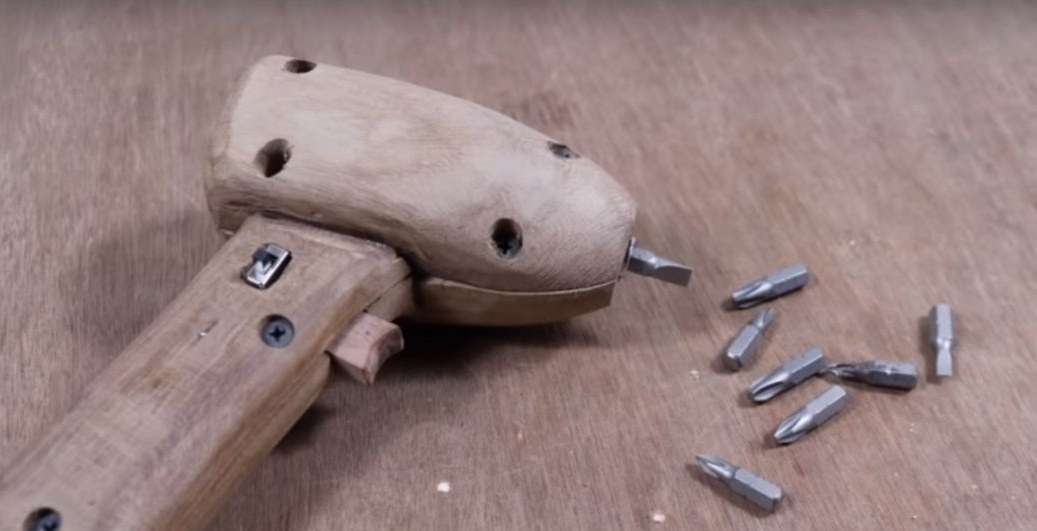
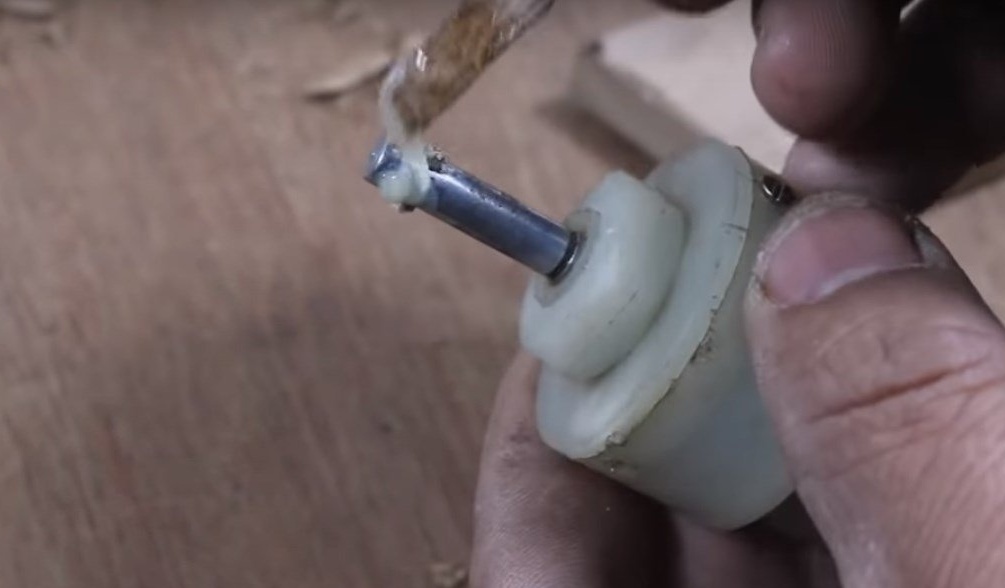
And then glued to the motor shaft, a bit head.

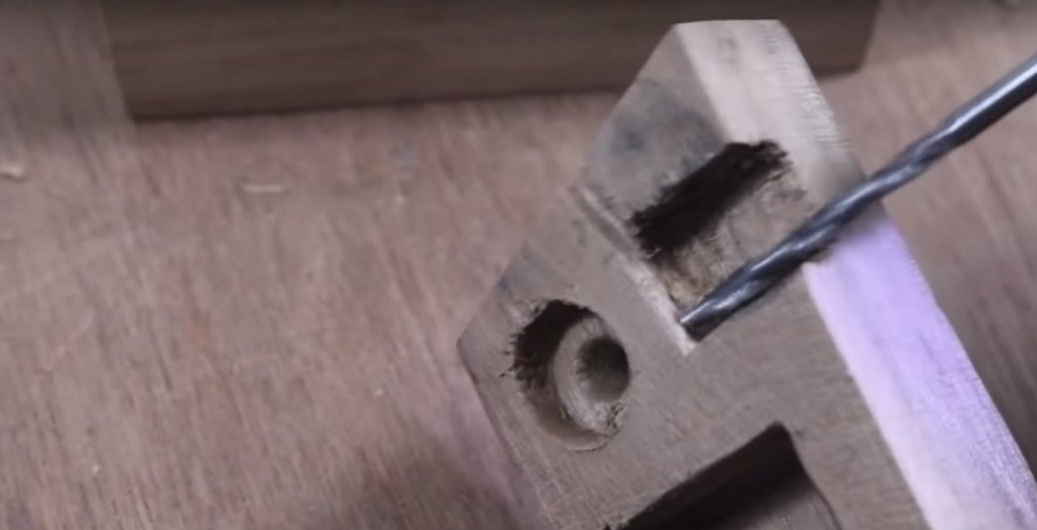
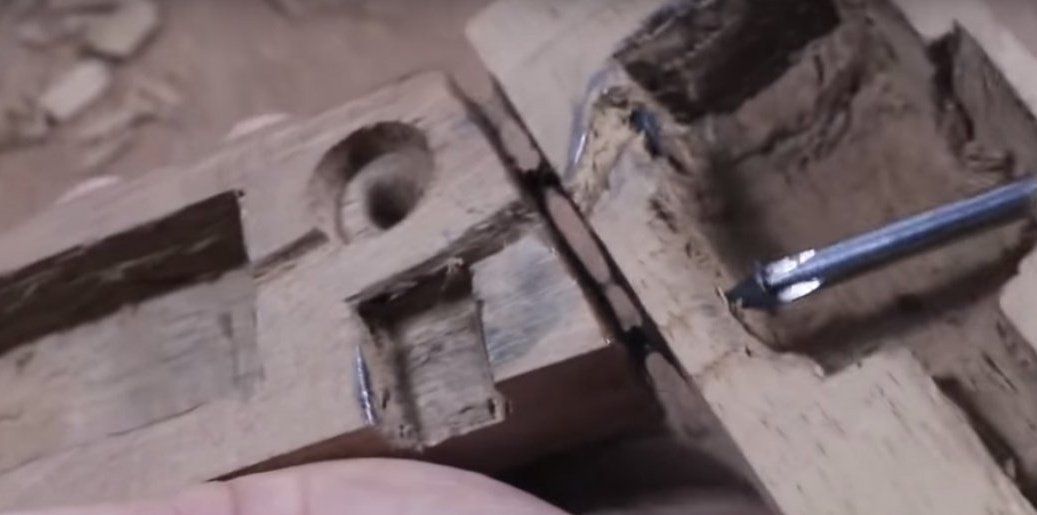
Then he made holes in the covers of the case and the handle.
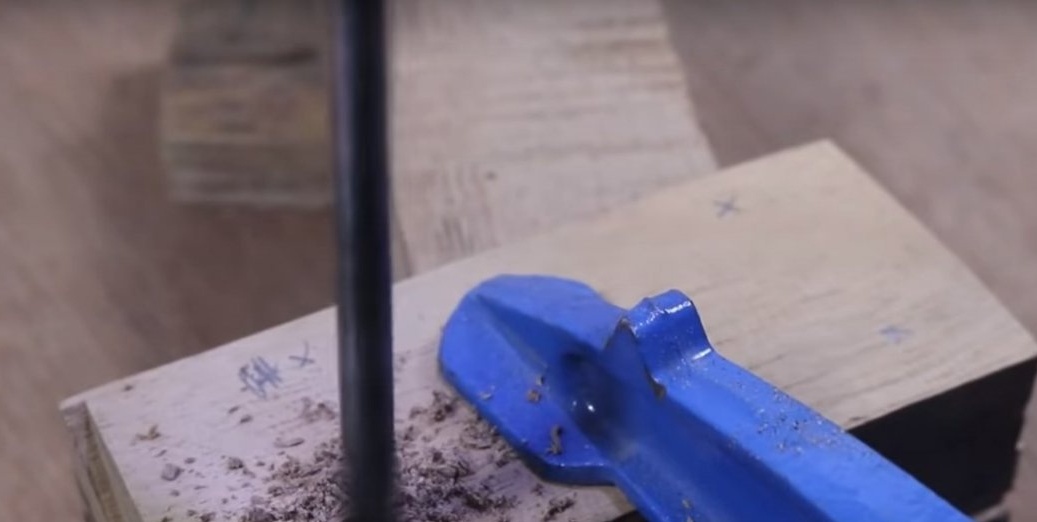
After installing the covers in their places and fixed them with screws.
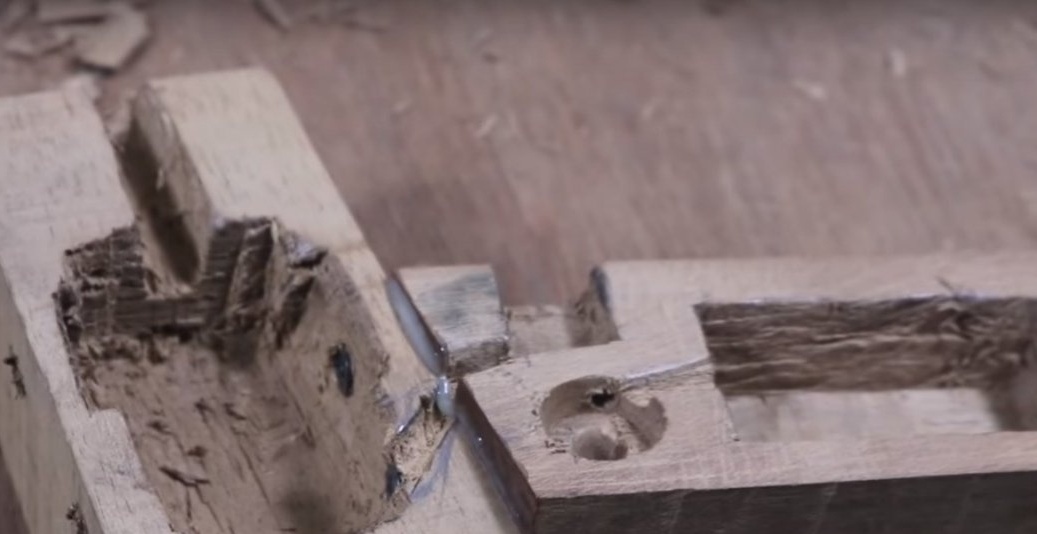
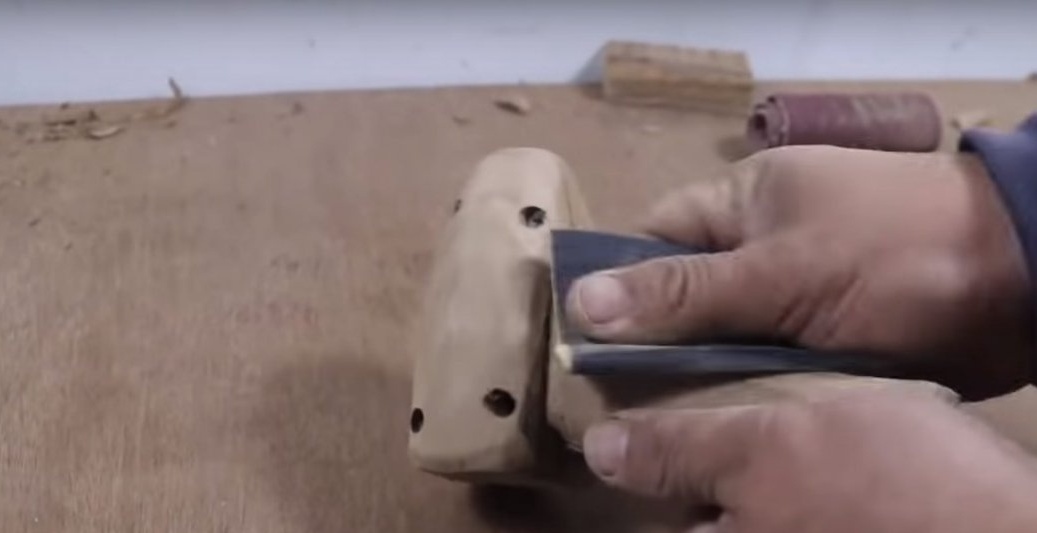
After he gave the whole body the desired shape.
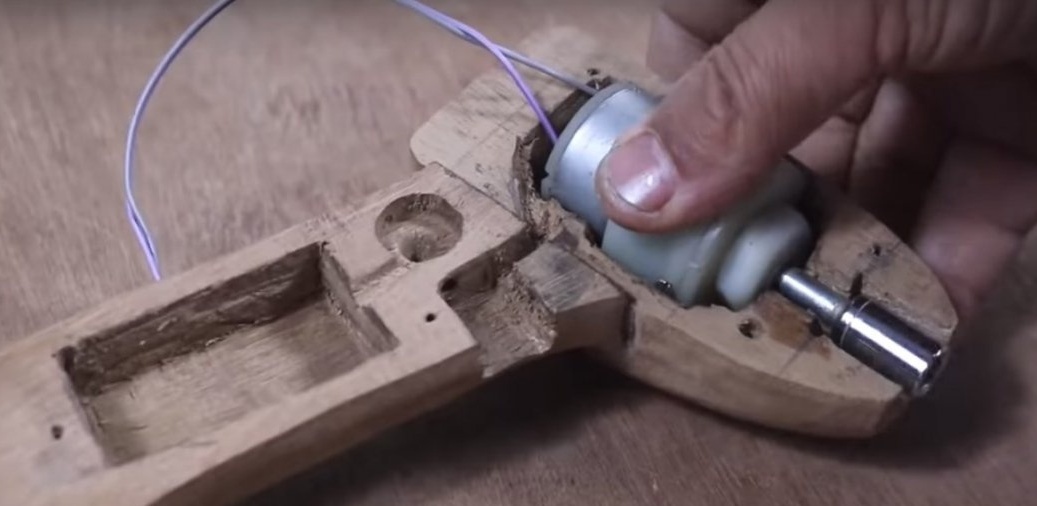
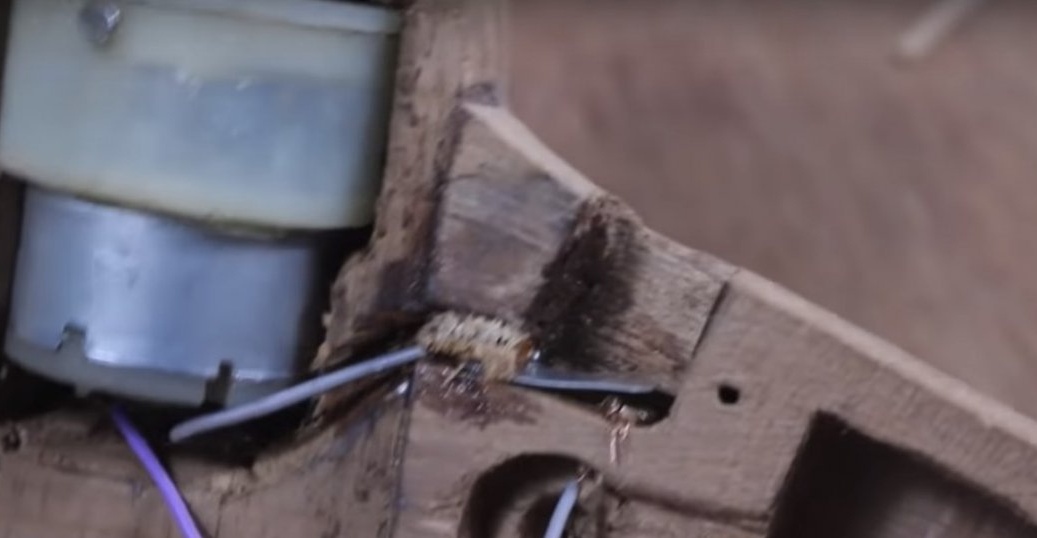
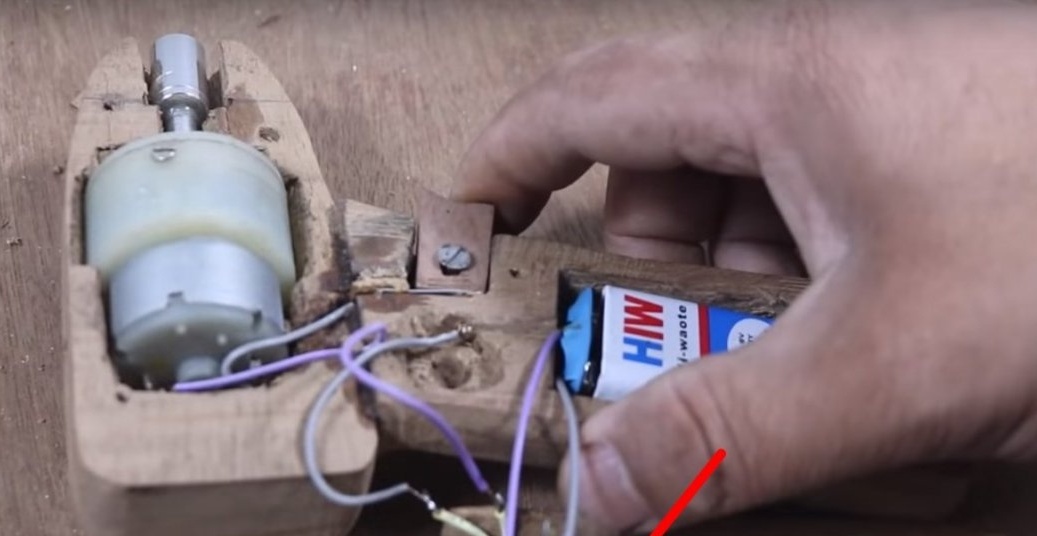
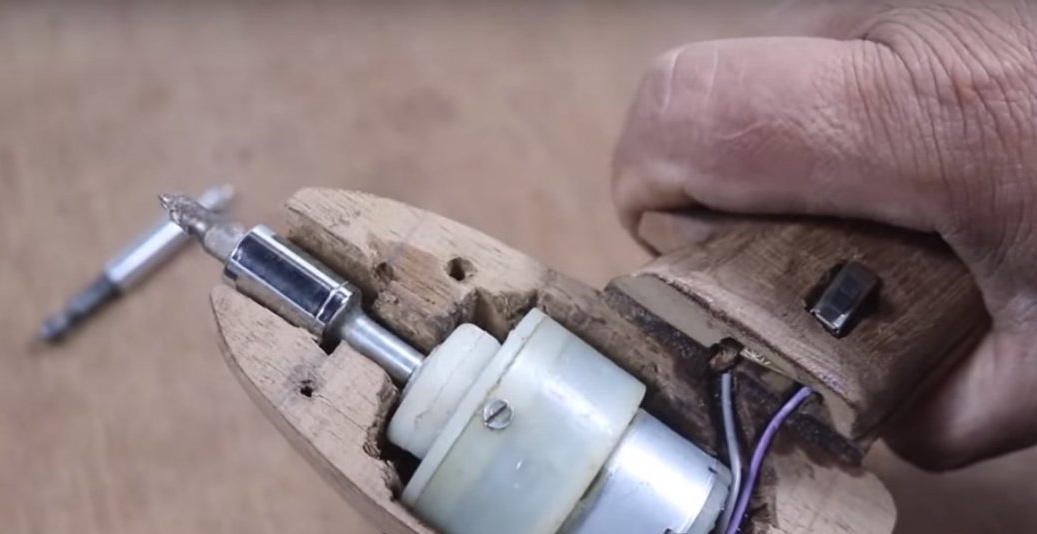
Then the author proceeded to the electrical part.
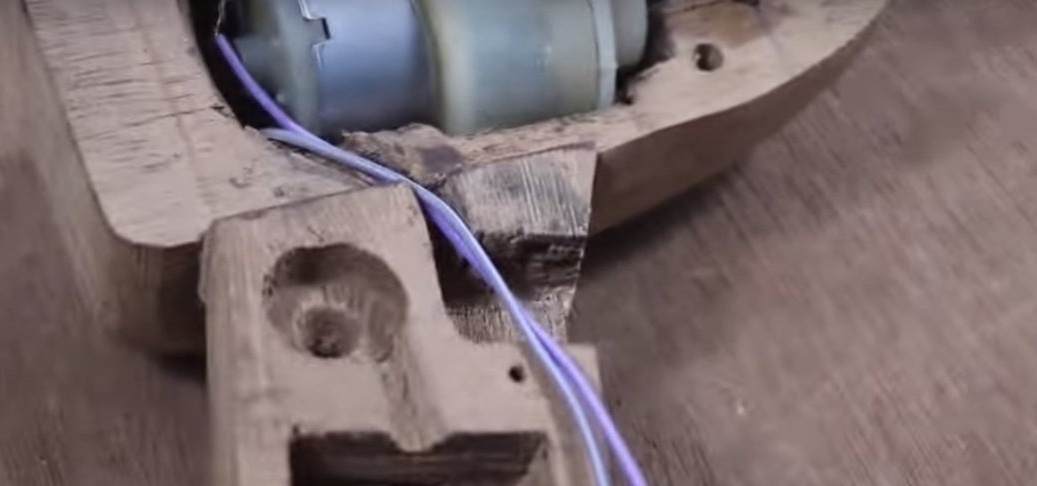
The author installed the motor with the wires attached to it in place.
He laid the wires to the place of the future button.
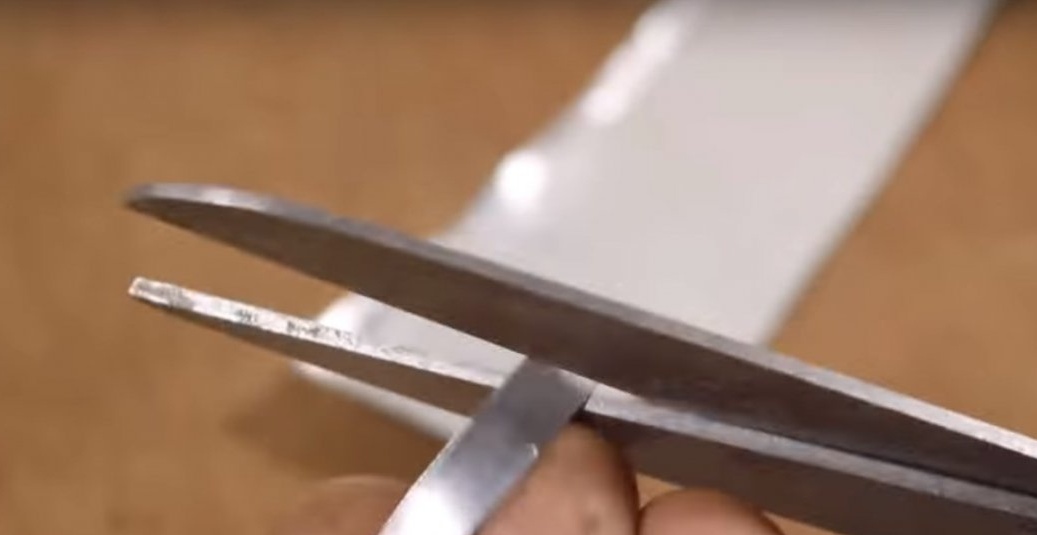
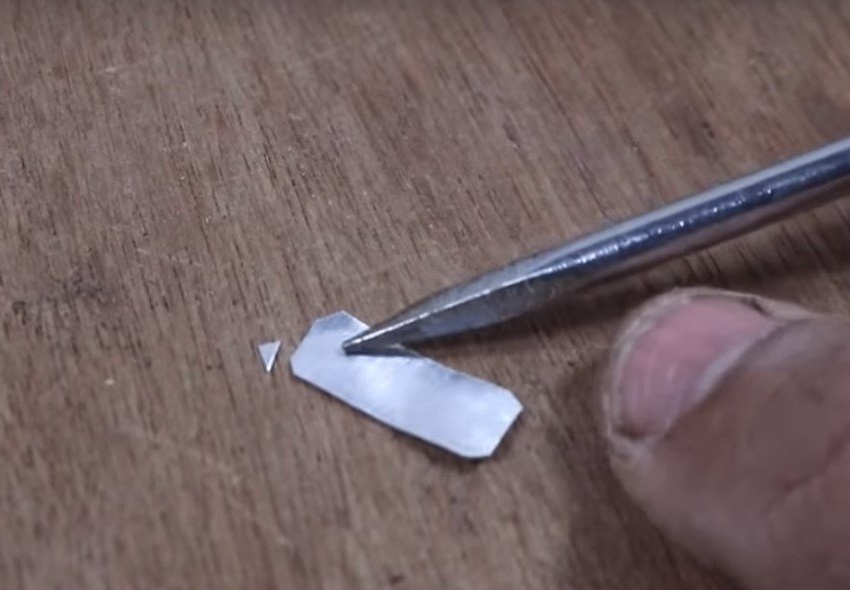
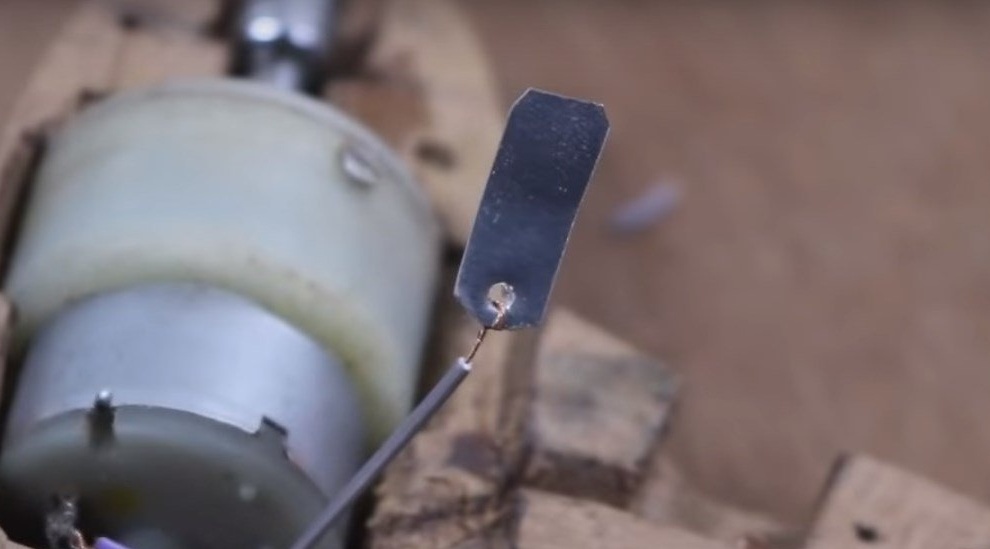
Then he cut off a piece of aluminum.
And made a hole in it.
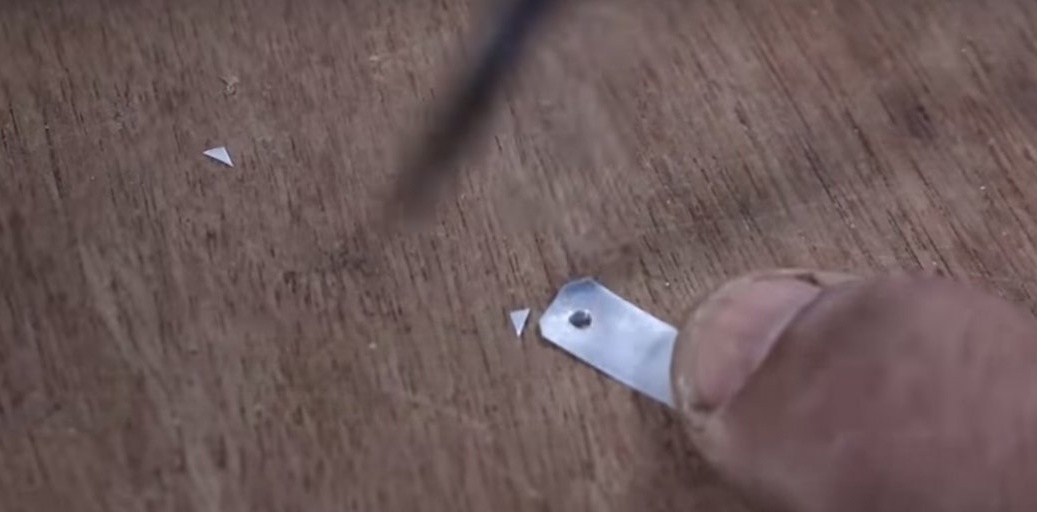
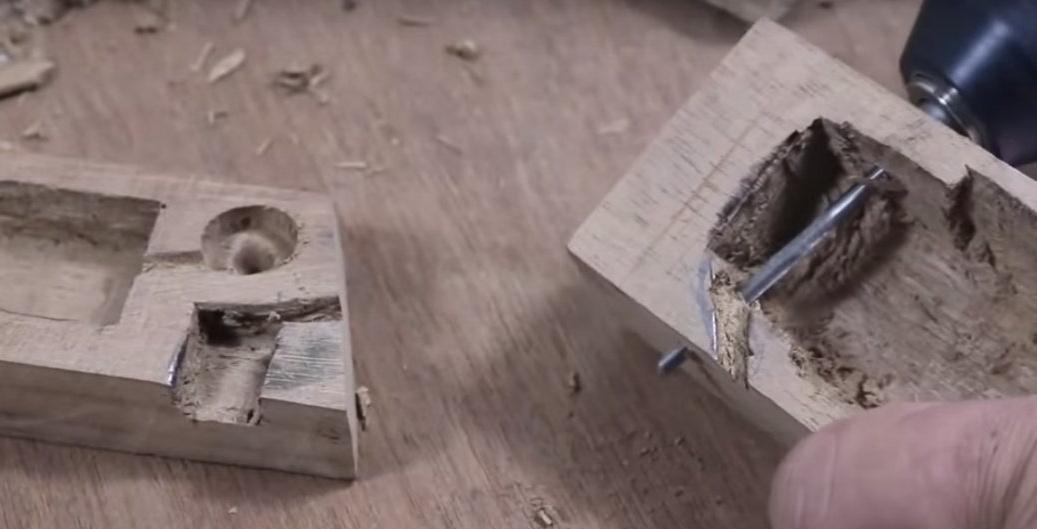
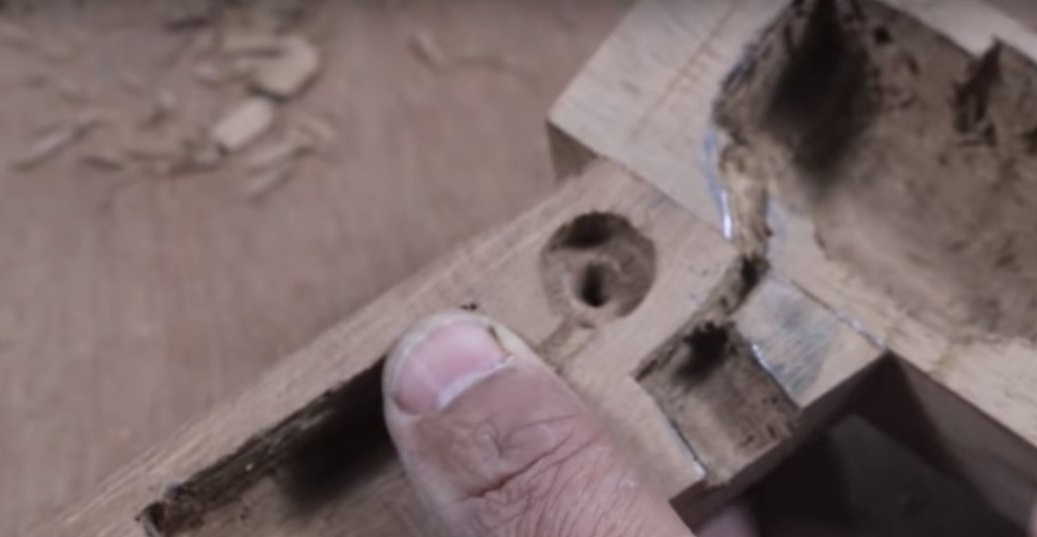
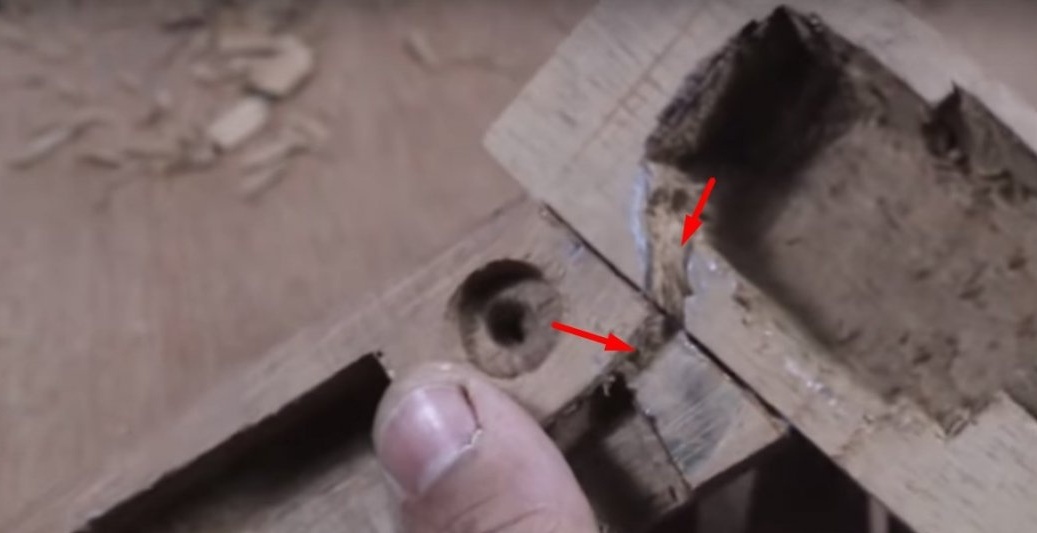
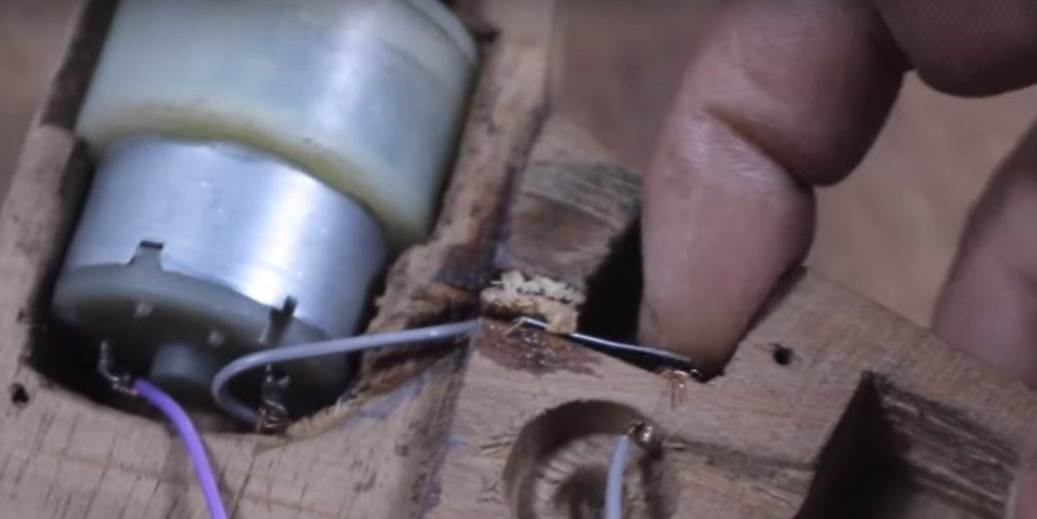
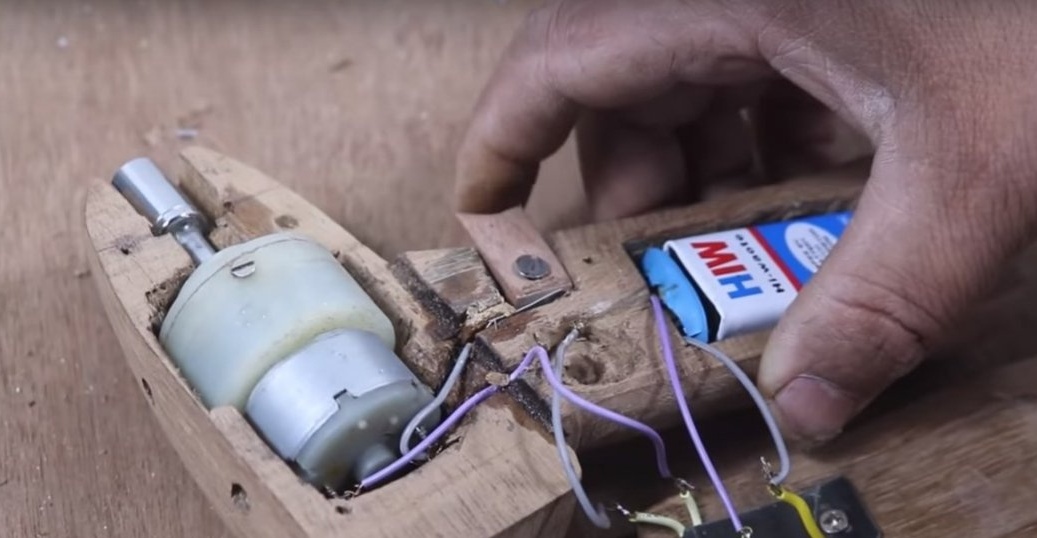
And attached to this part one of the wires coming from the motor.
After I set the plate in the groove, I got a contact that will close the button during operation.
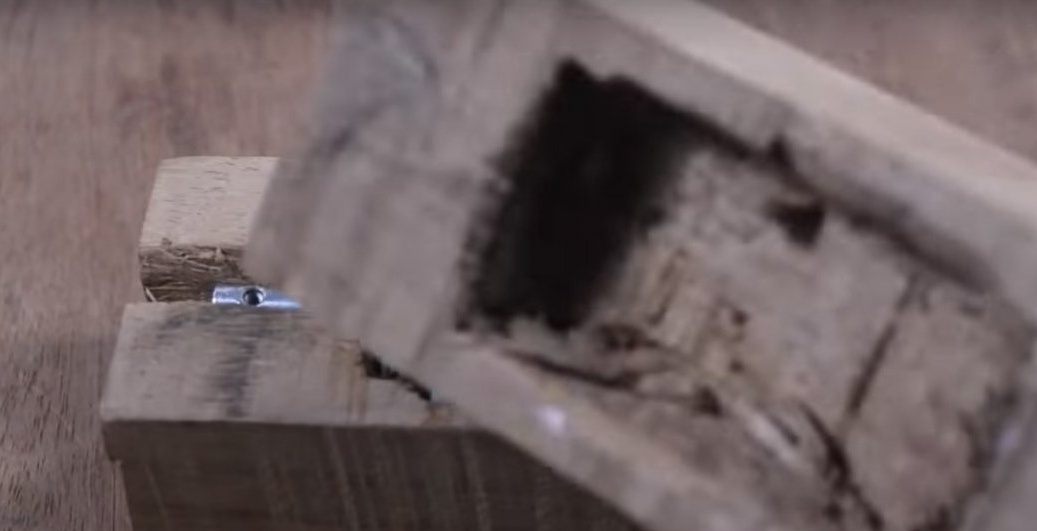
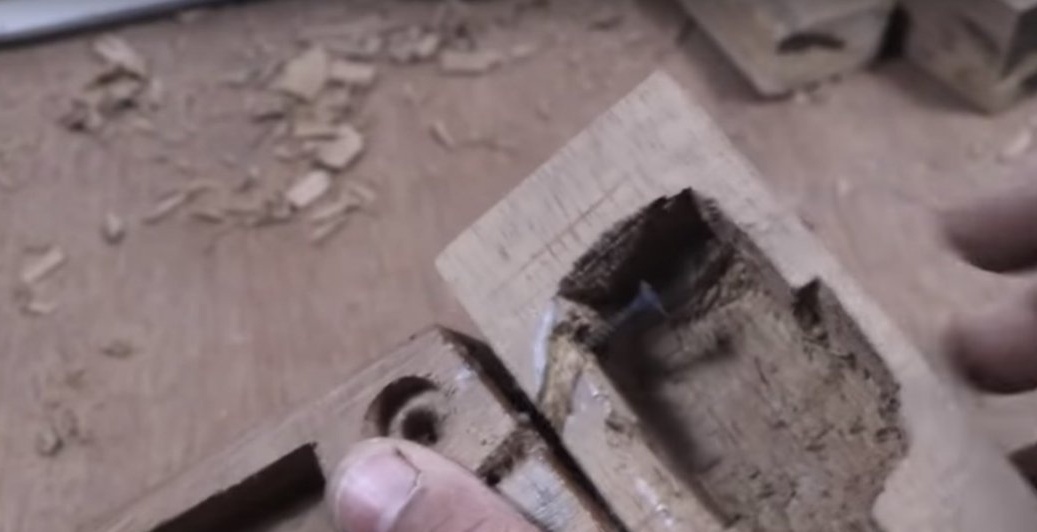
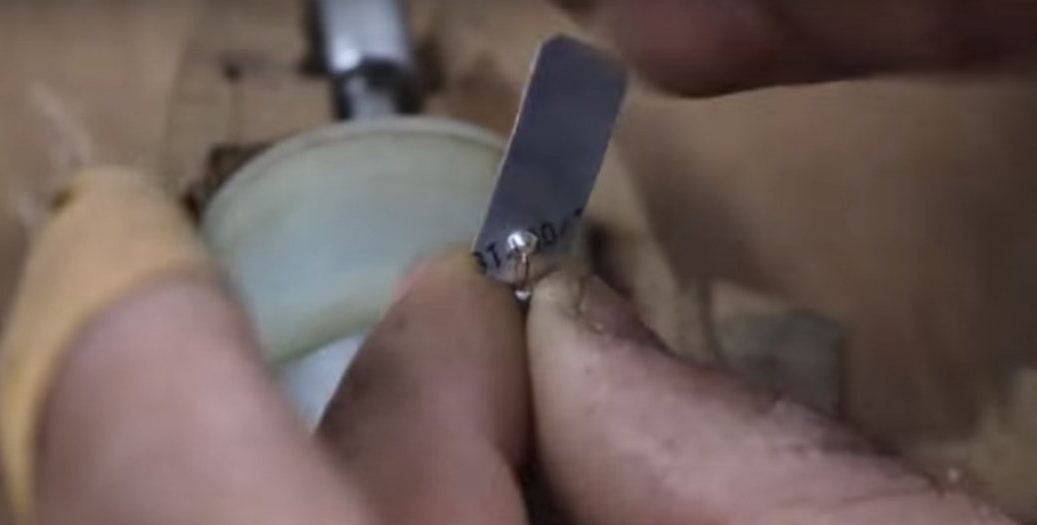
The author attached a piece of wire to the screw and installed it in its place.
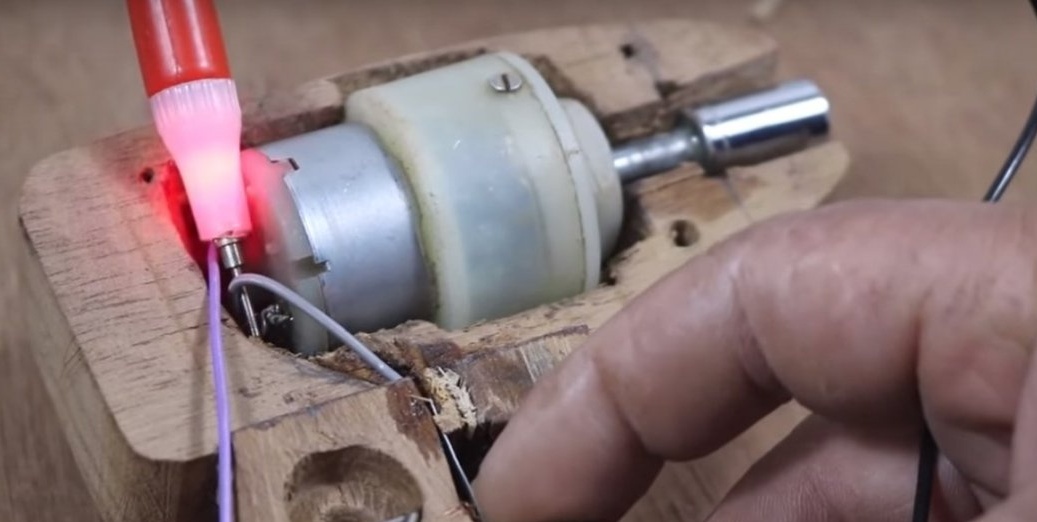
Verification Both wires at the time of testing were connected to the contacts of the crown.
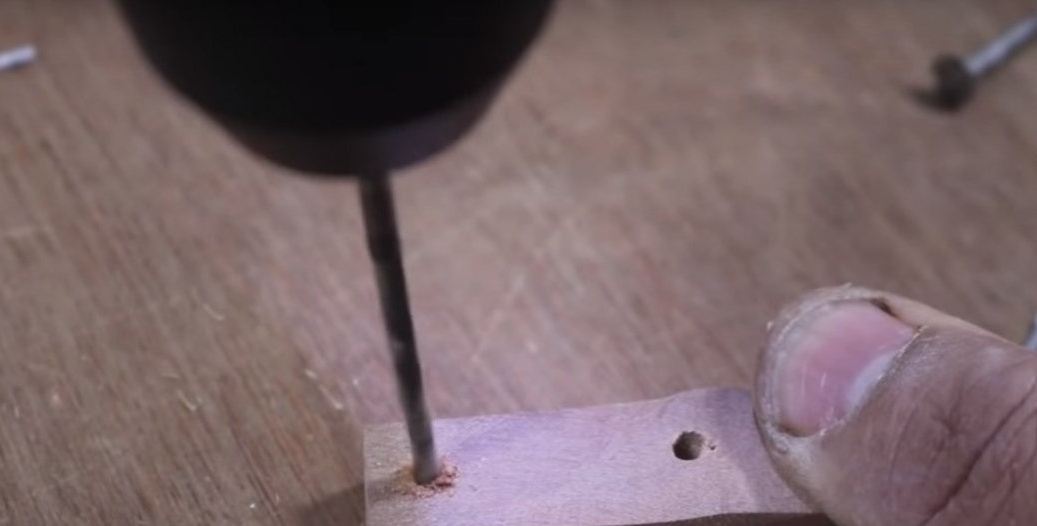
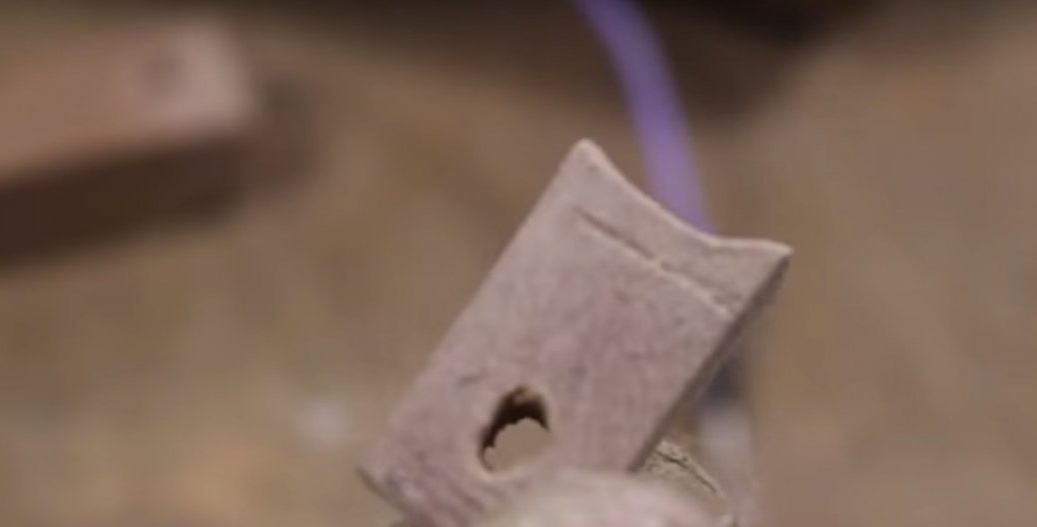
Then the author took a piece of wood and made an oval hole in it.

After sawed off a piece of the right size.
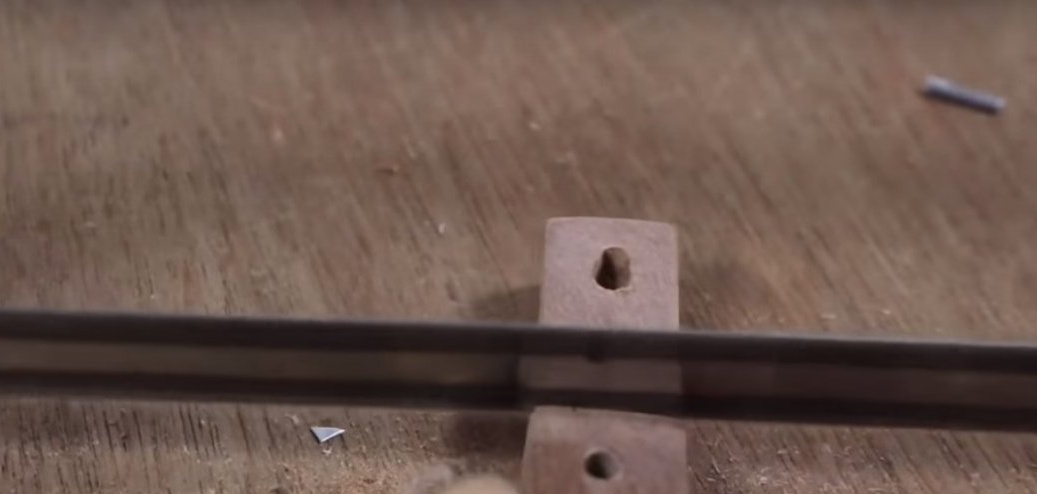
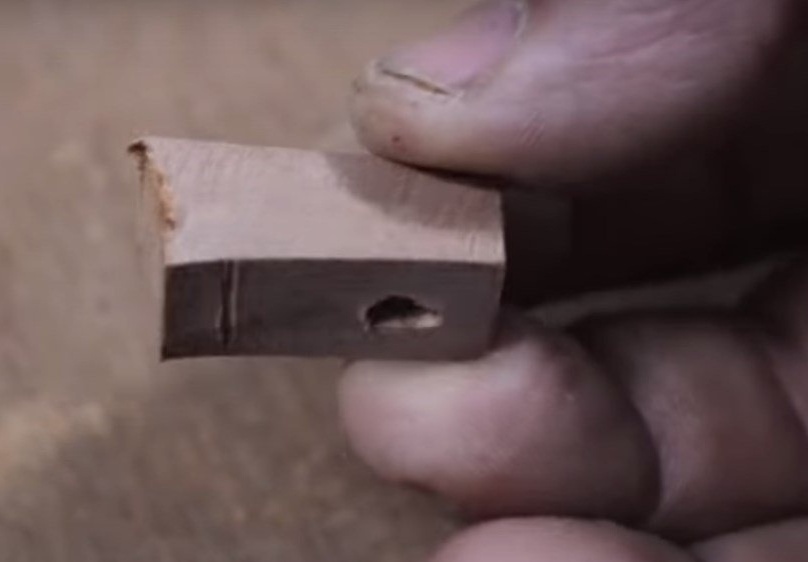
And he processed this part on sandpaper.
About this button turned out by the author.
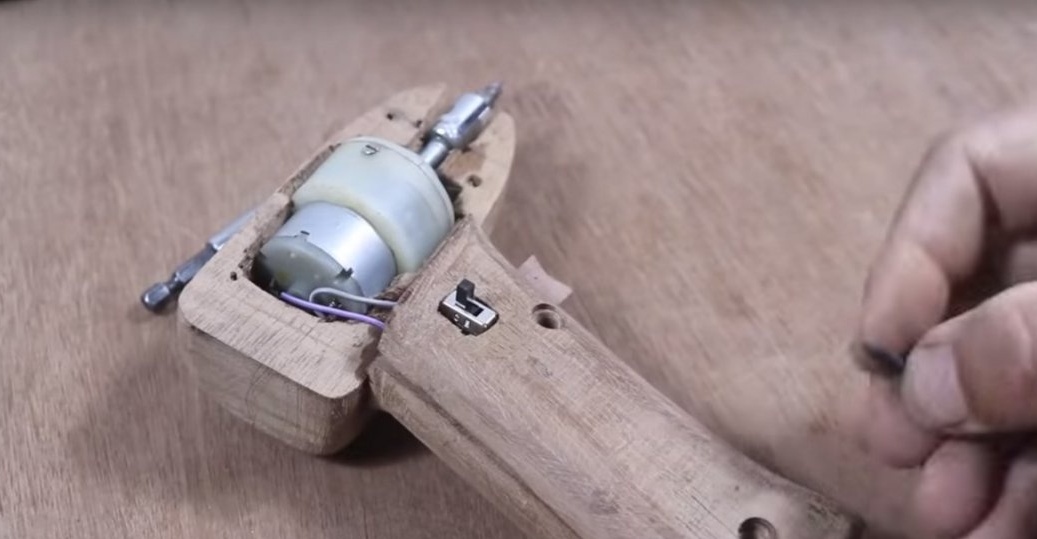
By setting the button in its place.
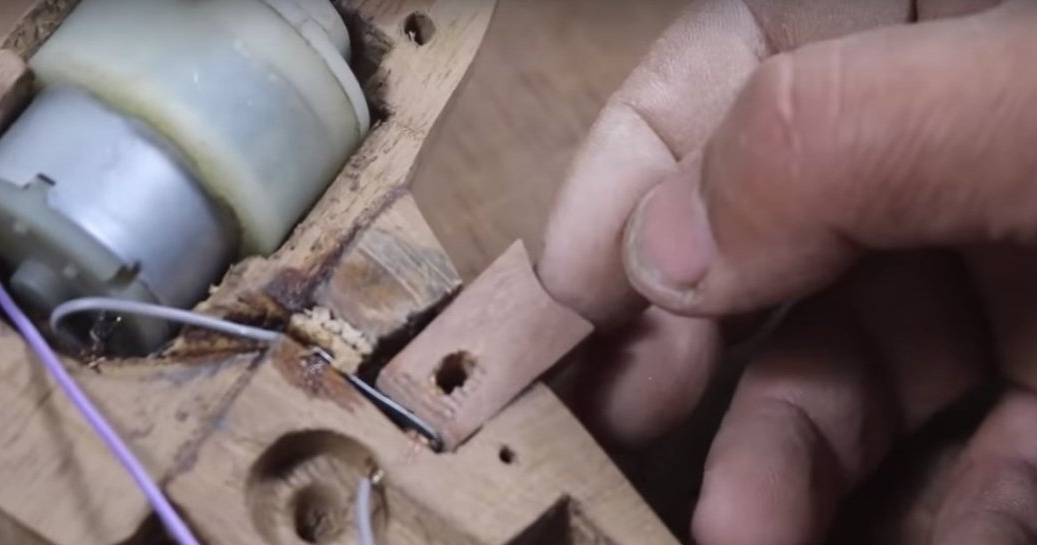
Secured it with a screw.
Verification
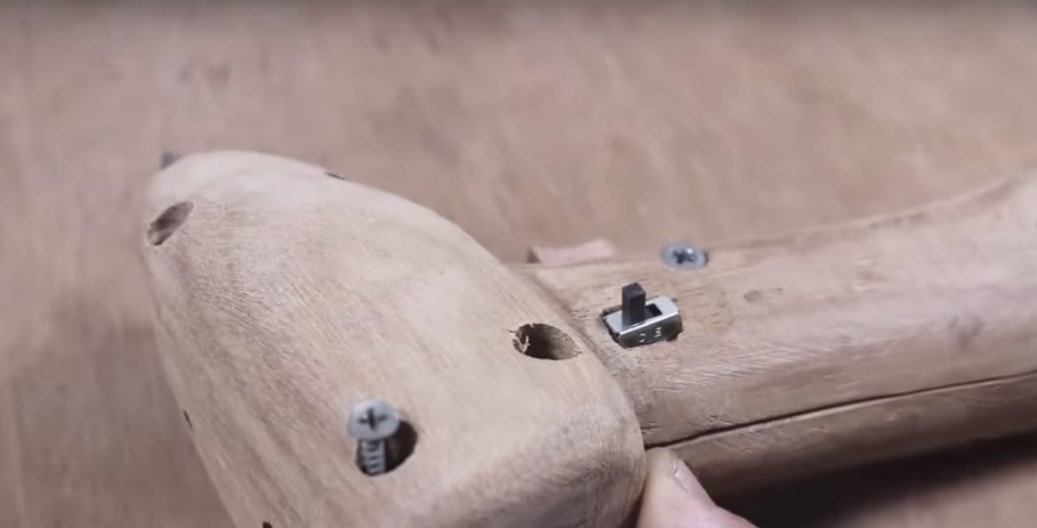
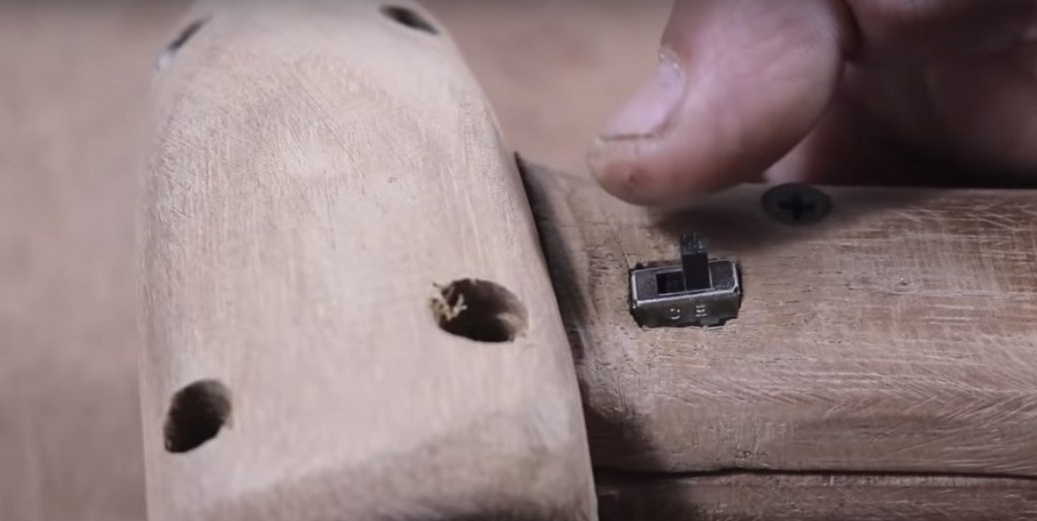
After making a hole in the cover of the handle, he chose a place for the switch with a chisel.
Fitting.
The switch was strengthened by the author using a small piece of plastic plate.
The connection is simple, the switch changes the polarity of the power supplied to the motor.
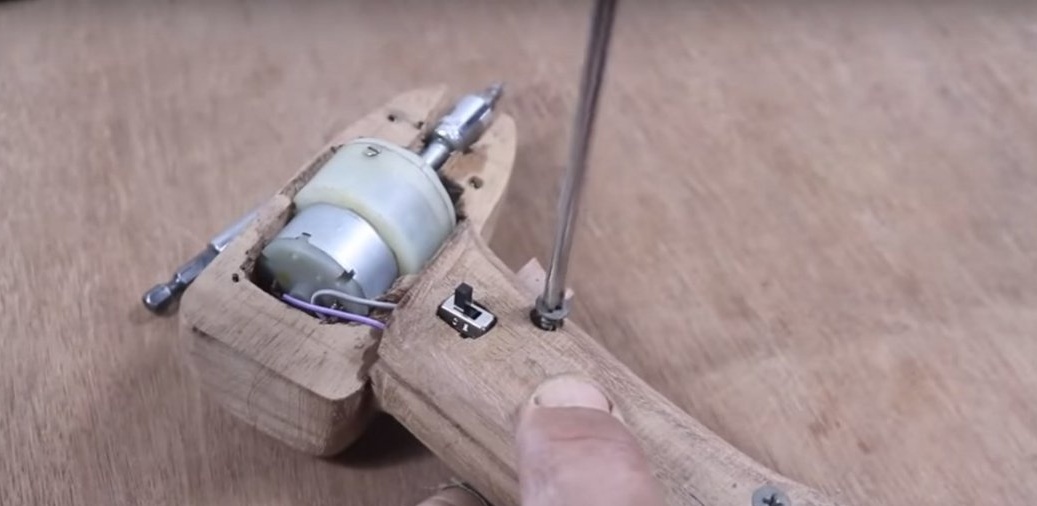
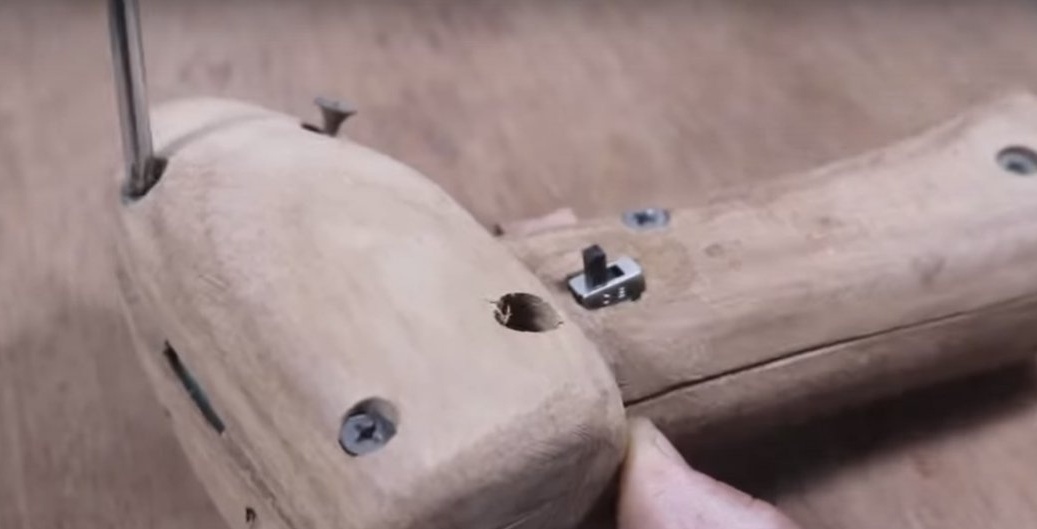
After installing the handle cover and secured it with screws.
Verification
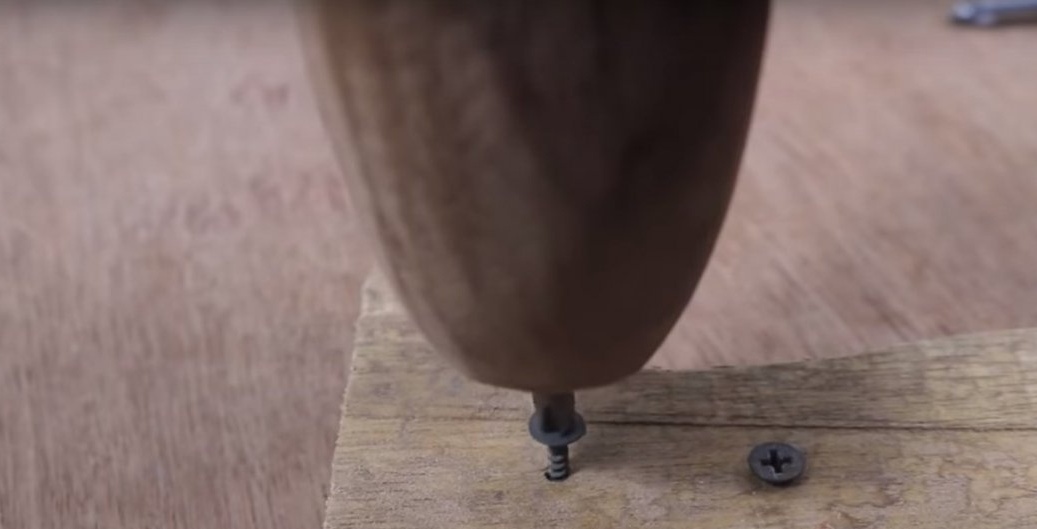
Then he installed the housing cover, and also secured it with screws.
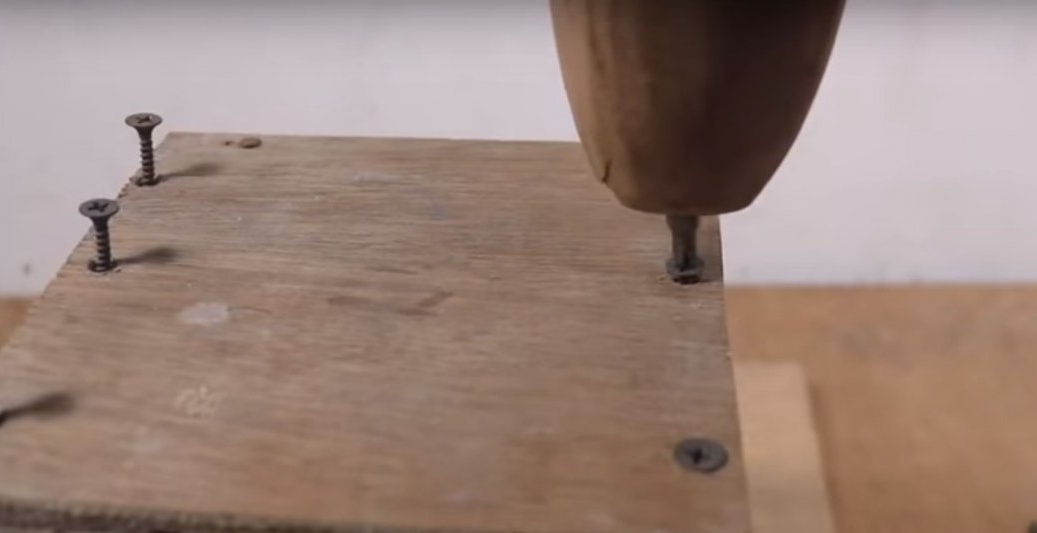
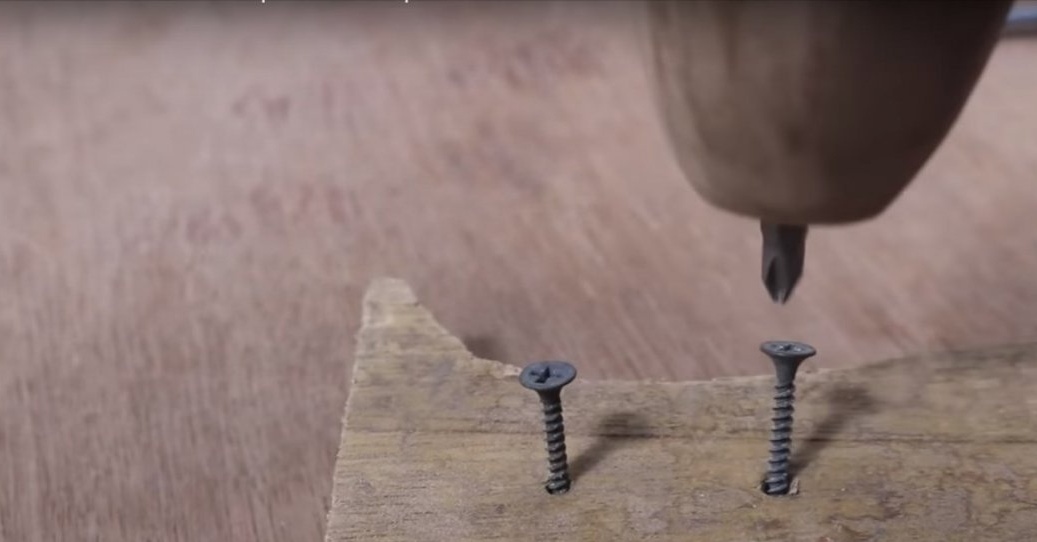
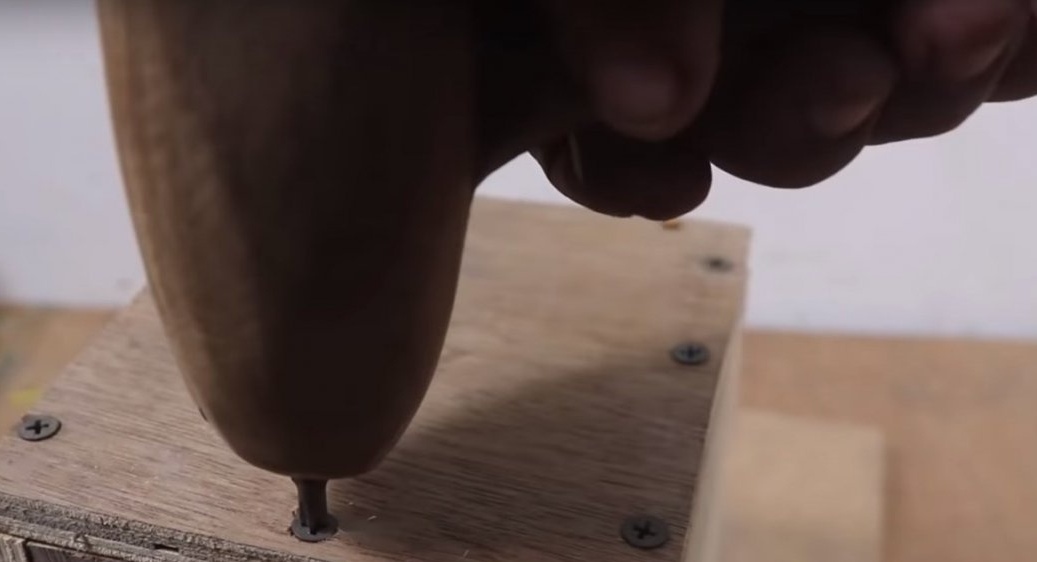
Test.
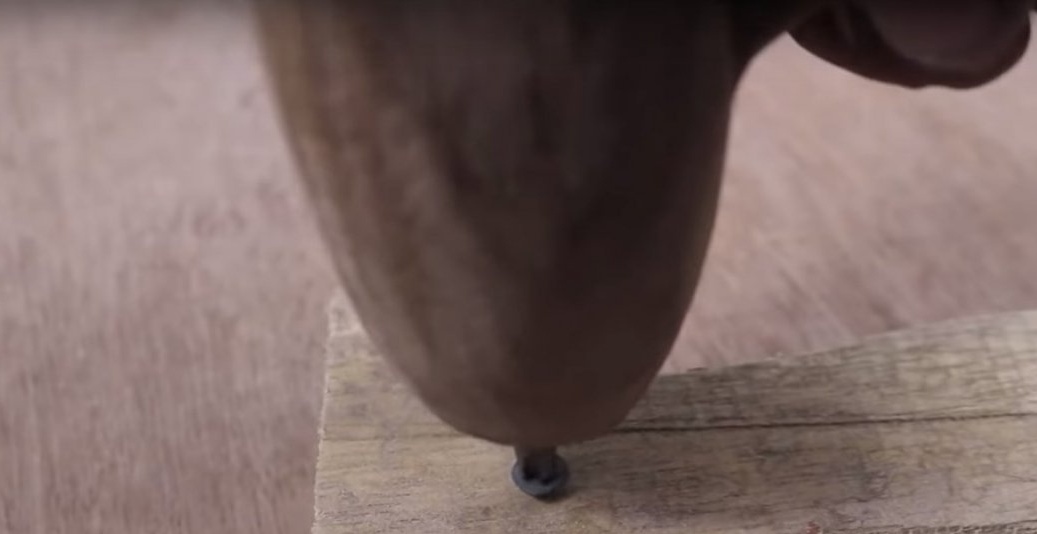
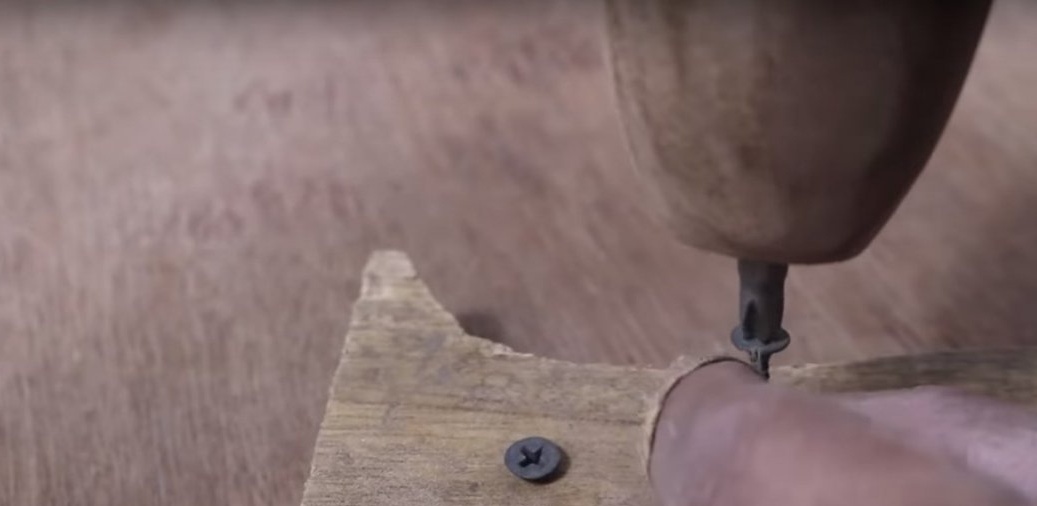
In order for the tool to work on loosening, just change the position of the switch.
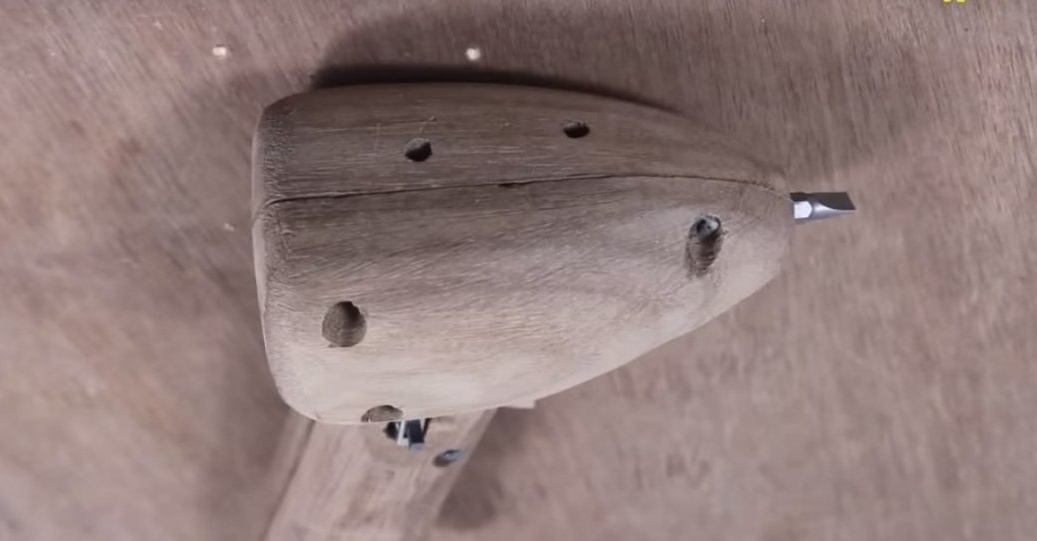
Such an instrument turned out today by the author.

Thanks to the author for such a homemade product.
And that’s all for me. Thank you all and see you soon!