
All of them have been known for a long time and are very simple, but just because of their evidence they often remain unsolved.
Correct this annoying omission.
Tip 1. Prevent flying metal shavings
When drilling metal, a problem of chips necessarily arises, which scatters everywhere, remains in the hole and on the surface of the part itself. Carry her hands after the work done - simple.
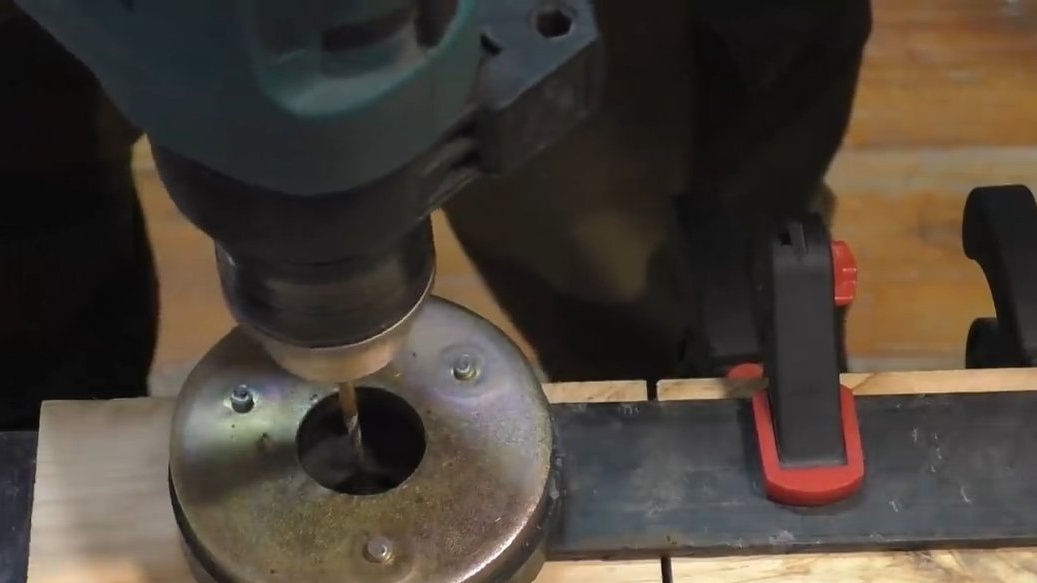
Use the following trick to prevent chips from flying apart. In your workshop, start a round magnet like this, pulling it out of some old technique. The author of the video, for example, uses a magnet from an old speaker.
After you securely fix the metal workpiece that you want to drill, and wrap the place of the future hole, drip a drop of oil there. Additional lubrication will prevent overheating of the drill and reduce chip spread.
Now put our magnet over the future hole. We drill it. In the process, all shavings emerging from the metal billet will be magnetized, and not scattered around the workshop.
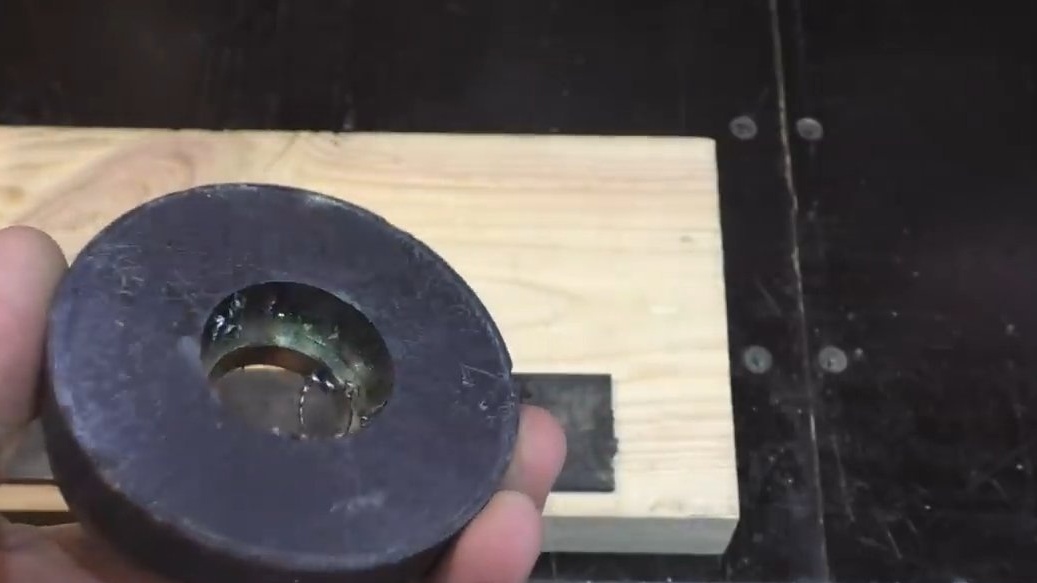
And here is the result. All chips remained on the inside of the magnet.
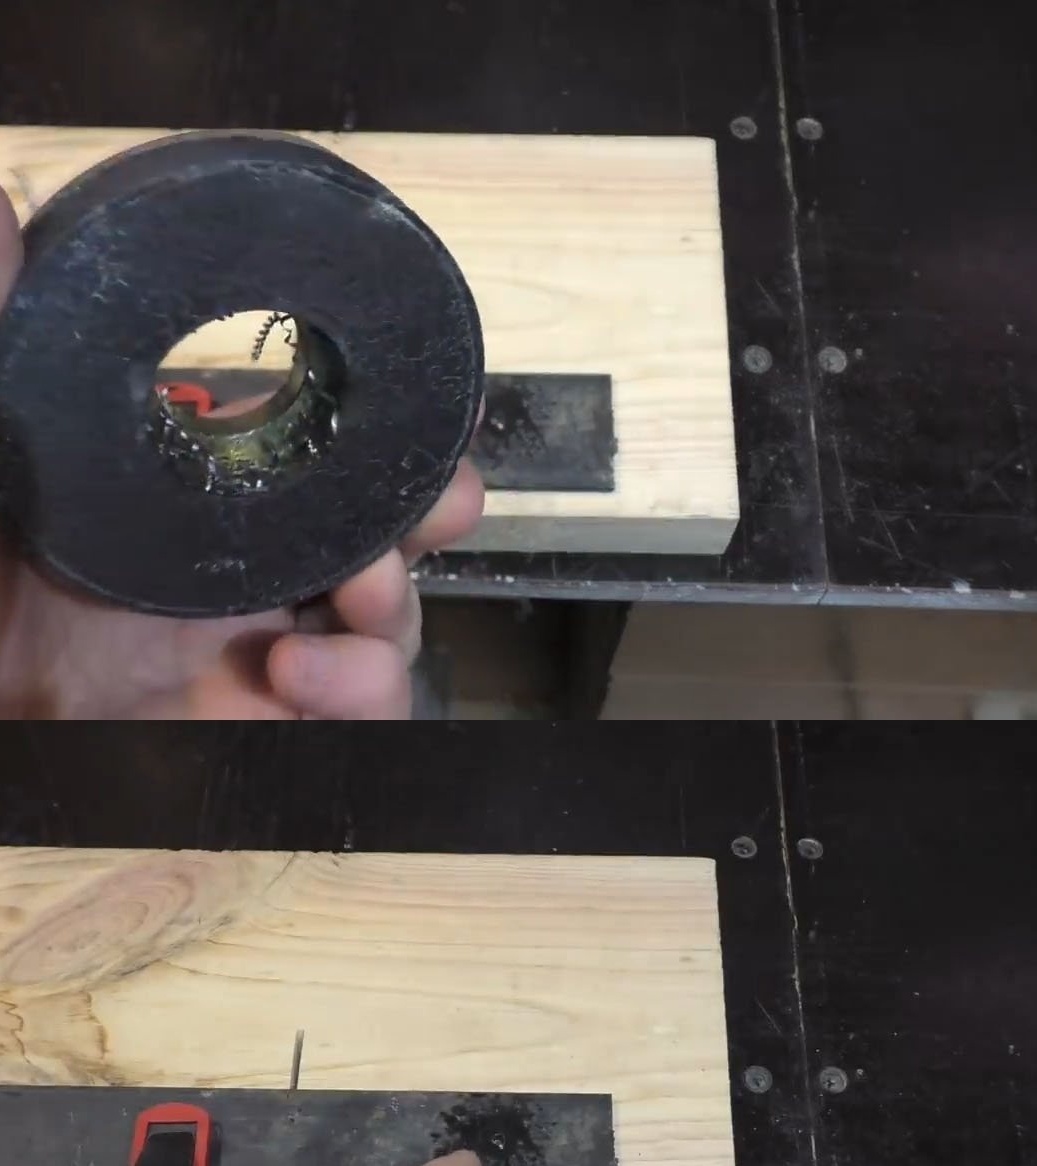
The hole in the workpiece and the surface of the part itself are clean, nothing else needs to be removed.
Tip 2. We painlessly collect scattered chips
If the chips still scattered across the work surface, you can use another simple way. We take an ordinary plastic bag and put the same magnet there.
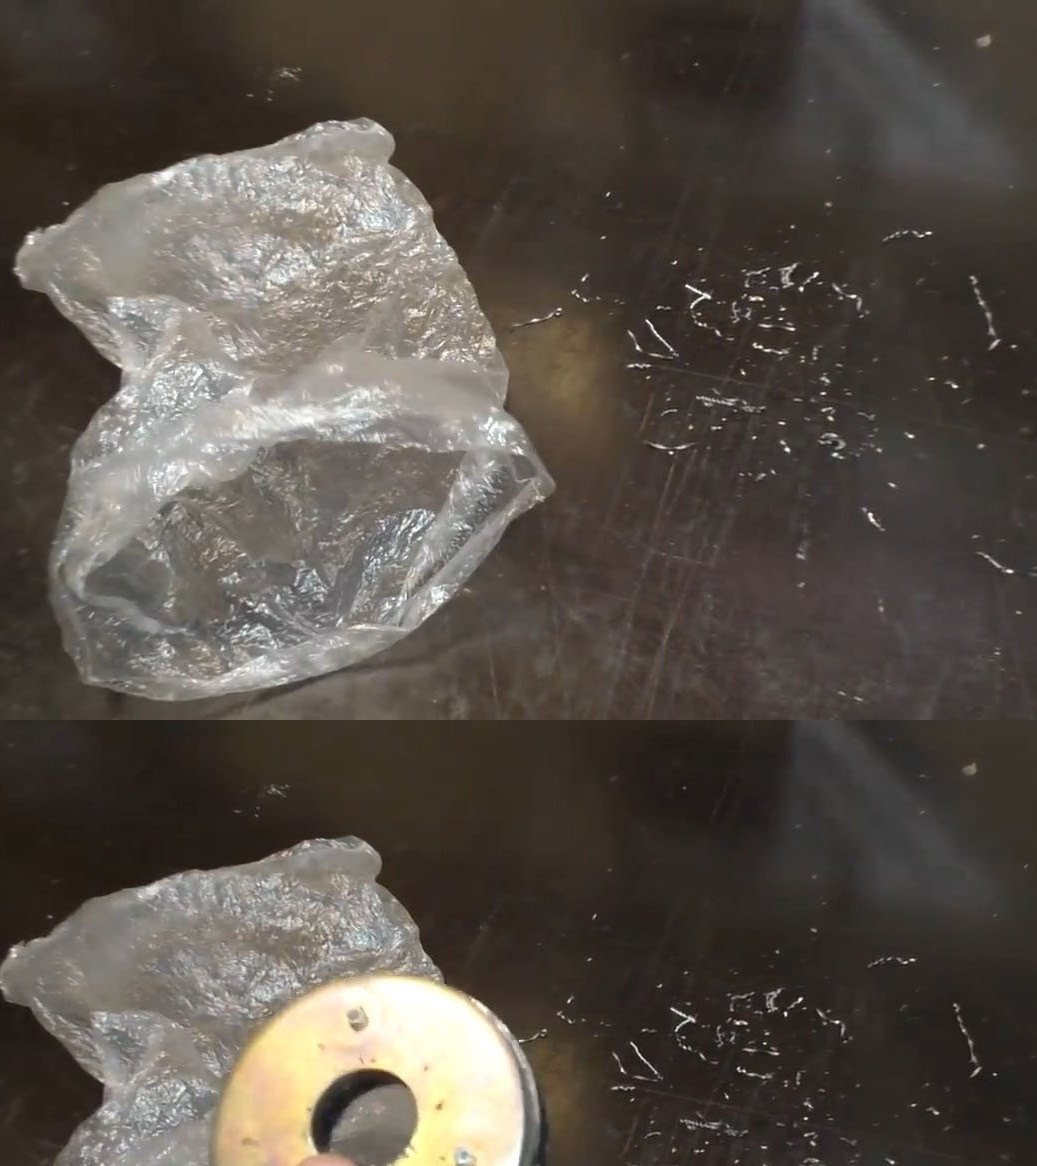
We spend several times over the contaminated area. All chips will be on the package.
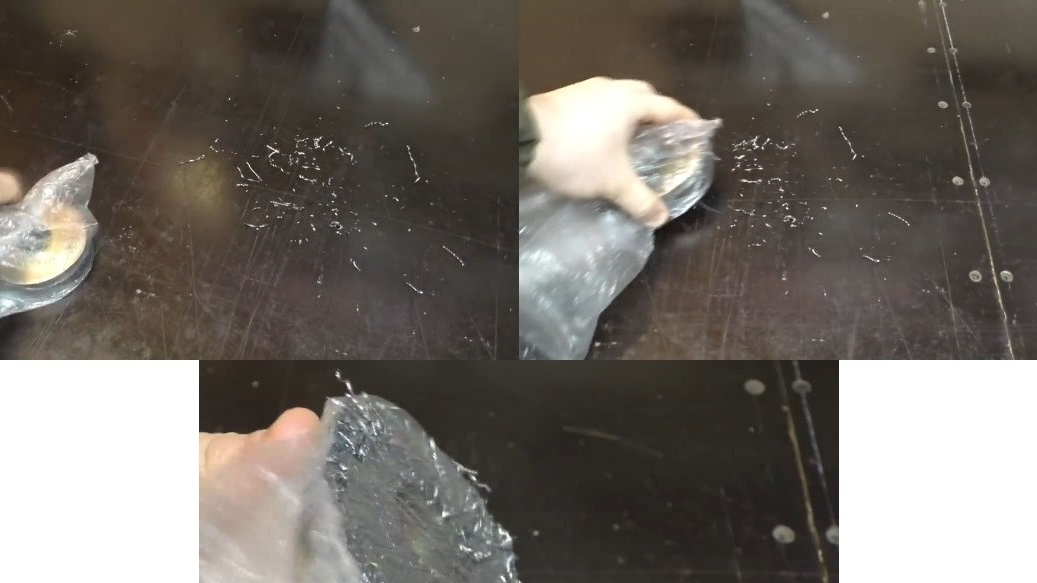
Now you only need to unscrew it, freeing the magnet, and throw the bag with chips into the garbage.
Tip 3. How to avoid shifting wooden parts when gluing
When we need to glue two wooden parts, we apply glue to them and smoothly connect them together.
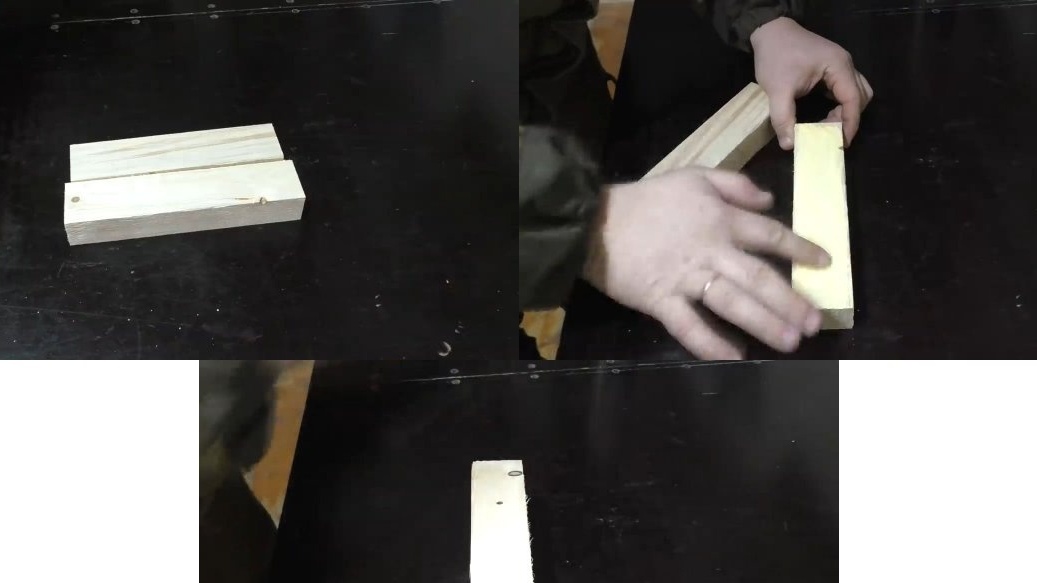
However, now we need to clamp them with clamps to ensure an even and reliable clamping.At this moment, the main snag arises: when trying to fix our wooden blanks, they begin to disperse in different directions.
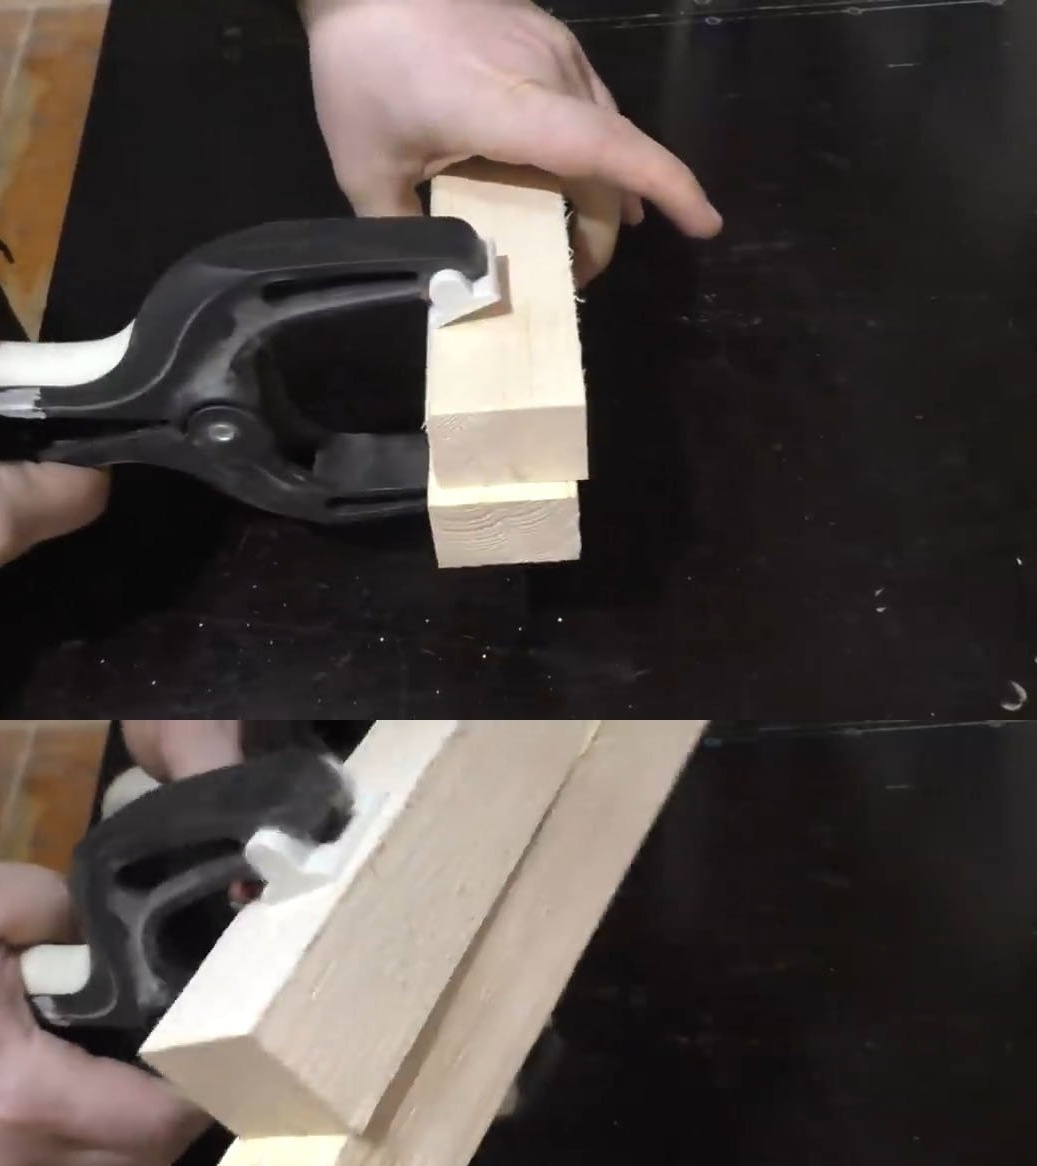
And if short bars can still be relatively quickly and painlessly aligned, then returning to the initial position the long parts will be very difficult.
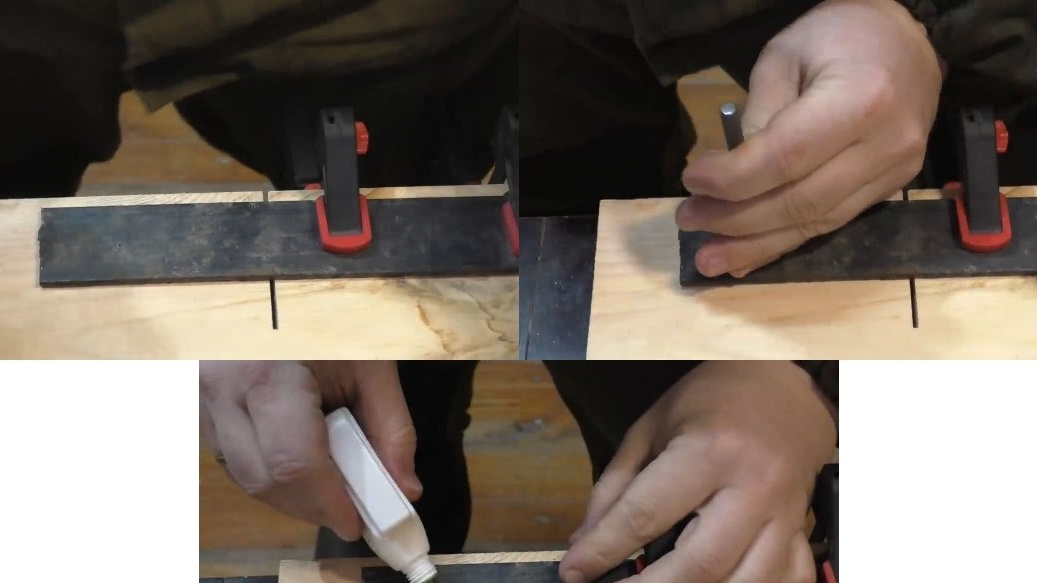
To prevent the workpieces from sticking together, ... ordinary salt can be used. We take two parts that need to be connected, apply and evenly distribute the glue. Then we take the salt and sprinkle the surface of the part with a very small amount, directly on top of the glue layer.
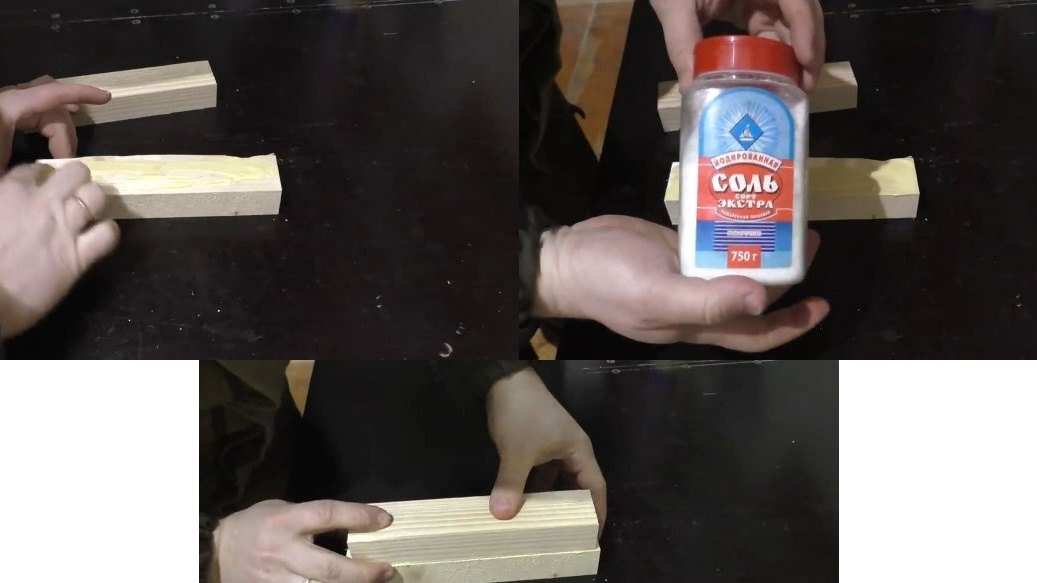
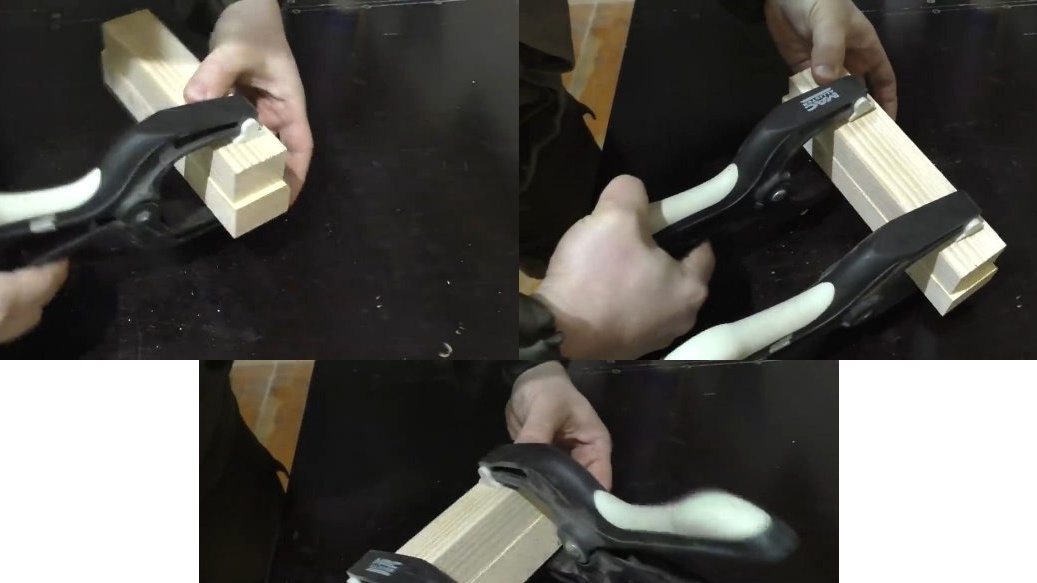
After that we connect the parts, set them evenly and clamp them with clamps. Salt, acting as an abrasive, will prevent the displacement of glued surfaces. Accordingly, fixing the parts after the initial connection can already be fearless.
Naturally, you need to use salt without fanaticism. Sprinkle it in a very small amount, otherwise it may affect the quality of gluing.
Tip 4. Release the core drill
If you often work with wood, then you probably used castellated drills.
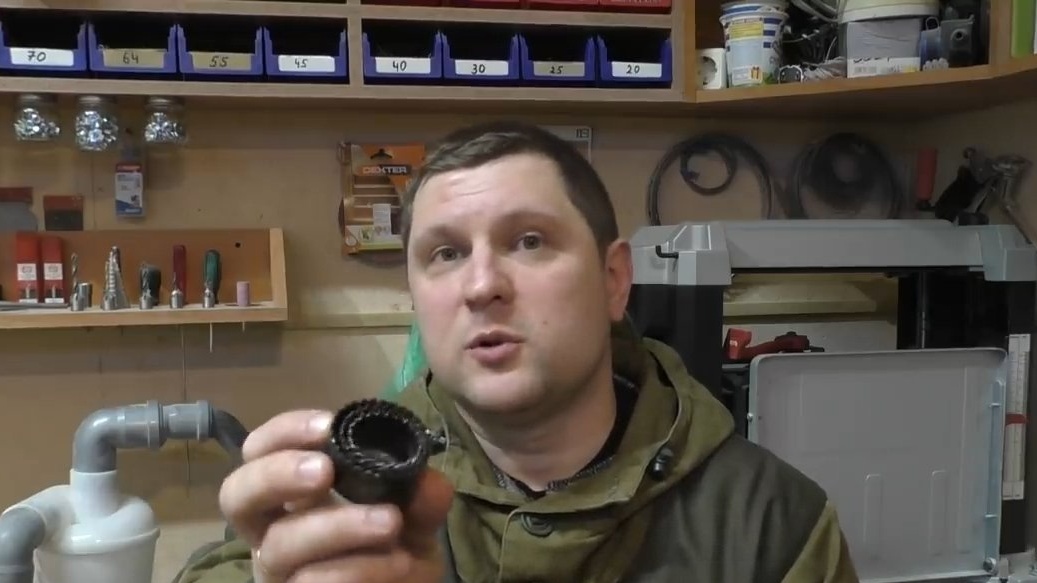
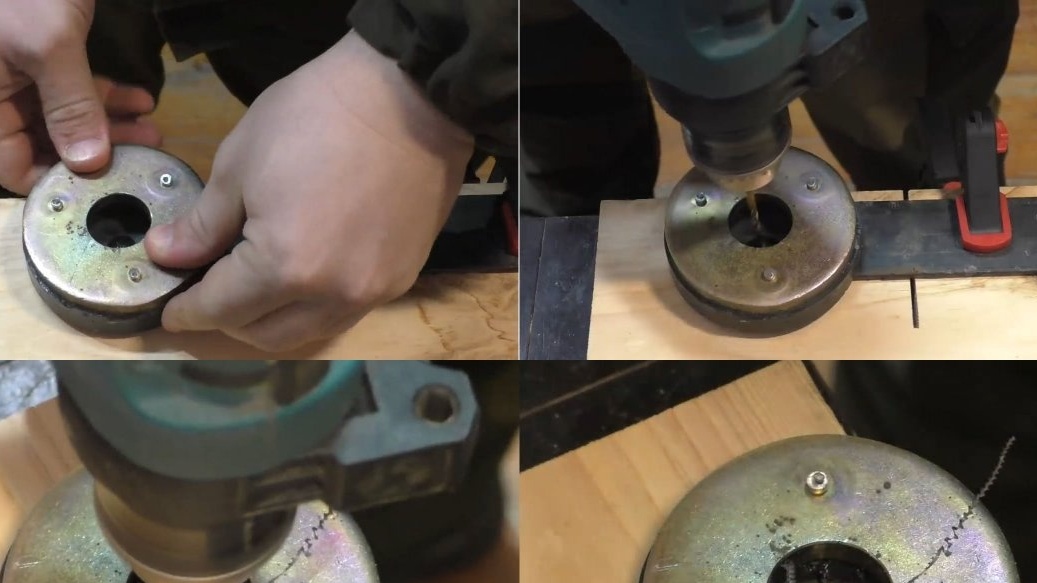
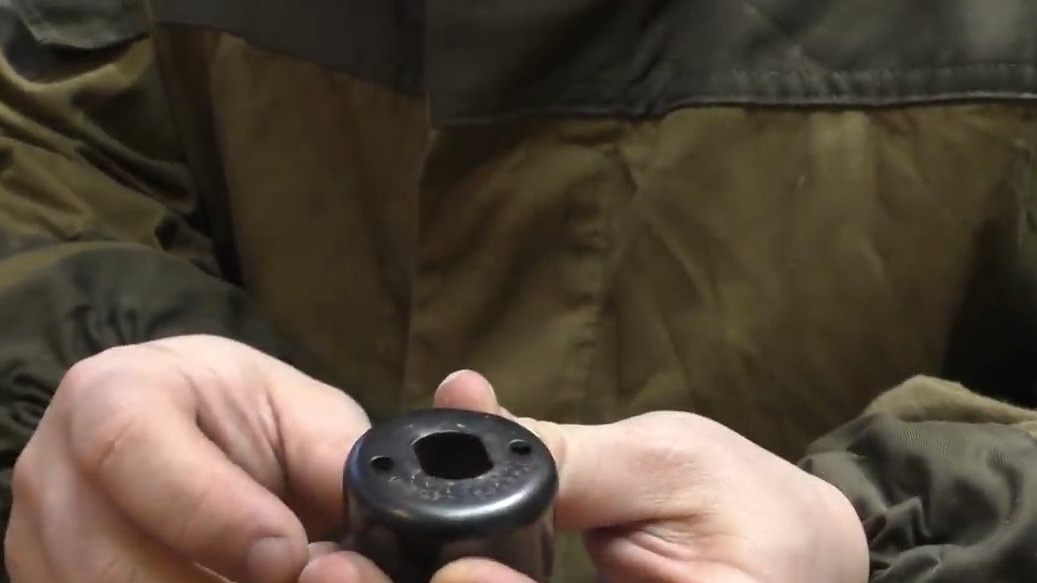
However, there is one caveat in their use. After we have made a hole in the wooden blank, a wooden circle remains inside the core drill.
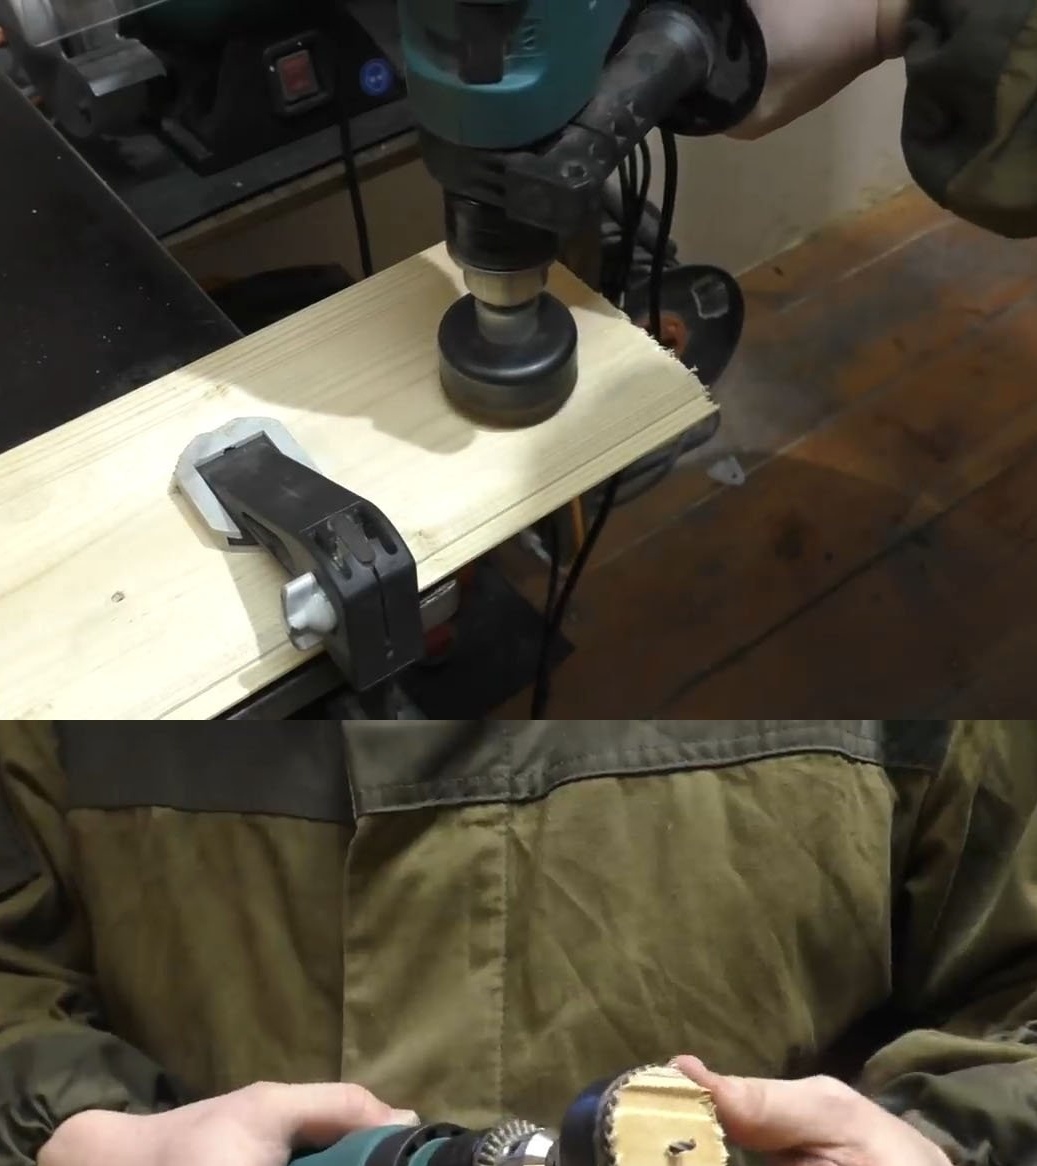
Often this piece of wood “sits” there very densely. Yes, there are special holes in the core drills, which are just designed to knock out the remnants of wood from them. However, getting them in this way is also not entirely convenient, and you can spend quite a lot of time on this procedure.
There is another quick and easy way. For its implementation, a self-tapping screw and a screwdriver will be required. We screw a self-tapping screw on either side into a wooden circle until it gives in and begins to come out of the drill. If this is not enough to easily pull it out, screw the self-tapping screw in another place.
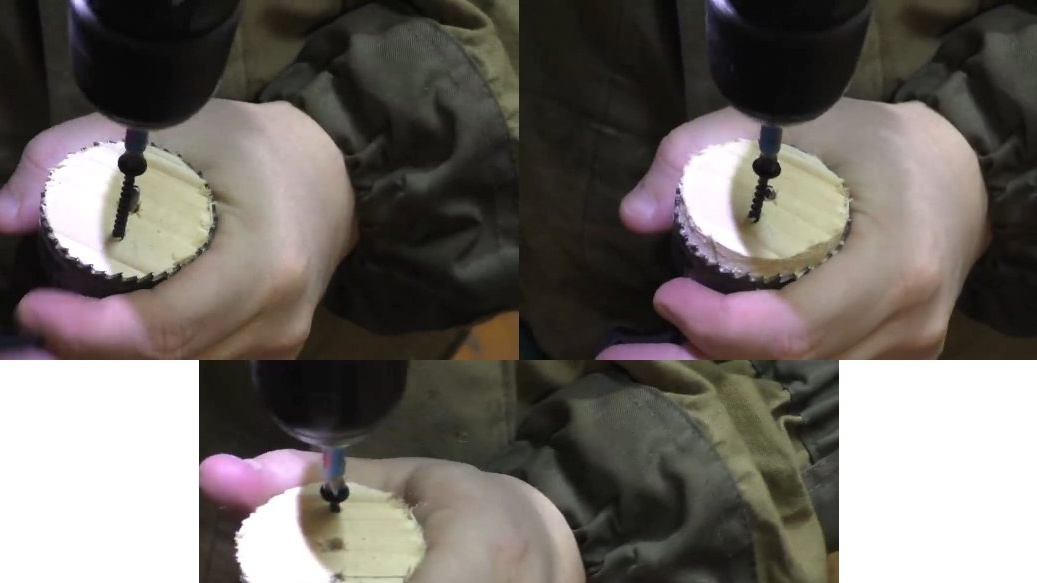
That's all, the drill is freed.
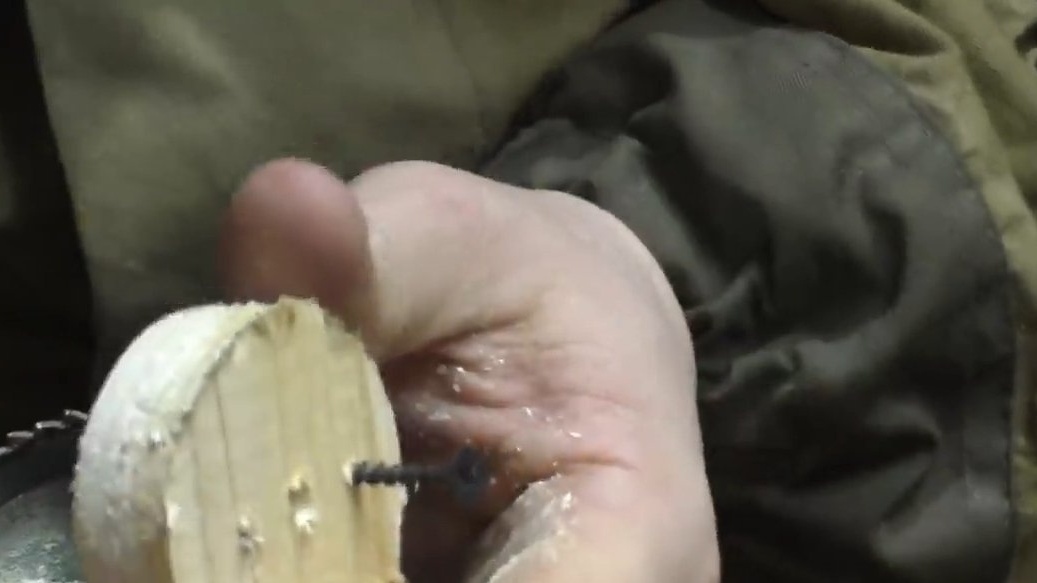
The only negative of this method is that the wooden circle, which is seated in the core drill, will be damaged. Accordingly, it can only be used if you do not need a wooden blank.
Tip 5. We twist the chrome parts without damage
Anyone who has dealt with chrome plumbing knows that damaging it is very simple. When mounting, for example, a mixer, it will be necessary to tighten such a nut.
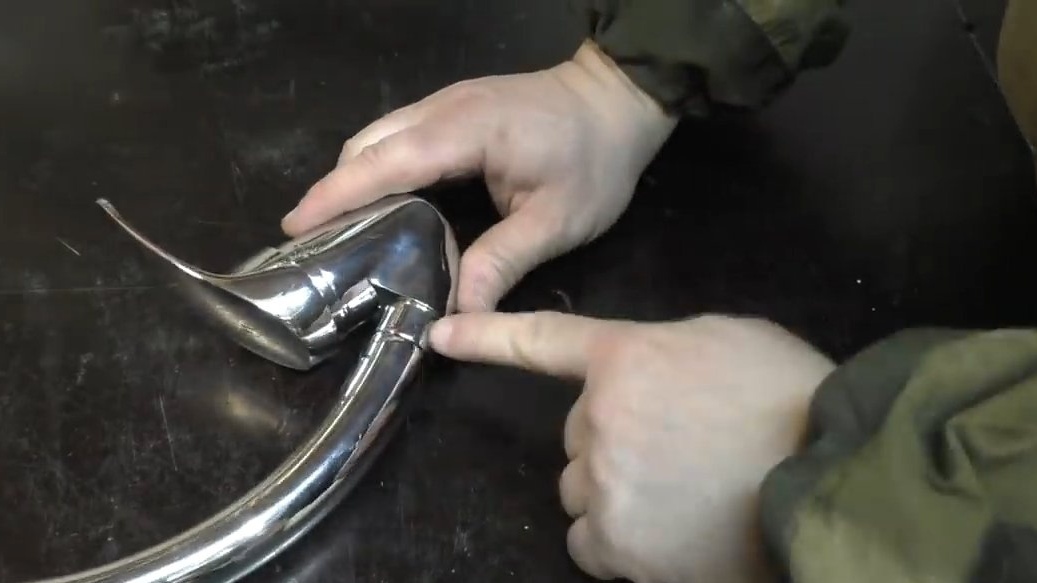
If you do this with an ordinary adjustable wrench, then its teeth will leave scratches on the chrome surface. And it will look unaesthetic after installation.
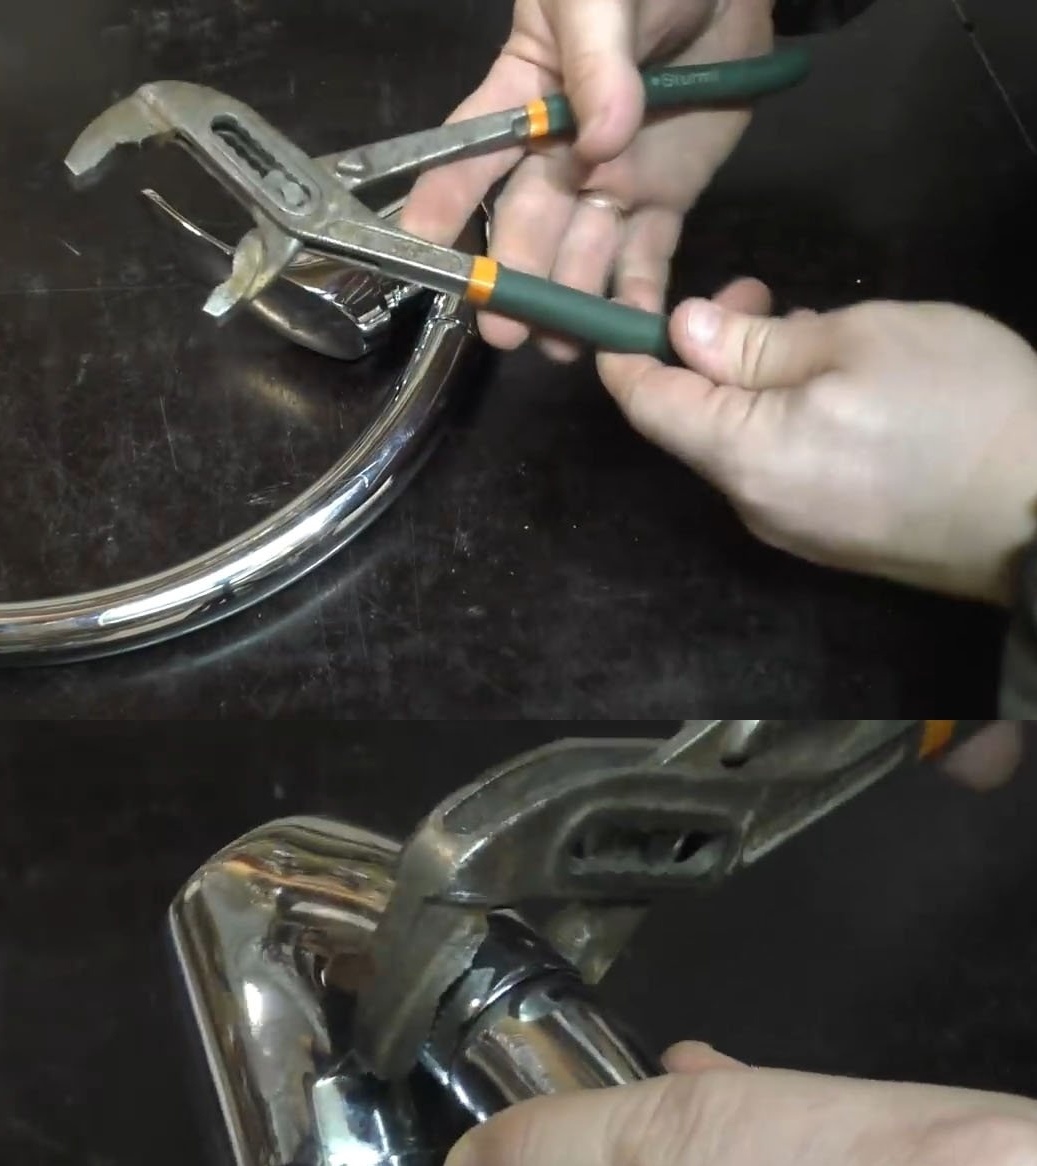
This problem can be solved very simply. It is enough to wrap the lips of the adjustable spanner with a cloth or universal household tape. Such a “modified” tool can safely spin and twist chrome parts.

Tip 6. How to use sealant in a tube without an extruding “gun”
Sometimes there is an urgent need to urgently use a sealant in the tube. But what if the “gun” for squeezing its contents was lost somewhere, and there is no time to go to the store?
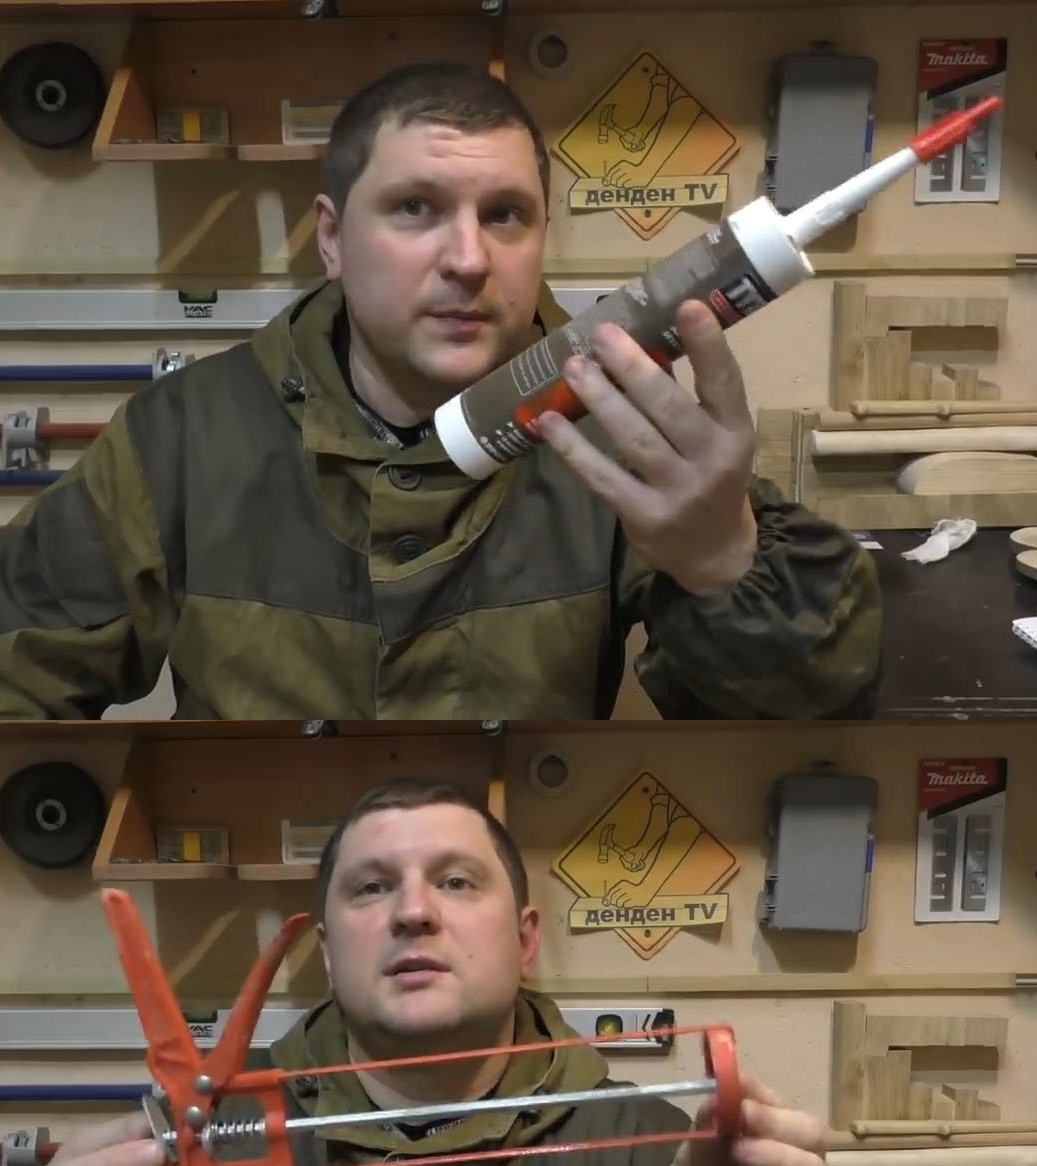
You can replace it with an ordinary hammer. It will turn out, although not very convenient, but quite an acceptable replacement for the squeezing "gun".
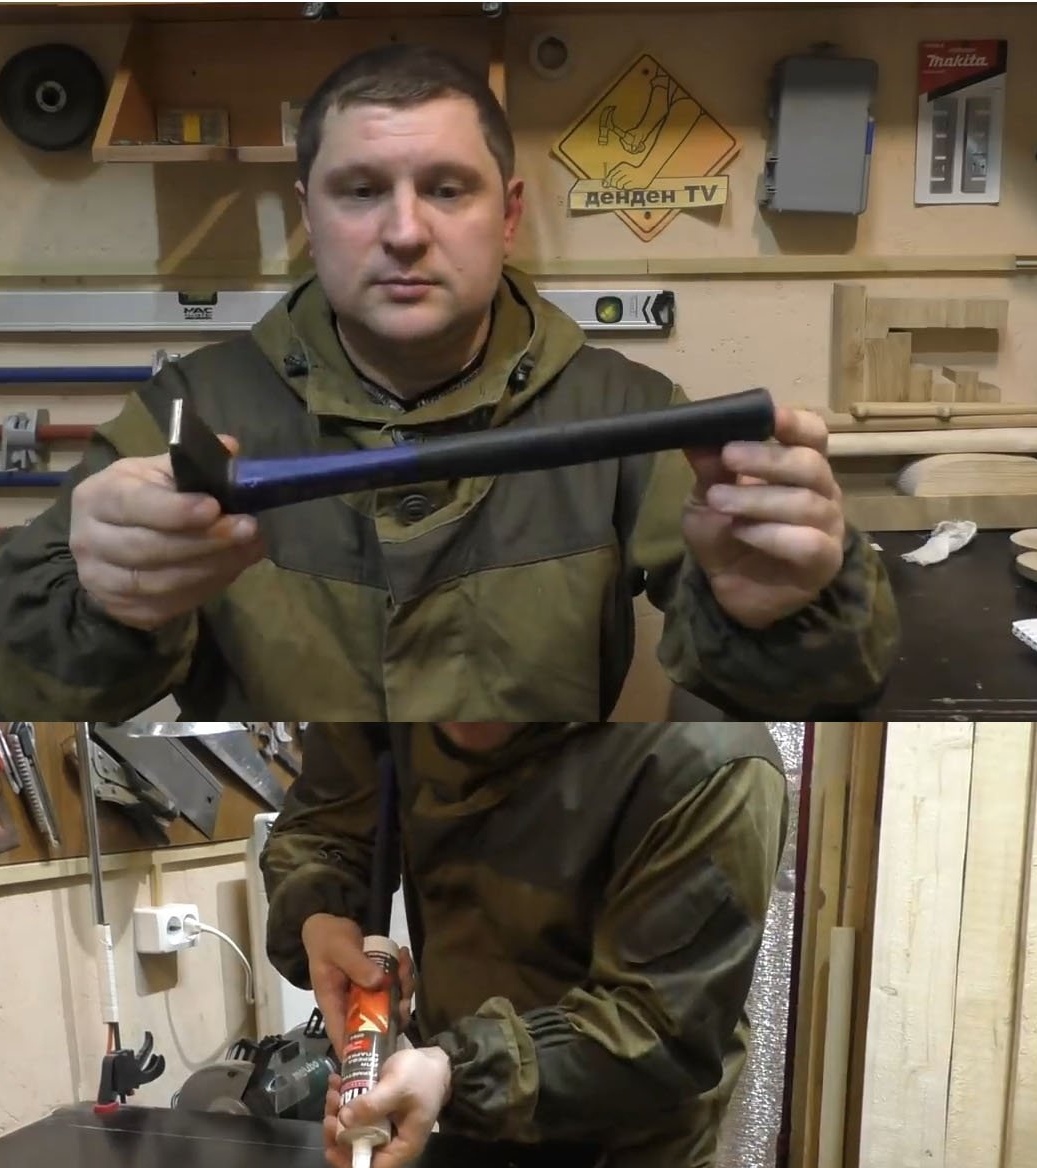
Insert the handle of the hammer into the bottom of the tube with sealant, and rest the other end either on the shoulder or on the elbow. Now, while pulling the tube toward you, squeeze the sealant.
Tip 7. Alternative cap
After working with sealant, the cap from the tube is often lost.
A photo
If left uncovered, the contents will dry quickly. One of the easiest ways to securely close is to seal the outlet with a piece of universal or masking tape.
In addition, you can use for this purpose a suitable cap from a ballpoint pen / felt-tip pen, or screw a screw into the hole.
That's all.
Thank you for your attention and good luck in all your workshop endeavors!