
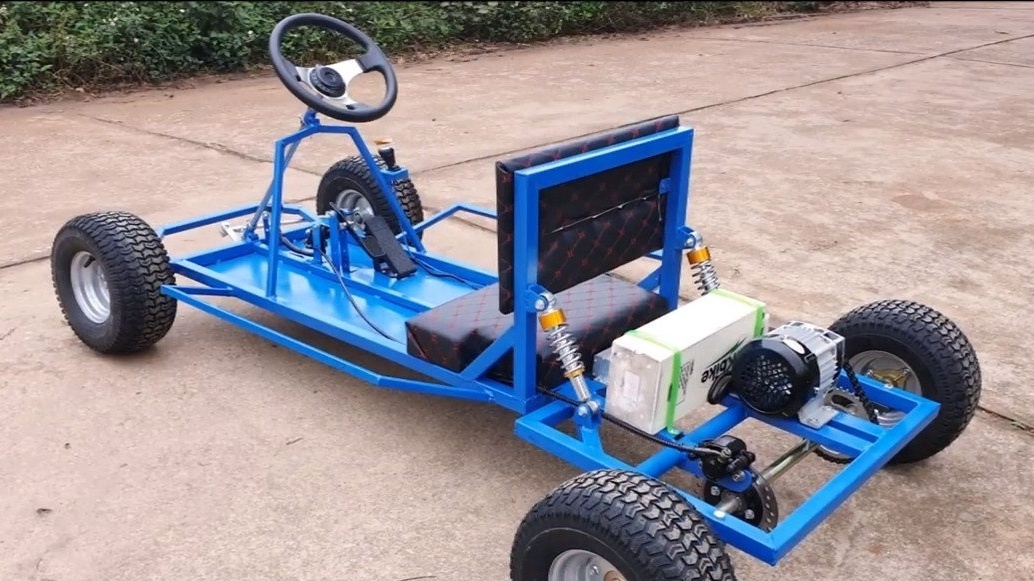
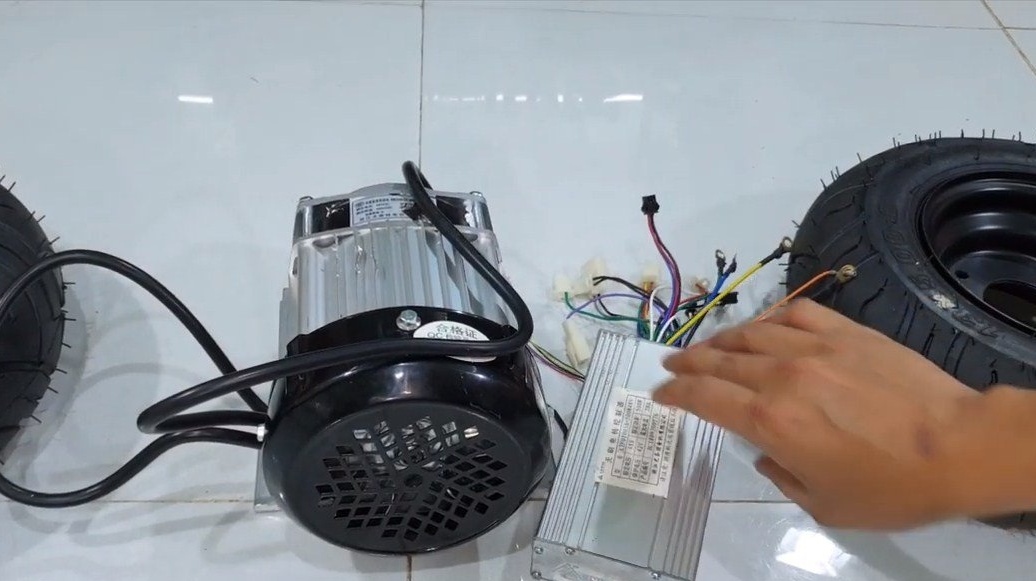
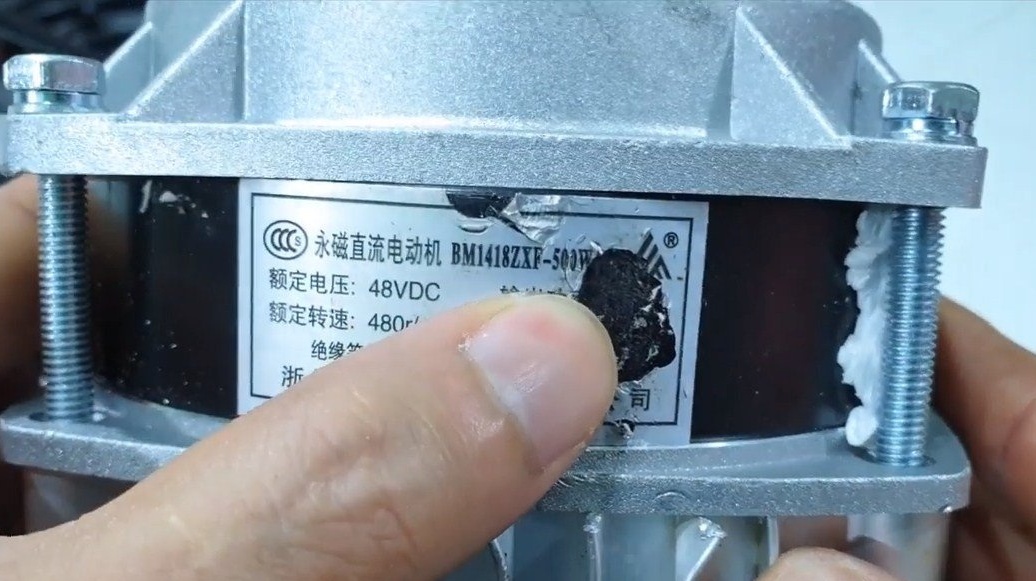
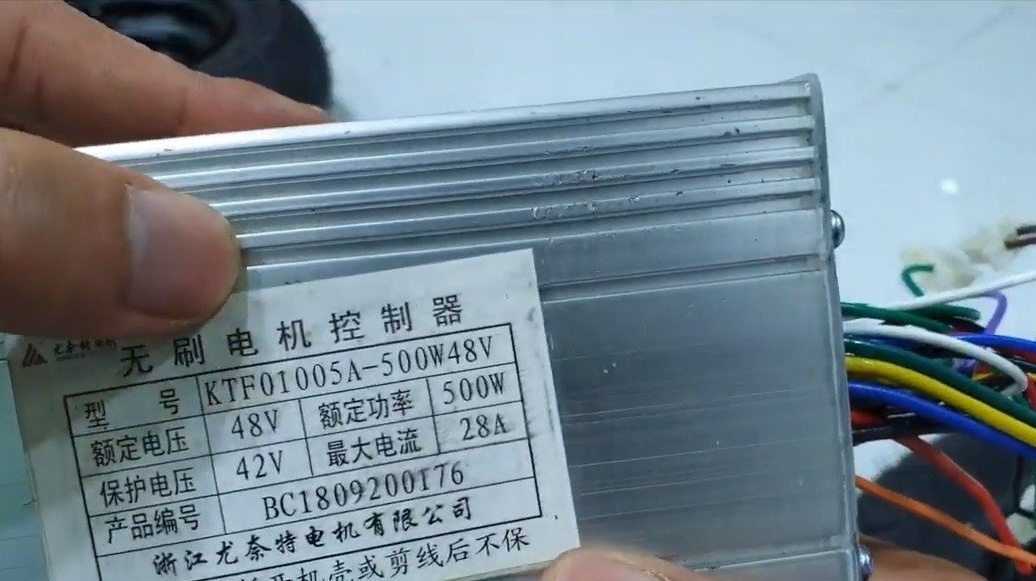
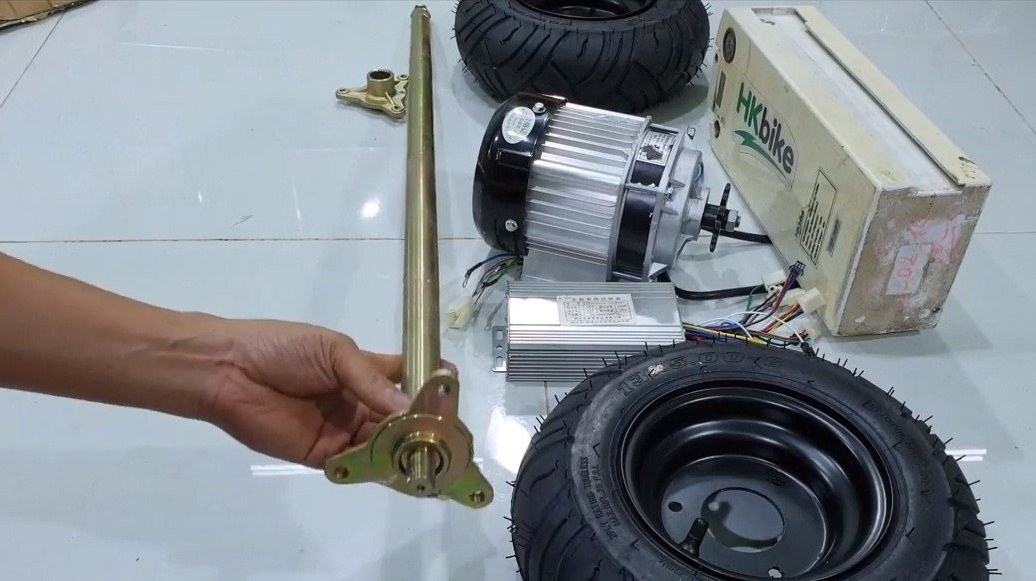
Hello fans to craft, I propose to consider cards with an electric motor, which you can do do it yourself. The engine power is 500 watts, and it is powered by a voltage of 48V. Although the motor power is not too big for such a card, it easily pulls the author of the project, as well as his children on board. The motor here is brushless, you can order one from China.
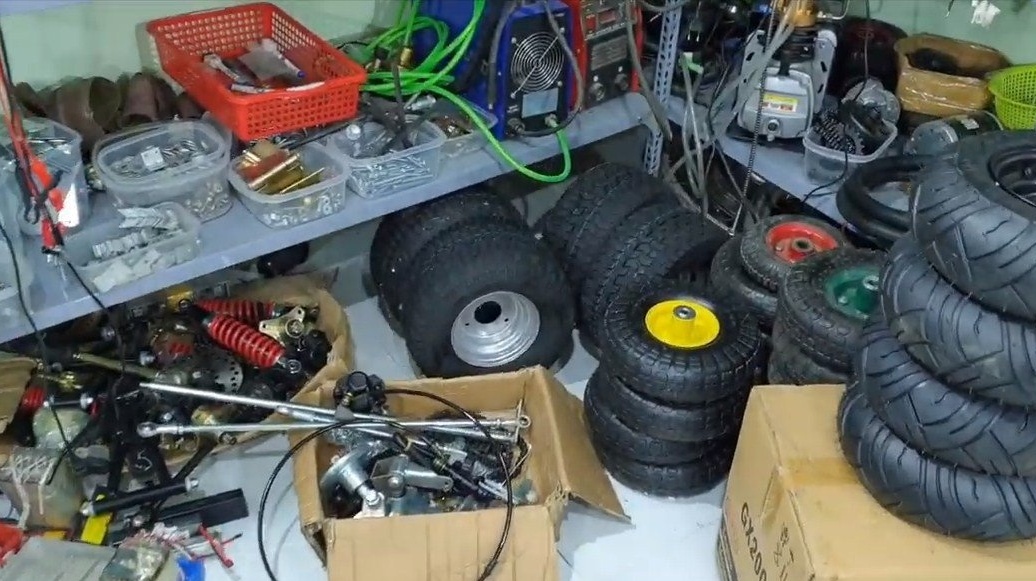
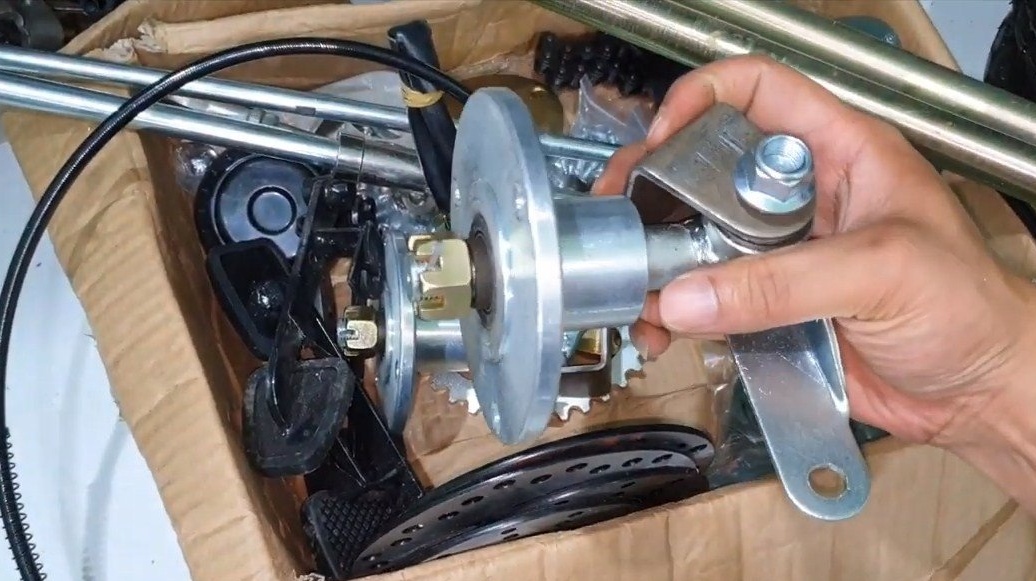
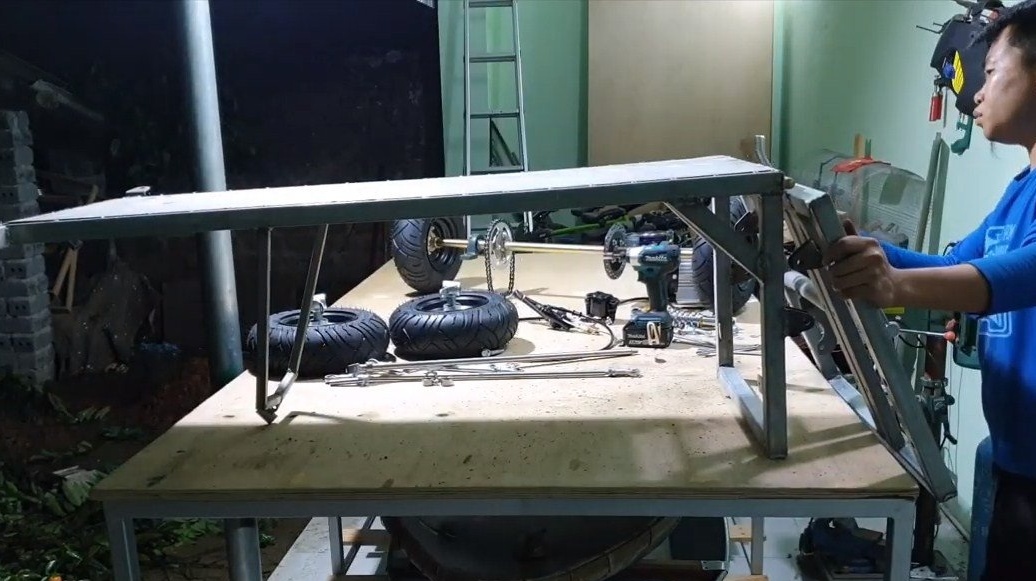
The author has already used many ready-made parts, these are axles, chain drive, brake system, as well as other parts for karts. You can also order them from China, so they will cost the least. And if you put a 1 kW engine on such cards, then it will fly quite well. Having all the components homemade It’s going to be quite simple, if the project interests you, I propose to study it in more detail.
Materials and tools used by the author:
Material List:
-;
- (usually included);
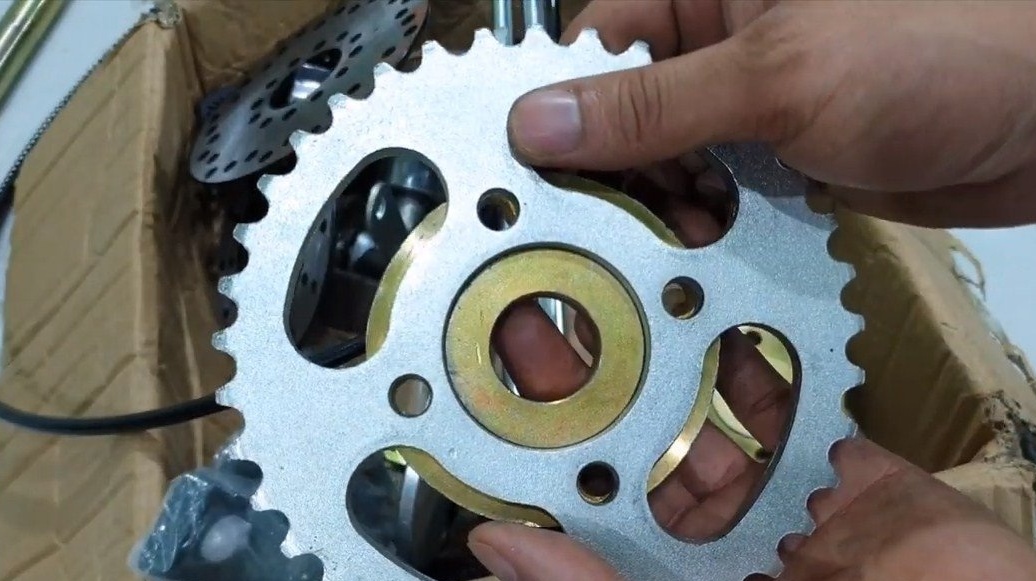
- brake system (the author has a disk, hydraulic on the rear axle);
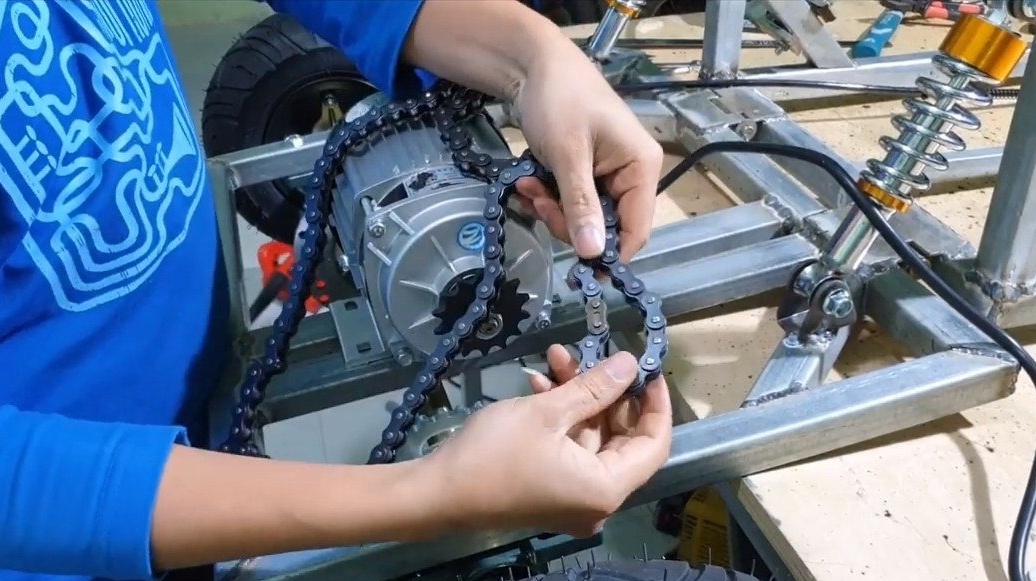
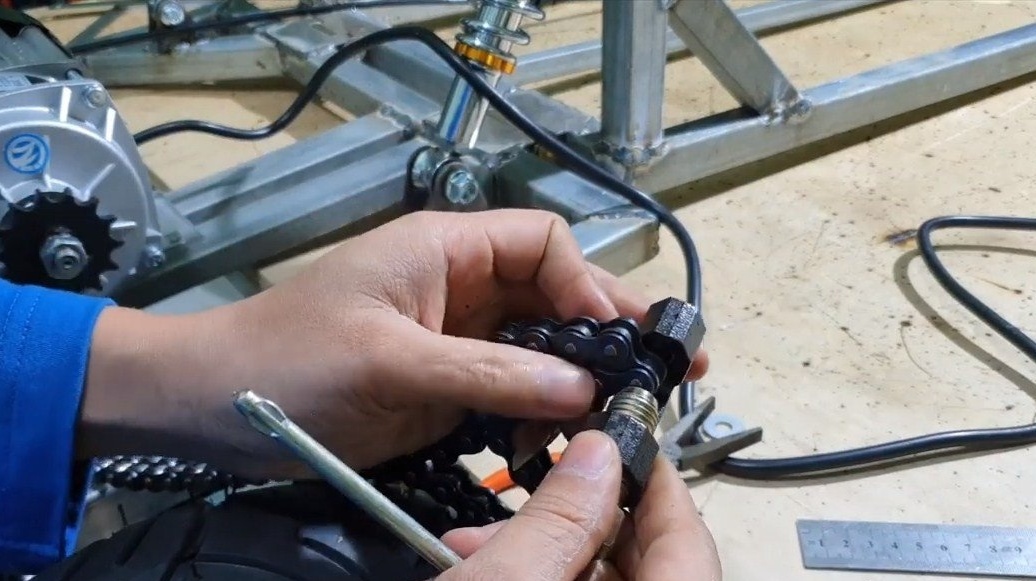
- chain transmission;
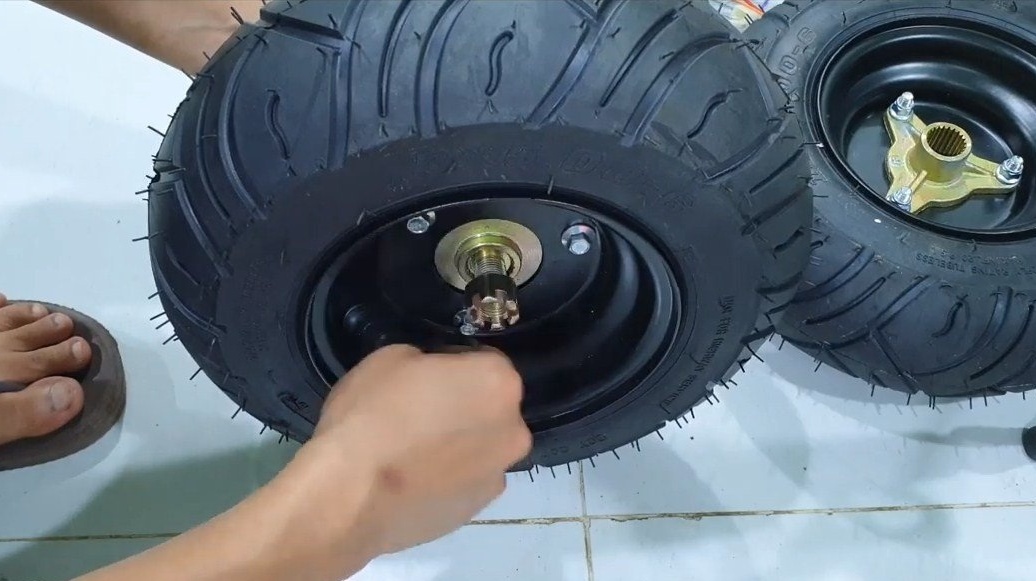
- axle, wheels, swivel joints, shock absorbers, tie rods and others;
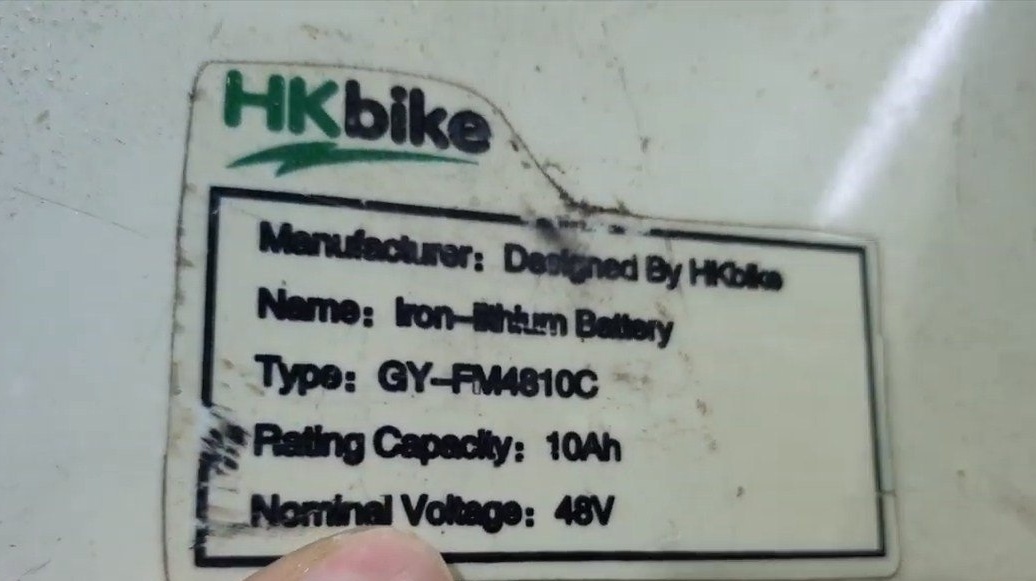
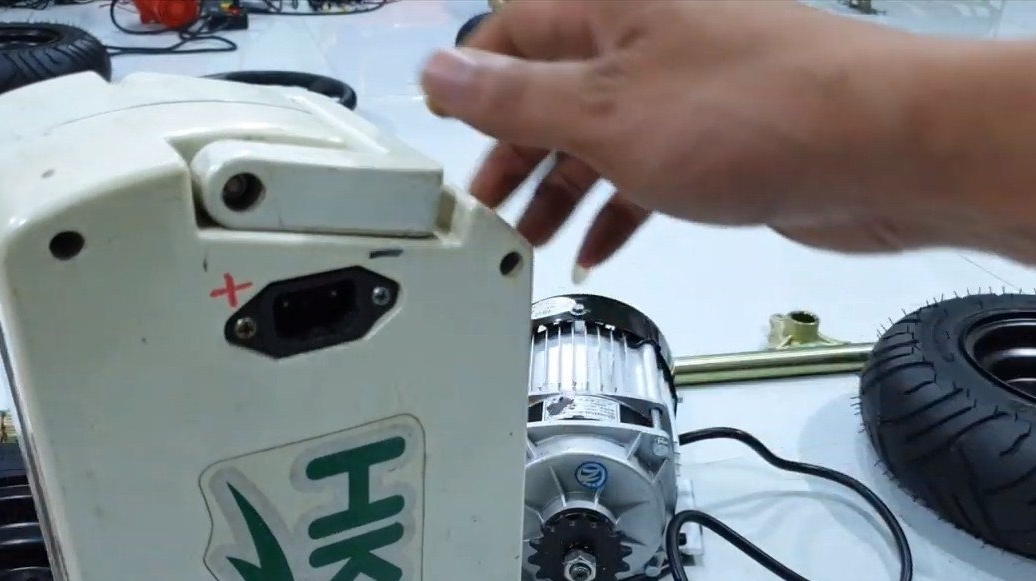
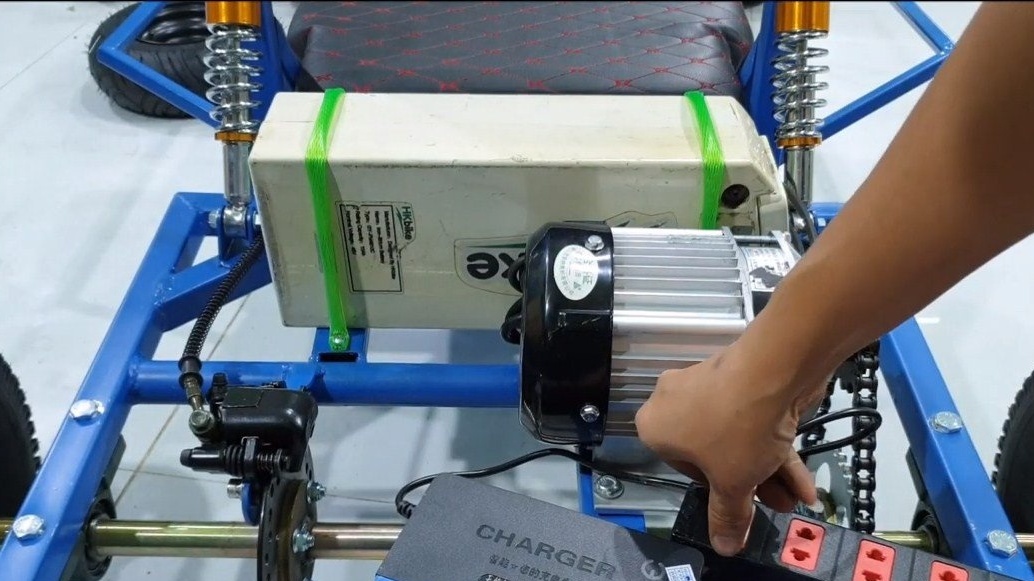
- battery (48V / 10 Ah);
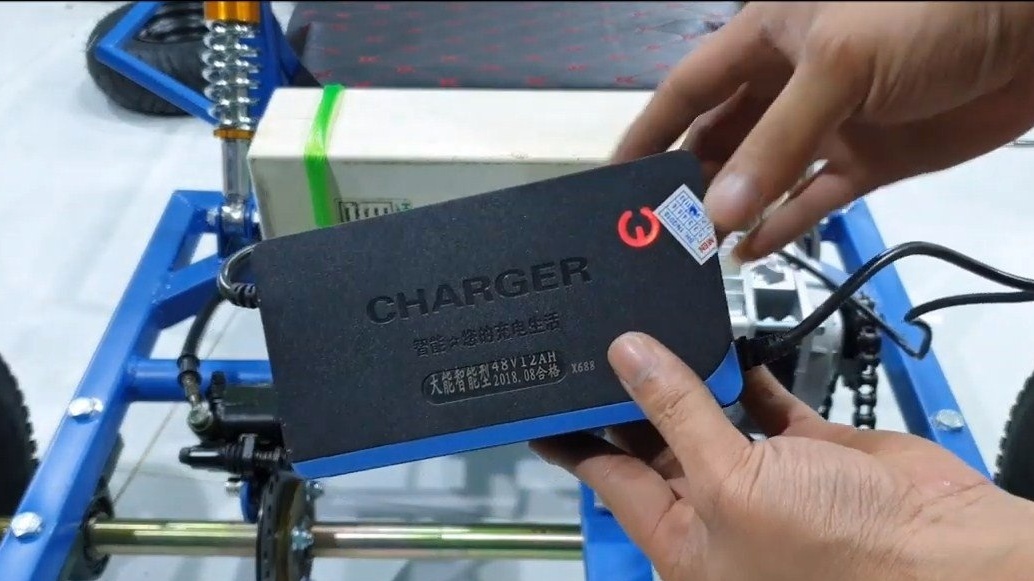
- Charger;
- materials for the manufacture of seats (foam, MDF, lining);
- profile pipes for the frame;
- sheet metal for the bottom;
- paint.
Tool List:
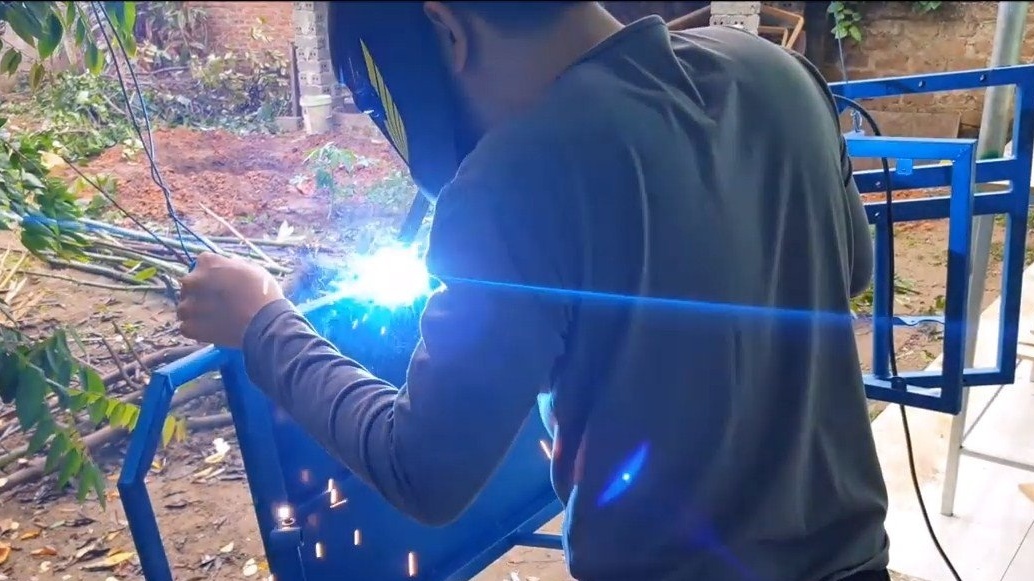
- welding machine;
- grinder;
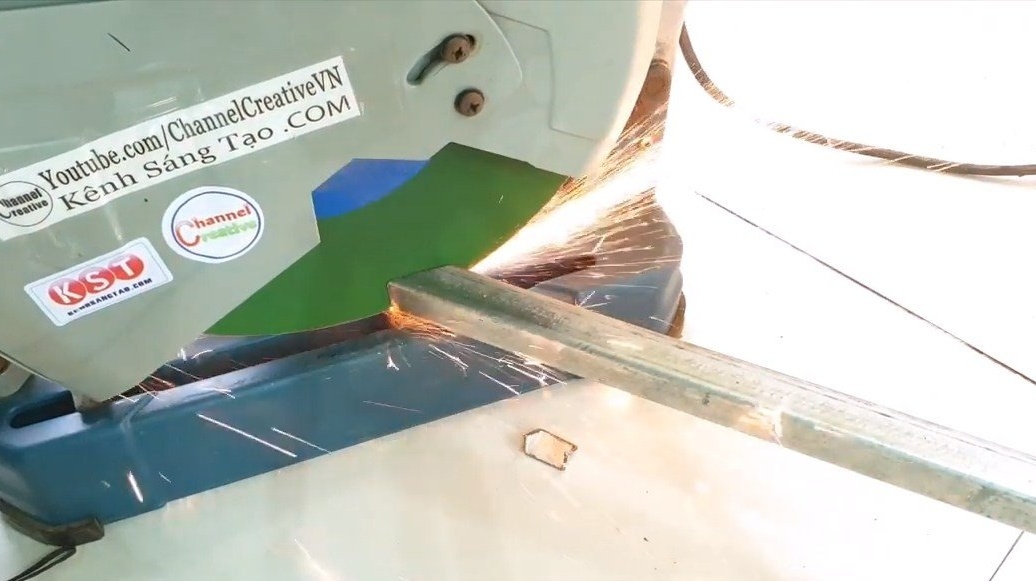
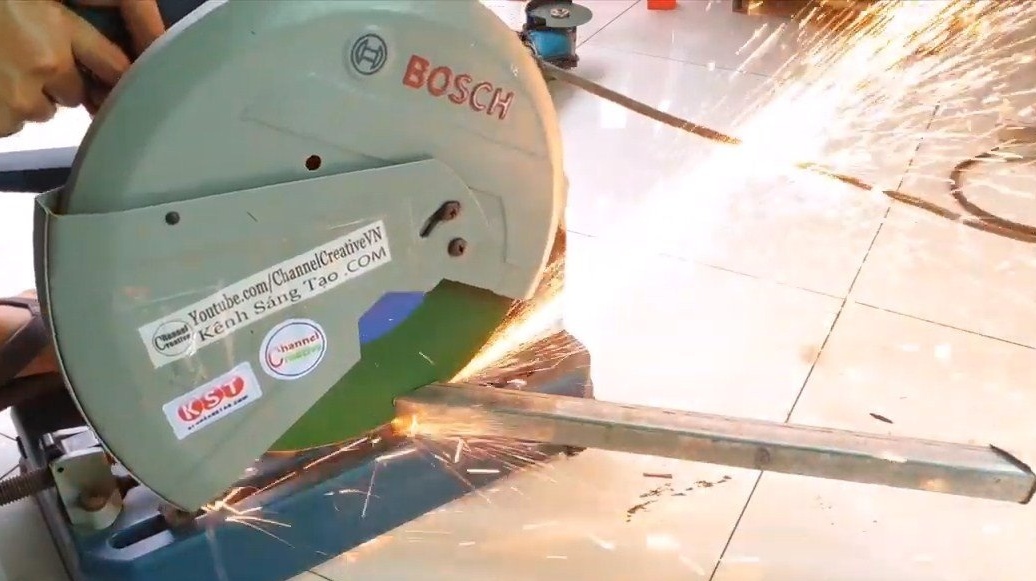
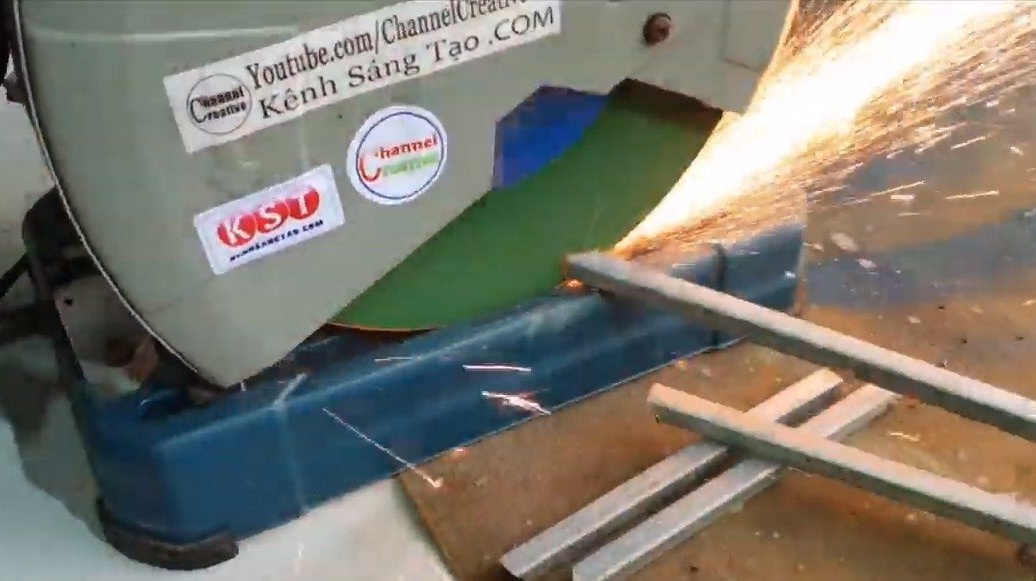
- Miter saw;
- wrenches, screwdrivers, etc .;
- tape measure, marker.
Card manufacturing process:
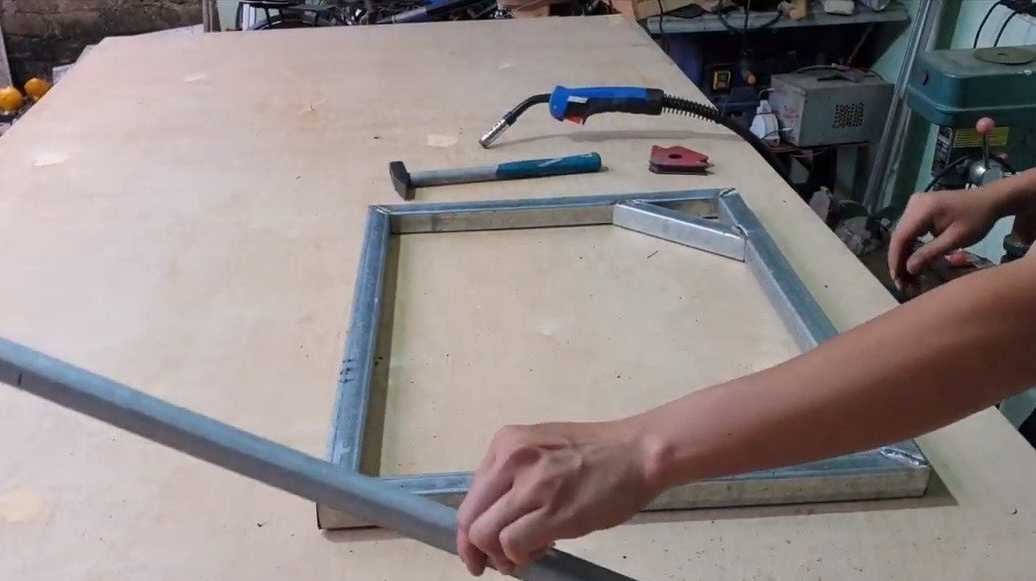
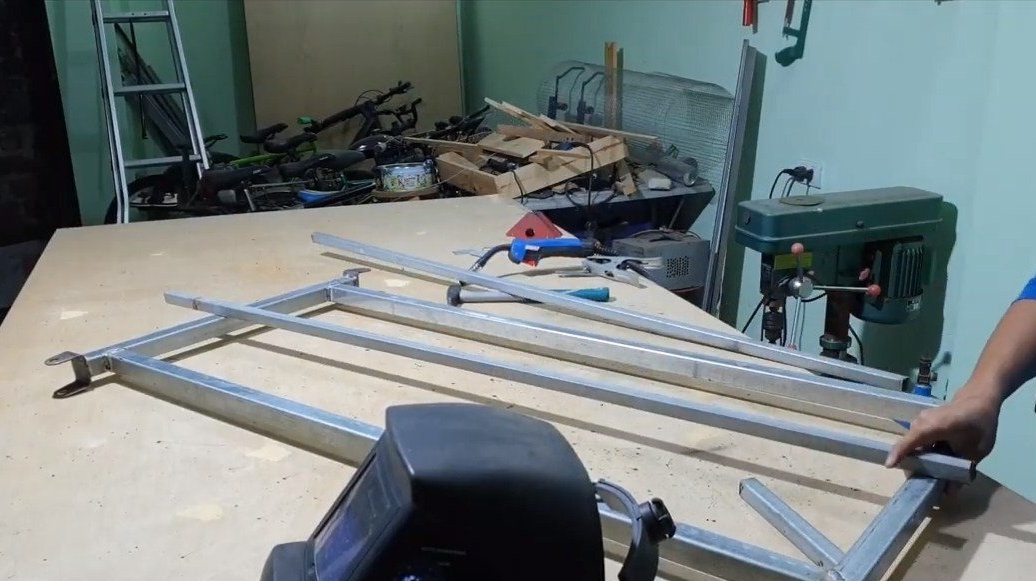
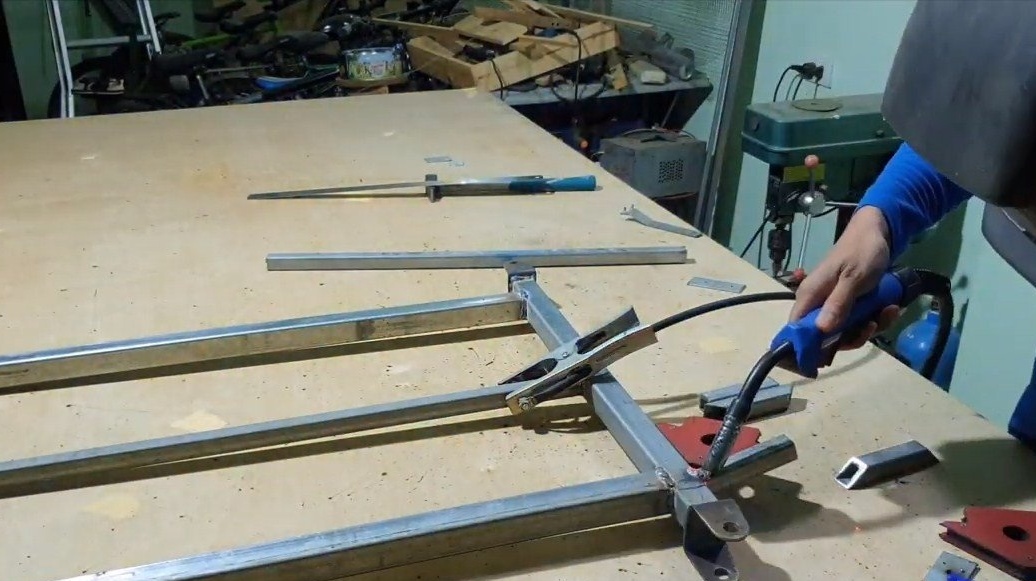
Step one. We weld the main part of the frame
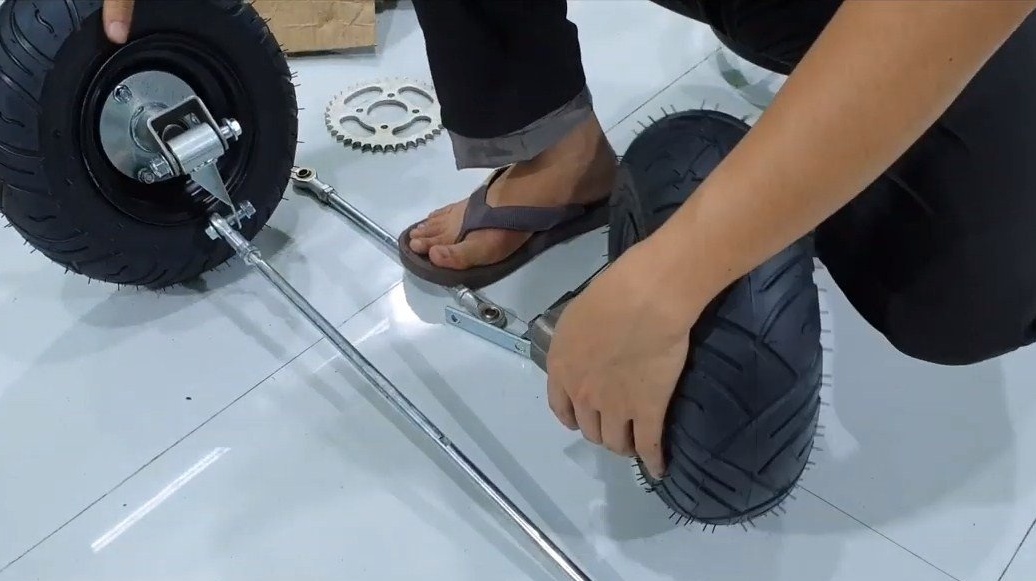
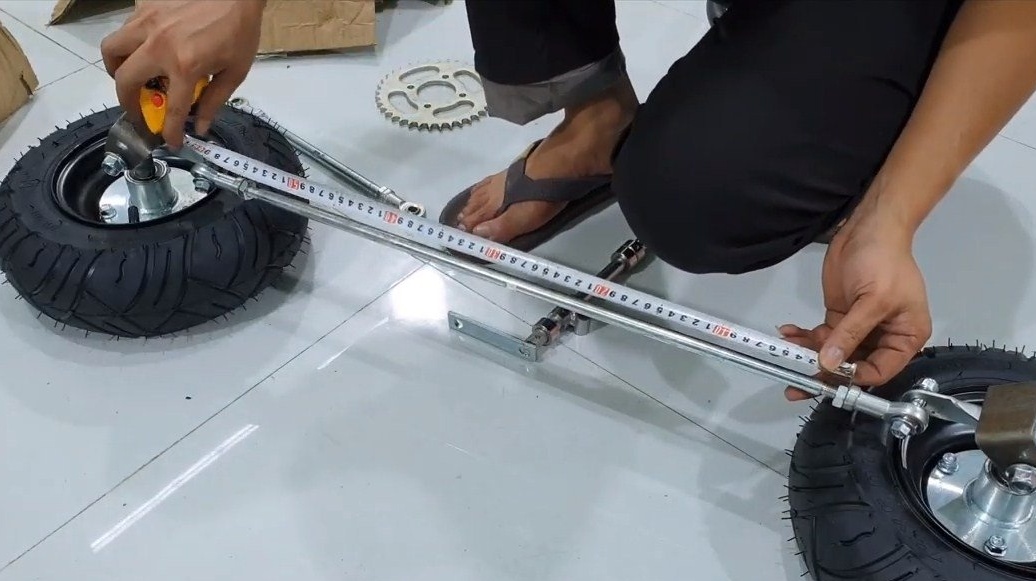
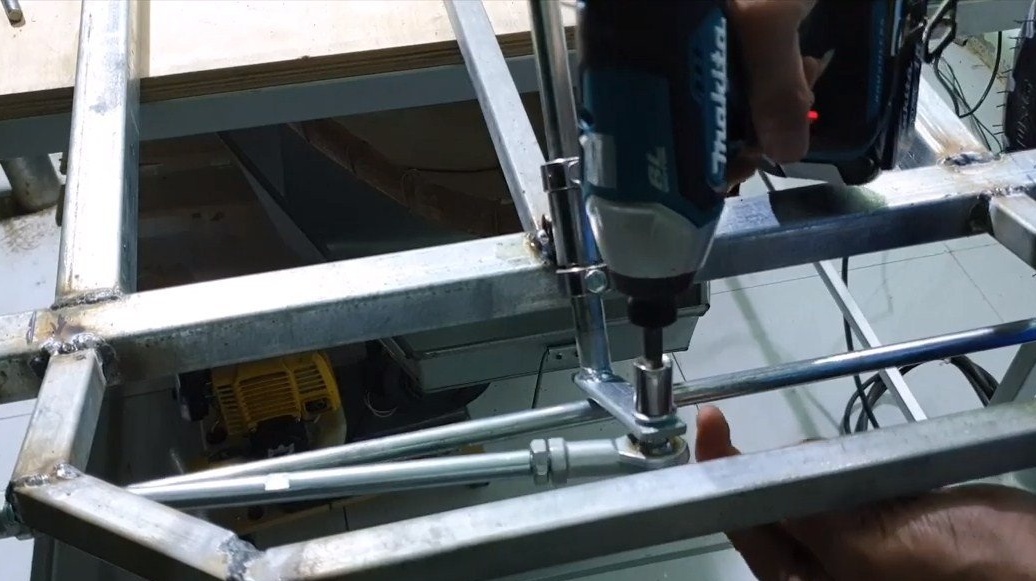
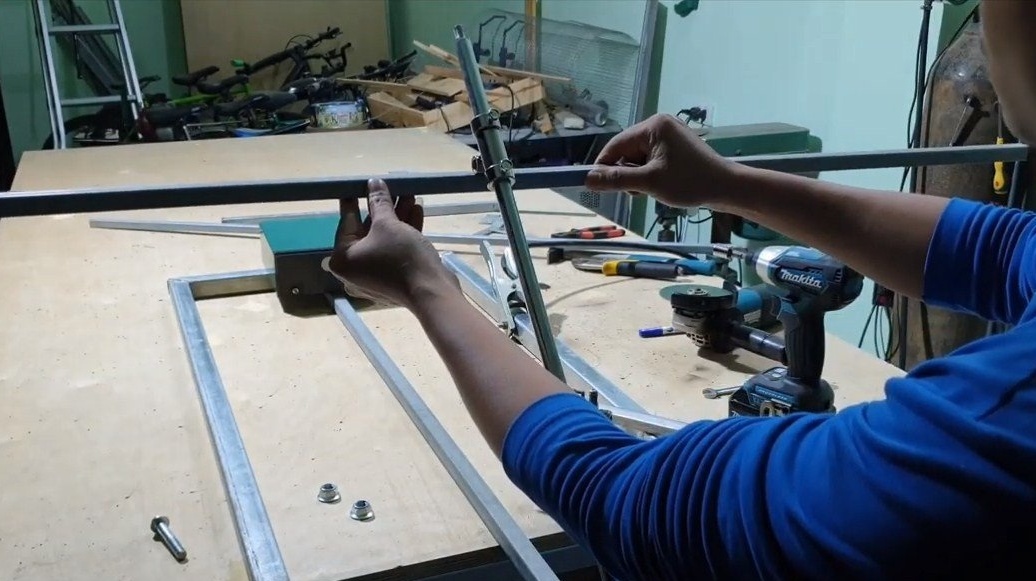
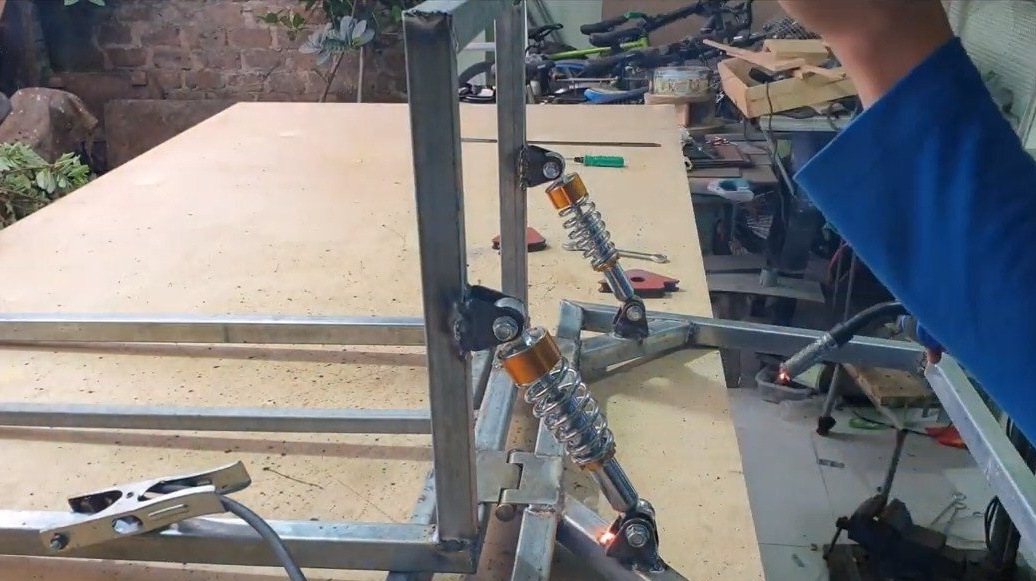
The first thing we do is measure the tie rod and, in accordance with it, select the desired frame width. The rear of the frame is pivotally attached, here is the engine and chain drive. Two shock absorbers are installed at the rear to make riding on the map more comfortable. The author has welded a frame from profile pipes, for such purposes it will be very useful to have a miter saw. We weld parts of the hinges to the front part, due to which the front wheels will turn.

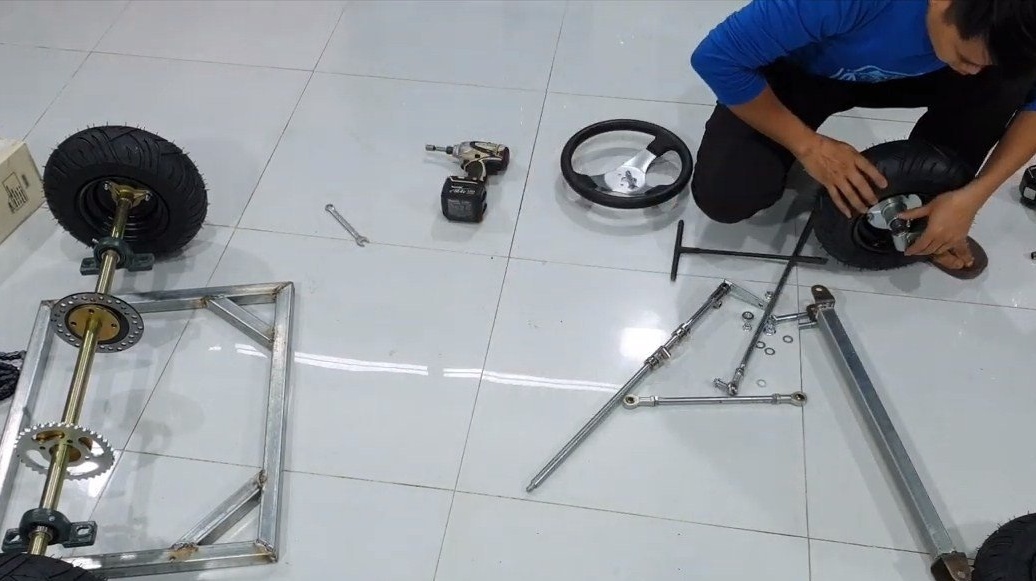
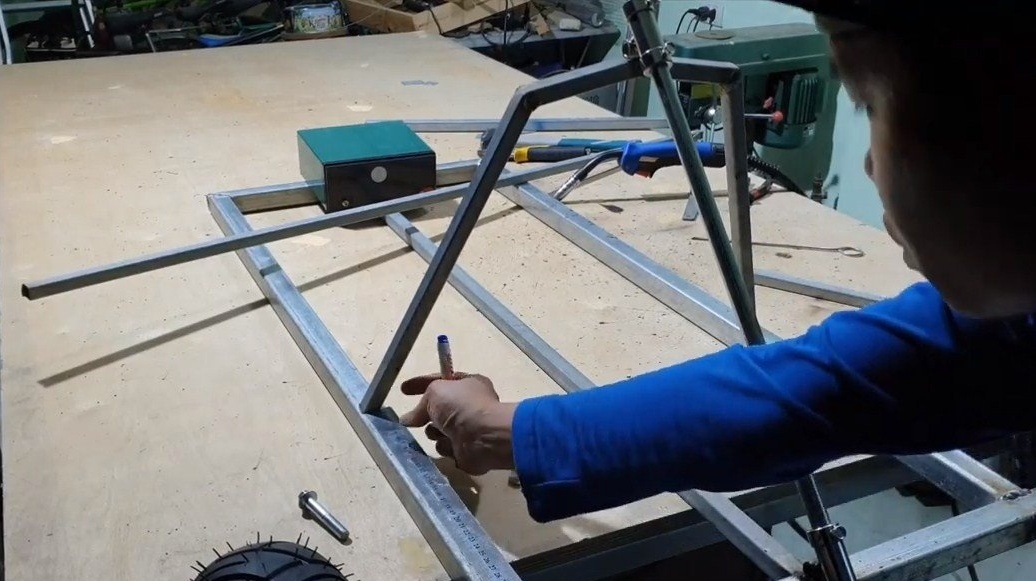
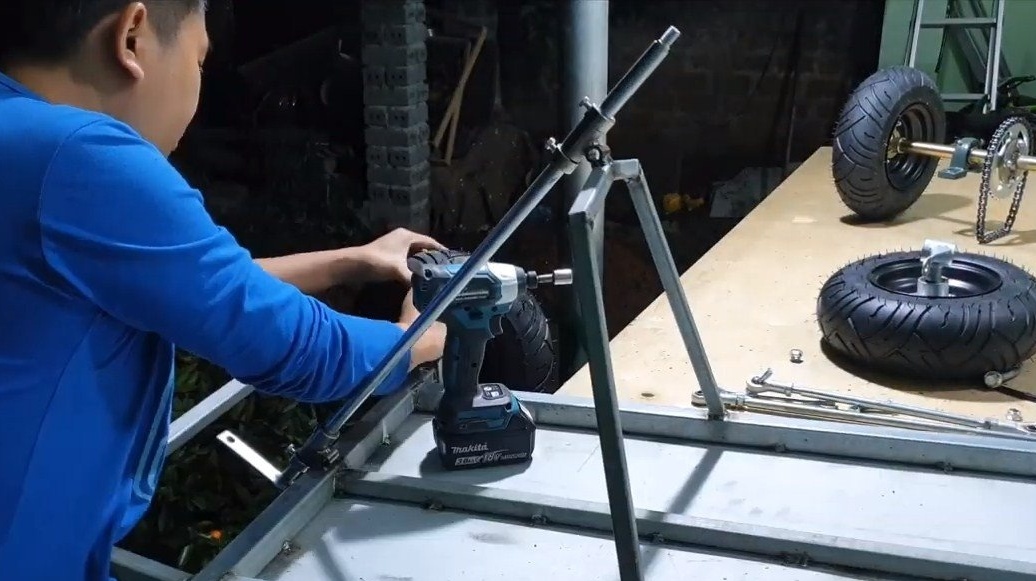
Step Two Steering assembly
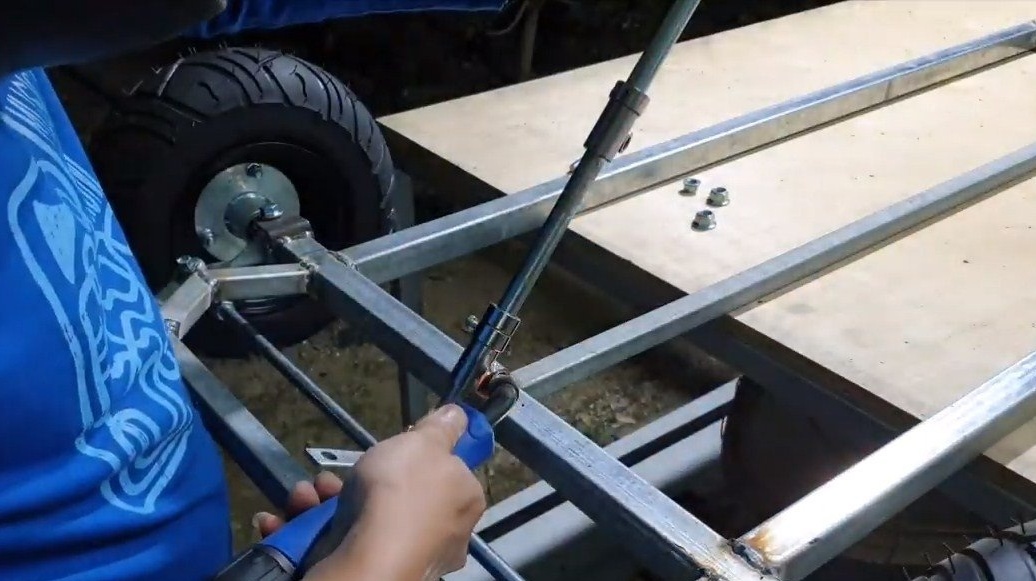
First, we attach the wheels to the joints, and then we install the steering rods, as well as the steering shaft. All these components from the author have already been purchased in advance. We make adjustments and check whether the front wheels turn well. Bushings and other components where friction is present must be lubricated. Everything turned out quickly and easily. For the steering shaft, we also weld an additional part of the frame so that it is fixed at two points.


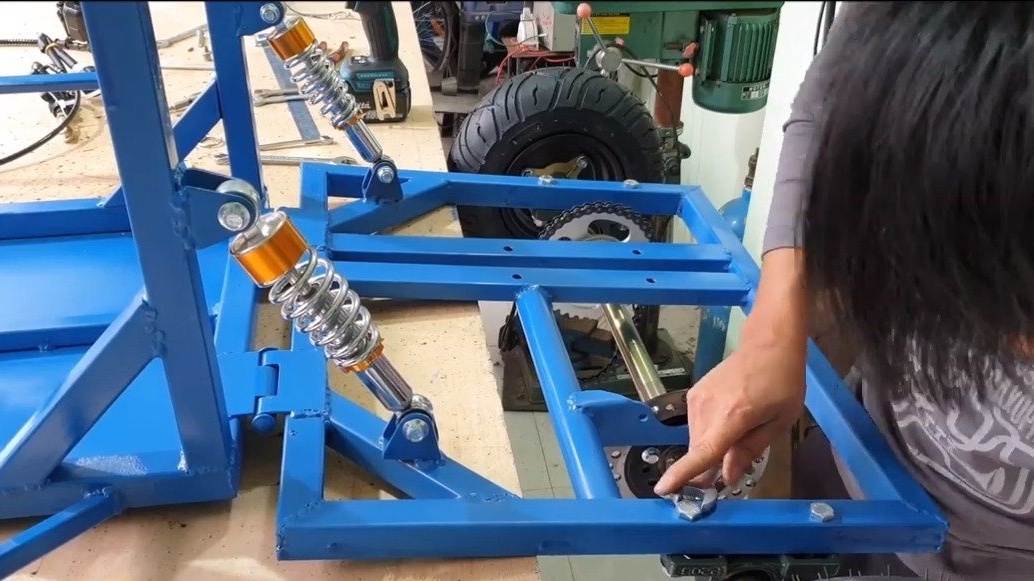
Step Three Rear end
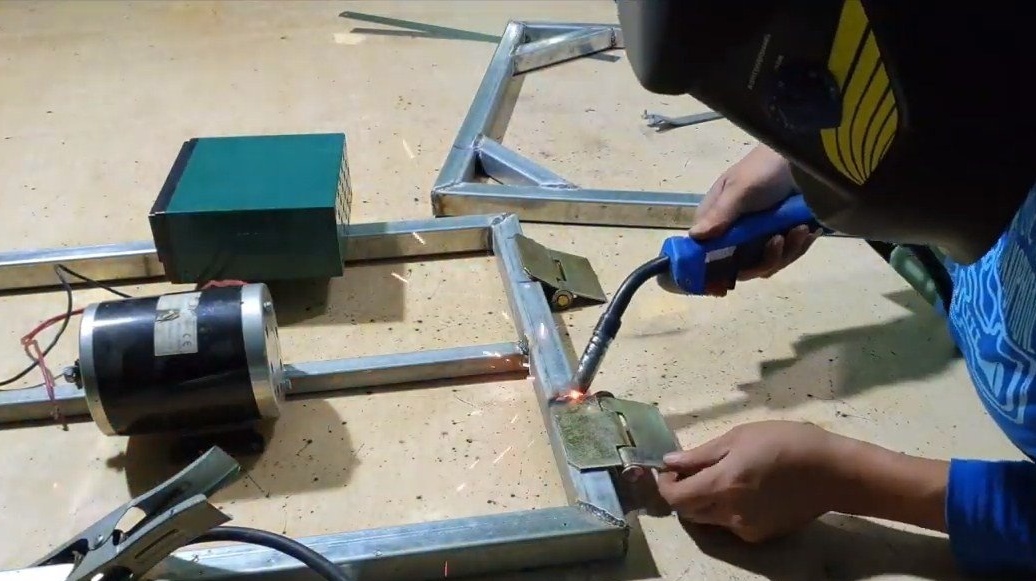
We fasten the back part, the author uses door hinges as hinges, we weld them to the frame. The loops chosen by the author are not very strong in appearance, it is better to look for something more reliable. After that, it will be possible to install shock absorbers.
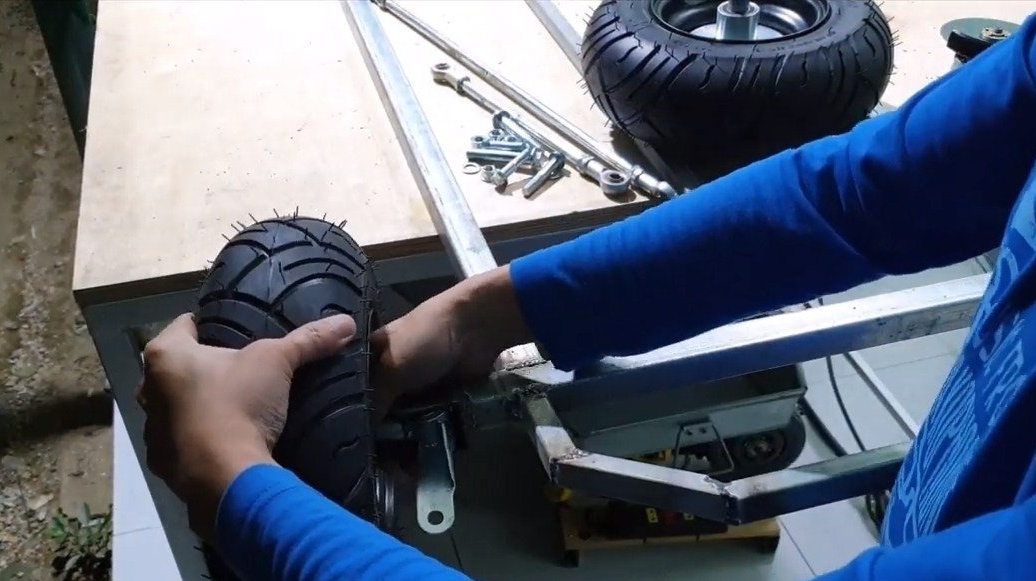
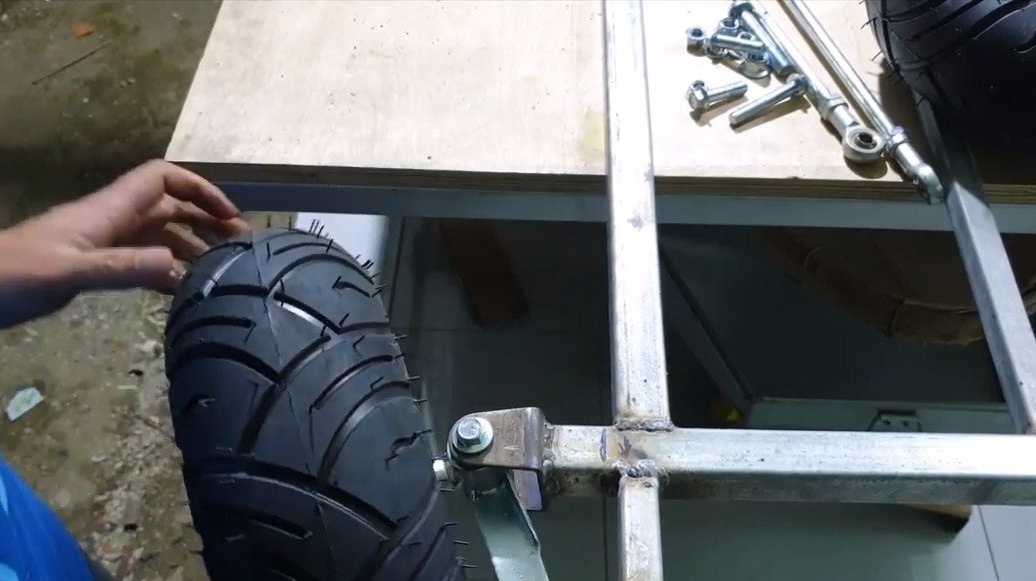
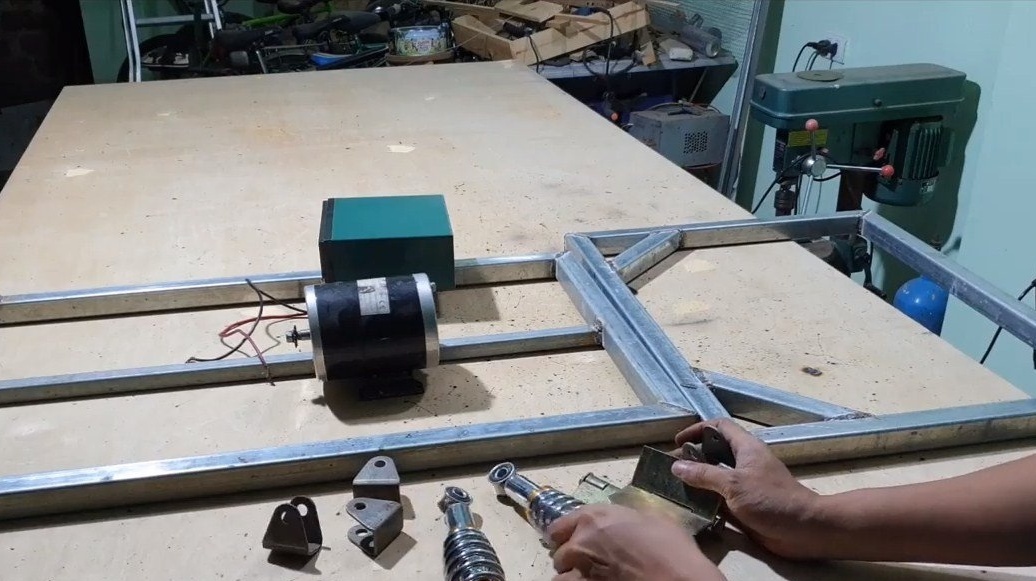
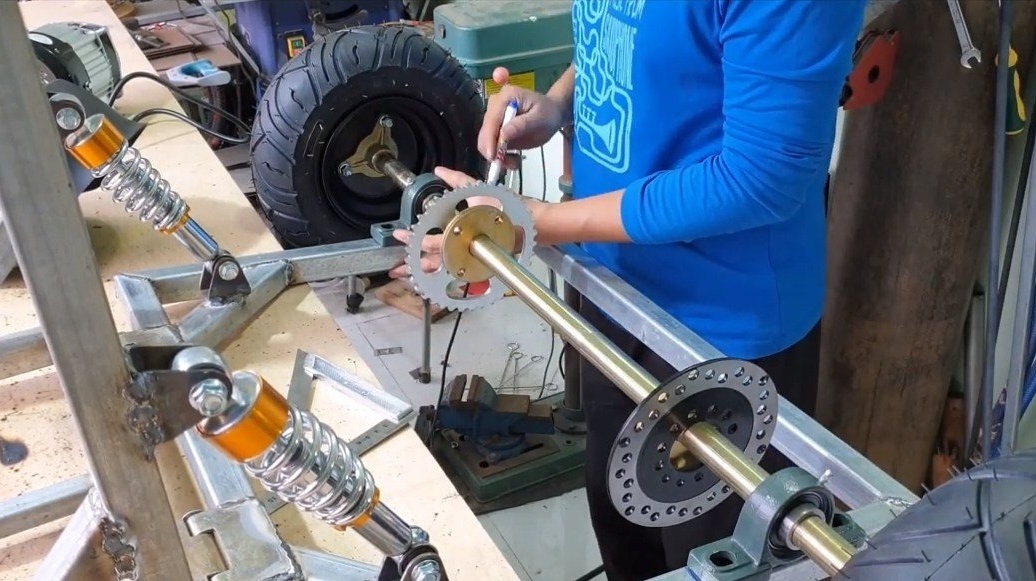
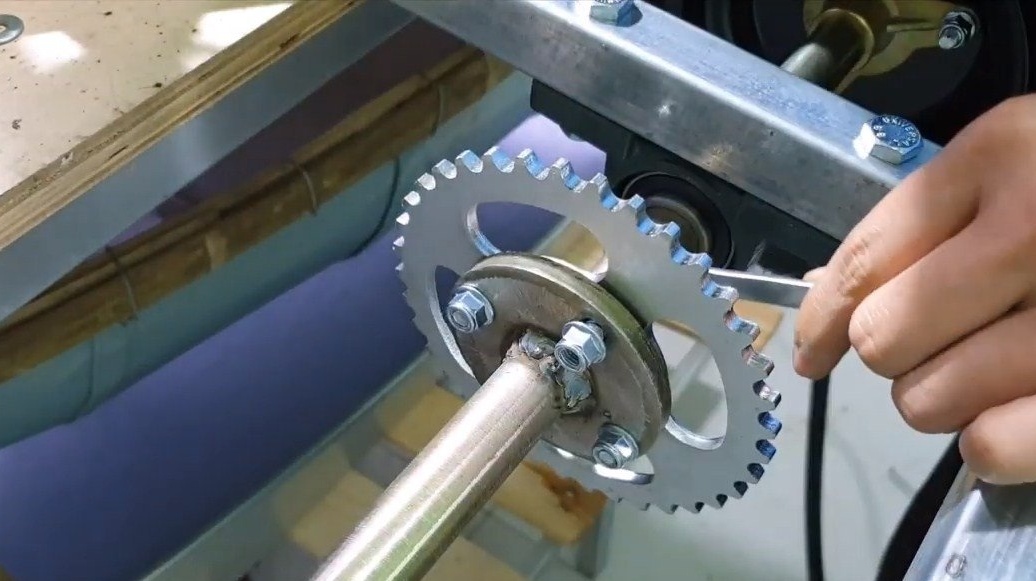
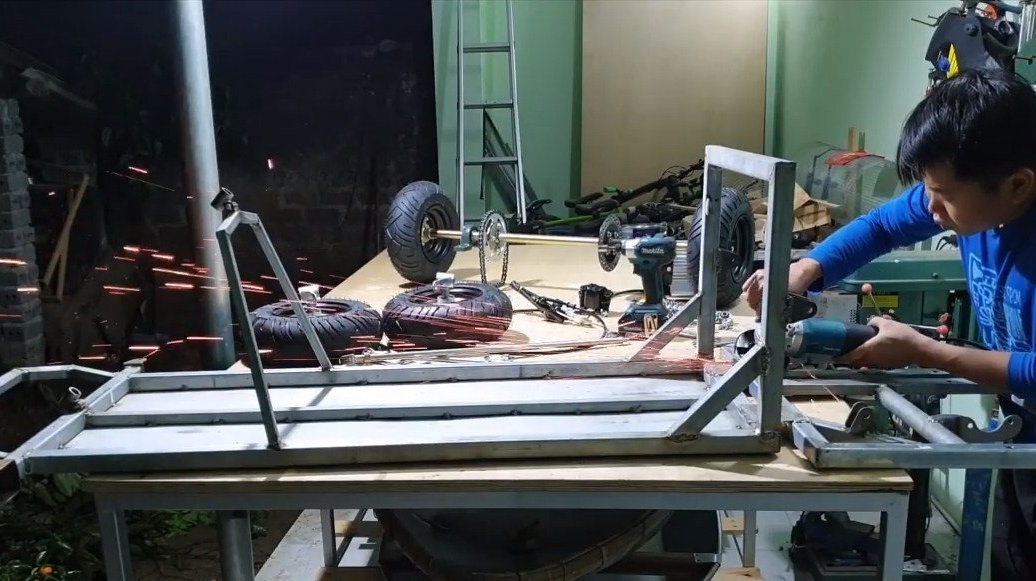
The rear part is ready, we install the rear axle with wheels, the brake disk and the driven sprocket are located on the axis. The axis rotates on the bearings, their housings are screwed to the frame.
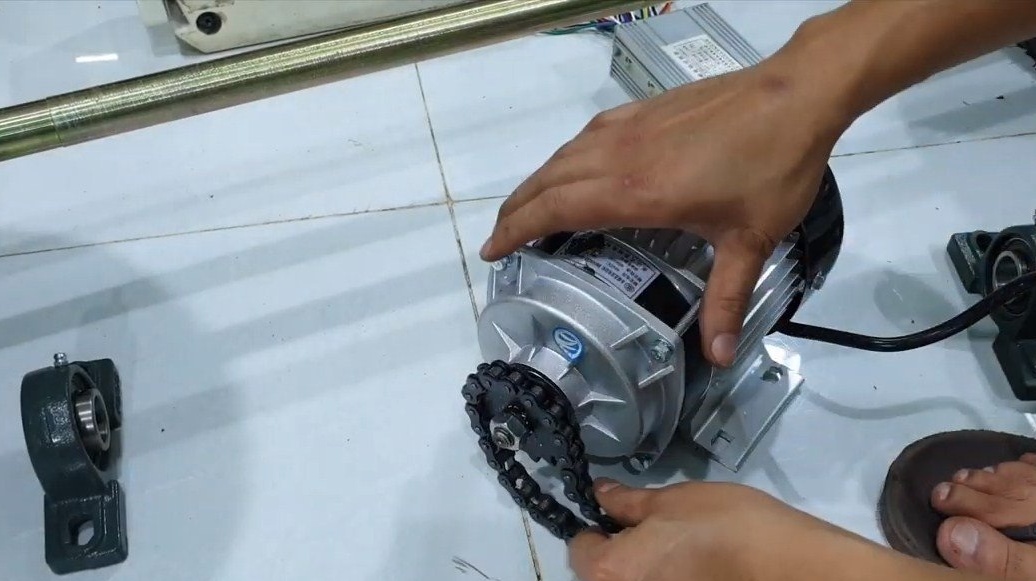
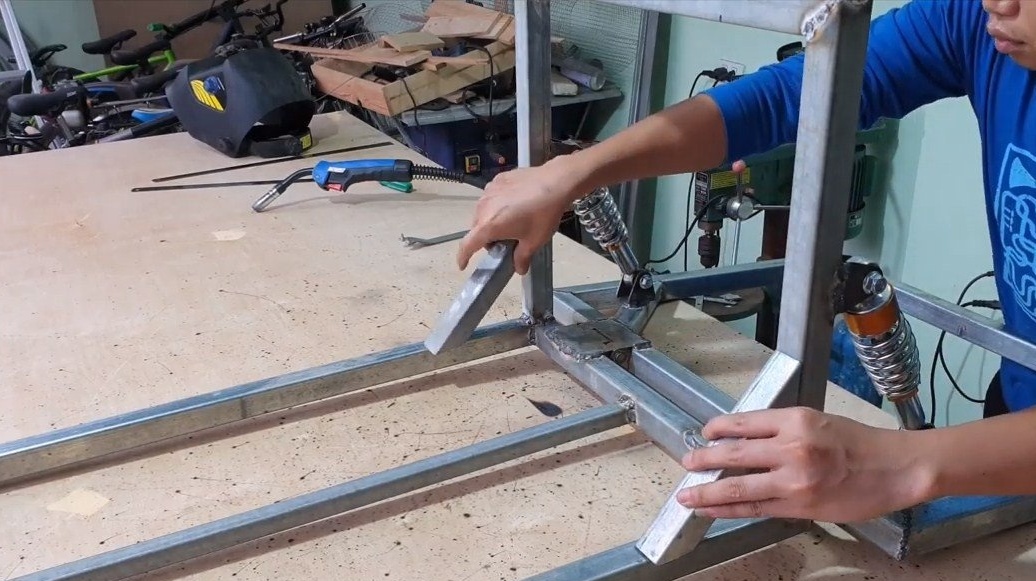
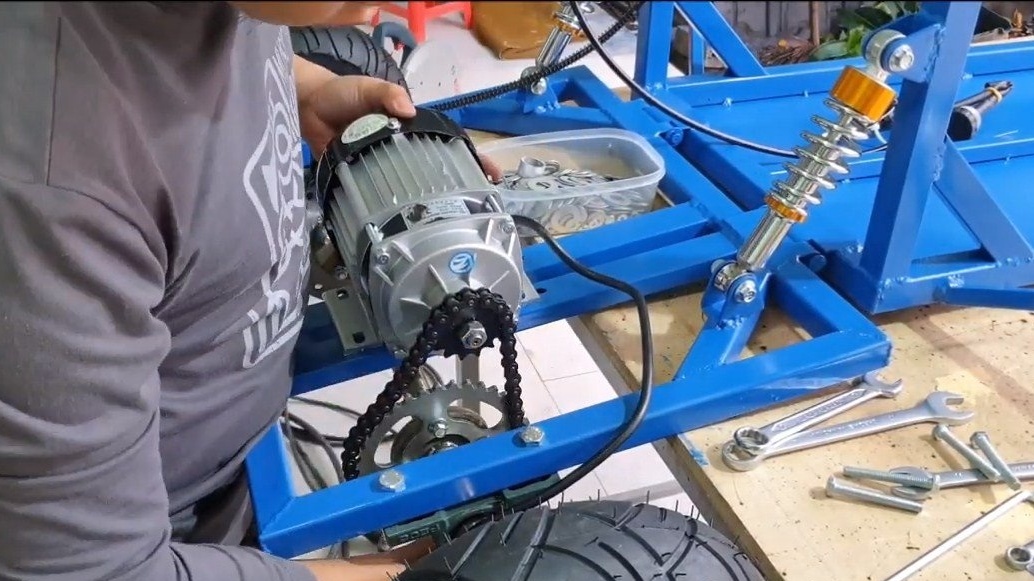
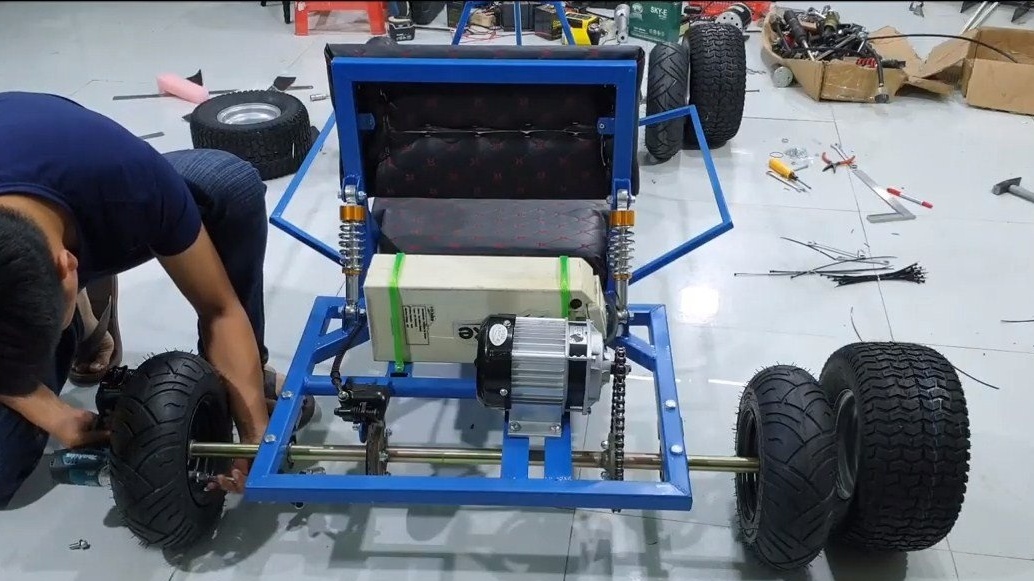
As a result, it remains to strengthen the struts, which shock absorbers abut, and also to install the engine, shortening the chain to the desired length.
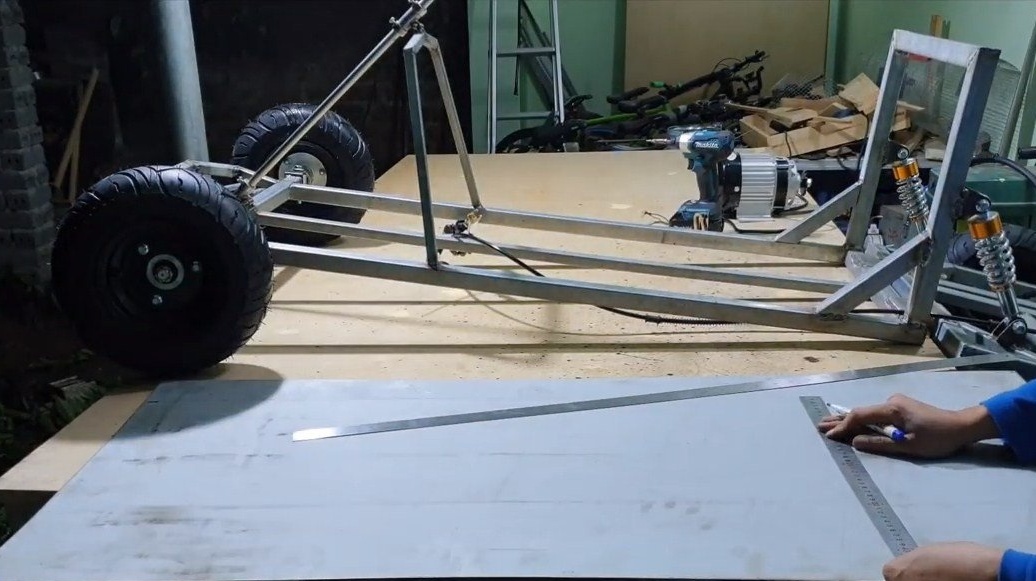
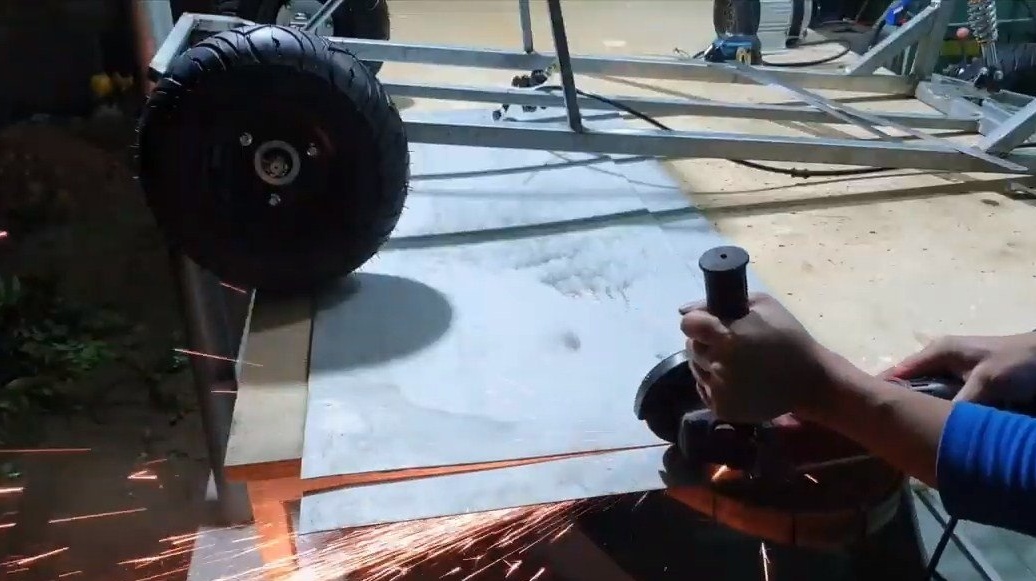
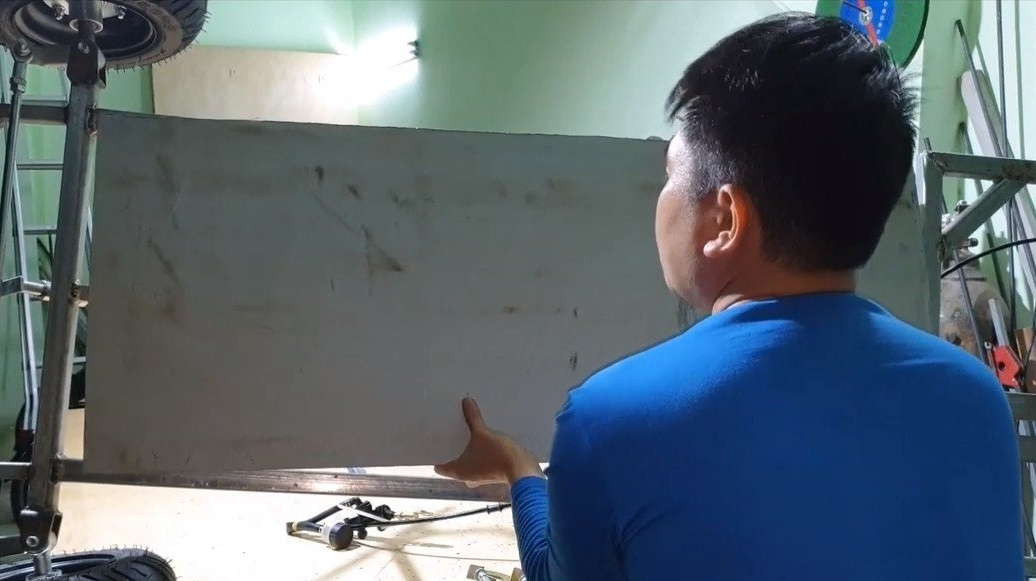
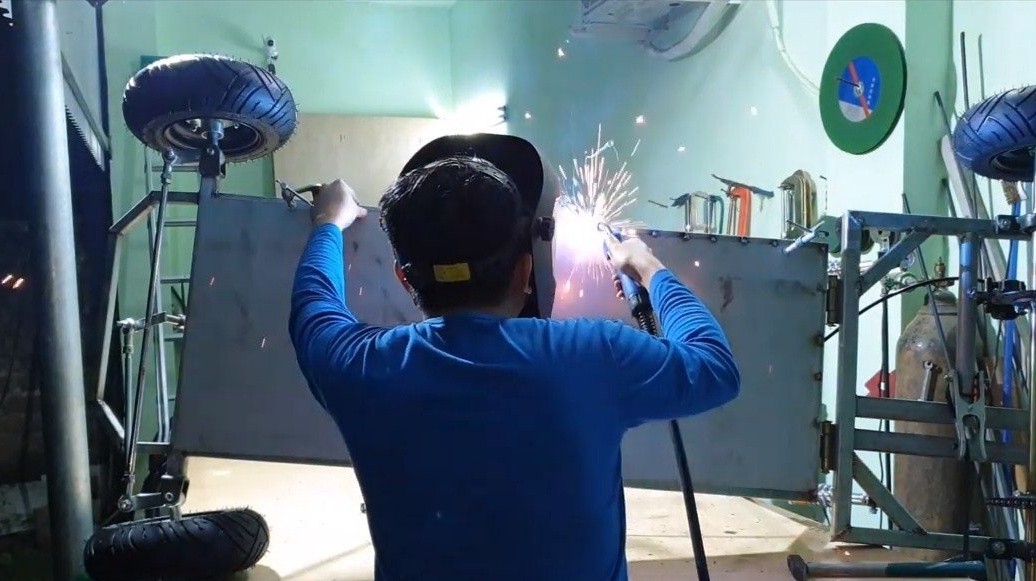
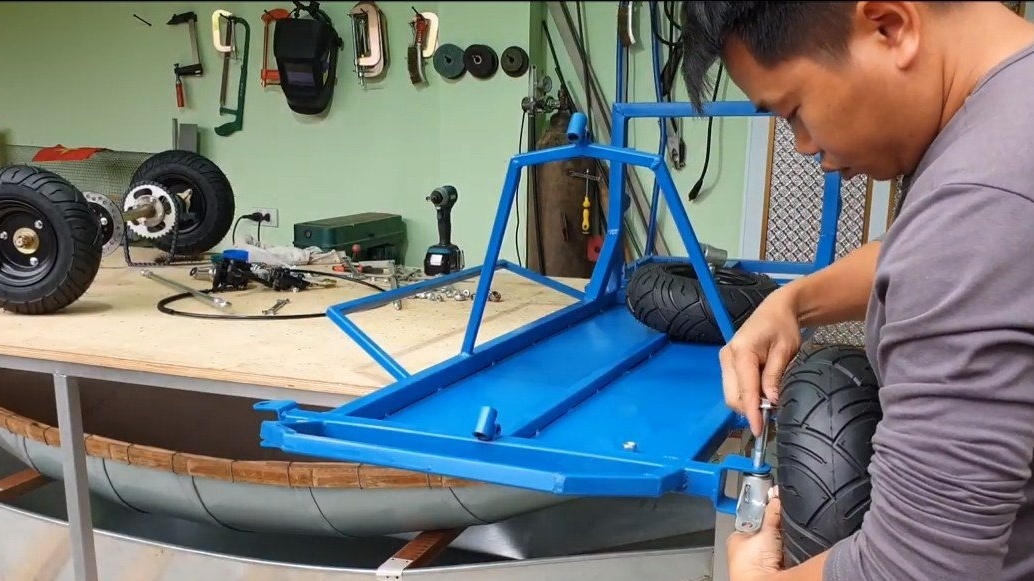
Step Four Bottom
We make the bottom for the card so that the dirt does not fly, and there is where to put your feet. Here we need sheet steel, we take measurements and cut a piece of the right size. Well, then the author presses the sheet with clamps to the frame and welds it well.

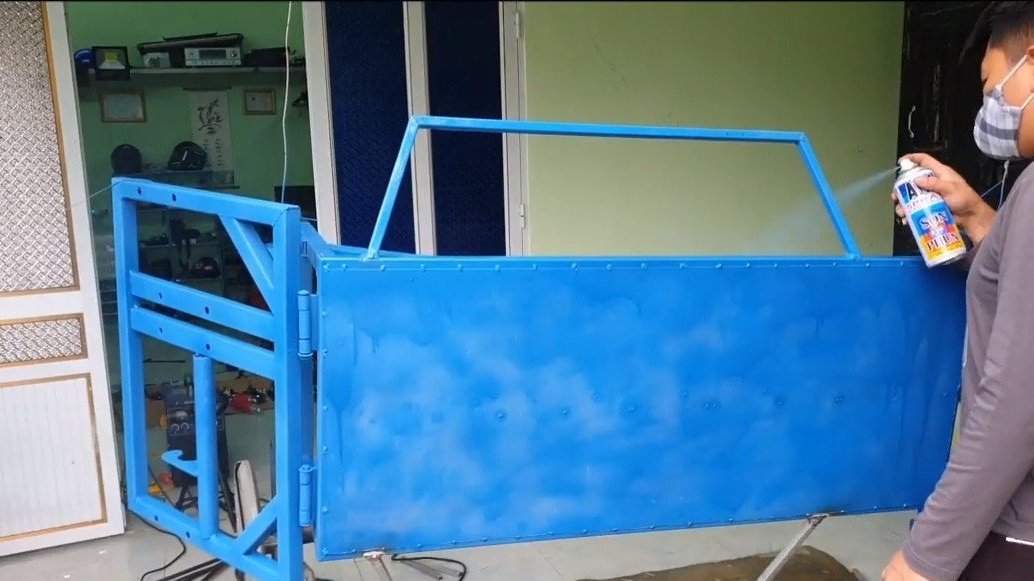
Step Five Painting
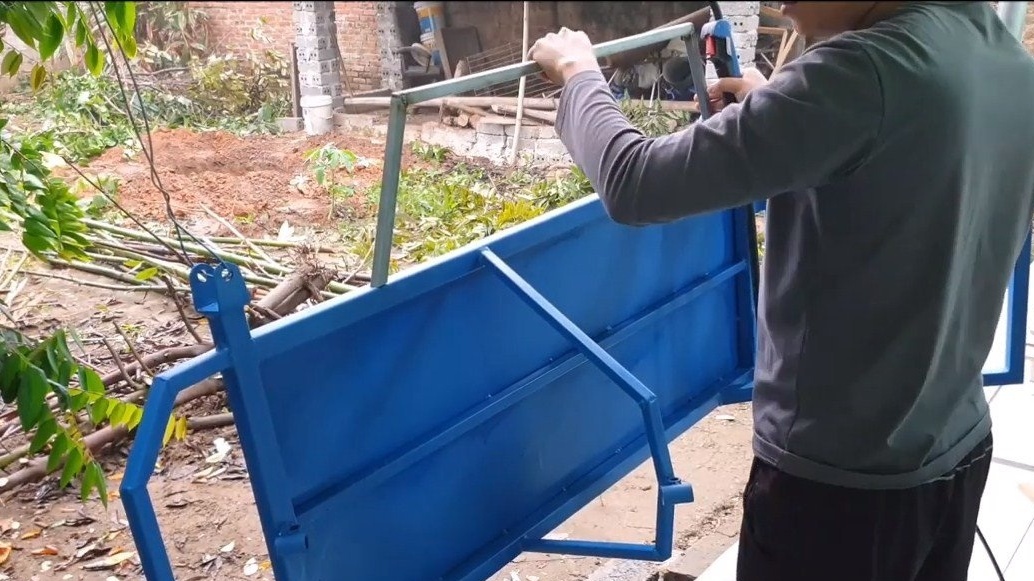
Now it is time to paint the frame, for this all the details need to be removed from the card. The author paints from a spray can. When painting, the author remembered that it was necessary to weld the side stops, which would protect the driver and passengers from turning the car over or from a side impact. The design was quickly welded from profile pipes. At this stage, the painting can be completed, everything turned out beautifully and neatly.


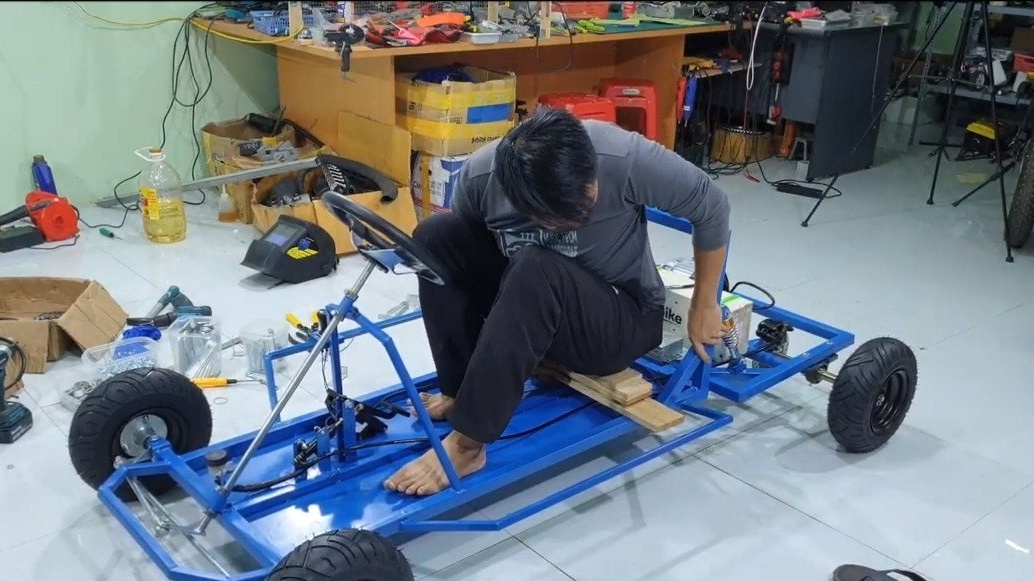
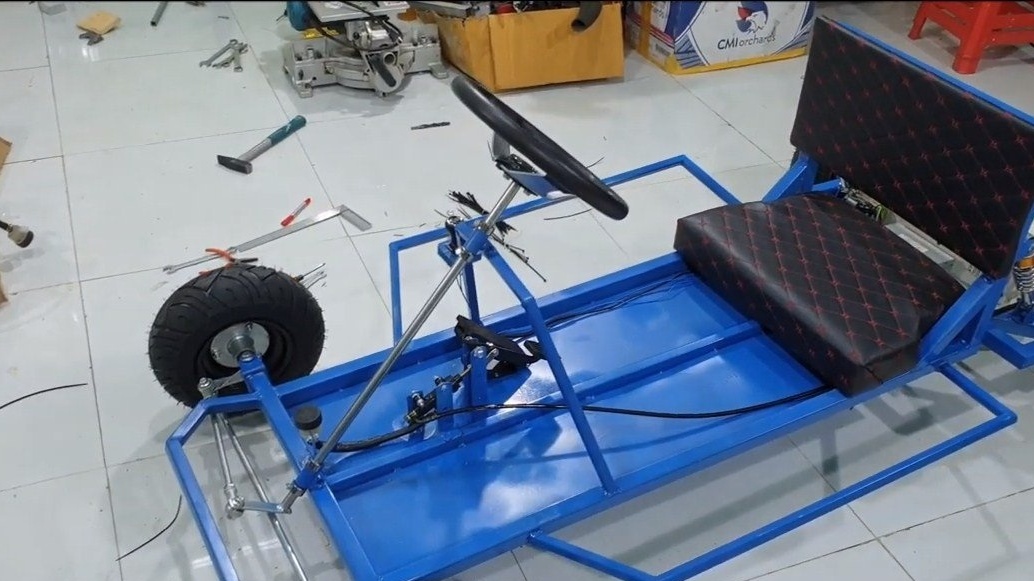
Step Six Assembly card
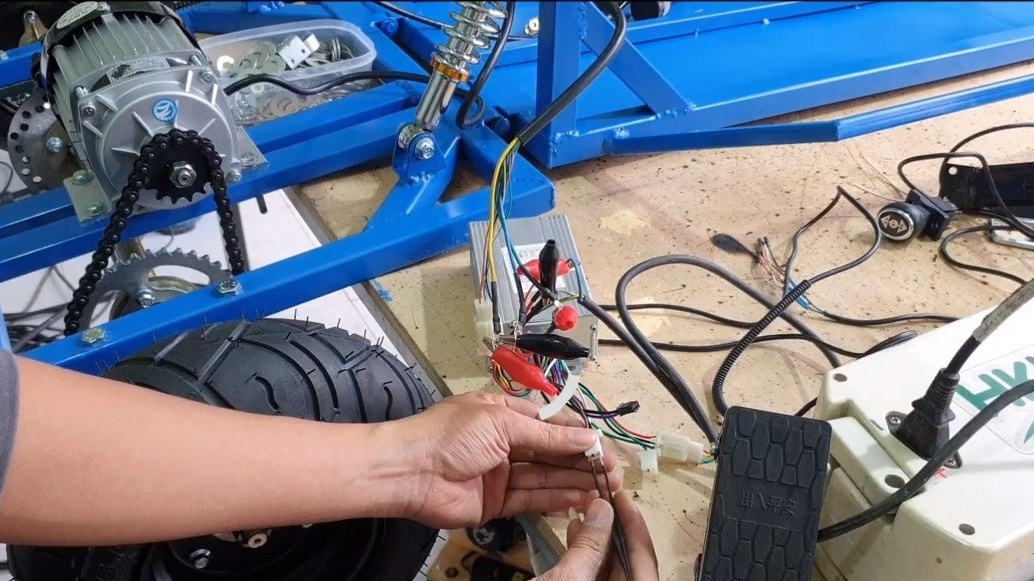
We collect cards, install the engine, pull the chain, and also connect the controller for the engine. The battery is also installed in the rear.
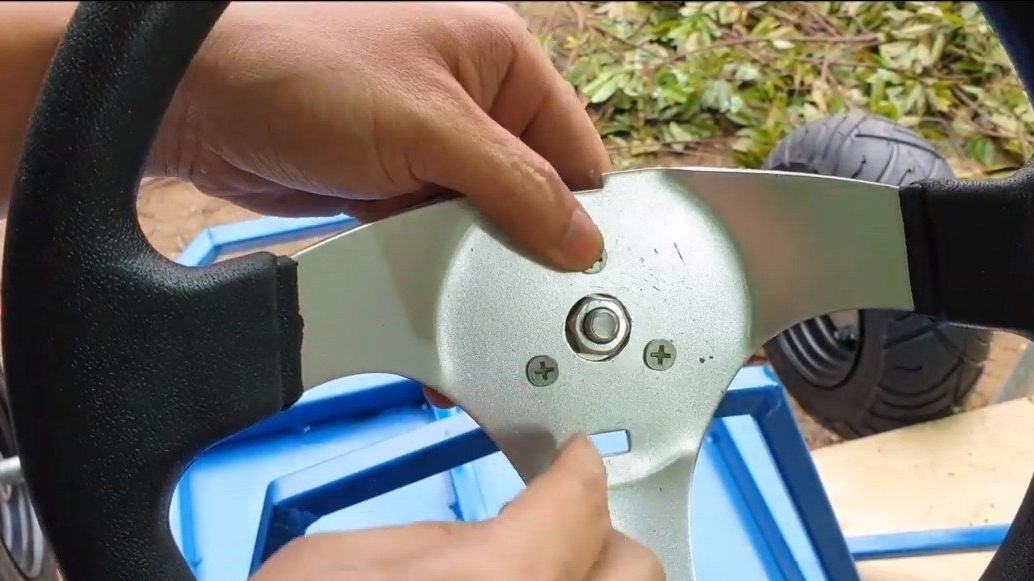
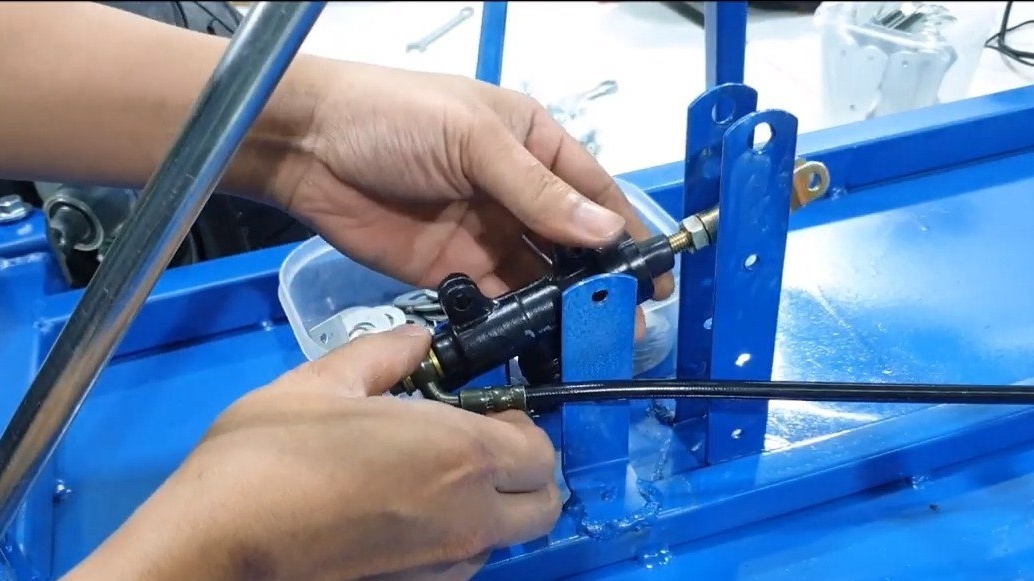
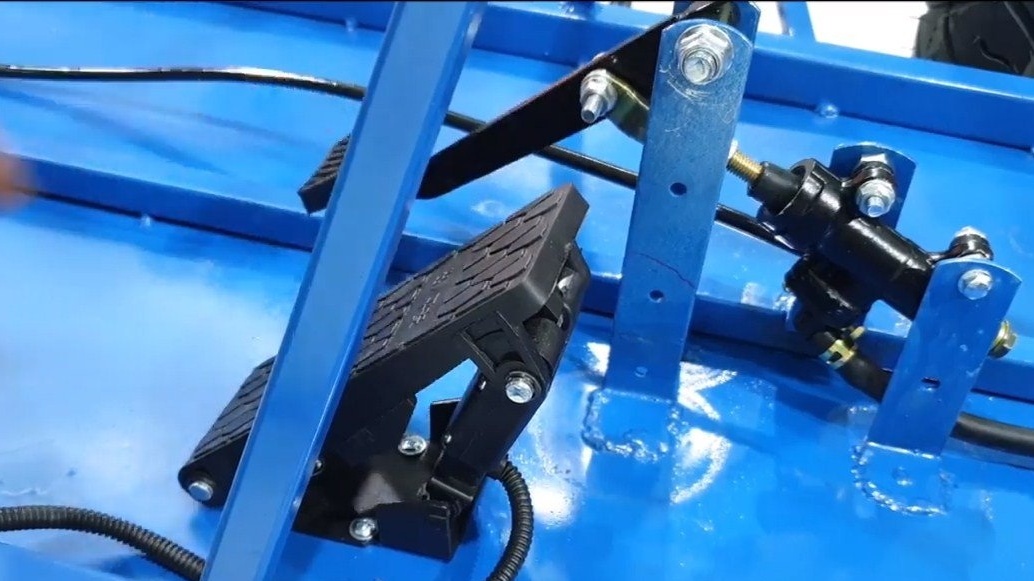
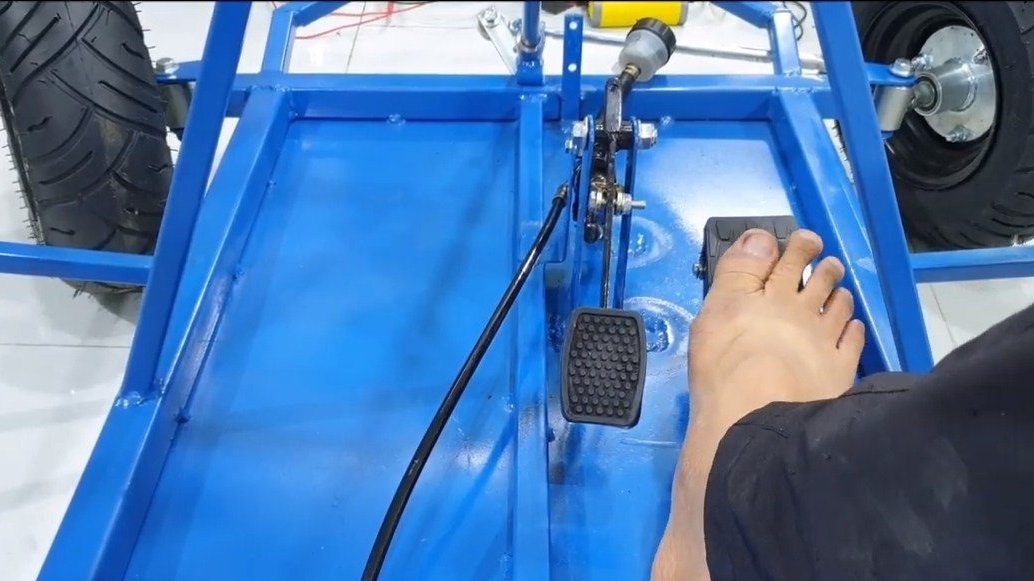
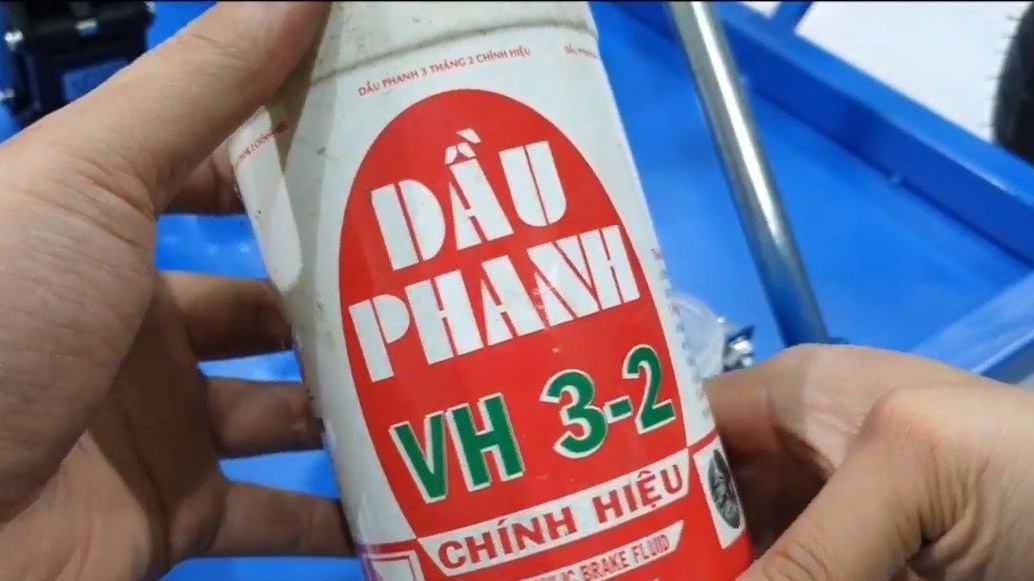
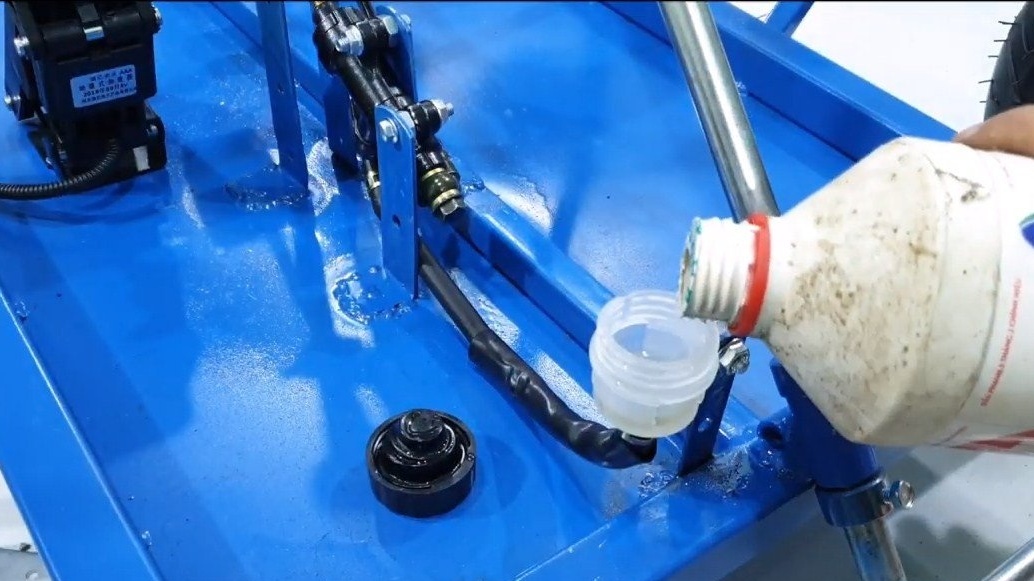
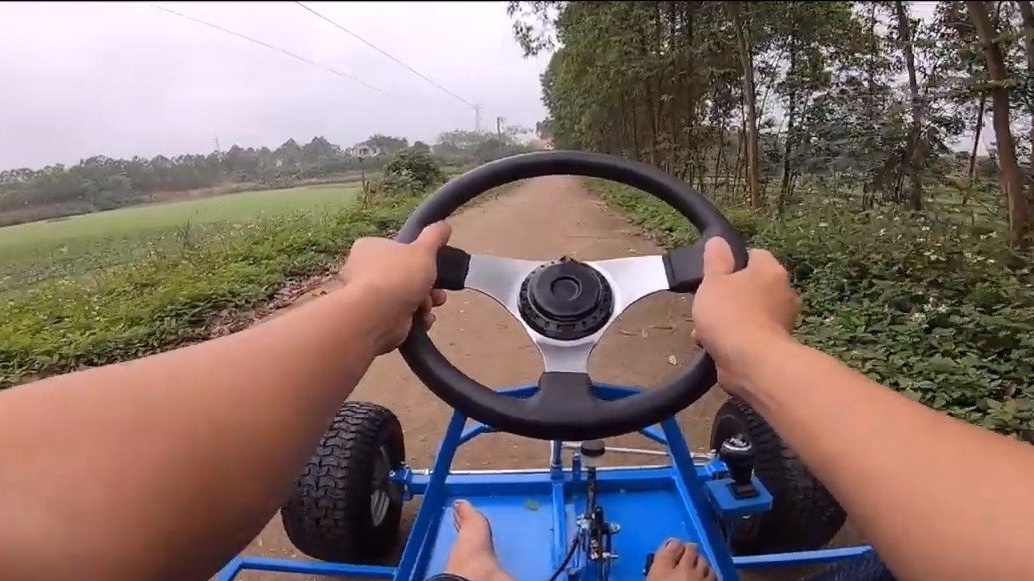
Of the controls we will have electronic engine control pedal and reverse switch. Of course, we also need a brake, the author’s brake system is hydraulic, so we fill in the brake fluid and do not forget to pump the hydraulics well so that there is no air in the system. At the end we install the steering wheel, after which the cards are almost ready, it remains to make a seat. In the meantime, test it in the garage can be placed under a soft place boards as a seat.
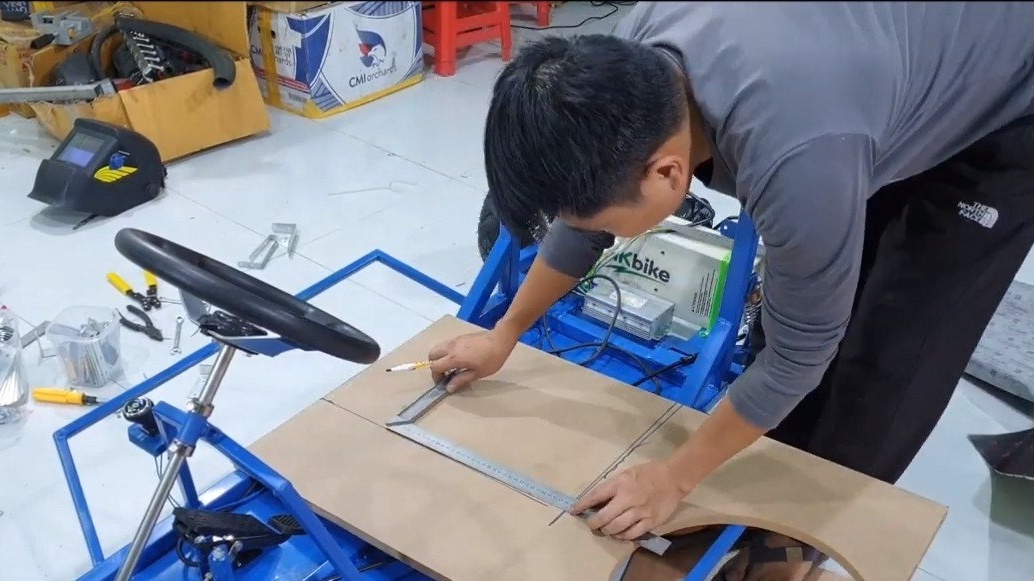
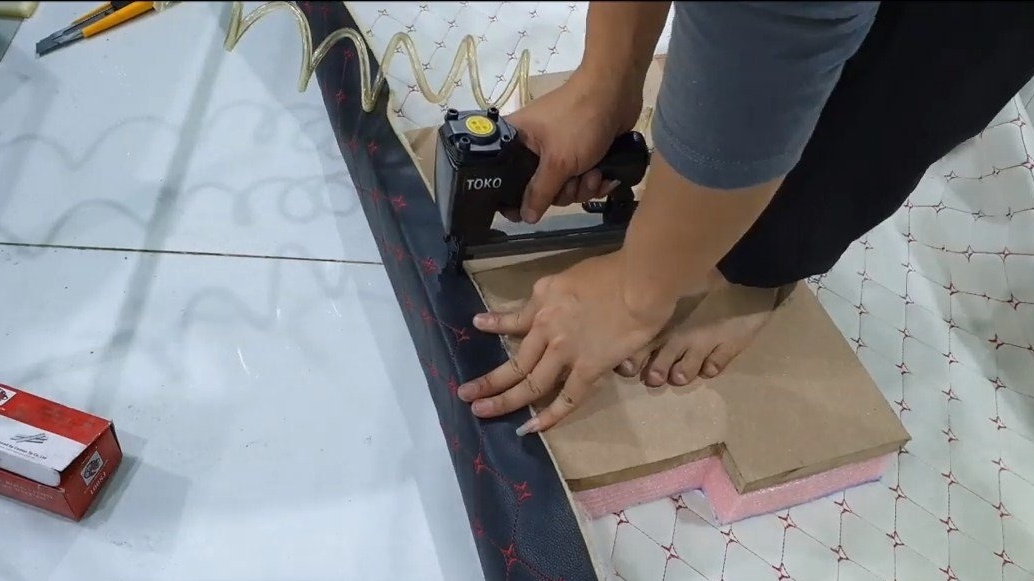
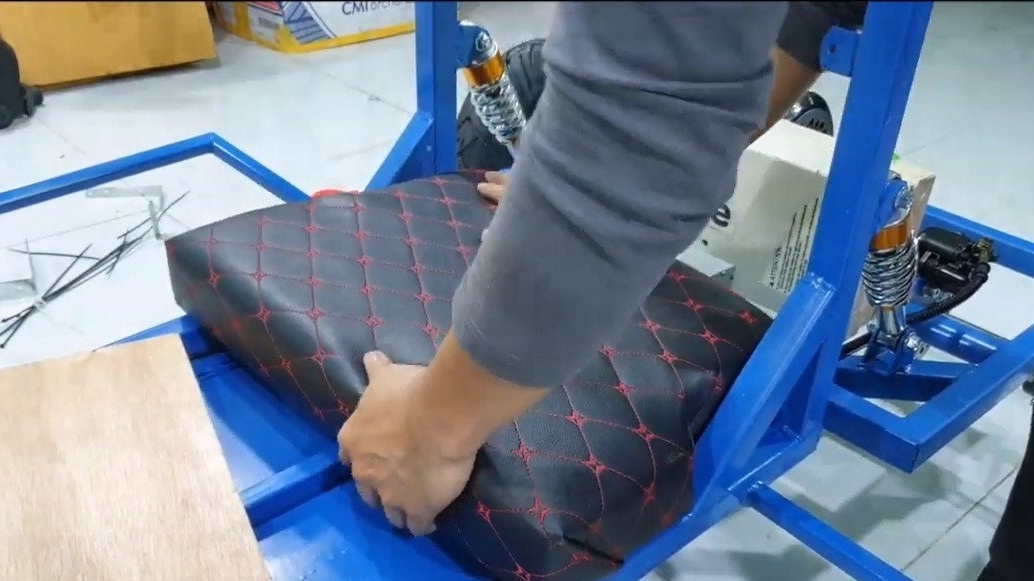
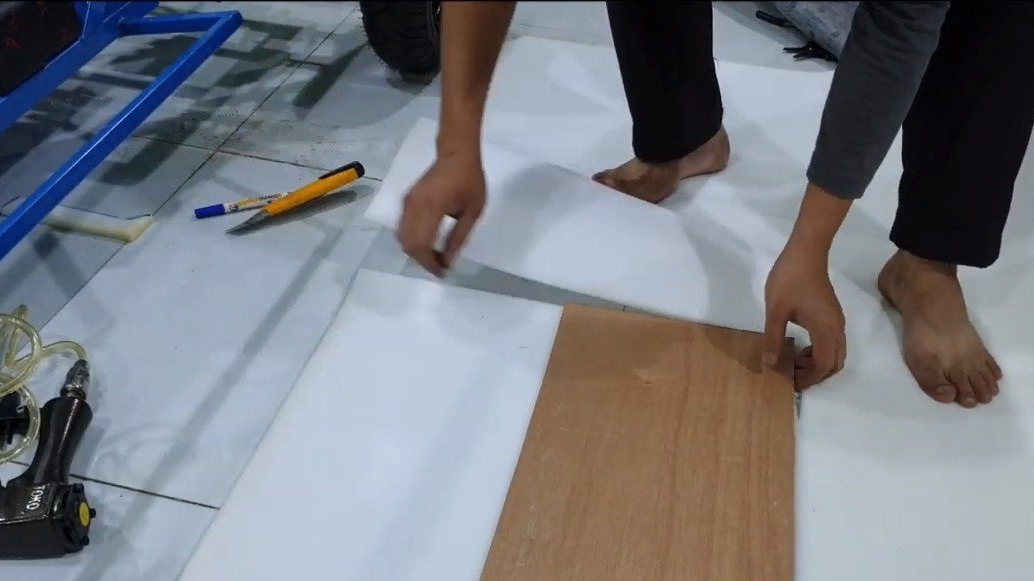
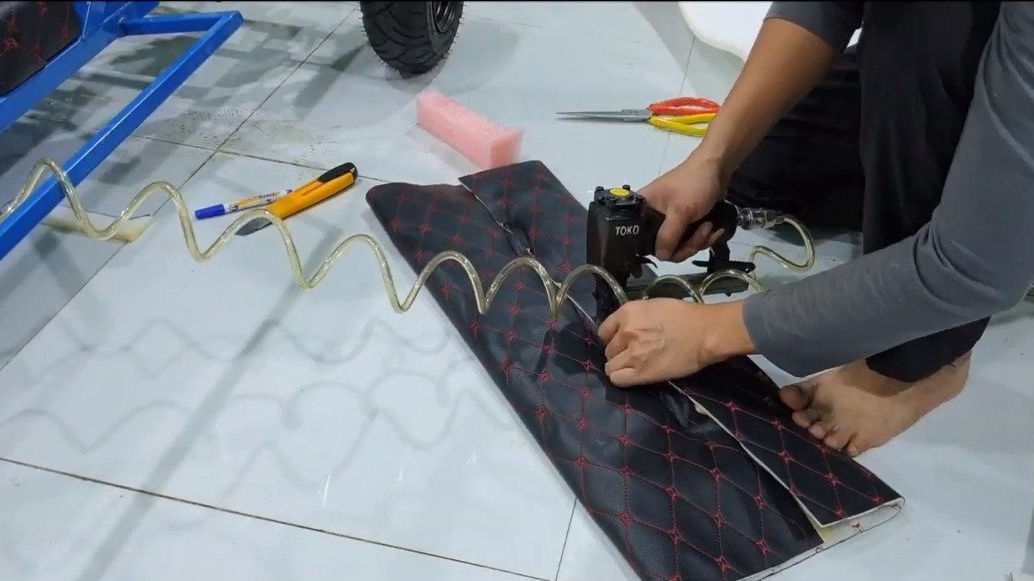
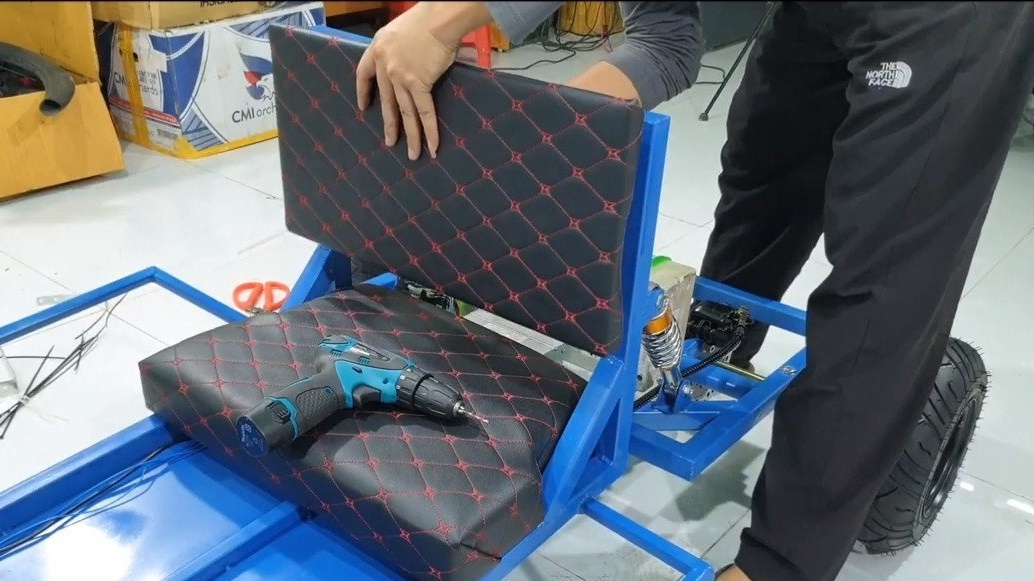
Seventh step. Seat
We make a seat, we use a sheet of plywood or MDF as the basis, we put thick foam rubber or other similar material on it, but on top we cover the whole thing with faux leather or other material, the author fastens everything with a stapler. We also make a backrest, but here you can do without foam rubber, the backrest can be stiff, just fit MDF or plywood with faux leather.
Step Eight. Final touches and tests
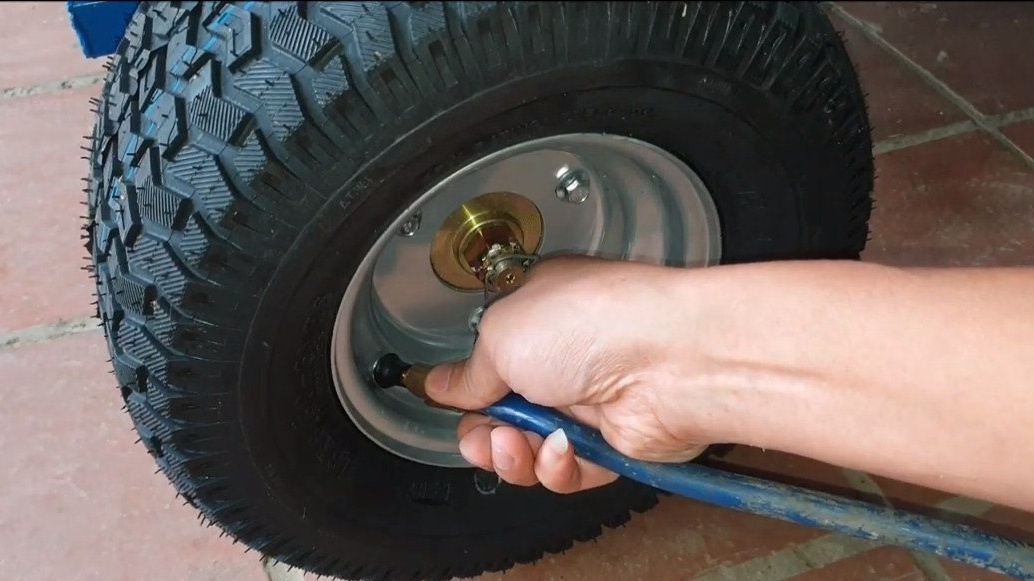
At the end auto decided to replace the wheels, he chose wider ones, with them the car looks much more interesting, and the cross-country ability will be higher.
We pump up the wheels and charge the battery, you will need a suitable charger.
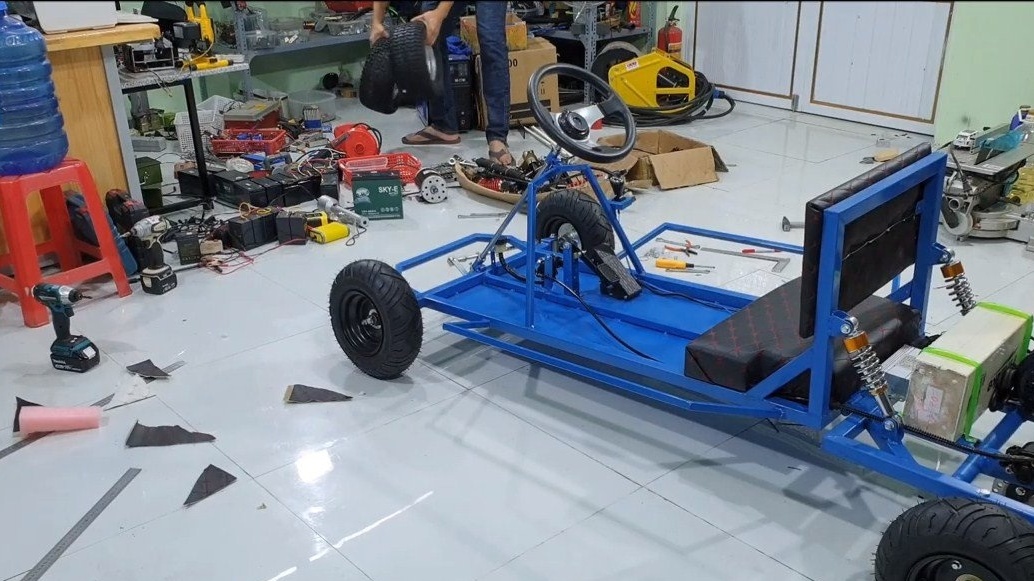

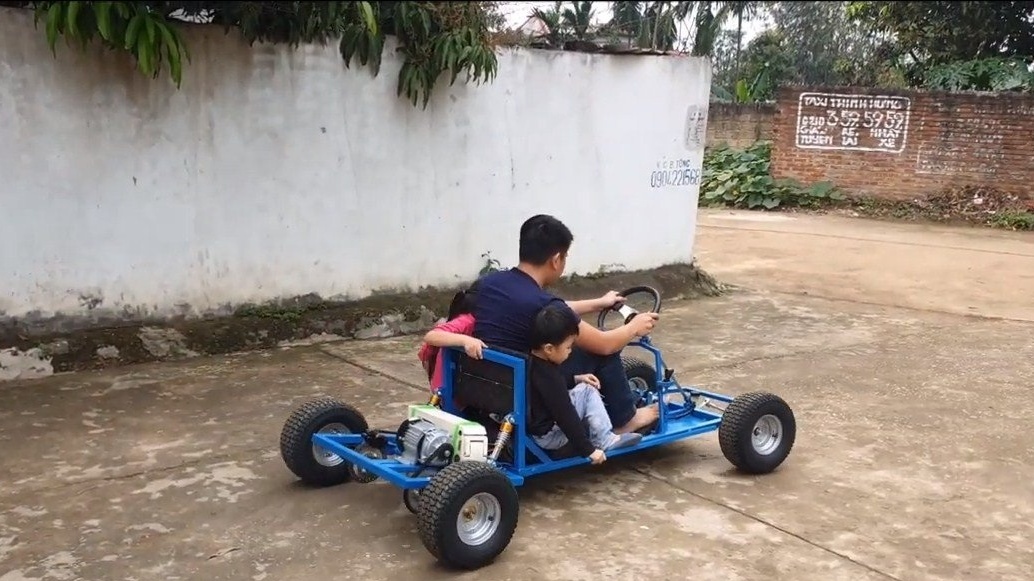
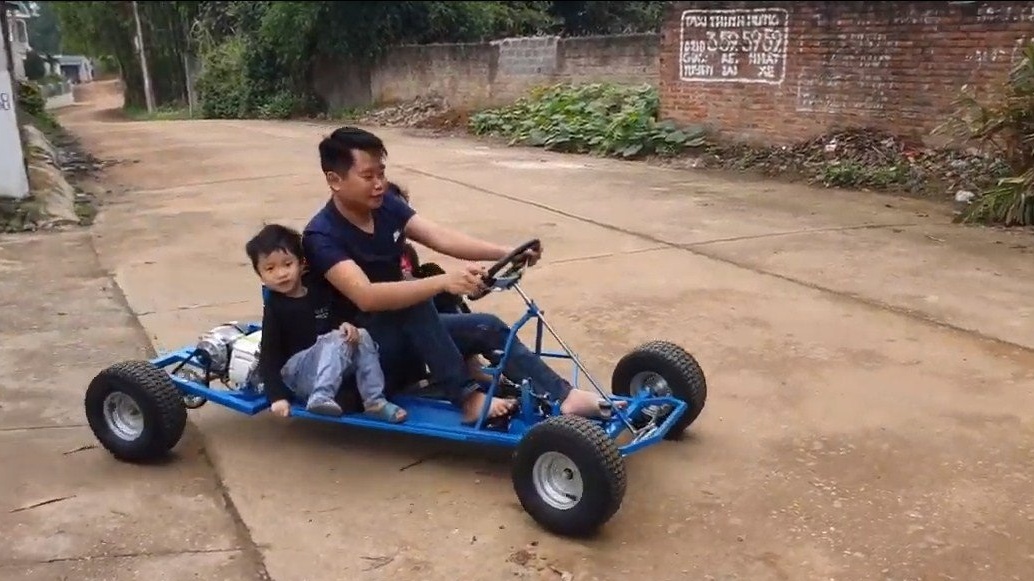
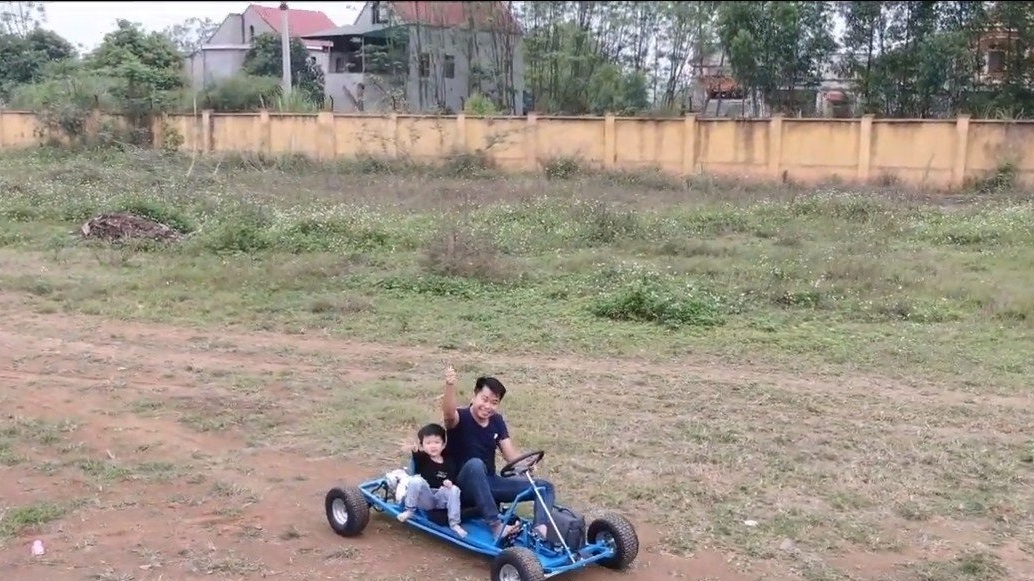
Homemade ready, you can go! The author pulls away quite easily, although the maximum speed in appearance is not great. As an additional load, the author decided to ride the children on the car, the car coped with this task without any problems. This is the end of the project, I hope you have found useful thoughts and ideas for yourself. Good luck and creative inspiration, do not forget to share your ideas and homemade things with us!