
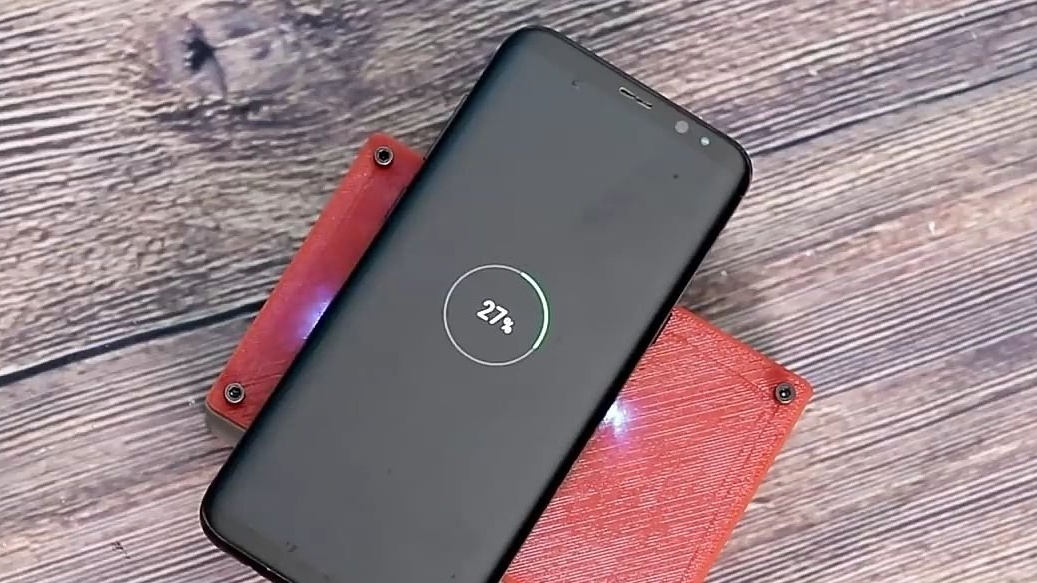
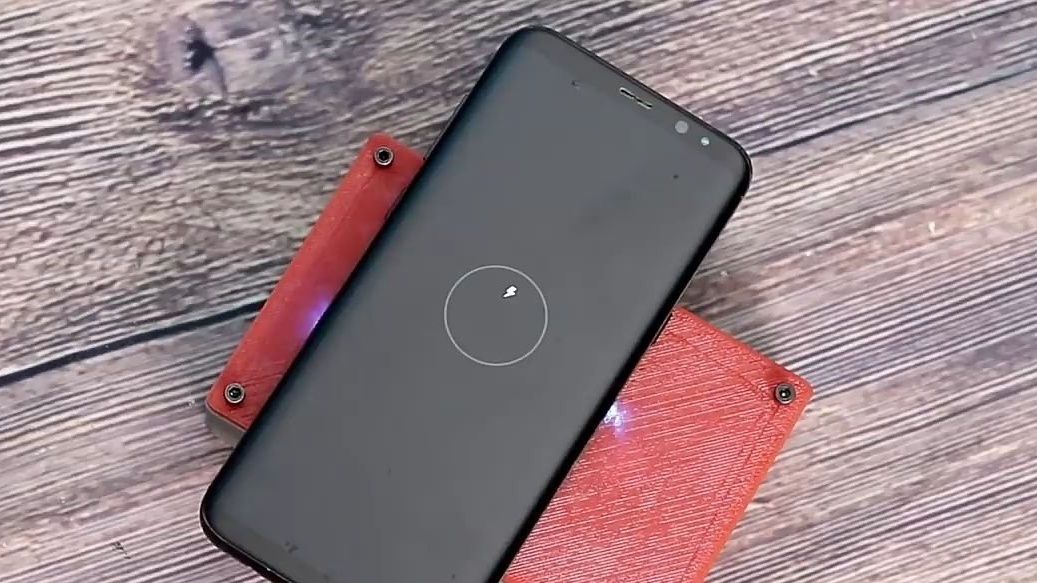
Hi the inhabitants of our site! In today's article, we will try to consider in as much detail as possible how to make a Power Bank, but it will not be a very typical portable charger. Namely, this homemade product will be equipped with a very useful, convenient and, in the end, “fashionable” function, namely the ability to charge smartphones wirelessly. It would seem that this is a useless function that can charge the device only when it is very close to charging, but surely everyone who has used portable charging at least once knows how convenient it is to carry a wire that often breaks in your pocket and fails, with the wireless charging function this will definitely not happen.
It should also be noted that if your smartphone does not have such a function, then do not be disappointed, as the Chinese have come up with their own solution, namely this is a special module that is placed under the cover or cover of the smartphone. A link to a similar module, as well as to everything that may be useful to you when building this homemade product, is left at the end of the article.
For this homemade product you will need:
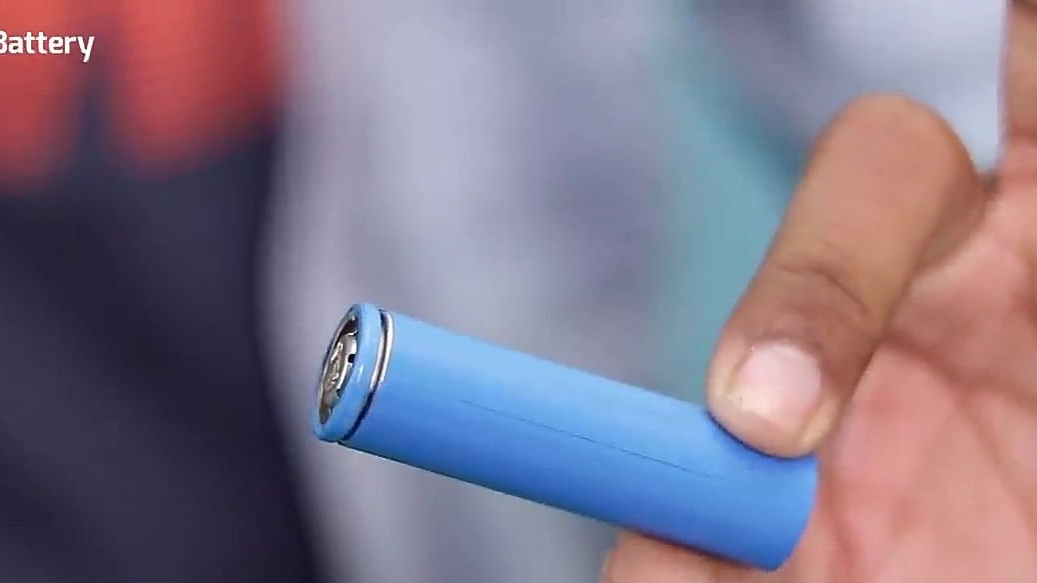
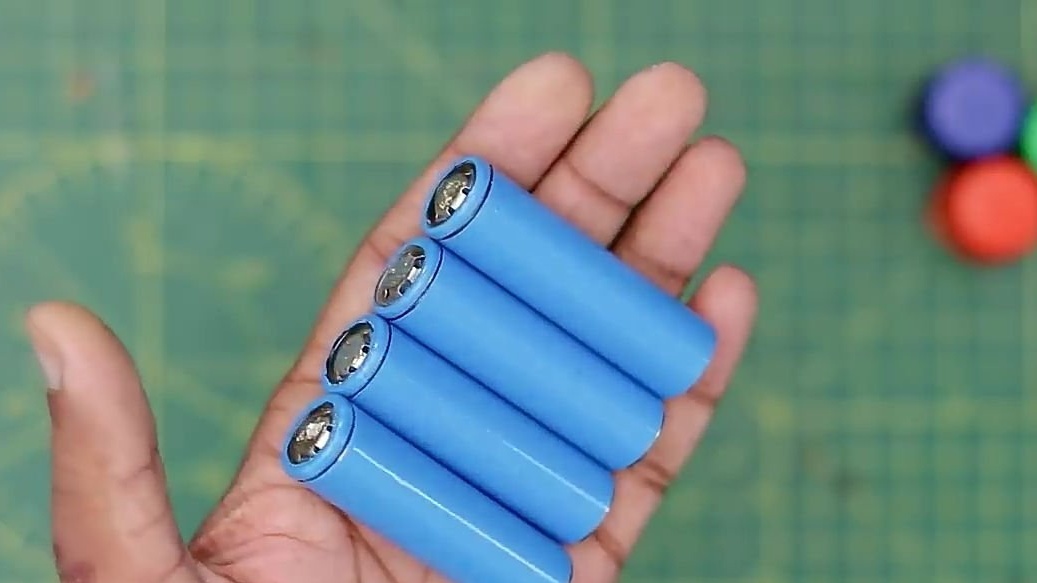
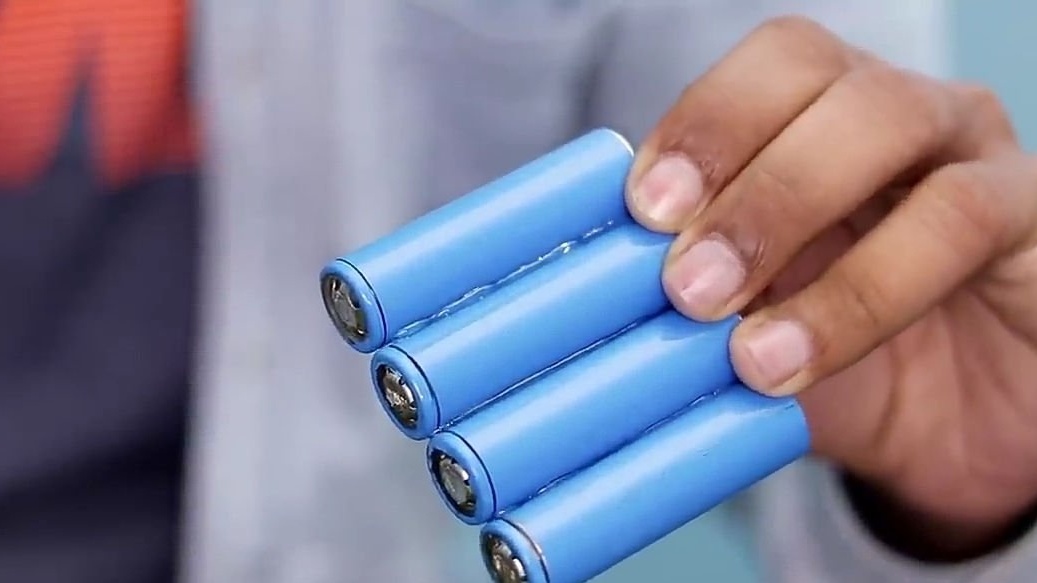
- 4pcs 18650 batteries
- wires
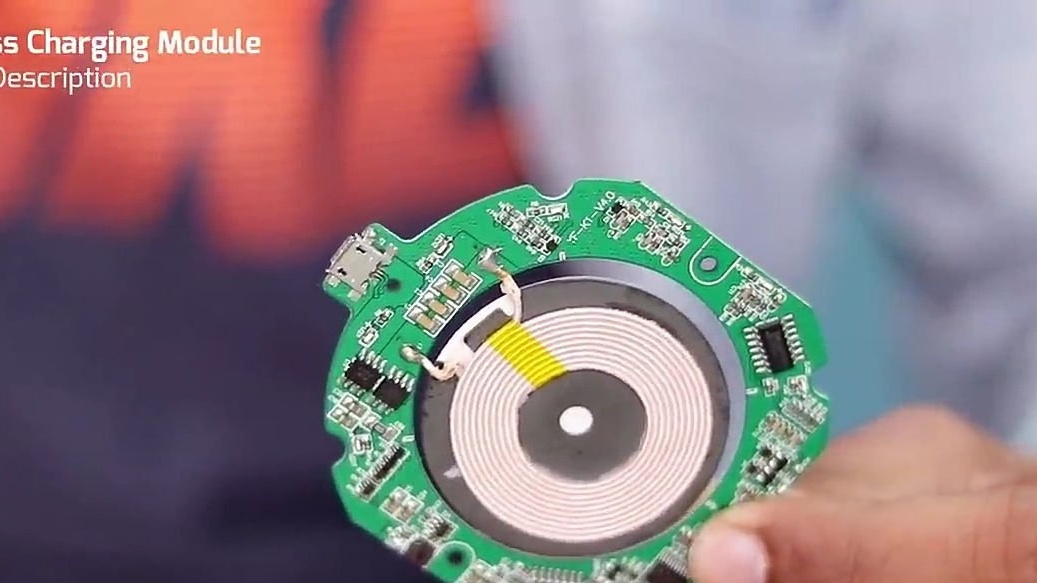
- Wireless charging module
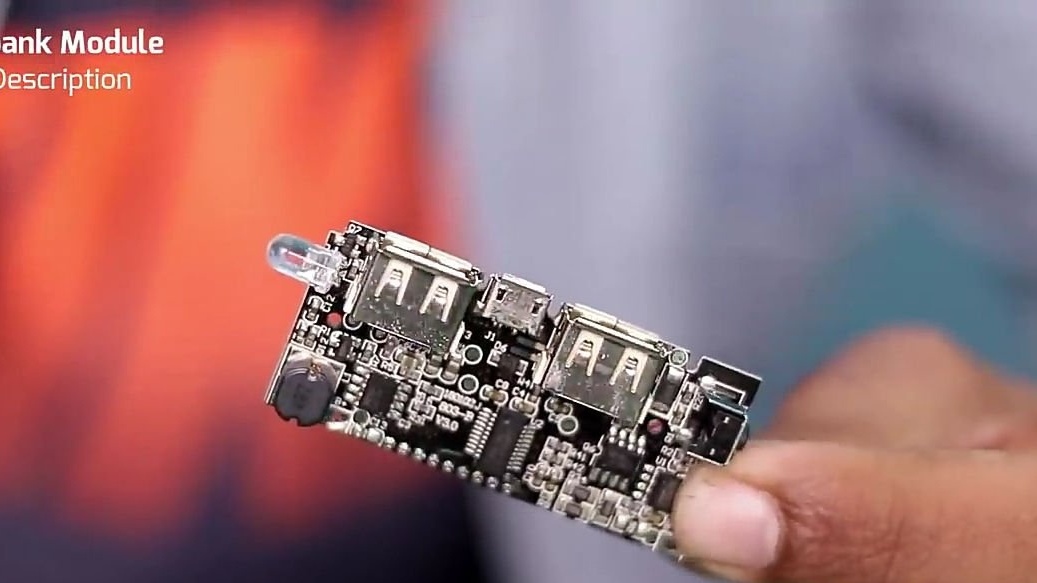
- The so-called Power Bank module
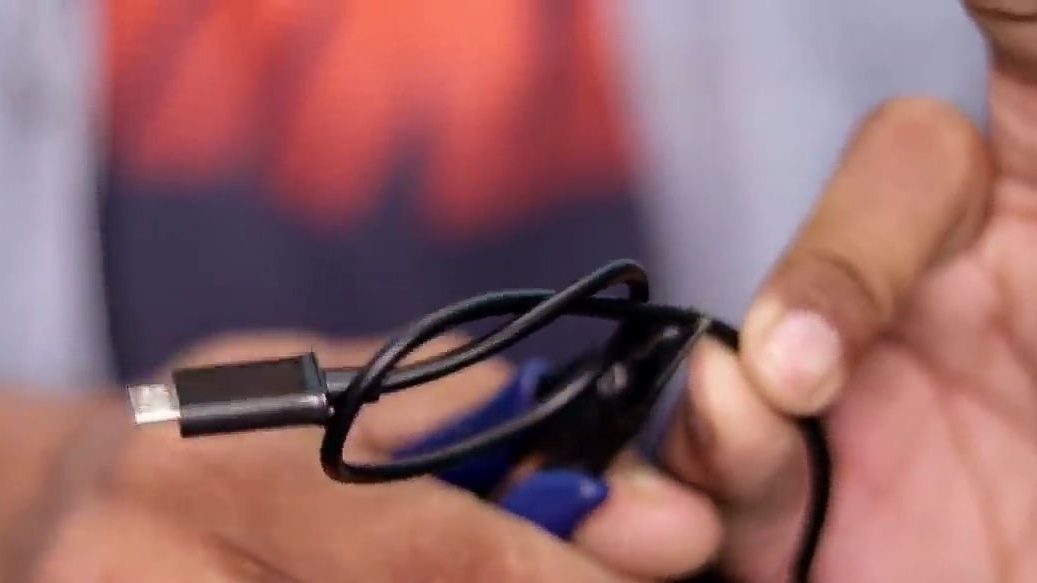
- USB cable
- switch
- Screws 4 pcs.
From the tools you will also need:
- soldering iron
- Hot glue
- Stationery knife
- Super glue
- Double adhesive tape
- screwdriver
- Nippers
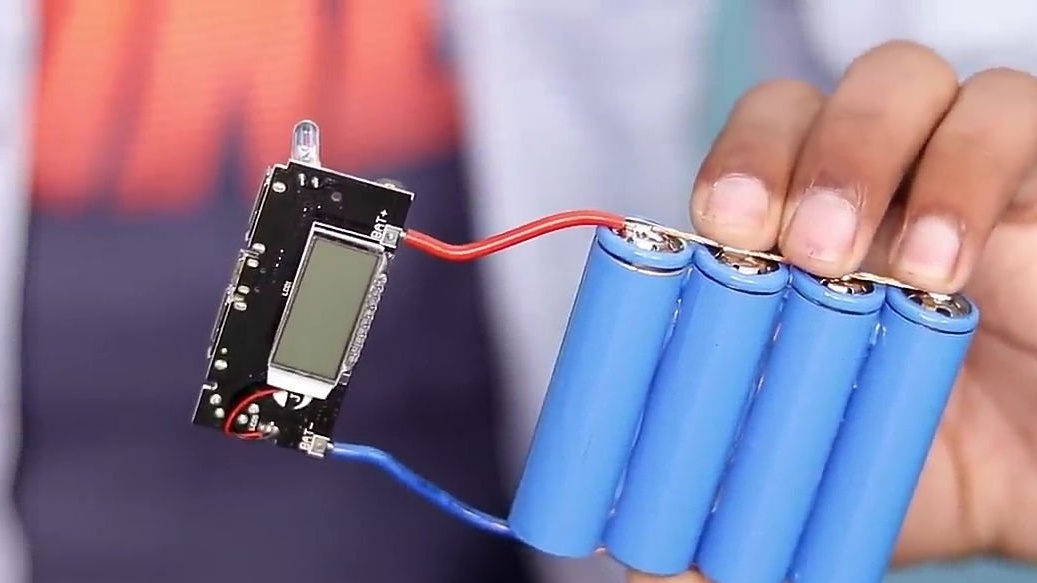
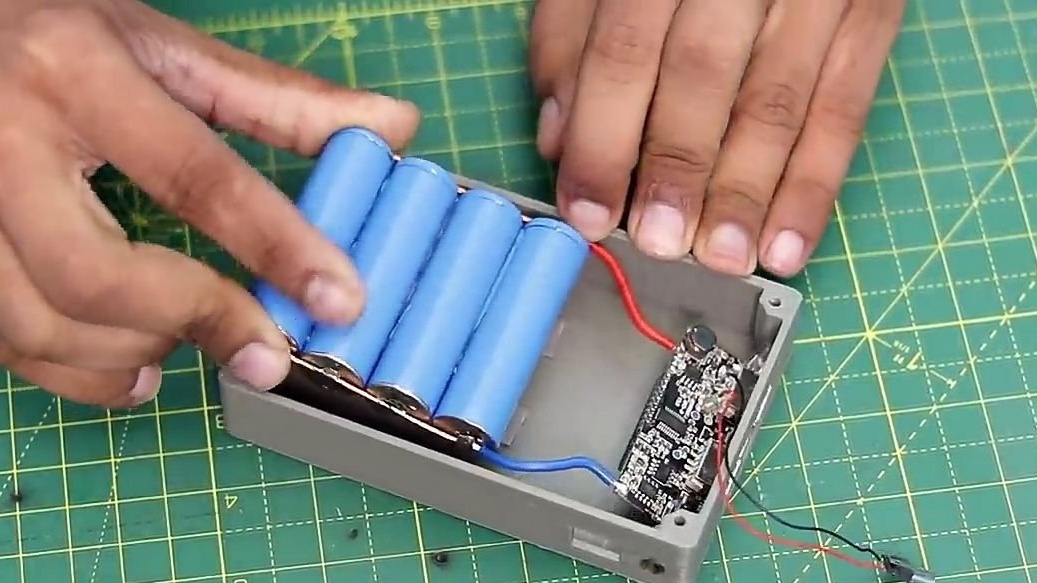
Well, let's get started. To begin with, we should collect the most important part of any portable charging, namely the battery. As a battery we will use a spike of four rechargeable batteries of the 18650 format. This battery format is very common, and it is very beneficial to use it. So I want to add for those who want to save on the construction of this homemade product, you can use old laptop batteries inside which have an installed 18650 battery. But if you still want to get decent portable charging that can fully charge your smartphone at least once, then I recommend the acquisition of new high-quality batteries.
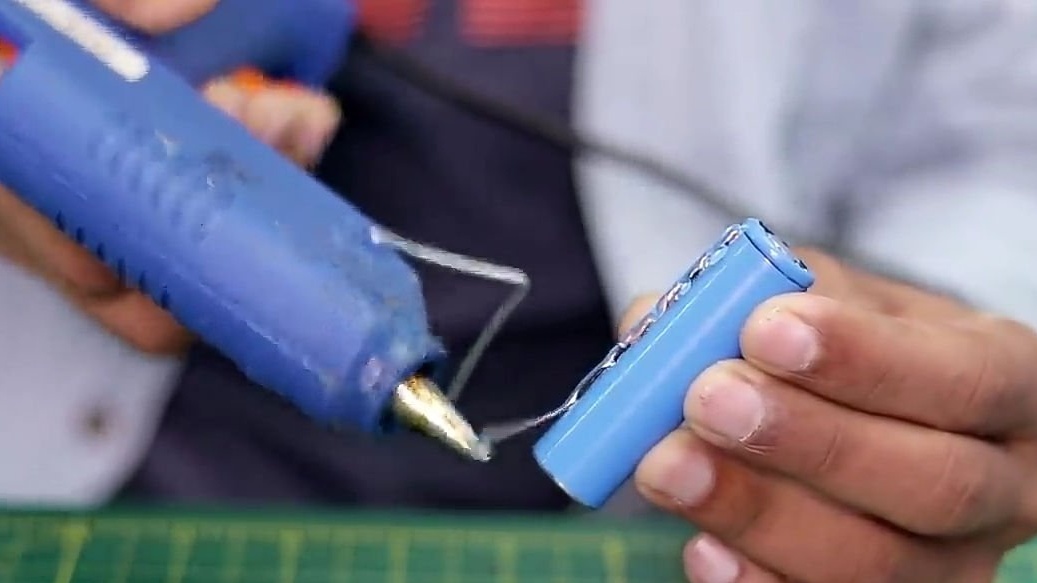
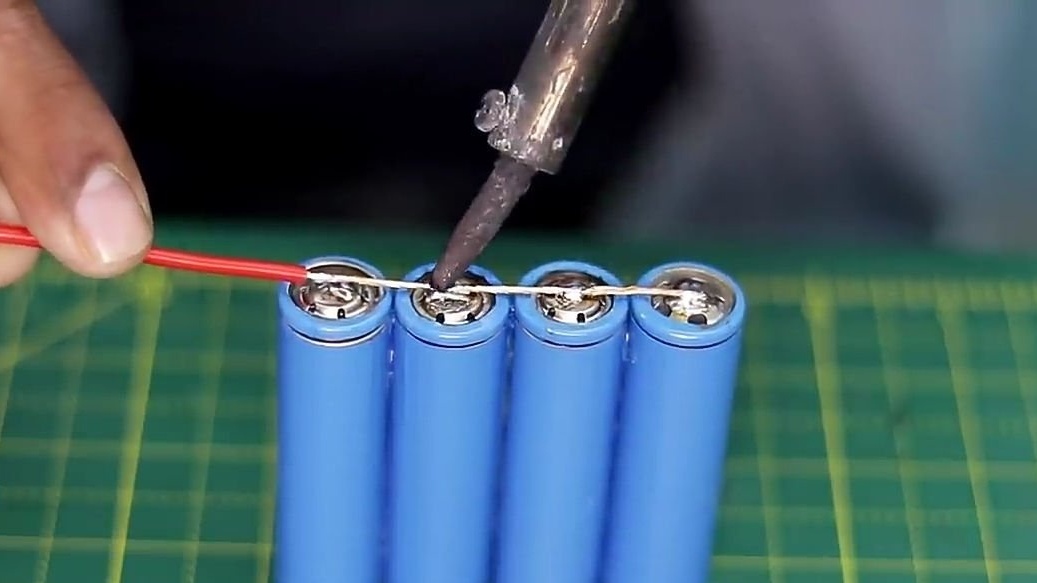
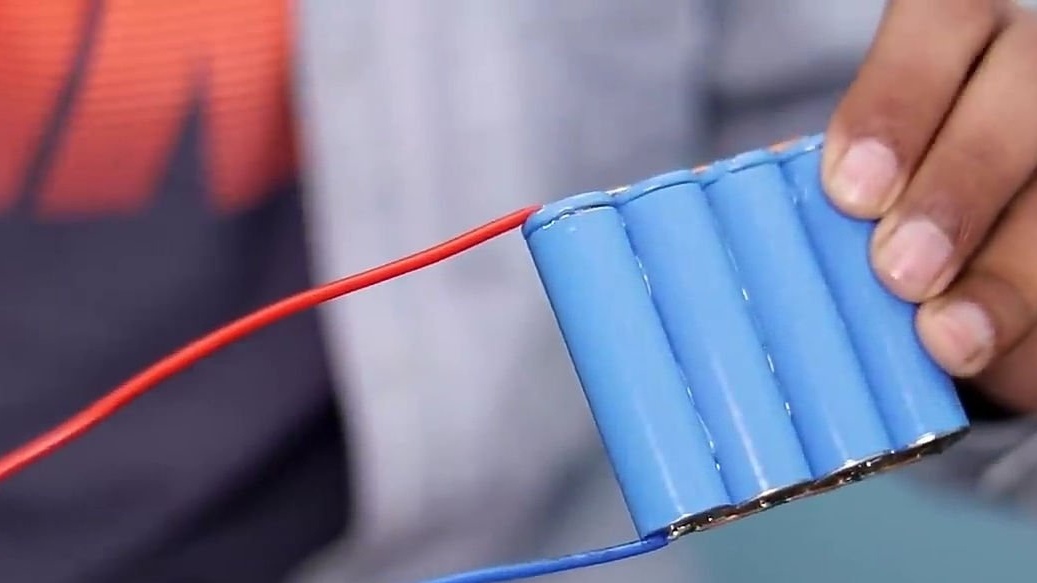
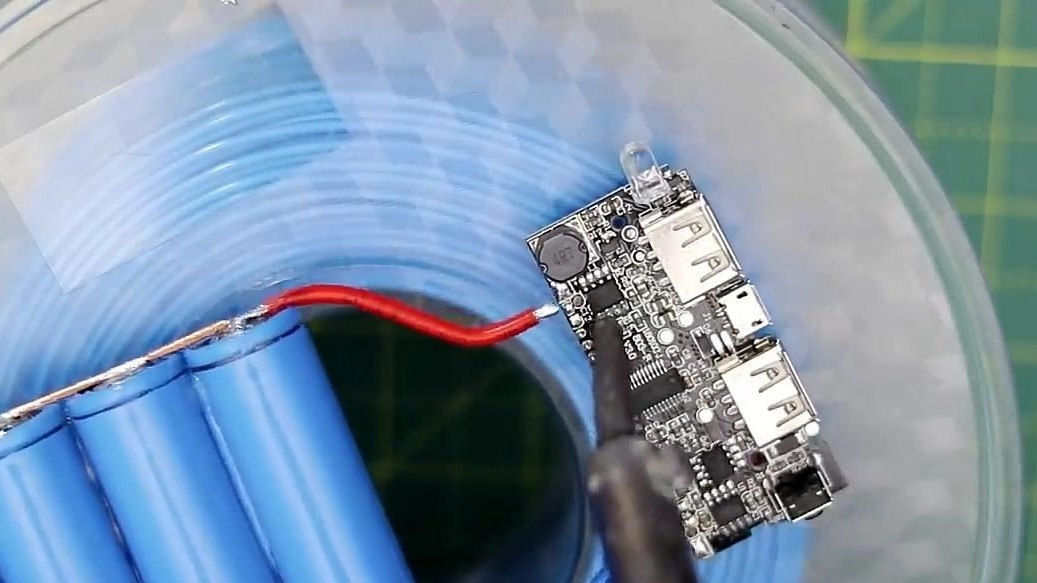
Having dealt with the selection of suitable batteries. We pass to their assembly. To do this, connect the batteries in one line using hot melt adhesive (hot melt adhesive must be barely warmed up, otherwise there is a risk of damage to the batteries).We connect the batteries in one line so that it would be easy to connect them in a parallel circuit, saying differently, so that all “+” look in one direction, and “-” in the other (see photo). We expose the power wire and solder it to the batteries, as it is shown in the photo below.
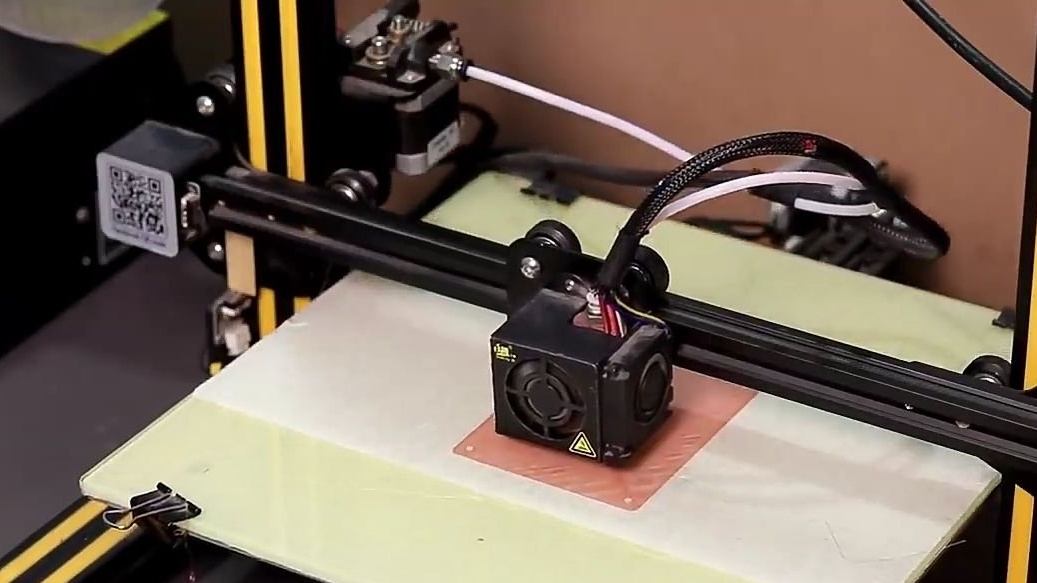
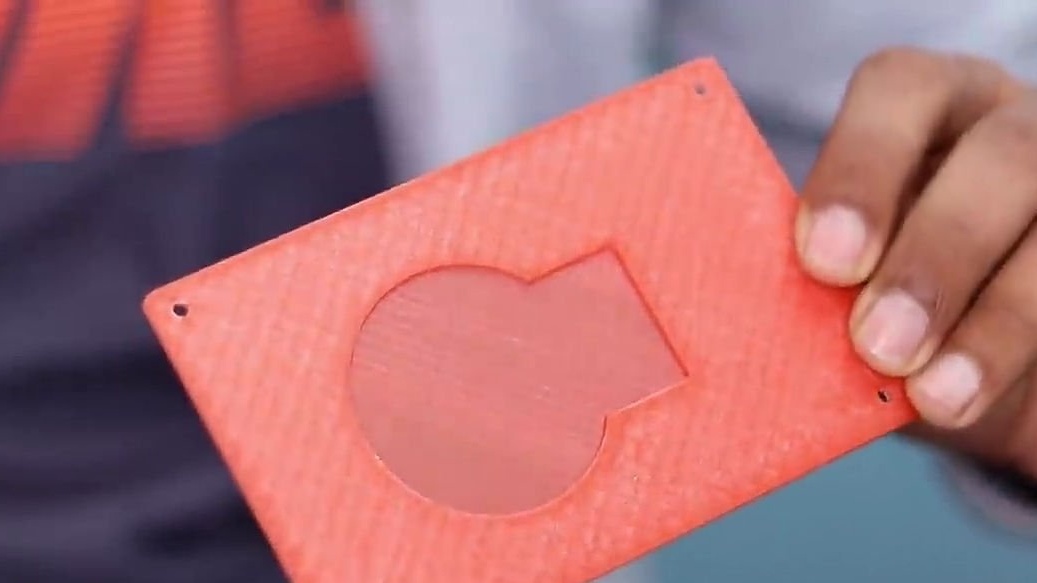
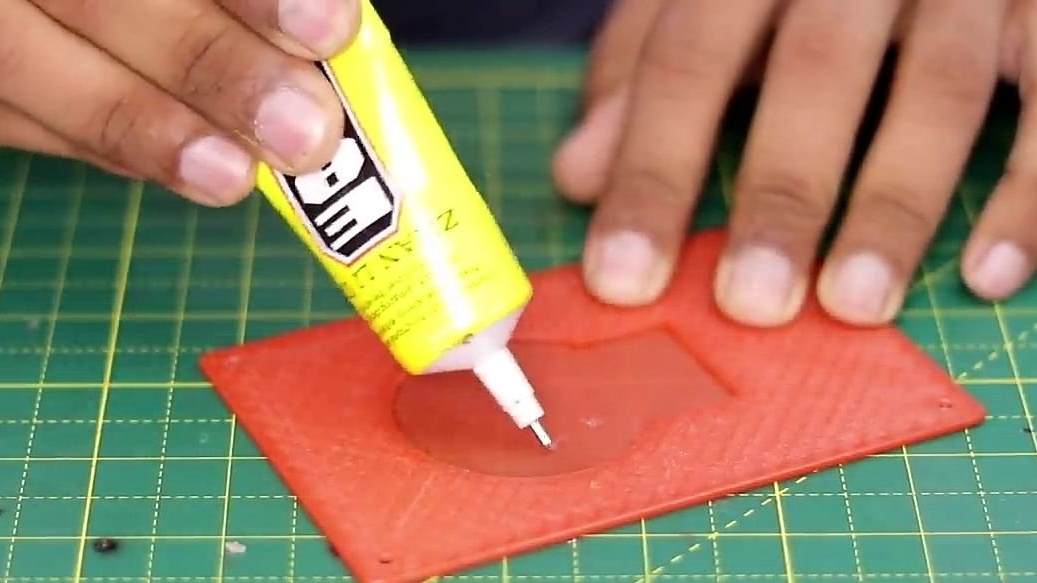
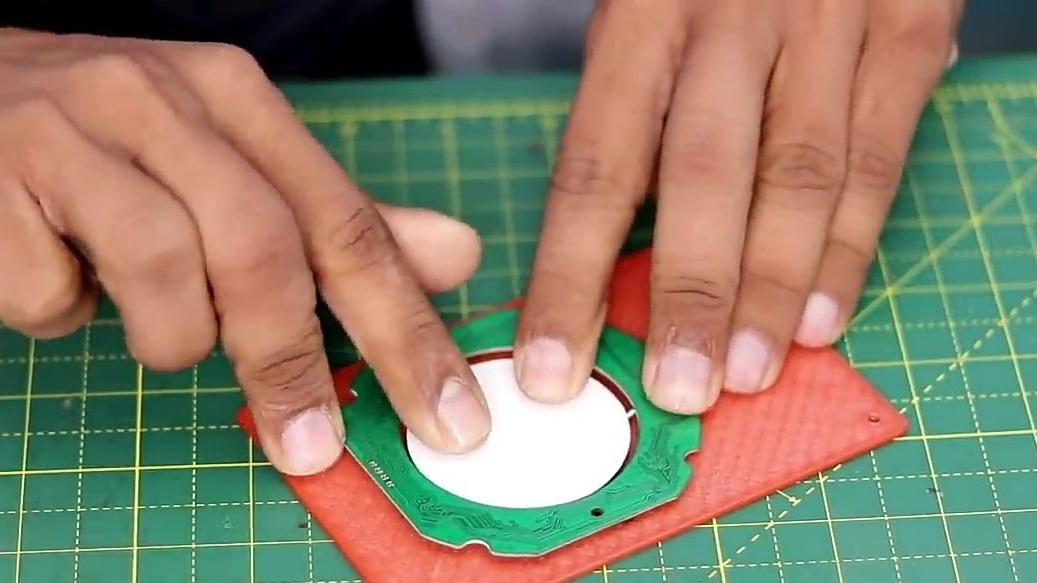
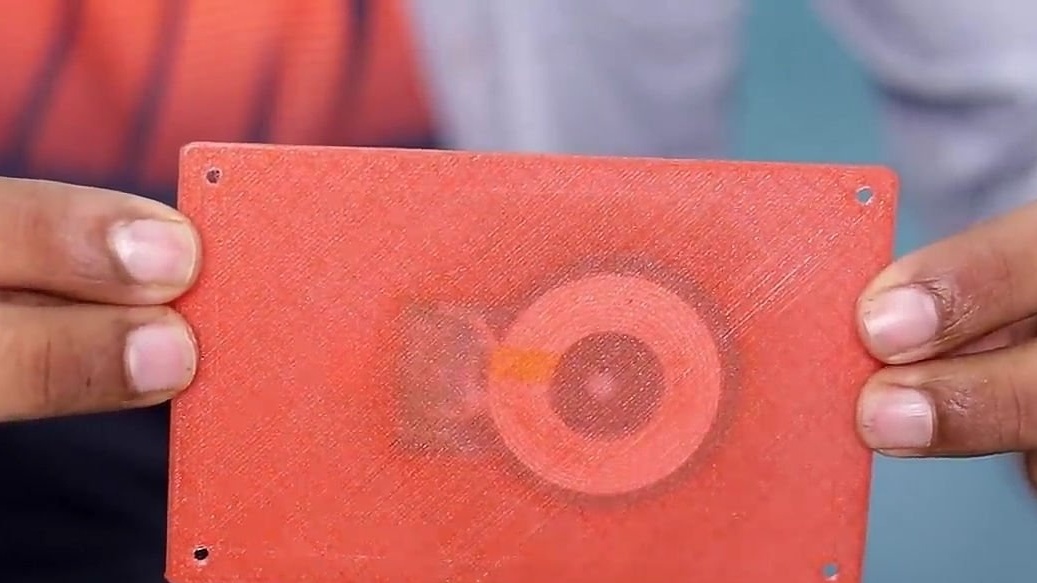
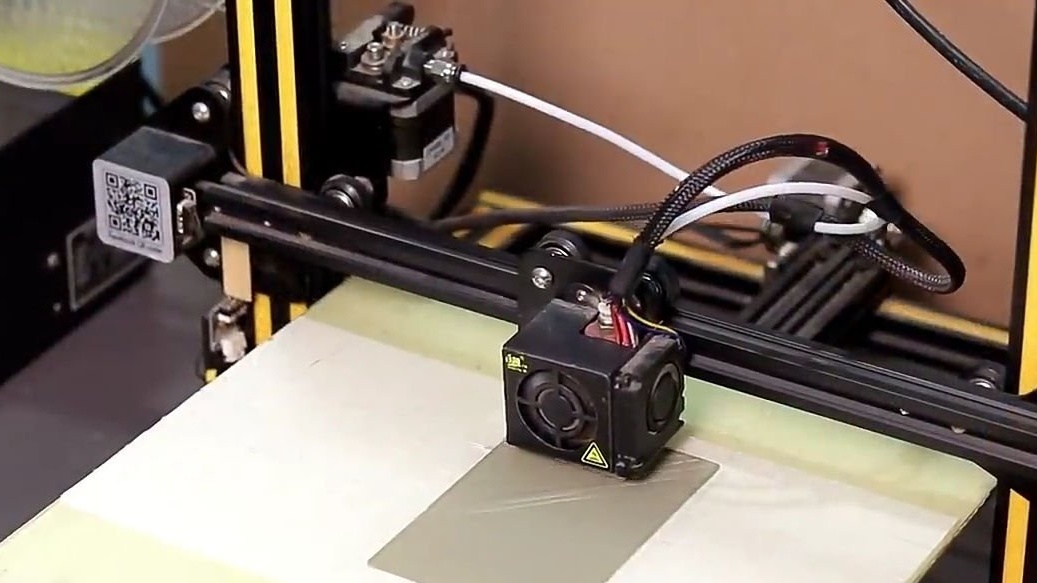
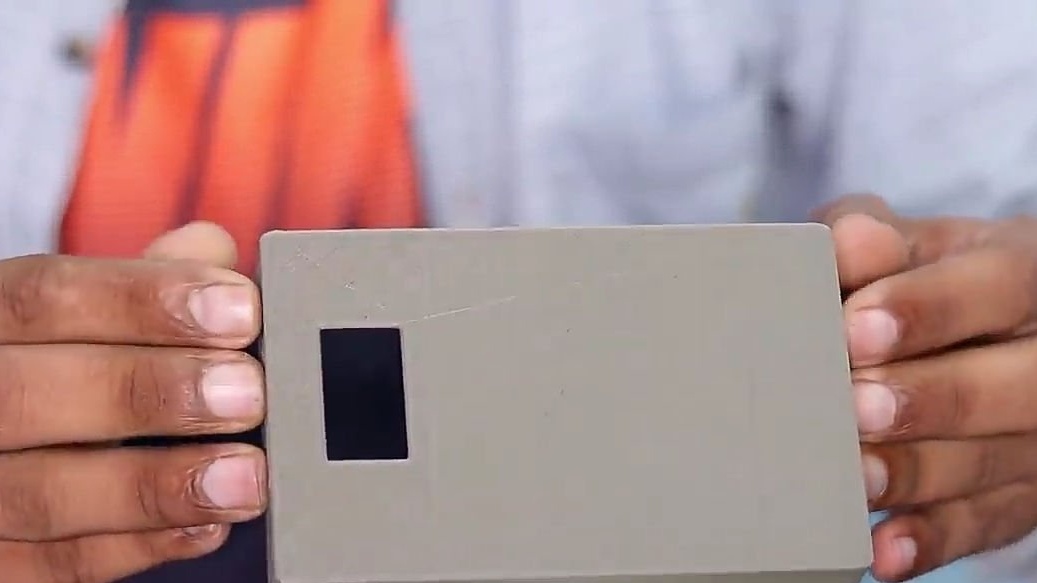
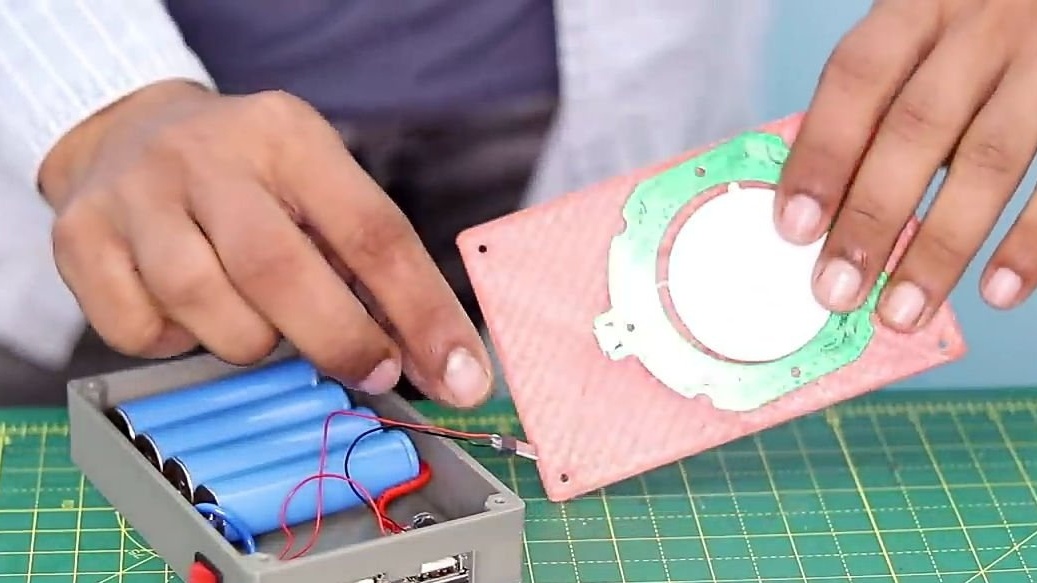
For the next step, we need a wireless charging module. We should integrate this module into one of the walls of our case. It should be noted that the author made his own case on a 3D printer, which you can do as well. If you don’t have it, then you can use the services of 3D printing, and if this method also doesn’t suit you, you can purchase a ready-made case from the Chinese or assemble your own from improvised means. It is important to know that the place where it is located is where the wireless charging module should be as thin as possible, otherwise, in the worst case, your gadgets will simply not charge. Having printed the necessary element of the body, we glue to it with the help of superglue the above-mentioned module.
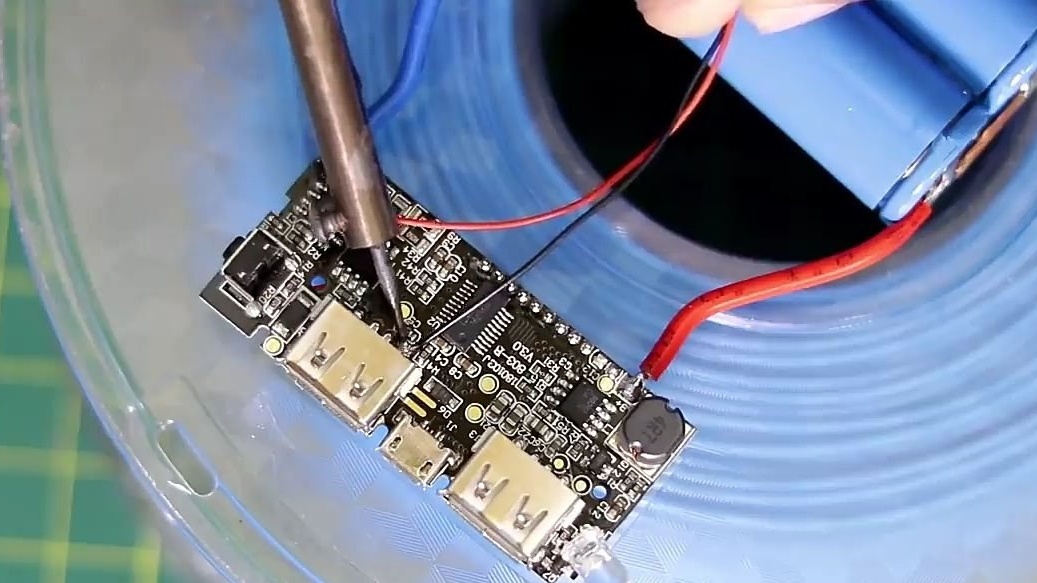
After which we will need to take the Power Bank module, varieties of which our Chinese friends have an infinite number, they differ in both characteristics and price (choose the one that suits you best). This module should solder our battery assembly. It should be soldered into the input, observing the polarity, usually such contacts on the printed circuit board are displayed as "in +" and "in-".
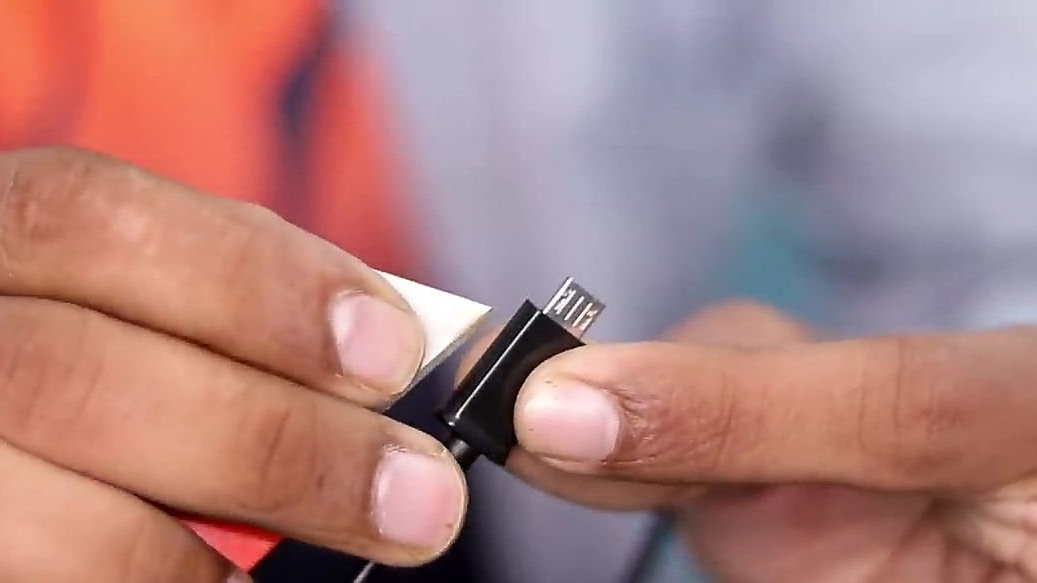
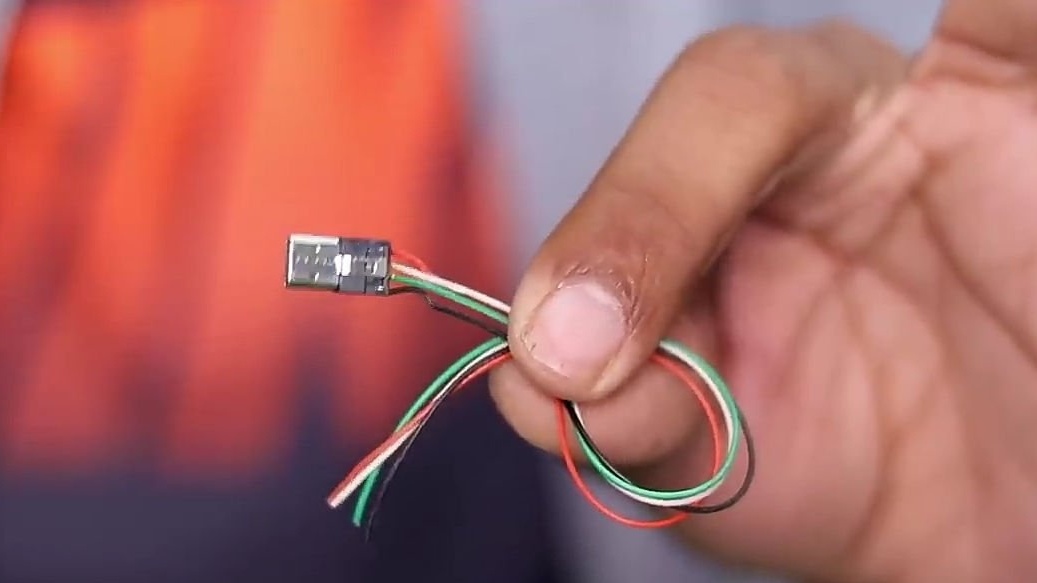
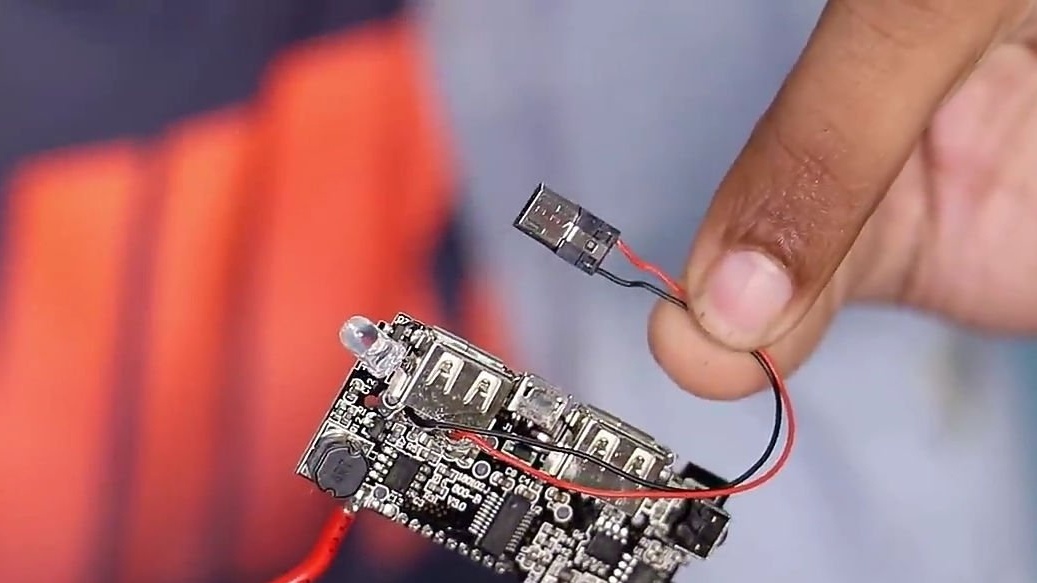
For the next step, we need a USB cable, or rather Micro USB. Using this cable, we will connect the Power Bank module with the wireless charging module. To do this, take the cable and with the help of wire cutters, bite off about 5-7 cm of cable. Then, with the help of a clerical knife, we gutted a piece of cable, as it is shown in the photo below. Namely, in the end, we should have the plug itself and two wires coming from it (red and black).

Having prepared the cable as described above. Its wires should be soldered to one of the USB outputs of the Power Bank module (preferably to the one that can give more current). Solder according to the polarity "+" to "+", and "-" to "-".
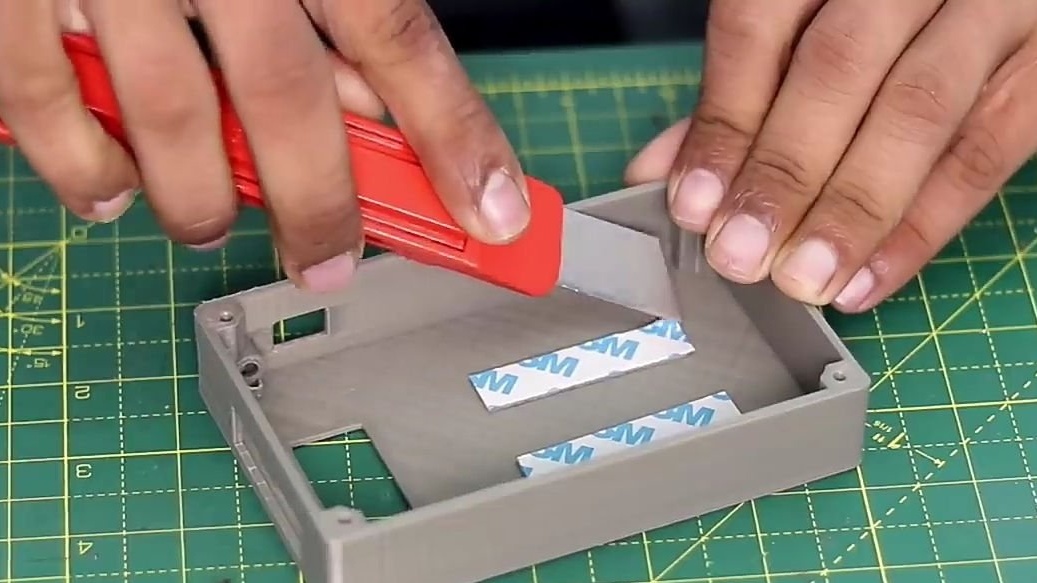
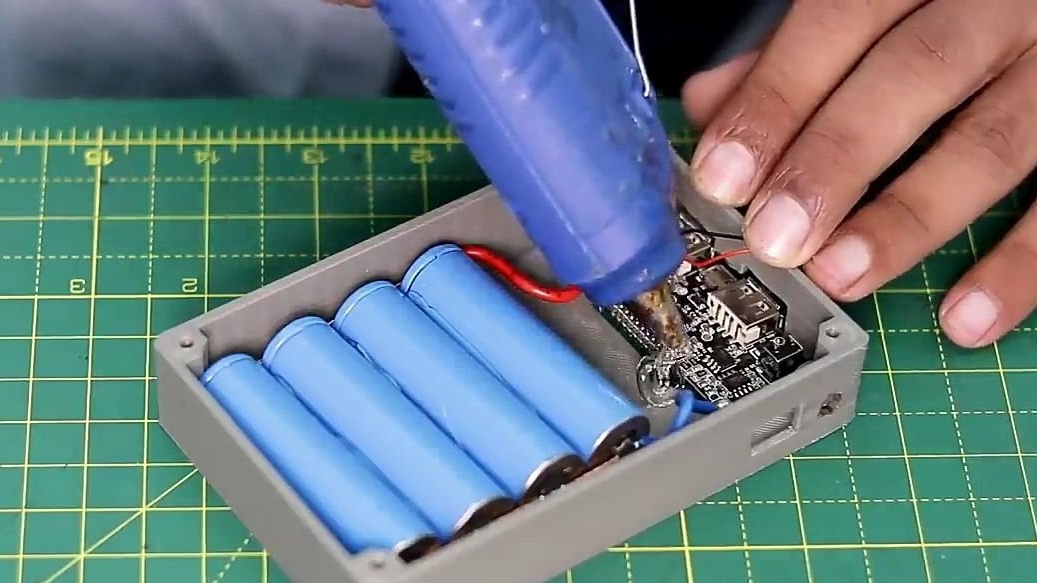
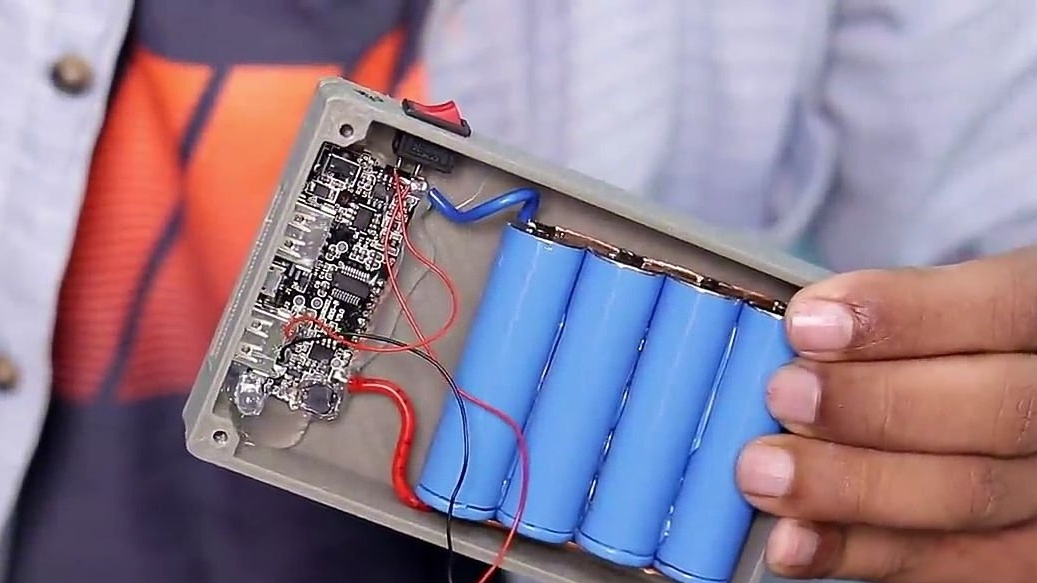
Then proceed to our packaging e fillings in the case. Recall that the author’s case is made on a 3D printer. We glue a couple of strips of double adhesive tape to the body, on which we glue our battery, in this case it is not recommended to use hot glue, since for a reliable connection, we need to use a large amount of hot glue, which can actually harm our battery. Then, using hot-melt adhesive, we fix the Power Bank module so that all the necessary connectors coincide with the special holes made just for them.
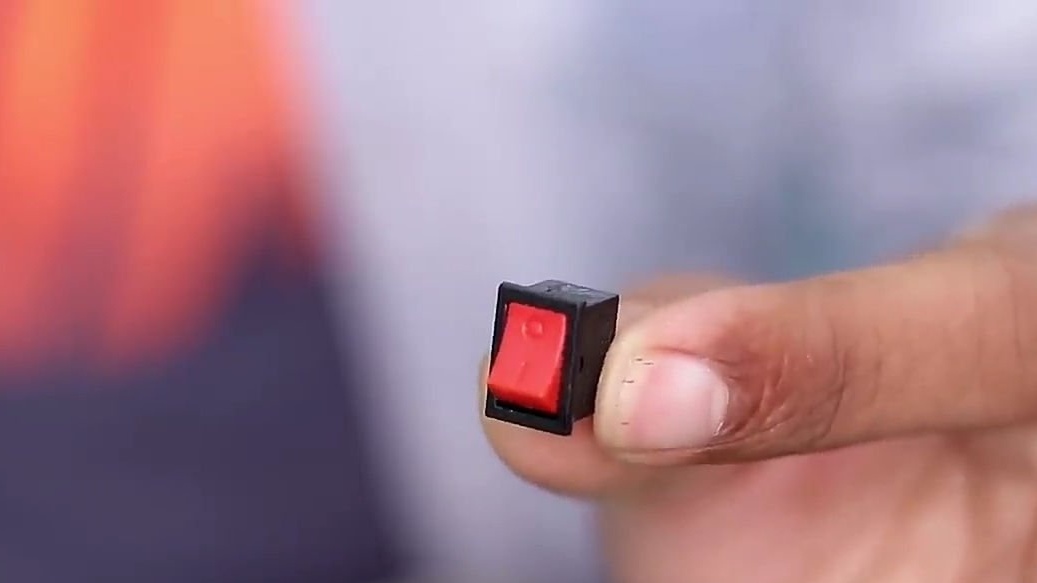
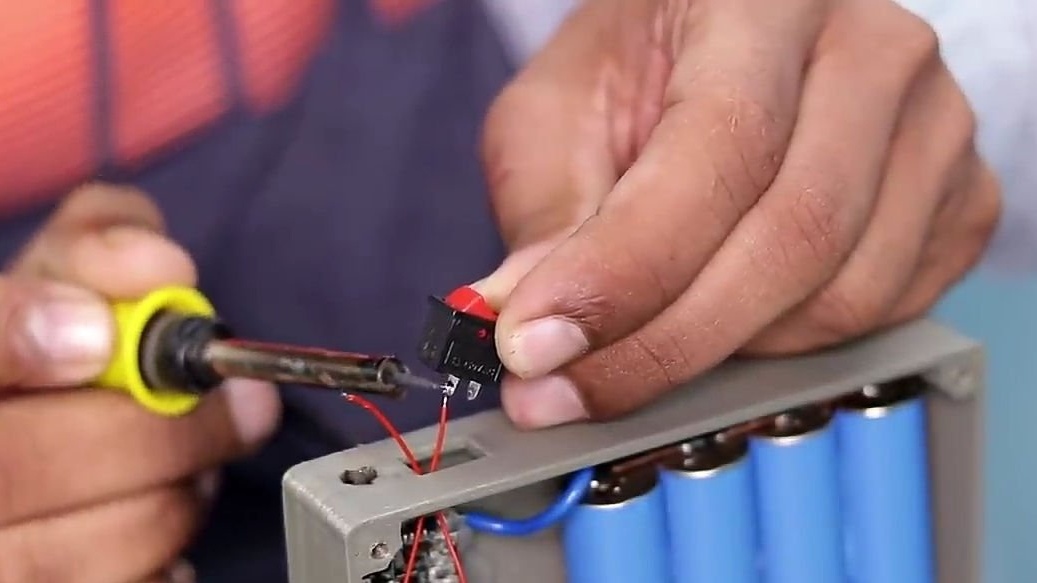
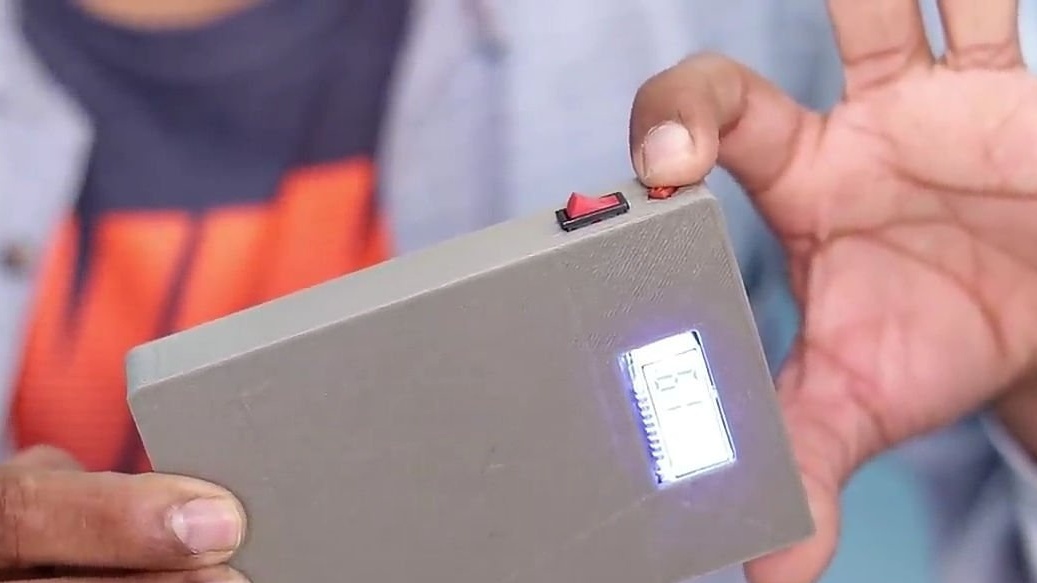
Then with the help of wire cutters, we bite the red wire coming from micro USB, this is necessary in order to integrate the switch into this circuit. The switch in this case is needed to turn the wireless charging function on and off, since even in standby mode it consumes part of the energy, which is not good in this case. We push the wires through the hole for the switch, solder the wires to the switch and install it in its seat.

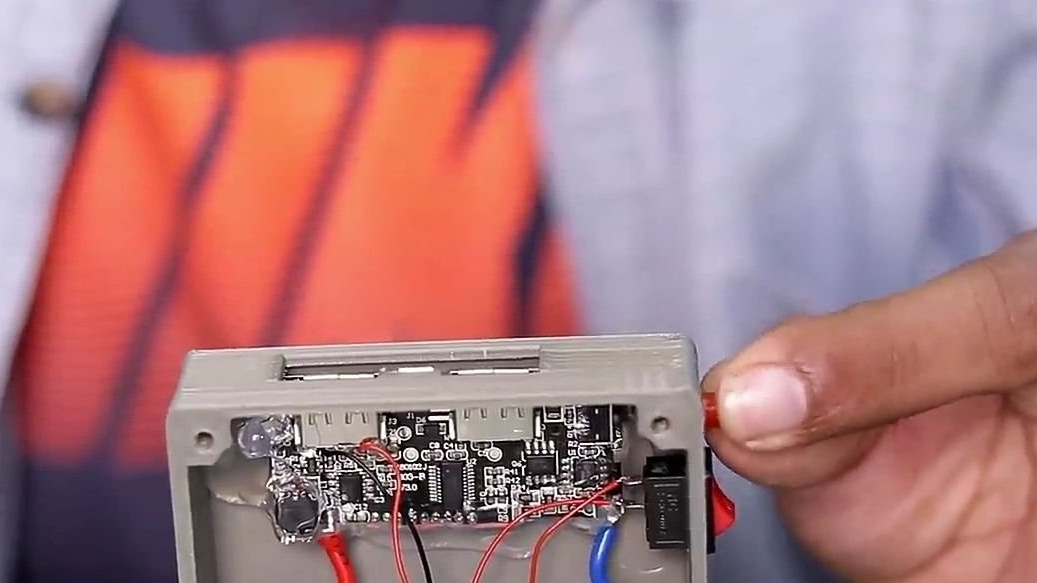
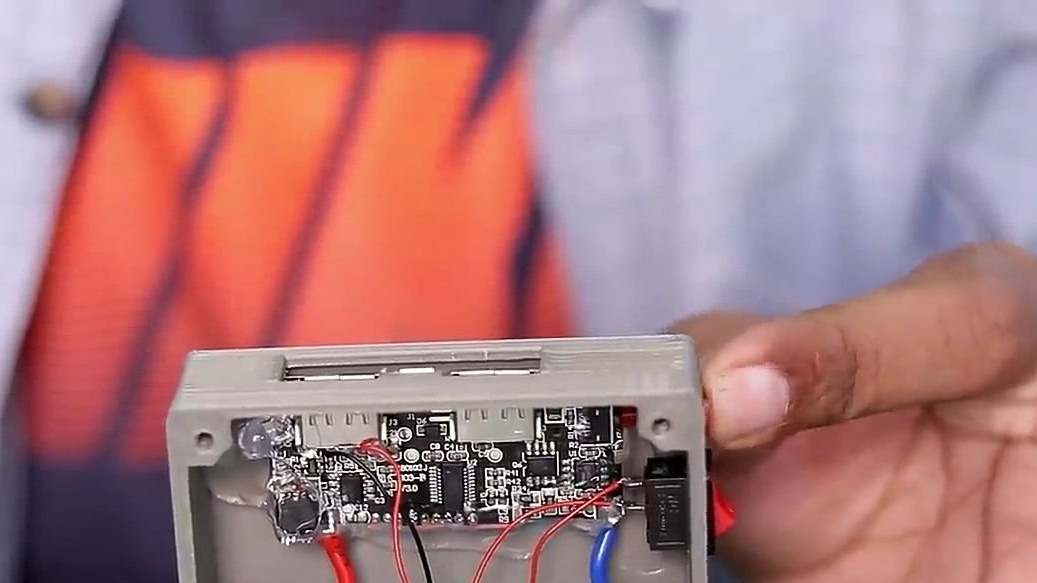
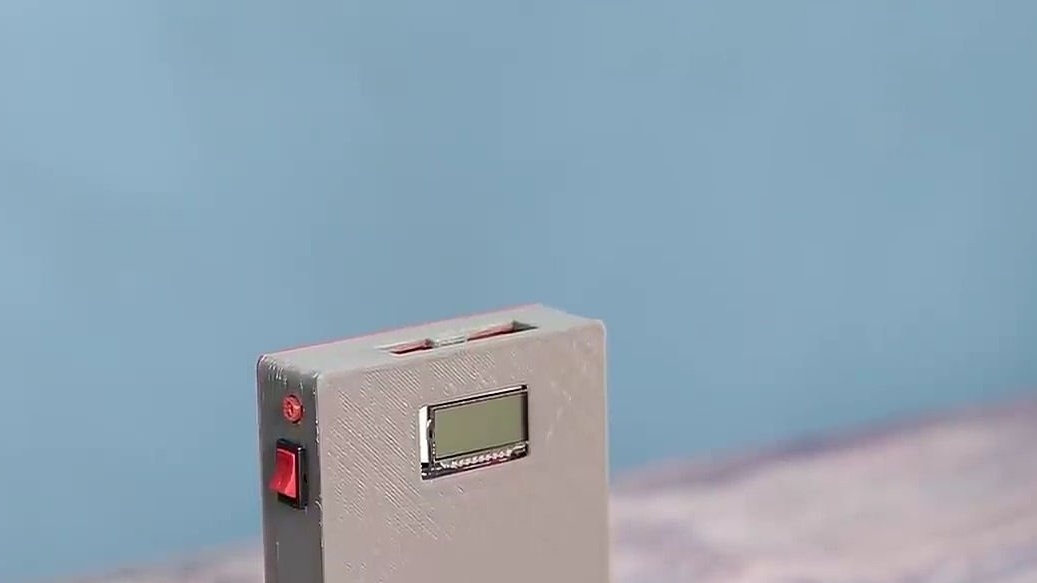
Such a case should be considered. If you, like the author of this homemade product, have a problem with the Power Bank control button of the module, then you need to transfer this button to the case itself, or do it as the author did, namely, simply extend this button (see photo).
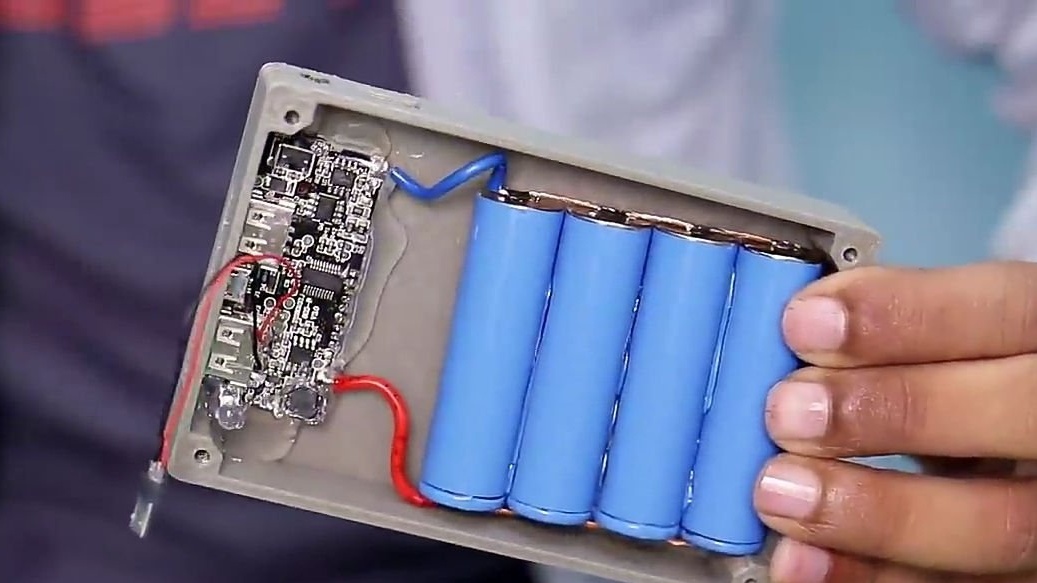
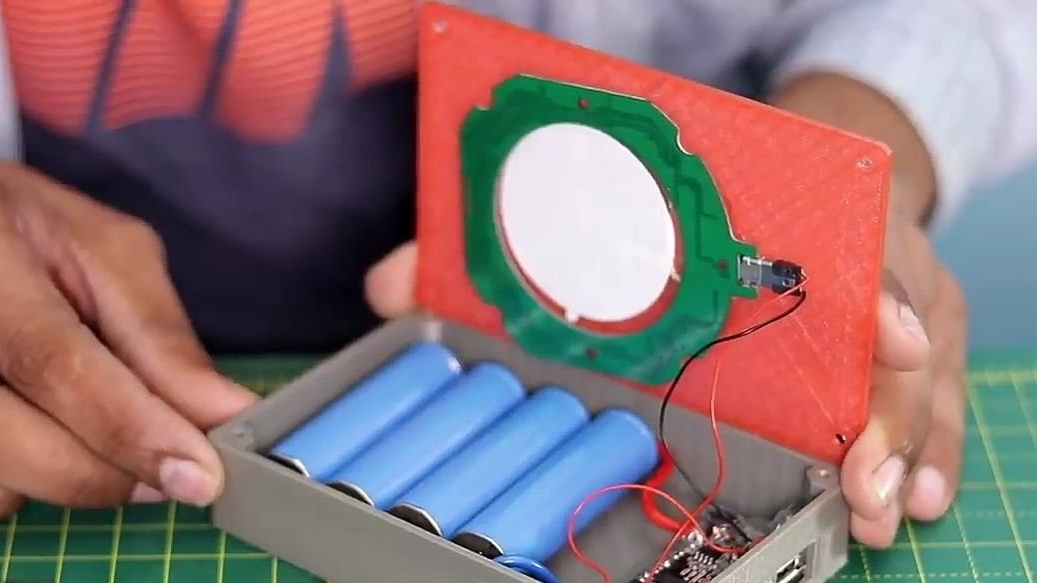
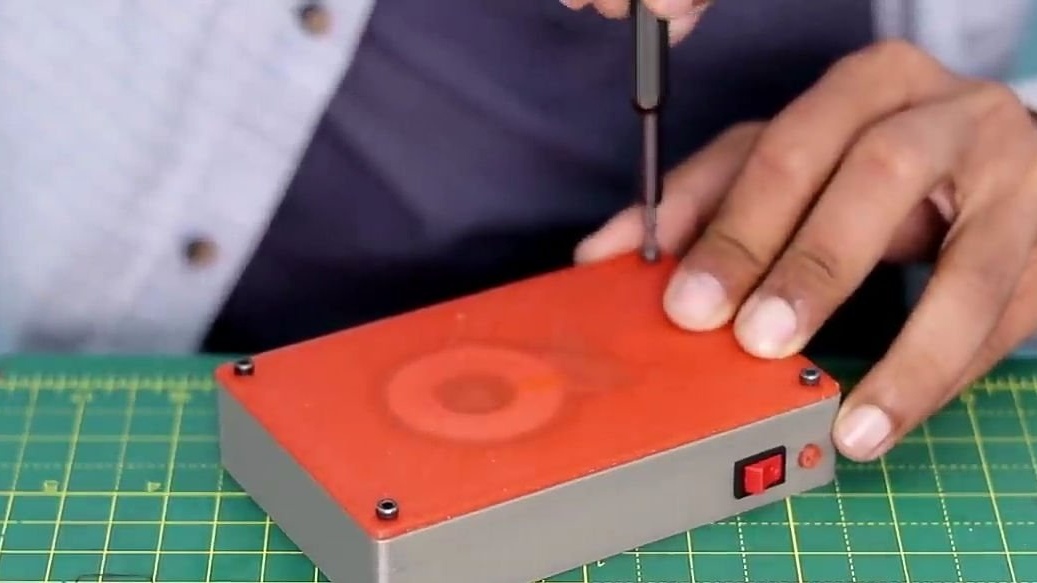
Then we connect the case to the cover, in which the wireless charging module is integrated, first by inserting our ejected micro USB into the connector on the wireless charging module. And then connecting the lid to the main part of the case, we fasten them together using screws. With this connection, we have easy and quick access to the insides of the structure, and if necessary, we can easily replace anything inside the homemade product.
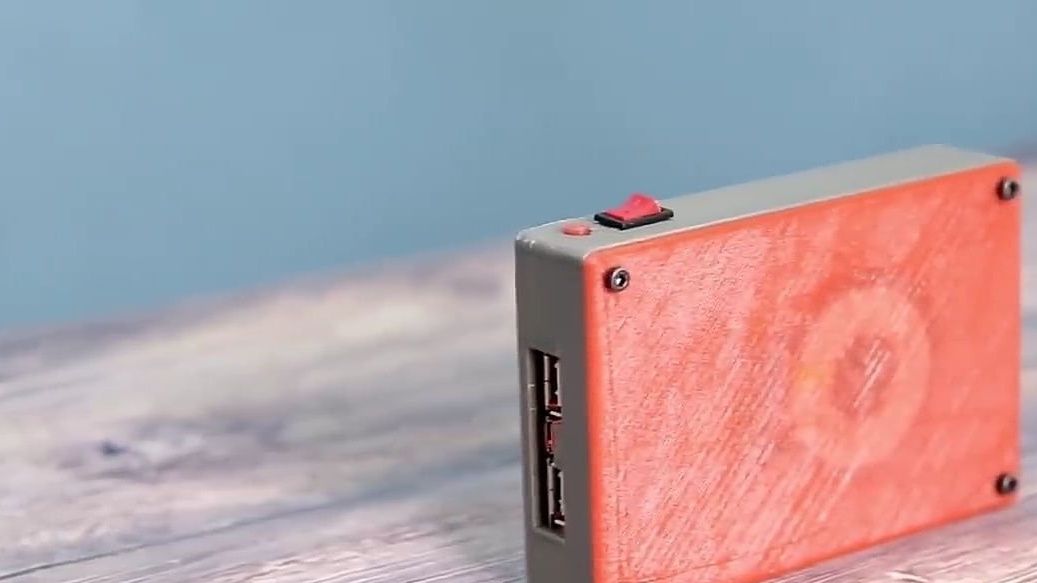
All is ready! As a result, we got a very interesting homemade product that can surprise your friends. Well, it is just very convenient in daily use.
You can purchase accessories that can be useful for assembling this homemade product here:
Here is a video of the author of the homemade:
Well, thank you all for your attention and good luck in future projects, friends!