


Nowadays, we are increasingly surrounded by gadgets. My wife at work needed to charge about five phones. She uses an extension cord with five sockets. There is not much space on the table, but there’s an extension cord. Another laptop charging. I decided to offload her workplace. The extension cord will go to the floor, and replace it with multi-channel charging. Charging consists of an old computer power supply board.
For homemade we will need:
- computer power supply board;
- a case from a computer PSU;
- switch;
- Light-emitting diode;
- 1kΩ resistor;
- ;
- a piece of PVC plastic;
- instruments.
About the components.
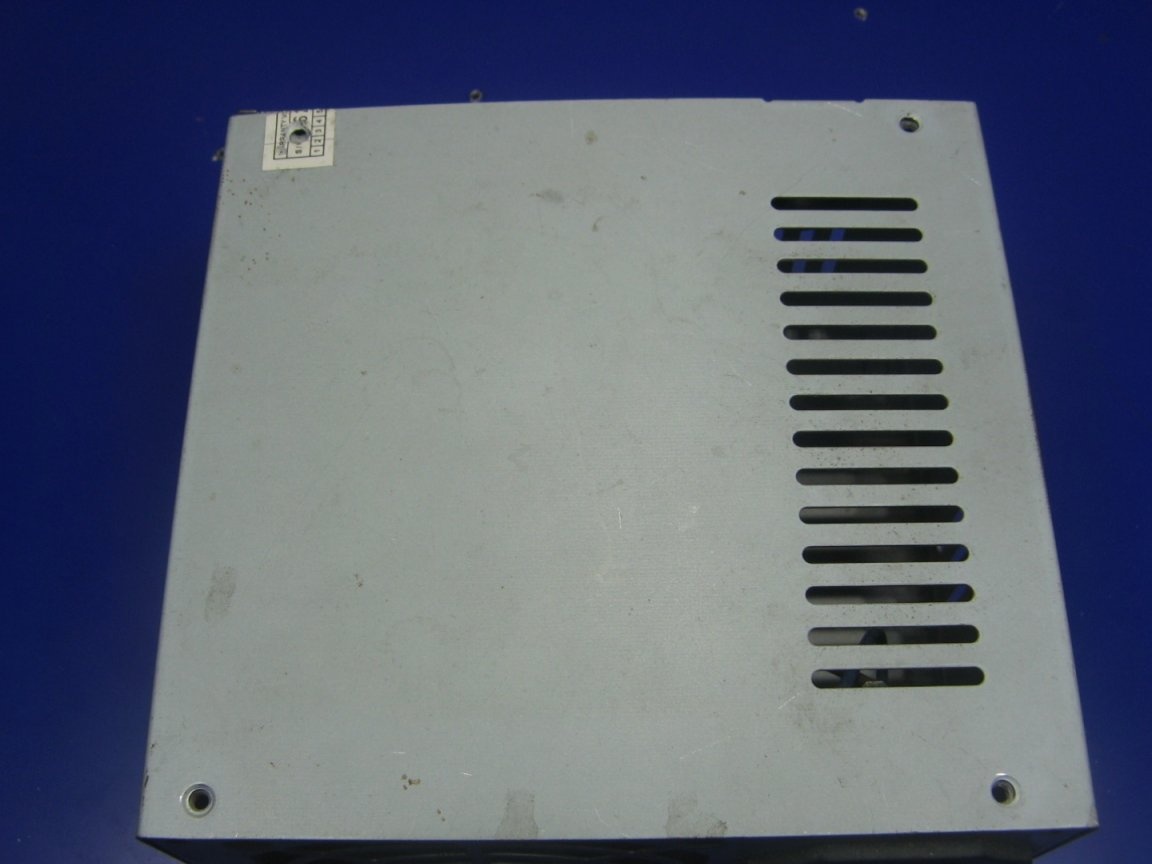
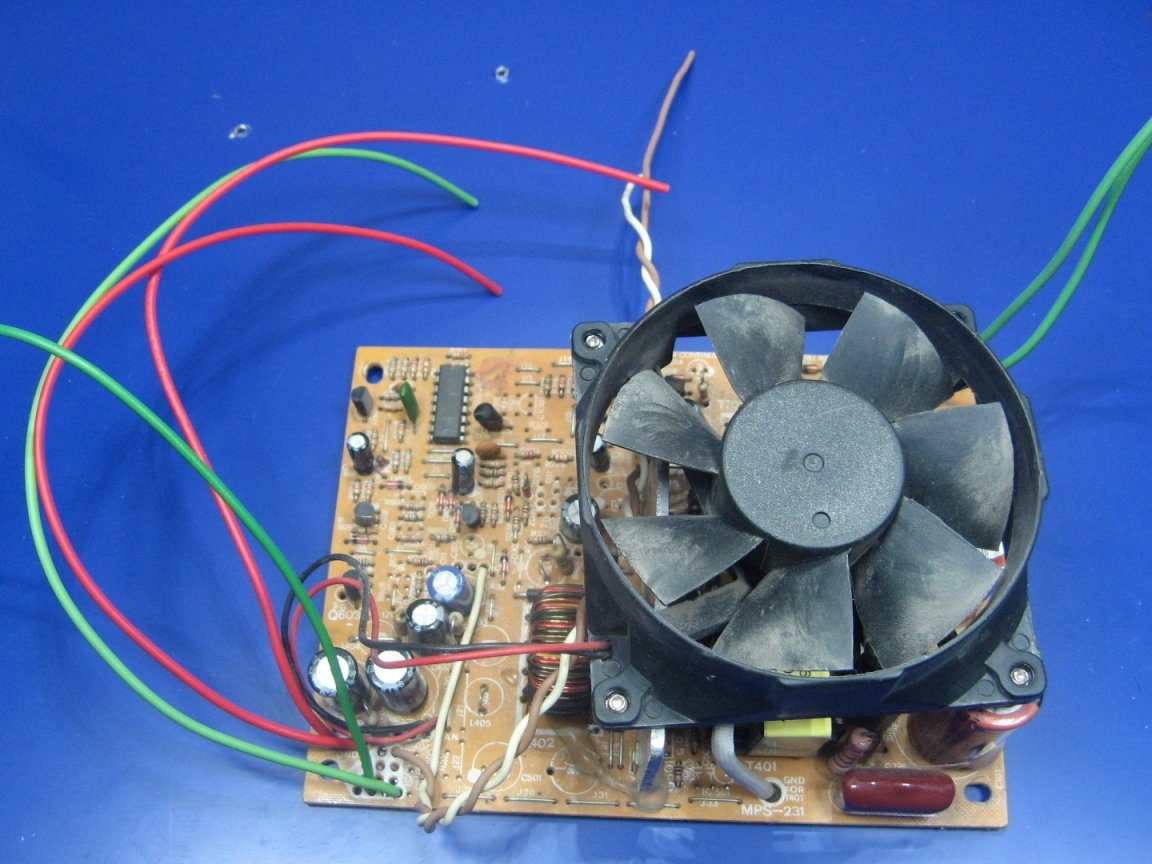
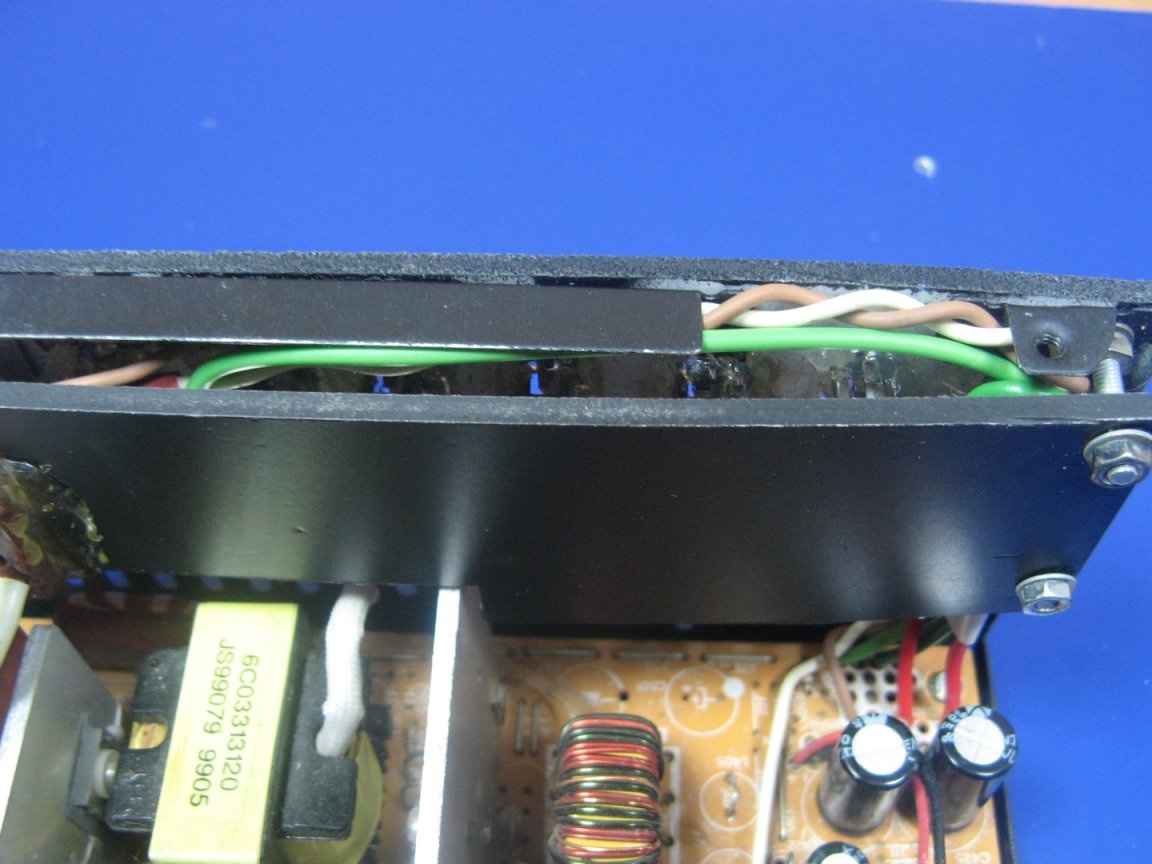
I got the power supply board without a case. I can’t understand where it comes from, but the 3.3 volt channel is completely absent. He was not there. Places where components should be on the board's field have factory soldering of patch. Well, not about that. I fed an old laptop from this board, a blue wire is present.

I’ll use the case from a burned-out power supply, which I have enough.
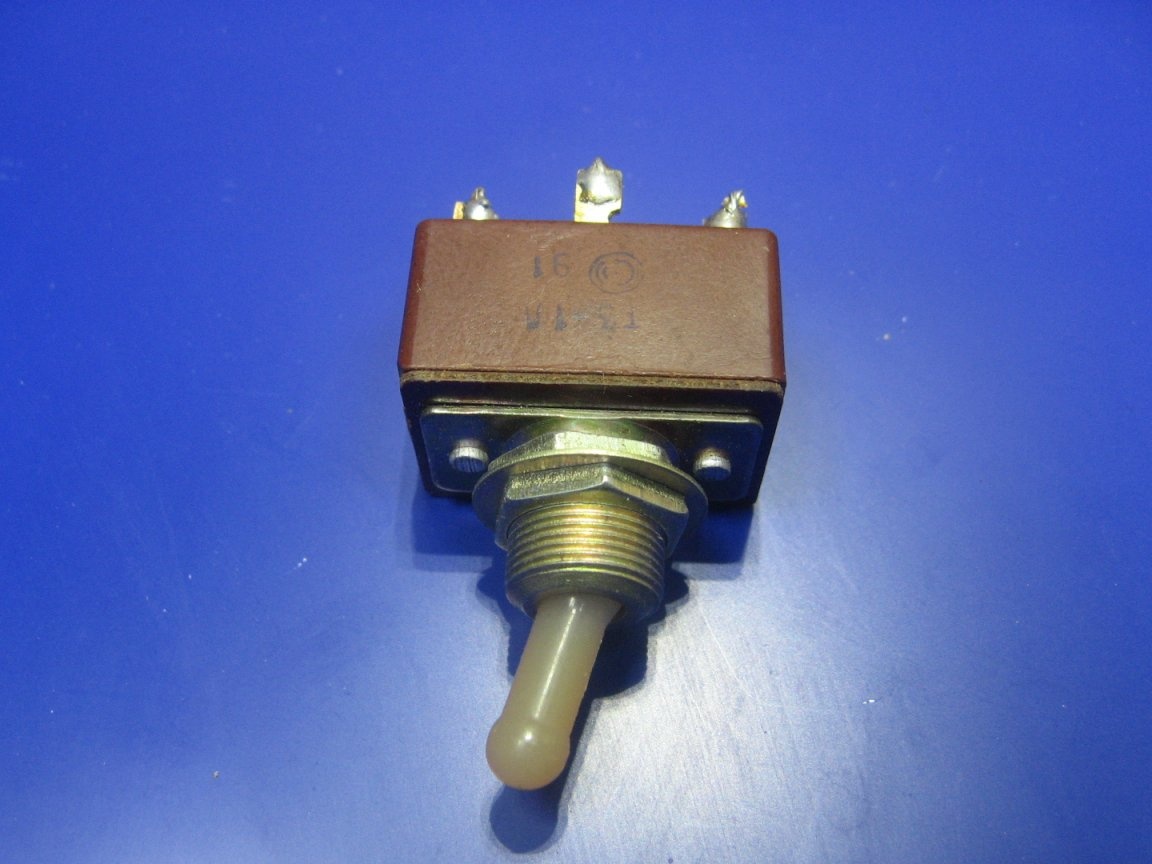
The switch for me, as always, is the T3 toggle switch. I got a large number of them. You can apply any to two switching groups.
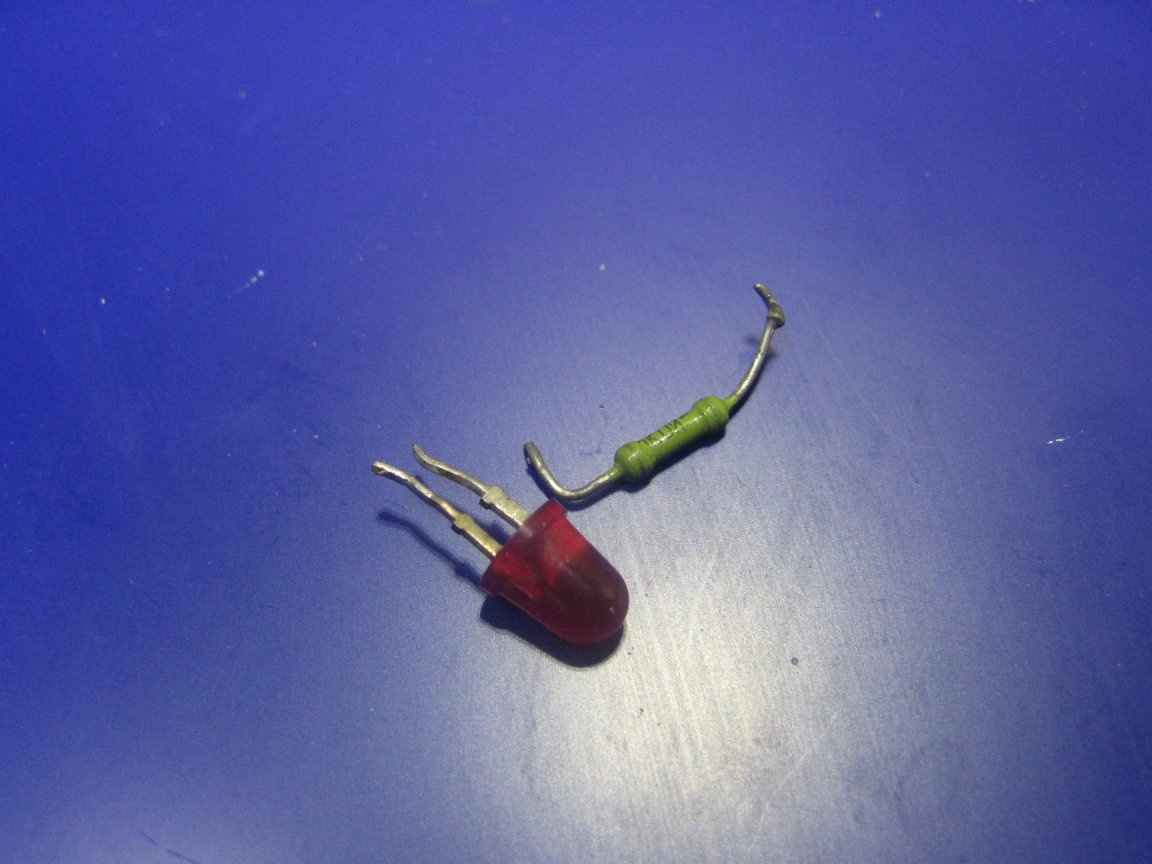
My LED is Soviet. Once a nth quantity was thrown out. I will connect it to the line of 12 volts, through a current-limiting resistor of 1 kOhm.
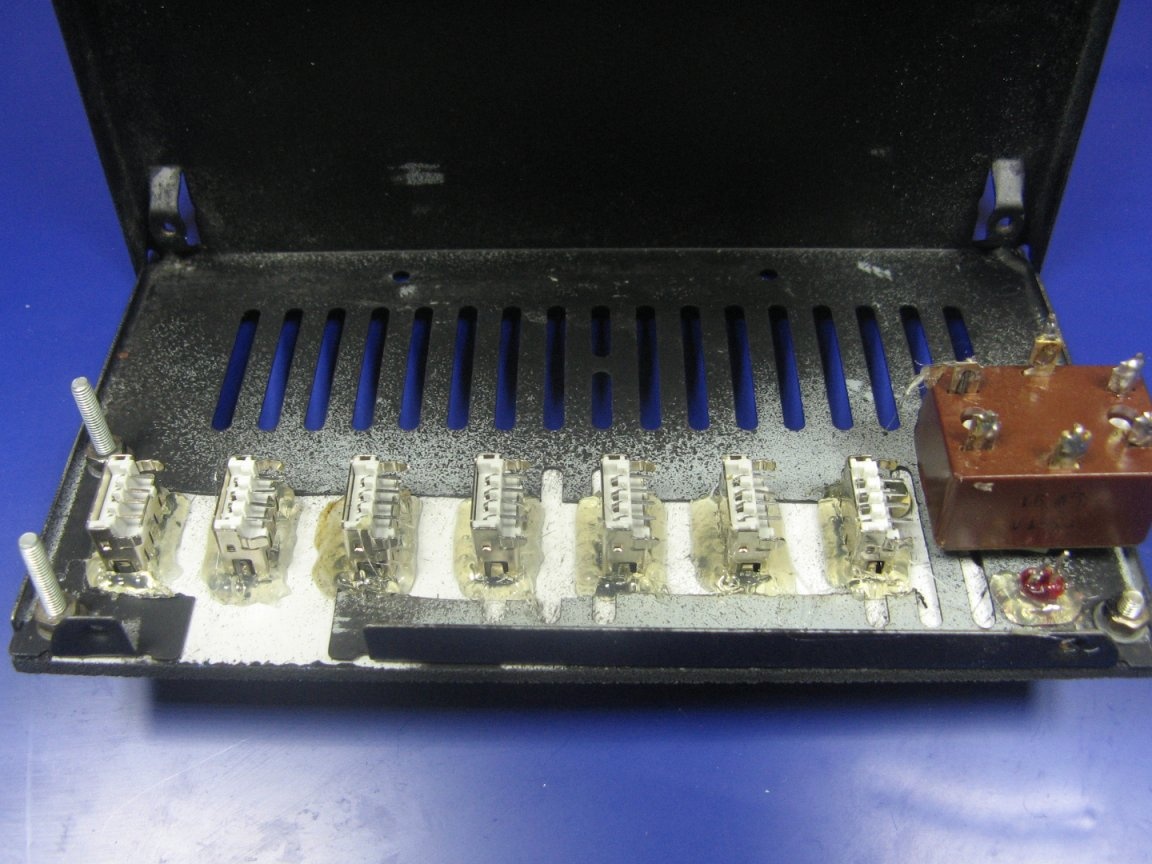
I bought USB connectors from China, they cost a penny there. I decided to use 7 pieces, distributing evenly on the front panel.
The panel on which the USB connectors will be installed will be made of PVC plastic. It is very easy to cut holes in it.

Assembly.
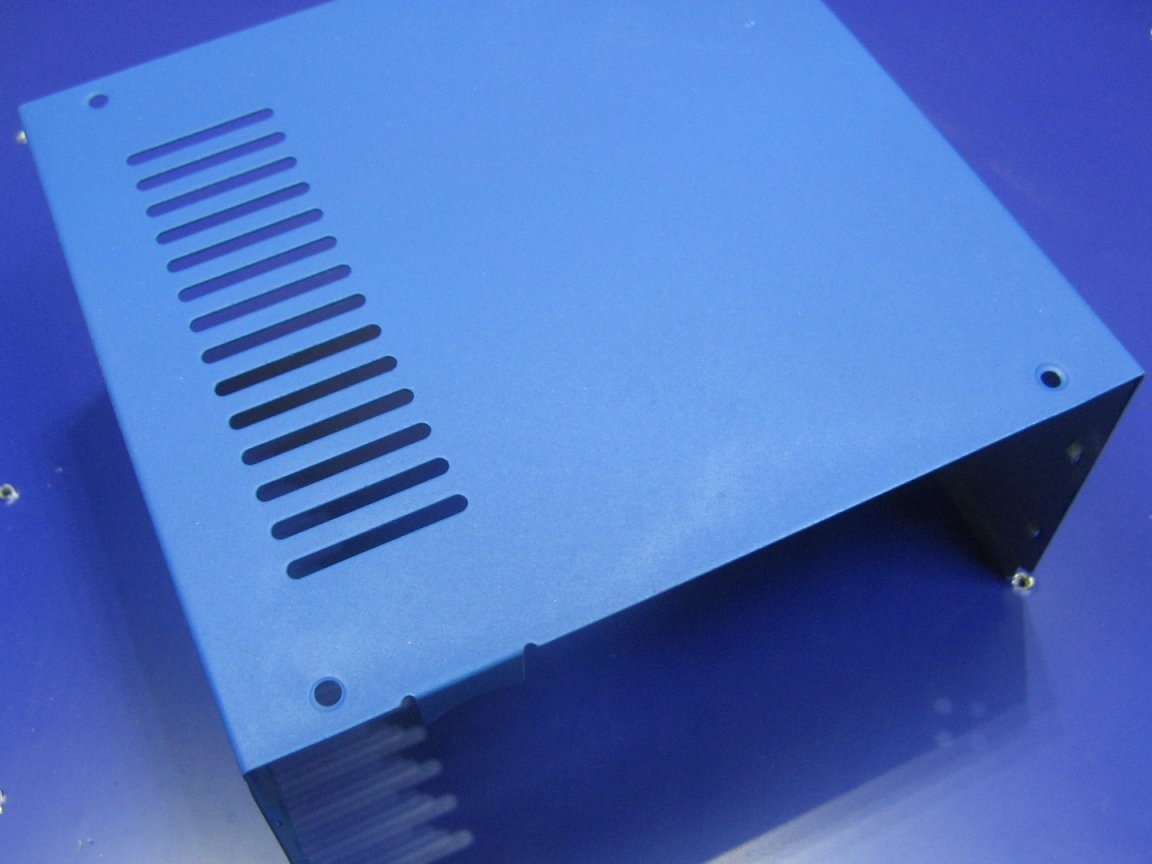
I immediately decided to paint the lid. There was a spray can with a blue matte paint. Paint, dries, set aside.
To fix the connectors, cut a strip of PVC plastic. Mark out all the holes and windows. I make a marking on a protective film.
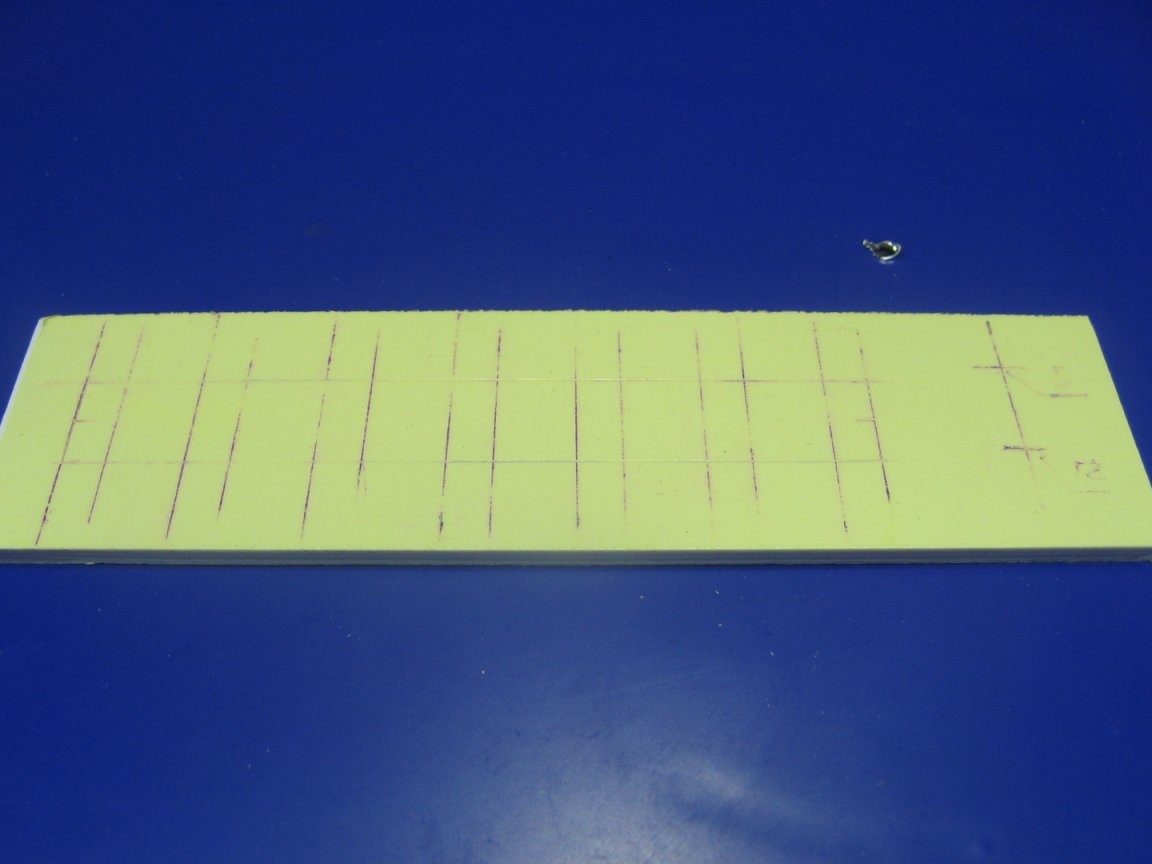
I cut and drill all marked windows and holes. I drilled holes for the M3 screws in the corners.
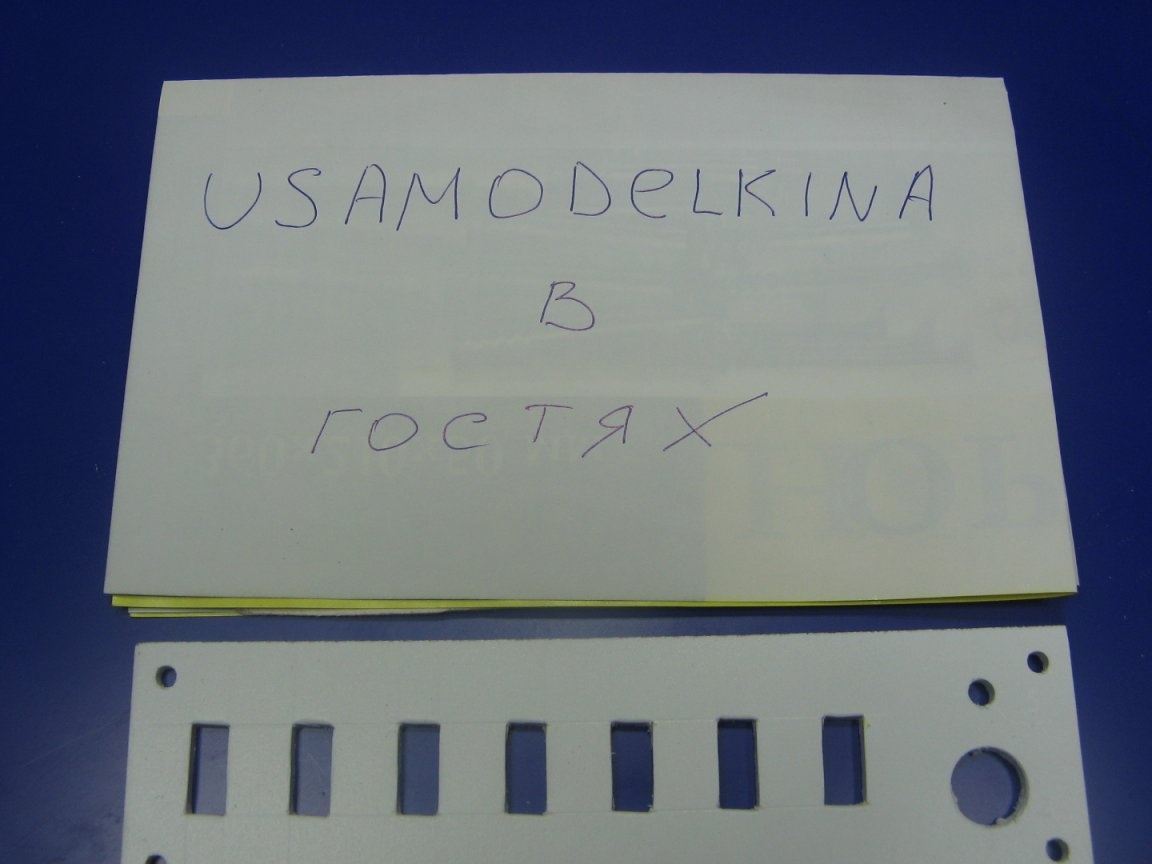
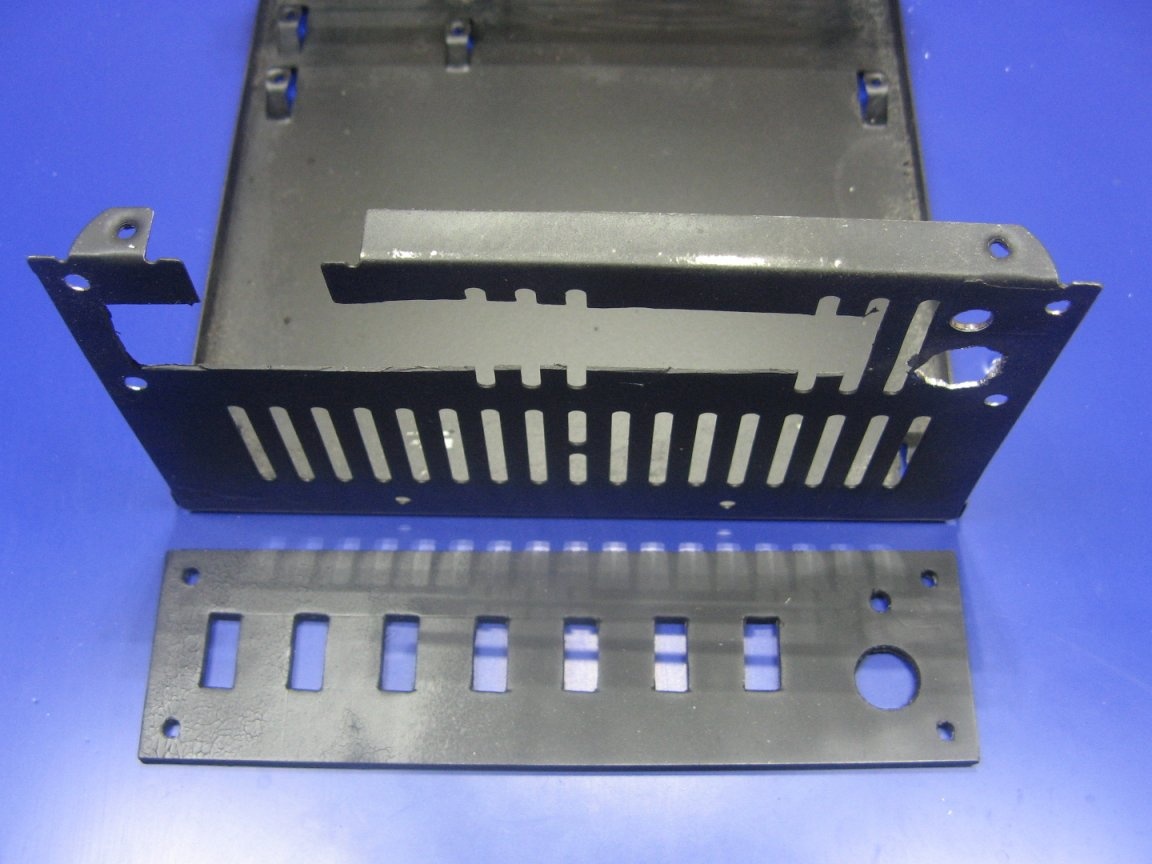
On the bottom of the case, duplicate the holes and windows of the panel. I paint everything from spray can in matt black. From the case previously removed the network connectors.
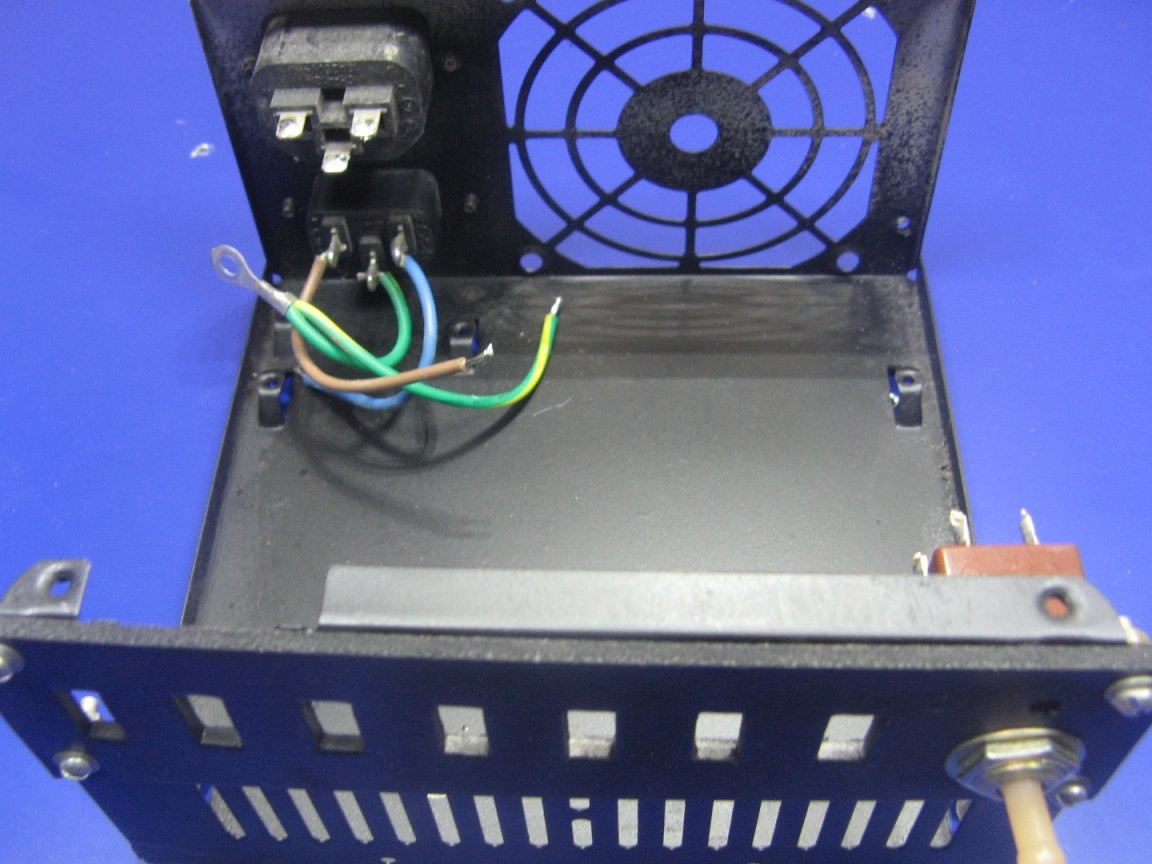
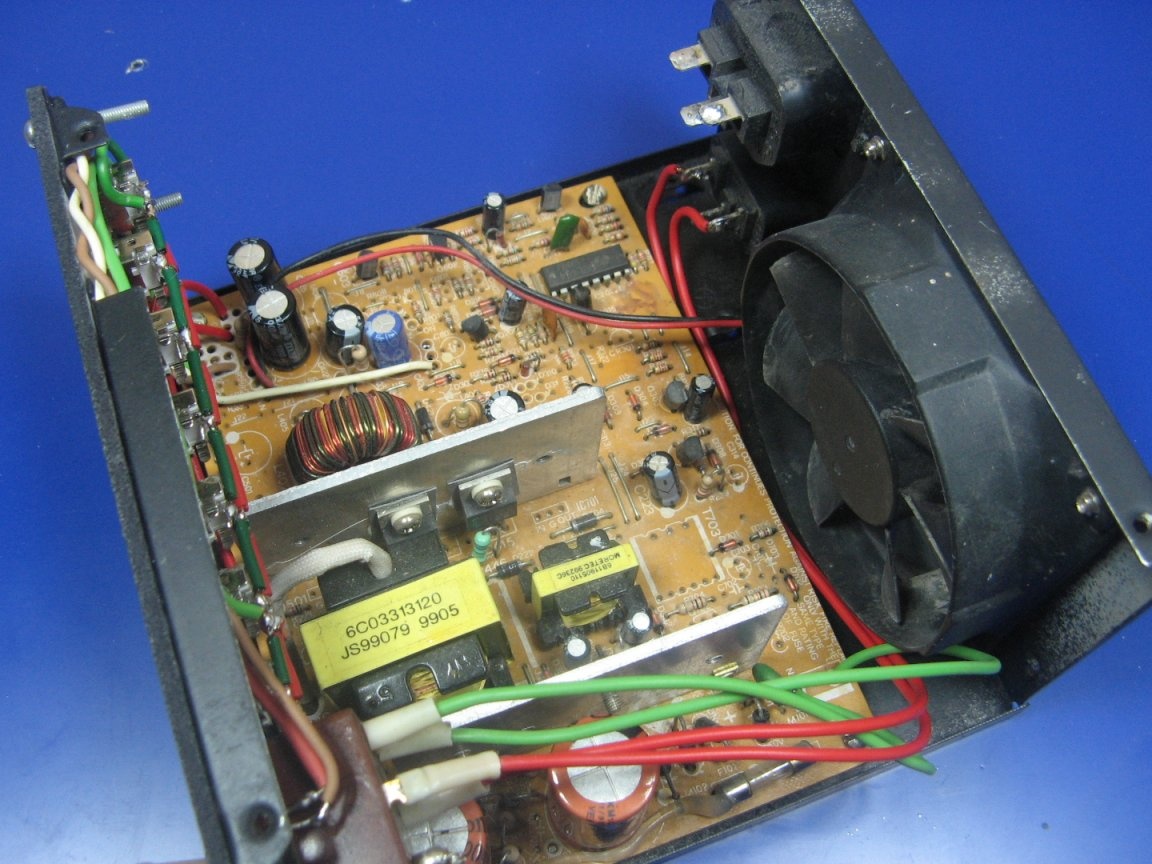
I install the network toggle switch. I fasten the network connectors. I fix the panel with screws.
Connectors glue thermo glue.The main thing is not to jam the spring parts of the connectors. Otherwise, the device connectors will not enter the USB charger. The left screws are long, I'll tell you later why.
All wires were removed from the power supply board. Instead of the soldered ones, I installed others, so it was handy to me. We use a line of five volts. Woven wire to power the LED. I screw the board to the bottom of the case.
I solder the wires to the LED. A resistor is located under the heat shrink tube. I connect the pluses together, I also do the minuses. I connect the two middle pins of the connector with a drop of solder. If you do not connect them together, then some devices will be charged with current up to 0.5A. The PSU was loaded with five amperes, the voltage does not walk very much, the protection does not work. It works at short circuit.
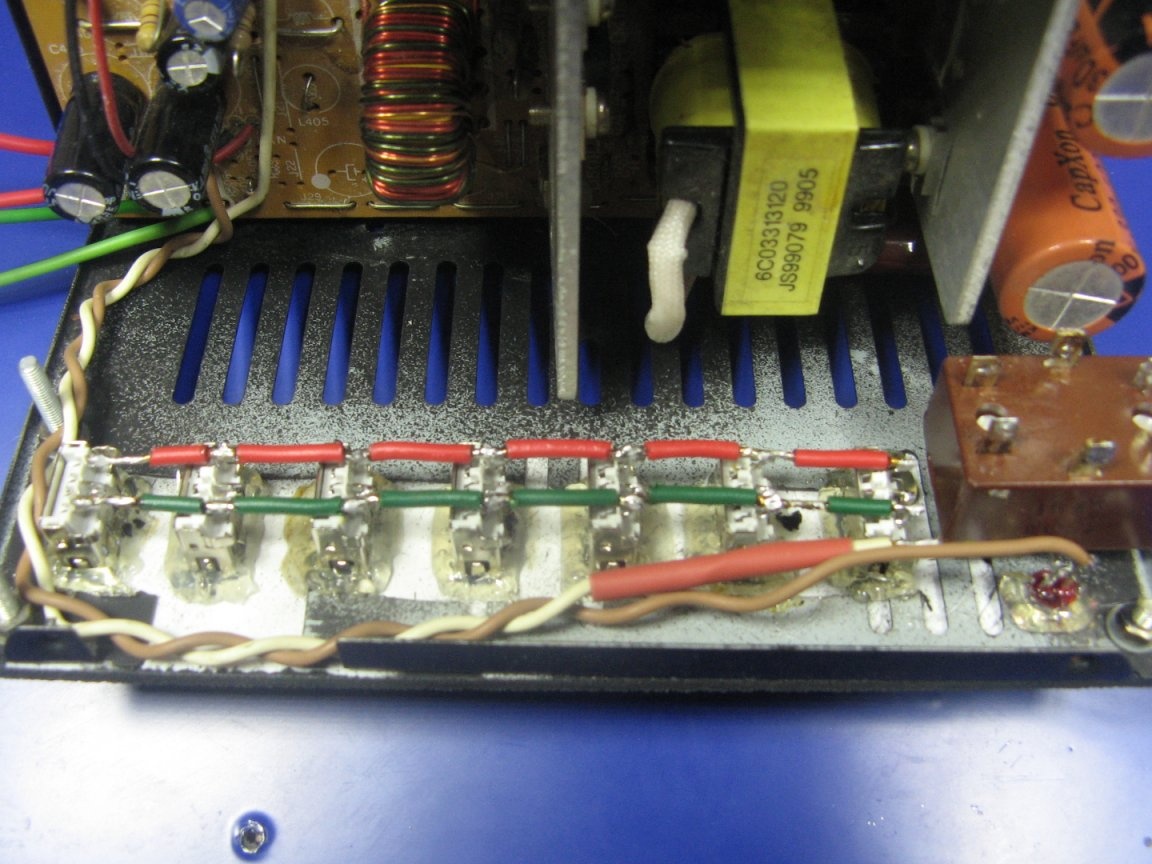
I am soldering network wires from the toggle switch to the network connector and the power supply board. I solder wires from five volts to jumpers of USB connectors. Red plus, green minus.
Now about the long screws. I fasten a piece of PVC plastic on them, thereby additionally fixing USB connectors.
We dress the cap and screw it on.

During testing, the phone charges perfectly. Also at home I connected simultaneously an MP-3 player, powerbank, another smartphone and a flashlight.
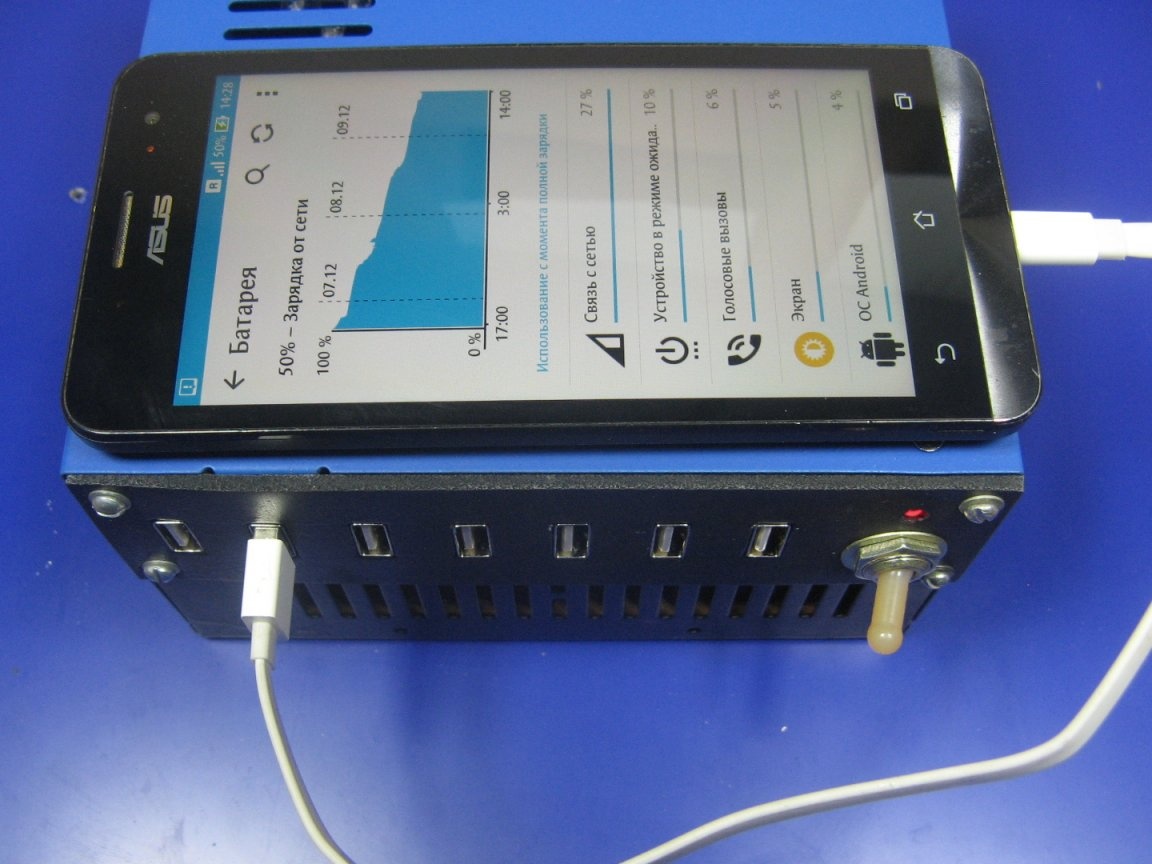
Having given his wife, she connects 4 Xiaomi and two iphone. Everything is charging.
Such a charger turned out. With primary task copes with a bang.
Assembly video: