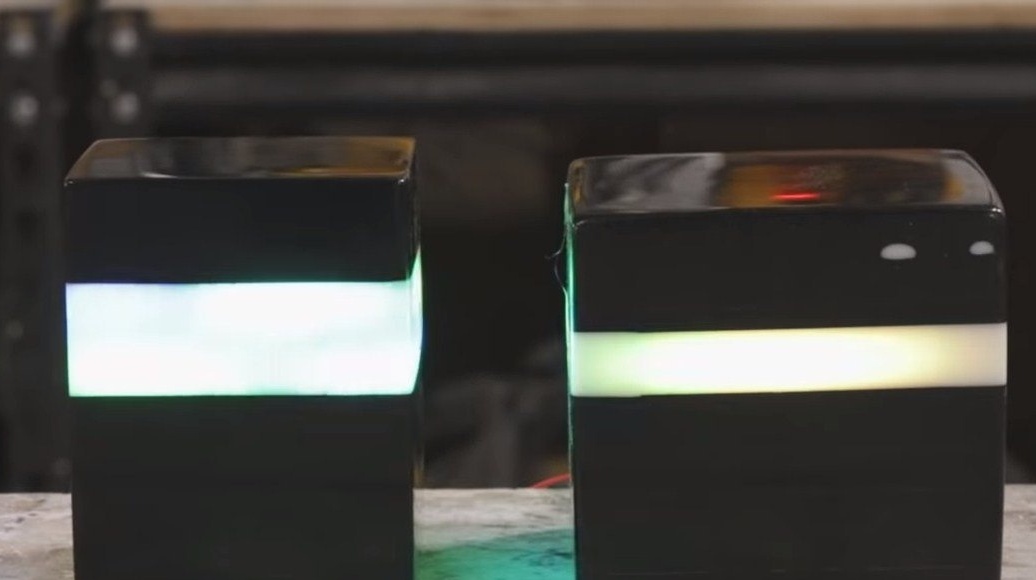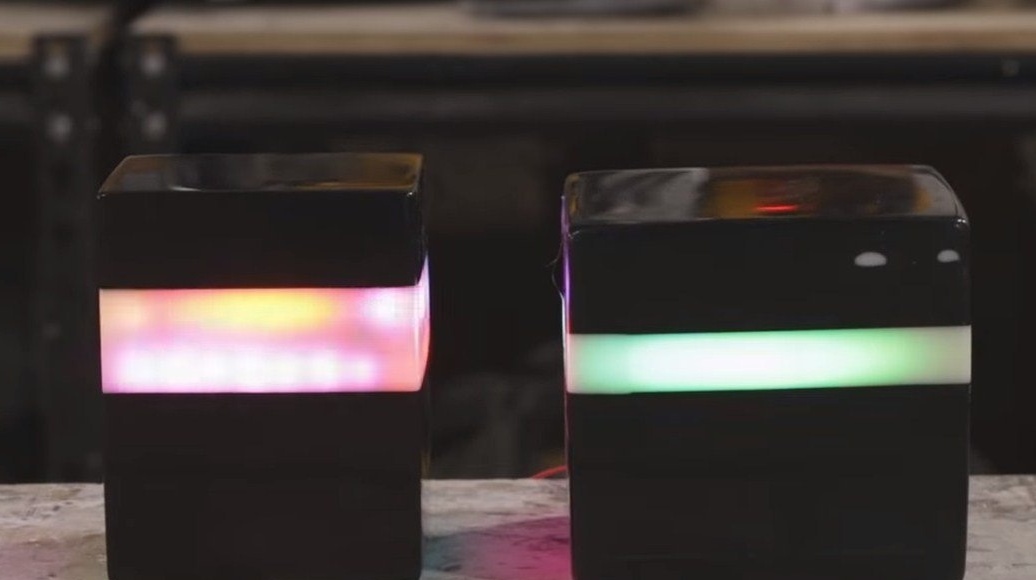

I propose to consider instructions for the manufacture of a luminous cube of epoxy resin. The cube shimmers with all the colors of the rainbow and works from the built-in battery. An interesting fact is that there are no connectors on the cube; it is charged through a contactless charger, which is very convenient.
The cube from the remote control turns on, the SP106E color music controller is installed in it, it allows you to set the desired color music mode.
Looks homemade quite interesting, it can be used as a night lamp. The lamp is also going to be assembled simply if the project interests you, I propose to study it in more detail!
Materials and tools used by the author:
Material List:
- multi-colored or similar;
- (transmitter and receiver);
- battery;
- ;
- epoxy resin and dyes;
- chipboard or similar formwork material;
- plywood or MDF.
Tool List:
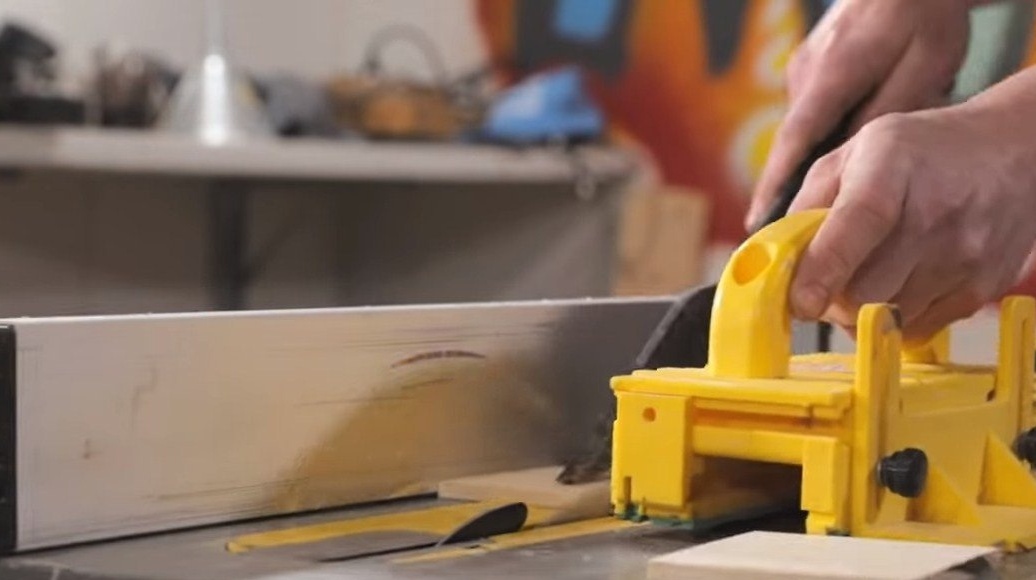
- a circular saw;
- silicone sealant;
- glue gun;
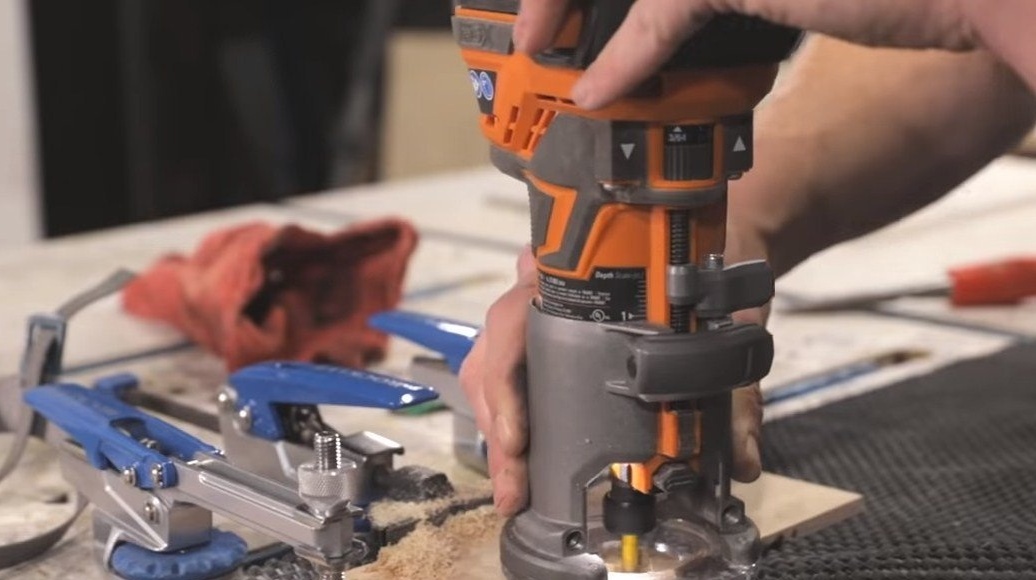
- milling cutter;
- drilling machine;
- drill;
- orbital sander;
- sandpaper;
- polishing disc for a drill.
Homemade manufacturing process:
Step one. Shape and Fill
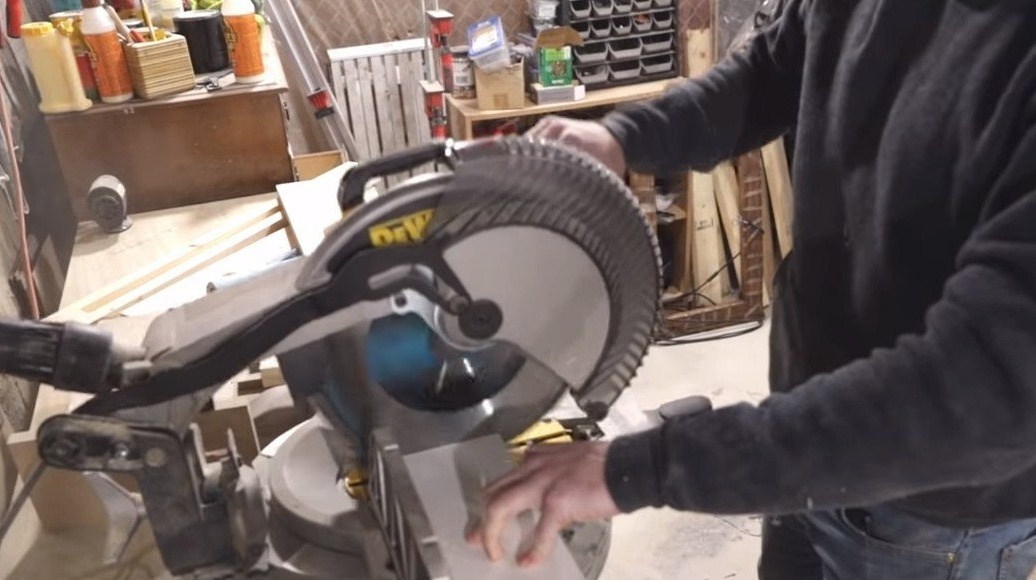
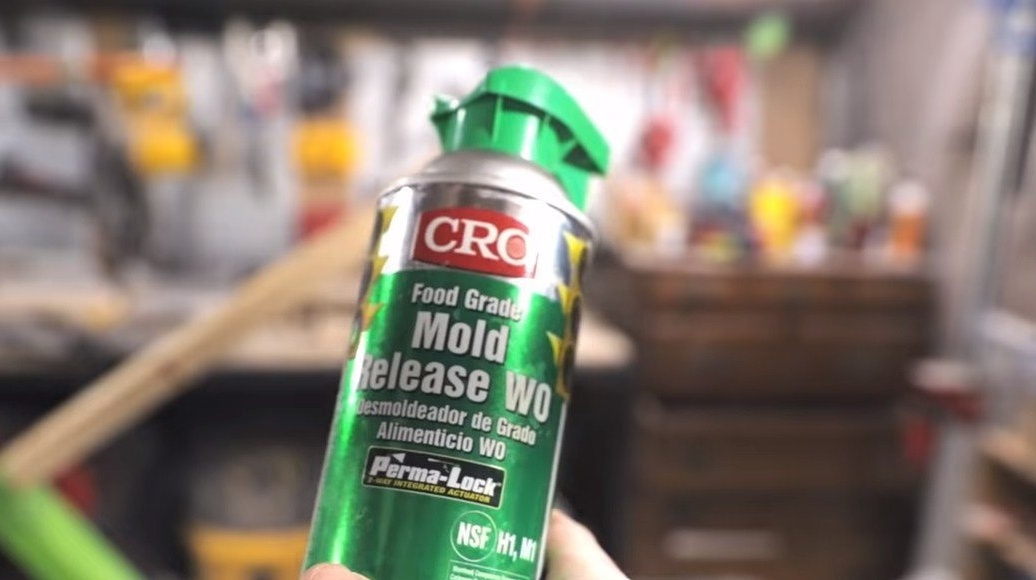
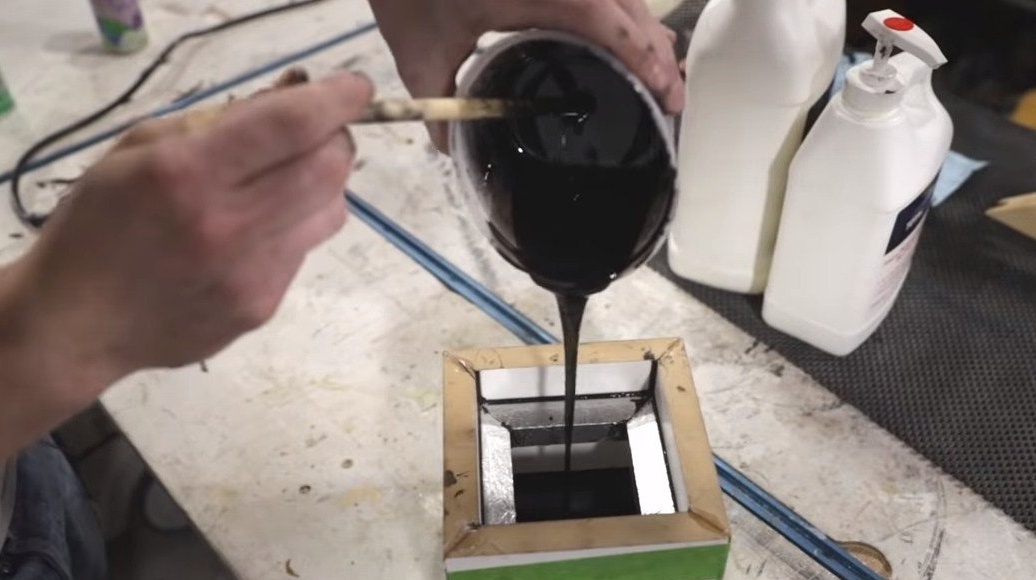
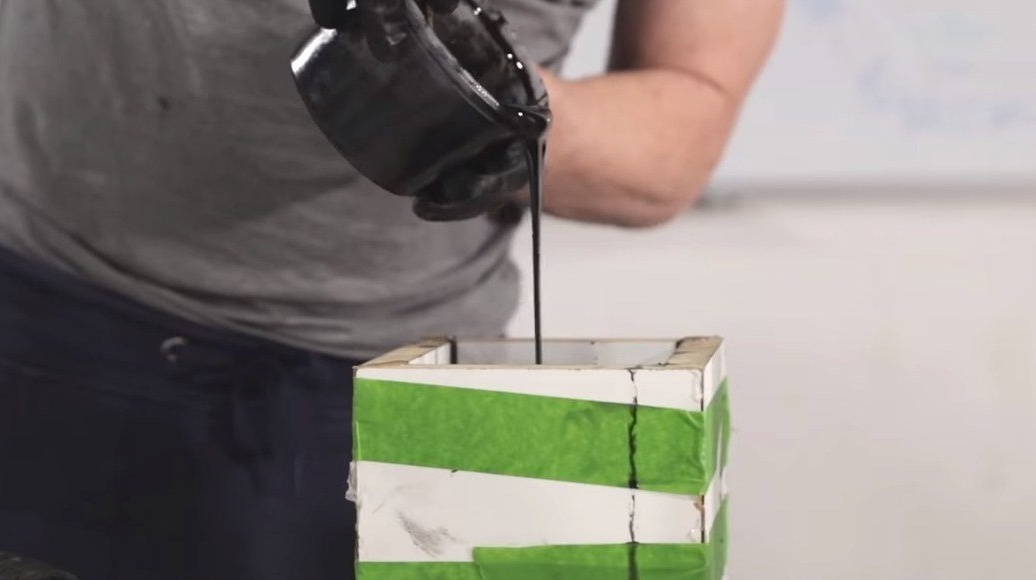
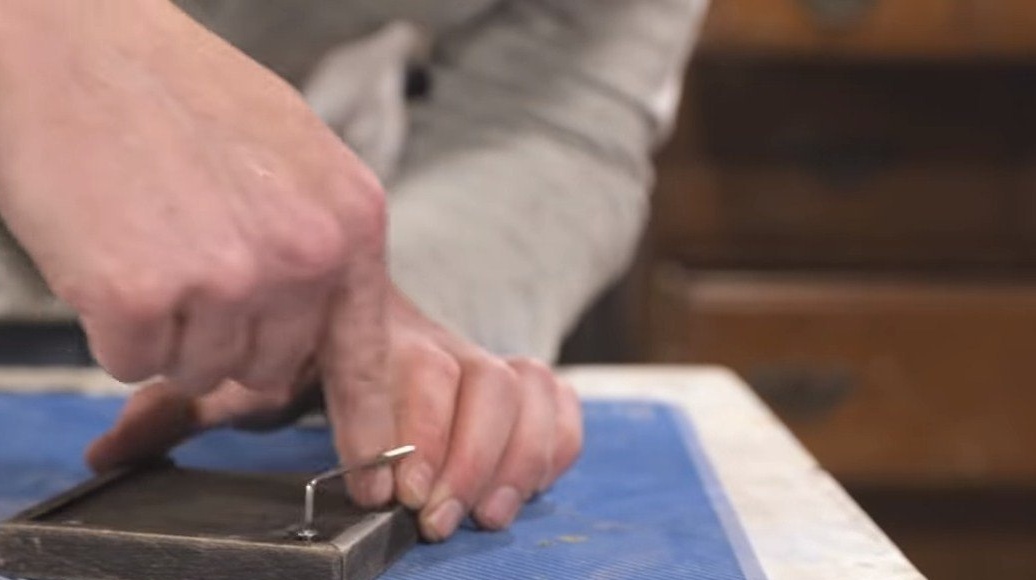
The entire cube is entirely cast from epoxy; the author chose black as a dye. We need to mold the cube, for this we make the formwork of the appropriate shape. It can be made from plywood, chipboard or other available material. The author cuts the blanks on a circular saw, and then glues them together with a glue gun. In a circle of the cube there should be a groove into which we will mount the LED strip. To make it work, you need to fasten the corresponding parts to the formwork and glue it with foil or other material to which the resin does not adhere.

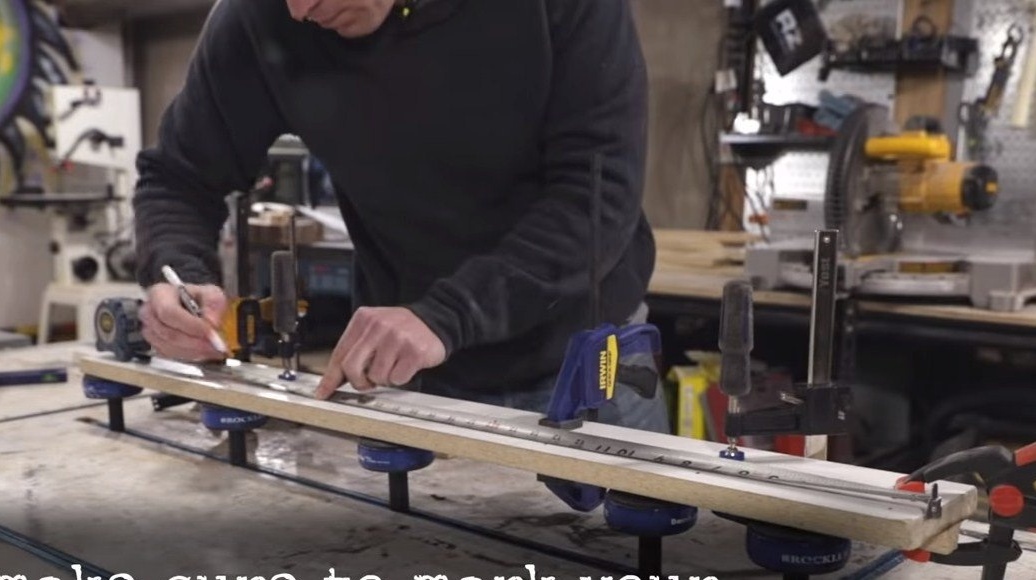

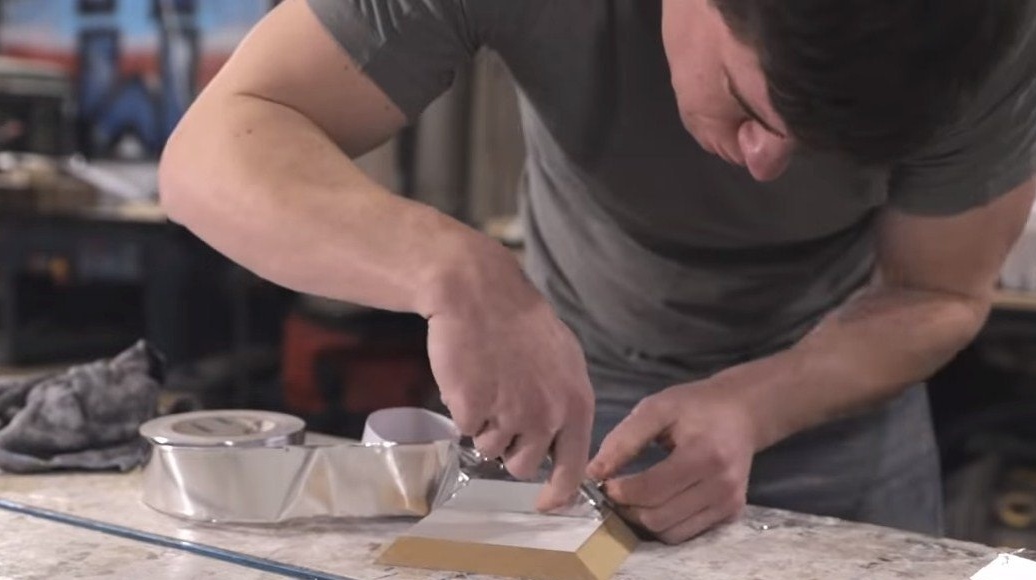
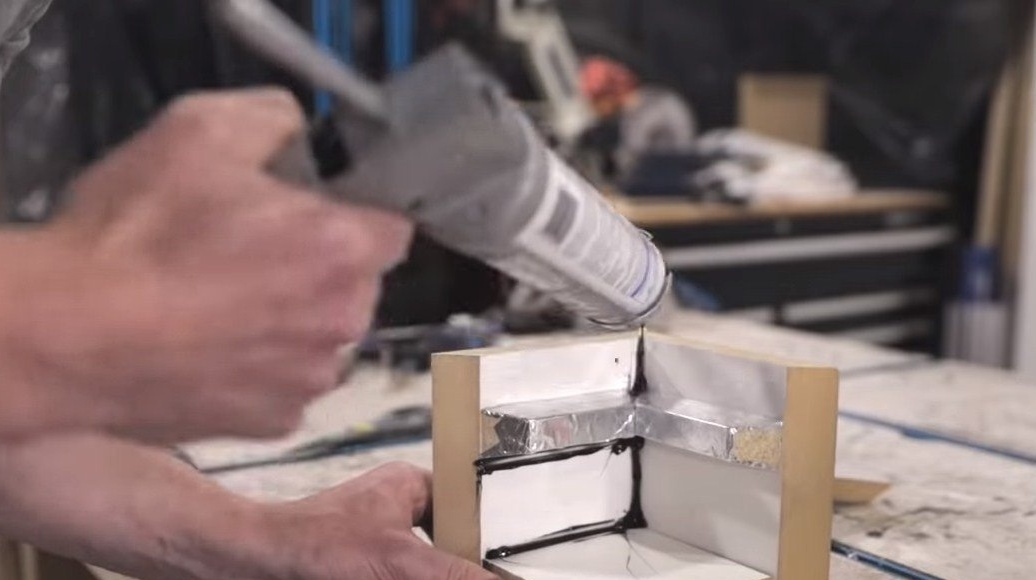
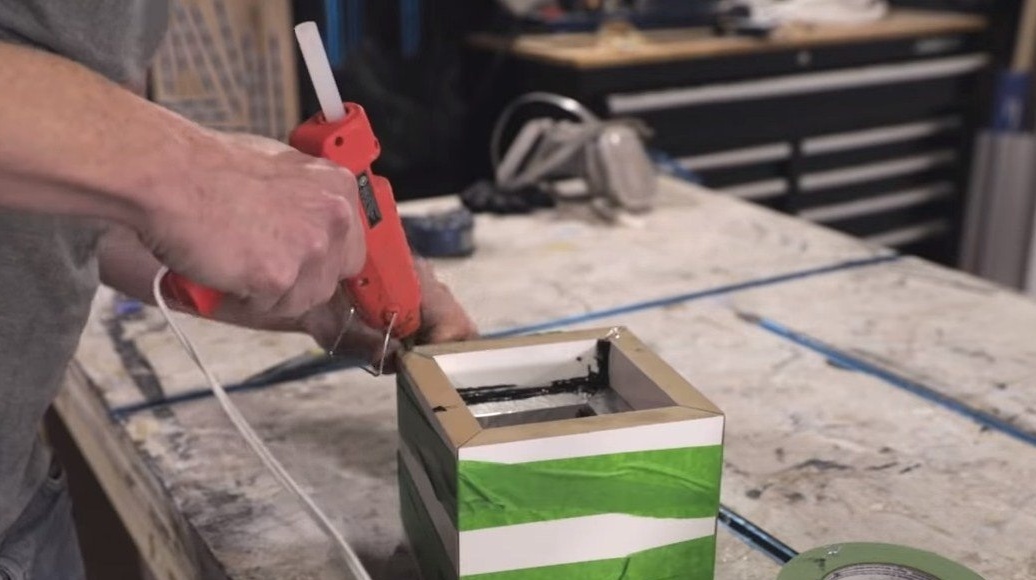
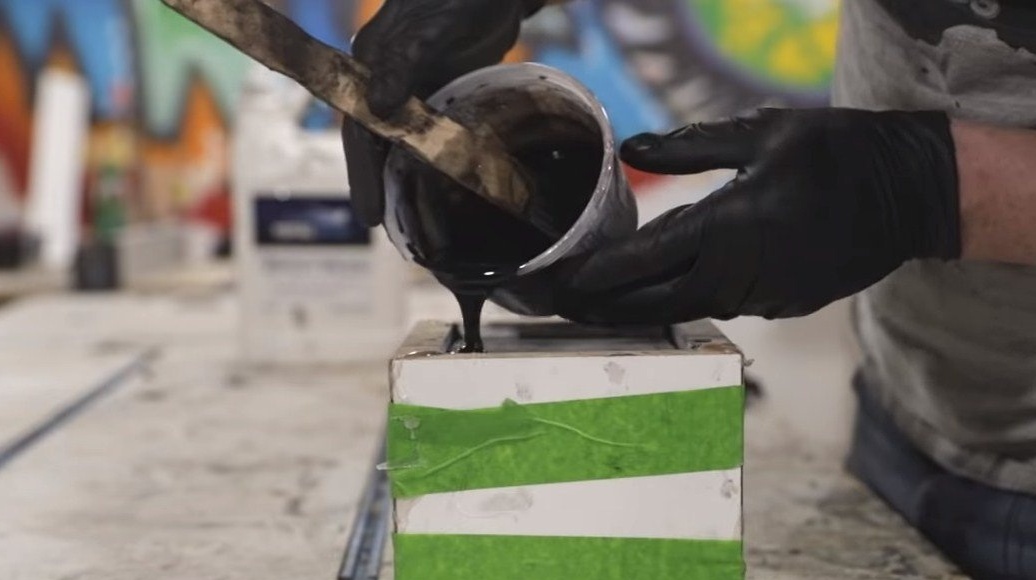
Joints must be carefully sealed with silicone sealant, since the epoxy resin is very fluid and can pass through the smallest cracks. It is better to wrap the formwork on top with tape or tape so that the walls do not move apart under the weight of the resin.
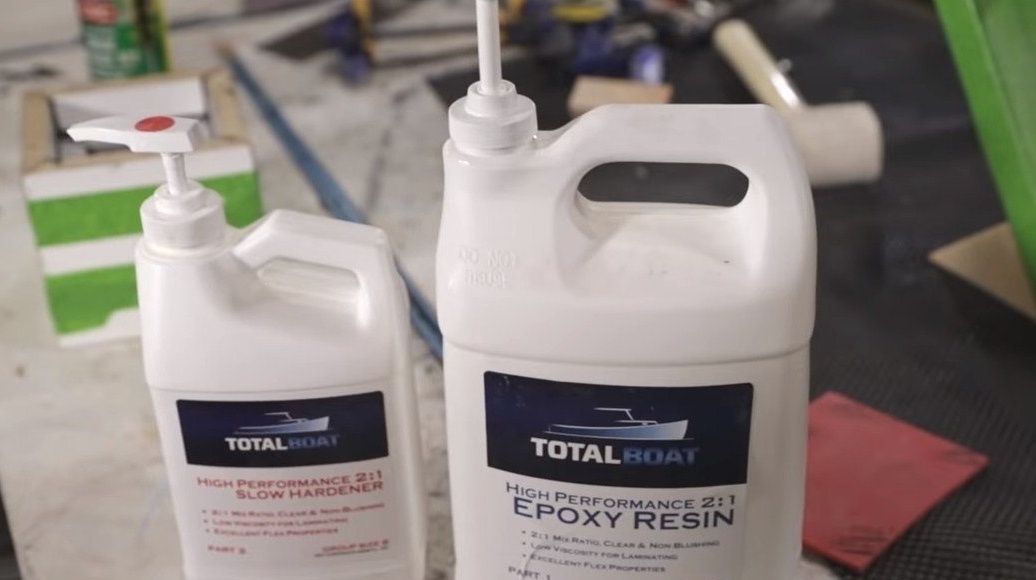
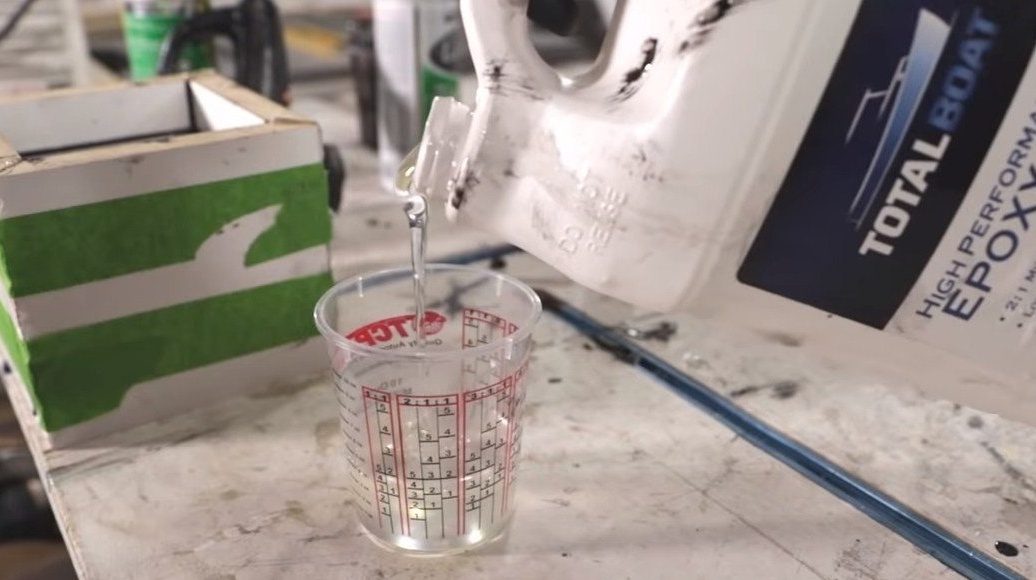
We dilute the resin with the hardener, add the dye and fill it.
Step Two Refining the cube
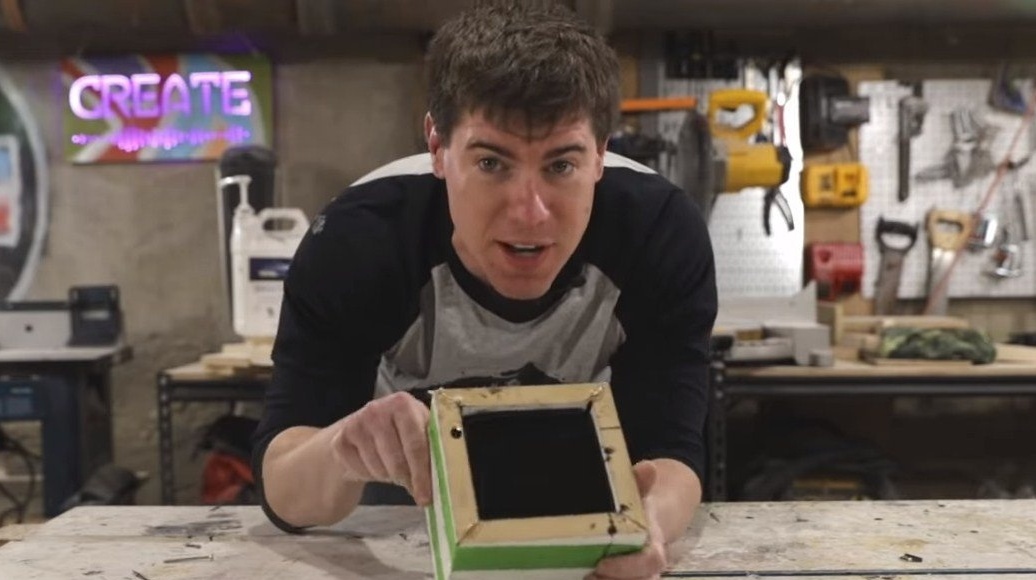
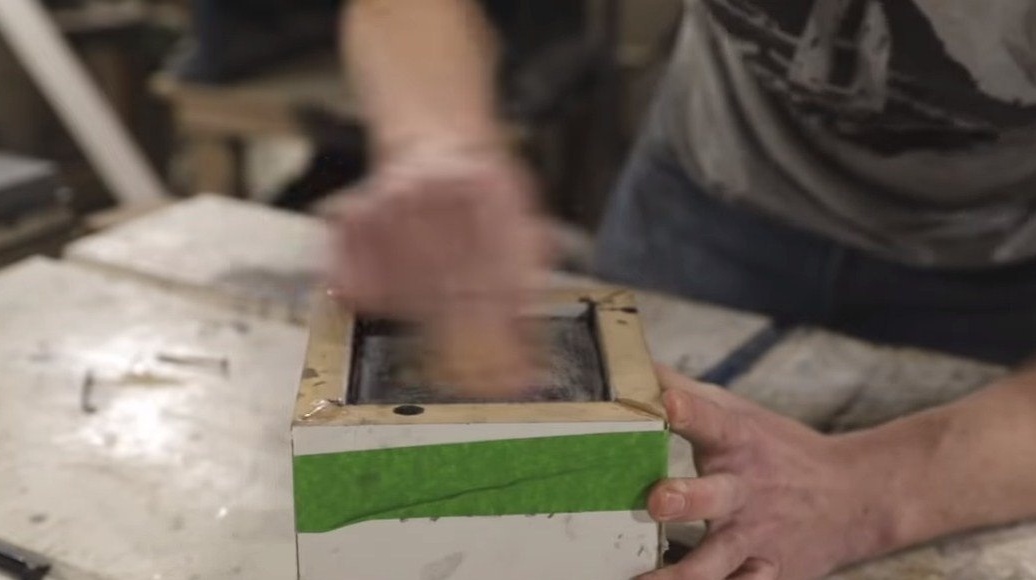
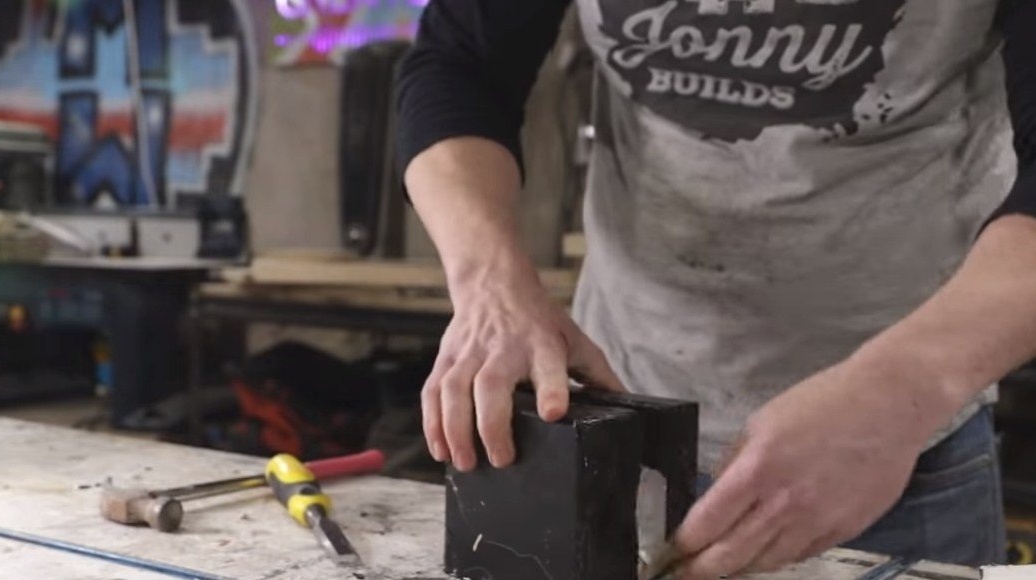
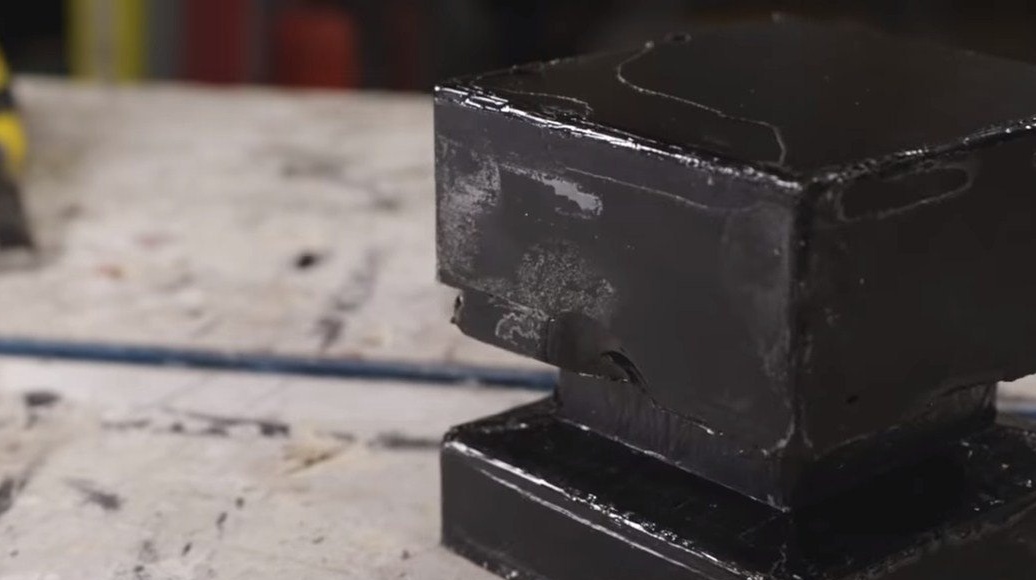
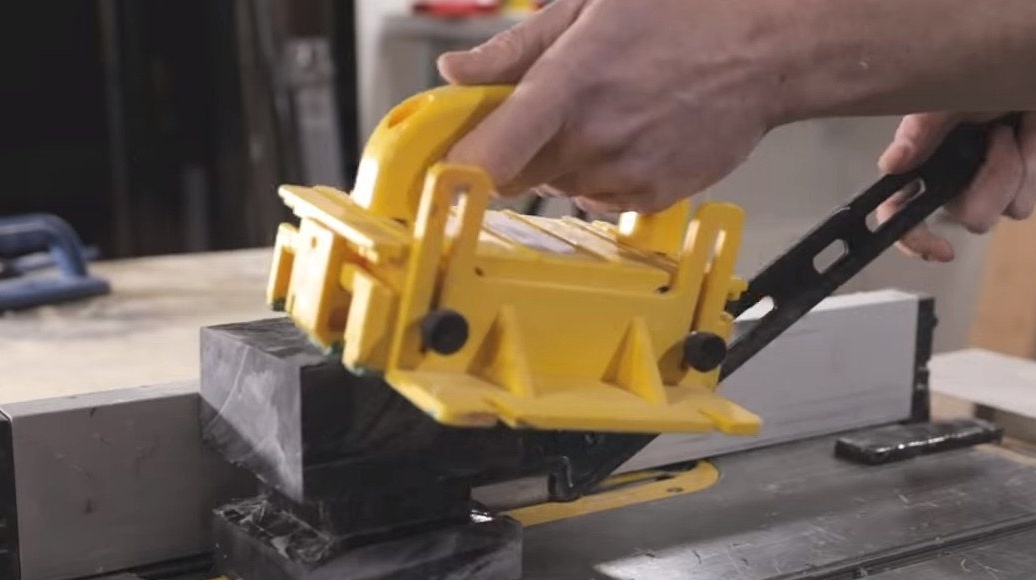
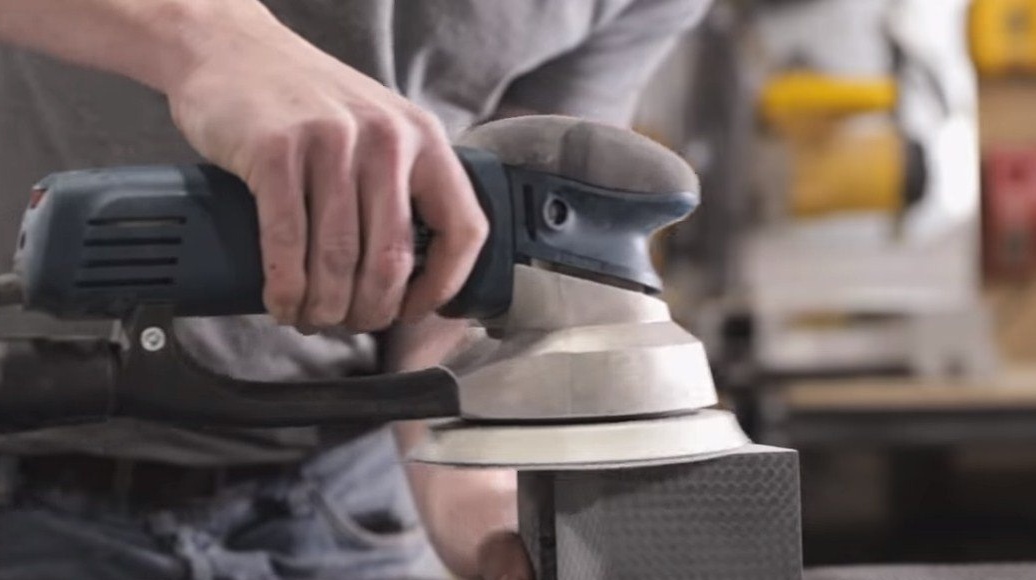
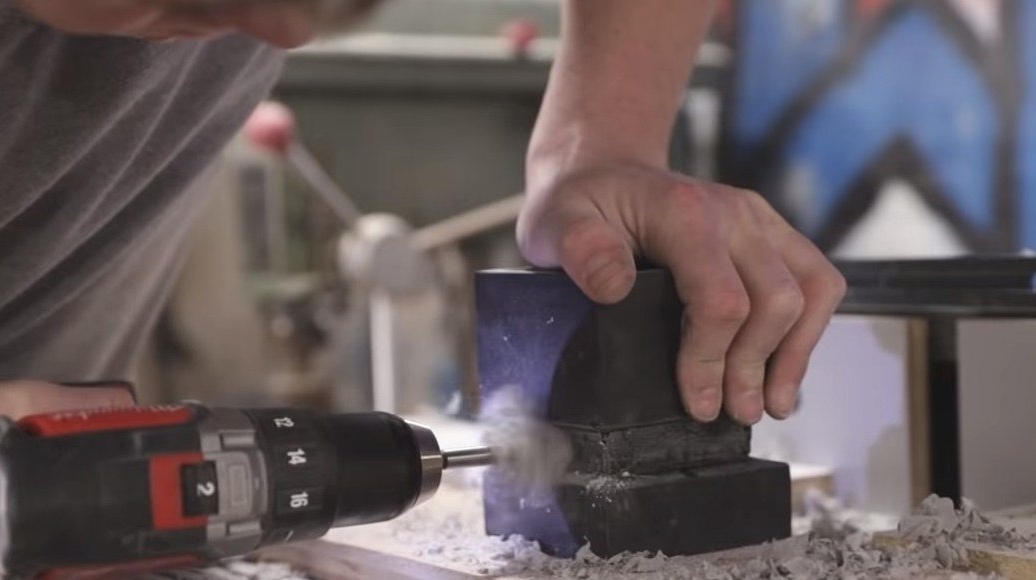
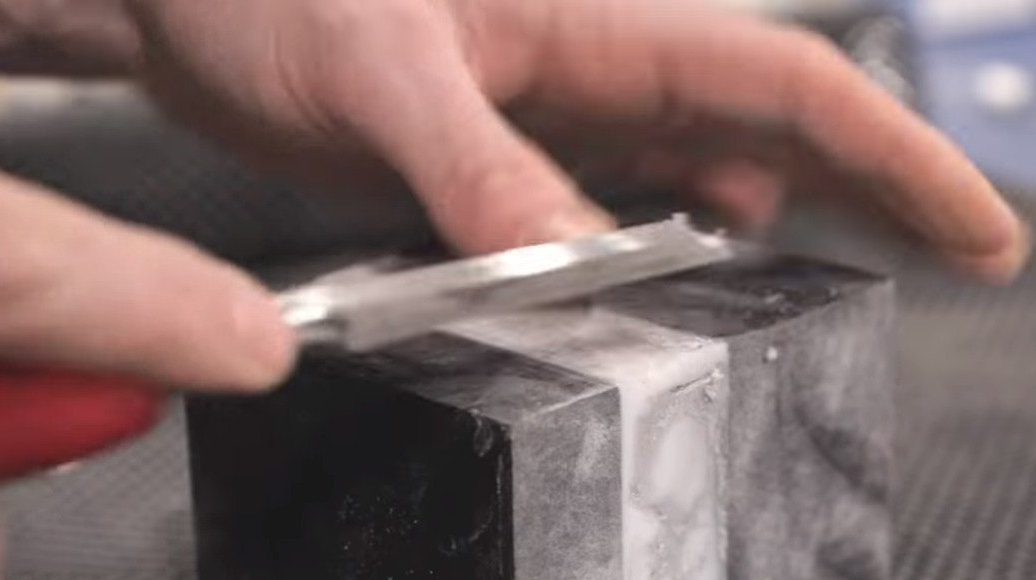
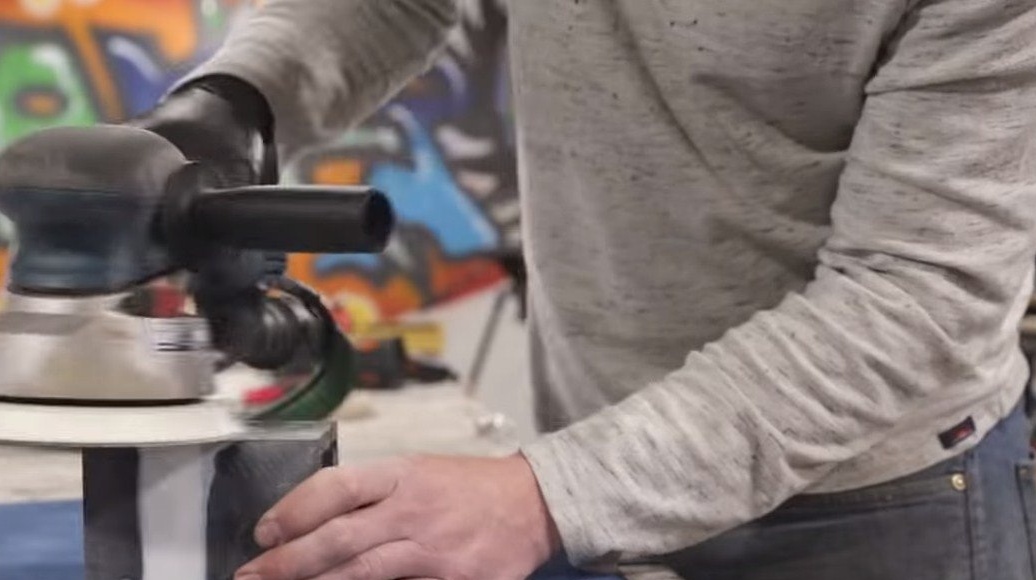
When the resin has completely hardened, the cube can be removed from the formwork. We disassemble the shape and cut the cube on a circular saw so that it is necessary to grind less. Now we have a cube with smooth planes, we grind them with an orbital sander.
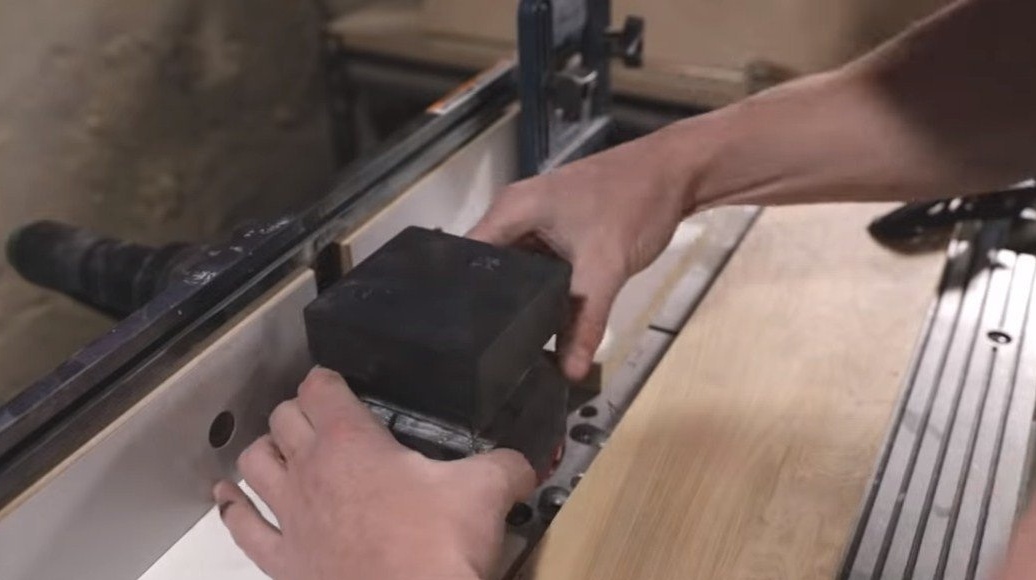
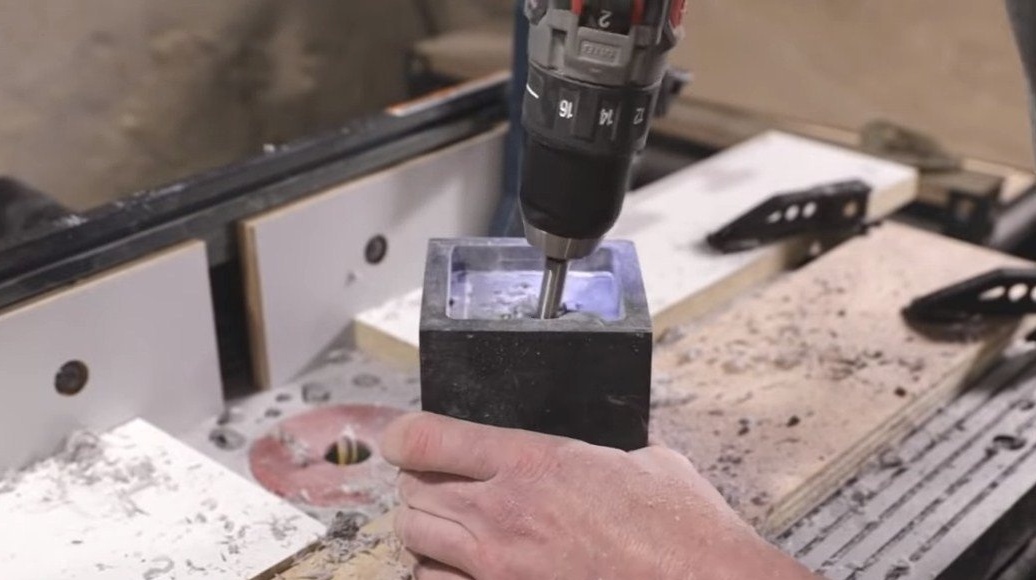
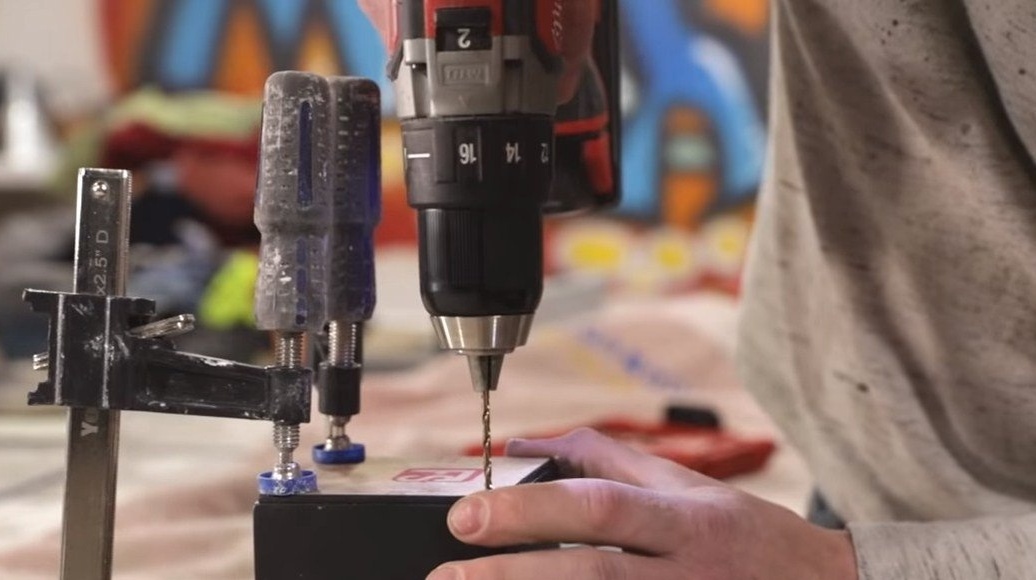
Next, milling is to be done, in one of the sides of the cube you need to make a recess, it will be installed electronics. From here, wires to the LEDs will go, so we drill a corresponding hole for them.

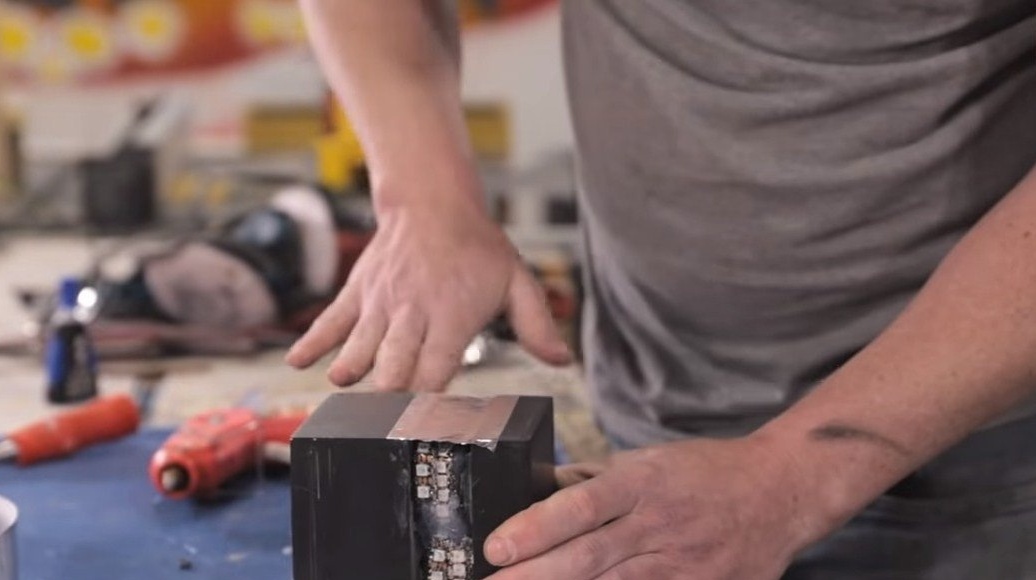
Step Three LED Strip Installation
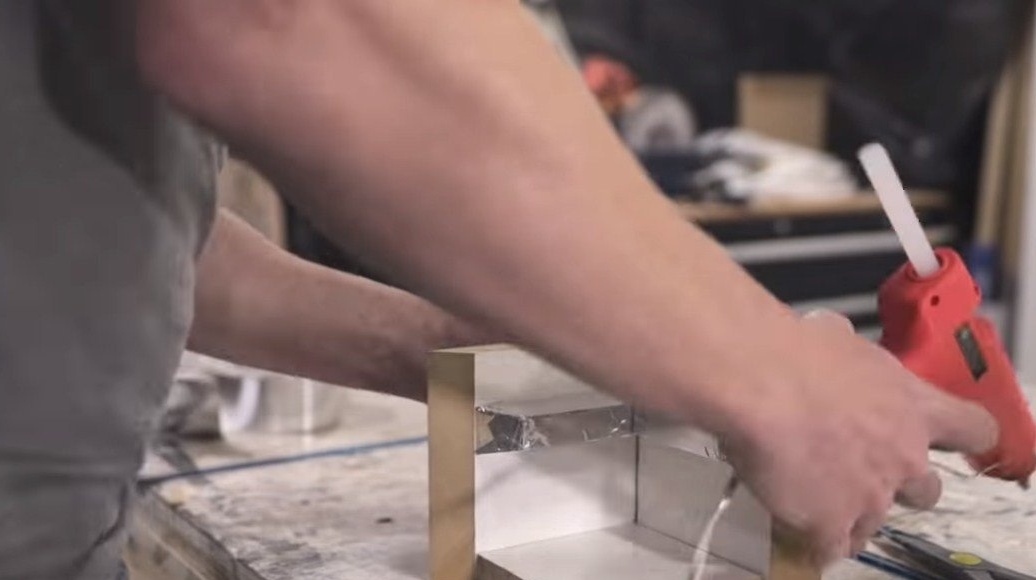
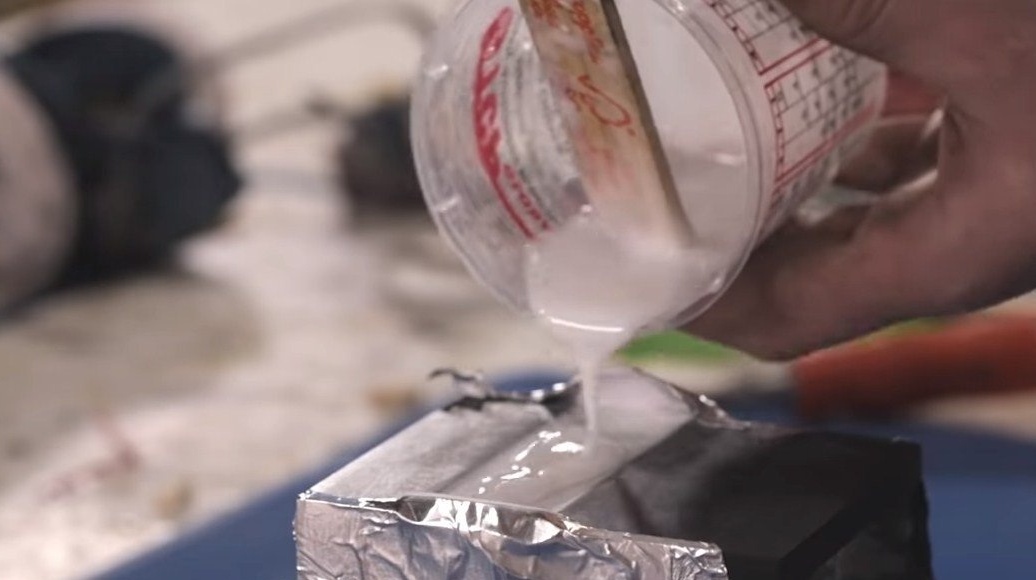
You can install an LED strip in the cube, you need to glue it well, also do not forget to hold the wires. The hole through which the wires pass must be sealed with hot glue so that the epoxy does not leak.
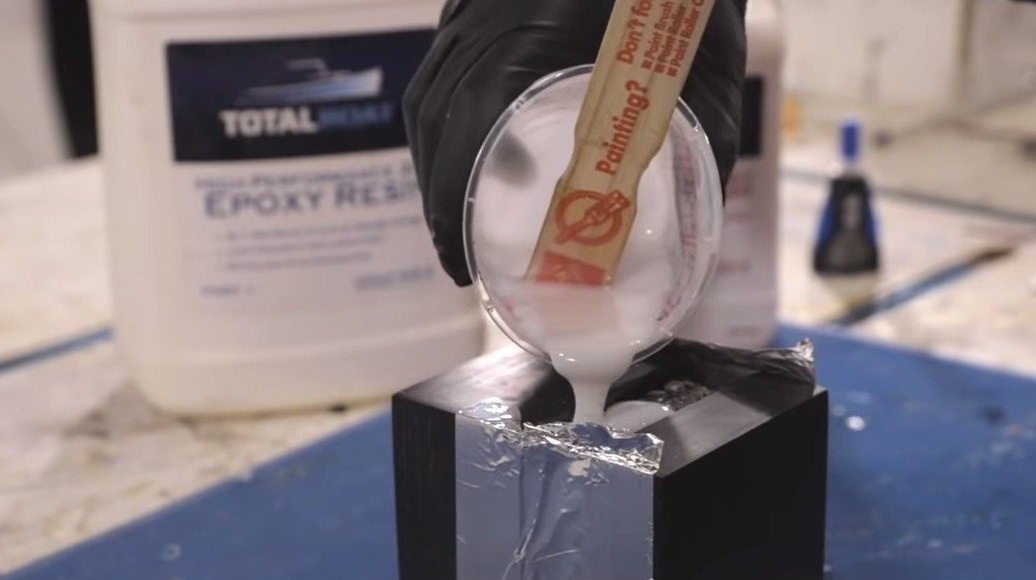
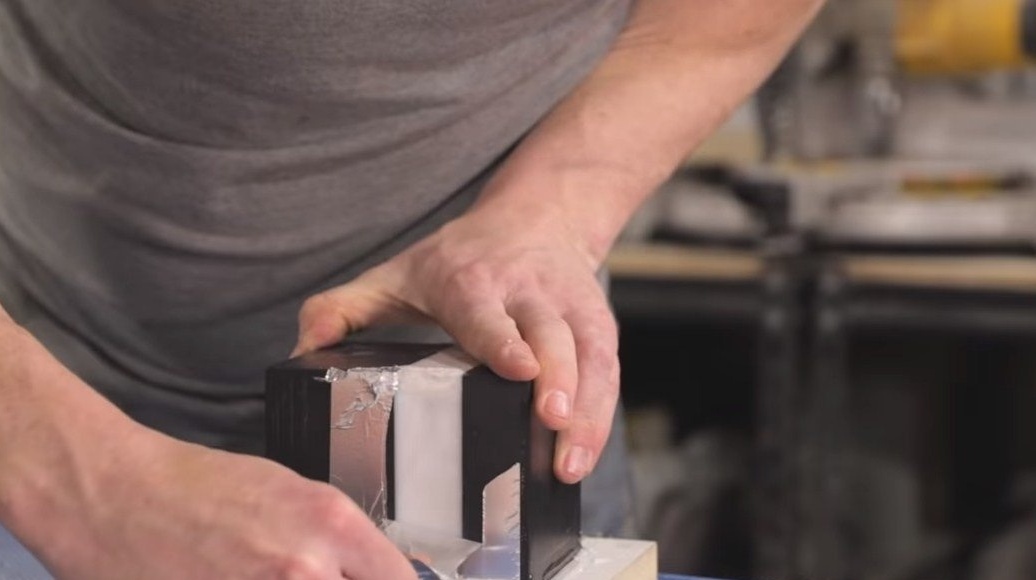
Then you can start pouring, glue the cube with foil or other material as a formwork. Pour the resin, this time the dye is added white. When the resin hardens, you can cut off the excess and grind the cube.
Step Four Cube assembly
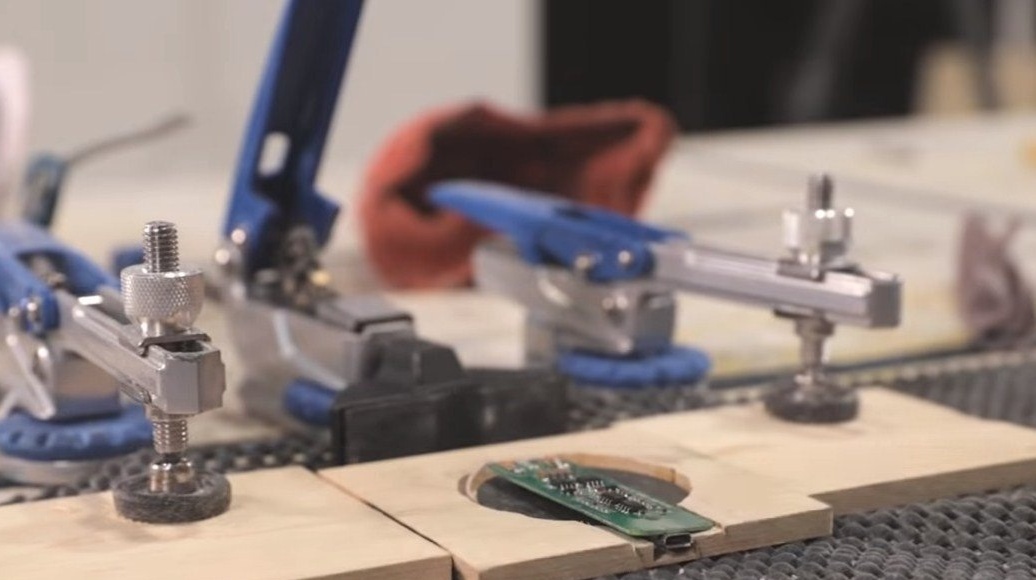
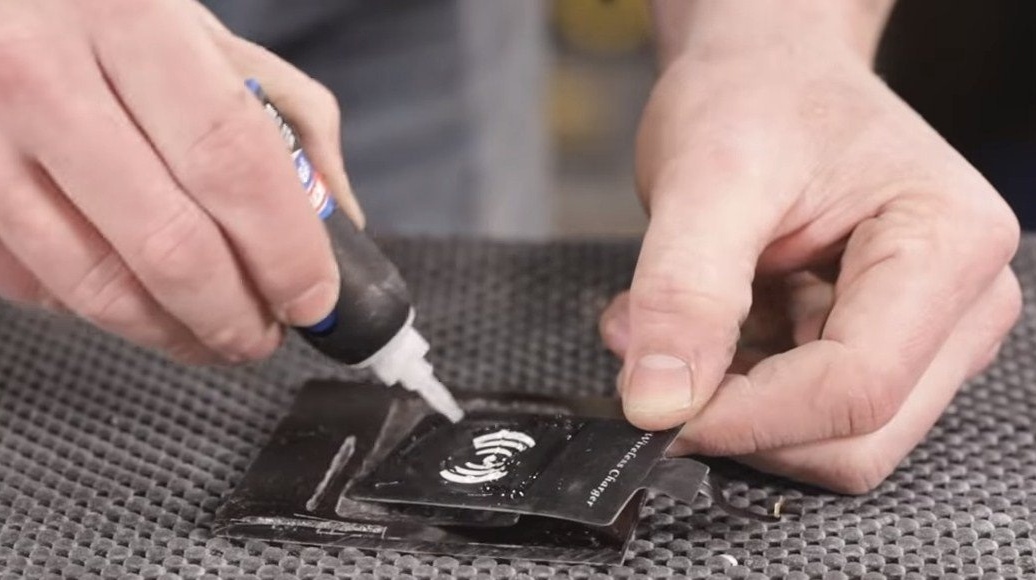
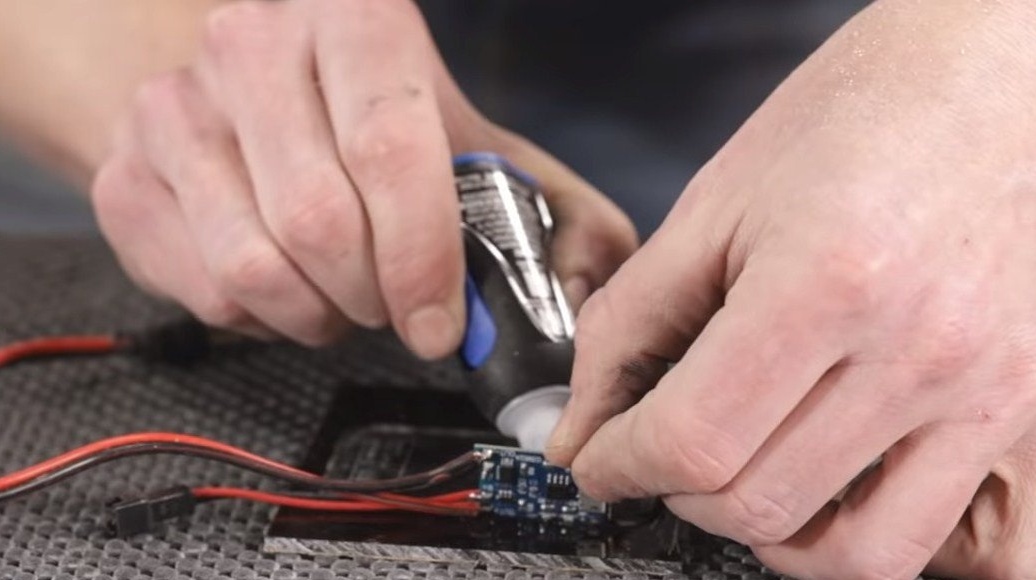
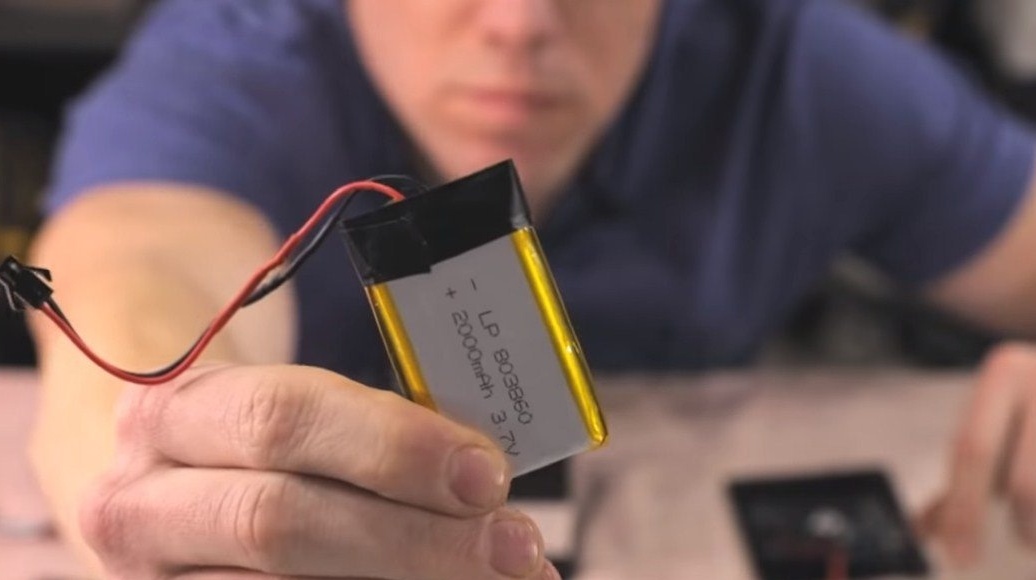
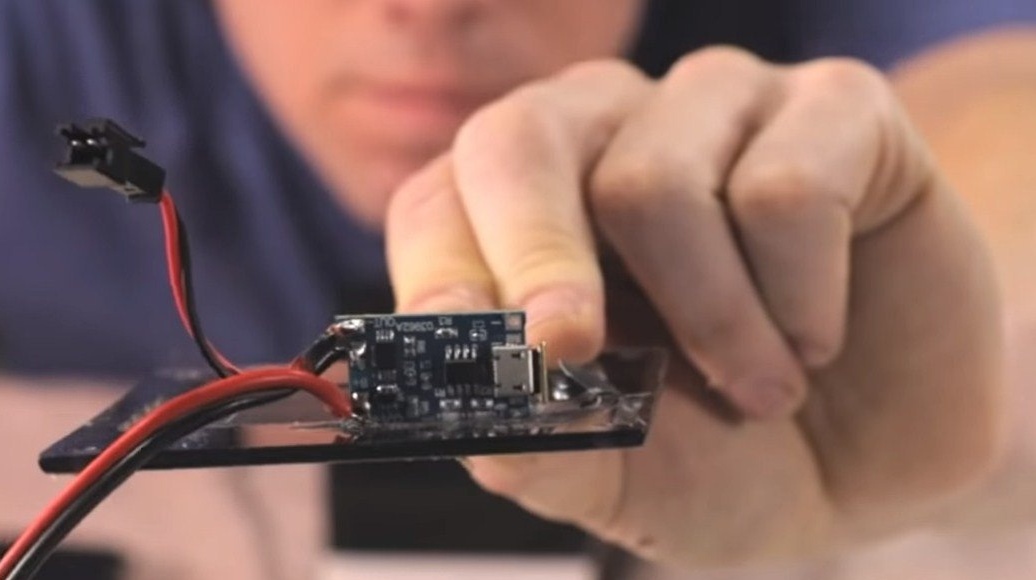
The cube can be assembled, for this you need to prepare the battery and other electronics. First, cut out two squares, one will be attached to the cube, and the other will be a platform for installing the cube for charging.
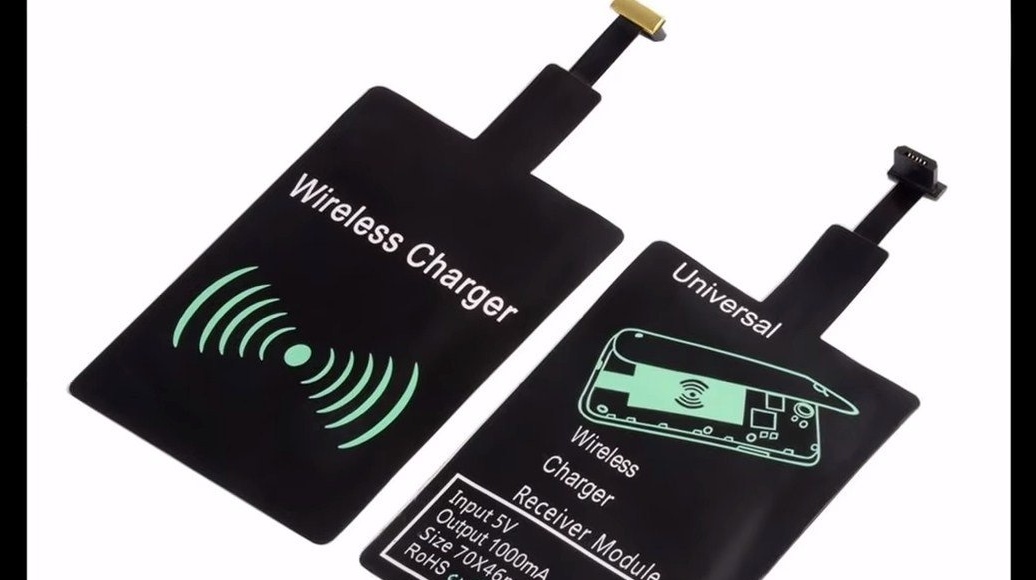
The charging module consists of two parts, one is installed in the cube, and one in the platform. The cube also has a 2000 mAh battery, to charge it you need to remember to install a BMS controller.
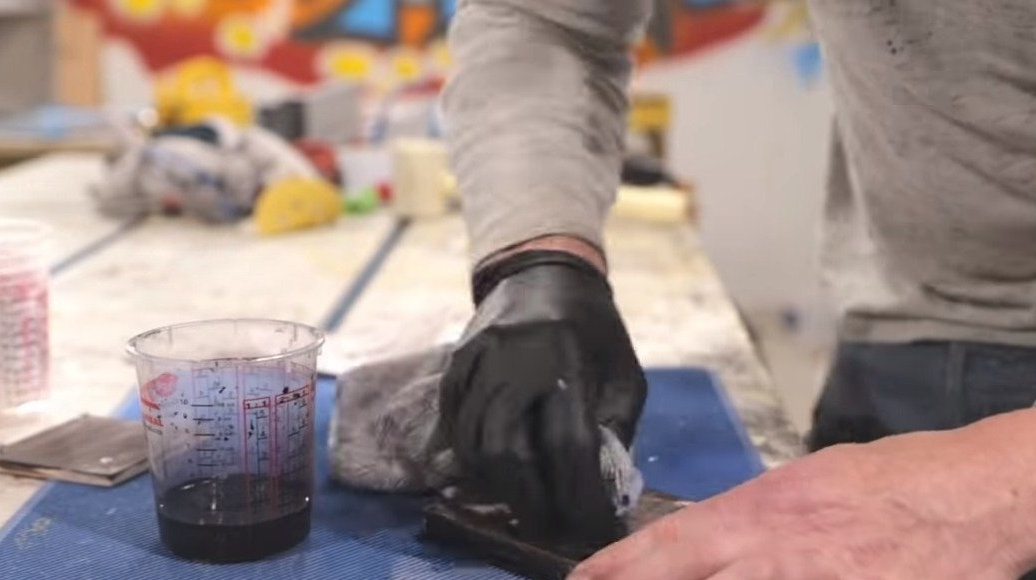
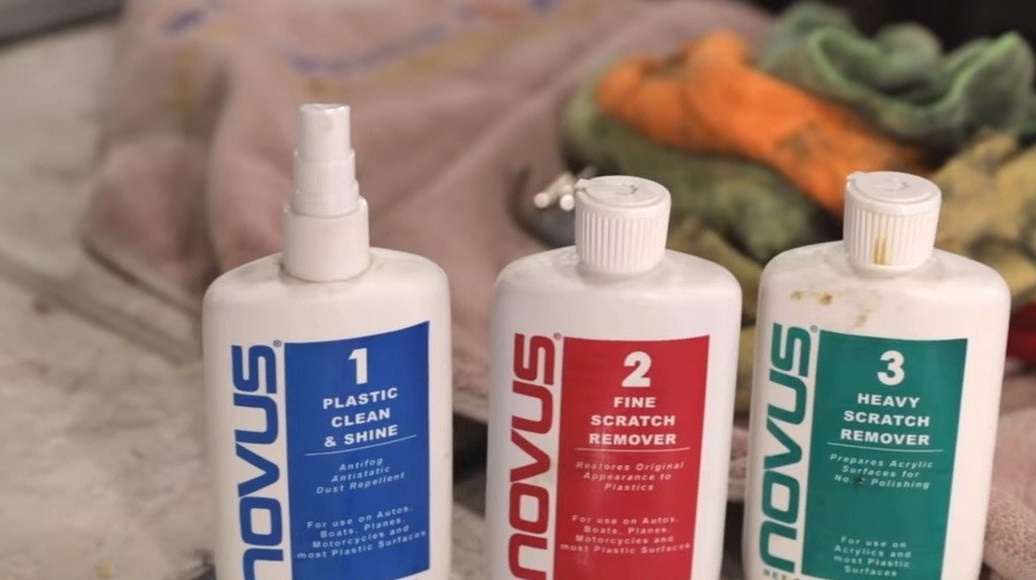
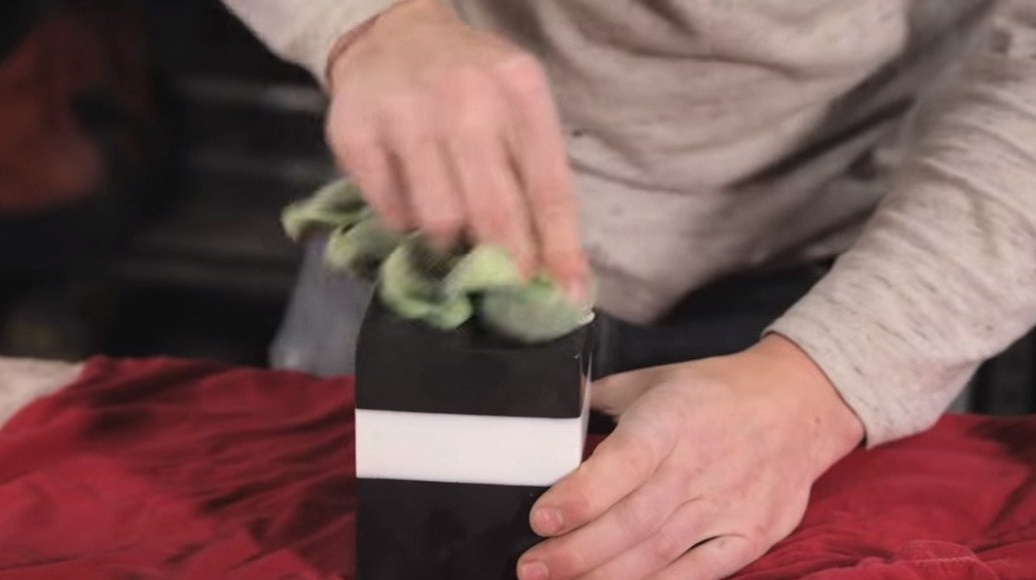
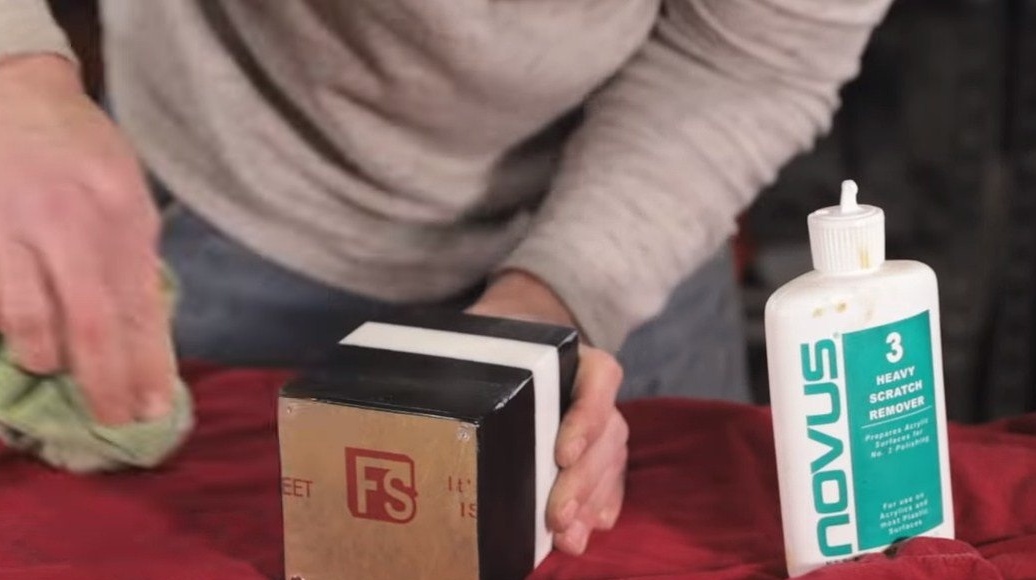
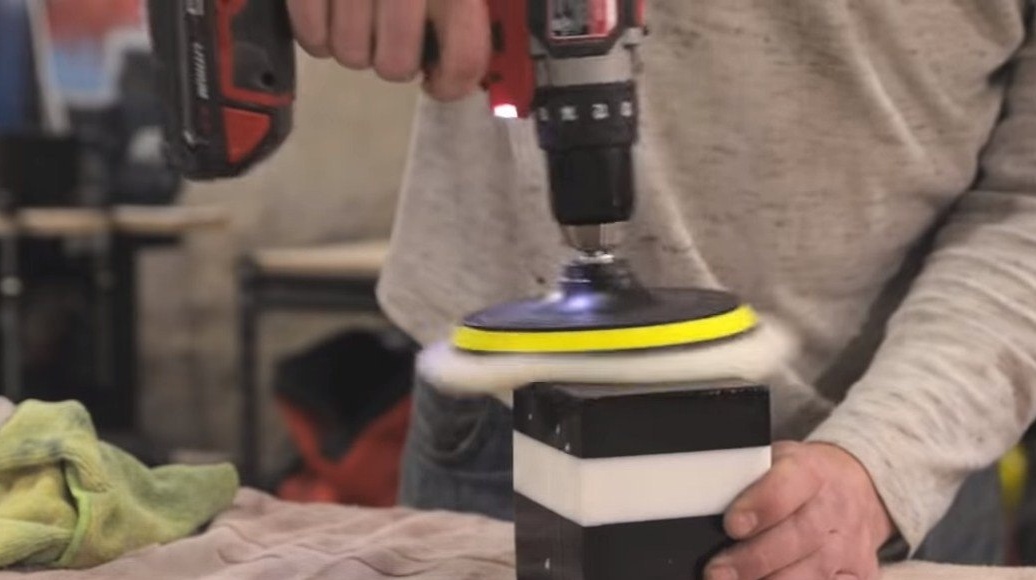


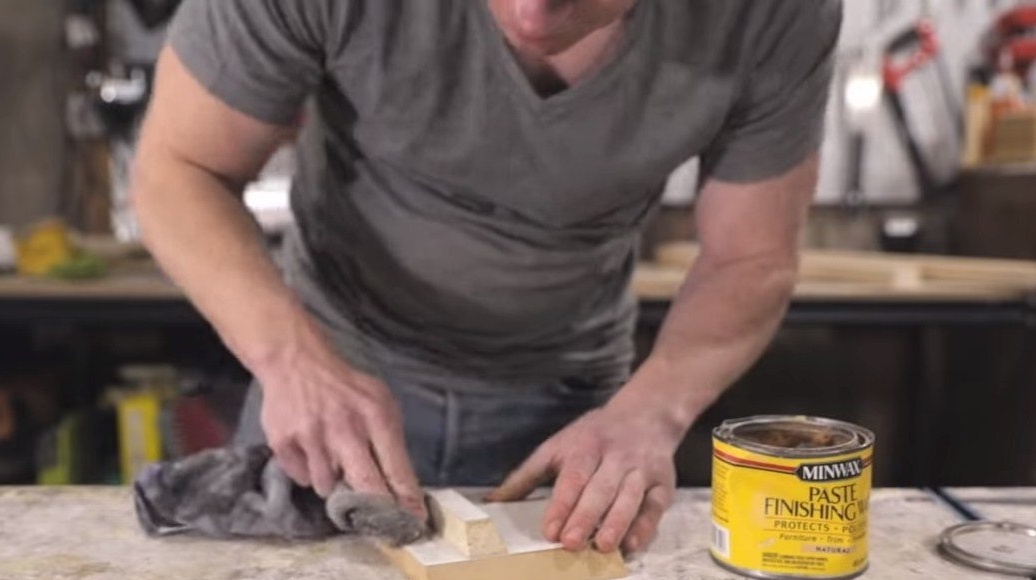
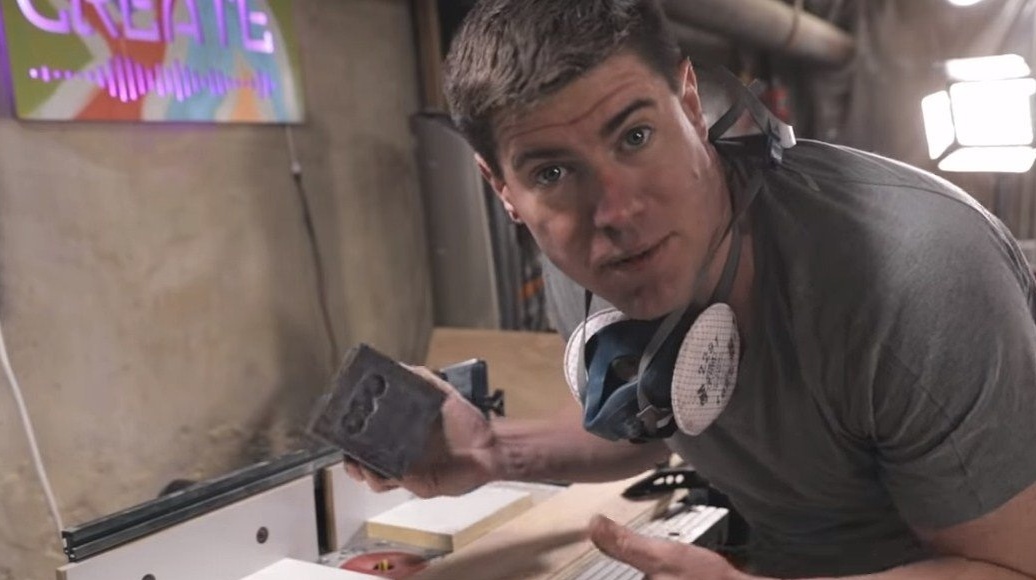
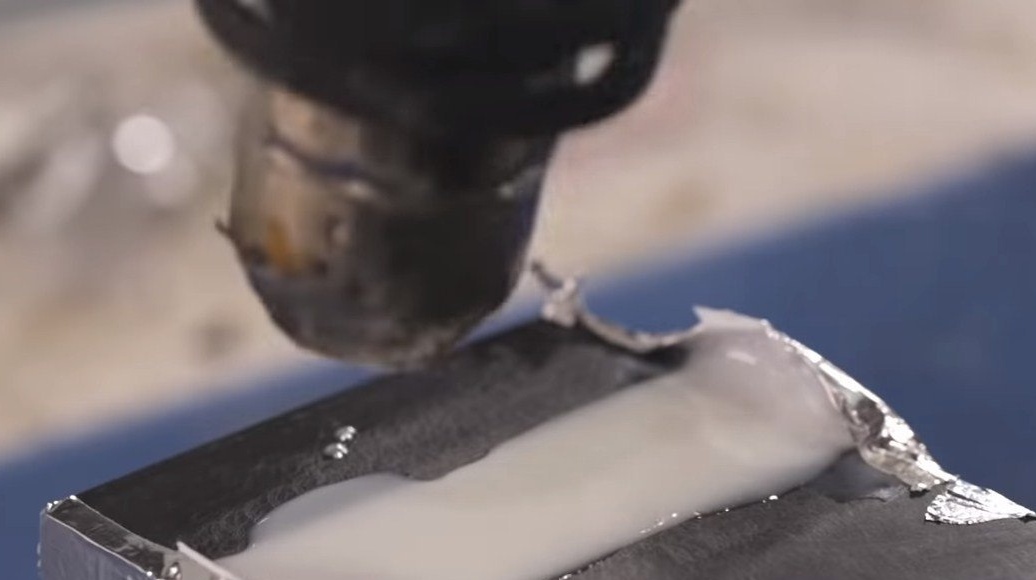
That's all, now the homemade product is ready, it remains to bring it to the ideal. To do this, we polish the cube with fine sandpaper and varnish for epoxy resin. At the end, the cube can be polished, it will look like a glass. For polishing the author uses a drill with a disk nozzle.
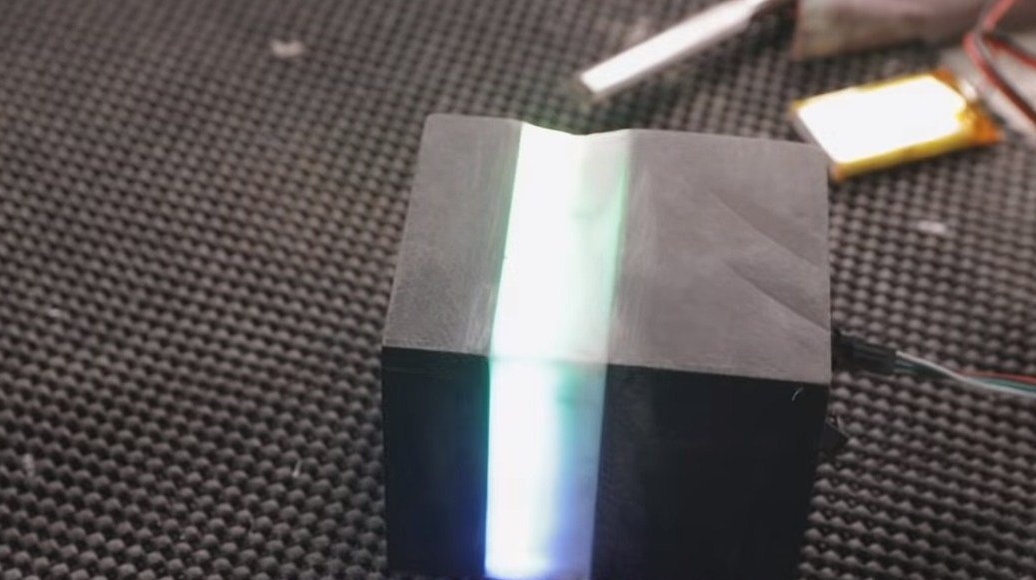
The cube works, it shimmers with different colors of the rainbow, everything looks very beautiful. The cube from the remote control turns on, the SP106E color music controller for pixel LED strips is installed in it. I hope you enjoyed the project and found useful thoughts for yourself. Good luck and creative inspiration, if you decide to repeat this. Do not forget to share your ideas and homemade things with us!