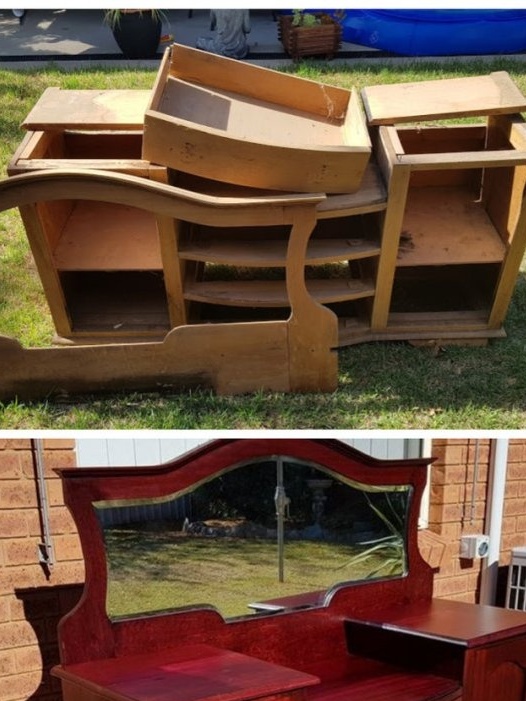
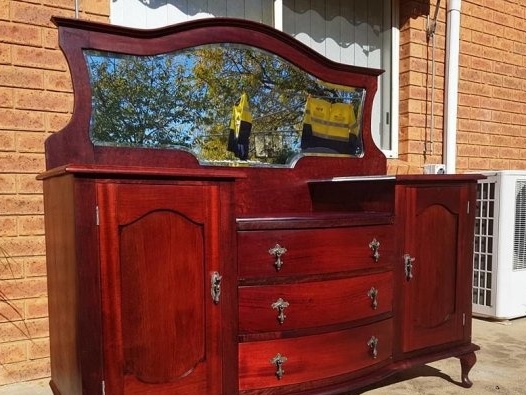
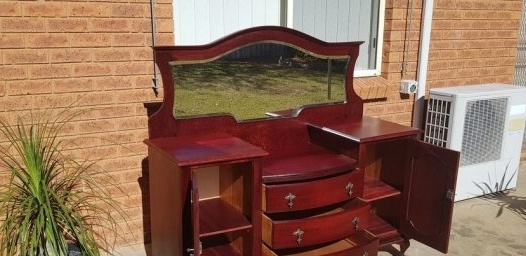
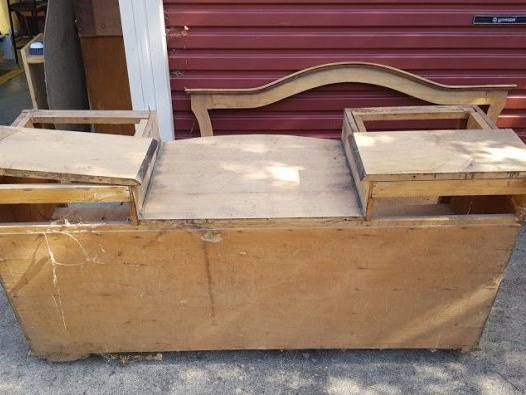
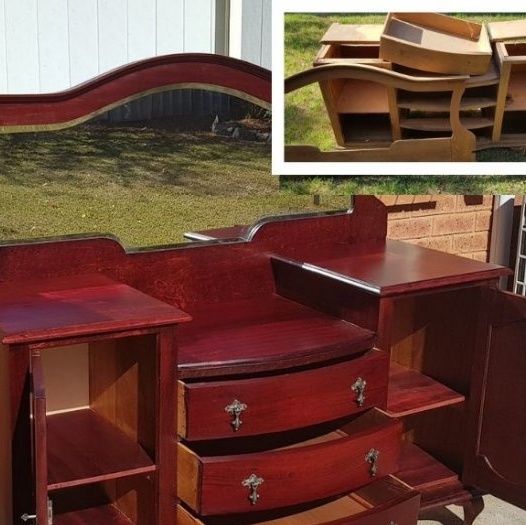
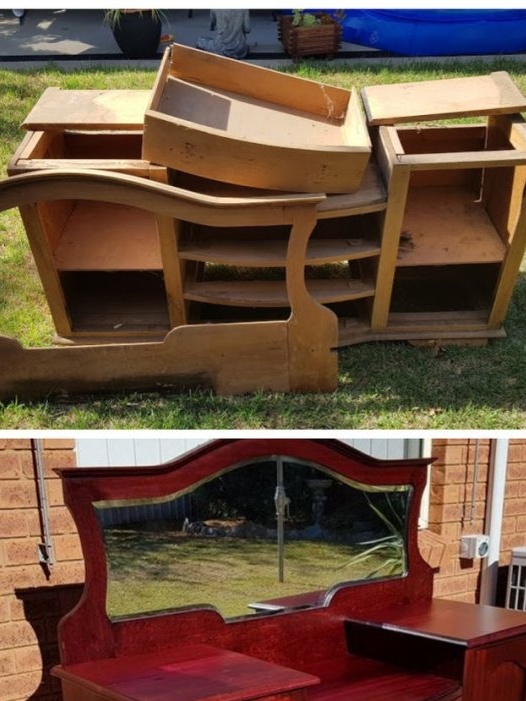
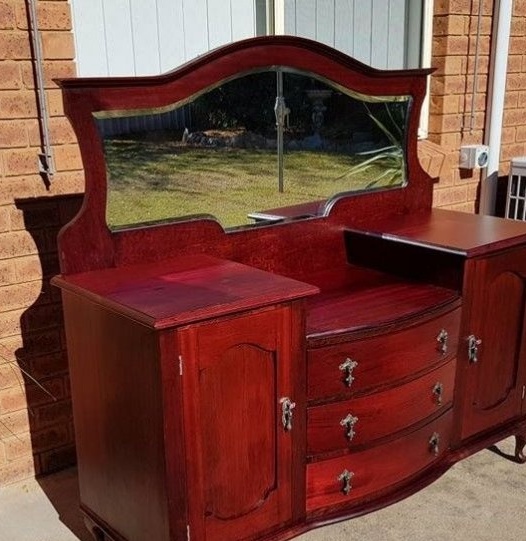
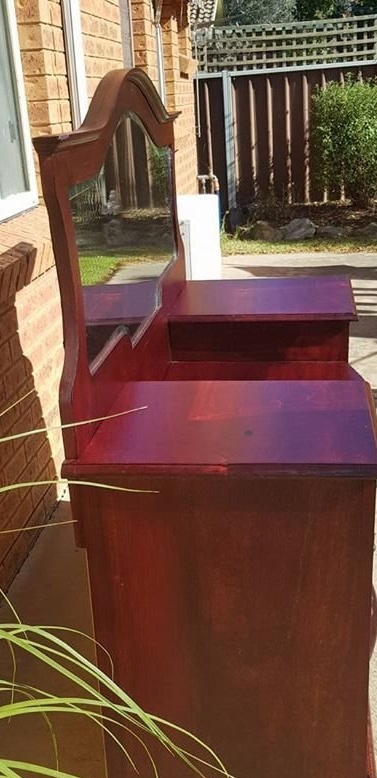
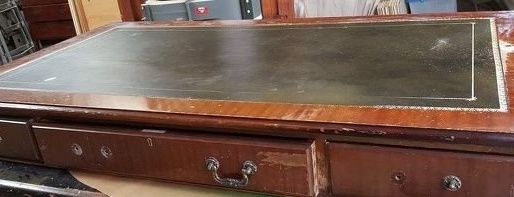
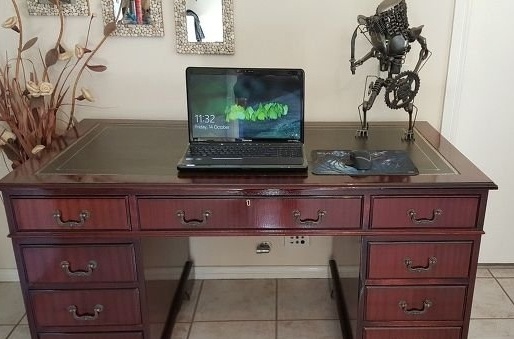
Do not rush to throw away the old furniture, try to restore it, as the master Anita from Holland did. She sold this chest of drawers for $ 20 in the local market, especially for restoration. Her collection also has other restored furniture.
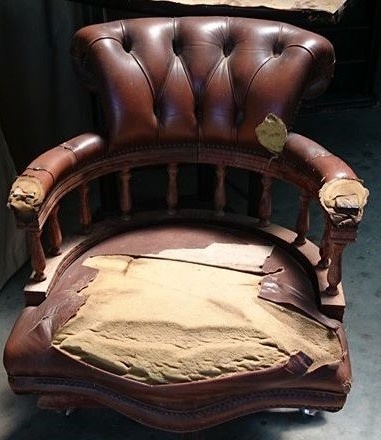
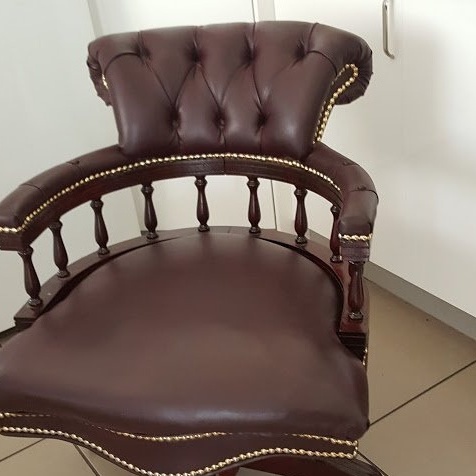
So, for the restoration of the chest of drawers, the master used the following
Tools and materials:
-Hammer;
-Screwdriver;
- Clamps;
-Tightening belts;
- Steam generator;
- Joiner's glue;
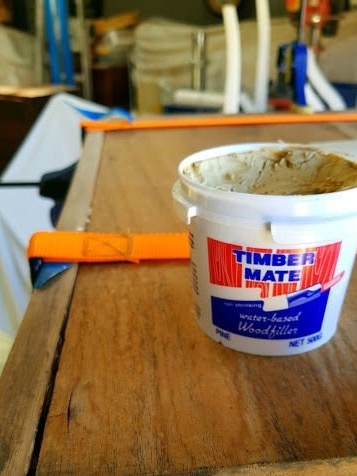
- Putty;
-Sander;
-File;
-Sandpaper;
- Legs from old furniture;
-Plywood;
-Iron;
Edge tape;
-Aerosol paint "mirror";
-Coverage "Mahogany";
-Nails;
-Varnish;
-Vinegar;
-WD40;
-Furniture fittings;
-Capacity;
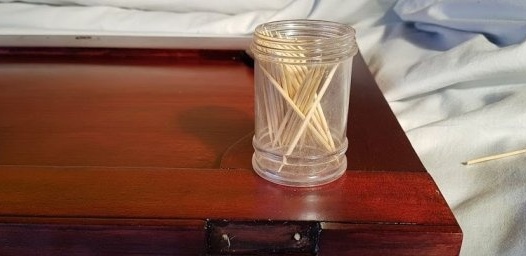
Toothpicks
Step one: inspection, stripping
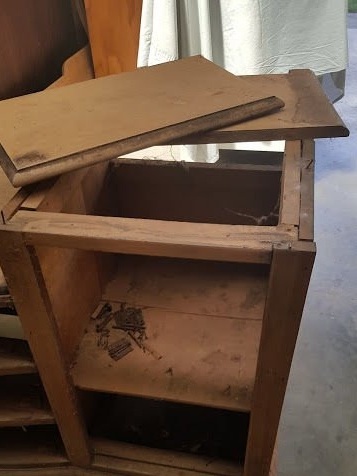
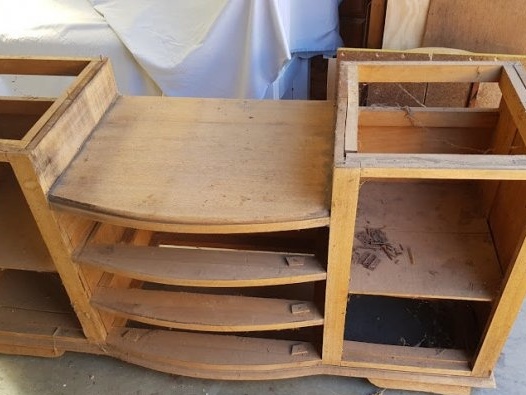
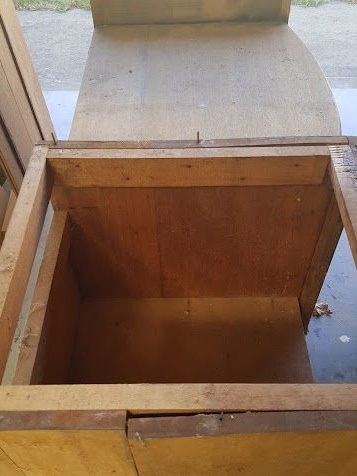
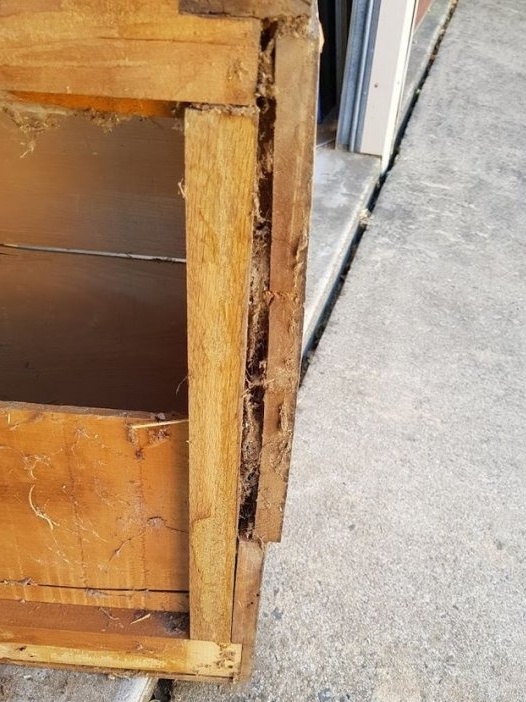
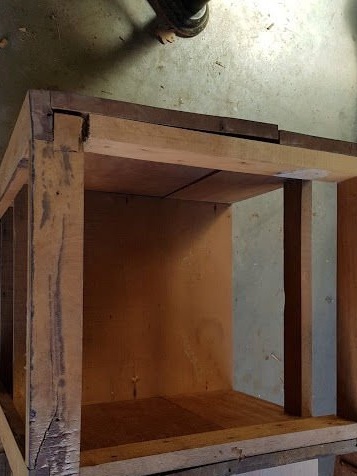
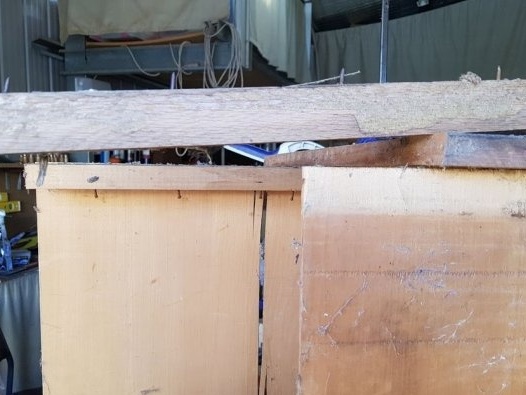
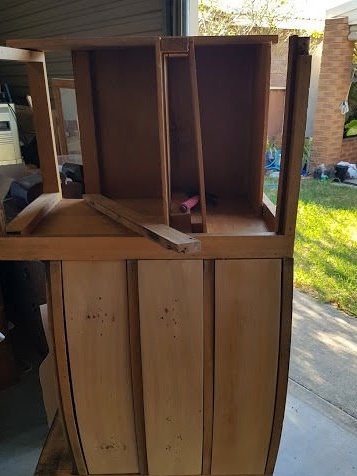
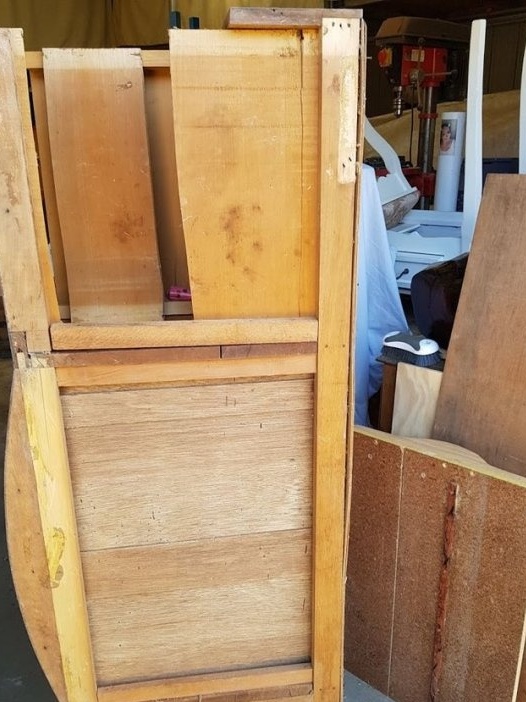
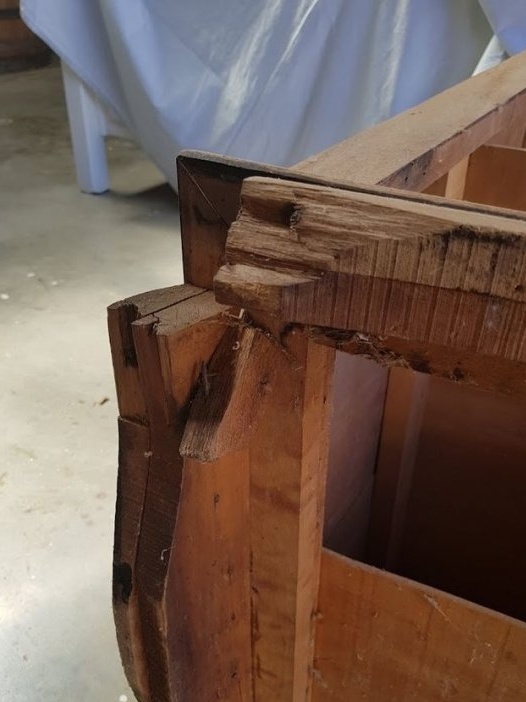
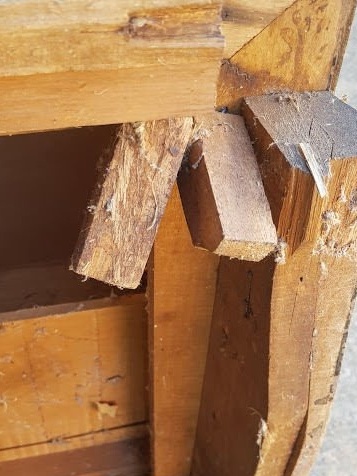
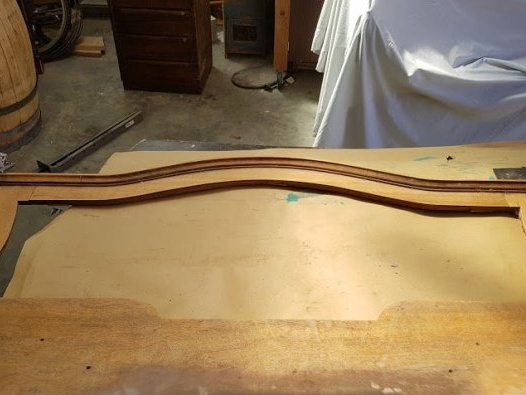
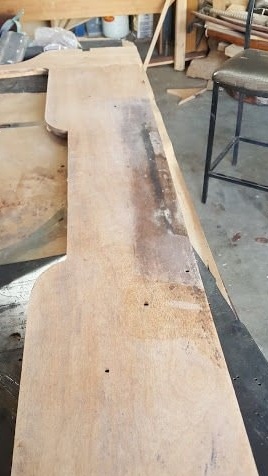
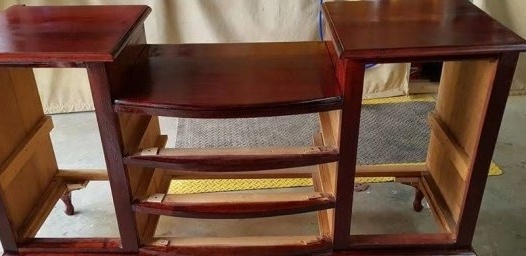
The chest of drawers was in poor condition. Part of the wood cracked, part rotted, part was deformed. In the first step, the restorer removed all the unsuitable wood.
Step Two: Alignment
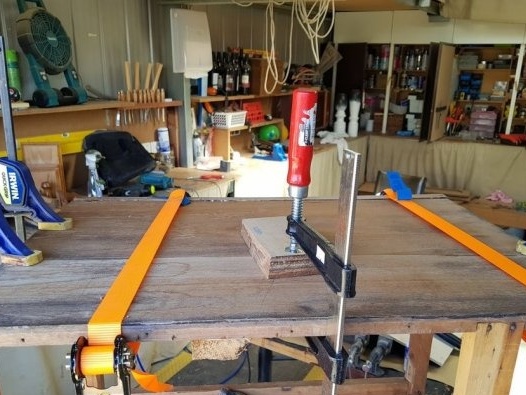
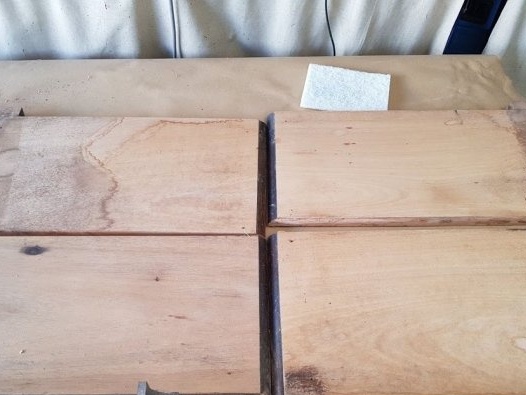
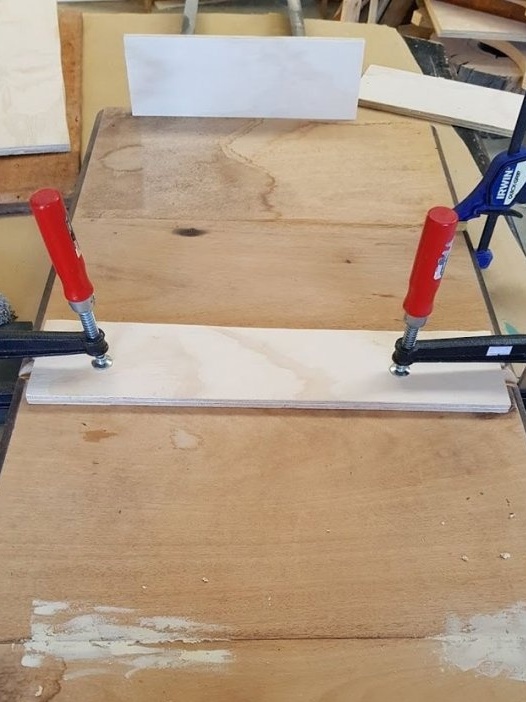
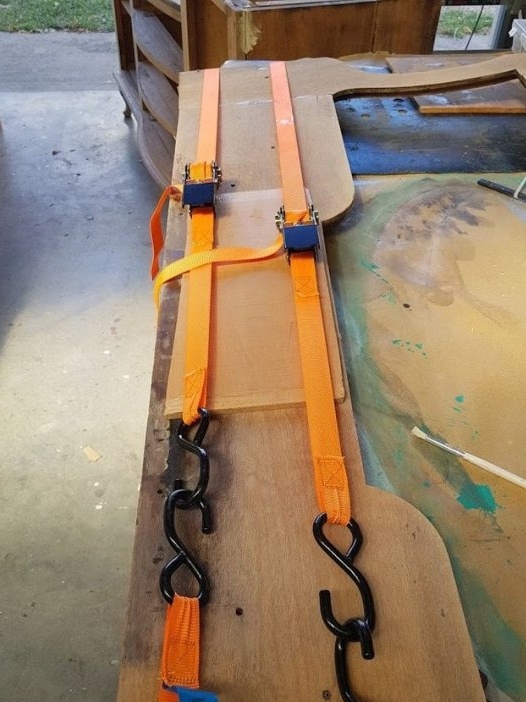
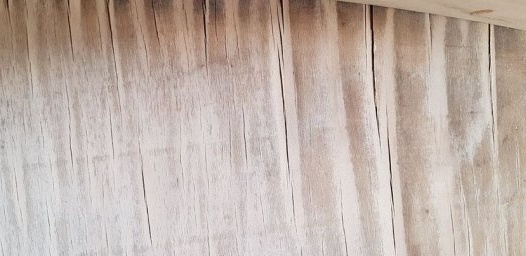
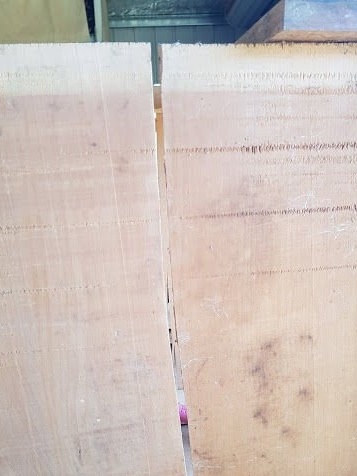
The process of aligning the deformed boards took a few days from the master. The wood was wet and pulled together with straps and clamps. Every few hours, the master steamed the wood with a steam generator and tightened the belts. As a result, the wood acquired its normal form.
Step Three: Gluing, Puttying
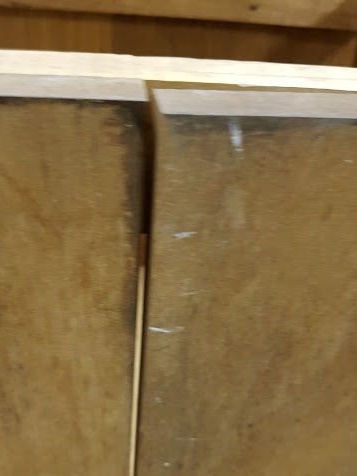
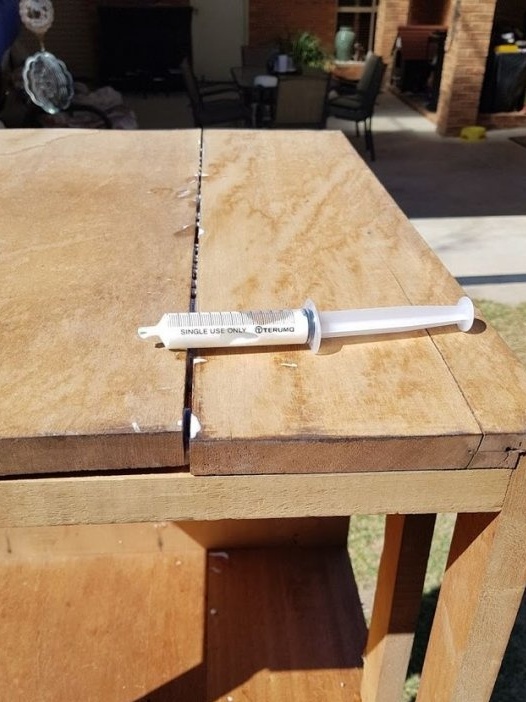
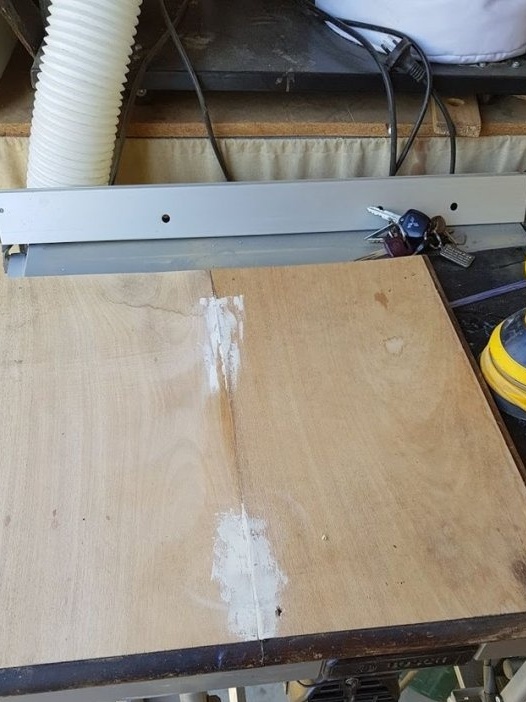
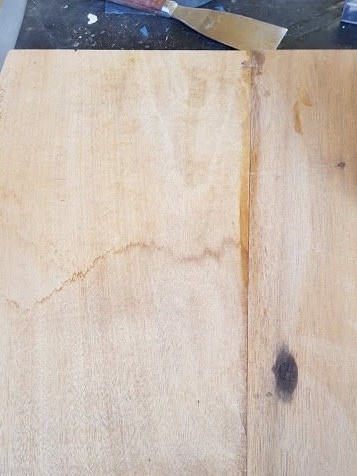
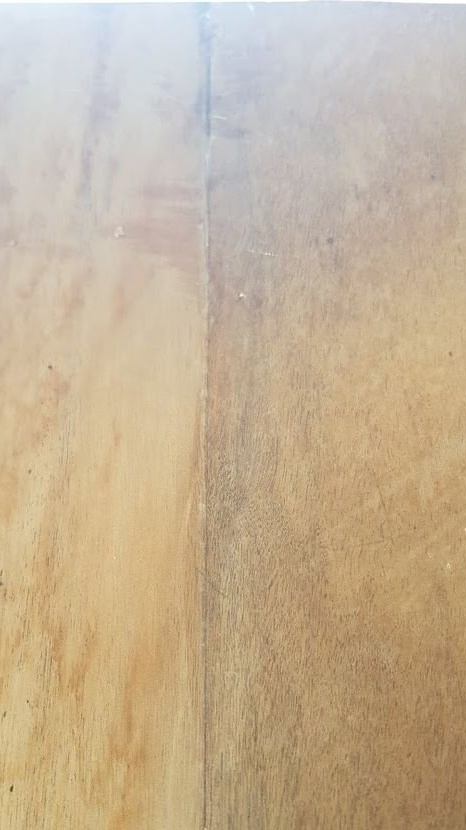
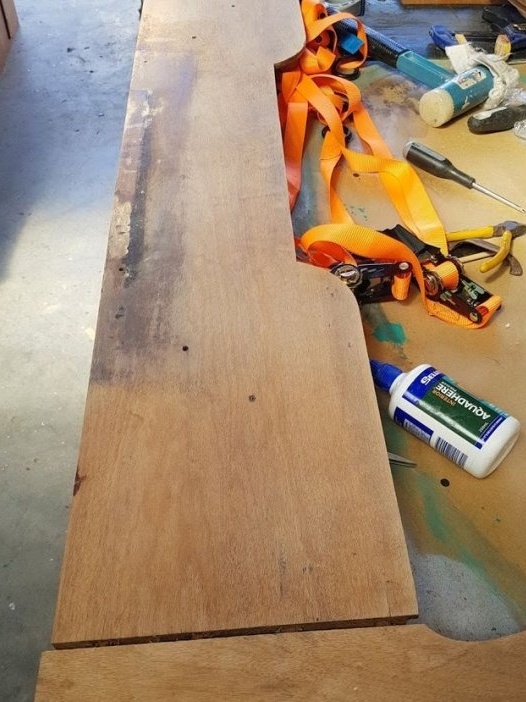
Wooden parts stick together, cracks are putty.
Glue, putty and grind the top cover.
Step Four: Feet
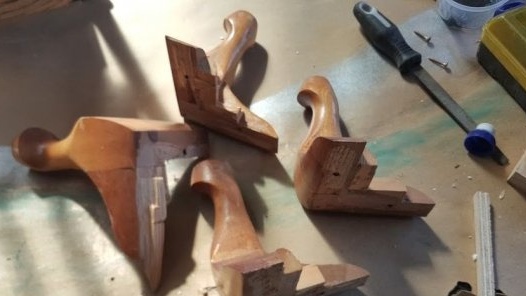
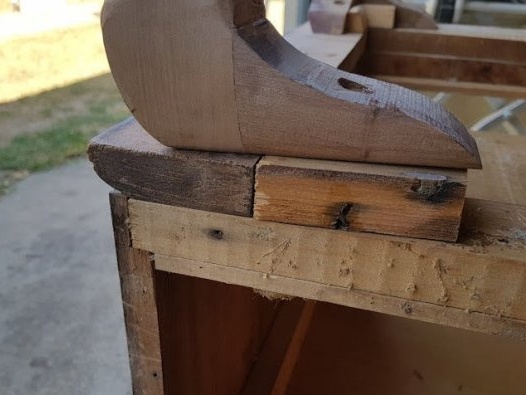
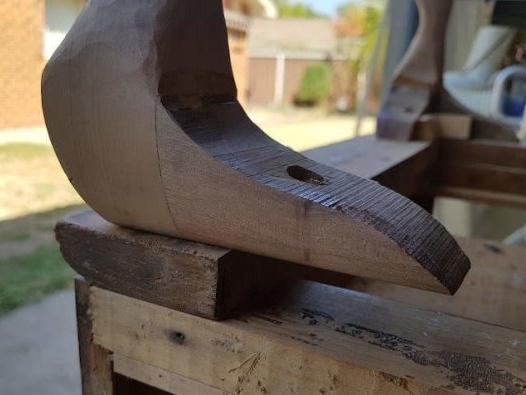
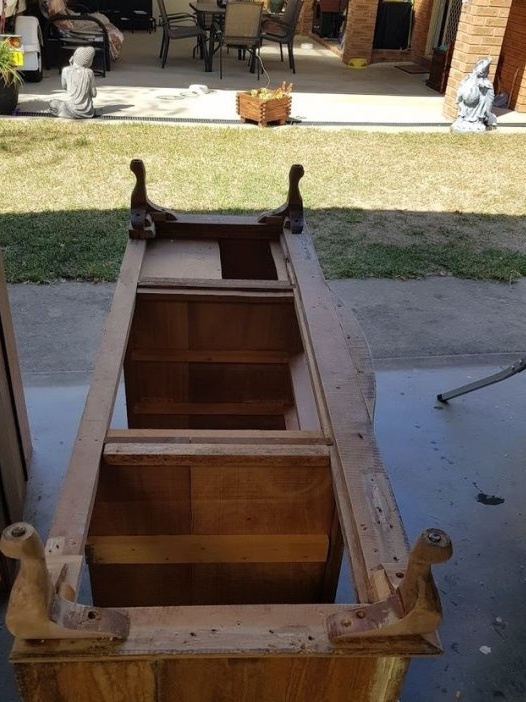
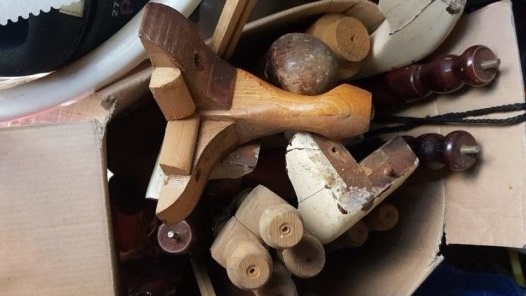
Native legs of the chest have rotted and cannot be restored. From the previously restored furniture, the master still had legs. Having picked up four legs, the master skinned them and set them on the dresser.
Step Five: Frame and Drawers
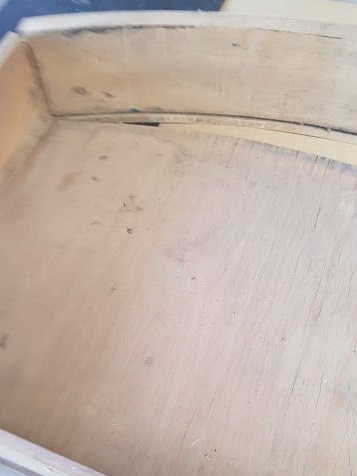
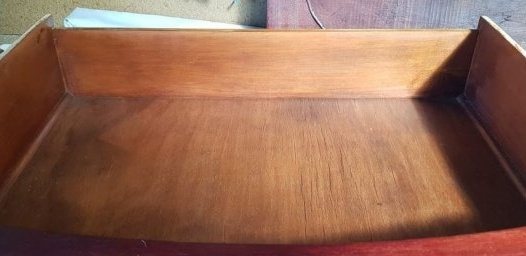
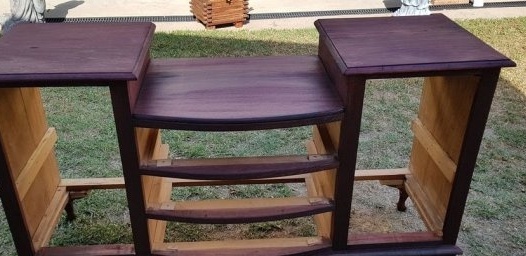
The frame and drawers were glued and sanded. For better glide, the side surface of the drawers was waxed.
Step Six: Shelves
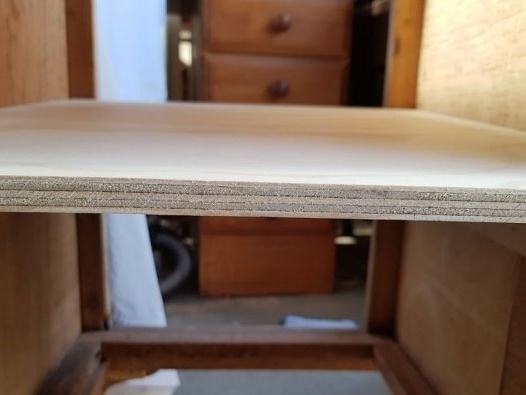
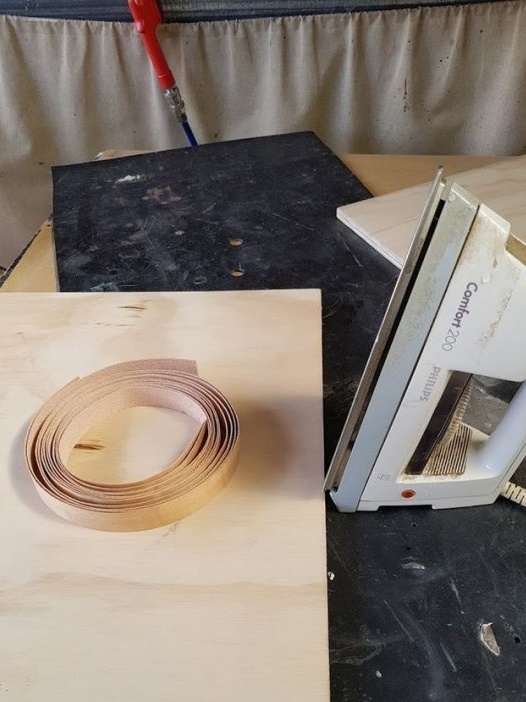
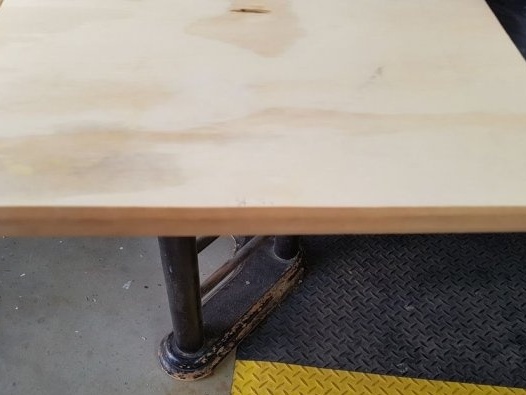
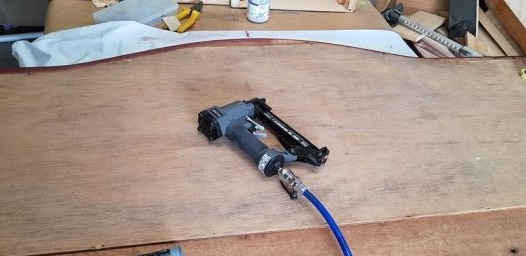
The old wooden shelves were cracked and could not be restored. Then the restorer cut out new shelves from plywood. An edge tape is glued to the front end side of the shelves.
Seventh step: restoration of the mirror
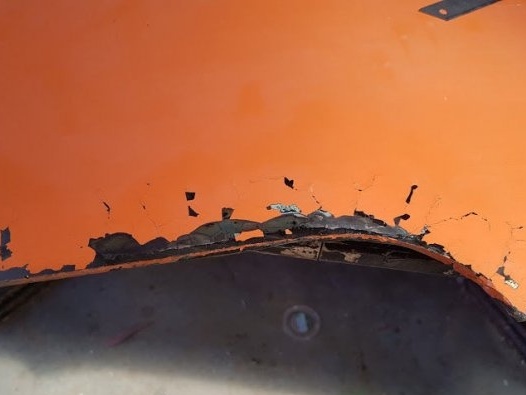
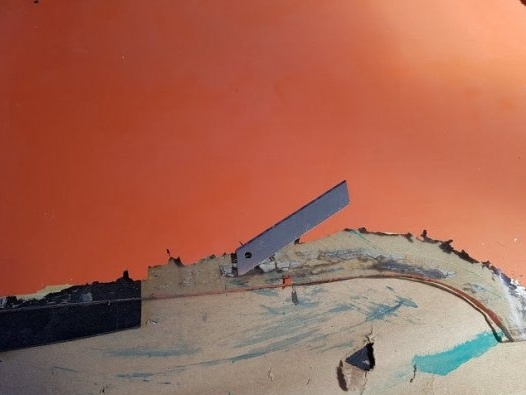
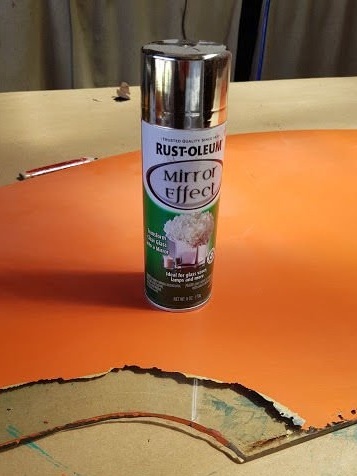
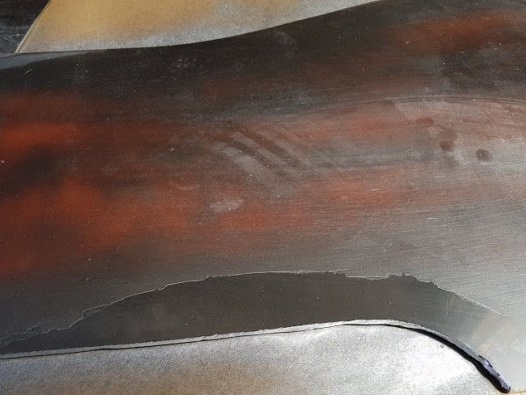
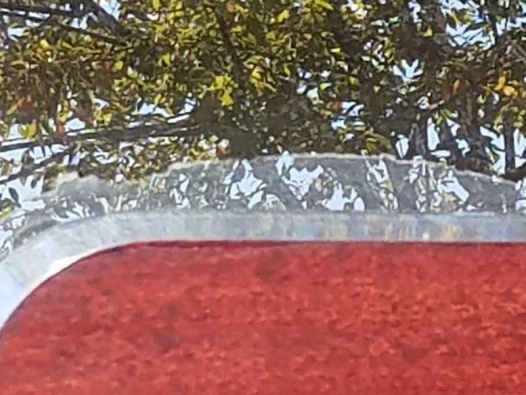
The edges of the mirror peeled off along the edges and partly peeled off. With a knife, the master cleans the loose part of the coating. Spray paint with a mirror effect is applied to the cleaned areas. Then the mirror was installed in the frame and fixed.
Step Eight: Cover
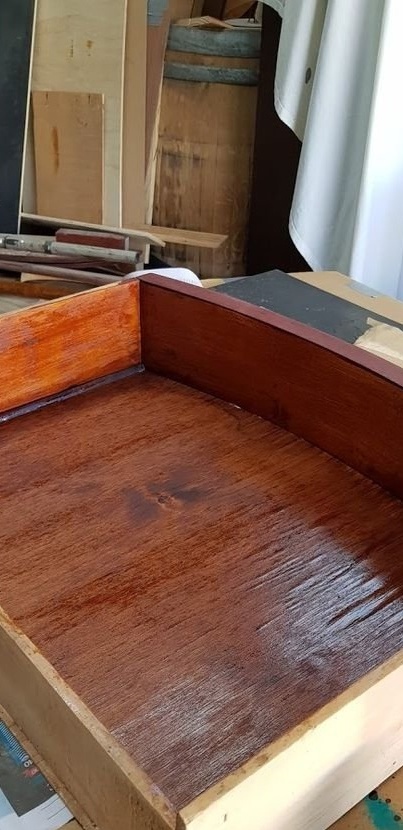
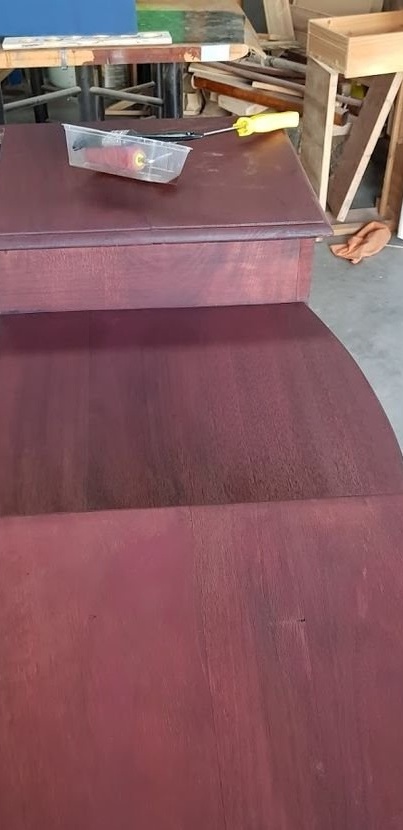
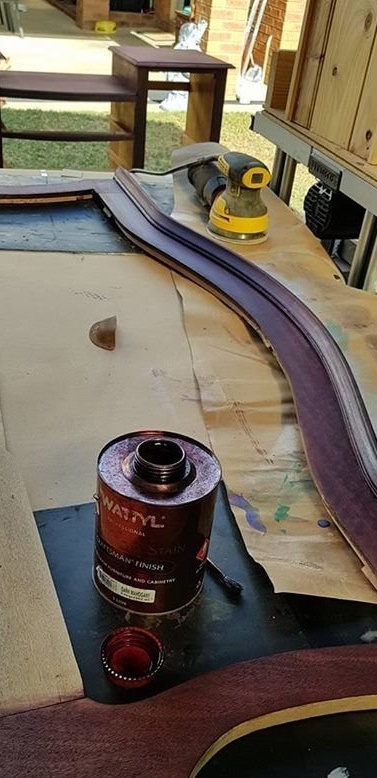
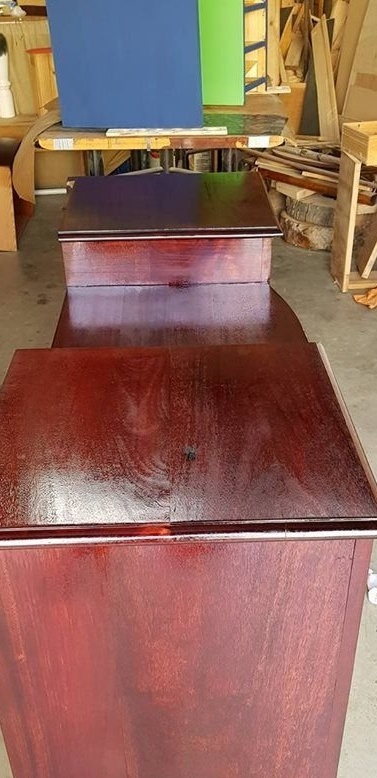
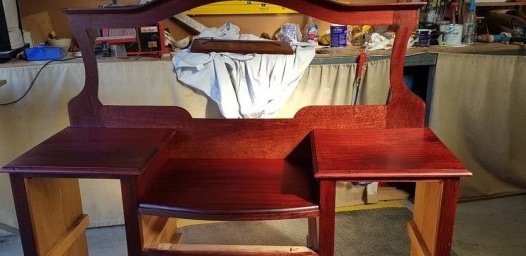
The entire chest of drawers was sanded and covered in mahogany.
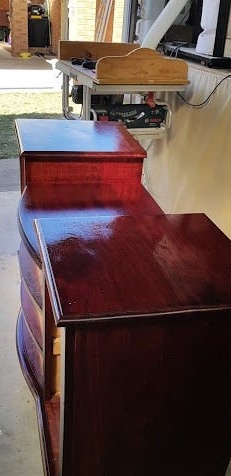
Then, varnish was applied to the surface.
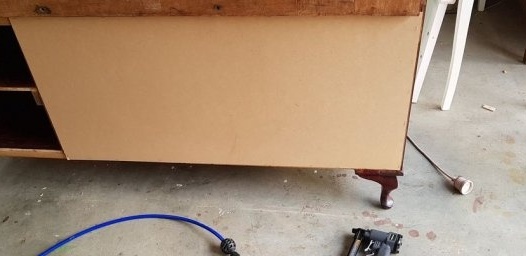
The back was covered with MDF.
Step Nine: Hardware
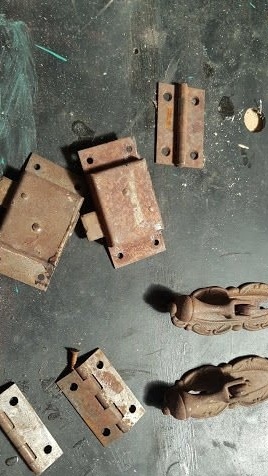
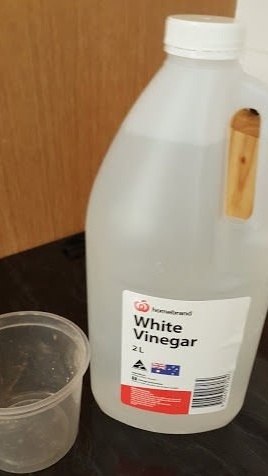
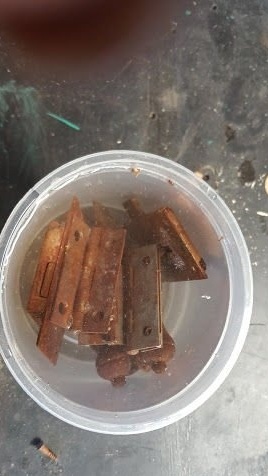
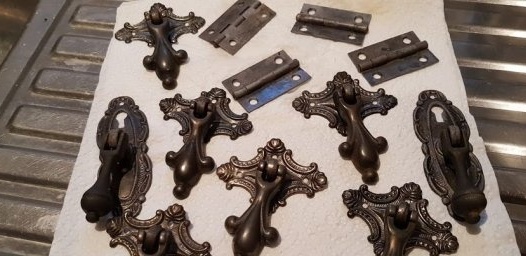
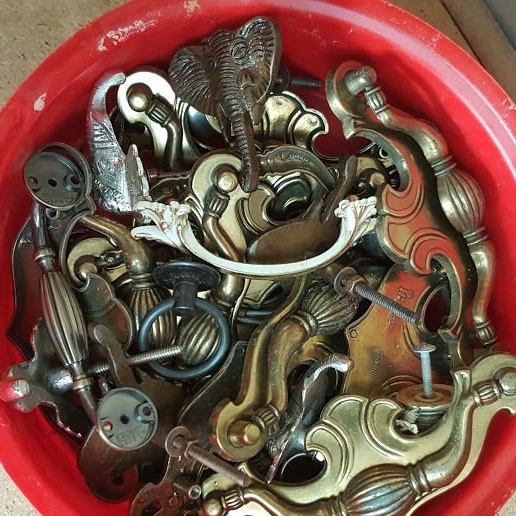
Rusty hinges, handles, locks were soaked in vinegar for a day, and then cleaned with the help of an air trap.
When installing the fittings in place, the old holes were sealed with toothpicks.
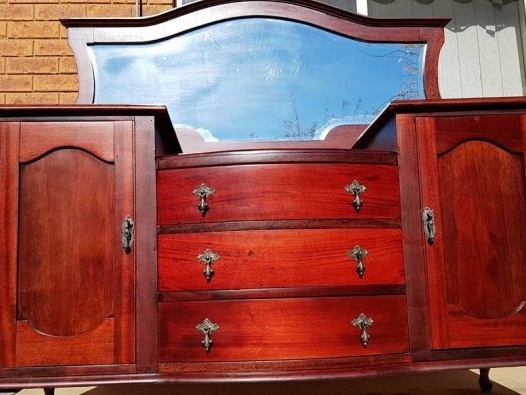
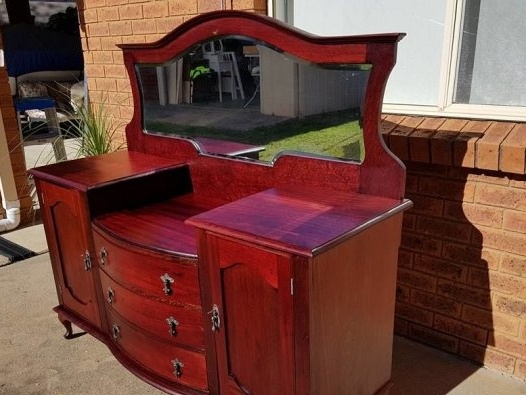
Everything is ready and from the old furniture, ready to be sent to a landfill, the master restorer made an excellent chest of drawers.

