
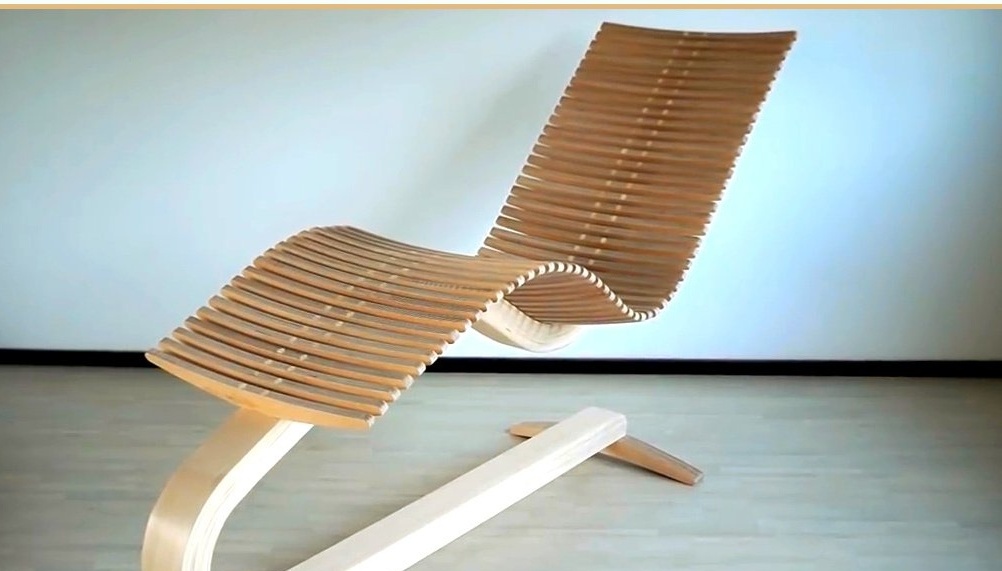
In this article, the author of the YouTube channel "lignum" will tell you how he made a very unusual and stylish chaise lounge.
Materials
- sheet plywood
- PVA glue
- Wood screws
- wood trimming
- Oil.
Instruments, used by the author.
- Chisels
-
- Drilling machine
-
-
-
- clamps
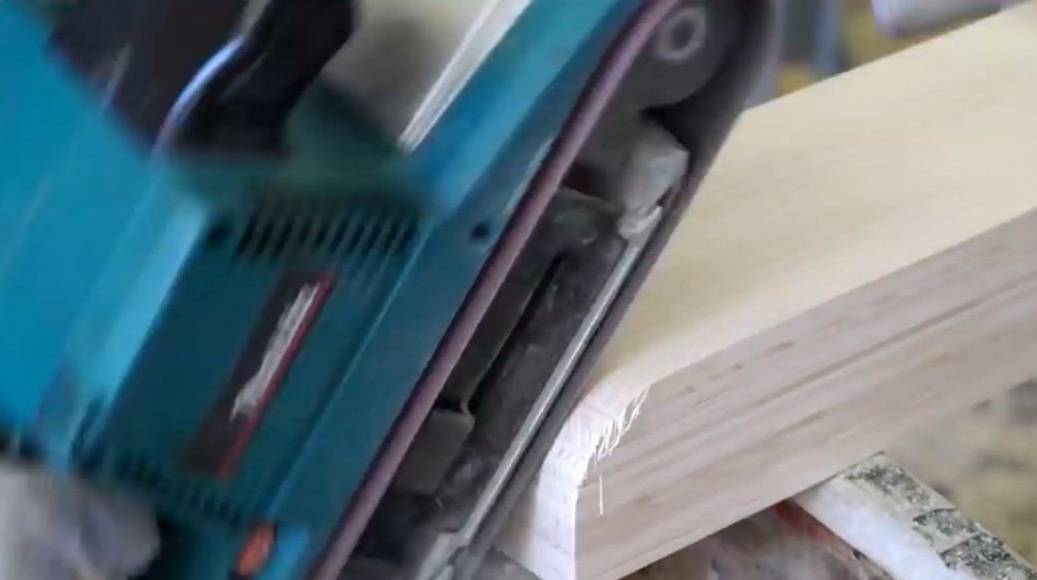
- Belt sander
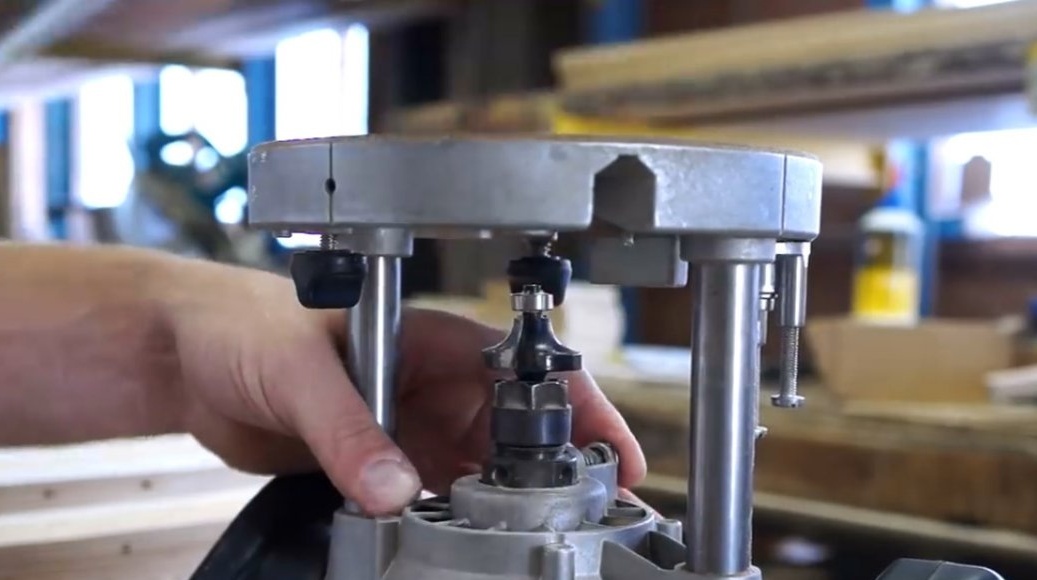
- CNC milling machine
-
-
- Reysmus
-
- Square, tape measure, pencil
- Compass.
Manufacturing process.
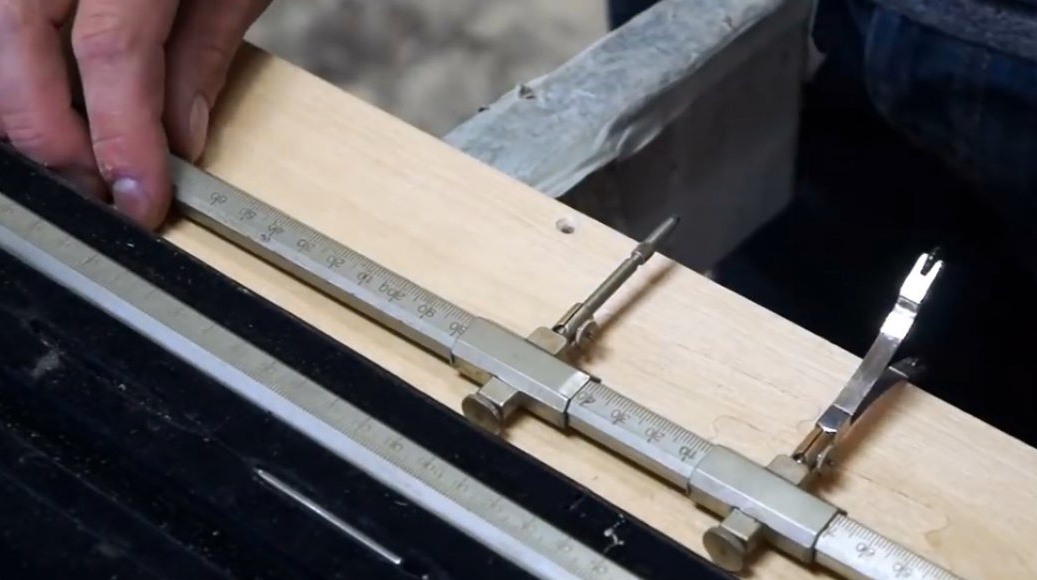
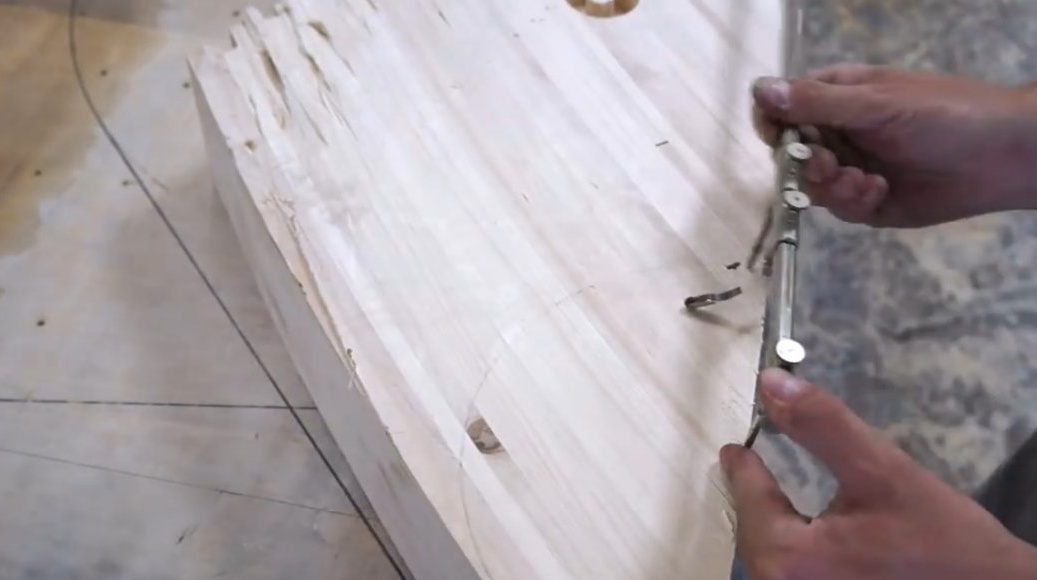
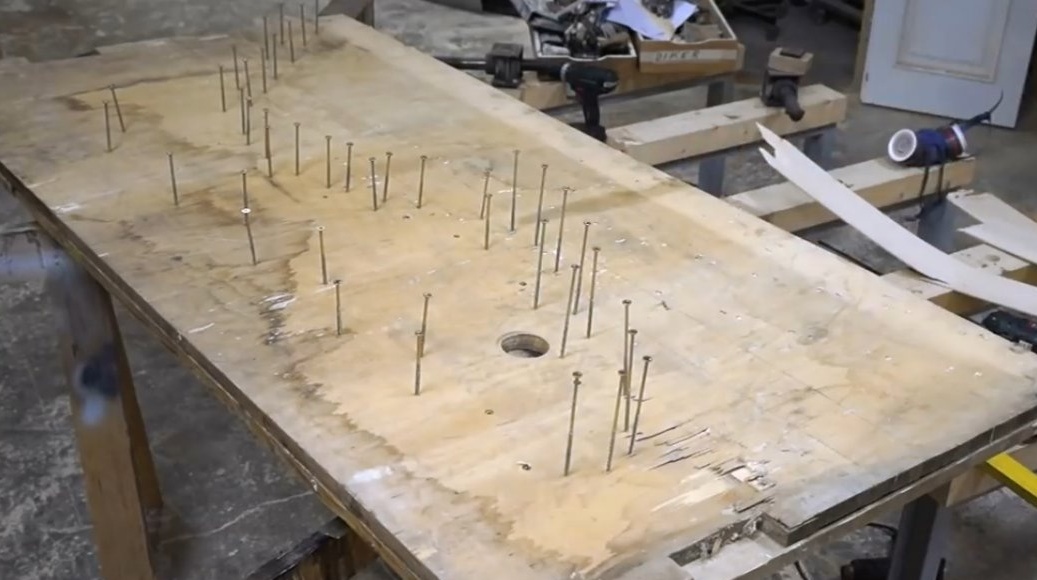
First of all, the author puts markings on an unnecessary plywood sheet using a joiner's compass.
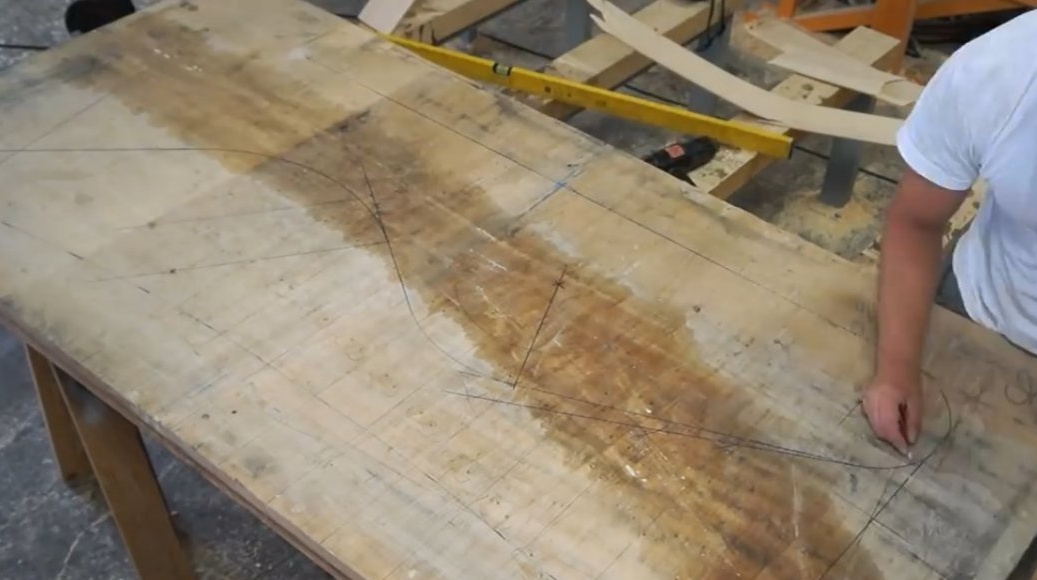
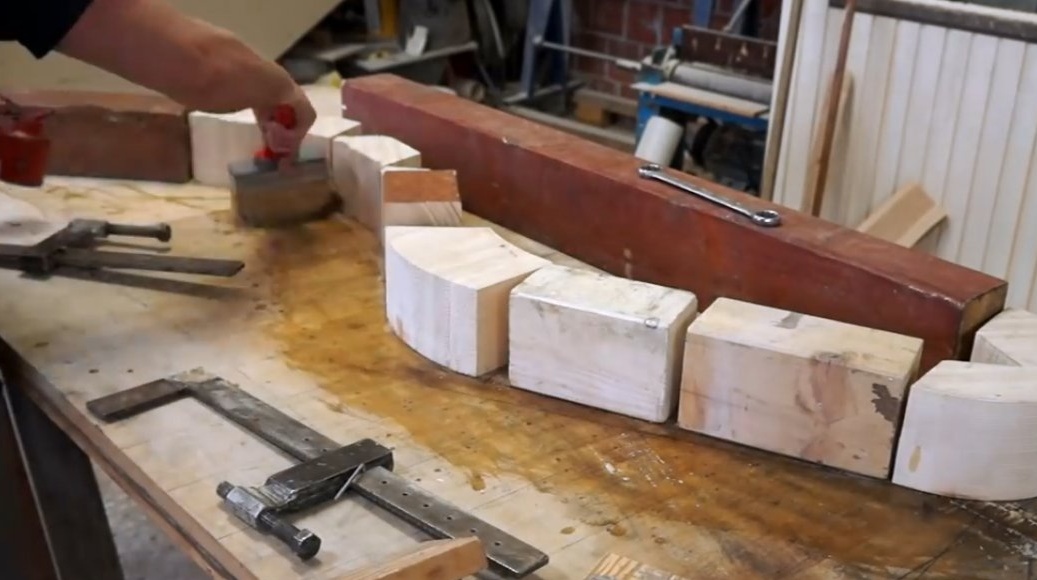
Then he marks and cuts out the important radius part of the template, polishes it.
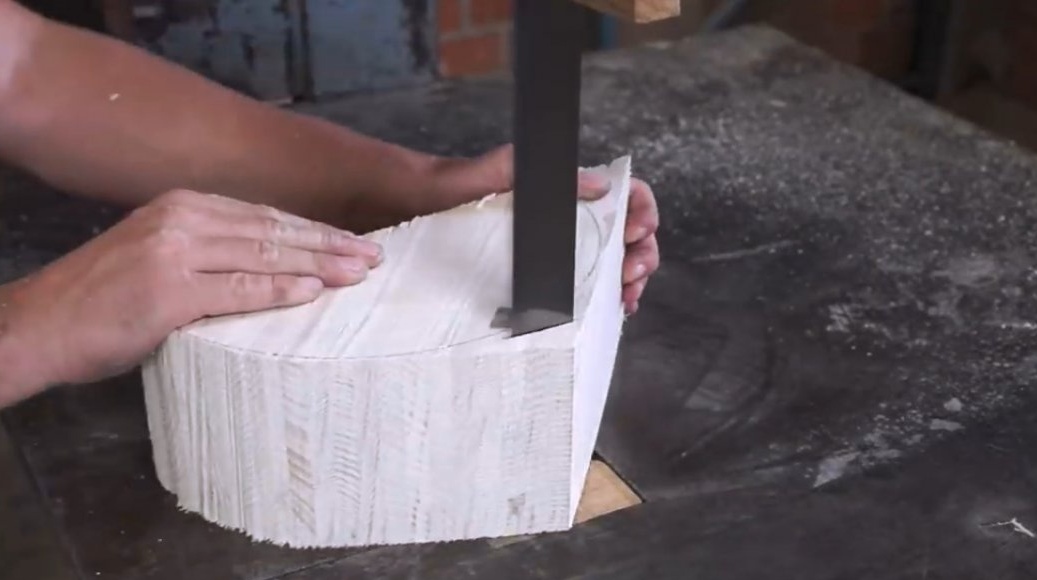
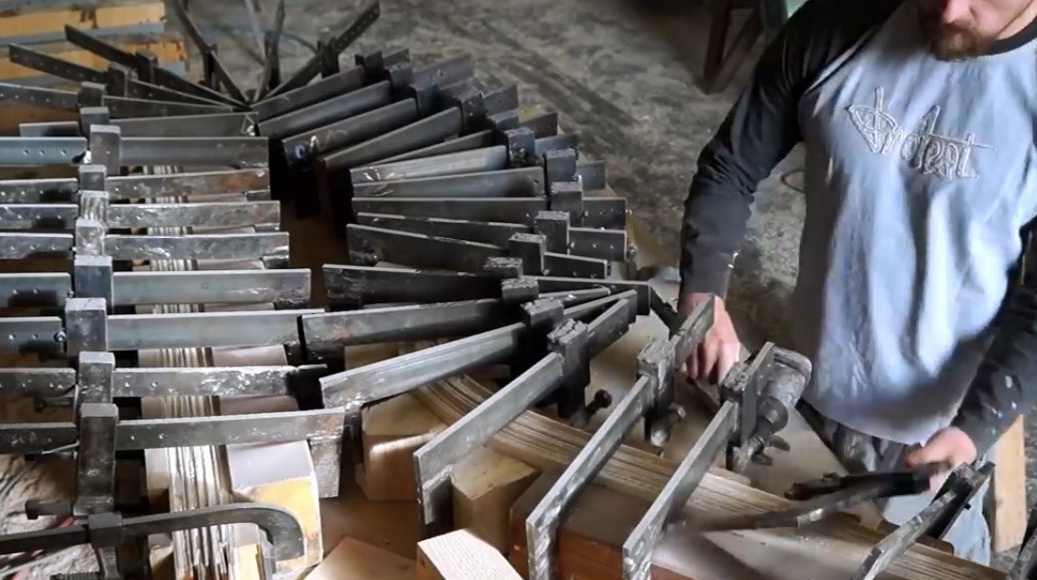
Then he collects the template, and fastens the elements on the other hand to the plywood sheet.
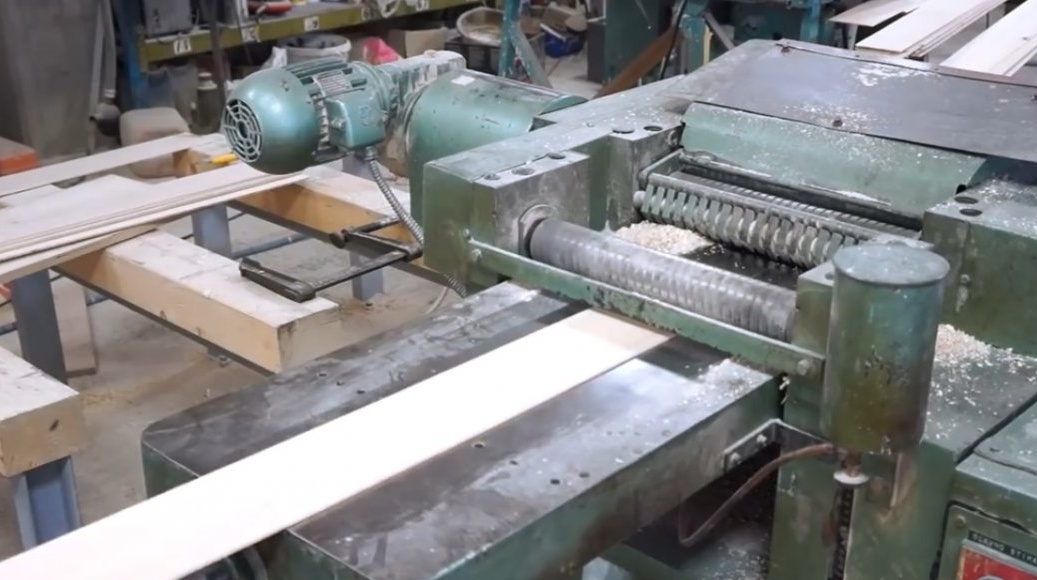
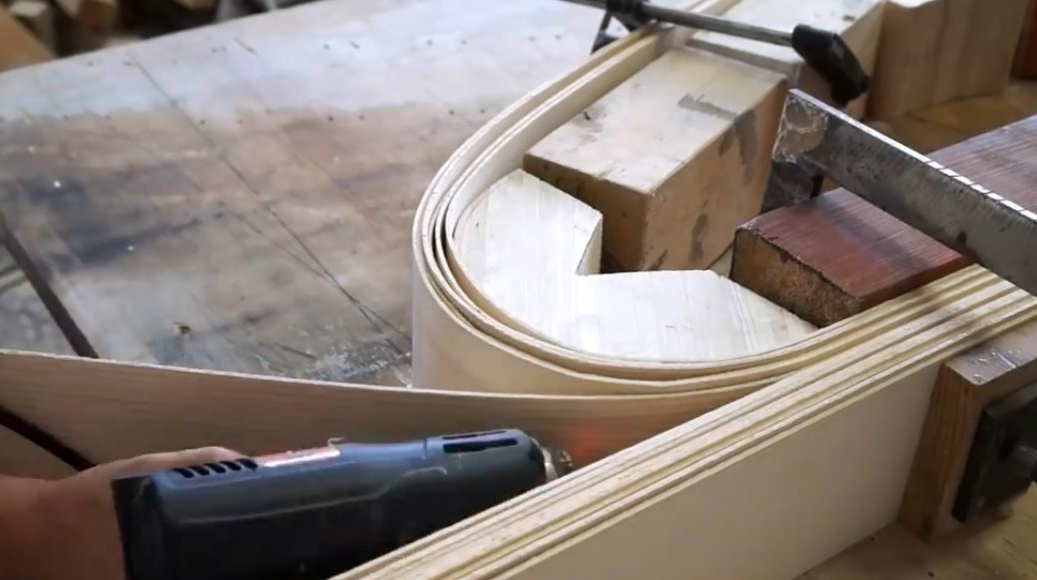
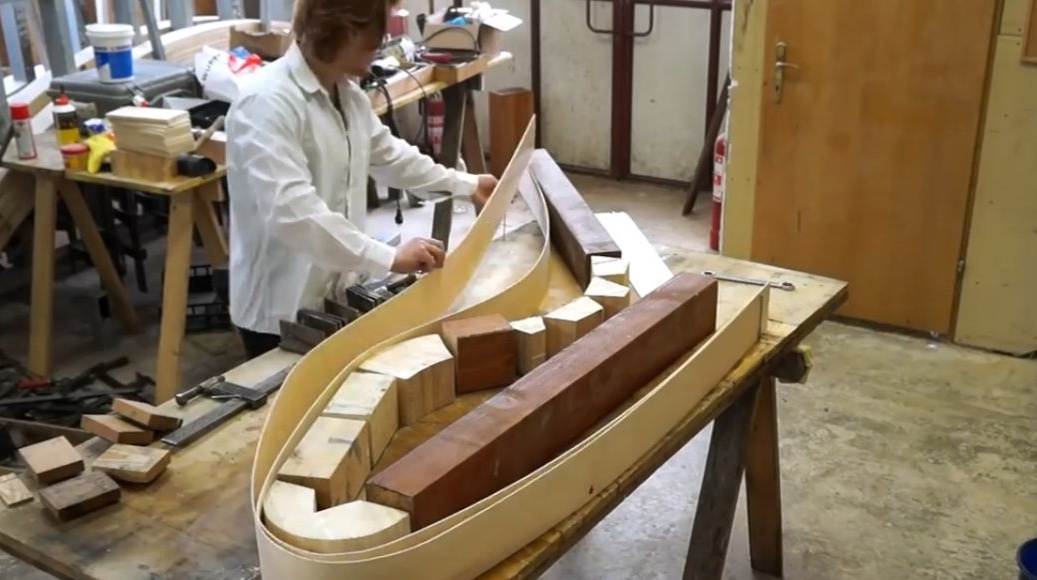
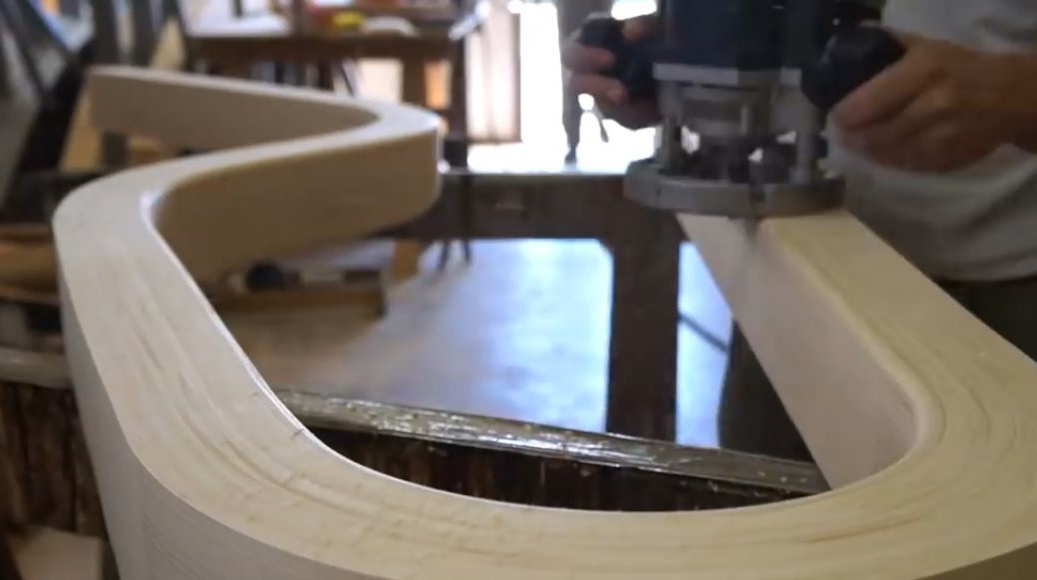
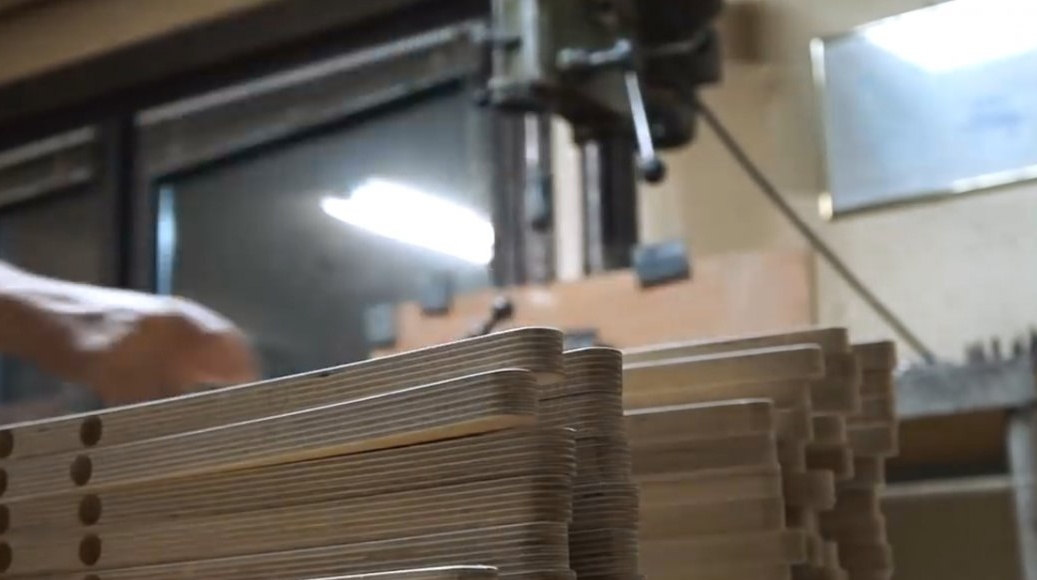
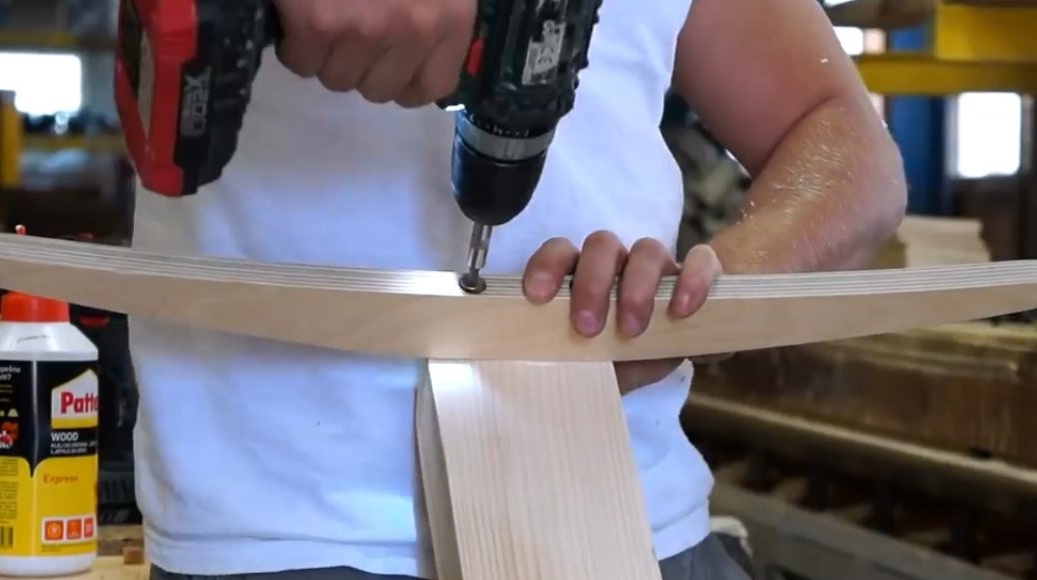
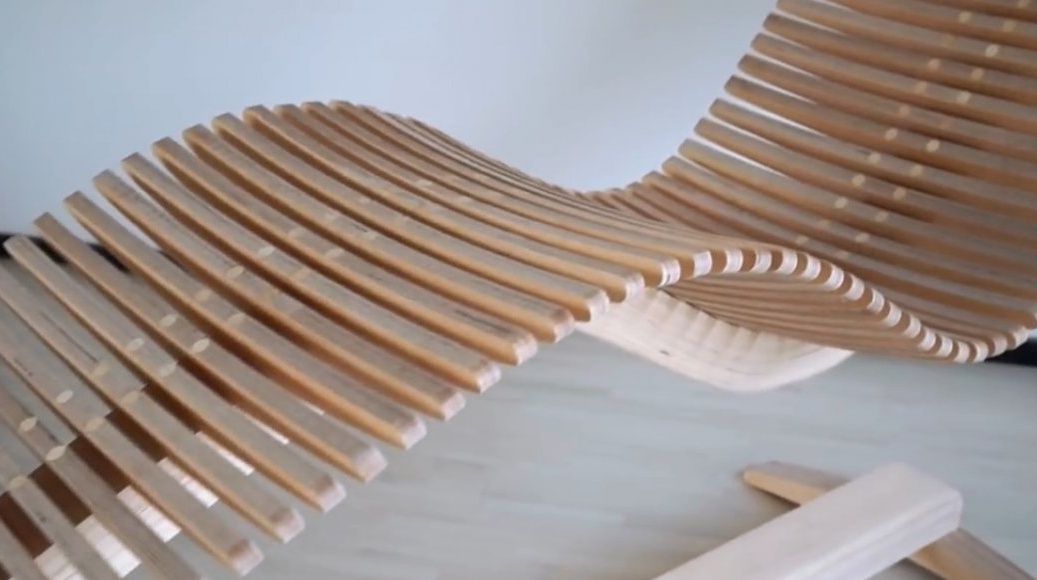
From thin sheet plywood cuts strips, and drives them through the thicknesser.
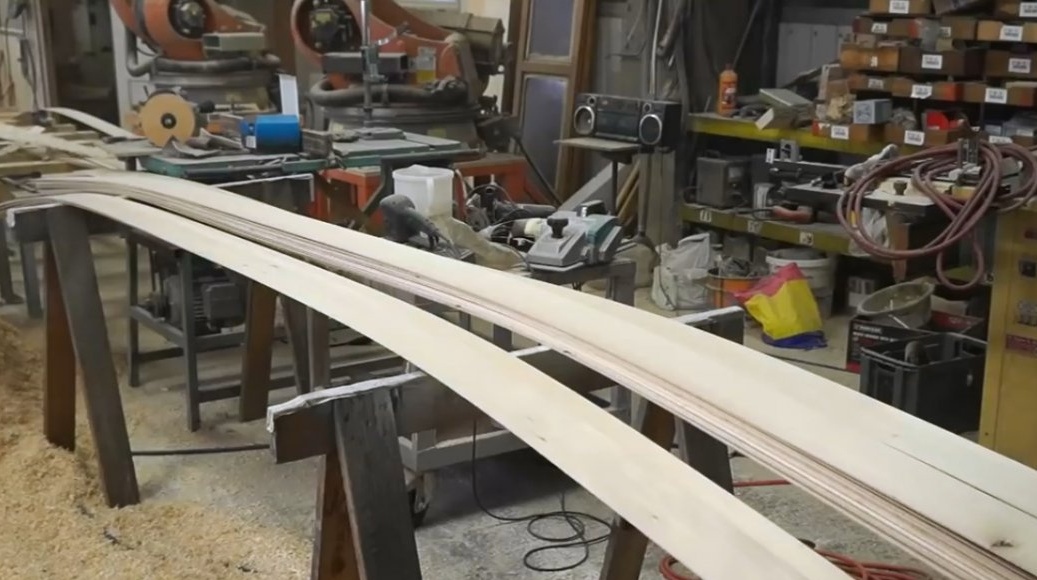
Now, warming up each sheet separately with a technical hairdryer, bends them according to the pattern.

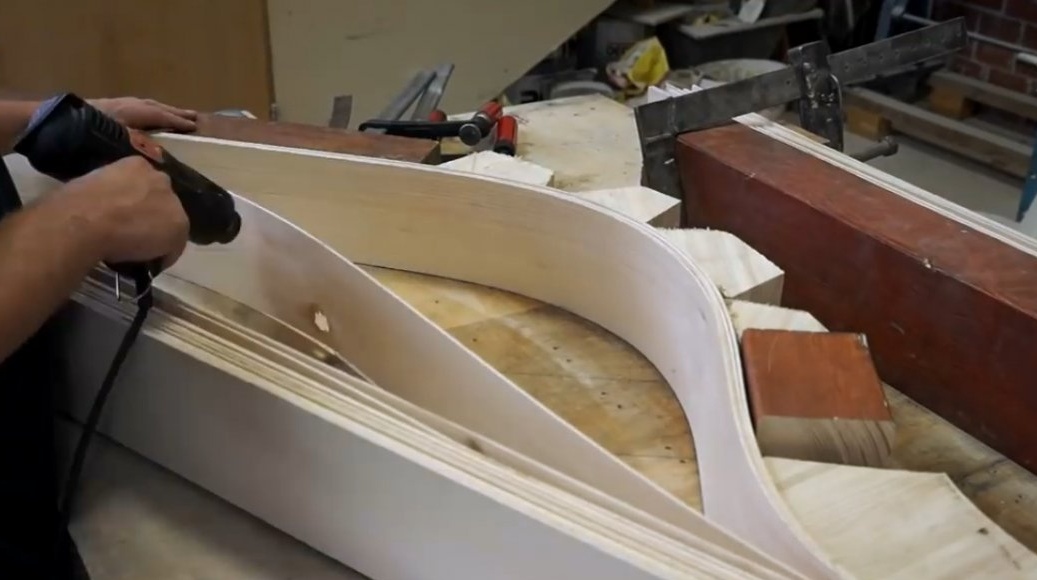
After cooling the sheets, they acquire the desired shape for the base of the deck chair.
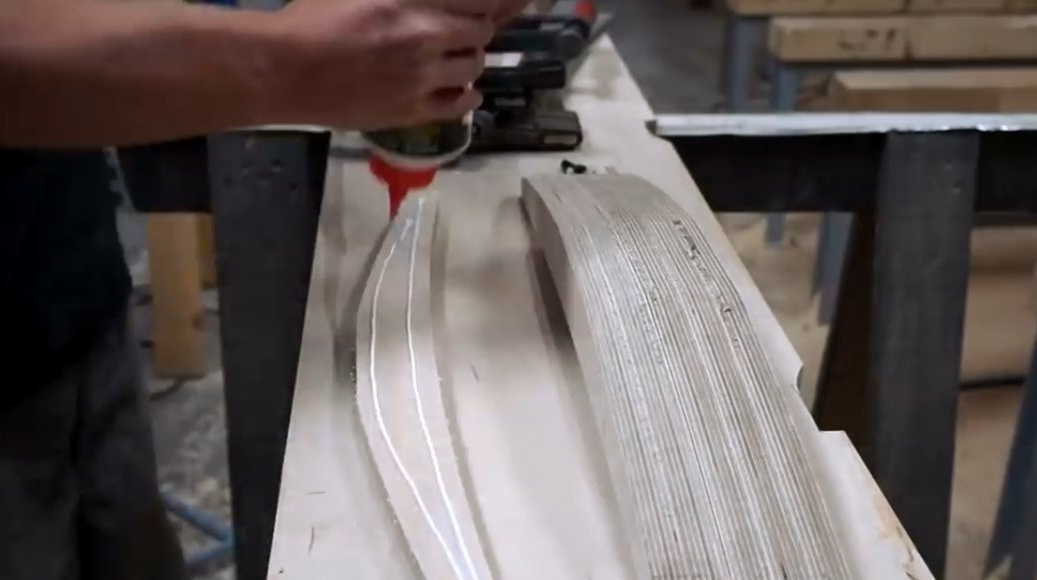
The area of plywood around the template is lubricated with oil, this is necessary so that the workpiece does not stick to it.
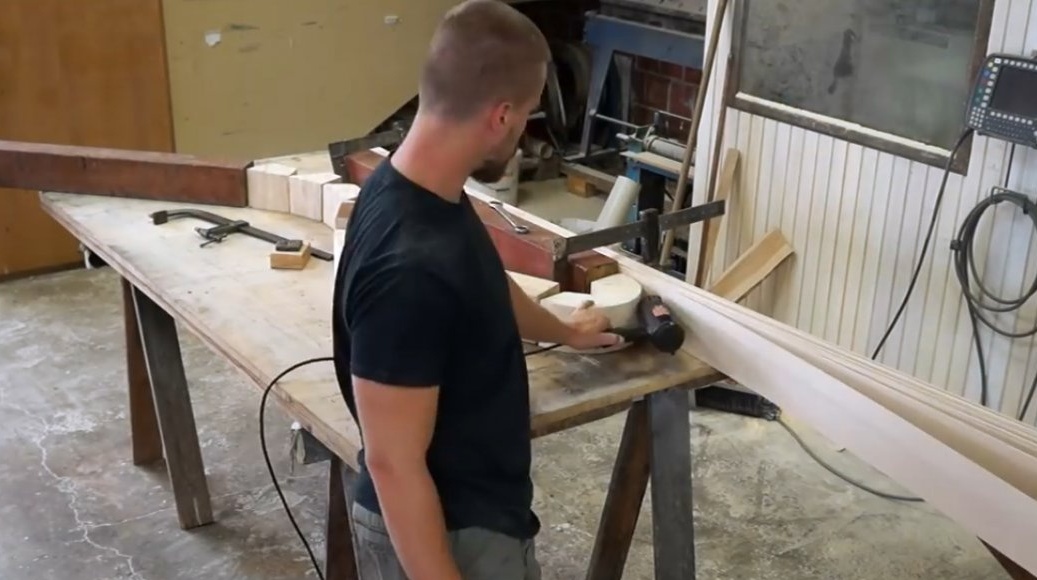
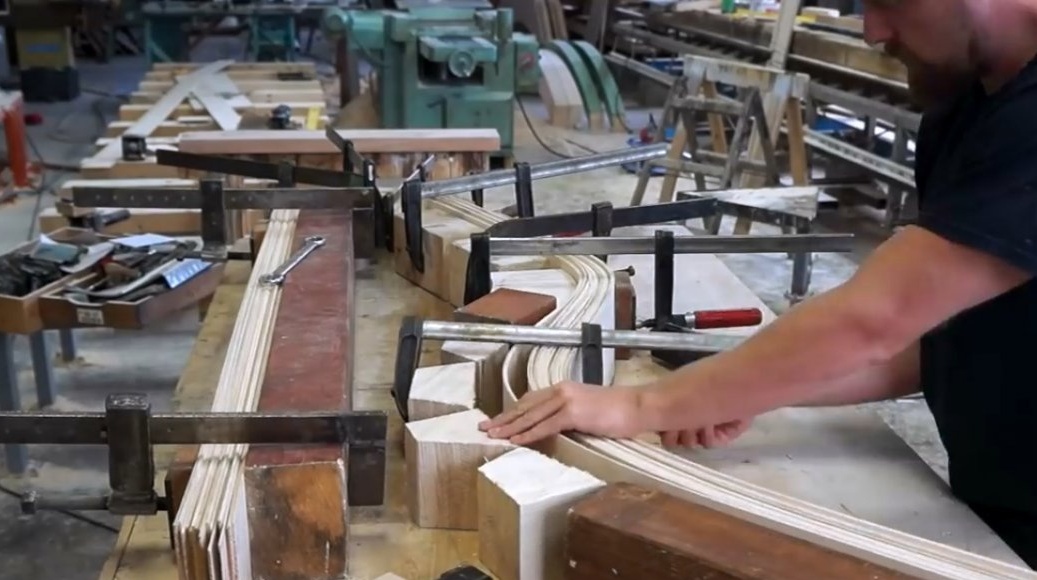
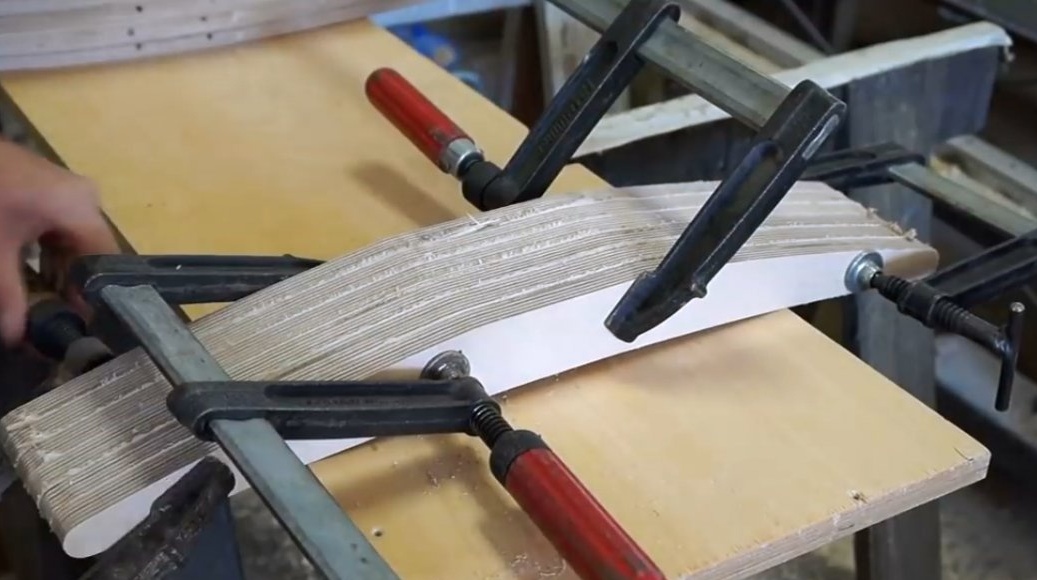
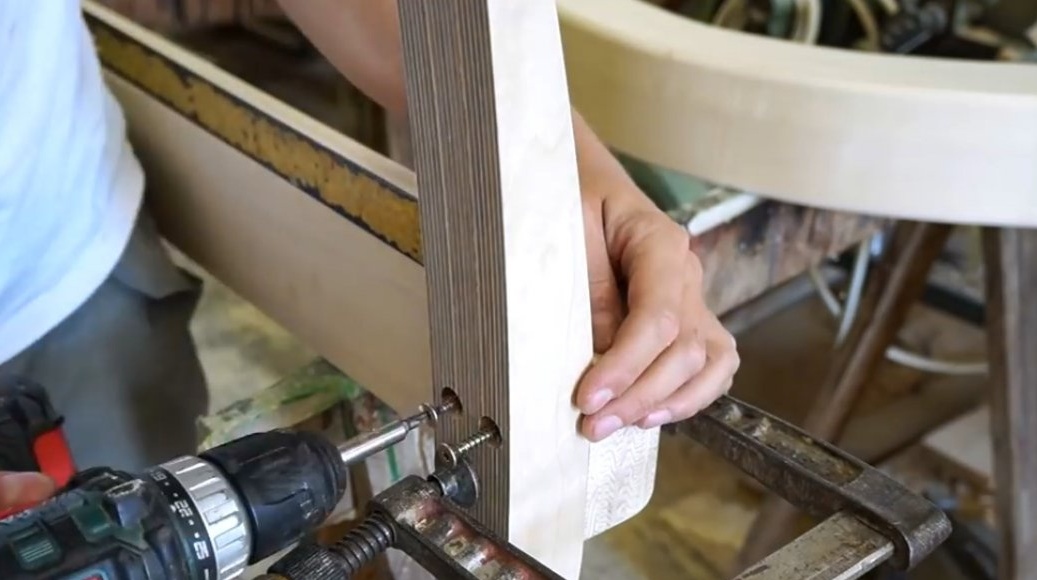
Lubricating each strip with glue, it collects the base from blanks, yes, it needs a lot of clamps for it.

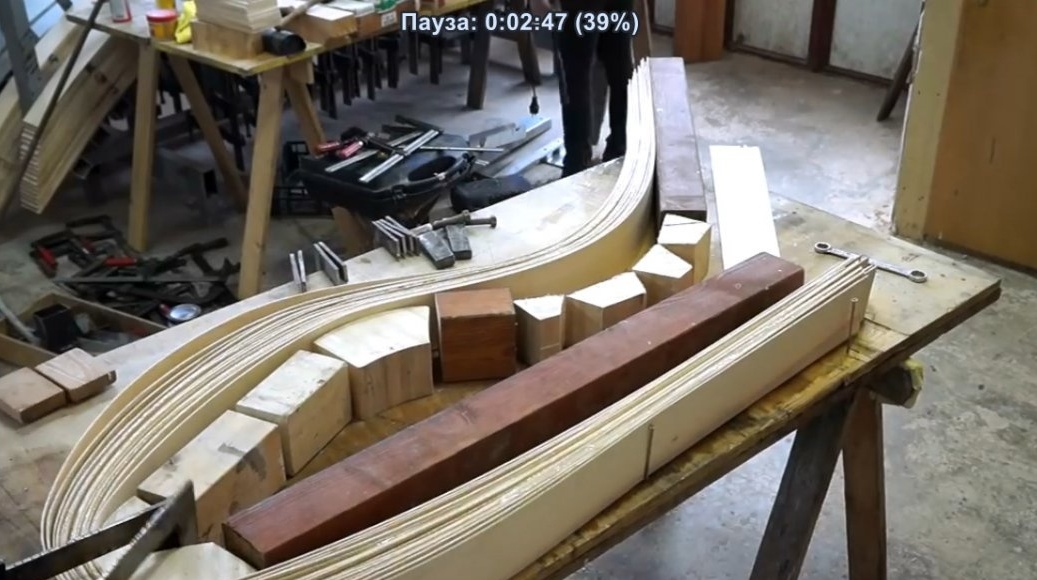
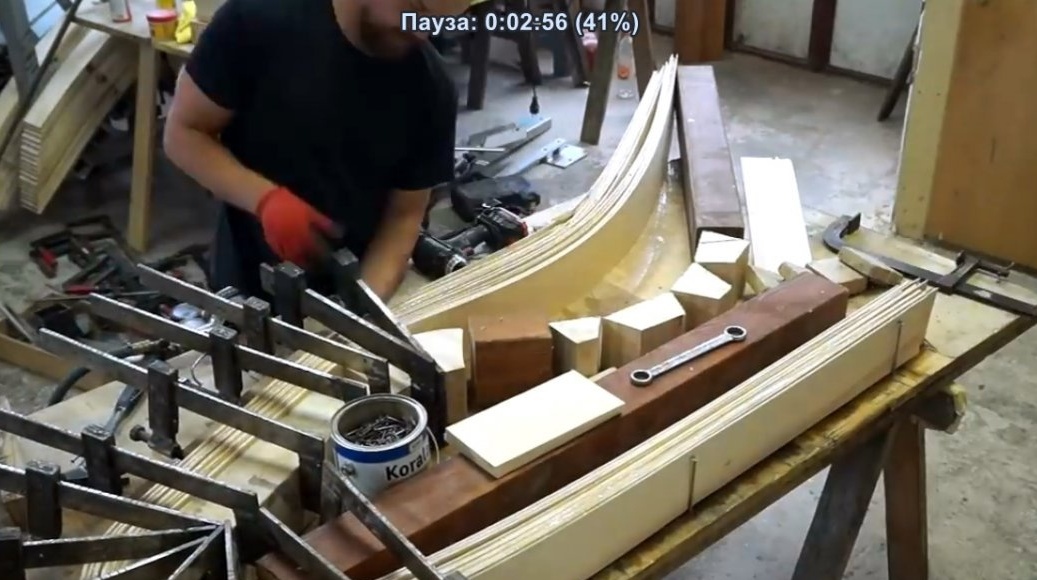
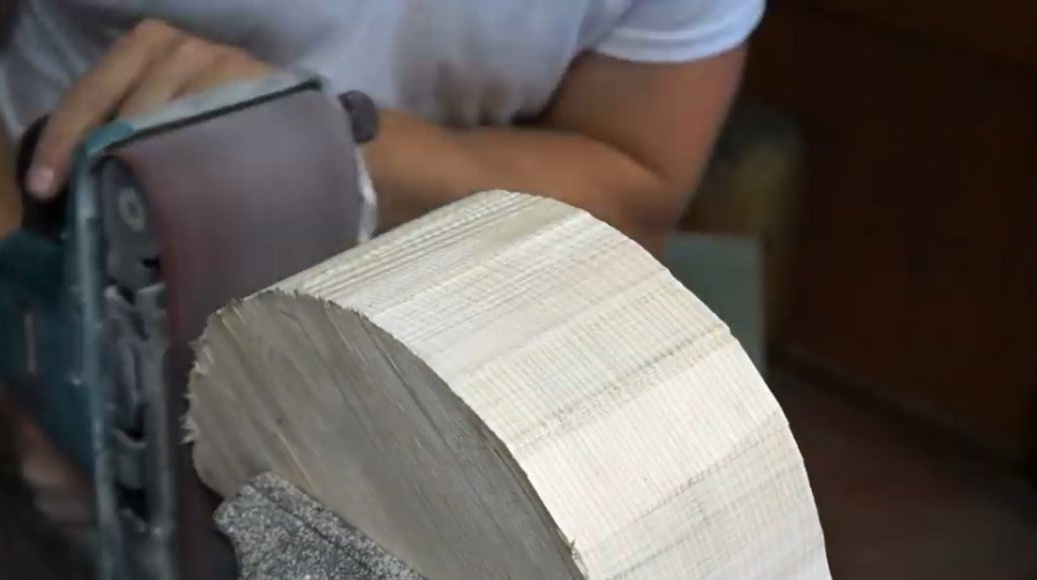
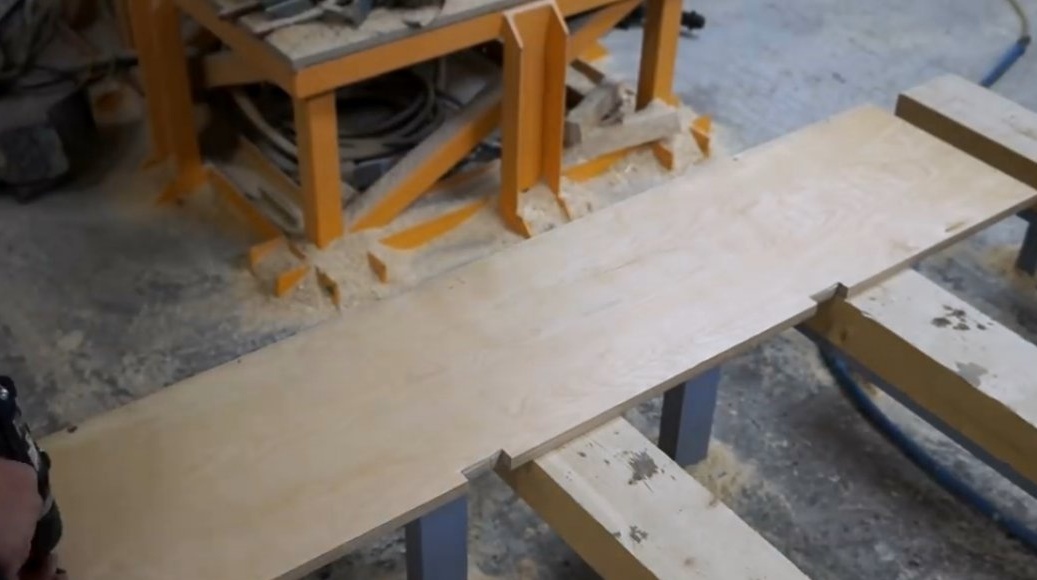
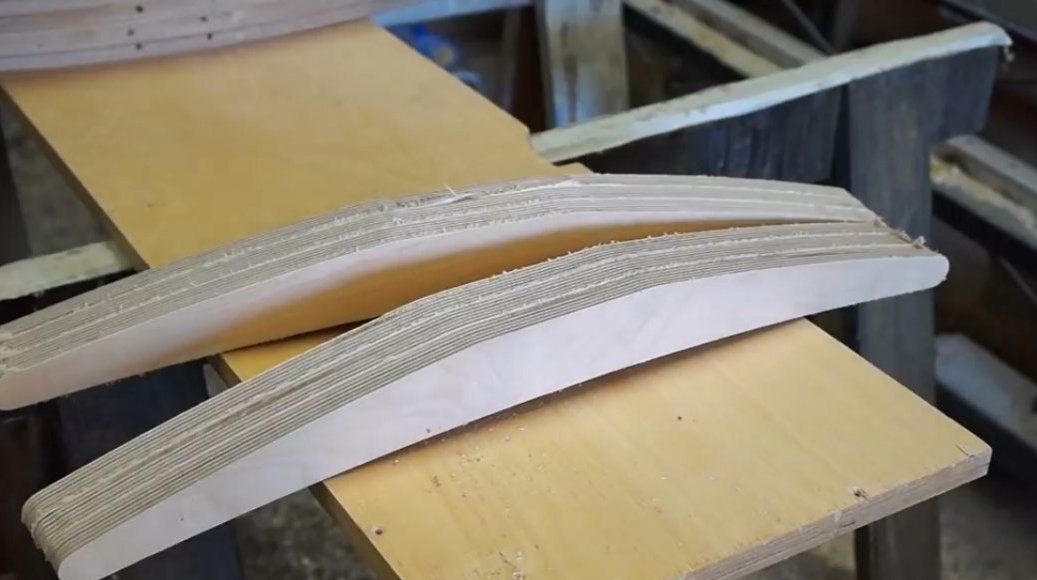
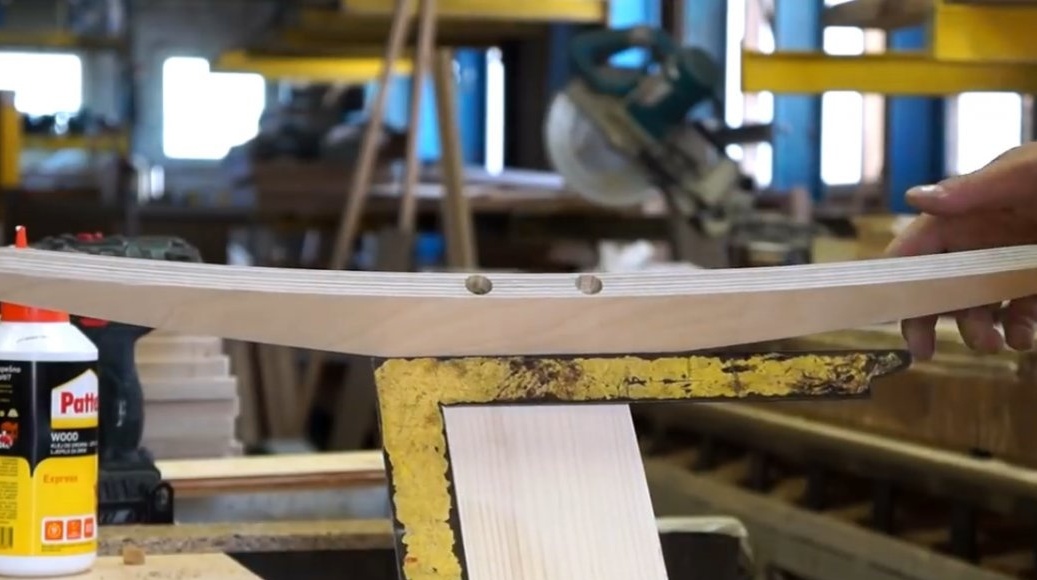
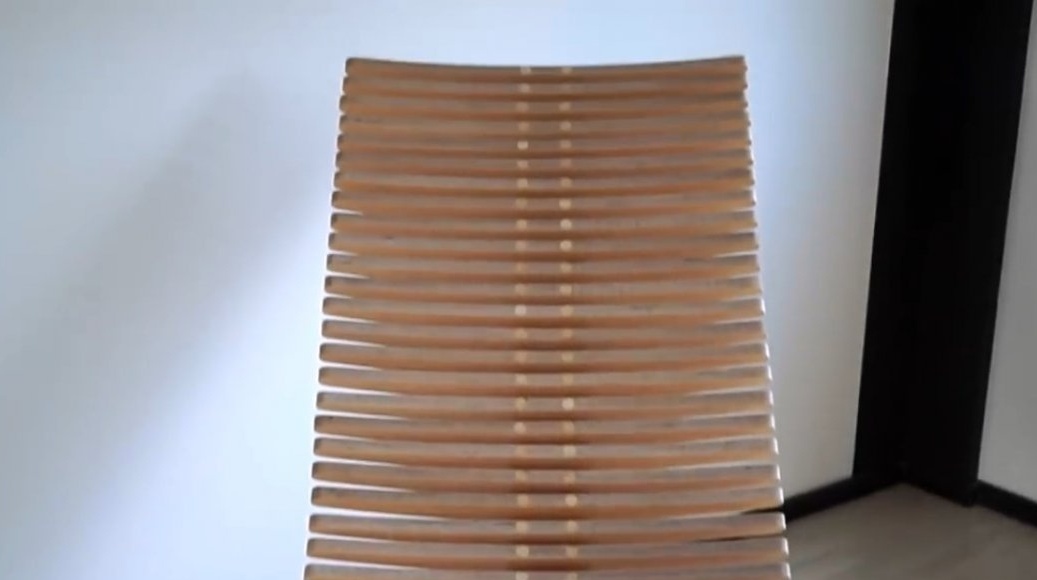
After the glue dries, it remains to treat the ends with an electric plane, and check the width of the workpiece.
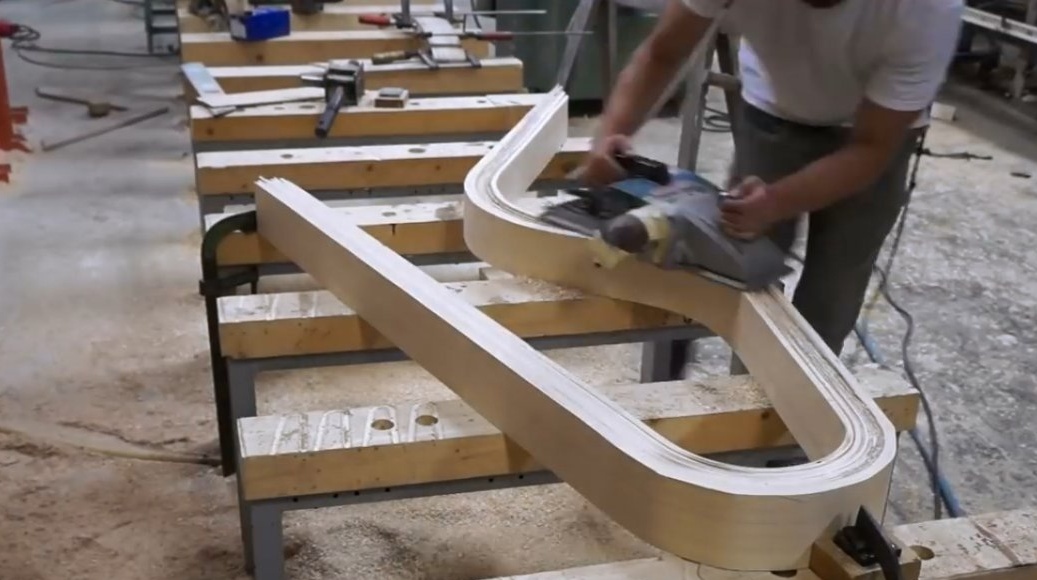

The first check seems to be convenient.
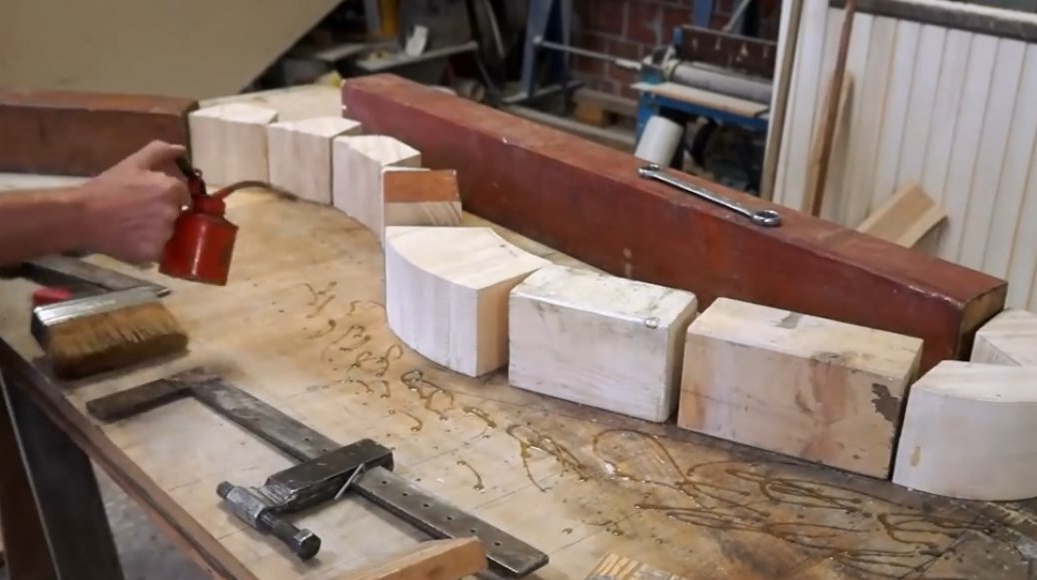
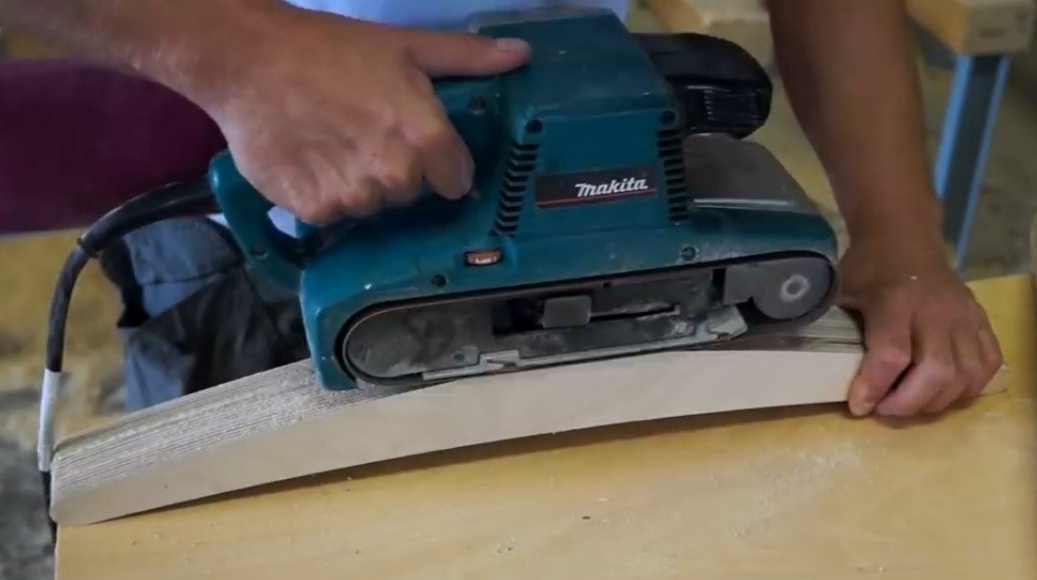
Cuts off excess material, polishes the ends.

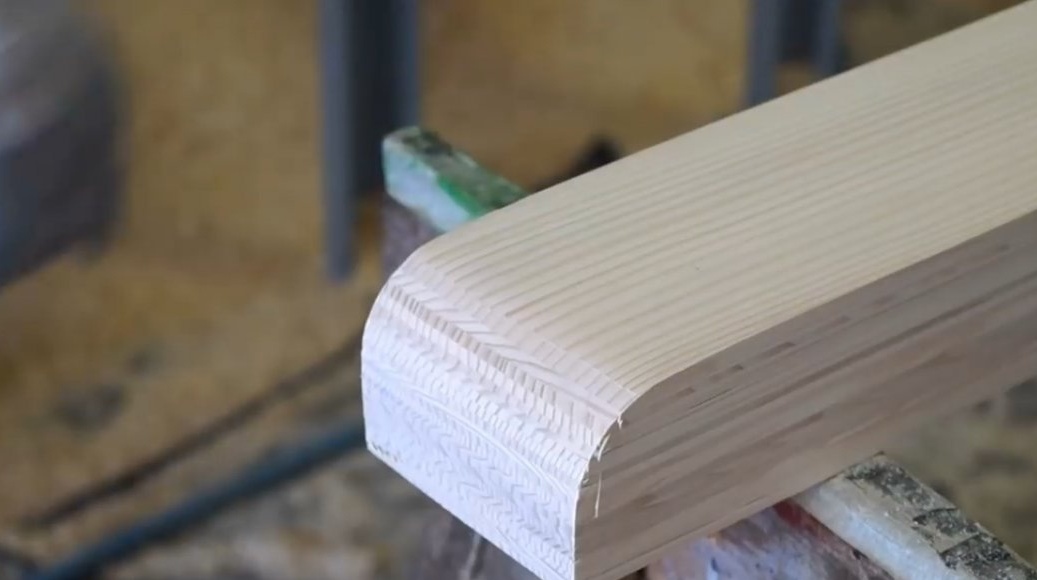
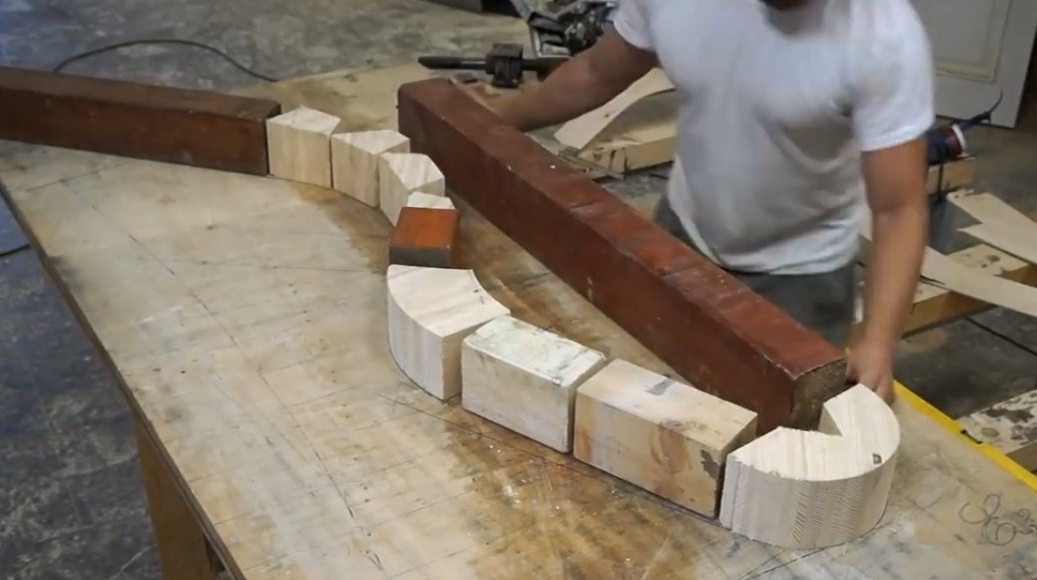
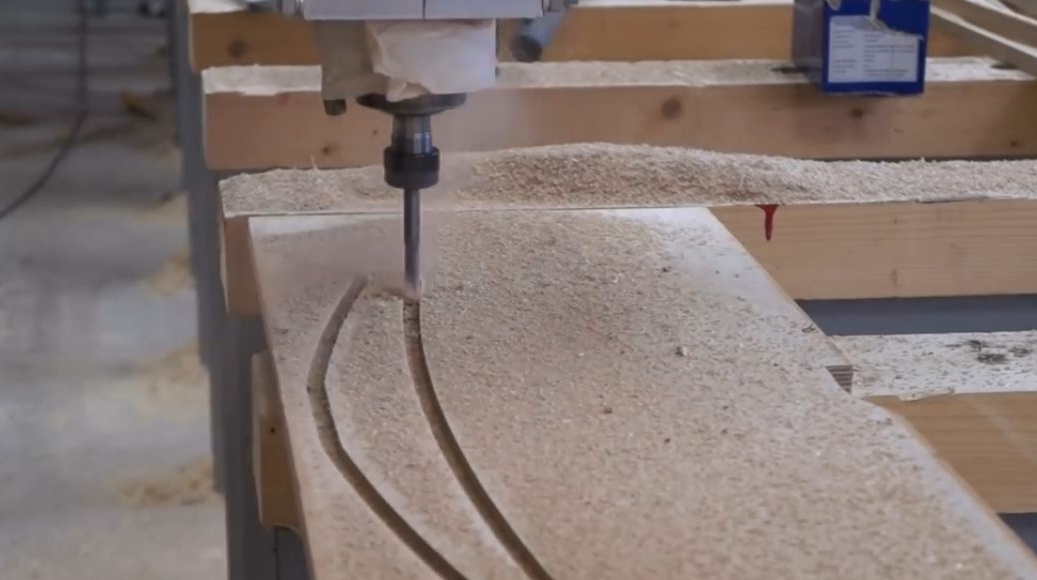
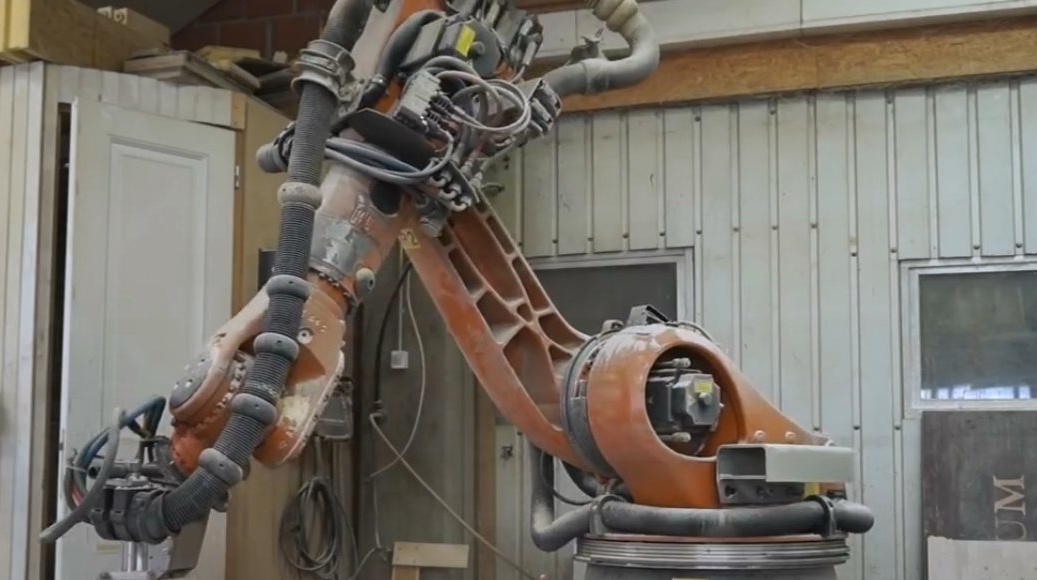
Then, all faces are processed by a radius mill with a thrust bearing.
Here the master can be envied what kind of machine he has for milling! Slices elements for legs and seats. This work can also be done on a band saw, but time consuming.

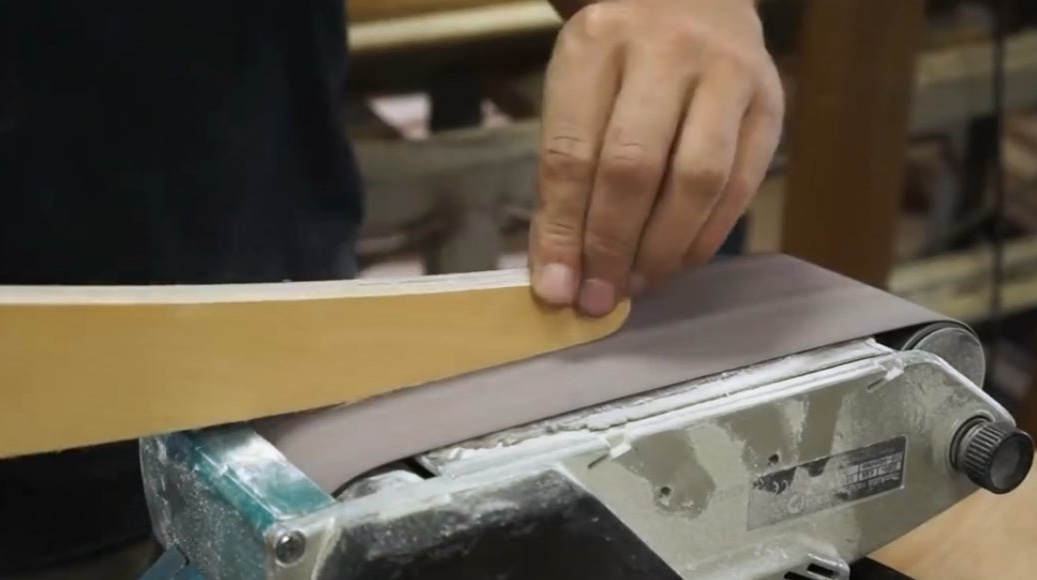
Now polishes the ends of the parts with a machine, and then manually.
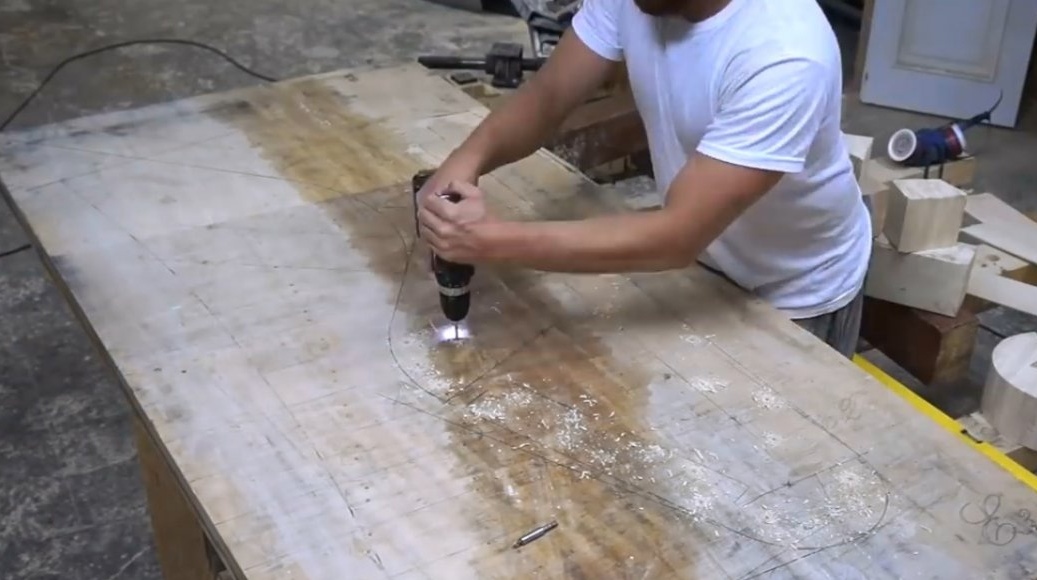
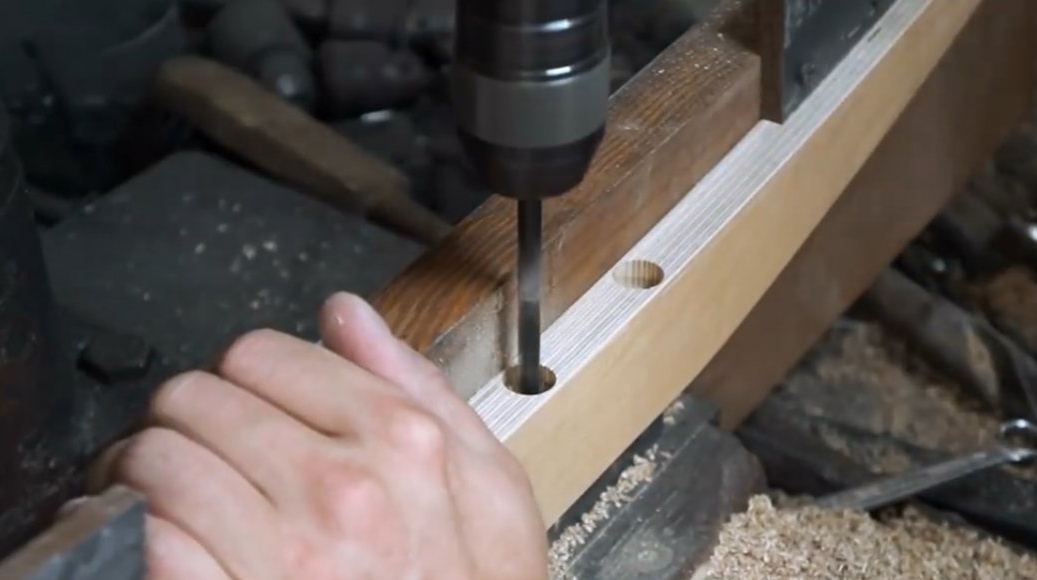
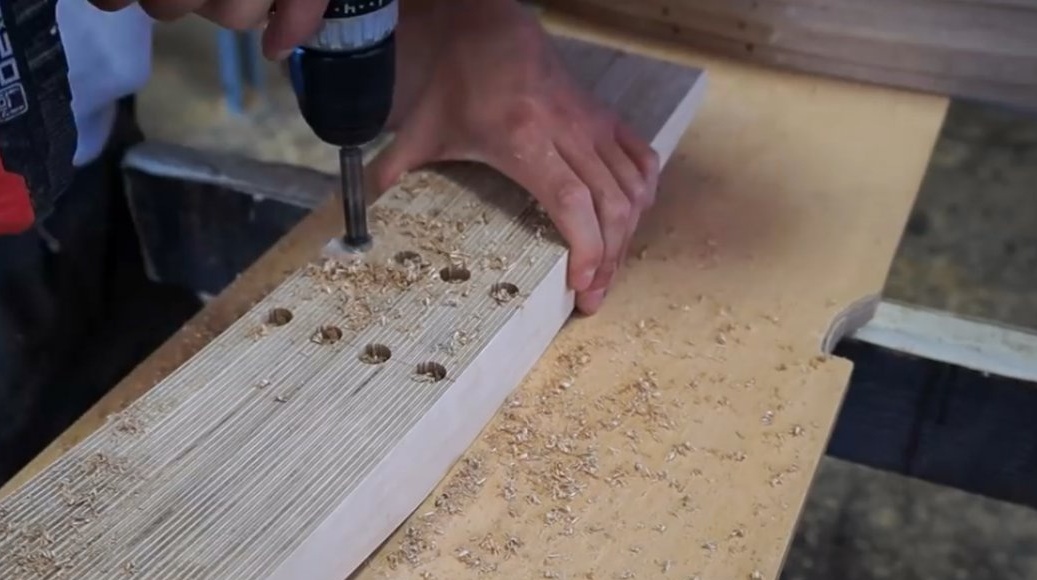
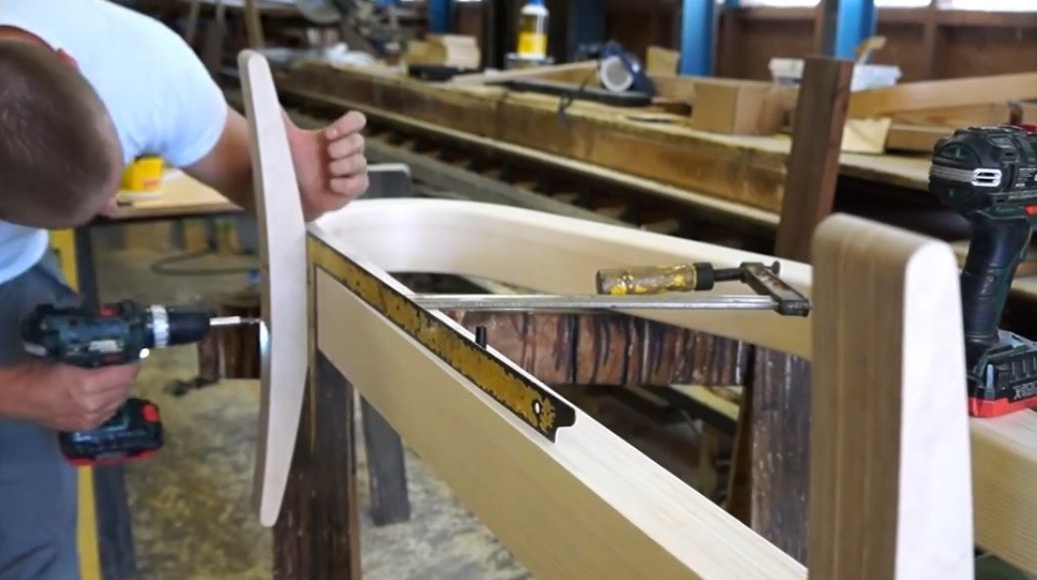
For the convenience of drilling on the machine, he made a holder, and drilled blind grooves for the screws.
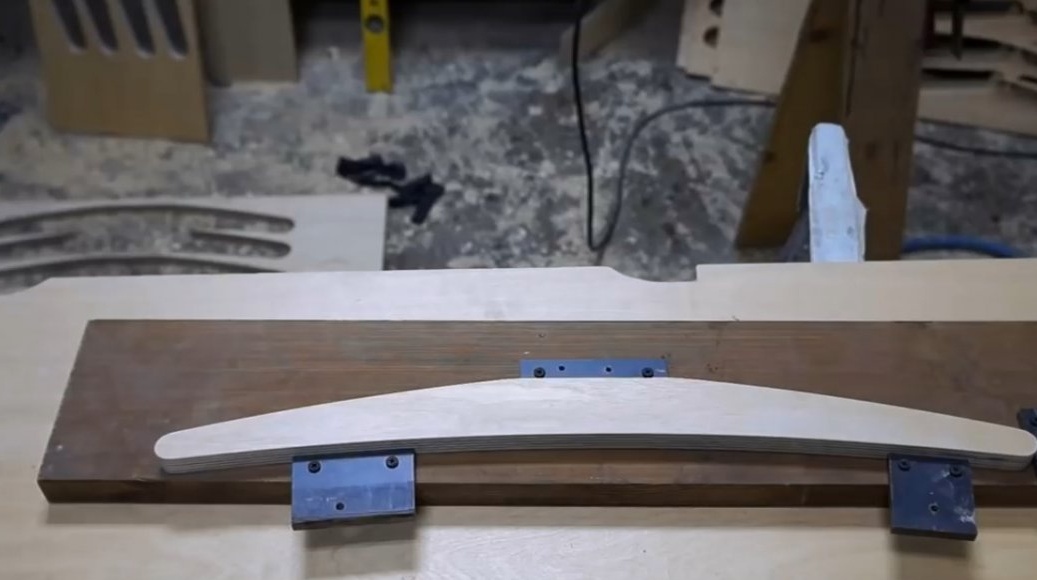
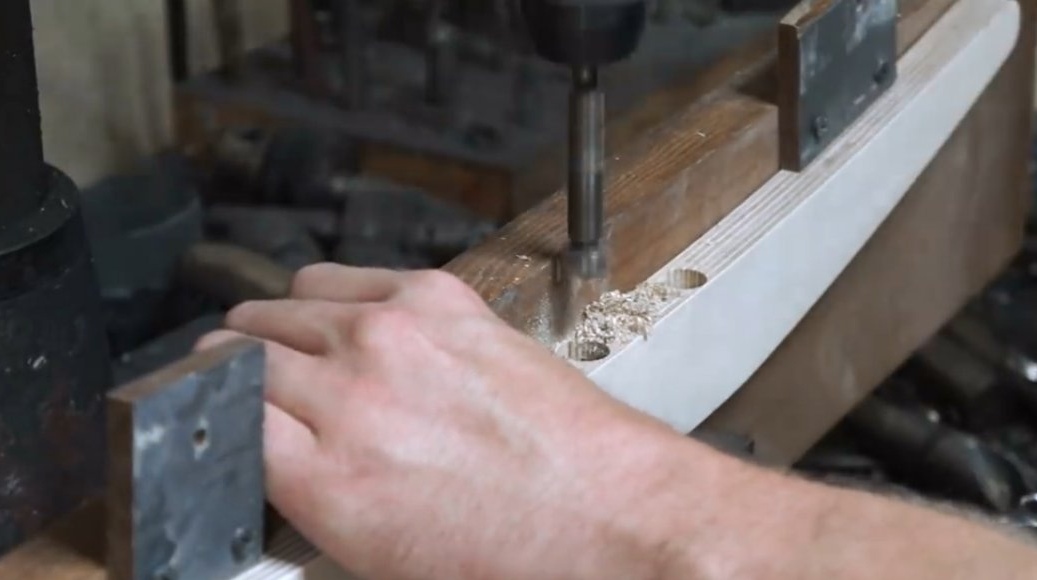
And then through holes.
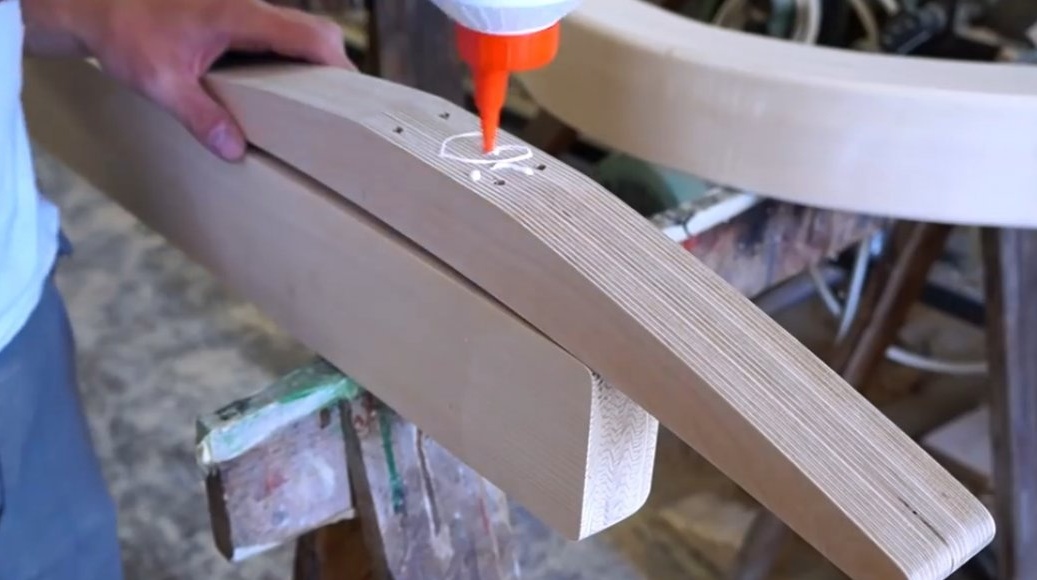
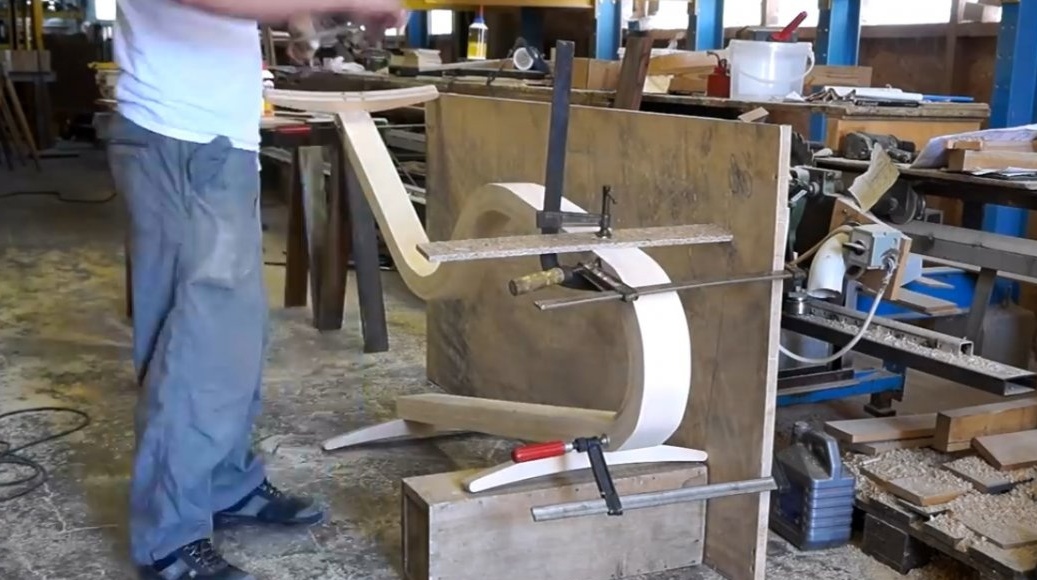
Now proceeds to gluing the legs, there will be two.
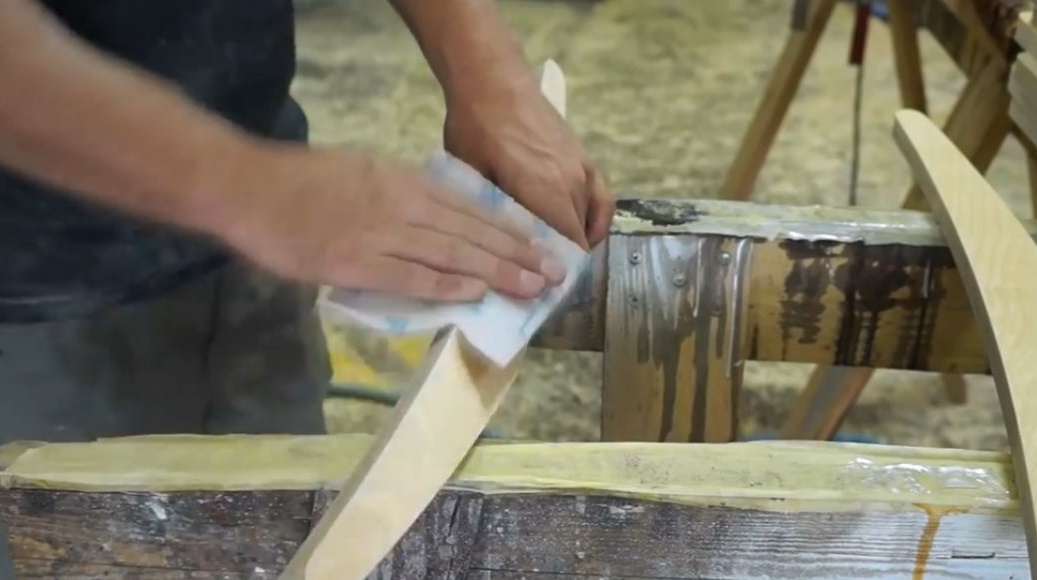
Of course, the ends are ground after gluing.
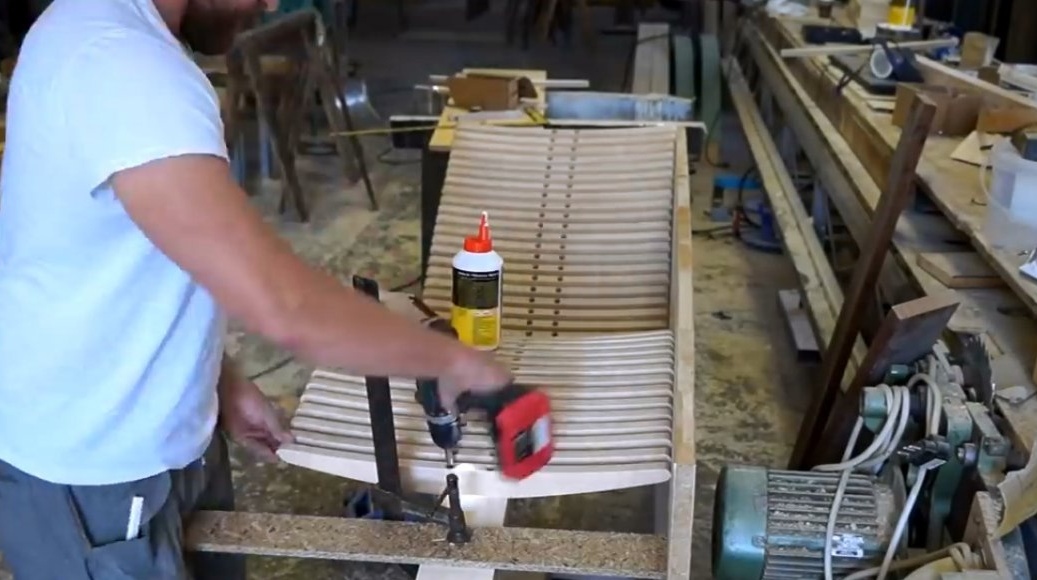
In the legs, he decides to drill holes using a screwdriver.
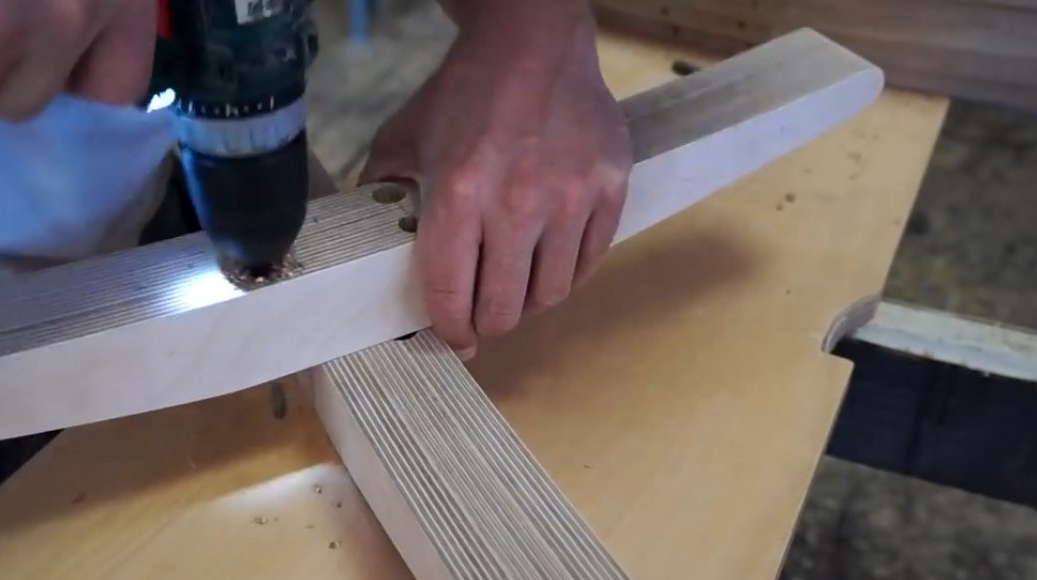
Having lubricated the joints of the legs with the base with glue, fixes them with screws, checking with a square.
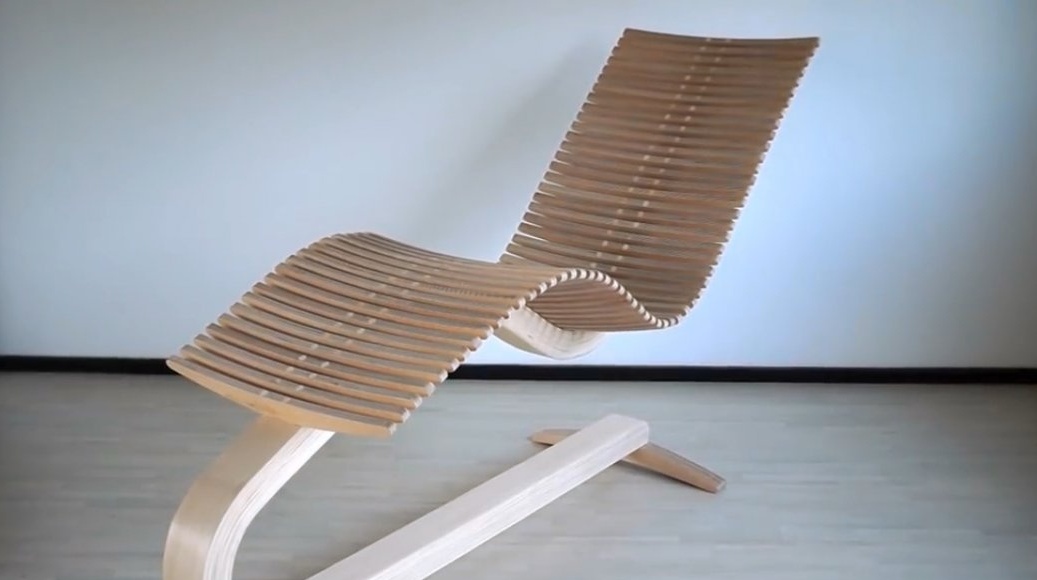
So the foundation is ready.

You can begin to shape the seat.
For the convenience of screwing many parts, the author fixed the base to a sheet of plywood with the help of several stops and clamps. Now you can finish the assembly.

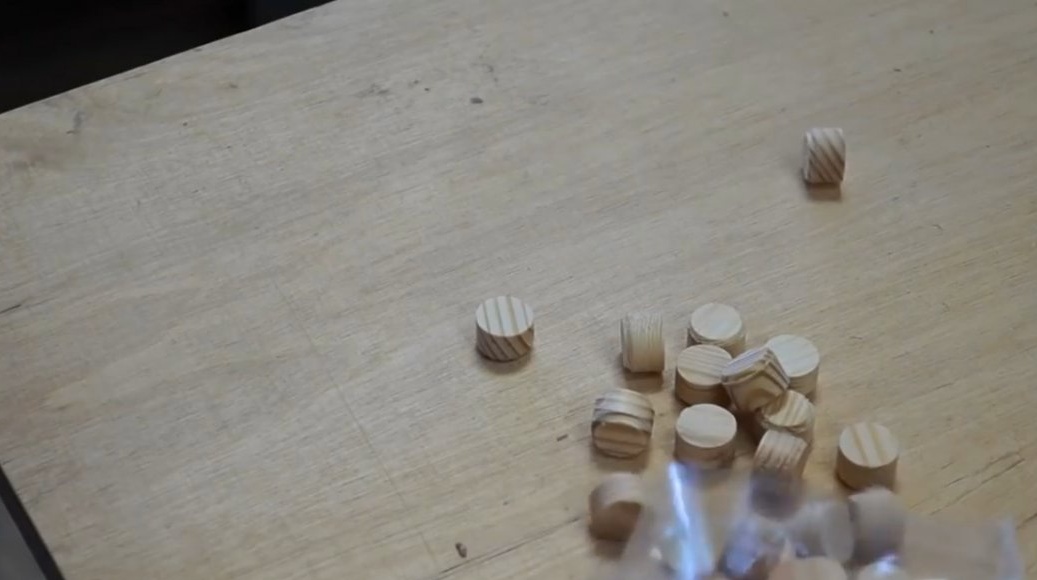
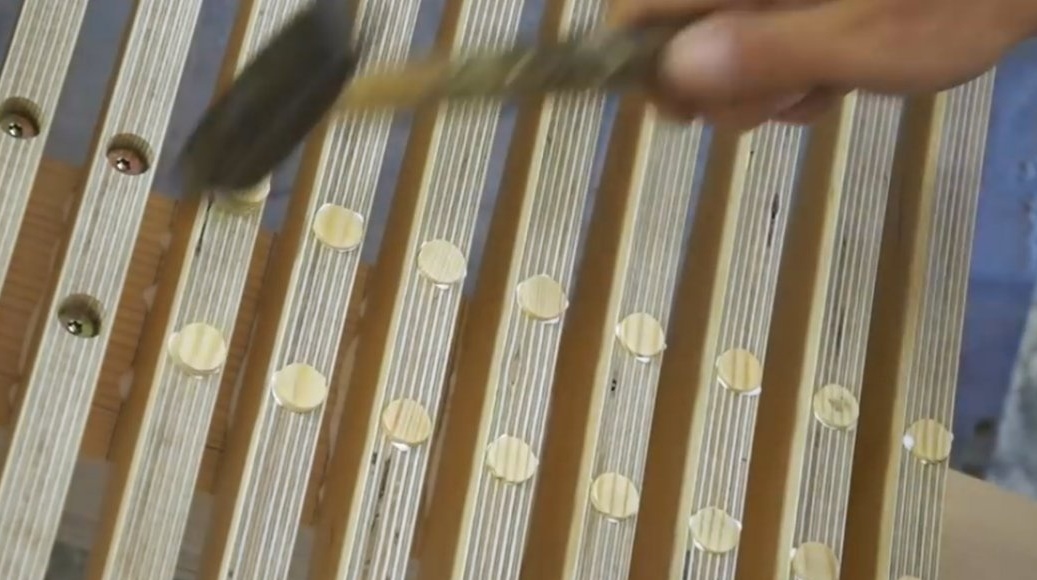
In order to hide the caps of the screws, he used round caps. And he removed the excess material with a chisel.

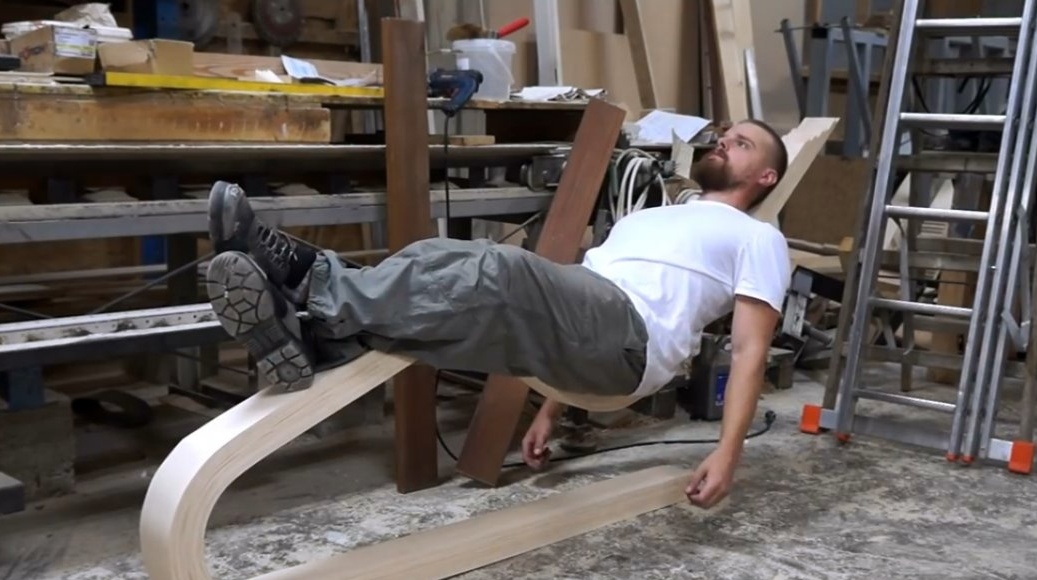
That's all, the deck chair is ready. Of course, it should be treated with linseed oil and wax to protect against moisture.
It absorbs very well under body weight. You can even use a rocking chair.
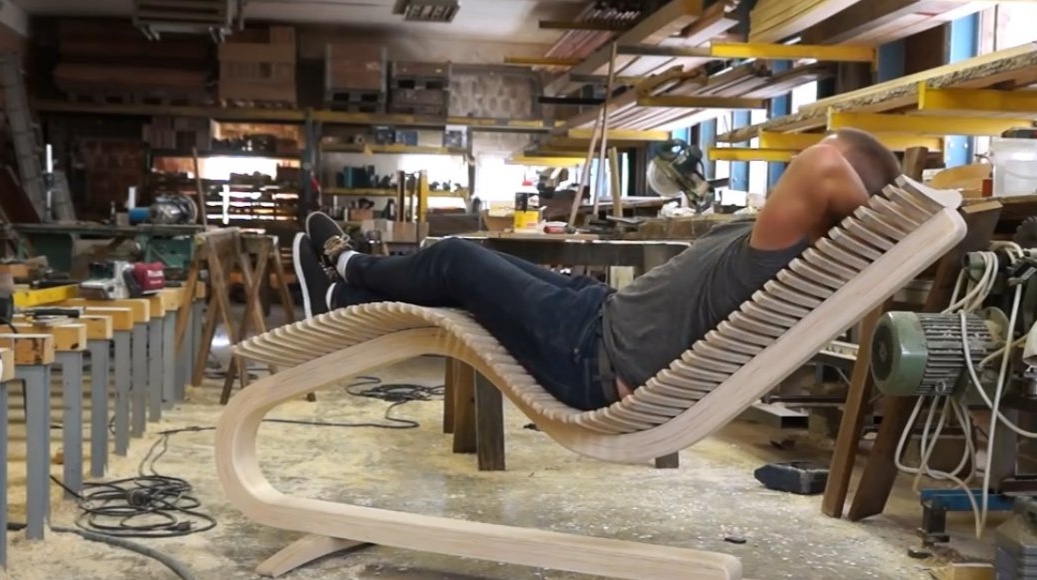
Thanks to the author for the very original design of the deck chair!
All good mood, good luck, and interesting ideas!