The author of this project has been professionally cleaning carpets for three years. Then he switched to another job, but he cleaned the carpets at home. To clean carpets, he had to rent special equipment, which cost a lot of money. And if you entrust this work to a third party, you will have to pay even more.
The new work of the master was associated with work with plastics. Then the master decided to combine the experience gained during the second work with plastics with his knowledge in the field of cleaning tools and assemble his own installation. According to the master, less powerful than professional equipment, machines can show the same results for small rooms.
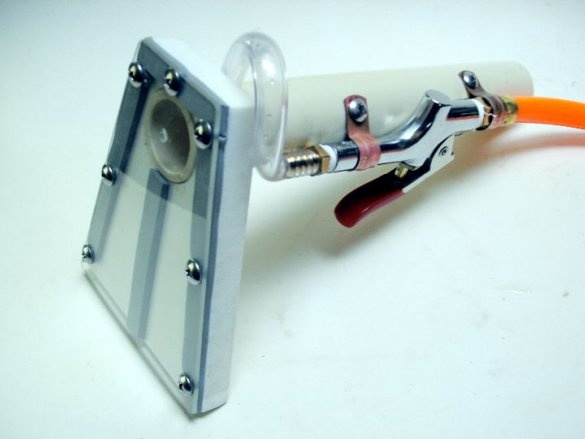
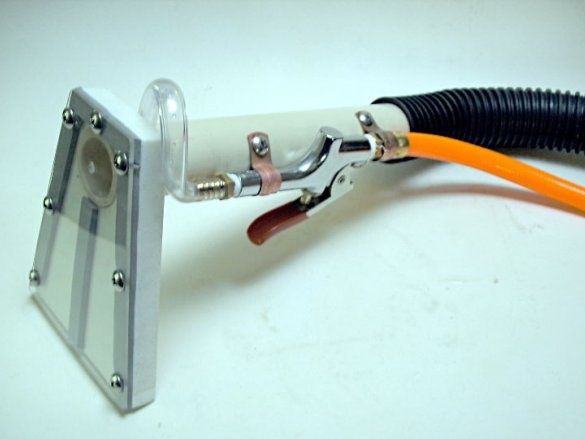
In this article, he will talk about step-by-step instructions for creating a hand-held tool for cleaning carpets, upholstery, etc. The hand tool is designed to be connected to a washing vacuum cleaner and a source of hot water. The wizard will also provide a training manual on the basics of pollution control technology.
Tools and materials:
- Cordless drill;
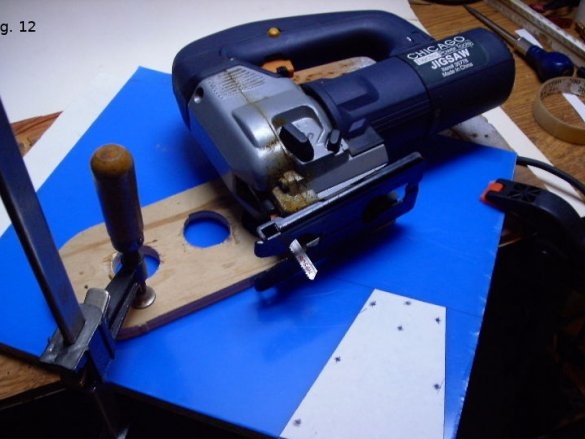
- Jigsaw with a pointed blade;
-Drill;
- Hacksaw with a cloth with small teeth;
-Screwdriver;
- Adjustable wrench;
-Pliers;
-File;
-Knife;
-Scissors;
-Awl;
-Small vise;
- clamps;
-Soft fabric;
-Pencil;
-Marker;
-Rule;
-Washing vacuum cleaner;
-A printer;
- PVC sheet;
-Acrylic sheet;
- PVC pipe;
-Hose;
- The made foam polyethylene;
Adapters with thread on the hose;
-Fasteners;
- Bracket copper;
-Plastic tube;
- clamp;
-Air gun for tire inflation;
Epoxy resin;
-Insulation tape;
-Sandpaper;
Step One: Template
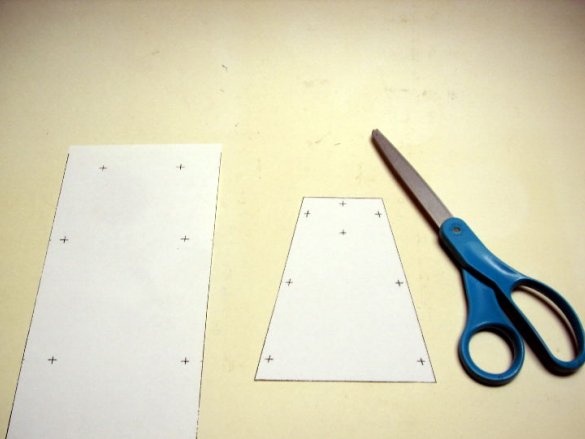
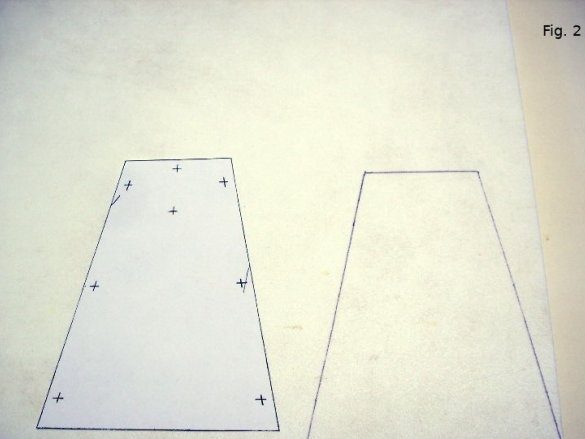
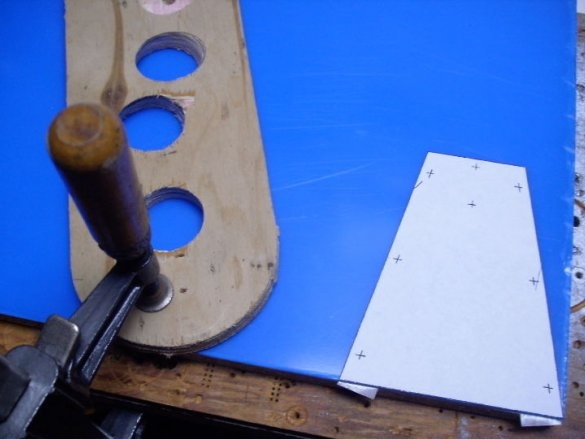
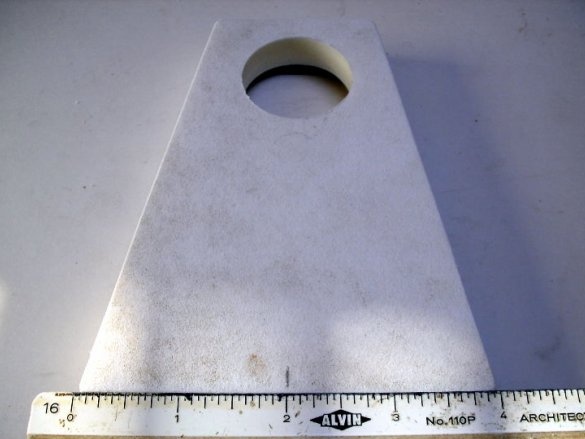
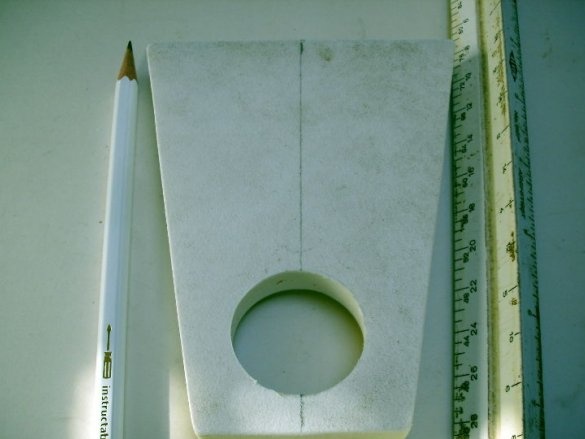
Two templates. One for the vacuum nozzle, and one for the vacuum tube. Prints out templates on paper (download is possible below). Cuts out.
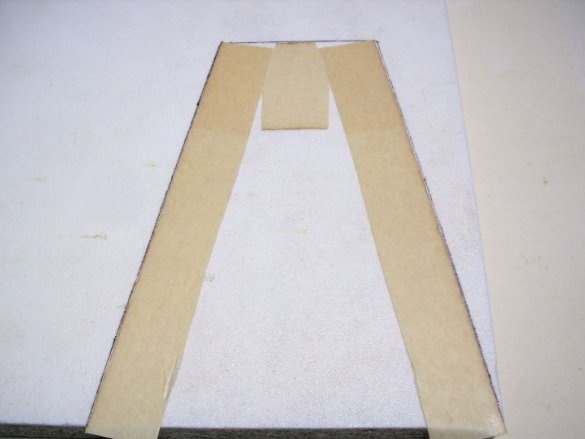
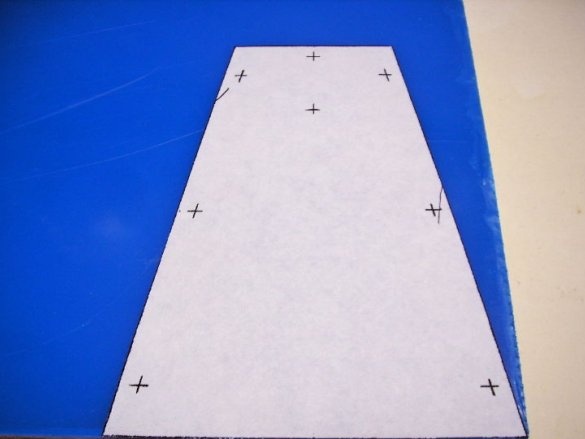
Next transfers the nozzle template to a PVC sheet. Outlines. Glue double-sided tape along the contour and glues acrylic fox on top. Acrylic sticks on top of the template.
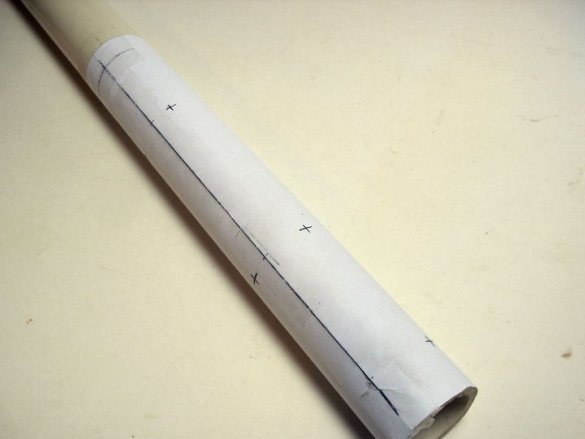
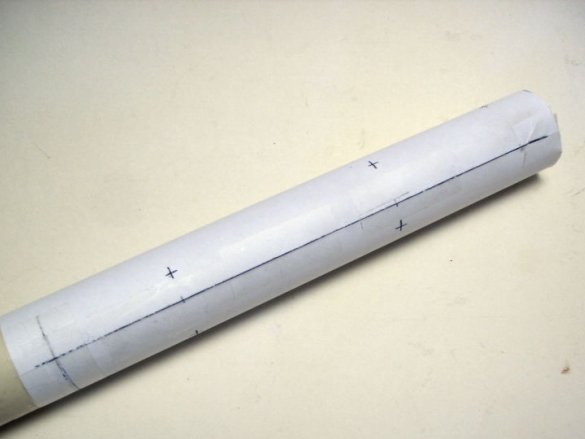
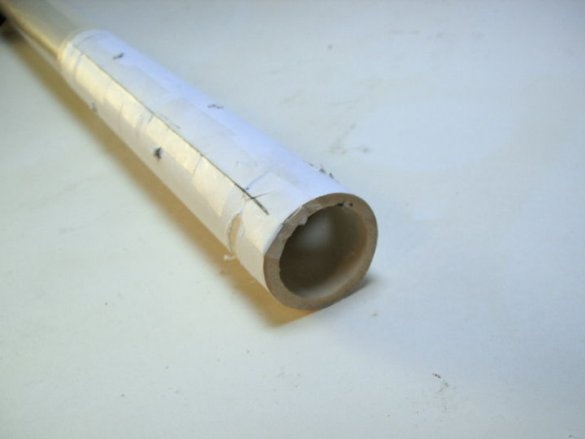
The tube template is secured with adhesive tape to the tube of appropriate diameter.
Step Two: Holes
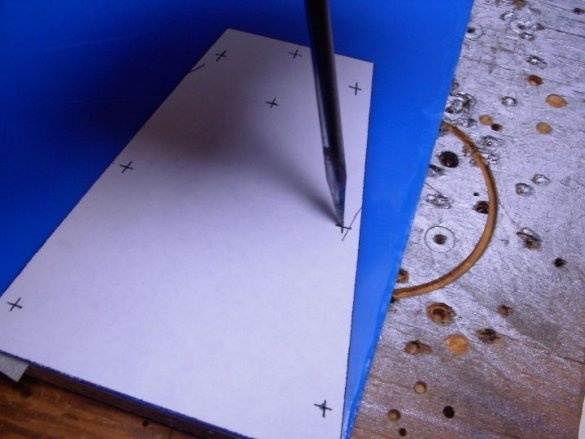
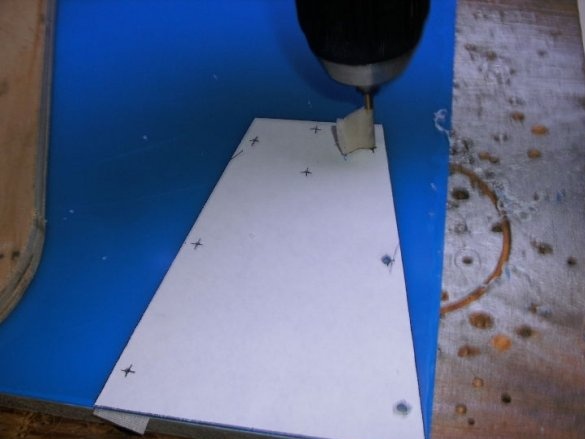
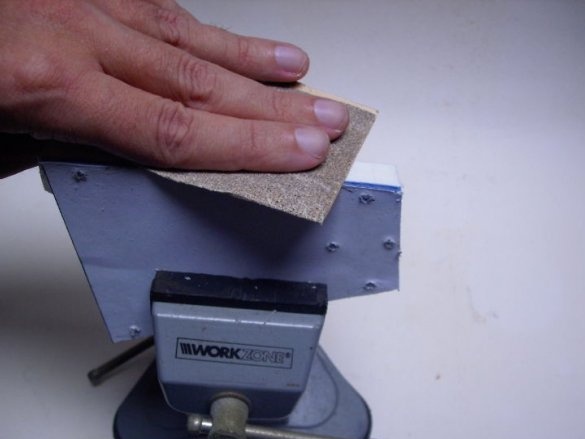
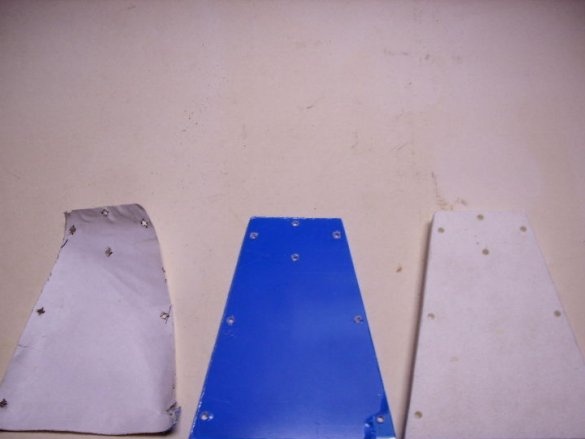
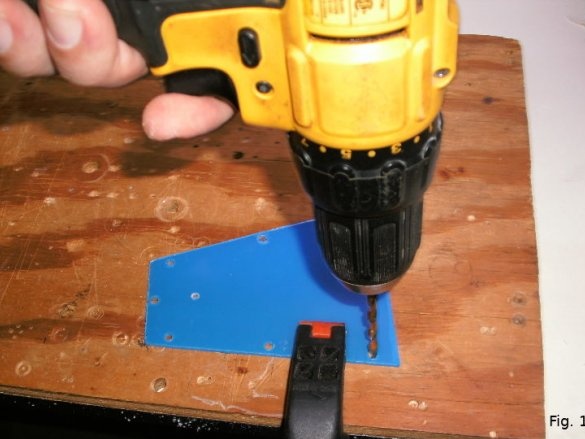
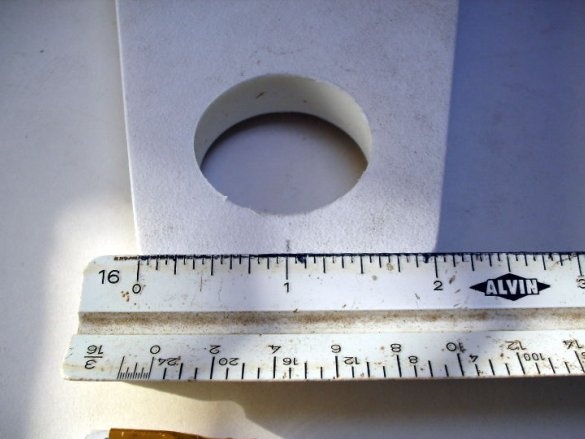
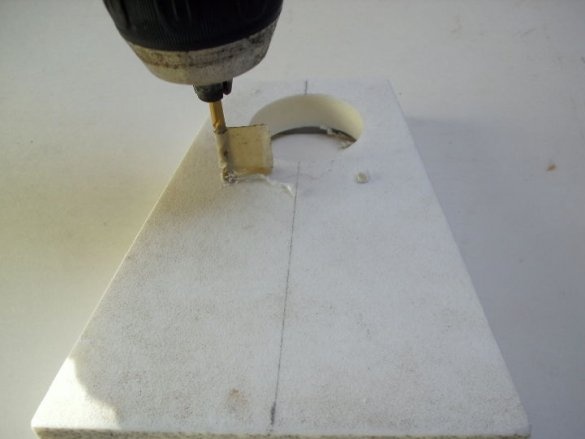
Now two parts, acrylic and PVC, are connected together. Next, you need to drill 3mm holes according to the marking. Holes in acrylic are through, in PVC blind. Next, the master polishes the end surface of the parts, and then disconnects them.
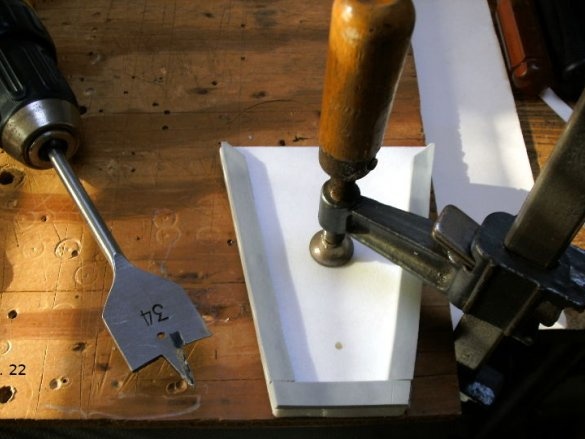
In a PVC part, a connecting hole is drilled. With it, the tube will be fixed to the PVC parts.
Step Three: Pipe
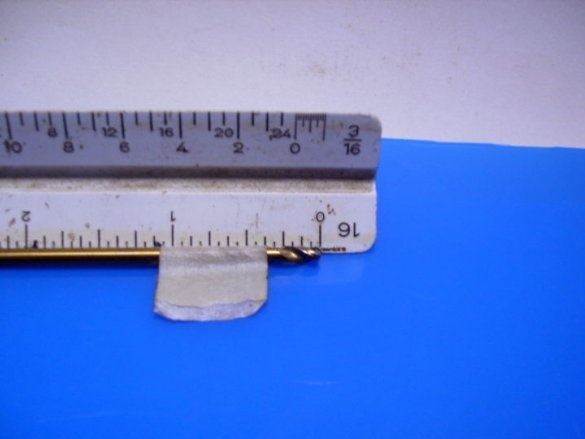
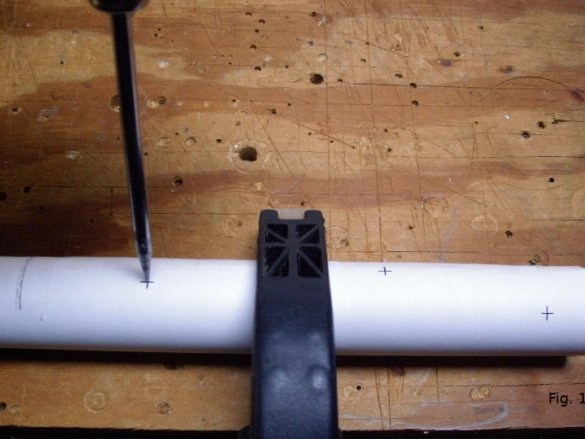
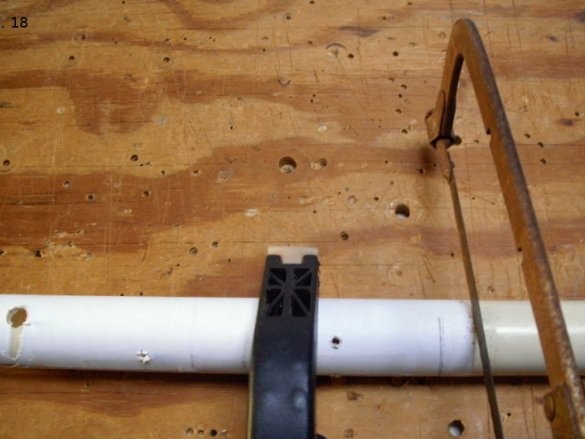
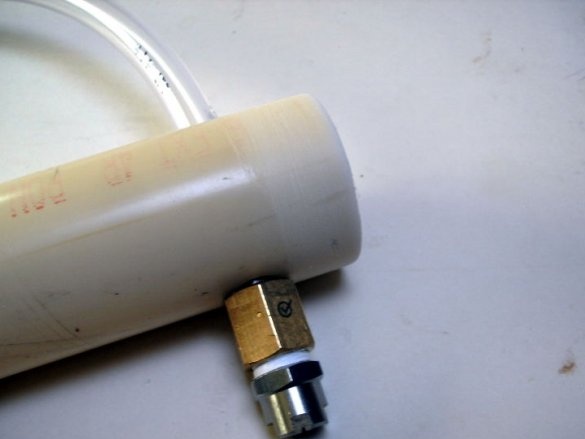
Drills 3mm holes in the PVC pipe according to the template. Then he drills the extreme holes with a pen drill. Trim the pipe, strip the edges.
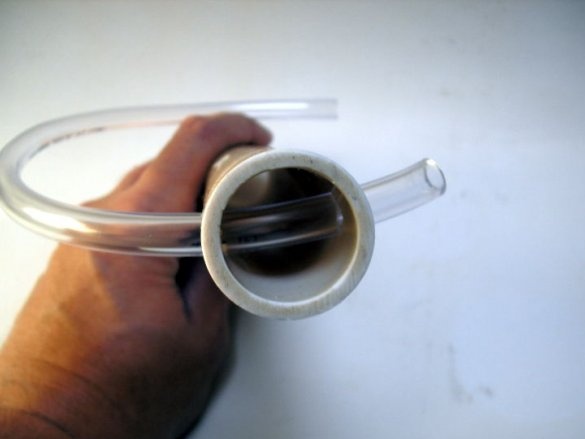
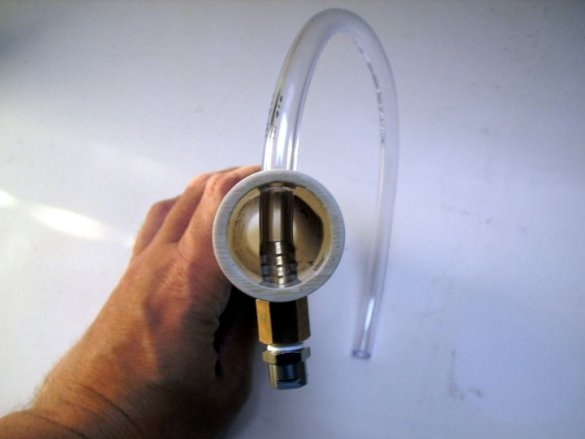
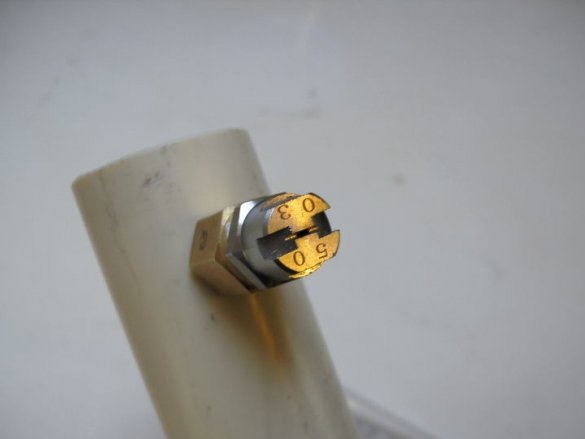
Draws a plastic tube through the holes in the pipe. Installs a nozzle at the end of the tube. Fastens the nozzle into the hole in the pipe.
Step Four: Build
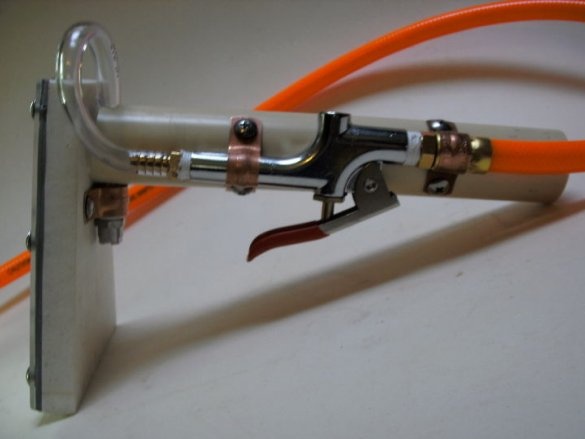
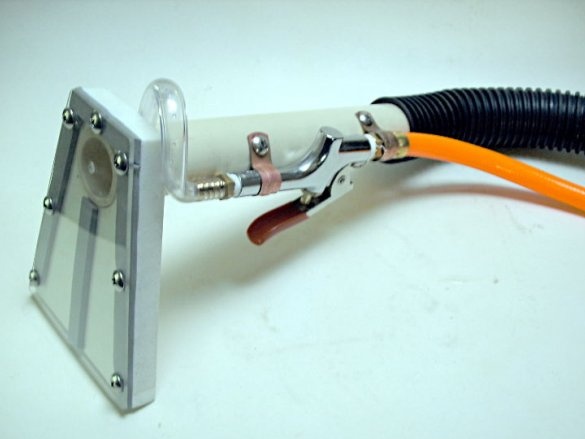
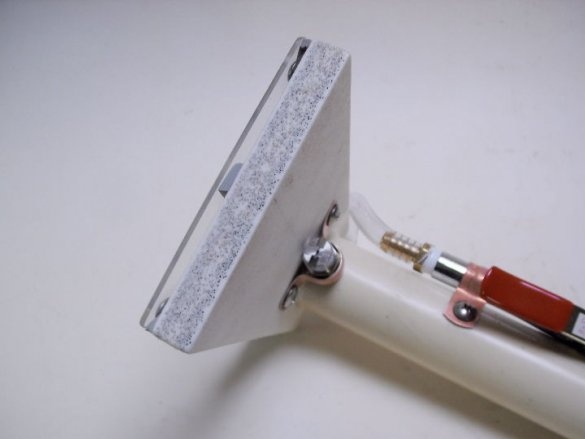
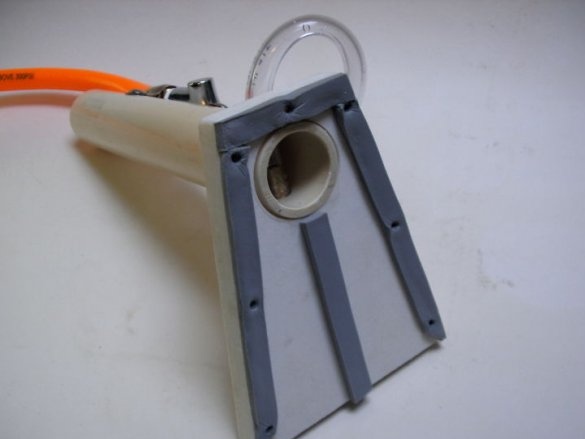
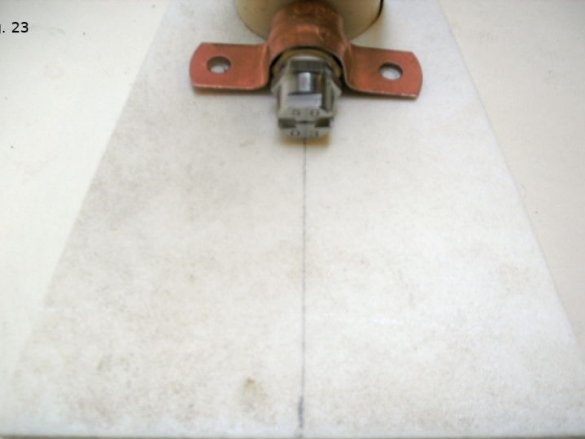
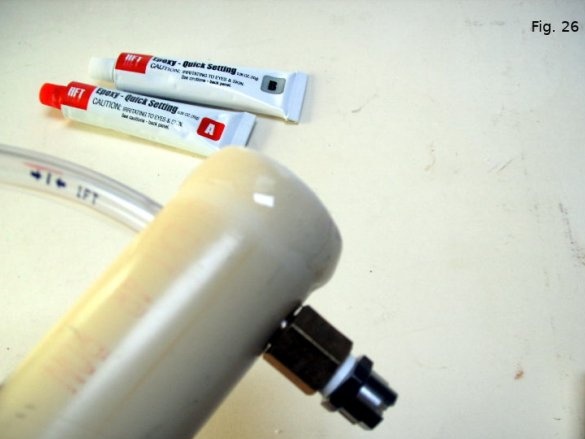
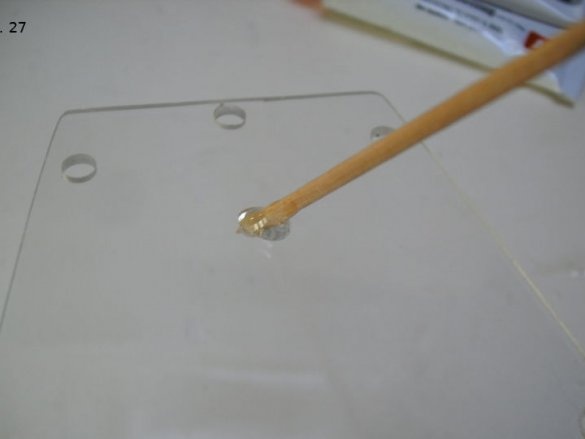
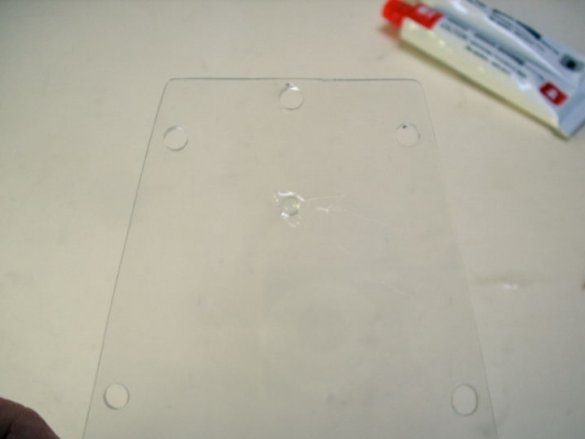
Sticks foam onto the bottom of the nozzle. Marks the center line of the PVC part of the nozzle. Apply glue to the assembly site. Inserts a pipe with a nozzle into the hole. The nozzle should be located along the line. Secures the nozzle with a bracket. Assembles two nozzle parts, acrylic and PVC, together.
Step Five: Air Gun
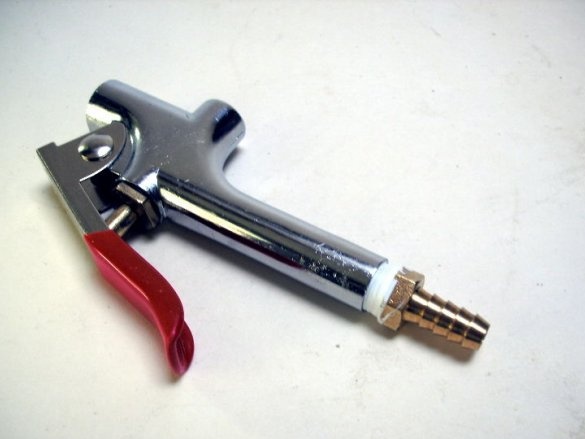
Before installation, the air gun must be redone.
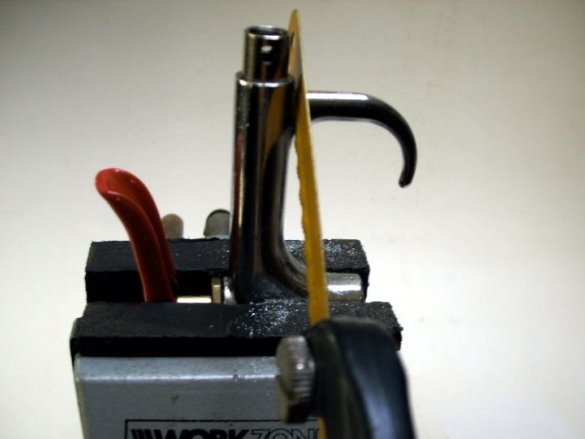
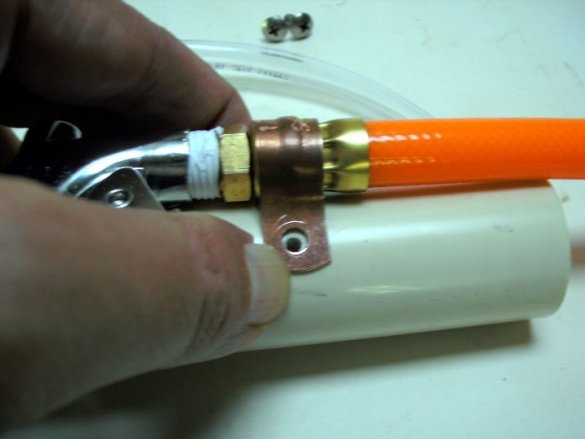
Cuts a hanging hook. Screws the adapter.
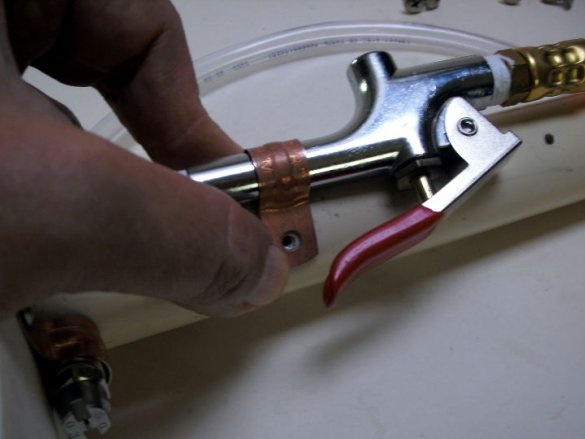
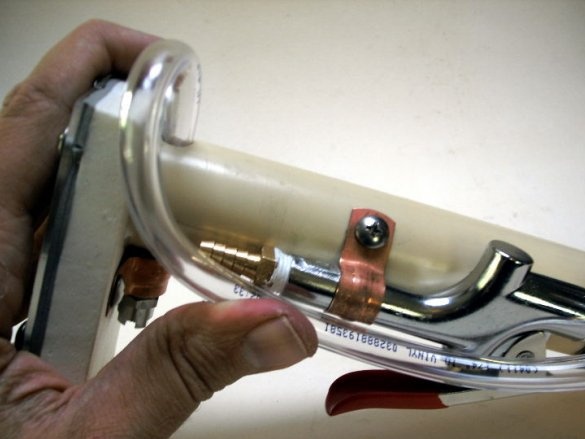
Secures the gun to the handle. On the one hand, a tube leading to the nozzle is brought to the gun, and on the other, a water supply hose.
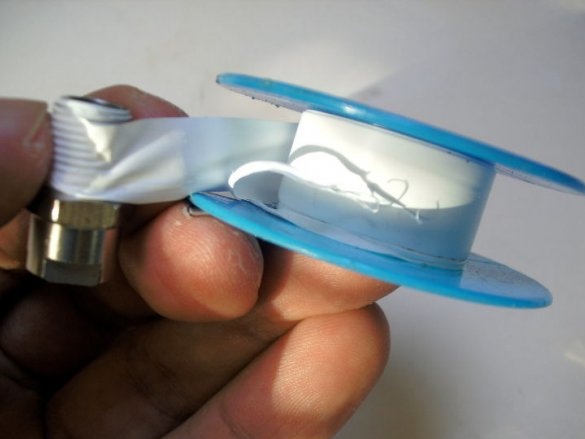
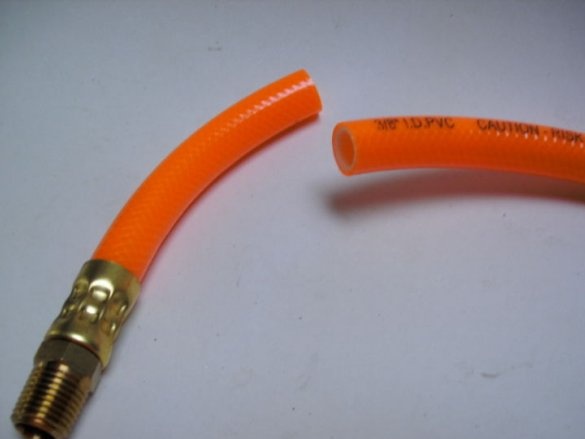
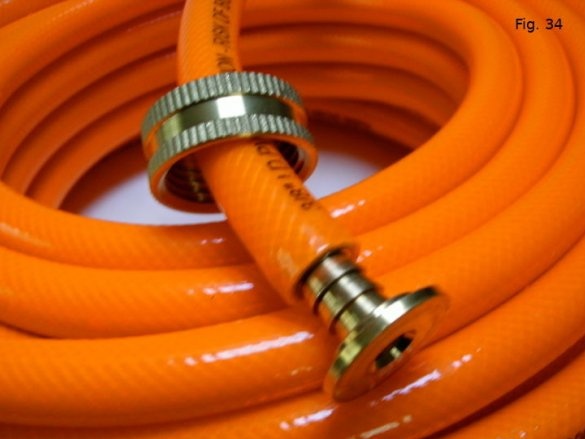
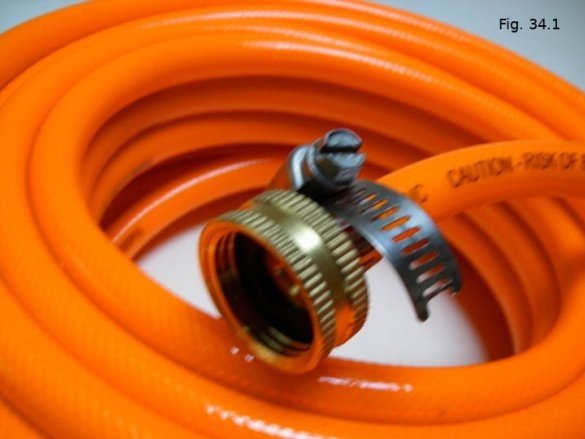
A threaded connection is established at the other end of the hose.
Step Six: Connect
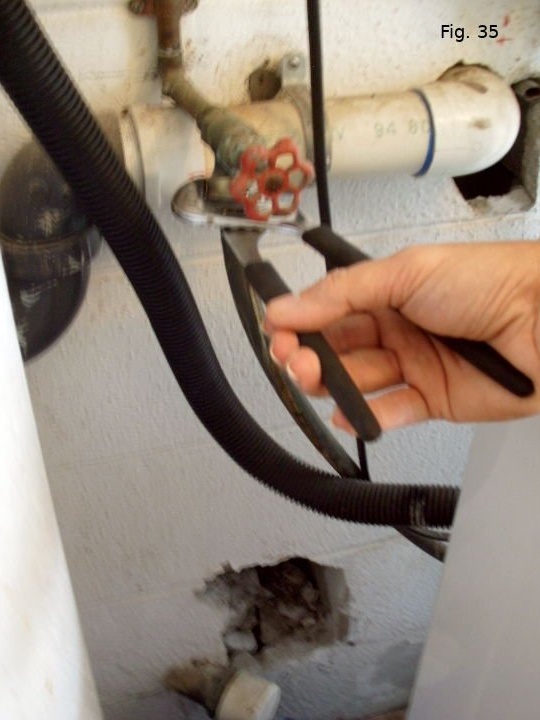
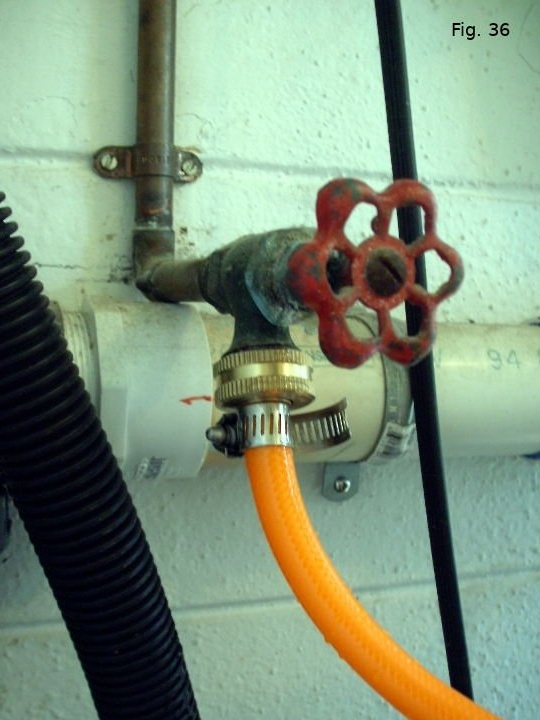
A vacuum cleaner hose is connected to the PVC pipe. The water inlet hose is connected to the hot water pipe. In this case, the temperature in the water should not be higher than 60 degrees Celsius. You can use a faucet adapter to connect to the sink faucet.
Seventh step: cleaning
The device is assembled and connected, now go to the cleaning instructions.
1.First clean the carpet with a vacuum cleaner to dry.
2. Treat the surface to be cleaned with a solution of hot water and a mild detergent. For small areas, you can use a hand spray.
3. Do not use a hard bristle brush to clean heavily soiled areas.
4. After connecting the hot water and connecting to the vacuum cleaner, turn on the vacuum cleaner.
5. Place the hand tool where you want to start cleaning. Press and hold the trigger while pulling the tool toward you. Press the cleaning surface firmly with the nozzle. Move the nozzle fast enough to prevent the formation of water puddles.
6.After cleaning is completed, walk through this place again, but without turning on the water, to dry. This will remove some of the water.
7. Do not forget to drain the water from the tank of the vacuum cleaner.
8. It is recommended to use fans to speed up the drying process.
9. Repeat the process for heavily soiled surfaces.

