
I welcome fans to craft, today we will discuss how to install a flexible shaft from a drill to a grinder. This will be useful for those who have broken the drill, and left a flexible shaft. Among other things, we get a pretty powerful tool when compared with the common Chinese and inexpensive. Such a tool will easily process iron, but it is desirable that there is the ability to adjust the speed. If you are interested homemade, I propose to study the project in more detail!
Materials and tools used by the author:
Material List:
- ;
- nut and bolt (according to the diameter of the shaft of the grinder);
- iron plates;
- bolts and nuts.
Tool List:
- ;
- welding machine;
- drill;
- spanners.
Attention!
When working with a flexible shaft, observe safety precautions. In case of jamming of the nozzle, the shaft begins to twist, which can lead to serious injury to the hand! Everything happens very quickly and you do not have time to do anything. Hold the shaft so that it cannot spin around your arm.
Homemade manufacturing process:
Step one. Coupling
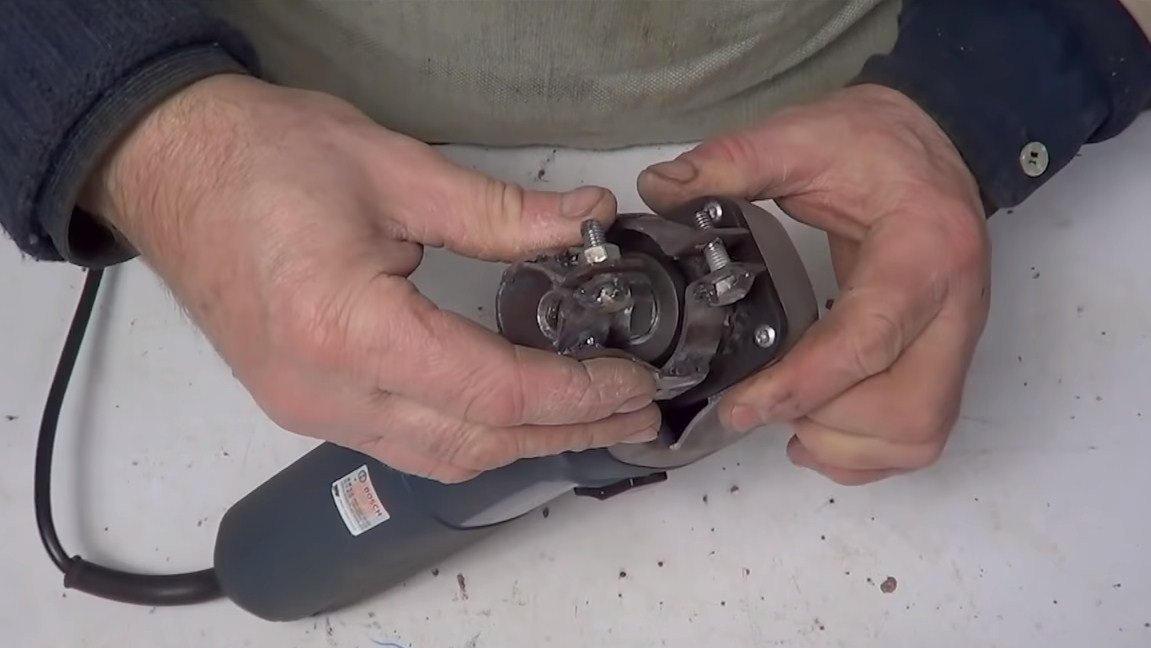
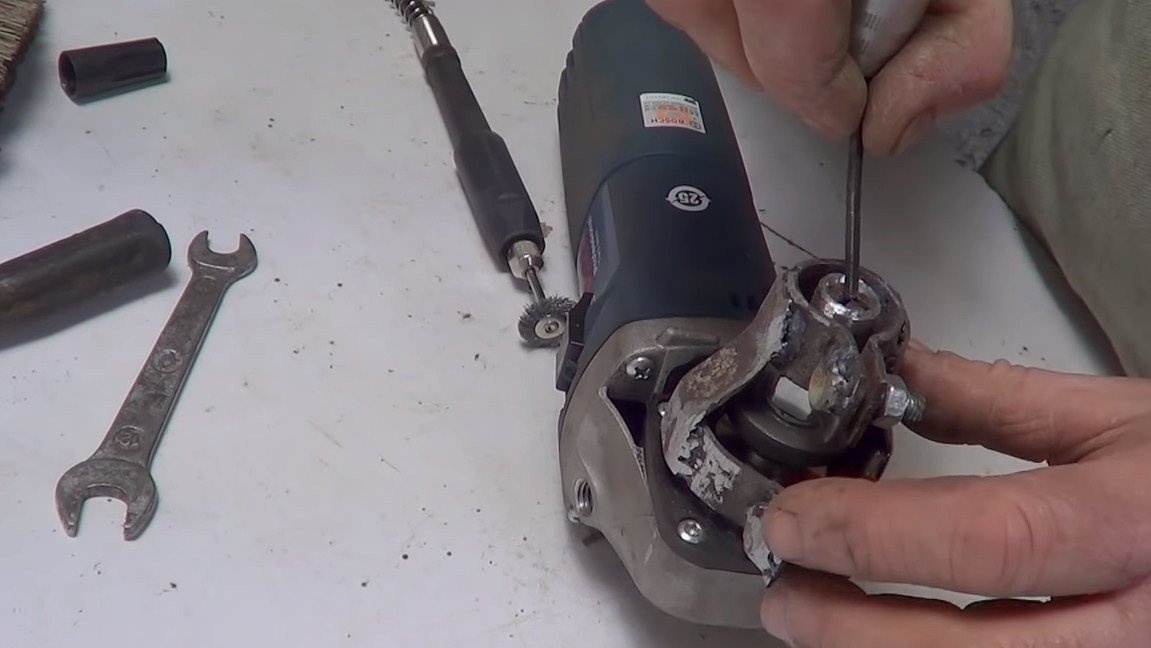
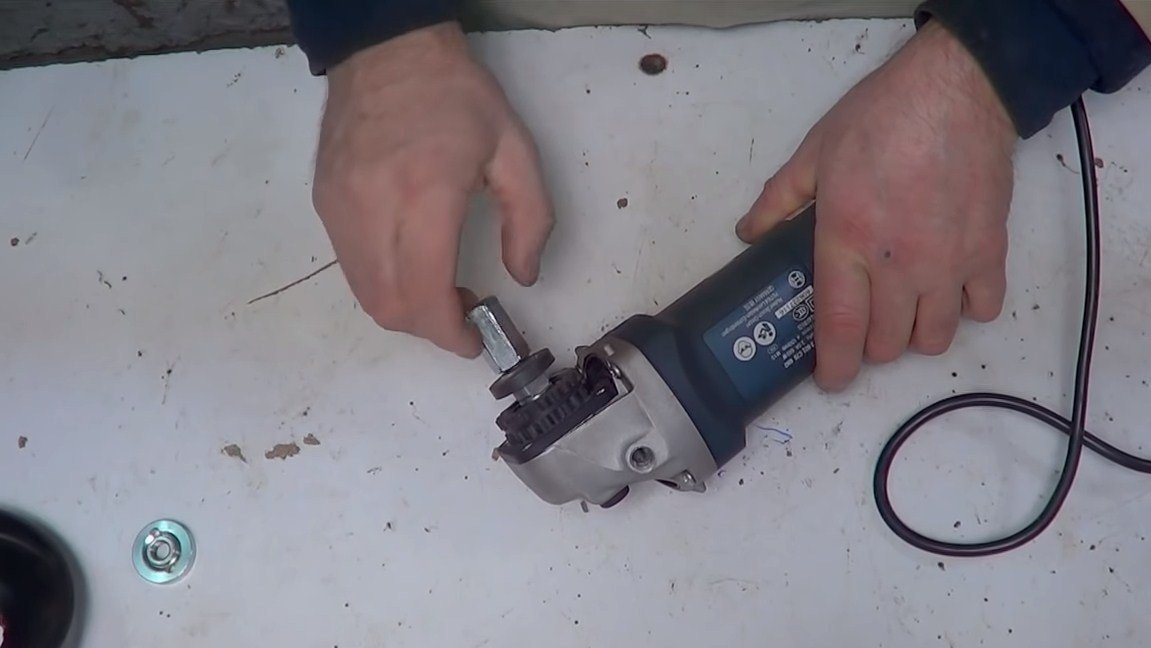
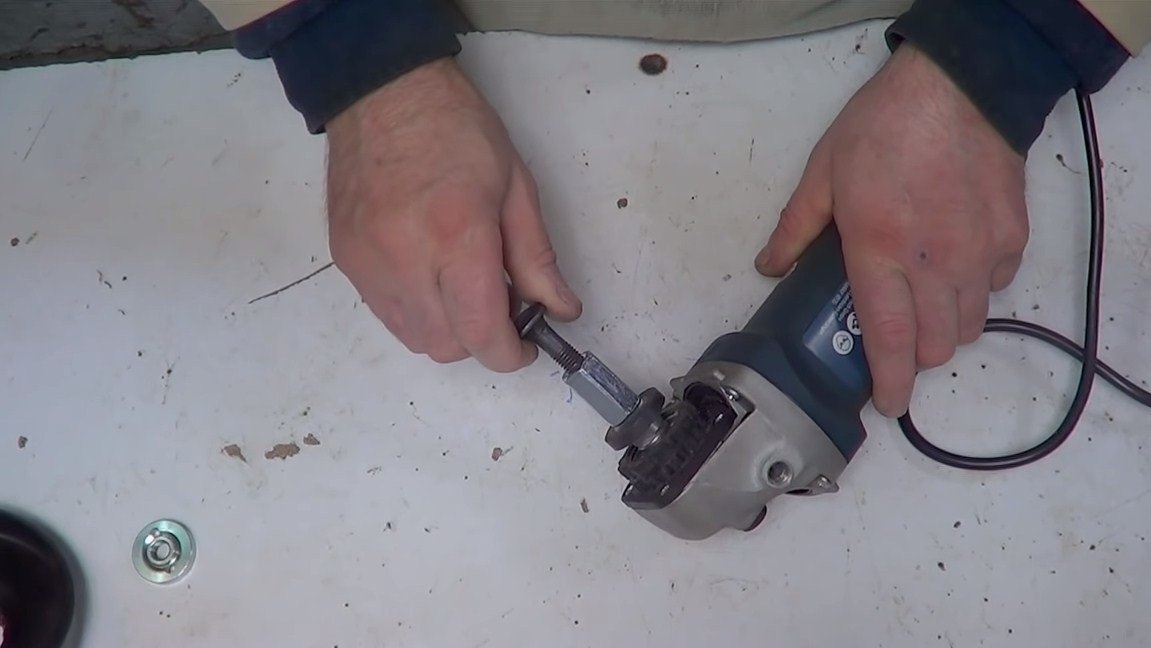
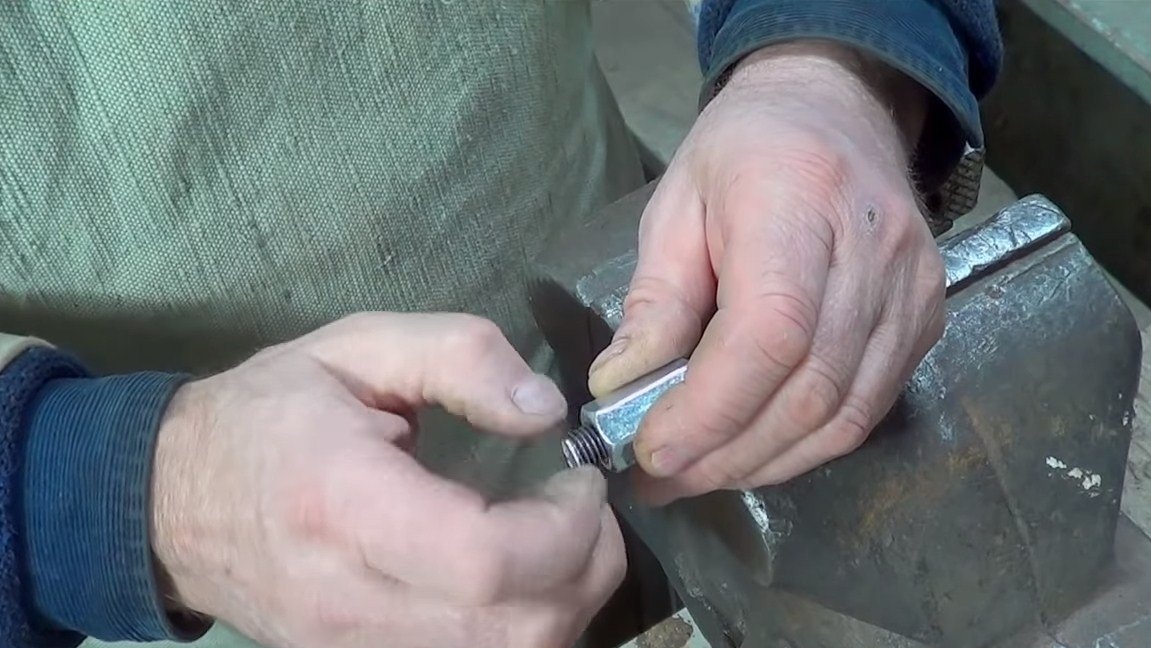
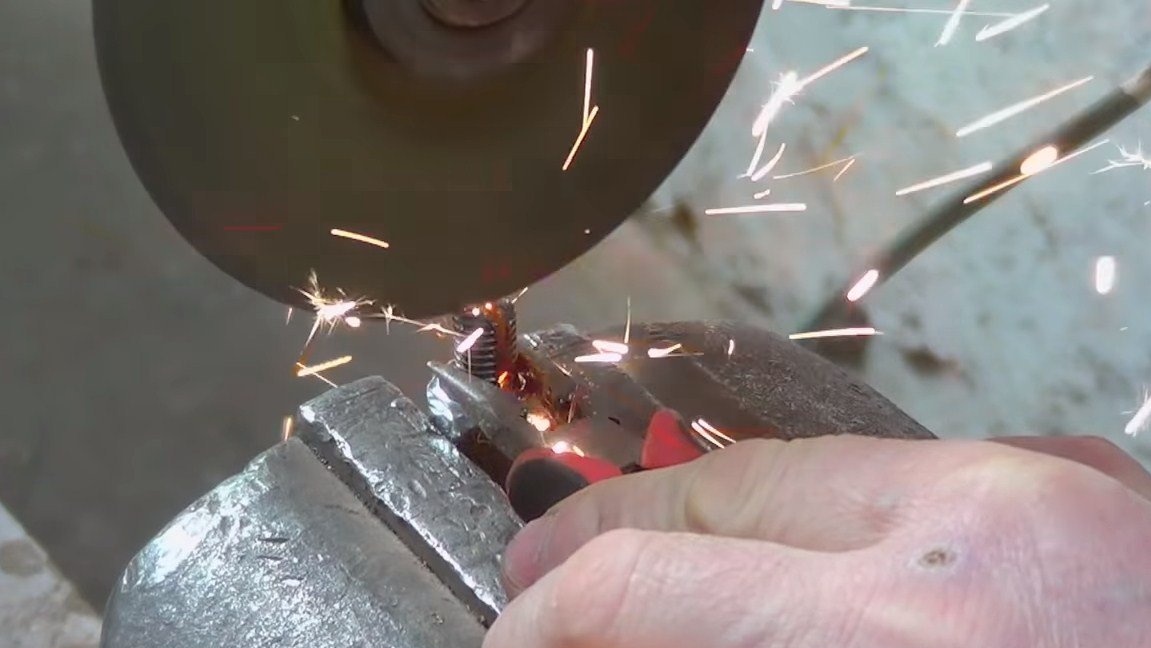
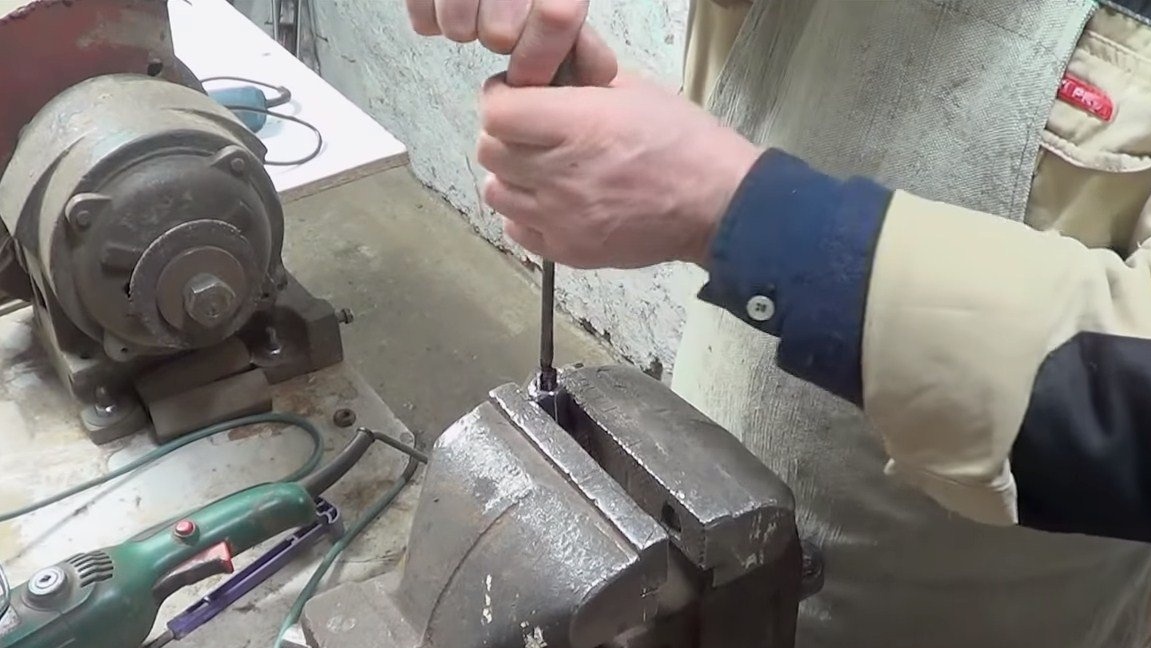
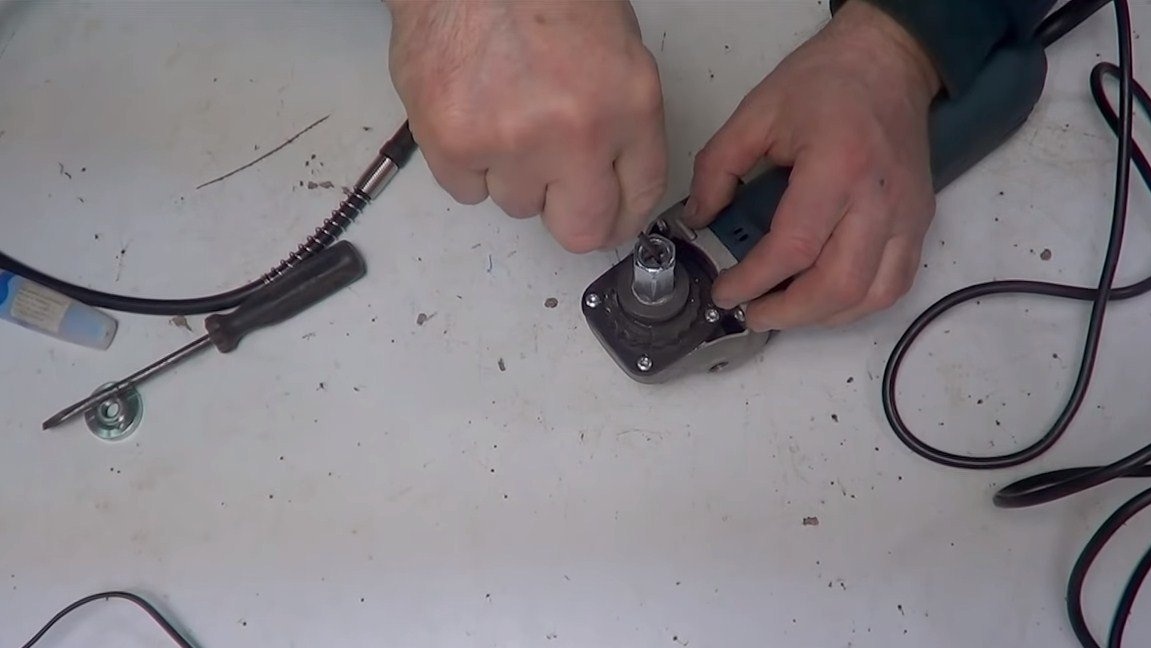
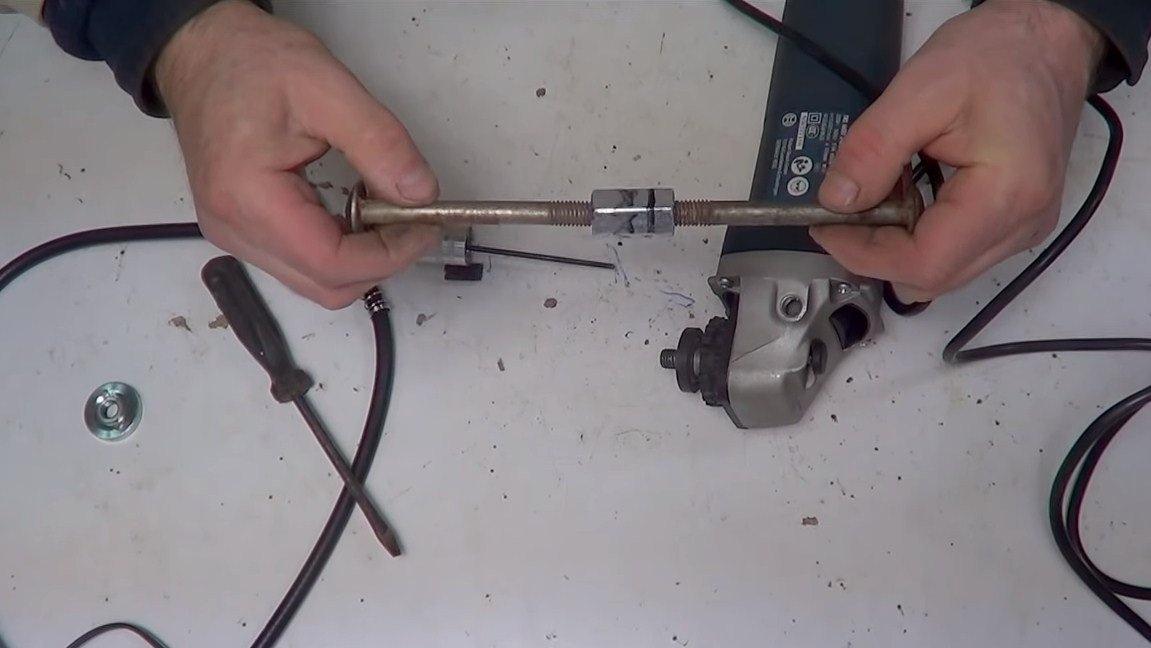
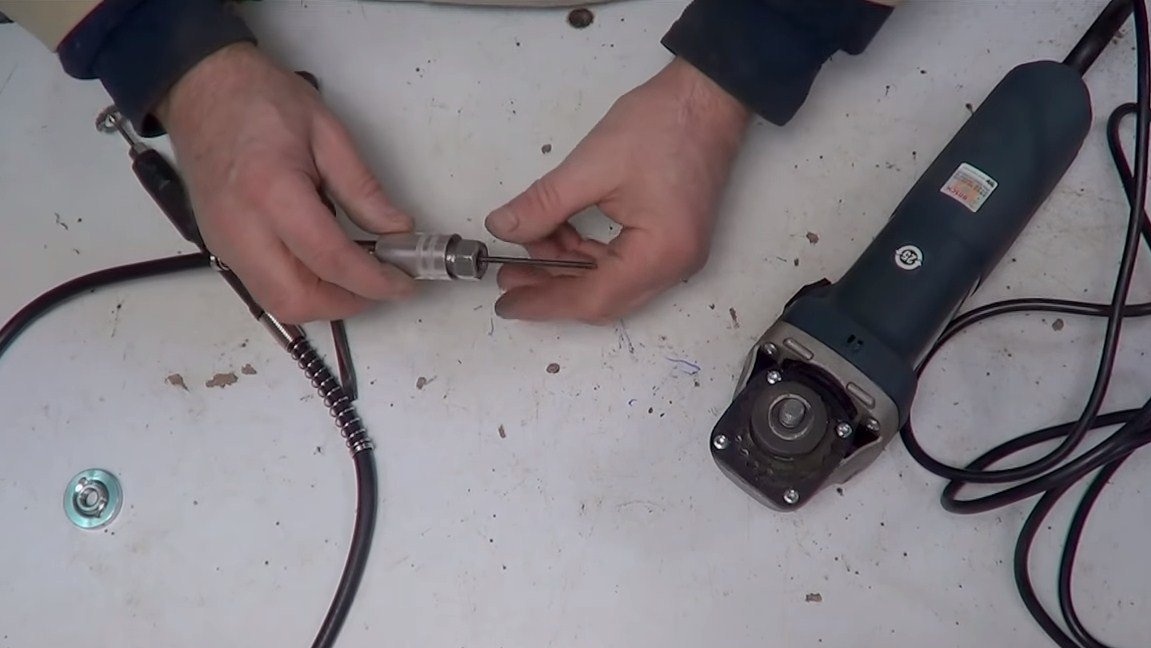
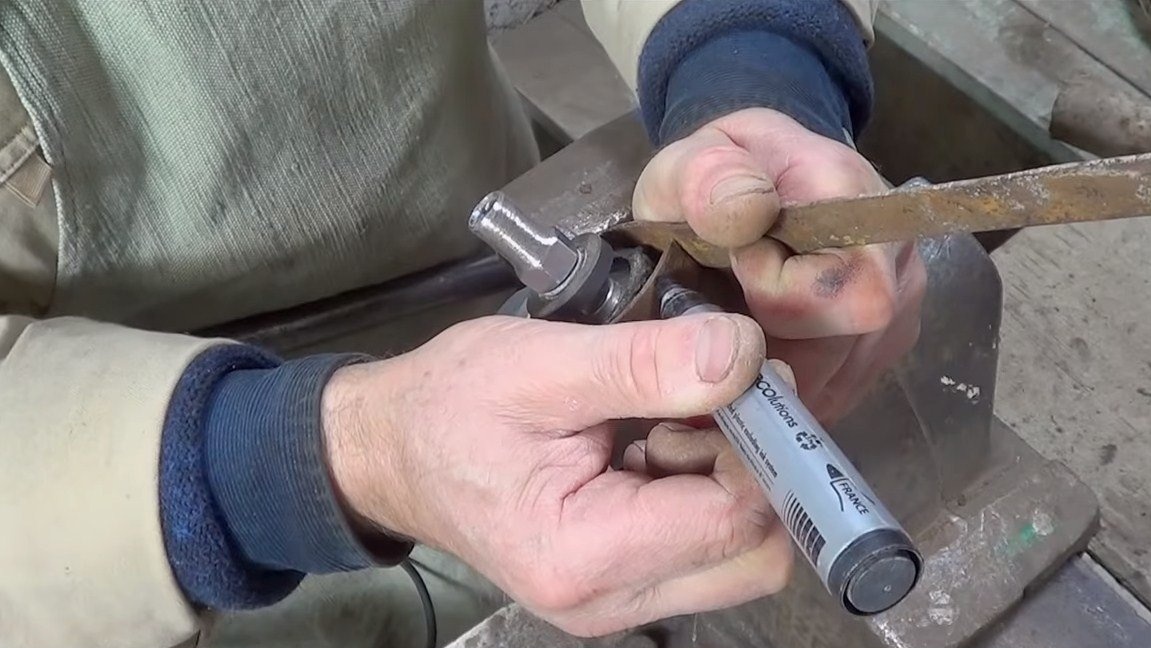
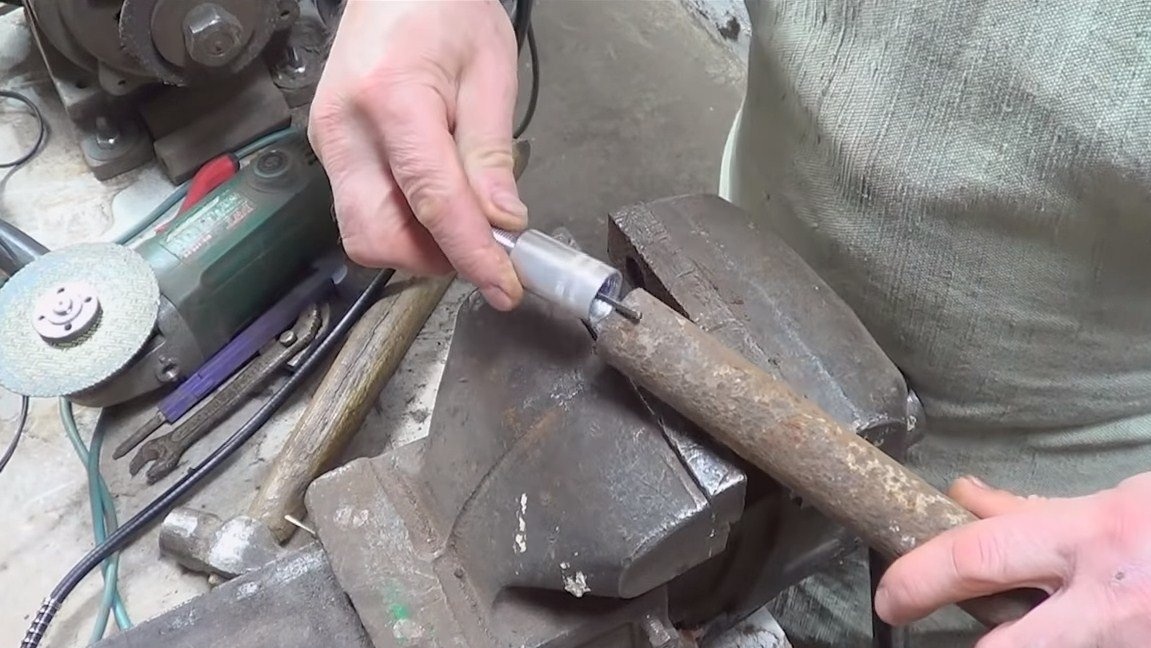
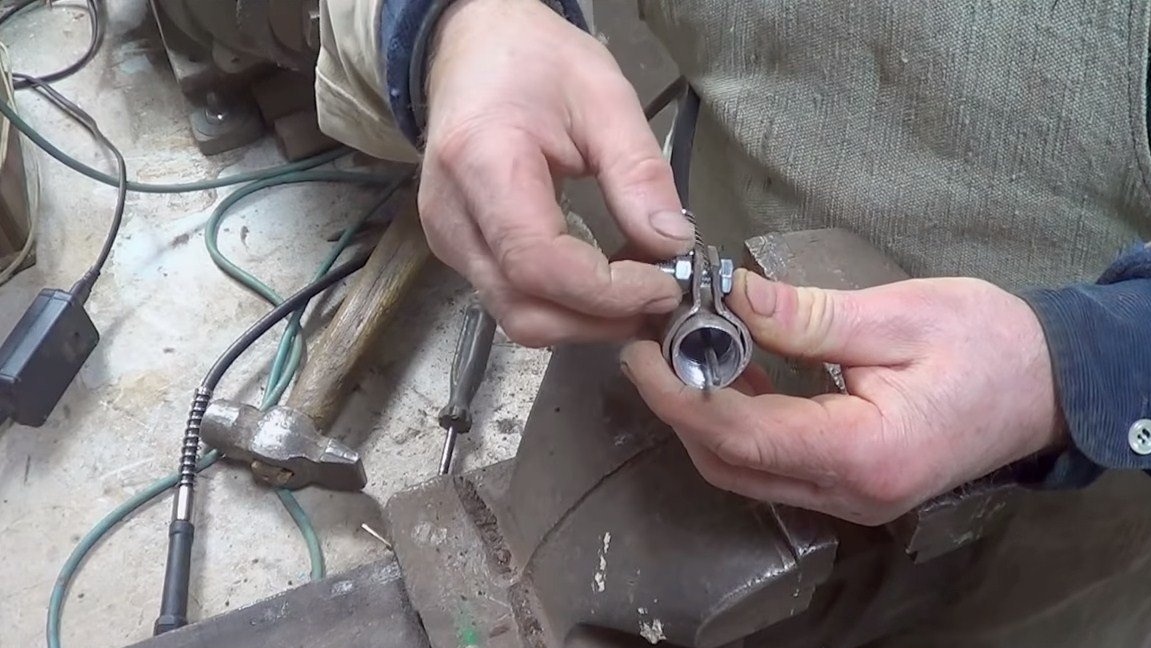
First of all, we will manufacture a coupling, thanks to which it will be possible to connect the cable of the flexible shaft to the shaft of the grinder. We will need a long nut with such a thread as on the shaft of the grinder. Wrap a bolt in half the nut and cut off the excess. Now the wrapped part needs to be turned out and armed with a grinder we make cuts in it, as a result, a cross should turn out. We turn the part back into the nut, now in the center you need to make a rectangle, the tip of the cable of the flexible shaft has exactly this shape. To cope with the task, we need a special punch. We take a tap or other solid rod and sharpen it under the rectangle. Well, then this punch is driven into the center of the coupling. That's all, now the clutch is ready and it can be installed on the shaft of the grinder.


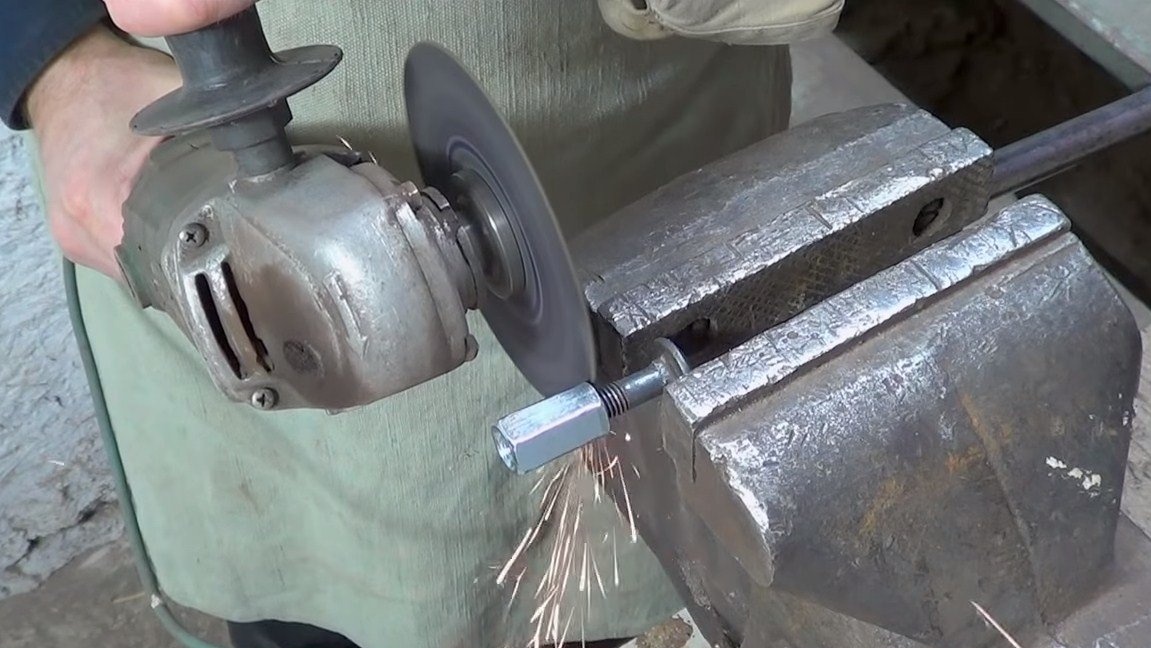
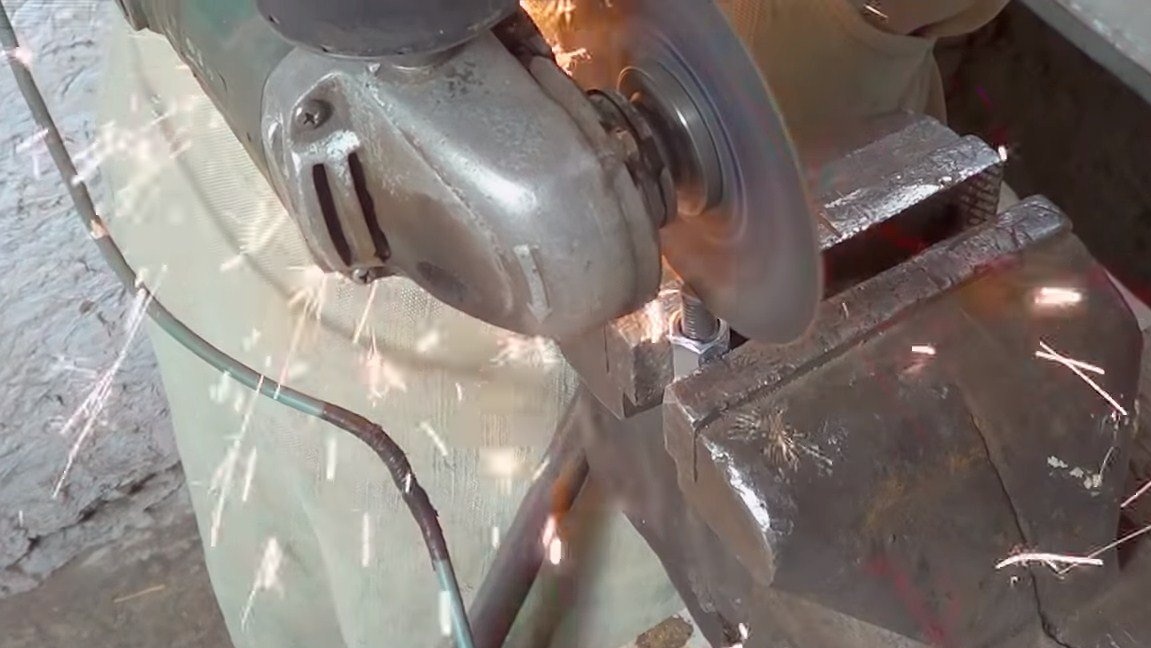
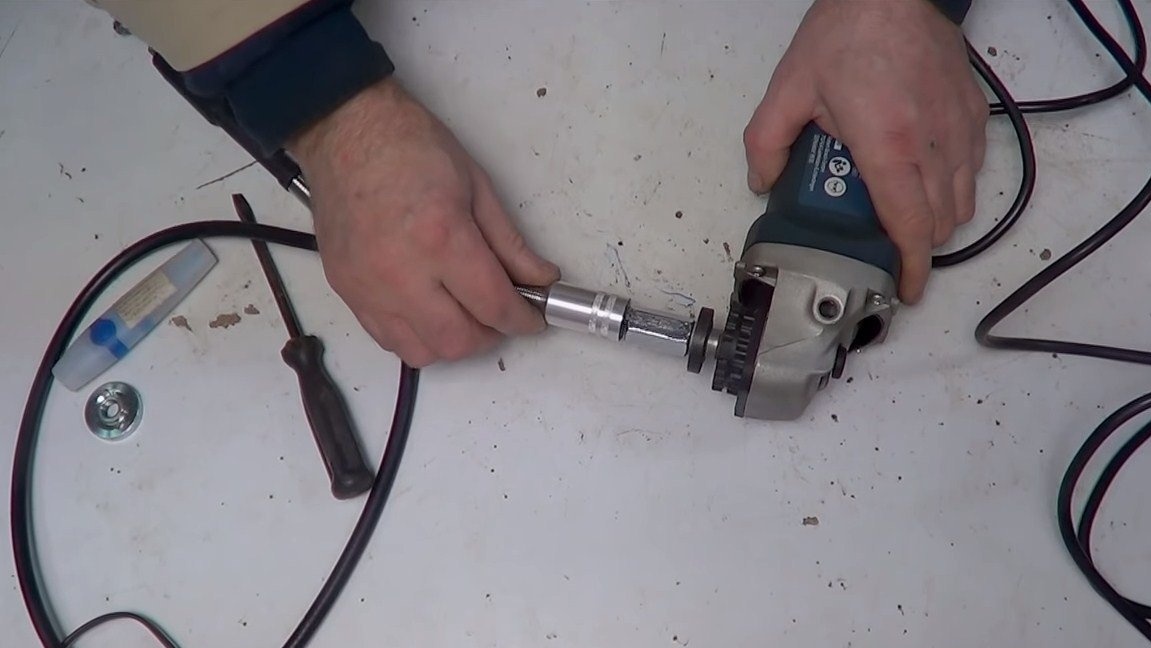
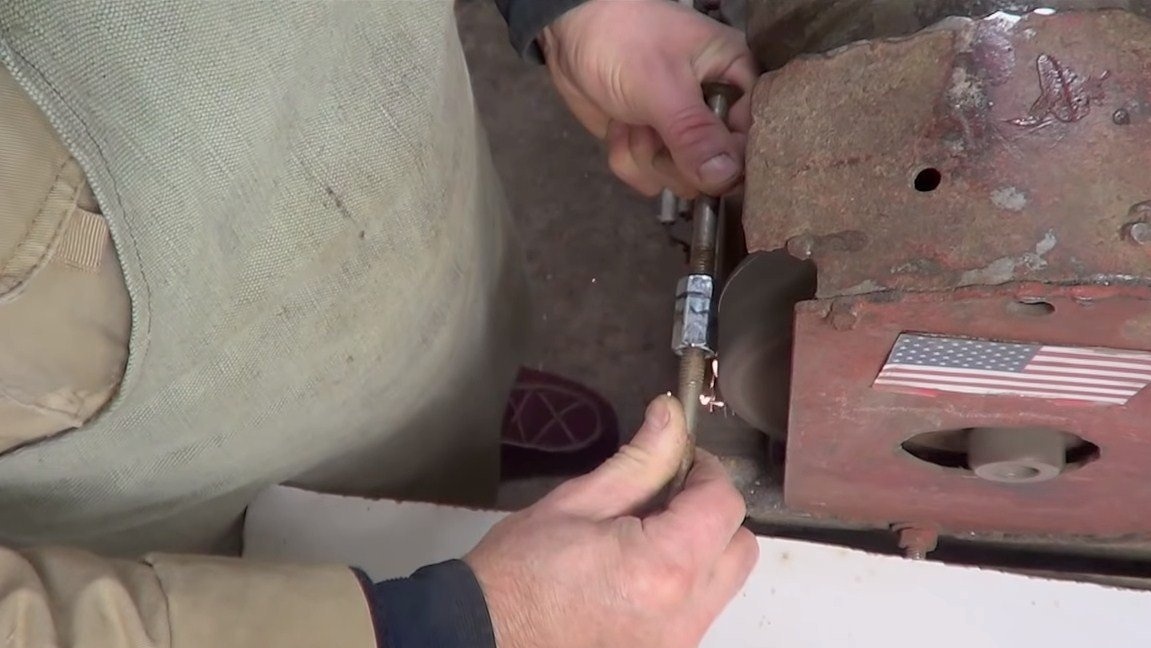
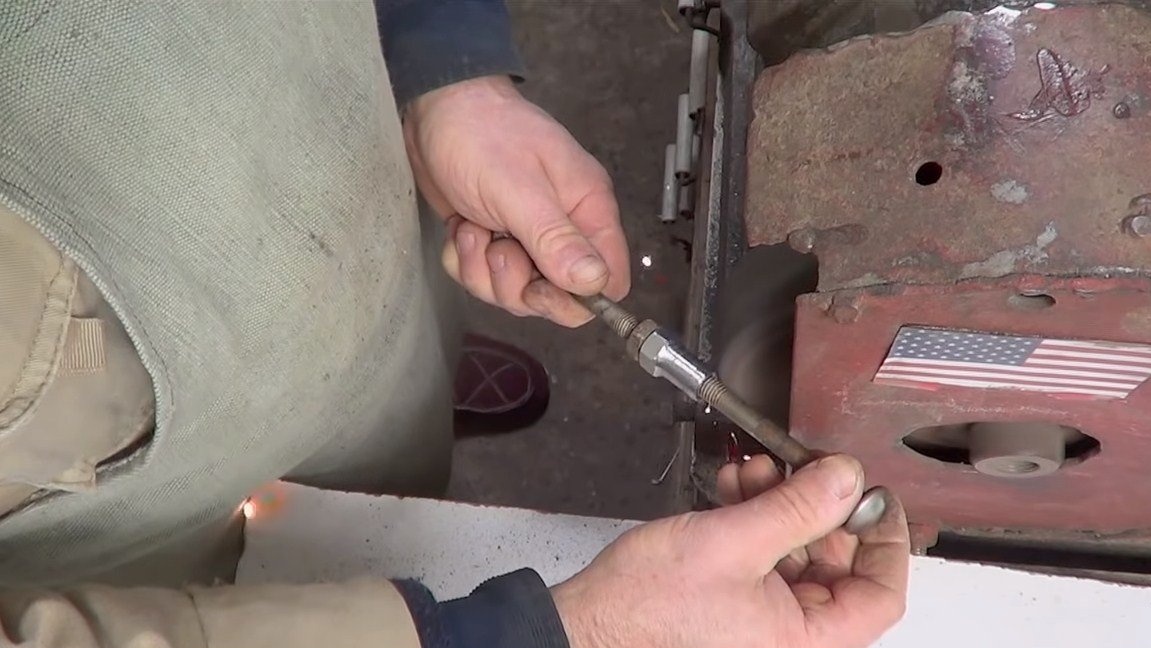
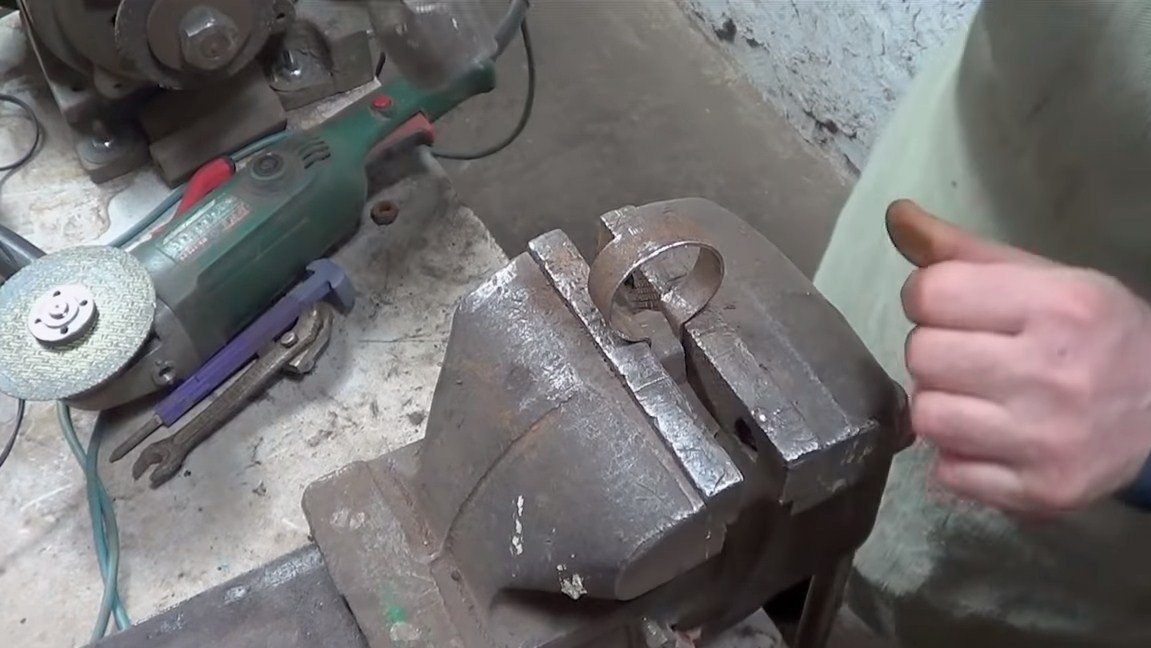
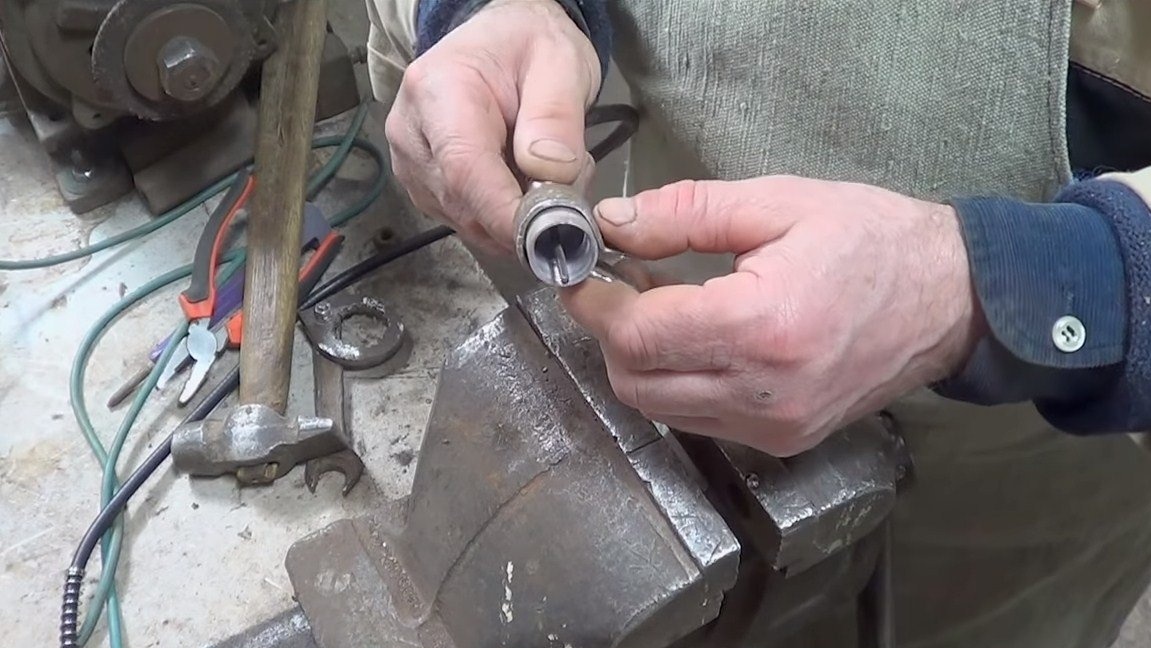
The manufactured coupling needs to be slightly modified so that the nut enters the flexible shaft housing. The easiest way to do this is by turning on the grinder with the nut installed and working on the grinder with a file like on a lathe.But our author decided to turn the nut on a grinder. This part is ready, now let's move on to the manufacture of clamps and frames.
Step Two Frame and clamps
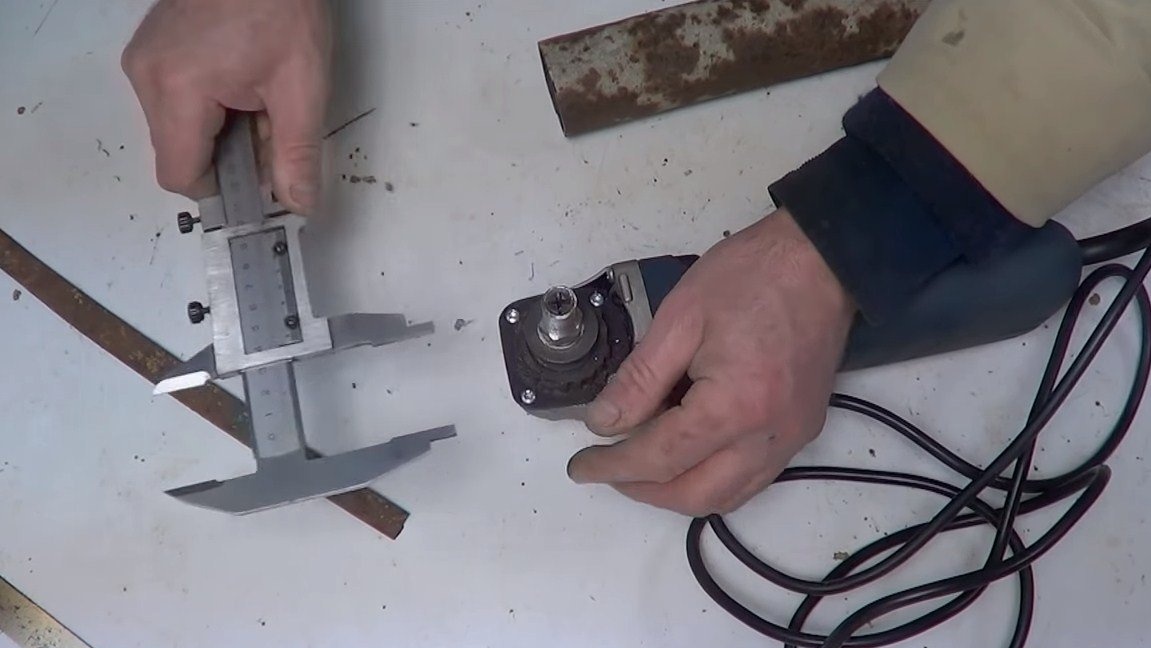
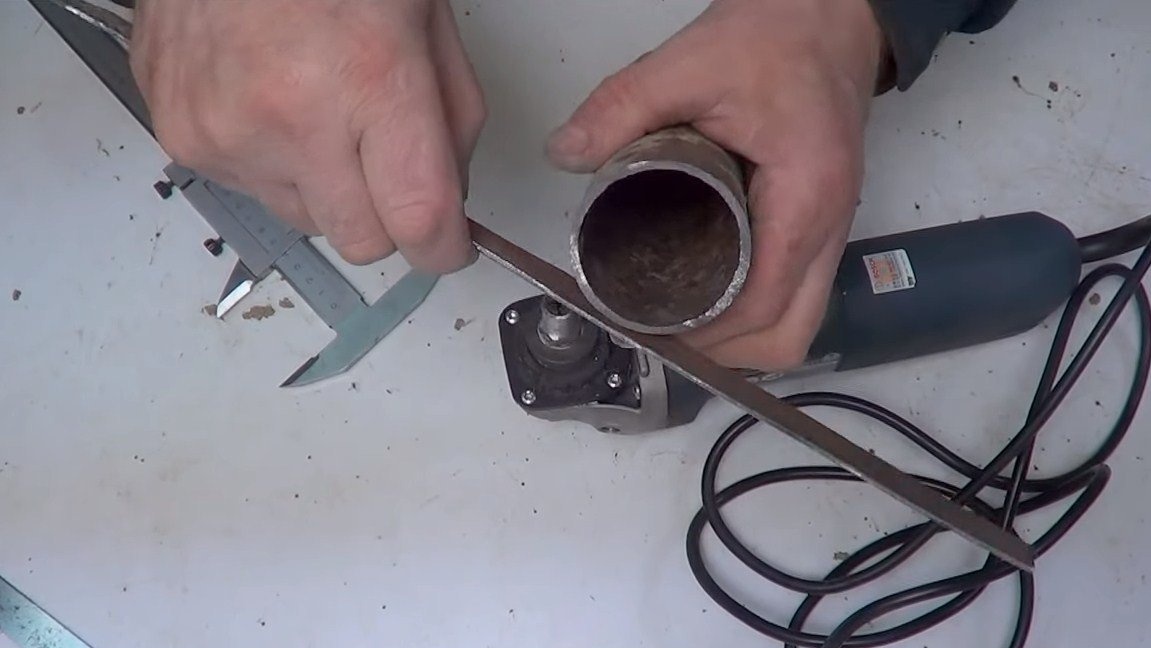
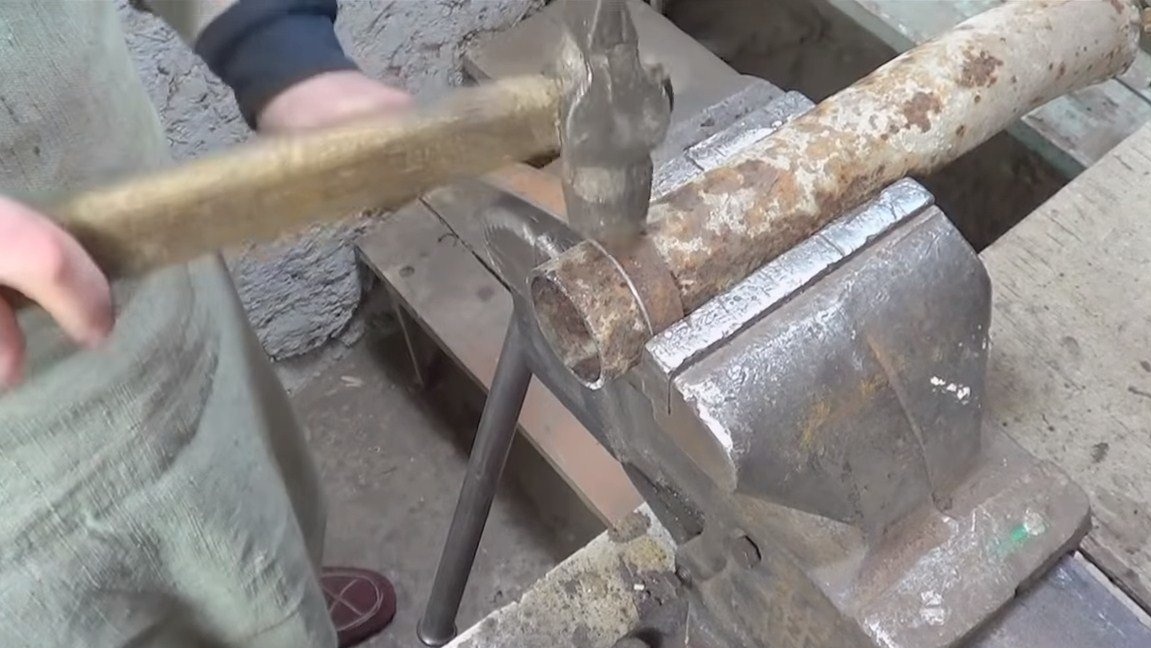
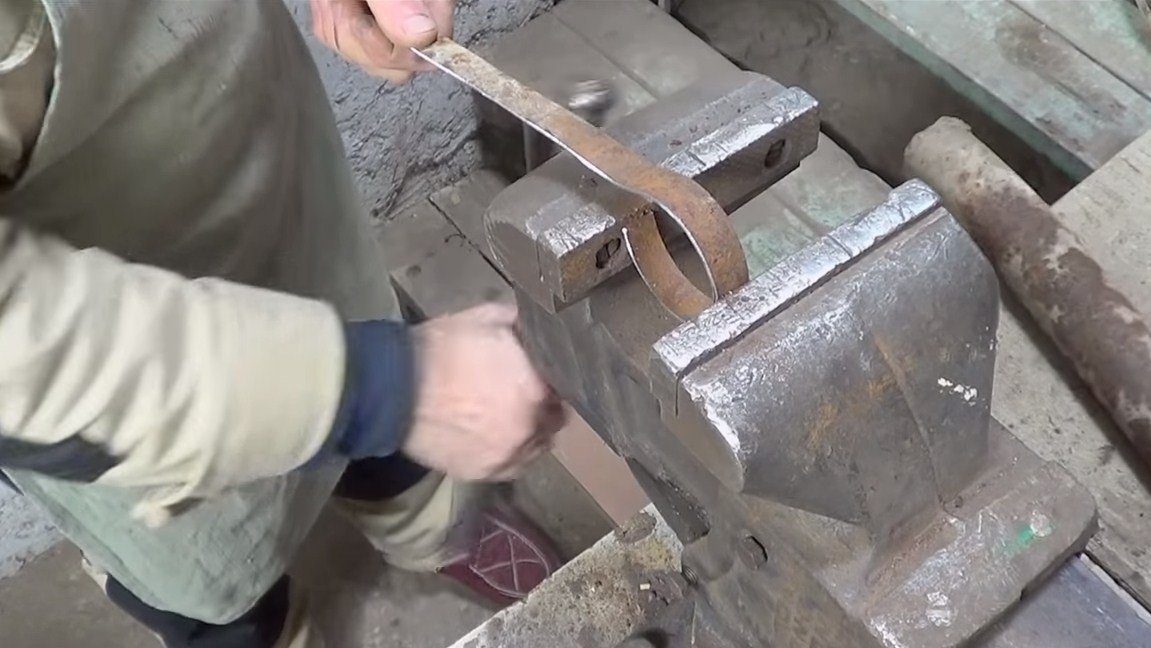
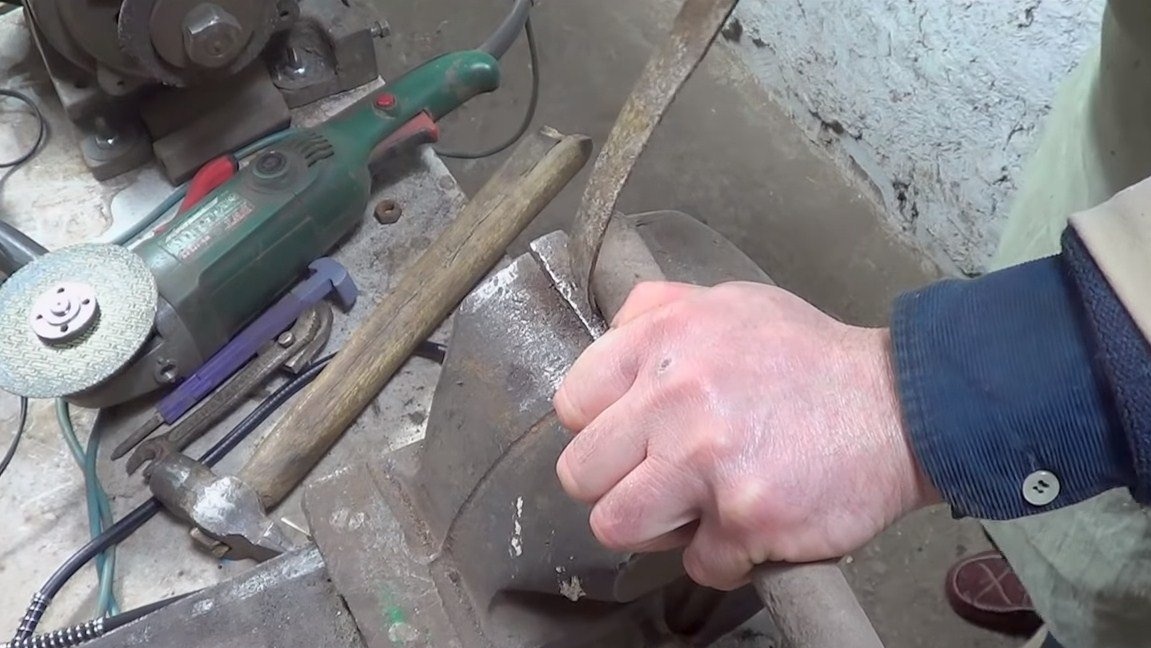
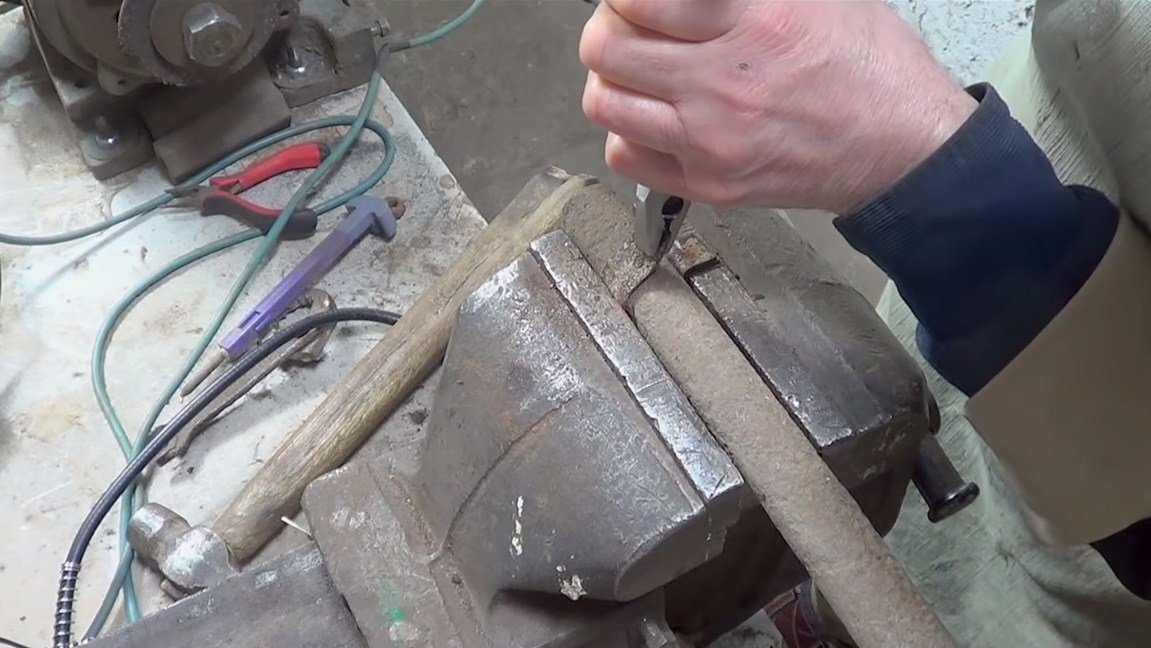
To connect the flexible shaft with the grinder body, we need to make two clamps, their author makes of iron plates, and they are pulled together with bolts and nuts. We take a pipe of a suitable diameter and bend it in a vice with a clamp for the body of the flexible shaft, similarly for the grinder, where the shield is attached. We drill holes for the tightening bolts, and for convenience, you can weld the nuts that everything was disassembled with one key or a screwdriver.


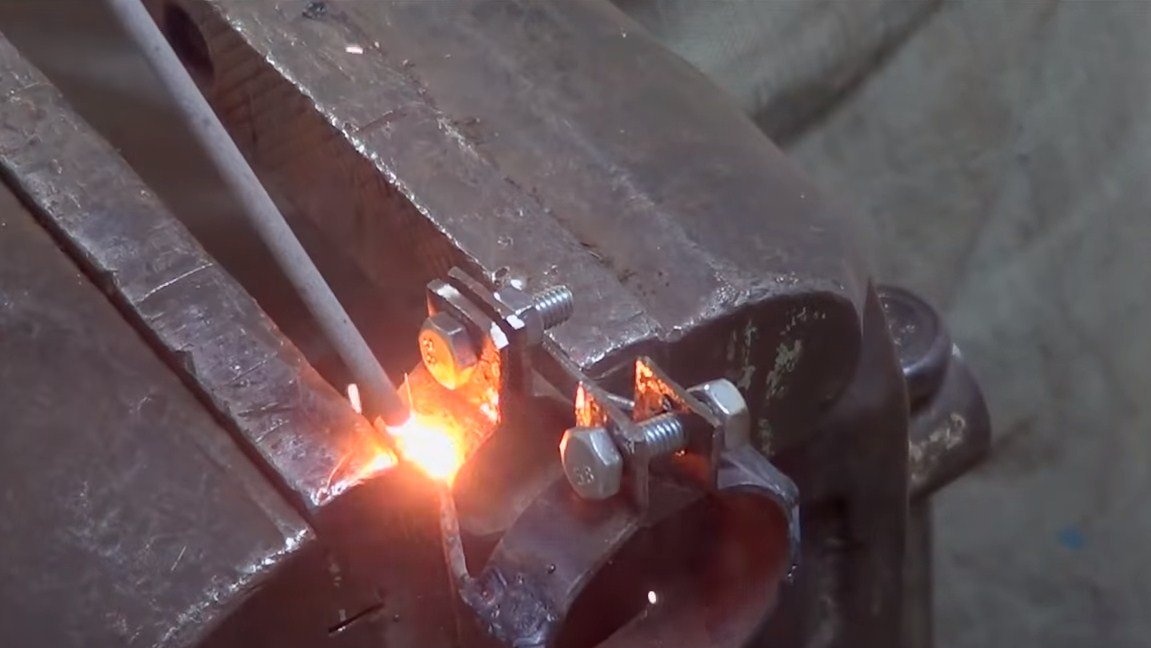
In the end, it remains to combine the two clamps, we make racks of iron plates for this. We weld the structure, we clean the welds, and so that everything looks great and does not rust, we paint the structure.
Step Three Assembly and testing
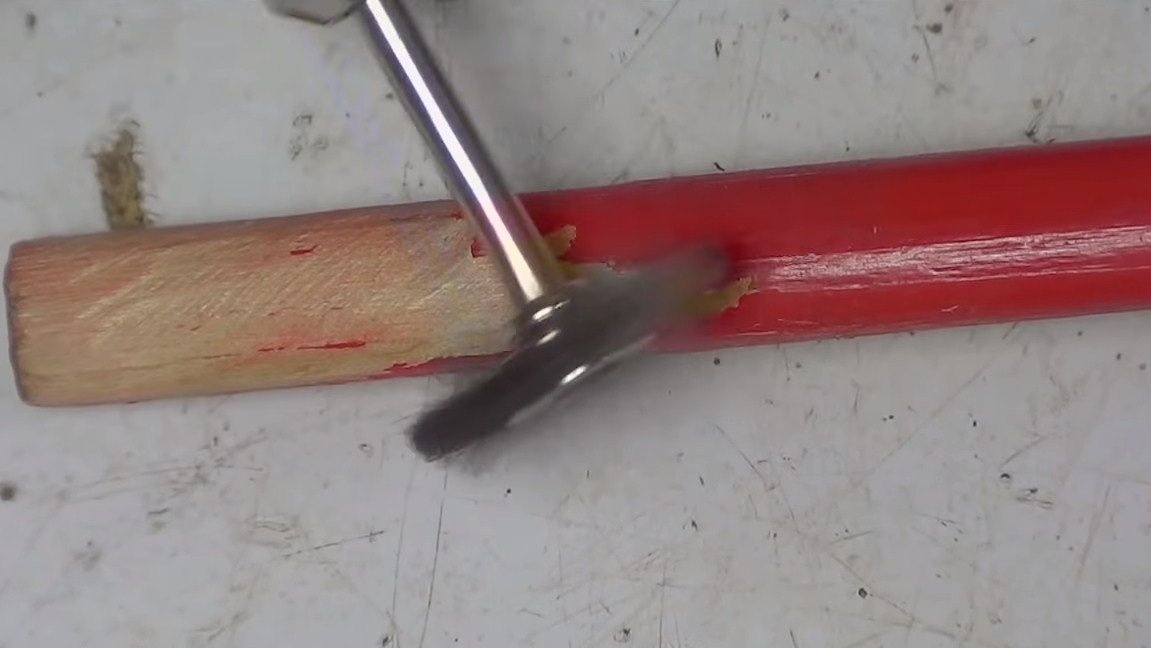
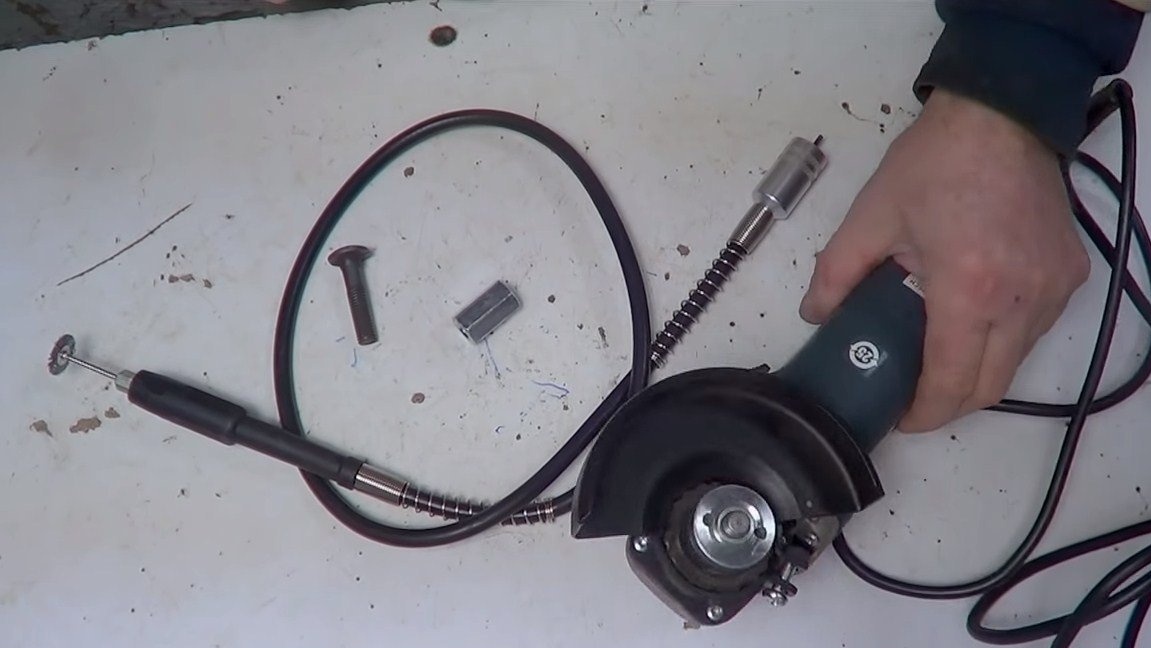
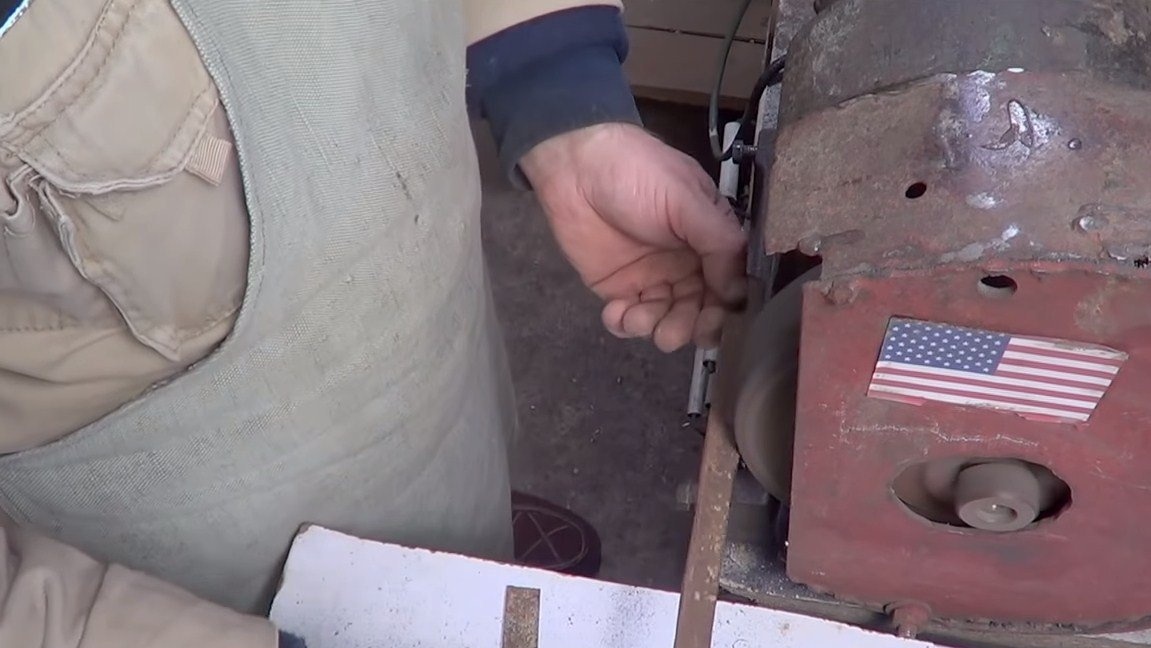
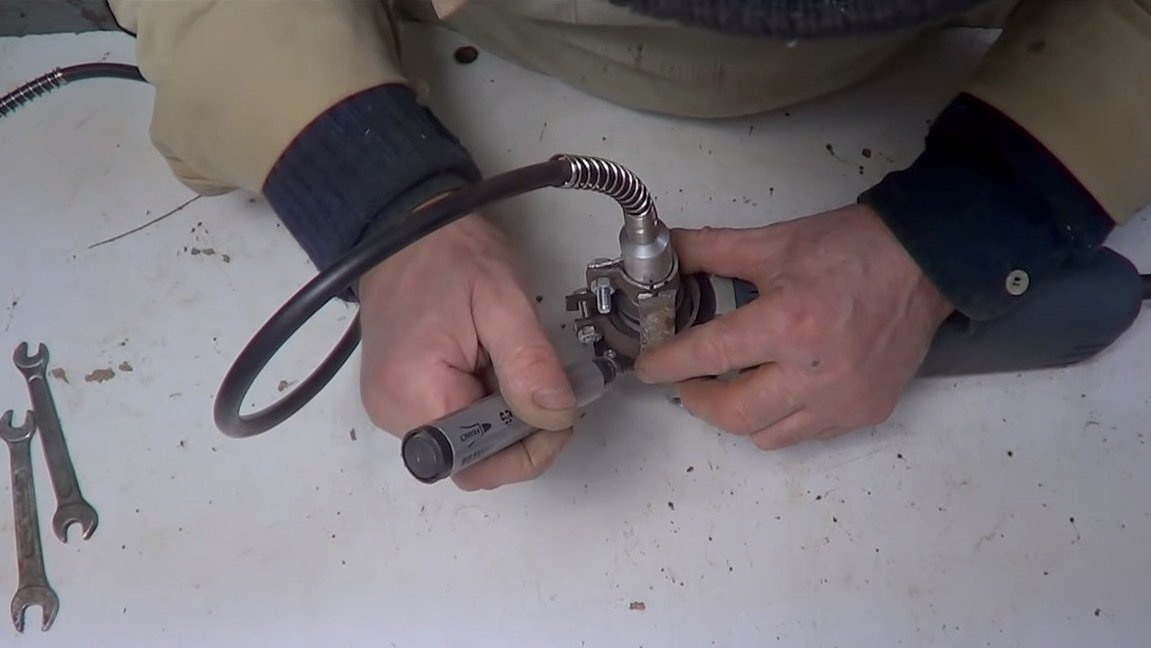
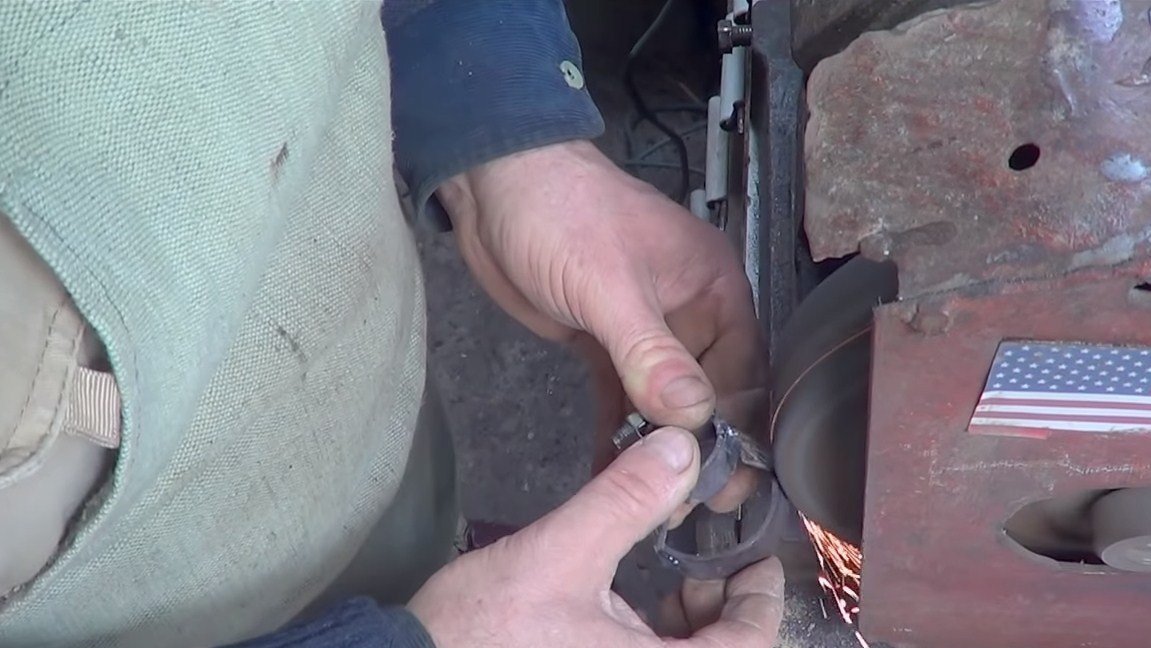
The homemade product is ready, we fix the flexible shaft in the clamp and the finished nozzle can be installed on the grinder. If the revolutions are regulated, it is better to start the experiment from low revolutions, however, such a shaft should be designed for high revolutions. As an experiment, the author works with a brush with an iron wire, the nozzle easily cleans rust from iron, and also removes paint from wood. With other nozzles, too, problems should not arise.
On this project can be considered successfully completed, I hope you liked the homemade work, and you found useful thoughts for yourself. Good luck and creative inspiration, if you decide to repeat this. Do not forget to share your ideas and homemade things with us!