
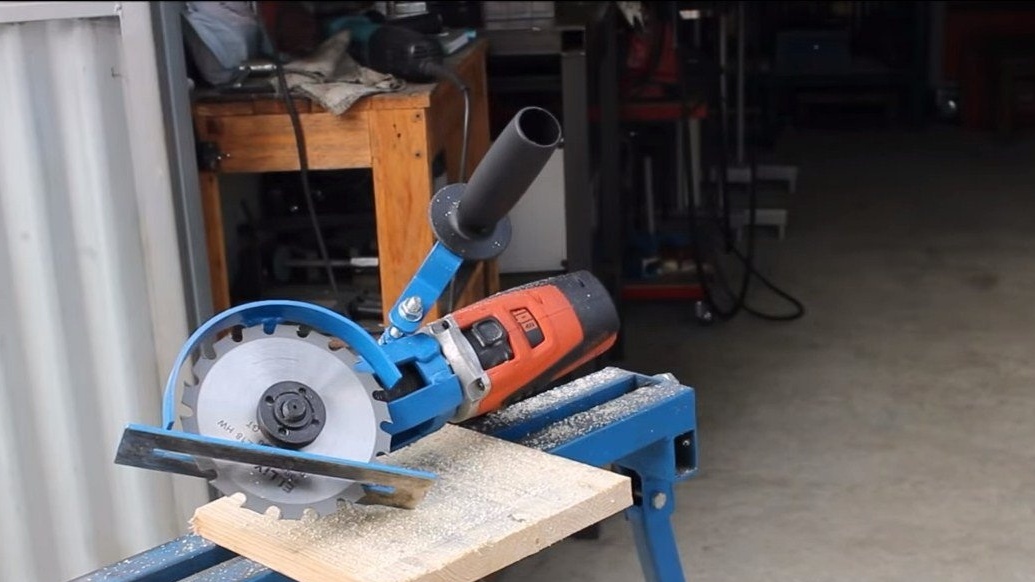
I welcome fans to craft, today we will analyze very useful homemadewhich will turn any drill into a circular saw. Of course, many will say that you can buy a finished saw, but this homemade product has several advantages. Firstly, the drill can be cordless, which means that our car will be autonomous without any wires. In addition, the homemade product weighs less than a purchased saw, but it all depends on the power and size of the drill used.
In terms of safety, the homemade product is completely safe, it has a reliable support, and there is also a shield made of thick iron. And the power of the drill is low, and in the case of a wedge, the drive shaft will probably begin to turn in the drill chuck. In everyday life, homemade is very useful, you can cut boards, plywood and other materials. If you are interested in the project, I propose to study it in more detail!
Materials and tools used by the author:
Material List:
- iron pipe (for the manufacture of a clamp);
- bolts and nuts;
- ;
- iron plates;
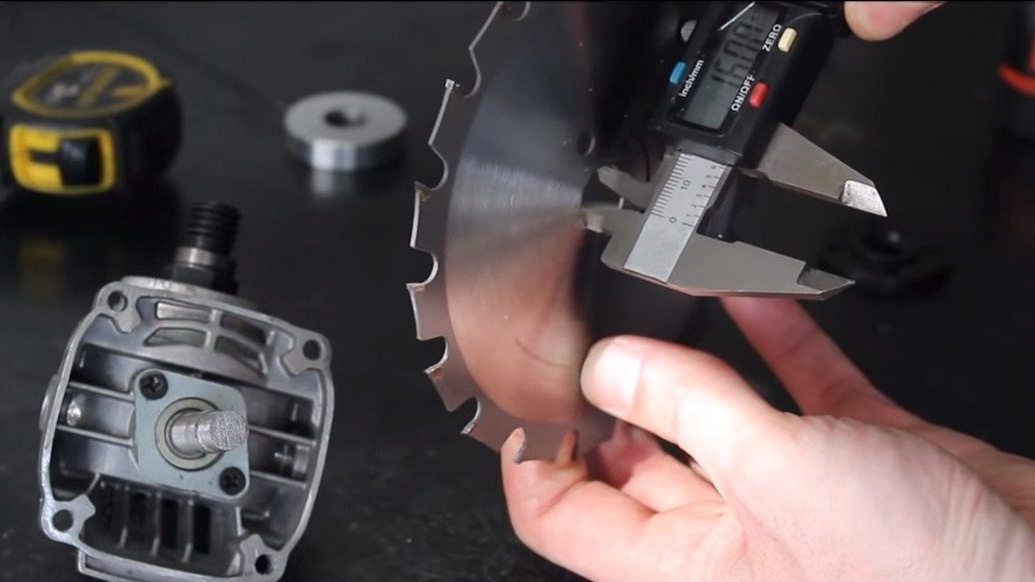
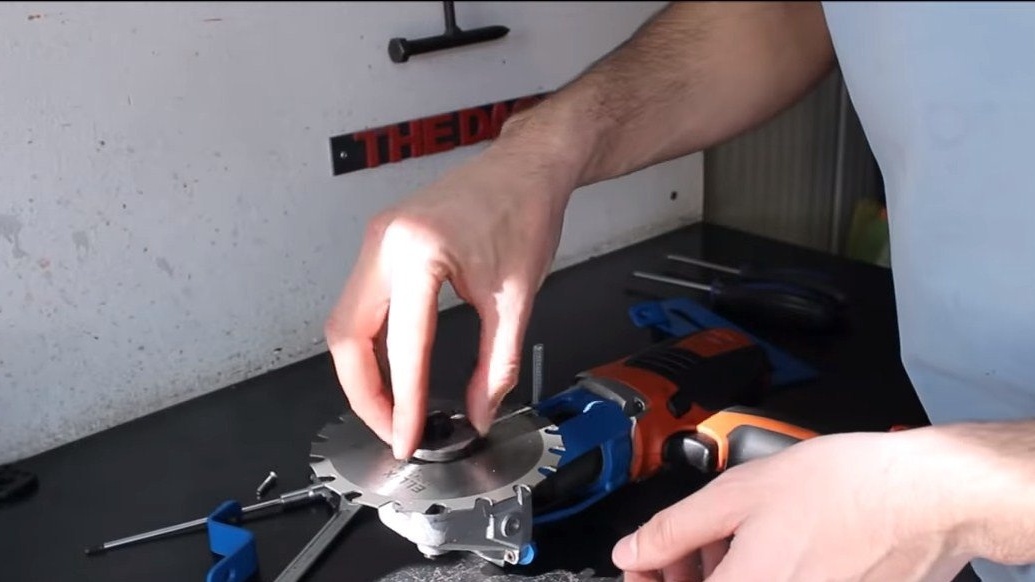
- a disk from a circular saw;
- gear from the grinder;
- side handle from the grinder;
- paint.
Tool List:
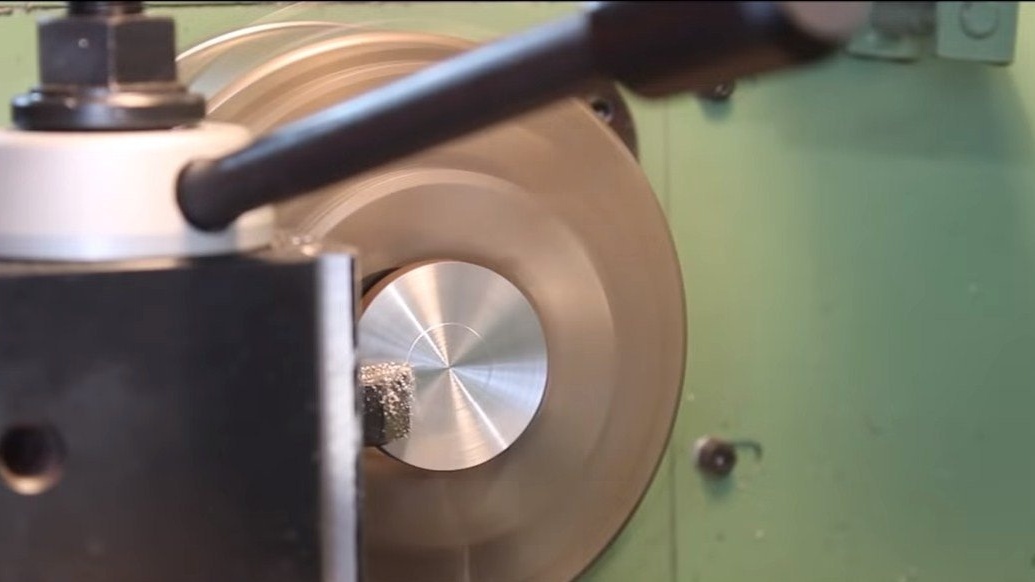
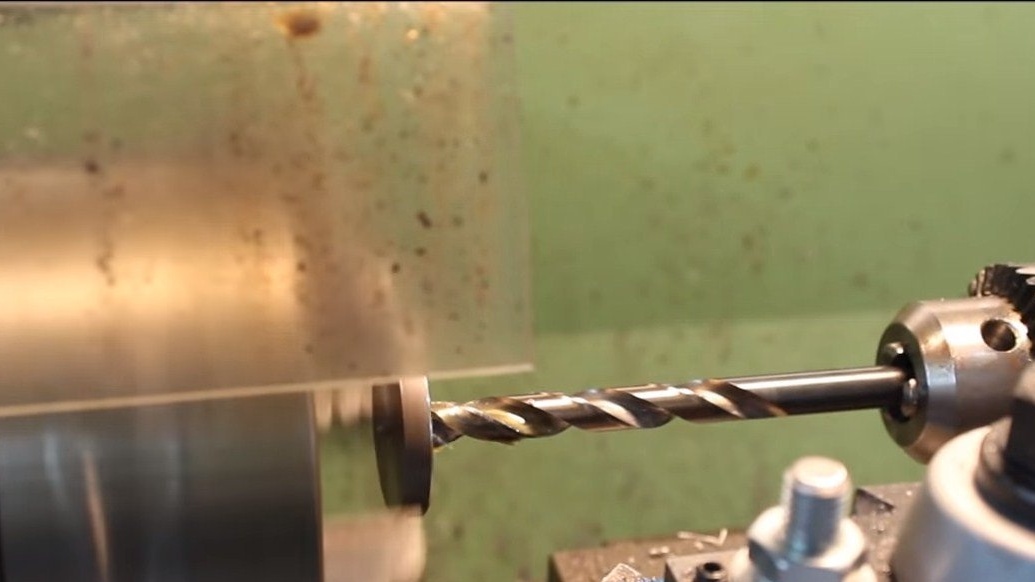
- a lathe (if you need to make washers for the disk);
- drilling machine;
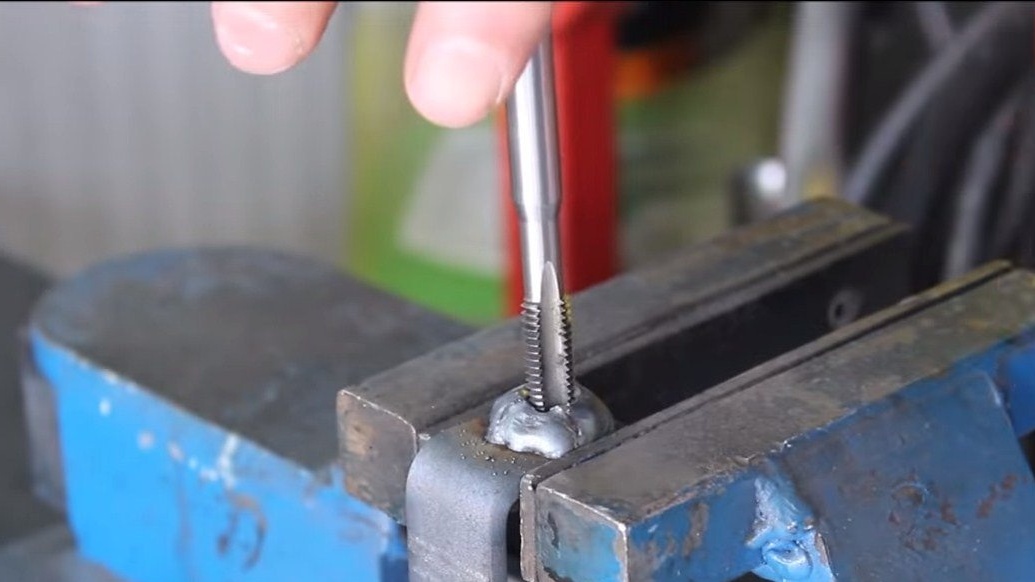
- taps for threading;
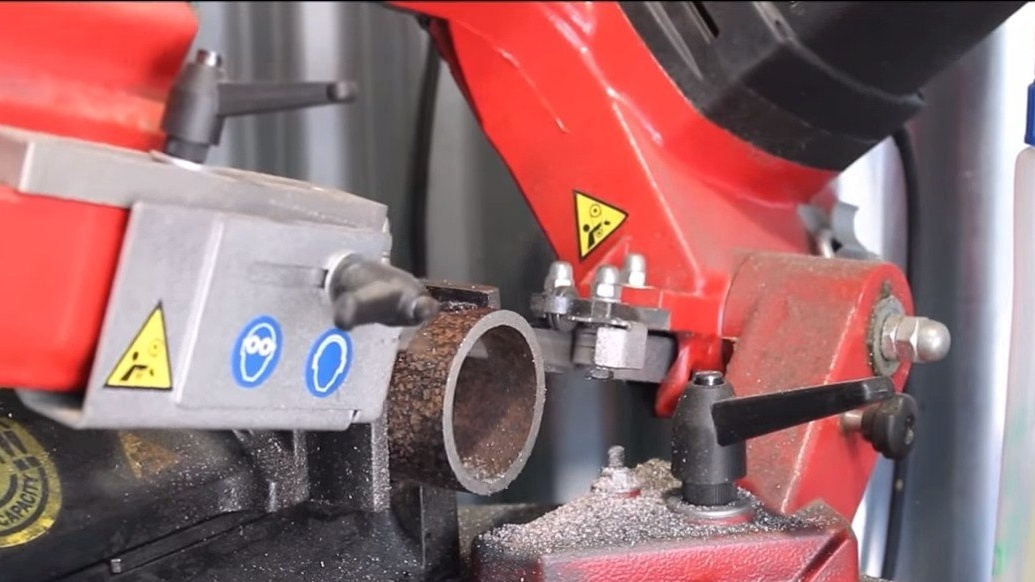
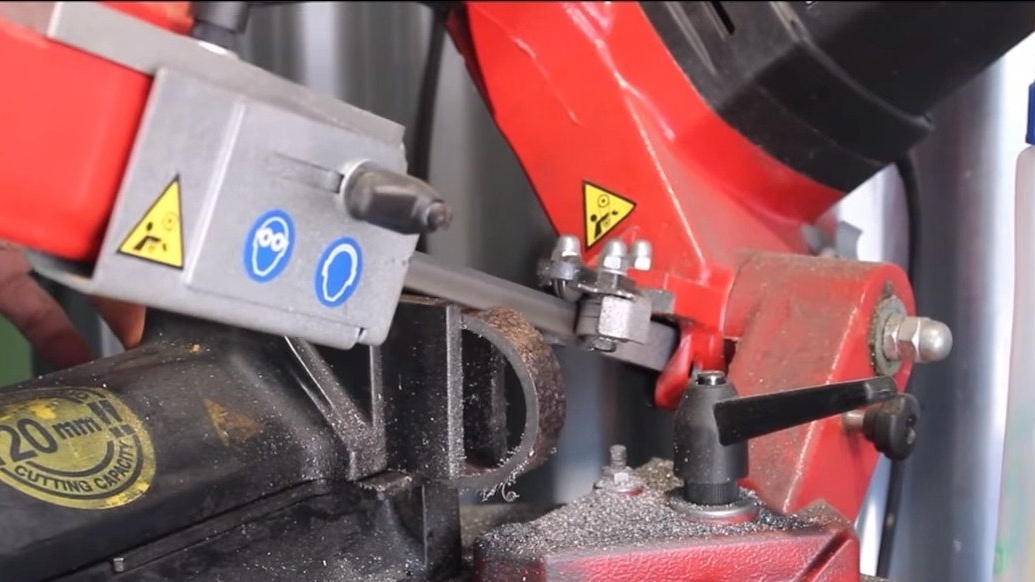
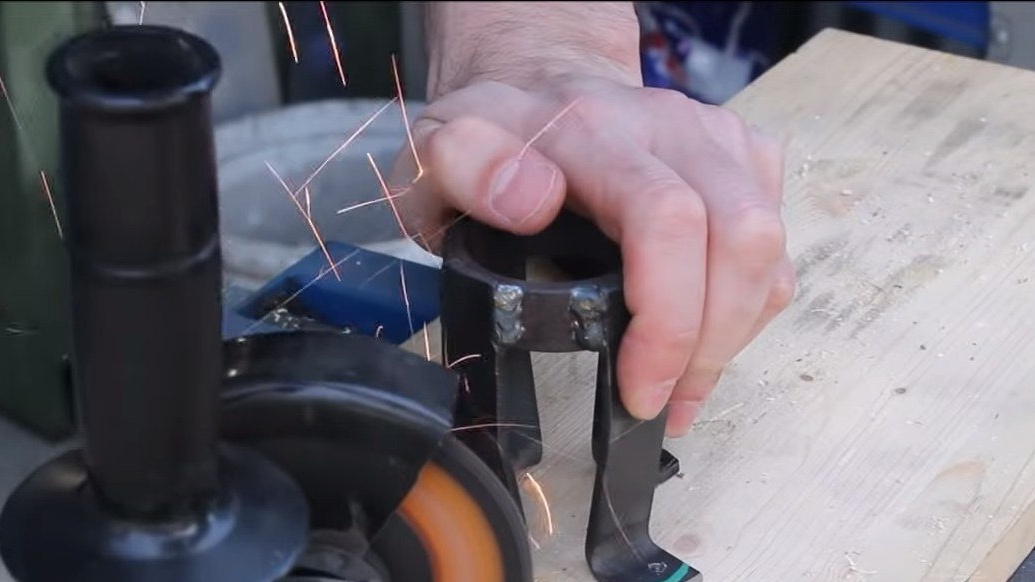
- tape cutting saw or grinder;
- ;
- vise;
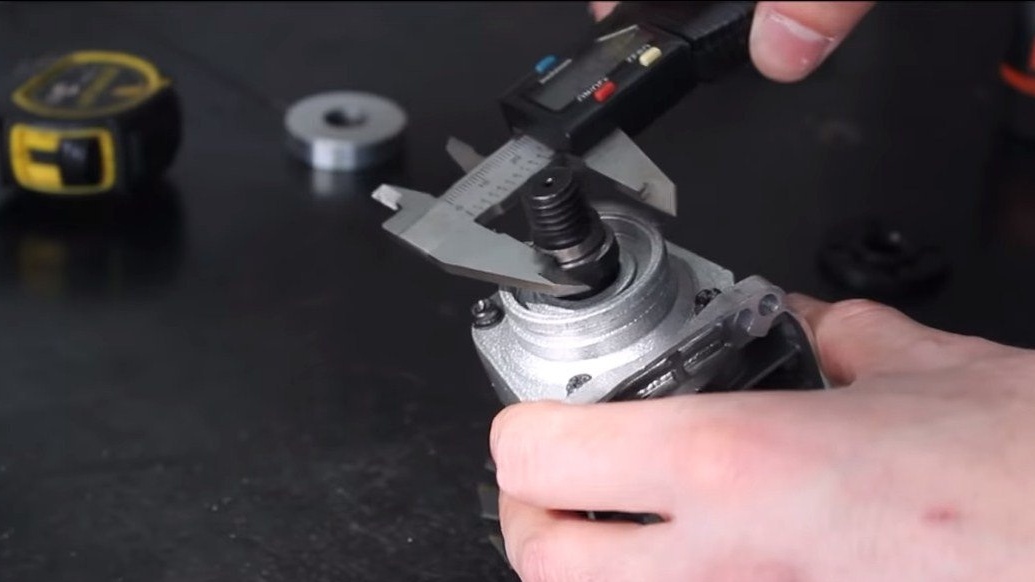
- tape measure, marker, vernier caliper, etc.
Homemade manufacturing process:
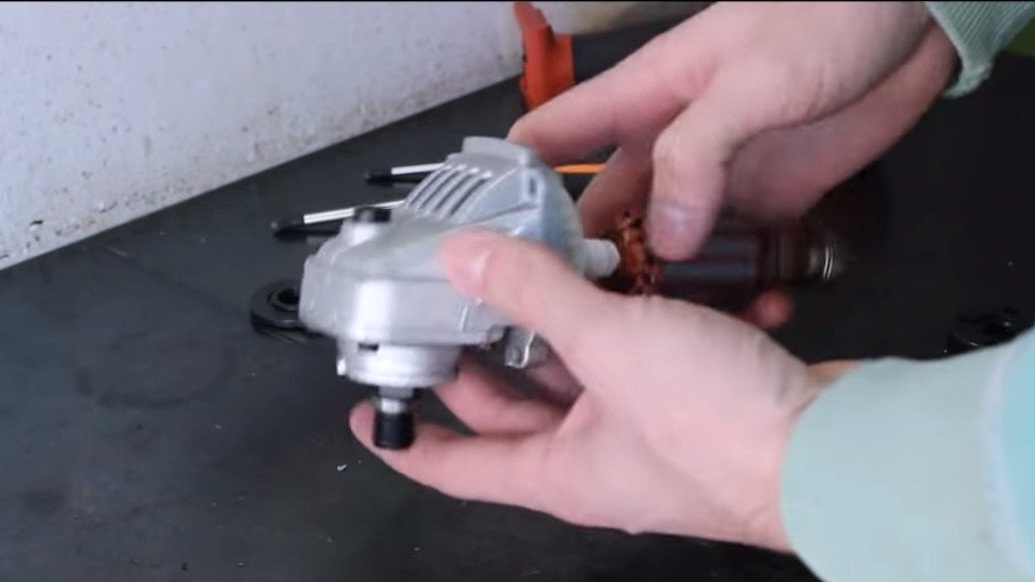
Step one. Gearbox preparation
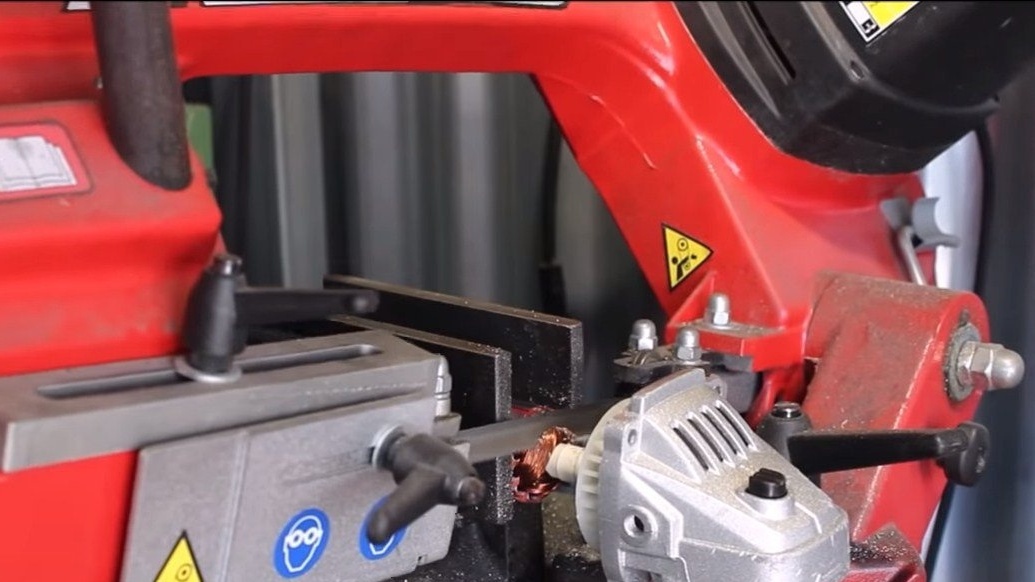
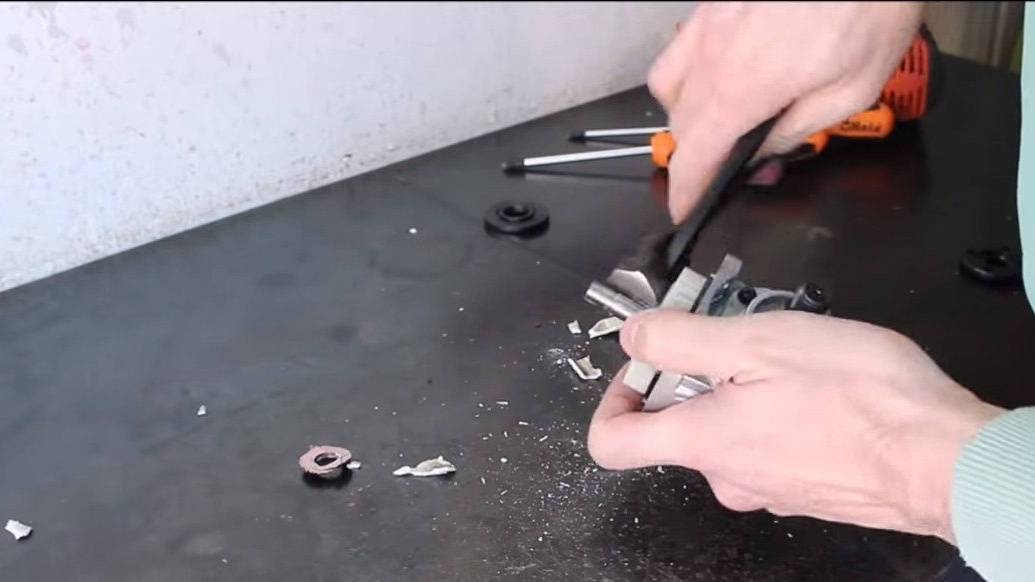
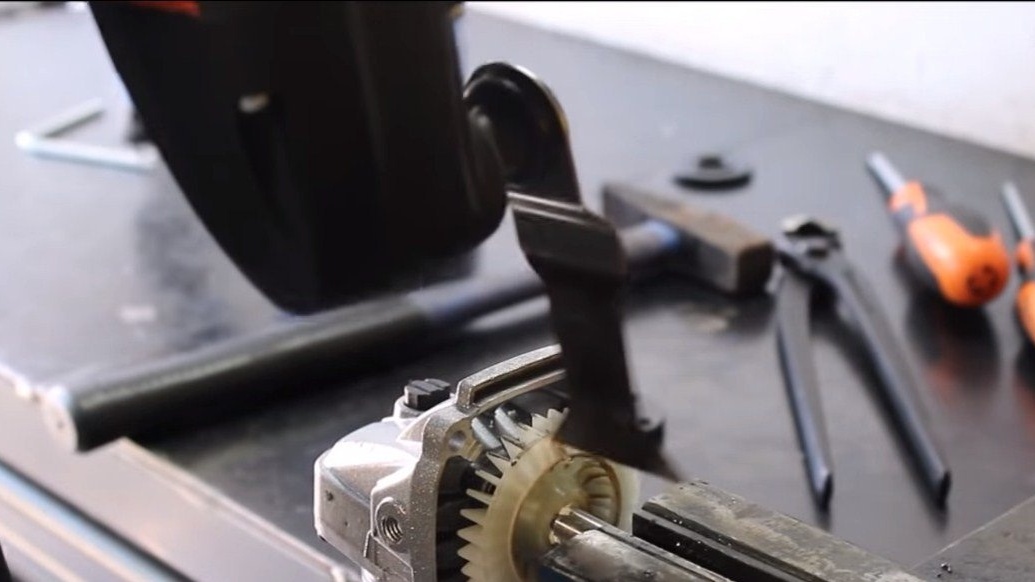
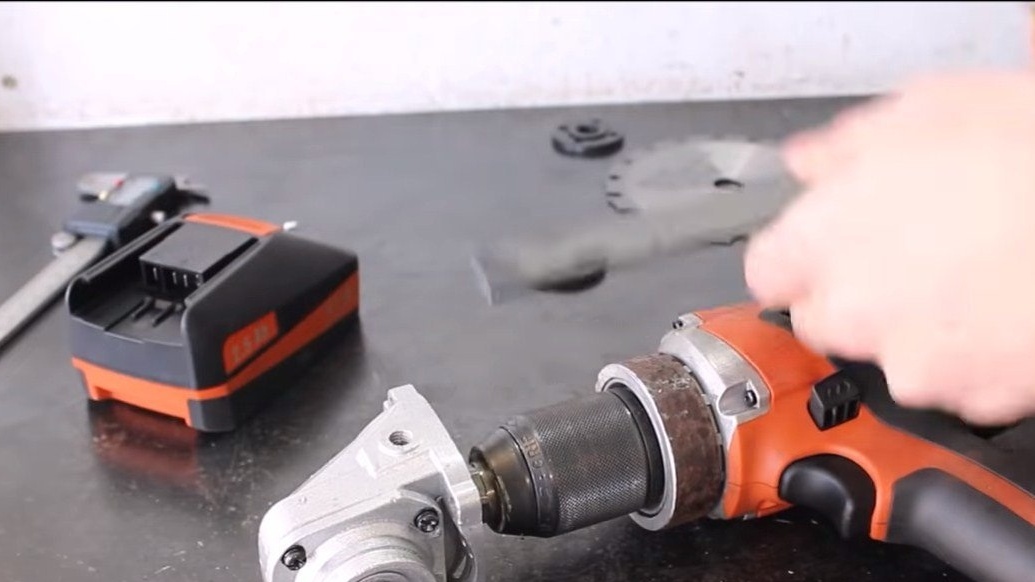
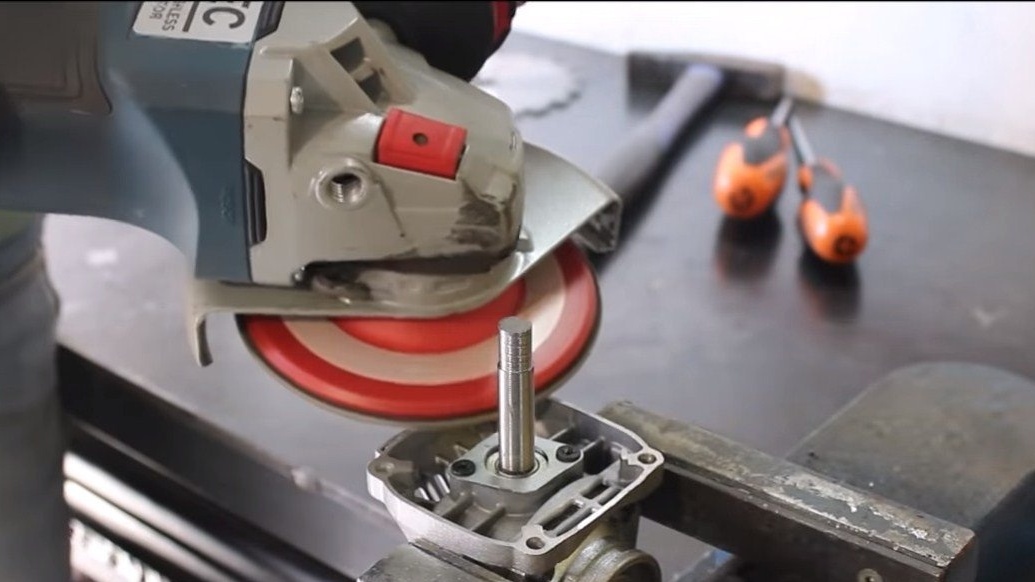
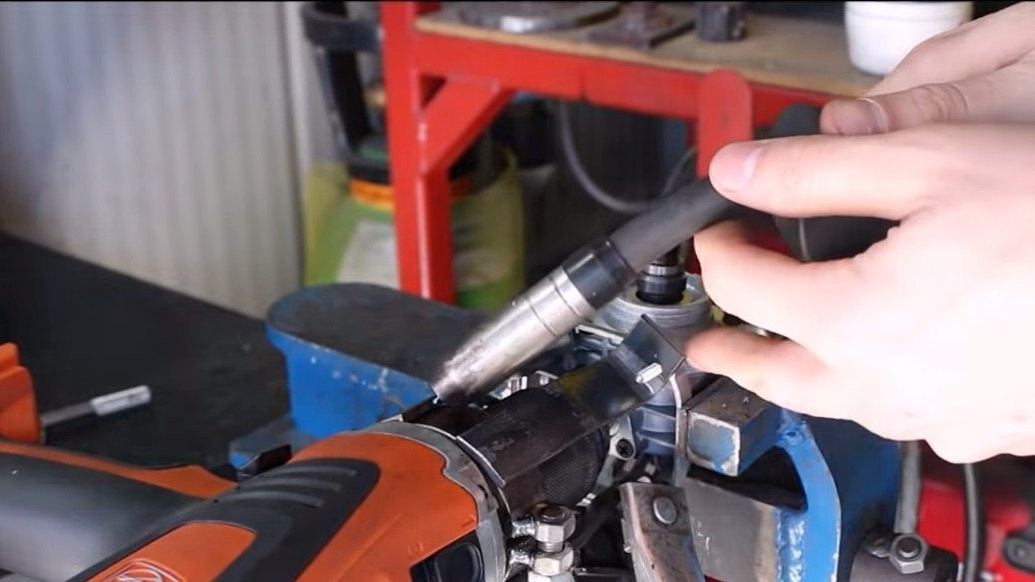
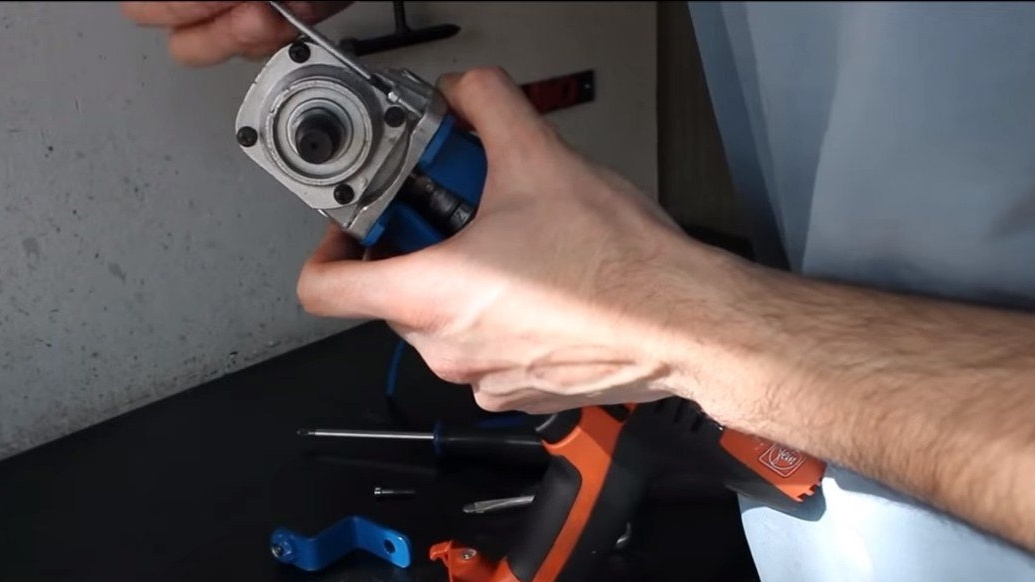
First of all, we will prepare the gearbox from the grinder. A burnt Bulgarian, for example, with a faulty anchor, can serve as a donor. First you need to disassemble the anchor, cut off the excess, and also remove the impeller and the remains of the anchor. As a result, we get the axis on which there can be glue or varnish, all this needs to be removed to the metal.
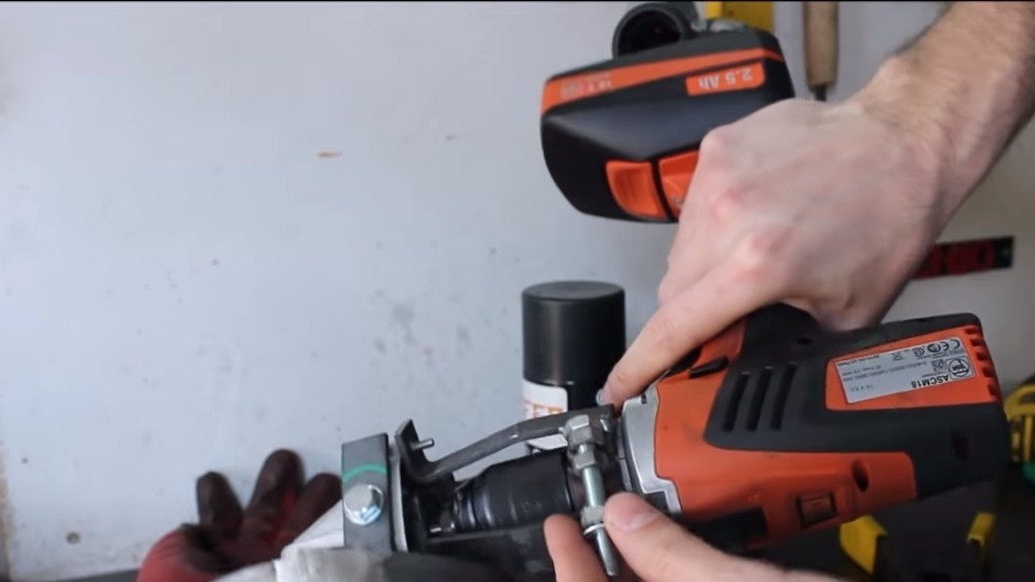
Step Two Fasteners
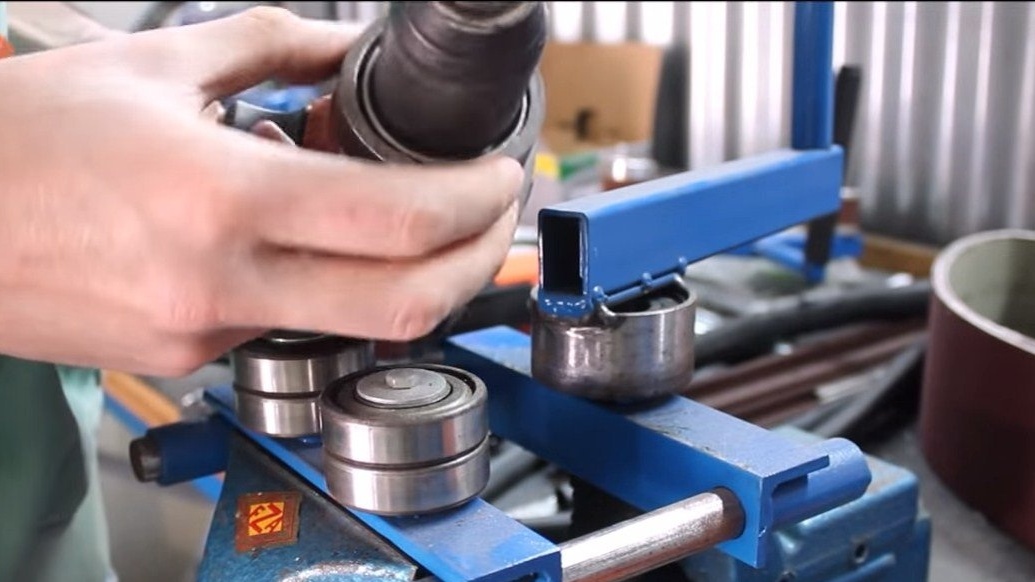
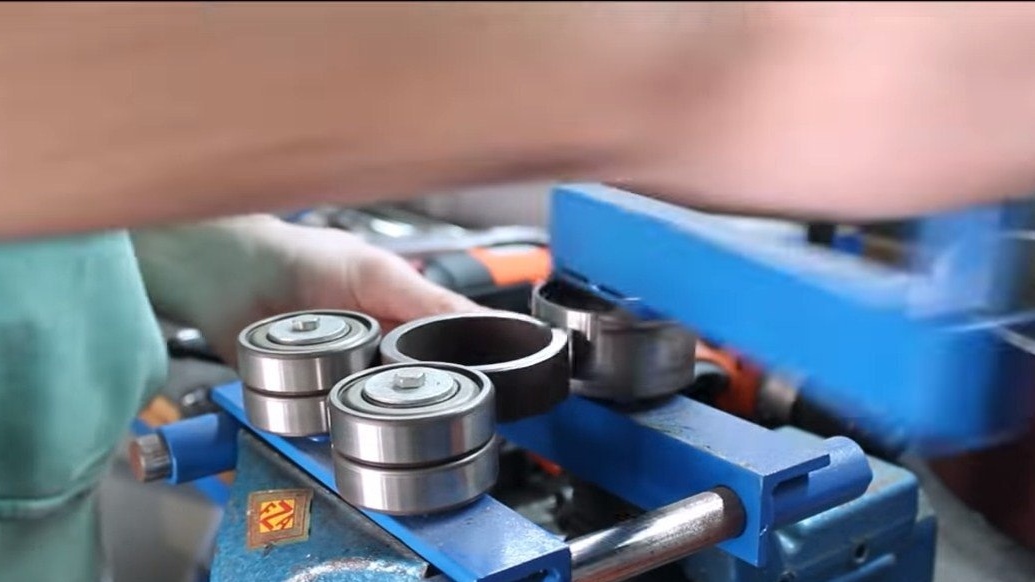
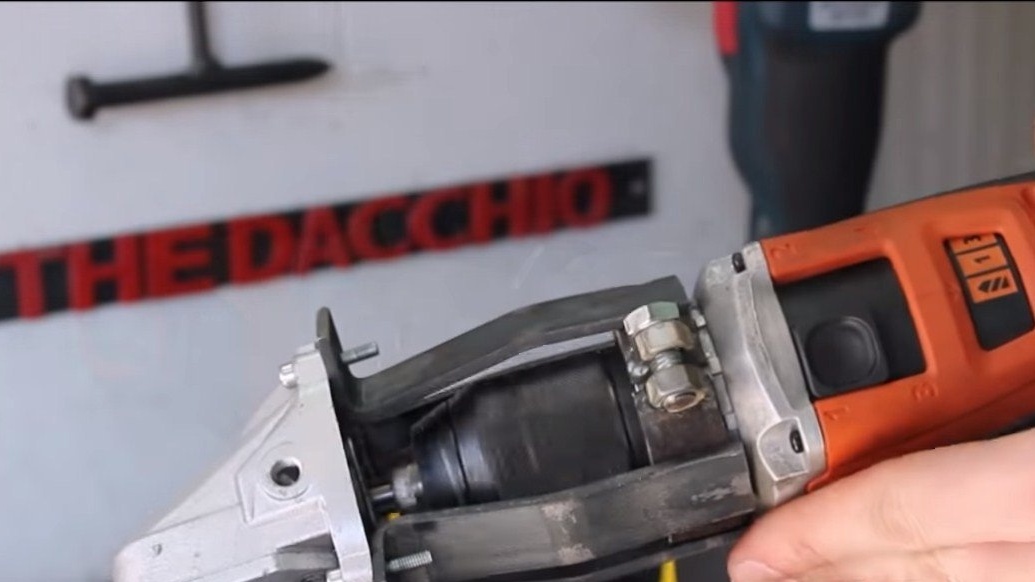
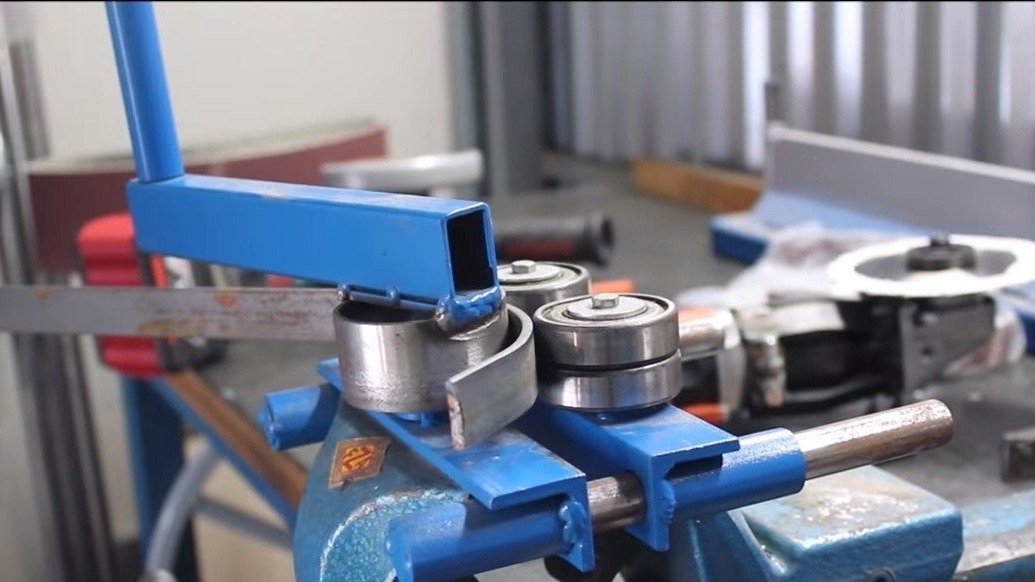
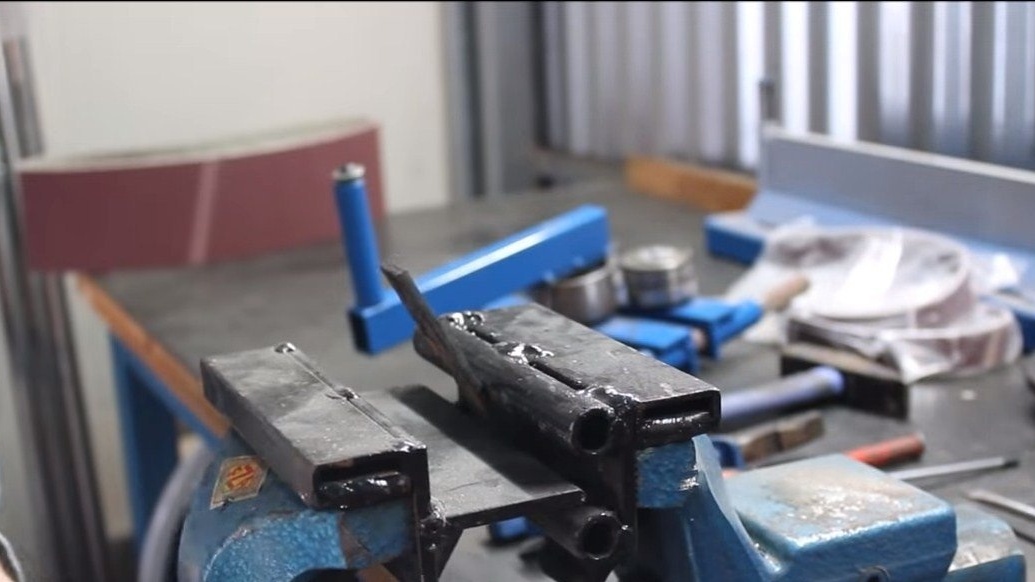
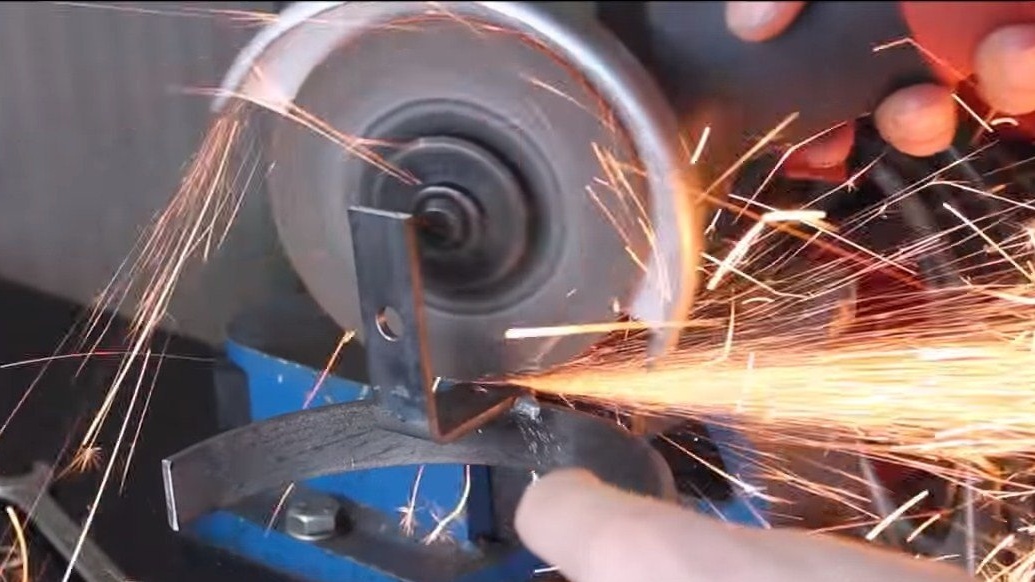
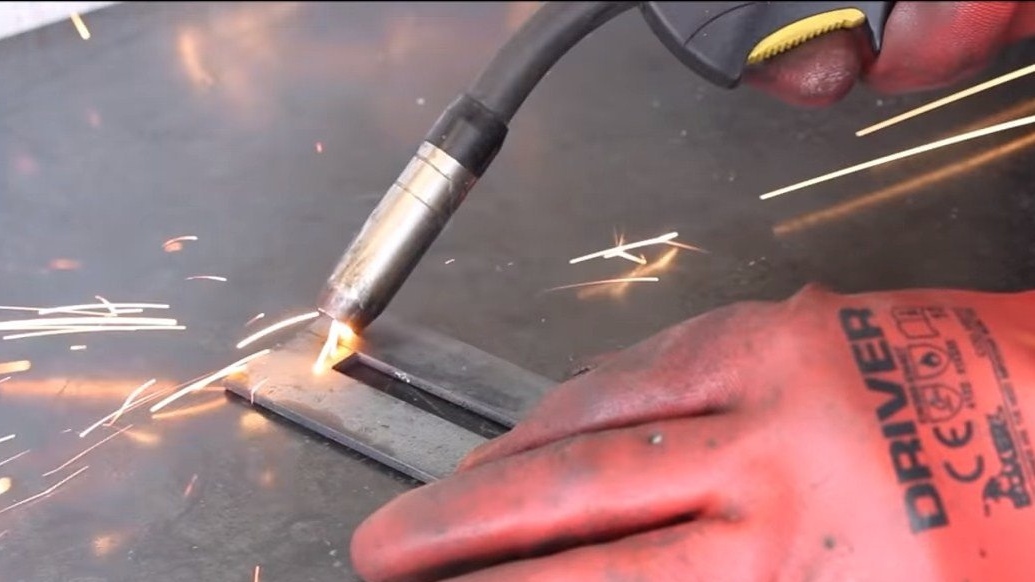
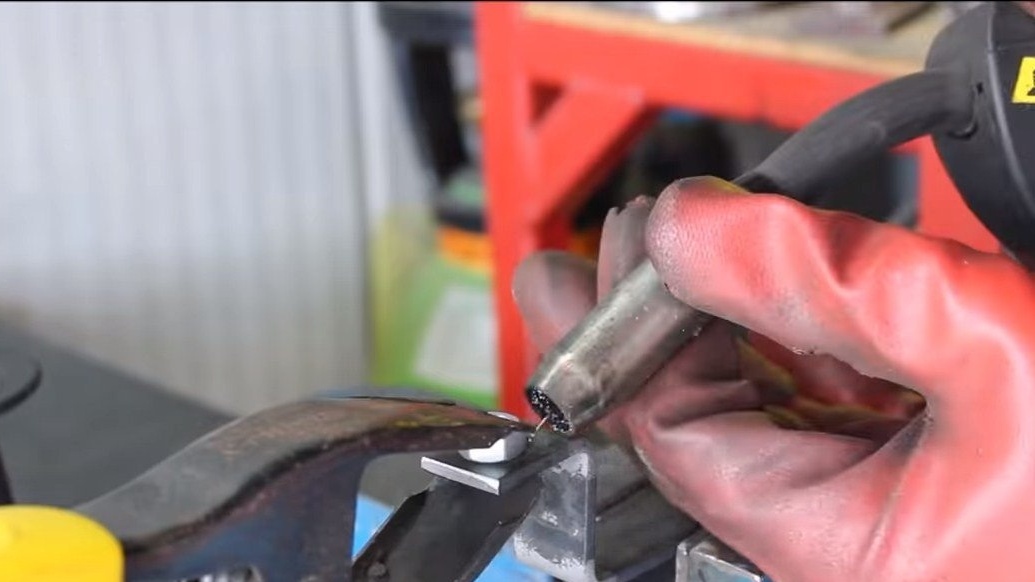
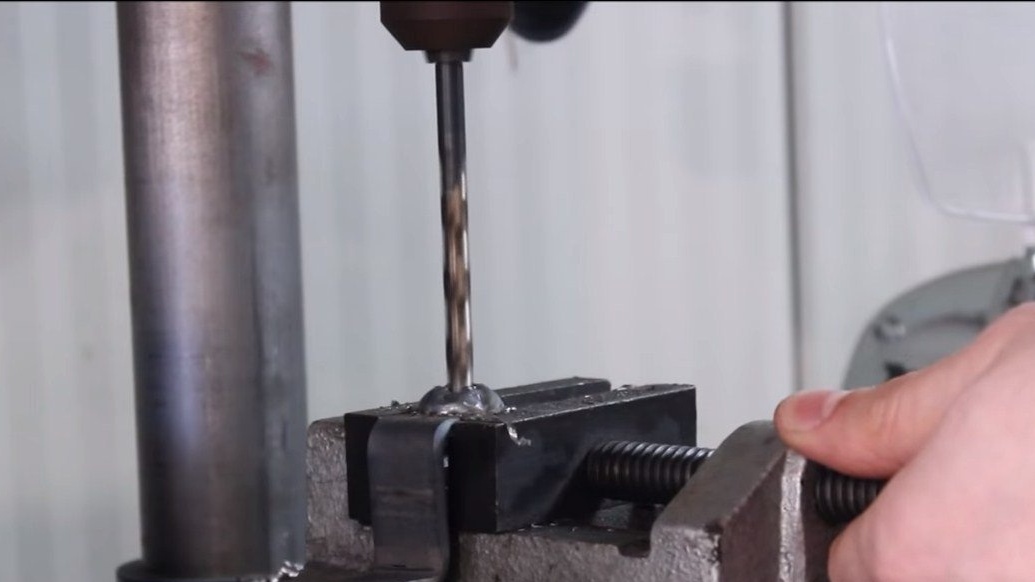
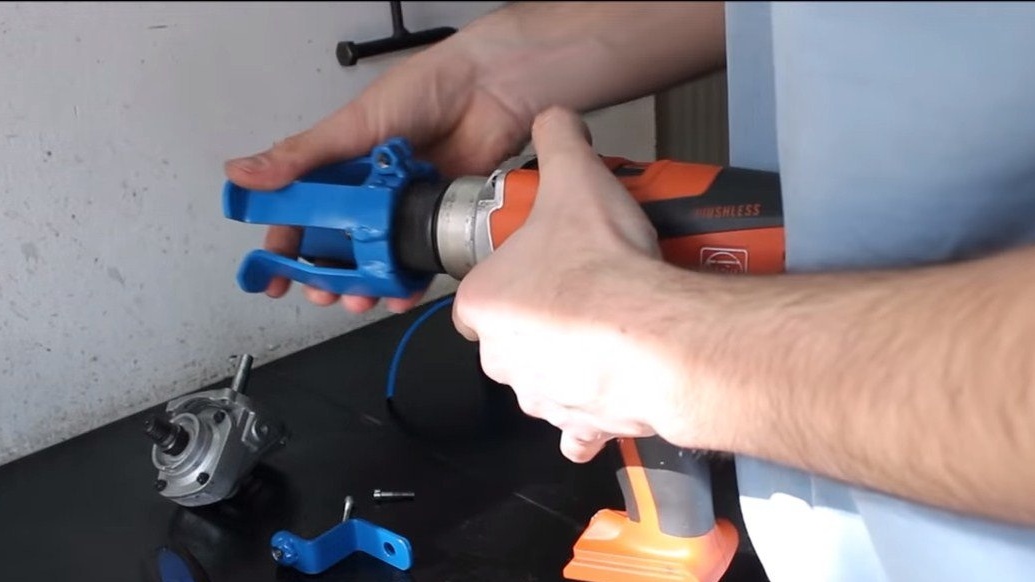
We begin to manufacture fasteners, this will be the frame, thanks to which we will fix the gear from the grinder to the drill. To begin with, we will make a clamp, it will be installed in that part of the drill where the front removable handle is located. We make a clamp from an iron pipe of suitable diameter, cut it along, cut a strip of metal, and weld nuts to the edges.In one of the nuts we drill a thread, and now the clamp can be pulled together with a screw. If the diameter of the pipe is too big, it can be reduced using a special tool that the author made for his vice.


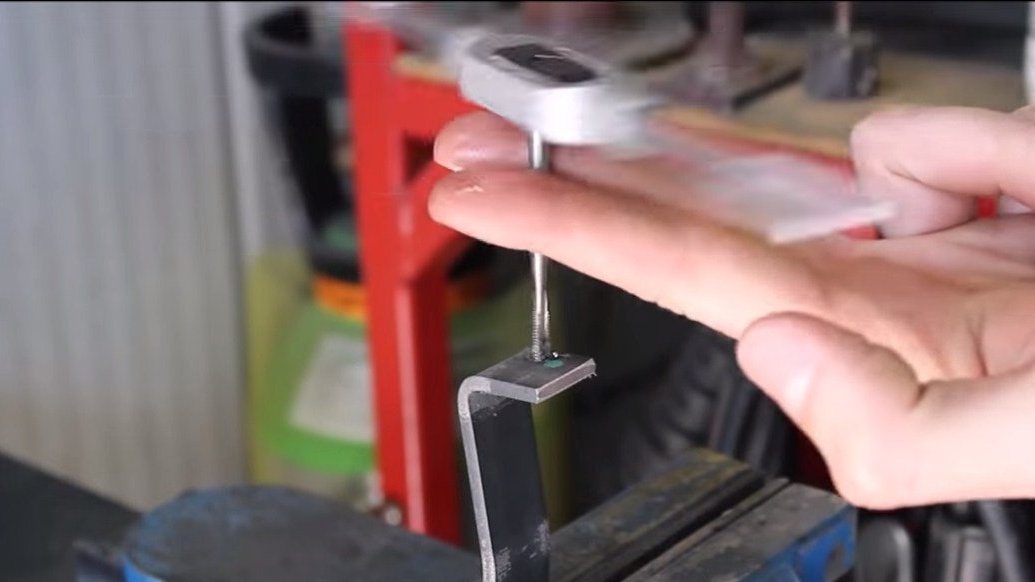
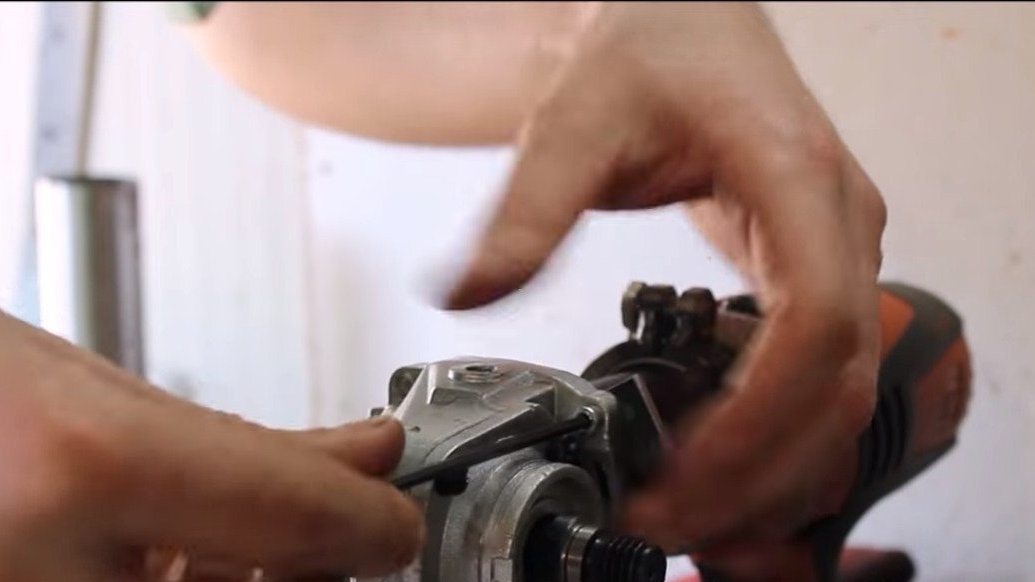

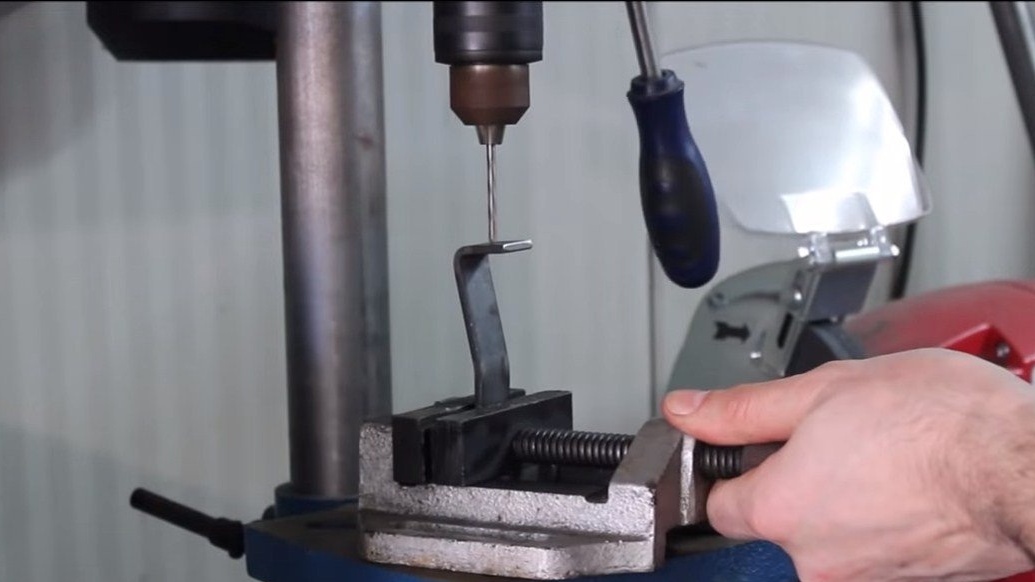
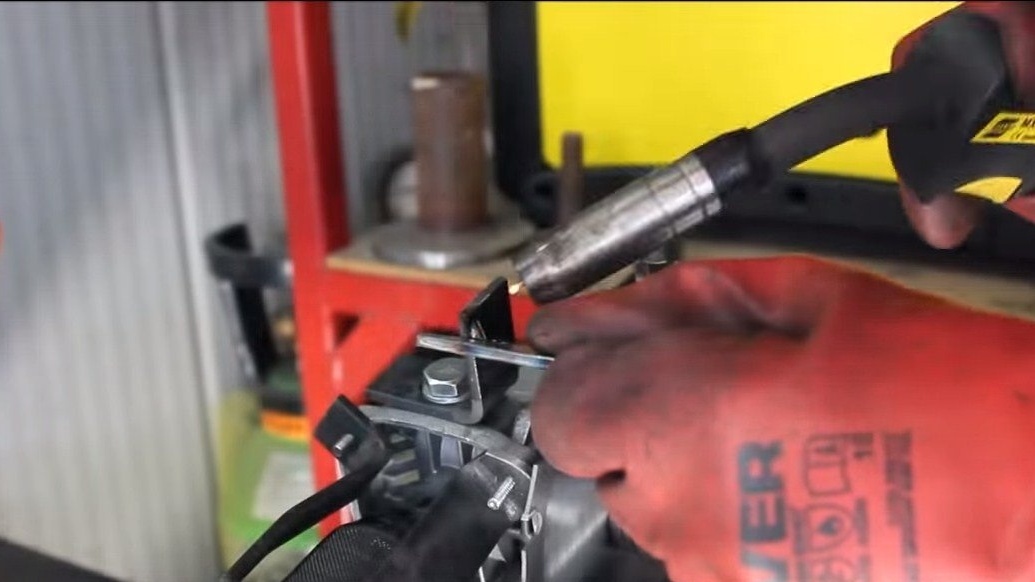
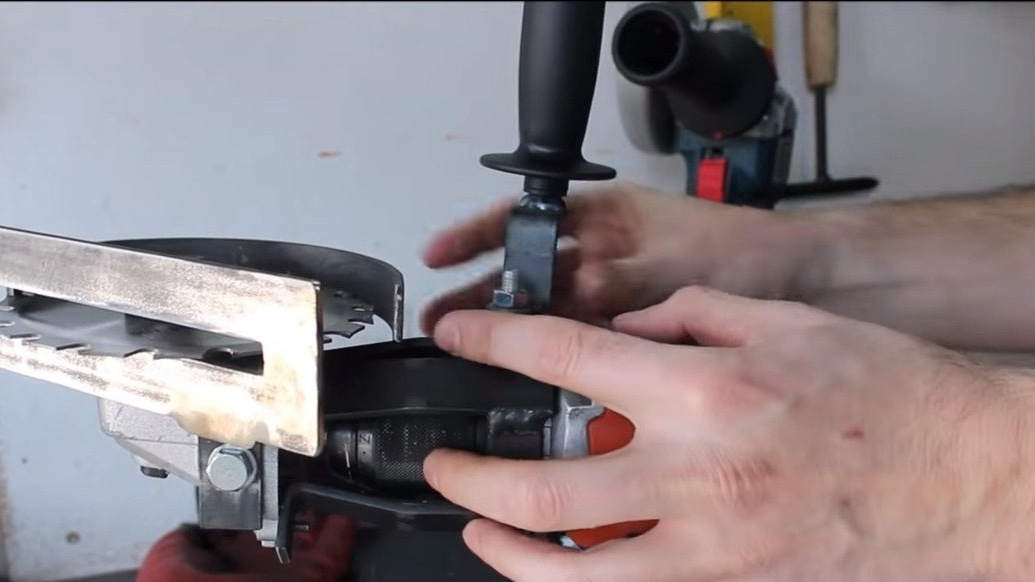
Next, we need to make racks, one end of the rack is screwed to the gearbox, and the other is welded to the clamp. We prepare four iron plates, bend them, and also drill holes and cut the threads for mounting screws. We clamp the gearbox axis in the drill chuck and fasten the racks to the gearbox. After this, the racks can be seized by welding to the clamp, and after removal, finally welded.
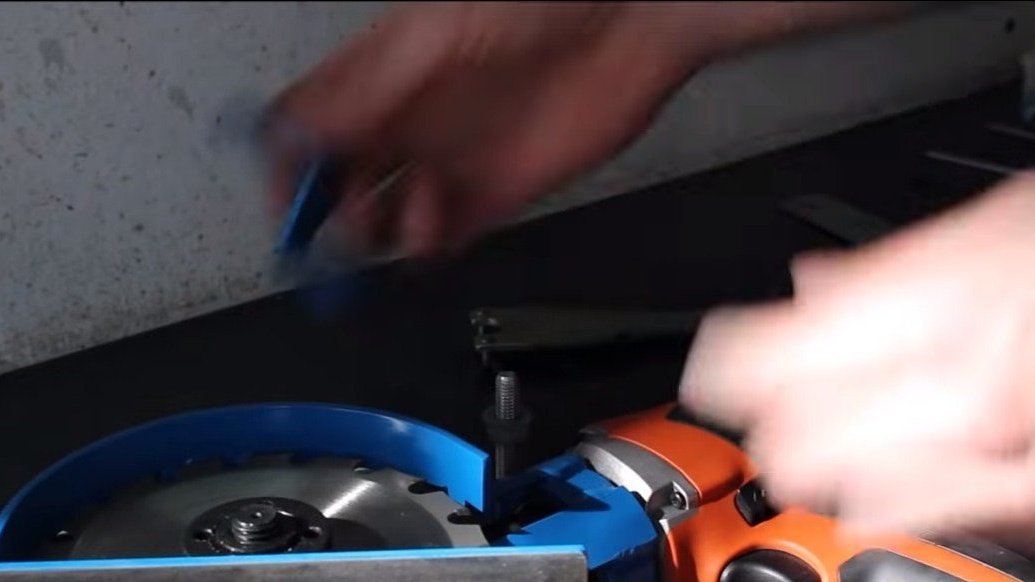
Step Three Guard and emphasis
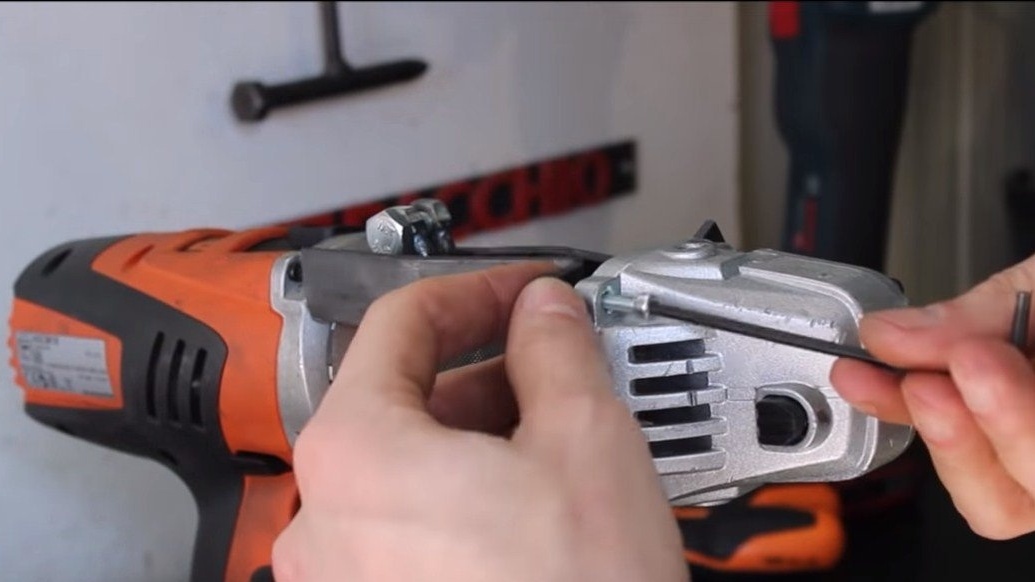
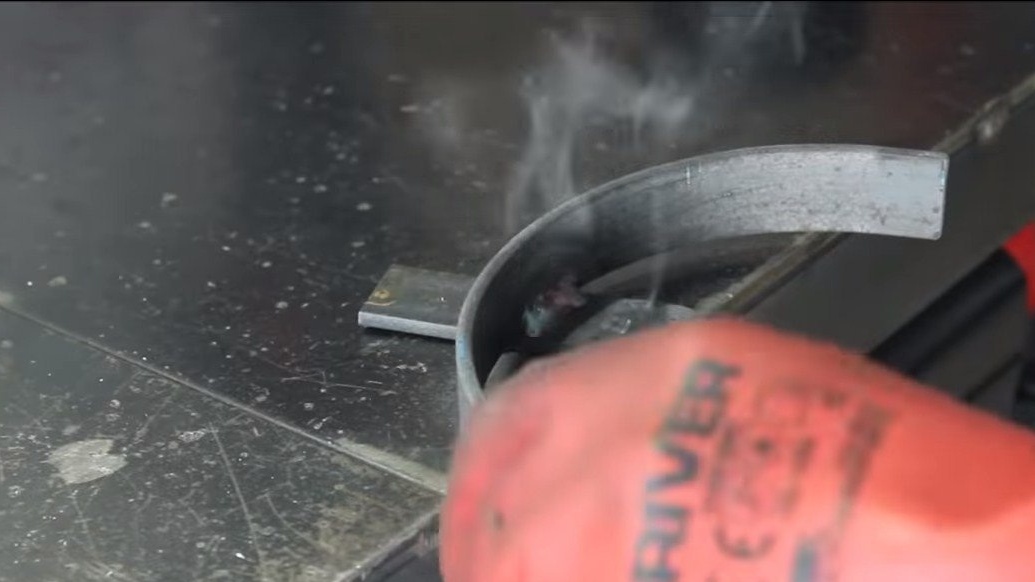
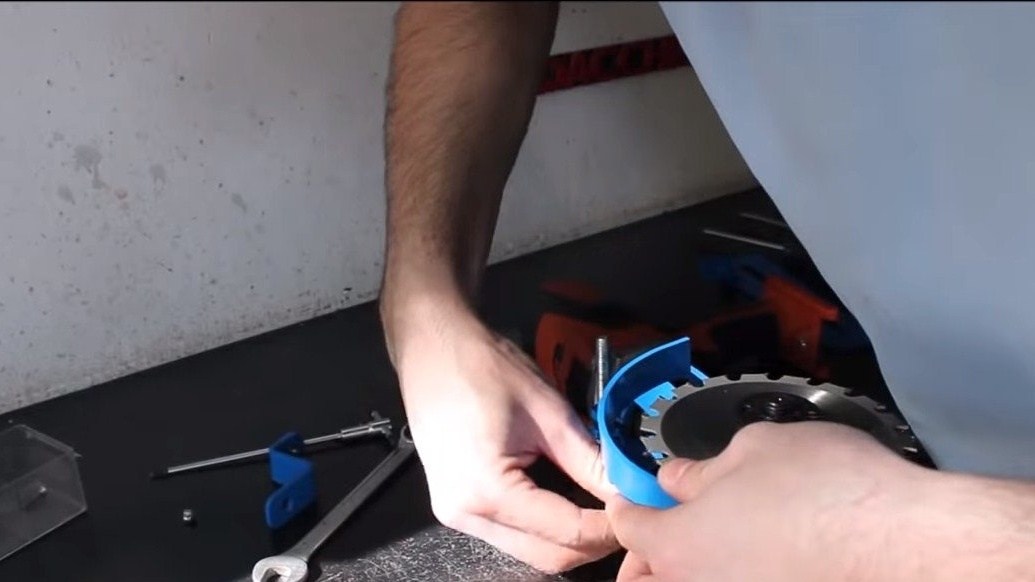
A guard is required for the machine, if you use a standard disk, then the guard can also be supplied original from the grinder. For a larger disk, we make the shield ourselves, just bend the iron plate and weld the bracket to it. We fasten the shield to that part of the grinder reducer, to which the grinder handle is usually attached.
As for the stop, we make it from iron plates and similarly, using a welded bracket, we attach it to a threaded hole in the opposite part of the gearbox.

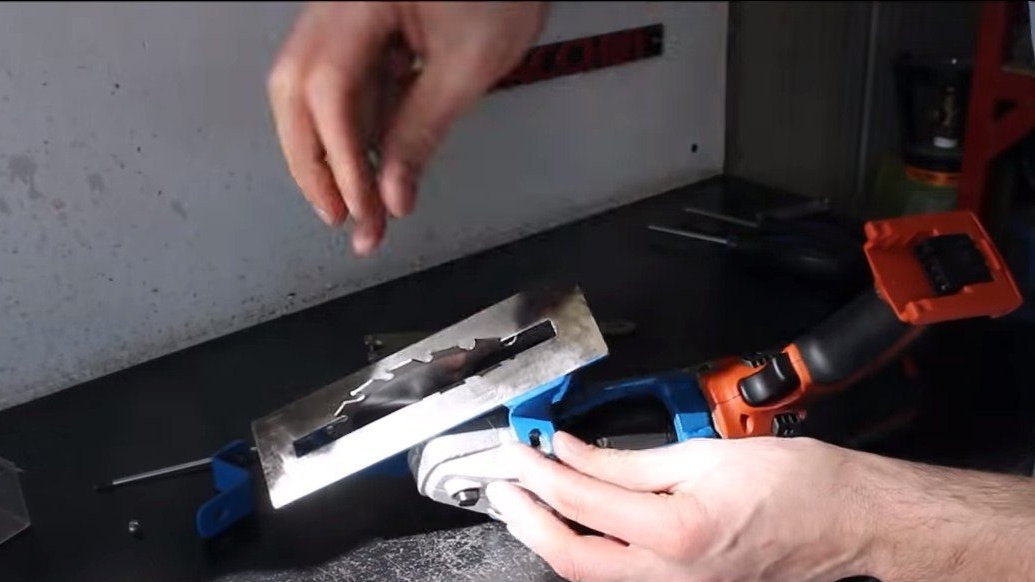
Step Four Pen and painting
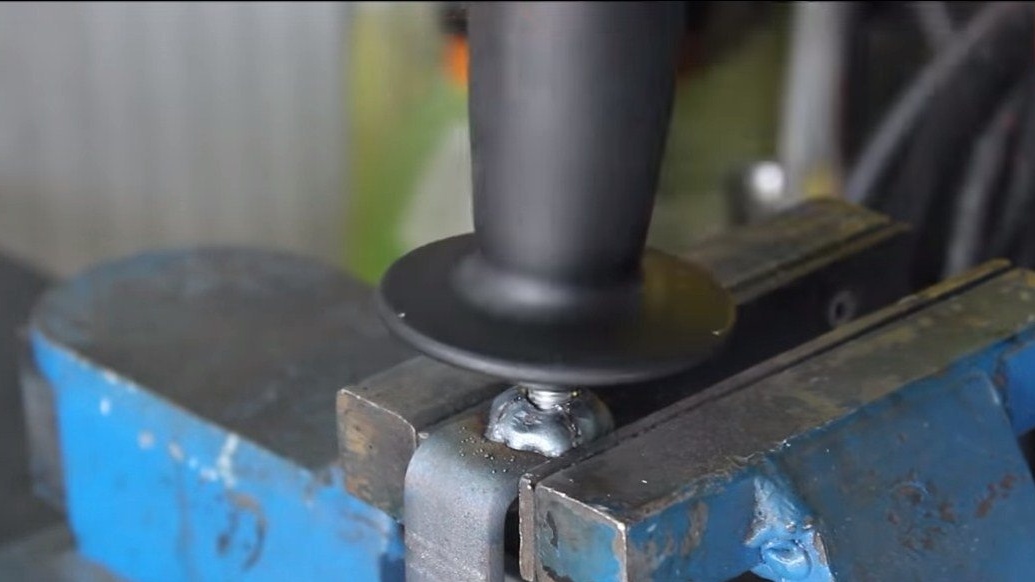
For homemade work, we definitely make the front handle, here we use the handle from the grinder. For the handle, you need to make fasteners, the author bent it from an iron plate, which is screwed to the free part of the threaded rod used in the clamp. Weld a nut under the handle.
That's all, now everything remains to be disassembled and painted, the metal will not rust, and everything will look great at the same time.
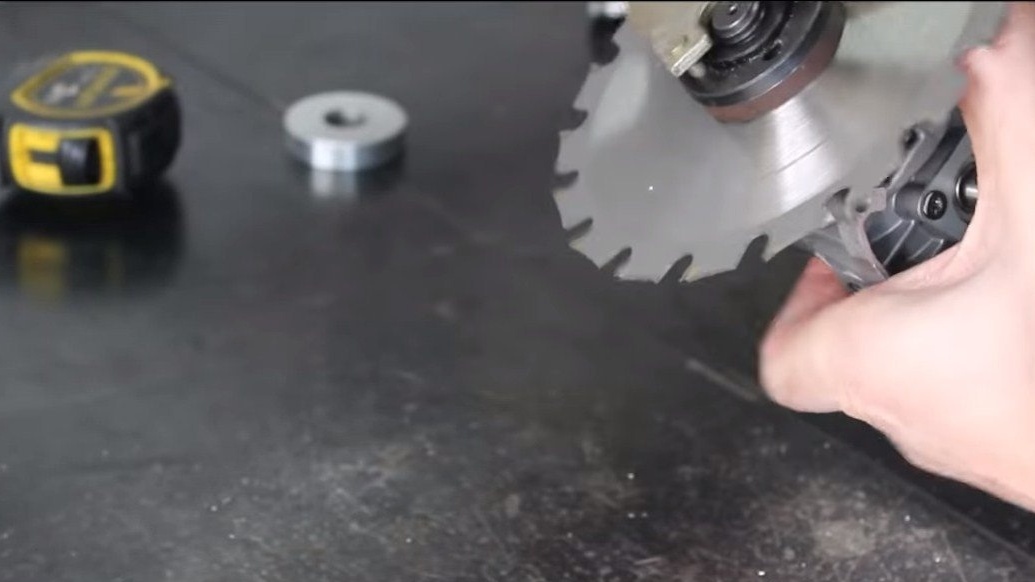
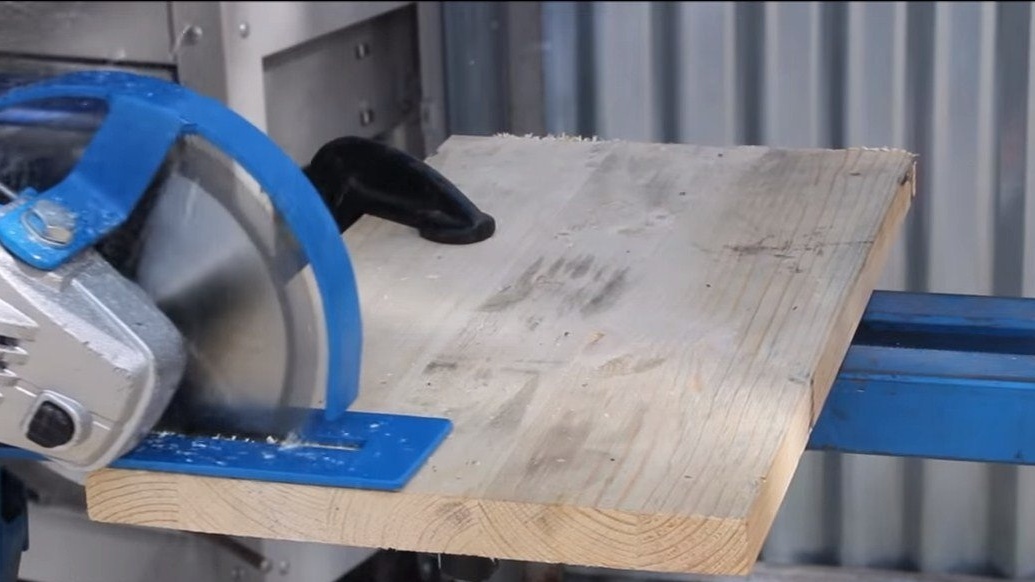
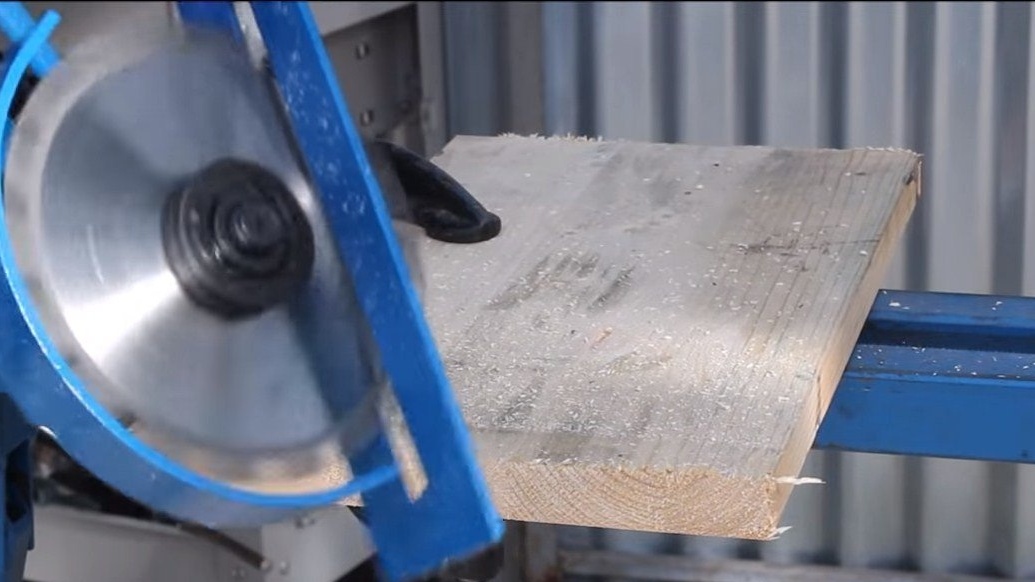
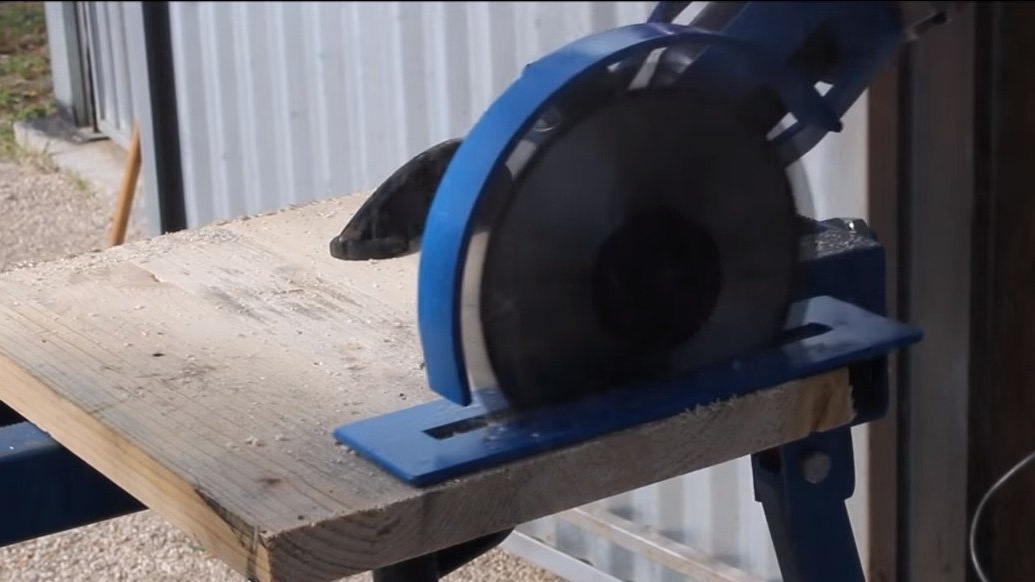
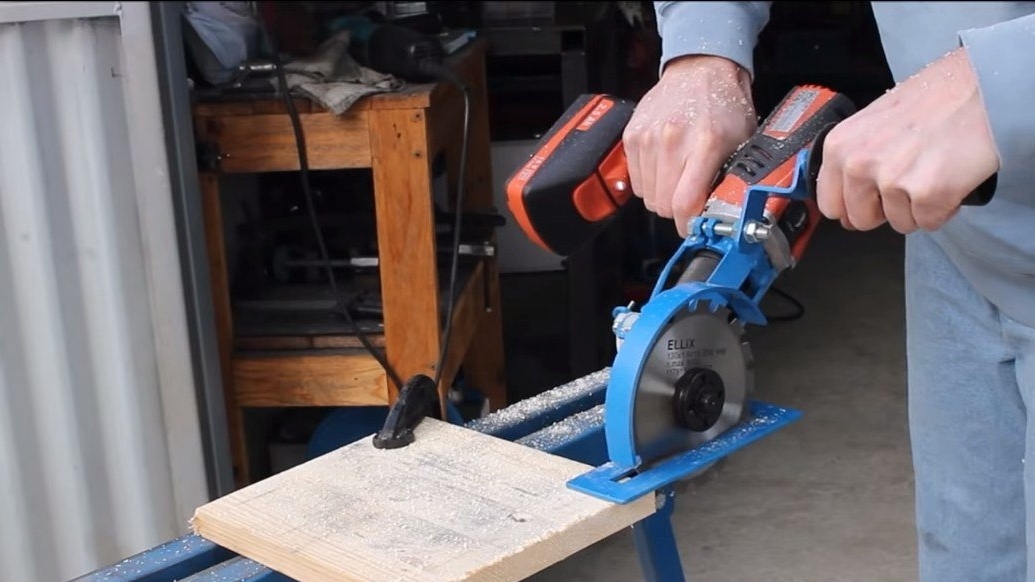
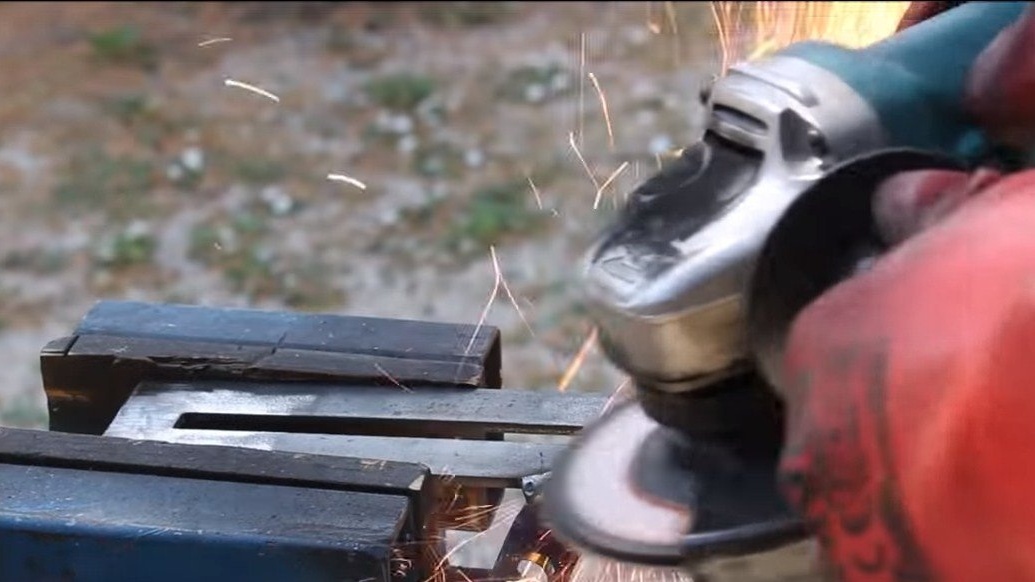
The project is completed, as an experiment, the author easily cuts a rather thick wood plate, the drill easily copes with the load, since the torque is increased due to the reducer of the grinder. I hope you enjoyed the project and found useful thoughts for yourself. Good luck and creative inspiration, if you decide to repeat this. Do not forget to share your ideas and homemade things with us!