


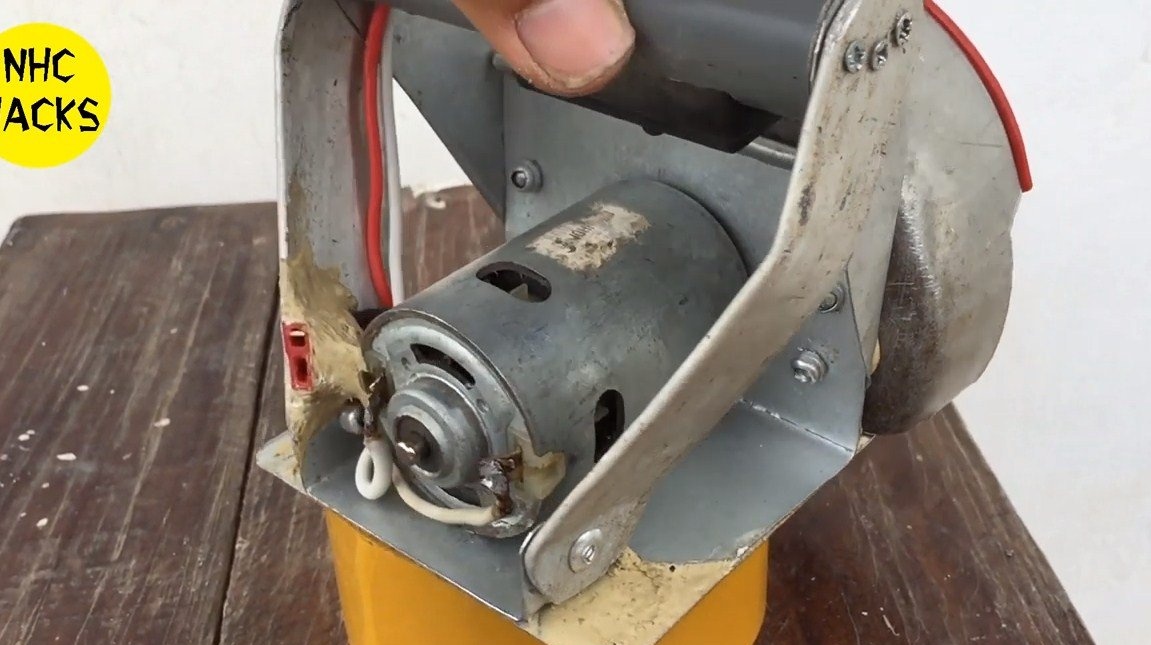
Hello everyone this homemade will be useful for those who like to craft. I propose to consider a small 12V circular saw. Such a tool is relatively safe, emits little noise, and it can even be powered by a battery. The machine easily cuts boards, plywood, as well as iron and other materials. Usually, such home-made products are assembled on the 775 engine, which is exactly for this purpose, but you can use a similar motor. We also need an adapter for installing saw blades; it can be ordered from China together with the engine.
The author made the case out of thin sheet metal; as a result, the homemade product weighs little and is quite sturdy. If desired, the saw can be equipped with a speed controller. If the homemade product interests you, I suggest studying the project in more detail!
Materials and tools used by the author:
Material List:
- ;
-;
- ;
- wires;
- switch;
- an aluminum ladle (for a guard);
- a piece of sewer pipe;
- socket for connecting the power supply;
- galvanized metal;
- self-tapping screws;
- Super glue;
- epoxy adhesive.
Tool List:
- scissors for metal;
- rivet gun;
- drill;
- screwdriver;
- soldering iron.
Homemade manufacturing process:
Step one. Fasteners
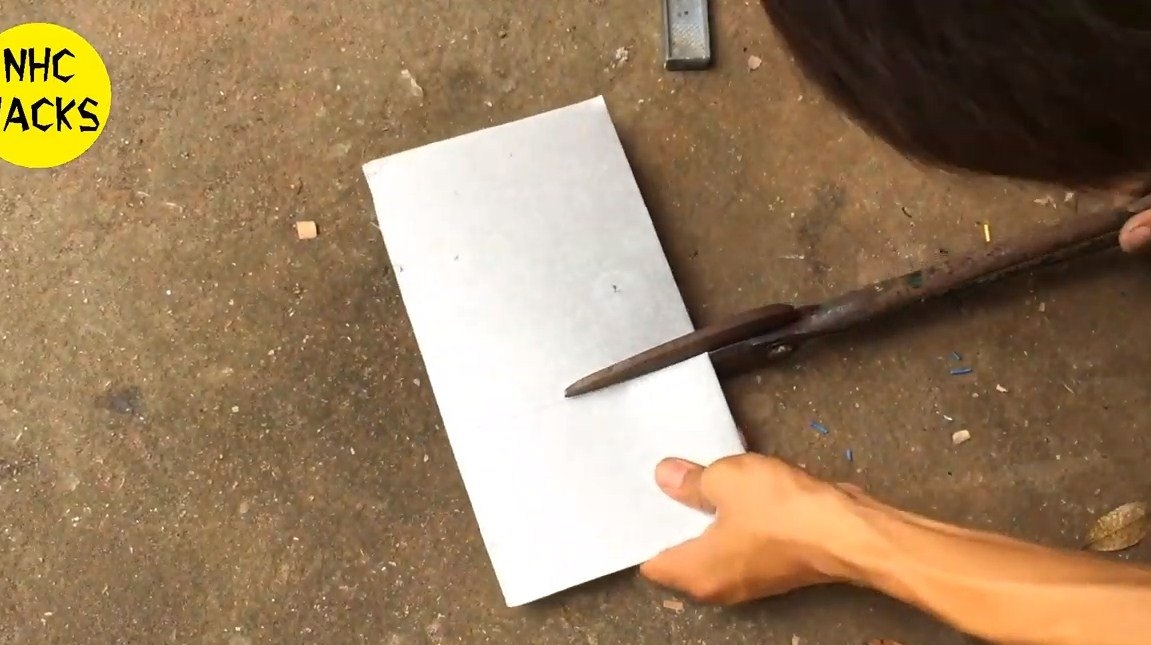
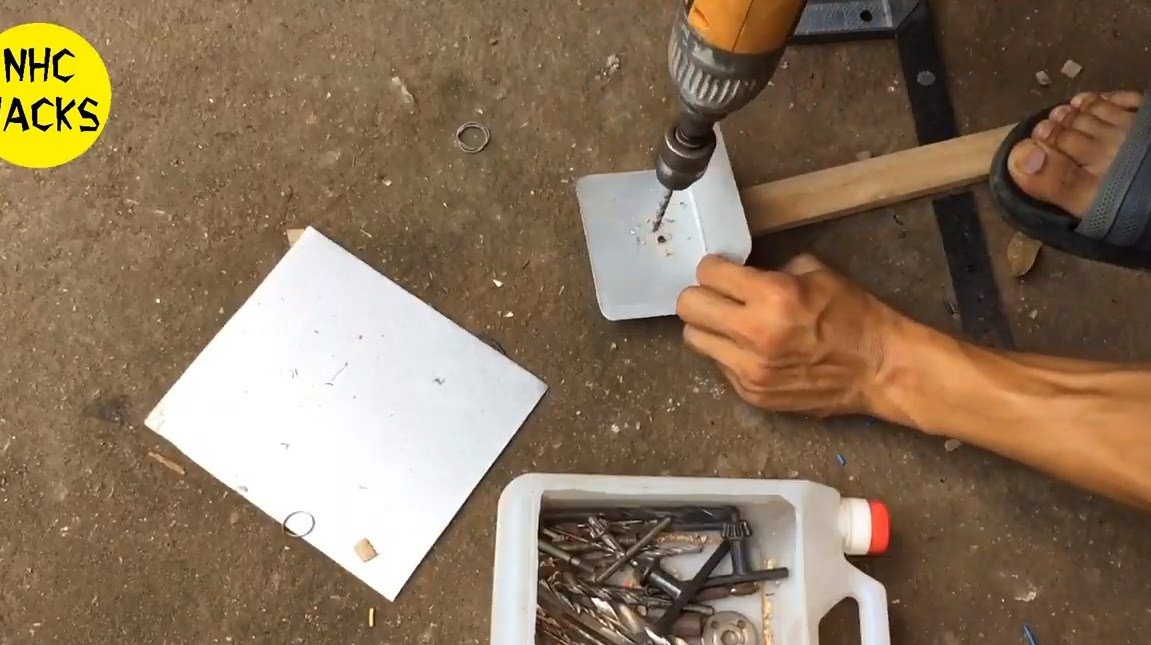
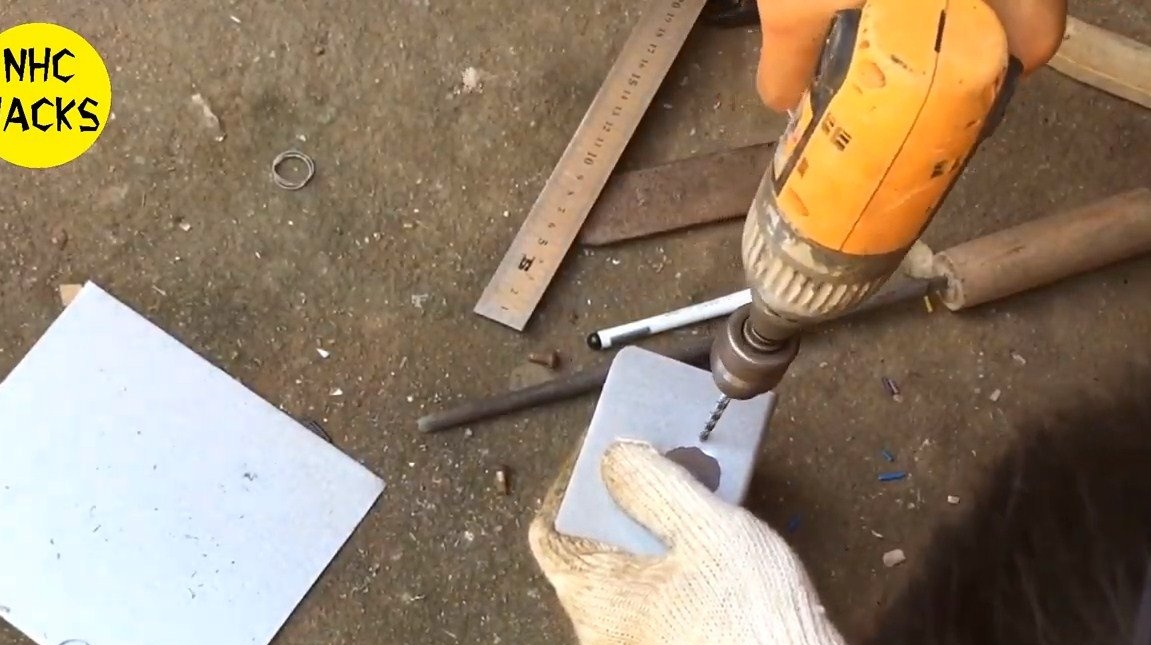
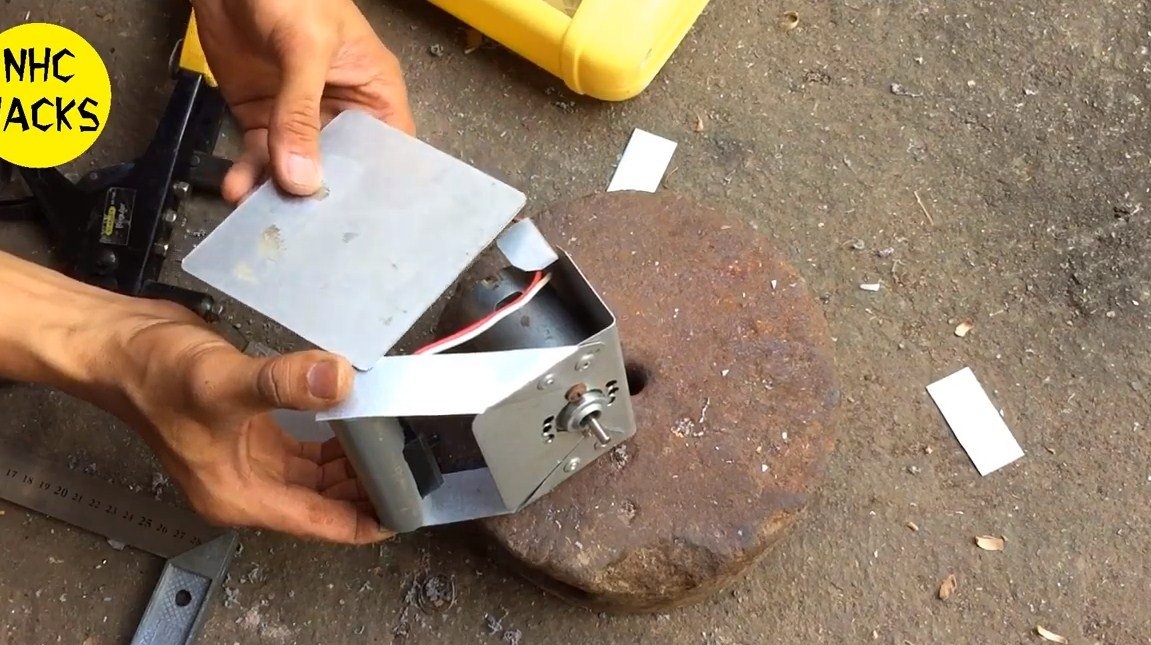
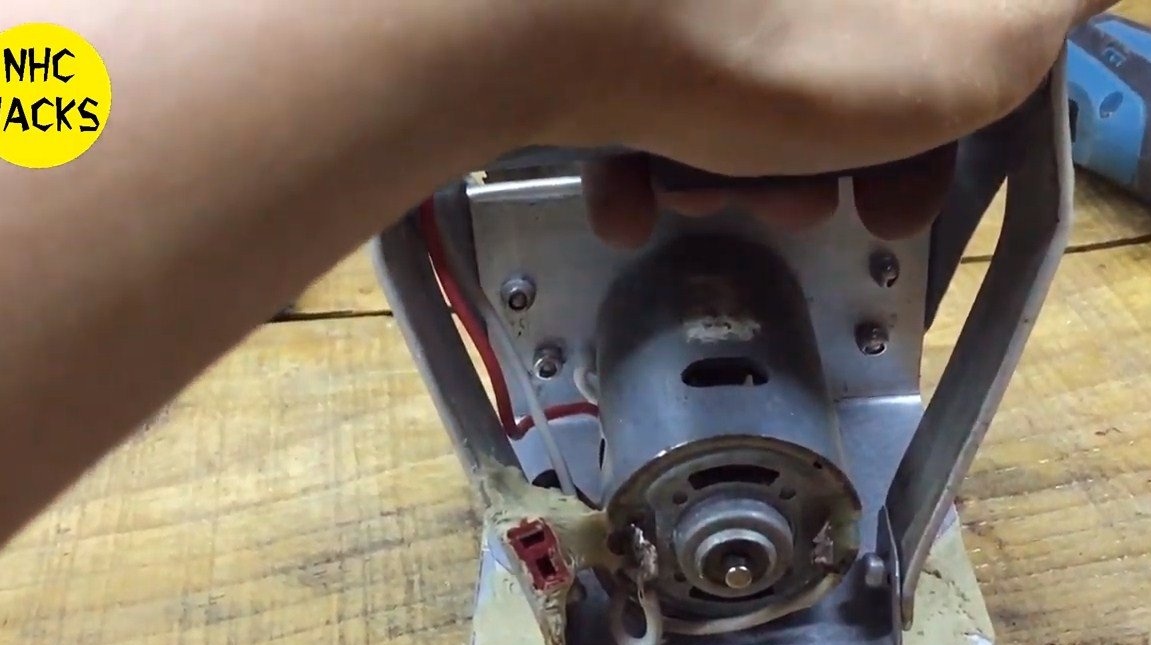
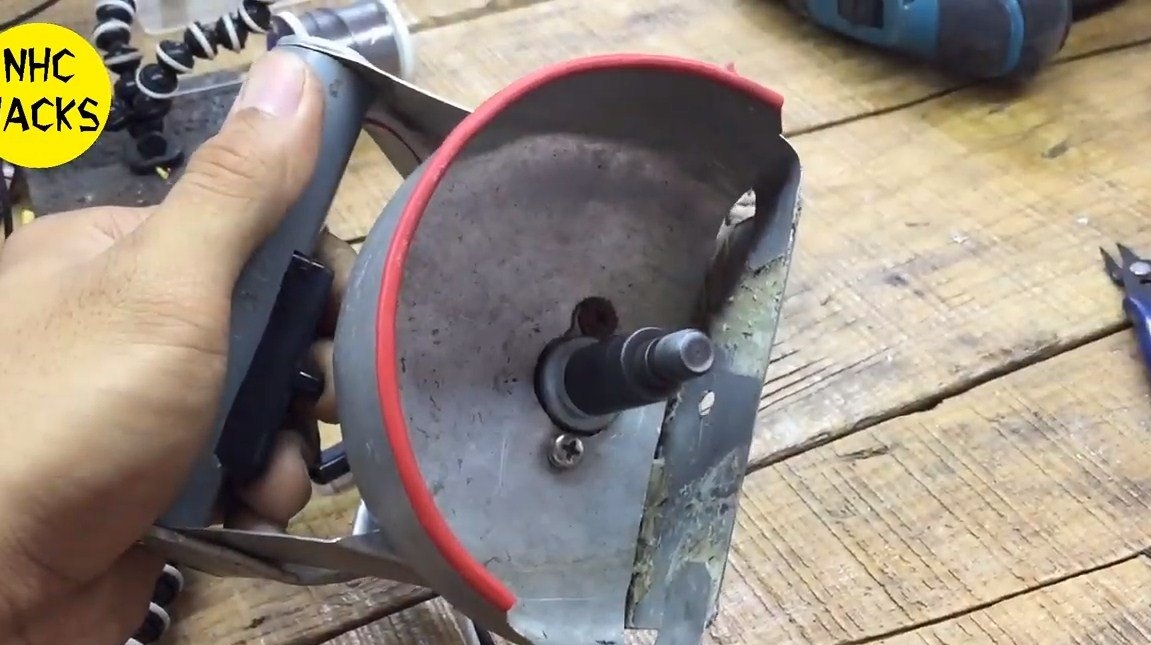
To begin with, we will make fasteners for the engine, here we need sheet steel, but it is better to use sheet aluminum. We cut off the workpiece and bend so that we get a corner. We drill holes for the shaft, as well as for the mounting screws and fasten the engine.

Step Two A pen
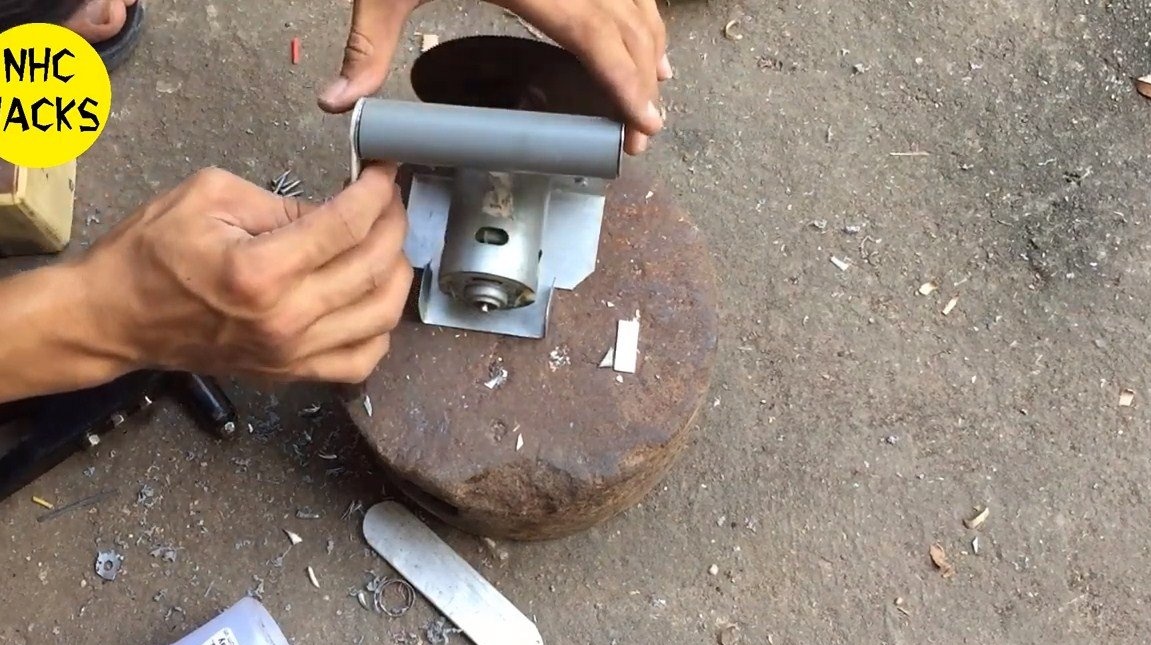
We install the handle, for a start we will make two racks, here you can use sheet metal. We cut the blanks, bend, and then fasten to the base with rivets. We directly make the handle from a piece of sewer pipe, install a switch in it. On both sides of the tube we hammer in small sticks or stick pieces in diameter. We also make two more racks, they can be made of thin plywood or sheet metal of suitable thickness. The handle is screwed to the posts with self-tapping screws.
Step Two Wires
We solder wires to the motor contacts, connect them to the socket for connecting the charger through the switch.Glue the socket in the right place with epoxy glue or hot glue.
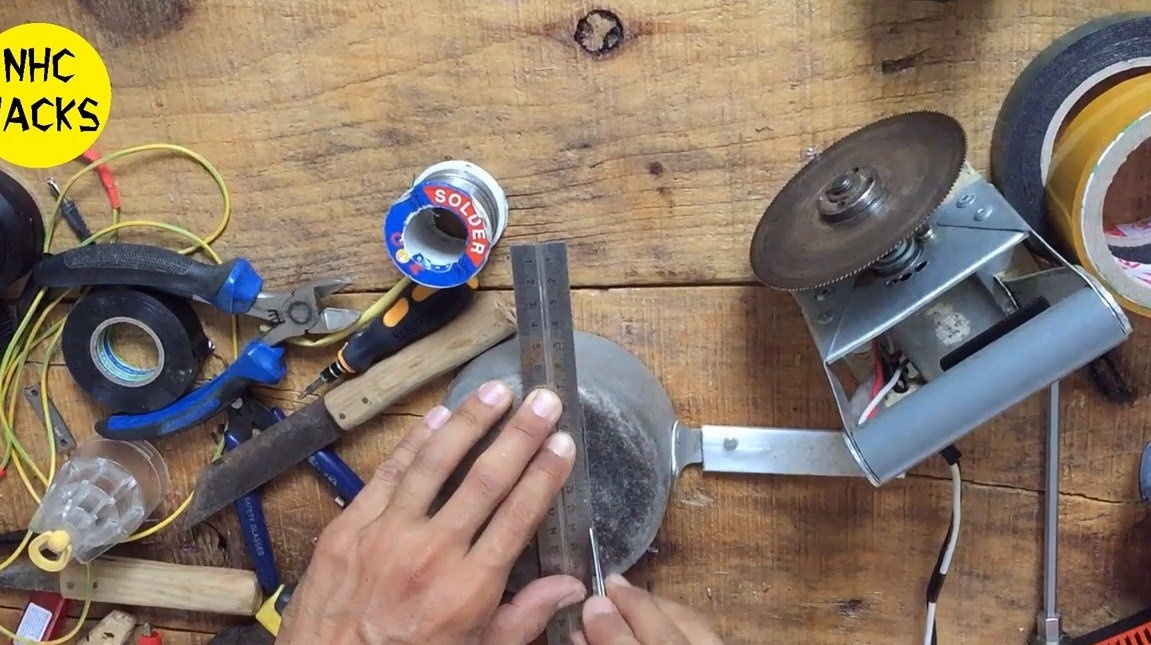
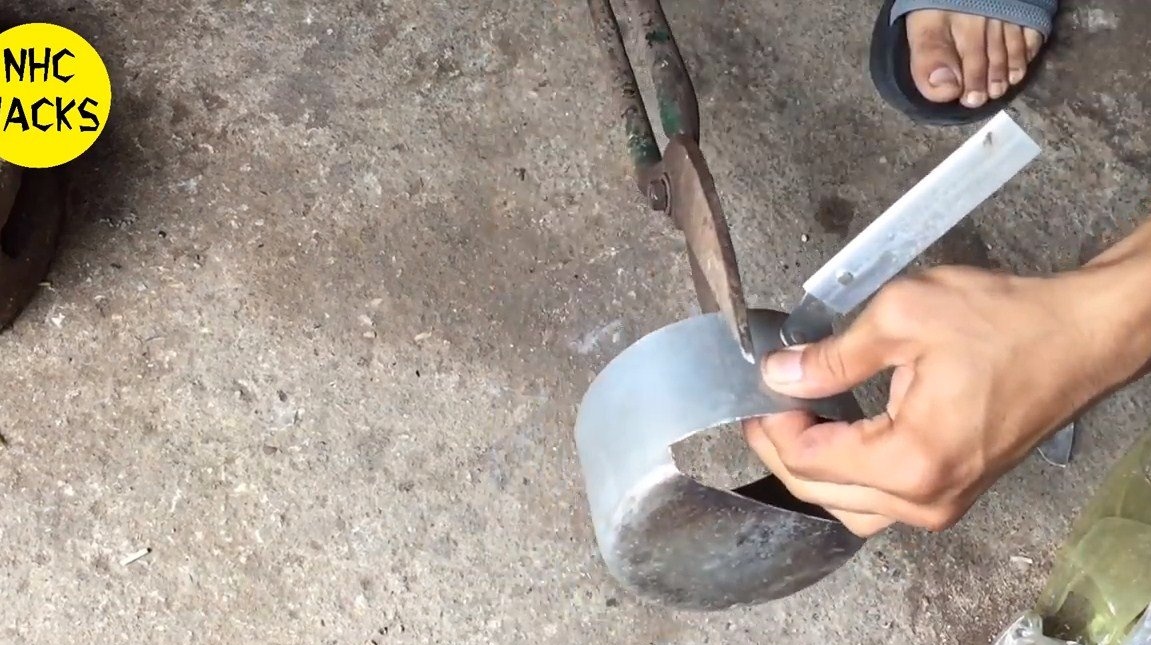
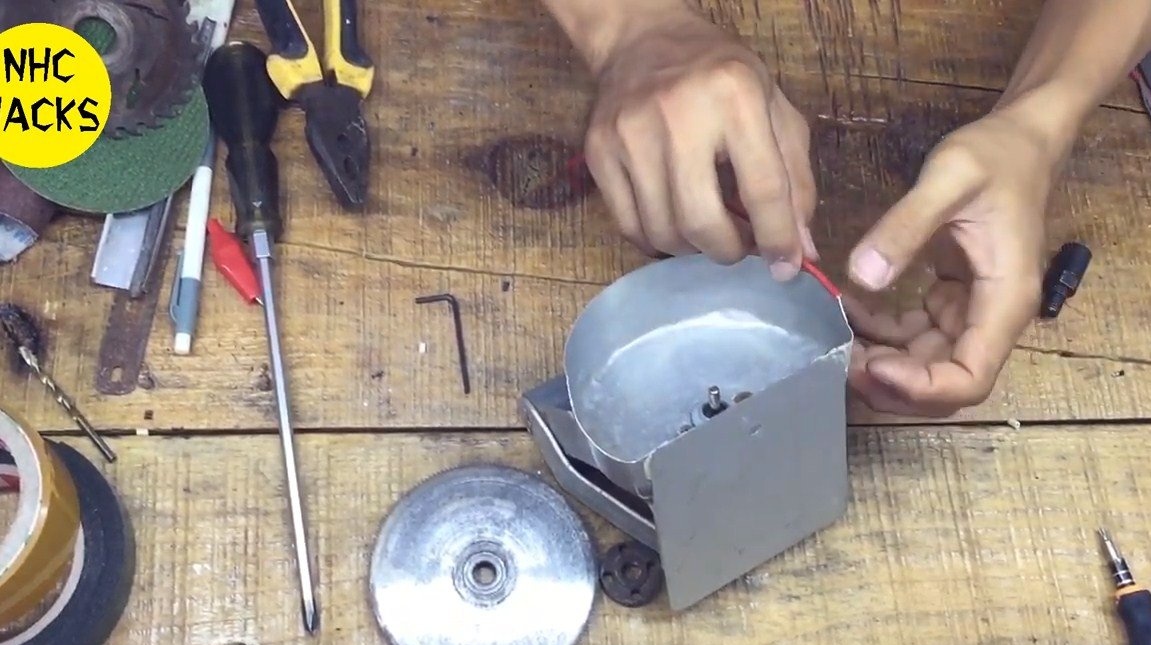
Step Three Shield
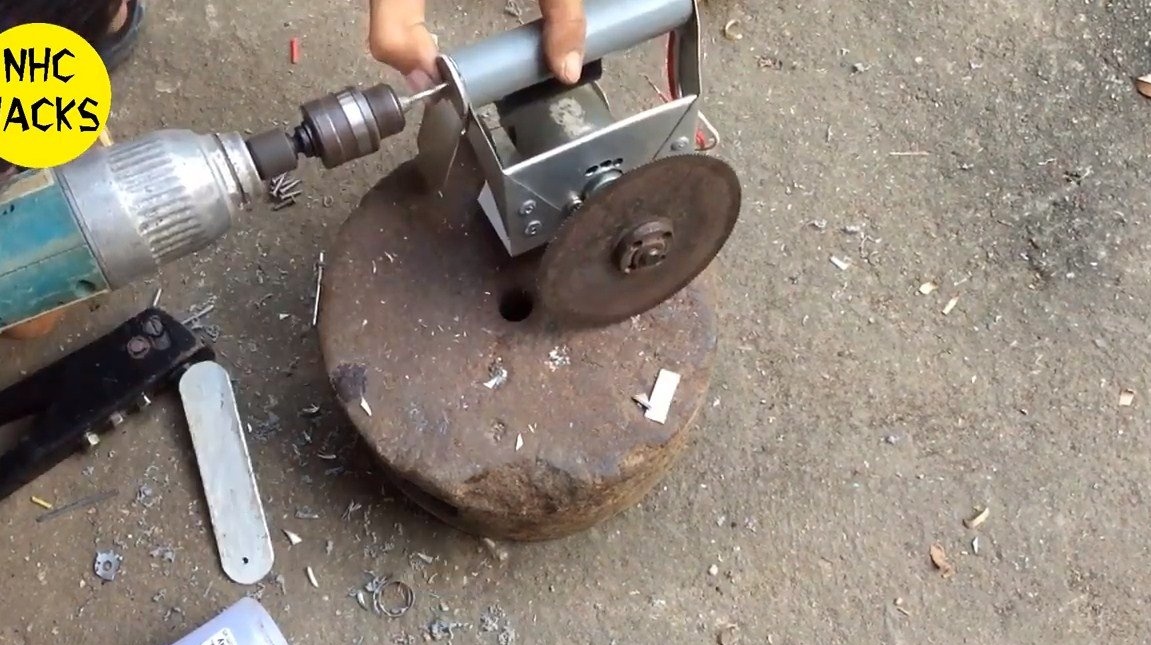
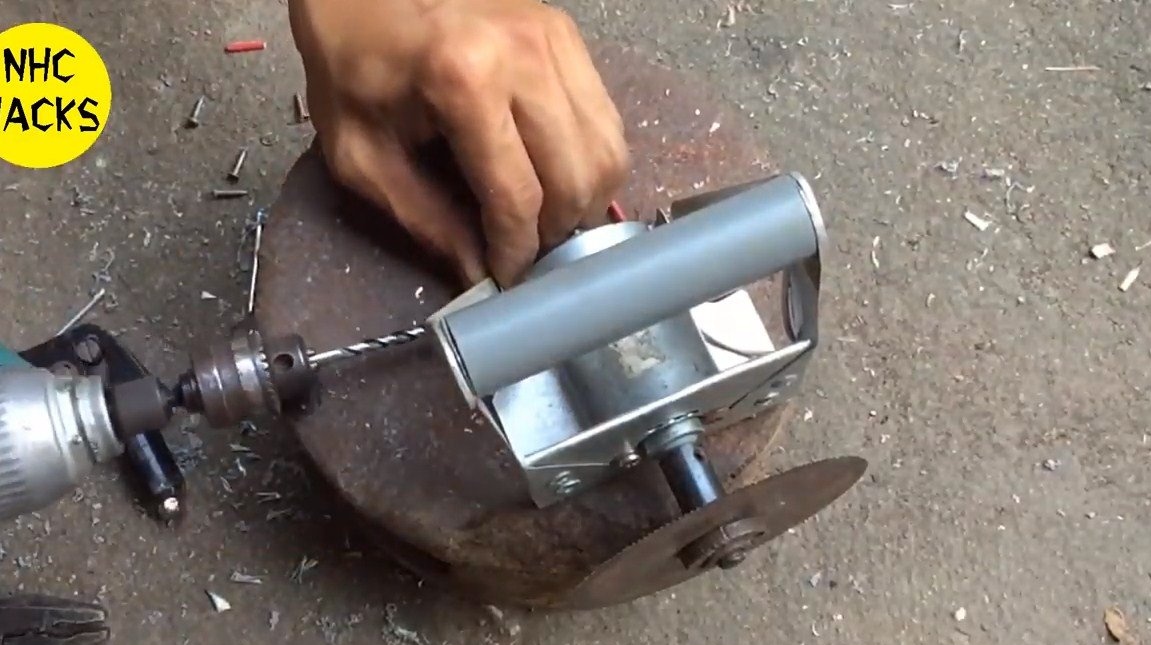
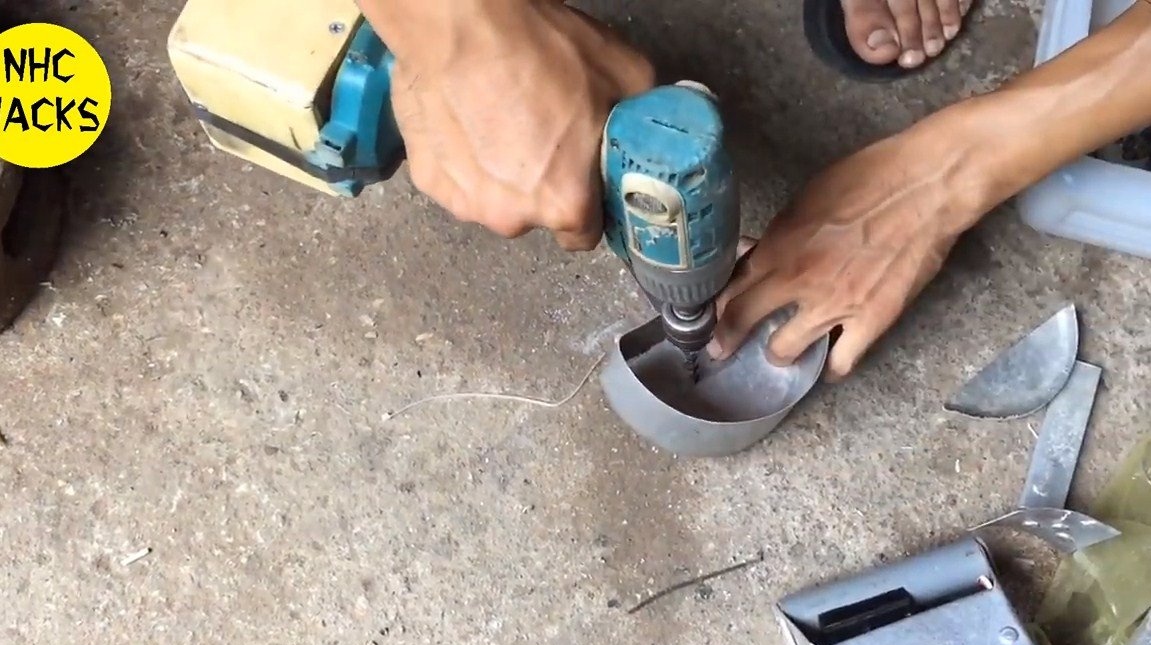
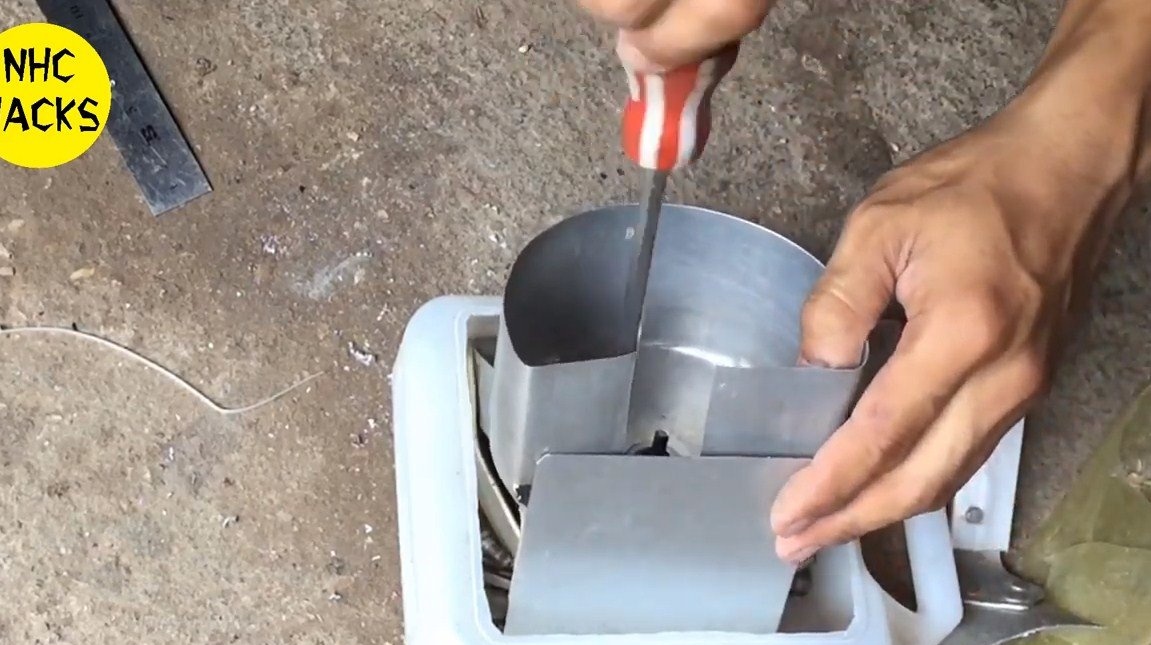
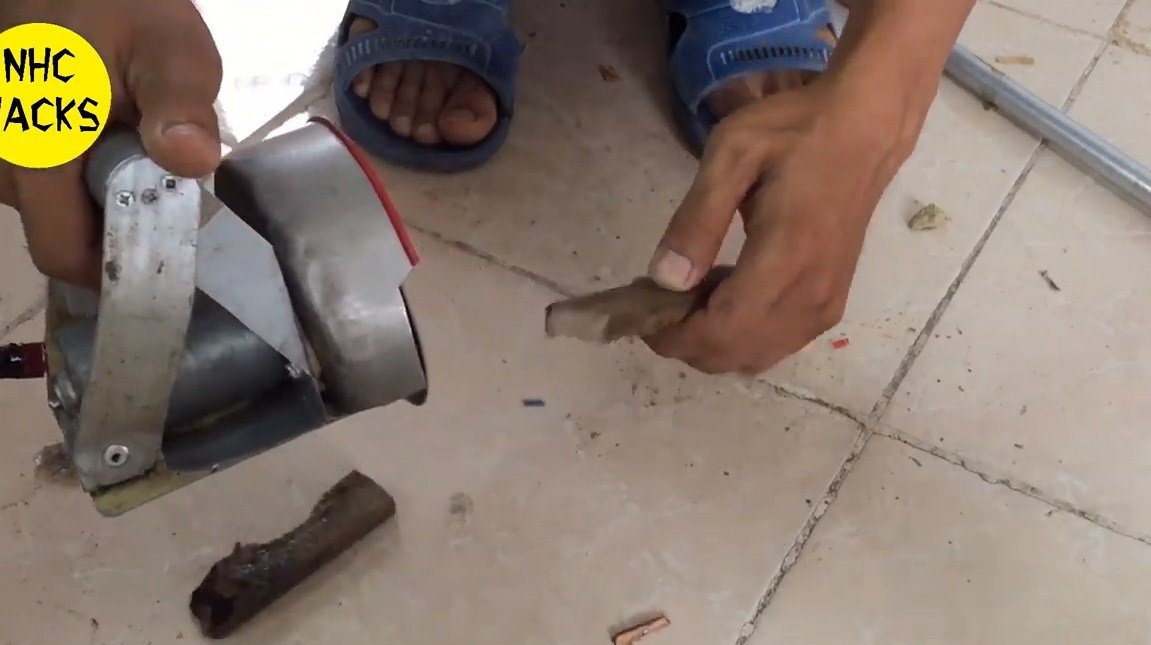
Be sure to make a protective shield for homemade products so that chips do not fly into the eyes. For such purposes, the author used an aluminum bucket of suitable diameter. The author cut off the excess from the workpiece using the already assembled homemade product. Next, we fasten the shield with screws and nuts to the base of the machine.
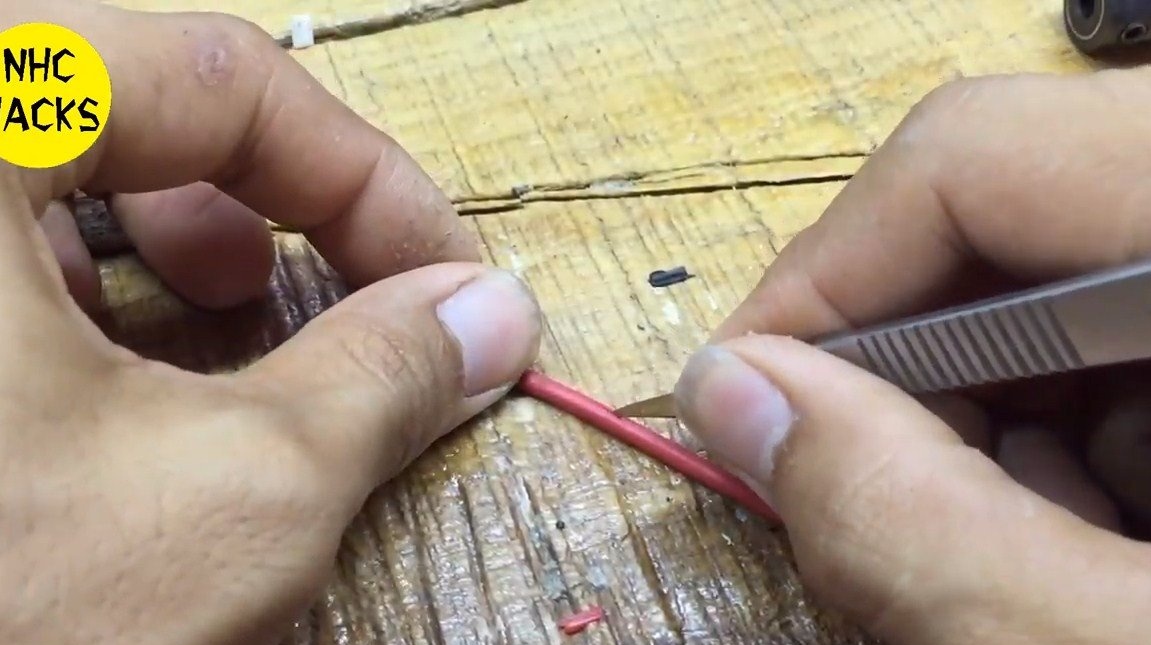
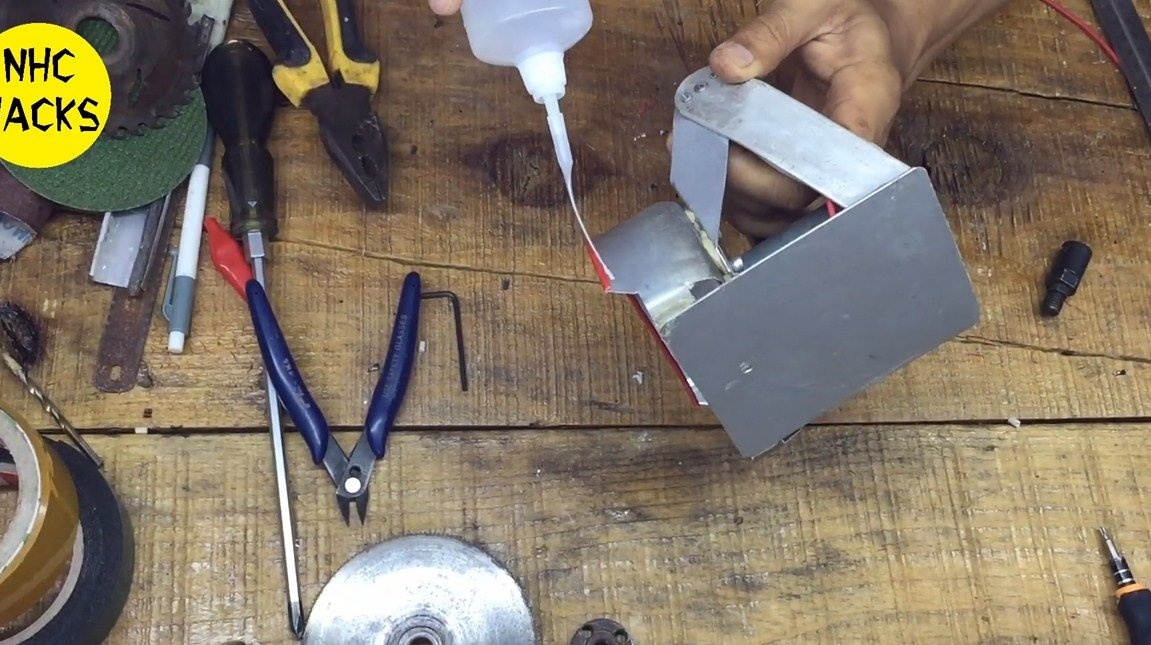
In order not to get injured on the sharp edges of the shield, remove the cambric from the wire and install it on the edge of the shield. We gum with super glue.
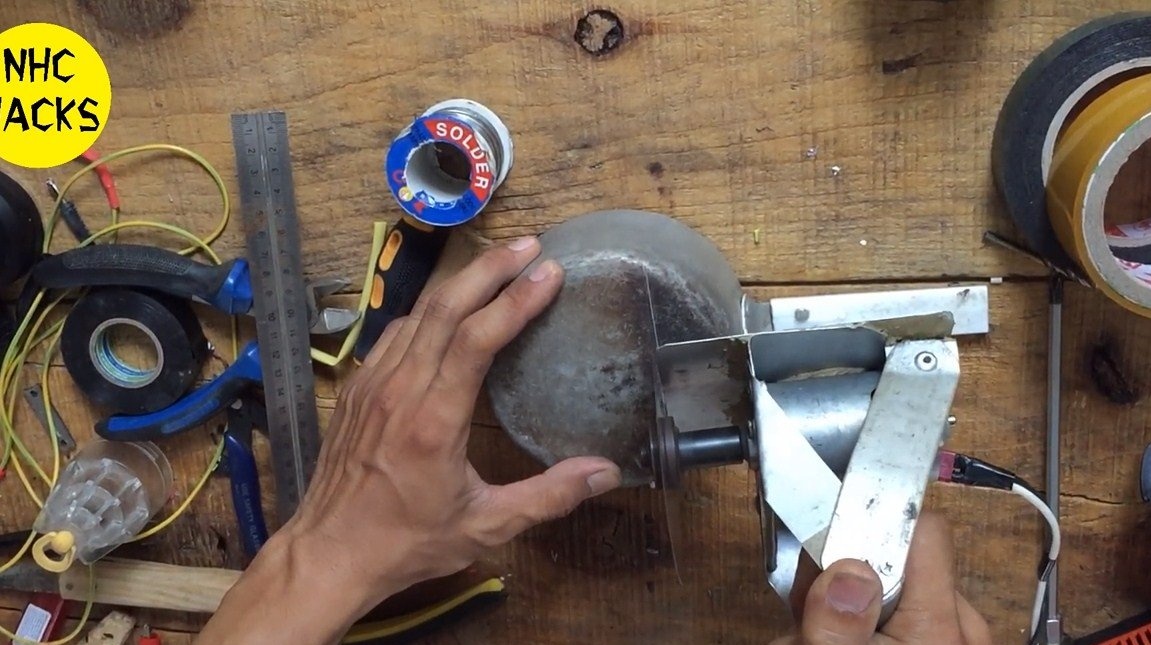
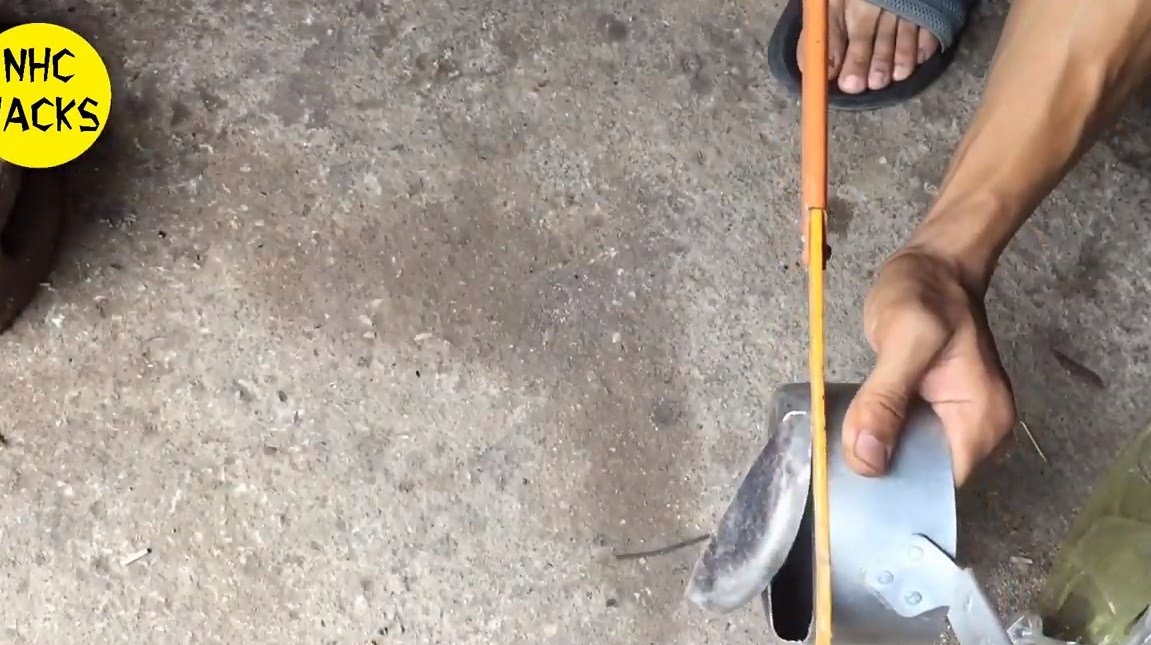
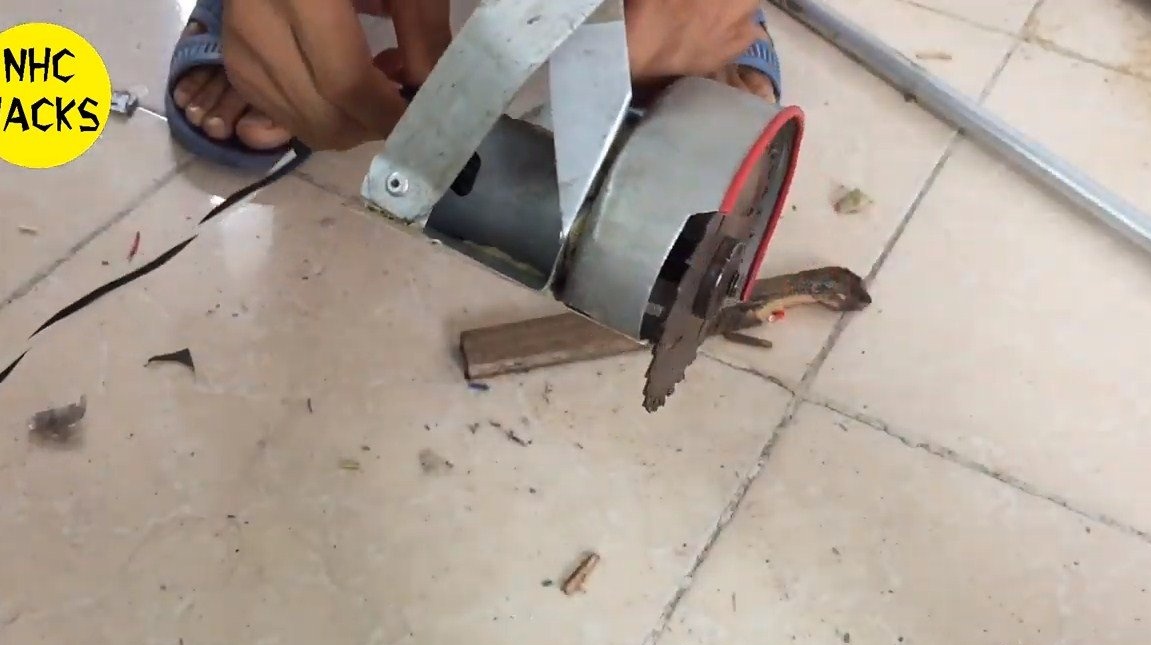
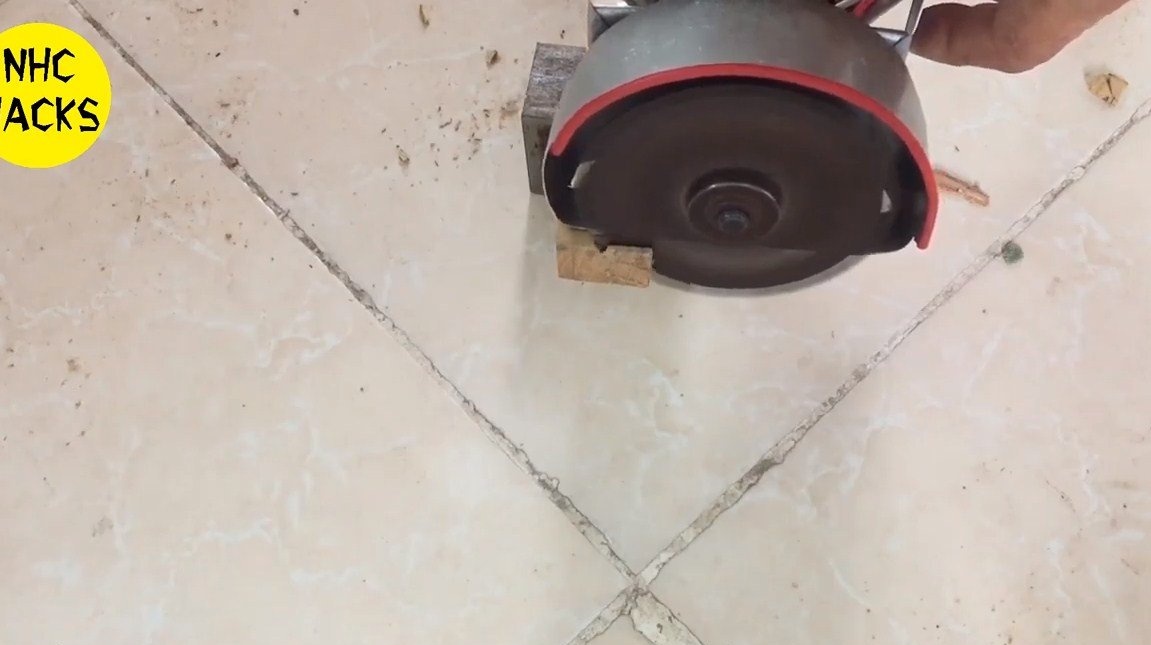
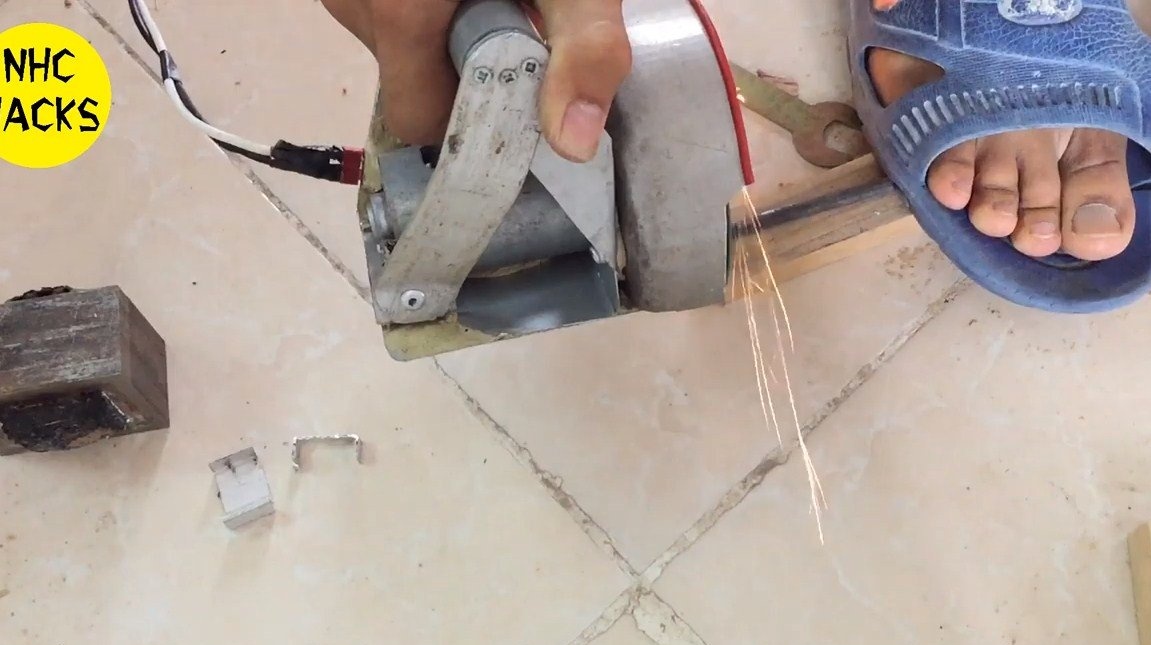
The homemade product is ready, install the adapter on the shaft and mount the desired saw blade. Homemade perfectly cuts both wood and metals. If desired, a small lithium battery can be installed on the saw. On this project can be considered successfully completed, I hope you liked the homemade. Good luck and creative inspiration, if you decide to repeat this. Do not forget to share your ideas and homemade things with us!