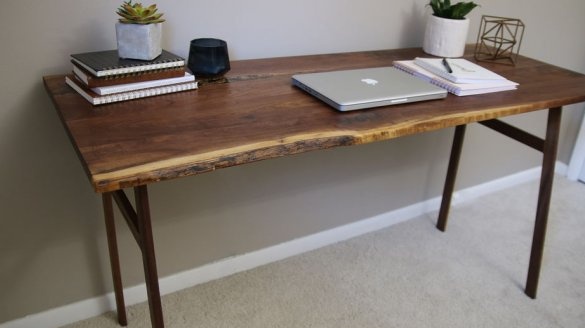
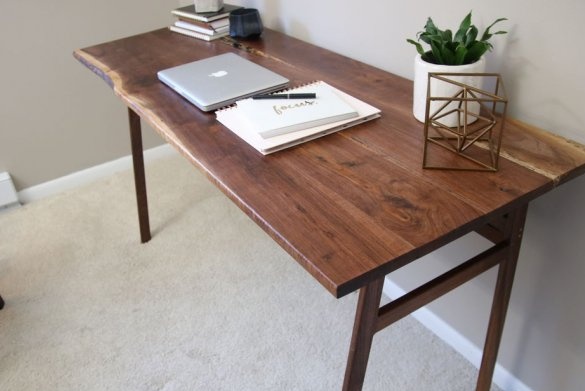
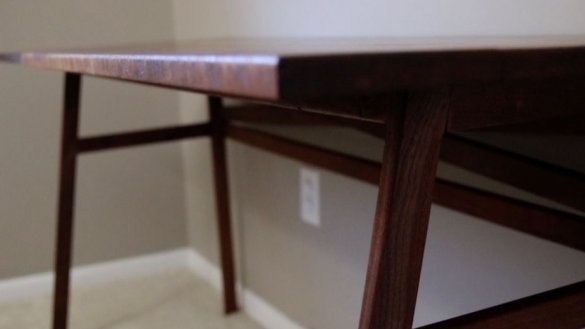
In the master’s workshop, several boards made of walnut were littered with which he decided to make a table. For its manufacture, he used the following
Tools and materials:
- Walnut boards;
- dowels;
- Joiner's glue;
Epoxy resin;
- Danish oil;
-Scotch;
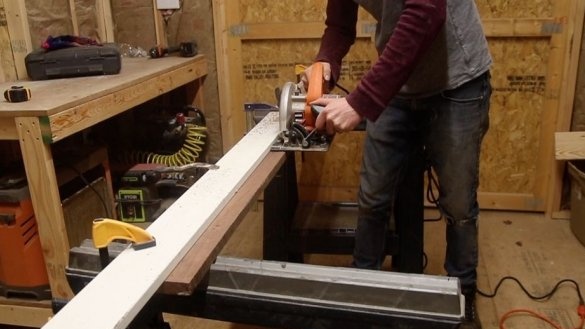
-A circular saw;
-Circular Saw;
- Electric jigsaw;
-A screwdriver;
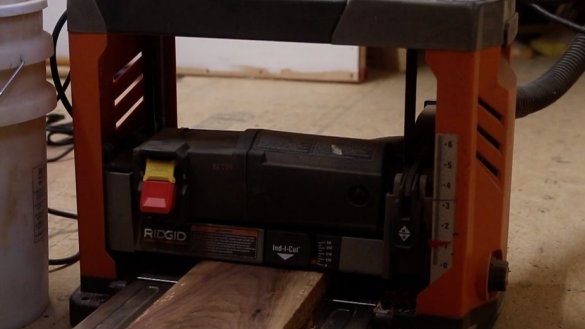
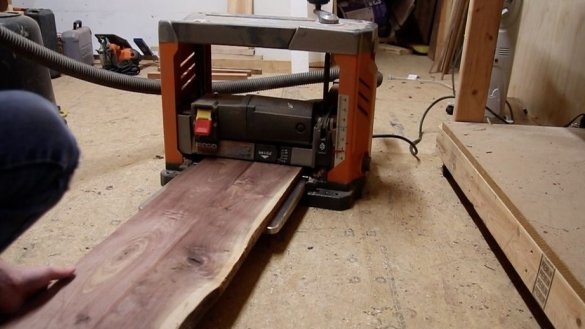
- Planing machine;
-Plane;
-Grinder;
-Level;
-Gon;
Step One: Material Preparation
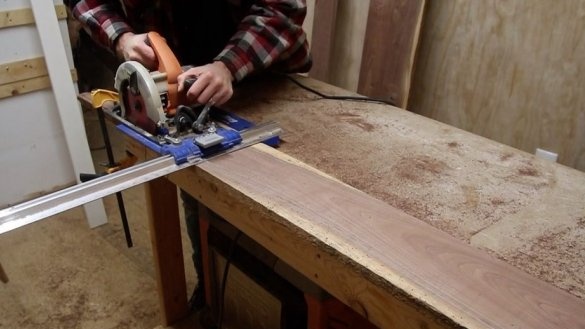
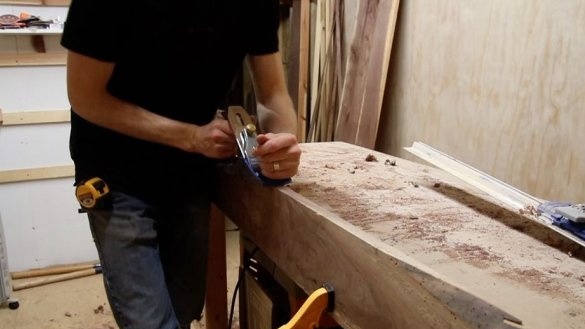
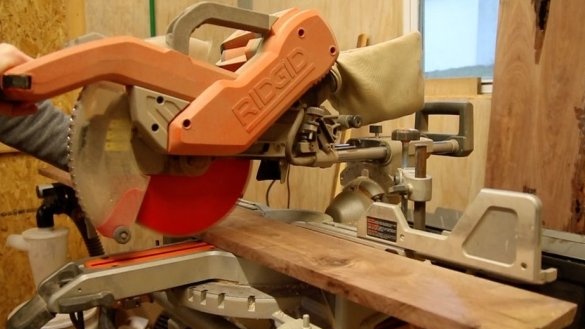
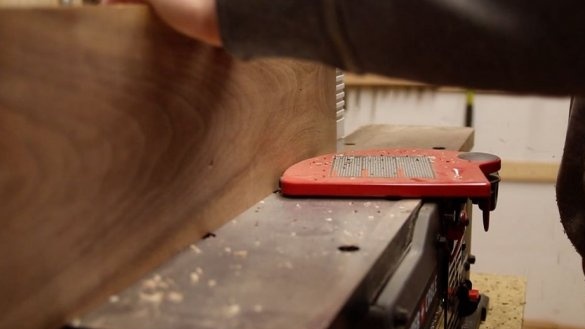
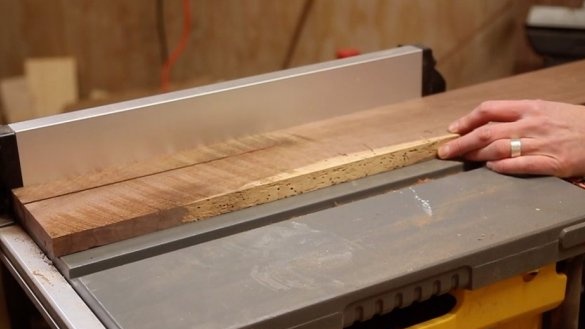
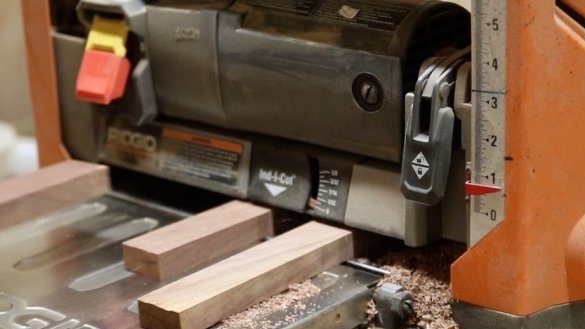
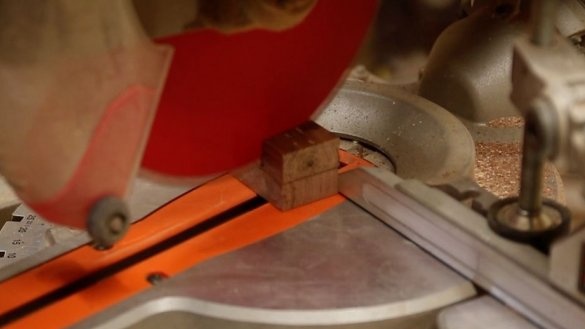
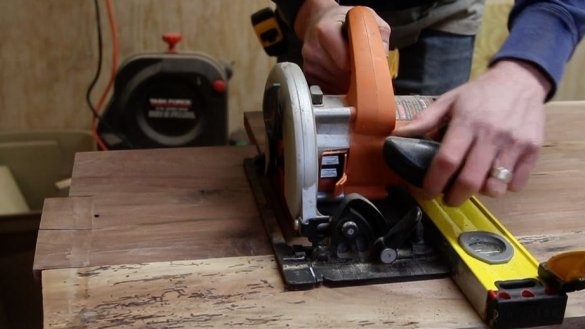
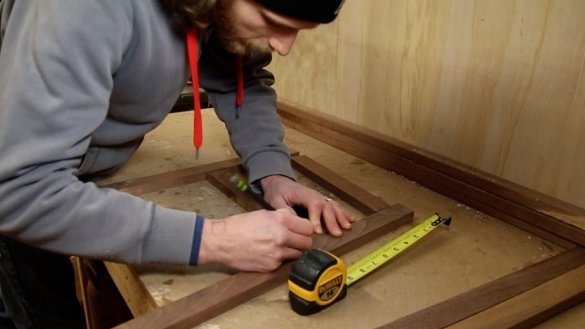
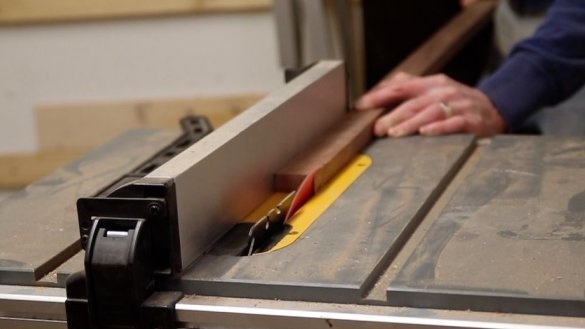
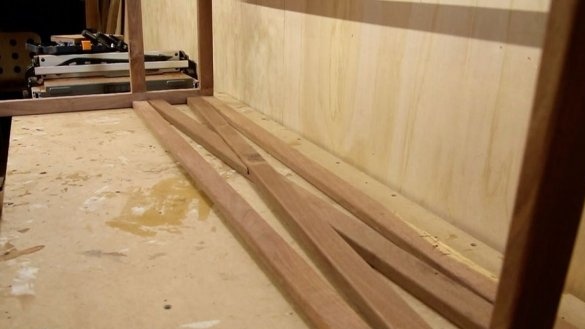
The first step, the master cursed the board. I sawed off the blanks for legs and countertops.
Step Two: Countertop Assembly
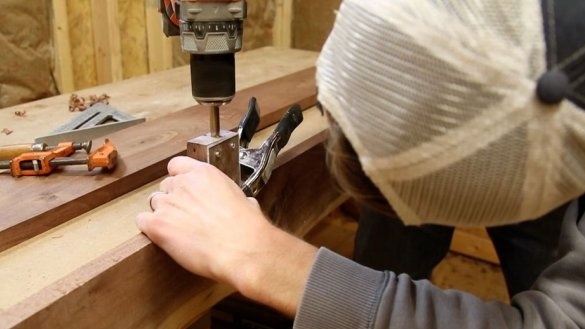
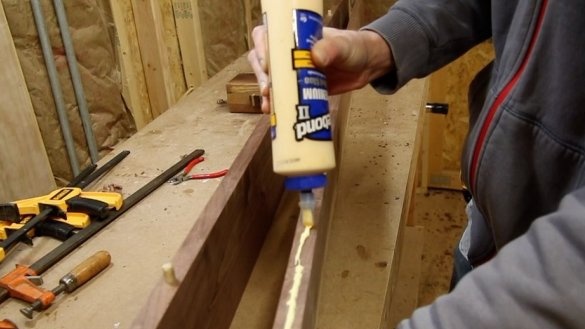
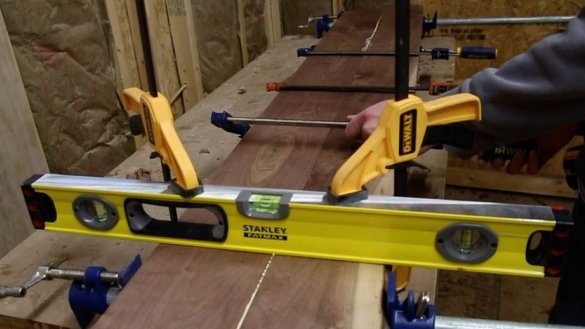
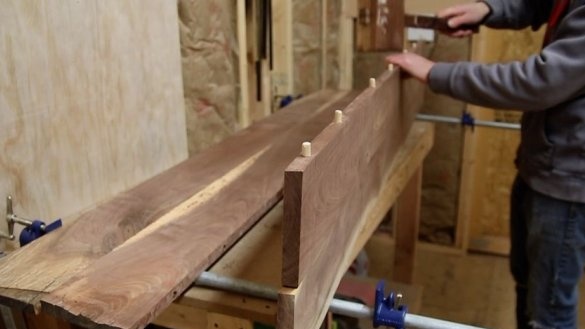
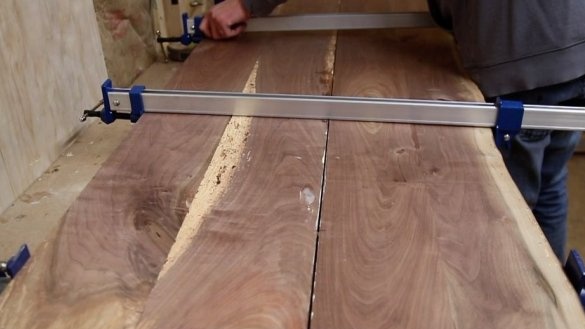
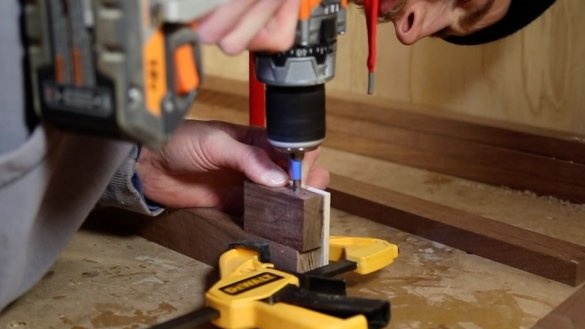
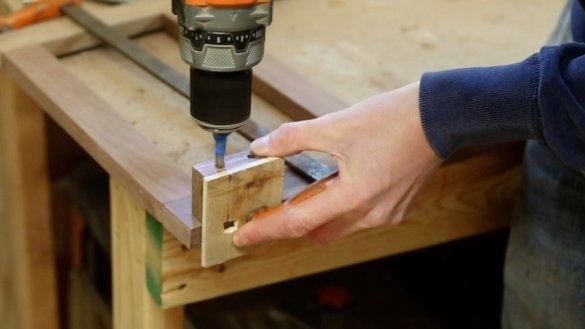
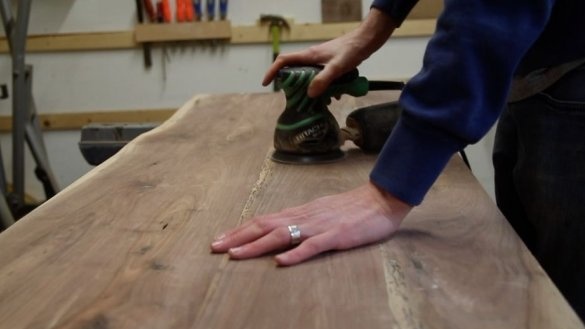
The countertop is made of four connected boards. To connect the master uses dowels and wood glue. In the side of the boards drills holes for dowels. Install dowels in holes. Applies glue and joins boards. Fixes with clamps. After the glue dries, the master polishes the surface with a grinder.
Step Three: Epoxy
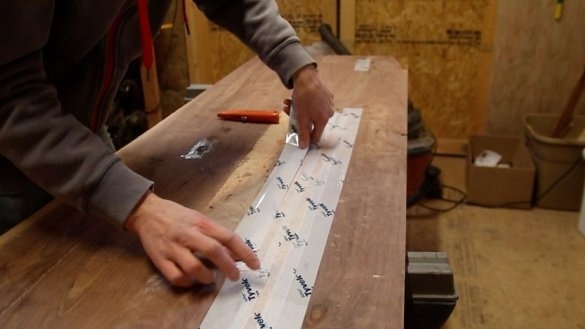
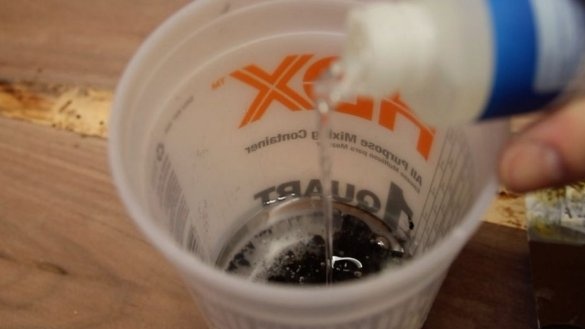
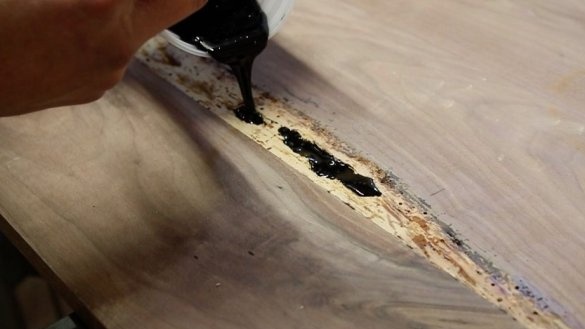
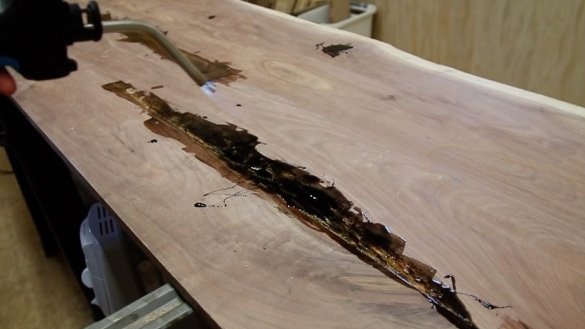
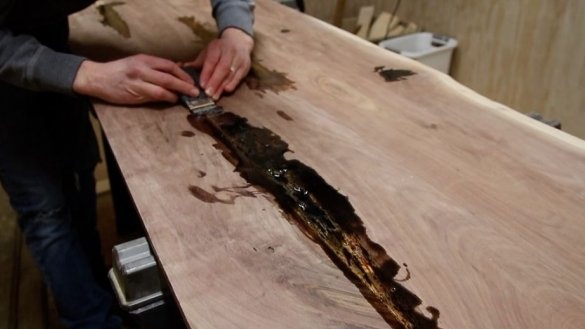
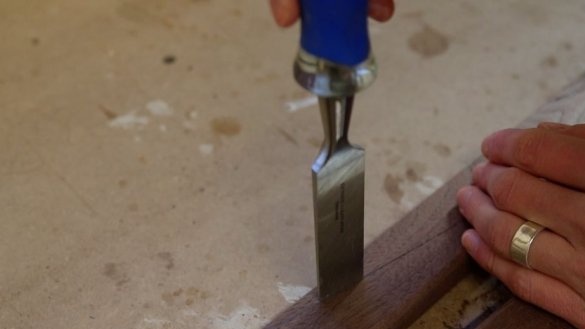
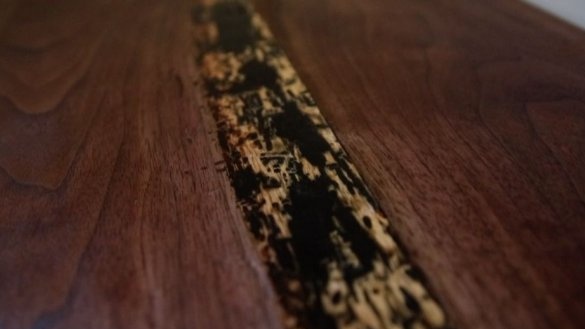
The boards were old and, in some places, rotten. The master cleared these places and prepared for filling. On the back side I glued the shells with tape. Then, according to the instructions, mixed epoxy resin and poured into the sinks. After hardening the resin polished the countertop.
Step Four: Prop
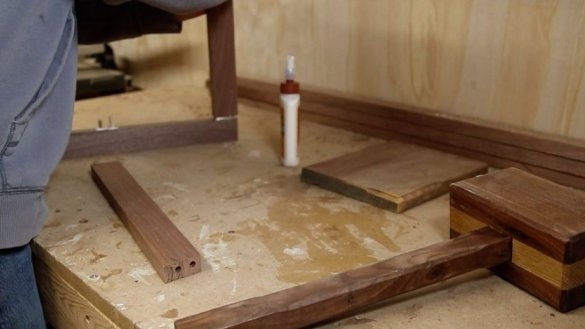
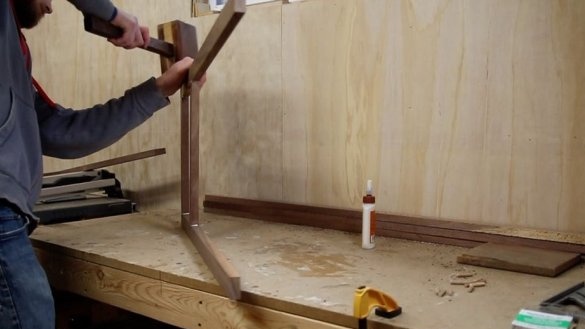
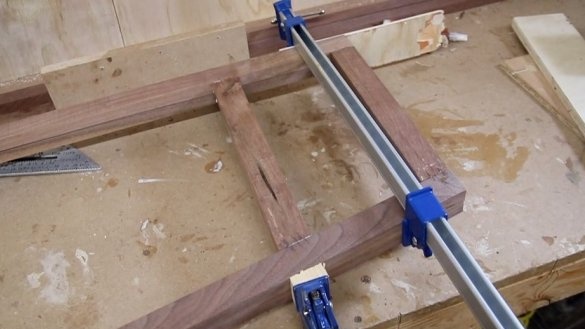
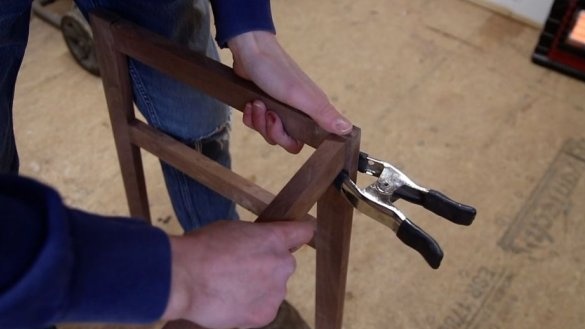
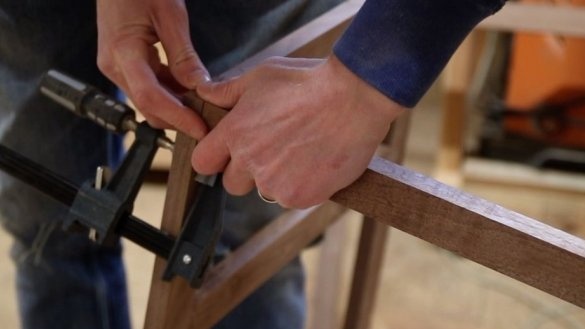
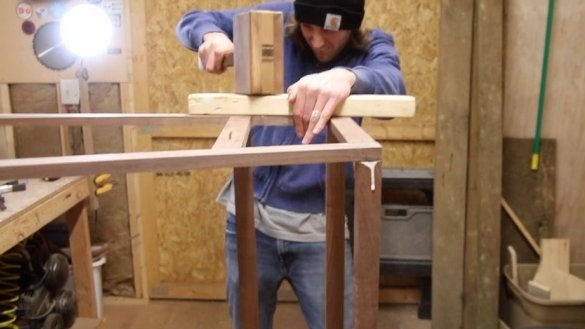
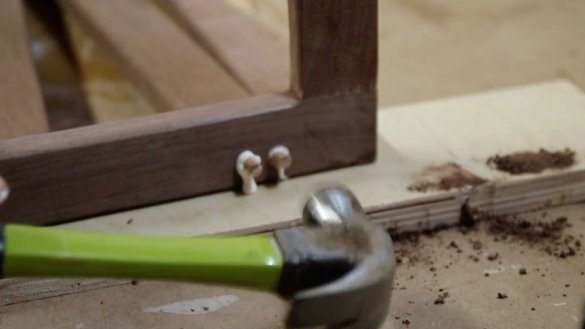
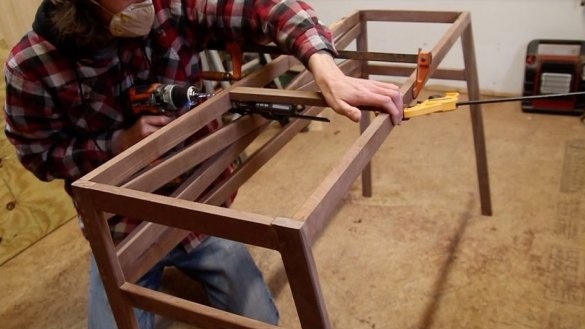
From previously cut blanks, it makes a support with legs. The support is also collected on dowels and wood glue.
Step Five: Grinding and Coating
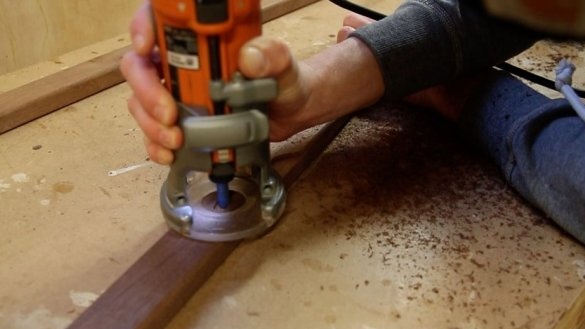
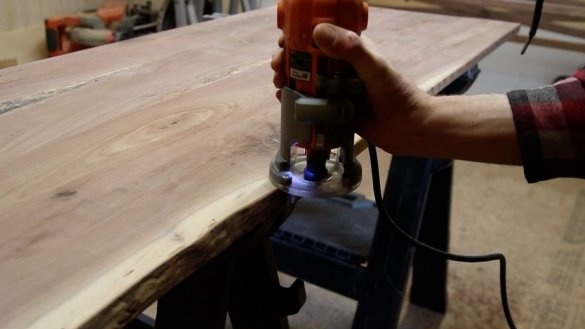
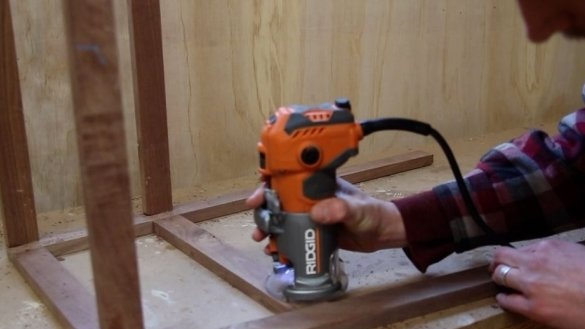
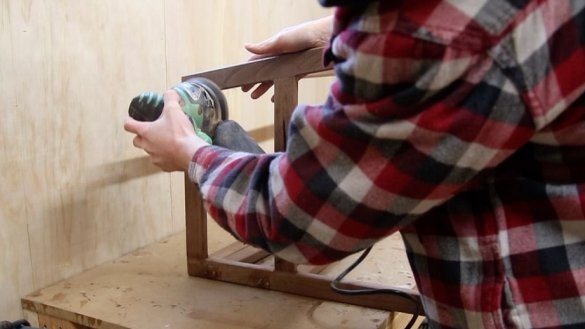
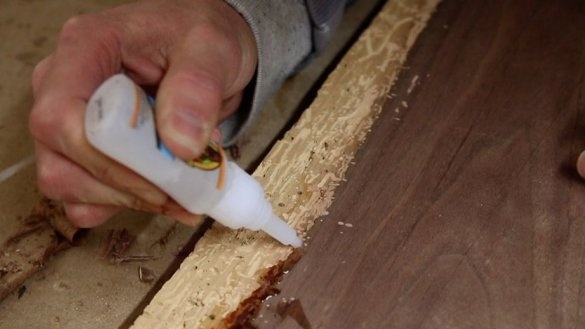
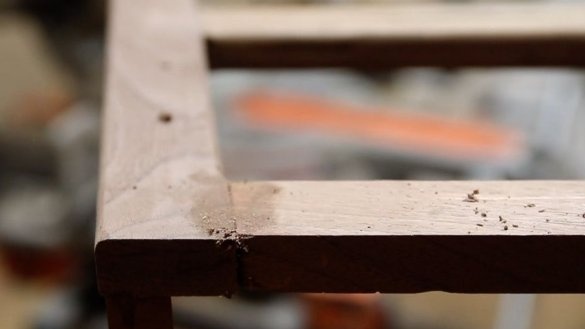
The cutter cuts off the corners of the countertops and supports. Putty cracks and shells with a mixture of glue and sawdust. Finally polishes the table.
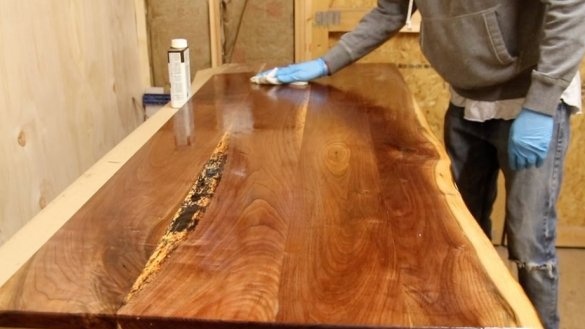
Covers the table with Danish oil in two layers. The drying time between layers is two days.
Step Six: Build
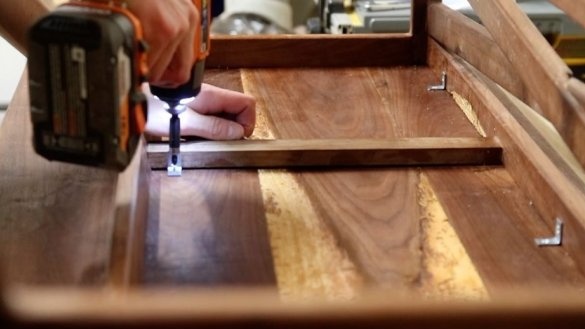
Now you need to screw the countertop to the legs.
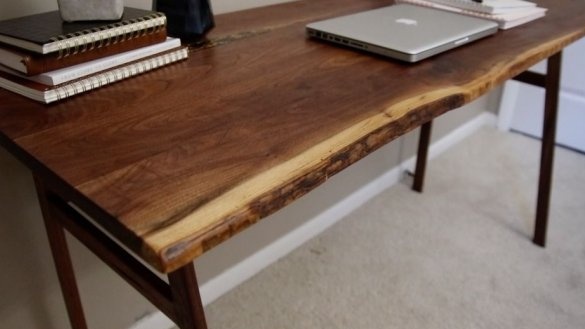
The table is ready.
The whole process of making a table from a walnut board can be seen in the video.

