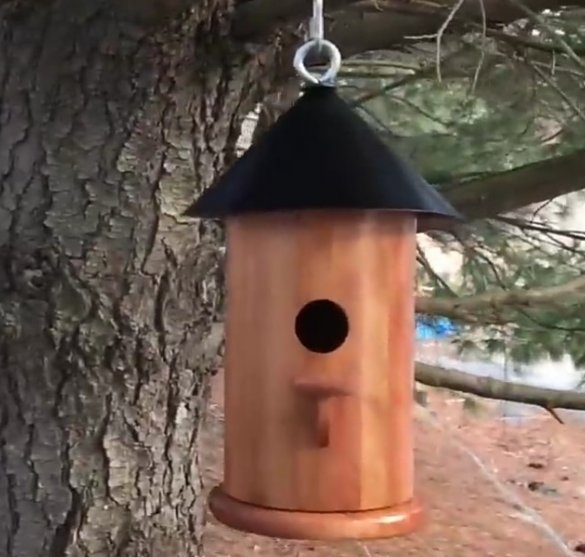
Birdhouse is an artificial closed nesting place for small birds, more suitable for those who nest in hollows. The first written mention of birdhouses can be found in the 1774 Book of Hunters by Vasily Levshin. But attempts to provide housing to feathered friends were undoubtedly in earlier periods. According to scientists, such attempts were most likely made in India. Hindus have always been famous for their humane attitude to animals. To this day, the Indian starling lane hang hollow pumpkins as their nesting sites.
In Russia - a birdhouse - like a wooden house for birds, it also appeared a very long time ago. In the old days birdhouses were real works of architectural art. On the surface of the hollow trimming of the log, from which the birdhouse actually consisted, whole scenes from life, figures of people and animals were cut out, painted and hung on trees. Whole towers were assembled from the boards, with balconies and carvings throughout the house. Of course, this was not required for the birds, but people were pleased. The collections of the historical museum of the city of Moscow and the toy museum in Zagorsk keep ancient beautiful birdhouses.
Already only with what diligence and love these bird houses were made, what labor-intensive work our ancestors engaged in making them, spoke of love for birds. According to Professor G.P. Dementieva "apparently, it was the rural population of Russia who first had the idea of protecting birds for ethical and aesthetic reasons."
In this article, we will consider the process of manufacturing a birdhouse using the example of the author of the YouTube channel Derek From Malden.
Step 1. Preparation of the material.
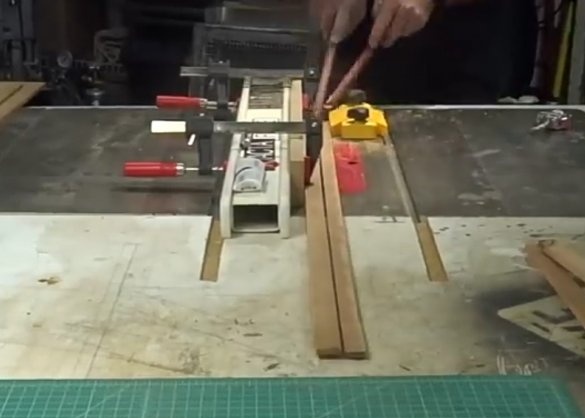
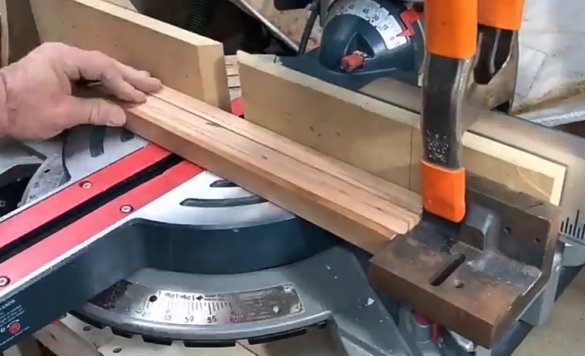
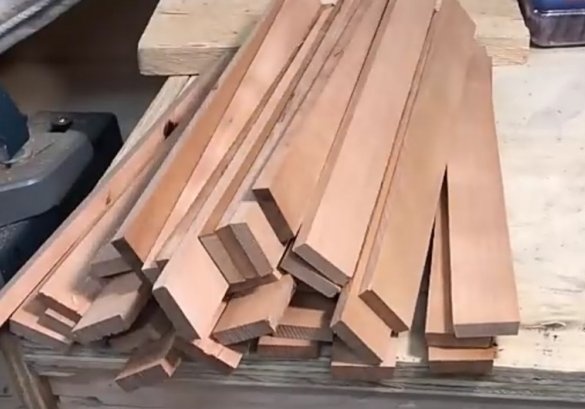
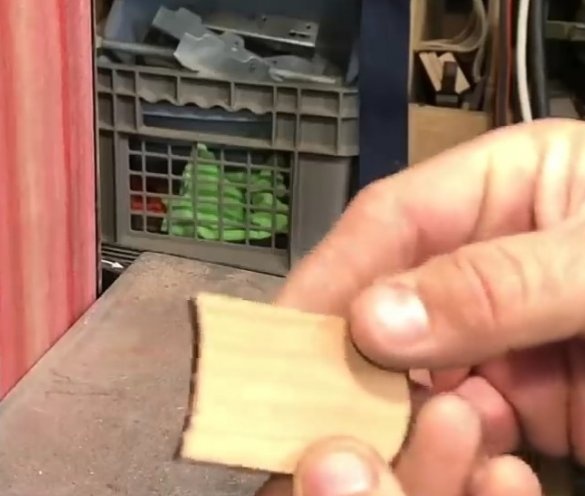
Using a circular saw, the author cuts and dissolves the boards into planks. You need to saw a lot of such planks, because not one birdhouse is planned, but several. These strips should not be too thin, otherwise the finished product will be very fragile and will not be able to withstand various weather conditions.
Step 2. Making the basis of the birdhouse.
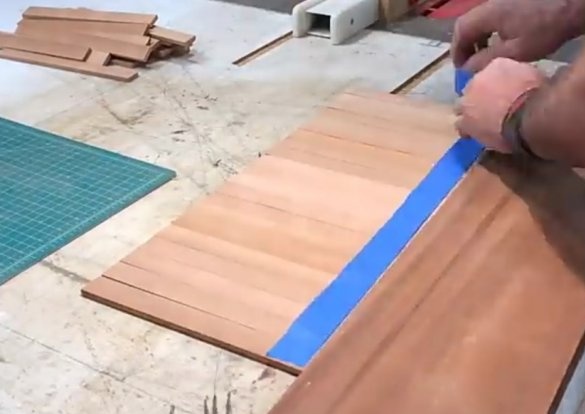
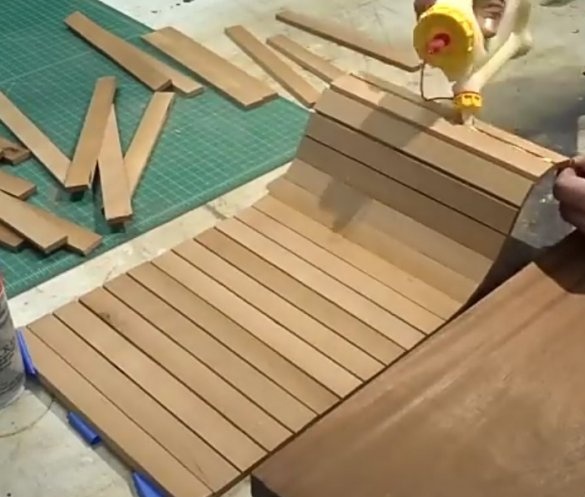
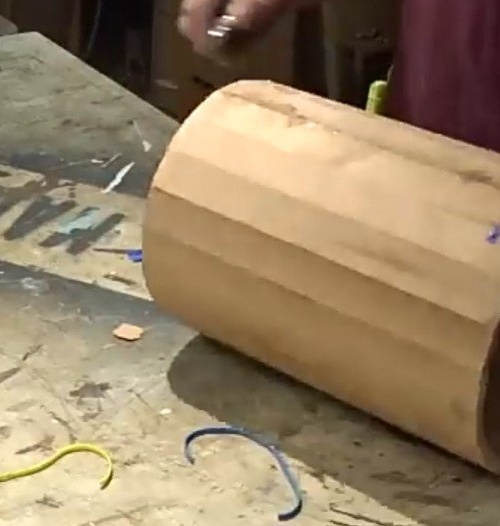
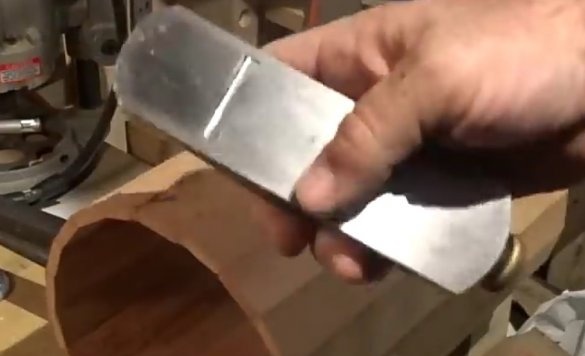
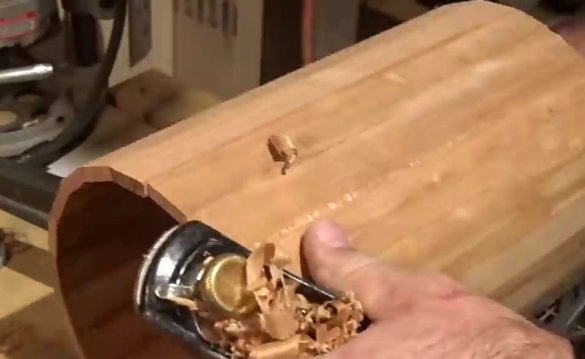
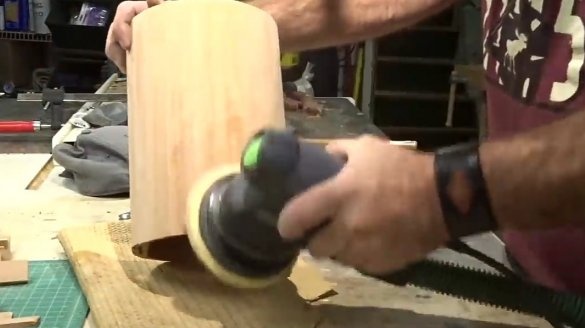
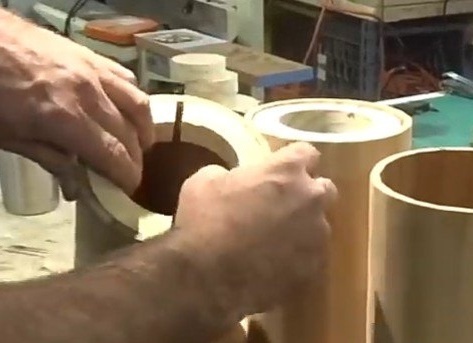
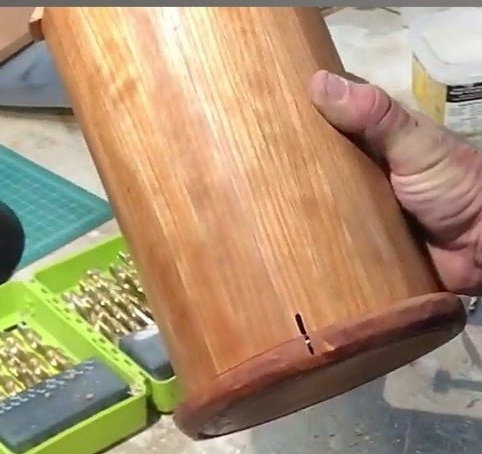
After the author has prepared a sufficient number of strips, he proceeds to assemble the main part of the birdhouse - his body. In order to assemble the strips and connect the strips to each other, the author will need glue and masking tape. The process itself is as follows: planks are laid out on a flat surface. They are first fixed to each other with masking tape. Then, using carpentry glue, the side parts of each of the planks are glued together. After the glue has already been applied to the surface, the author rolls the strips into a roll by gluing the two extreme strips connecting the entire structure together. Holds the workpiece firmly so that it does not fall apart. When the base has finally stuck together and dried out, the bandages fixing the construction are removed. With the help of a small manual planer, all joints between the planks are chipped, the product is given the appearance of a cylinder smooth from the outside. Final refinement is carried out by a grinder.
Step 3
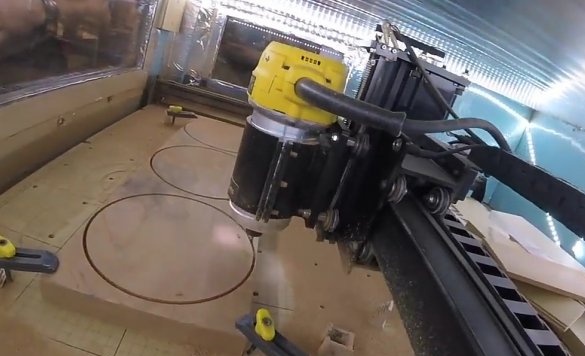
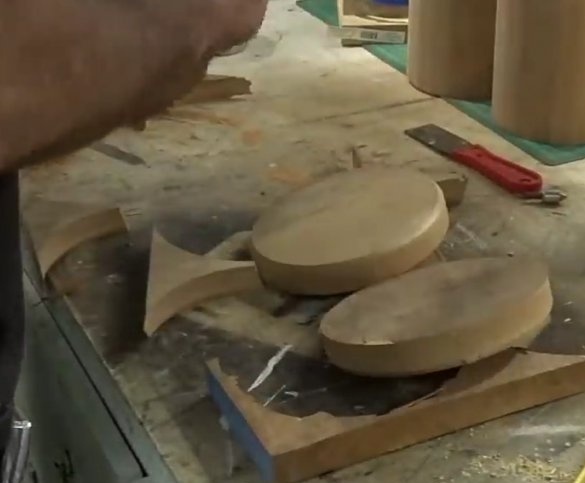
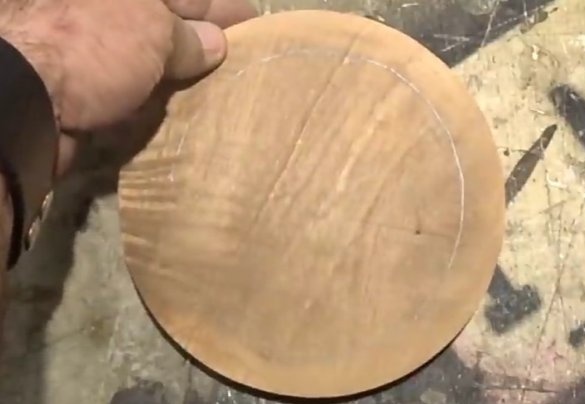
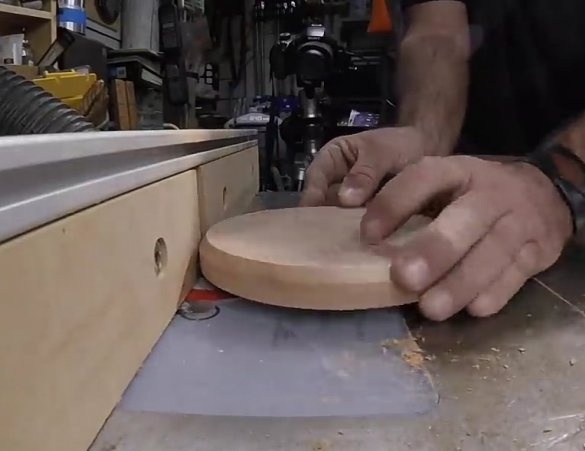
Goes to the manufacture of the bottom of birdhouses. Using a CNC milling machine, several circular blanks are cut. On a belt sander, it brings the edges to a smooth state. The chamfer removes the chamfer from the edges of the part and a groove is selected around the circle. This item will be like a cover to dress on the body of a birdhouse and serve as a bottom.
Step 4
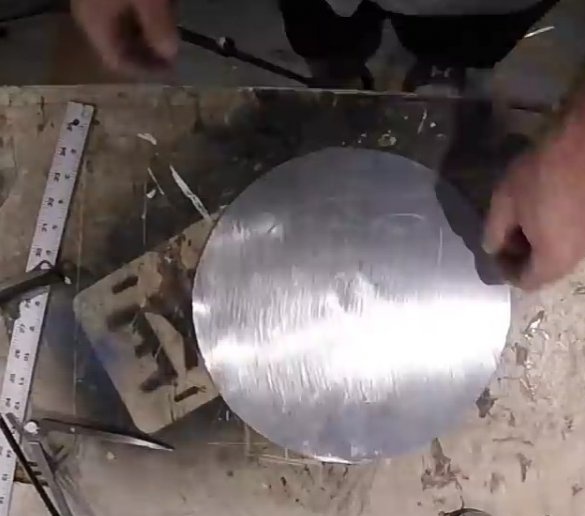
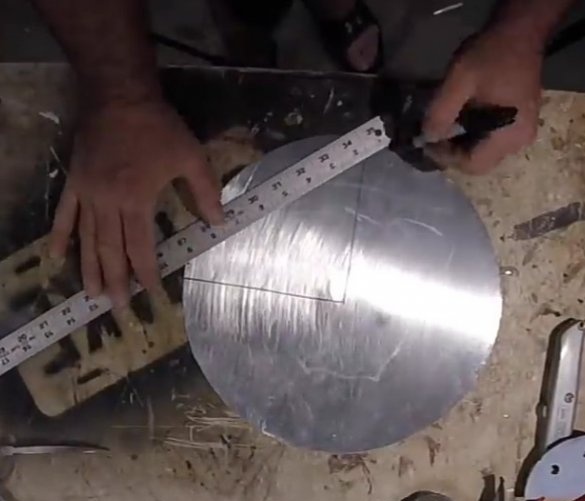
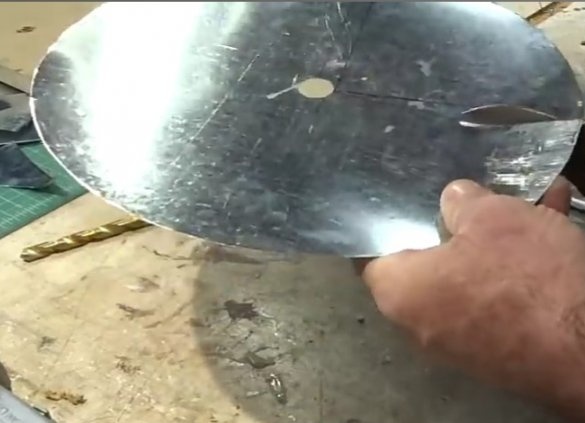
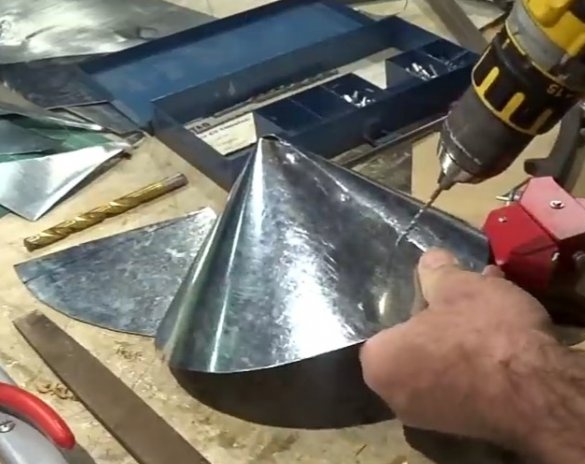
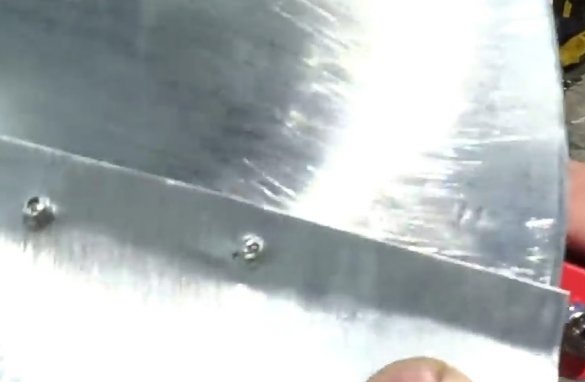
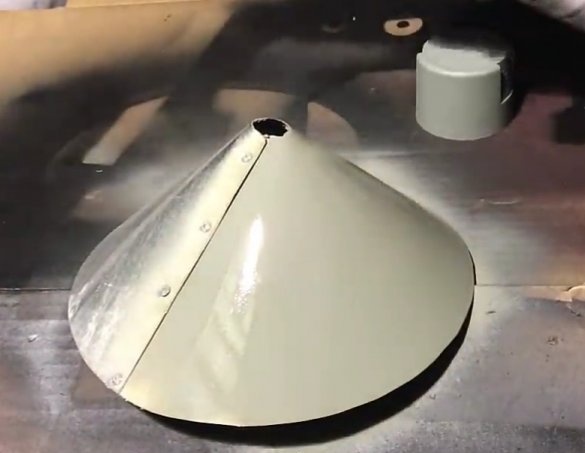
Circular marking is made on a thin metallized sheet. Then, using scissors for metal, the author cuts a circle. In its center, a hole is drilled under the hook. In this workpiece, the triangular part is cut so that when bent, a cone is obtained, which will be the roof in the finished form. The curved edges of the part are processed by a file, holes for rivets are drilled into them. Using a riveter, the author secures the edges of the resulting cone.
Step 5
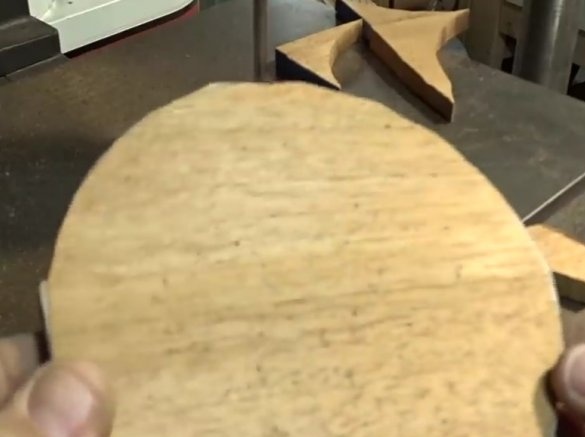
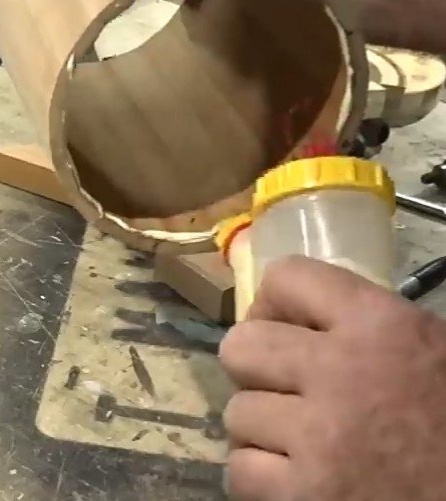
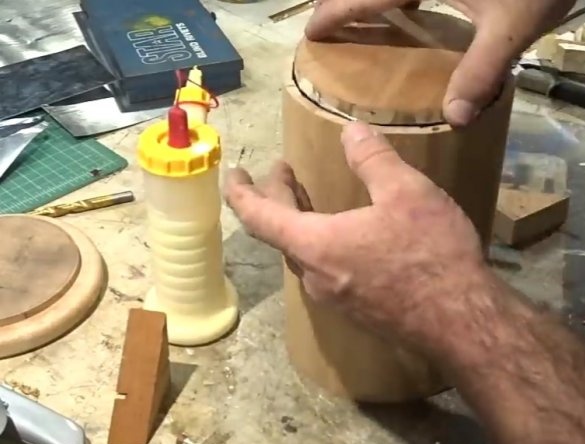
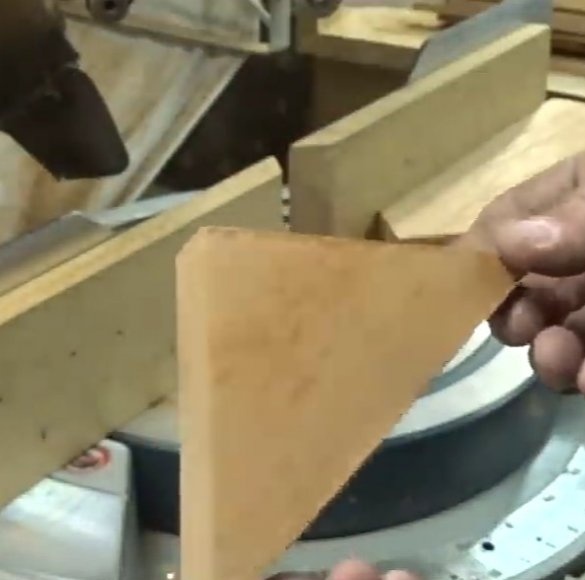
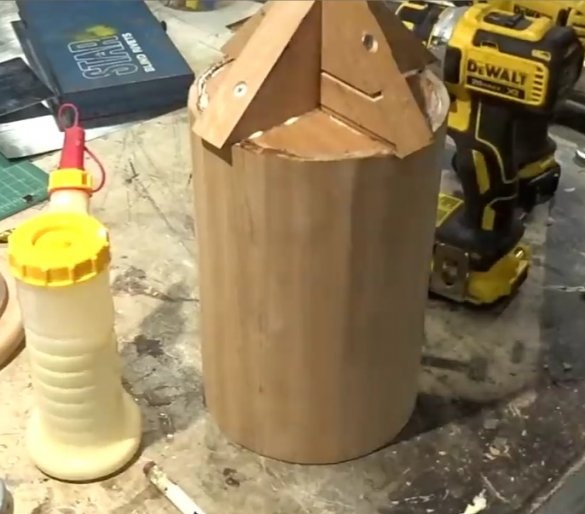
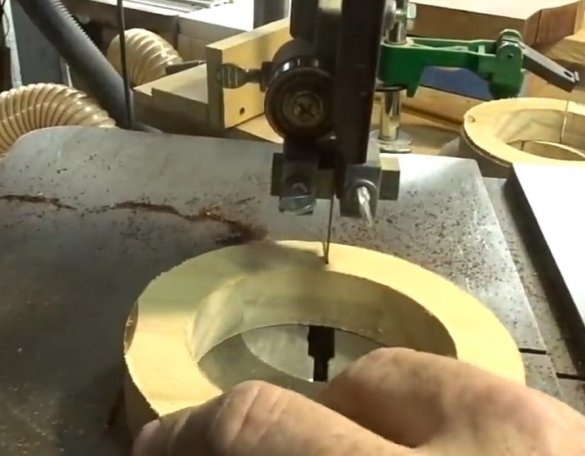
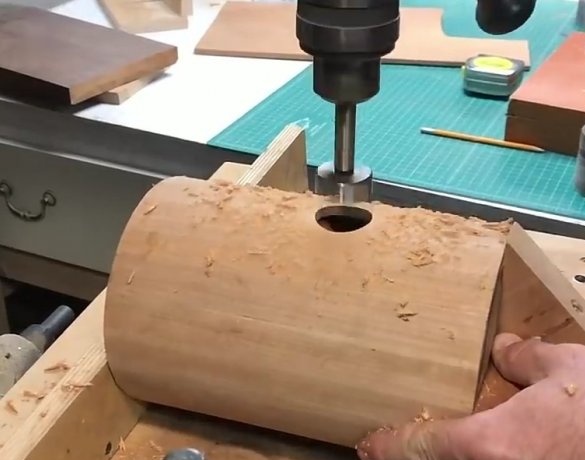
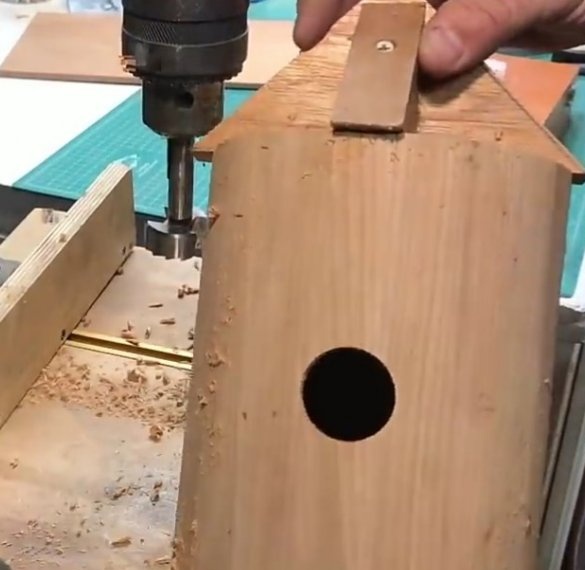
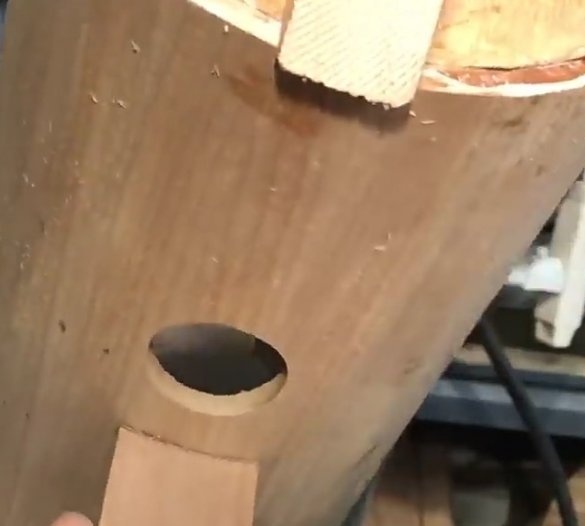
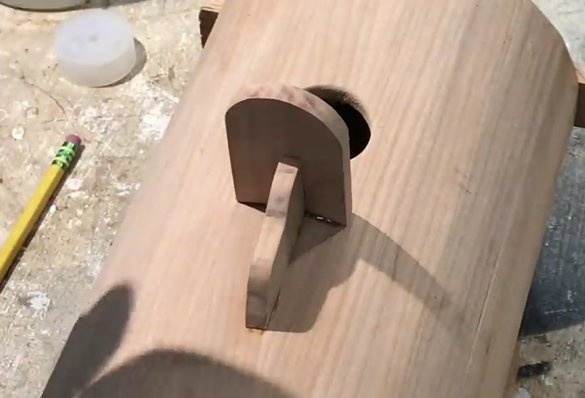
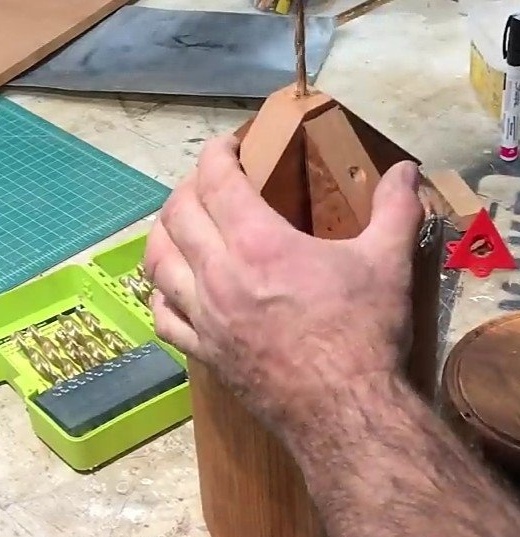
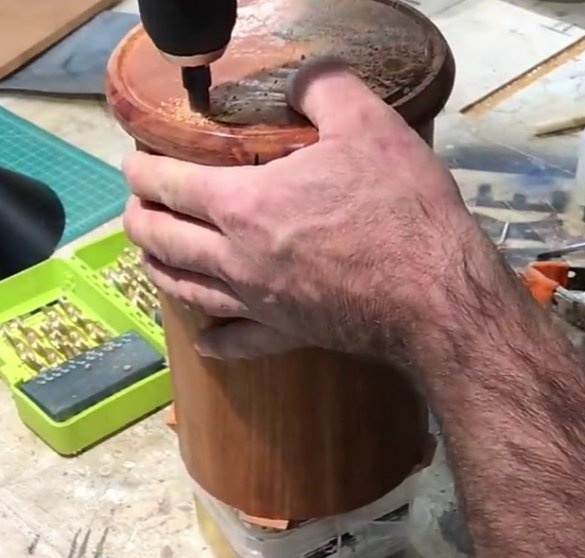
In order to fix this cone in the upper part of the birdhouse, the author cuts a circular workpiece from plywood on a band saw. Its edges are aligned on a belt grinder. Simultaneously with this work, the bottom is glued. The workpieces that will hold the cone are filed. This design is assembled on a sawn plywood blank. Next, a hole is drilled in the birdhouse wall so that future residents have access to their hut. A seat is also made, on which the bird can sit before climbing into its house. All parts are carefully sanded. Parts with glue are fixed under the hole.
Step 6
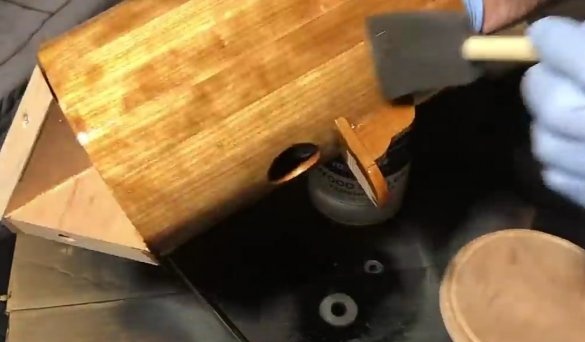
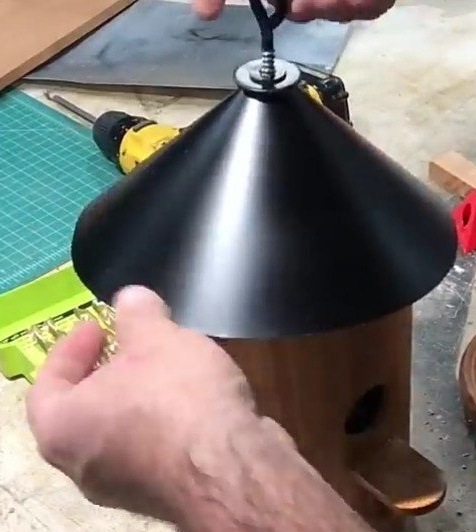
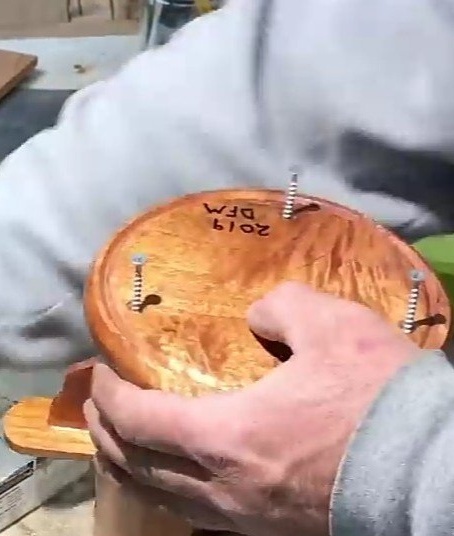
Wooden and metal parts are covered with protective compounds - varnish and paint. A metal cone is attached to the roof with a screw hook. With the help of screws, the bottom is attached. Then follows a trip to nature and the finished product is hung on any tree you like. The only, in my opinion, minus is the method of attaching a birdhouse. He just hung on a tree and that's it. In windy weather, the product will sway strongly and cause inconvenience to residents. Therefore, a much better solution would be a hard mount.

