I welcome fans to craft, today we will consider how to make a knife in the Scandinavian style. The knife was made only with hand tools, ancient technologies were used, which were used by masters in the past. Of course, the author’s scabbard and pen turned out to be dirty, and grinding was not carried out, but in those days such processing was not particularly required. The knife was made quite strong, the blade was forged from high-quality steel. If the project interests you, I propose to study it in more detail!
Materials and tools used by the author:
Material List:
- steel rod (blank for blade);
- wood for handles and scabbard;
- strong rope;
- carpentry glue;
- skin;
- oil for wood impregnation.
Tool List:
- blacksmith tools and forge;
- brace;
- makeshift clips;
- oil for hardening;
- rotary grinder (powered by pedals);
- ax;
-.
The process of making a knife:
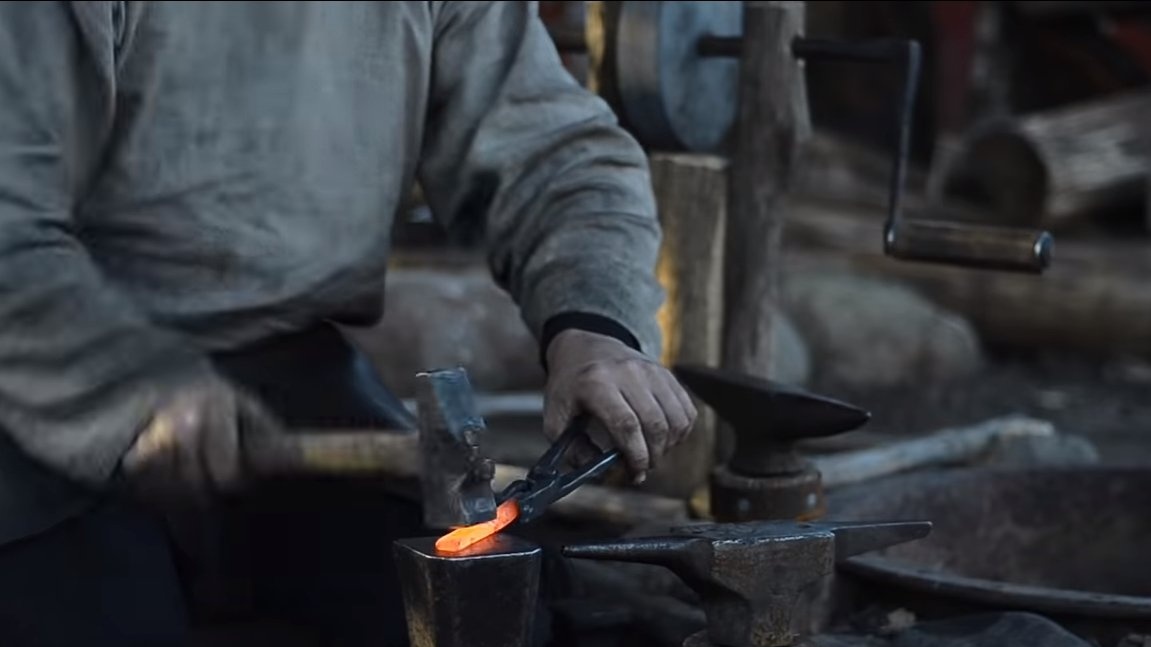
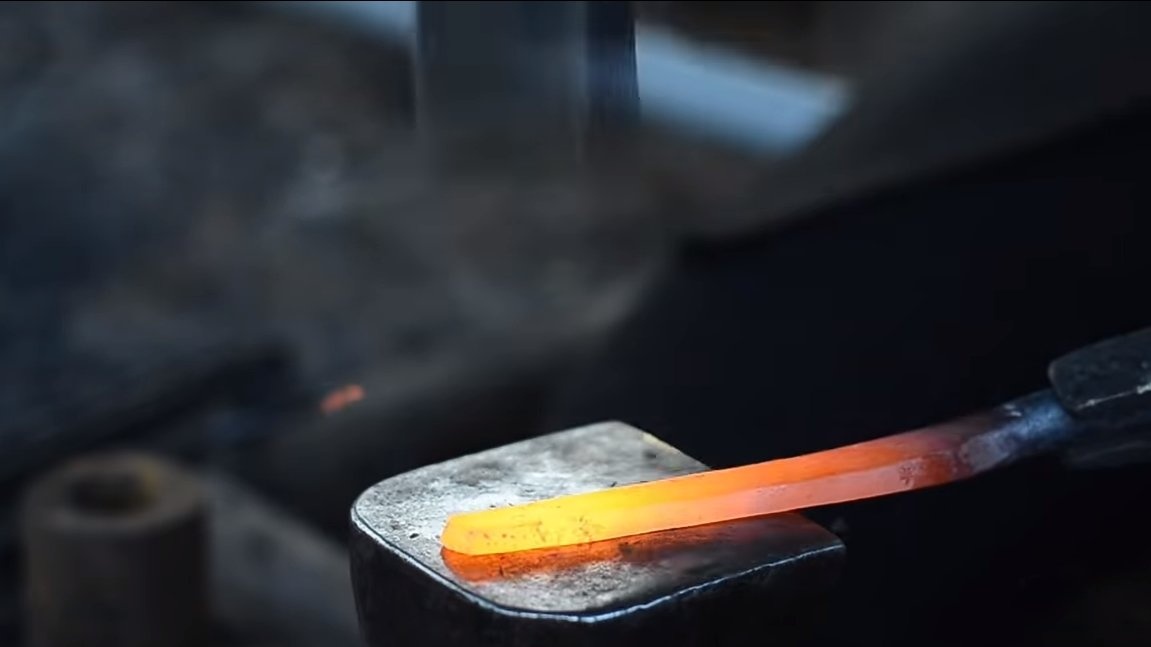
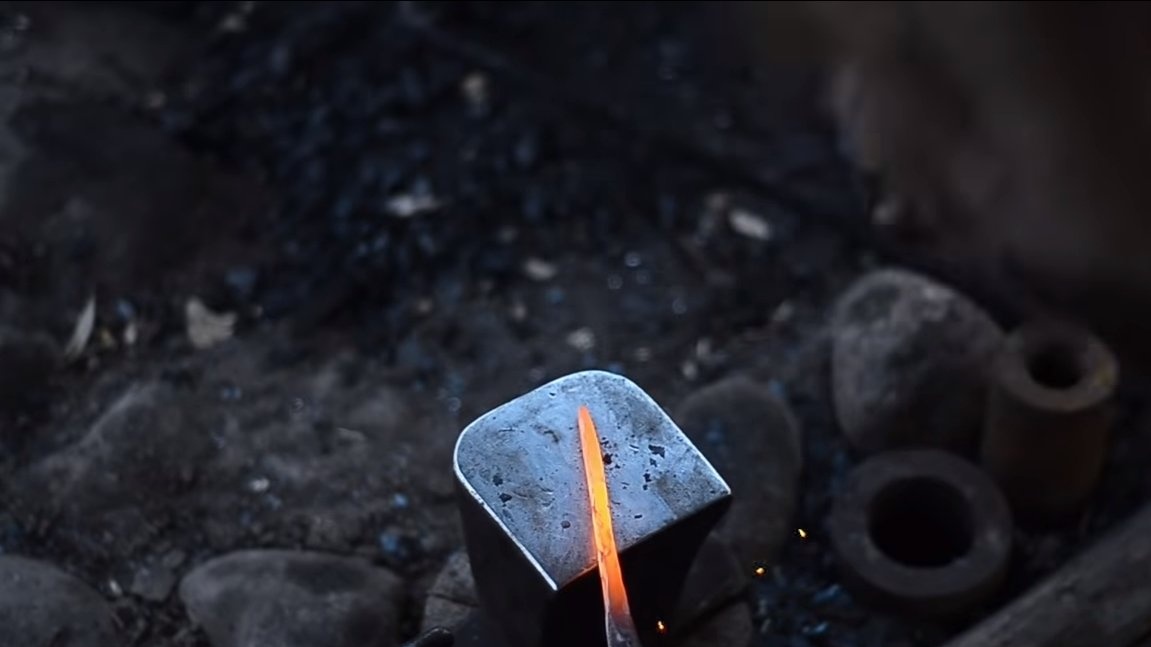
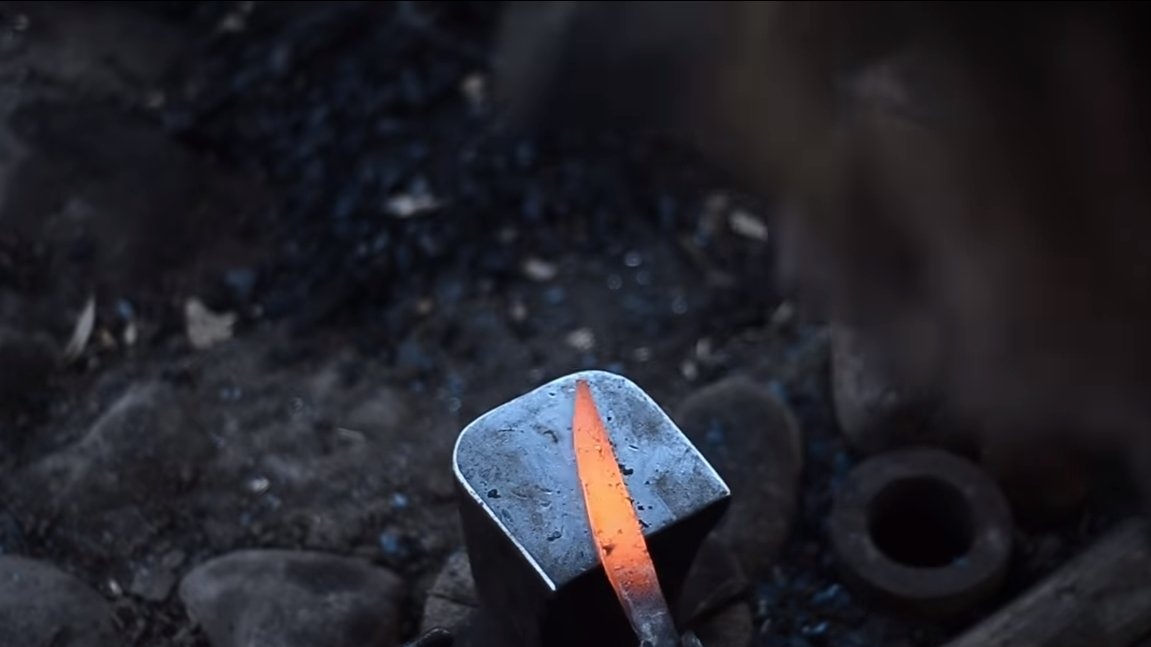
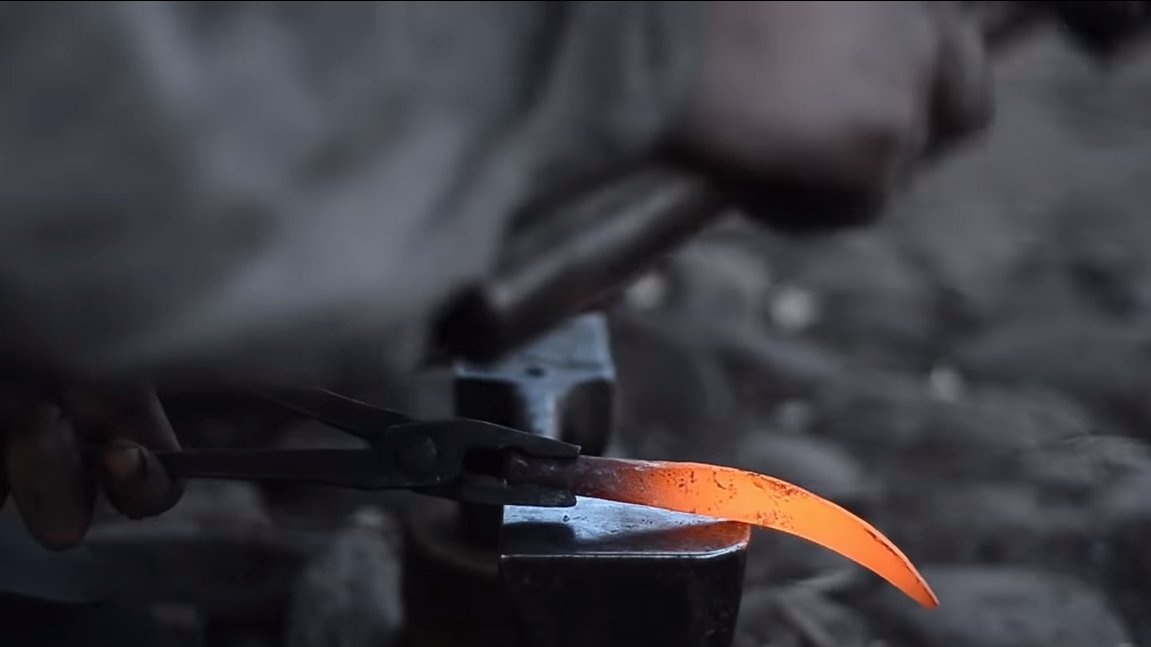
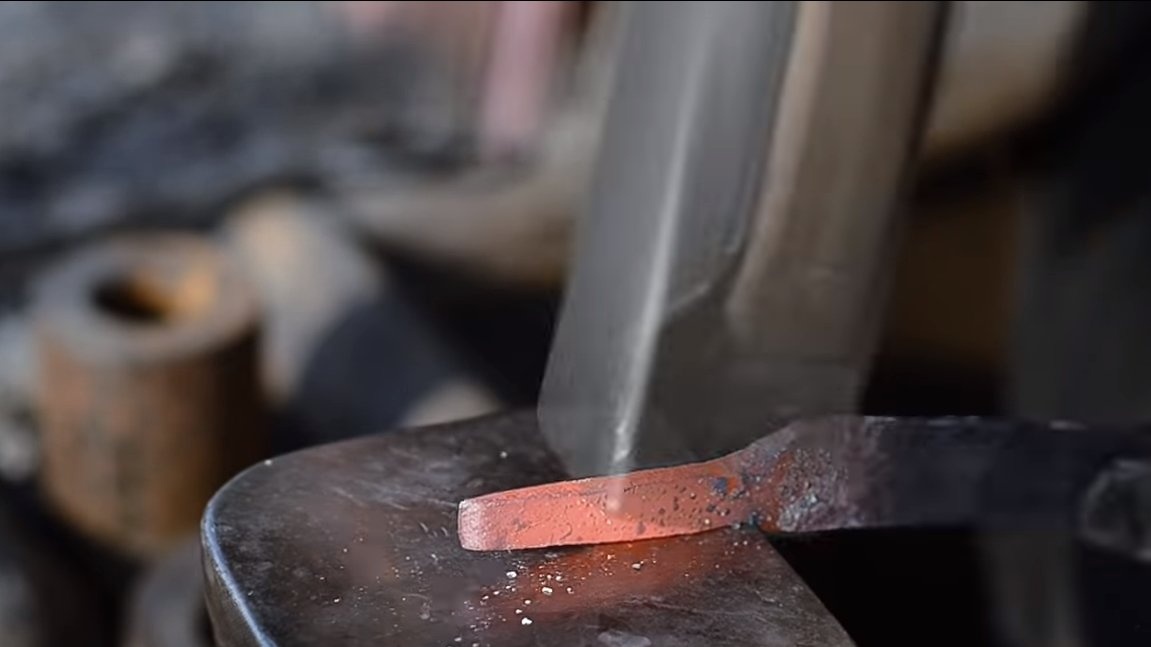
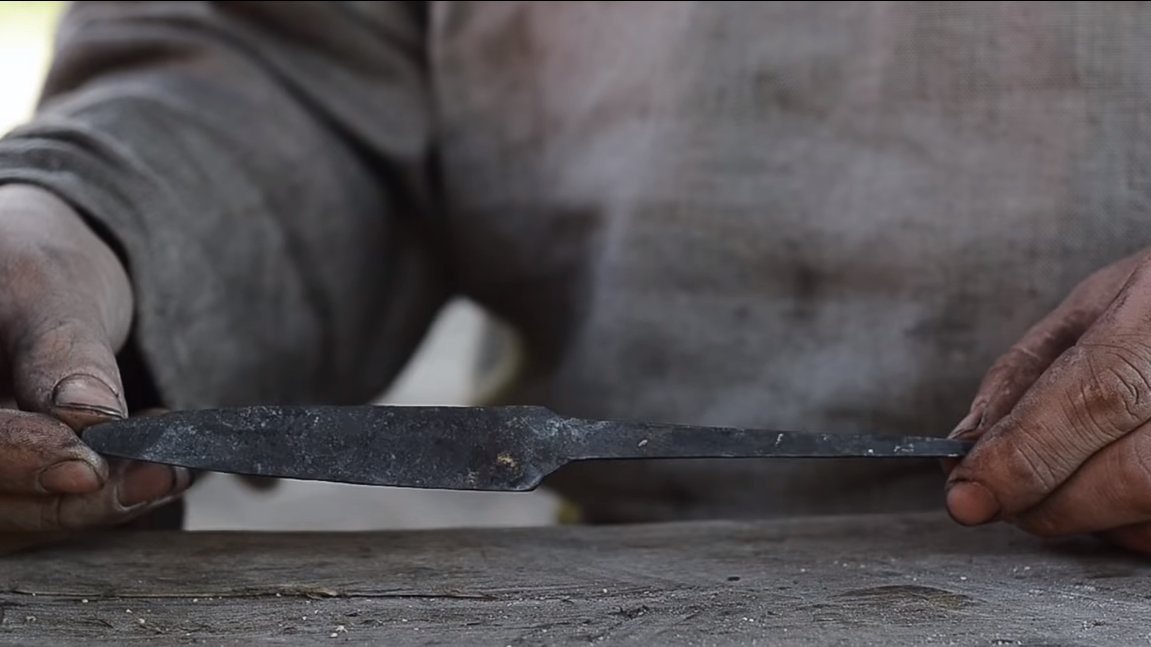
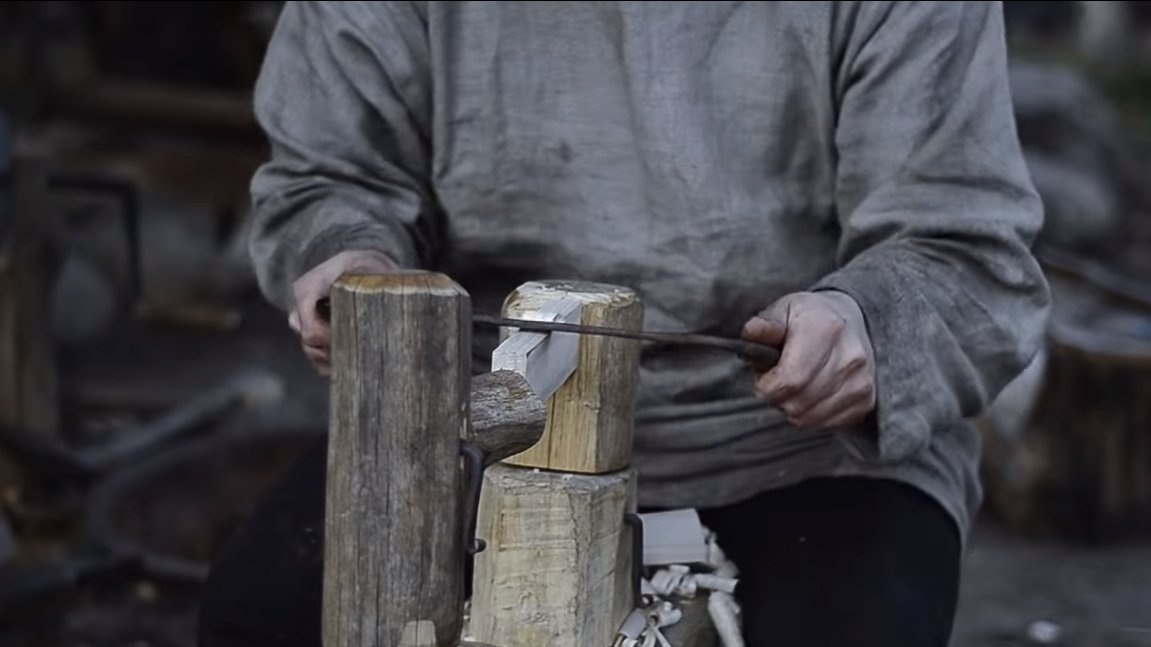
Step one. Forging
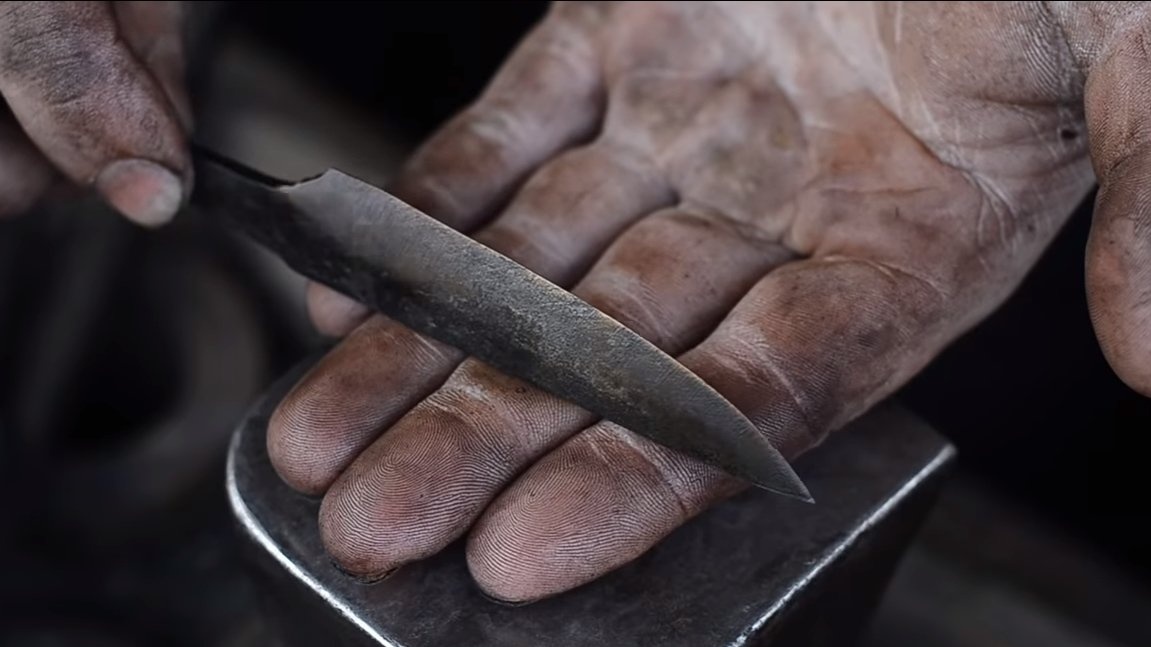
To begin with, we will forge a blade, here we need high-quality steel. The author for this purpose used a piece of spring from the suspension of the car. This spring steel, the blade is easy to harden, and the blade holds sharpening quite well. We heat, we work with a hammer, we draw the desired profile of the blade. We also make the shank of the knife. Also, to reduce the amount of grinding work, we form by forging bevels on a blade.
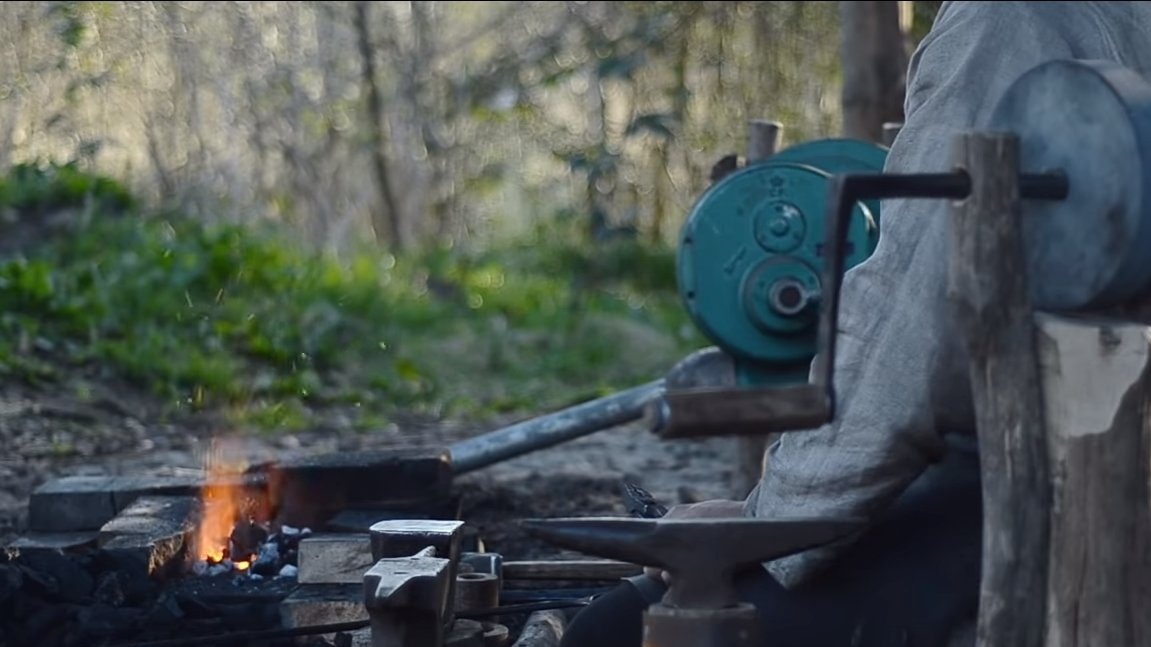
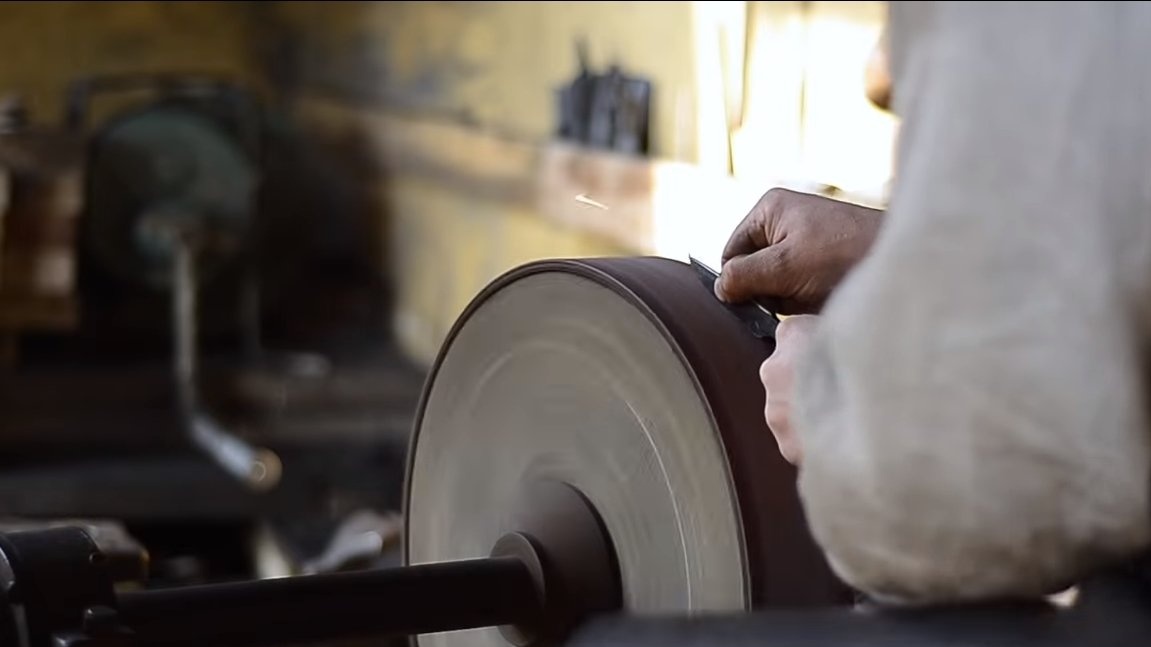
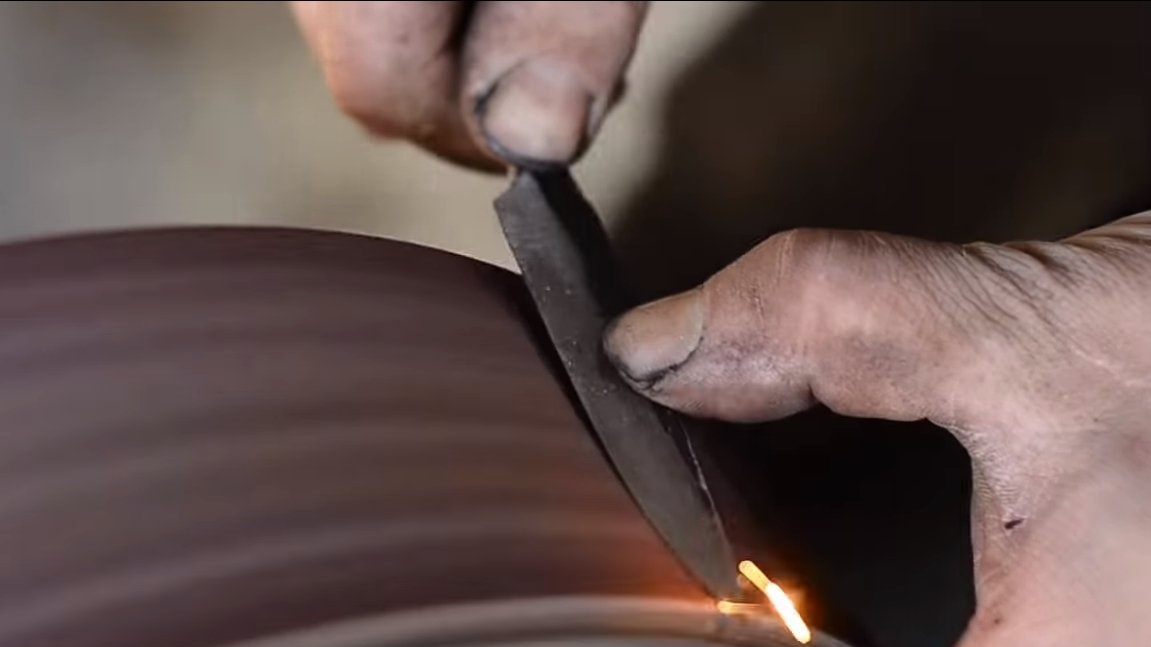
Step Two Grinding
After forging, the blade needs to be sanded, especially for bevels. Here the author uses a special rotary machine with a foot drive. Of course, sandpaper already stands in place of the grindstone, so the grinding process has become much better and easier. A little effort and now we have an almost ready knife.
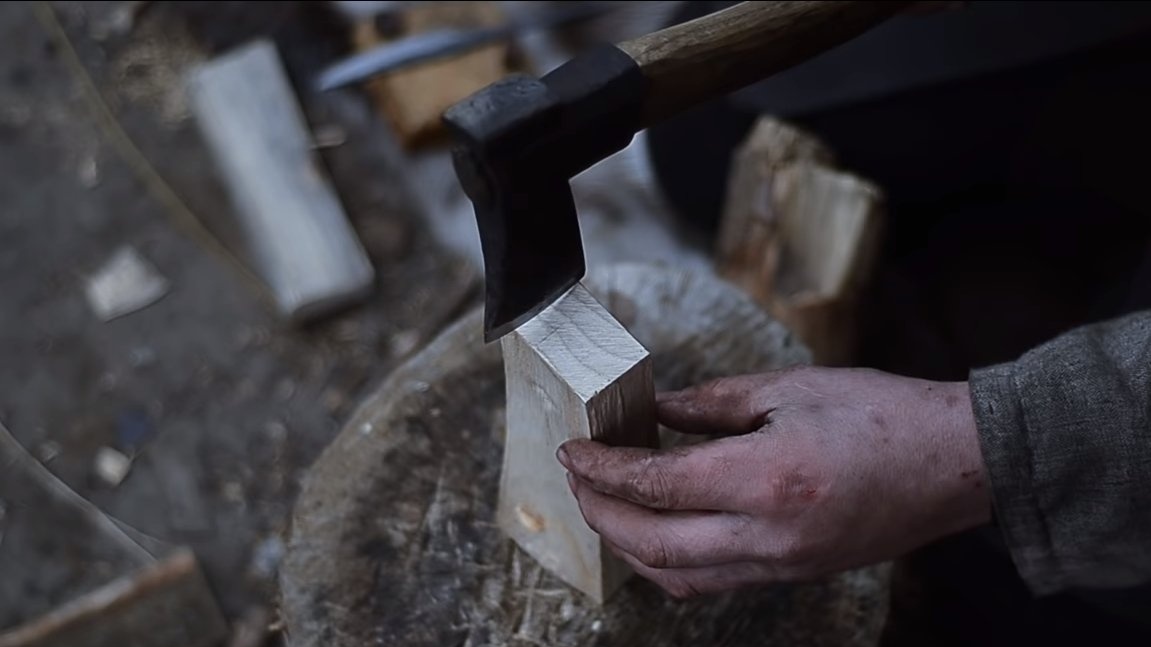
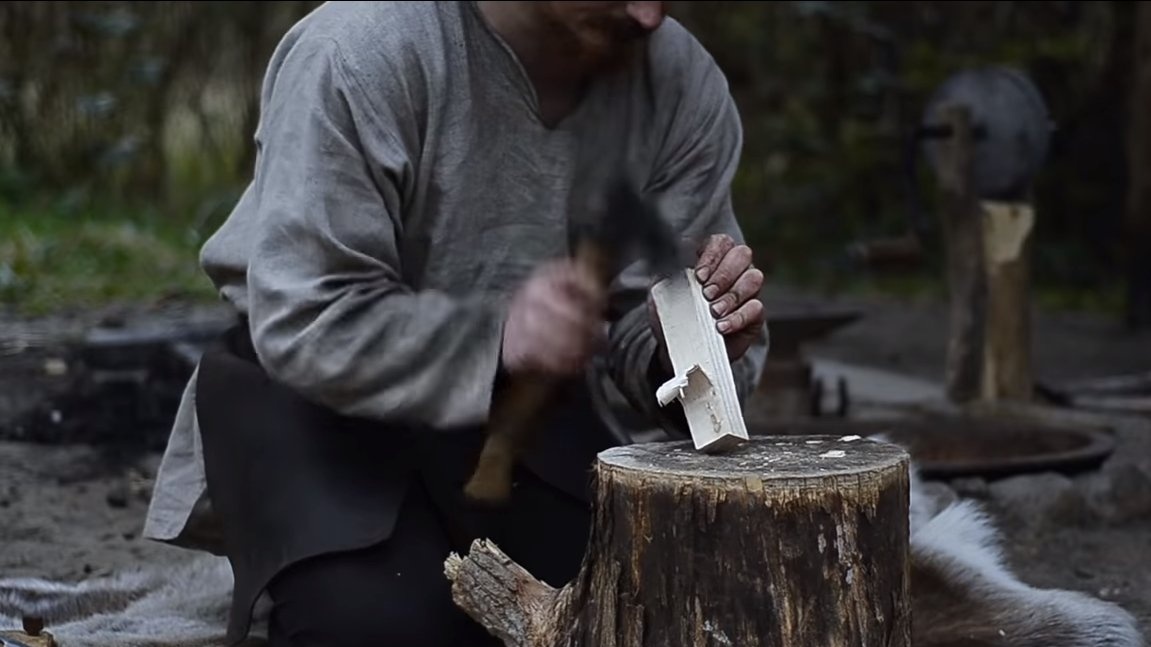
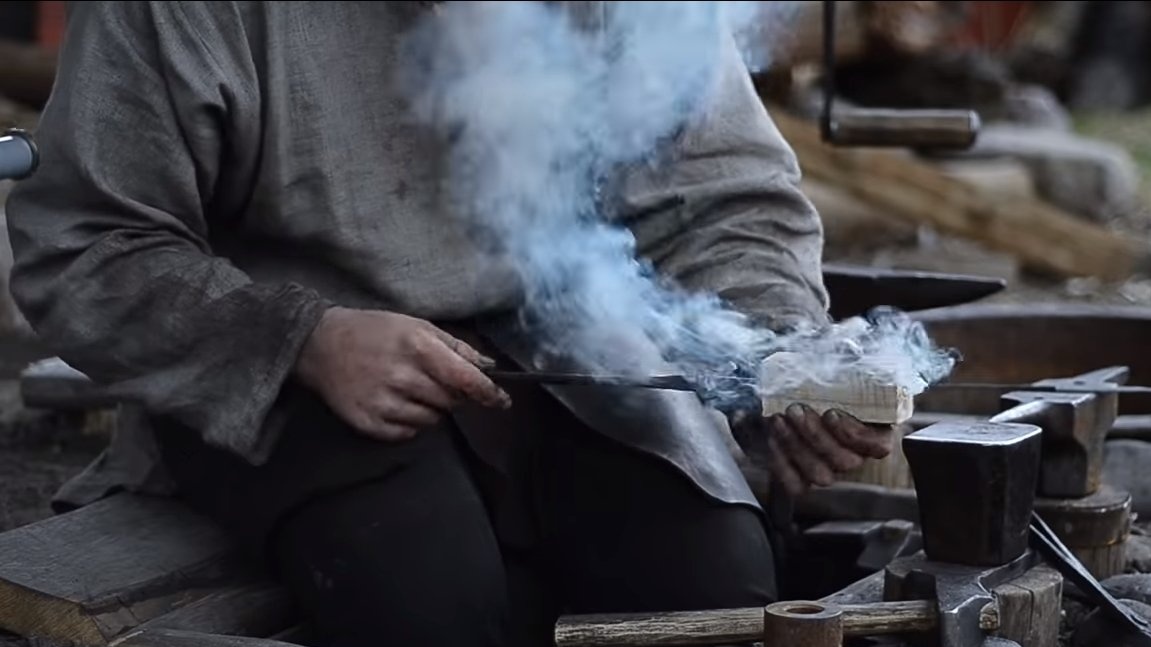
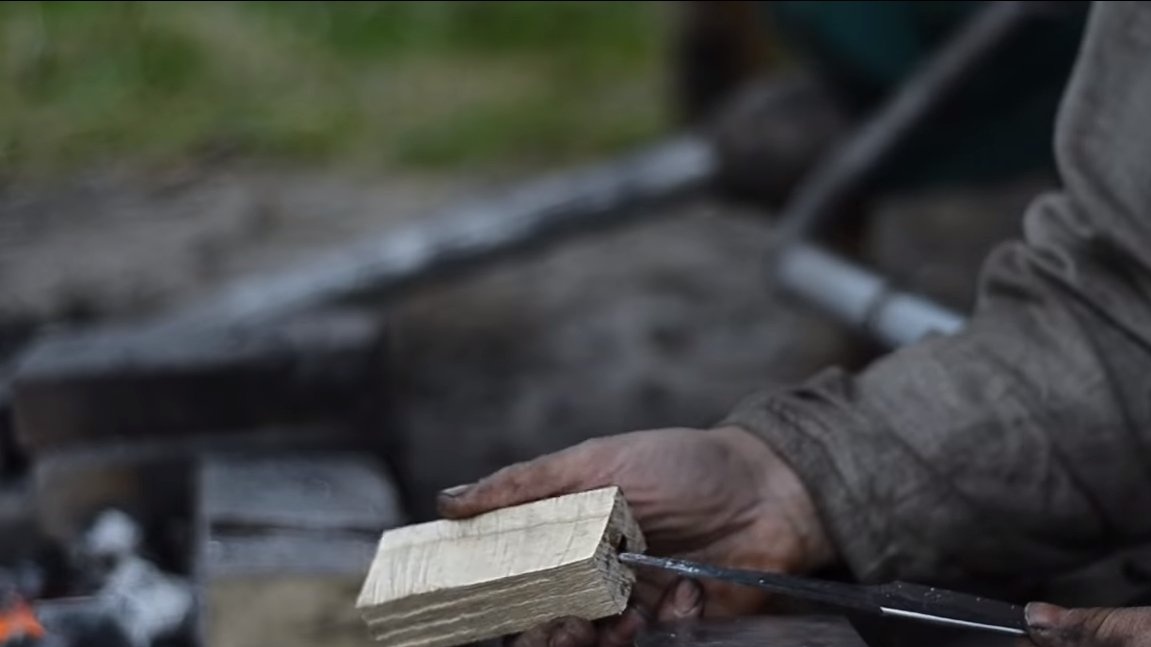
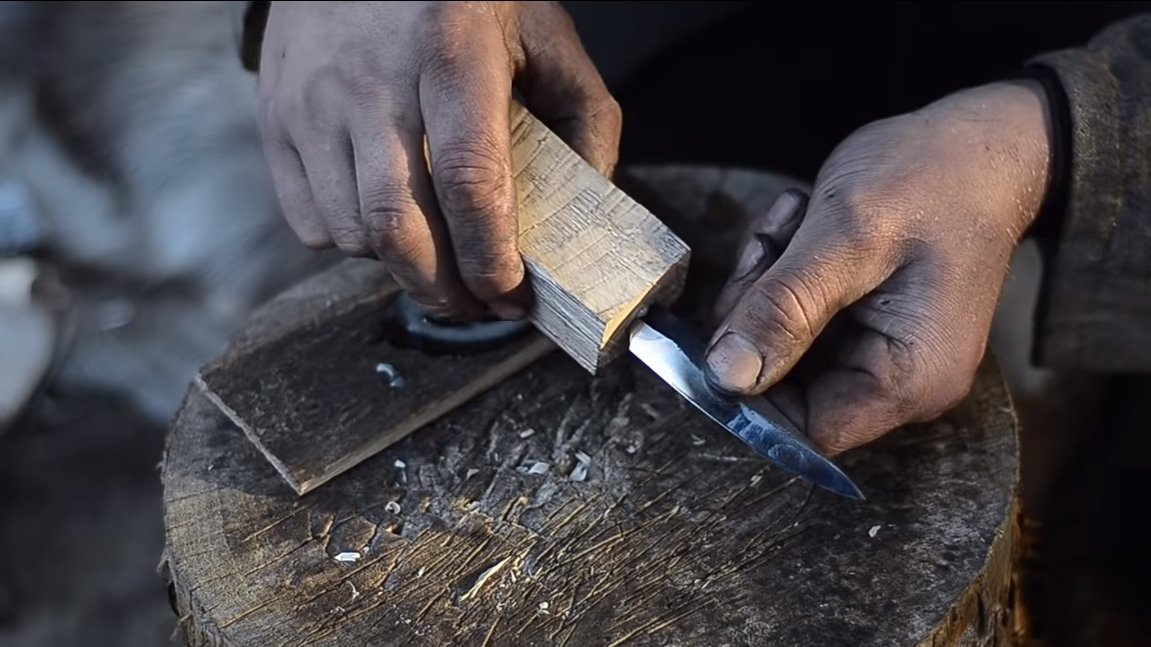
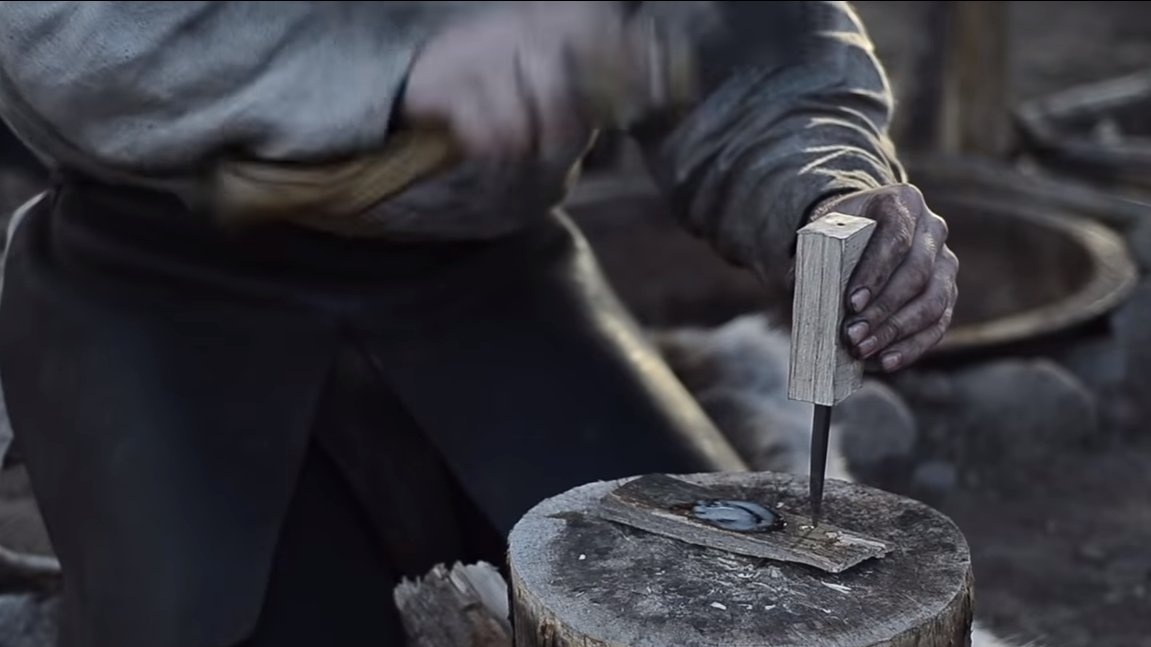
Step Three Handle blank
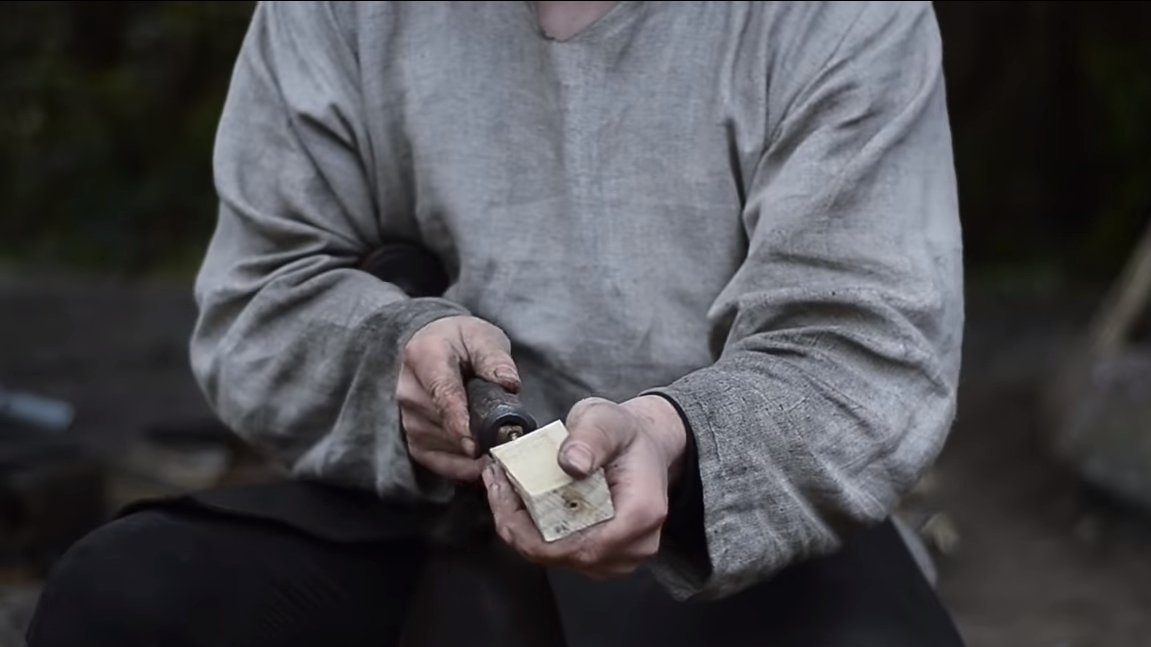
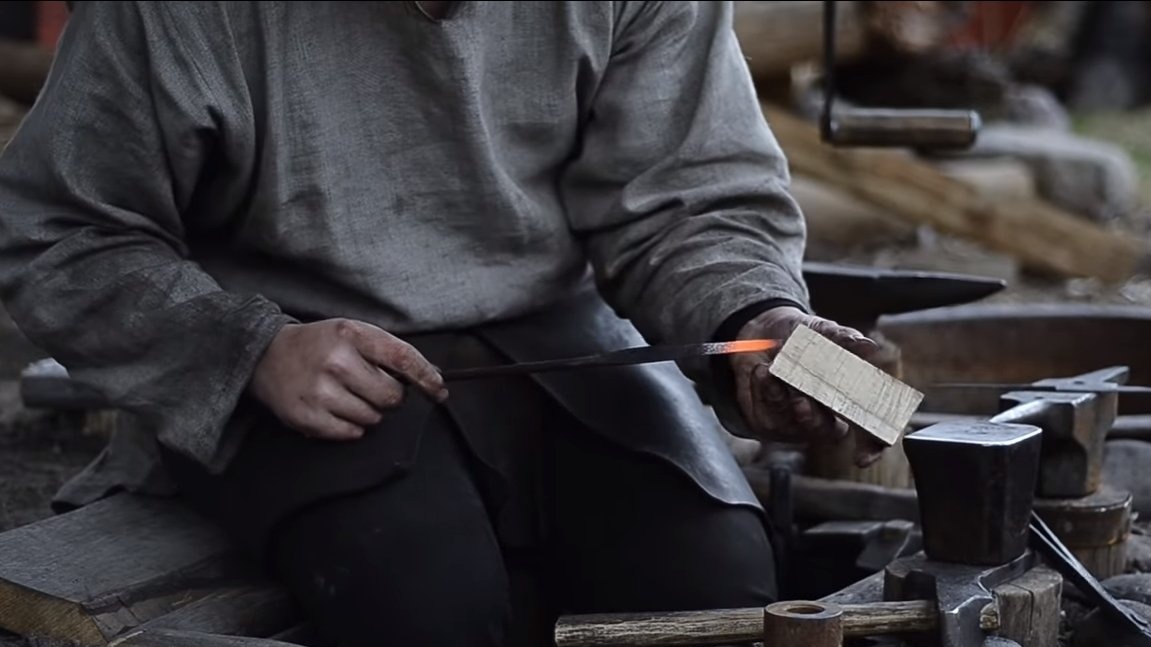
We make a whole handle of wood, look for a suitable piece of wood and chop it with an hatchet, hang it up to get a block of the right size. The blank remains to be planted on the shank of the knife, for this we arm ourselves with a hand drill and drill a hole along the handle. Next, the shank of the knife needs to be heated, we insert it into the hole in the handle and the red-hot metal will burn its own path. Keeping the shank in the tree for a long time is not recommended, as the iron can burn out too much wood and the hole will become large.
As wood for a handle ash or oak is well suited, it is a solid breed of wood and it easily pricks.
Step FourHeat treatment
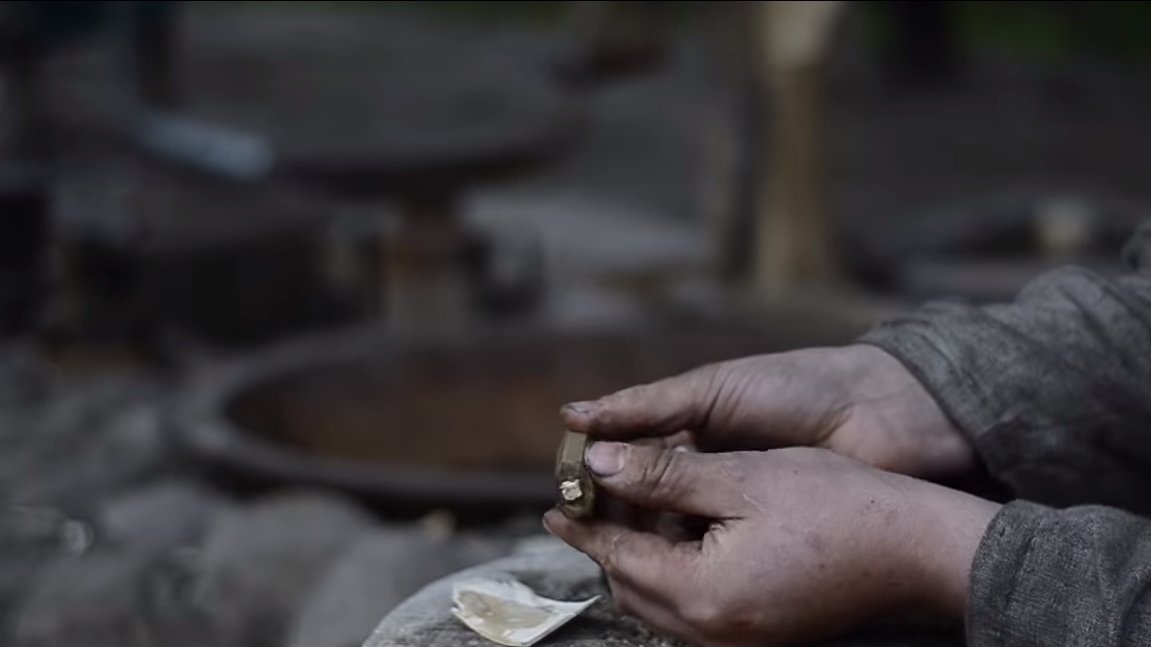
We conduct heat treatment of the blade to obtain the desired properties of steel. The blade must spring, this will not allow it to break under heavy load. First, we normalize the steel, for this we heat the blade and let it cool smoothly. This procedure will remove internal stresses that have formed after forging.
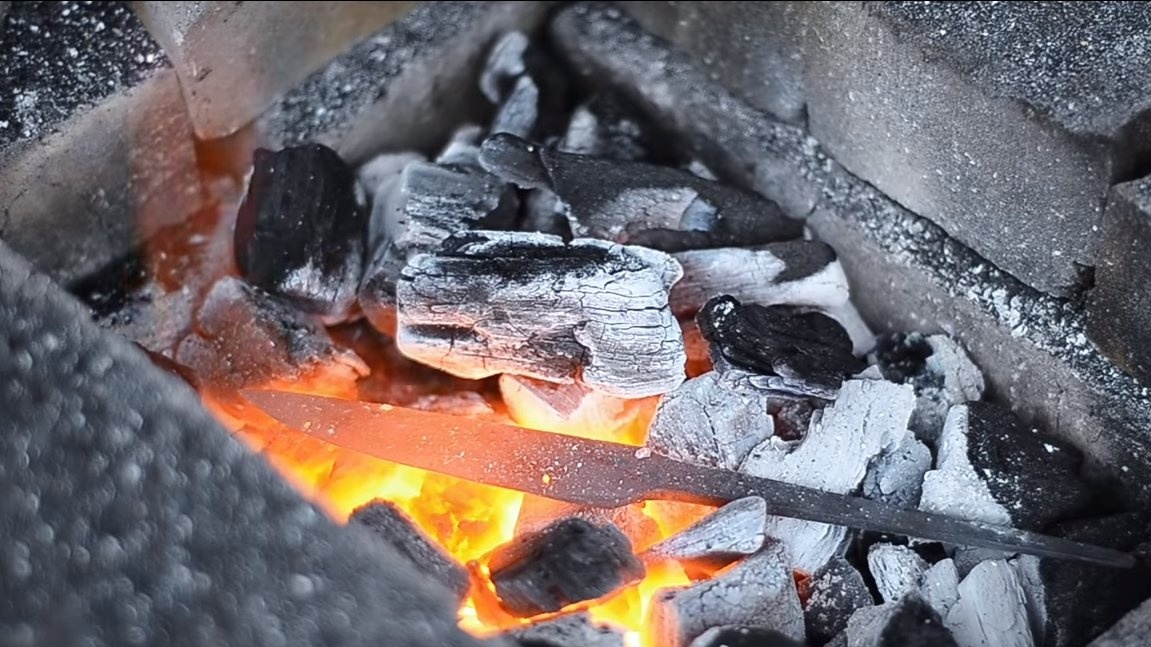
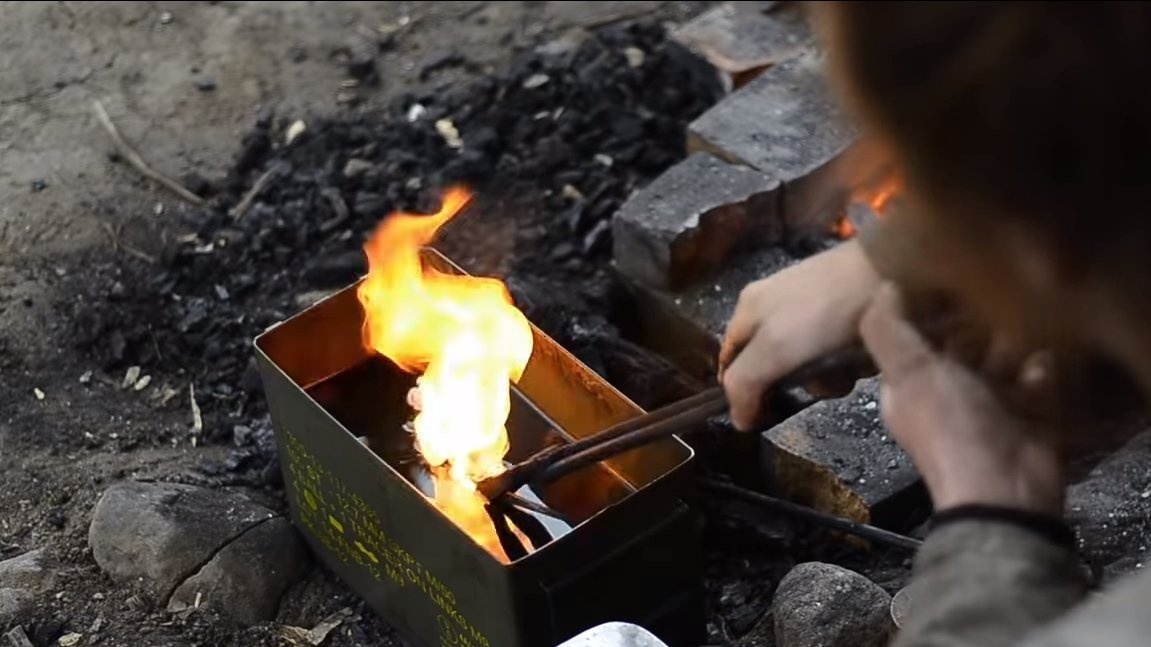
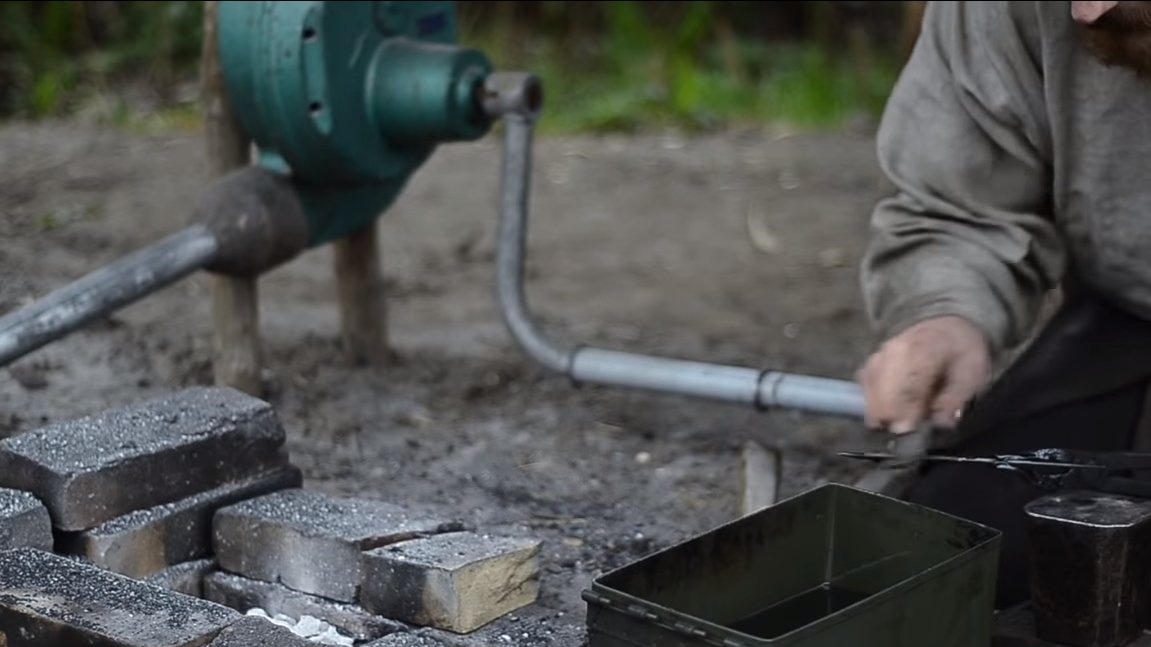
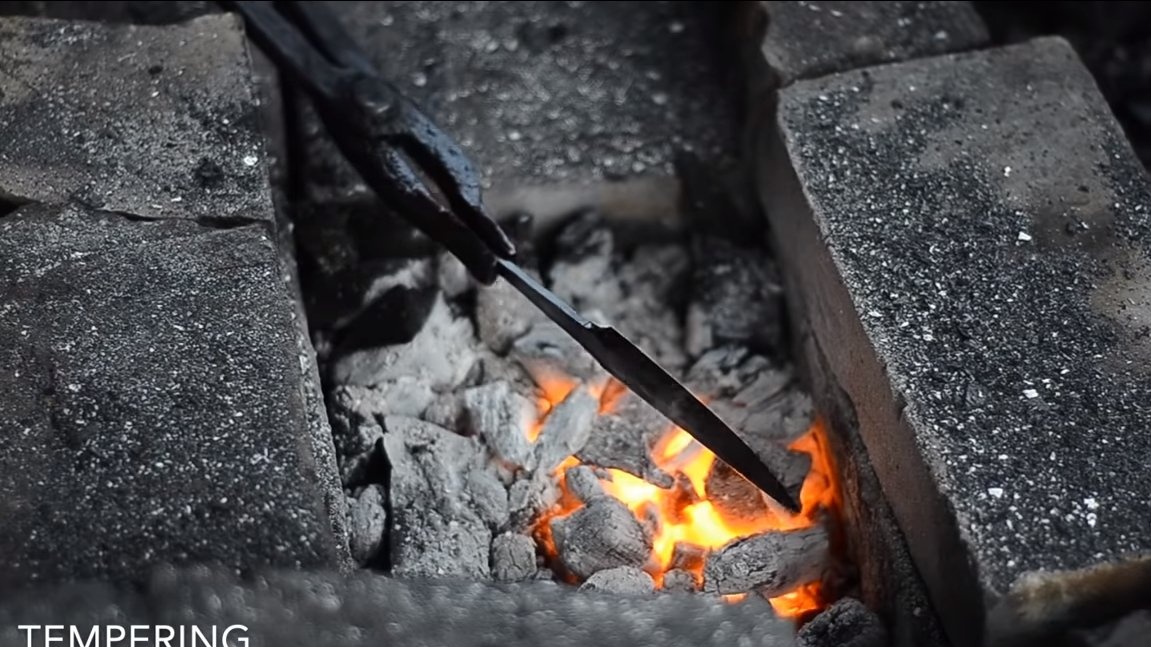
Now you can begin to harden, again we heat the blade and cool in oil. You can use water, but with oil there is less chance that the blade will crack or lead. After hardening, the blade must be let go so that it begins to spring. Just hold the blade over the coals until the steel gains a golden color. That's all, we got a blade of excellent quality, it remains to grind it after hardening.
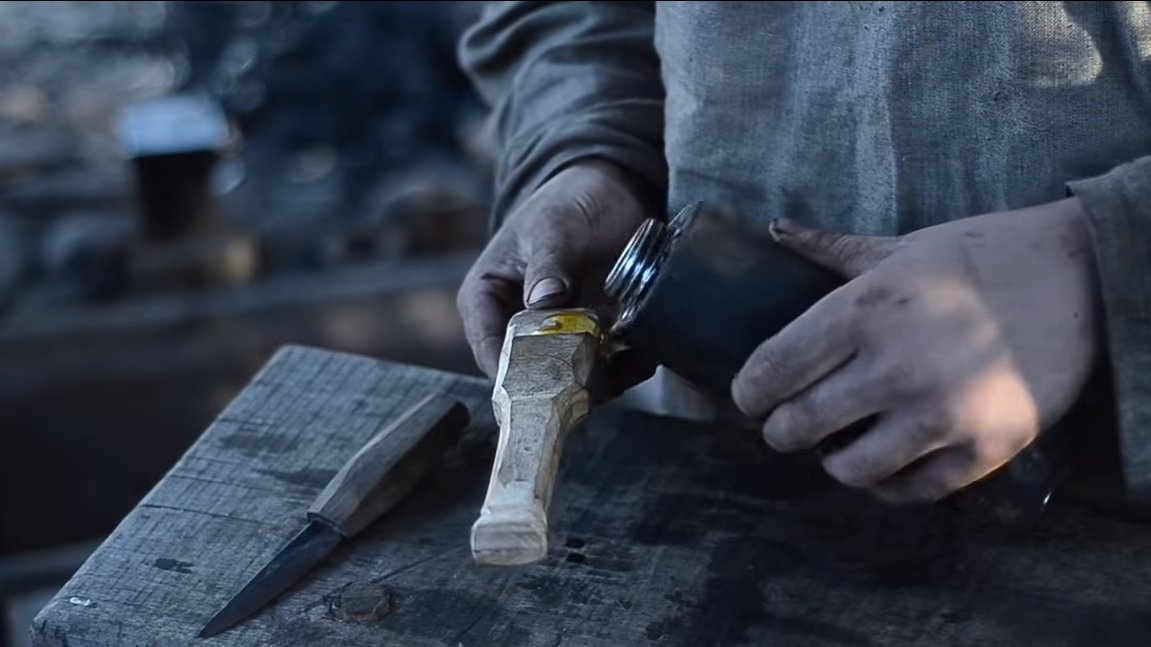
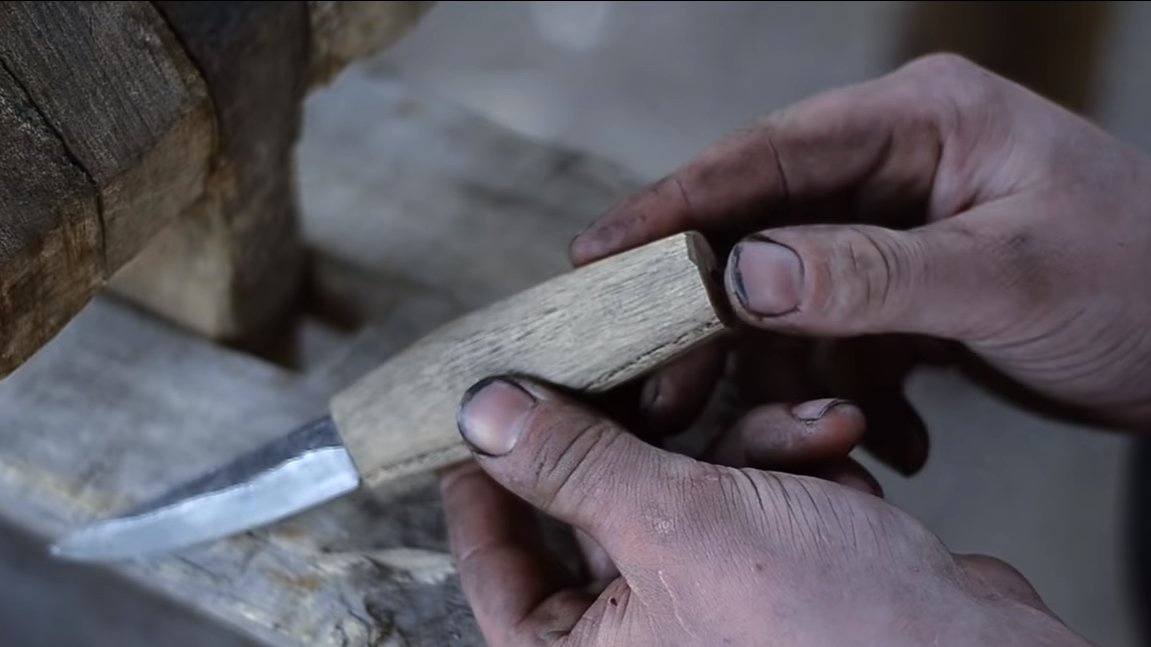
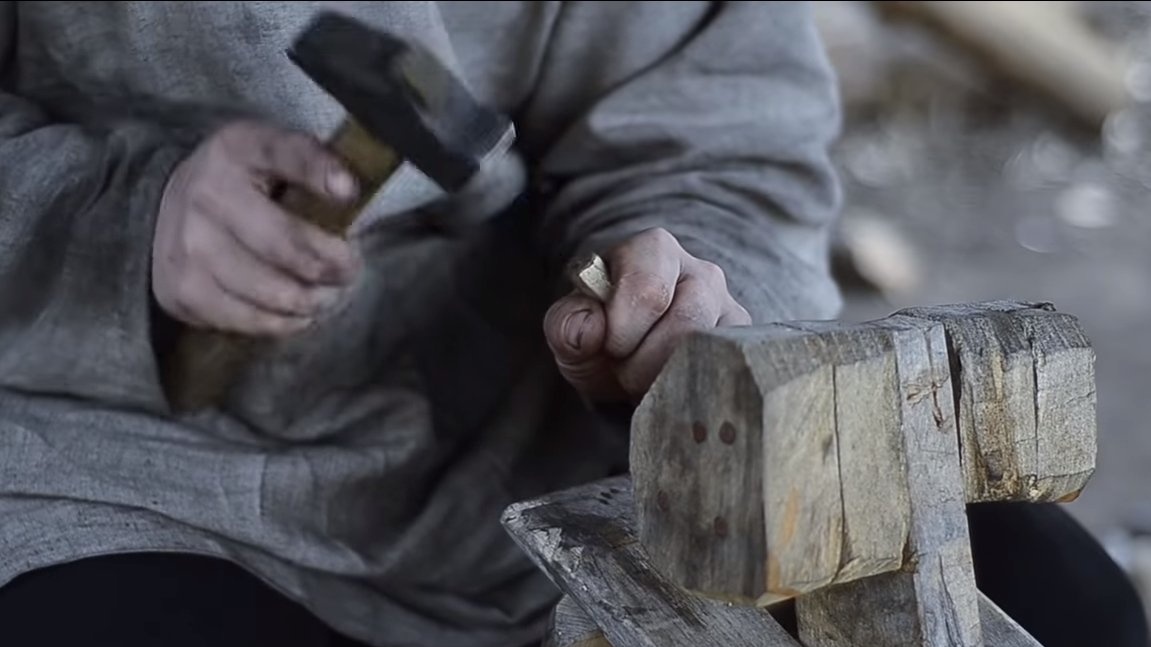
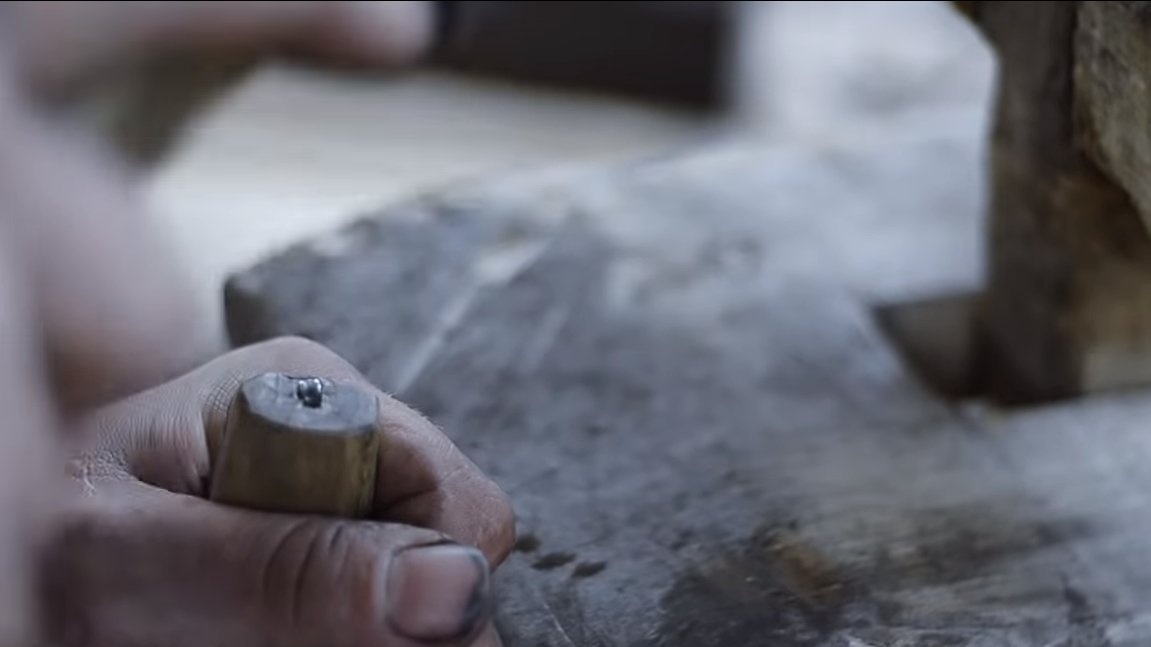
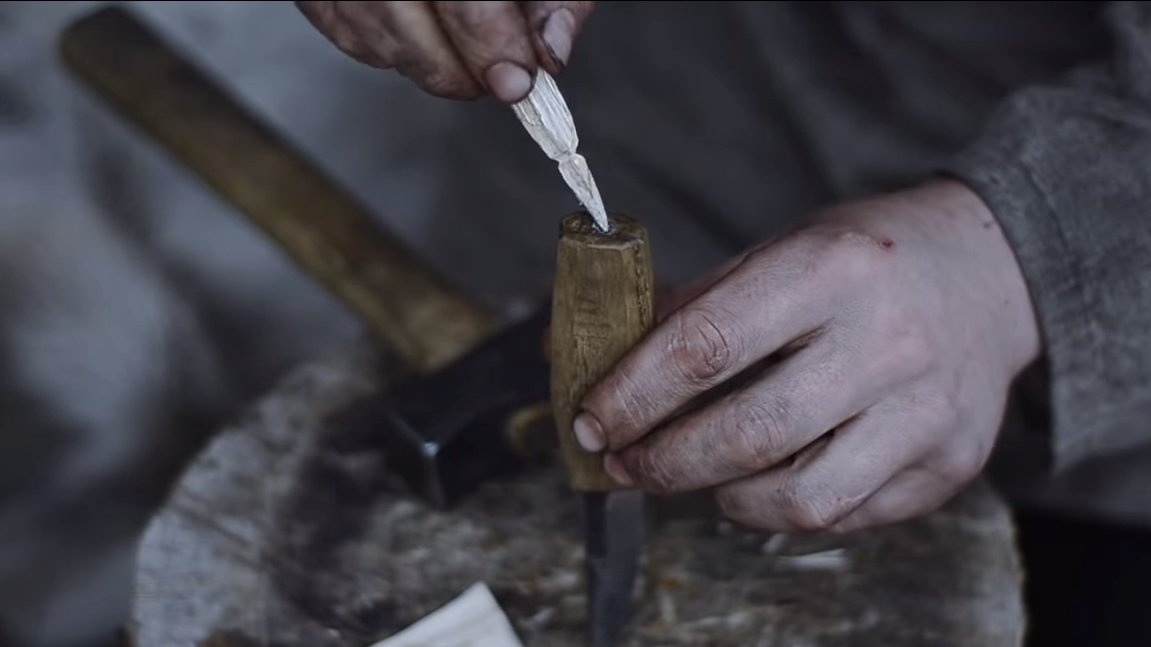
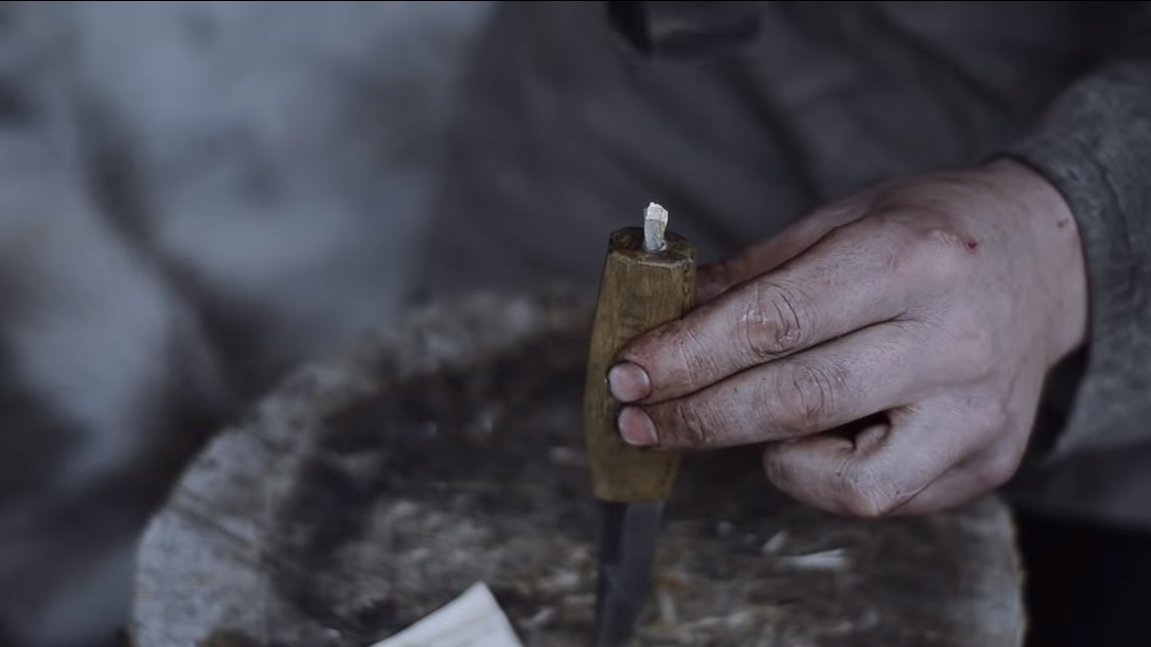
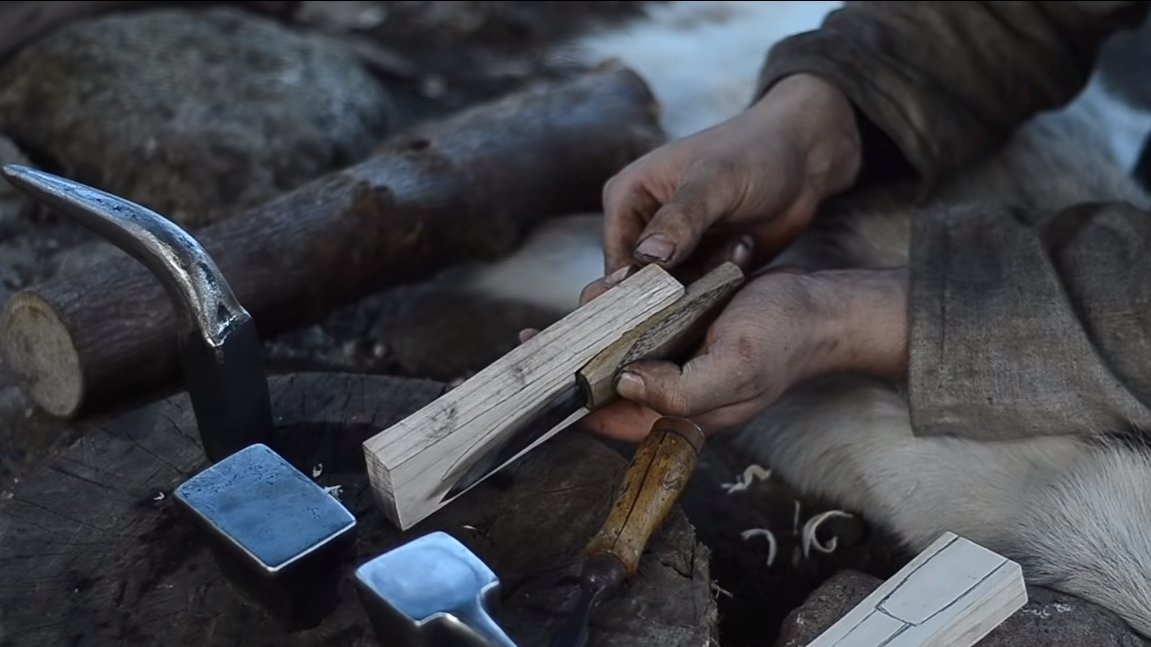
Step Five A pen
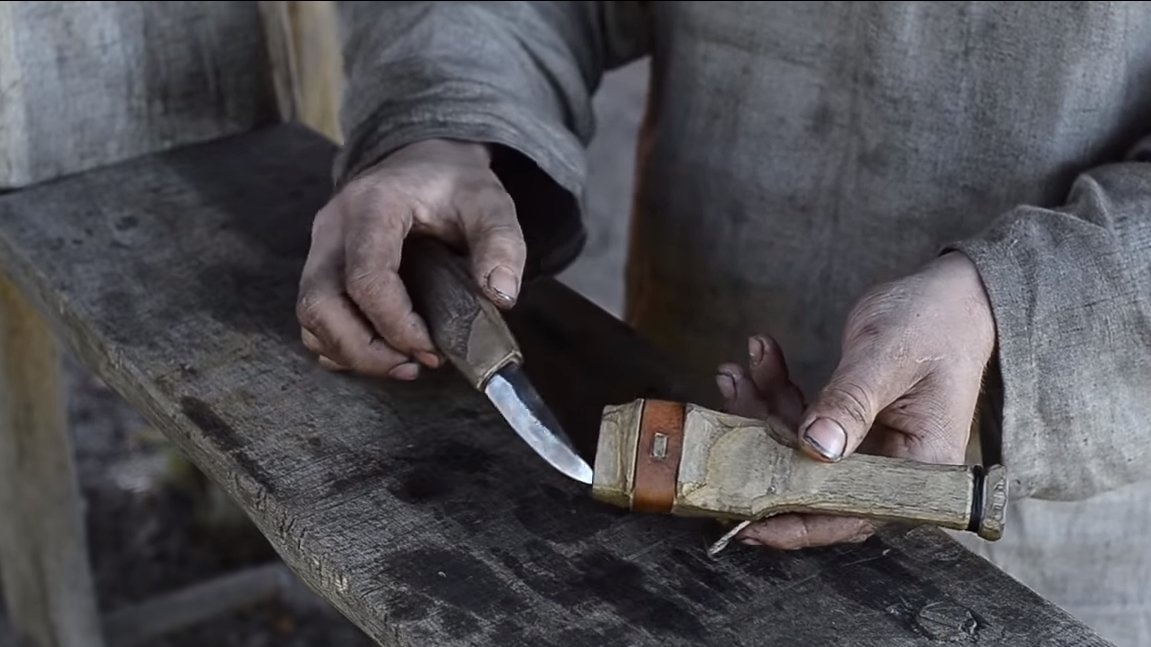
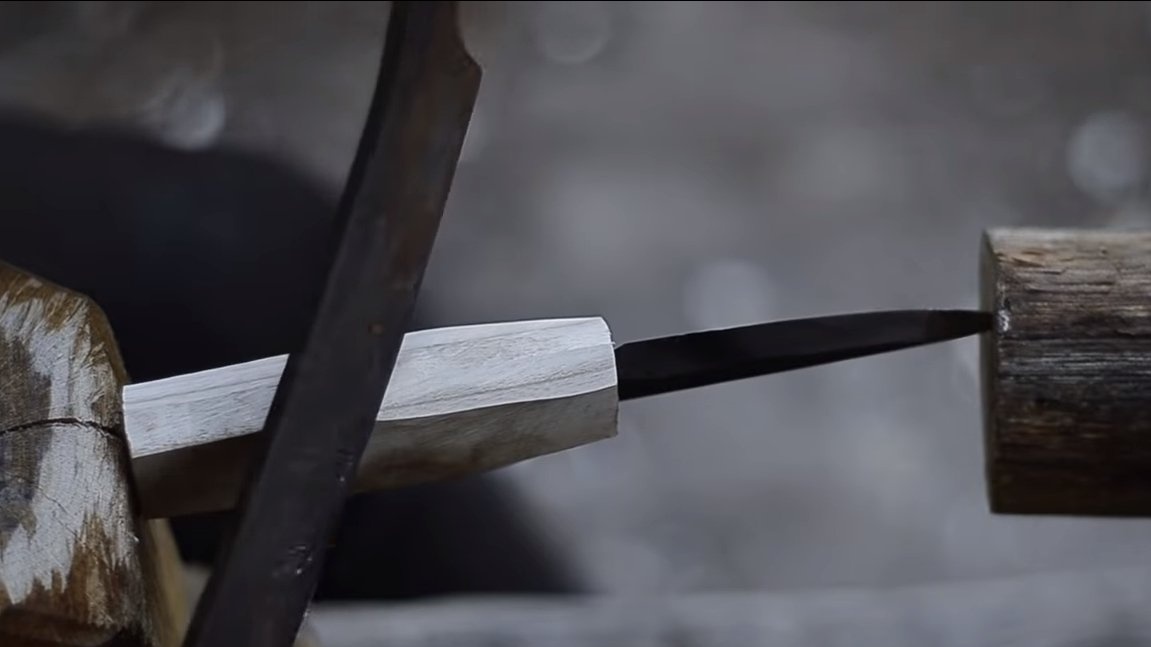
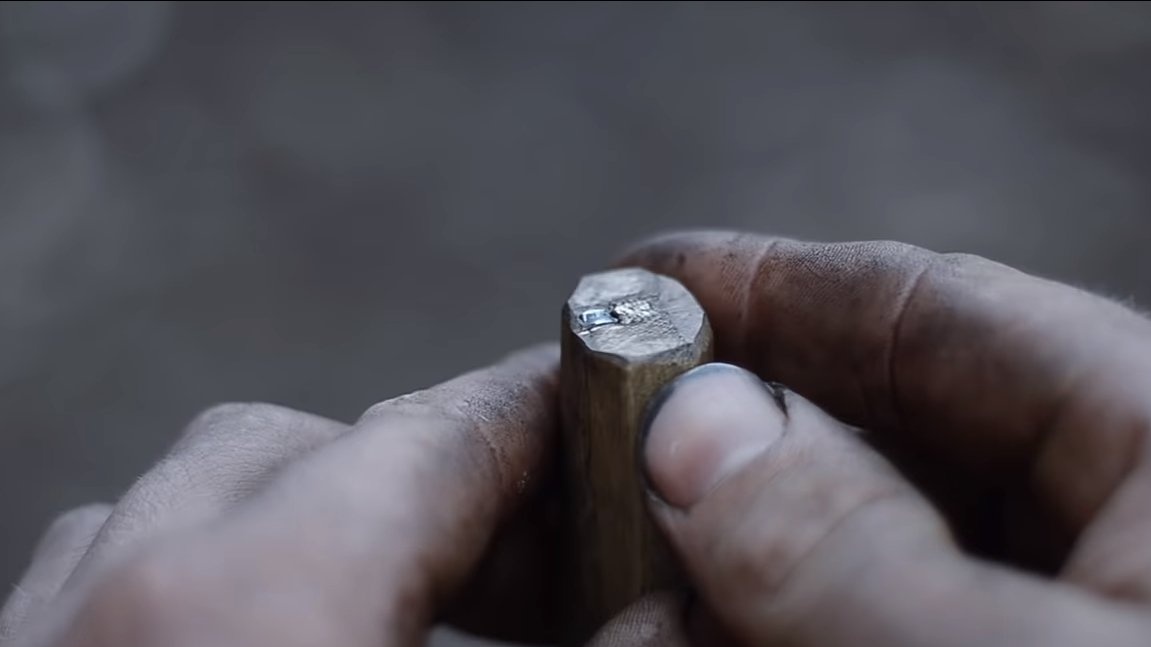
We make the handle, we already made the workpiece earlier, we install it on the shank of the knife, it is better to hammer it on carpentry glue. The length of the shank is such that it comes out a few millimeters on the other hand, this piece must be bent. As a result, the blade will hold very tightly and will not fall out of the handle. In the hole formed in the back of the handle, we drive in a wedge with wood glue and cut off the excess.
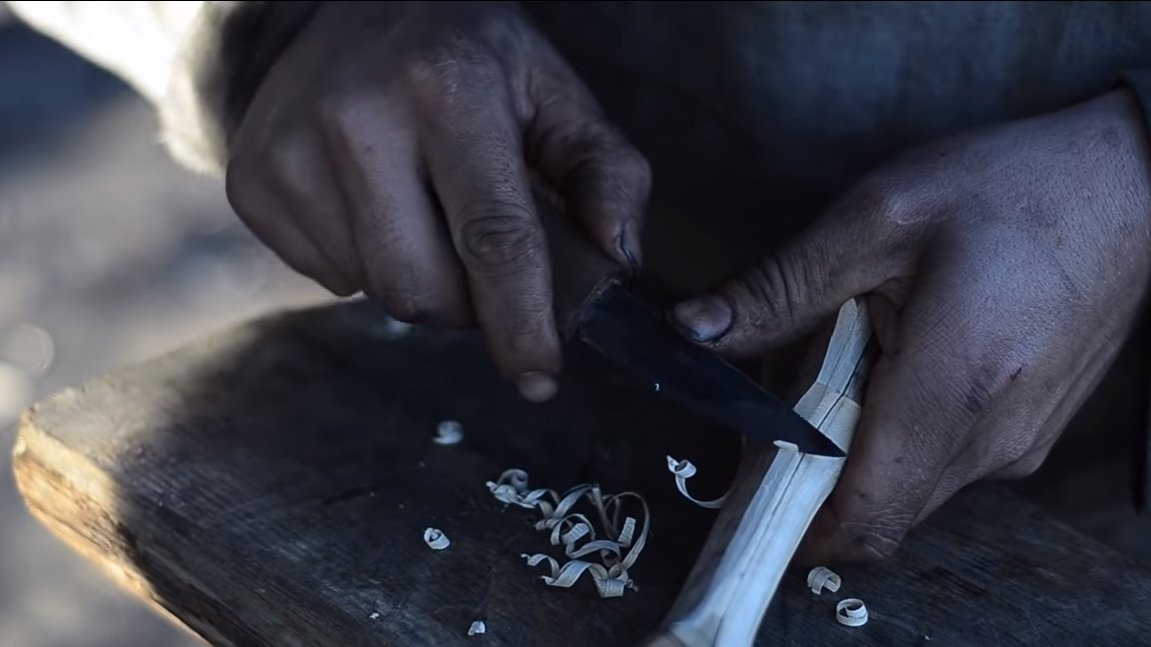
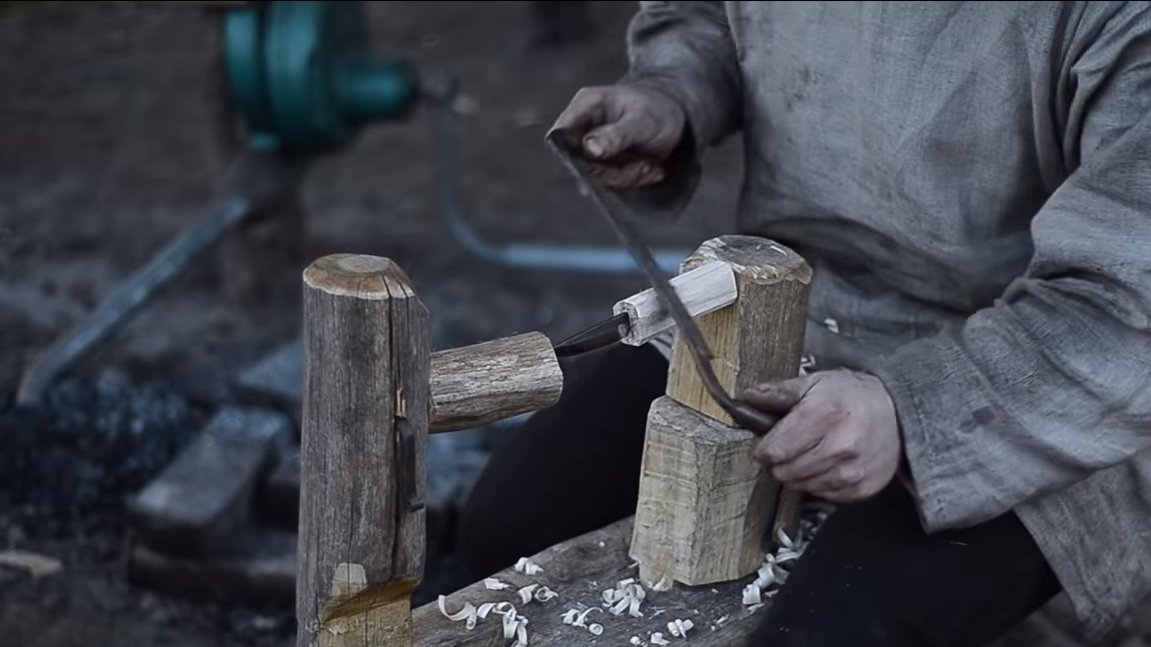
That's all, the handle is installed, now we set the desired profile using the bracket. The author’s pen turned out to be multifaceted, grinding was not performed.
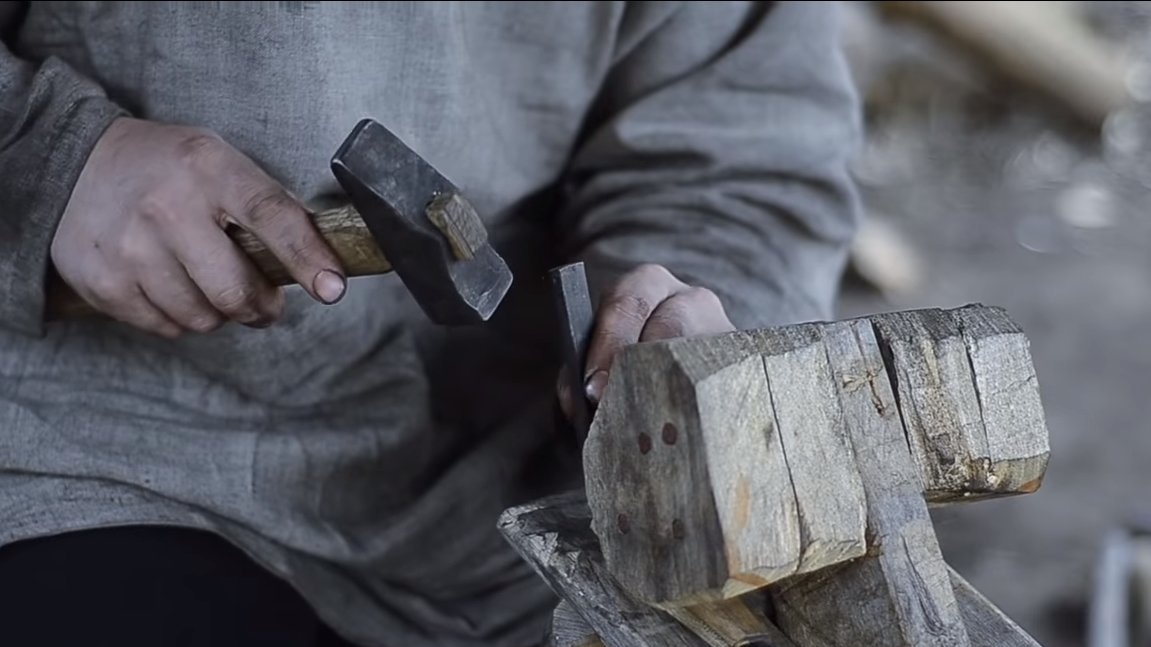
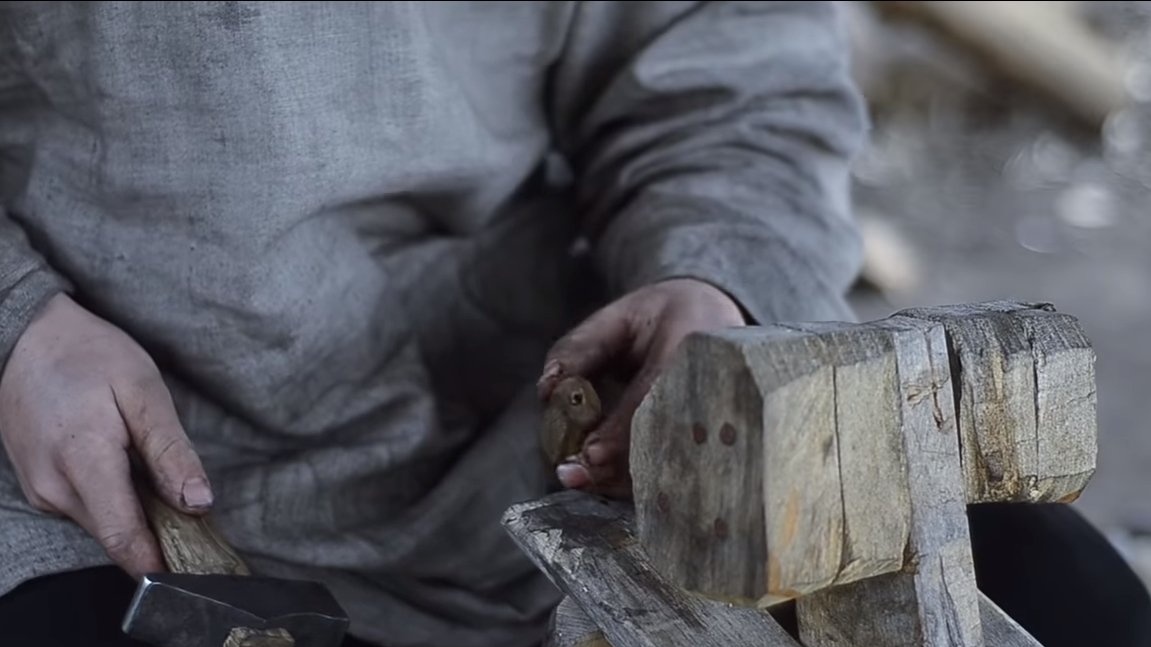
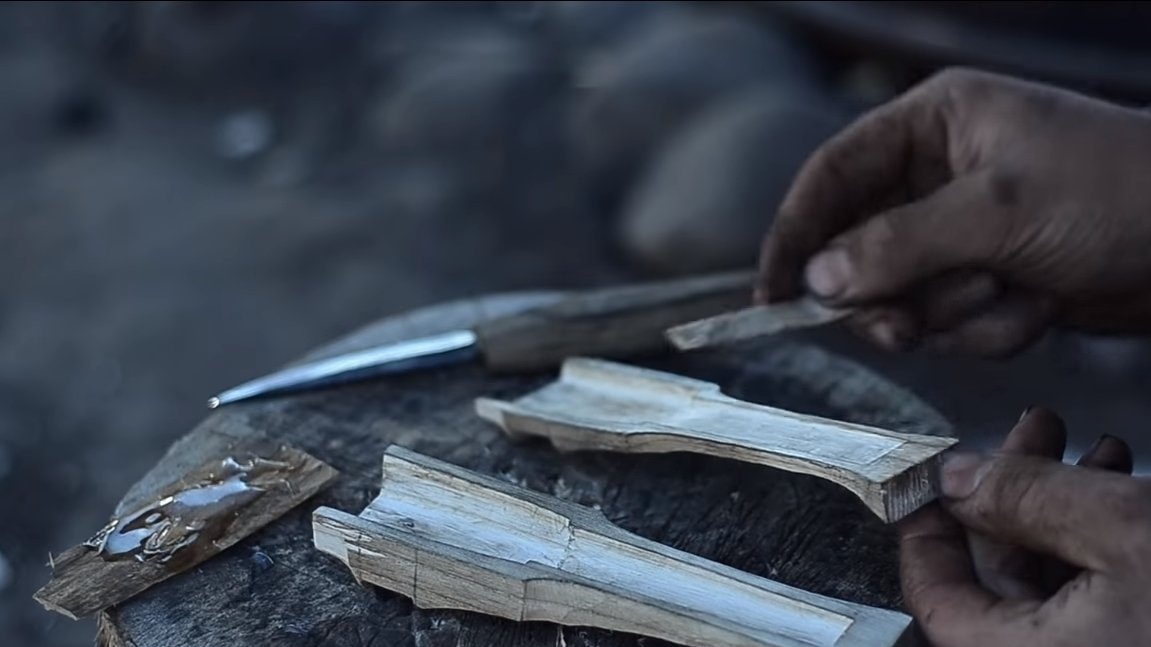
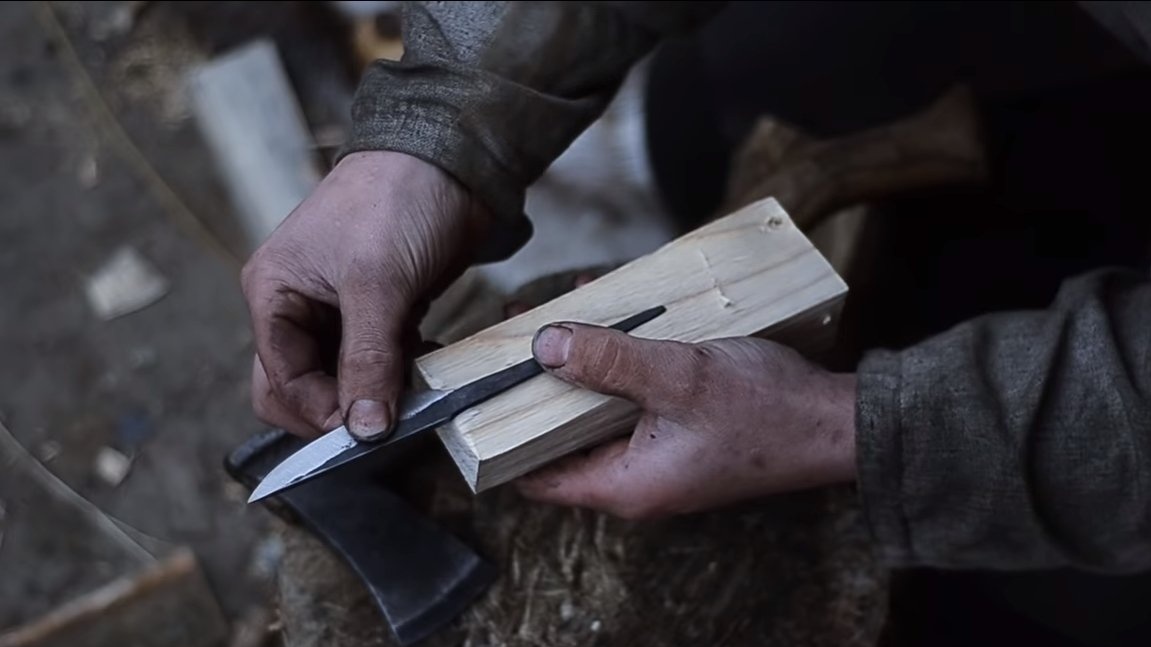
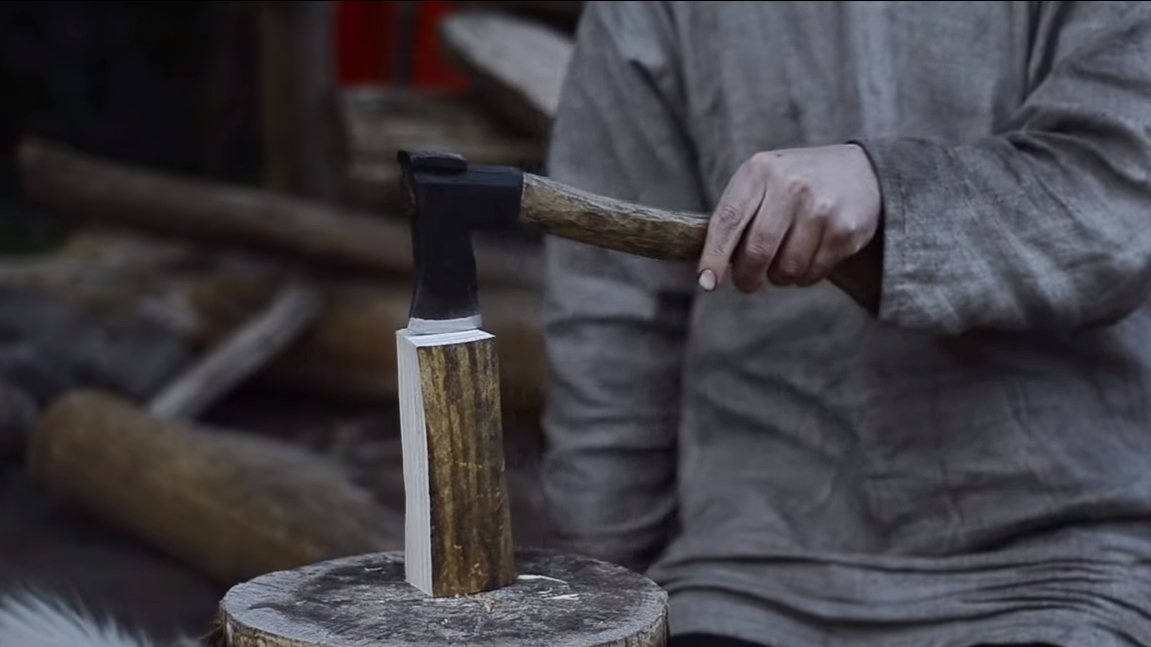
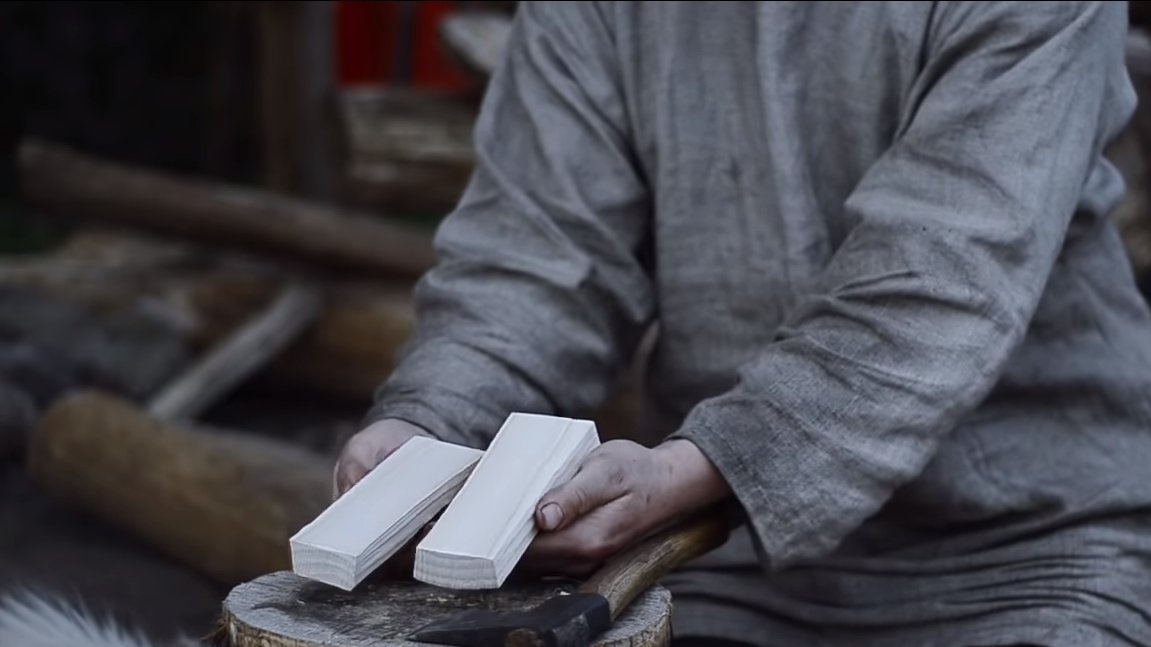
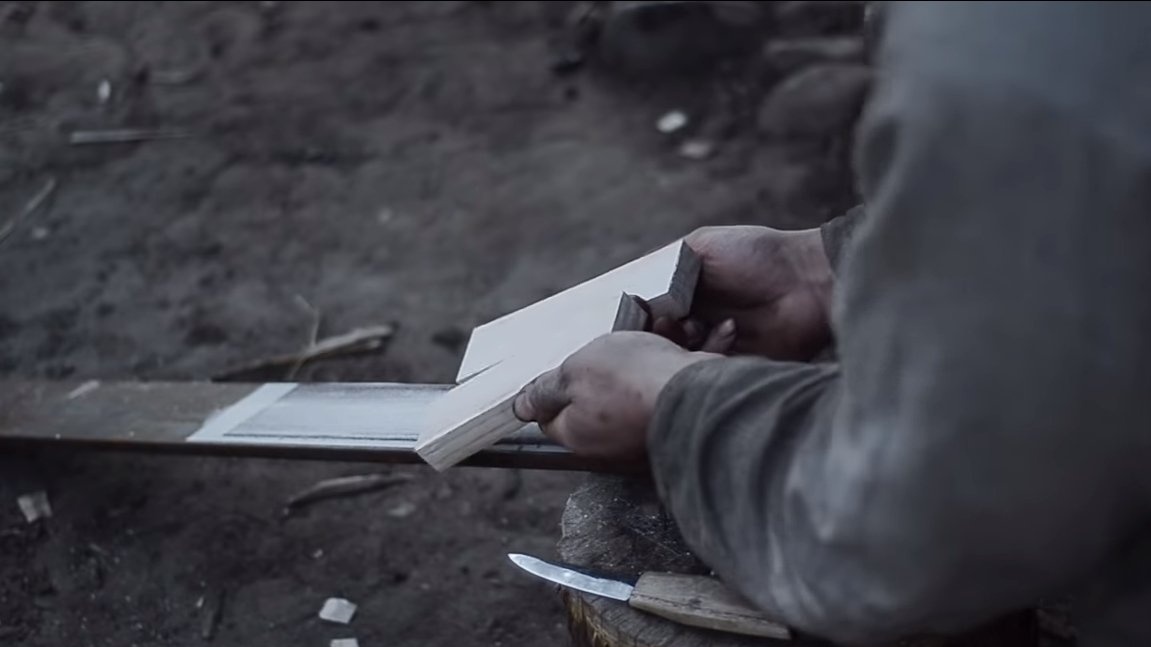
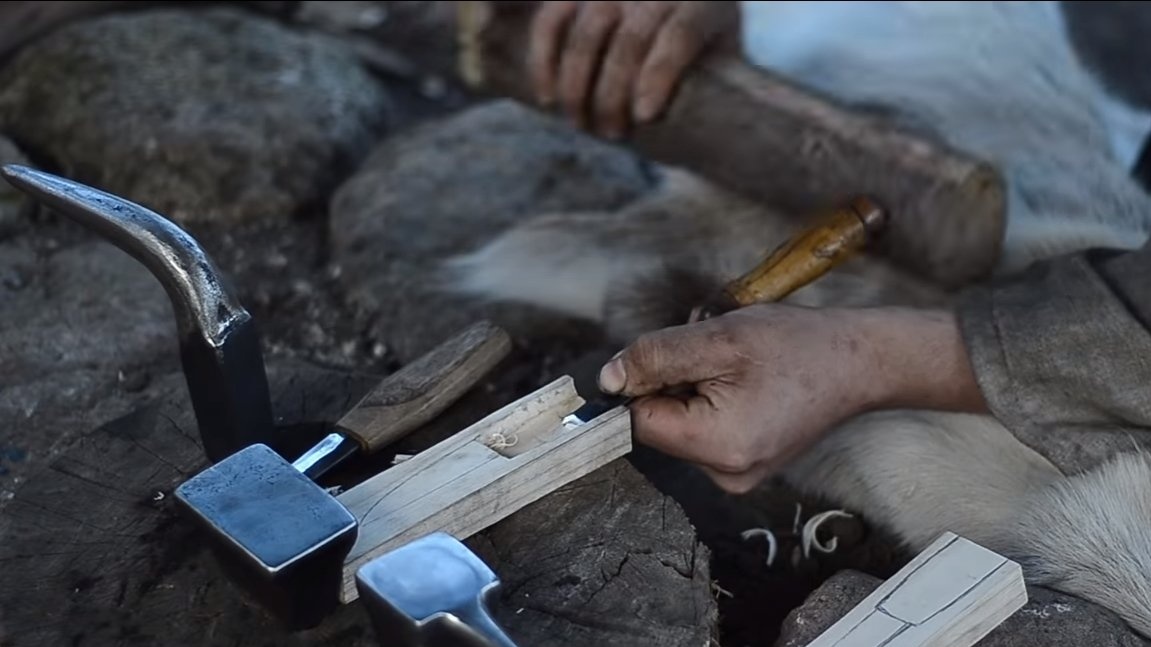
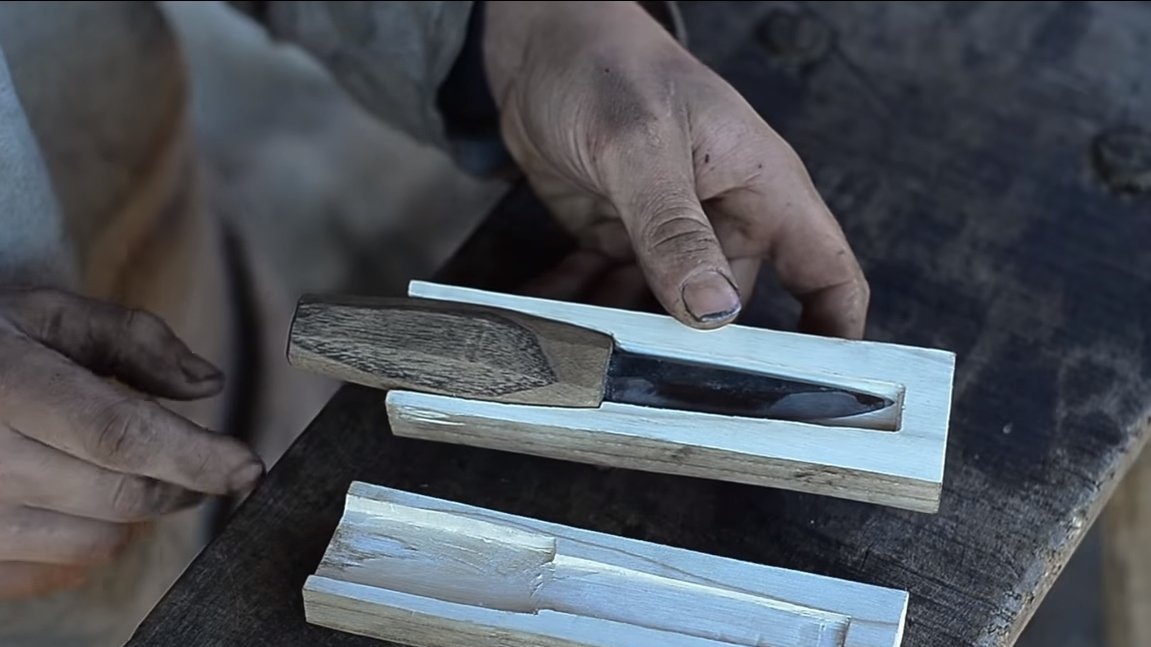
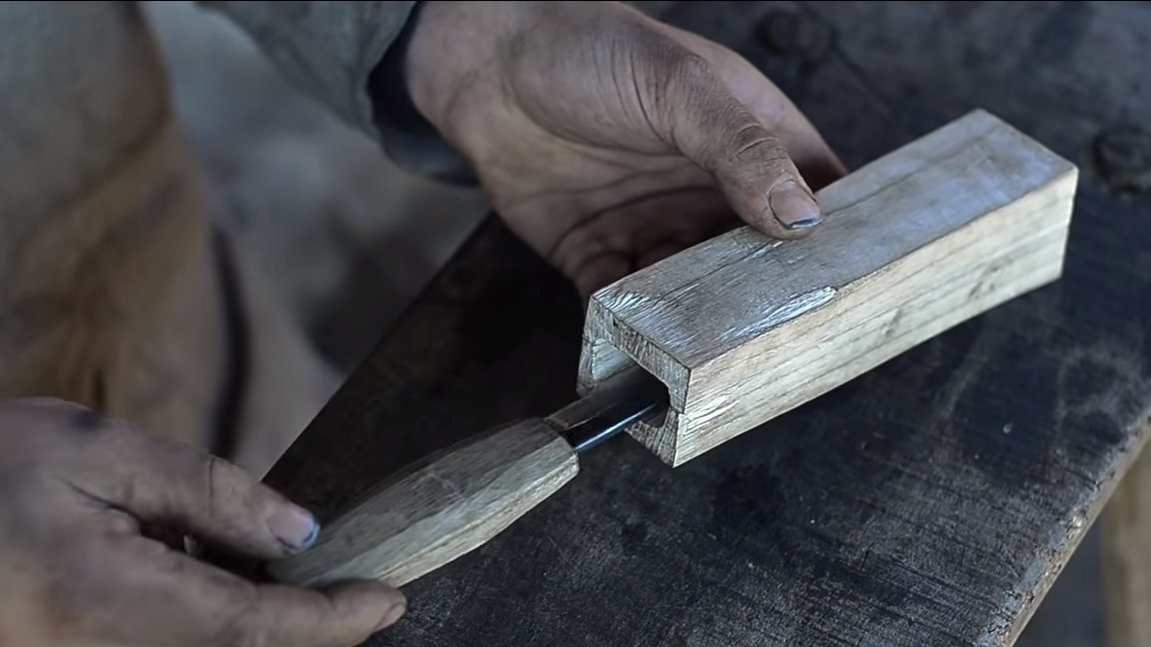
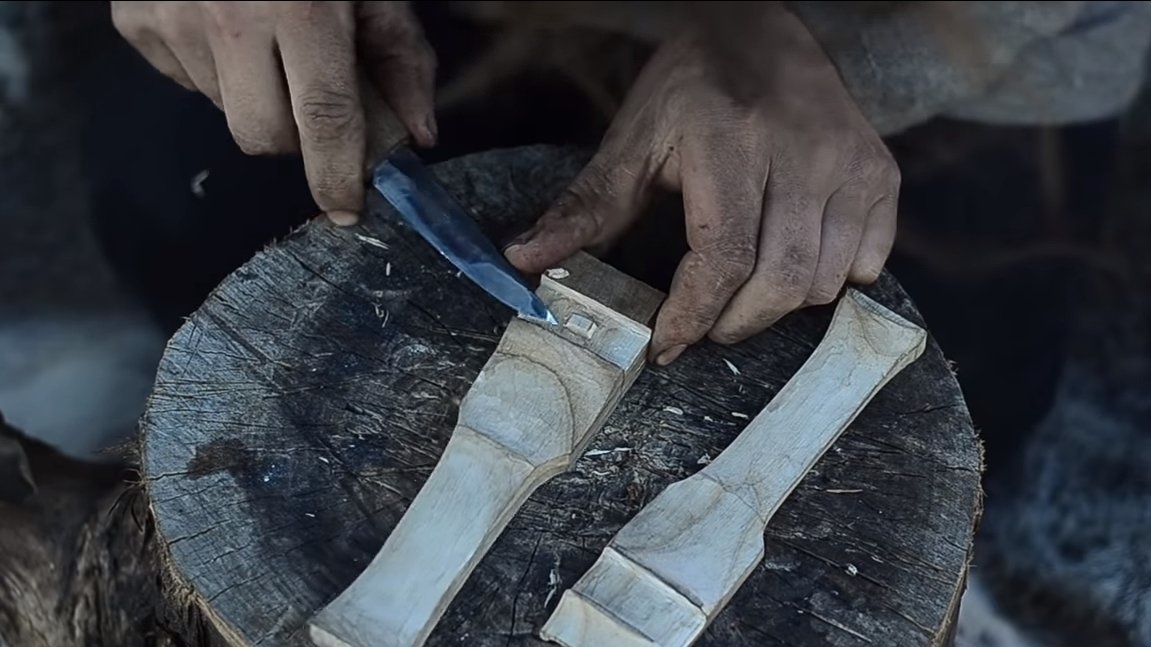
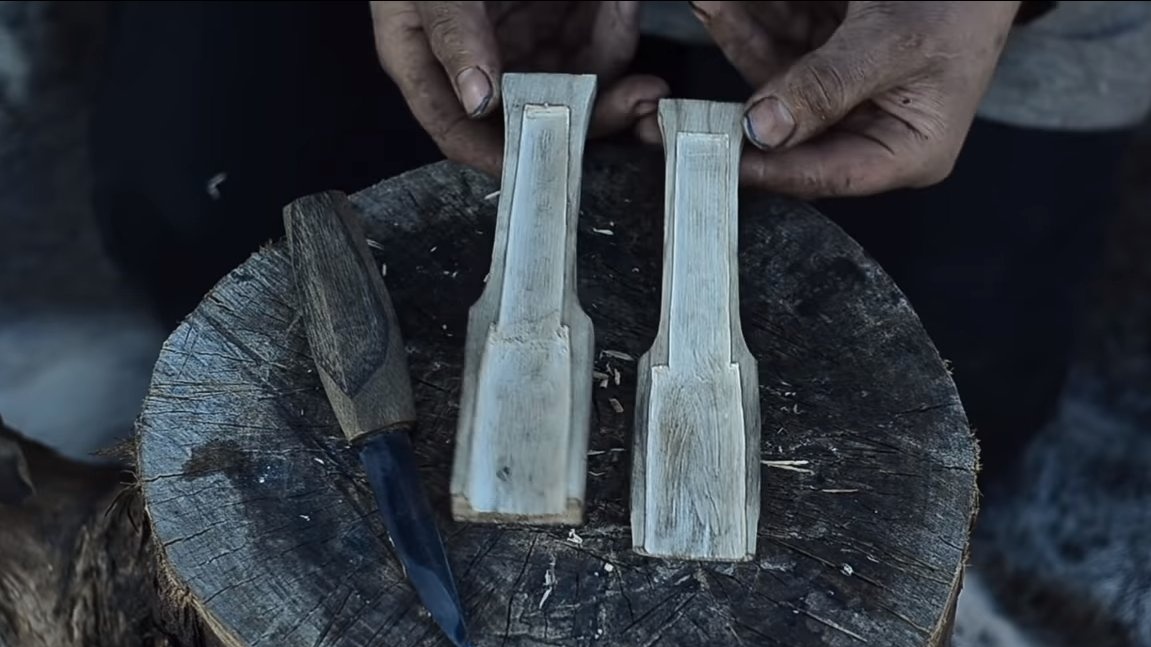
Step Six Sheath
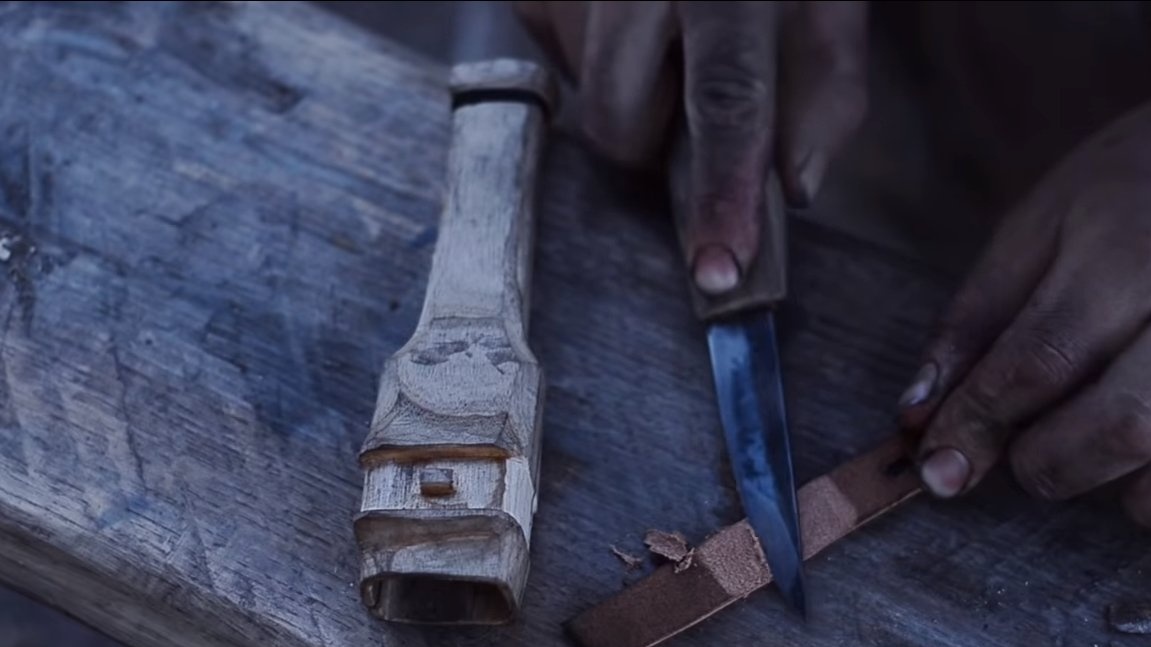
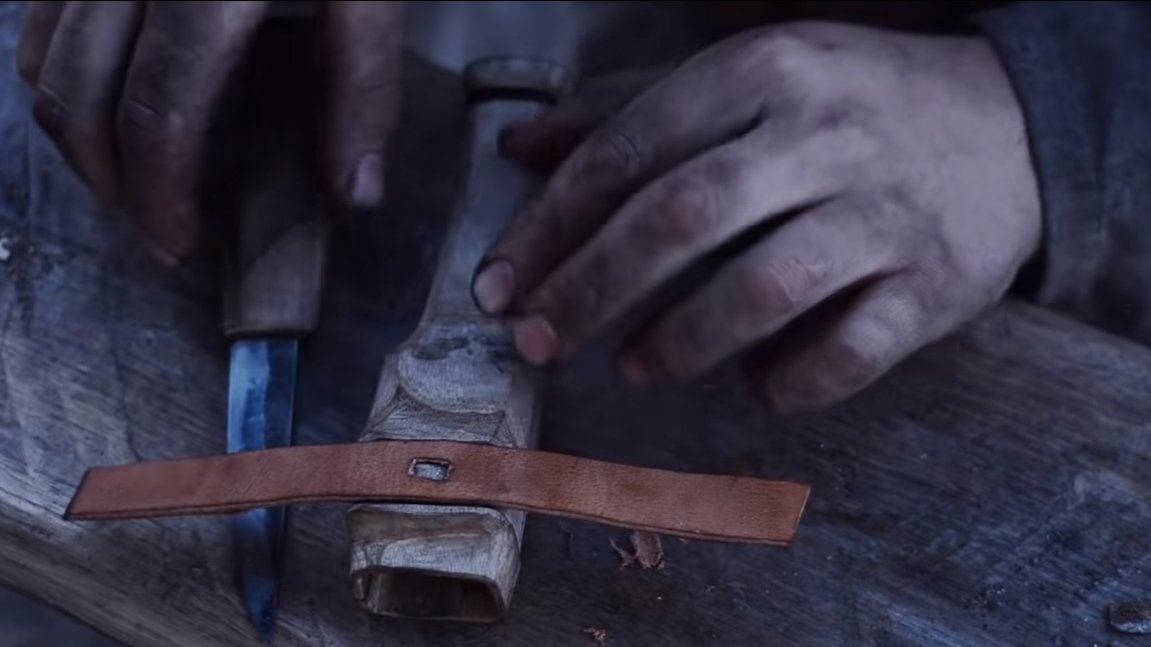
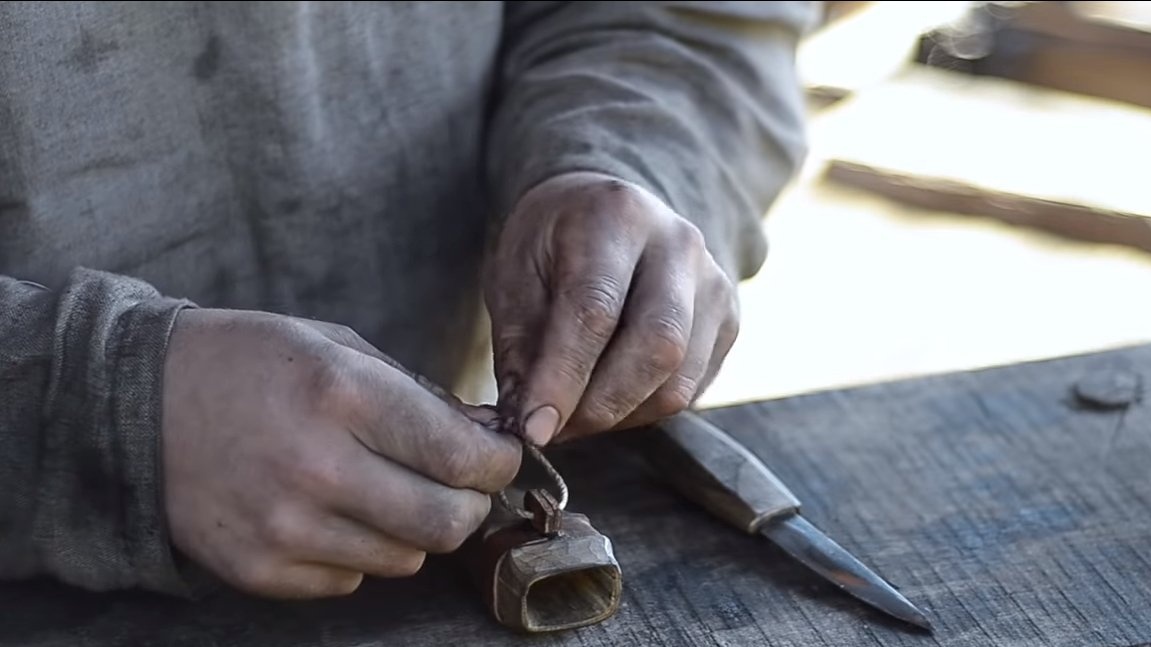
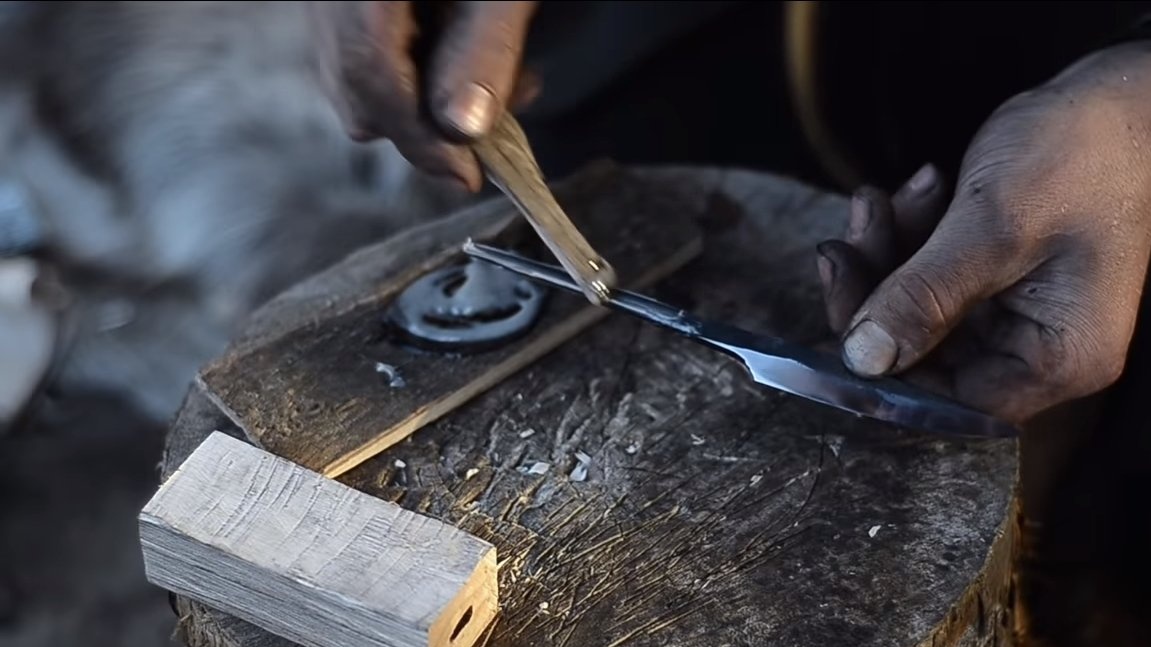
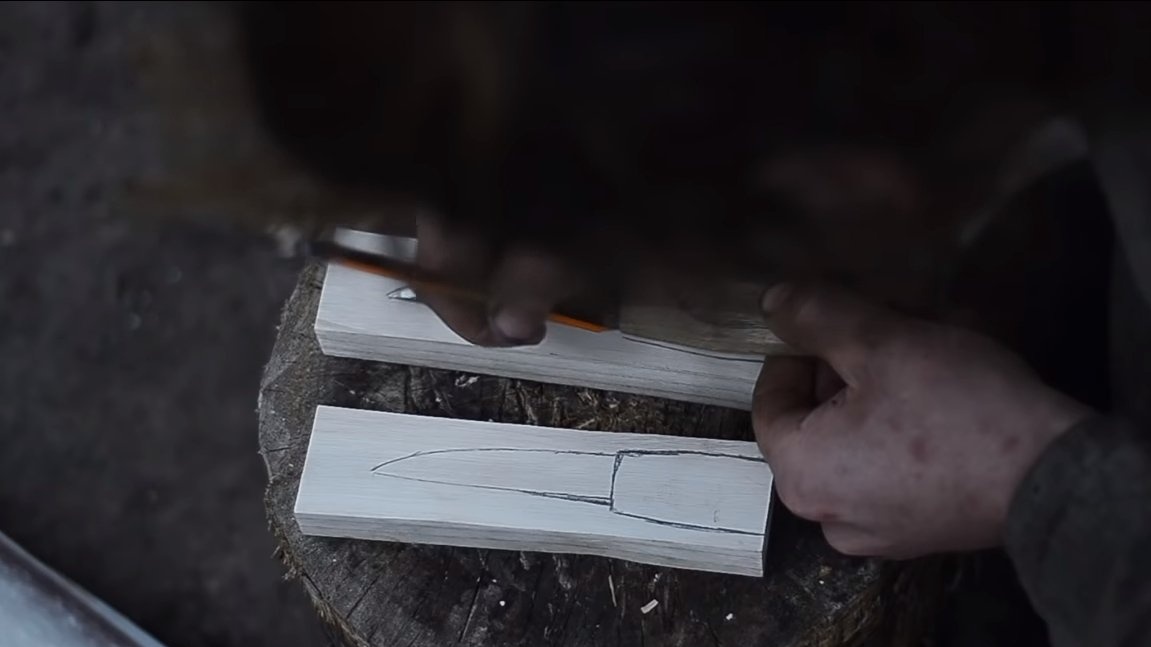
We make a sheath for a knife, this will allow you to conveniently and safely carry it on your belt. We make the scabbard from wood, arm ourselves with an ax and chop wood to form two boards of suitable sizes. In the boards you need to make grooves for the blade and part of the handle of the knife. We draw a contour with a pencil and then work with a chisel. We also form the external profile of the scabbard, here work can already be carried out with a manufactured knife. At the bottom of the scabbard we make a groove so that the two halves can be reliably pulled together with a rope. In the upper part of the sheath, we need a groove for the strap, for which we will tie the rope.
Seventh step. Final touches
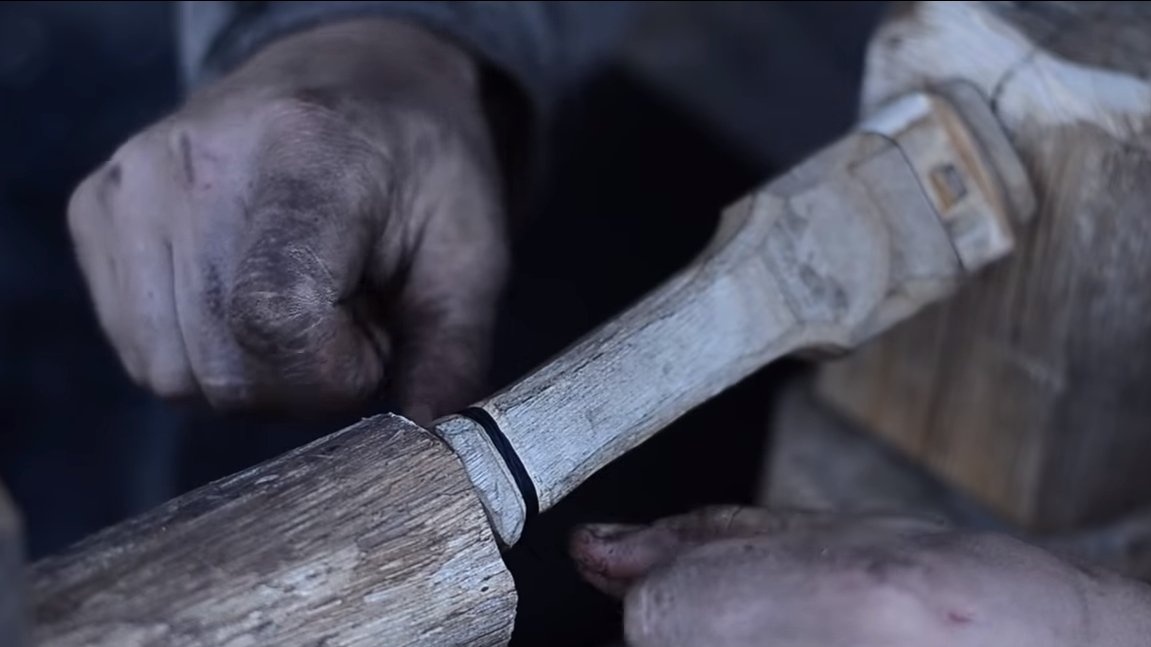
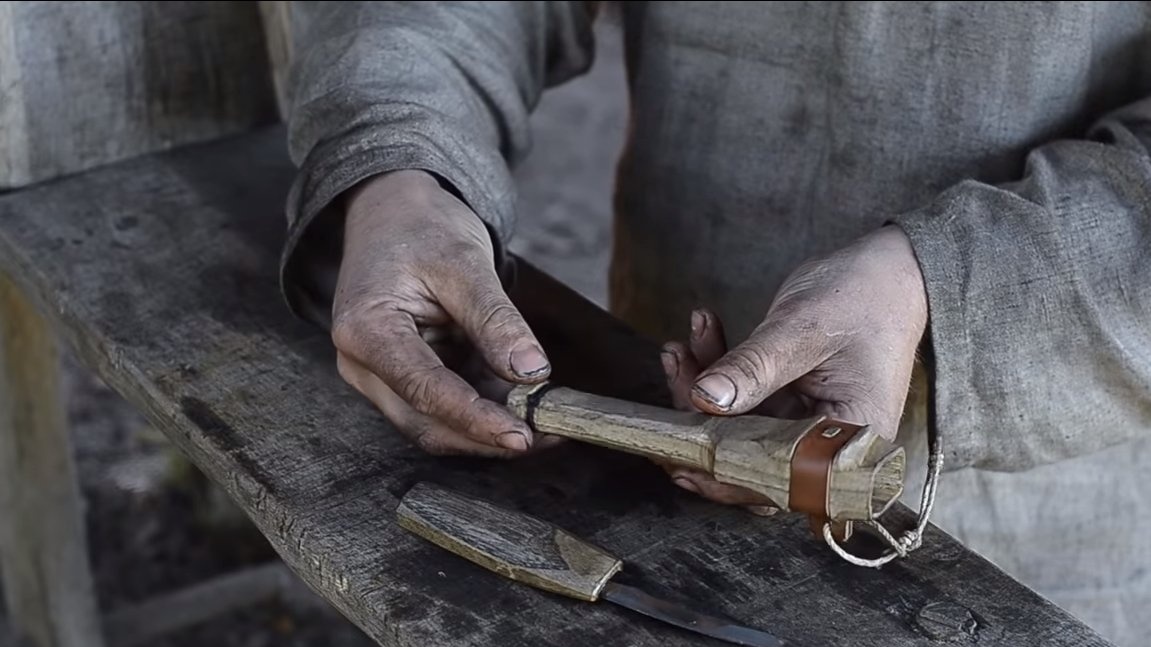
We assemble the scabbard, glue them with glue and impregnate it with oil from the outside, you also need to impregnate the wooden handle with oil, it will protect the tree from water.
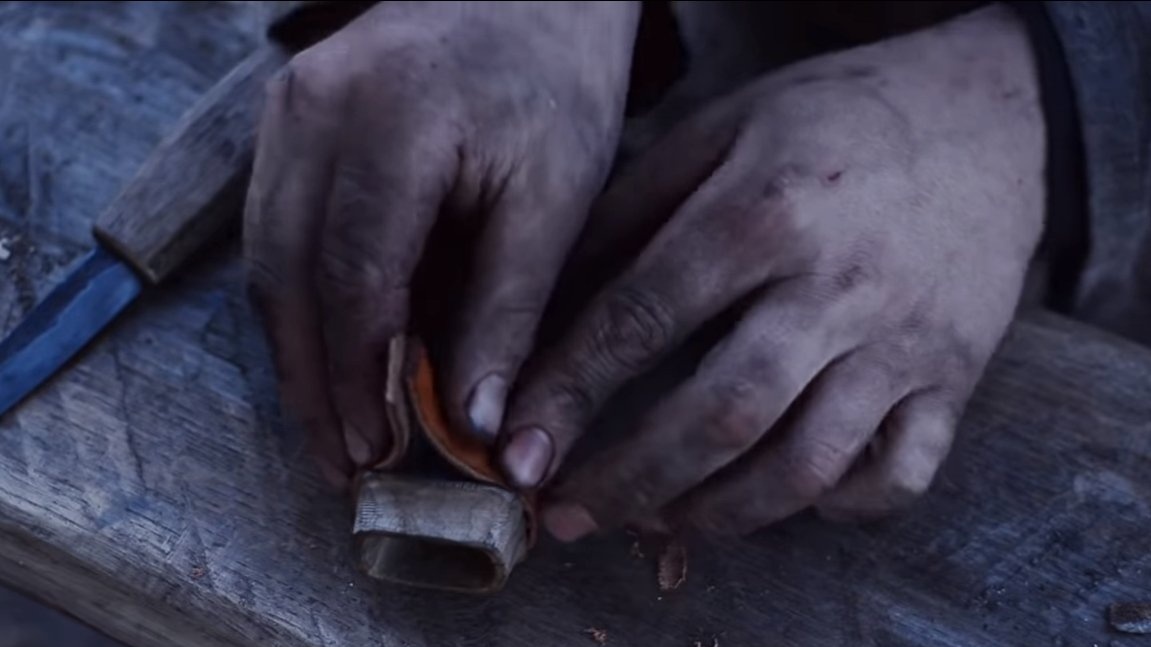
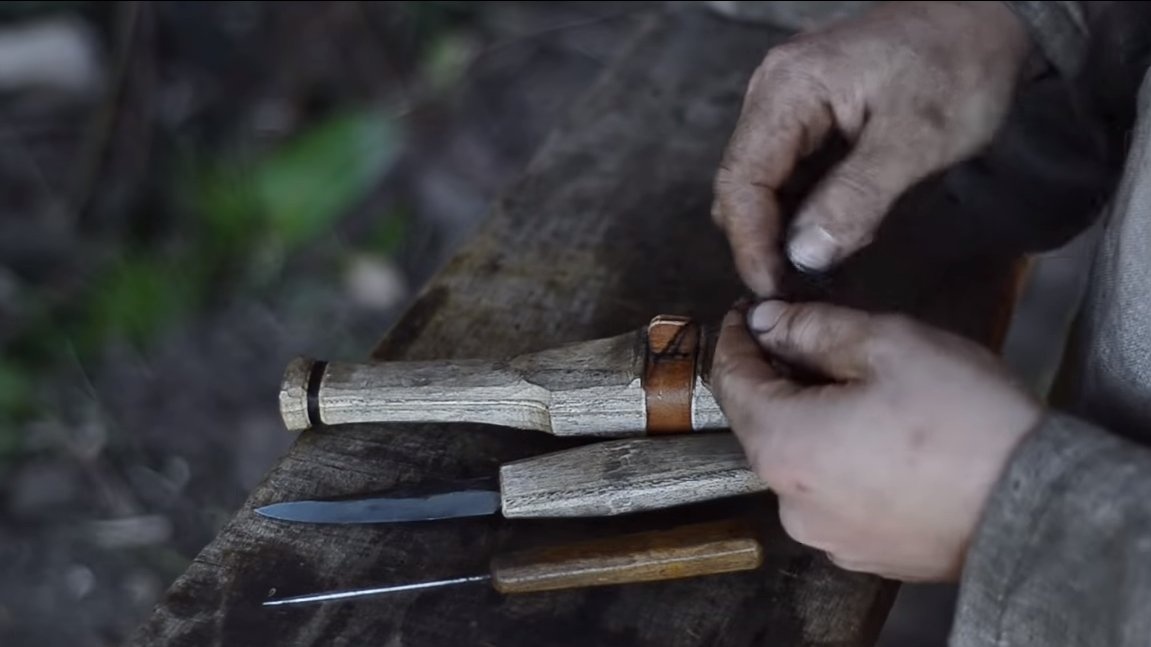
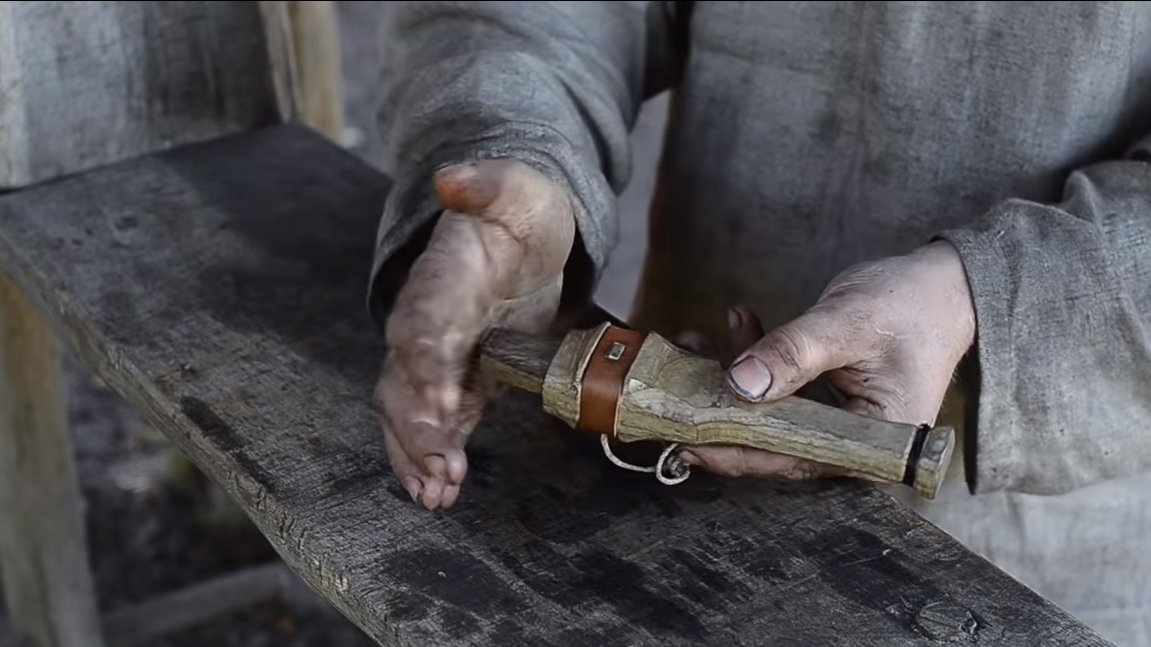
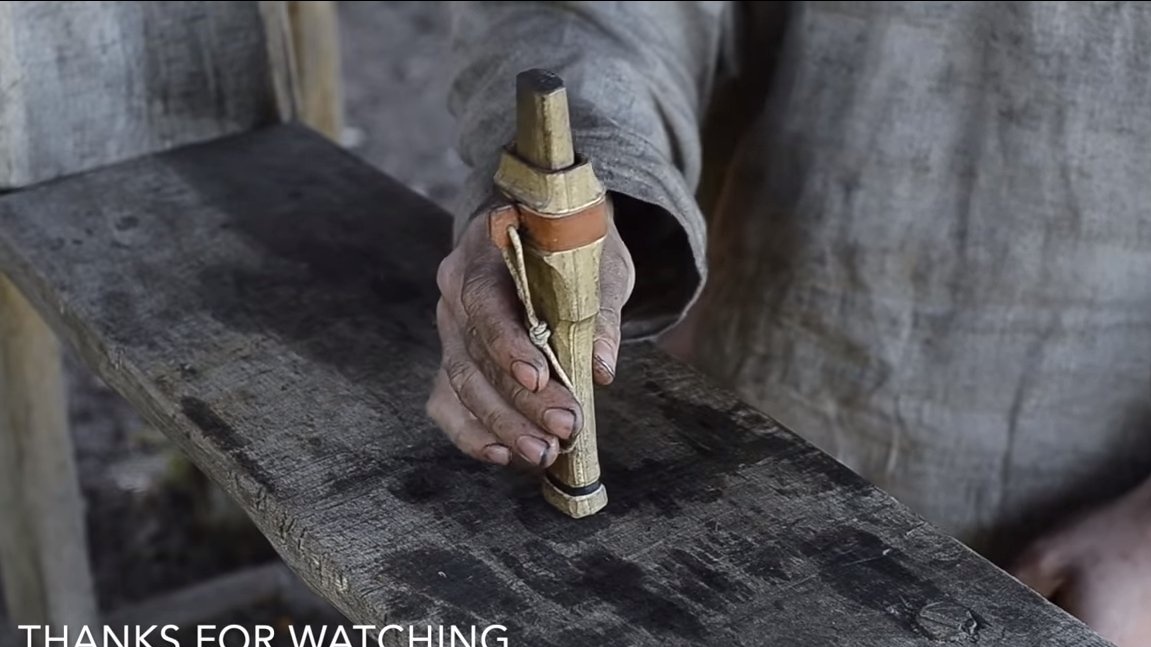
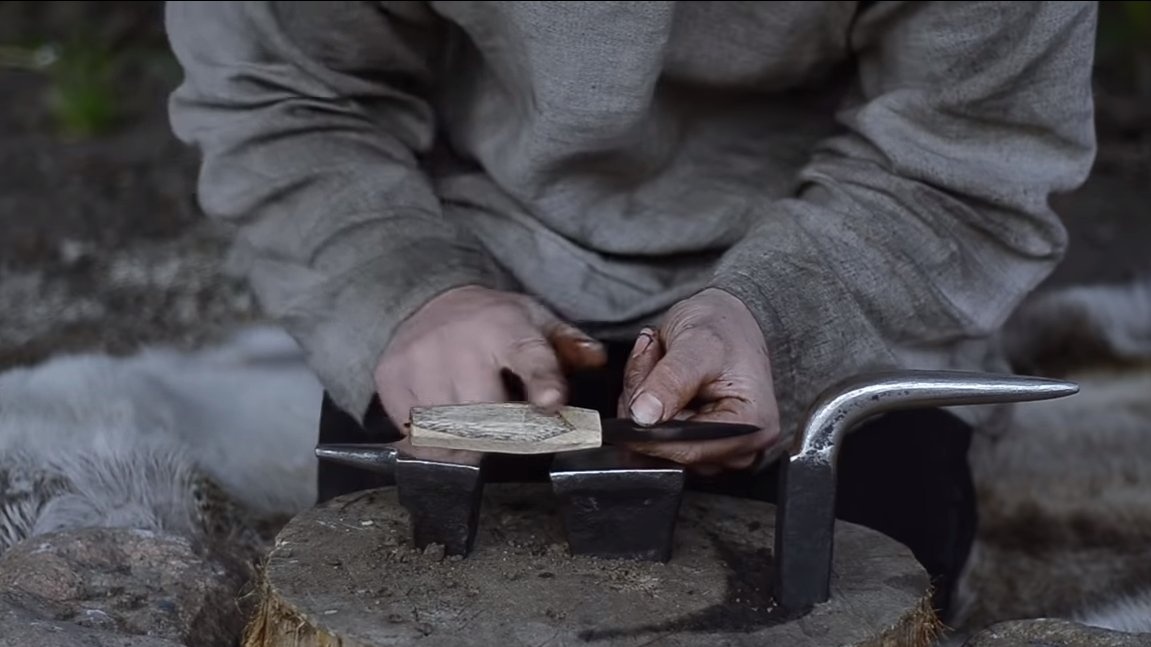
We wrap the lower part of the sheath with a strong rope, and install a leather belt in the upper part, we attach the rope to it. After that, the knife will be ready, it remains to sharpen it to the state of the blade with a grindstone and hang it on the belt.
The project is completed, we can consider it successfully completed. I hope you enjoyed the project and found useful thoughts for yourself. Good luck and creative inspiration, if you decide to repeat this. Do not forget to share your ideas with us and homemade!