I welcome fans to craft, today we will consider how to make homemade, which will facilitate the work of the blacksmith. We are talking about an electric hammer, now the forging process will become much simpler and easier. A machine was assembled from available materials, automobile parts, metal rolling, and a 1.5 kW engine were used here, which drives the machine. The assembly process is not complicated and anyone who knows how to work with metal and knows at least a little mechanics can handle it. If you are interested in the project, I propose to study it in more detail!
Materials and tools used by the author:
Material List:
- automobile suspension spring;
- tie rods;
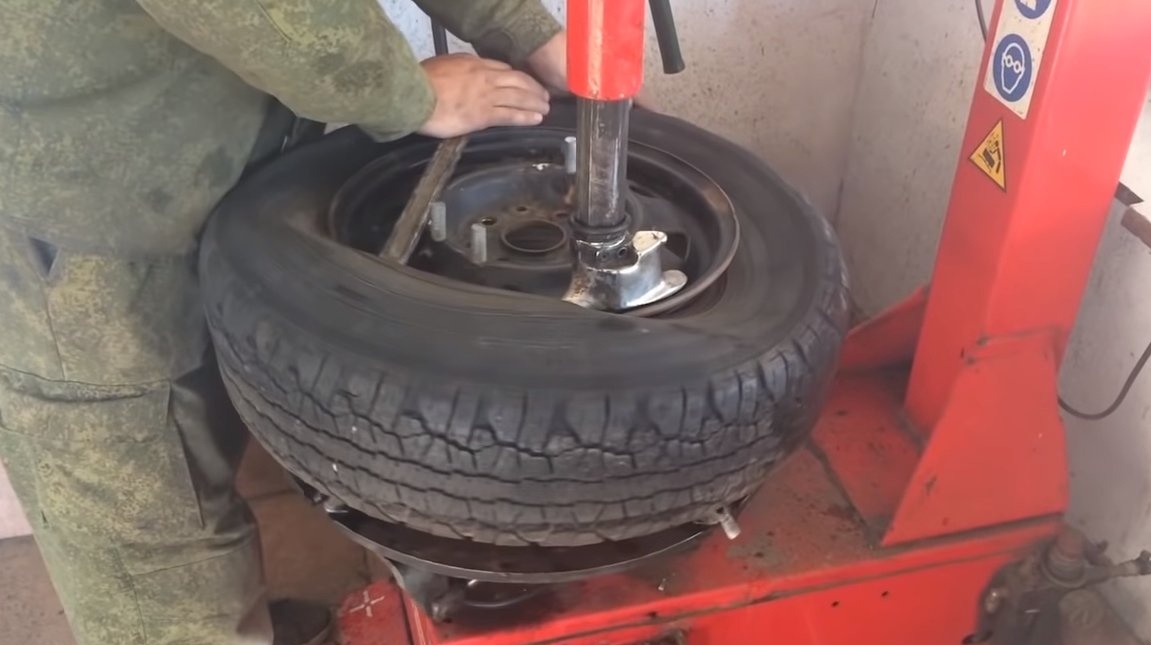
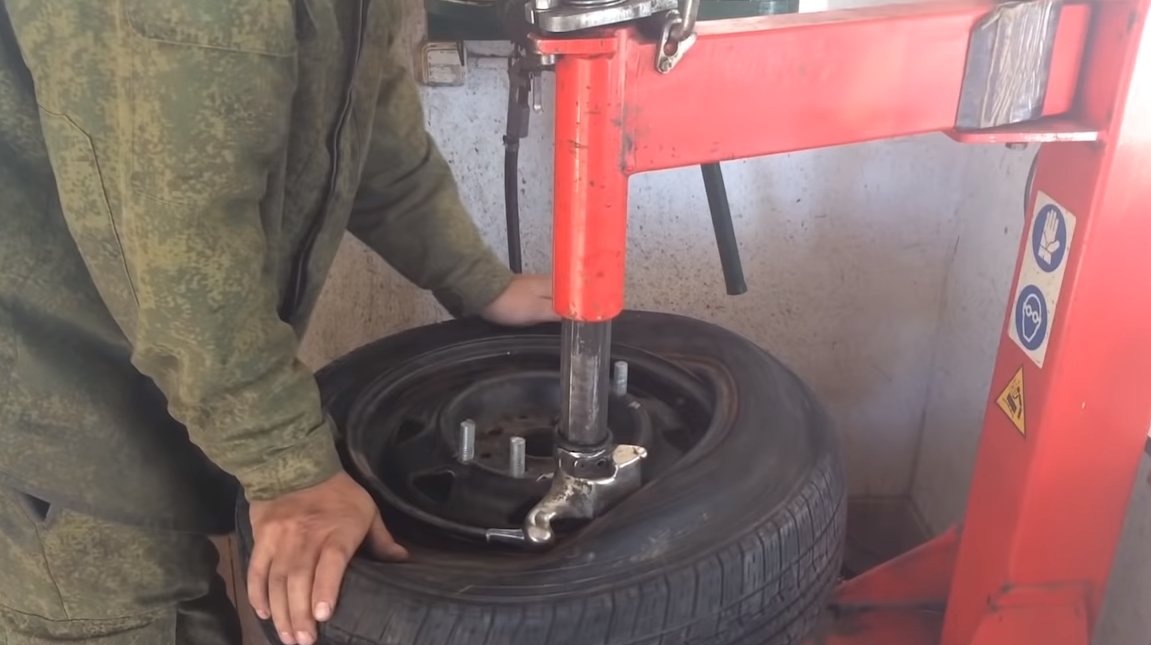
- wheel with a disk and tire R14;
- two wheel hubs of VAZ;
- channel, corner, sheet metal, profile pipes;
- engine power of 1.5 kW (1500 rpm);
- bolts, nuts, washers;
- a piece of rails.
Tool List:
- ;
- ;
- ;
- vise;
- files.
Homemade manufacturing process:
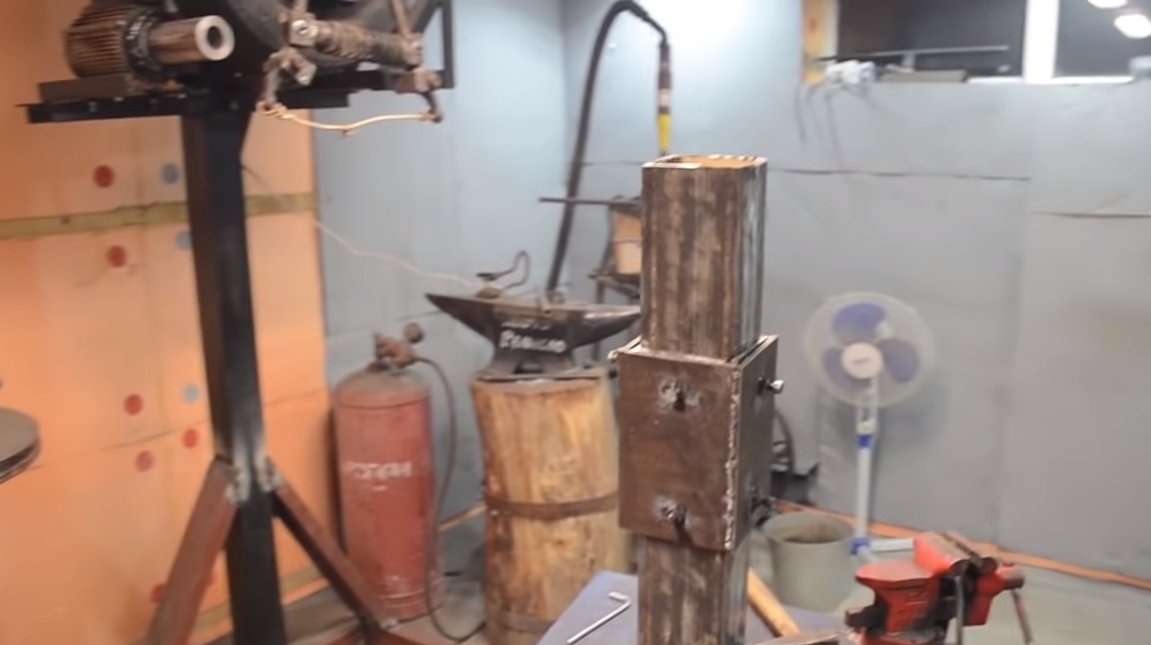
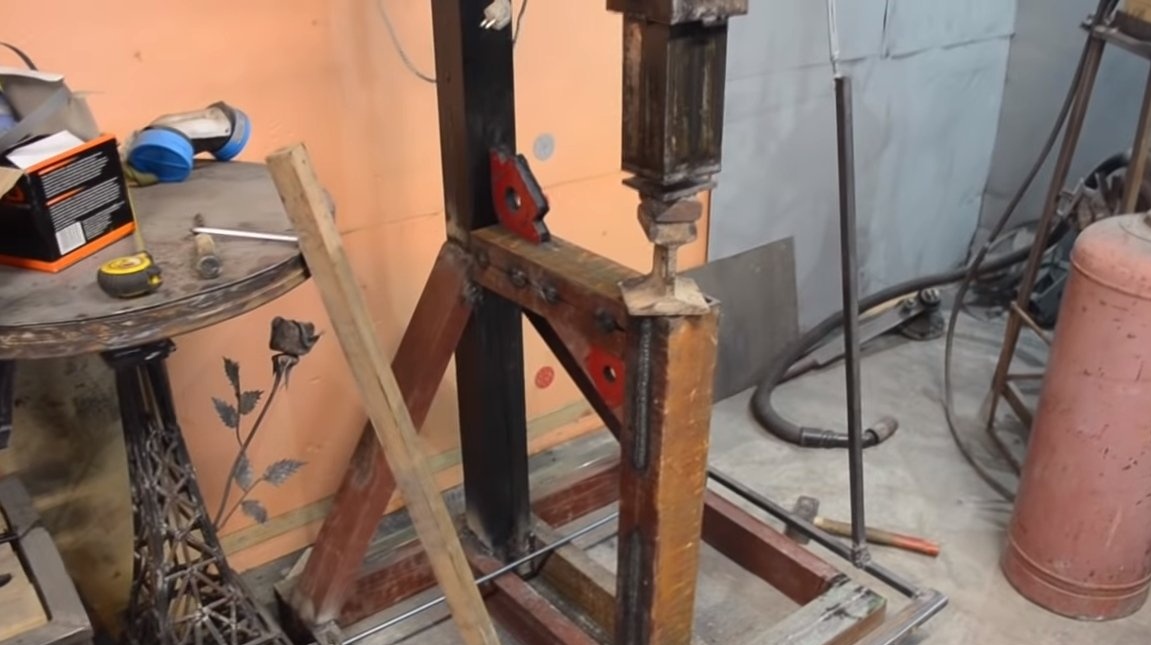
Step one. Main stand
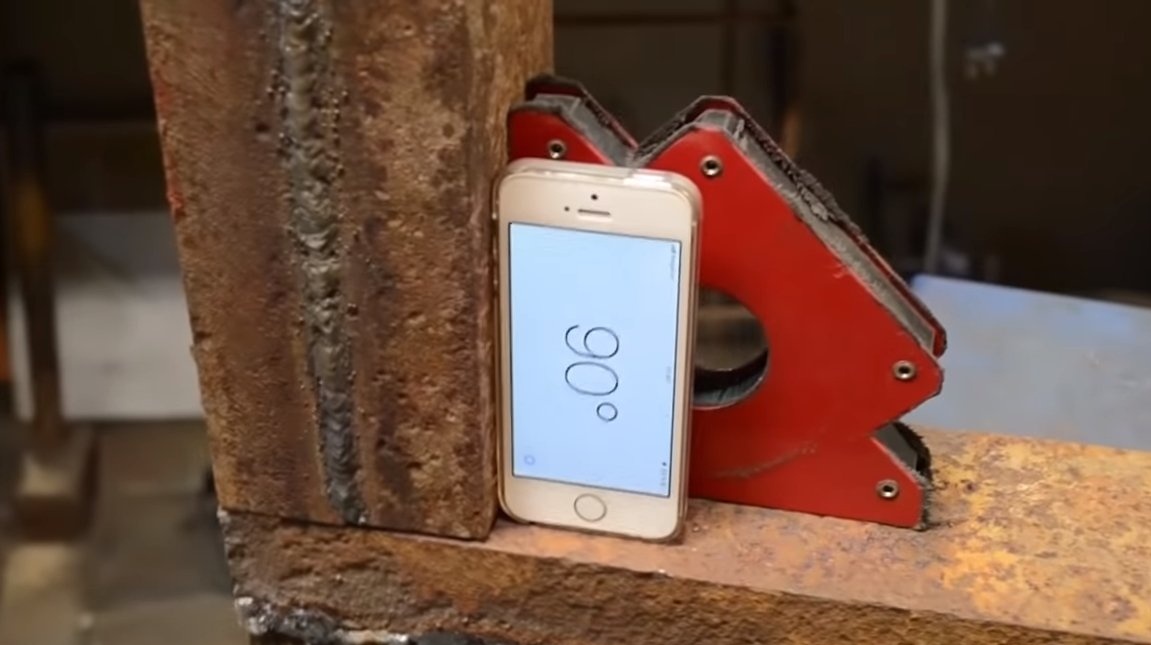
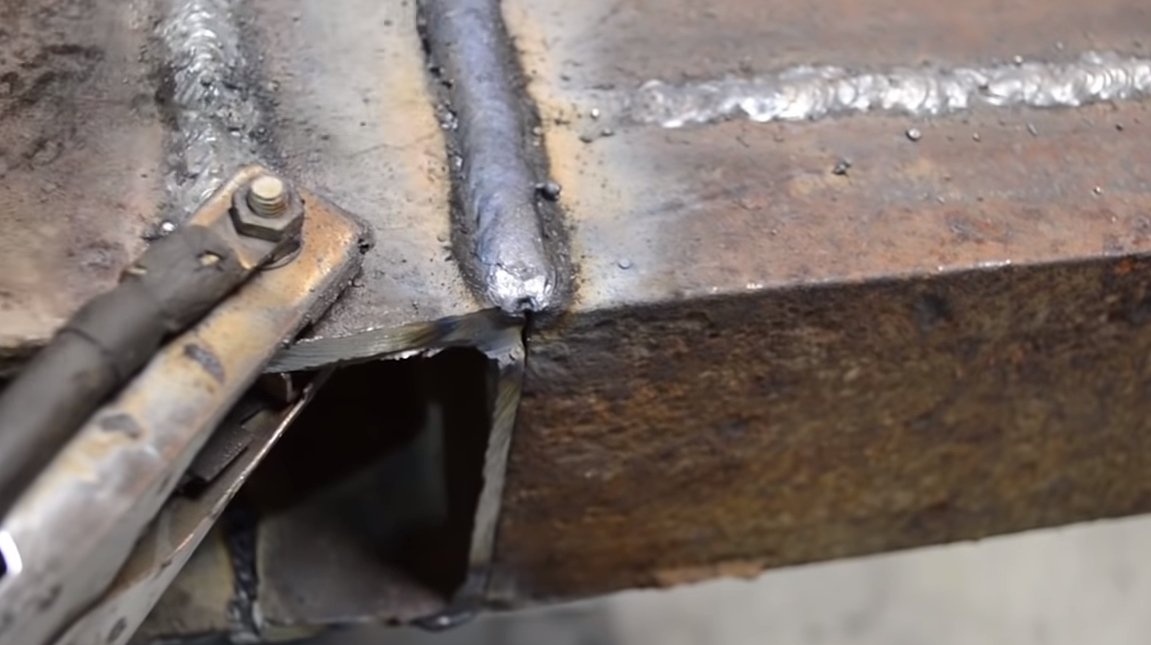
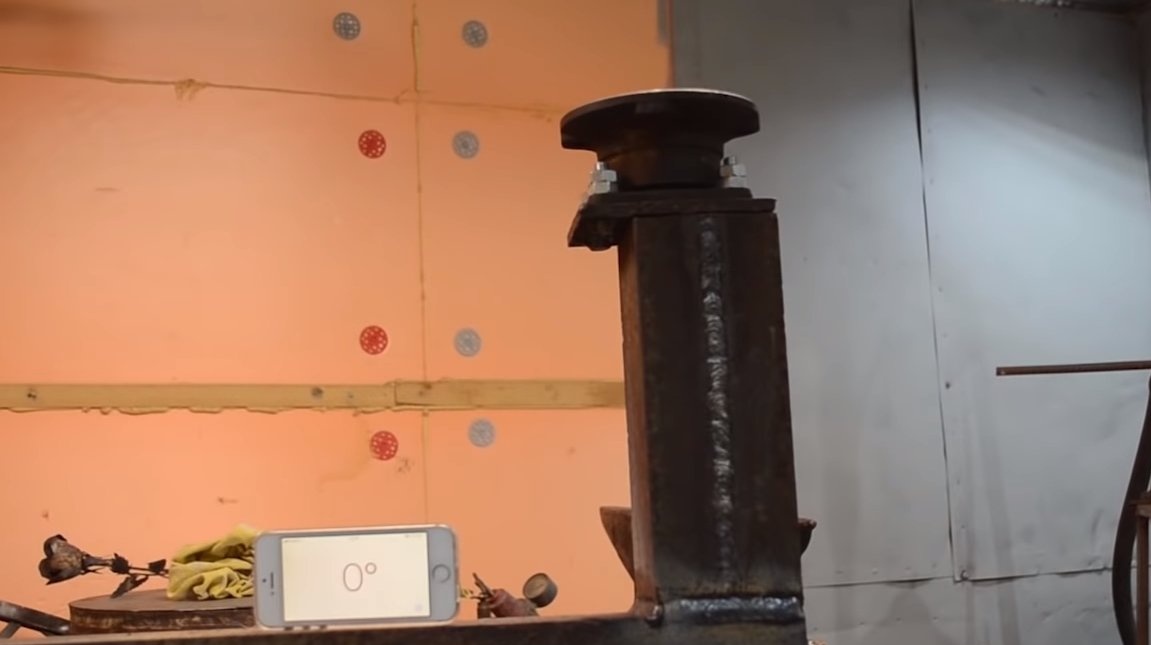
We will start making homemade products from the main rack, it is a design in the form of the letter "G". Everything is done by welding the channel. Of course, boiled everything should be very reliable, since this part has considerable loads.
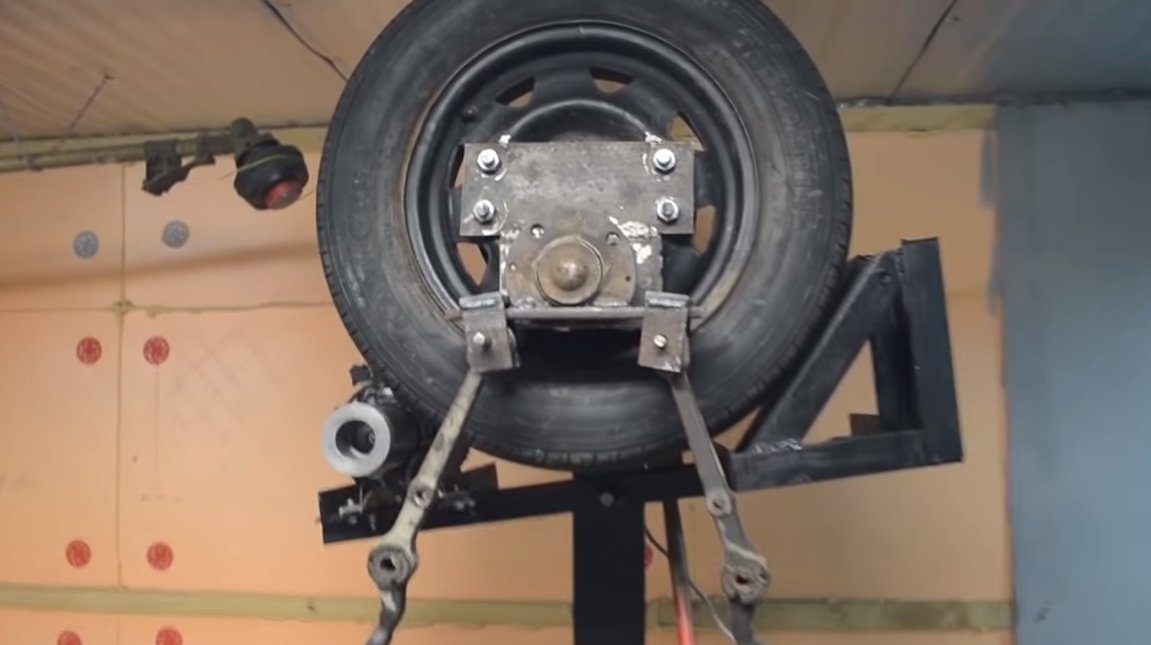
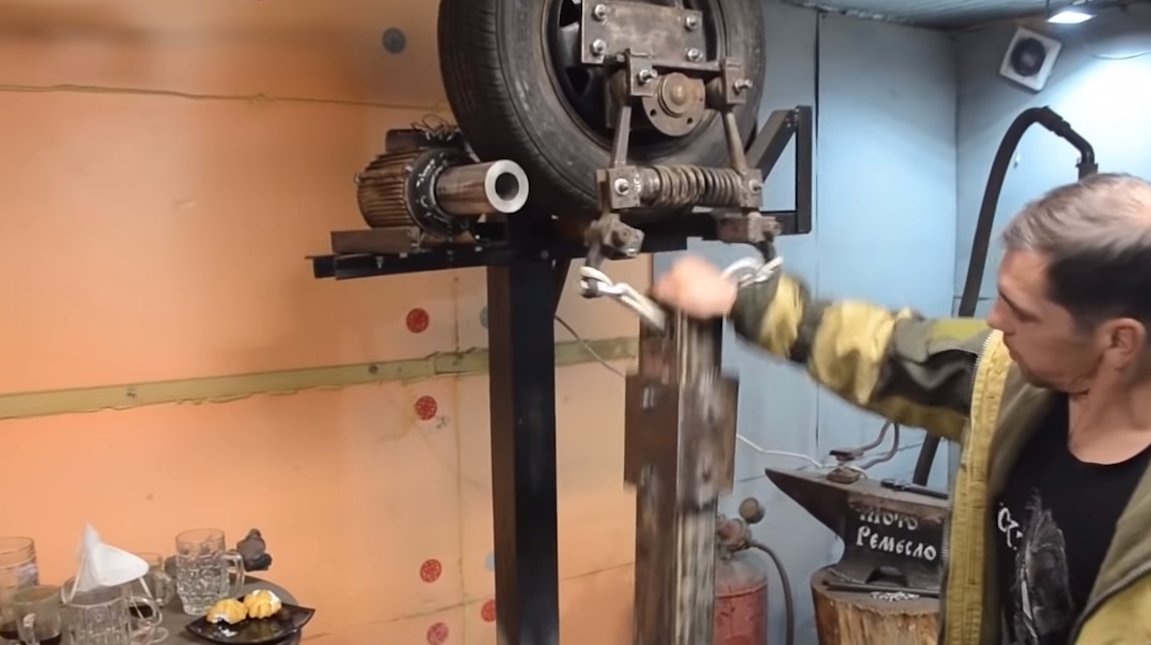
On this rack is the axis on which the car wheel is mounted. According to the logic of things, the author uses a wheel hub from a VAZ as an axis. We make sheet iron fasteners under the hub and weld into place. Securely fasten the hub with bolts and nuts, and after that you can install the car wheel.


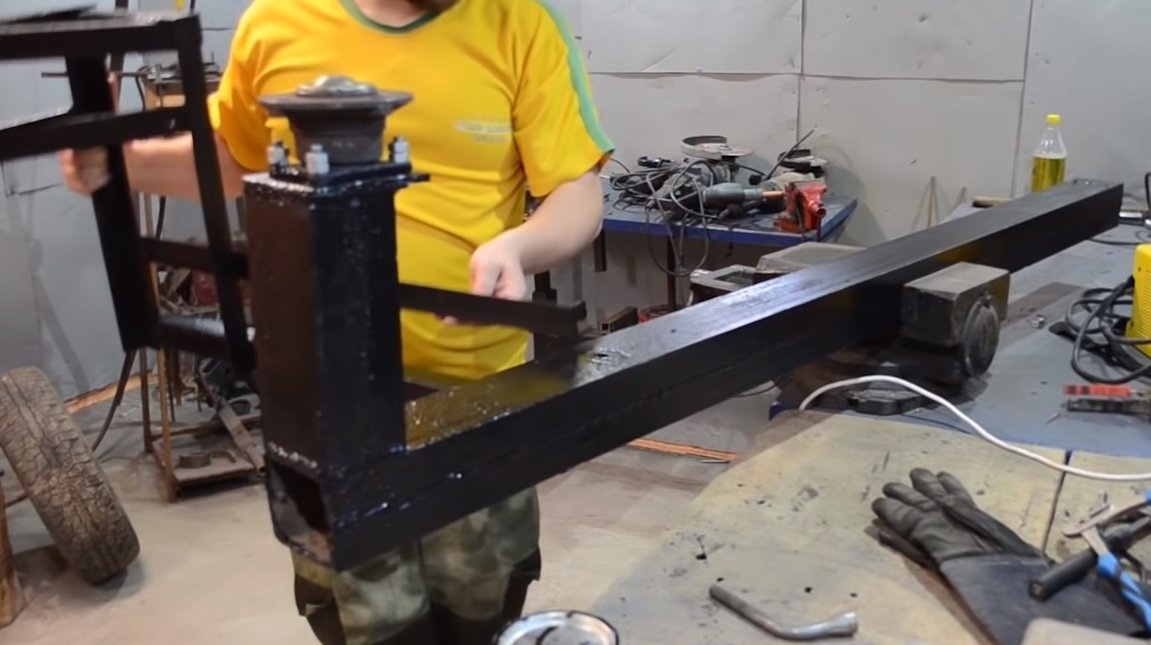
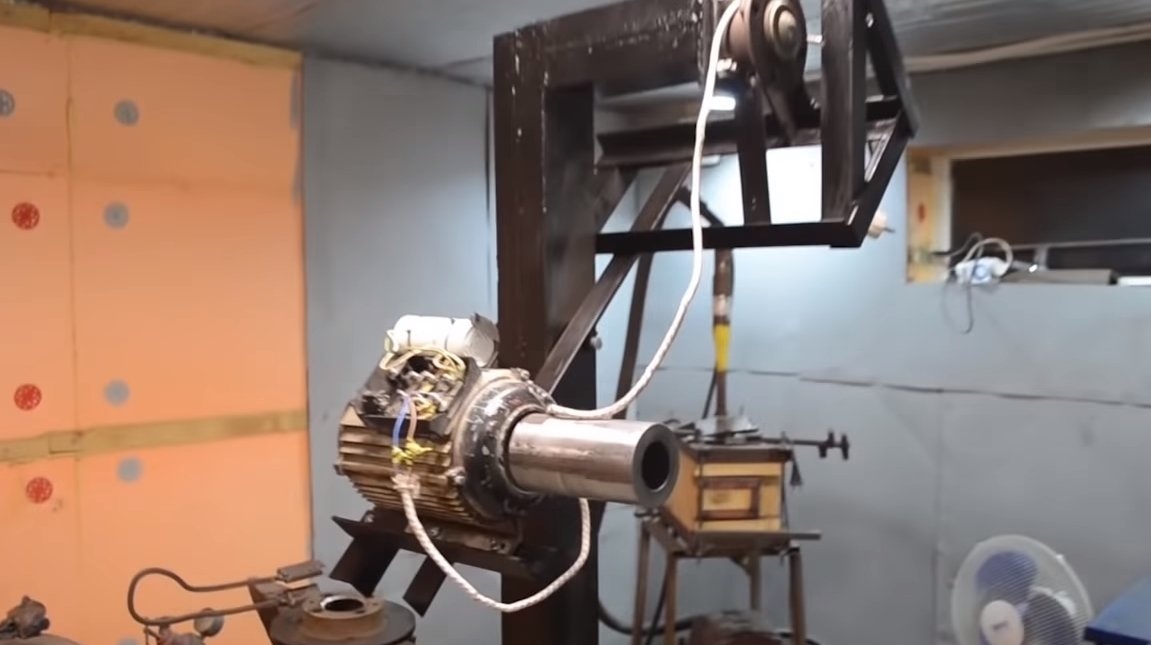
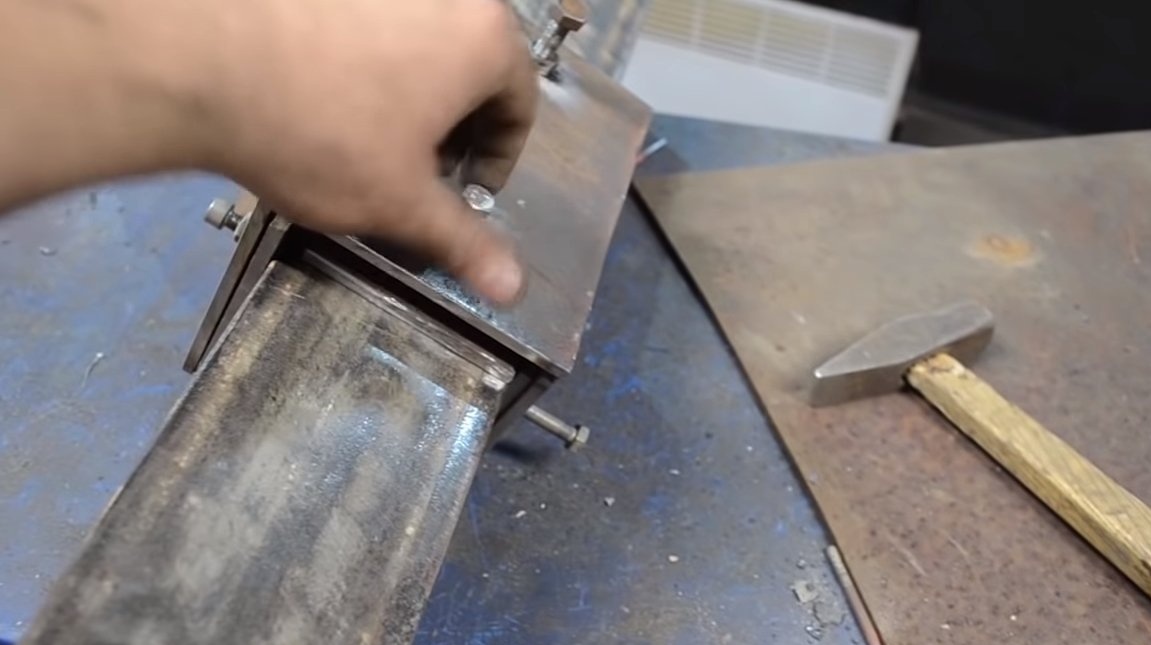
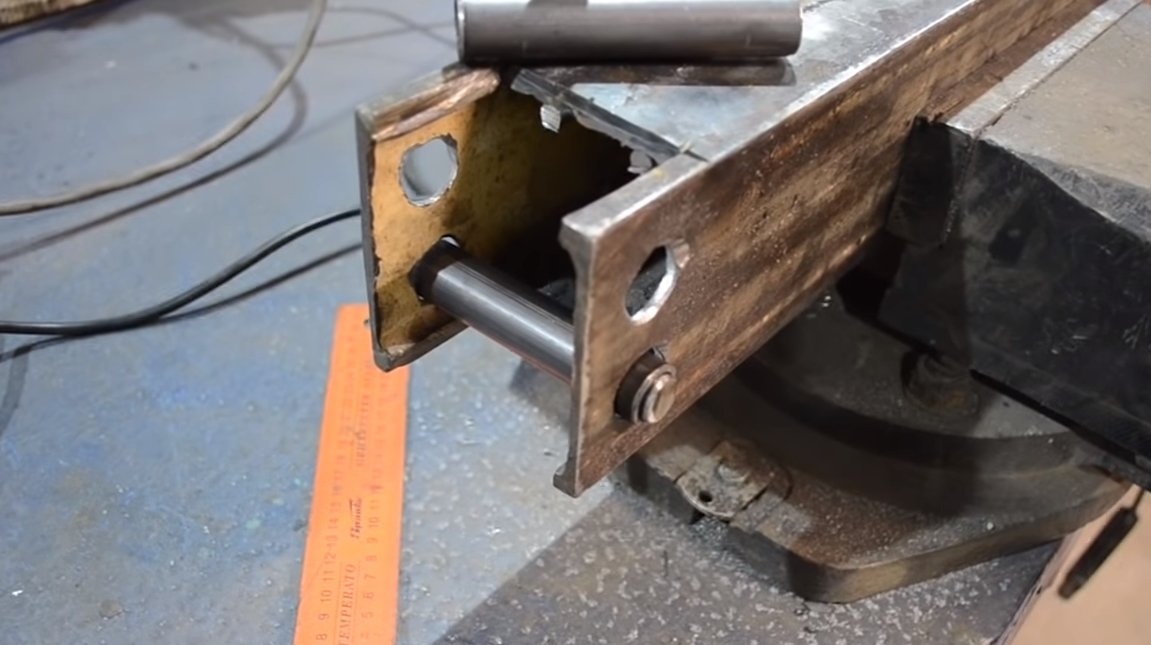
Step Two Frame for engine
Next, we make a frame for the engine, this design is assembled from a corner. The frame is pivotally attached to the main strut; as a result, the engine can move away or approach the wheel. Thanks to this design, we get the ability to control the clutch of the drive wheel with the driven (car wheel). This is very convenient, you do not need to constantly turn the engine on and off, and under load. The engine runs constantly, and we just press the pedal, controlling the clutch.
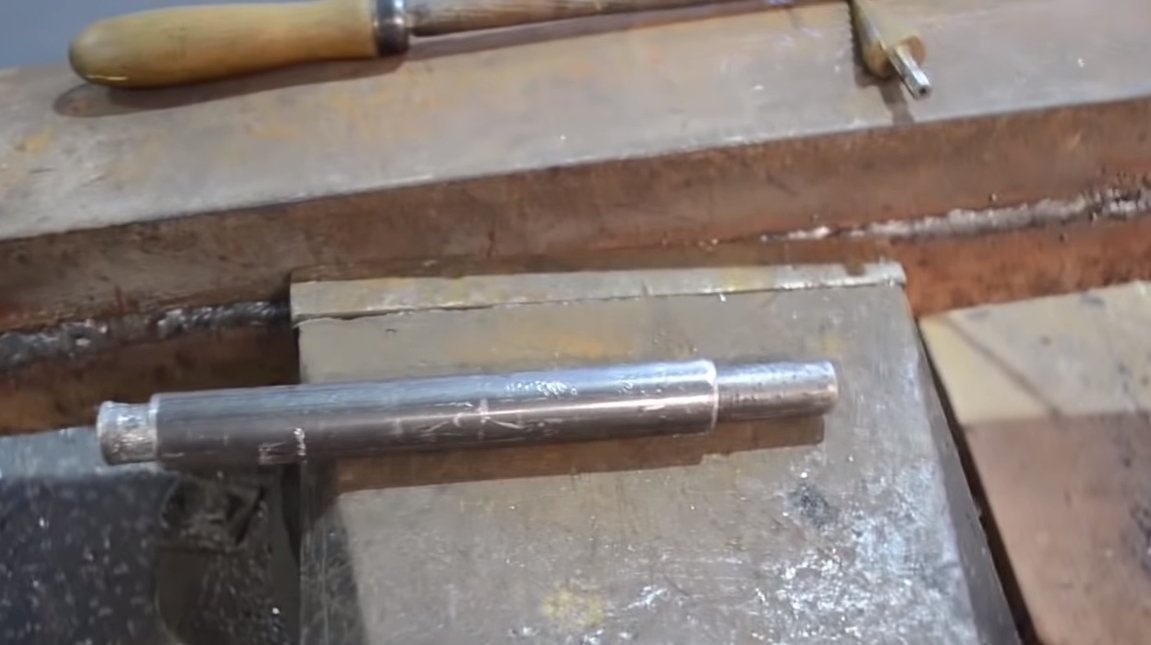
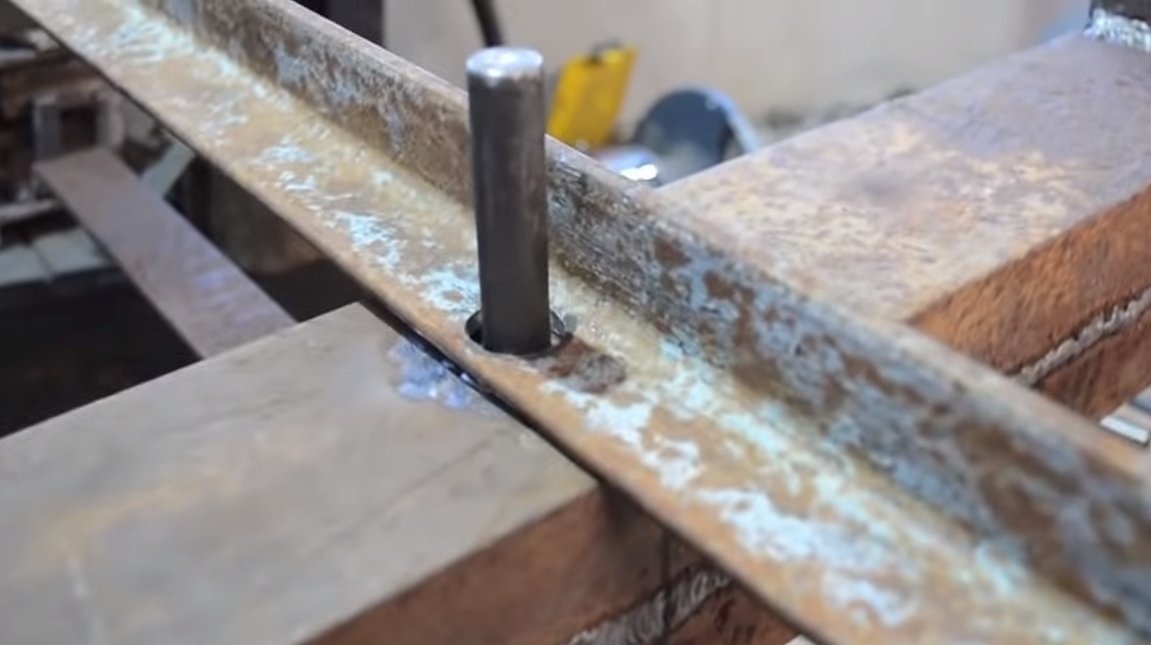
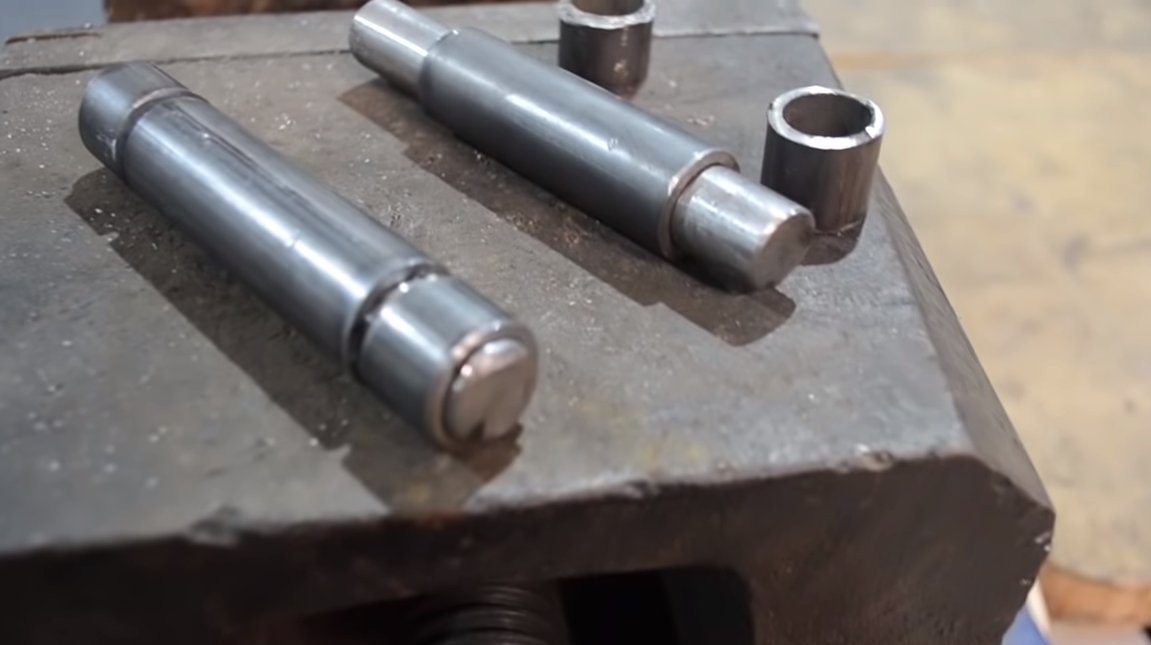
As a hinge we use a tube and a steel rod, the backlash should be minimal.
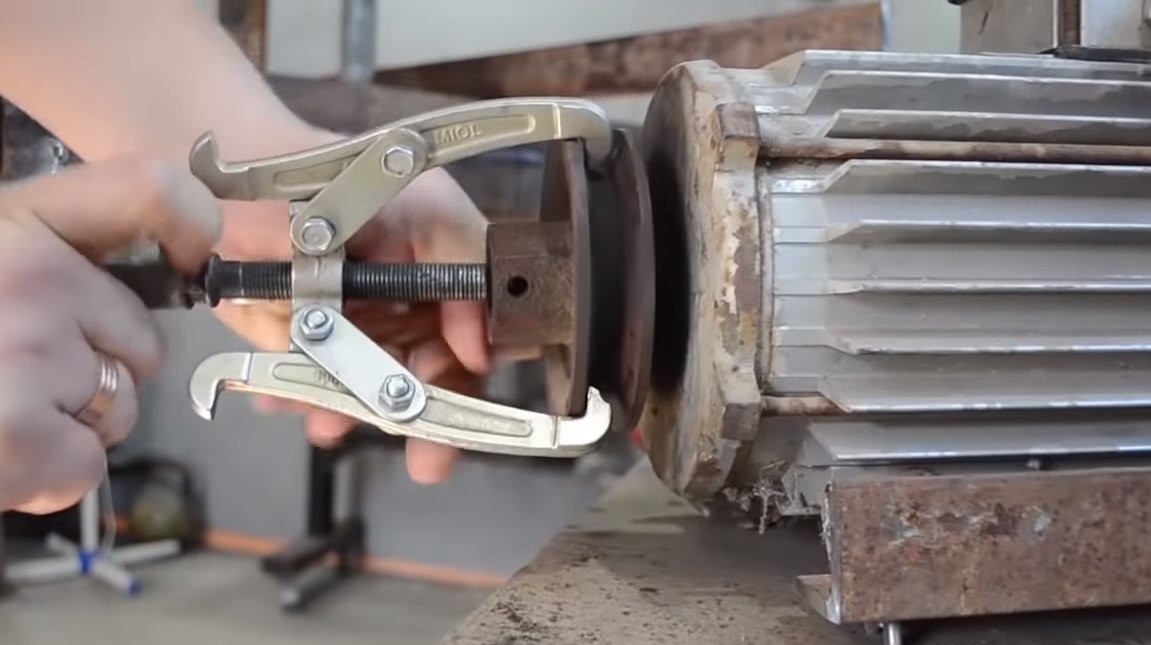
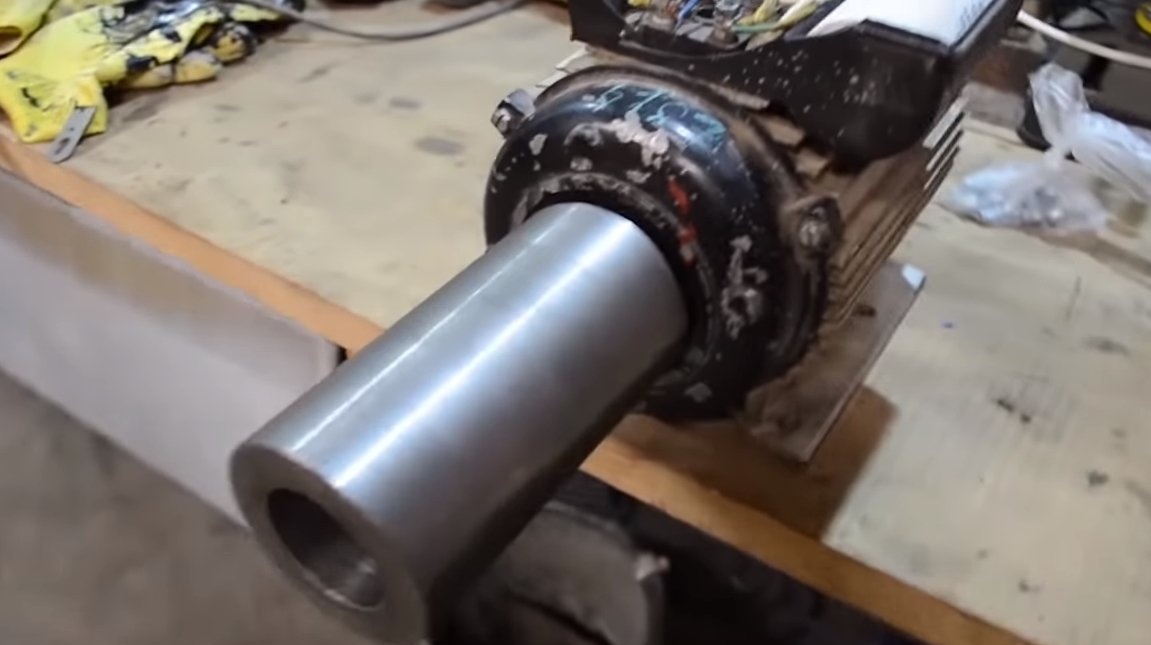
As for the engine, we remove the pulley from its shaft, here you need to install the drive wheel. You can order this from a turner, for ease of manufacture, the part can be machined from aluminum.
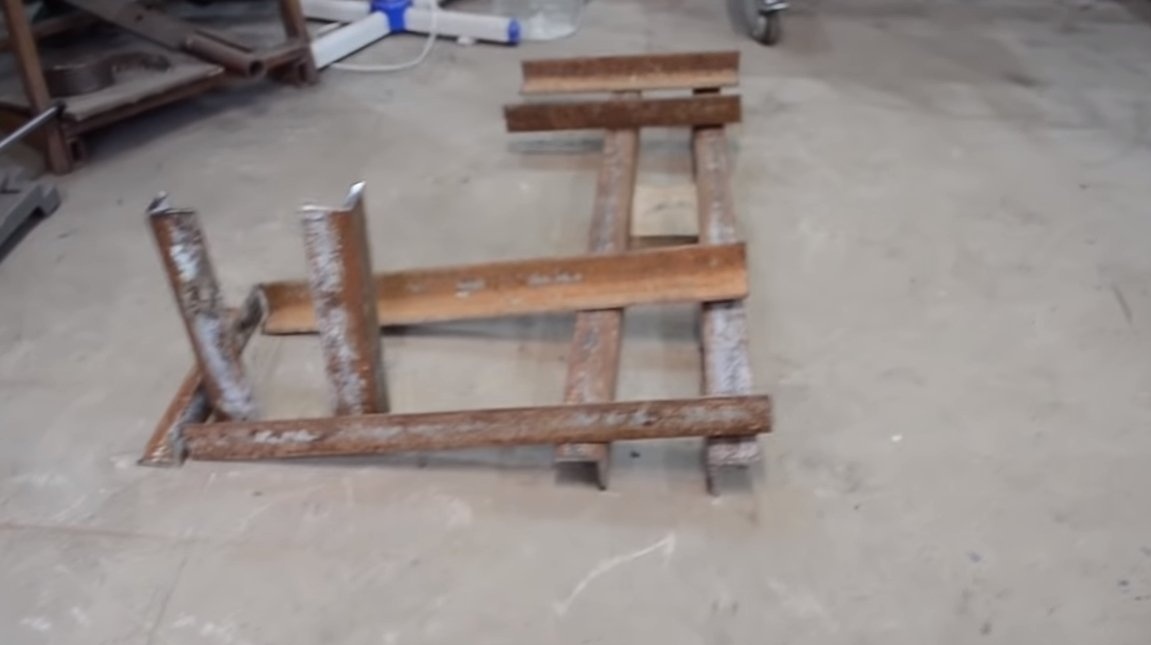
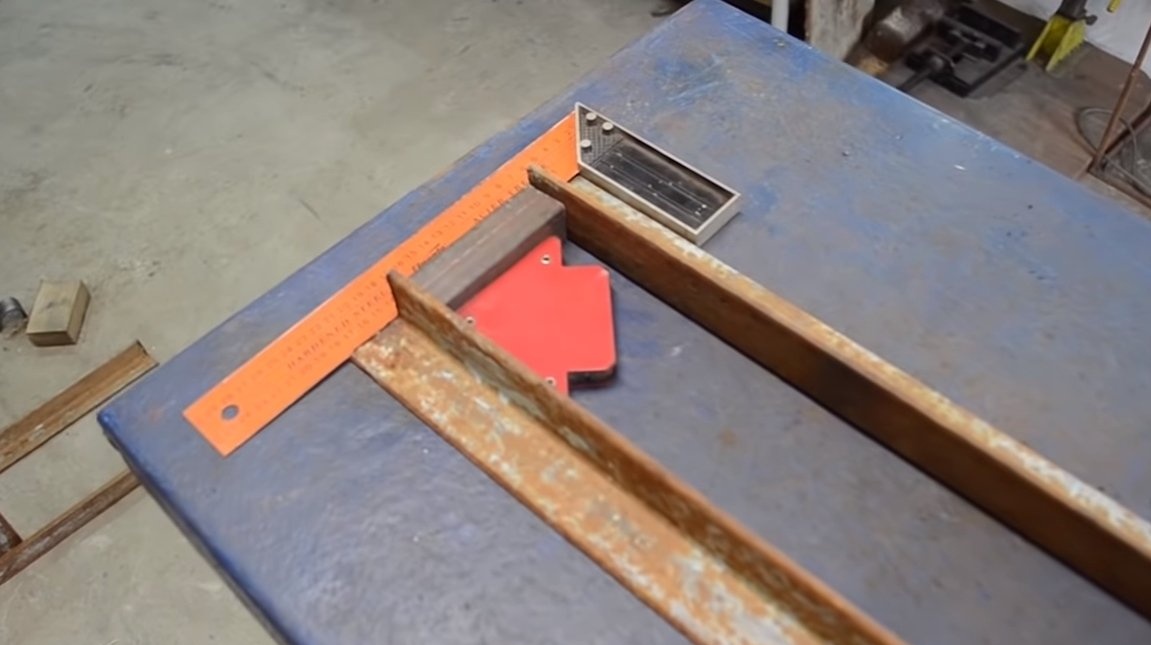

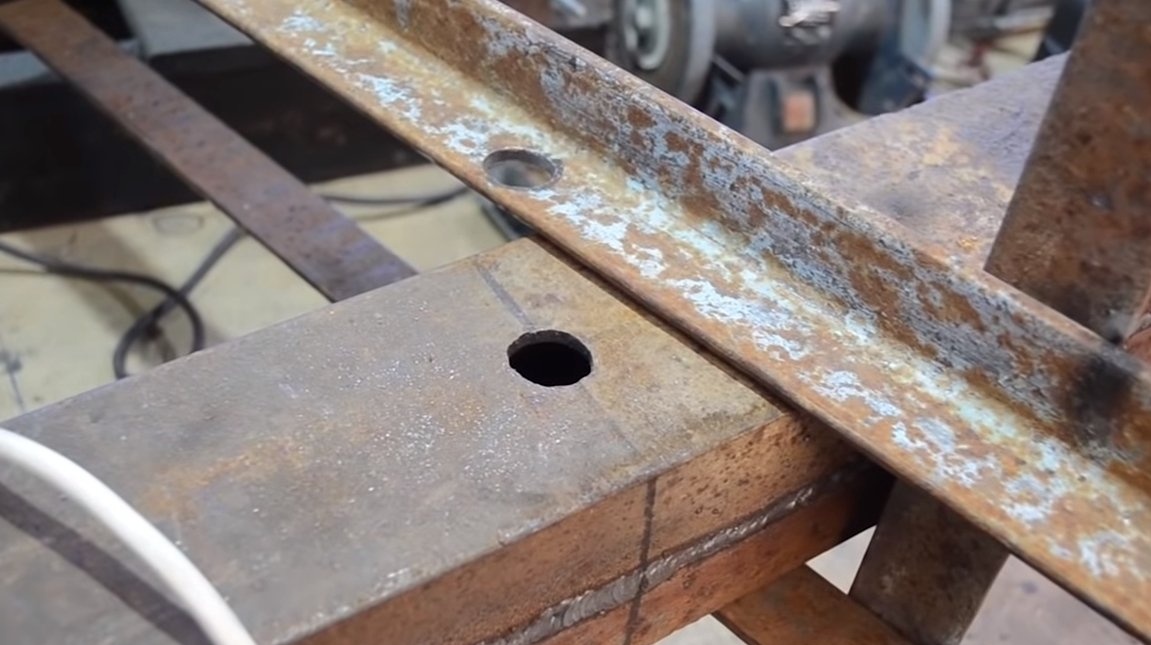
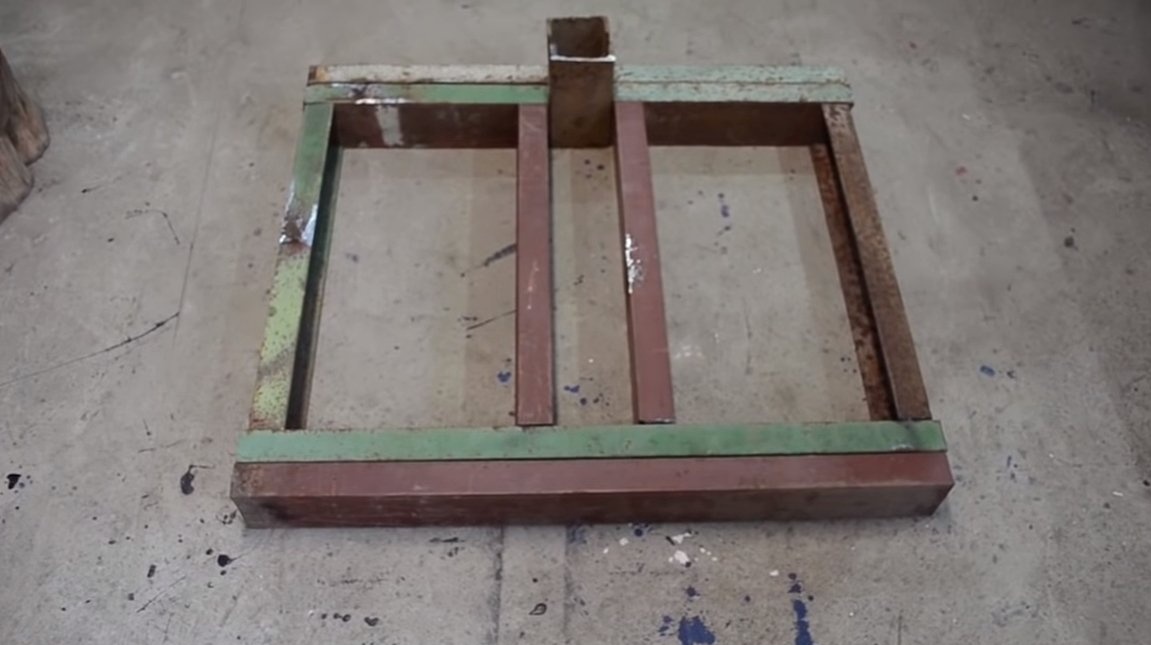
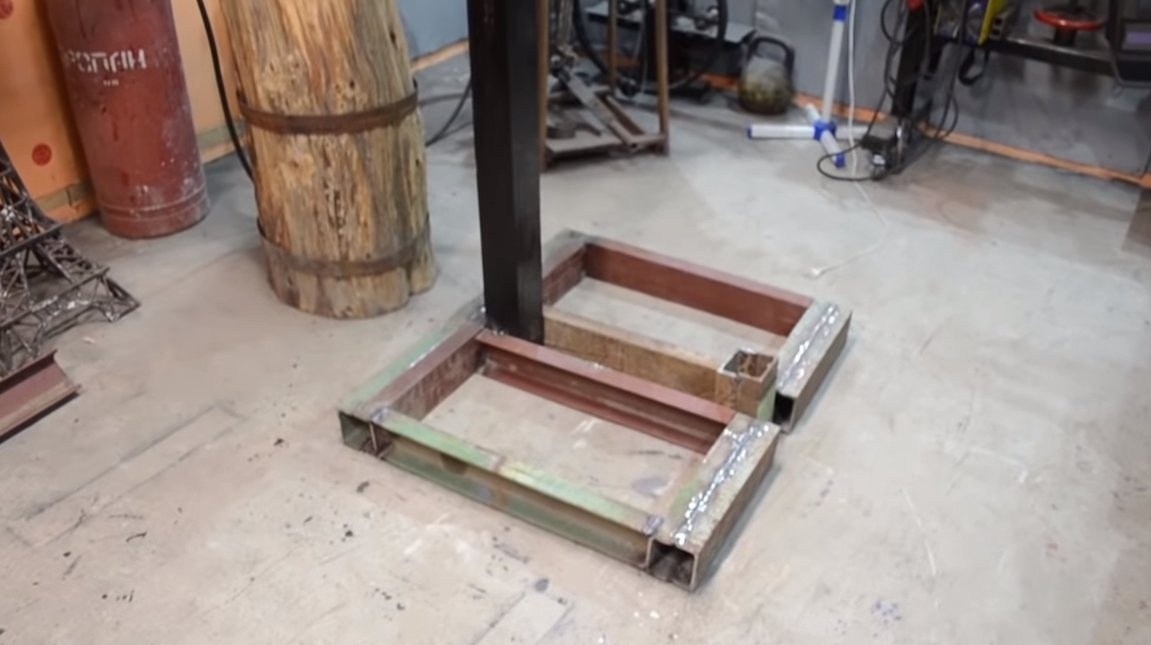
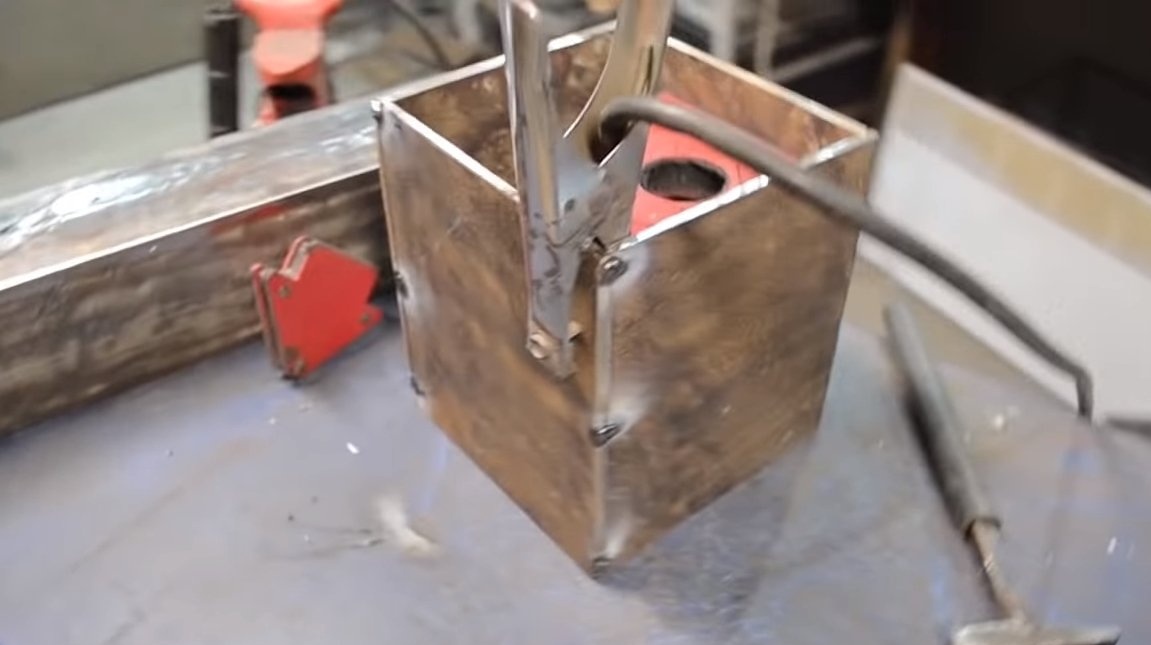
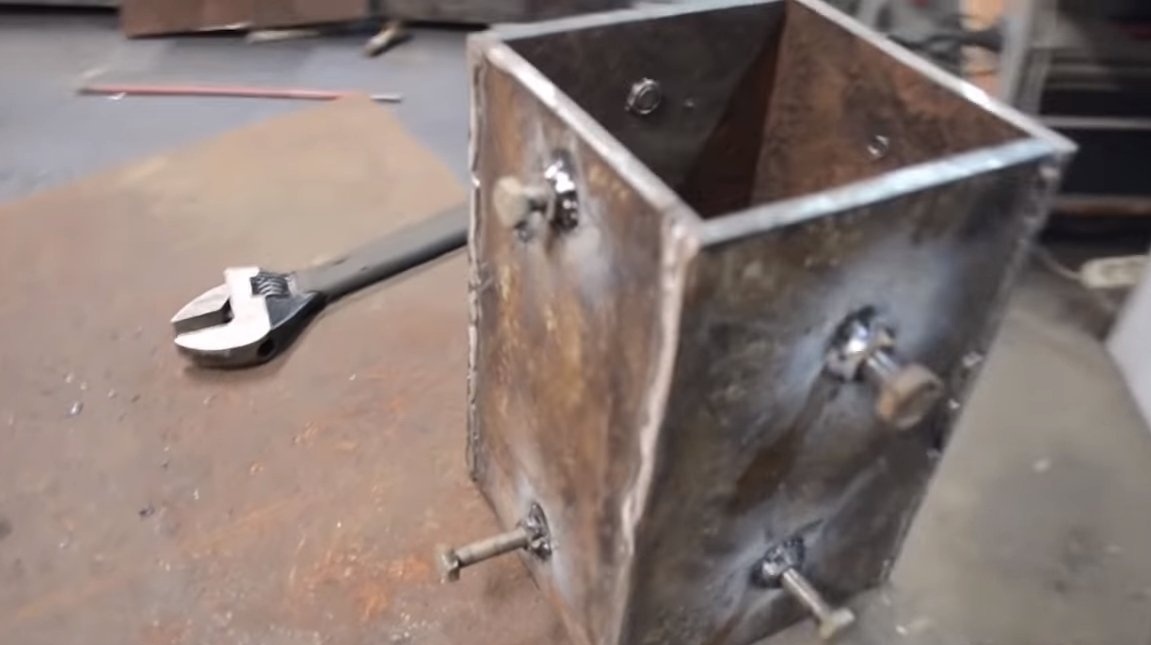
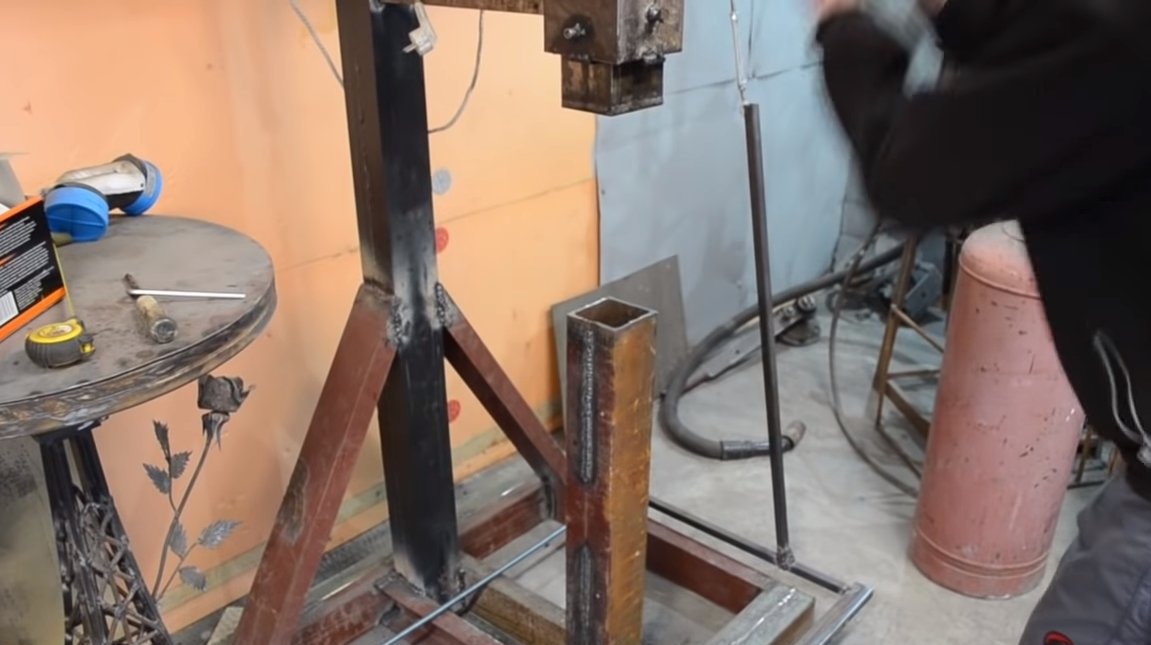
Step Three The foundation
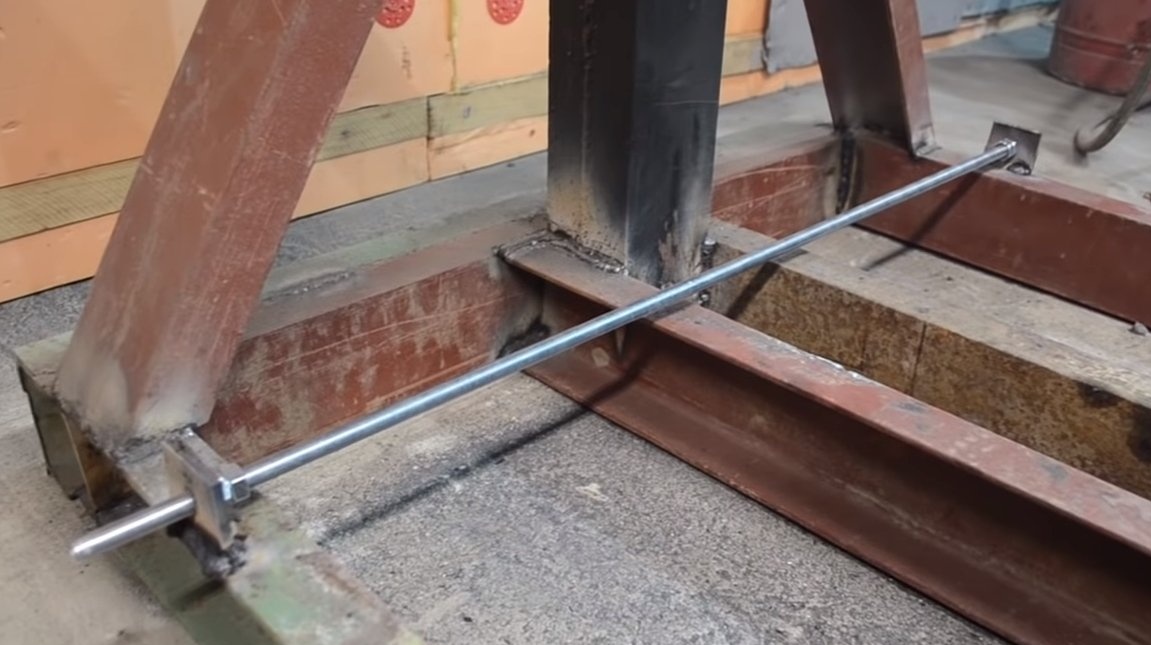
For the machine you need to make a solid foundation so that it does not fall in the process of work. It is highly advisable to weld the mounting ears to the base, with which the machine can be screwed to the floor or to the wall. We assemble the base from the channel, profile pipes, angle or other materials that are available.
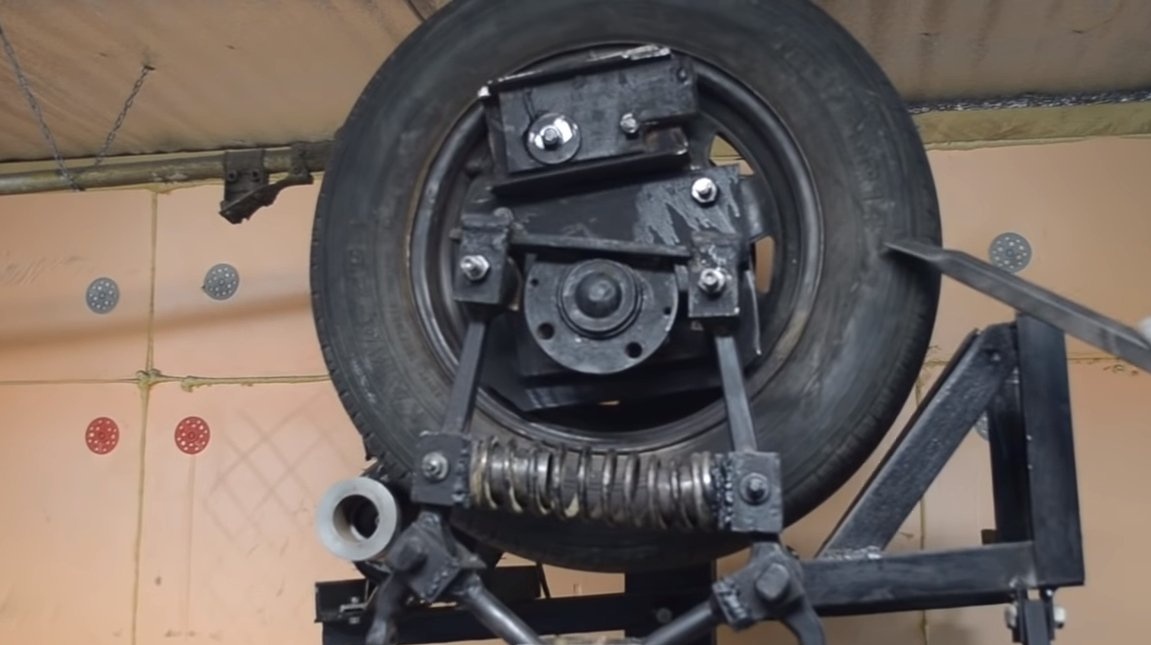
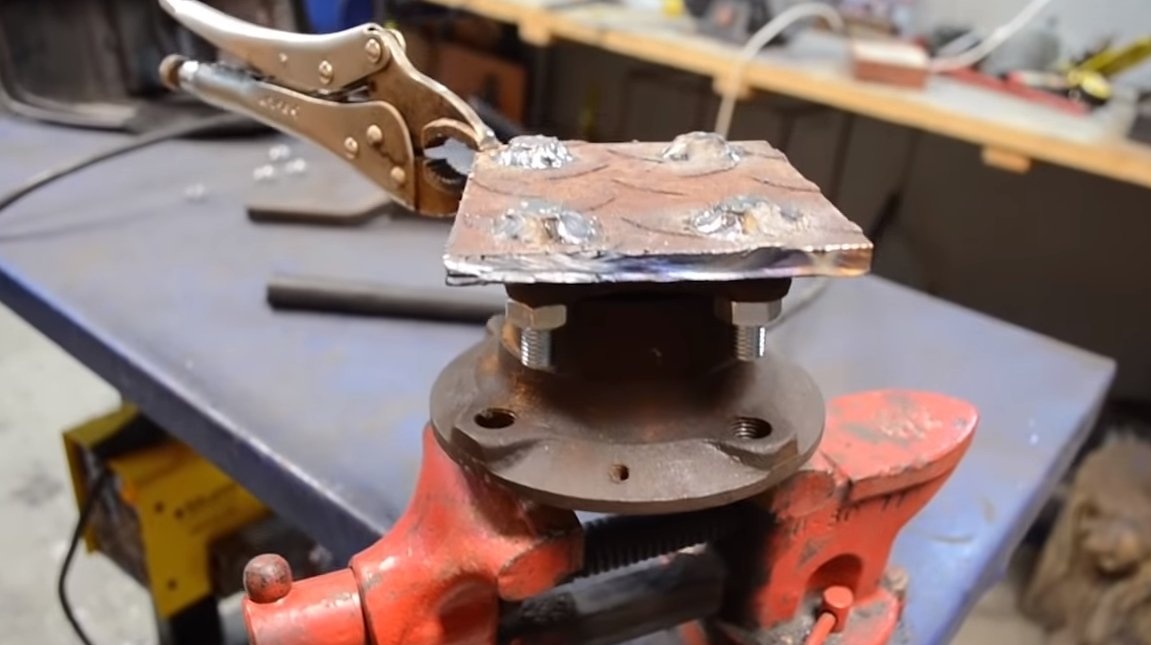
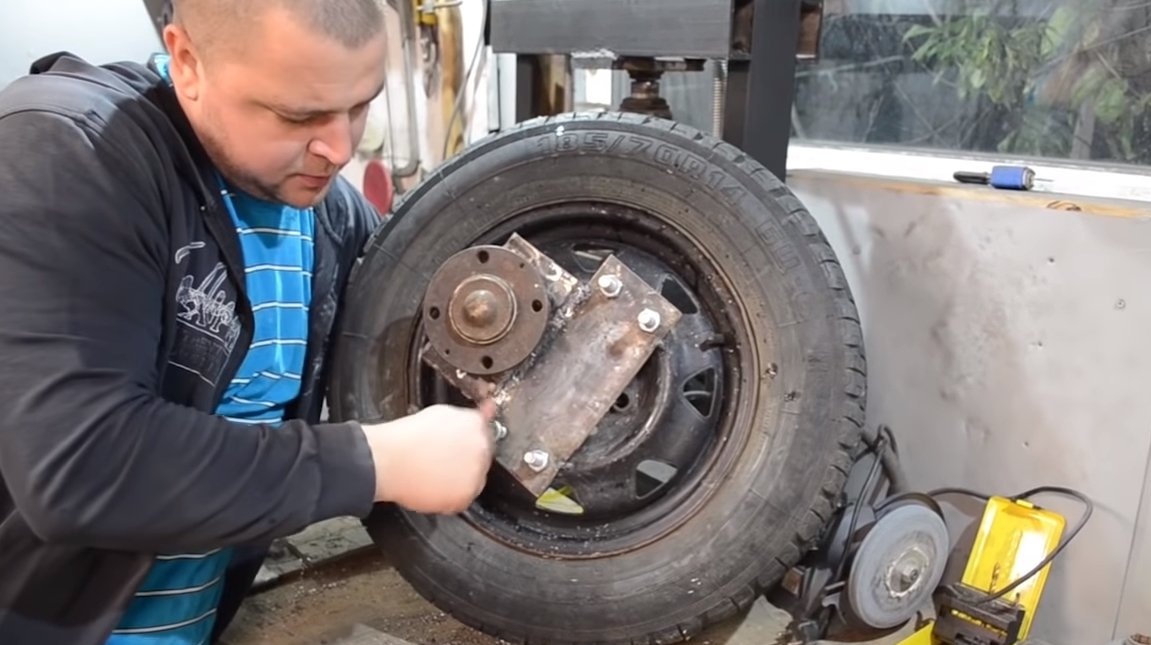
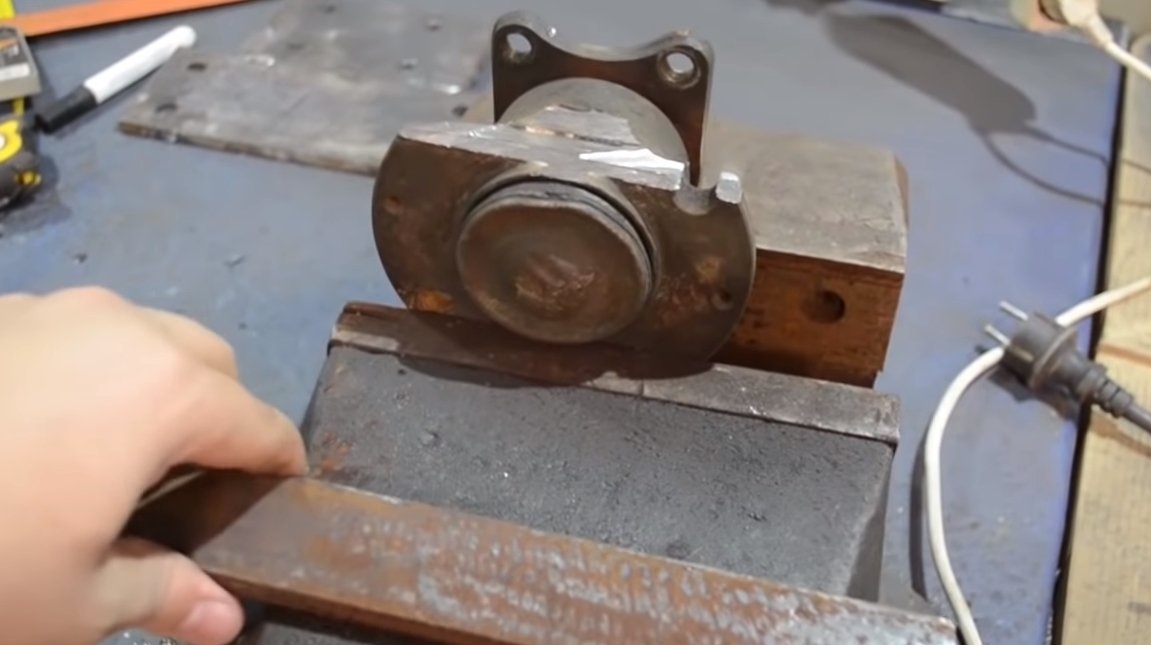
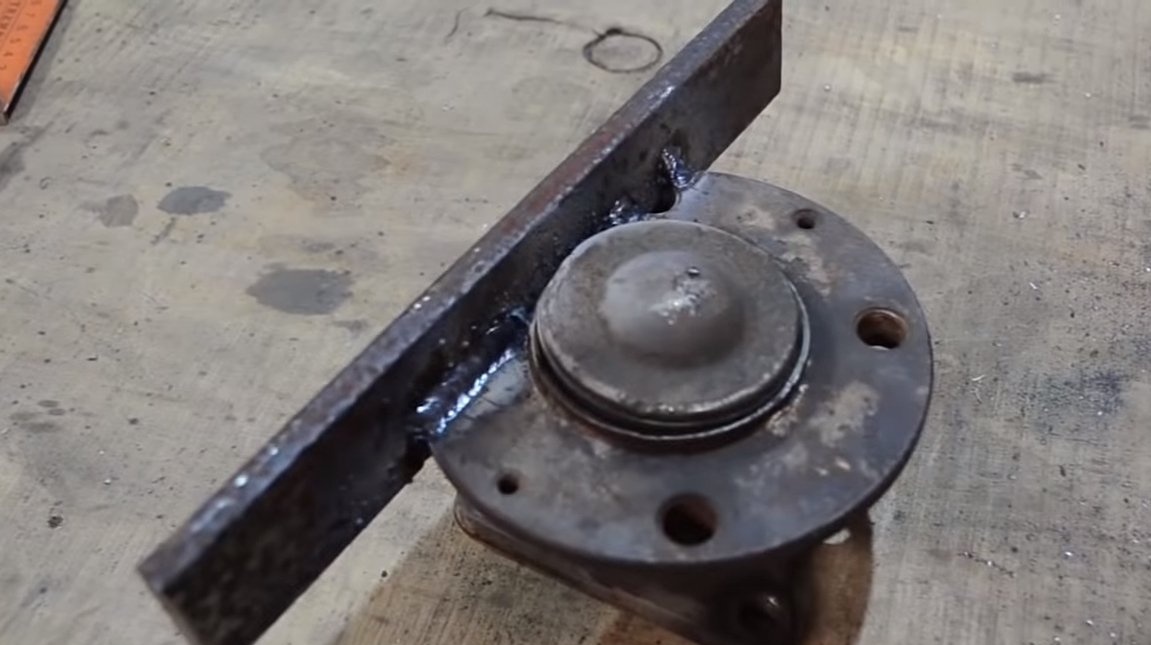
Step Four Crank
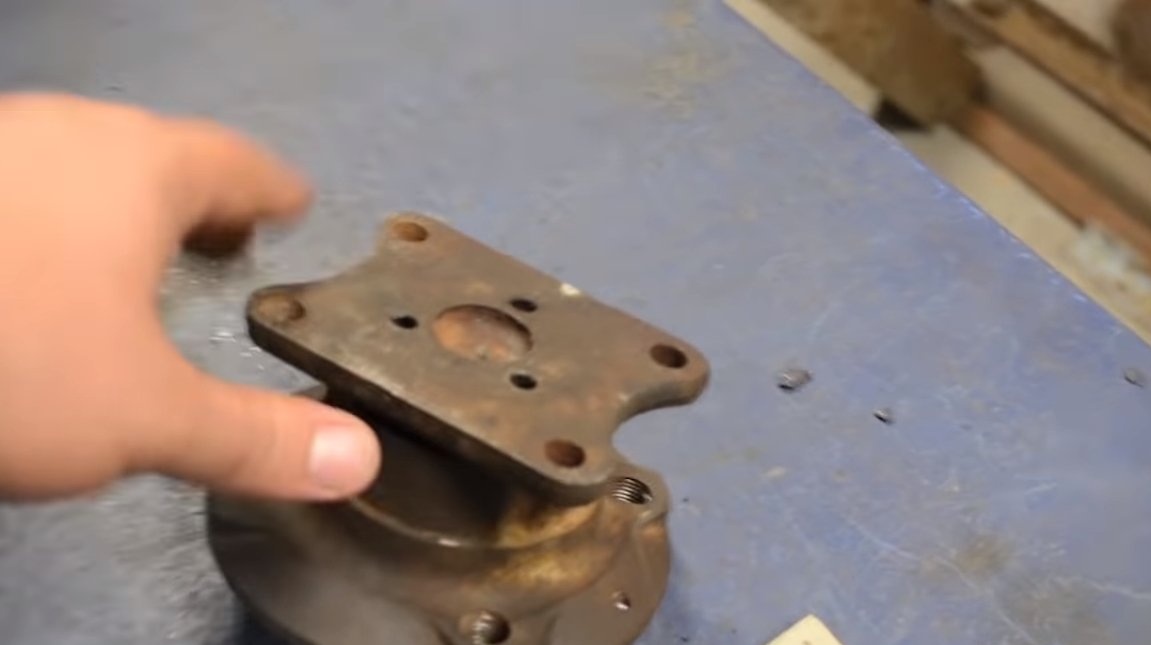
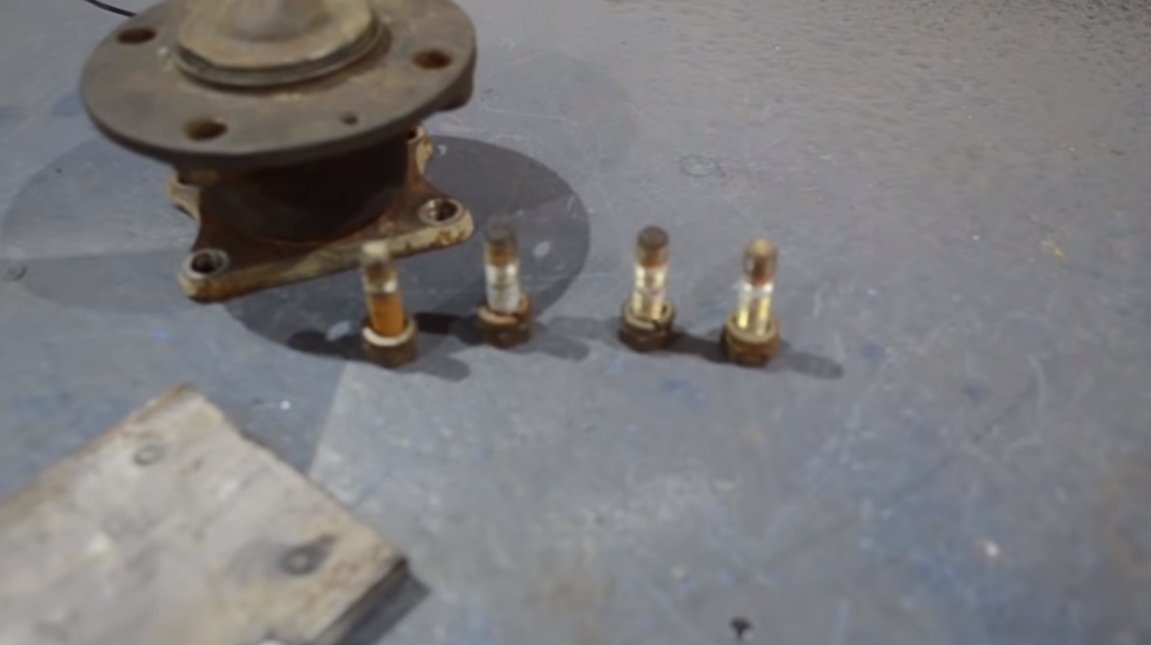
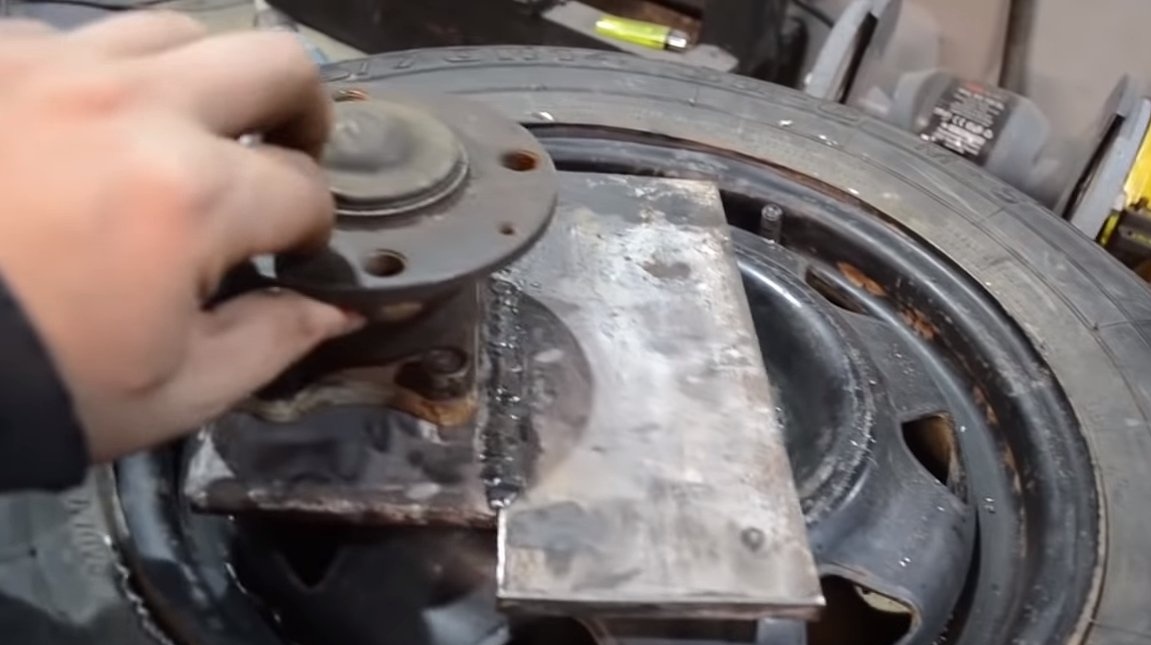
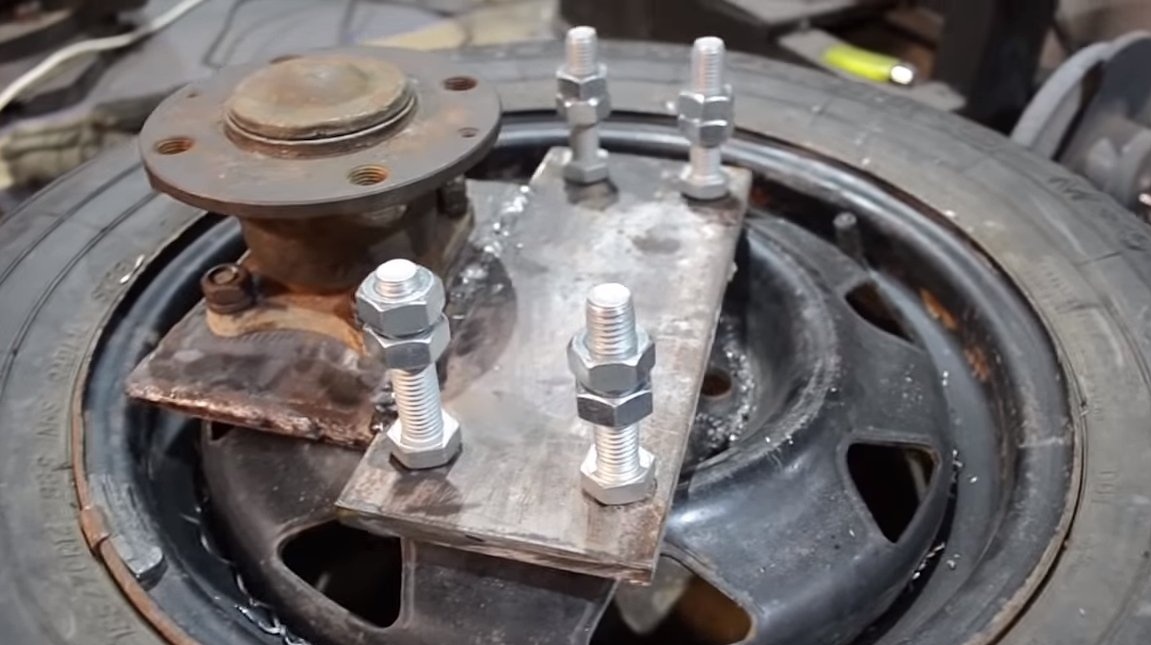
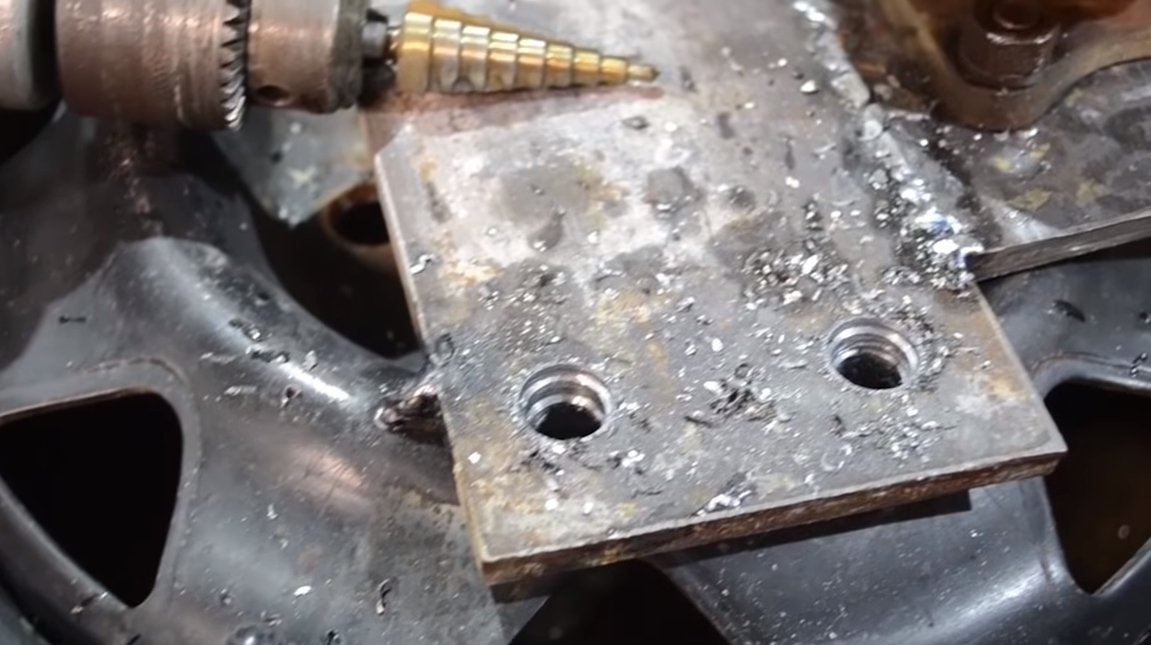
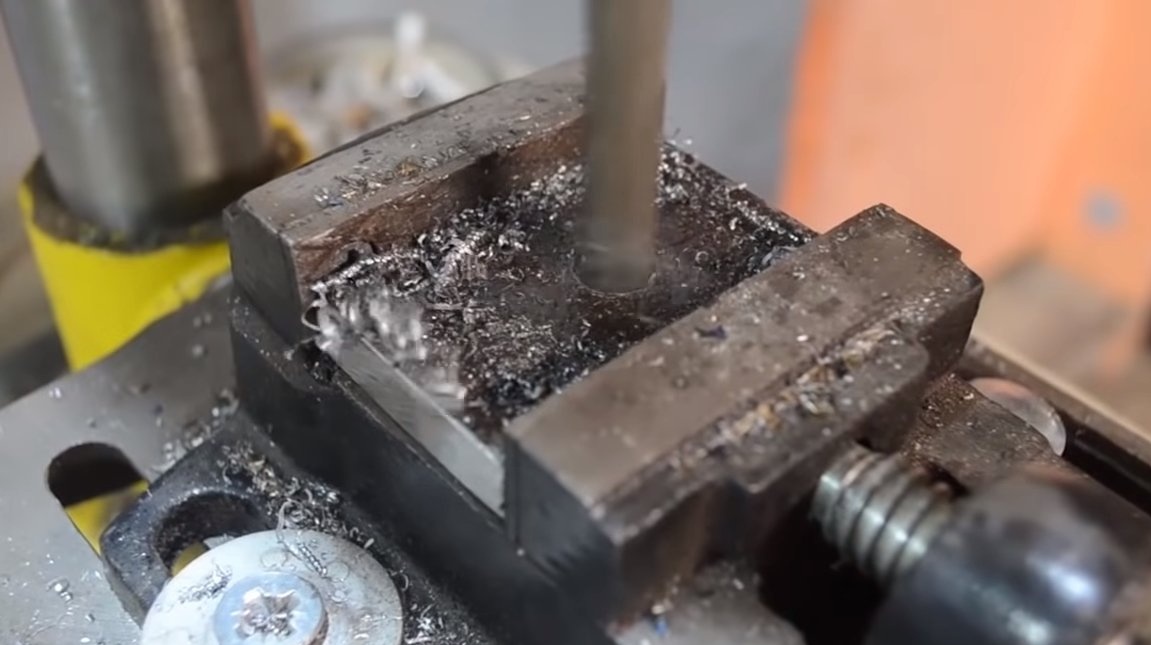
The entire construction of the hammer is a crank system, we make a crank, it will be installed on a car disk. We make a crank from a car hub, we make a mounting bracket from thick sheet metal under it. The crank must be removable, otherwise we will not be able to remove the wheel if something happens. We drill holes in the right places and fasten the bracket with bolts and nuts. For convenience, the nuts are welded on the reverse side of the disk, or bolts are welded to the disk. You can see the approximate location of the crank in the photo.
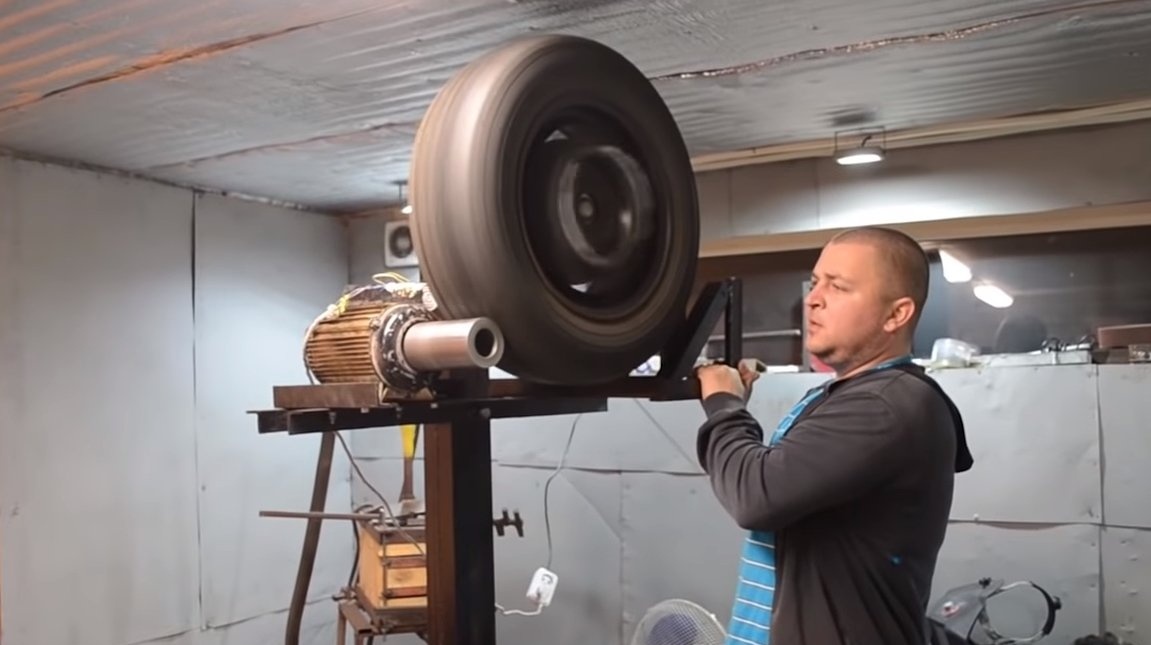
Step Five Tire
The author decided to replace the tire on the wheel. It should be soft and have a tread with small slots, this will provide good adhesion to the metal drive wheel. The tire can be used winter, it is the softest possible.
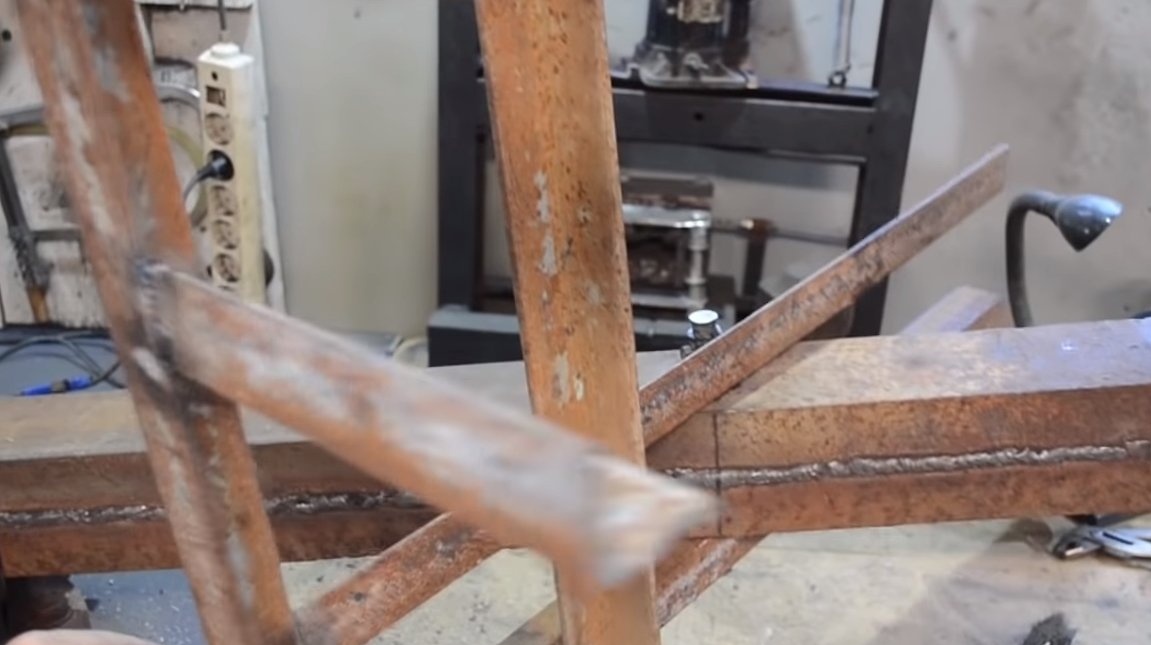
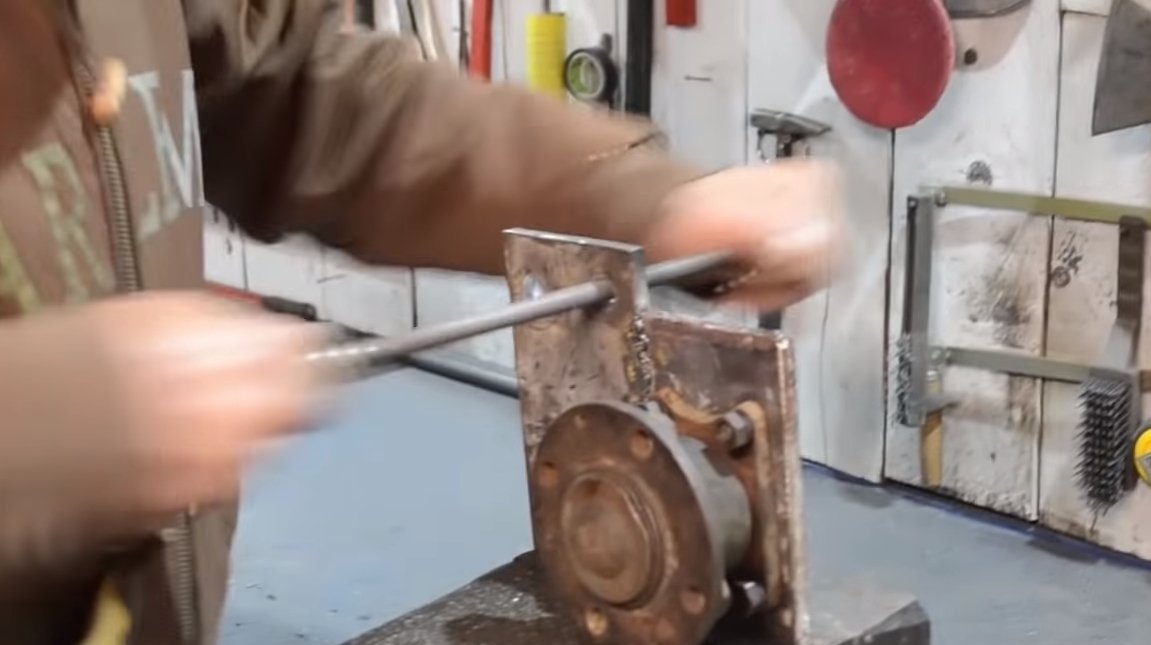
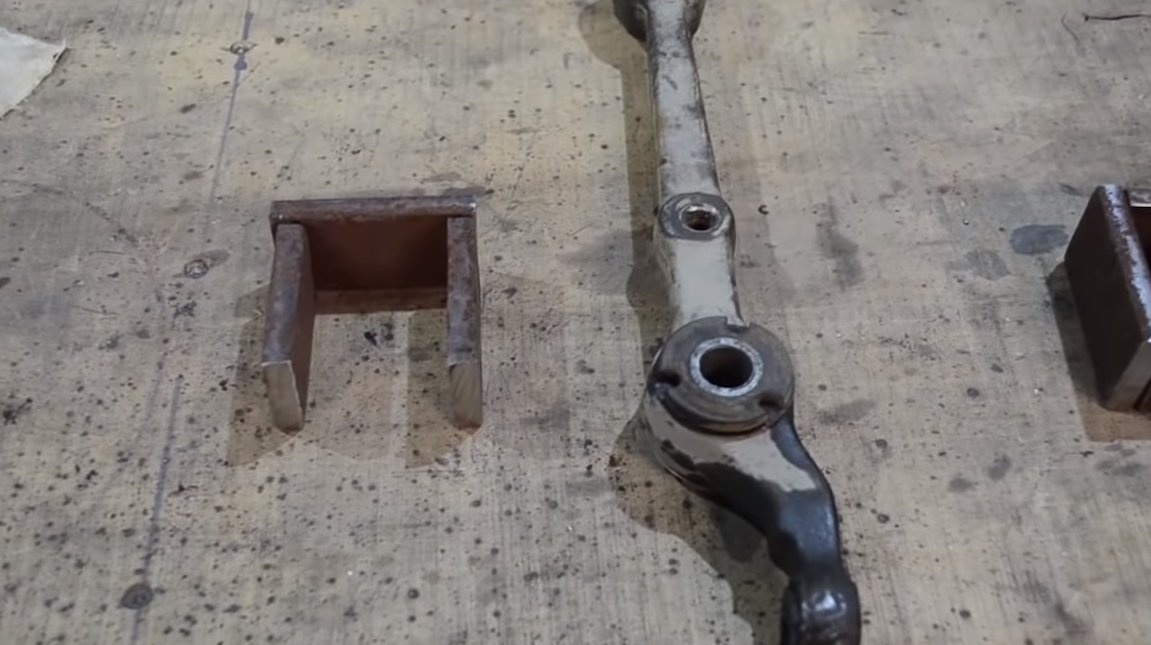
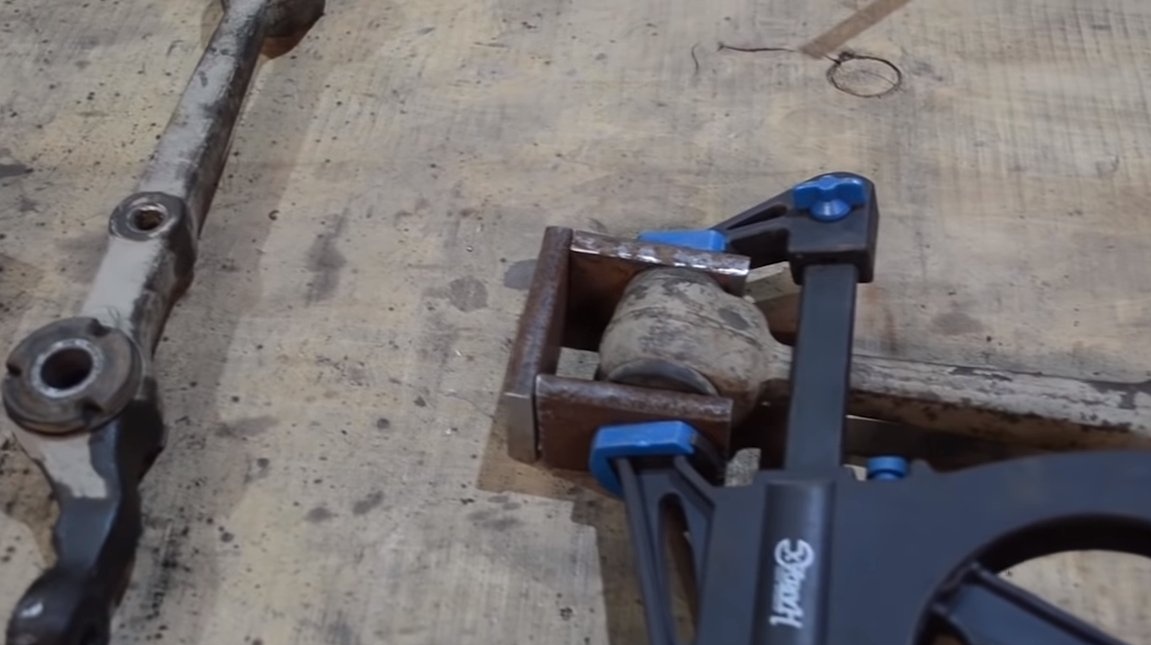
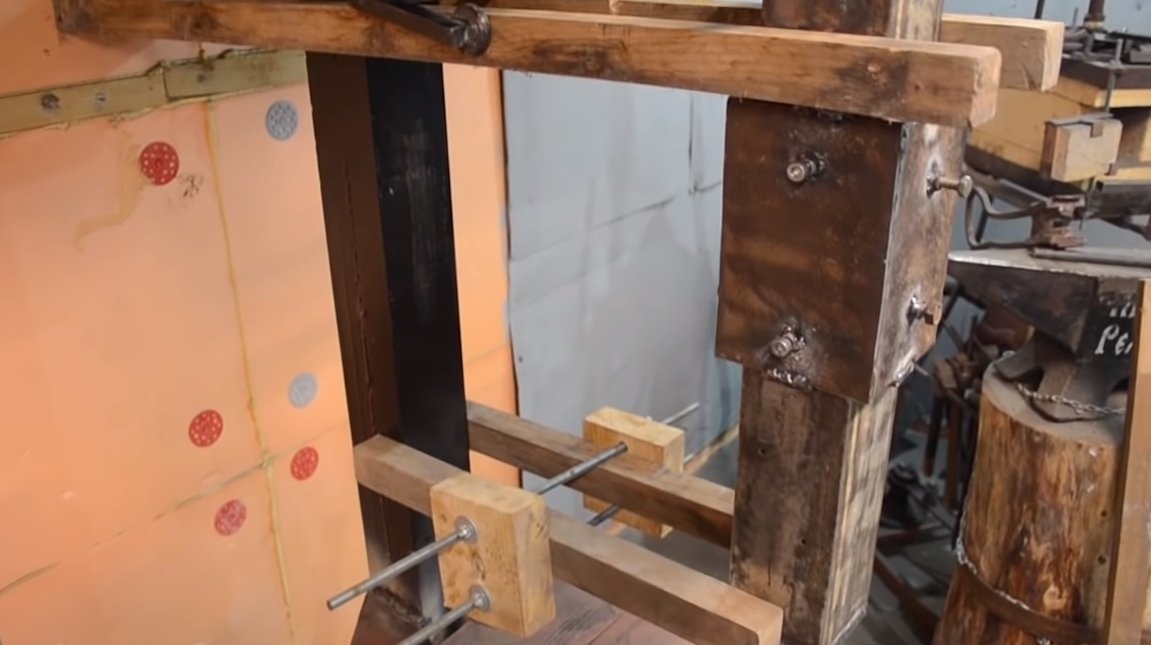
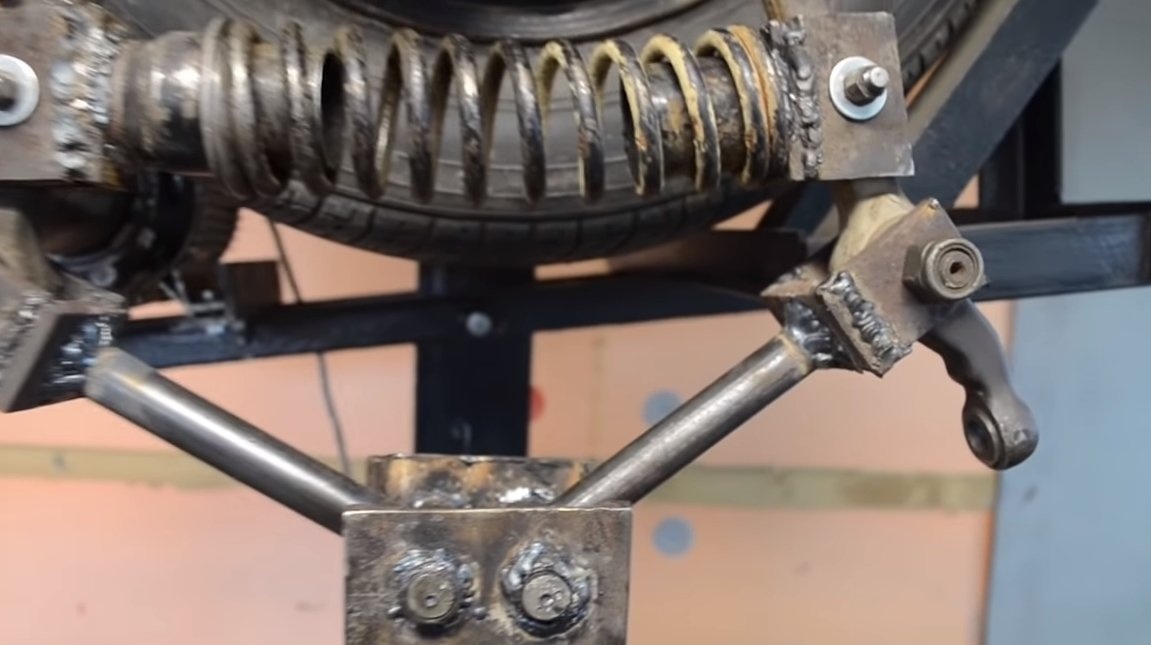
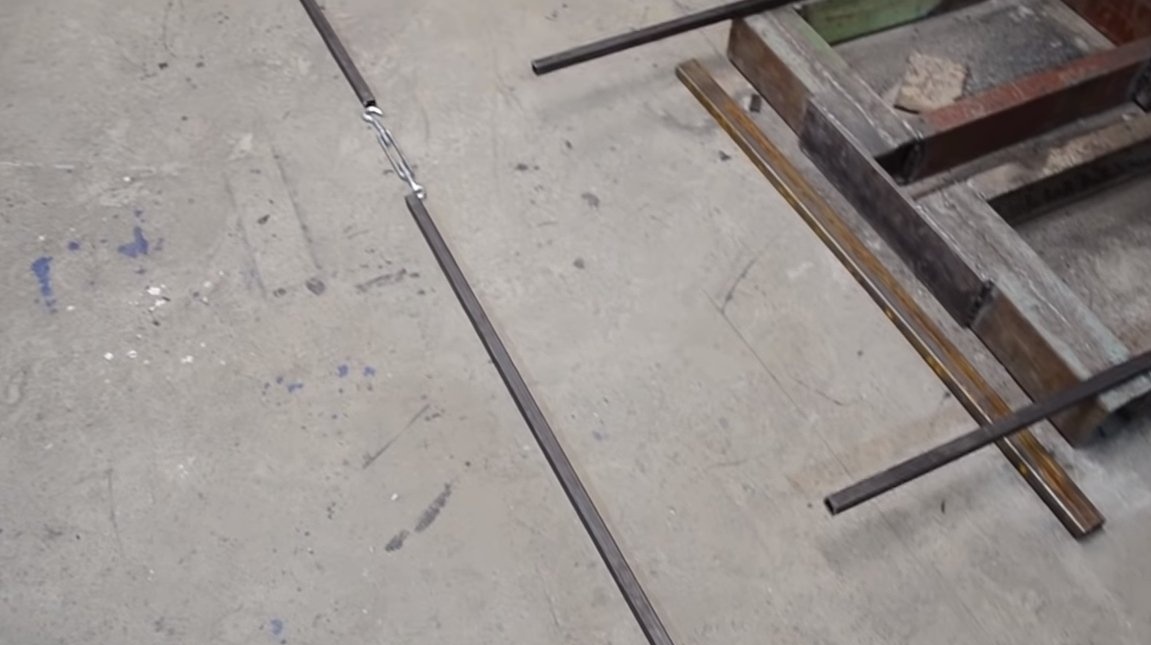
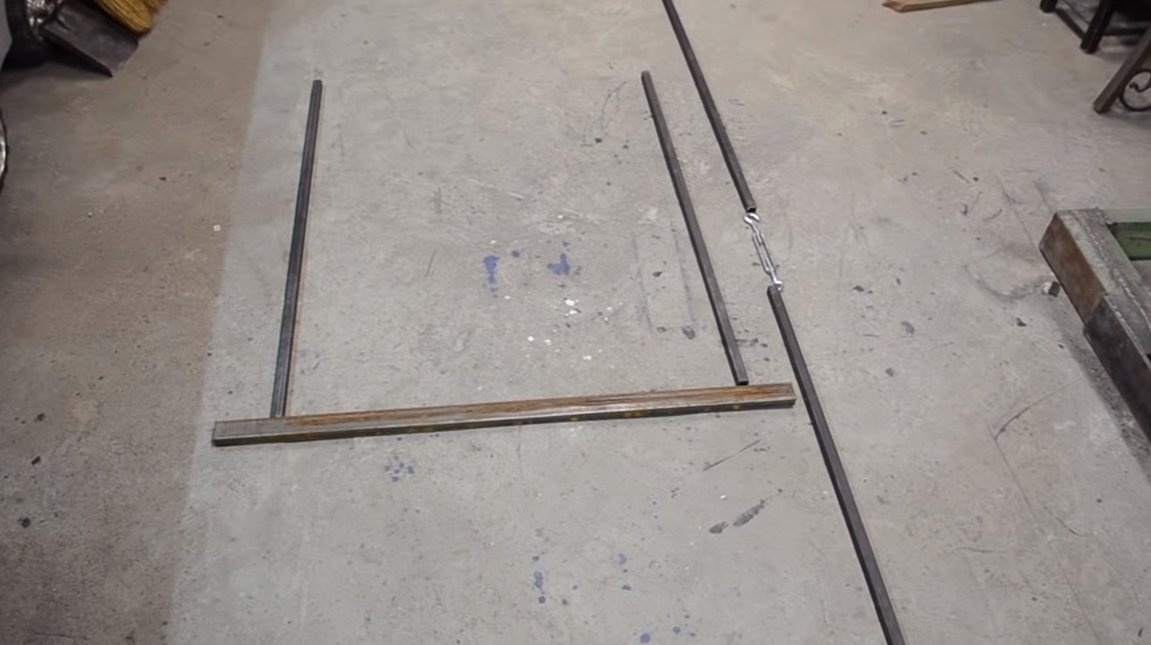
Step Six Connecting rod
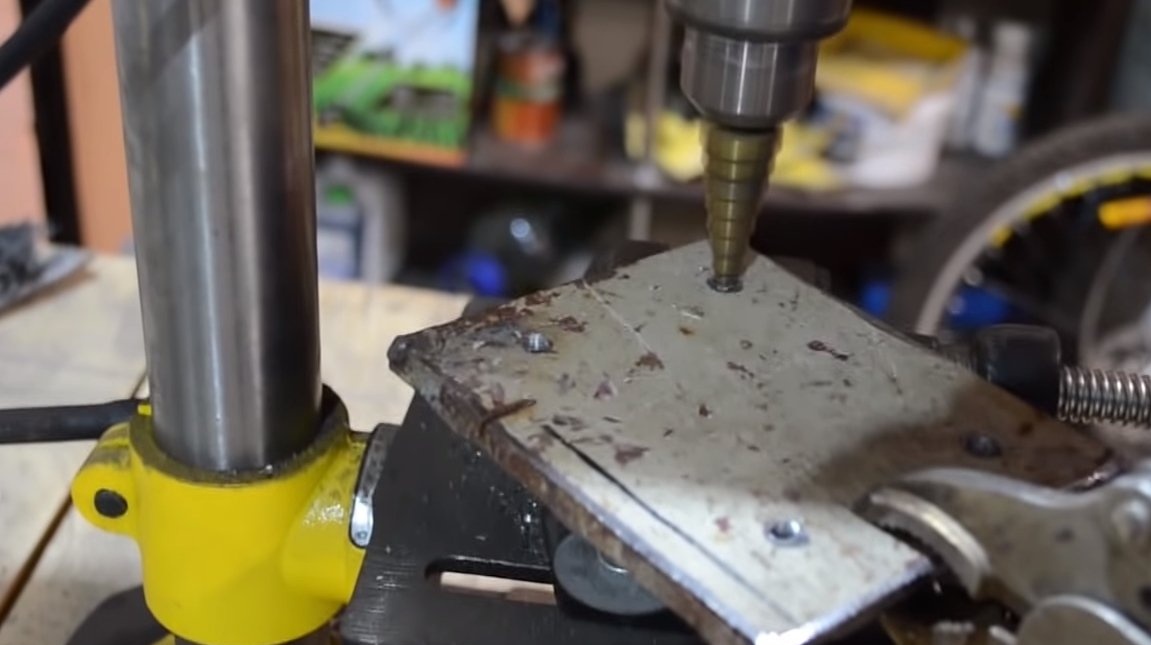
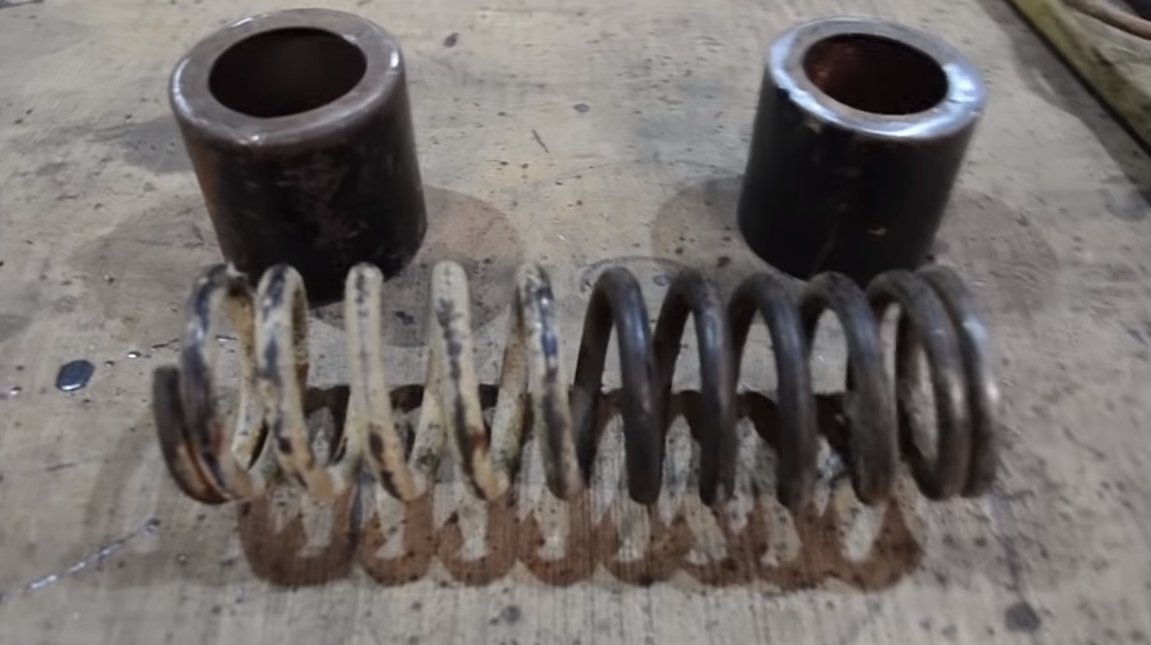
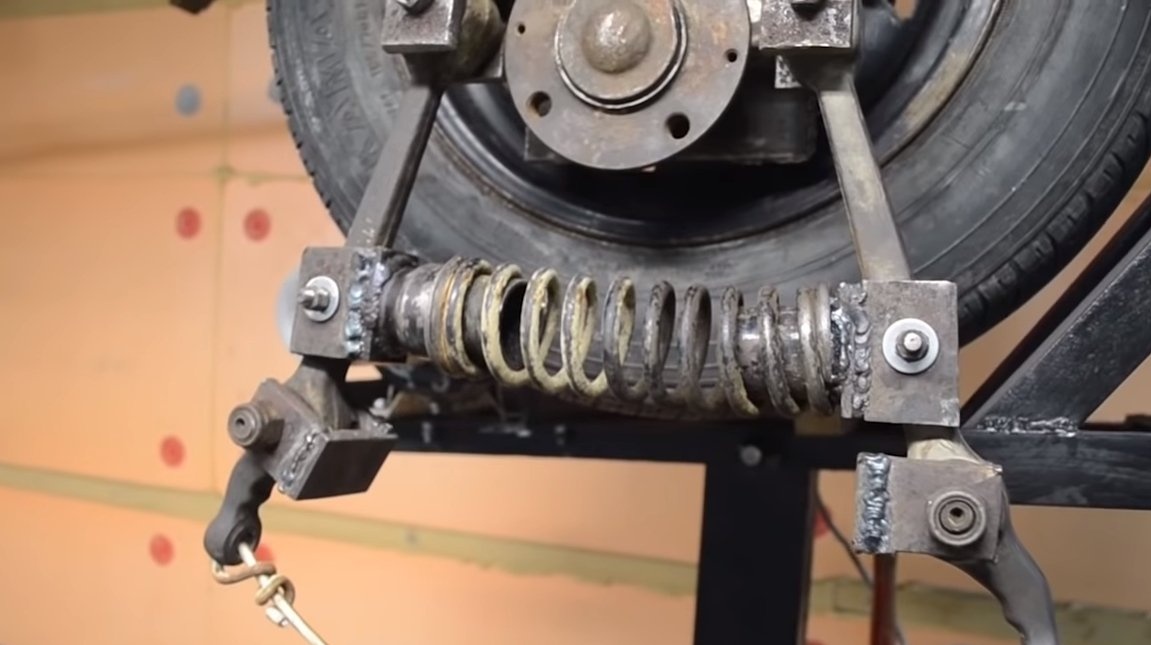
Next, we make a connecting rod that will connect the crank to the hammer. To begin with, we cut the hub (crank) and weld an iron plate with “ears” to it. Further to these two ears we articulate the steering rods from the car. Between the rods, the suspension spring from the car is installed, it will soften the blows of the hammer and prevent the car from jamming during operation. Under the spring we make special guides in the form of a piece of pipe of suitable diameter. The shock absorber manufactured must be hinged to the steering rods.
At the end of the rods, hinges are also installed to which the hammer will be attached.

Seventh step. Production and installation of a hammer
Next, we make a hammer, you can weld it from the channel. If desired, sand can be poured into the resulting pipe or lead can be poured to increase weight. For the hammer, a guide is necessary, it will be a "pipe" of a larger diameter than the hammer. The author welds the necessary part from thick iron plates. Bolts are provided on the guide, which are screwed to the welded nuts, with the help of them it is possible to minimize the backlash of the hammer in the guide.
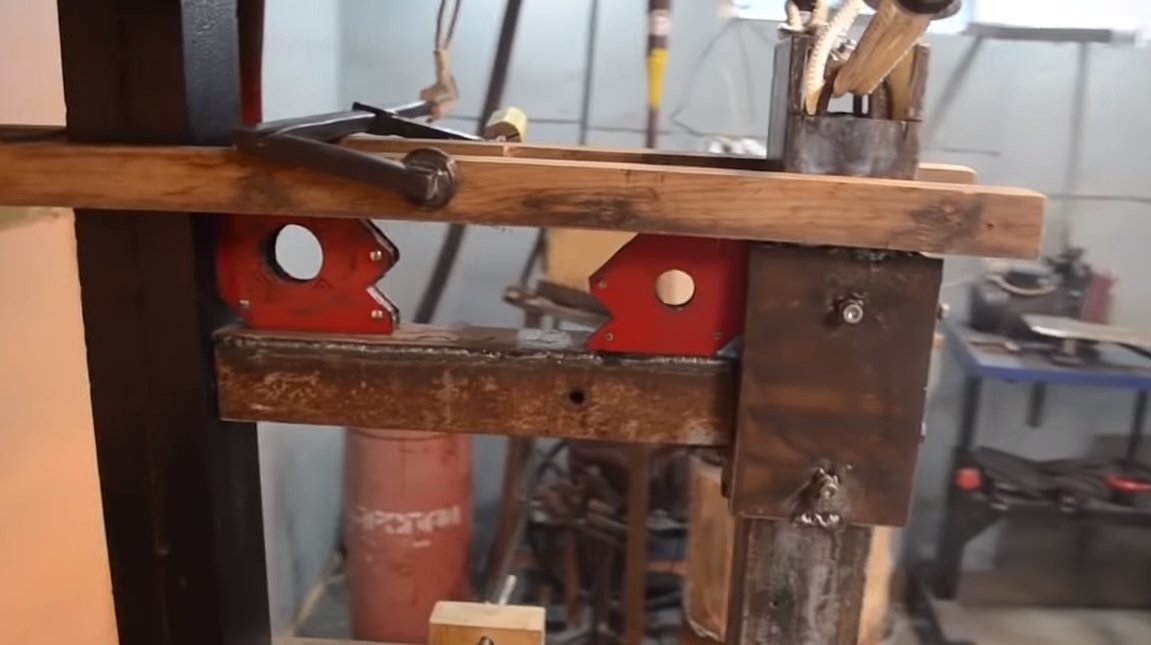

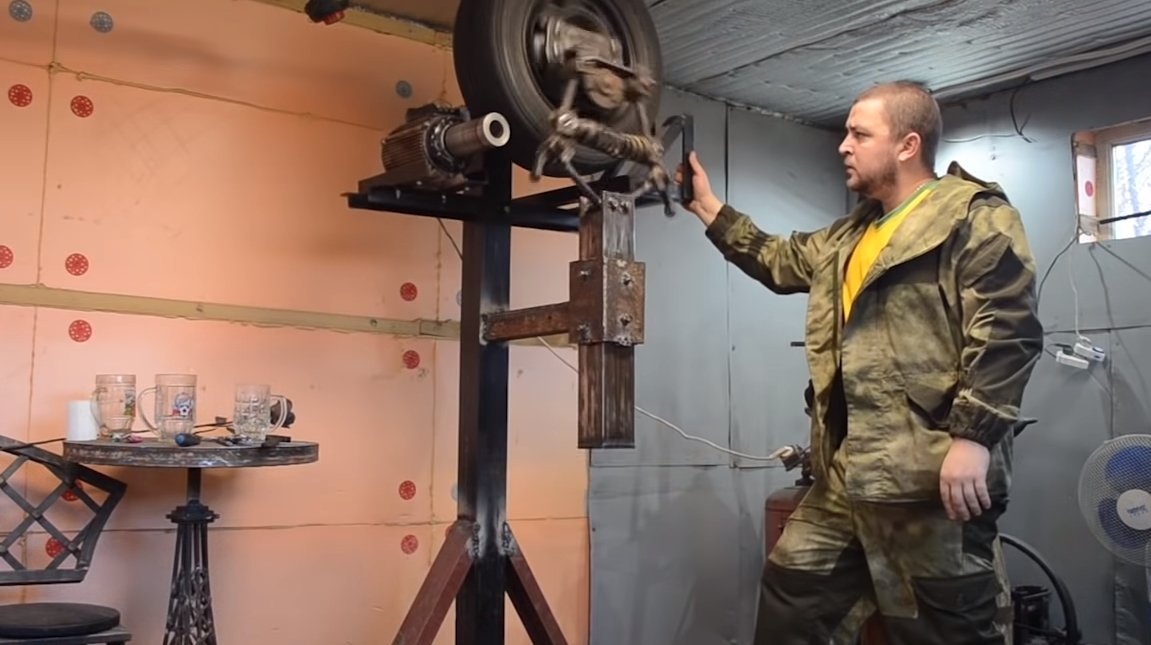
The hammer can be installed on the machine, we weld the hammer guide to the main rack using a crossbar from a channel, a profile pipe or other material. It is important to choose the position in which the hammer will be located.
The hammer itself is attached to the connecting rod using two rods, these rods are hinged to the hammer and hinged to the connecting rod. After that, the main working node will be ready, the author will constantly check the operability of the nodes as they are assembled.
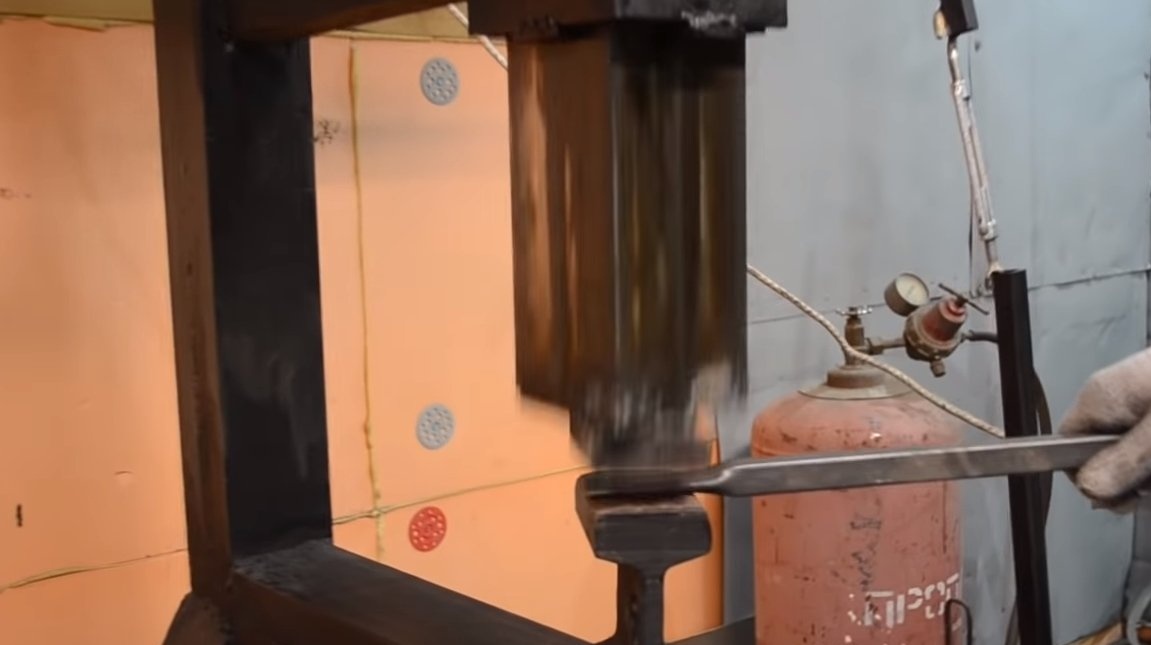
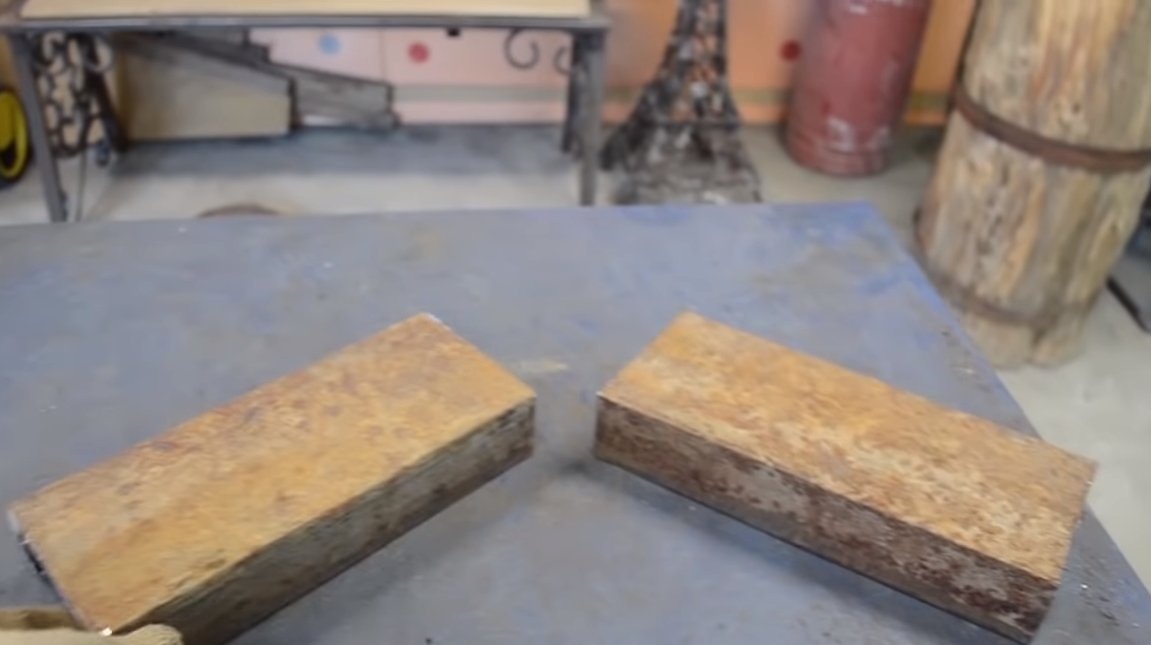
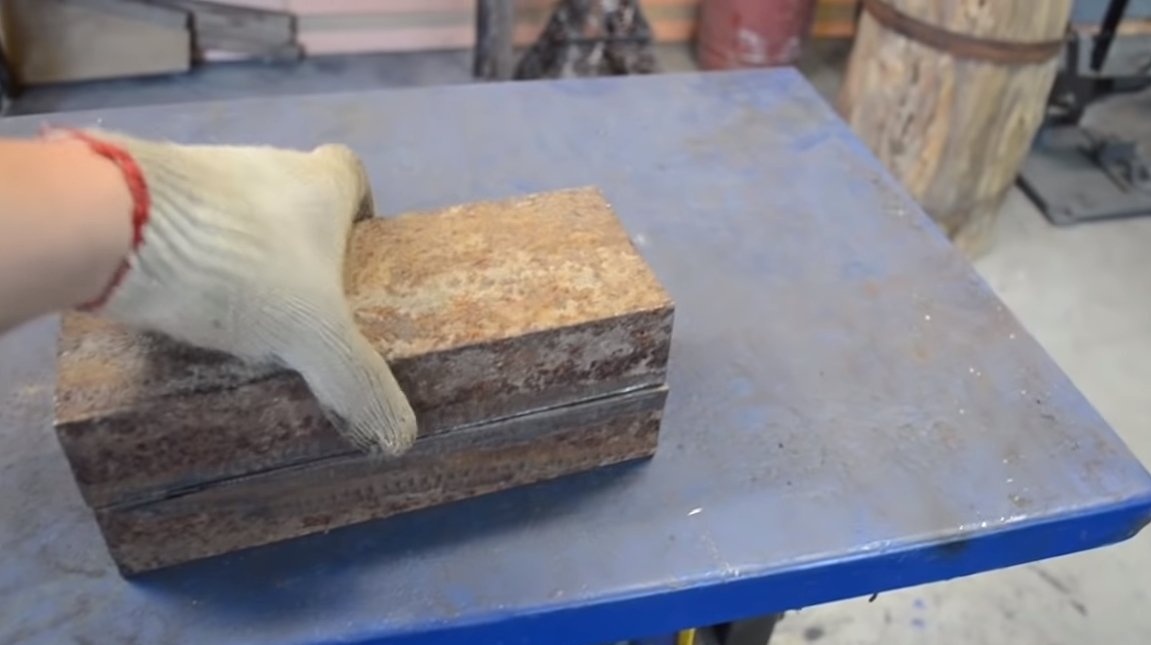
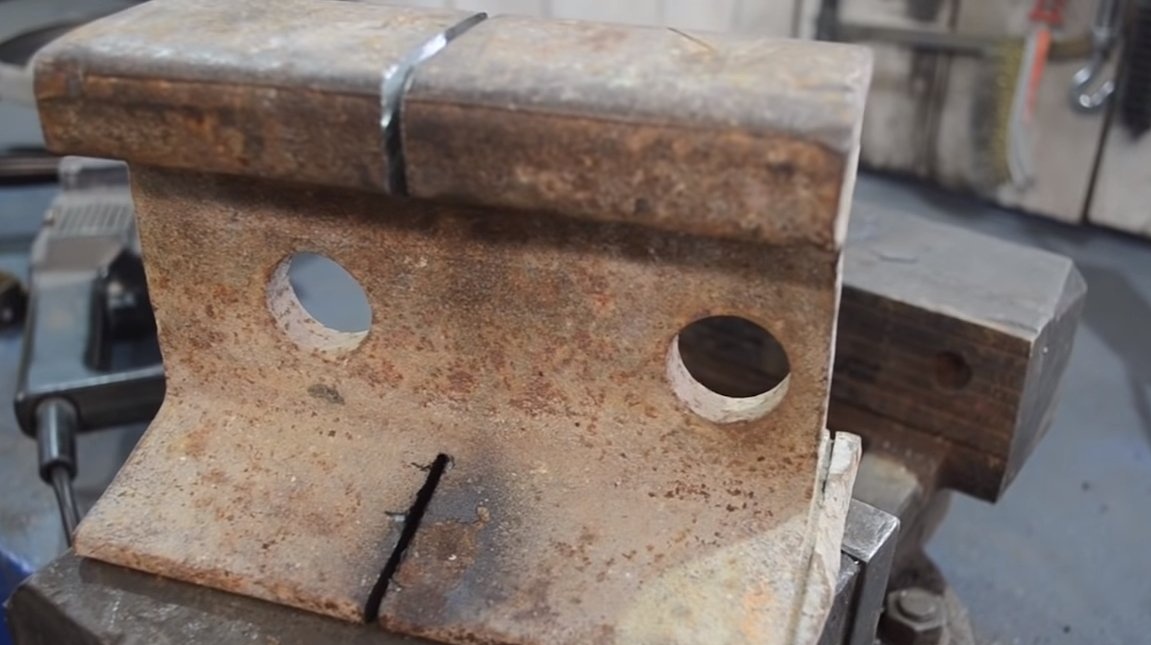
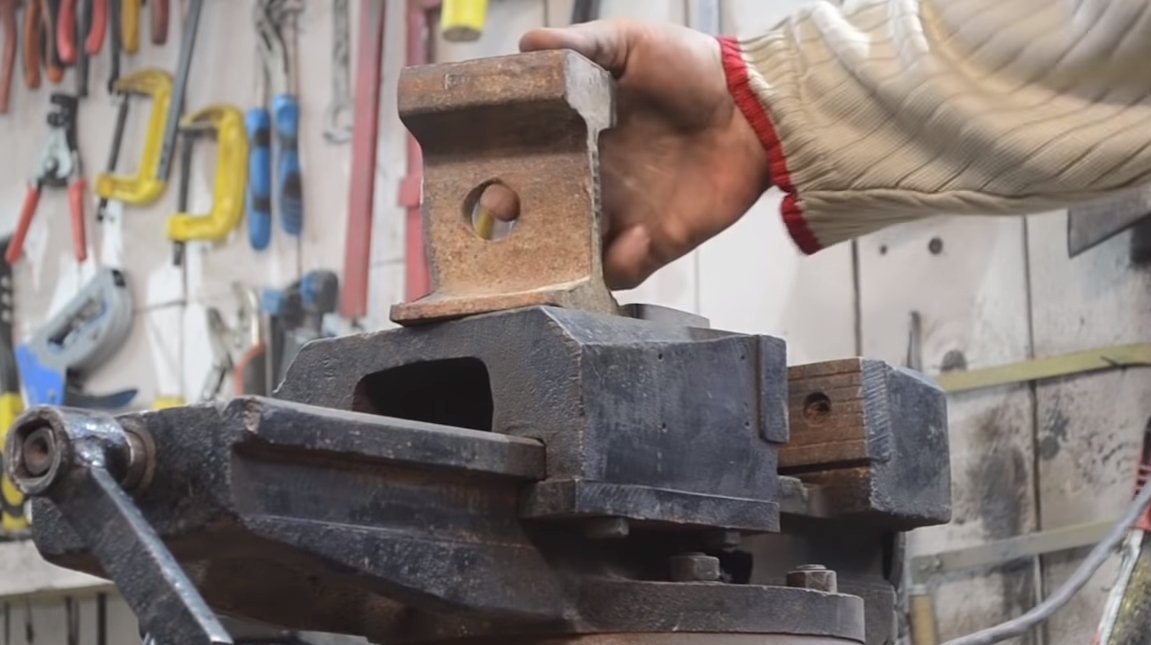
Step Eight. Anvil
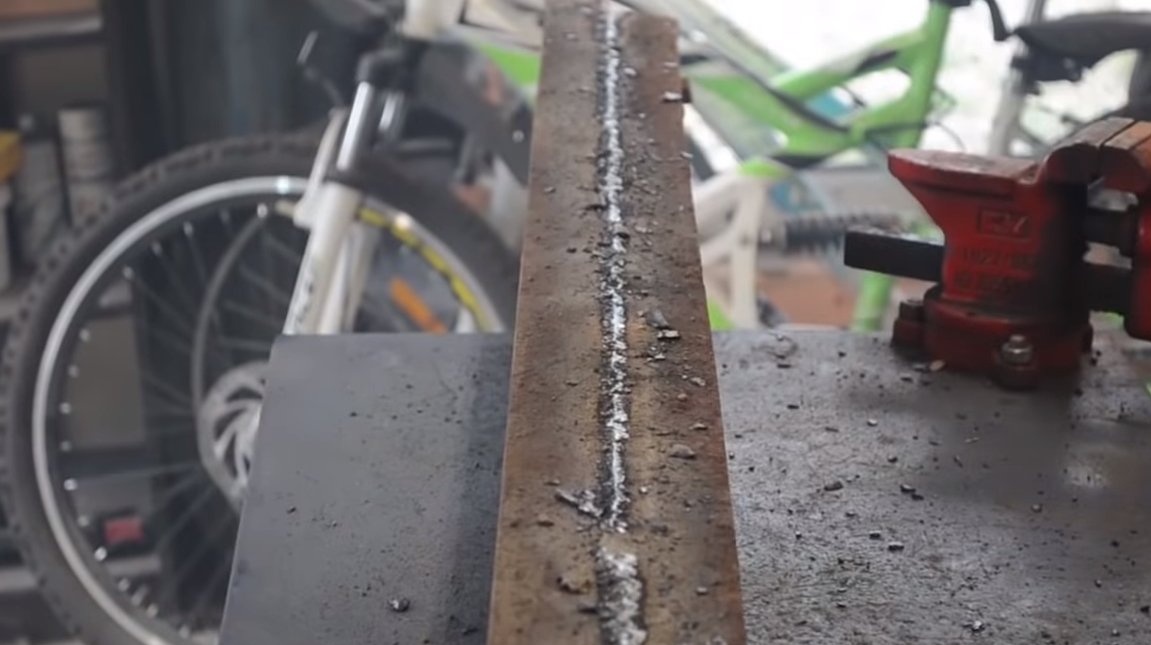
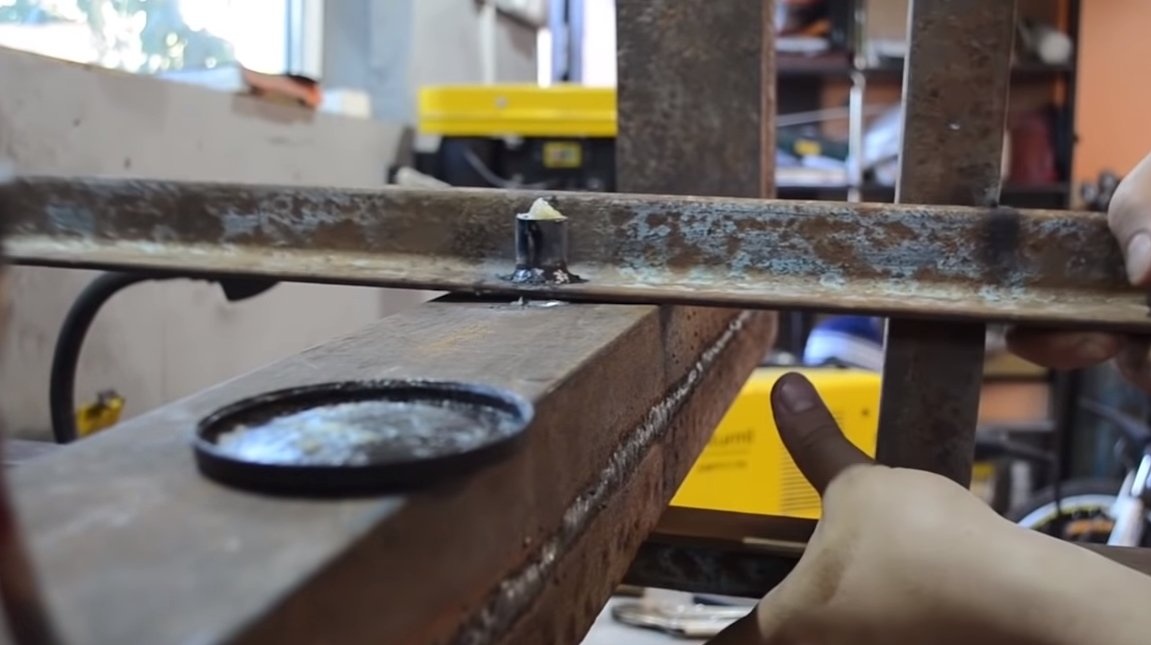
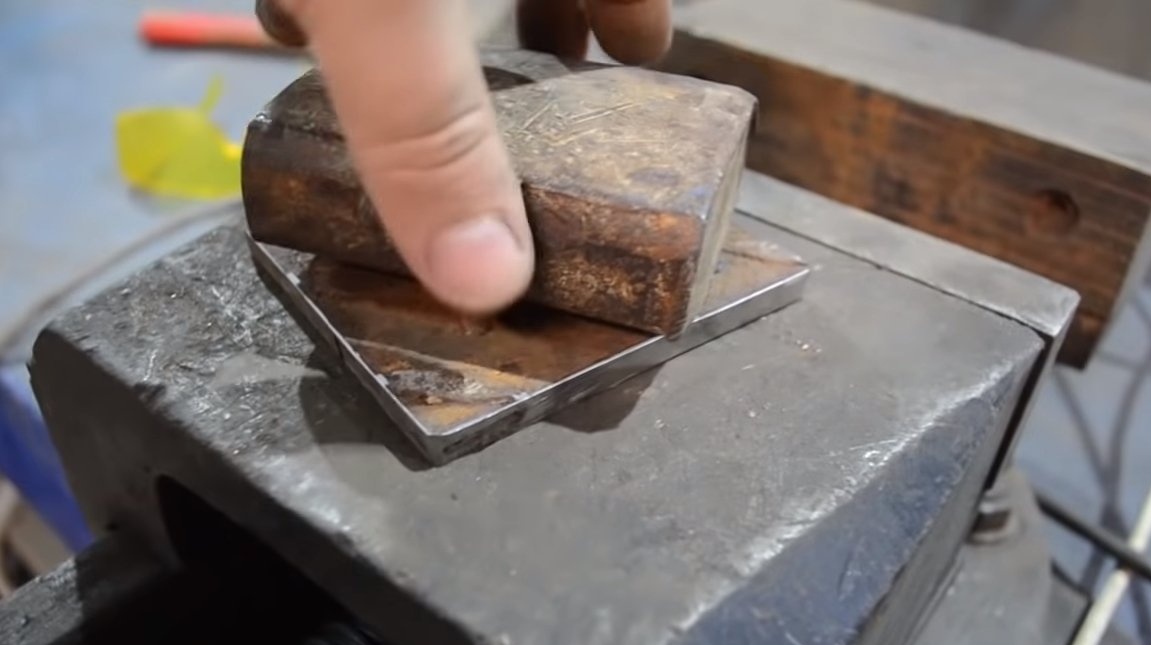
We need to make an anvil, for this we need strong steel, the rail is excellent as a material. The author cuts the rail into two parts, a tip for the hammer is made from a similar piece of rail. The steel from which the rail is made is quite fragile, it can only be cut in several places, and then try to kill it with a sledgehammer.
For the anvil, we assemble the base from welded channels, securely weld the stand to the base, as well as the horizontal cross to the vertical stand. As much as possible we strengthen the entire frame and paint so that it does not rust.
Step Nine. Pedal
In conclusion, we have to make a pedal that will allow us to control the clutch of the wheel with the wheel mounted on the engine. The author welds such a pedal from profile pipes and pivots to the base. On the traction that will go to the upper frame, you can set the tensioner to adjust the length of the traction.


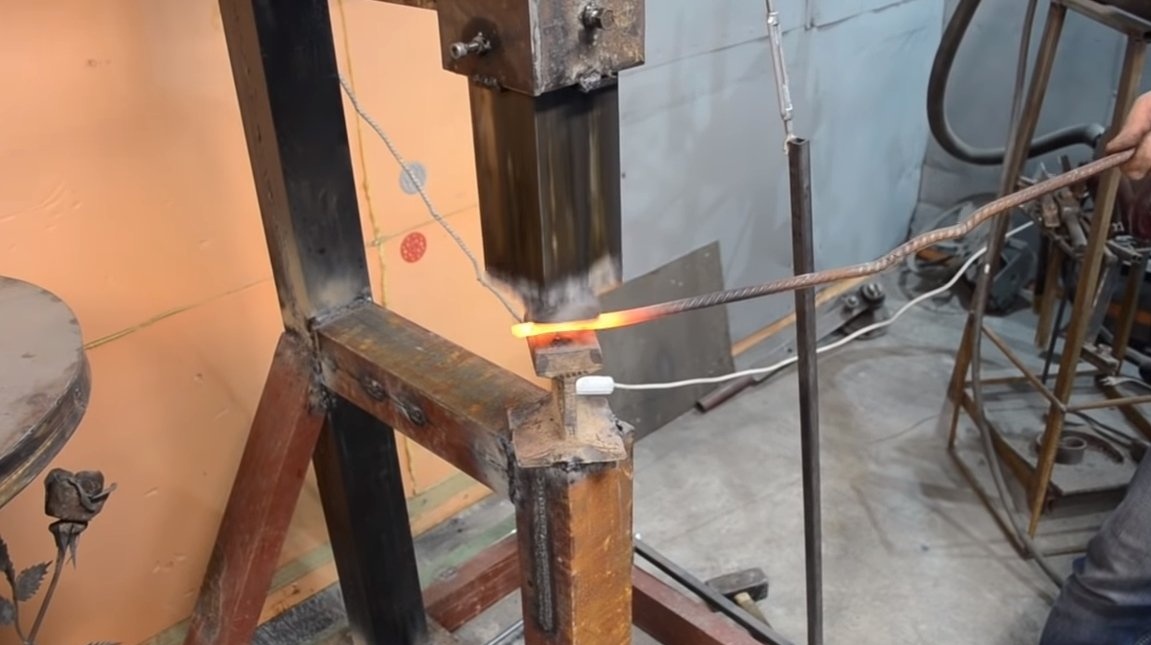
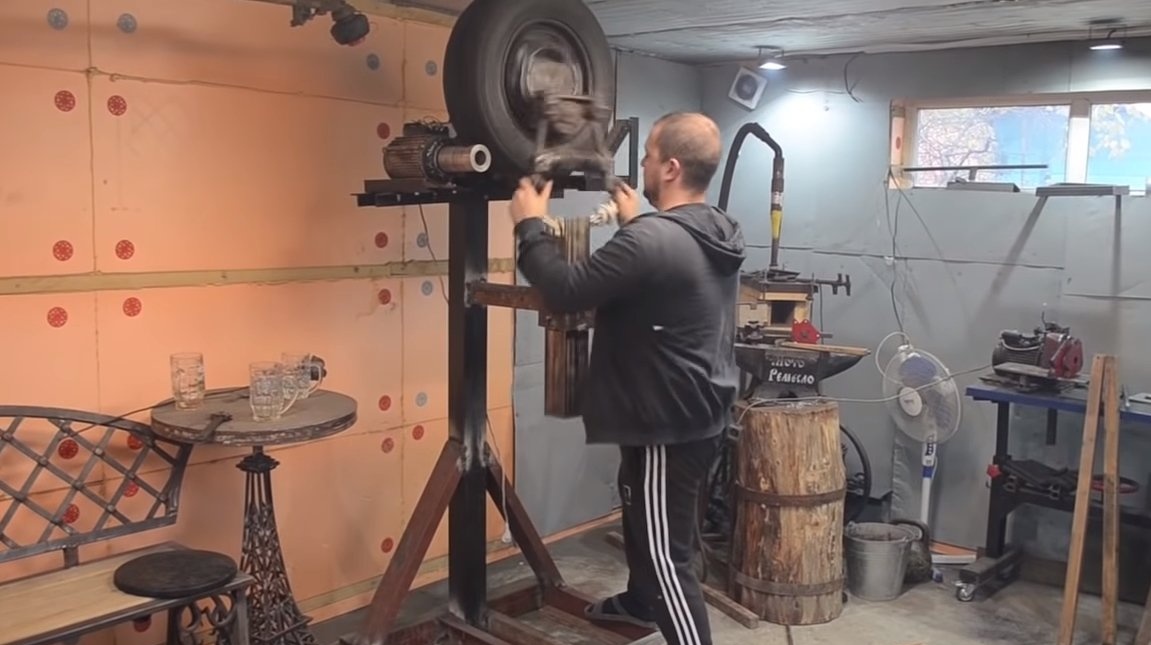
Step Ten Test
That's all, the car is ready, we start the engine and use the pedal to put the hammer in action.The machine perfectly crushes the red-hot fittings, and also easily crushes a piece of the profile pipe.
The machine turned out to be very useful, but as a safety measure it is strongly recommended to install a protective shield opposite the spring, as the spring may burst and will hit your face. On this project can be considered successfully completed, I hope you liked the homemade. Good luck and creative inspiration, if you decide to repeat this. Do not forget to share your ideas and homemade things with us!