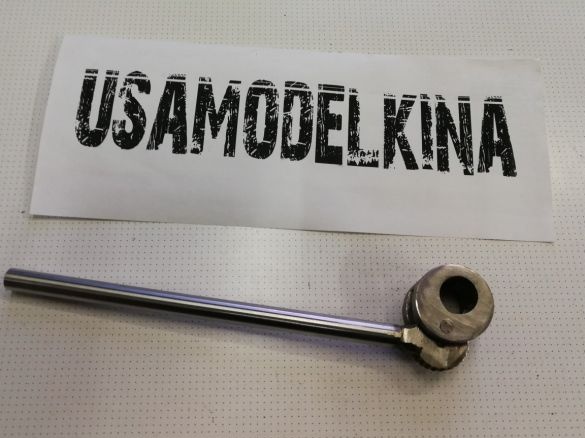
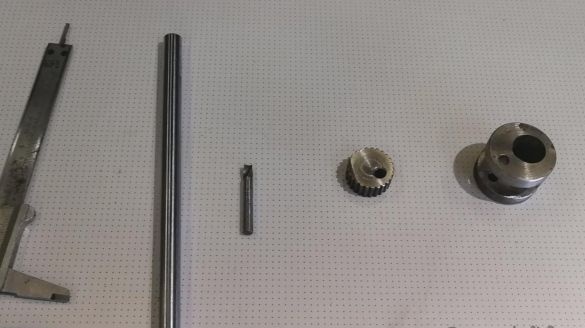
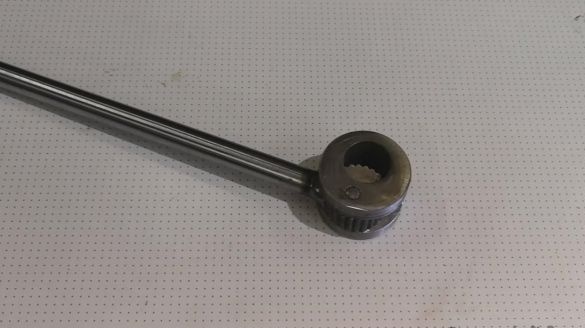
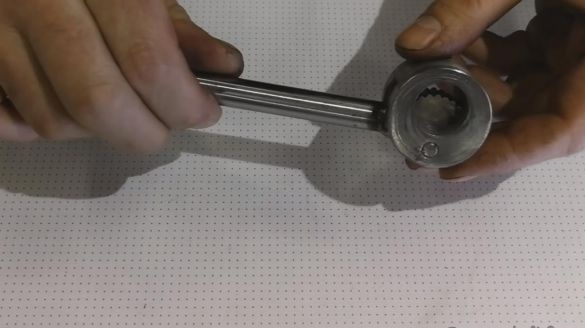
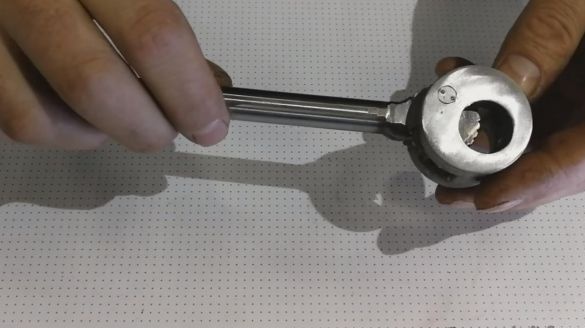
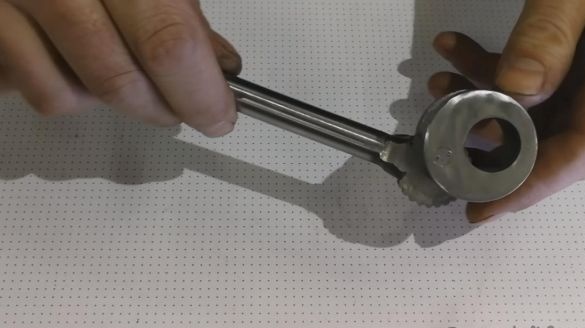
Hello to all lovers homemade. In this article I will tell you how to make a tool with which it will be possible to unscrew or twist a hairpin with a diameter of 6 to 18 mm, for example, such can be found in an internal combustion engine. This homemade product for repetition does not require special skills from you, everyone can do it, and the parts needed for assembly are not difficult to access, so there will be no problems with this either.
Before proceeding to read the article, I propose to watch a video that demonstrates the entire process of making a hairpin, as well as its testing for twisting and unscrewing the studs.
To make a hairpin do it yourself, you will need:
* Angle grinder, cutting disc
* Drilling machine
* Metal Lathe
* Bench vice
* Metal blank with a diameter of 40 mm and a length of about 50 mm
* Car joint
* Drill for metal with a diameter of 6 mm
* Metal bar
* Ruler, pencil
* Kern
* File
* Welding machine
* Personal protective equipment, welding mask, gaiters, goggles
* Masking tape
That's all that will help in assembling a very useful tool.
Step one.
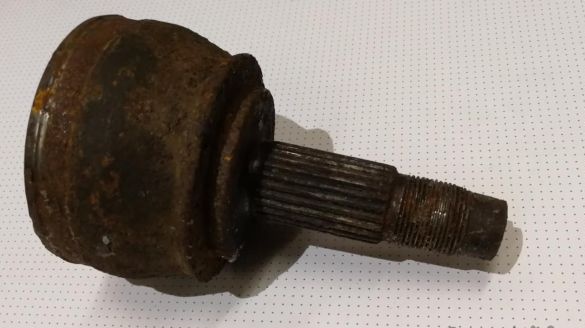
First you need to cut off the spline part from the old automobile CV joint, which will be needed in the future.
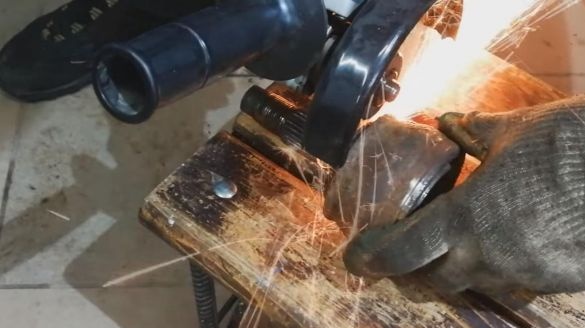
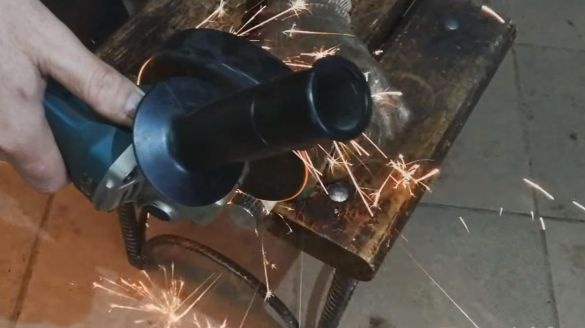
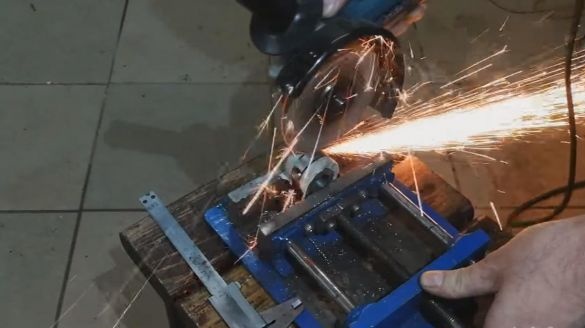
Holding the CV joint with your hand, we saw off the threaded slot with the help of an angle grinder with a cutting disc installed.
At the same time, be careful and hold the part as tight as possible, but rather fix it in a vice.
The casing of the CV joint itself is not needed. When working with an angle grinder, be extremely careful, you must hold the power tool when cutting, and also remember things such as safety glasses, gloves and headphones.
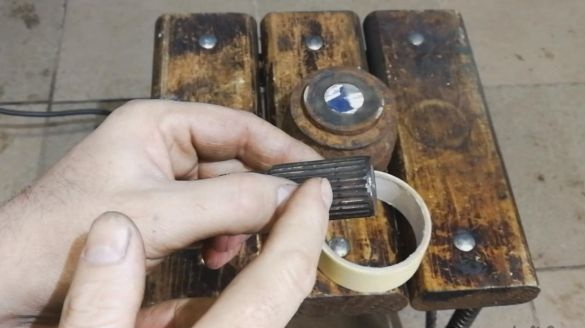
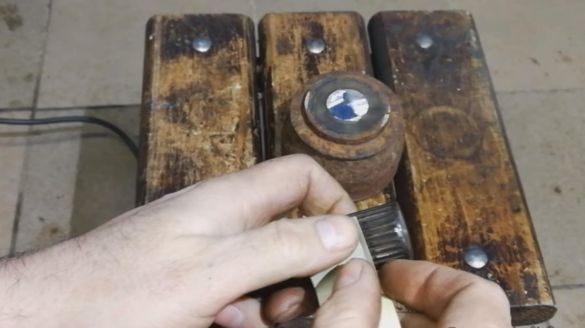
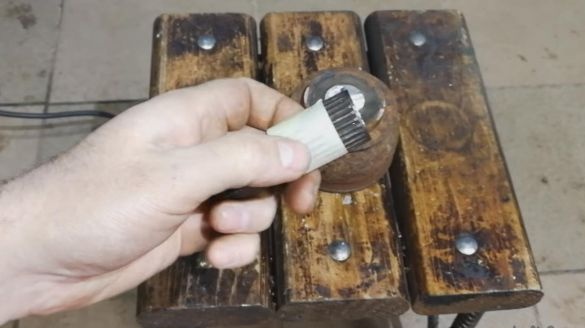
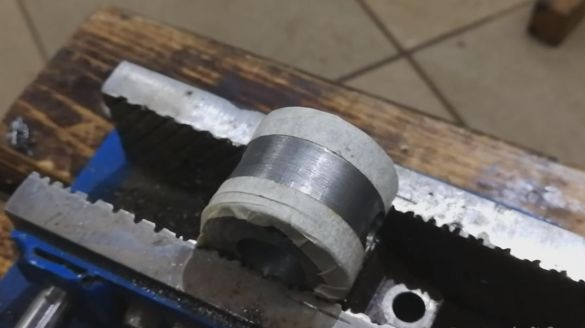
Since the entire splined part has a sufficiently large width, it must be reduced. We mark the place where we will cut, for this it is better to stick molar tape for greater accuracy.
The metal of the splined part is superficially hardened, by about 4 mm, this is visible on the cut, so cutting it on a lathe will not be so easy, there is a risk of breaking the cutting tool.
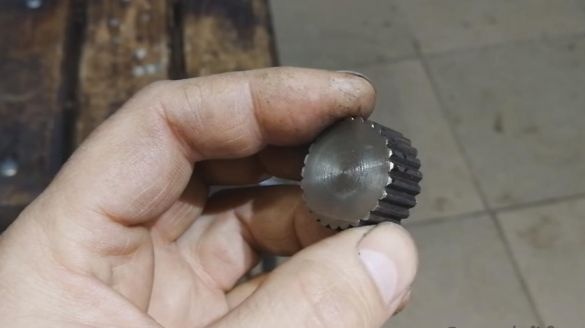
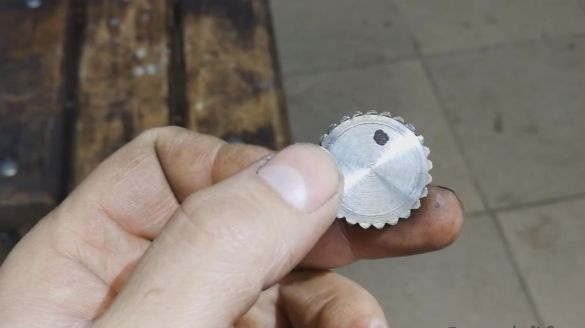
Therefore, we will do this operation using an angle grinder, as a result, a round billet with a thickness of 13 mm with slots should be obtained. In this case, it is better to clamp the part in a bench vise so that it does not fly out when cutting, then gradually scroll it.
Step Two
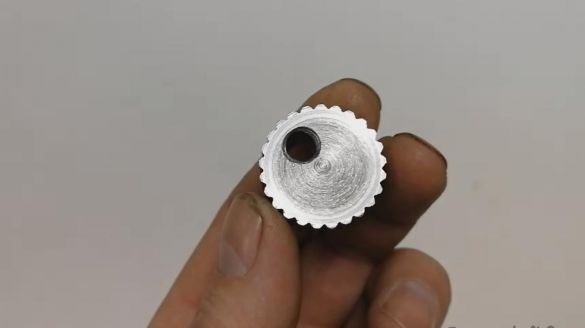
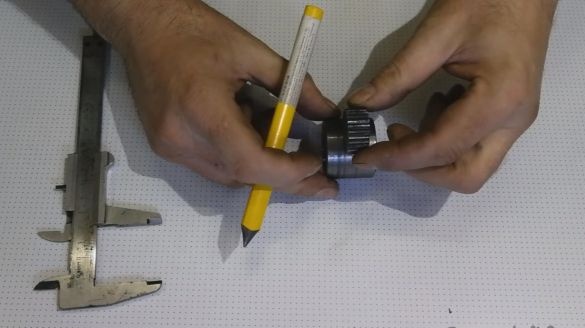
Now in the workpiece with slots you need to make a hole with a displaced center, that is, to make an eccentric.
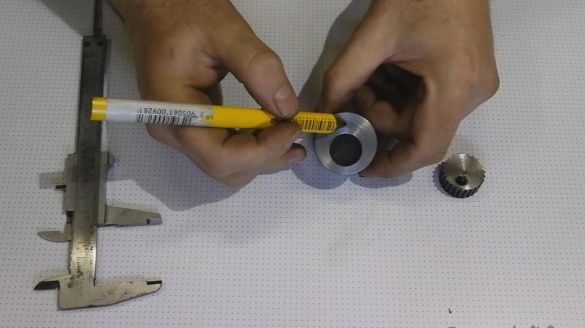
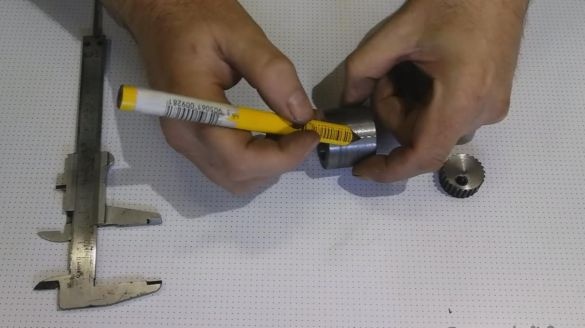
We mark with a marker and punch with a core.
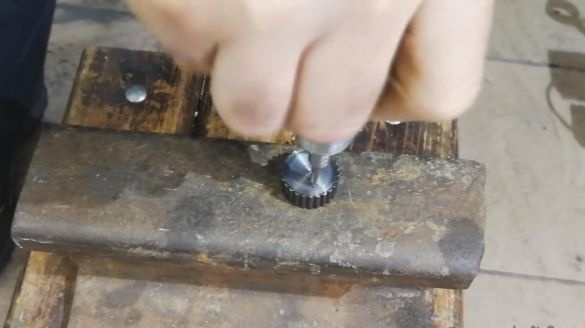
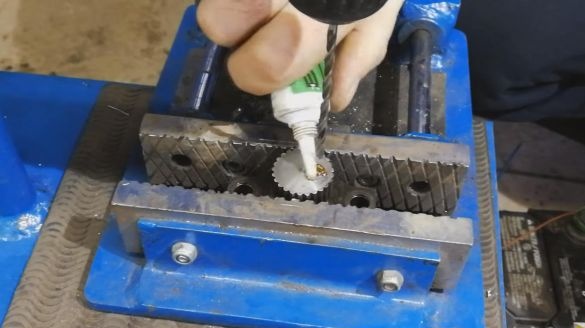
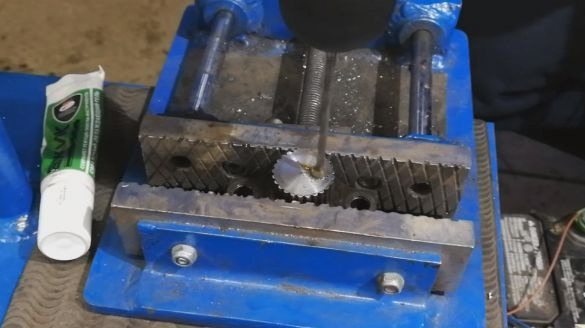
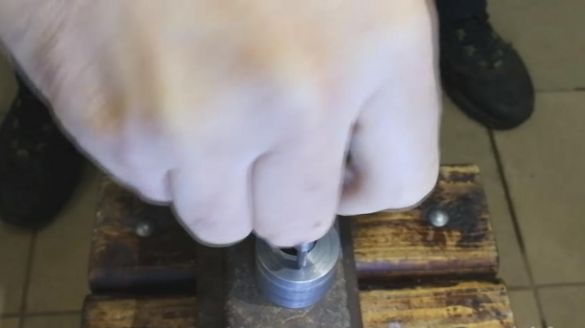
Next, we install a drill for metal with a diameter of 6 mm in the chuck of the drilling machine, clamp the part in a machine vice opposite the drill and begin to make a hole. We periodically lubricate the drill tip with a special lubricant, technical oil is also suitable, in any case, it will reduce the degree of wear of the drill and prolong its sharpening.
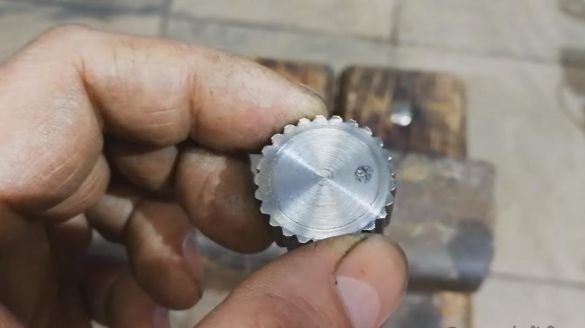
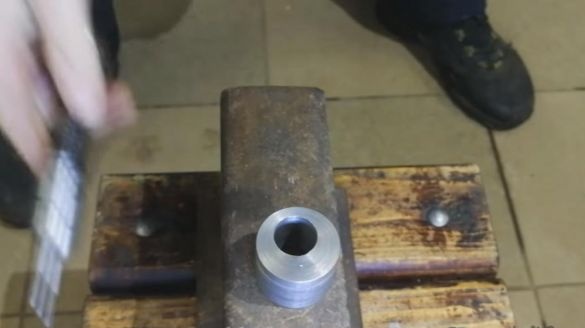
After we made a through hole, we remove a small chamfer using a drill with a larger diameter. As a result, the detail looks like this.
Step Three
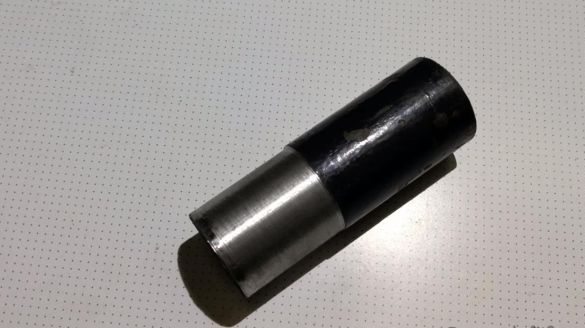
As in other homemade products, there should be a body in ours. We will make it from a metal blank with a diameter of 40 mm.
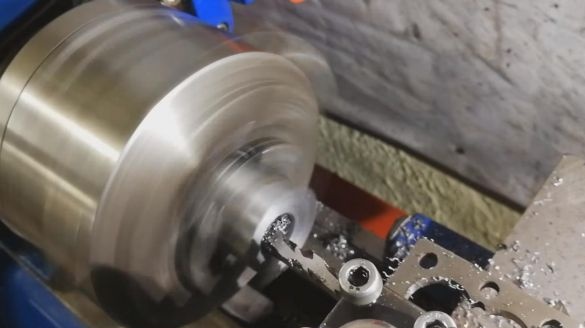
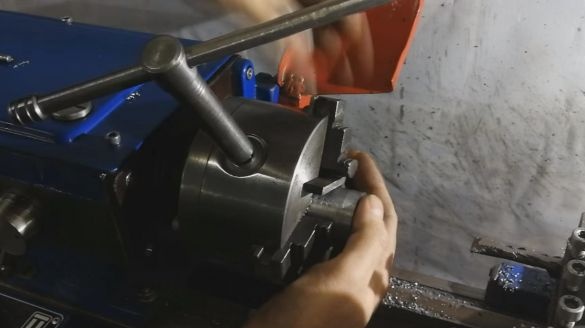
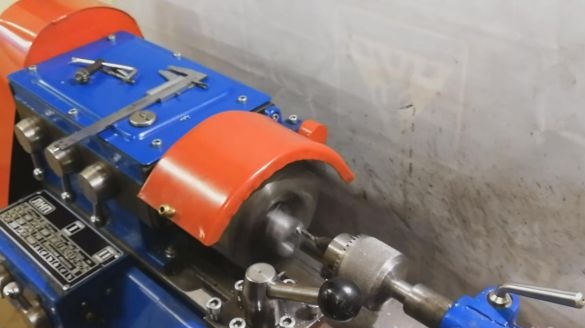
We install it in a three-jaw chuck and begin to grind, for this we install a boring tool in the tool holder.
Inside, you need to make a hole with a diameter of 18 mm, but it should also be offset, so under one of the cams we put a metal plate of the desired thickness.
On both sides we cut it on a lathe, in the end we got such a blank for the case. The casing is not ready yet, since it is necessary to drill a hole with a diameter of 6 mm a little higher than it was done earlier, and also to make a sample in the center equal to the width of the part with a spline part.
First, we make a punch under the hole, and then in this place we start drilling with a 6 mm drill.
You can make a hole, both on a drilling and on a lathe. In the process, do not forget to lubricate the tip of the drill.
Step Four
In order to install a splined part in the housing, you need to make a selection. Before this, you need to drill a transverse hole in the workpiece on a drilling machine. Sampling can be done using a milling machine, but for lack of it we will do it using an angle grinder with a cutting wheel. We mark the width we need with masking tape on the case and install the part in a vice.
We take the angle grinder in our hands and begin to deepen the disk into the part, we cut it before the disk reaches the edge of the hole that was made across the part.
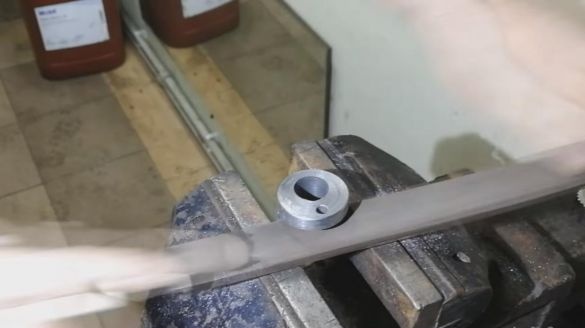
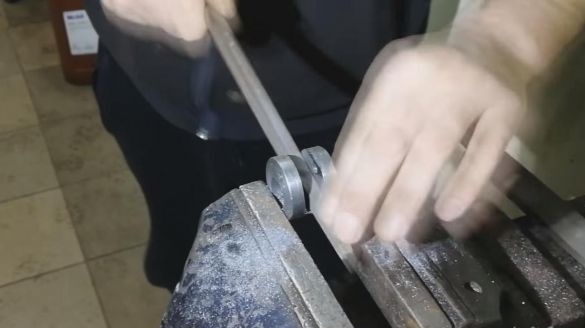
Next, we refine the case, removing the cut marks from the angle grinder with a file.
Step Five
All parts are ready and now you need to assemble them into a single whole.
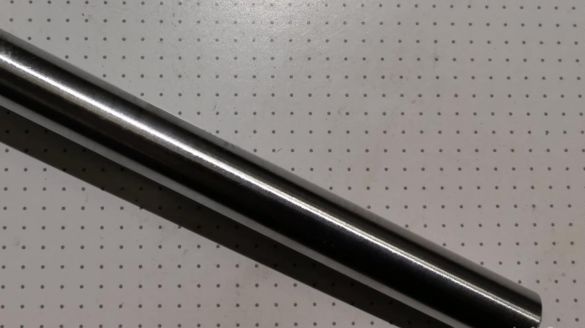
It remains only to weld the handle, in the role of which there will be a metal rod to the part with a spline part, for this we clamp both parts in a vice and use the welding machine to make tacks, after which we completely weld the joint. The welding seam can be trimmed if necessary. When working with the welding machine, be careful to wear a protective welding mask and gaiters. We install the part with the handle in the body and insert the rod into the hole, in this case, the shank of the broken drill 6 mm.
Step Six
The tool is completely ready and it's time to check it.
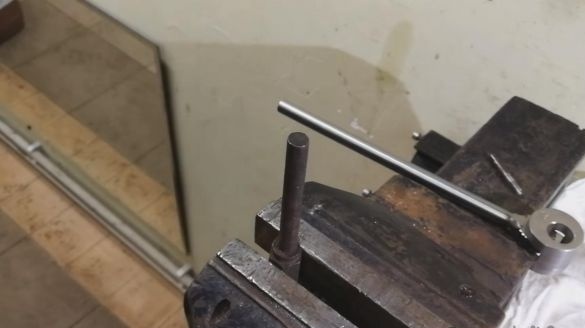
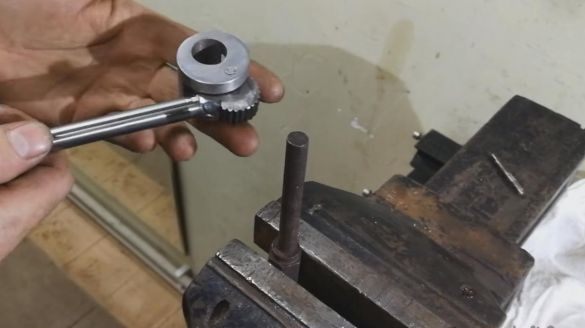
Clamp the nut in a vice, into which we will screw the pin.
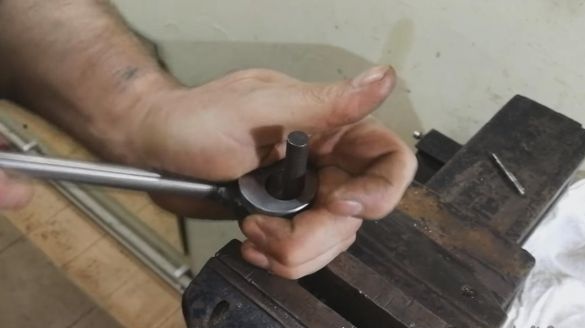
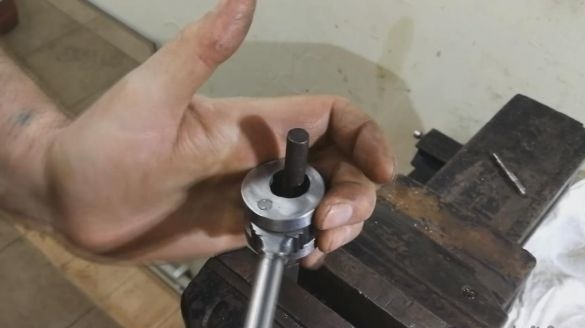
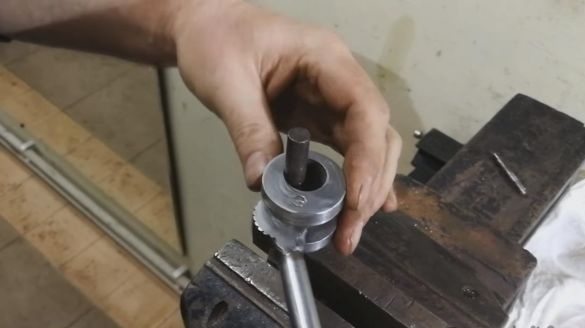
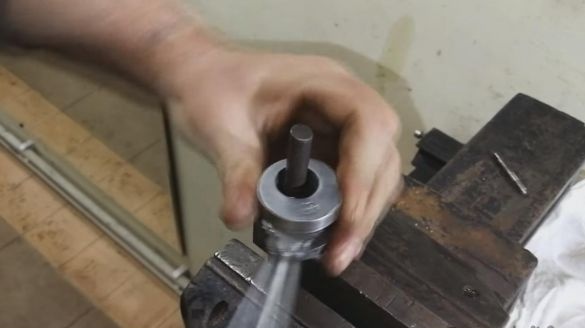
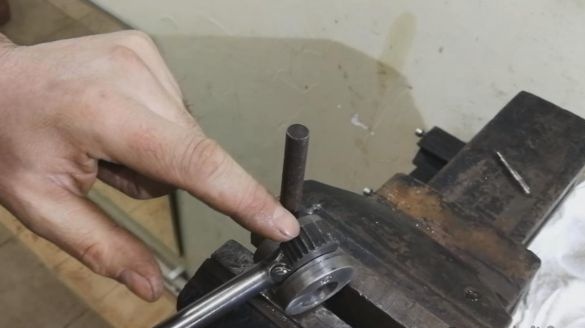
We take our home-made hairpin and put it on the hairpin through the hole, then rotate it in the direction we need, if it is necessary to change direction, then simply throw the tool onto the hairpin with the other side.
Since the spline portion is quenched, this device will last a long time, it will help you in those moments when you need to unscrew or tighten the hairpin, as well as unscrew the bolt if its head is curled.
That's all for me, thank you all for your attention and successful homemade products.


