

Hello to all lovers homemade. In this article I will tell you how to make a tool to remove dents from the steering rod do it yourself. All the necessary parts for this homemade product are easily accessible and can be found at each owner auto. Such a tool will help to remove dents from thin metal, for example, a car door.
Before you read the article, I suggest watching a video, which shows in detail the assembly process of this tool and also its little testing in work.
In order to make a tool for removing dents from the steering link with your own hands, you will need:
* Old steering rod
* Welding machine, electrodes
* Angle grinder
* Cutting and cleaning disc for angle grinder
* Metal Lathe
* Drill for metal with a diameter of 13 mm
* Metal bar or scrap
* Sandpaper
* Safety glasses, gloves, gaiters, welding mask
* Bench vise
* Spray paint can
* Clamp
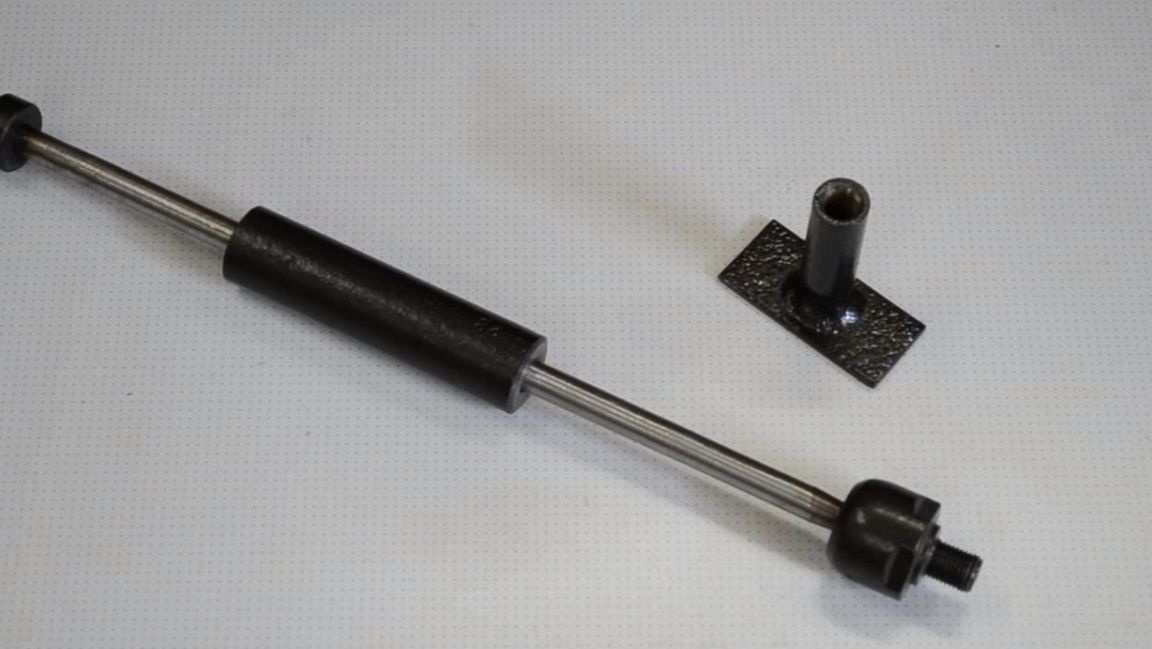
* Steering tip
* Metal corner with a shelf width of 40 mm
Step one.
First of all, you need to clean the steering link from traces of rust.
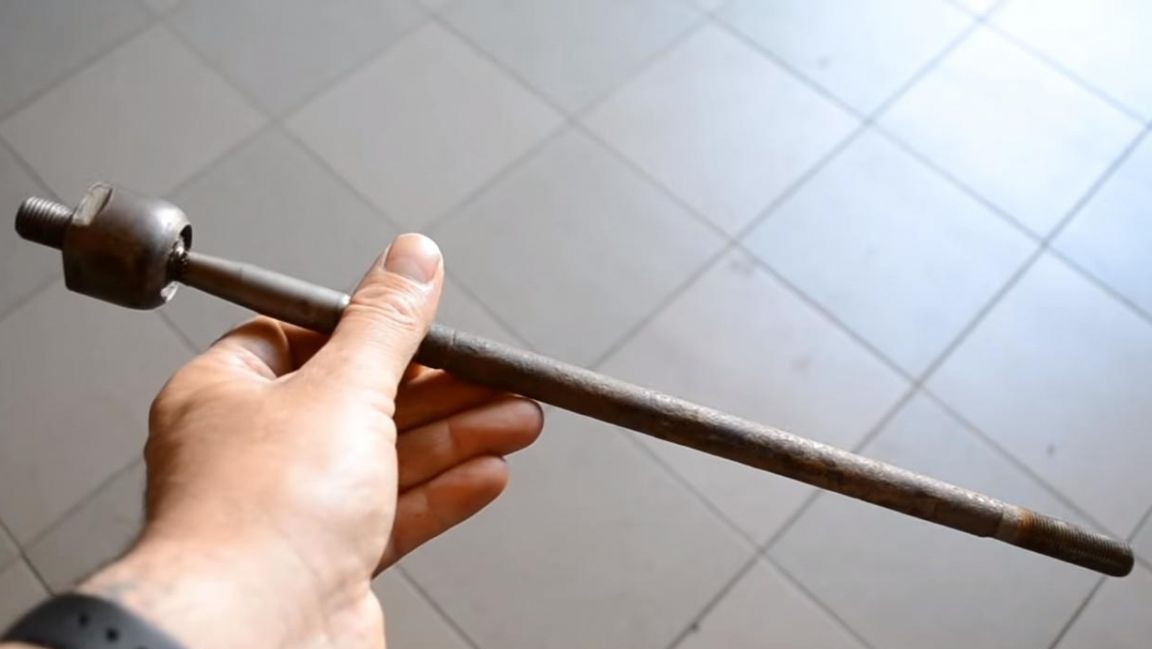
We install it in the chuck of a lathe for metal and grind with sandpaper. The process is quite long and requires patience. When working on a lathe, be careful and also use safety glasses.
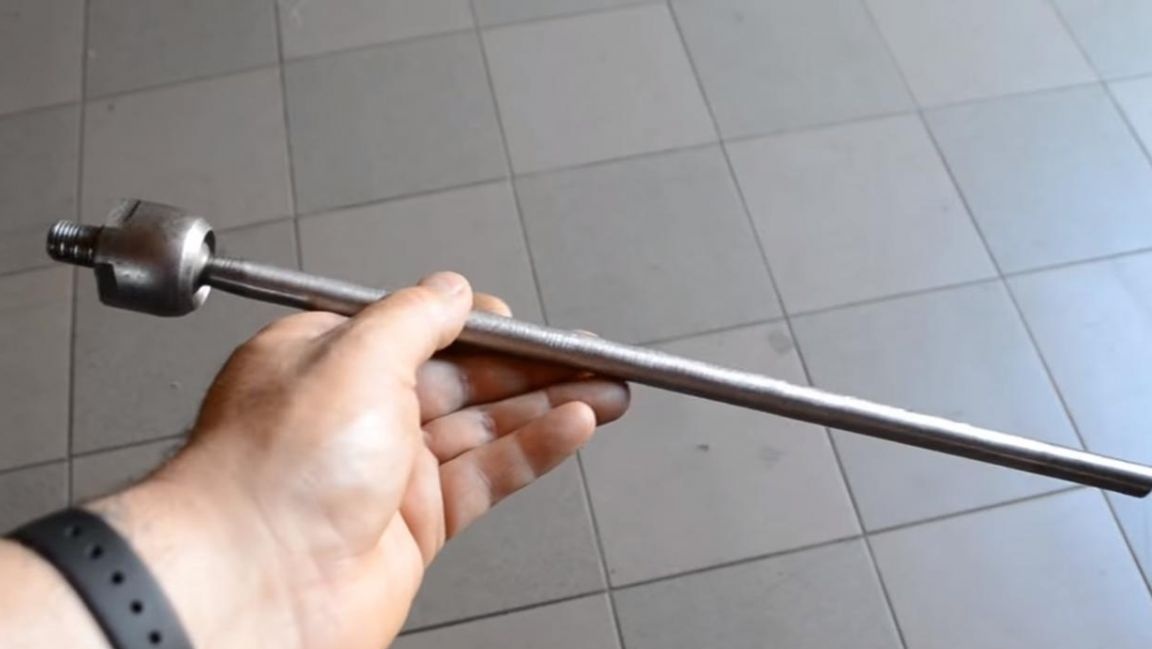
After grinding, the steering link looks like this.
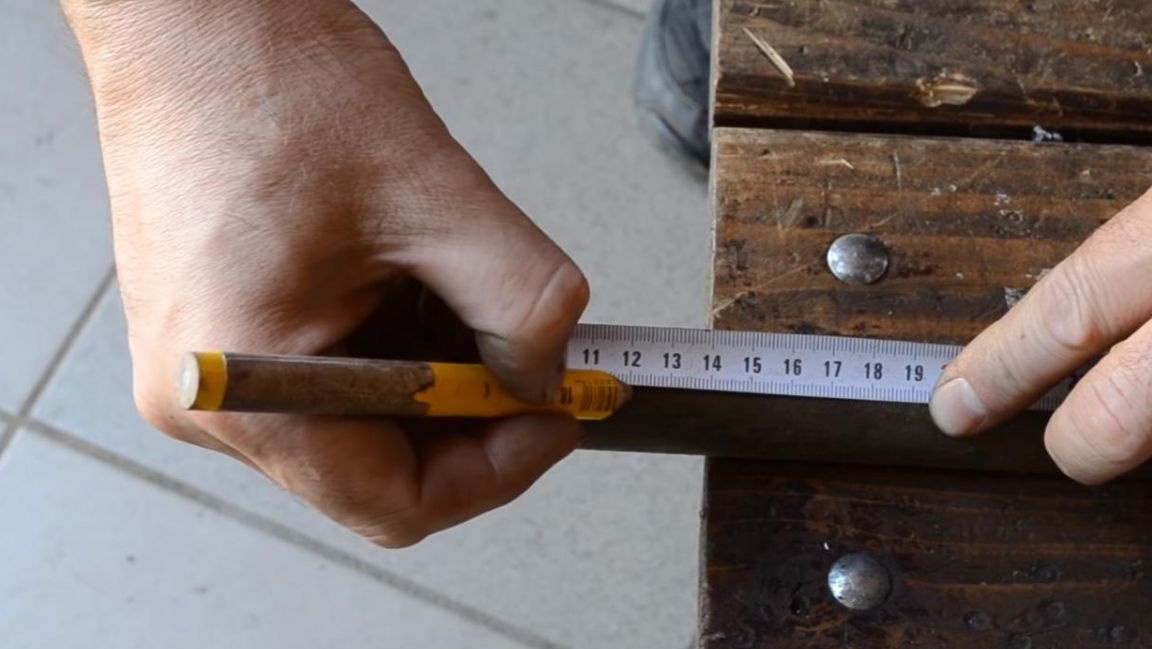
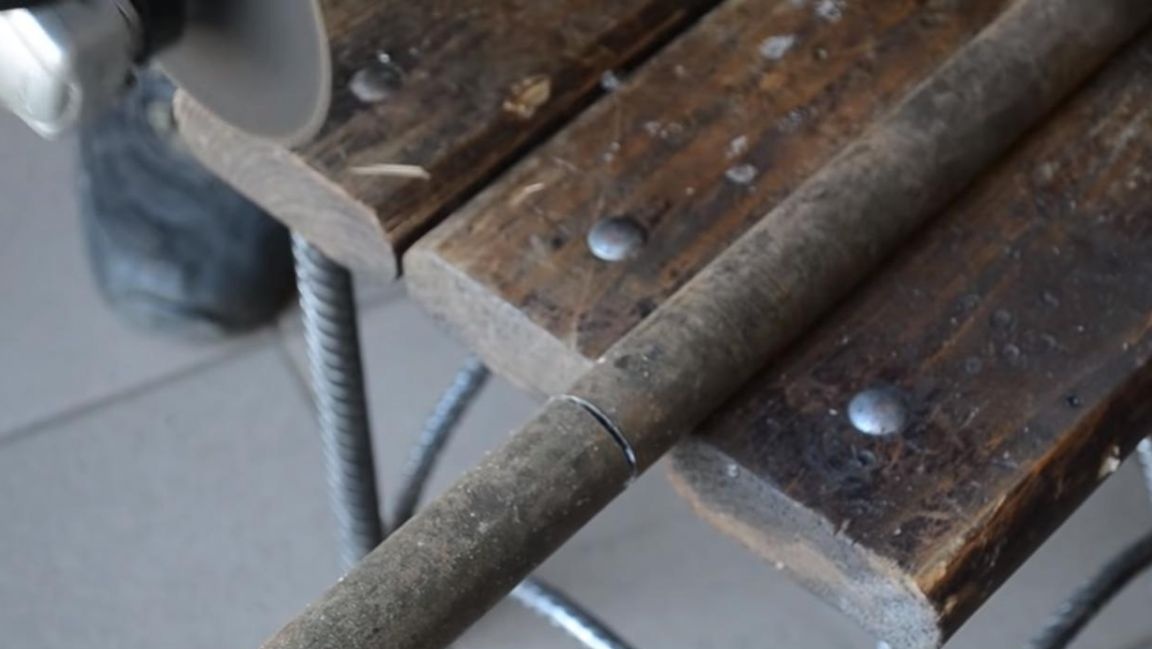
Then we measure 120 mm from metal scrap with a pencil and tape measure, a metal rod with a diameter of about 25 mm is also suitable. After that, we cut off the line at the mark using an angle grinder with a cutting disc installed. When working with the angle grinder, observe safety precautions and wear safety glasses and gloves.
Step Two
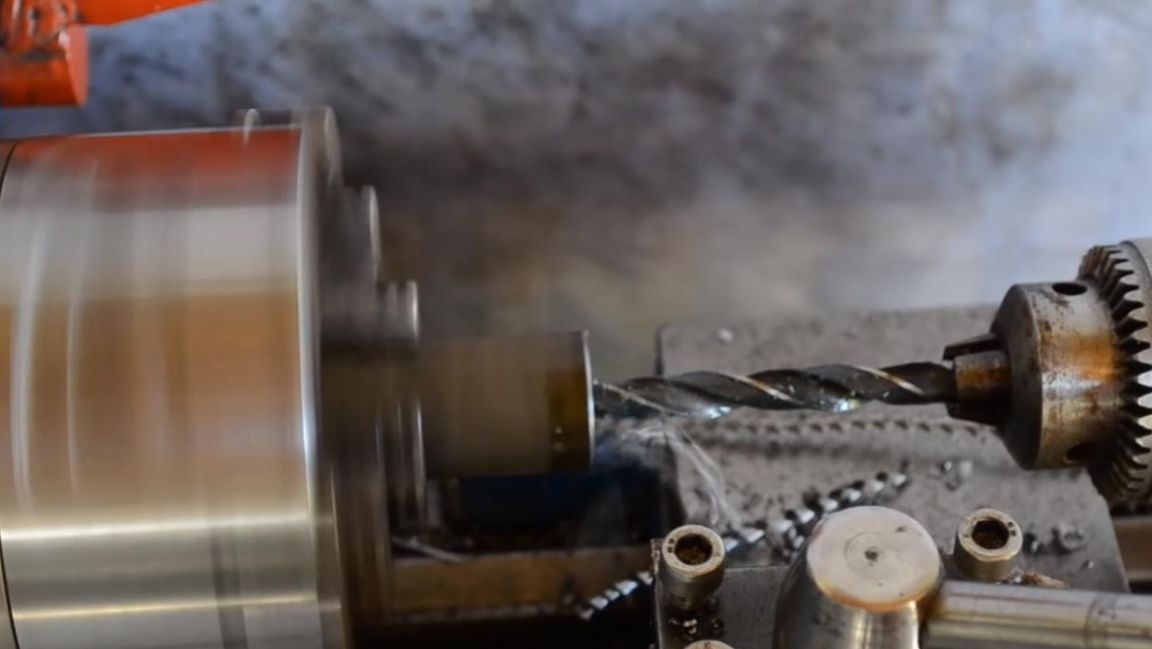
Now you need to drill a hole in the scrap section and make chamfers. We clamp the workpiece 120 mm long into the chuck of the lathe for metal and begin to drill a through hole with a diameter of 13 mm exactly in the middle.In the process of drilling, add a little technical oil to the cutting edge of the drill, so the cutting tool will last longer and will not jam.
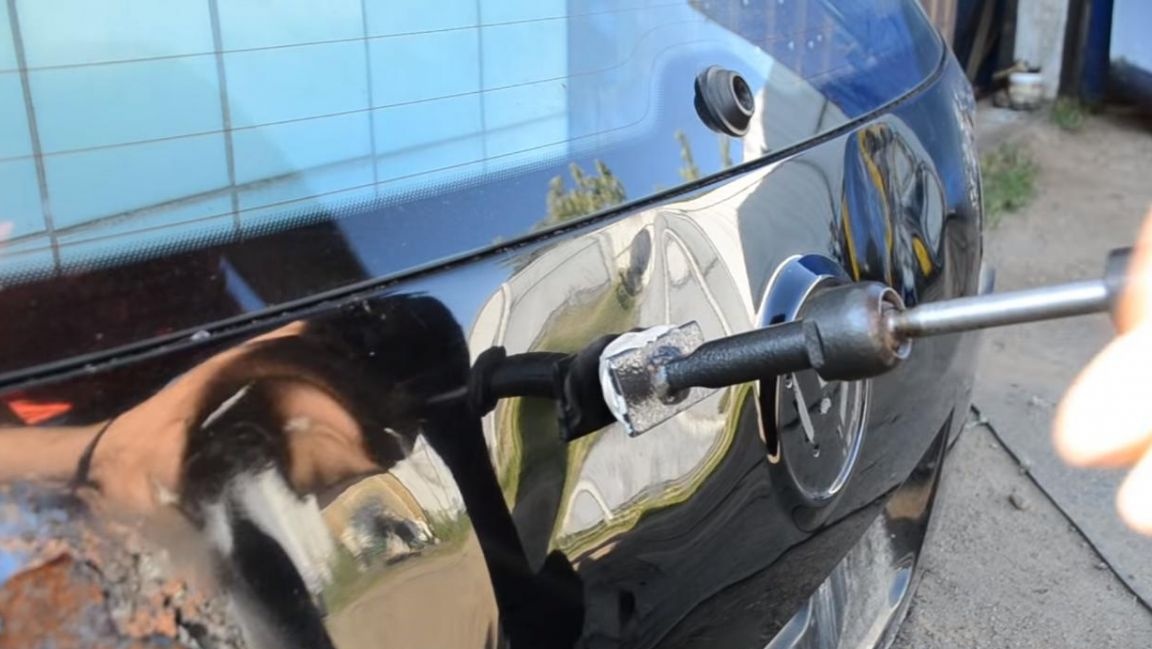
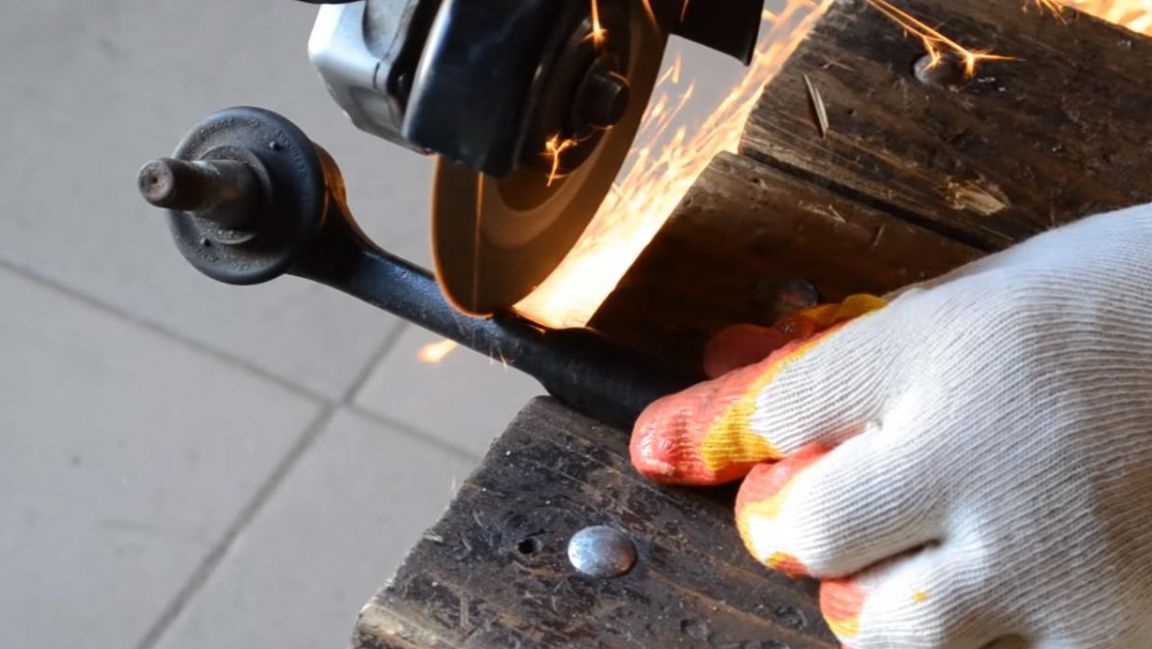
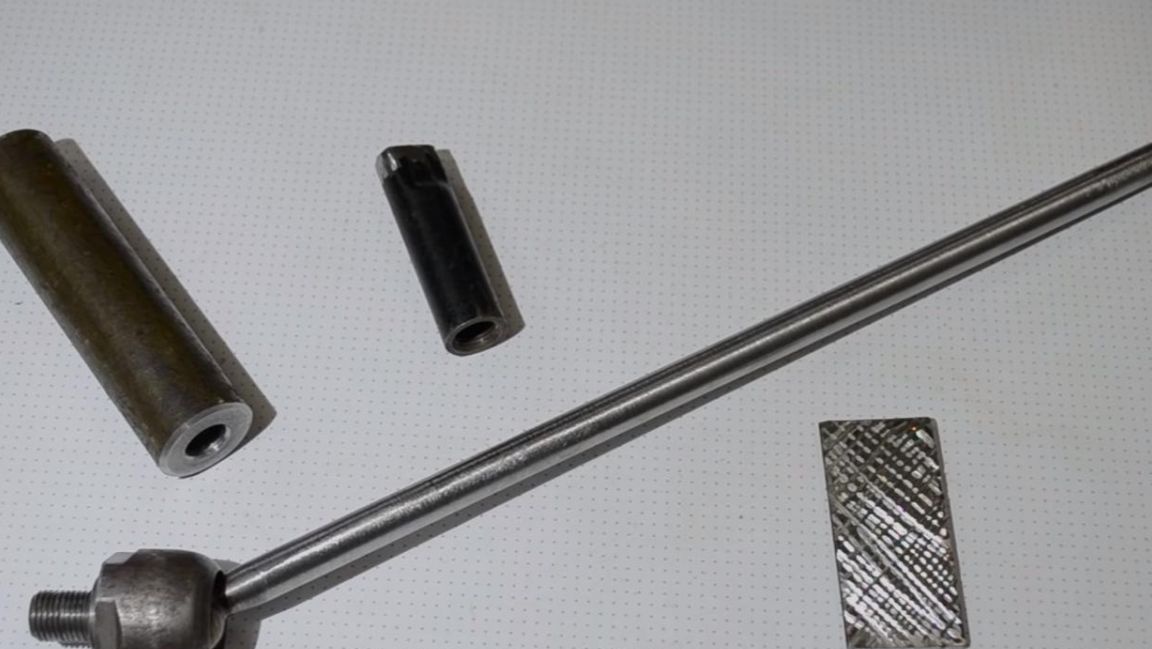
Next, we cut off the unnecessary part from the old steering tip with the help of angle grinders and leave only a segment with a thread that will be screwed onto the steering link.
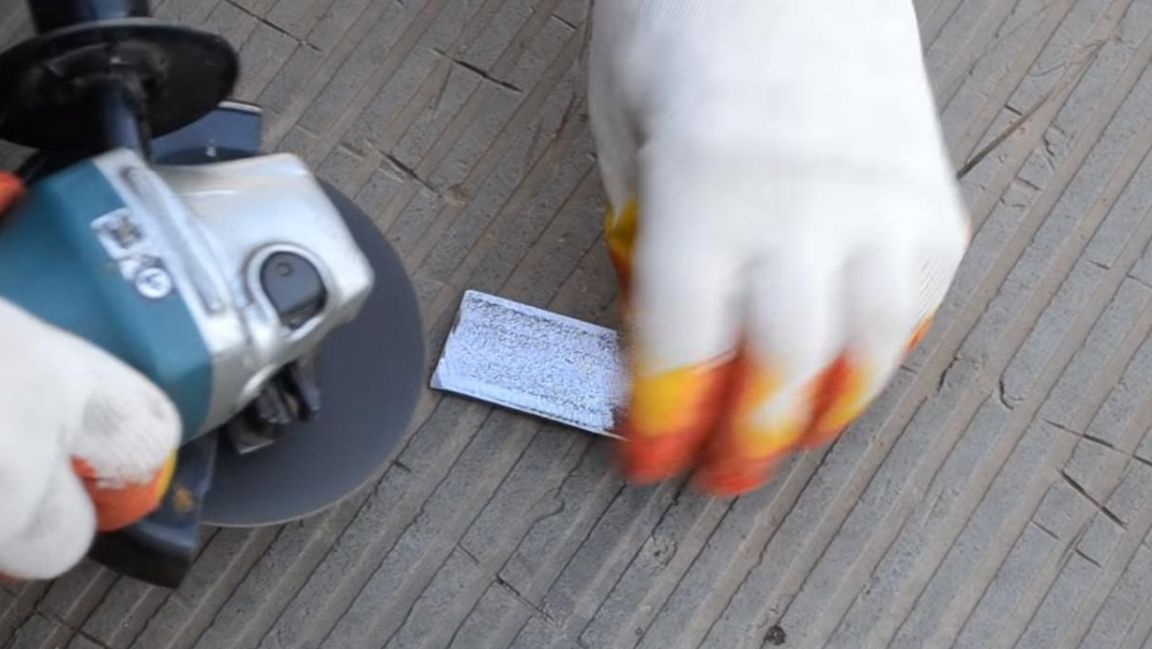
Then we fix a metal corner with a shelf width of 40 mm in a vice, from it we saw off a part measuring 70 * 30 mm using an angle grinder.
Step Three
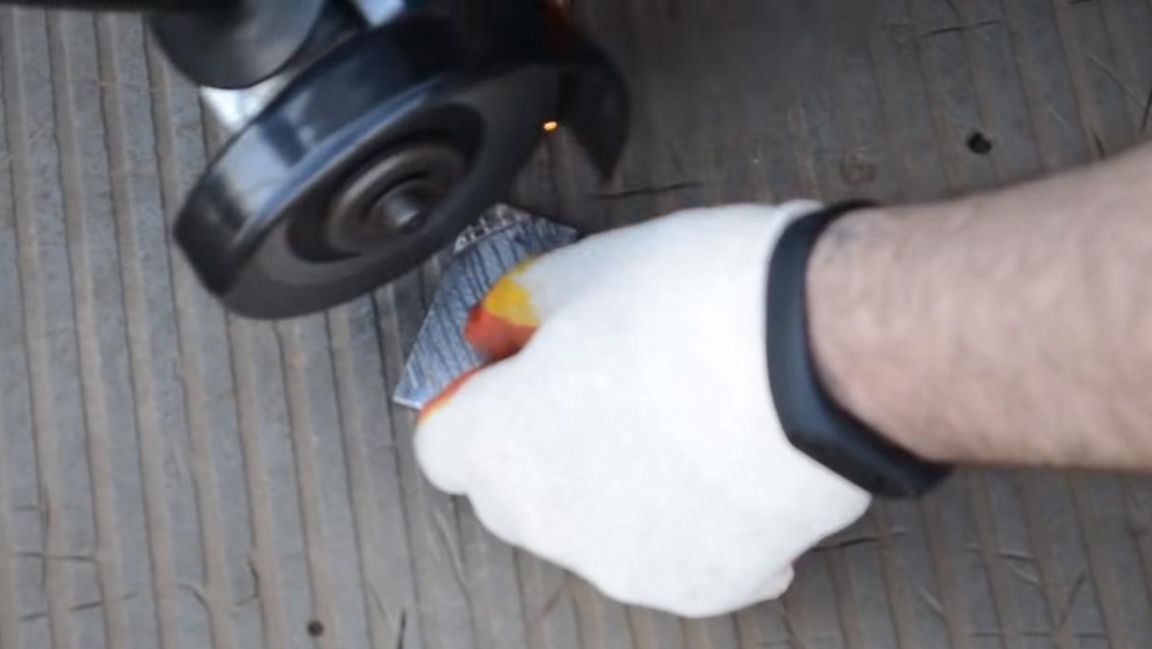
After the workpiece is sawn off, it must be cleaned of rust. We do this with the help of angle grinders and an established cleaning circle with a metal brush.
Then we remove the cleaning circle from the angle grinder and install the cut-off, with it we make arbitrary notches on the back of the workpiece, this is done so that the adhesive material holds stronger.
The last detail is the emphasis for the reverse hammer. We saw off a piece of metal about 10 mm long from scrap metal, after which we drill a hole with a diameter of 13 mm in the workpiece on a lathe and make a small chamfer.
Step Four
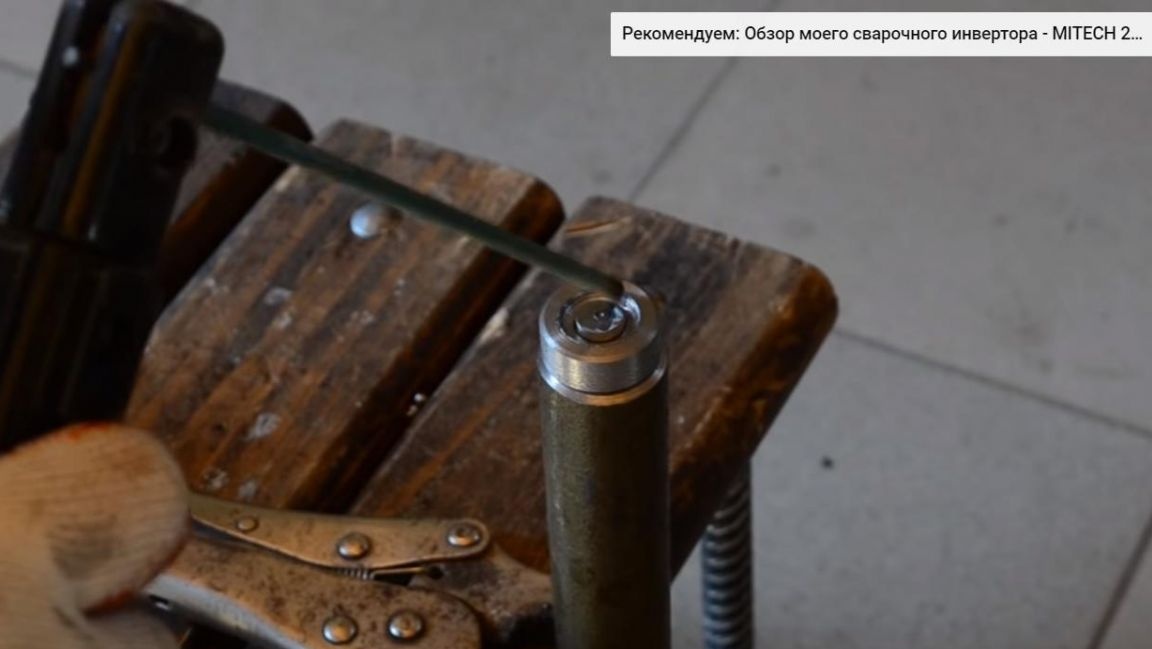
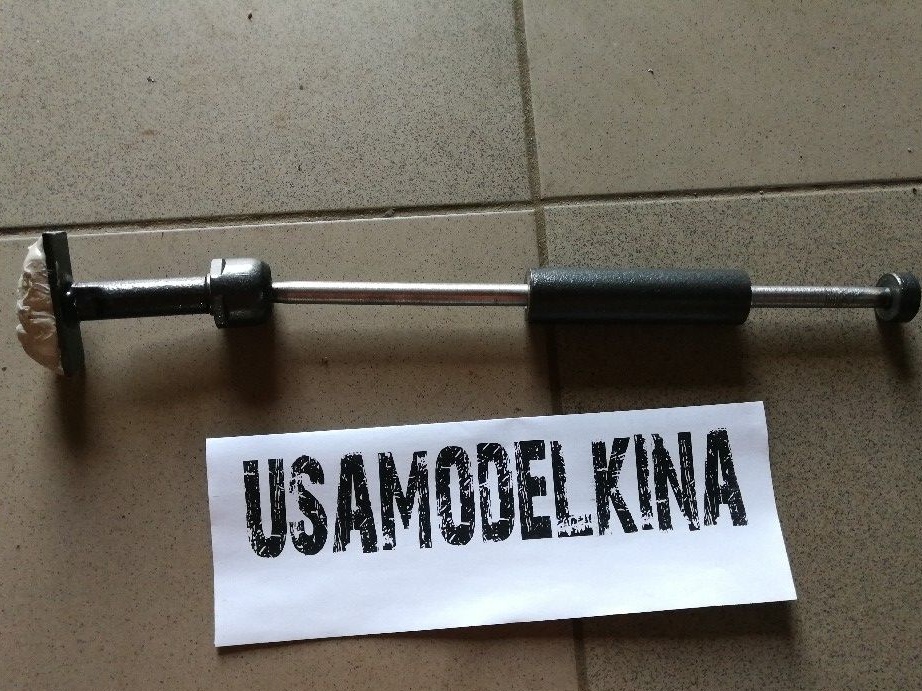
All the parts are ready, it remains to assemble them into a single whole to make the tool.
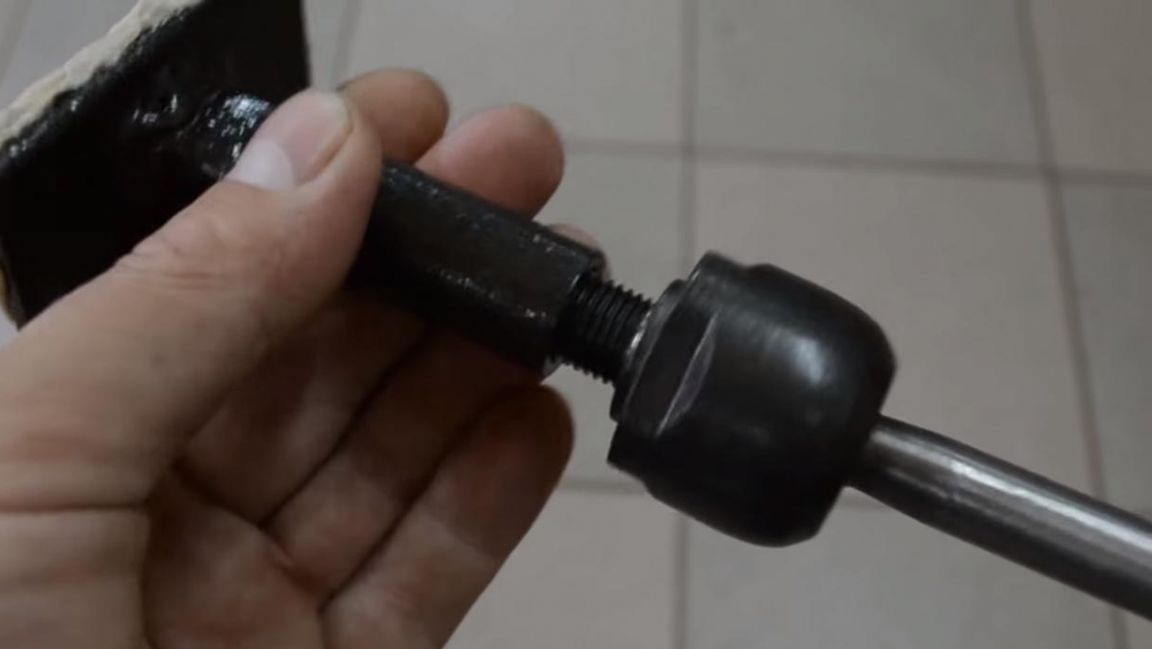
In the vice we fix the steering link, insert a workpiece 120 mm long and install a 10 mm length on top, weld it with a welding machine to the tip of the rod, this will be the stop of the jackhammer that will prevent it from flying out. When working with the welding machine, be careful and use a welding mask and gaiters.
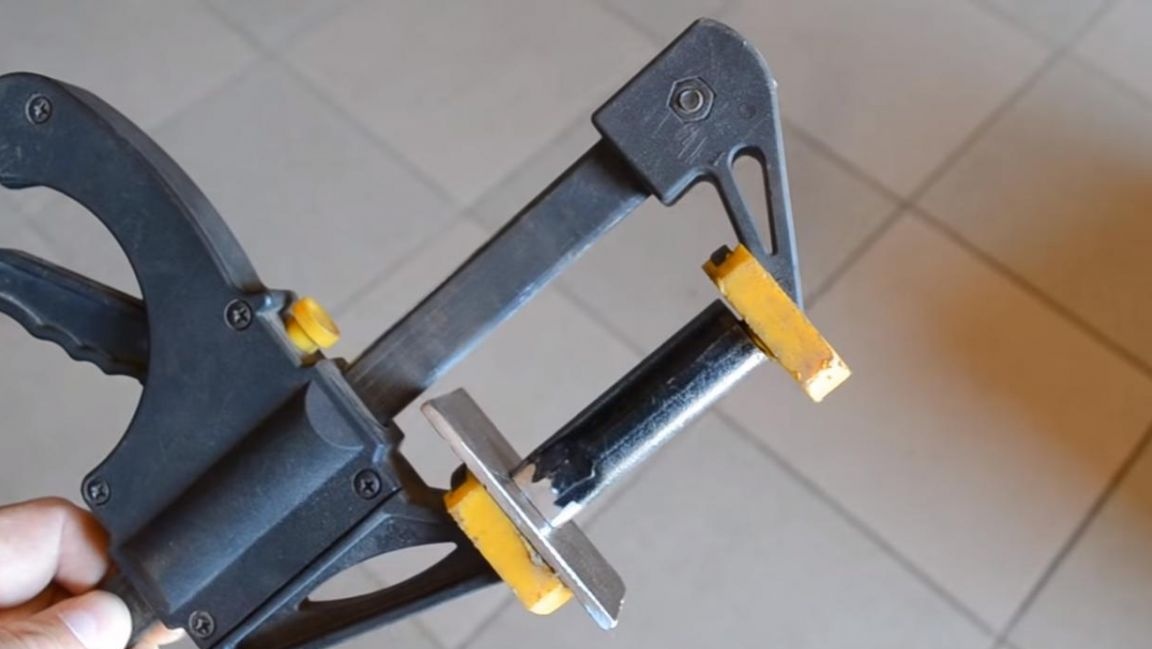
We also weld two halves of one part in one piece, this is a metal plate and a threaded part from the steering tip, for better fixation we press them together using a clamp.
At the end, we paint the tool with a spray can of hammer paint and on this the tool can be considered ready.
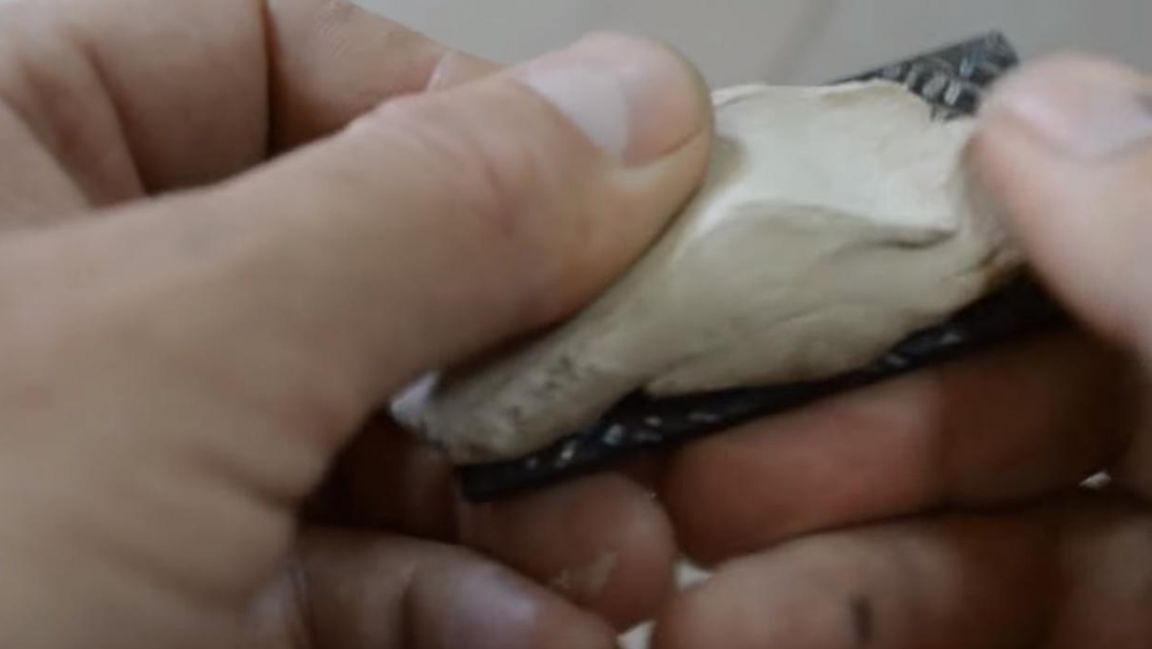
On a plate with notches you need to stick Velcro.

The adhesive composition of the vapor barrier film that is used when installing PVC windows will be used as Velcro. Unfortunately, it was not possible to find something more sticky, so we will try a tool with such a Velcro.
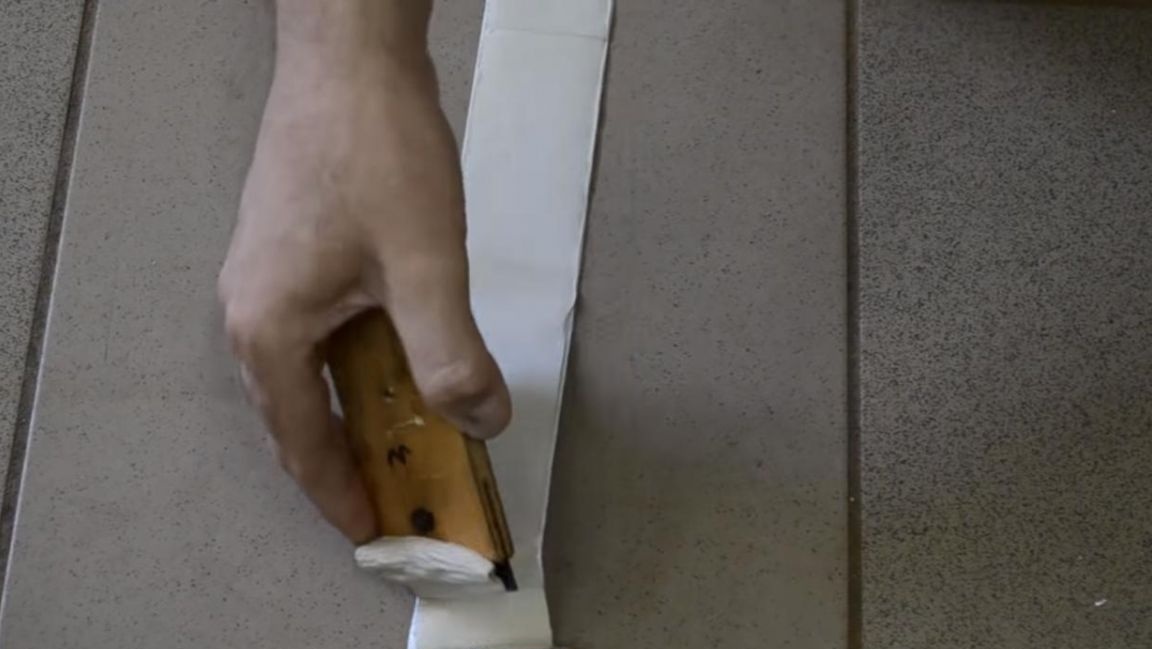
We smear the Velcro tape over the entire surface of the metal plate with notches, wind it onto a reverse hammer, and then apply it to the dent and place it firmly on it.
Next, a sharp movement of the reverse hammer on ourselves straightens the dents due to the stickiness of the adhesive material.
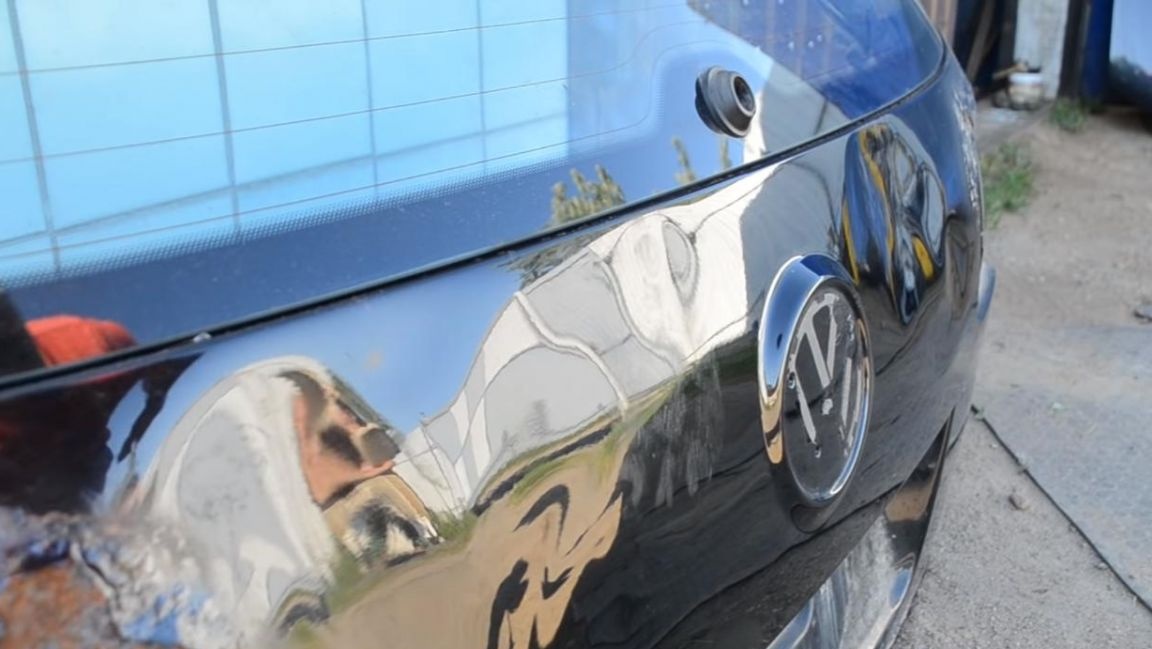
The only thing that cannot be straightened with the help of this tool is large dents on the stiffeners, the effect can also be strengthened if you select a more sticky adhesive material.
That's all for me, thank you all for your attention and creative ideas.