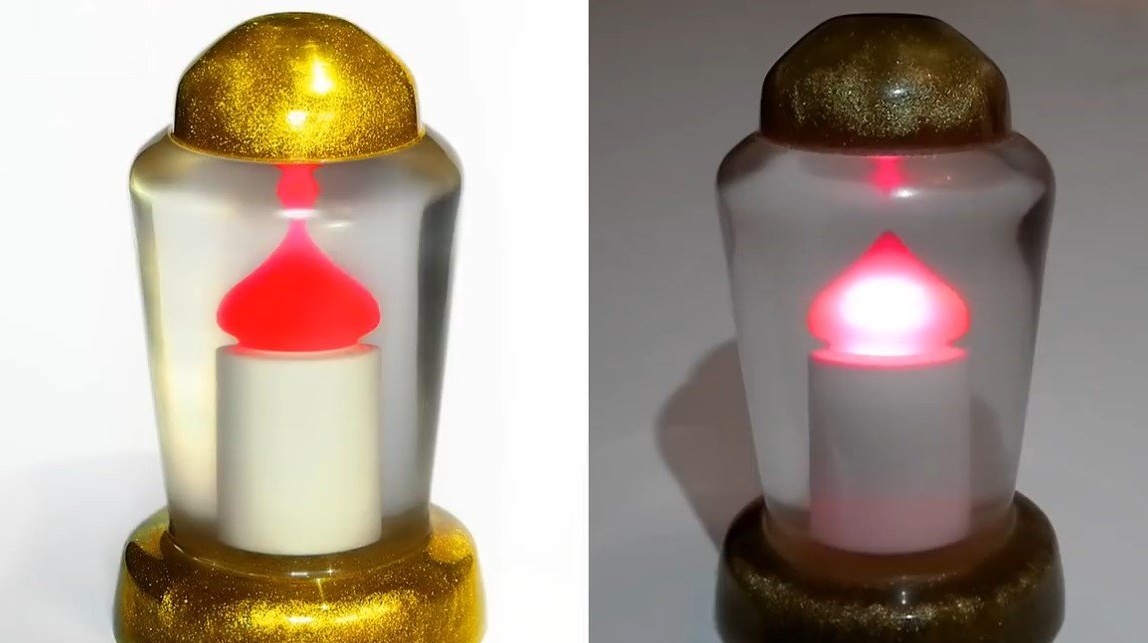
I welcome fans to craft, today we will consider how to make a lamp for the "All Saints Day" or a similar religious holiday. The lamp is a candle, which is located inside the lampshade with a golden cover. Feature homemade in that everything is made of epoxy, and the light source is an LED. This homemade product is durable, it looks great and a similar candle will definitely not become a source of fire. If the project interests you, I propose to study it in more detail!
Materials and tools used by the author:
Material List:
- epoxy resin;
- dyes for epoxy;
- 3V LED;
- a flat battery and a compartment under it (at 3V).
Tool List:
- stationery knife;
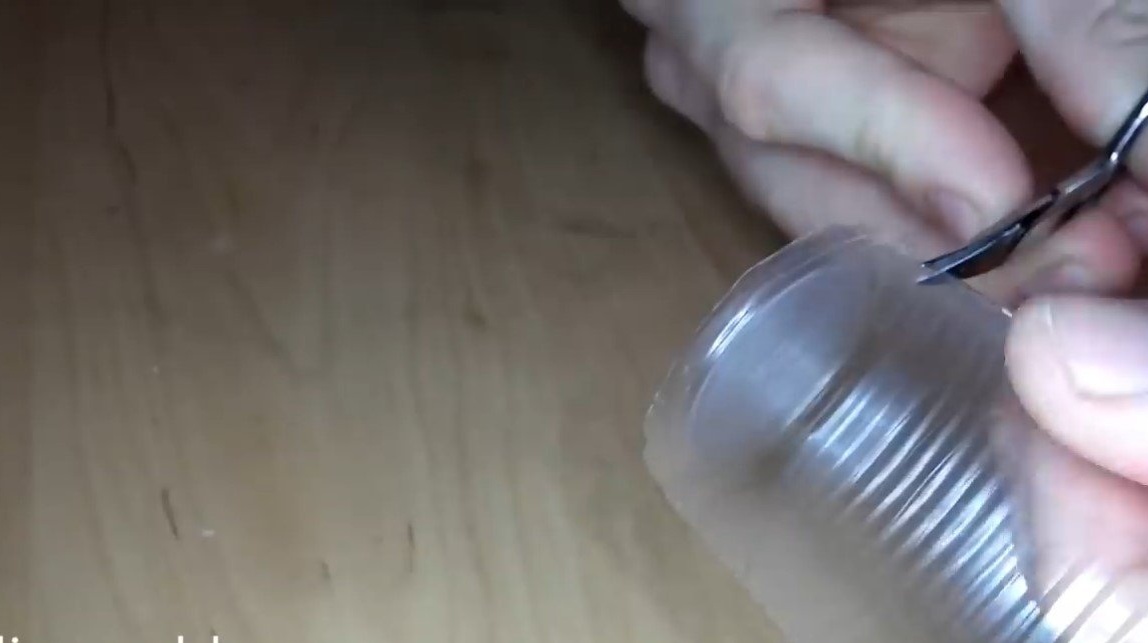
- lathe;
- plastic cups;
- glue gun;
- scissors;
- marker;
- polishing paste;
- drill;
- soldering iron.
Homemade manufacturing process:
Step one. Base
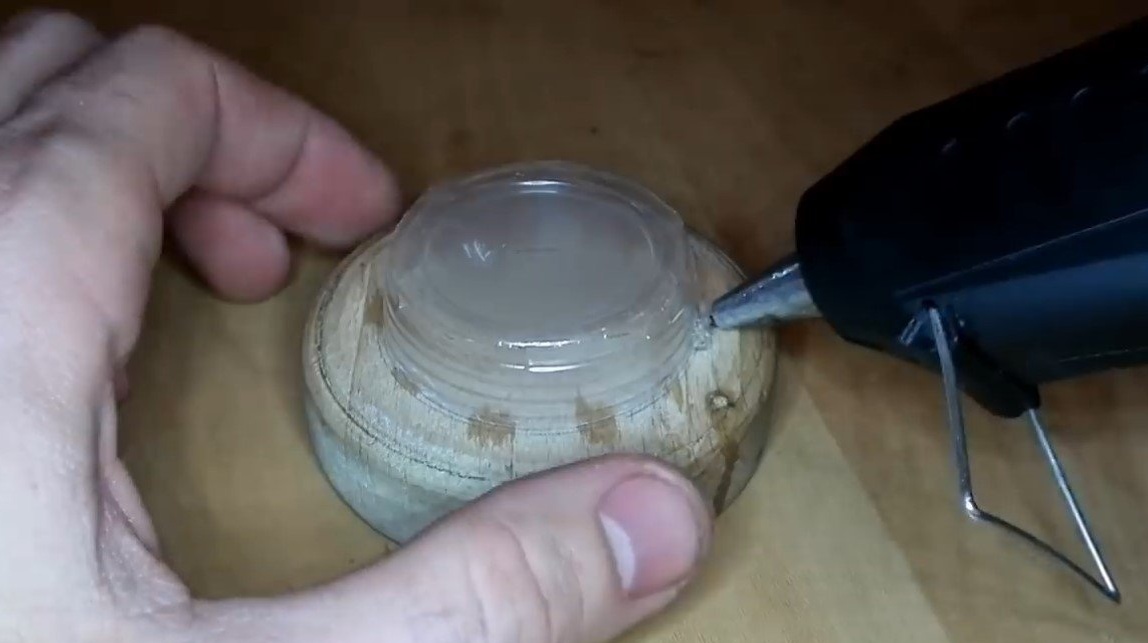
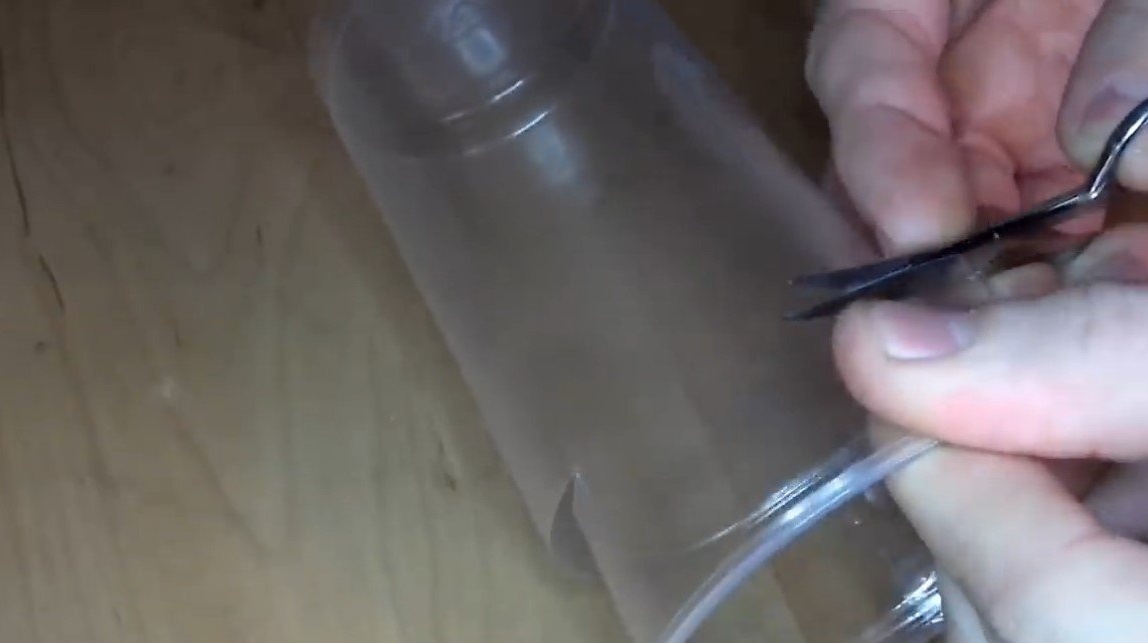
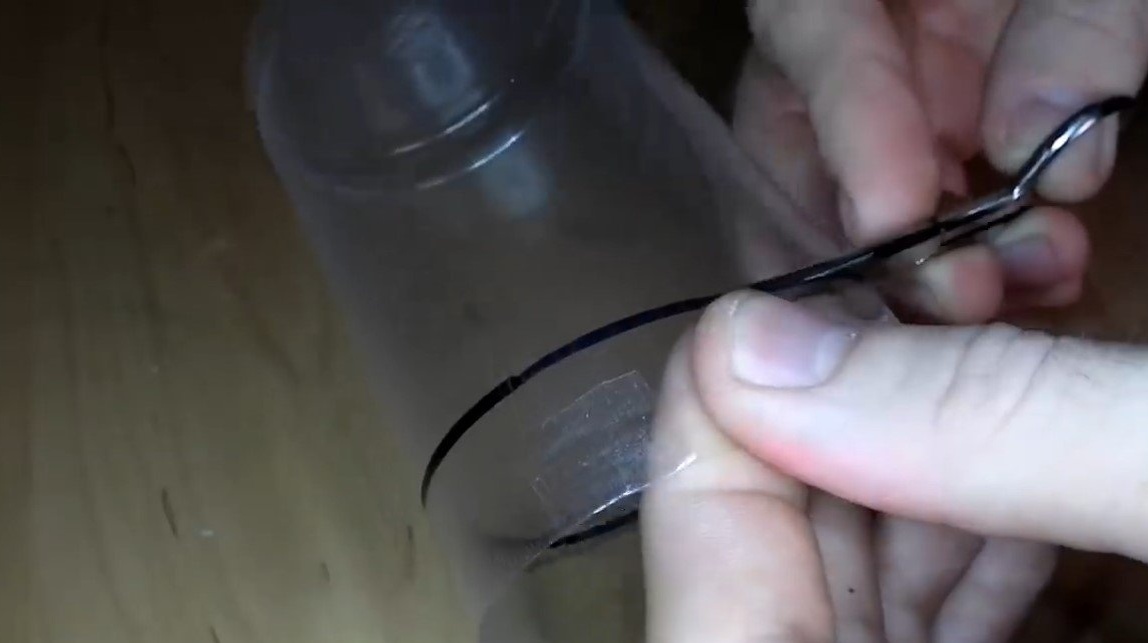
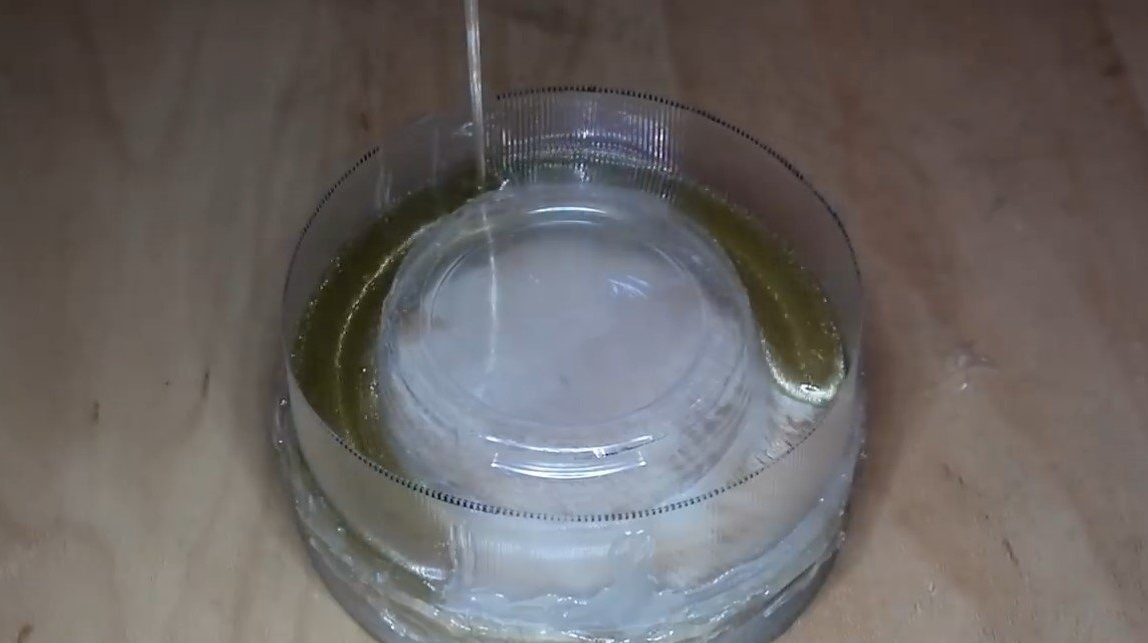
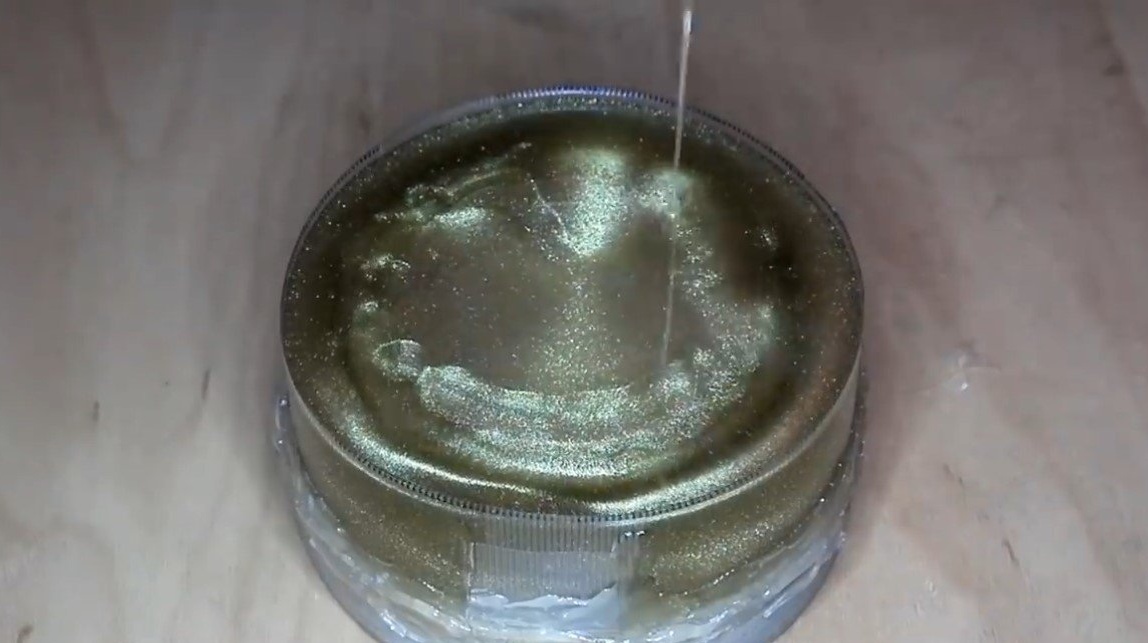
First of all, we cast the base, it is also golden with us. The author assembled the formwork from plastic cups; everything was glued with hot glue. All joints must be airtight, otherwise all your resin will quickly run away. At the bottom of the base there should be a recess for the battery, so as not to sharpen it, the author has provided everything in the design of the formwork. We dilute the resin with the hardener using the exact electronic scales, and add the golden powder. Pour the prepared mixture into the formwork and leave to harden.
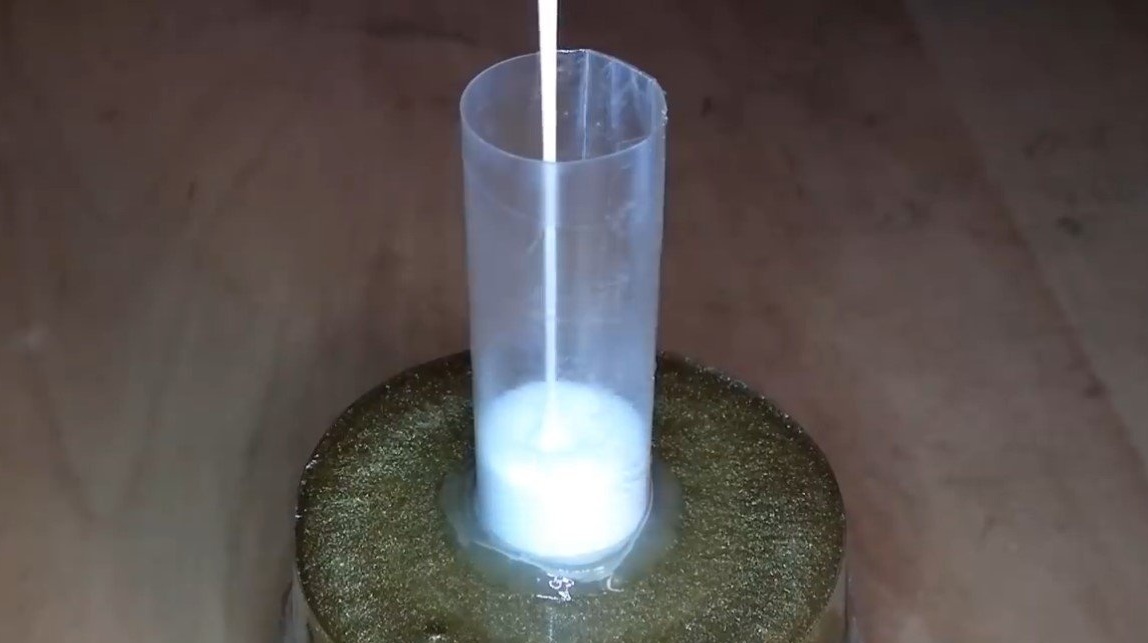
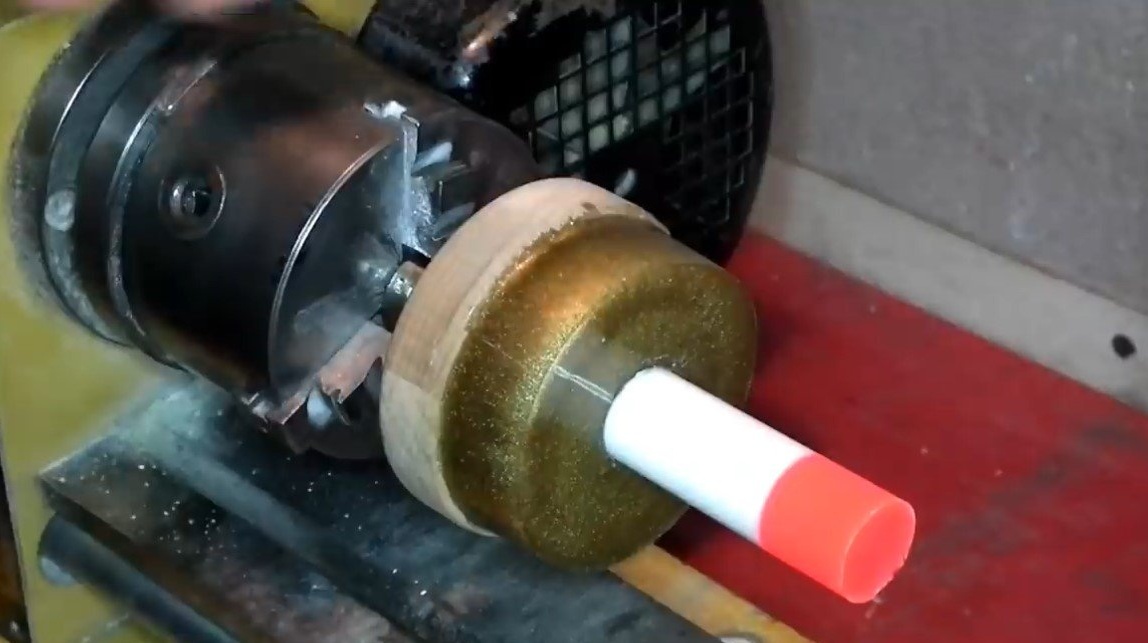
Step Two Candle making
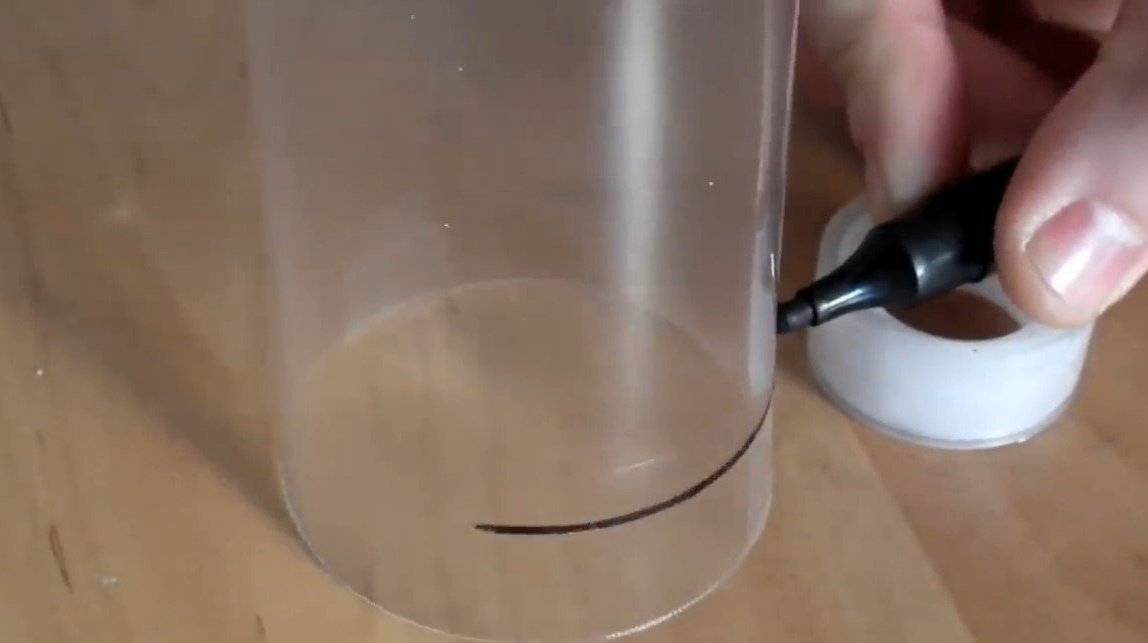
When the base hardens, we mount the formwork on it to fill the candle. You will need a plastic tube that can be glued with tape from a piece of PET bottle. We glue the formwork with hot glue and fill the resin with a white dye, this will be an imitation of the body of a candle, paraffin.
When the white layer is set, fill the top with a layer of red resin; if desired, you can add a little yellow and mix slightly, for better detail of the flame.
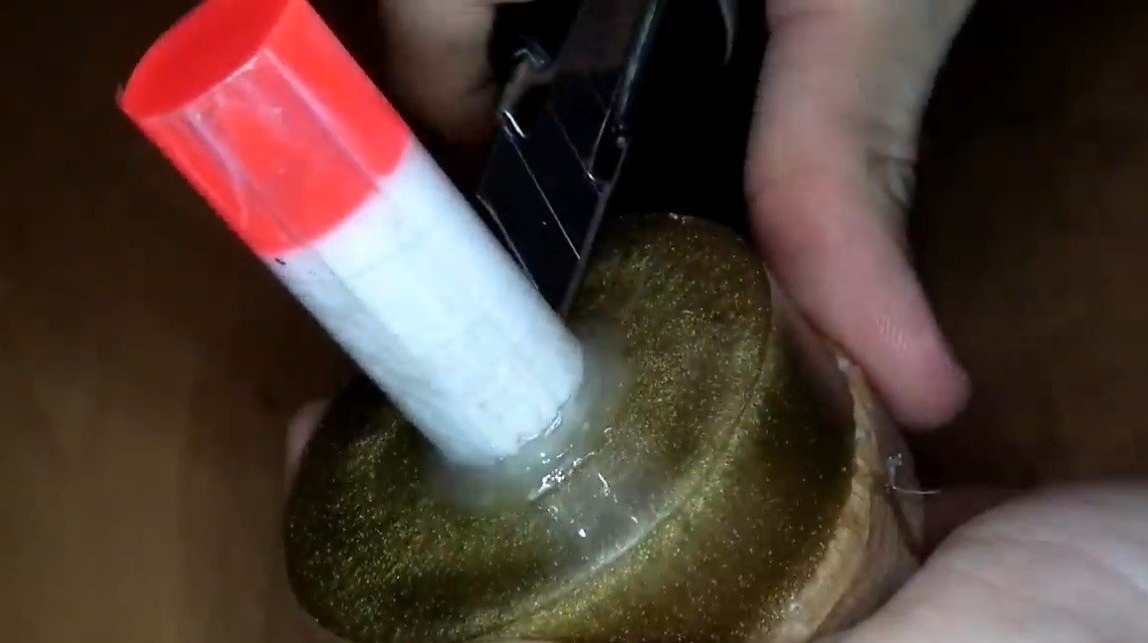
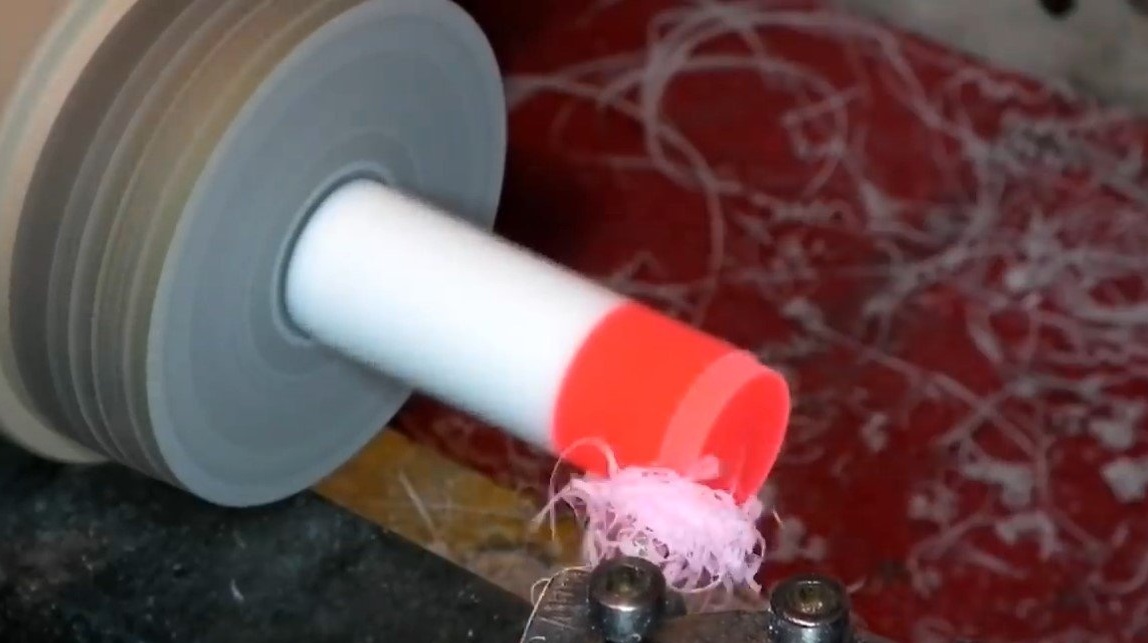
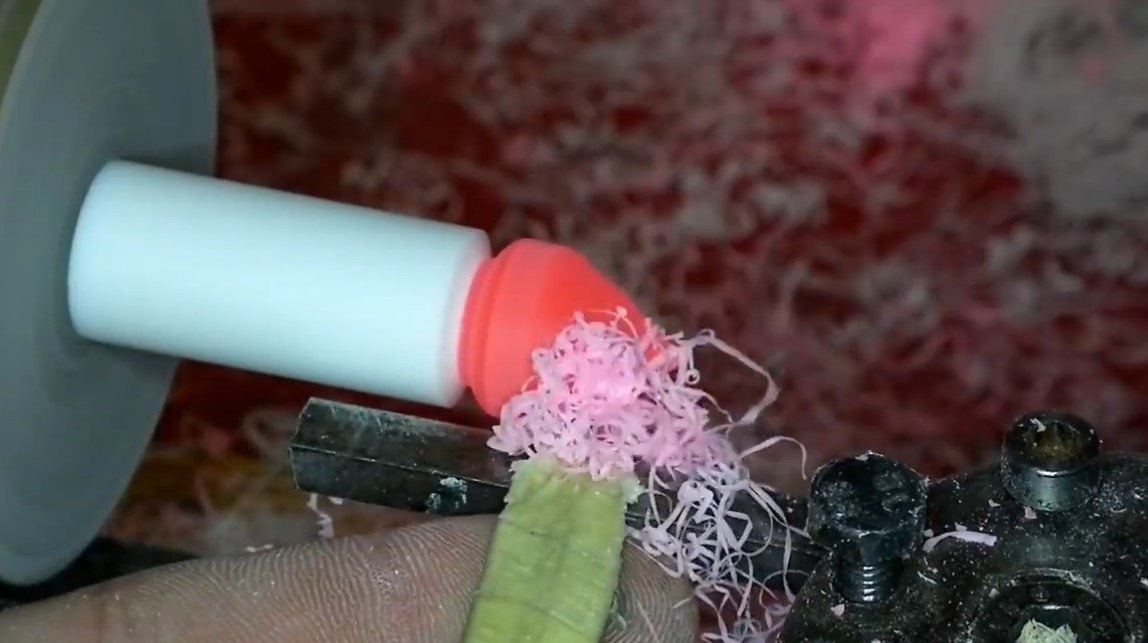
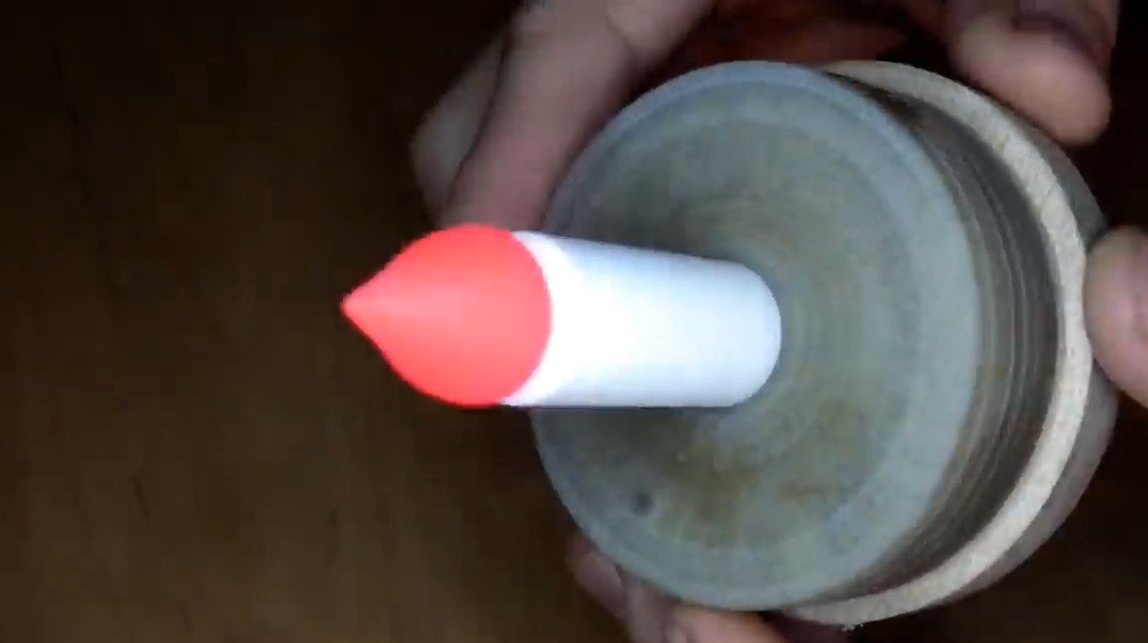
When the candle hardens, we process the workpiece on a lathe. The most important thing here is to form a flame profile.At the end, we grind the candle thoroughly with rough sandpaper, polishing is not required.
Step Three Finishing and processing
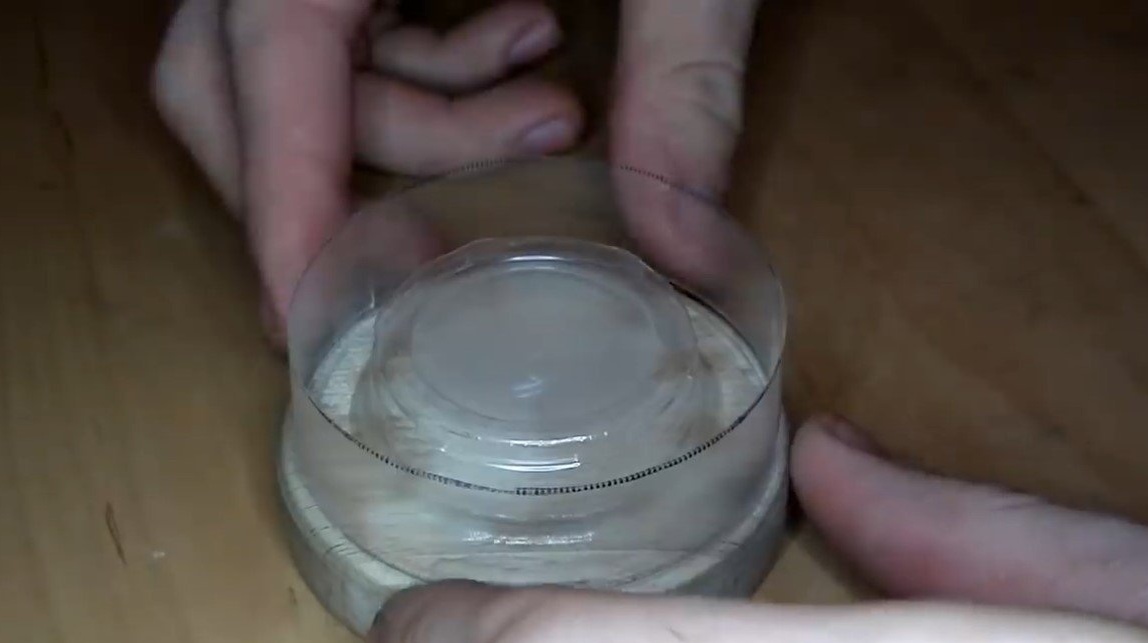
We put the formwork from the cup above the candles and fill in a transparent epoxy resin. We wait until the resin has completely hardened. After that, you can also cast the lid, add golden powder to the resin and pour the lid.
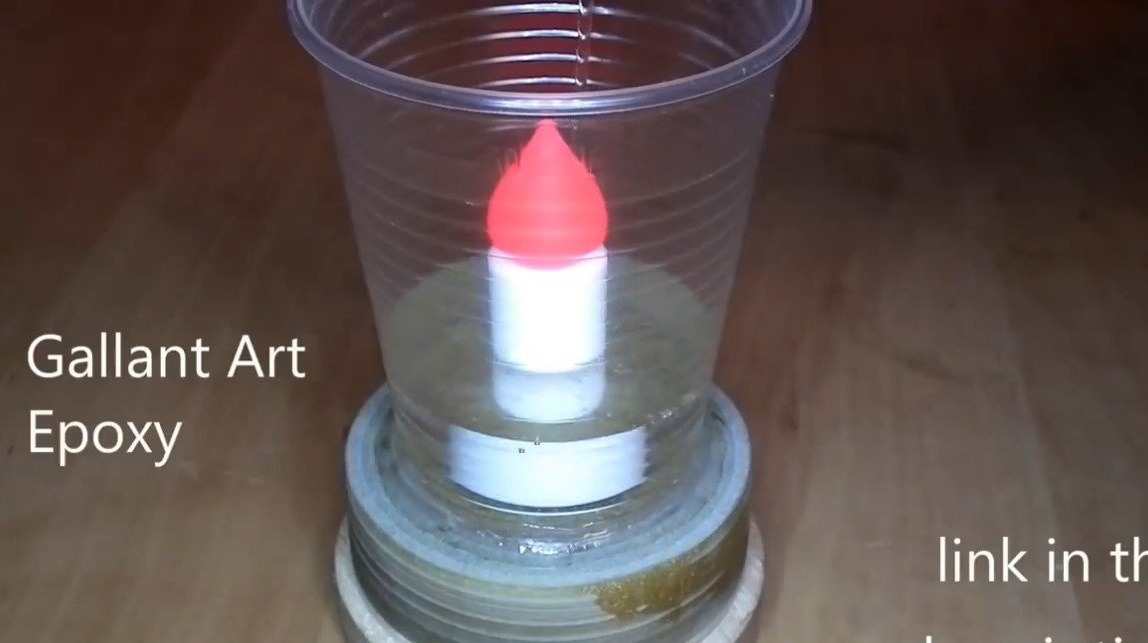

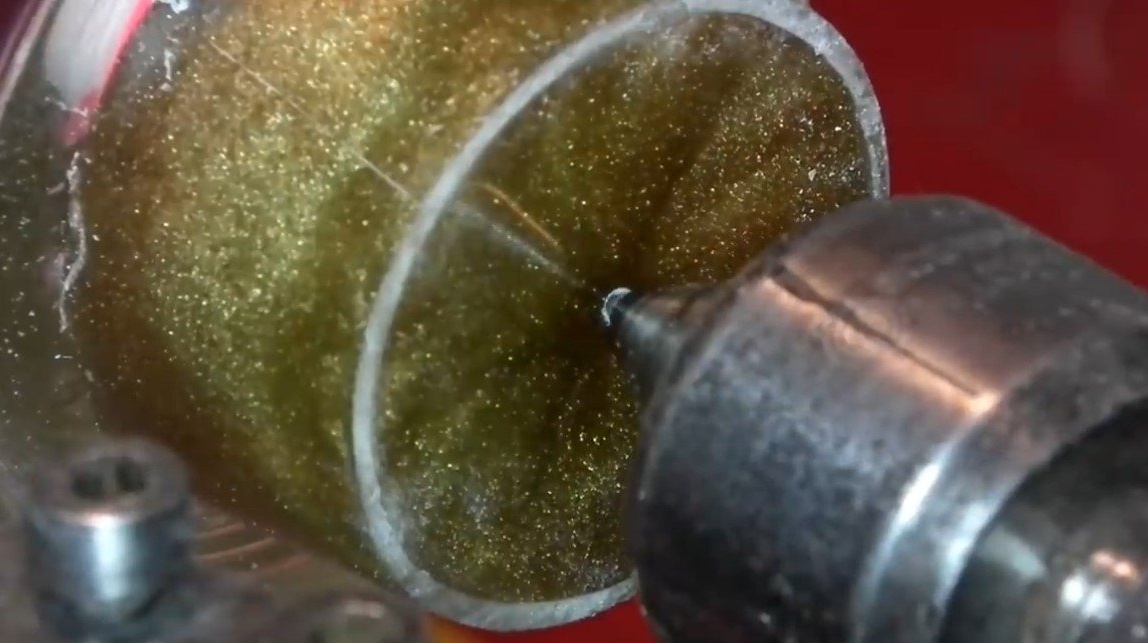

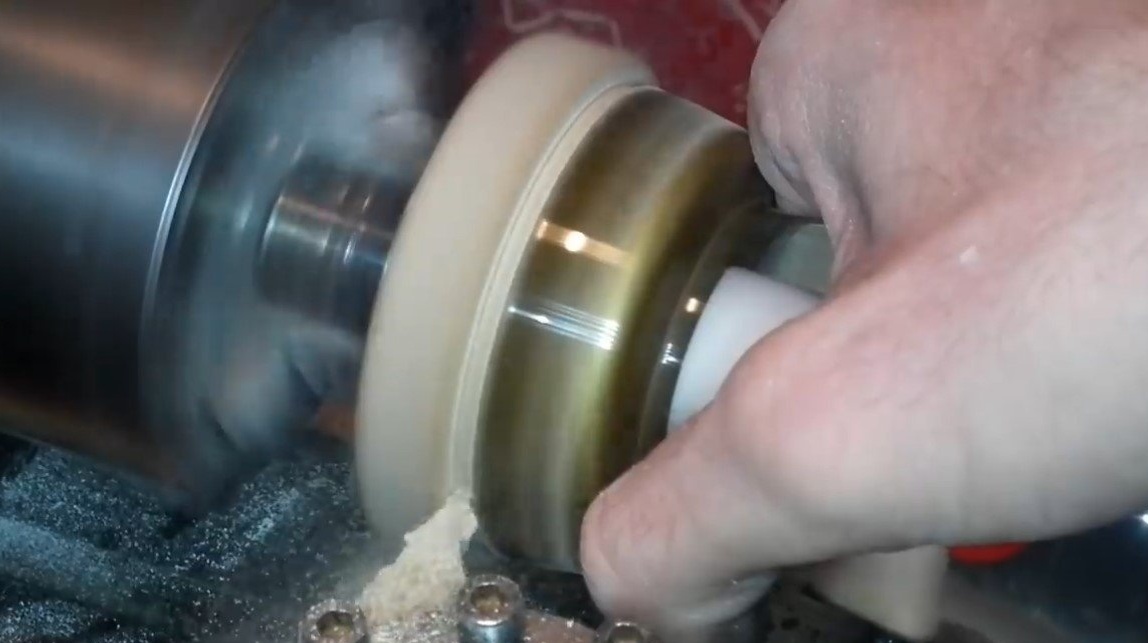
Now that the resin has completely hardened, you need to process the product on a lathe. We cut off all unnecessary and polish if necessary. Finally, we polish the transparent part of the resin to a transparent state. That's all, the homemade product is ready, it remains to make the backlight.
Step Four Backlight
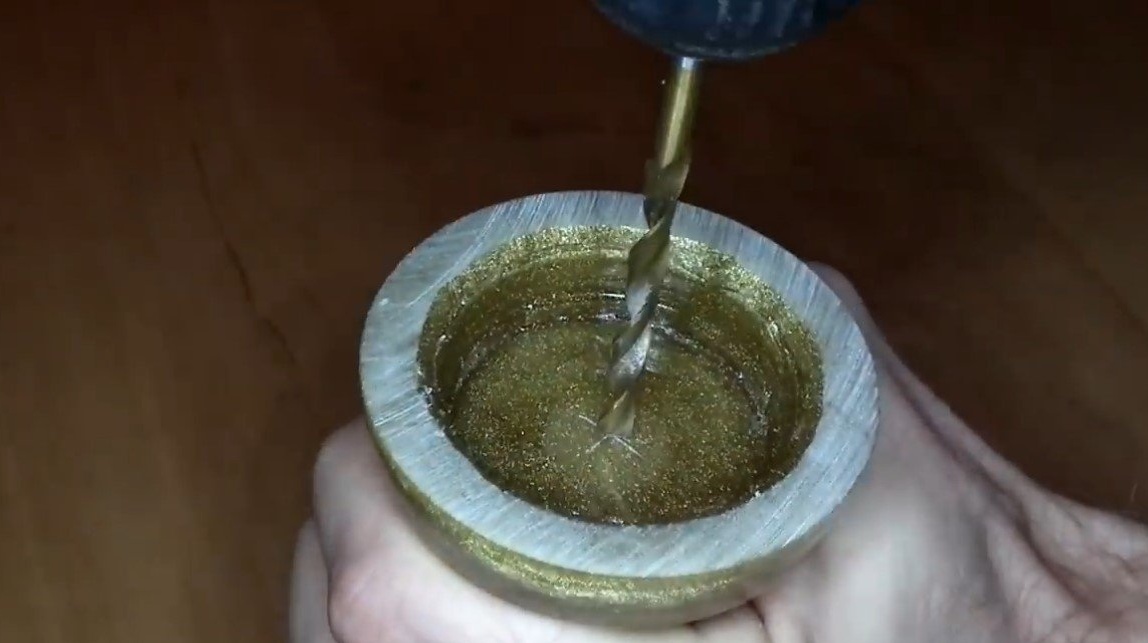
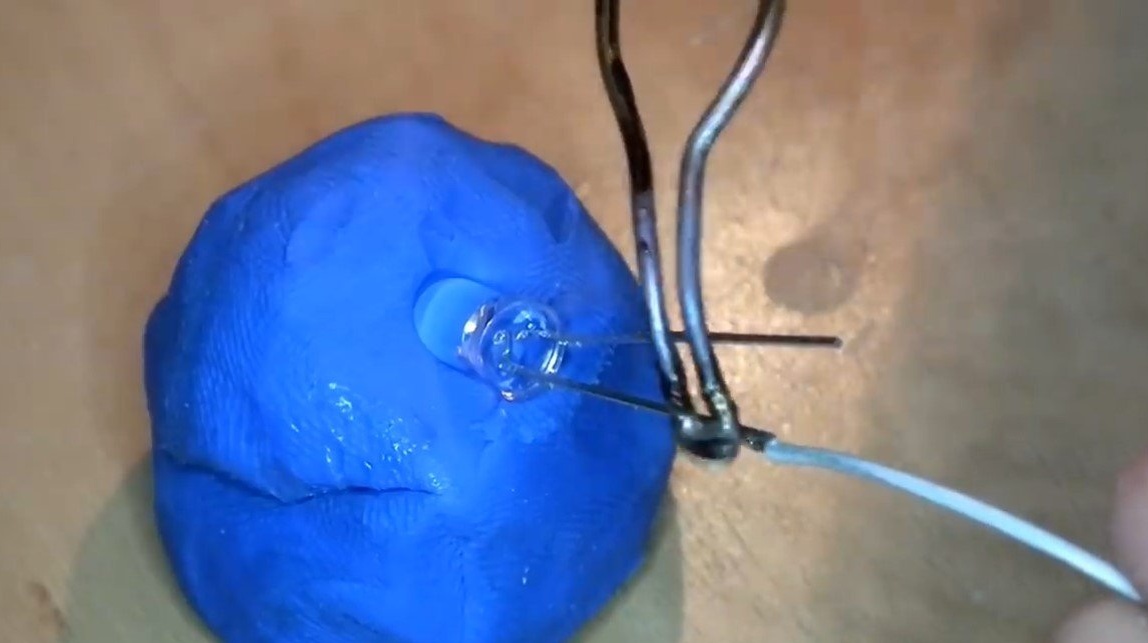
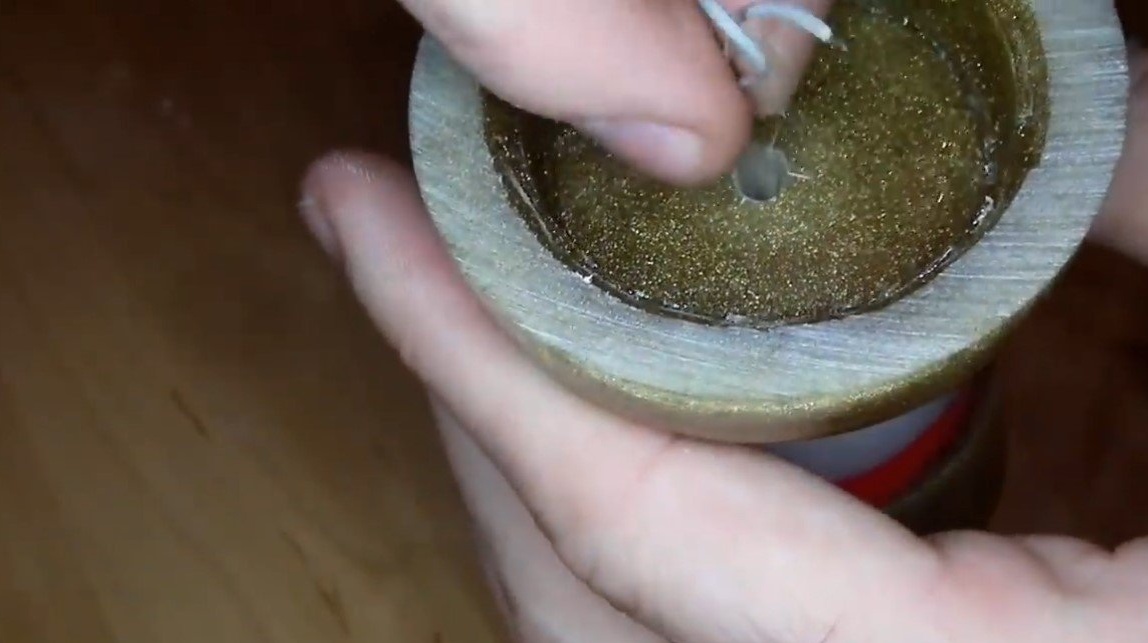
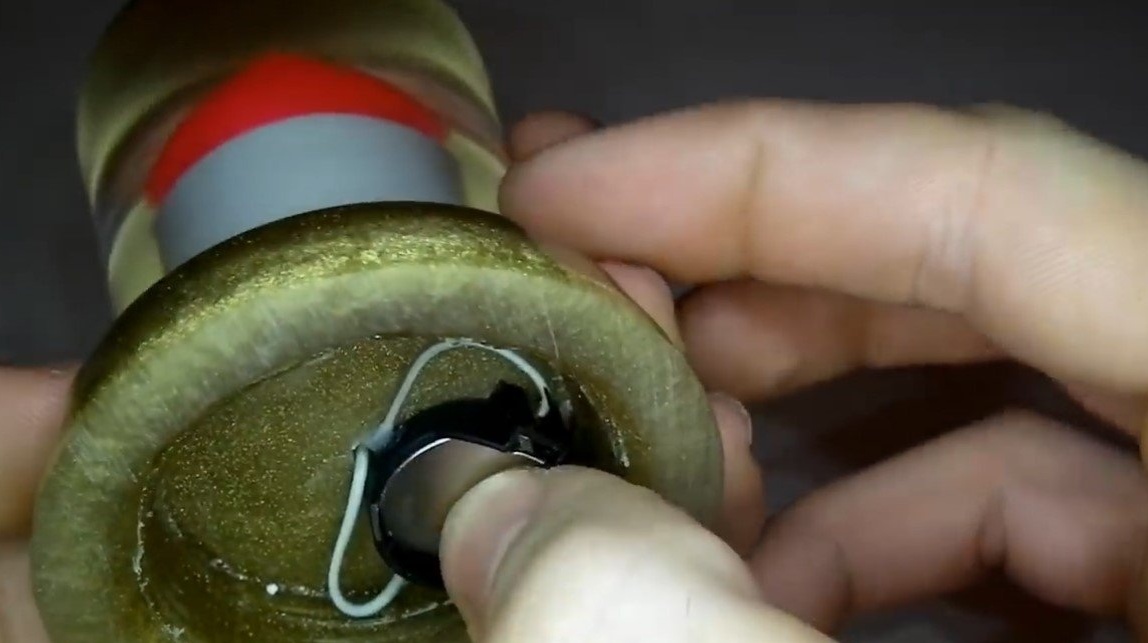
We drill the hole for the LED at the base, solder the wires to the LED and glue it into the hole with hot glue. The LED will be powered by a small lithium flat battery, you will need a holder under it.
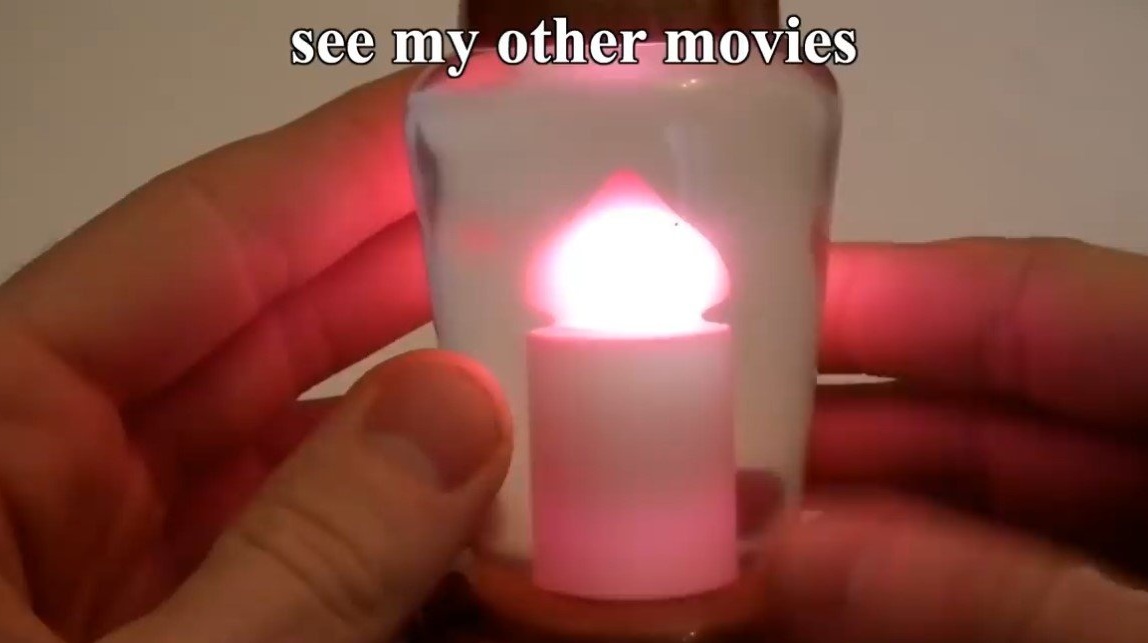
That's all, insert the battery, and the candle burns, everything looks fine. The project is completed on this, I hope you liked the homemade work, and you found useful thoughts for yourself. Good luck and creative inspiration, if you decide to repeat this! Do not forget to share your ideas and homemade things with us!