


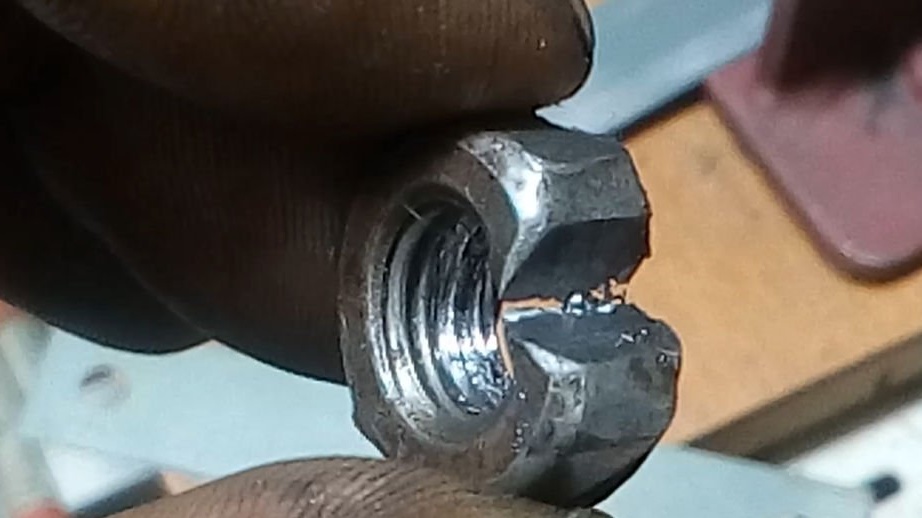
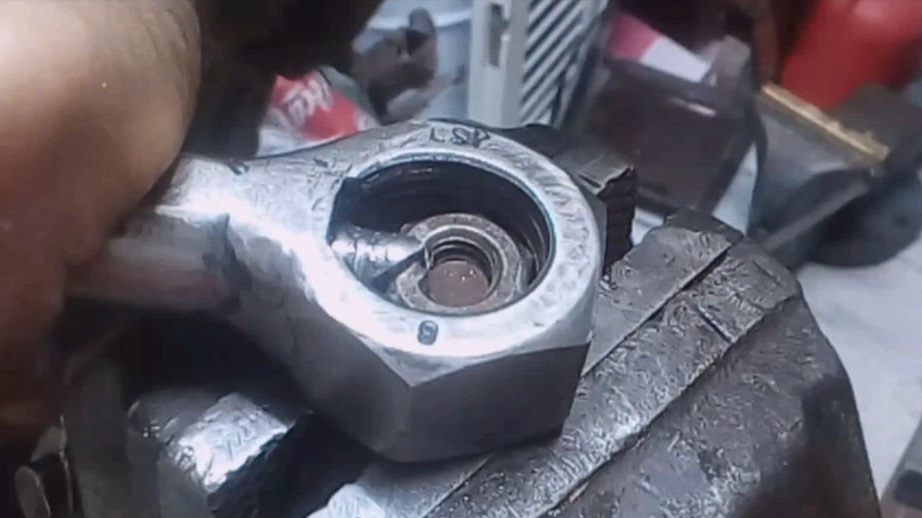
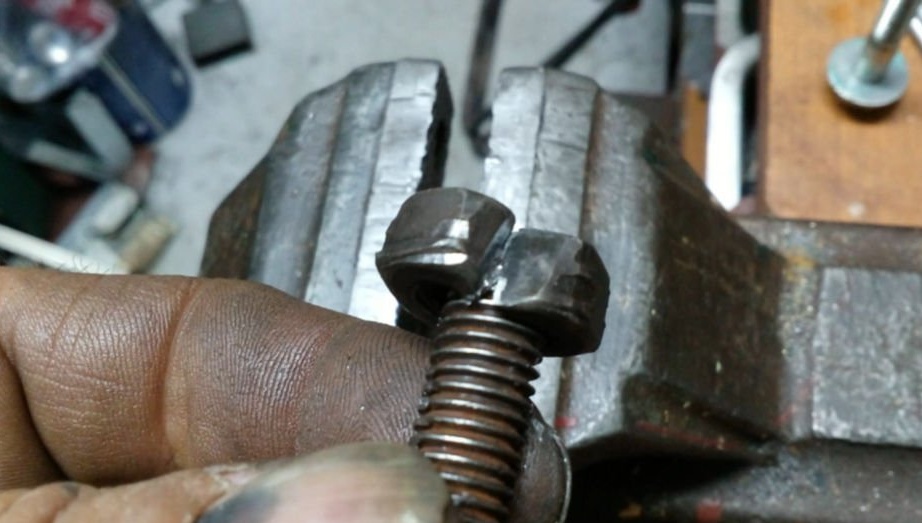
Sometimes the nuts “fasten” to the bolt and it is impossible to unscrew them with an ordinary tool. Using a screwdriver, you can remove the nut from the bolt without damaging the threads on it.
With this simple tool, simply insert the nut you want to loosen
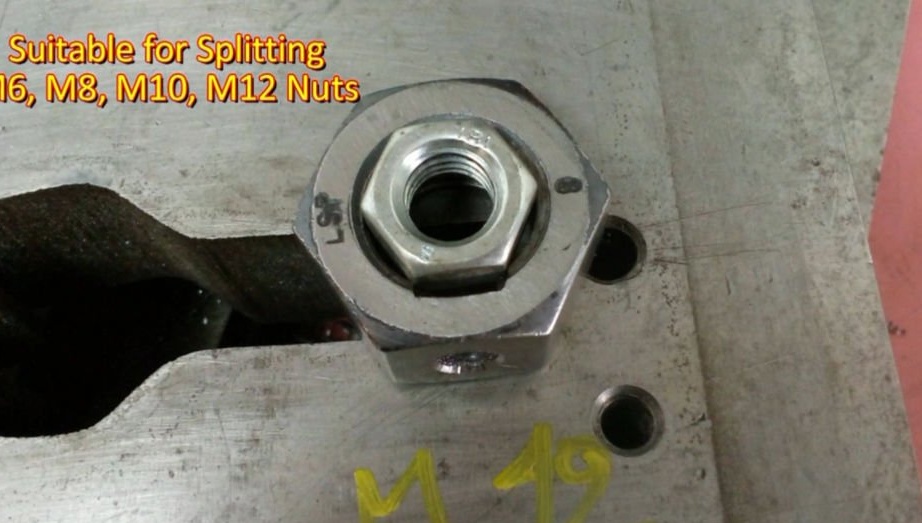
The master made a wrench for nuts M6-M8-M10 and M12., But observing all the proportions, you can make it for larger nuts.
Tools and materials:
-UShM with disks for cutting and grinding;
-Drilling machine;
-Drills ø 4-5-8-10-12 mm;
-Countersink;
-Calipers;
- Files;
-Beard;
-Tapers;
-Welding machine;
- Nut M24 - 1 pc;
- Rod ø19x45mm - 1pc;
-Bolt M6x6mm - 1pc
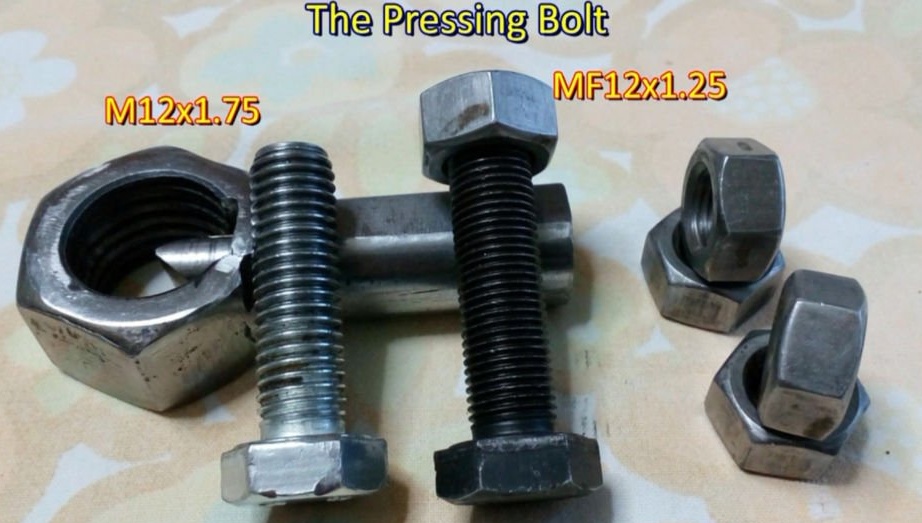
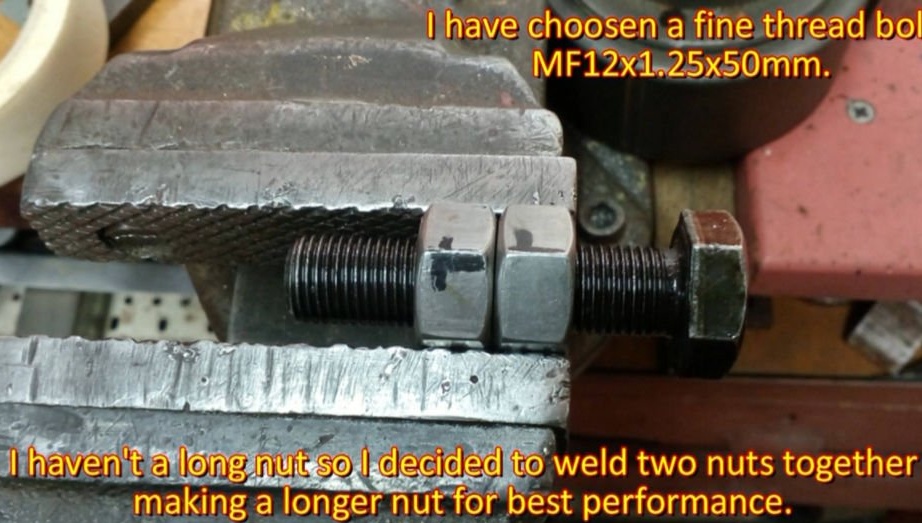
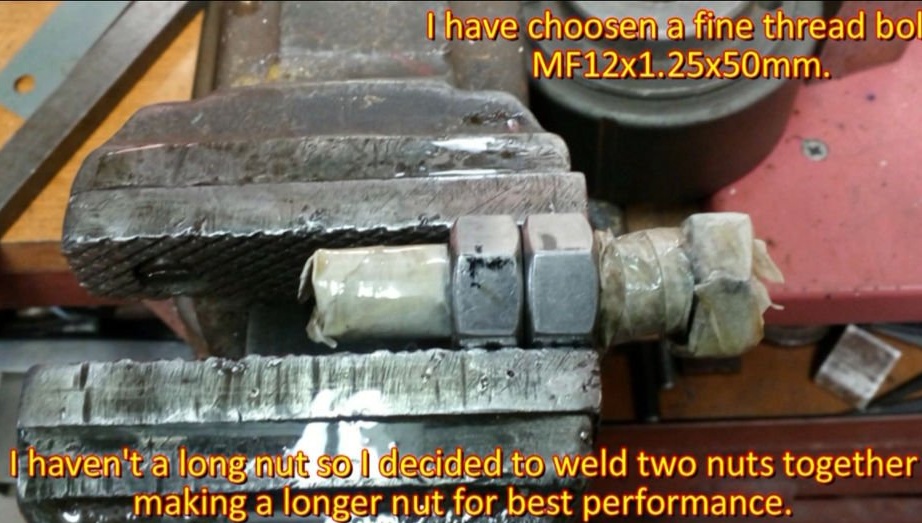
-Bolt M12x1.25x50mm - 1pc.
- Nut M12x1.25 - 2pcs;
- Ball ø8mm - 1pc;
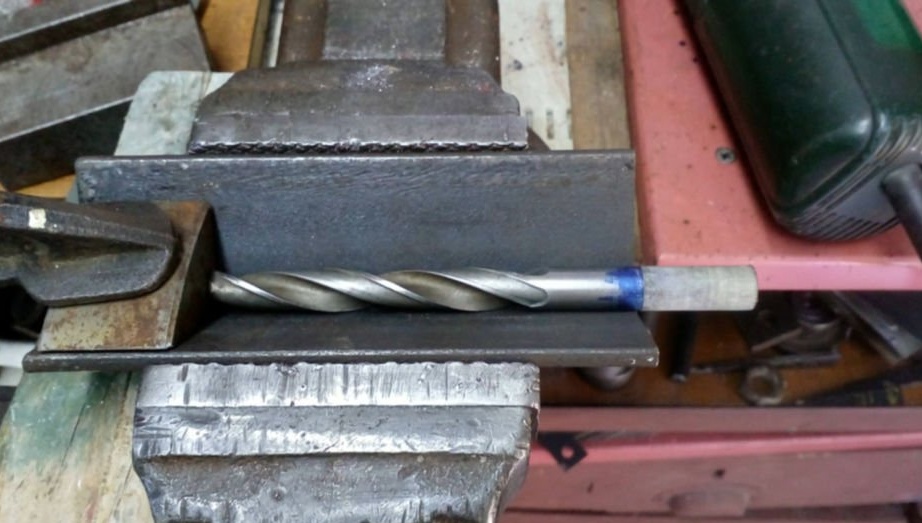
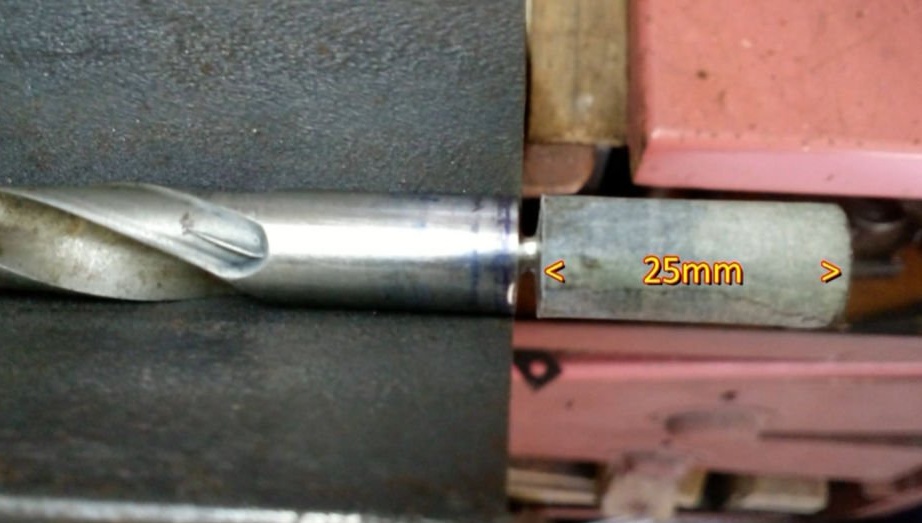
-25 mm of a rod cut off from a shank of a drill ø10 mm;
-Section from a bolt ø10x12 mm;
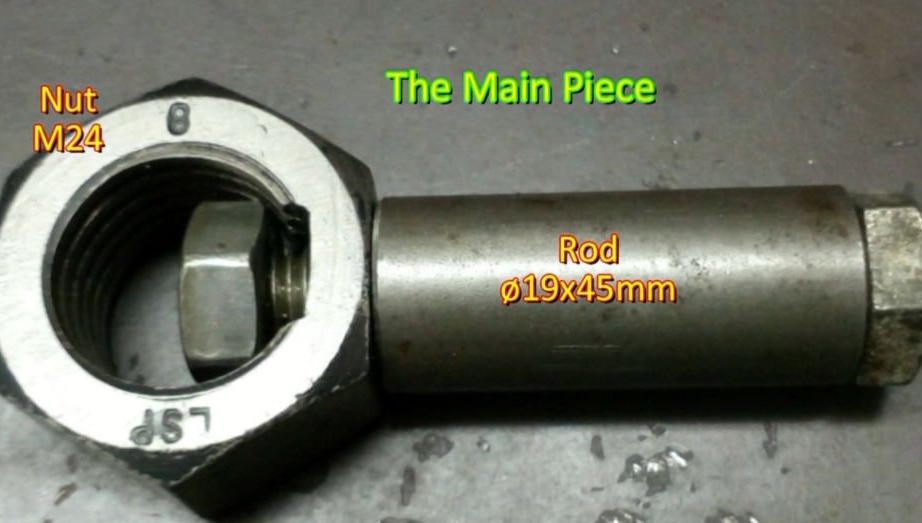
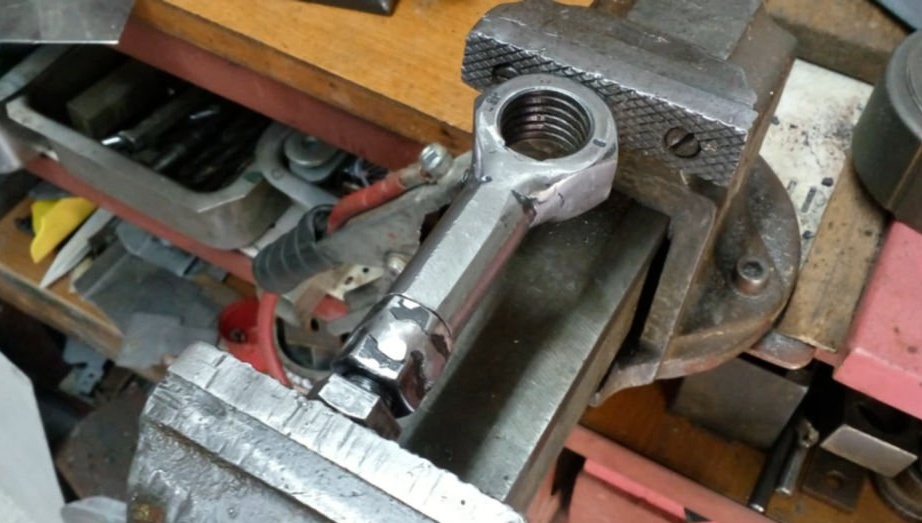
Step one: the main part
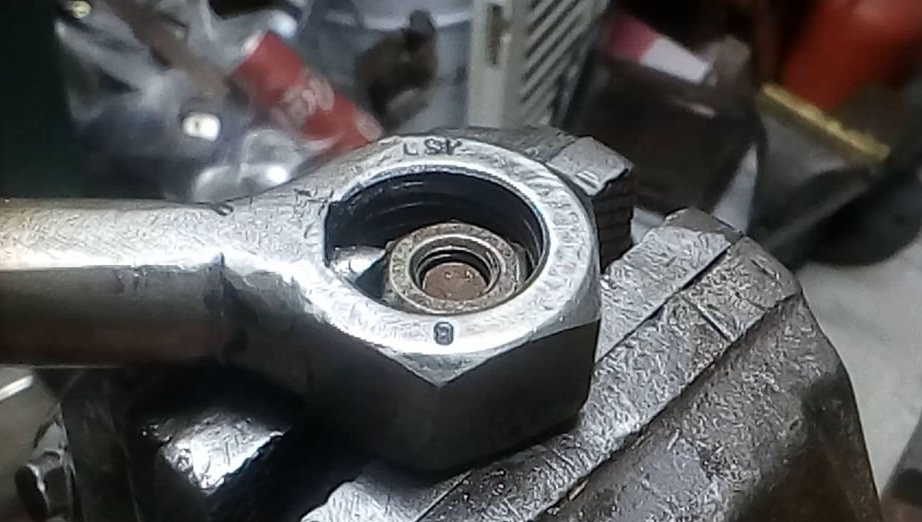
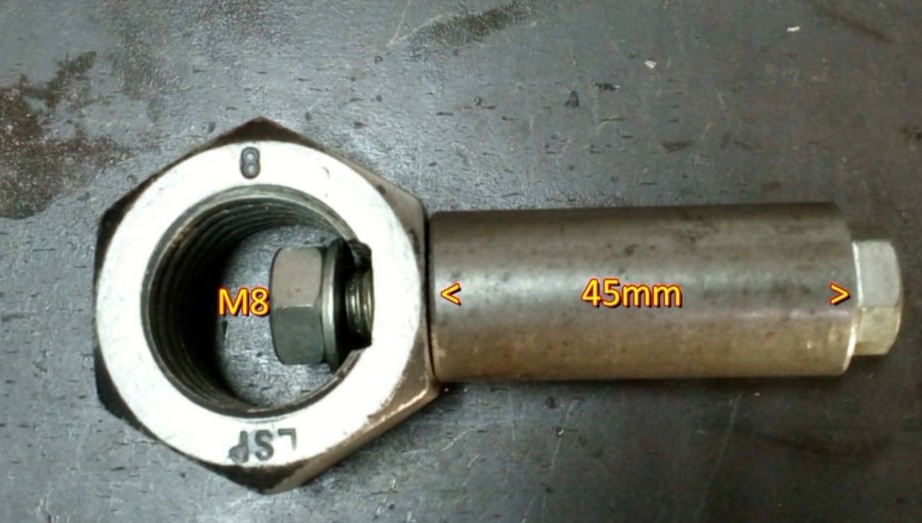
For the main part, the master used an M24 nut and a ø19x45 mm bar.
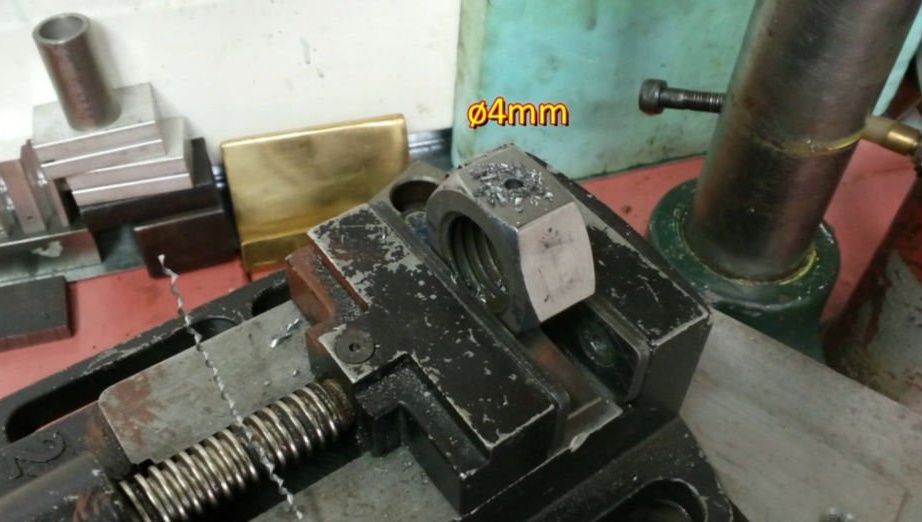
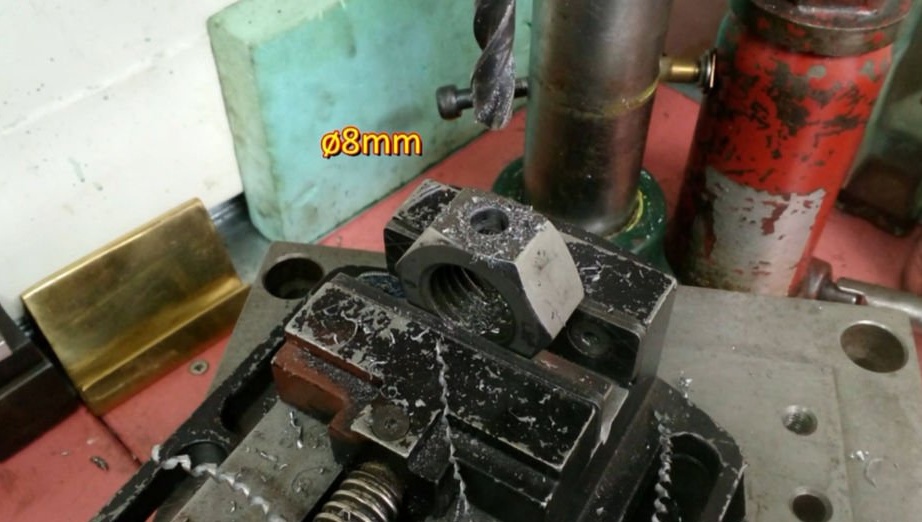
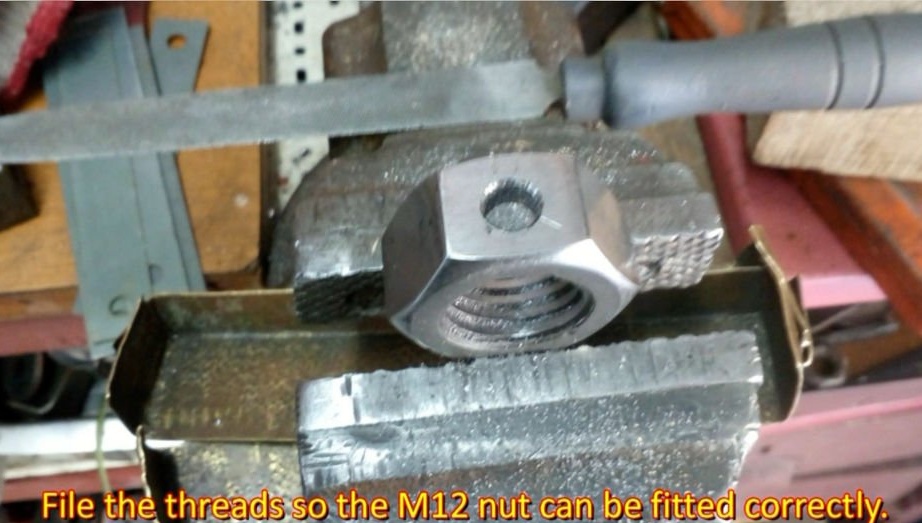
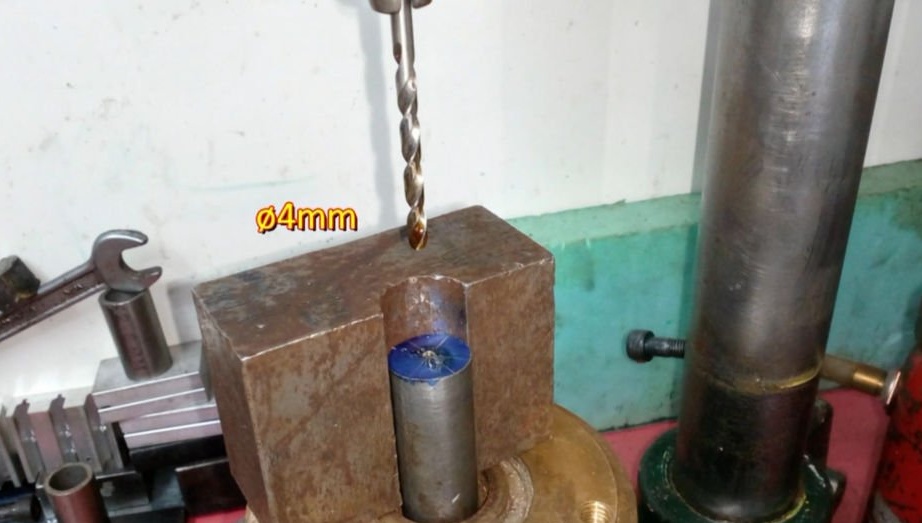
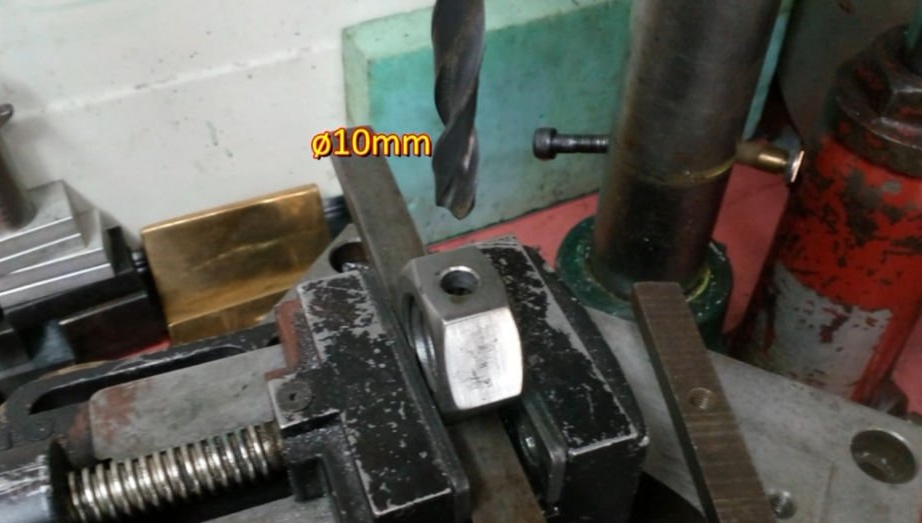
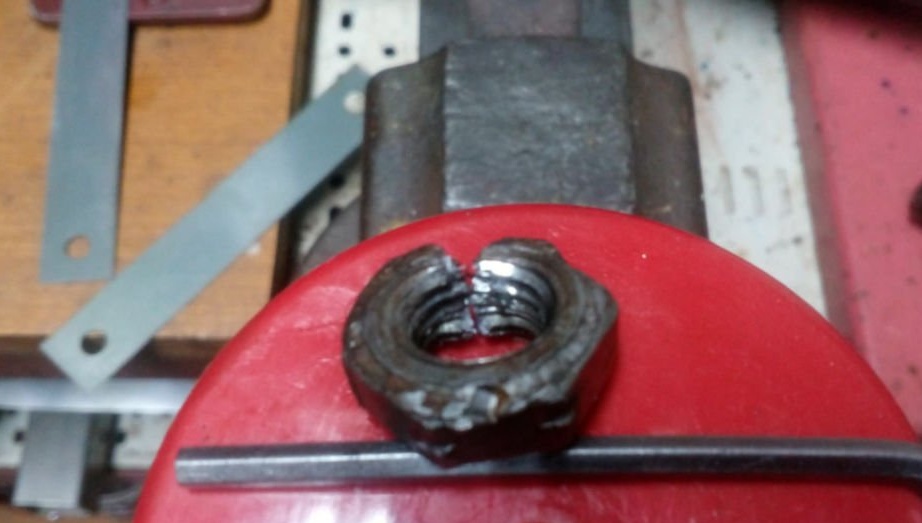
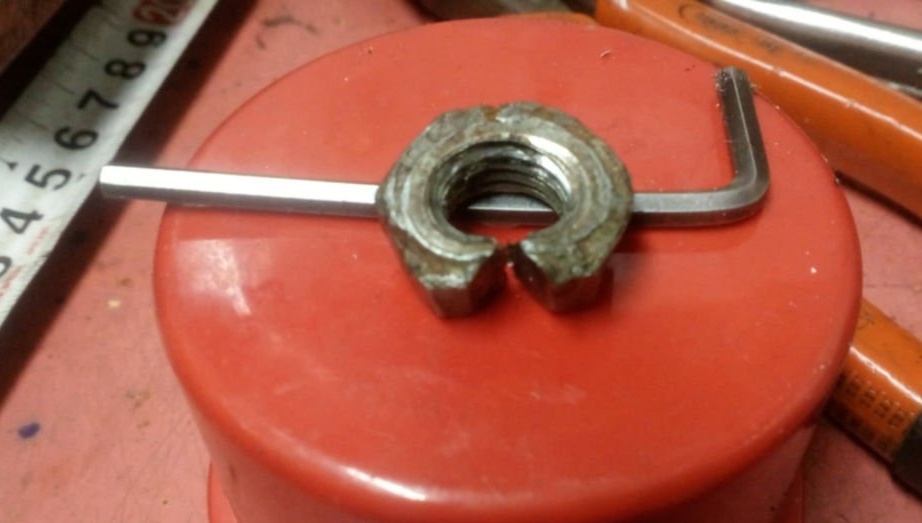
In the center of one of the six sides of the nut, make a hole with a diameter of 8 mm, first using a drill with a diameter of 4 mm, and then a drill with a diameter of 8 mm. Using a file makes a groove 11 mm wide.
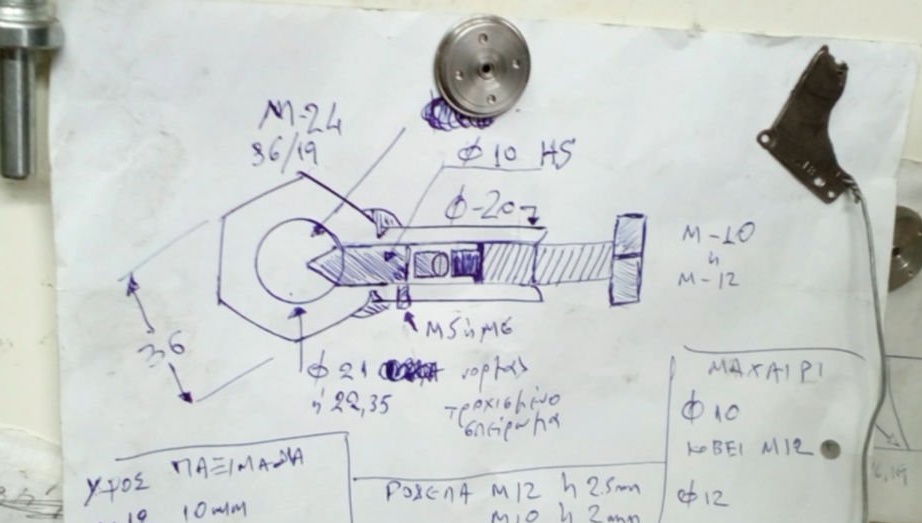
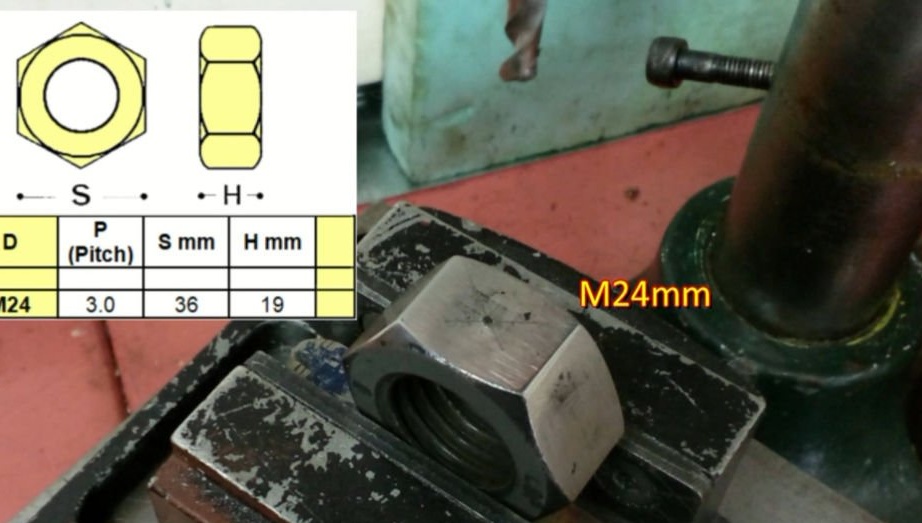
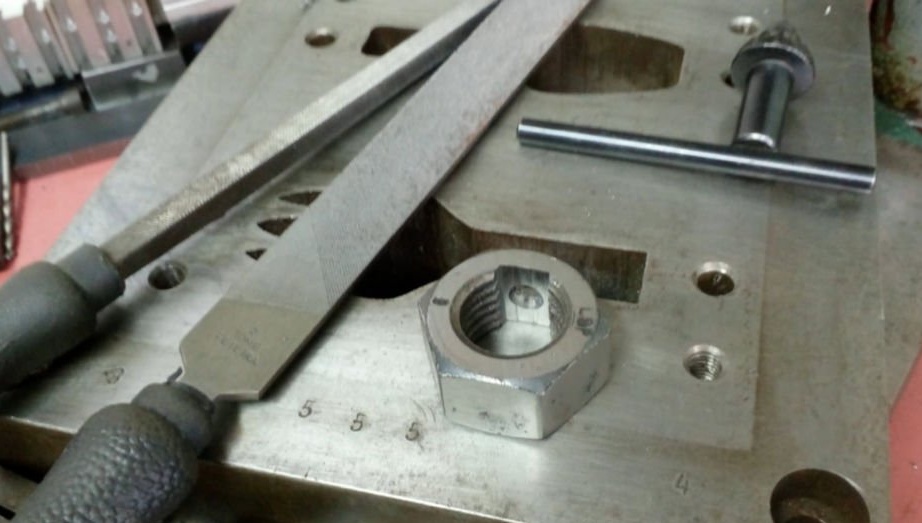
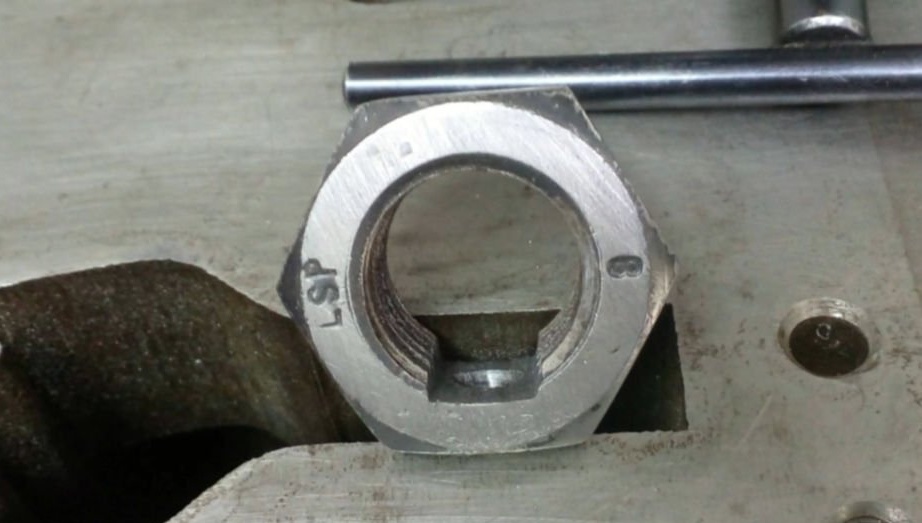
With a file, grind the thread on the M24 nut Until the moment when the M12 nut is freely placed in the hole.
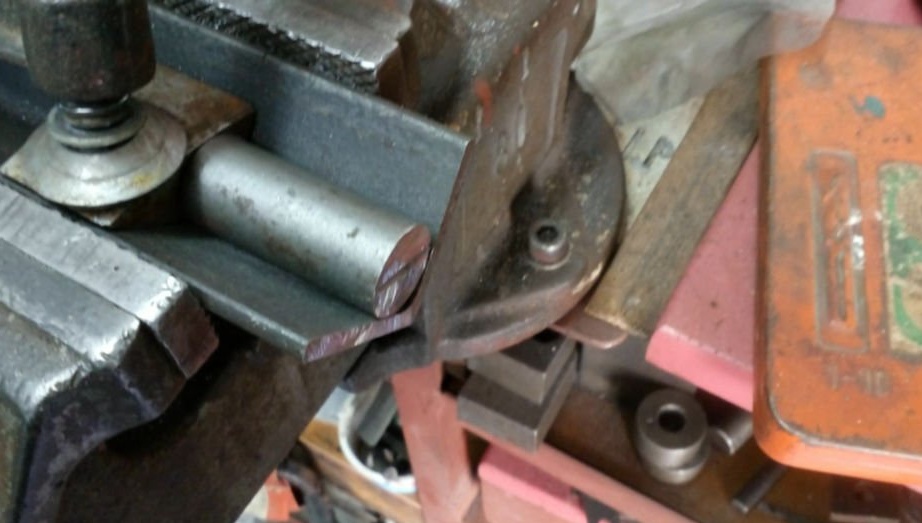
Further away from the bar with a diameter of 19 mm, you need to cut a part with a length of 45 mm.
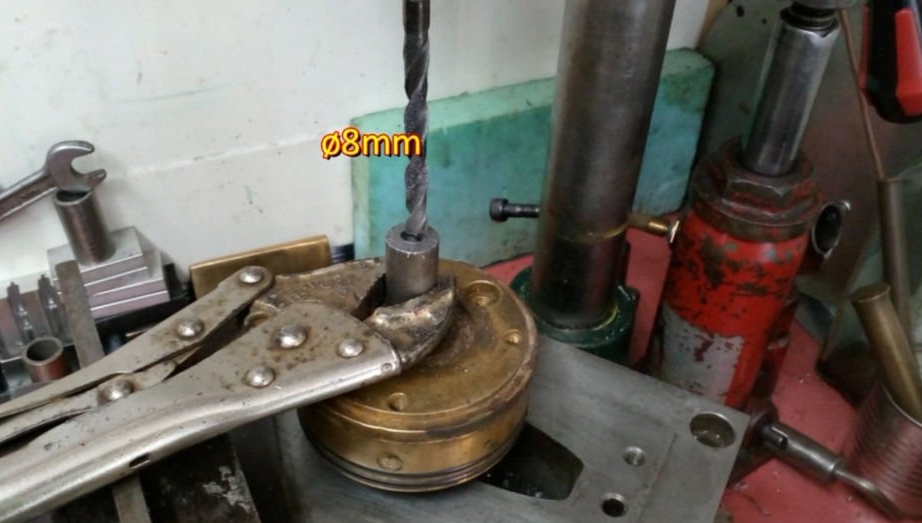
A hole with a diameter of 8 mm is drilled in the center of the bar.

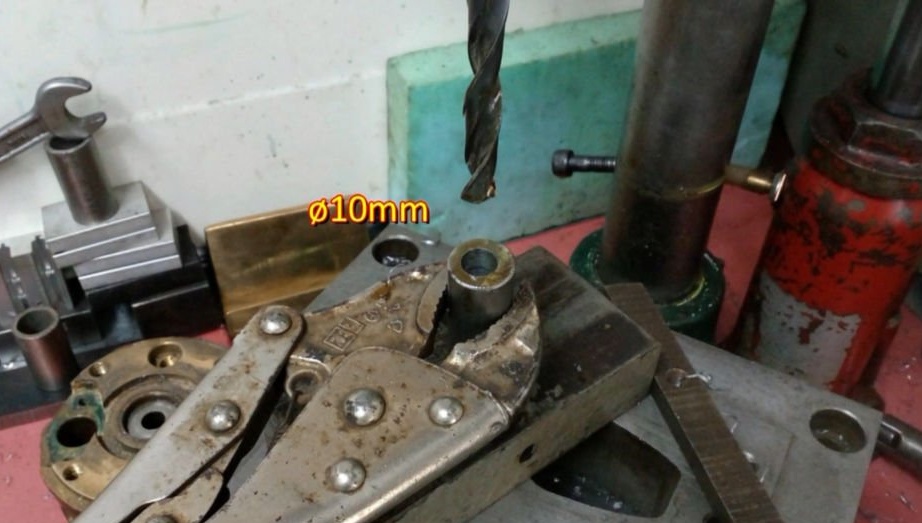
Temporarily collects two parts of the nut by means of a bolt and nut M8. Making sure that everything fits perfectly disassembles the nut and drill a hole in the nut and rod with a 10 mm drill. Then it reassembles using the M10 bolt.
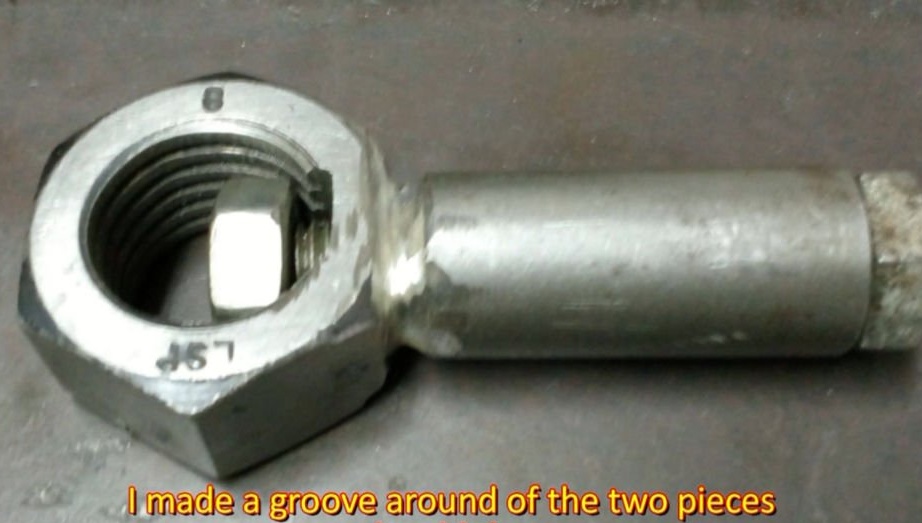
Welds two parts. Weld seals.
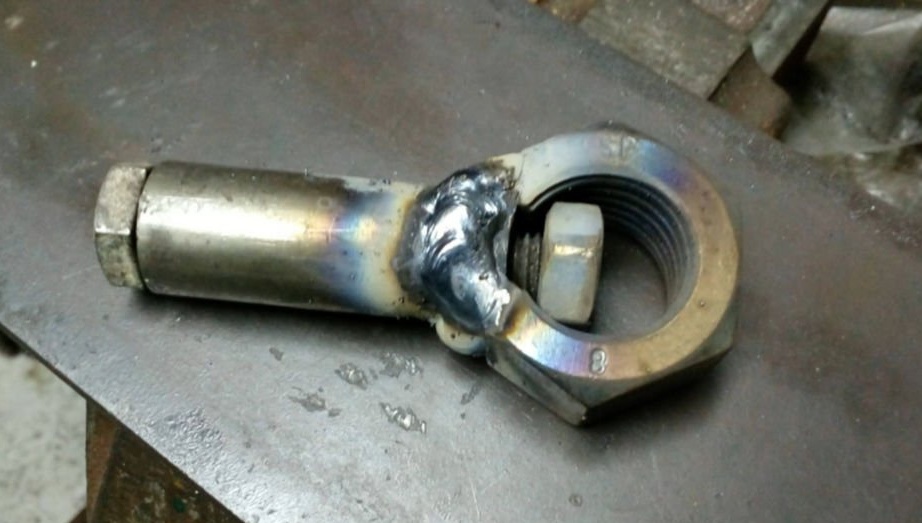
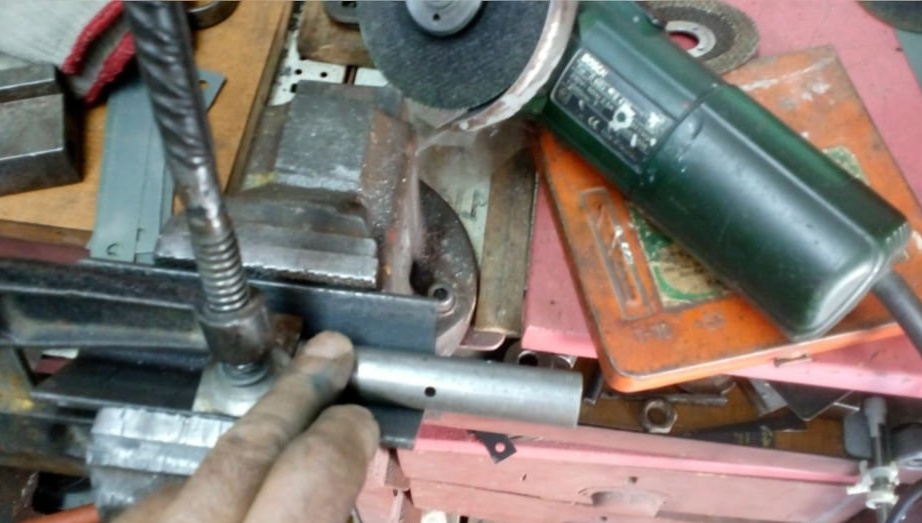
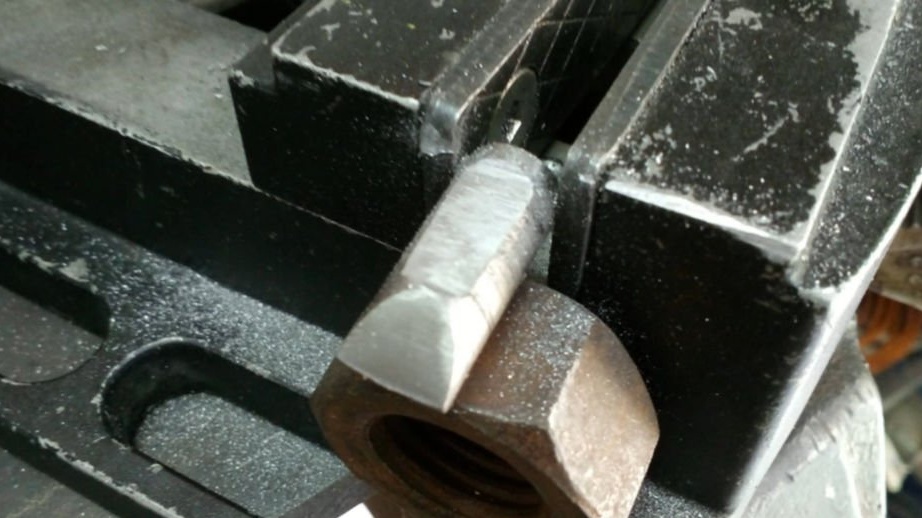
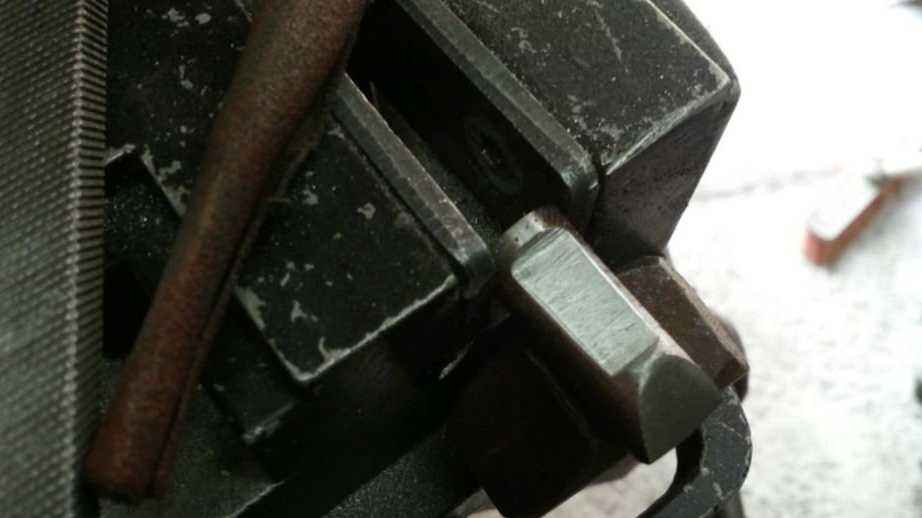
Stitches the two opposite sides of the handle of the nut (rod) until a plane is formed.
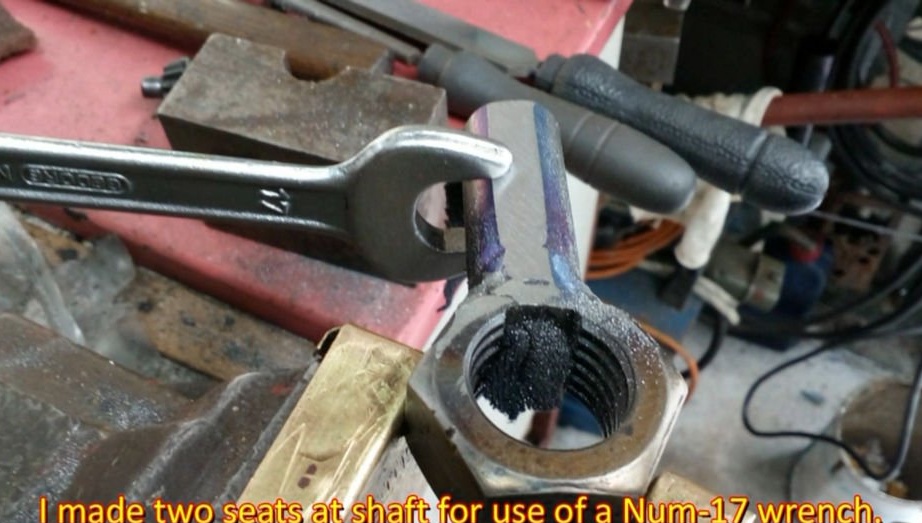
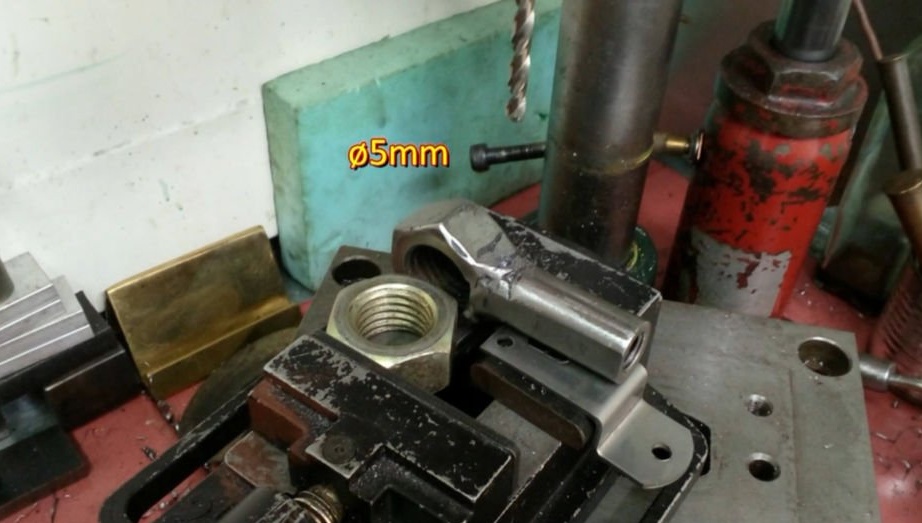
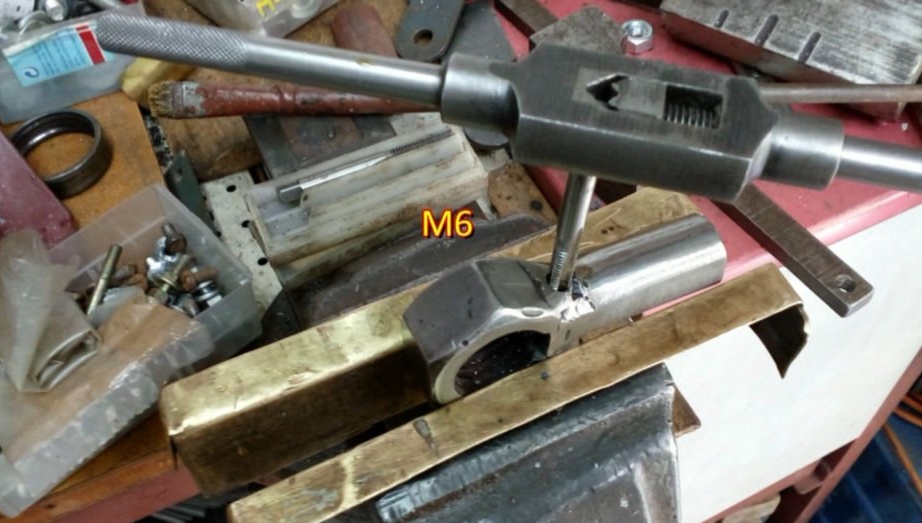
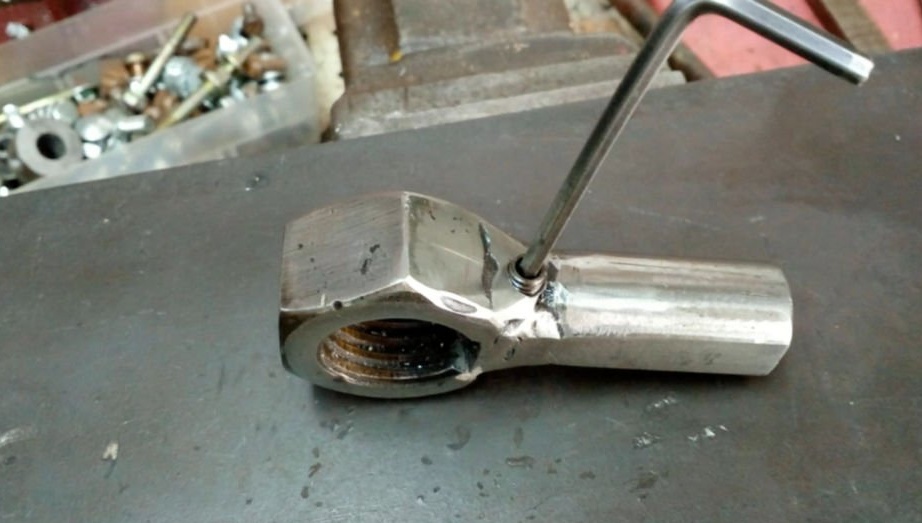
Drills a 5 mm hole in the nut. Threads M6. Screws a screw into the hole.
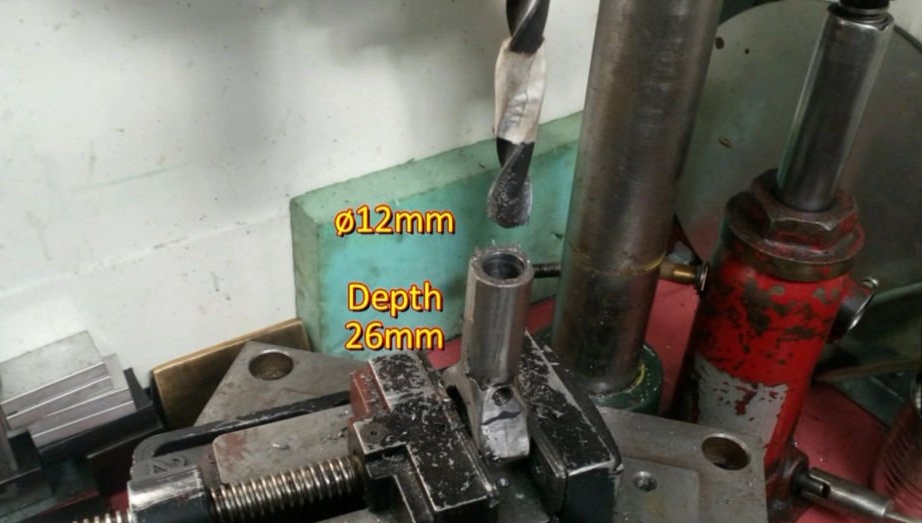
In the handle, to a depth of 26 mm, drills a hole with a 12 mm drill.
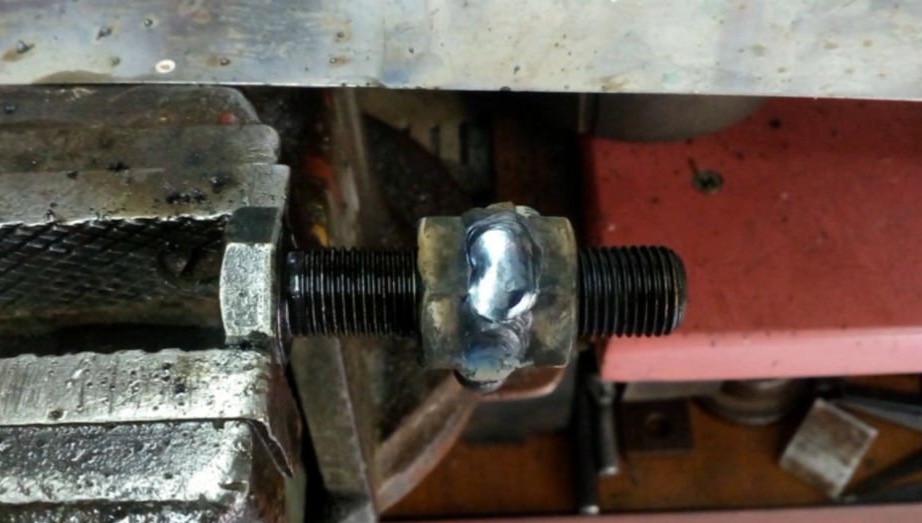
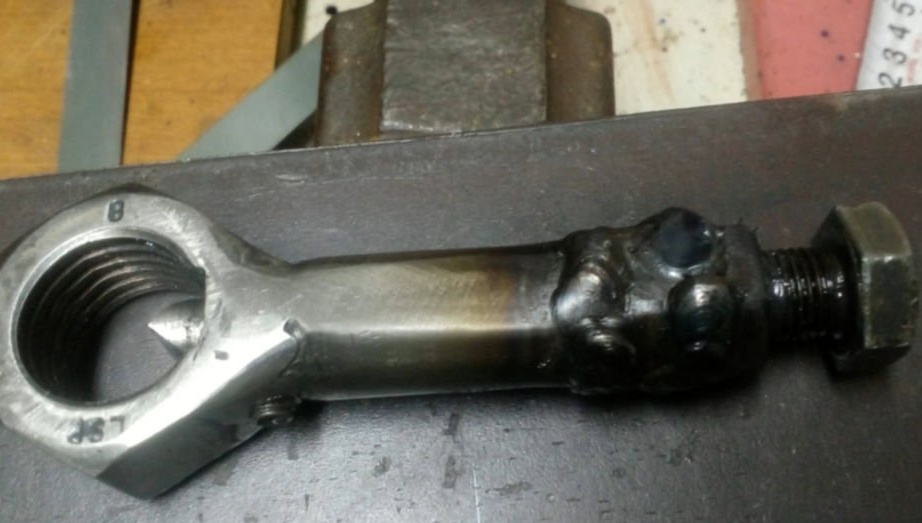
Step Two: Thrust Bolt
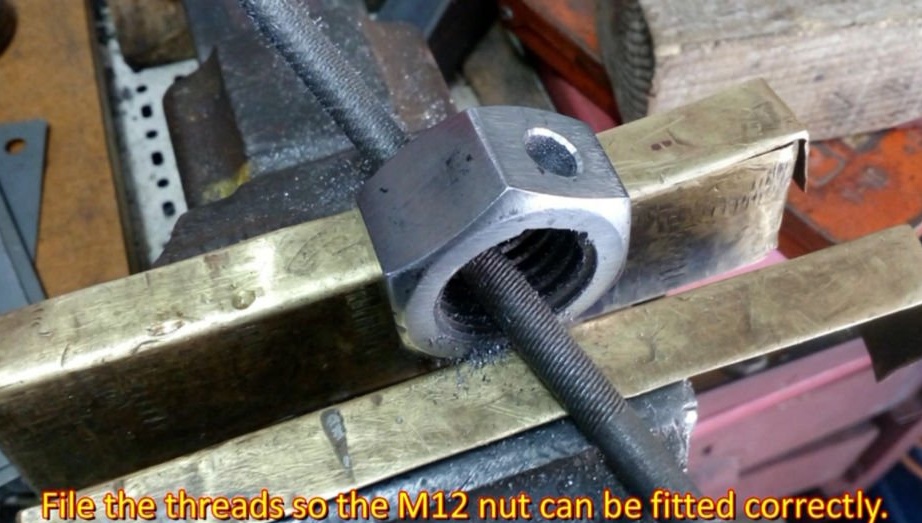
Screws two nuts onto the bolt. Nuts should be close and at the same time the thread should not be clamped. Closes the threads on the bolt from damage during welding. Welds nuts. Checks their free movement on the bolt. Then it welds the nuts to the handle of the nut.
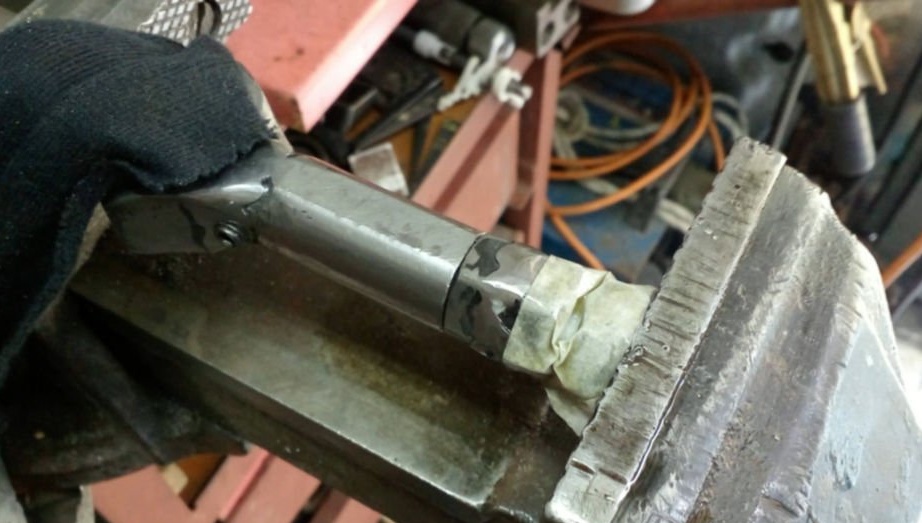
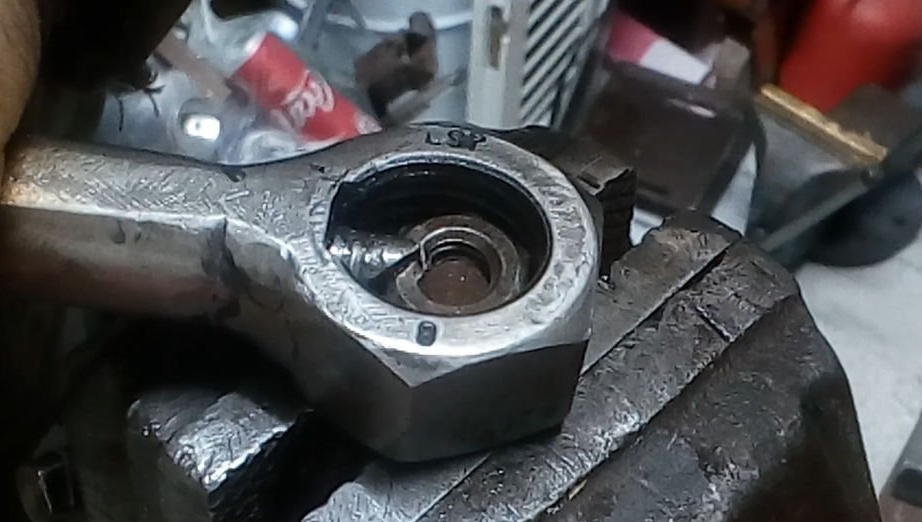
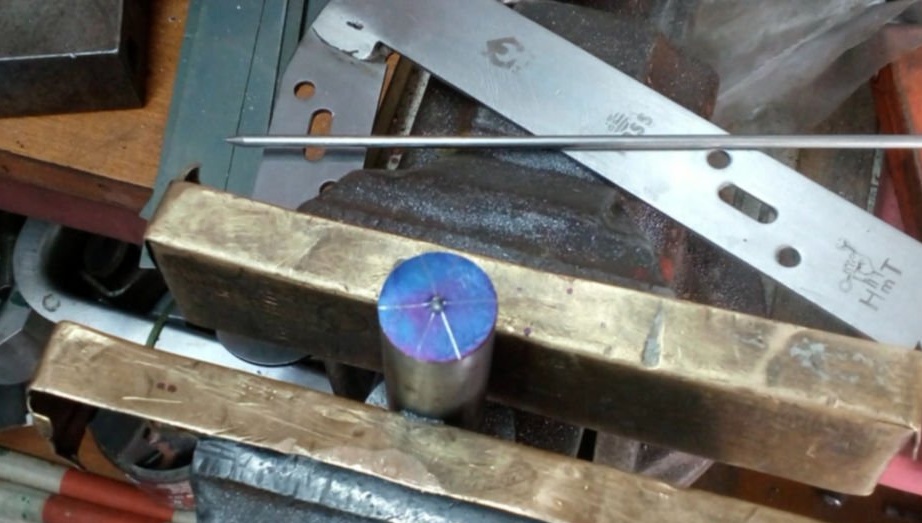
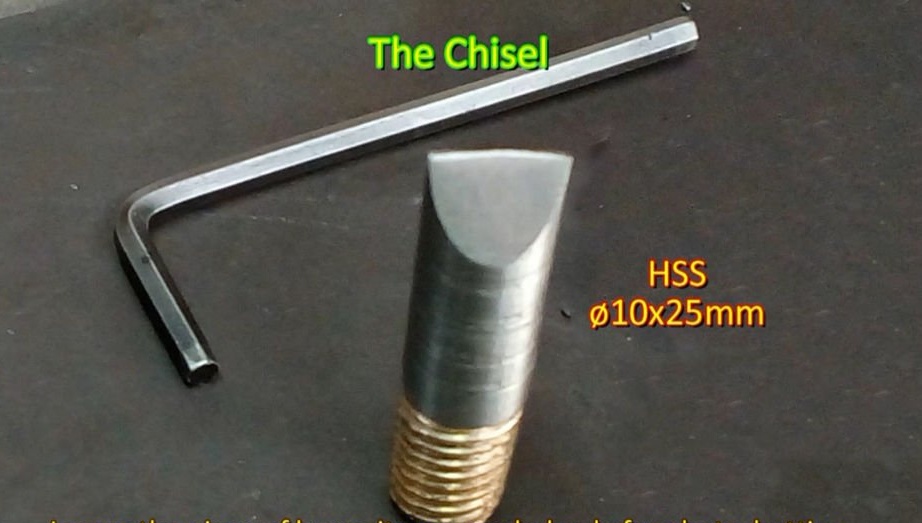
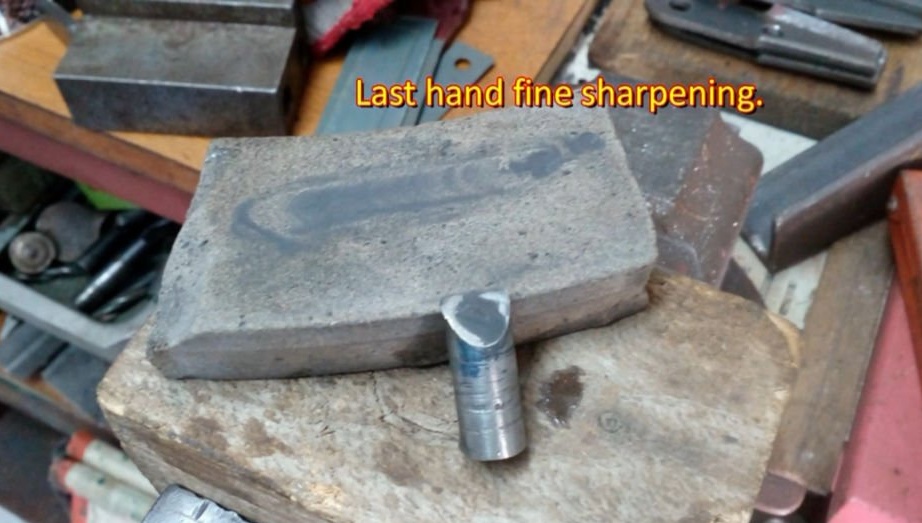
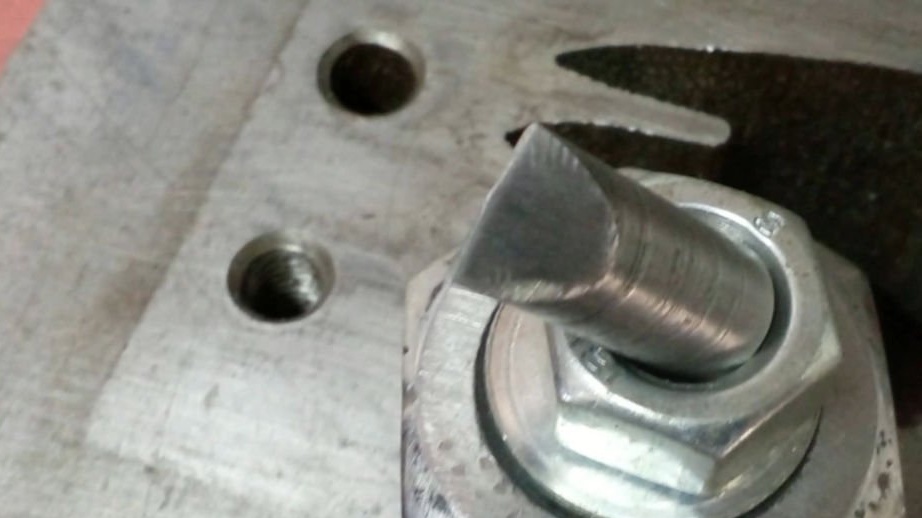
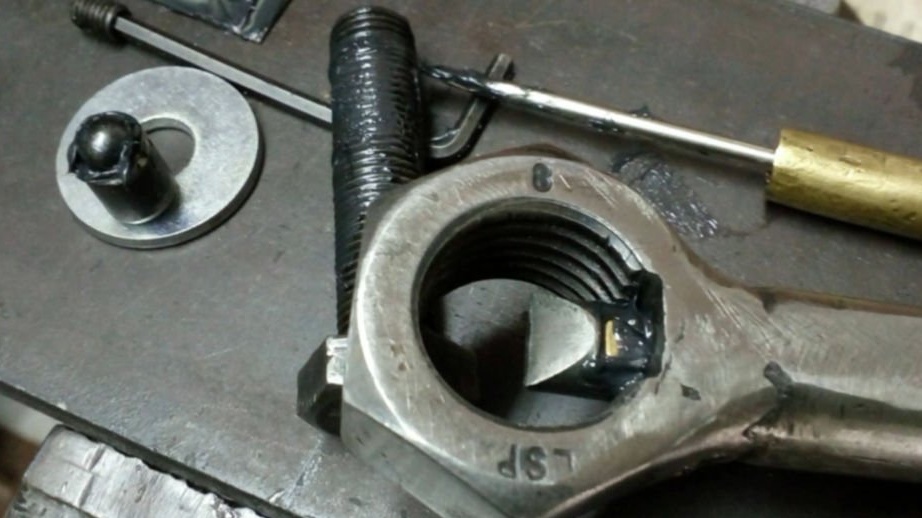
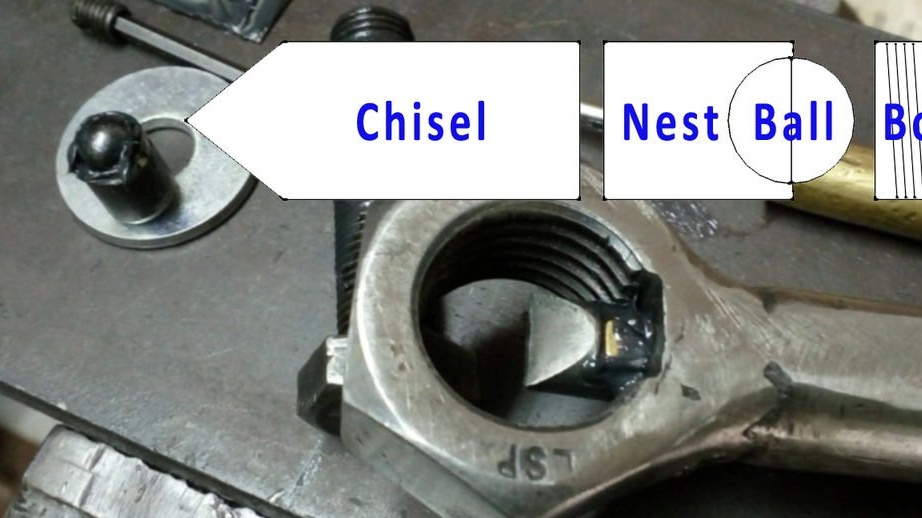
Step Three: Cutter and Ball
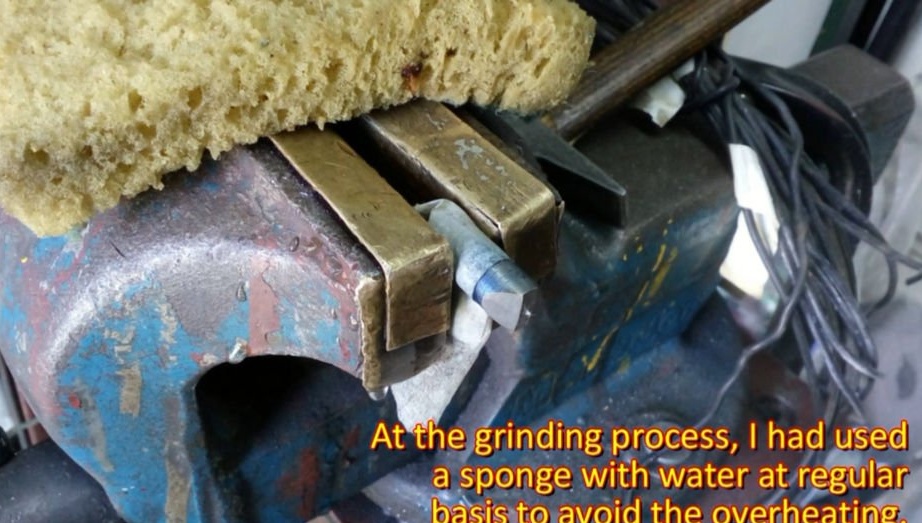
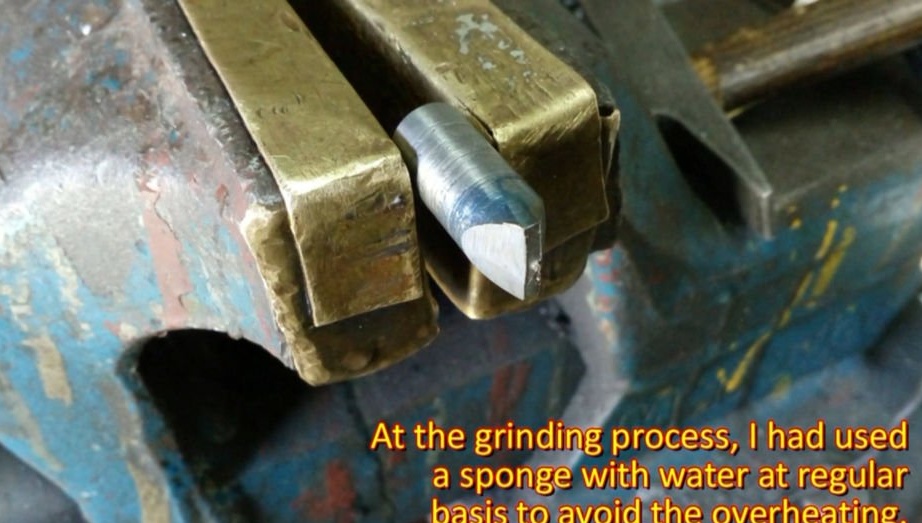
The cutter master made by cutting the end of the drill and sharpening it.A shank of 25 mm length cuts off a drill with a diameter of 10 mm. Sharpen. On the one hand, it makes a groove for the fixing screw.
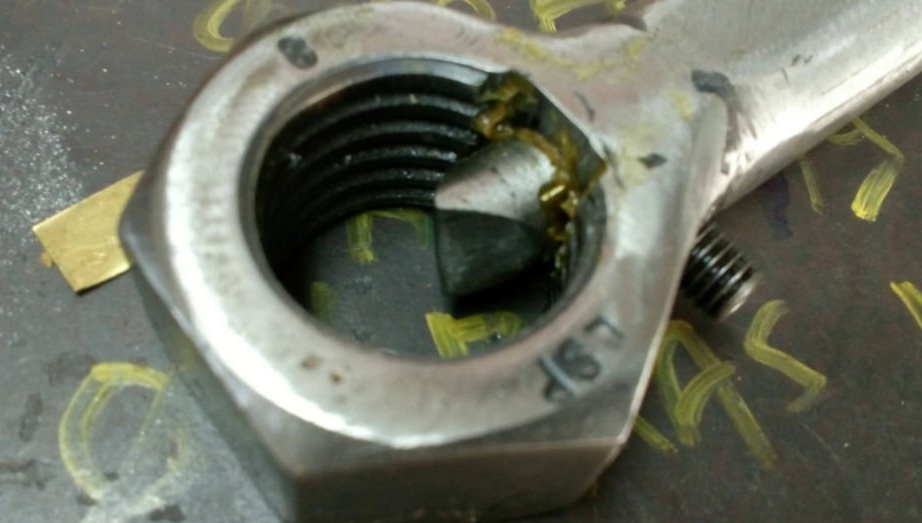
A spacer 12 mm long is cut from the bolt M10. In the center of the spacer, drills a hole for installing a ball with a diameter of 8 mm. From brass cuts a strip the size of a groove on a cutter. Gathers everything in the hull of the wrench.
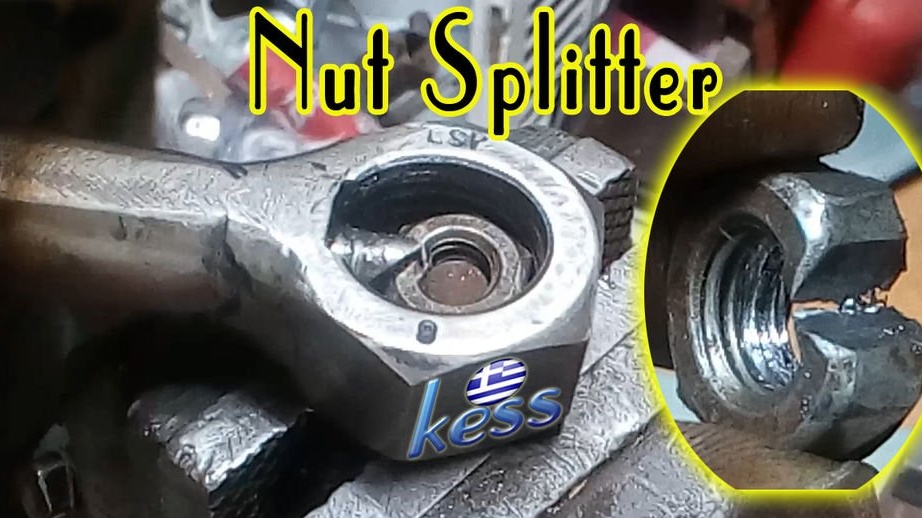
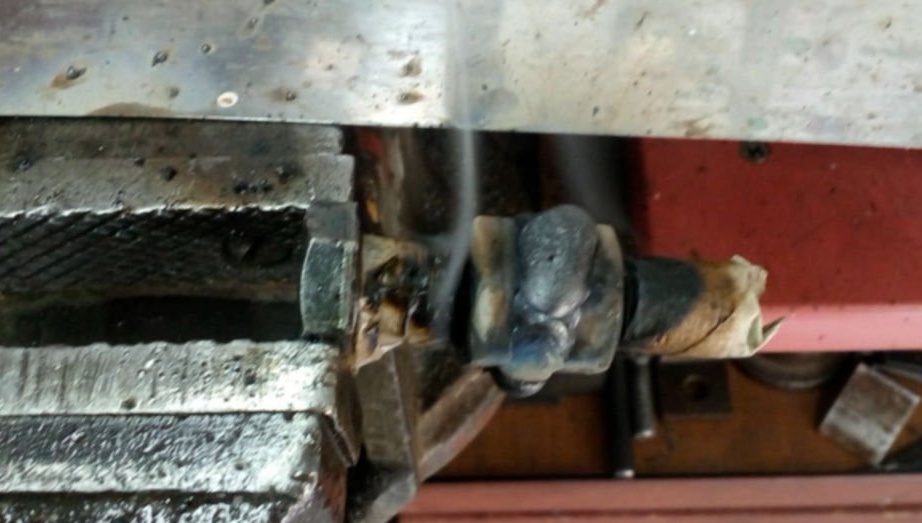
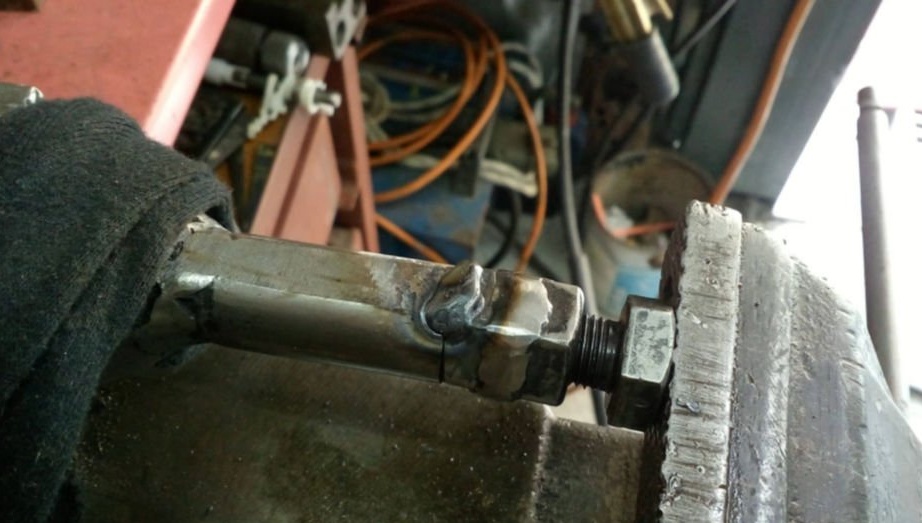
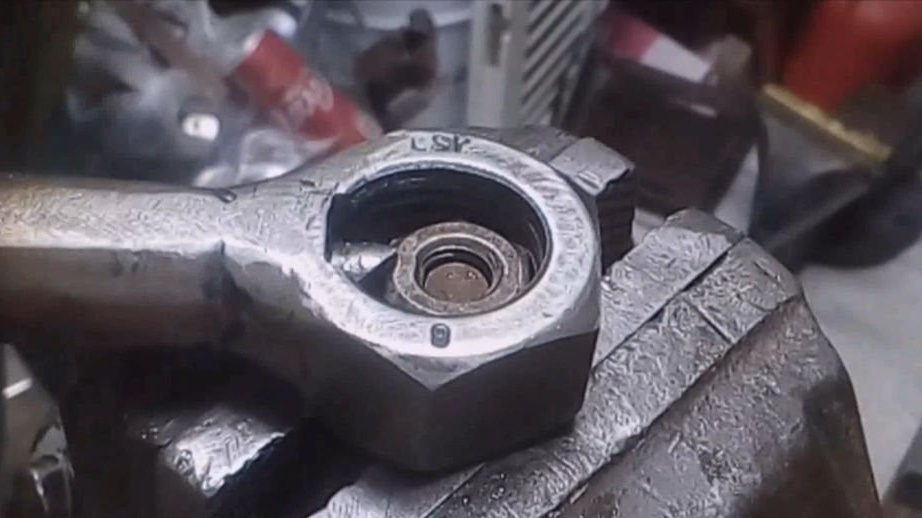
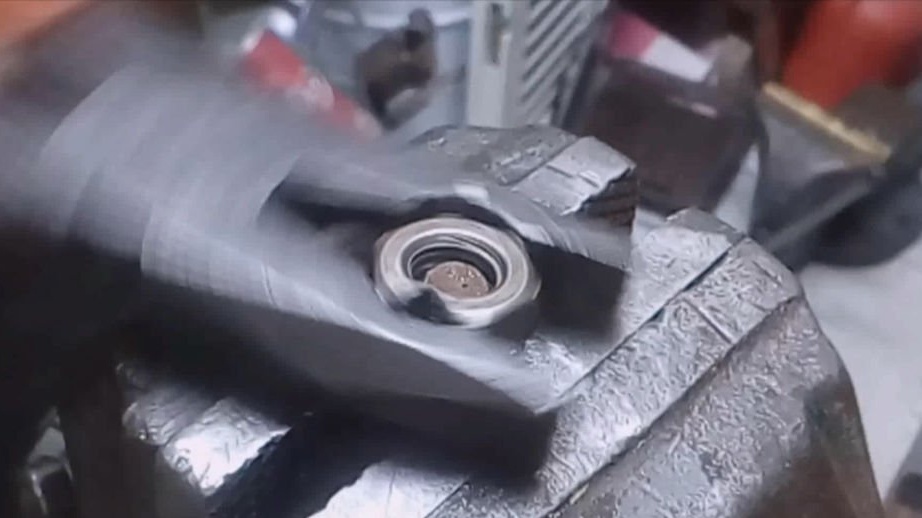
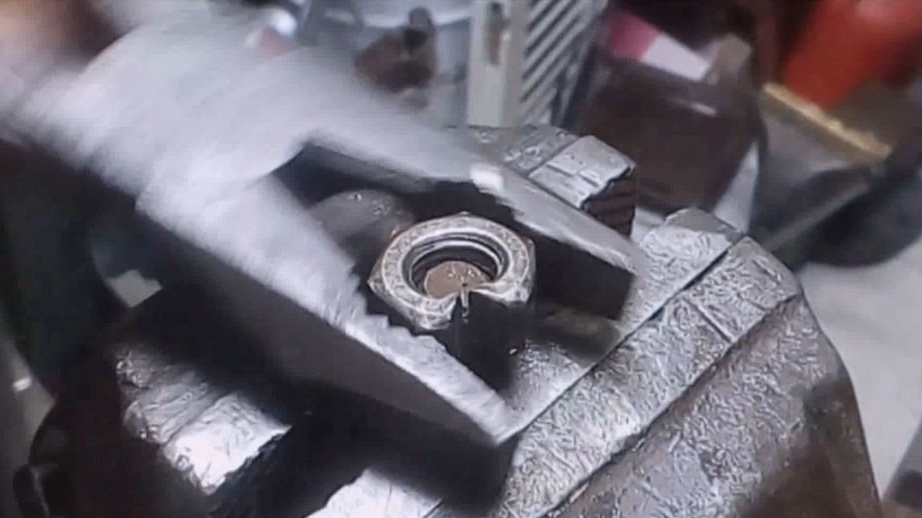
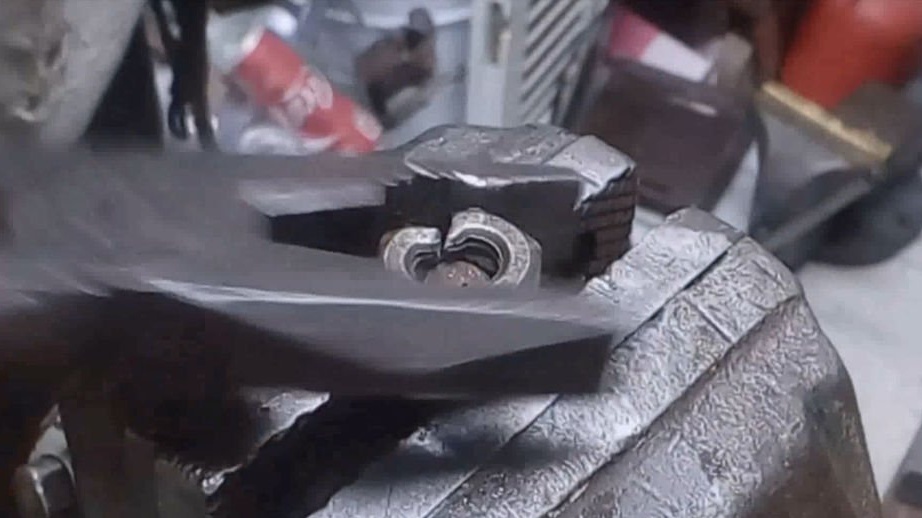
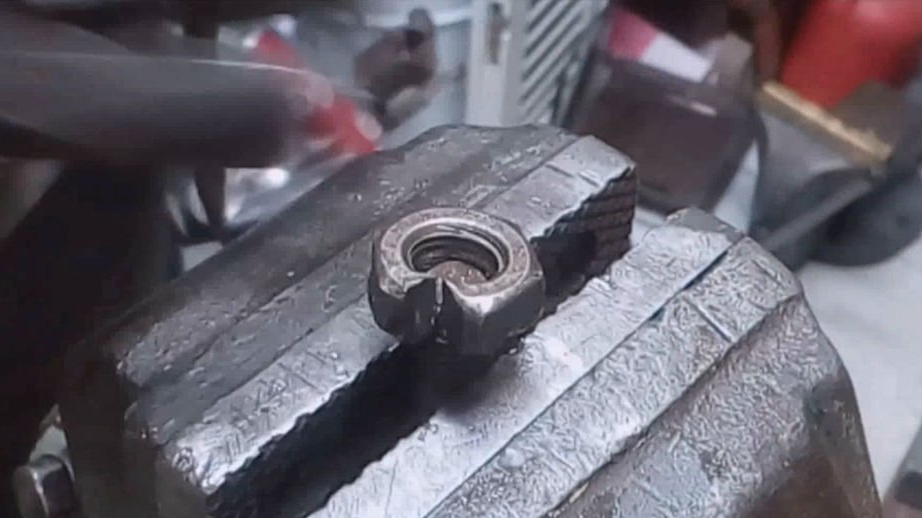
Step Four: Testing
The wrench is ready and the master proceeds to test the tool.
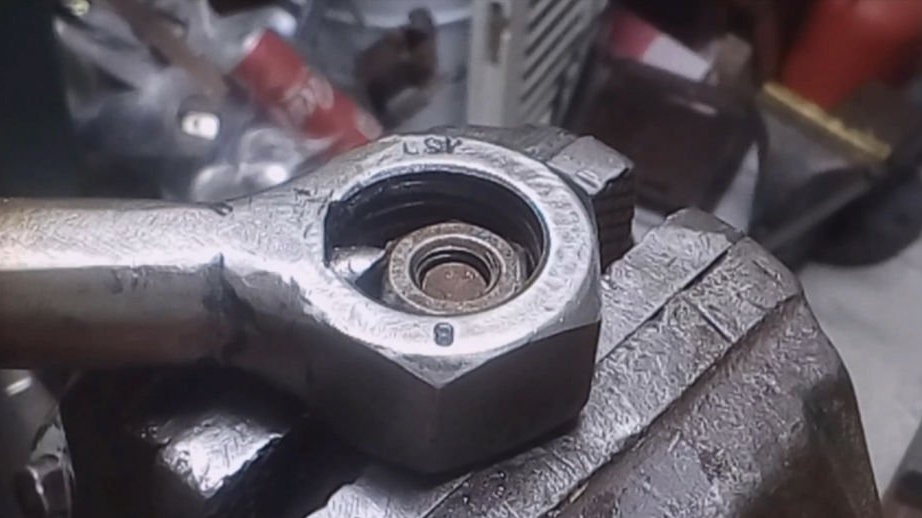
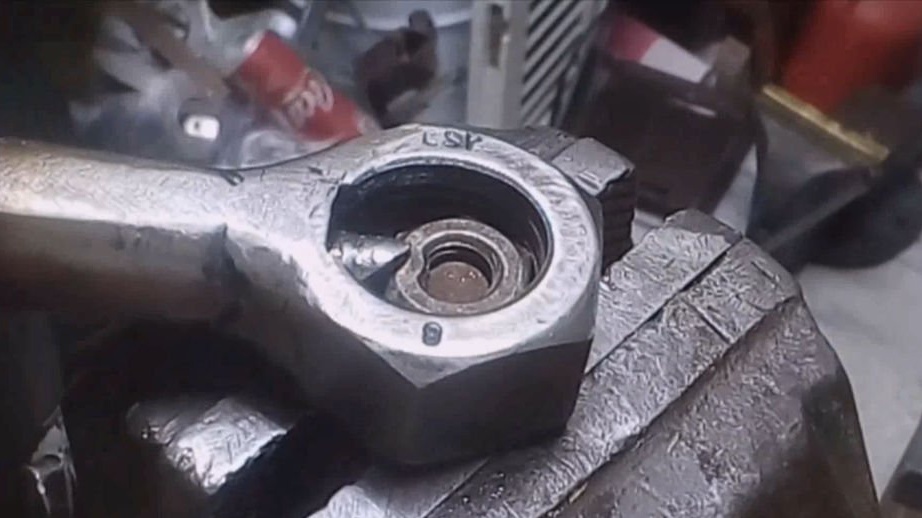
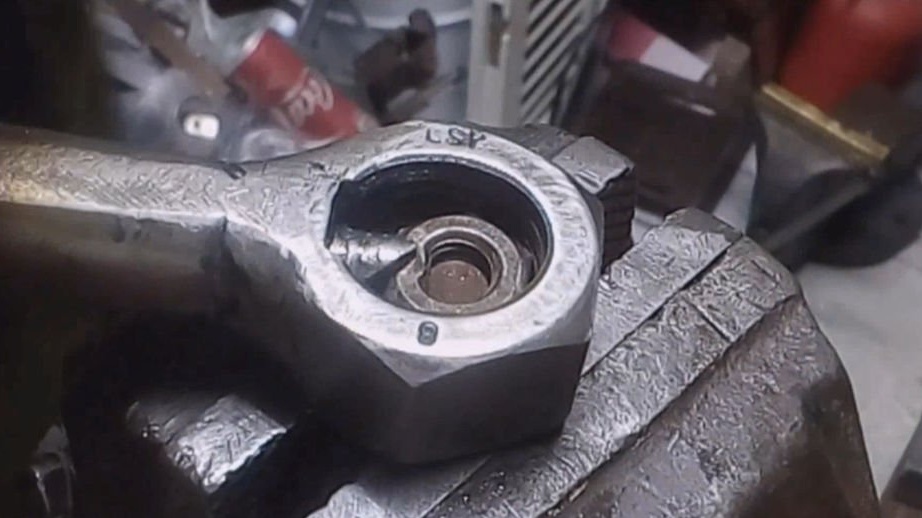
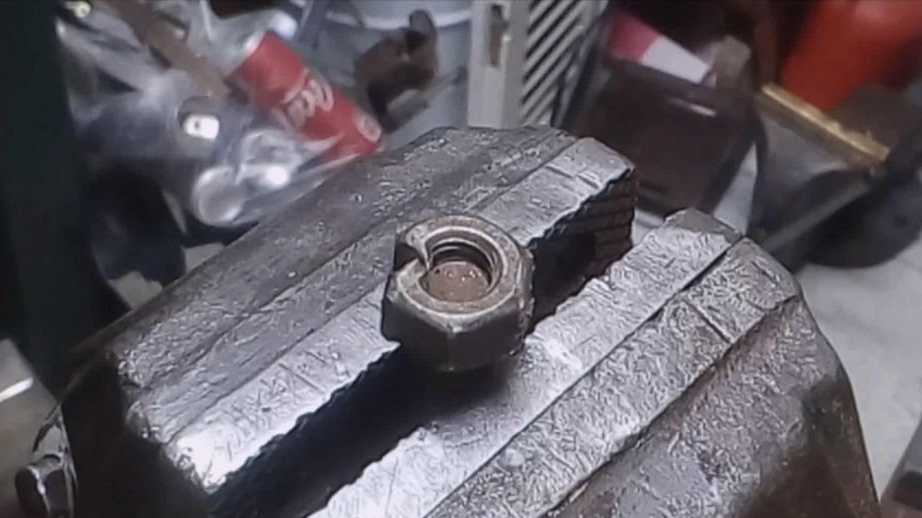
In order not to damage the master thread, further removal of the nut is carried out using pliers.


The whole process of making a wrench do it yourself You can watch the video.