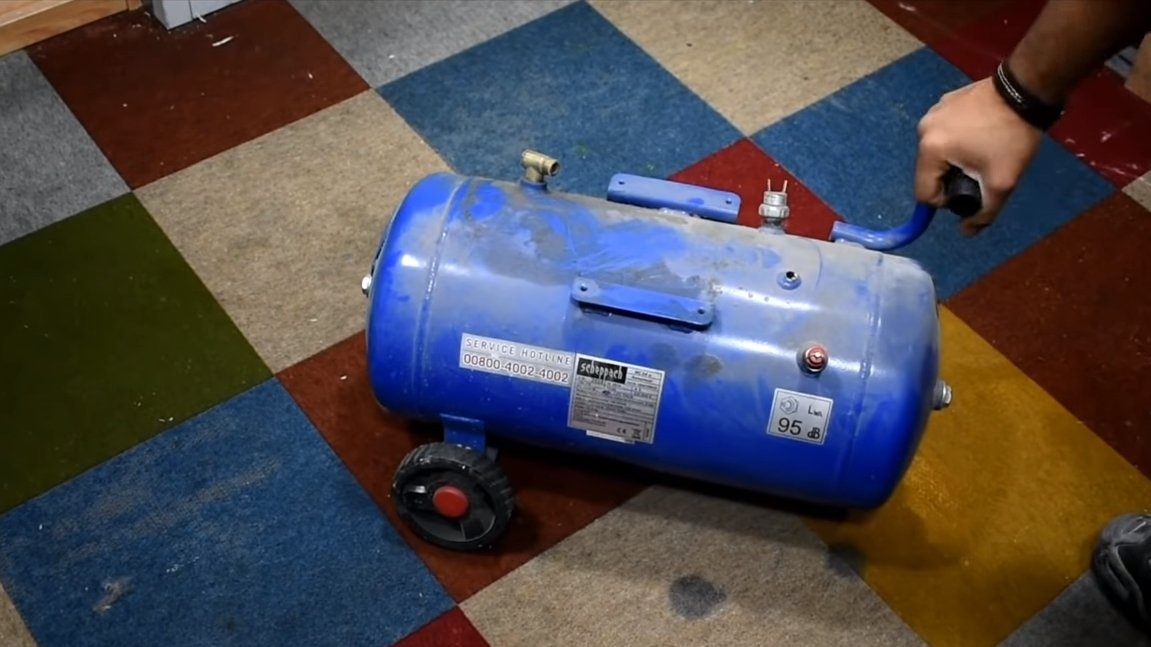
Greetings to fans of knocking on red-hot pieces of iron. And today we will do such a necessary thing for a blacksmith as a blacksmith's furnace. The author used fairly simple tools and affordable materials for manufacturing. The author used a receiver from a compressor as the basis for the furnace, but a gas cylinder or similar container would also be suitable. The author adapted a room fan as a forced air supply to the furnace. Everything works perfectly, the stove turned out simple and reliable. If you are interested in the project, I propose to study it in more detail!
Materials and tools used by the author:
Material List:
- A receiver from the compressor or other capacity;
- sheet metal;
- round pipe (for air supply);
- sewer pipe and corners;
- iron corners;
- iron plates;
- profile pipes or the like for legs;
- indoor fan;
- a piece of SMD;
- boards;
- silicone sealant
Tool List:
- grinder;
- welding machine;
- drill;
- marker;
- roulette;
- jigsaw;
- a circular saw;
- carpentry glue.
Furnace manufacturing process:
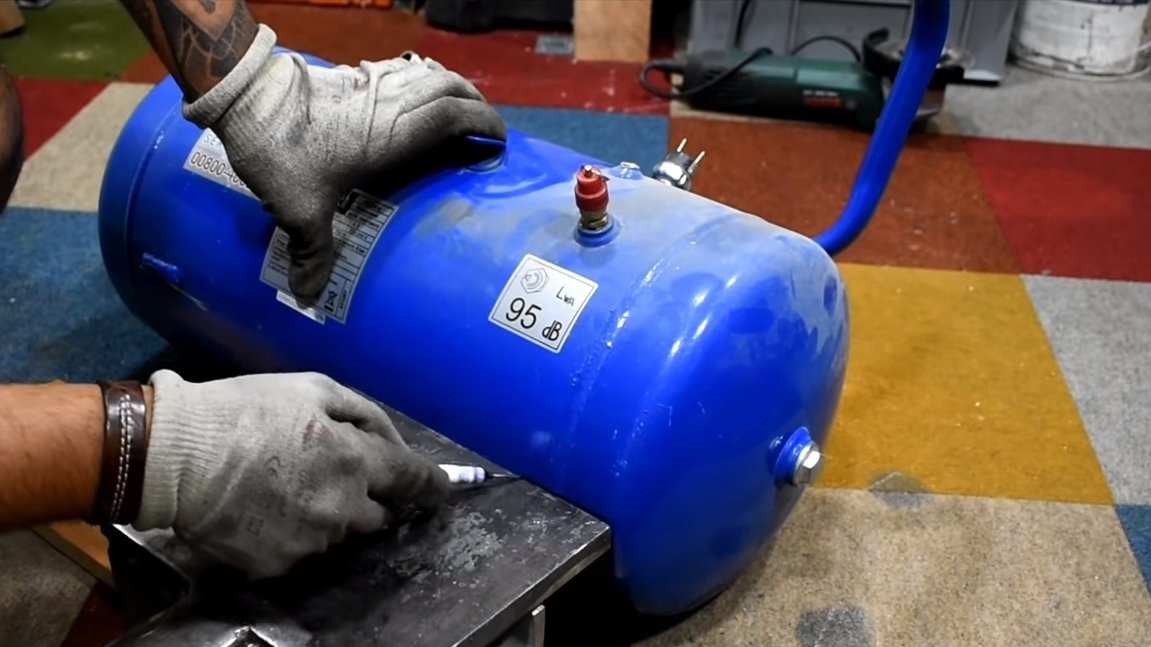
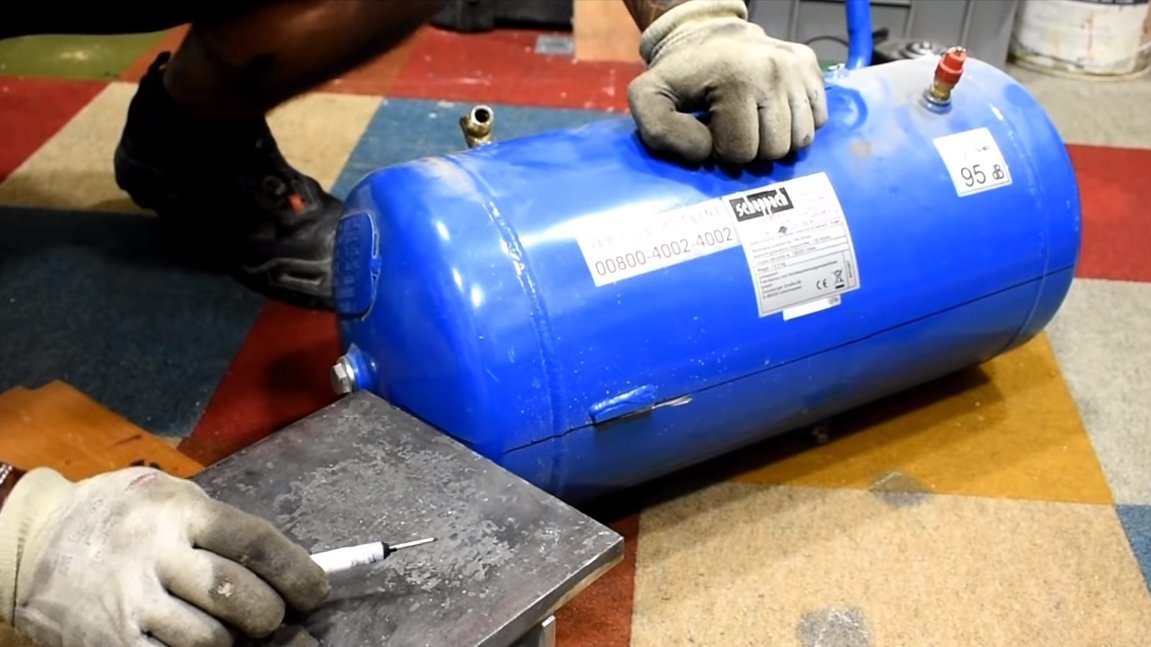
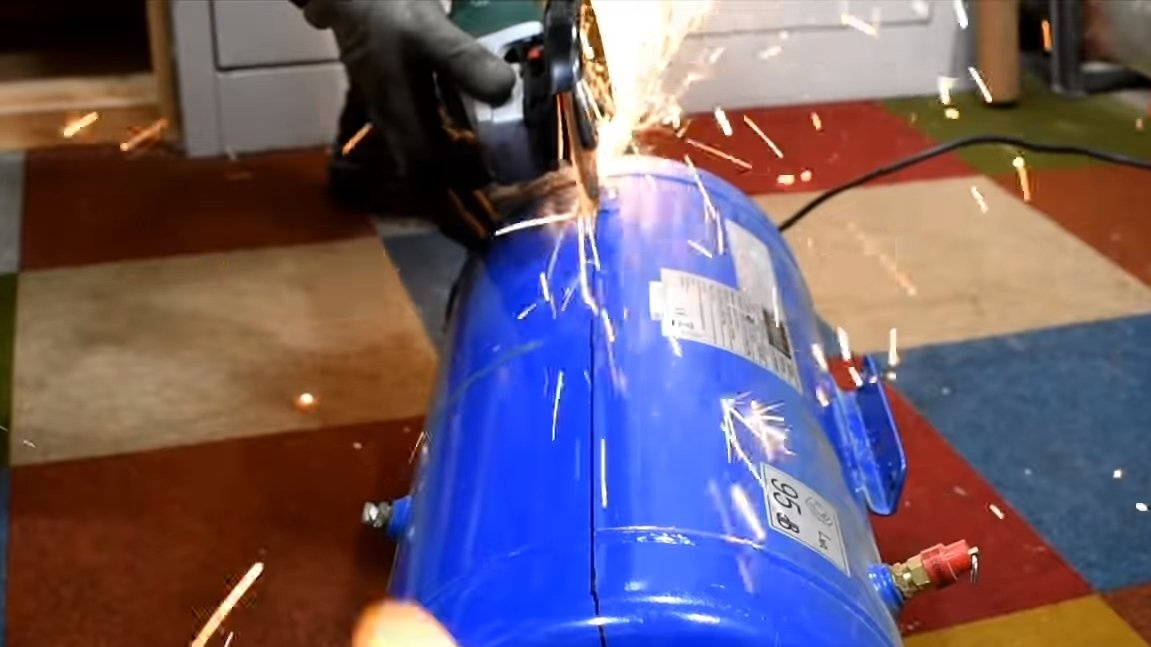
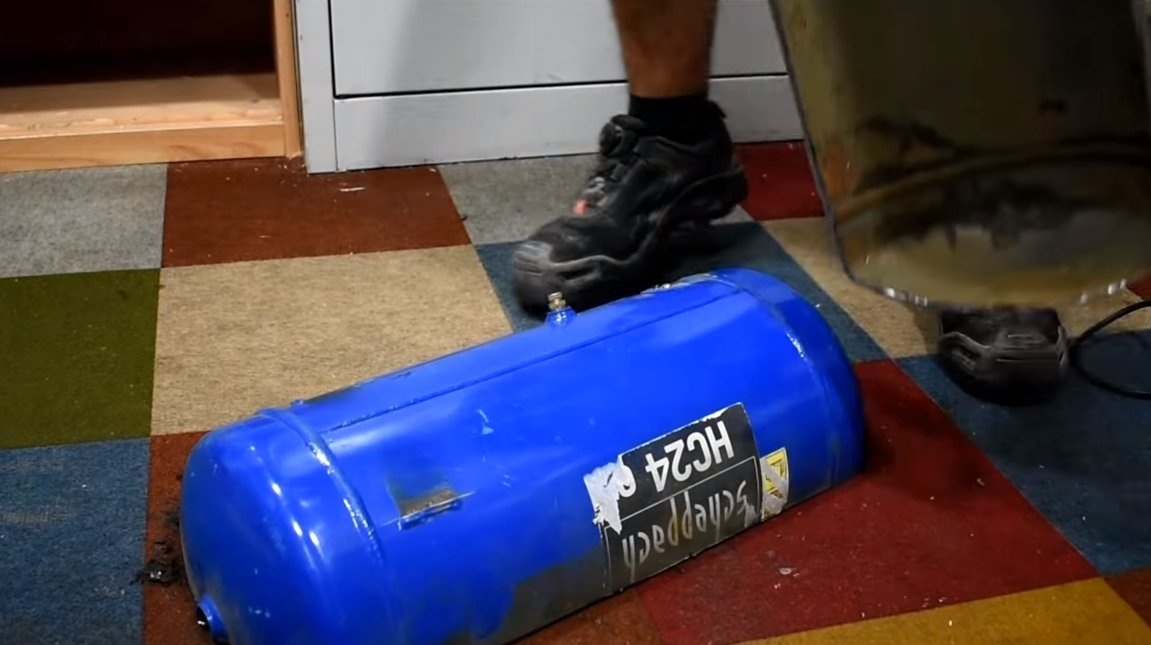
Step one. Case preparation
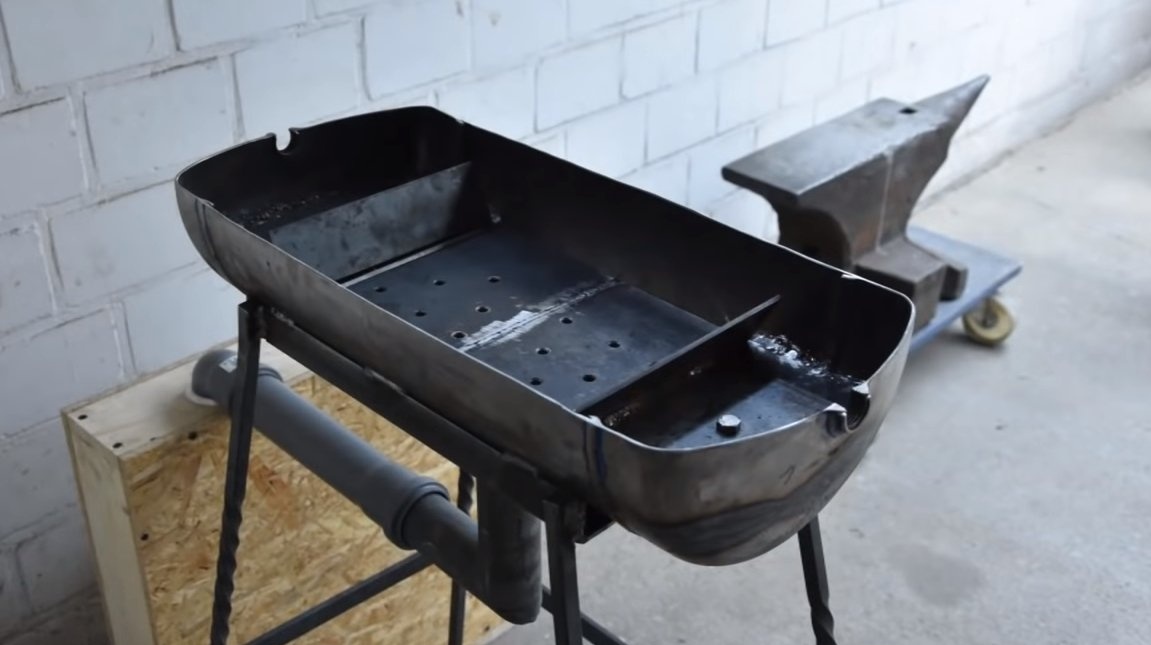
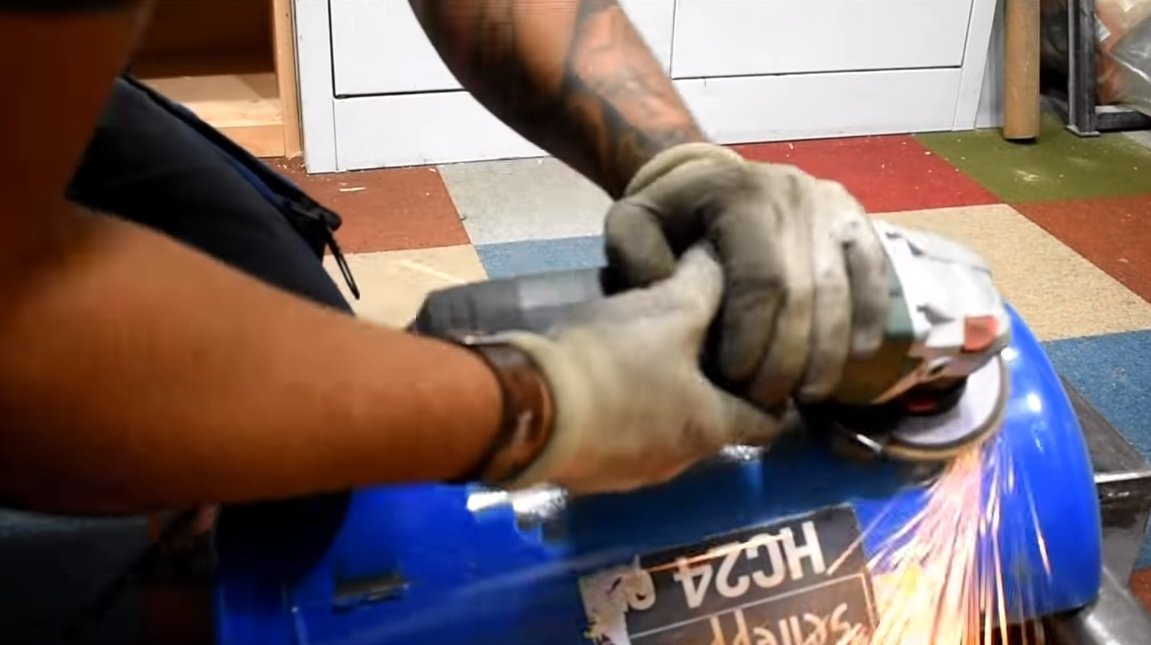
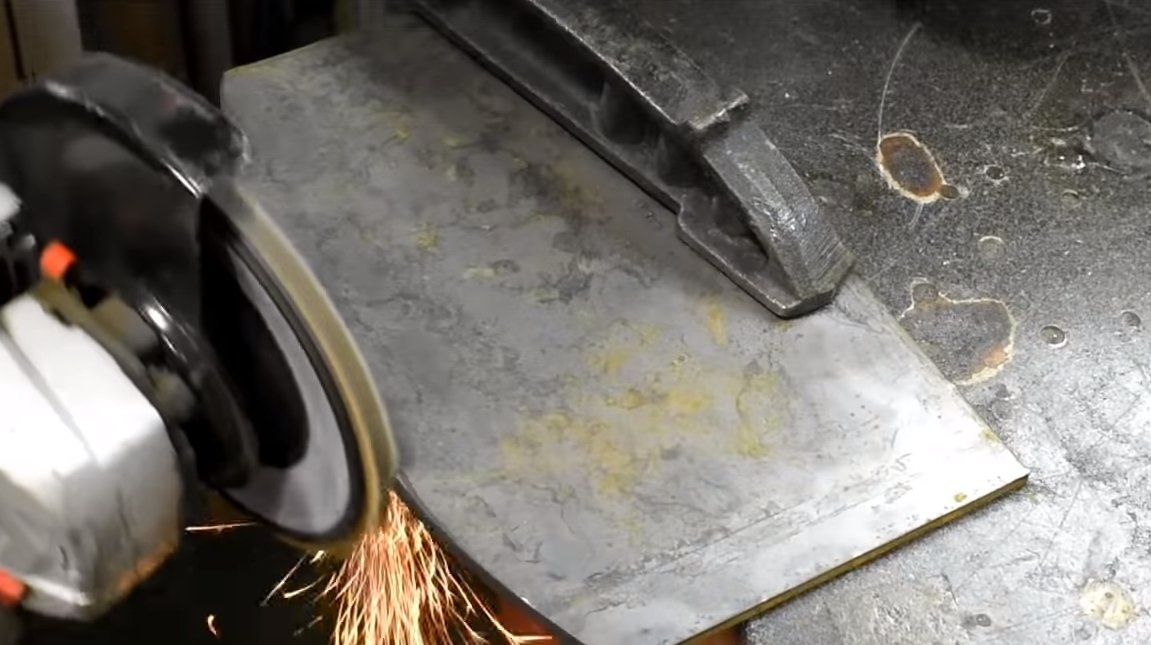
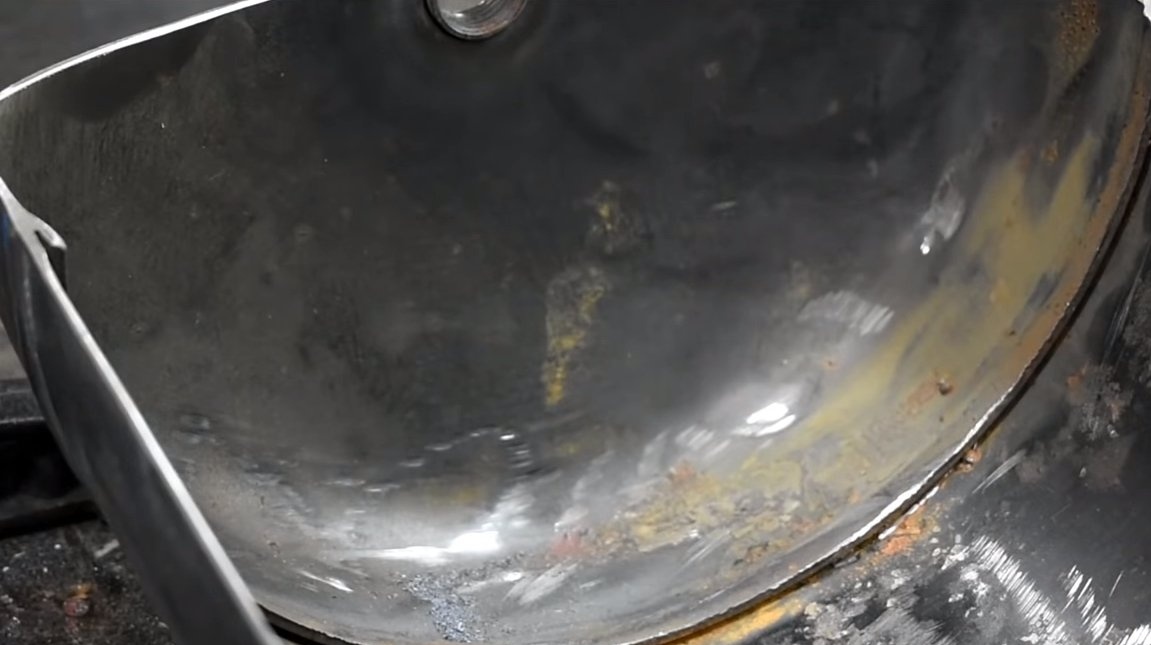
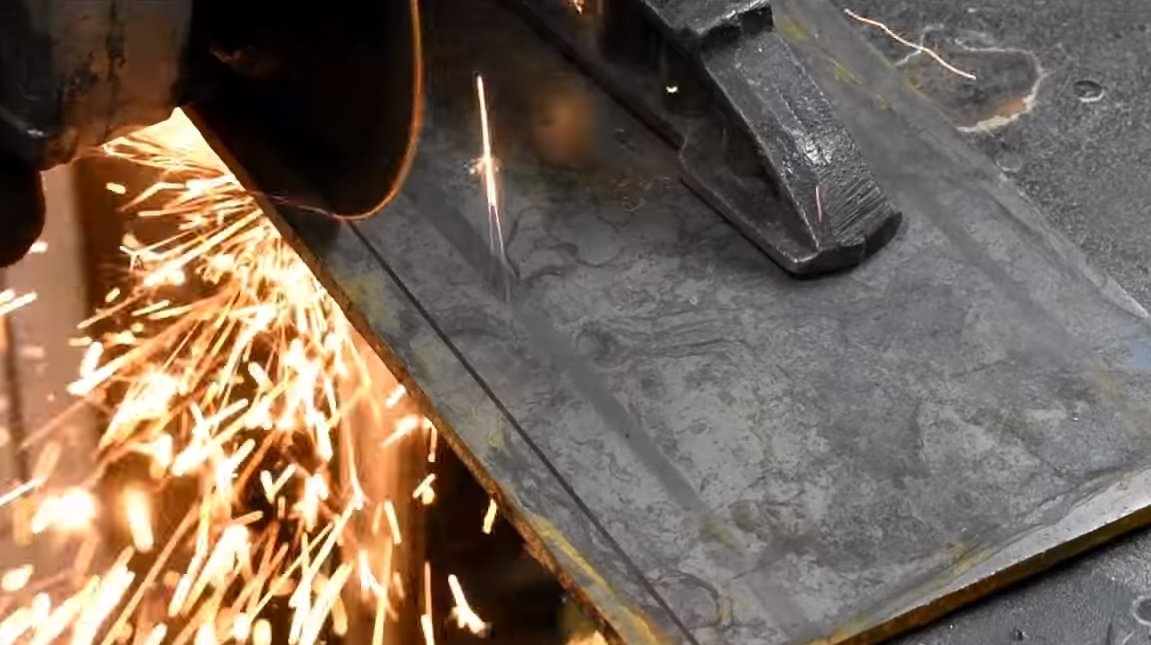
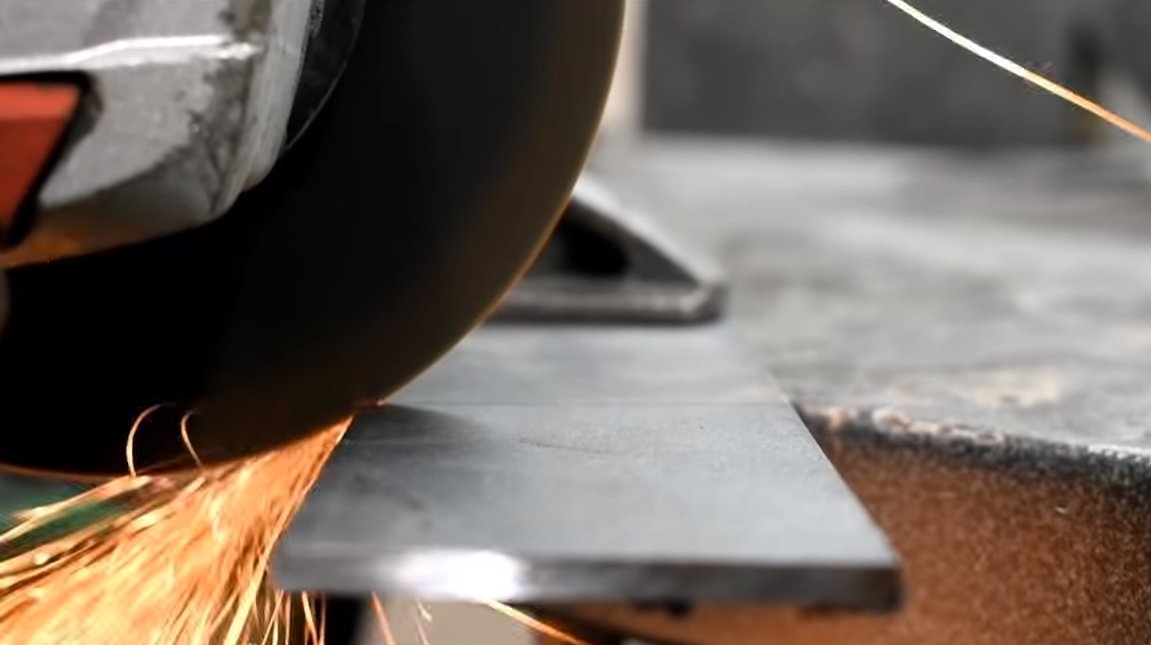
We make the furnace body, for such purposes the author used a receiver from the compressor. We do the calculation and cut the receiver. A gas cylinder is also suitable, but do not forget to take all necessary safety measures when cutting a gas cylinder!
The resulting design is well cleaned from paint with a grinder with a petal nozzle. We also process sharp edges with a thick grinding disc so as not to cut our hands.
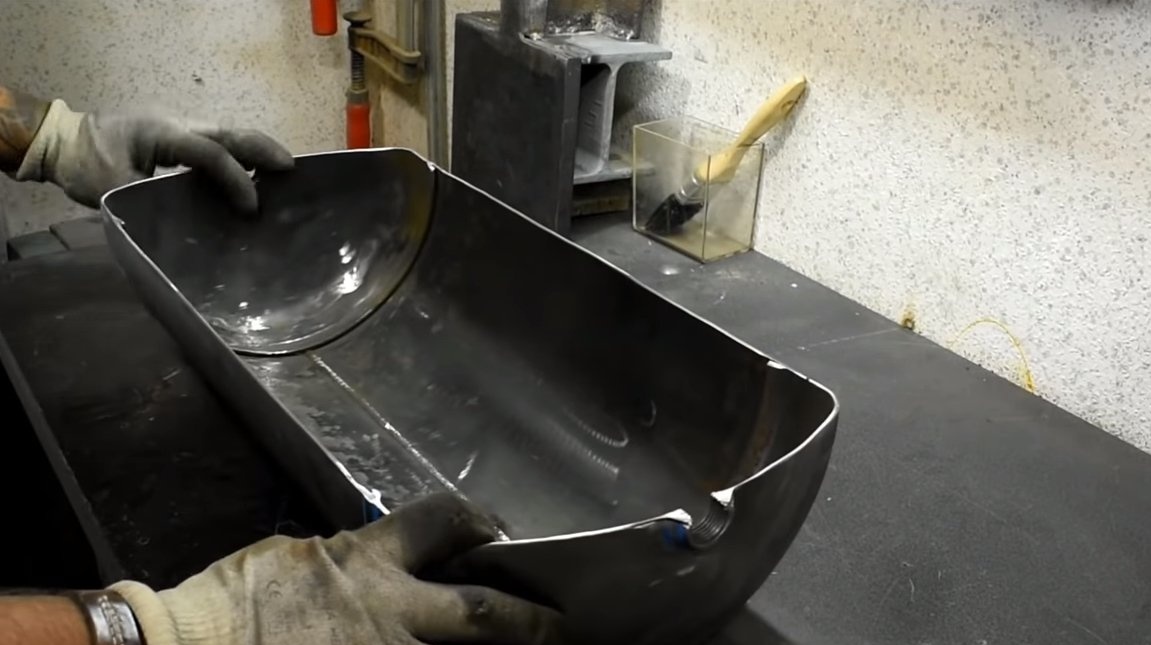

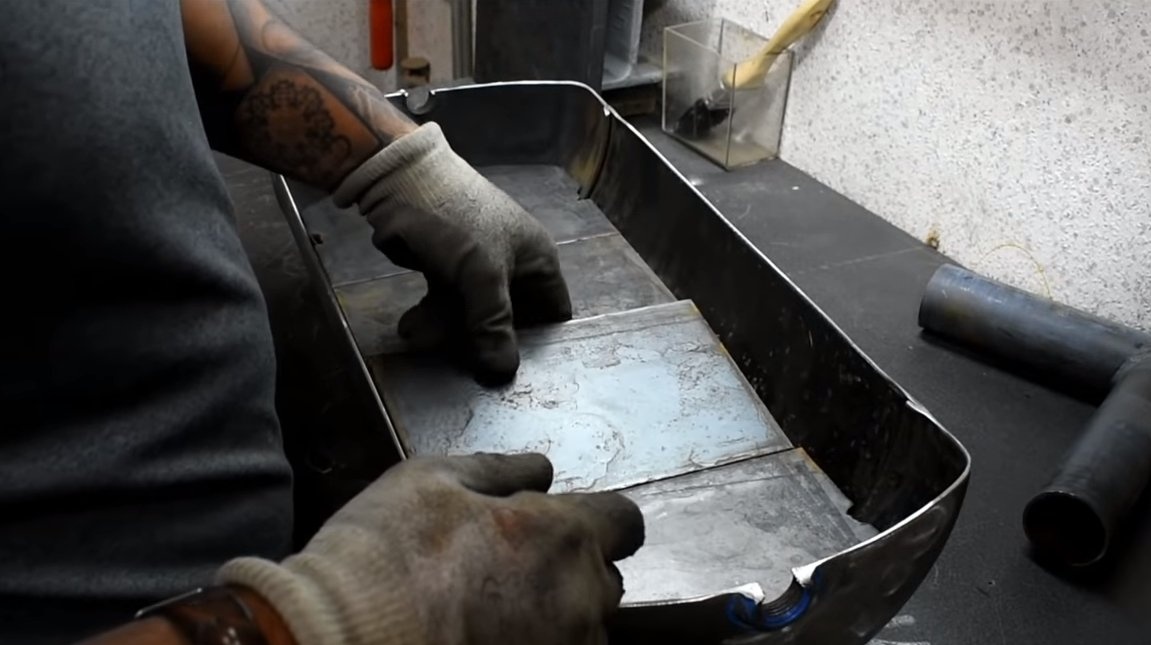
Step Two Grate
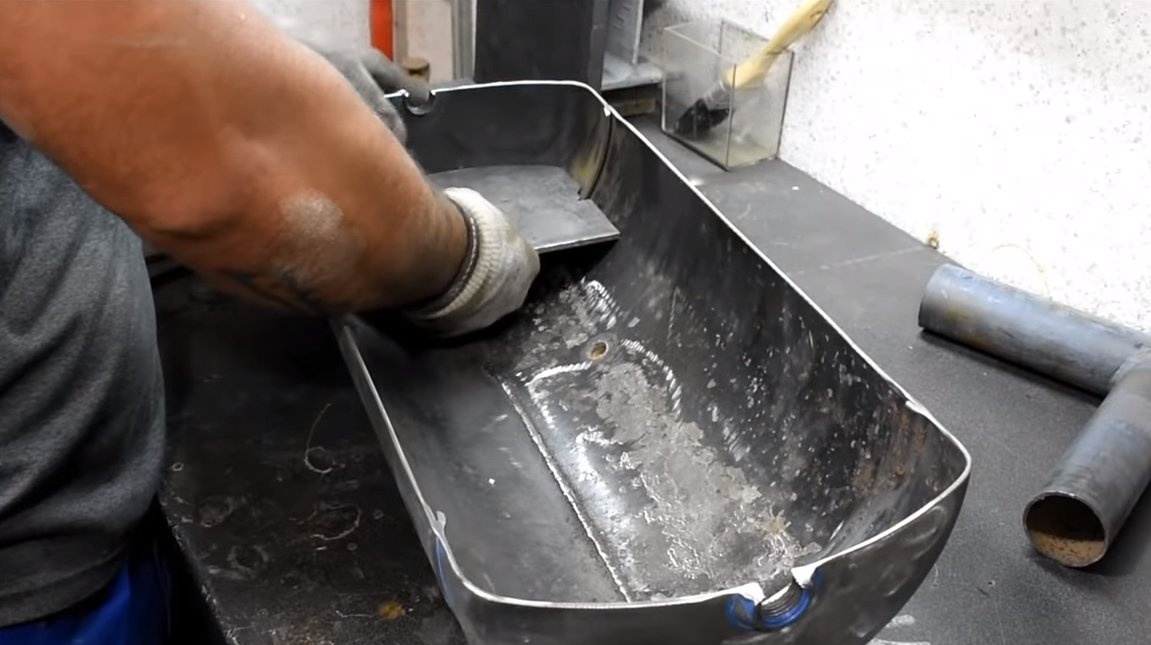
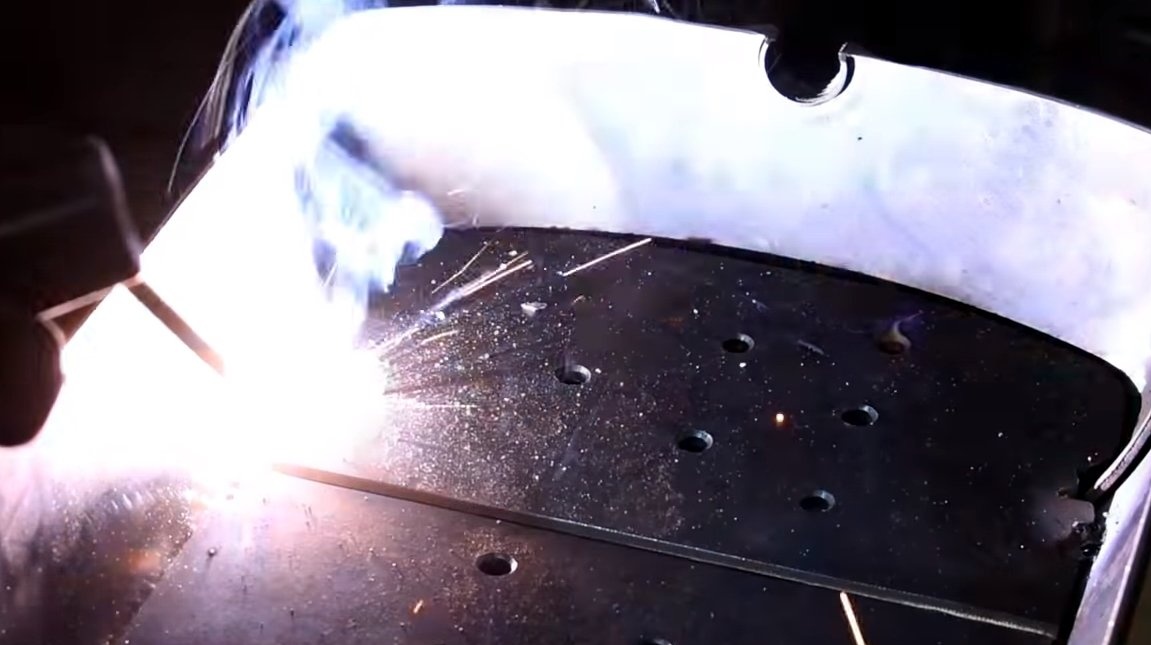
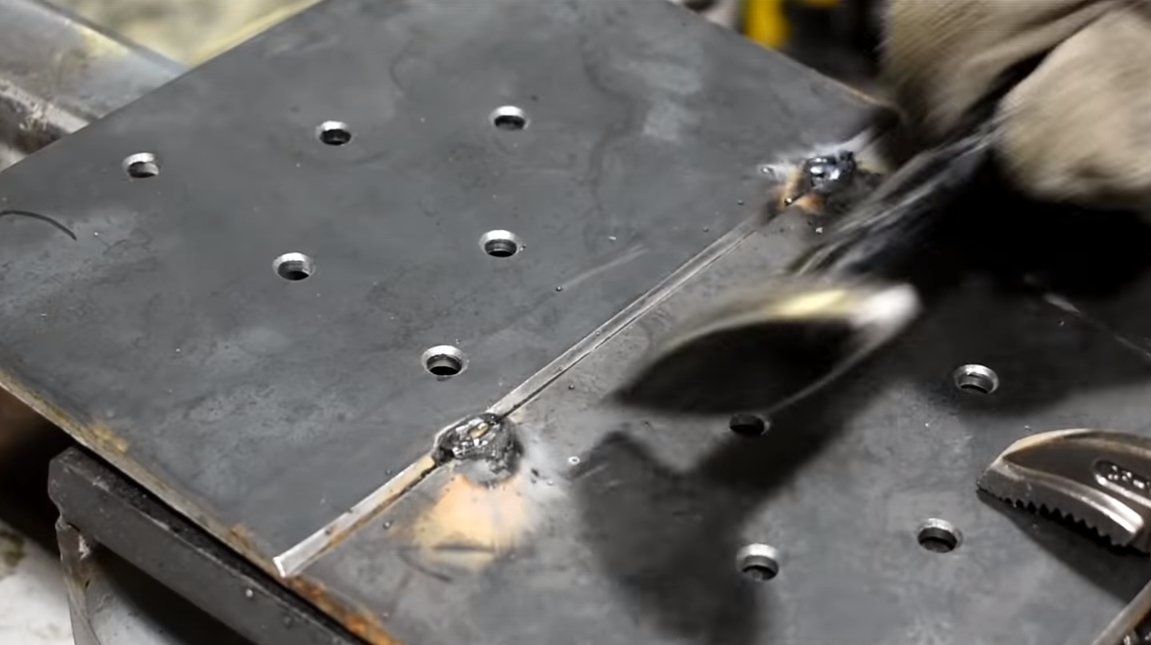
Without fail we make grates for the furnace, as a material you need thick sheet iron, since thin sheet will quickly burn out due to high temperature. We cut the blanks according to the shape of the body, the parts will fit inside the furnace. When the workpieces are fitted, they can be welded together into a single plate.
To supply air to the stove, we drill rows of holes. In addition, the side walls are provided in the furnace, we weld the necessary parts from sheet iron, and they are attached to the grate with bolts.
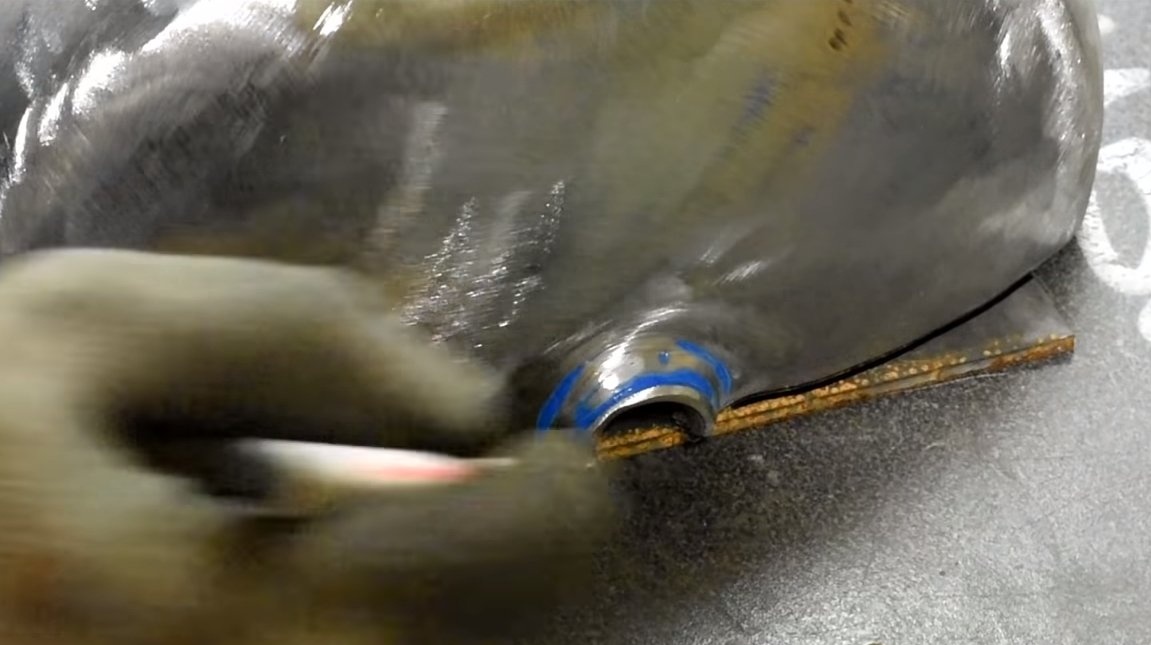
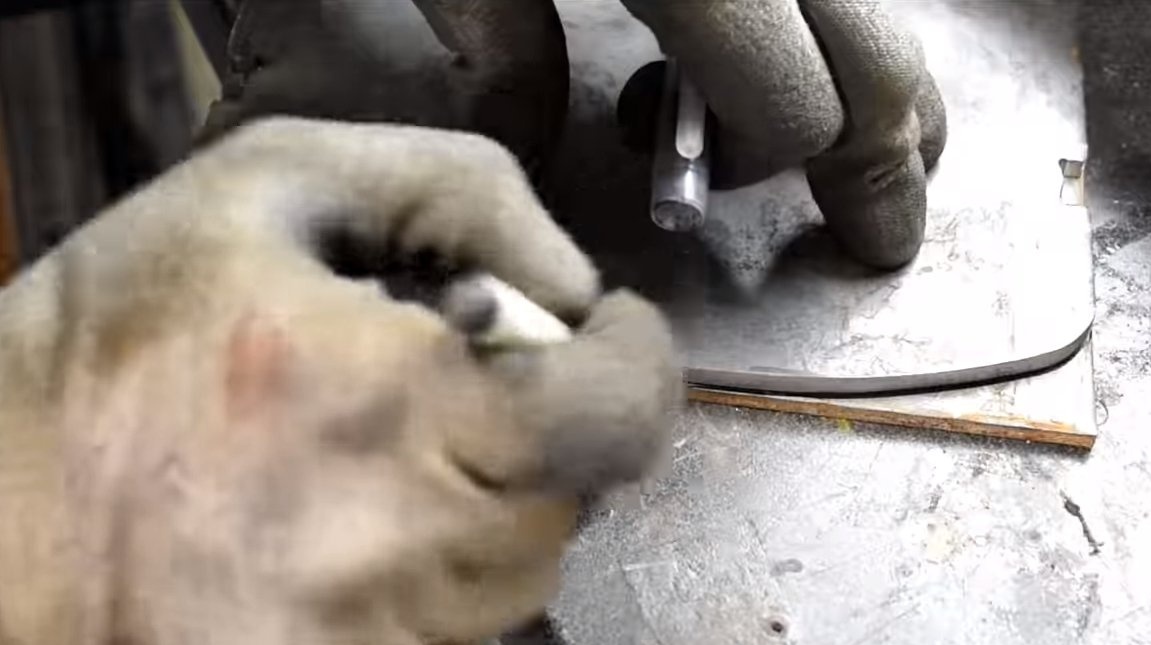
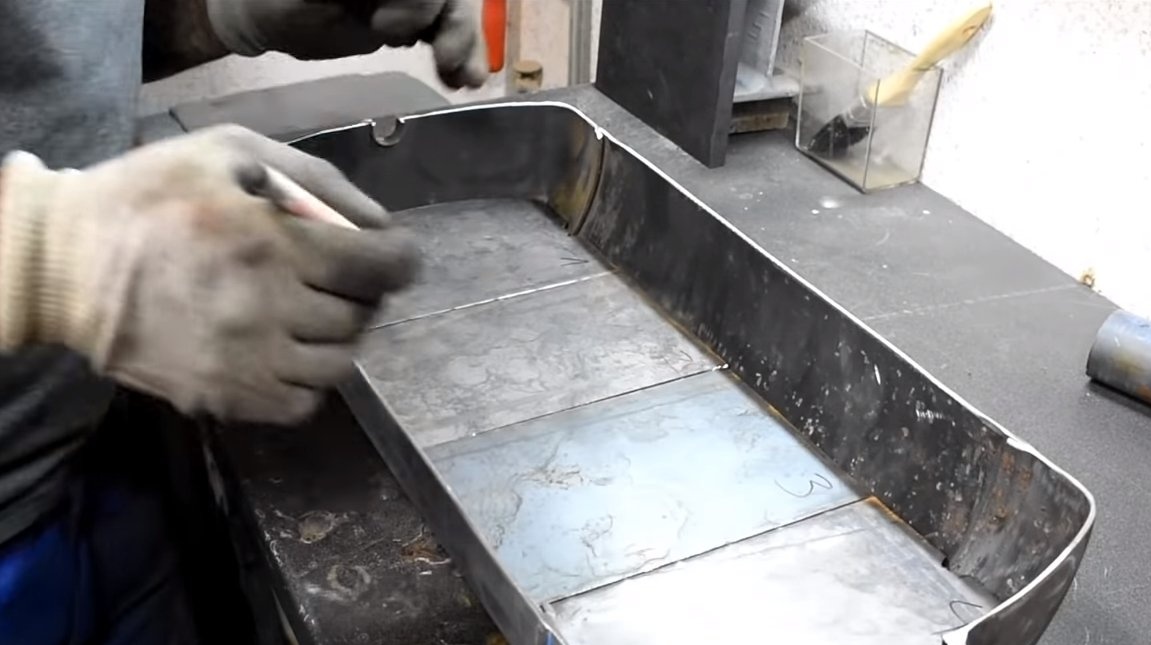

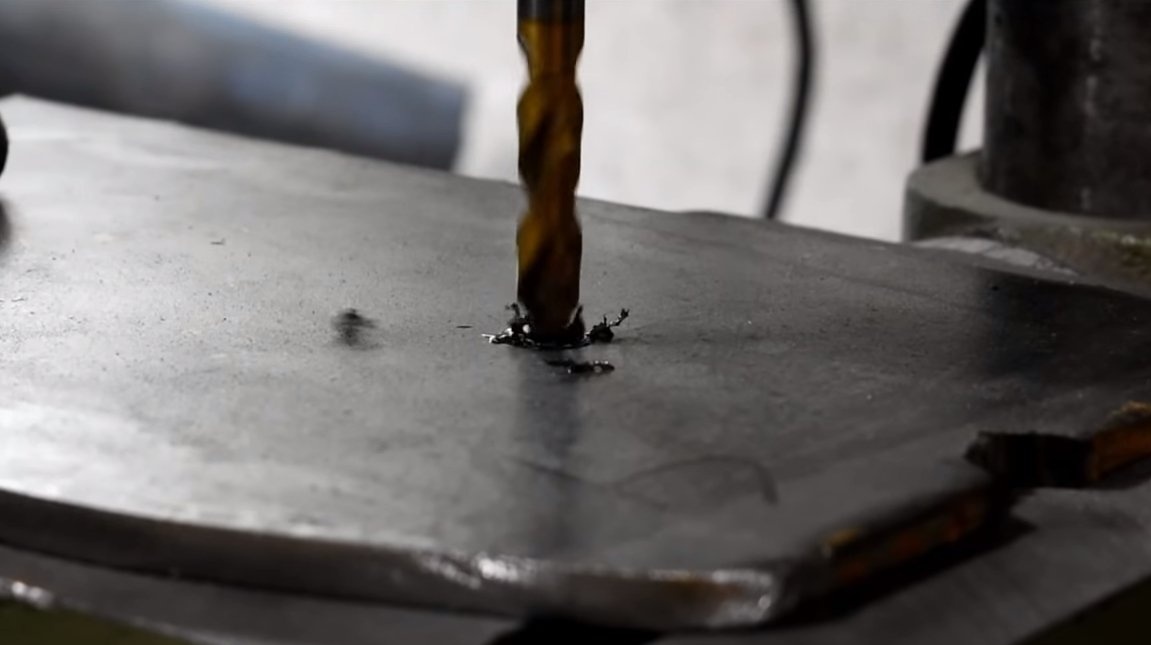


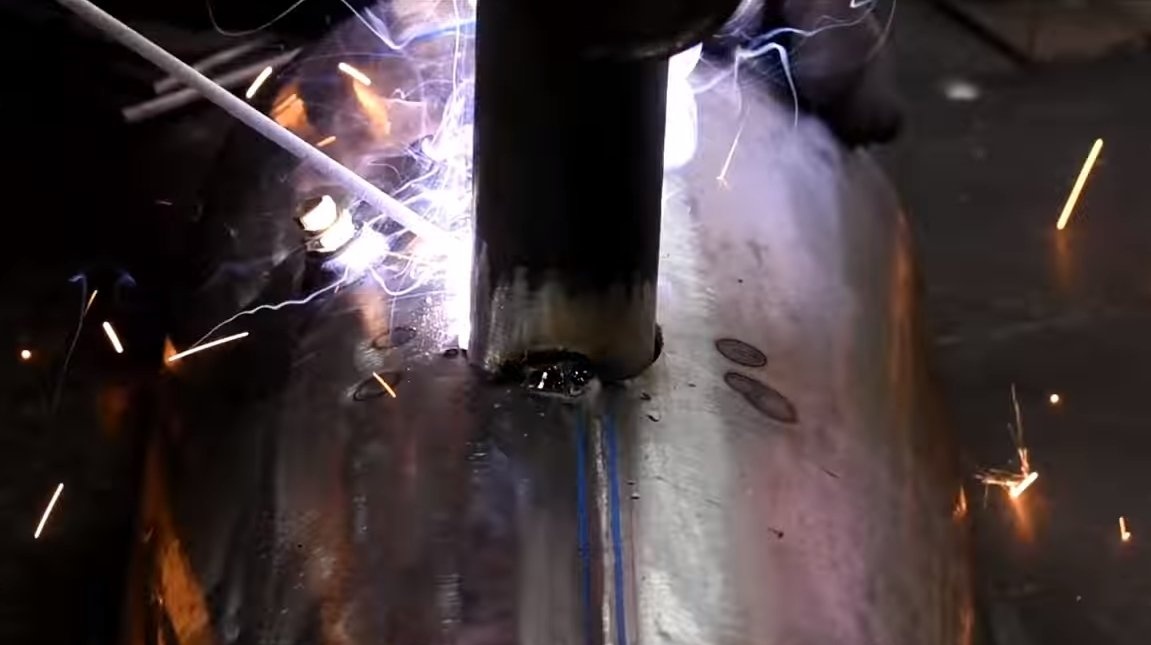


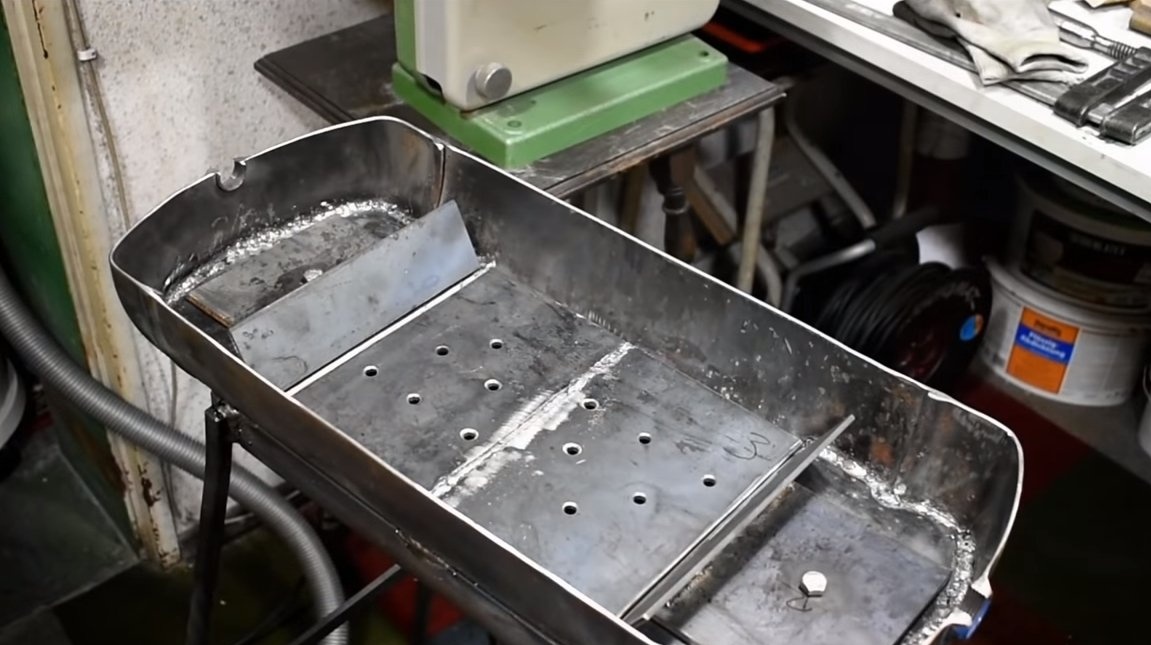
Under the grates there will be a pipe through which air will go into the furnace. We weld a pipe in the form of a bend from an iron pipe. Now in the bottom of the furnace we drill a hole with a crown and weld the pipe into place. To prevent ash from pouring into the pipe, you can install a side in the form of an iron plate.
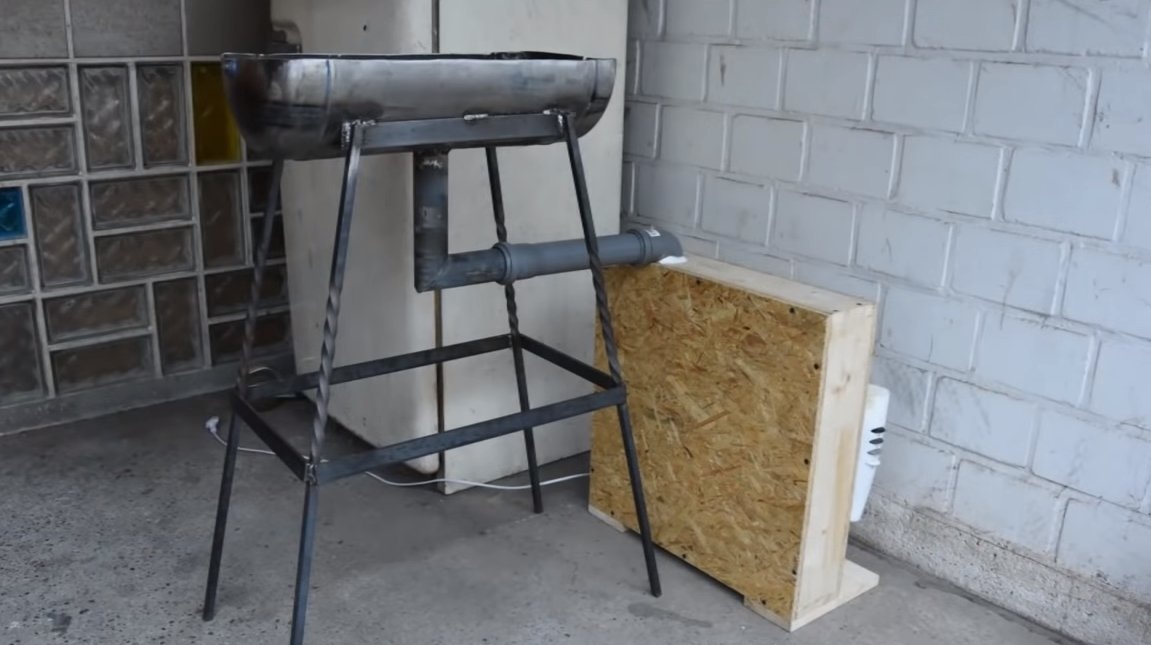
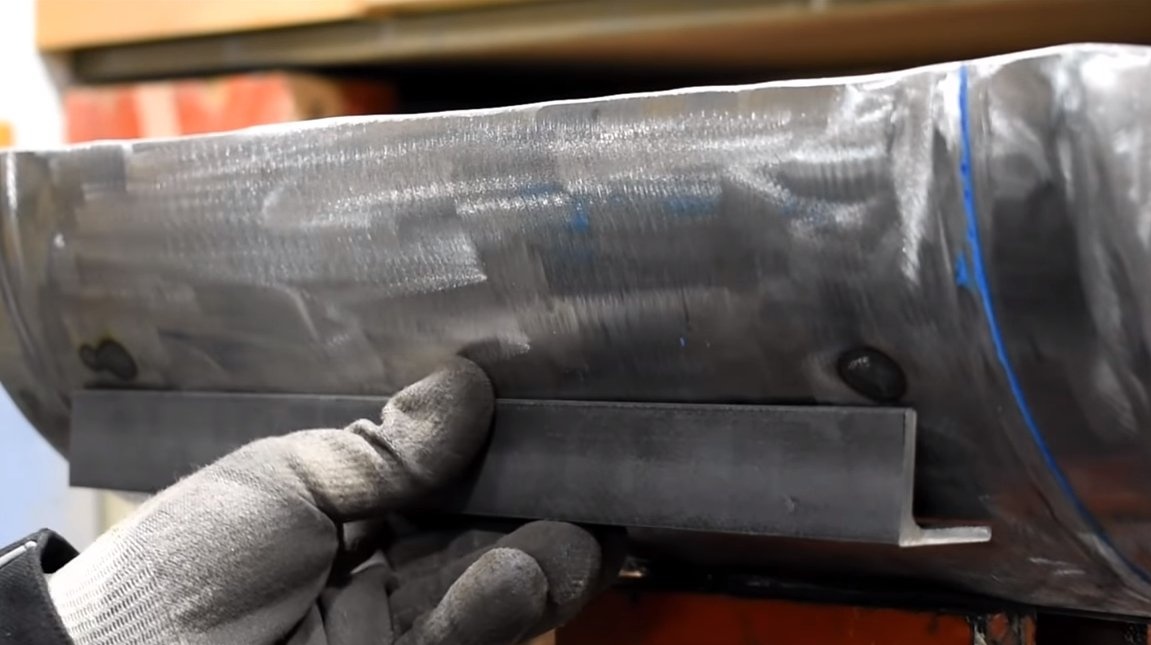
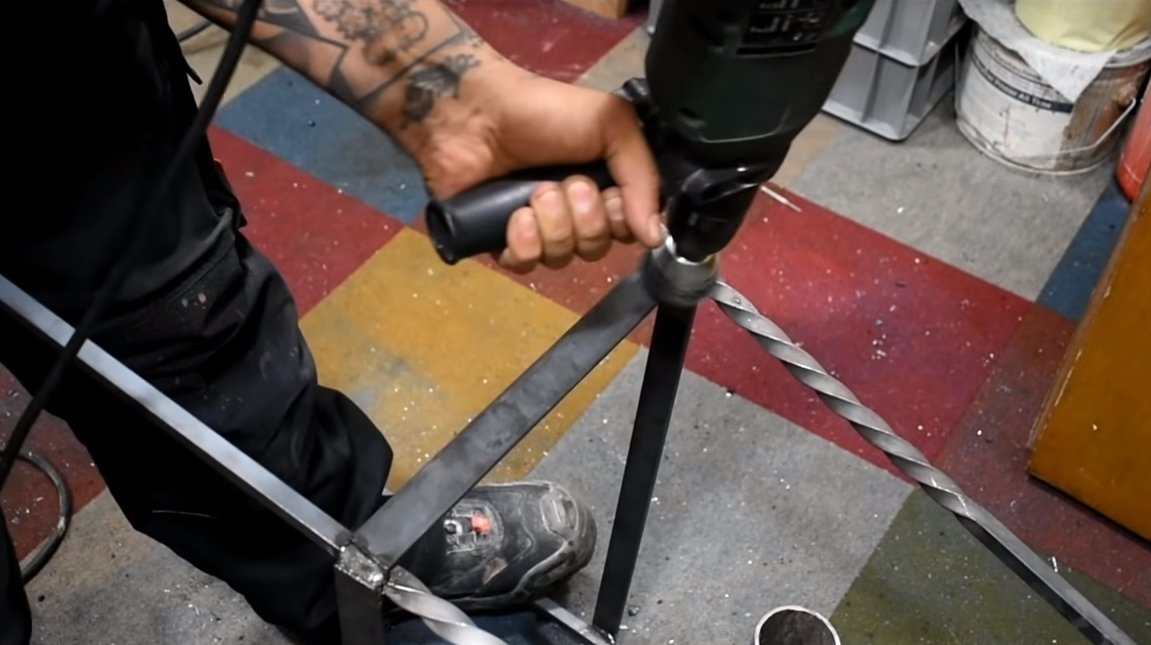
Step Three Legs
We make the legs for the furnace, as a material, round timber, profile pipes and other similar material are suitable at your discretion. To fix the legs, the author first welded a corner to the furnace body, and already welded the legs to it. At the end, we clean the product with an iron brush, so that then everything can be painted.

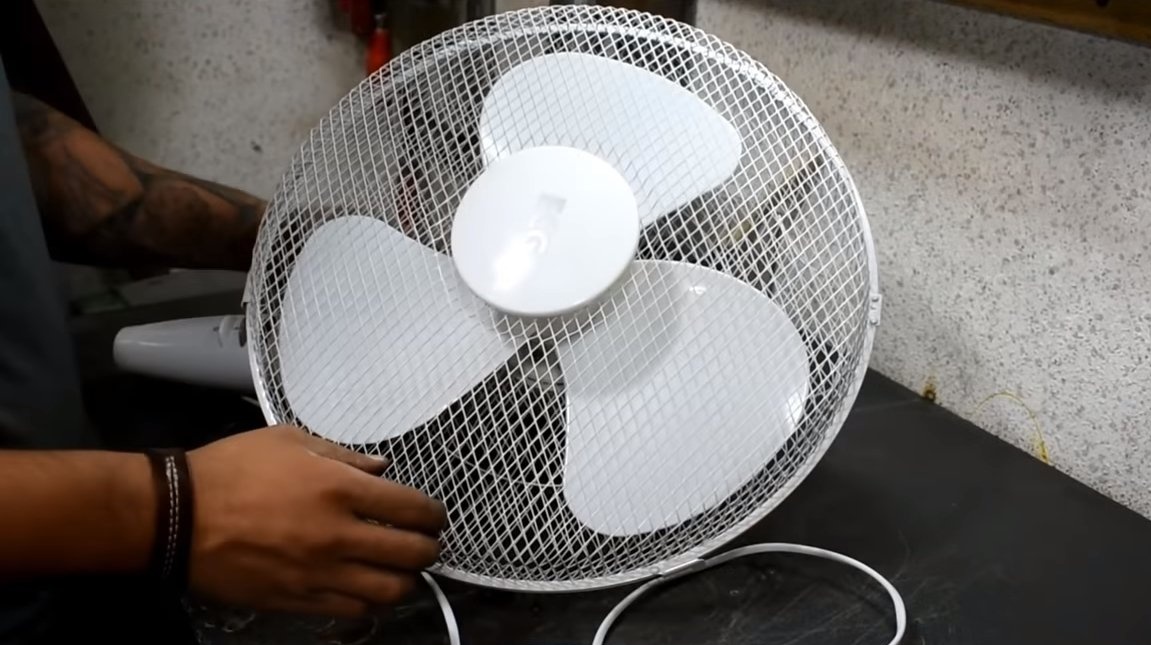
Step Four Air supply system
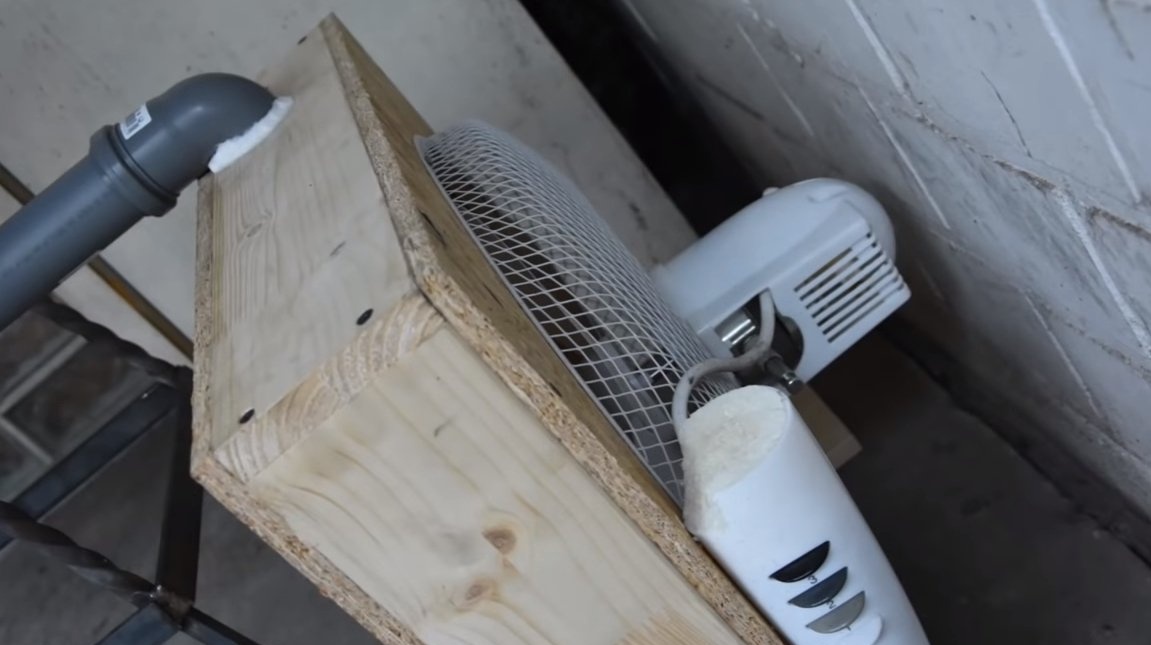
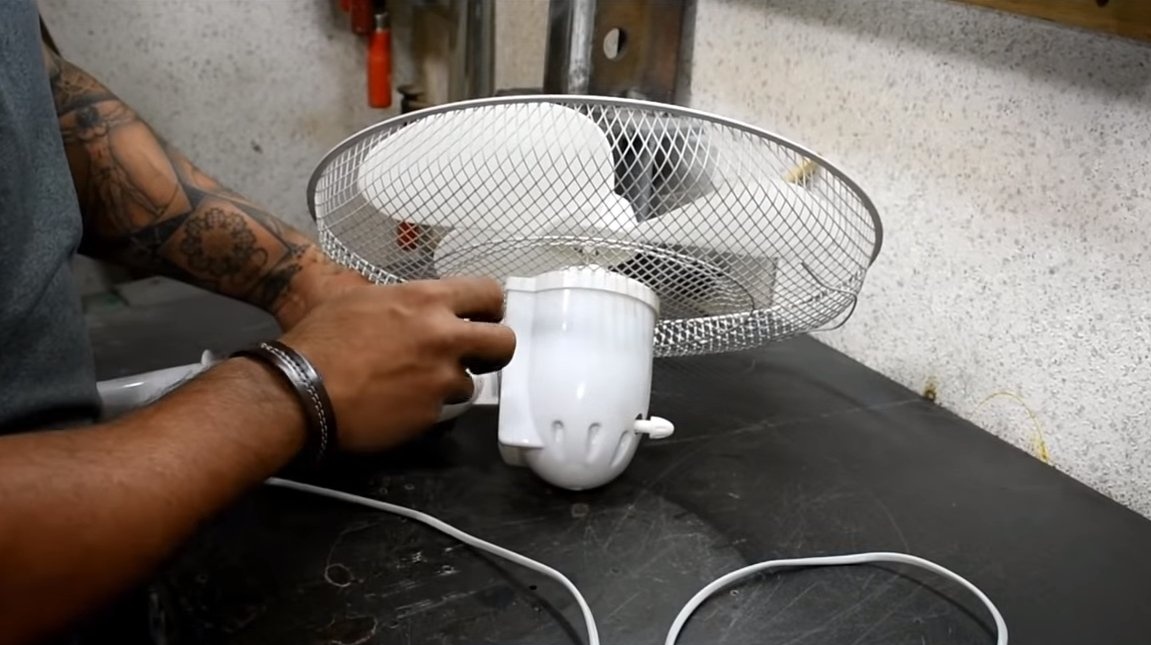
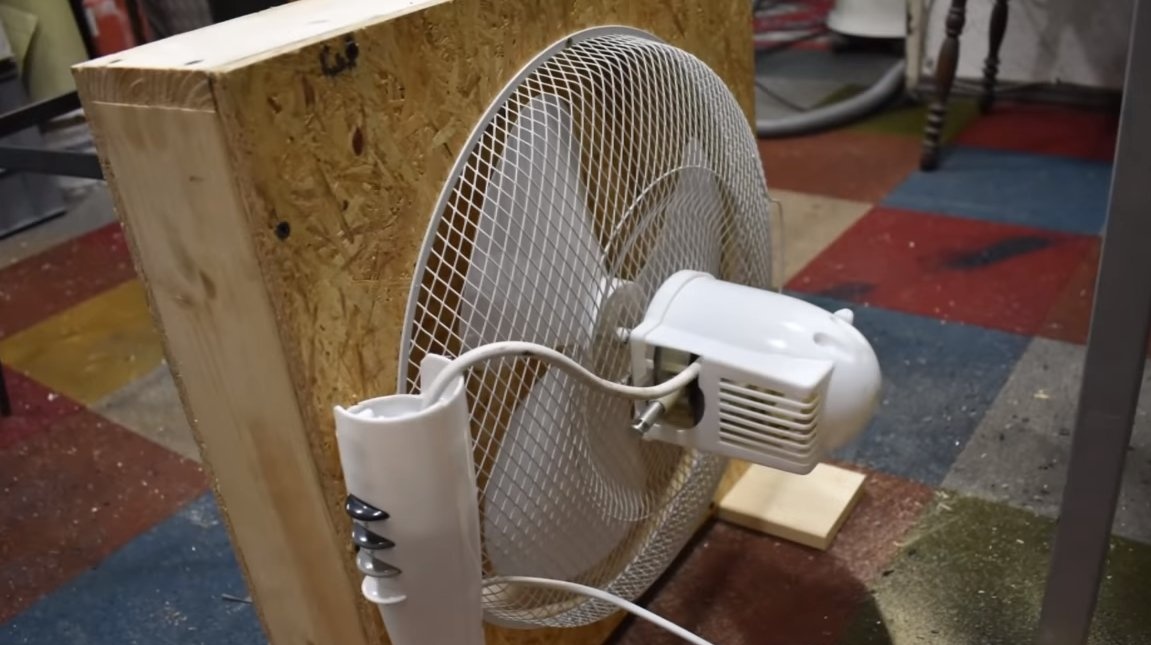
The furnace is ready, then we need to organize an air supply system. For such purposes, we need a room fan, remove the leg and other parts that may interfere with it.
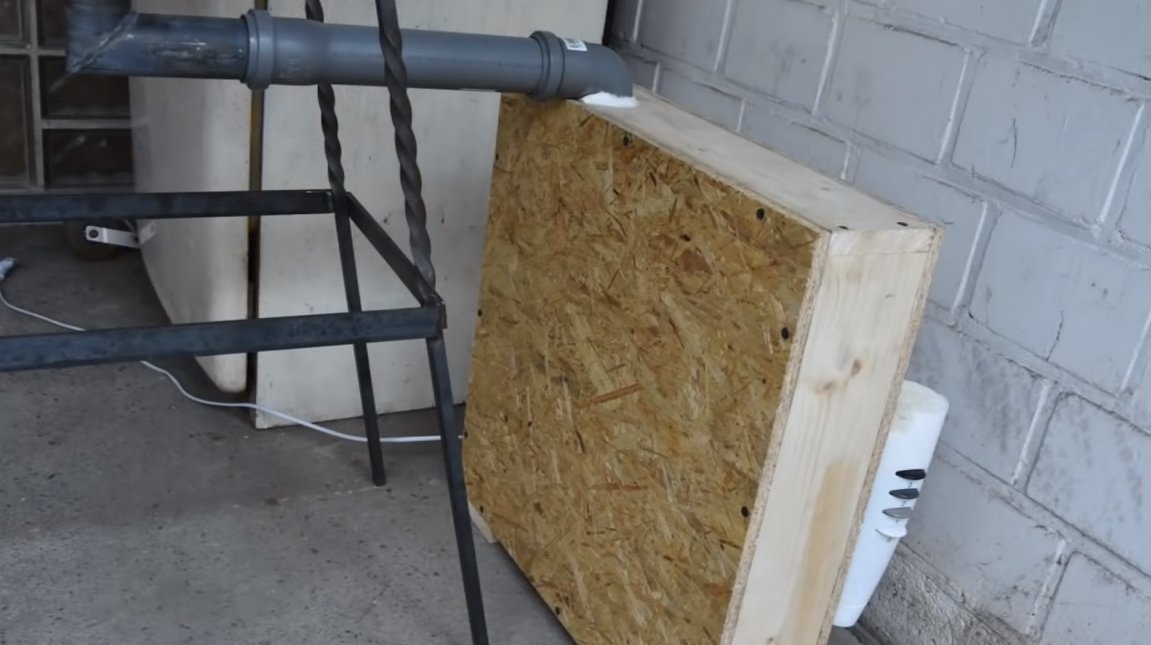
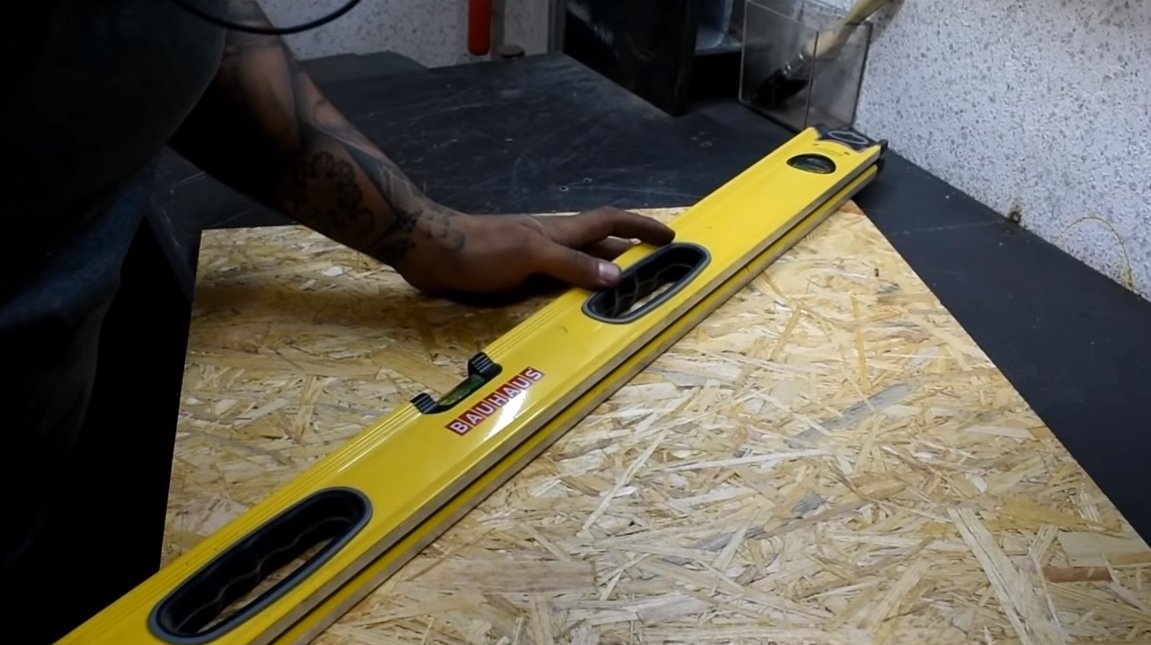
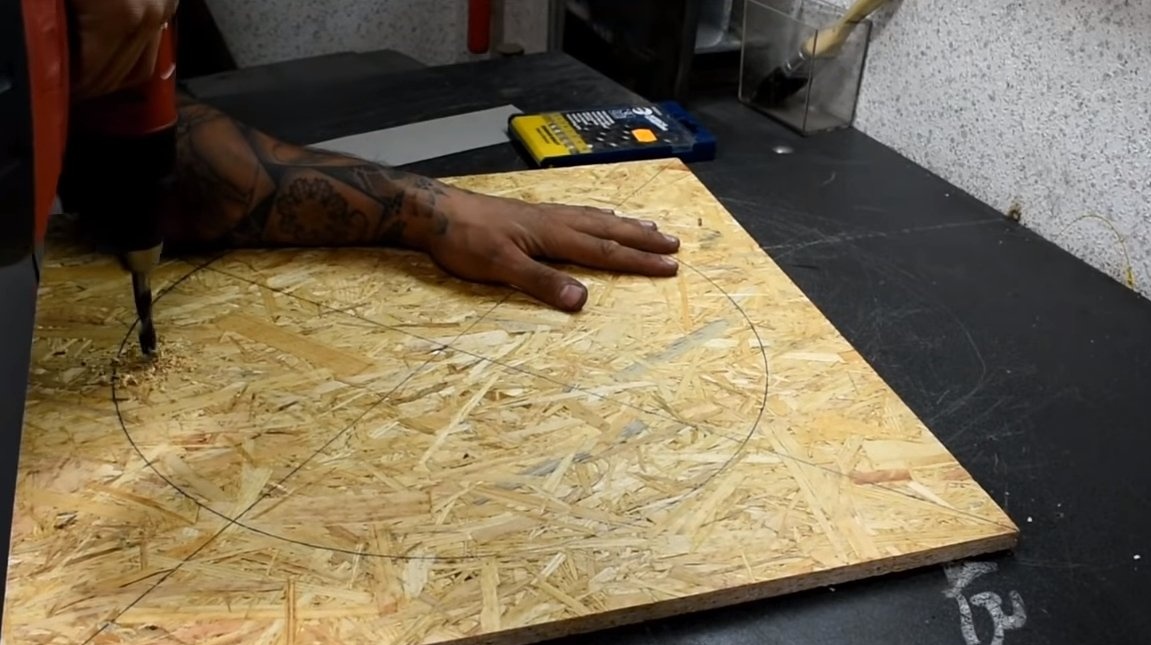
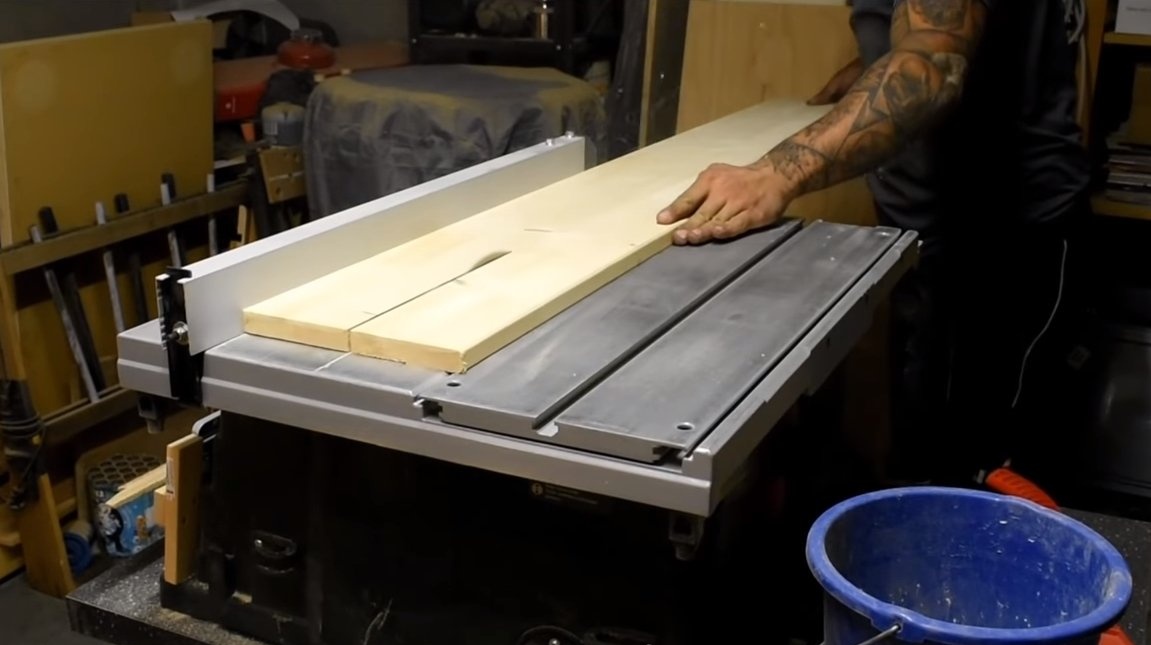
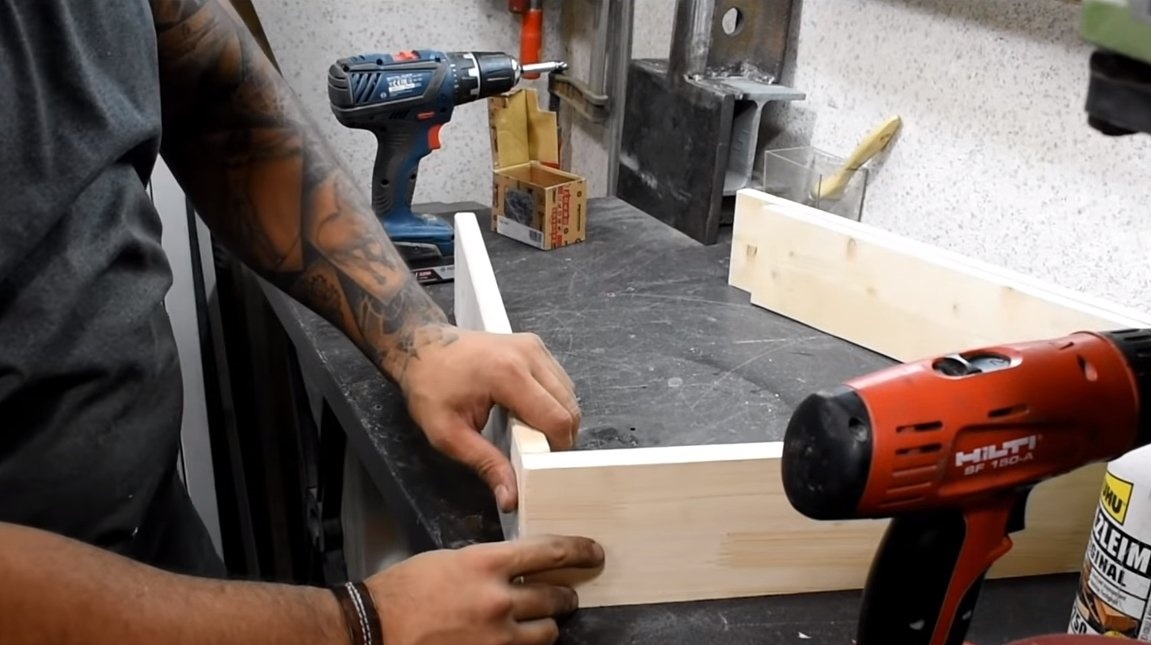
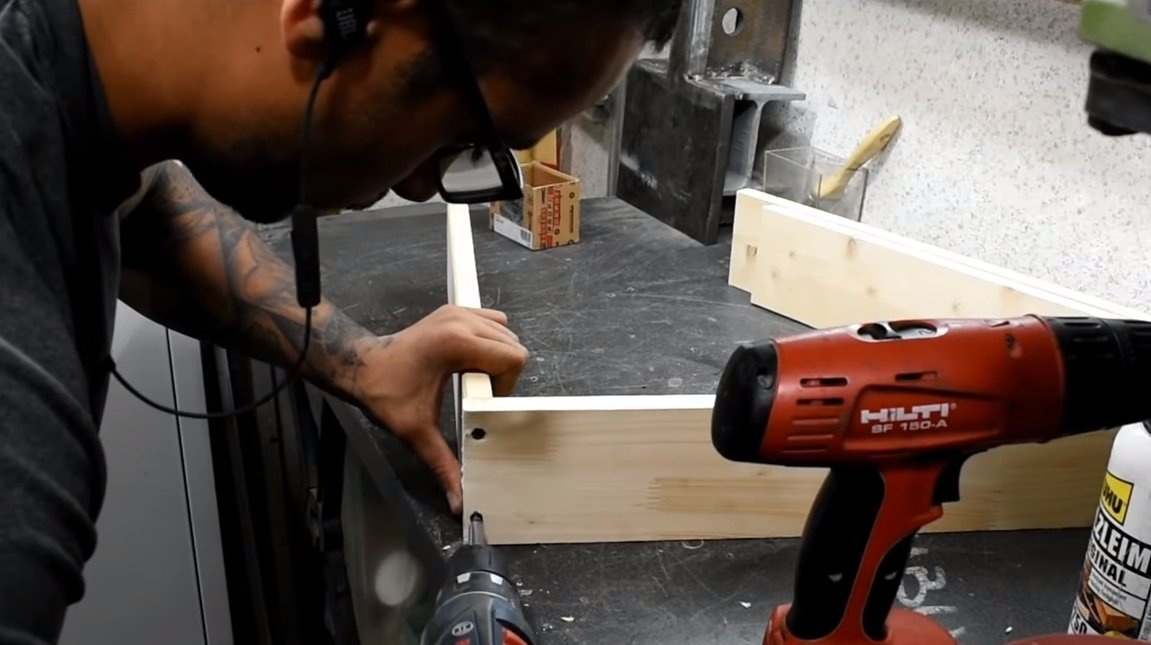
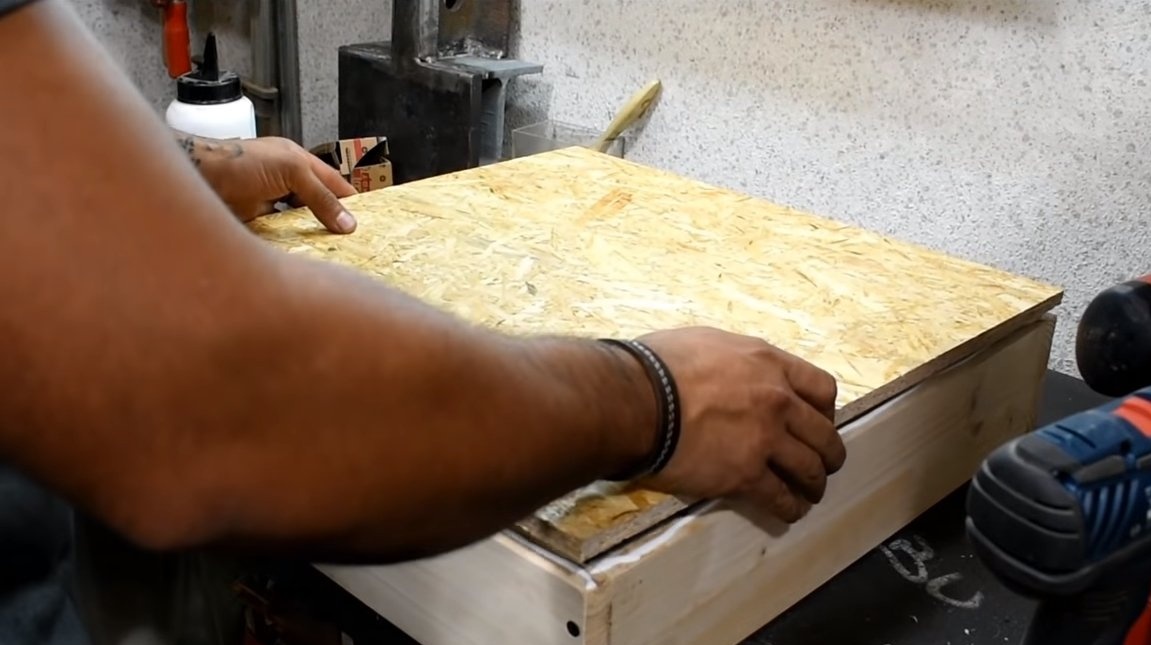
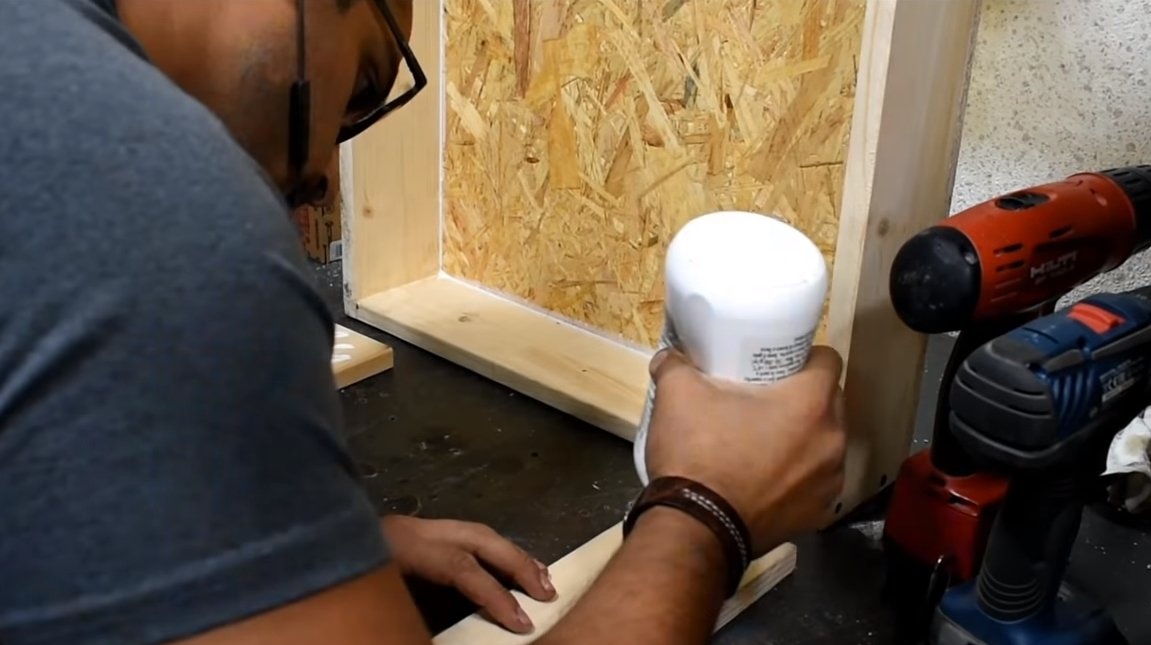
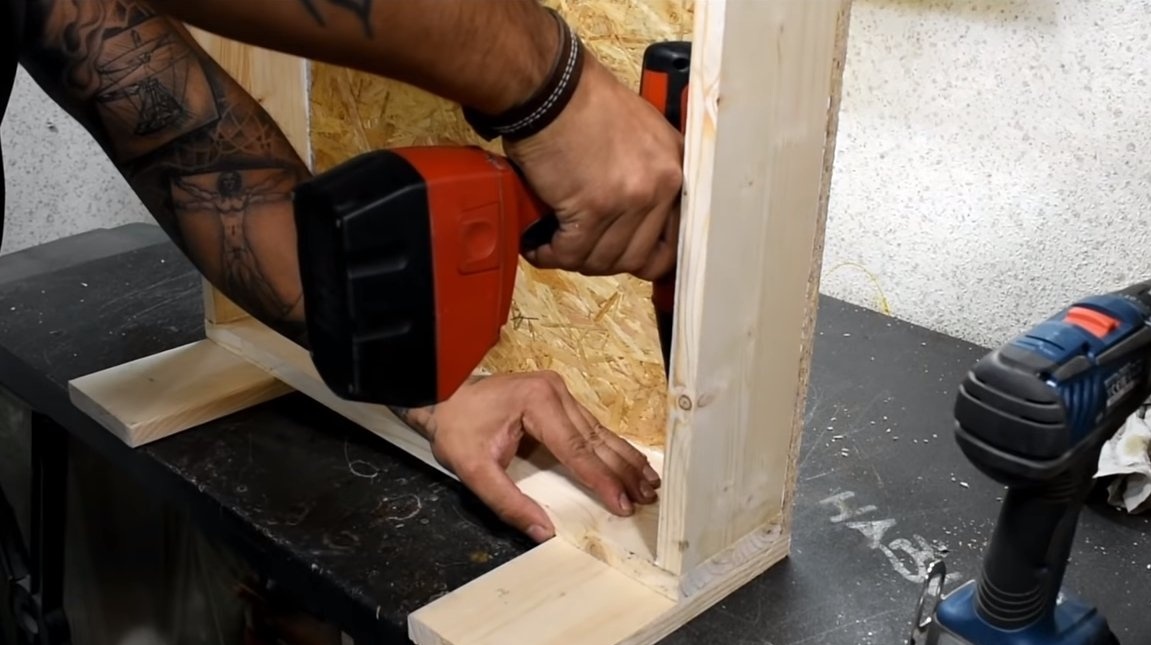
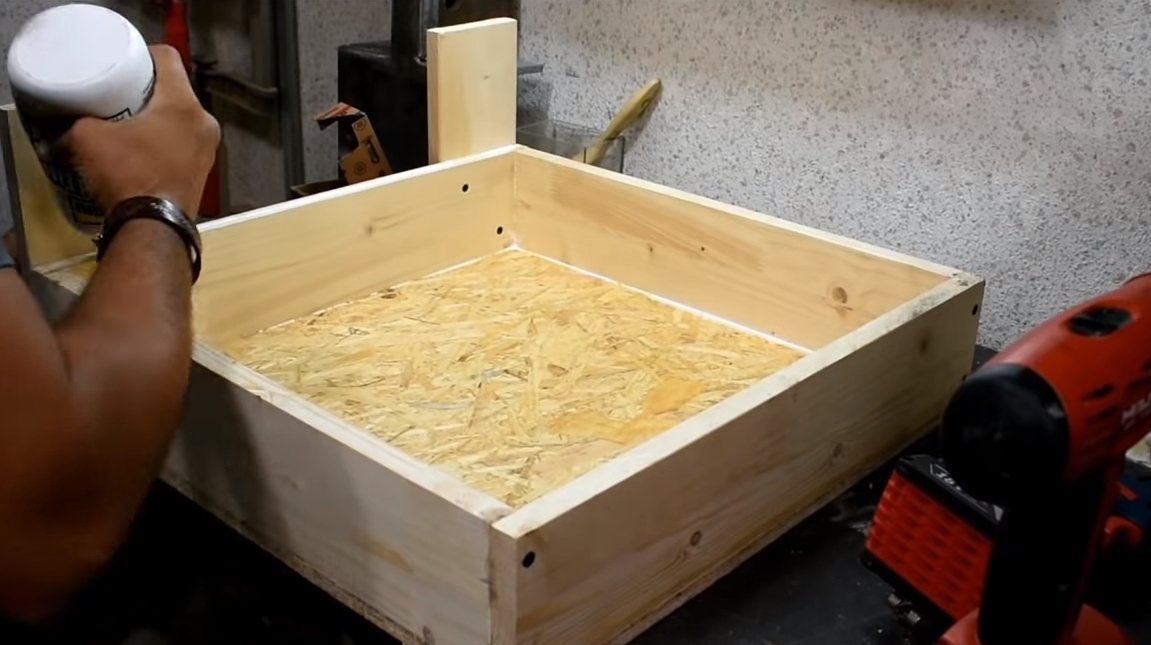
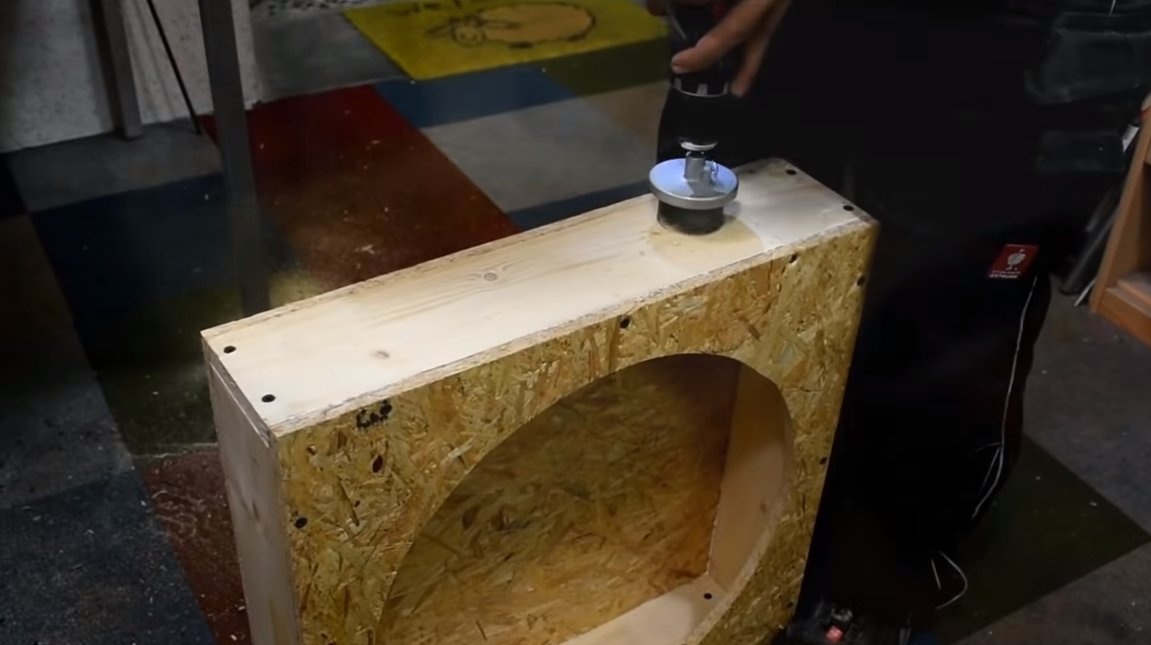
Under the fan, you need to make a case into which it will blow air. For such purposes, we will need boards for the frame, as well as OSB or similar sheet material. The author makes all connections on glue, and then they are pulled together with self-tapping screws. As a result, everything turns out tight and tight.
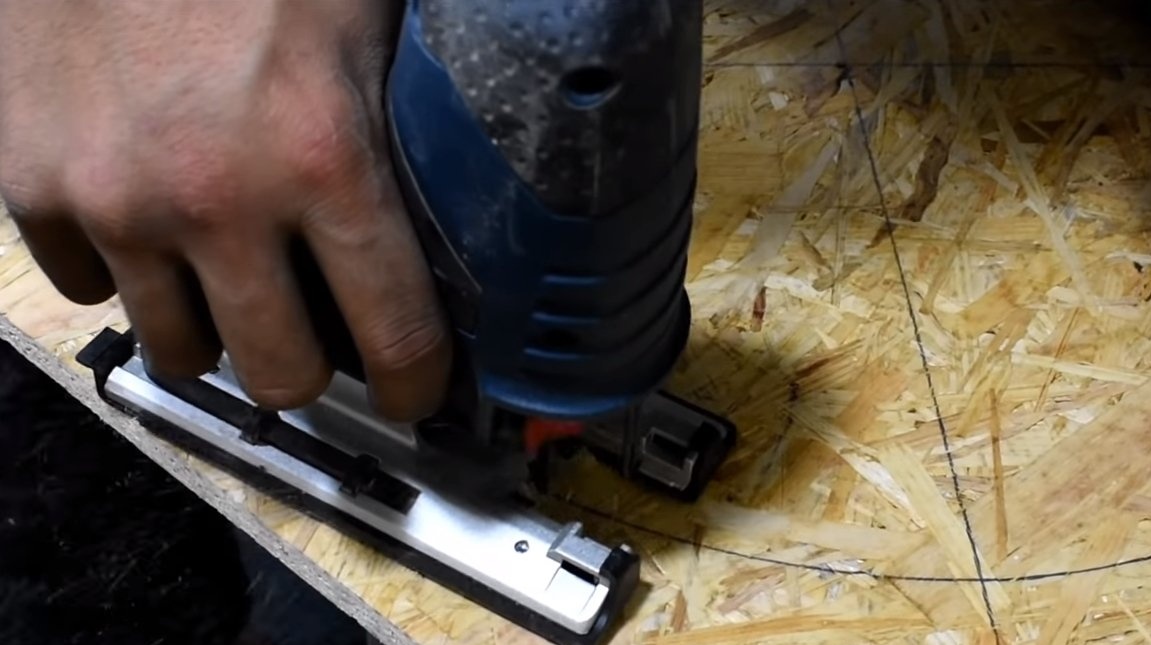
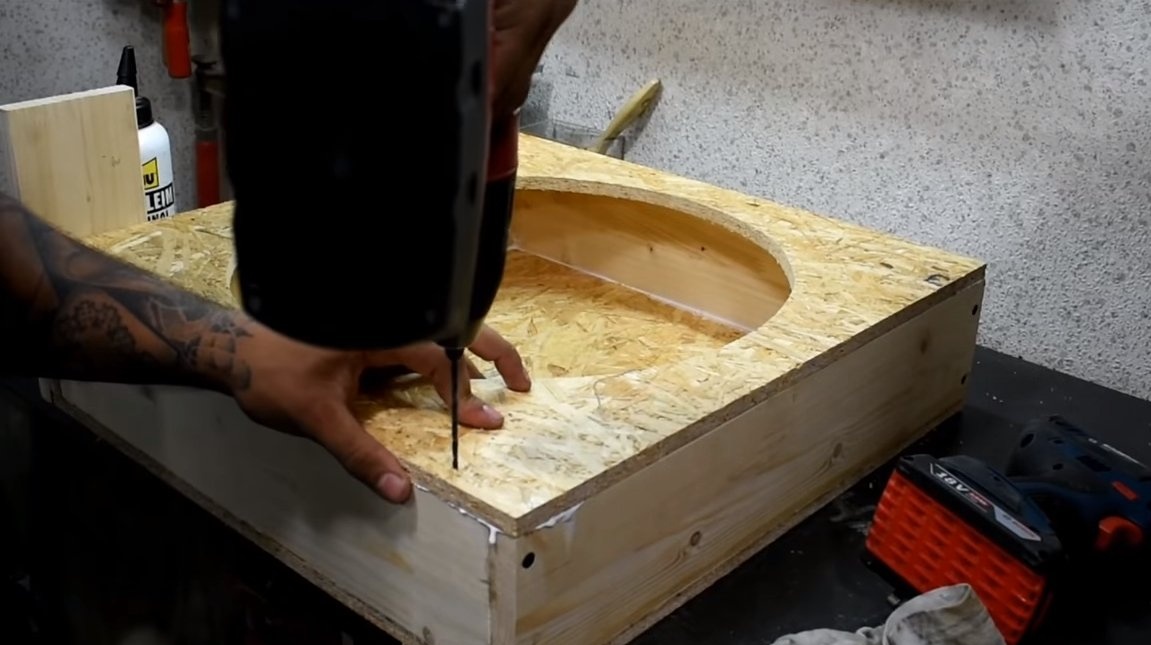
To install the fan, we need to cut a hole in the center of the OSB, we use a jigsaw for this. We fasten the fan behind the protective grill using self-tapping screws.


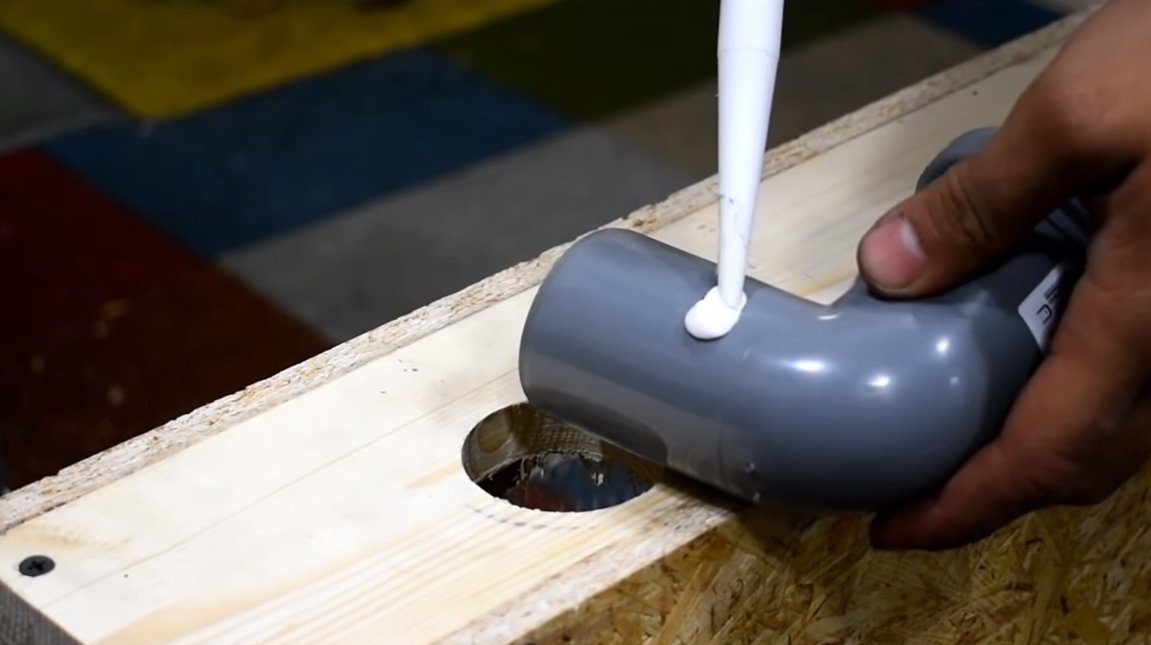
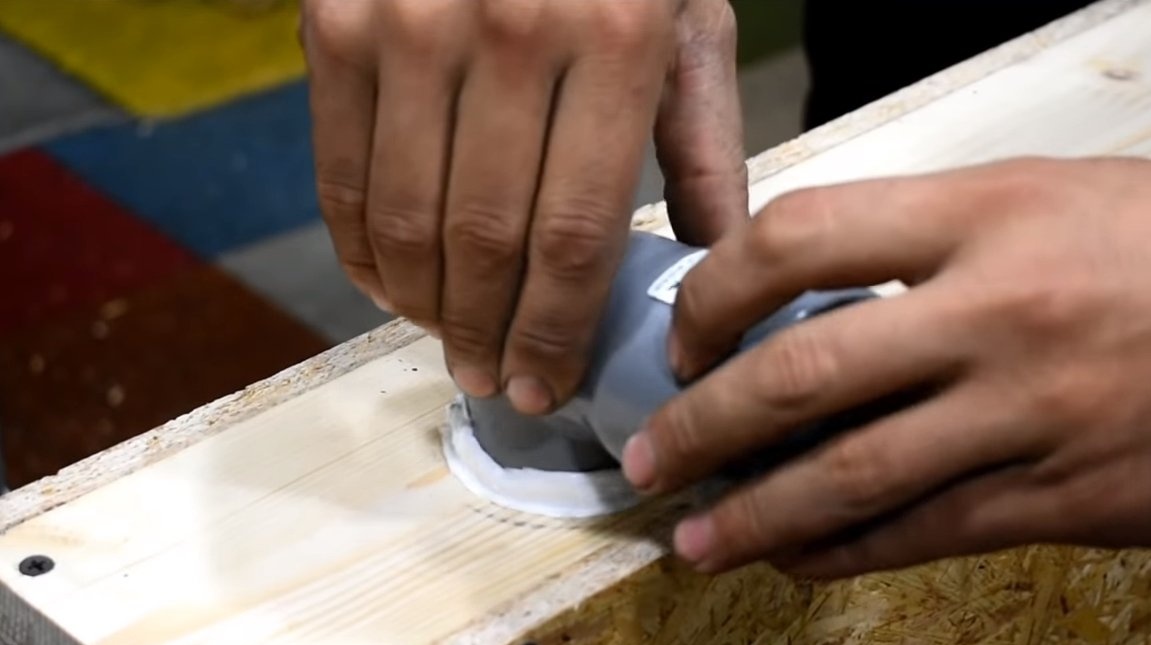

As a result, it remains to connect the air supply to the furnace, here we need a plumbing pipe and a connecting corner. We install the corner in the box, drill a hole under it and glue it on the silicone sealant. That's all, now we connect the two devices with a piece of plumbing pipe.
The only design flaw is that the air supply cannot be controlled. However, you can make a choke or put a dimmer for the fan.
That's all, the oven is ready, you can experience. Everything works perfectly, the design is simple and durable. The author easily heats the iron rod to the forging temperature. I hope you enjoyed the project and found useful thoughts for yourself. Good luck and creative inspiration, if you decide to repeat this. Do not forget to share your ideas with us and homemade!