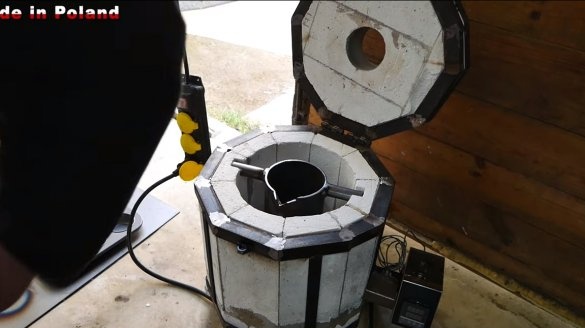
I welcome fans to craft, today we will consider how to make a simple and reliable electric furnace for melting aluminum. In addition, such a furnace can be used for annealing steel, as well as for hardening. The heating element in the furnace costs 1800 watts, the furnace is equipped with a thermometer, and the temperature is regulated by a digital device. Everything is assembled simply and from the available materials. If you are interested in the project, I propose to study it in more detail!
Materials and tools used by the author:
Material List:
- heat resistant brick (J23);
- heat resistant cement;
- iron corners;
- bolt and nuts;
- controller REX-C100FK02-V * AN AC 230V;
- ;
- ;
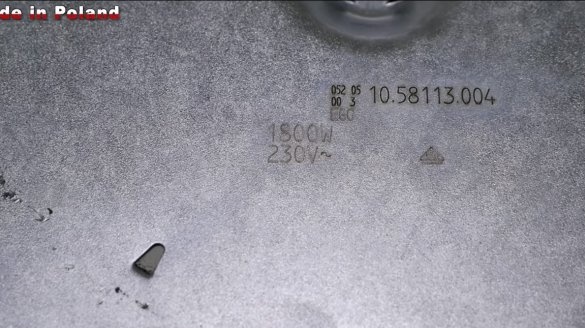
- electric burner 1800 W;
- door hinge;
- wheels;
- sheet metal.
Tool List:
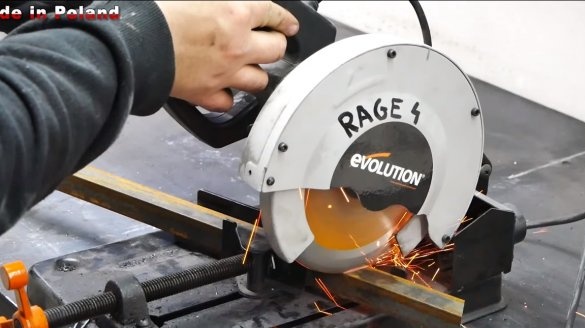
- tape cutting machine;
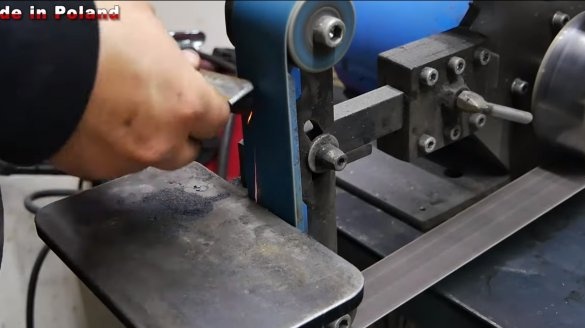
- belt sander;
- welding machine;
- grinder;
- a hacksaw.
Furnace manufacturing process:
Step one. Heating element
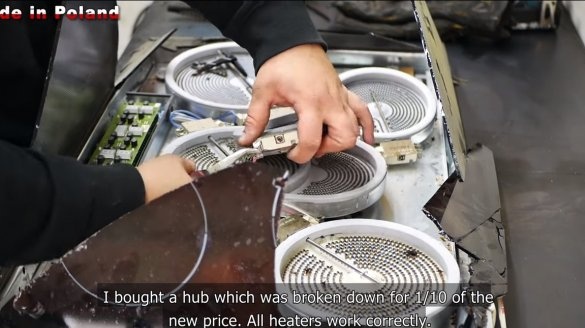
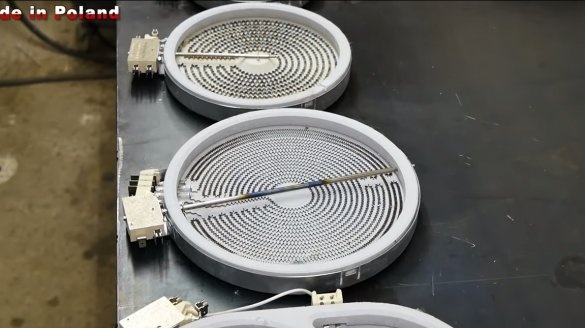
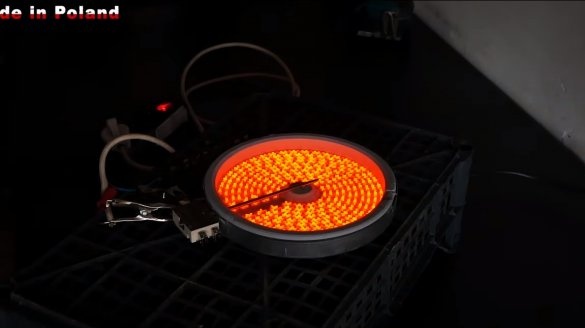
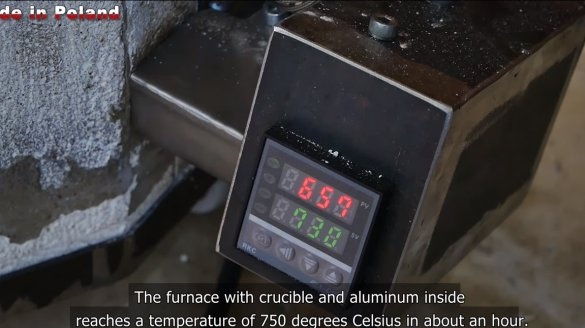
First of all, we will find a suitable heating element. For such purposes, the author used an old 1800-watt electric burner. The power of the device is enough to get a temperature of about 800 degrees Celsius, the oven reaches this temperature in just over an hour.
Step Two The main body of the furnace
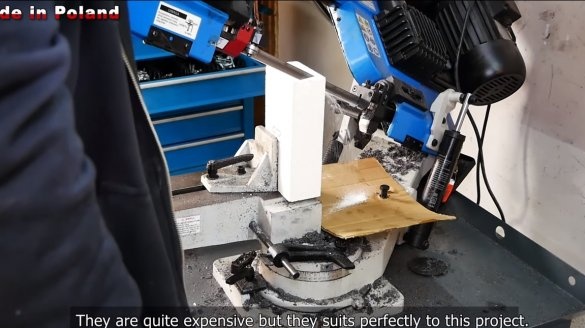
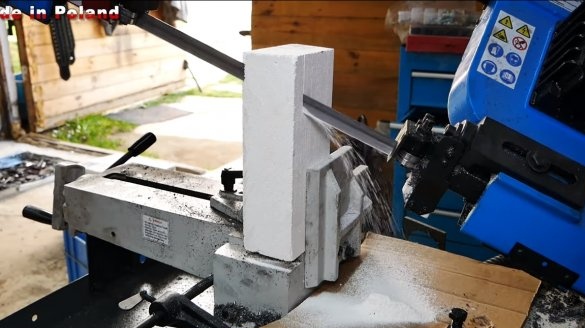
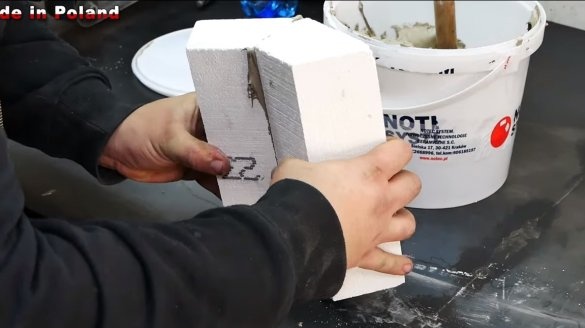
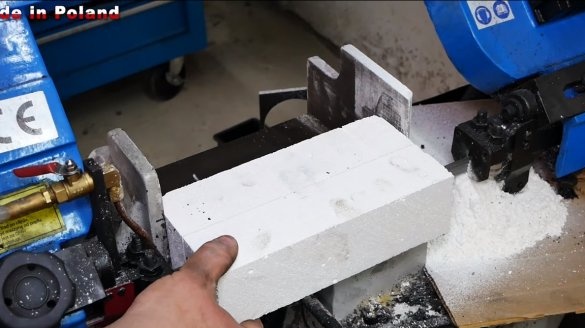
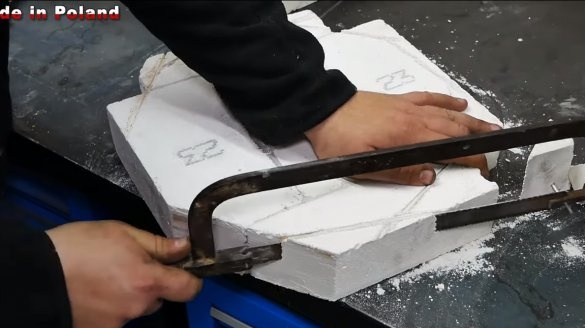
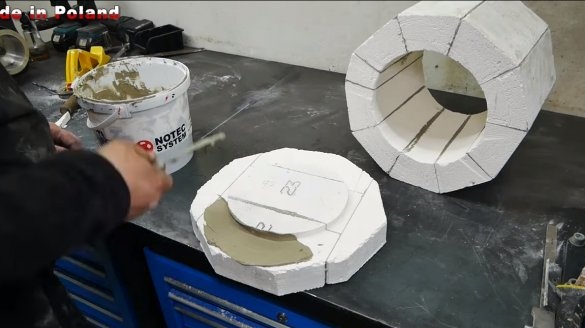
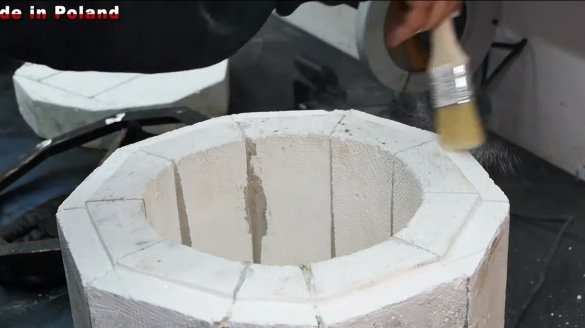
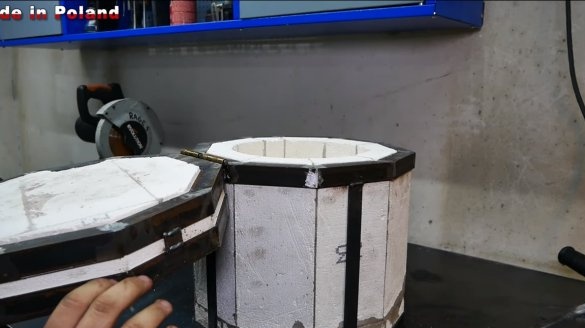
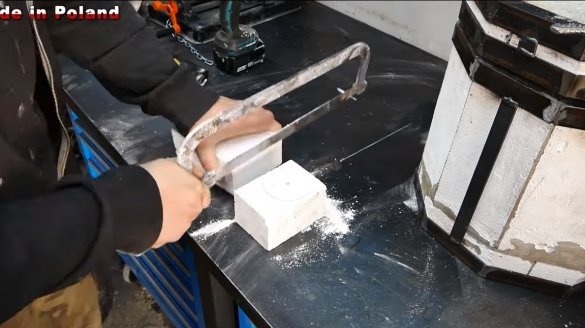
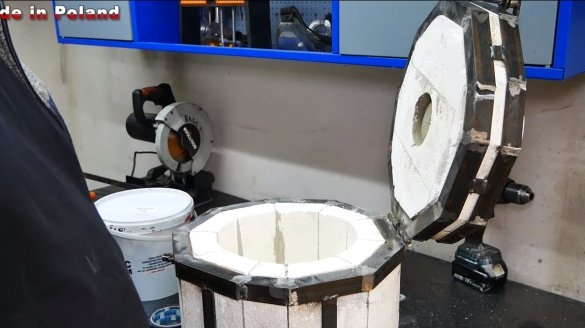
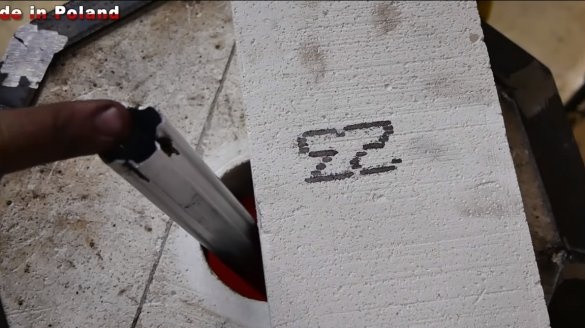
Next, we will assemble the main body of the furnace, here we need refractory bricks of the brand J23. The peculiarity of this brick is that it is soft and light, such material can be cut with a hacksaw without any problems.
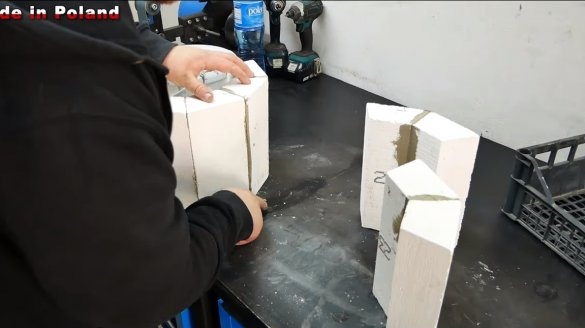
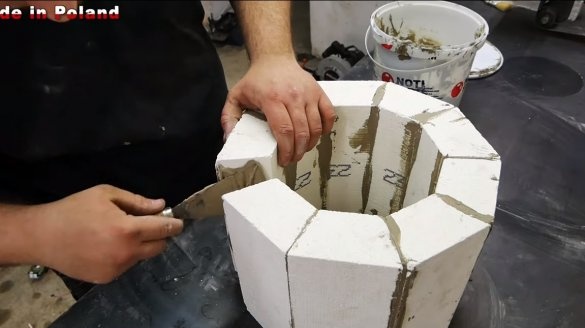
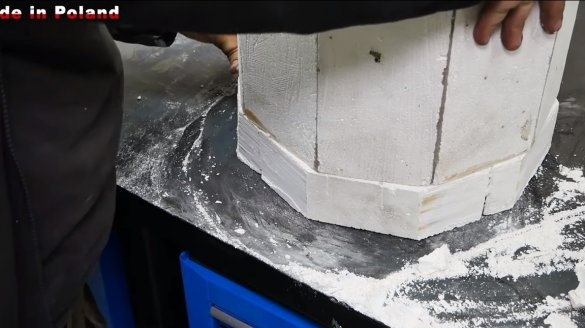
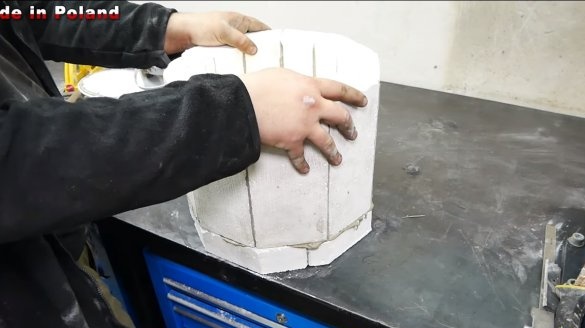
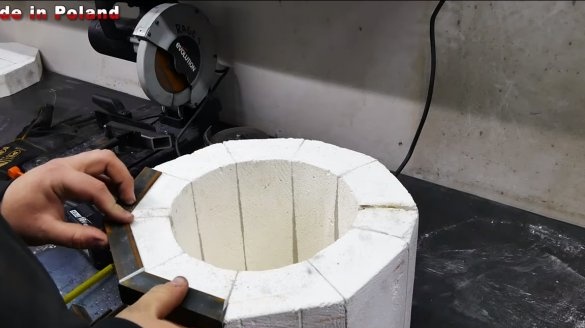
For the furnace body you will need 10 bricks, their author cuts off at an angle of 17 degrees to fold the desired geometric shape (decagon).
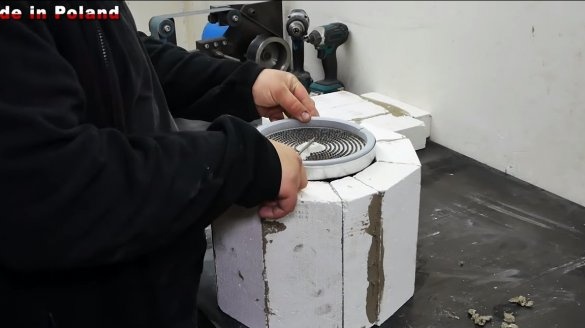
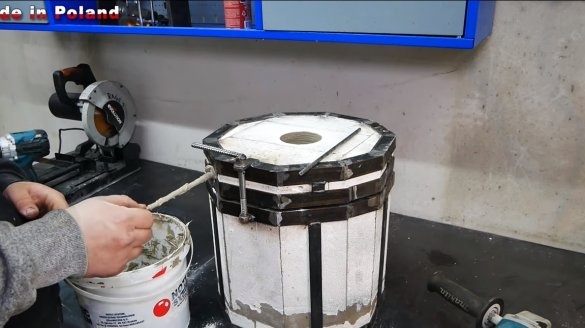
Next, we need heat-resistant cement, this is usually used in the construction of furnaces. We first glue the bricks on it in pairs, and then we assemble the whole structure.
Step Three Base and heater
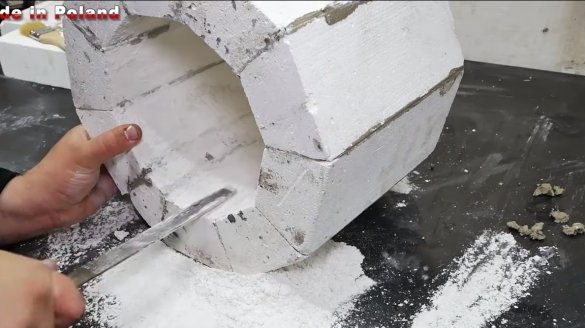
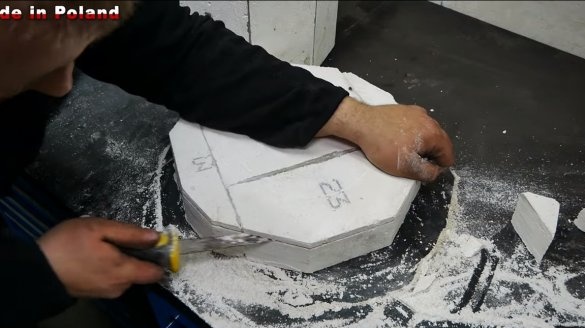
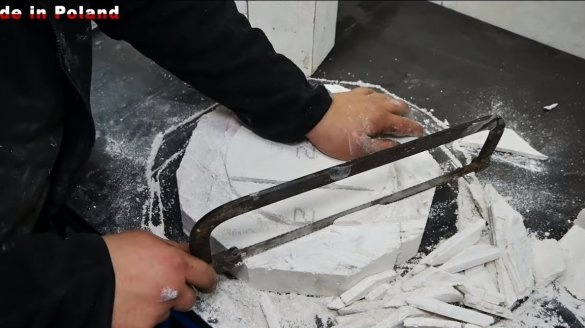
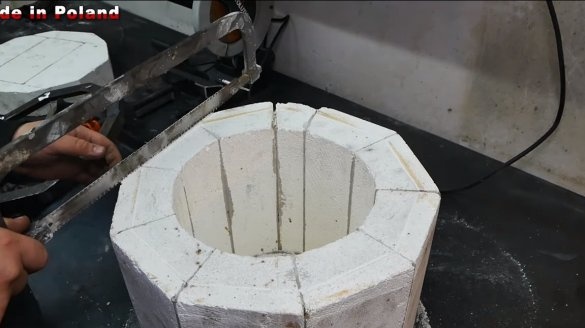
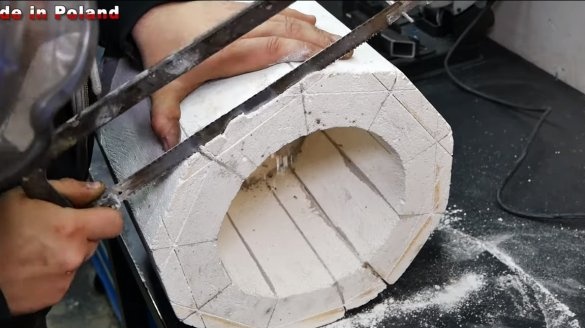
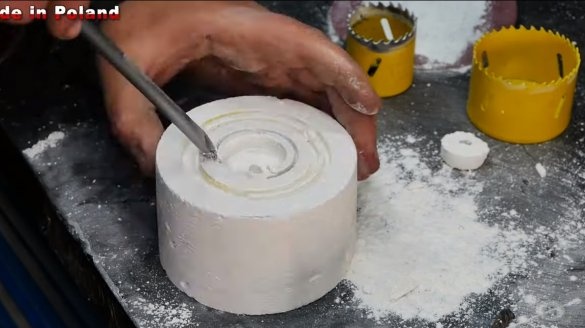
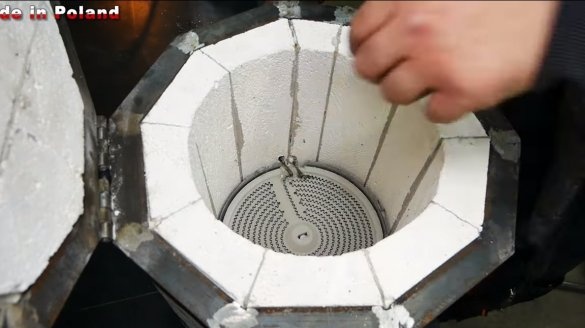
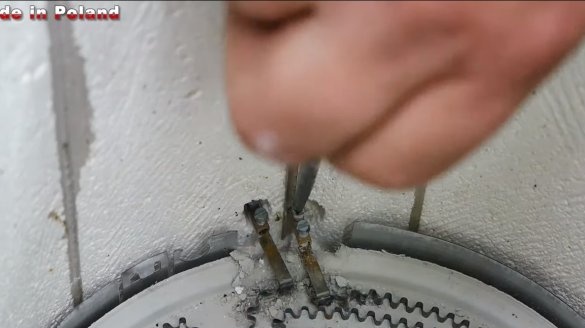
Next, a heater is installed in the lower part of the furnace, for a start we need to make a seat under it. We remove the excess amount of material with a file so that the burner enters the oven.
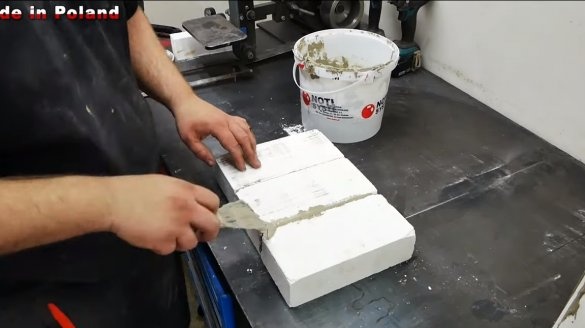
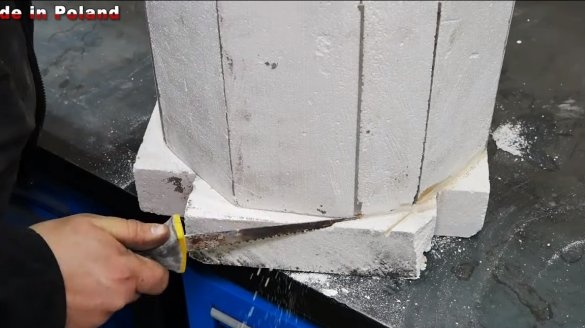
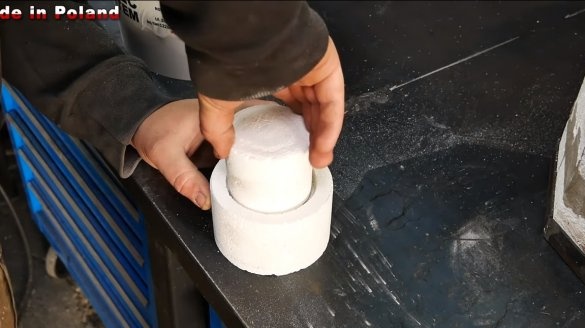
We also make the bottom for the furnace, glue for these purposes three refractory bricks. When the solution dries, we cut out on the base a protrusion that will go inside the oven. The author works with a hacksaw and a chisel. That's all, now set the burner and glue the base to the oven on the solution.
Step Four Frame
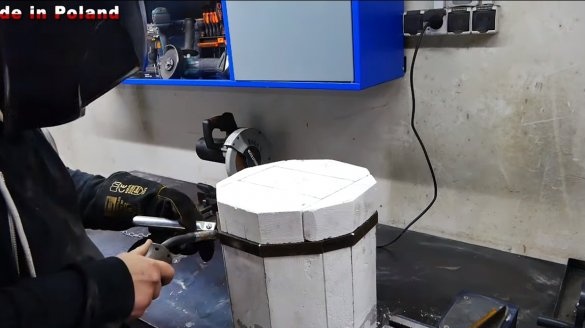
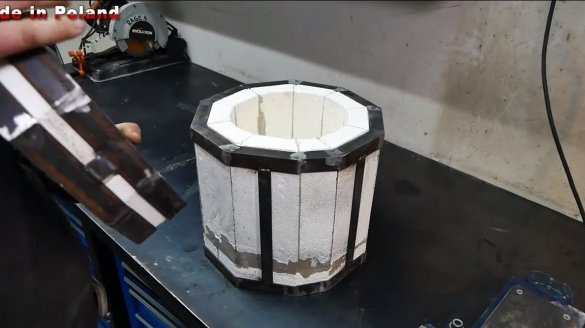
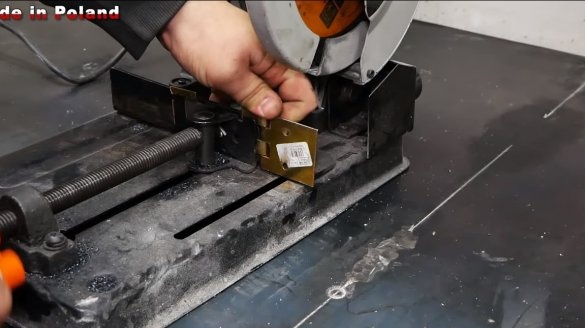
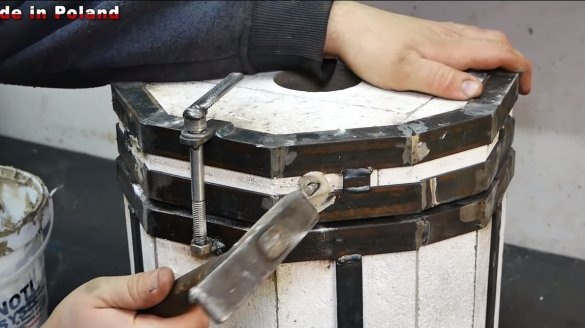
For the furnace, you need to make an iron frame so that the bricks hold firmly.As a material, the author used iron plates and a corner. So that the corner does not protrude above the surface of the bricks, we hollow out the recesses in the bricks. Now the stove is strong and reliable.
Step Five Cap
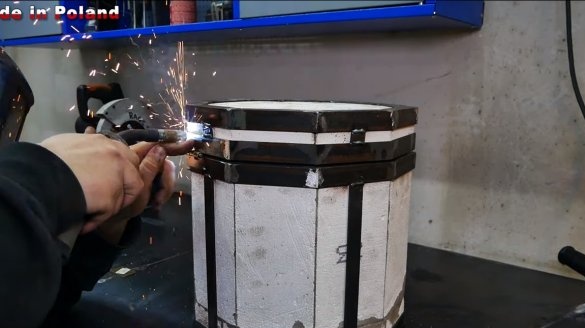
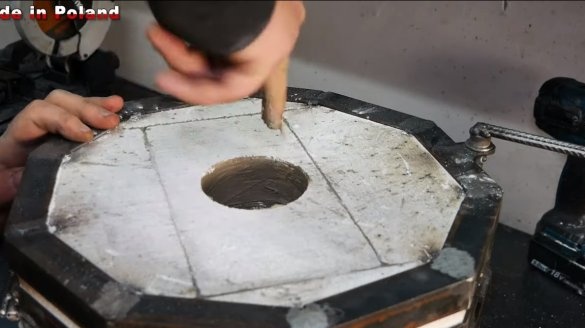
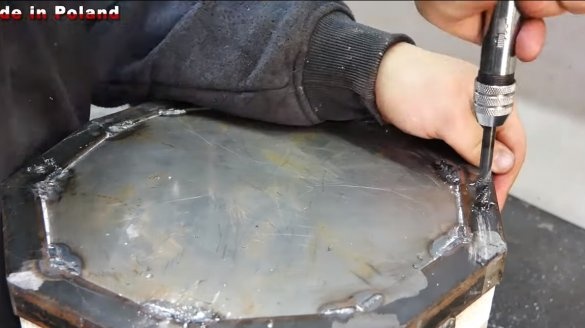
Similarly, we make a cover of three bricks for the furnace, we weld an iron frame around the cover. And so that the bricks do not fall out, even if they crack, the author drills holes through them and inserts reinforcement. We hang the lid on a strong door hinge.
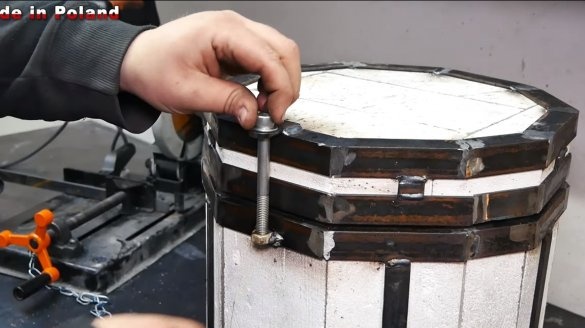
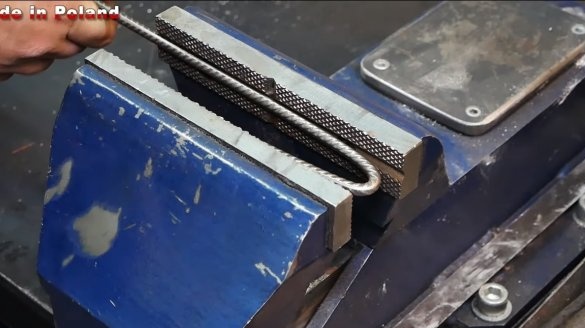
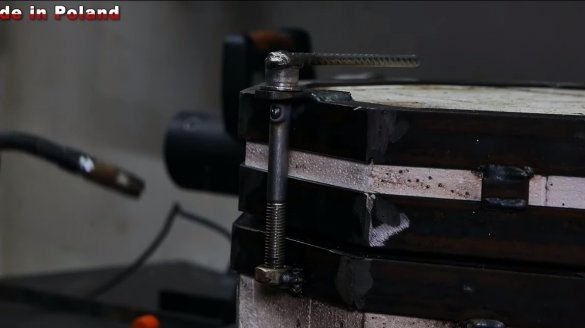
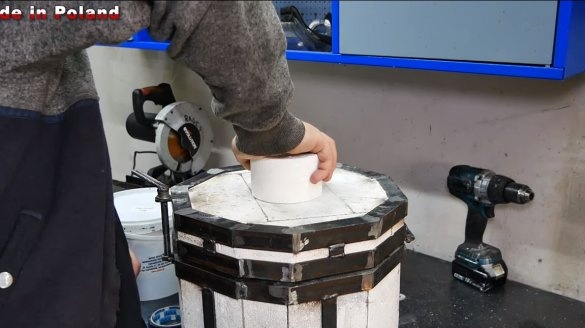
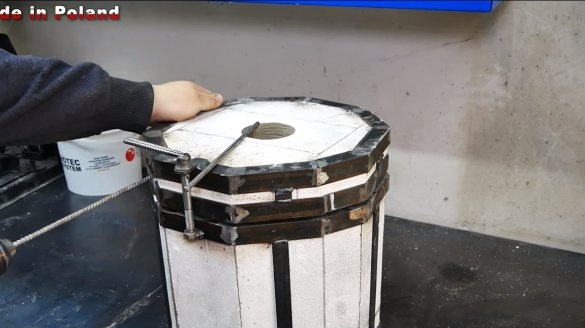
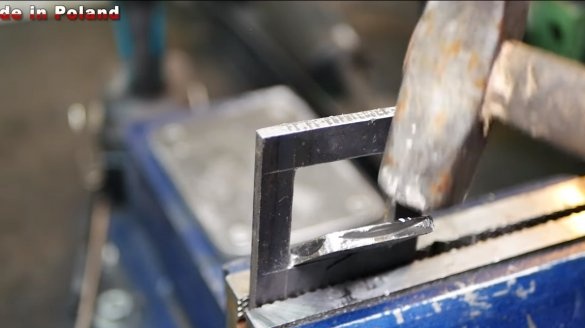
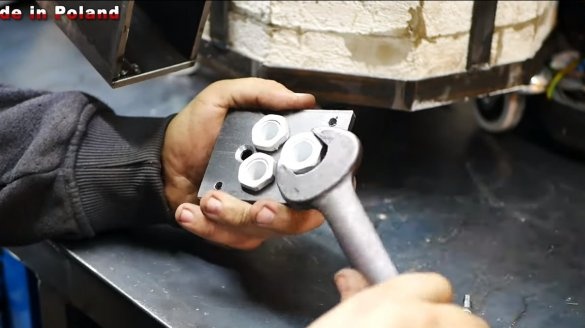
In addition, for the lid you need to make a cork, its author has carved from heat-resistant brick. A cork is needed for the neck, through which aluminum will be loaded for melting. Be sure to also make a locking mechanism for the lid, so that everything closes tightly. The locking device is made of a bolt and nuts, we weld a long handle to the bolt with this moment finished.
Step Six Castors
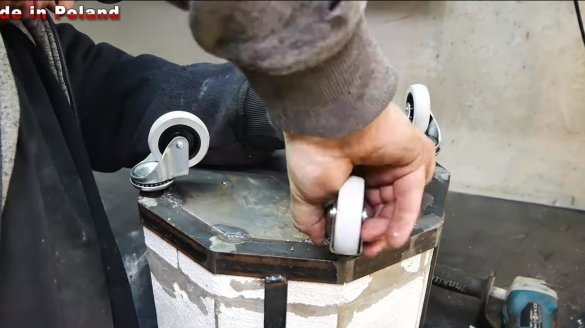
Although the oven will not be too heavy with us, for its convenient transportation, wheels can be attached to it. We use small wheels for carts, which can rotate around its axis. We drill holes in the frame and cut the threads, now the wheels can be screwed. If the wheel breaks, it can be easily replaced.
Seventh step. Electrician
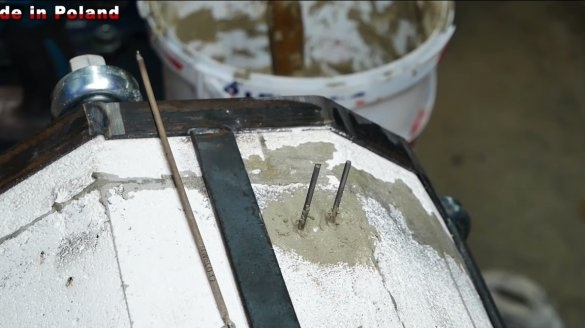
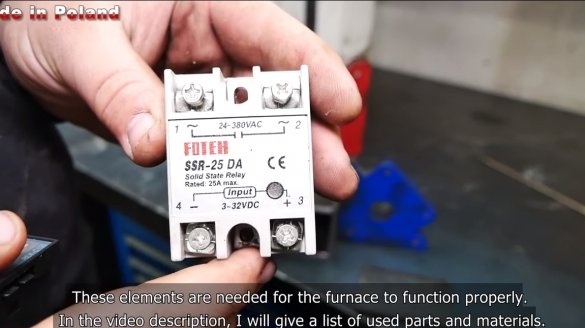
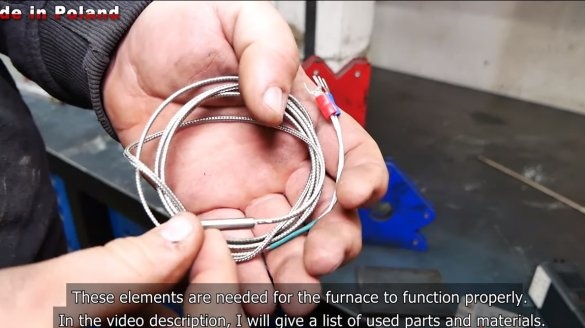
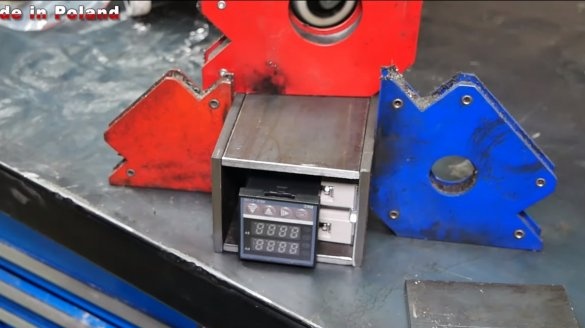
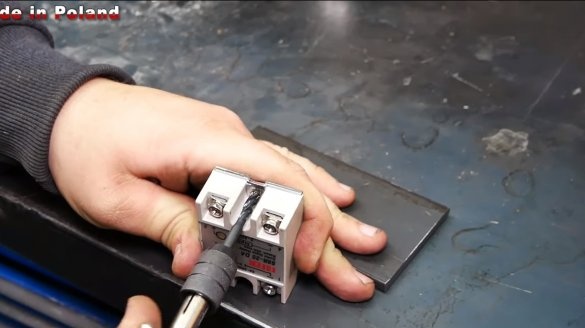
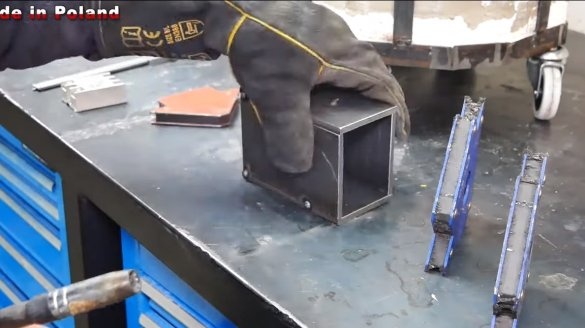
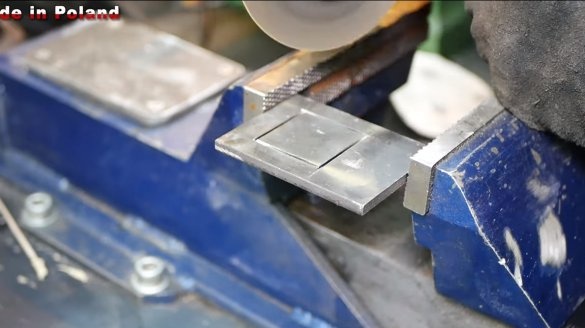
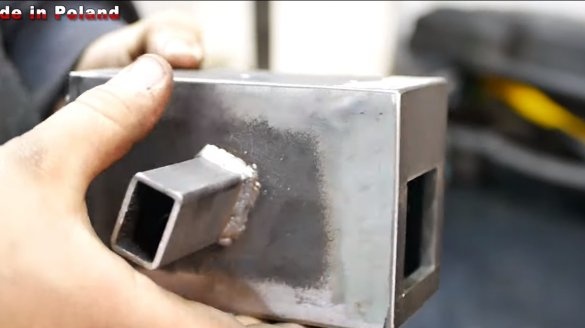
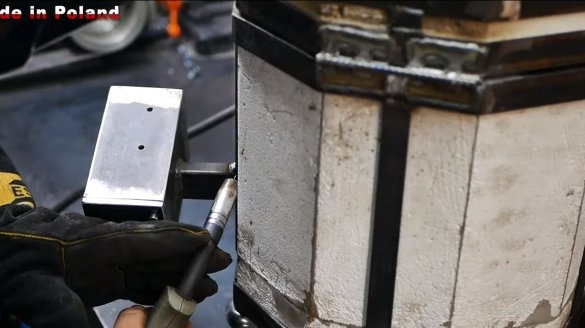
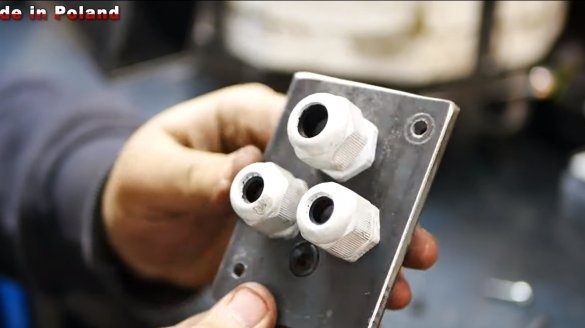
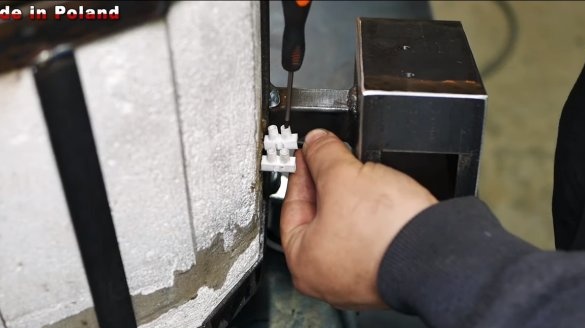
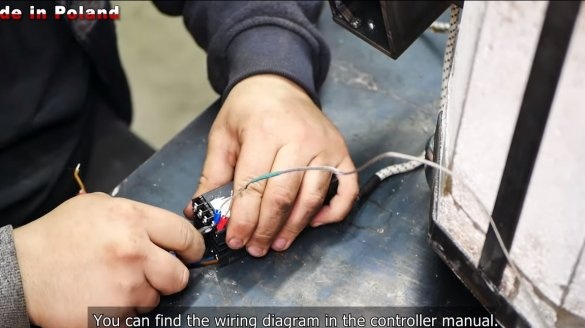
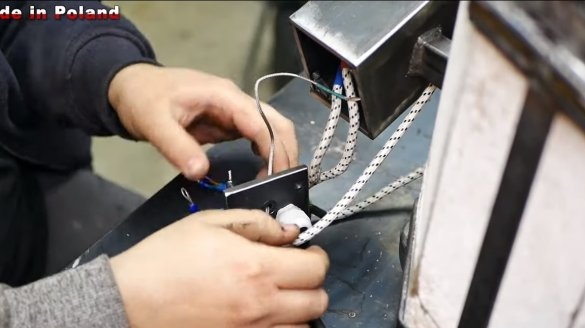
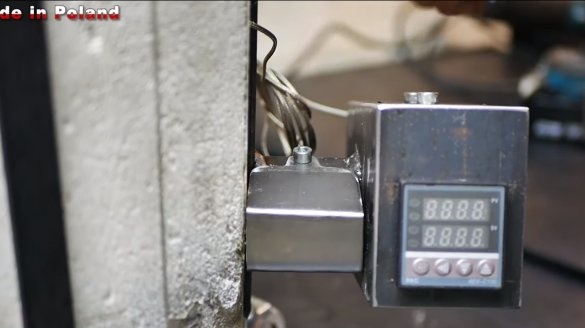
We install an electric burner at the bottom of the furnace, drill holes and bring out the contacts. Outside the furnace, it is necessary to manufacture and install a housing in which it will be installed electronics, this includes the temperature controller, as well as the power relay. Do not forget to install a temperature sensor inside the oven. The author has welded the case for electronics from sheet metal and a piece of a profile pipe. Note that the furnace body may heat up, so it is best to place the electronics at a certain distance from the furnace. We use reliable wiring, it must have heat-resistant insulation.
Step Eight. Test
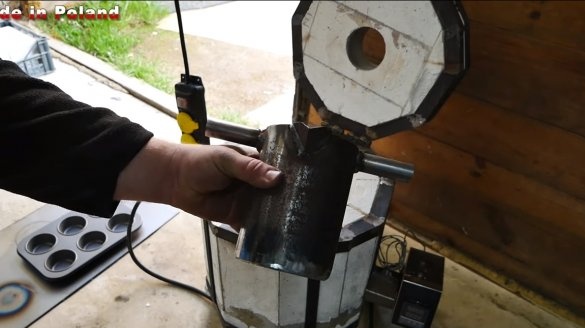
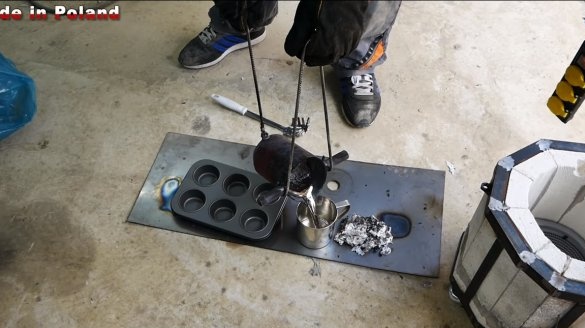
The furnace is ready, it remains to make a crucible for it, the author cooked it from a thick-walled iron pipe. Do not forget to make a spout on the crucible for convenient pouring of hot metal.
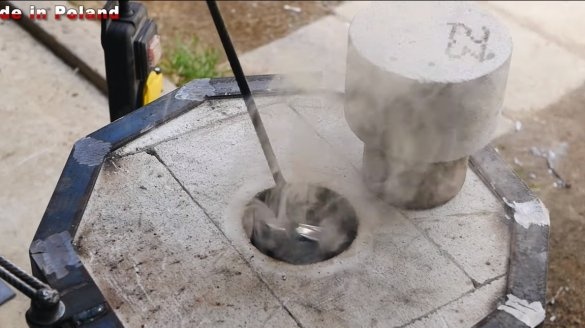
We start the furnace, wait for it to warm up, the furnace reaches the required temperature in an hour, the furnace body heats up, but not very much. Now we remove the cork and through the neck we load aluminum for melting. These can be beverage cans, shavings, and another source of aluminum. It is advisable to stir the aluminum in the process.
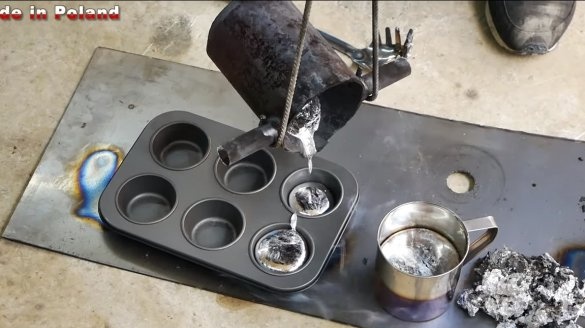
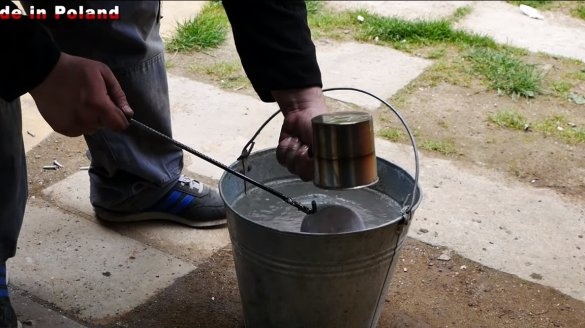
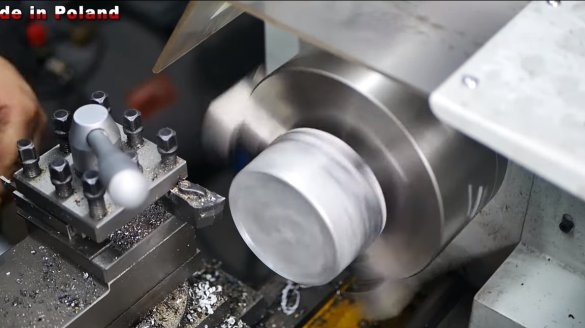
When the aluminum melts, it can be poured into the desired shape, do not forget about safety measures, liquid aluminum is heated to 800 degrees! The author pours metal into molds, as a result, blanks are obtained that are used to work on a lathe. Similarly, you can cast different products, parts for homemade etc.
The furnace turned out to be powerful, convenient and of high quality; it melts aluminum without problems. The most important thing is to protect the electric burner from debris getting on it, as in doing so it will quickly fail. On this project can be considered successfully completed, I hope you liked the homemade. Good luck and creative inspiration, if you decide to repeat this. Do not forget to share your ideas and homemade things with us!

