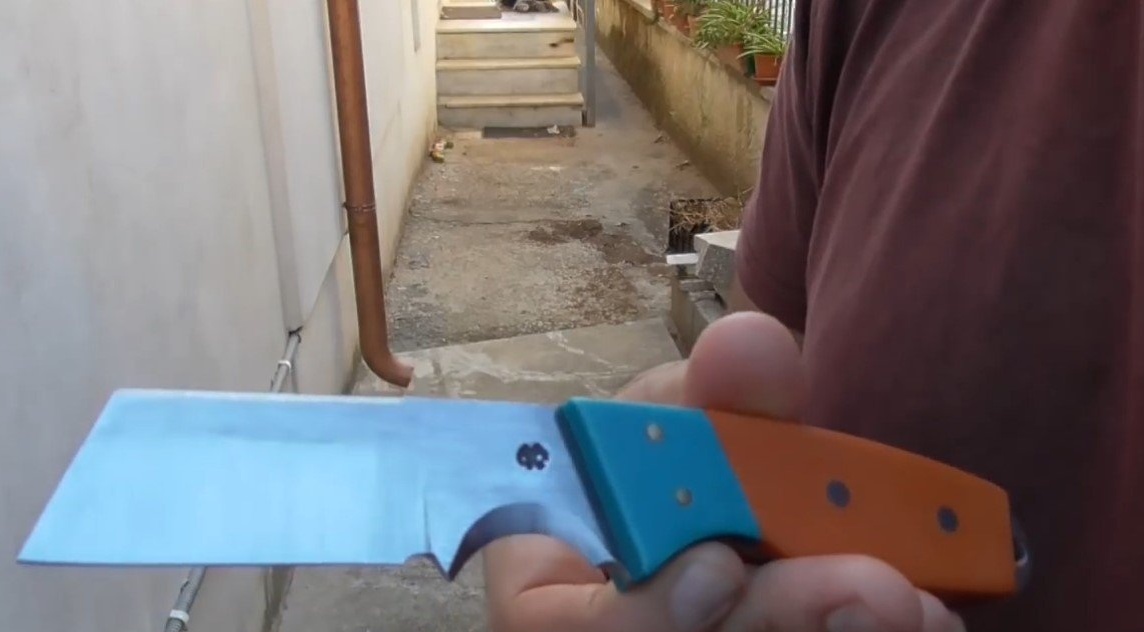
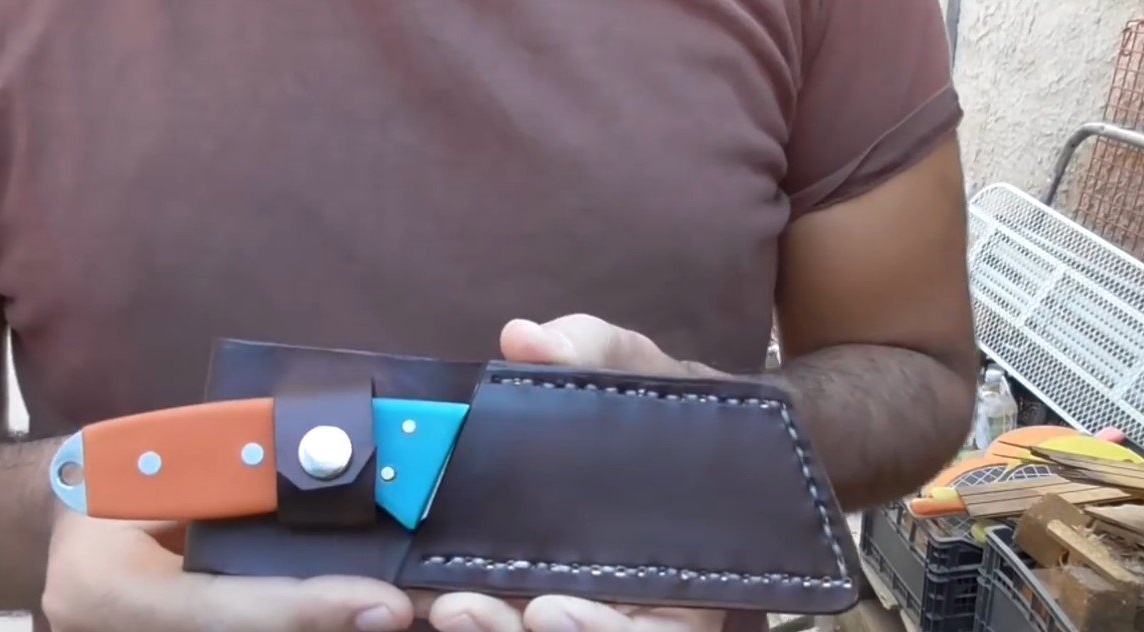
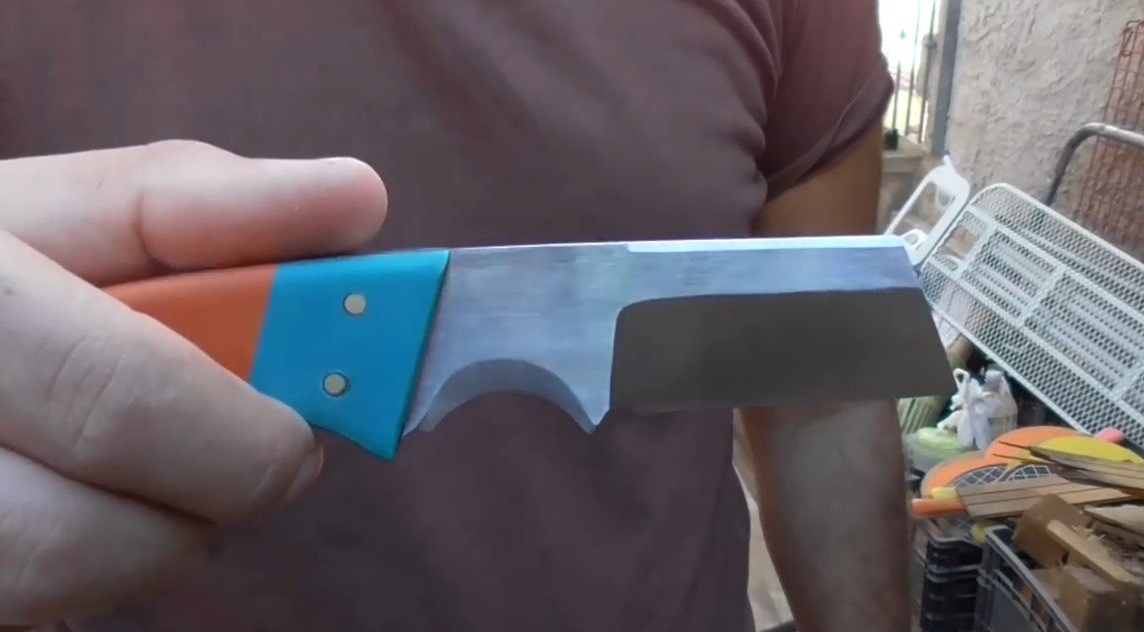
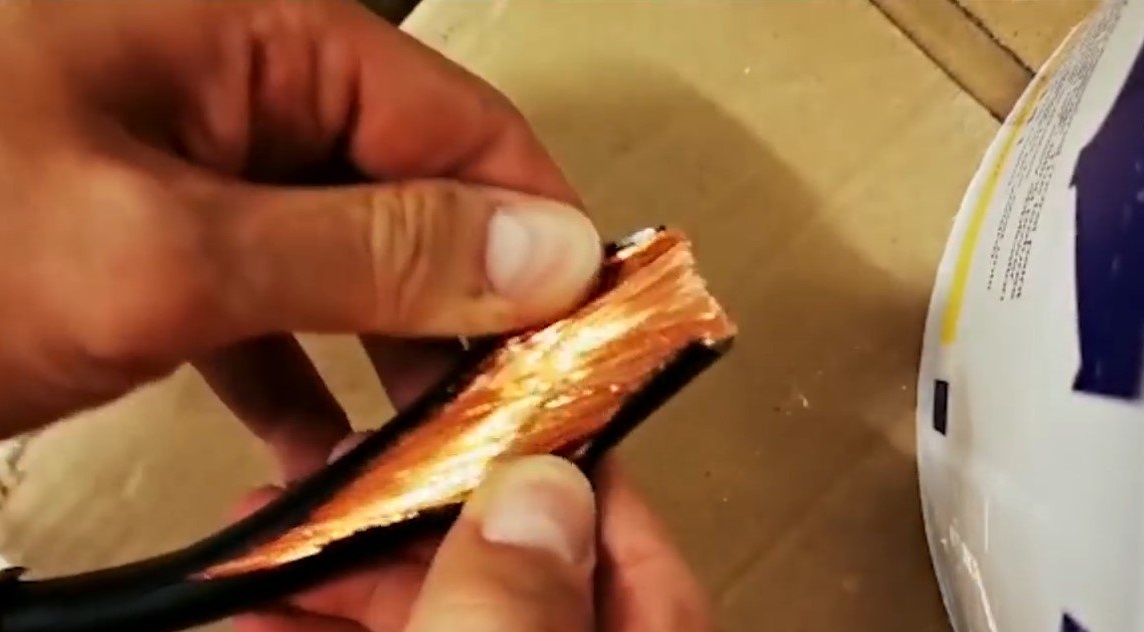
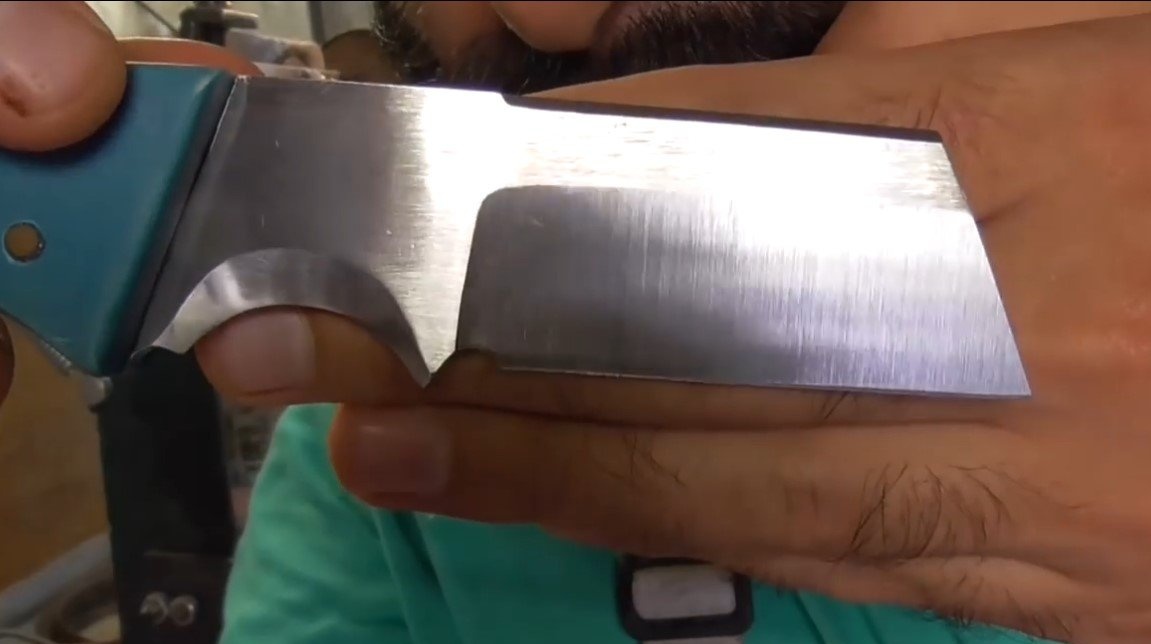
I welcome fans to work with steel, I propose to consider a project for the manufacture of a small knife for an electrician. As conceived by the inventor, the knife is designed to remove insulation from wires, cables, and other similar tasks in the field of electrics. Of course, with this knife you can solve many other everyday tasks. The blade of the knife is made of high-quality steel and has been hardened, the blade has been sharpened to the state of a razor and perfectly holds the sharpening. The author made a combined handle from material G10. The knife looks great, and in fact it’s good, and another tangible advantage for such a tool is the presence of a sheath. If the project interests you, I propose to study it in more detail!
Materials and tools used by the author:
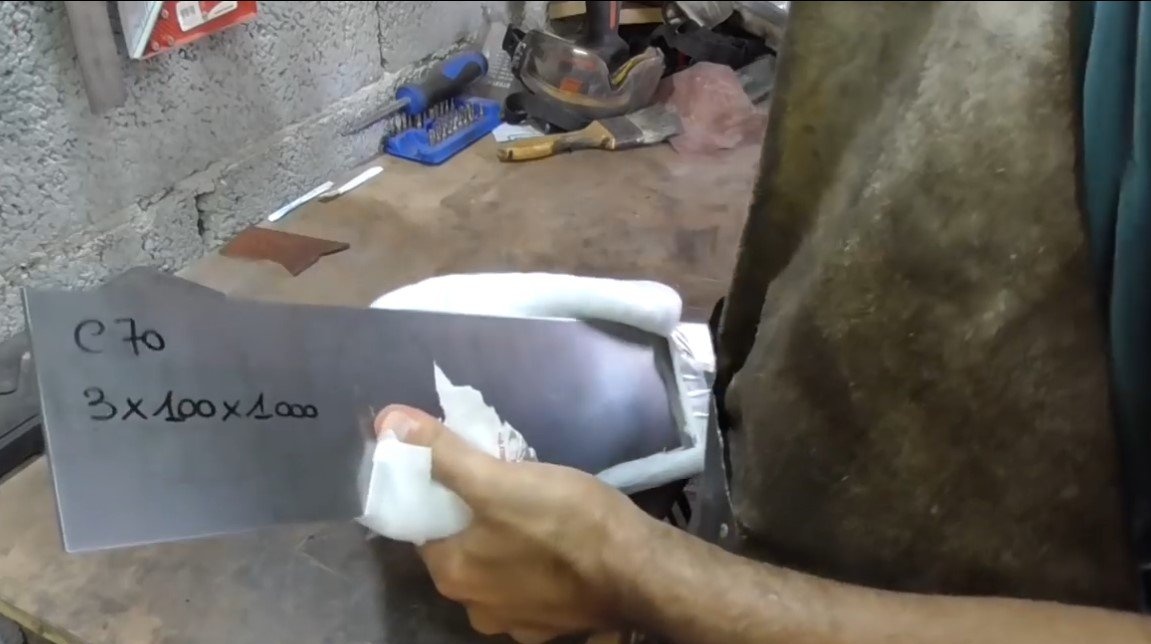
Material List:
- steel C70 or another, which can be hardened;
- G10 for linings;
- brass and steel rods for pins;
- epoxy adhesive;
- leather for sheath.
Tool List:
- paper, paint can, scissors, pencil;
- grinder;
- belt sander;
- drilling machine;
- oven, oil, oven (for hardening);
- files for metal;
- sandpaper;
- sewing tools.
The process of making a knife:
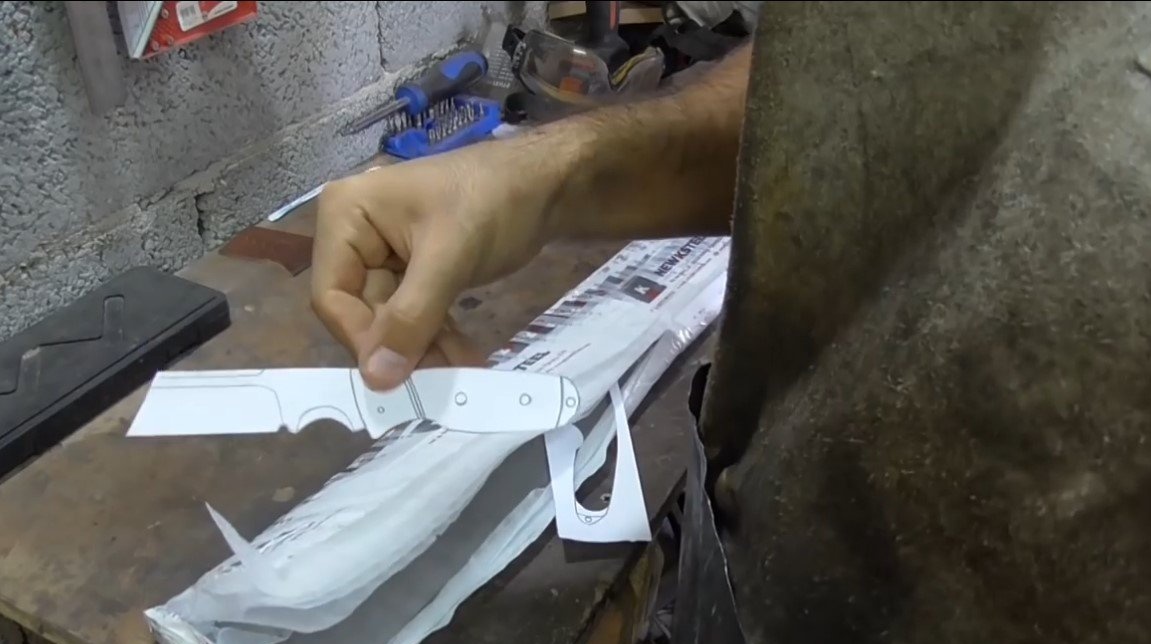
Step one. Cut the knife profile
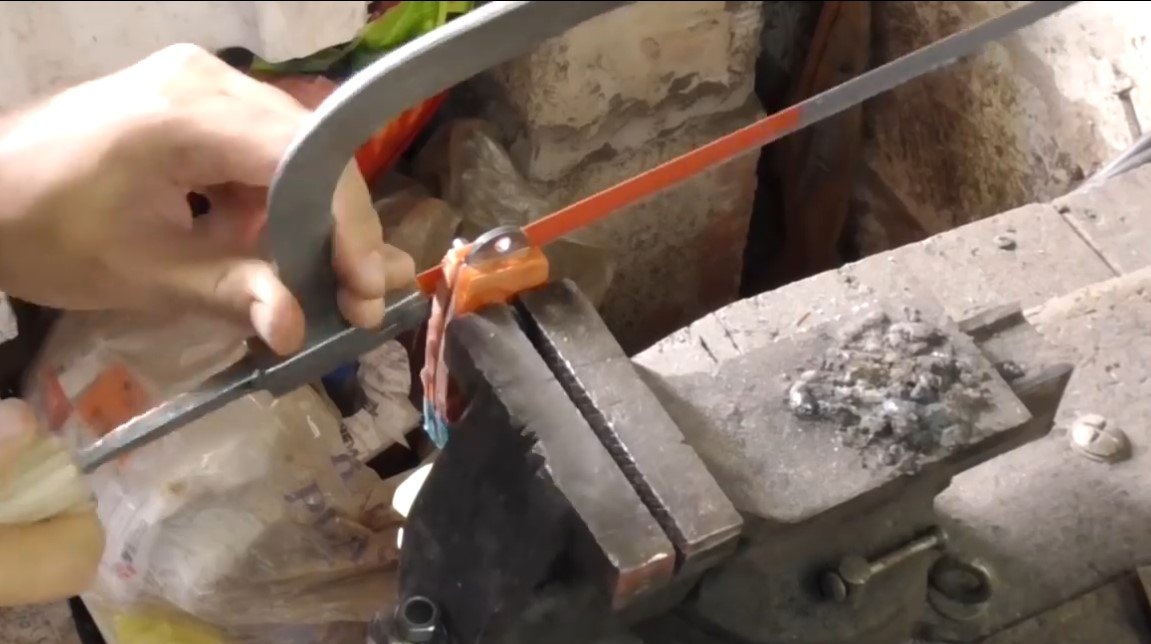
The manufacturing process of any knife should begin on paper, draw a template and cut it with scissors or a knife. Next, we transfer the template to the blank, the author used a paint cylinder for this. To paint dried faster, you can heat it with a hairdryer, but not a gas burner, as the author does, the paint burns!
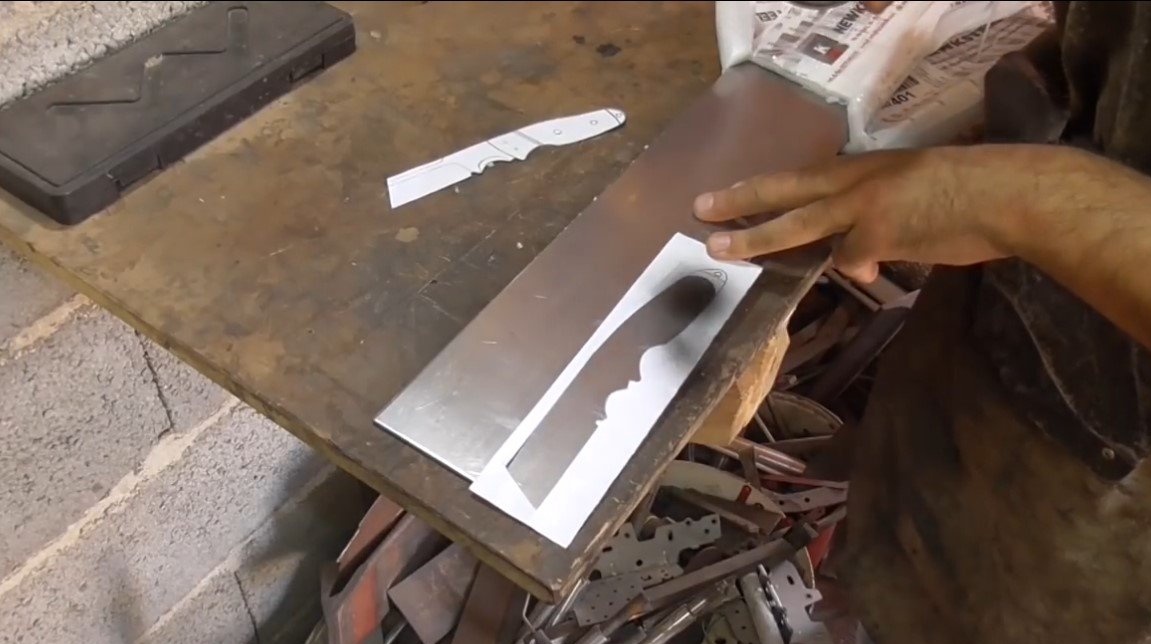
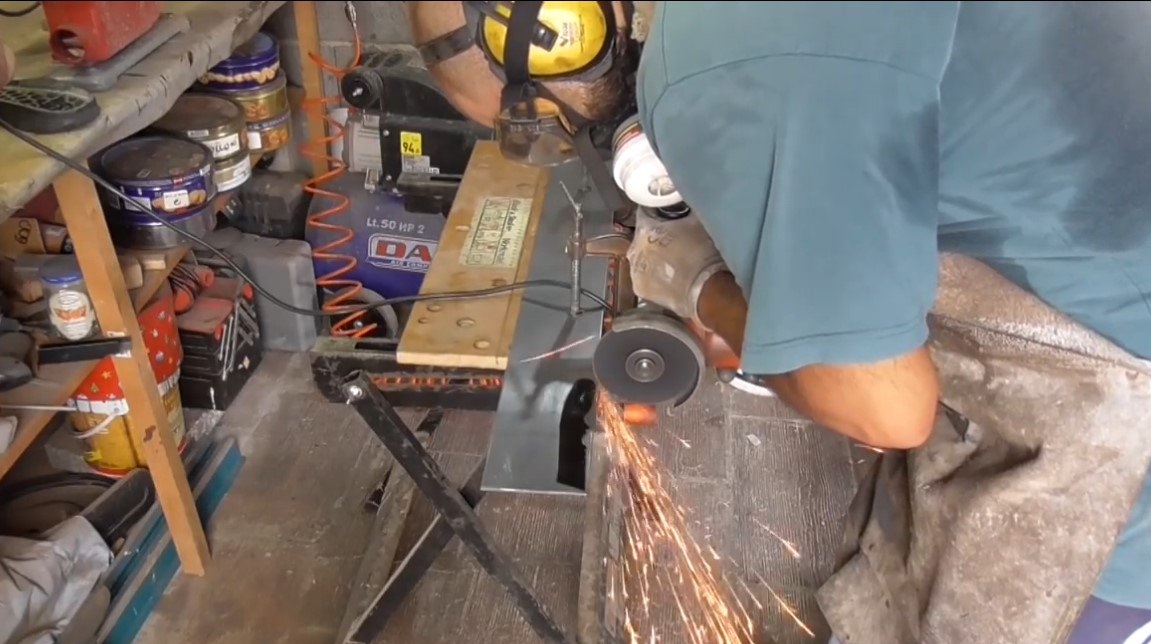
Next, we start cutting, the author uses a grinder for work. We cut the main contour, problem areas can be cut into pieces. If there is a lot of metal, you can remove it with a thick grinding disc for the grinder.
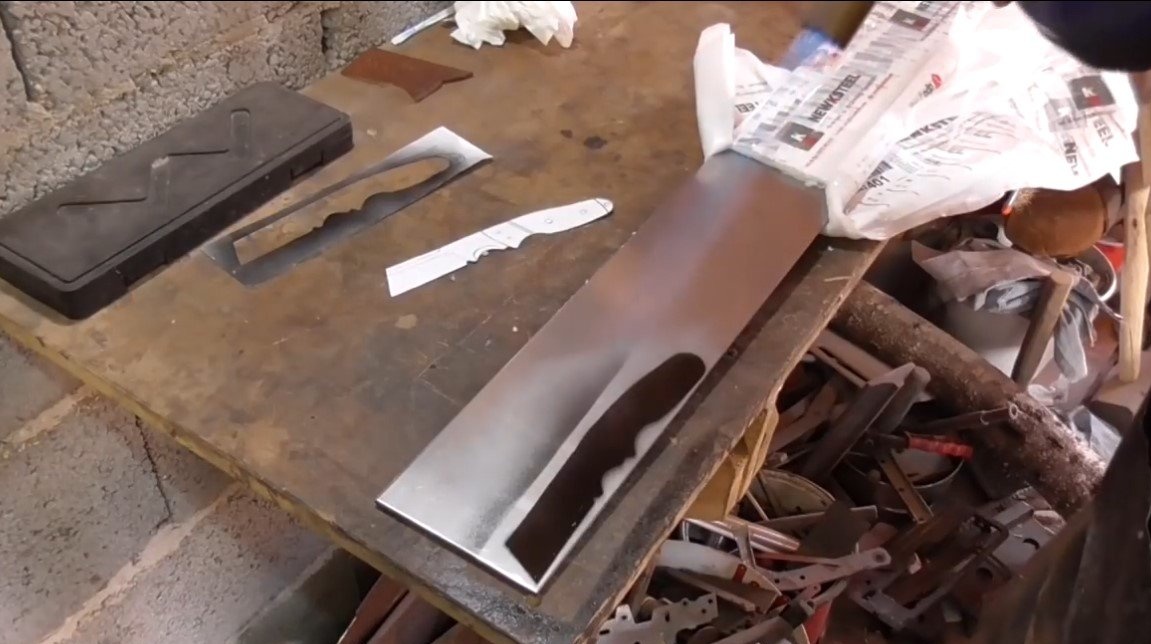
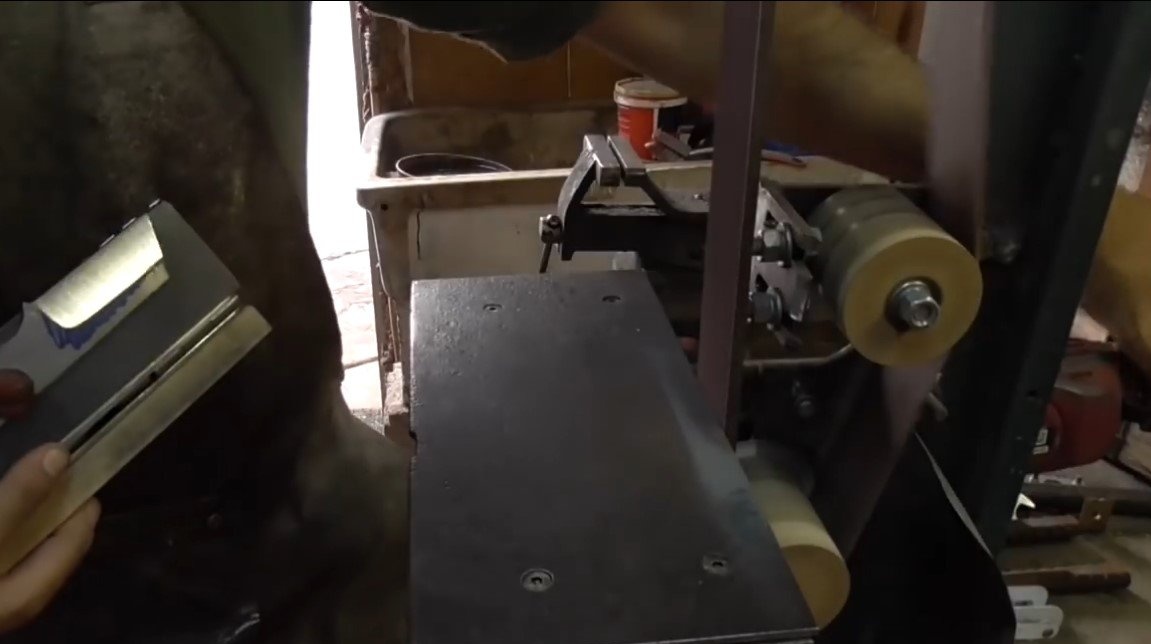
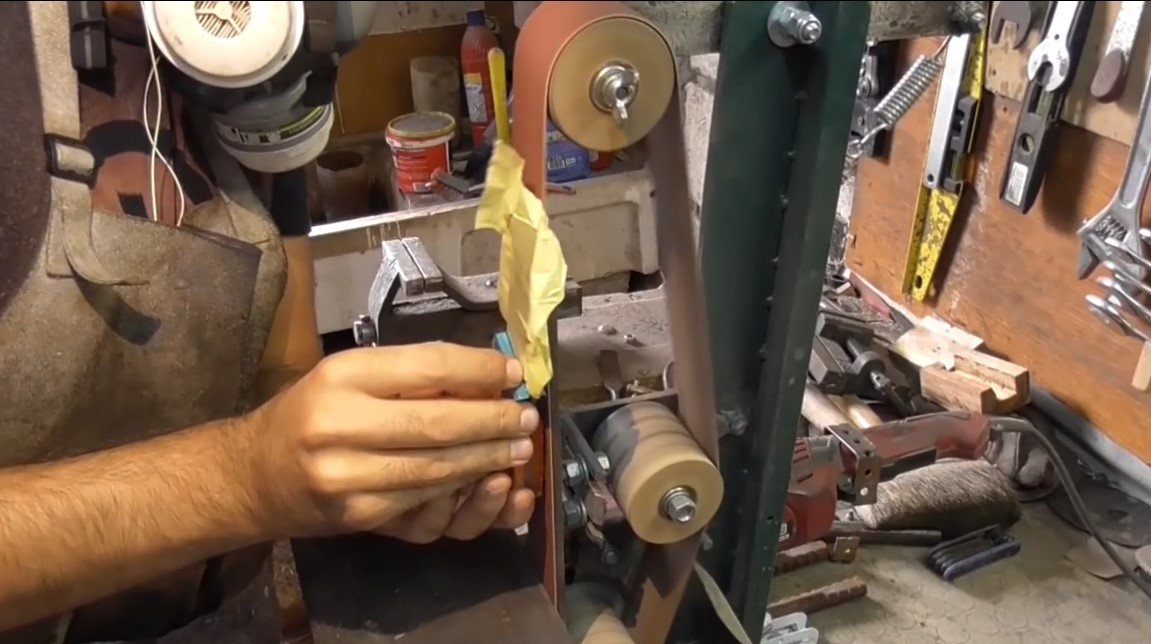
Step Two Finishing the knife profile
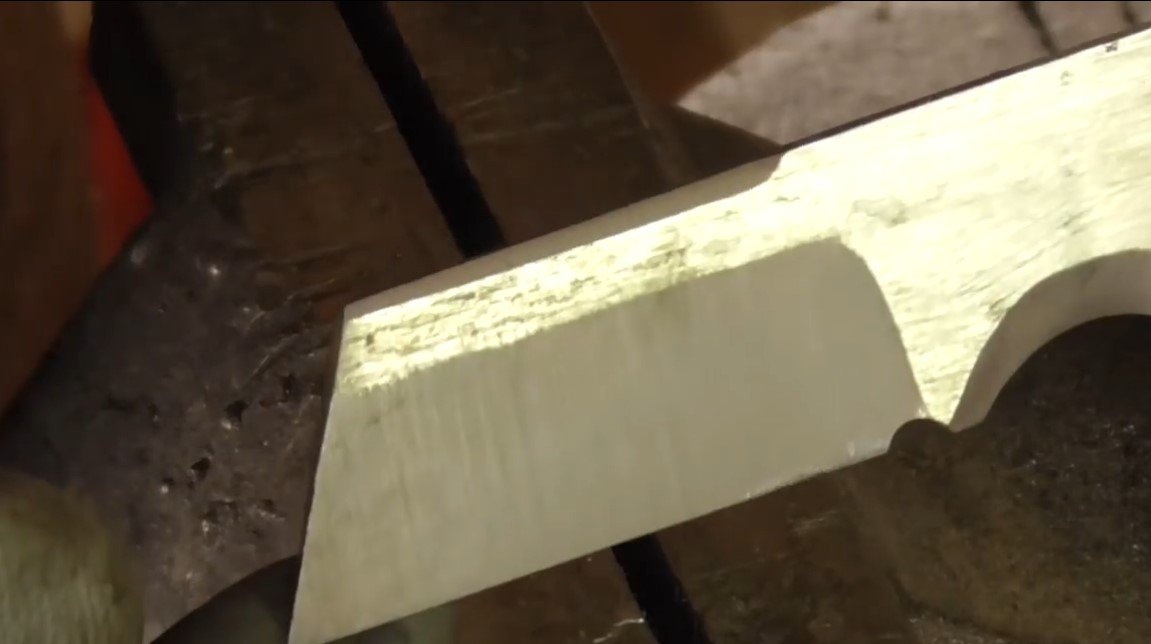
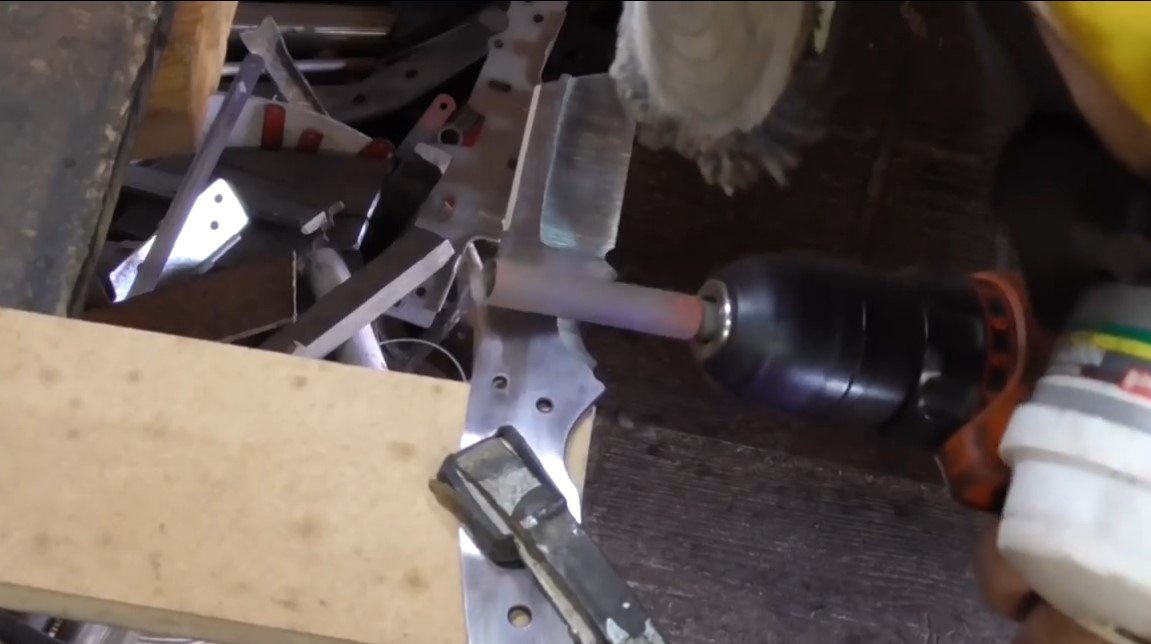
After cutting, we carefully grind the blade with a belt grinder. Concave parts can be polished on the roller of the machine, but here it all depends on its size. Where to crawl did not work, work with files, a drill or other available tools. At this step, you should get a finished knife profile.

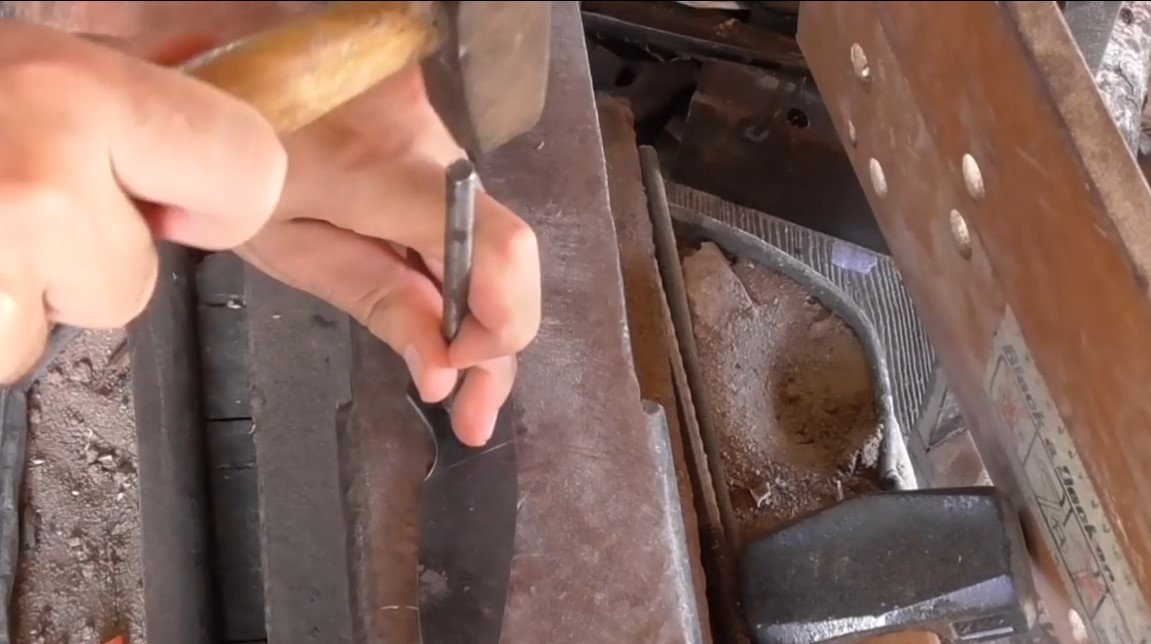
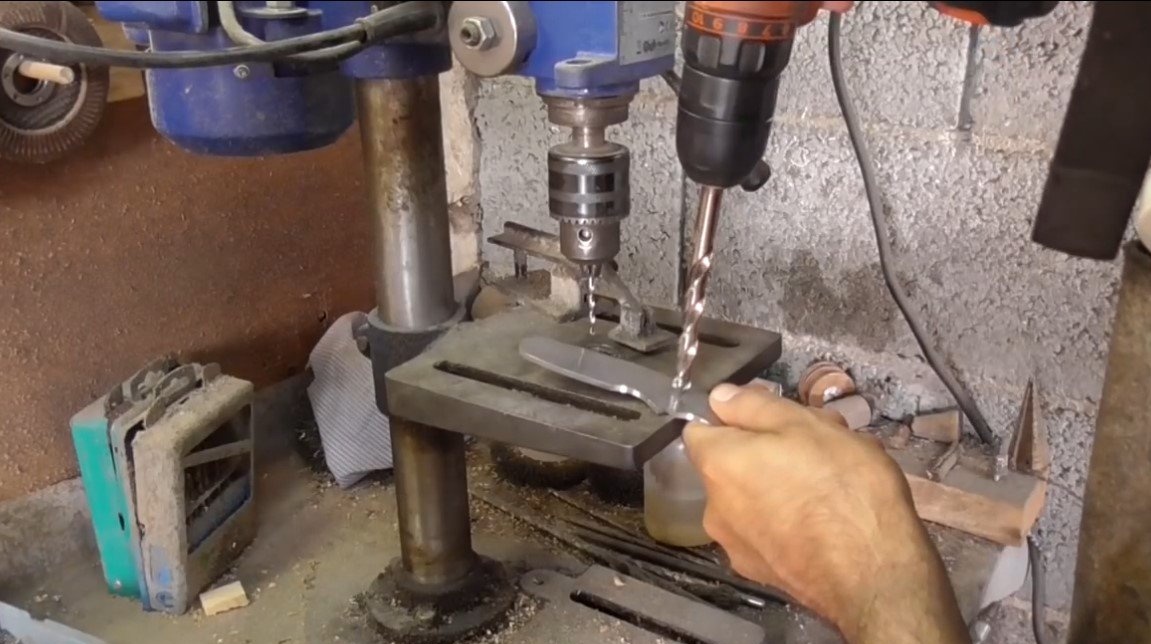
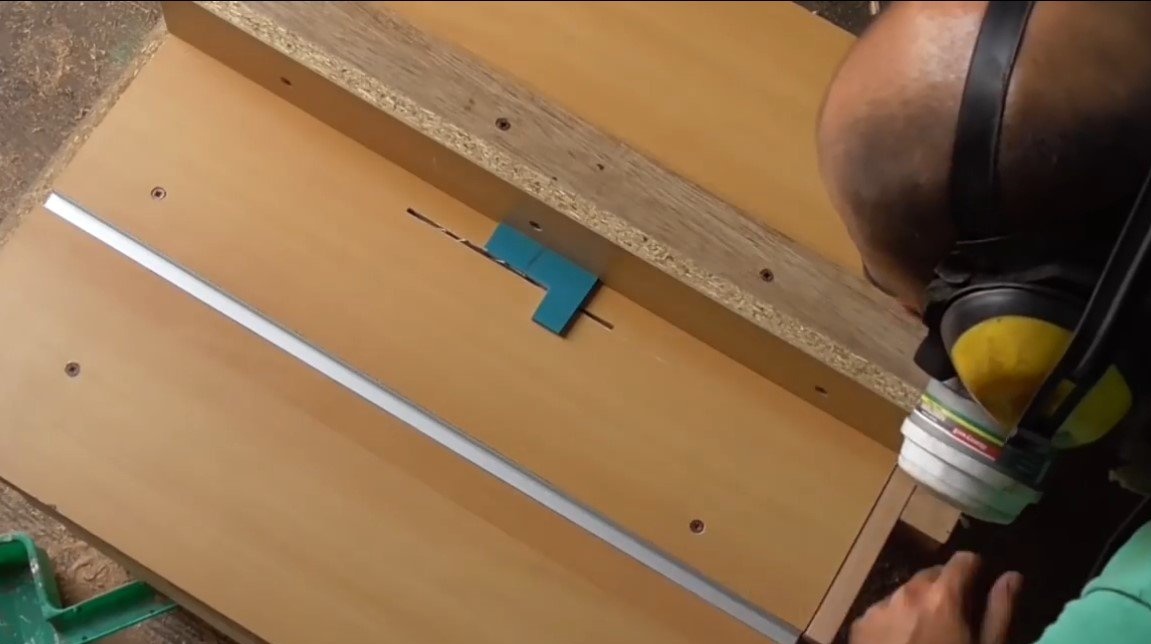
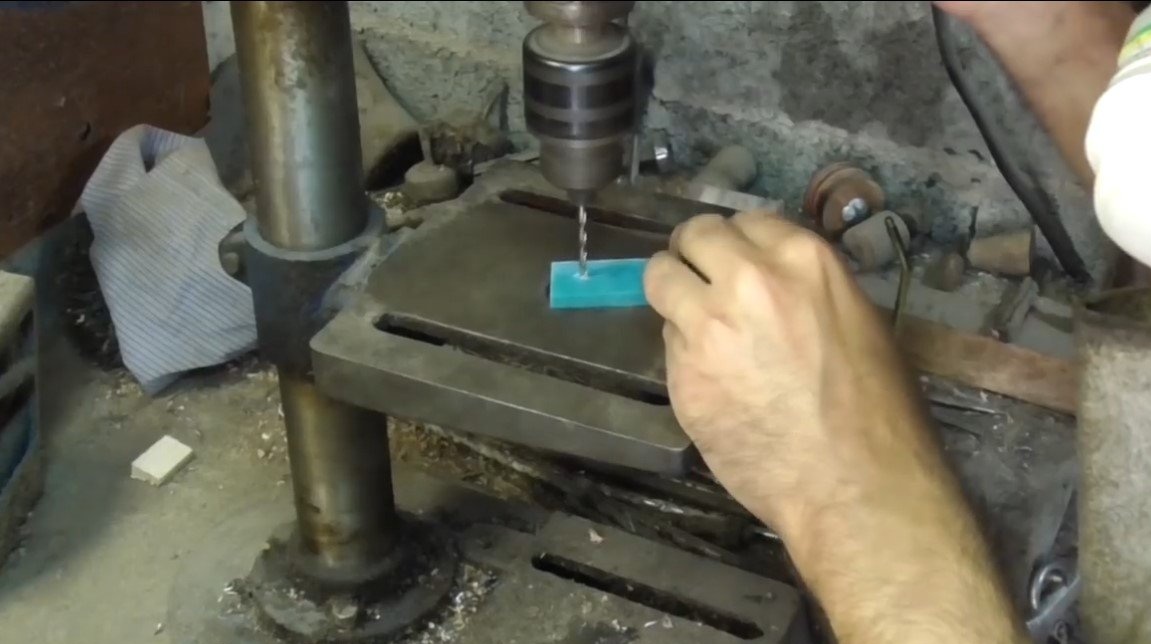
Step Three Holes
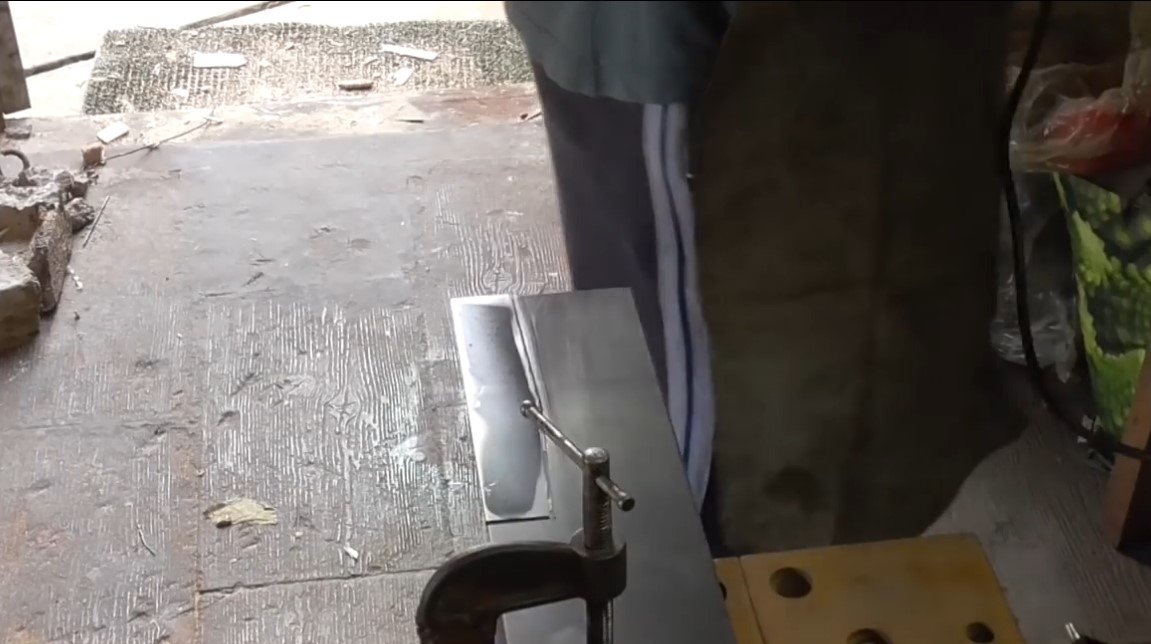
We drill holes in the tail of the knife. You need to do this before hardening, otherwise you will not take hardened steel with a drill. You can try to drill hardened steel with a drill on the glass, but not with every grade of steel this method can be rolled.Holes will be needed for the pins, we select the appropriate drill diameter.
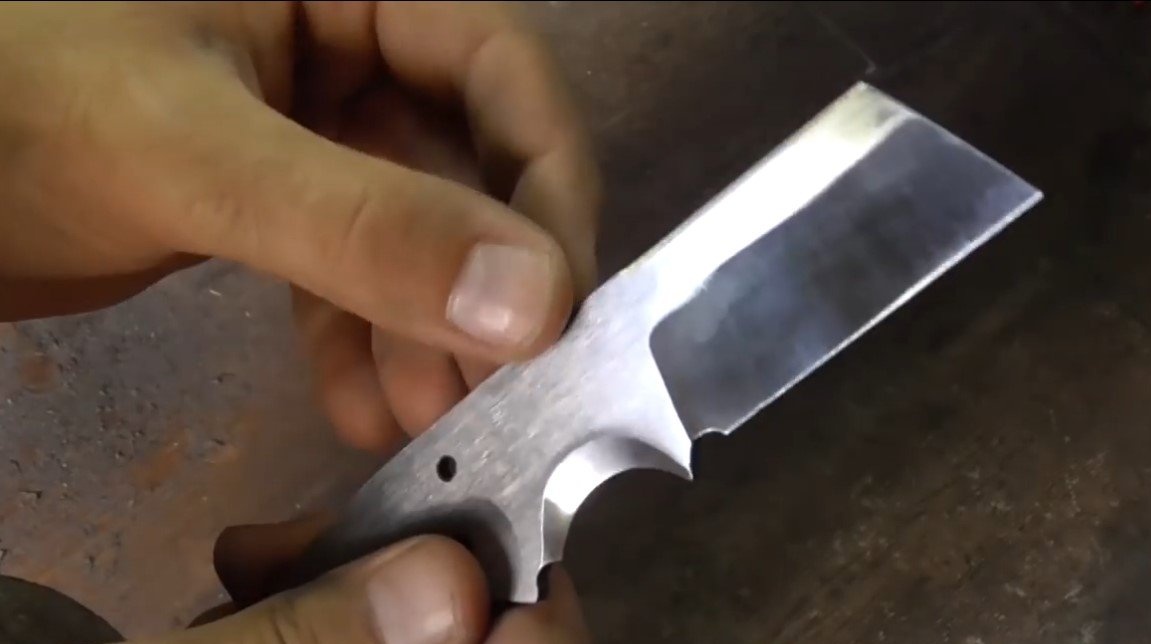
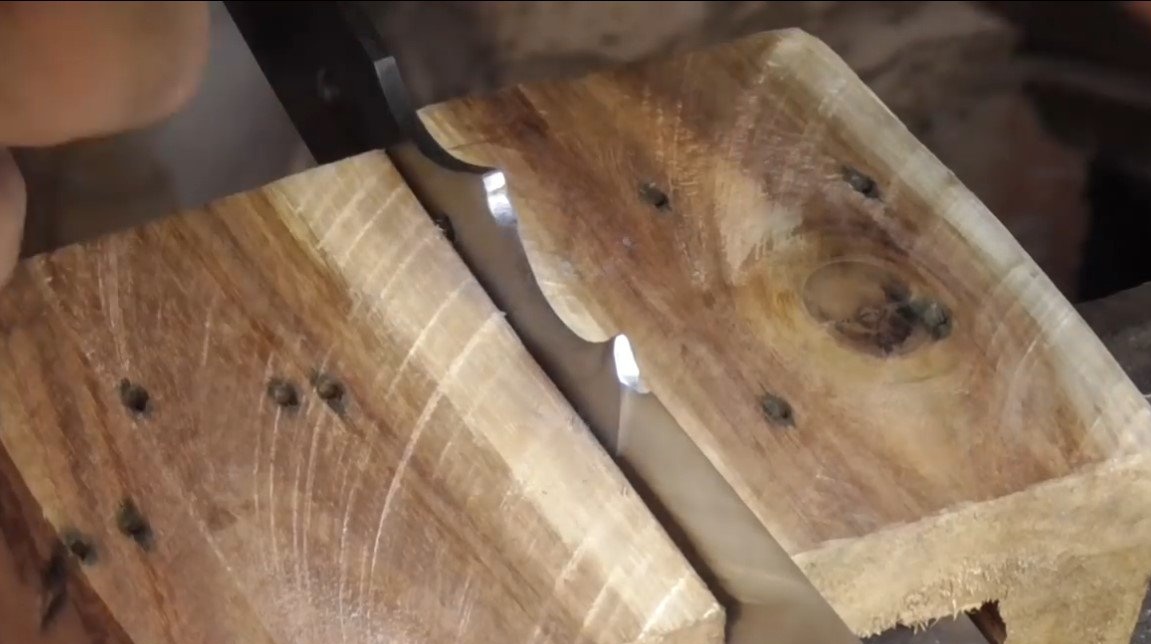
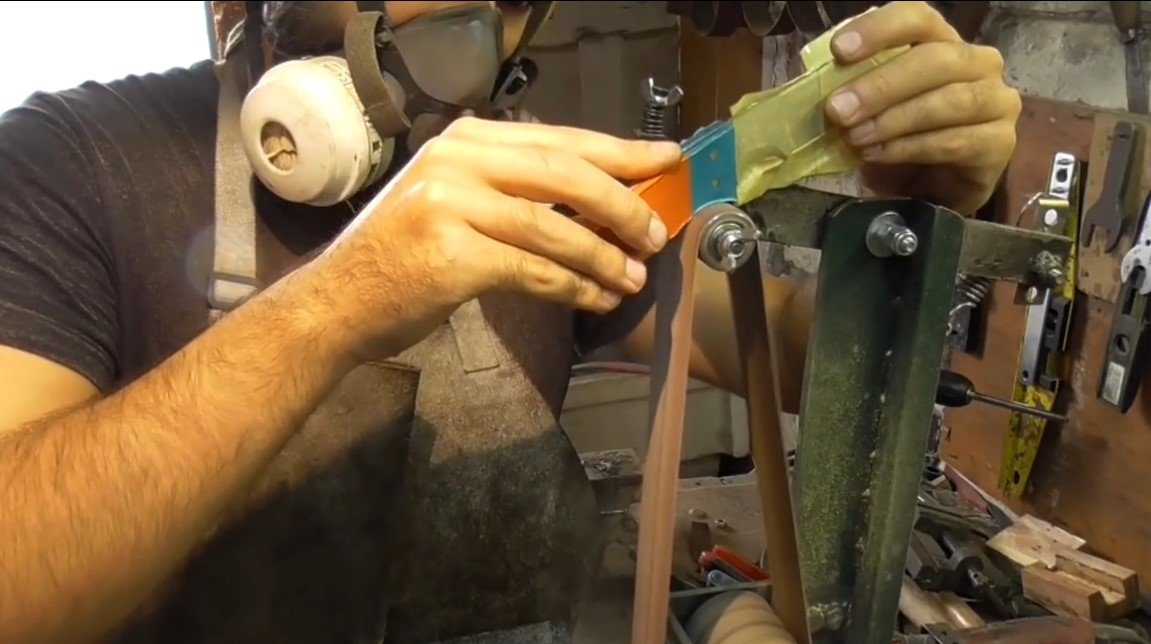
Step Four Slopes
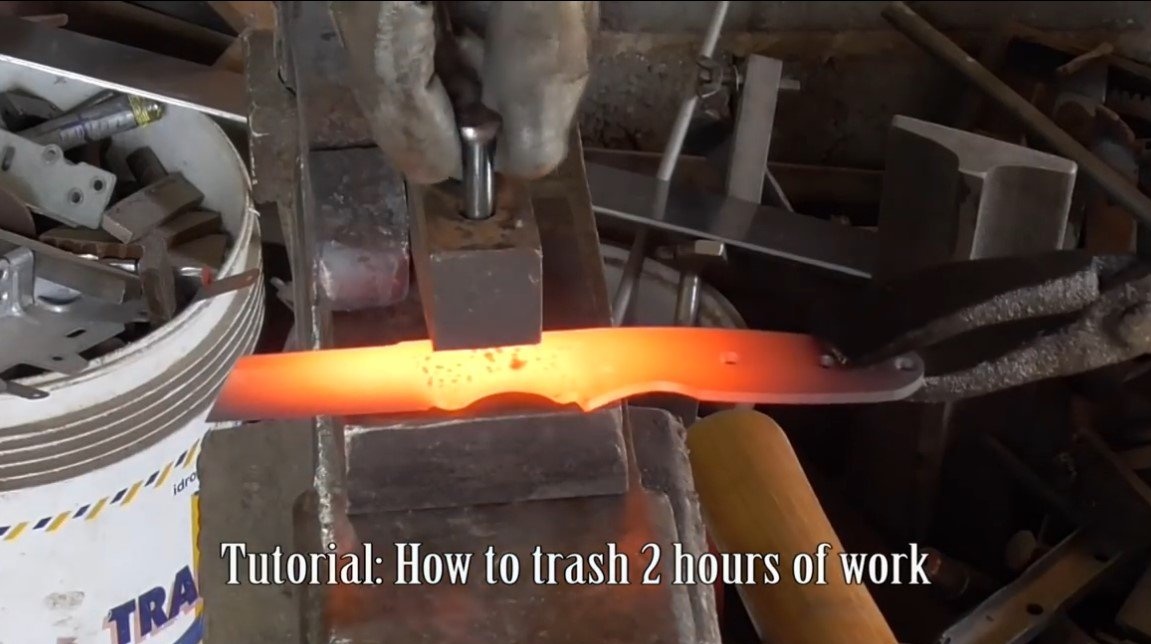
We form the slopes on the blade, rough work can be done manually, by eye. At this step, you do not need to make the blade too thin, the steel must be at least 2 mm thick, otherwise hardening can affect the strength of the steel. We also try not to overheat the steel, from time to time we cool the blade in water.

Step Five Heat treatment
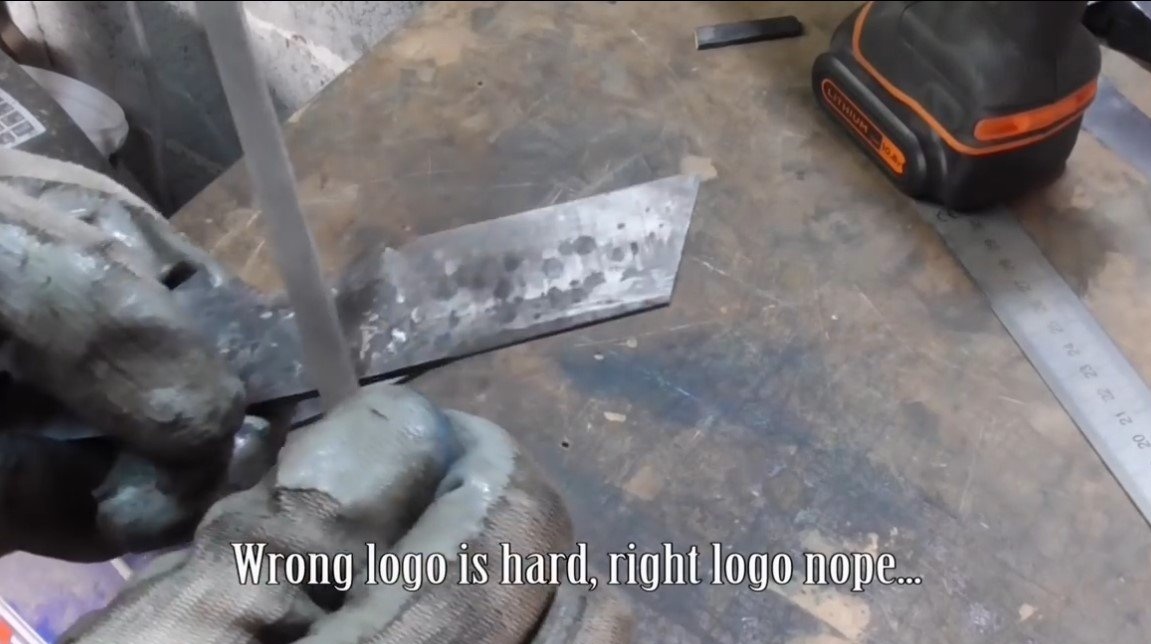
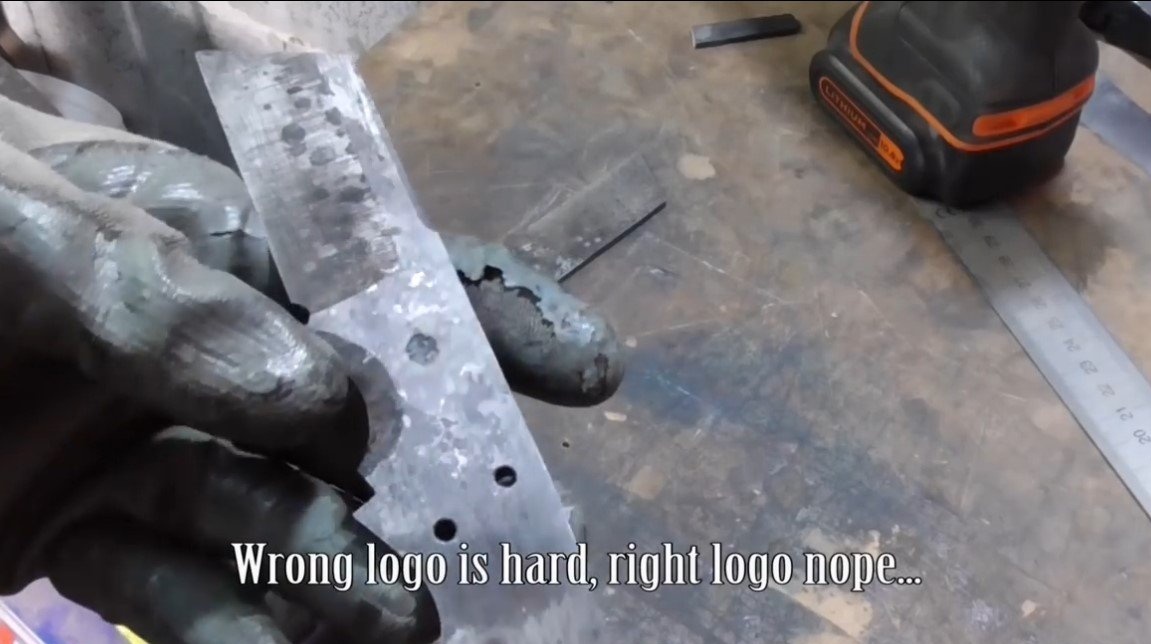
The blade can be hardened, the author heated the steel to a yellowish glow and decided to put his original brand.
Well, then you can proceed to hardening, heat the blade and dip in oil. The approximate temperature of the wizard is determined by the color, but if you are a beginner, you can use a magnet. The permanent magnet will not be attracted to steel if it is warmed up properly.

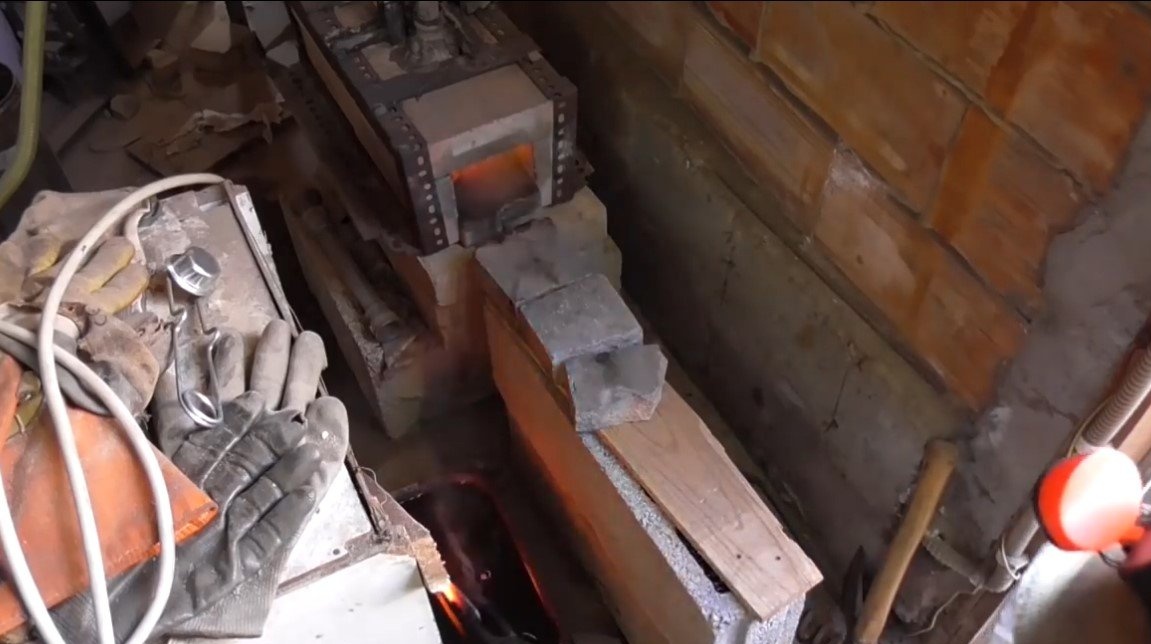
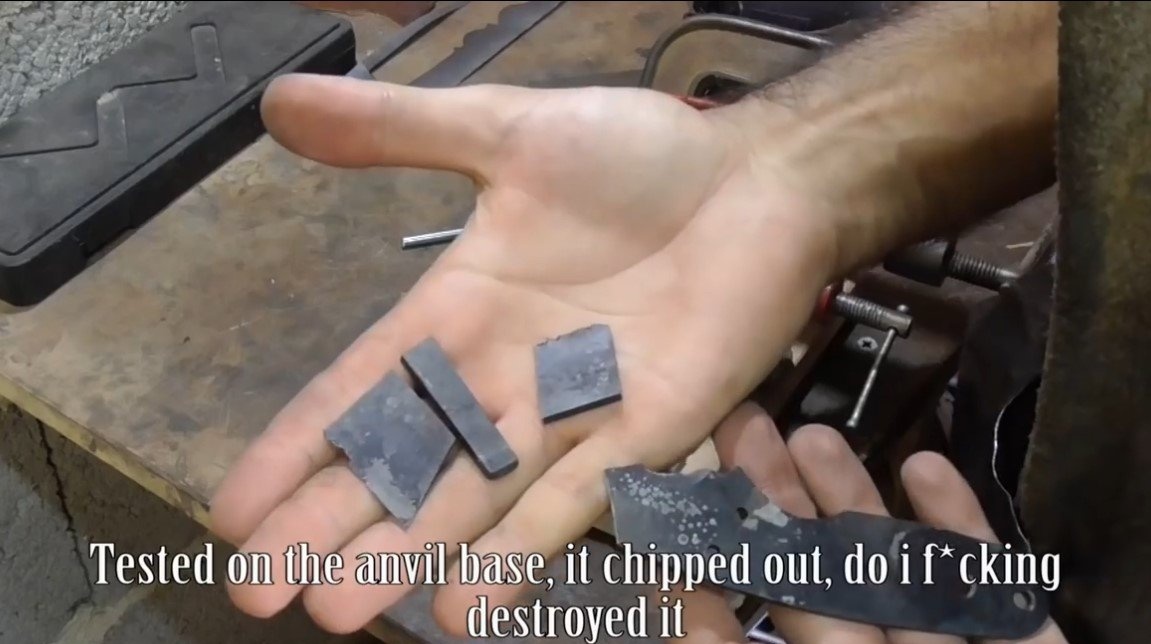
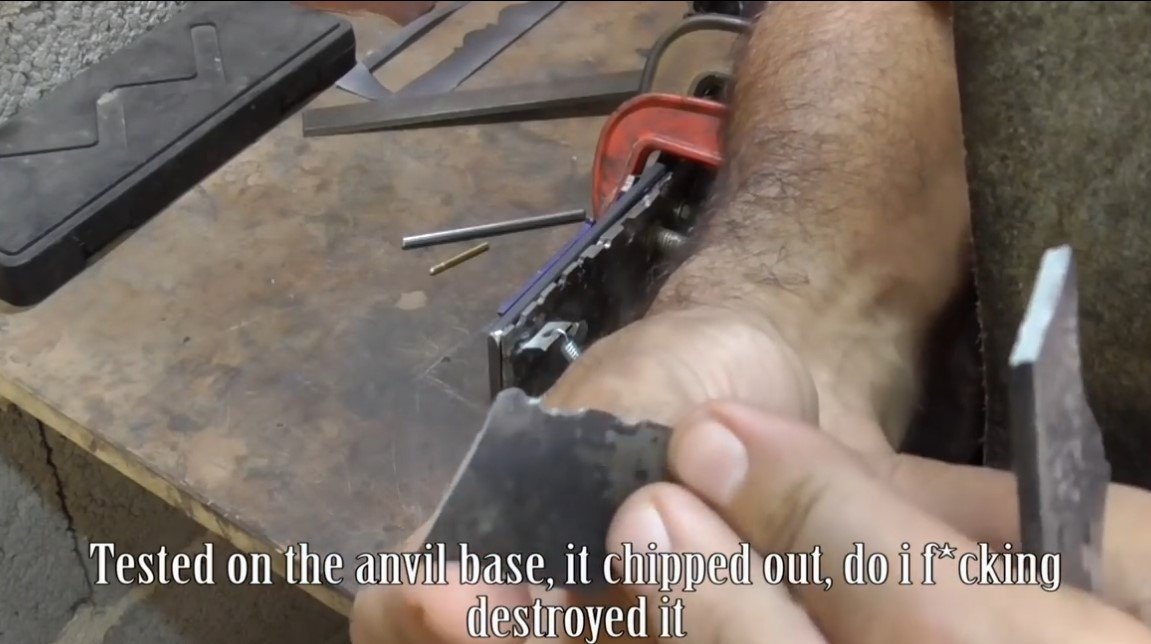
After hardening, we must immediately release the blade in the oven, shades of straw color should appear on the steel, the temperature and time for each brand have become individual. Otherwise, the blade may crumble from the slightest blow, as happened with the author. Correctly hardened steel will spring, and will not be taken with a file.
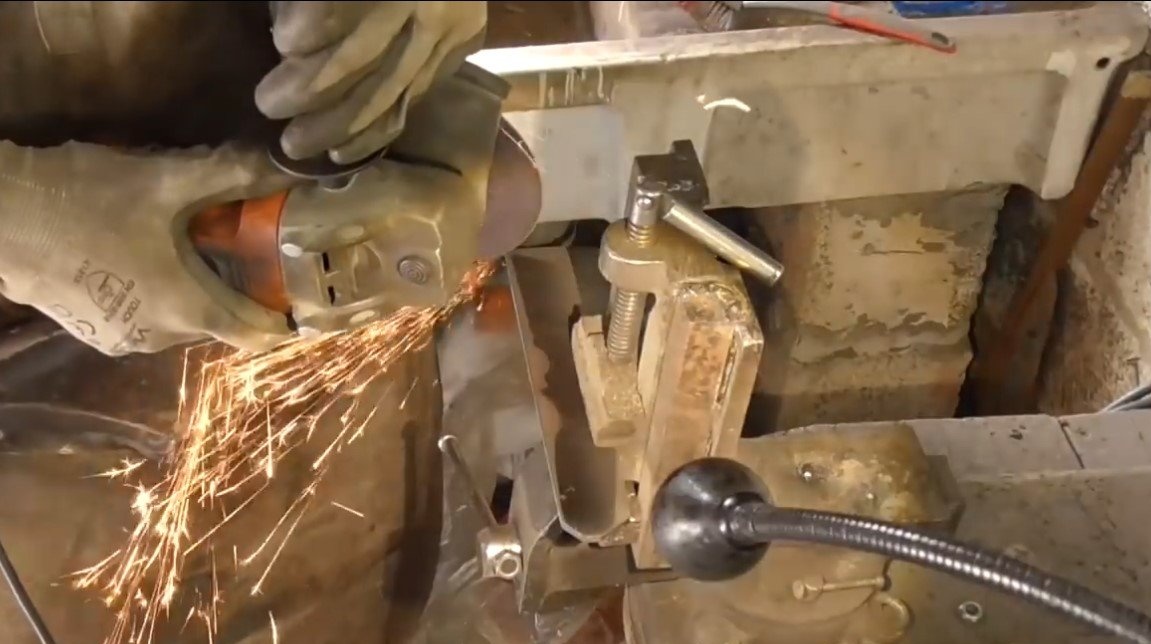
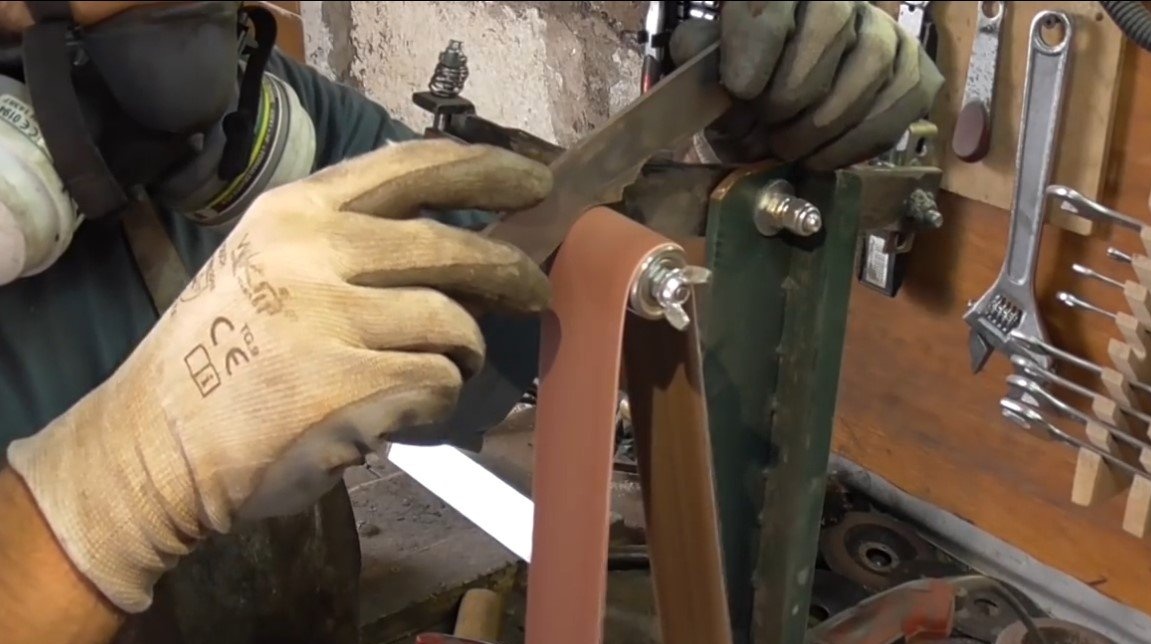
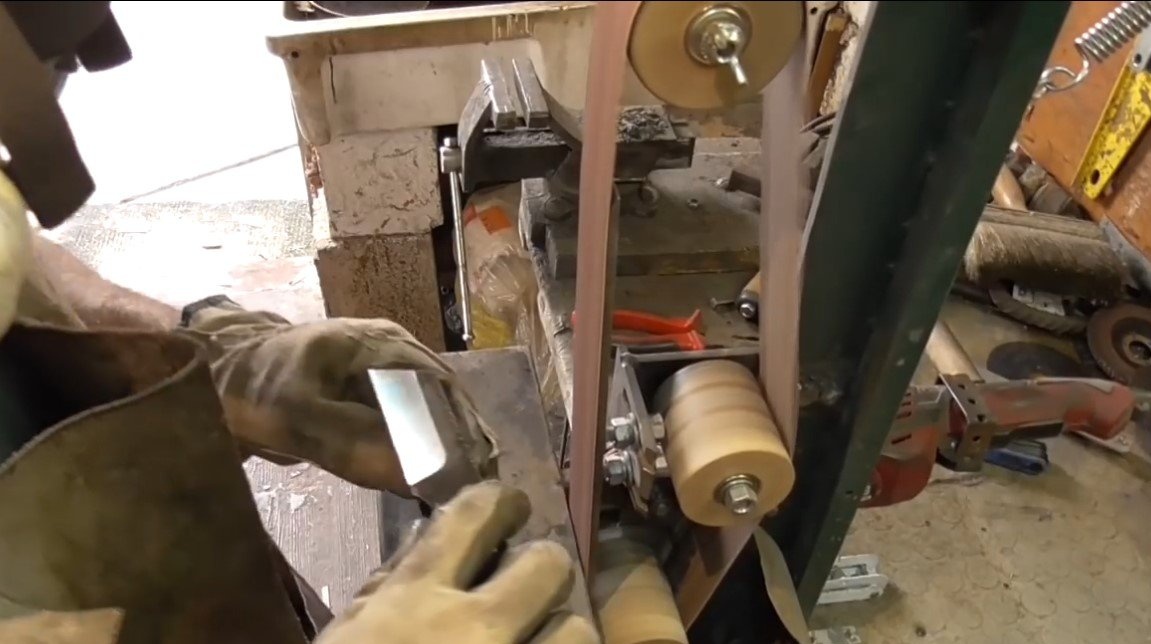
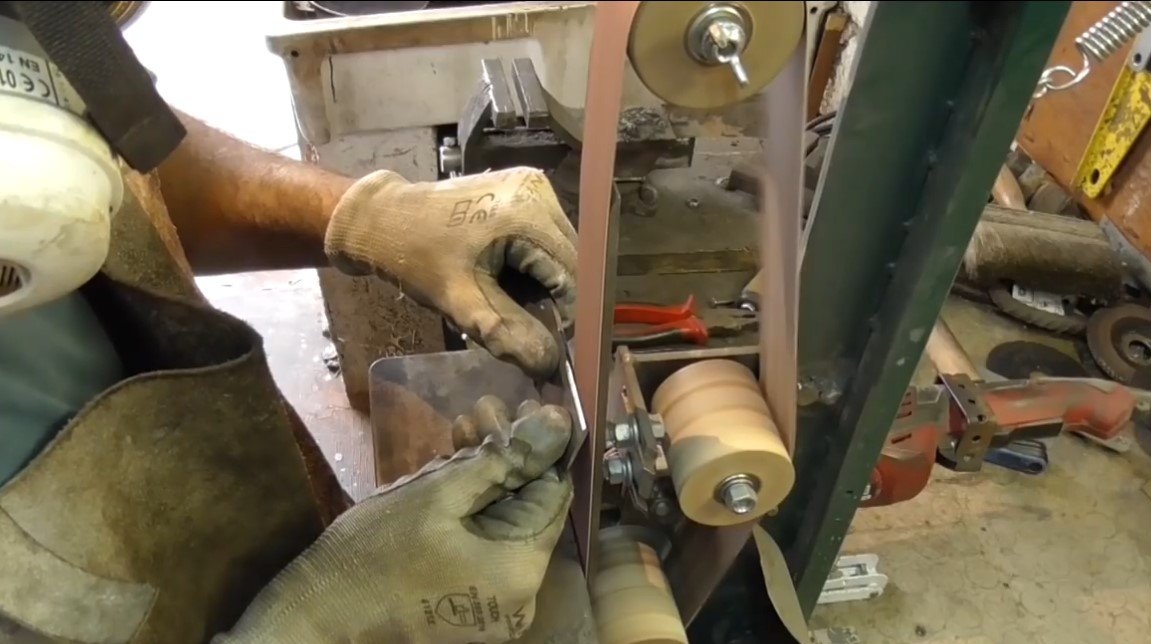
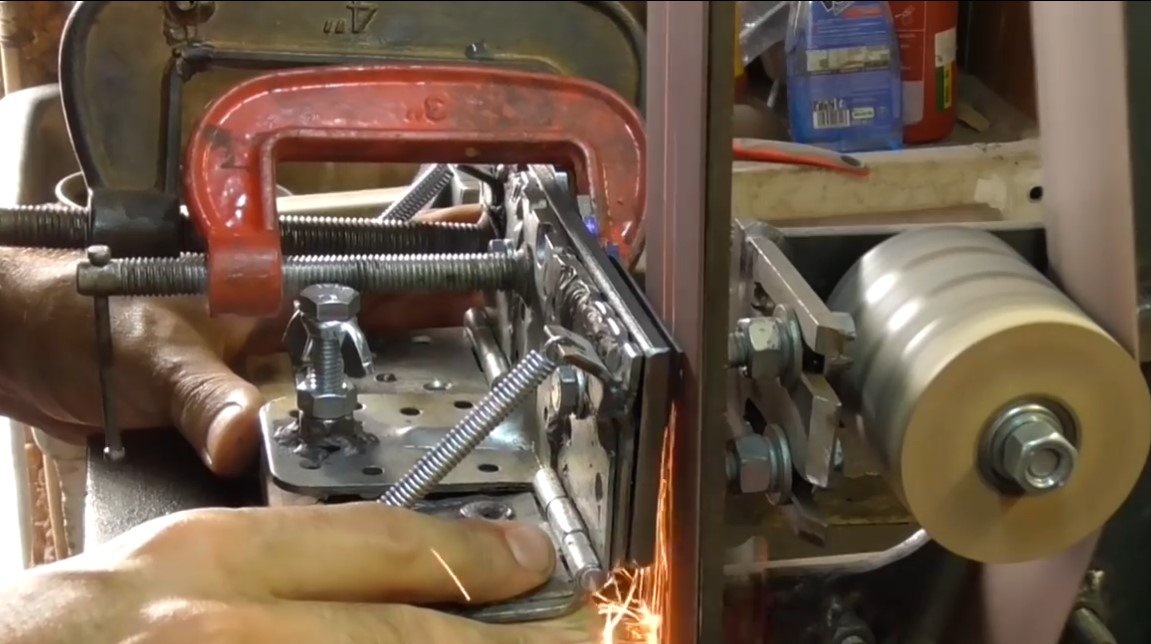
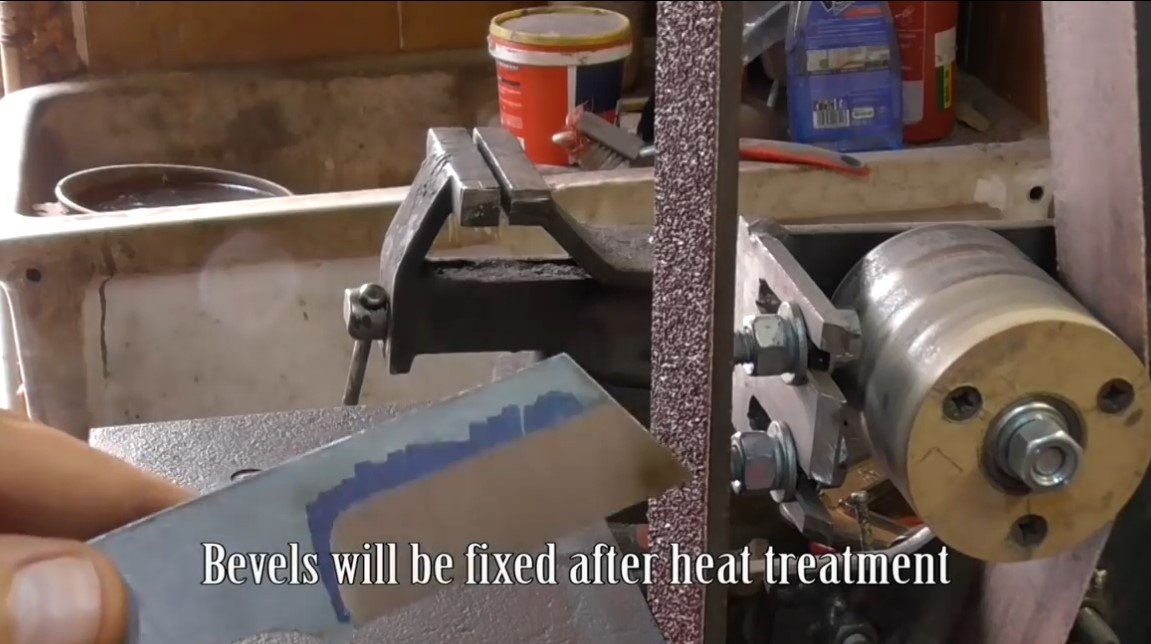
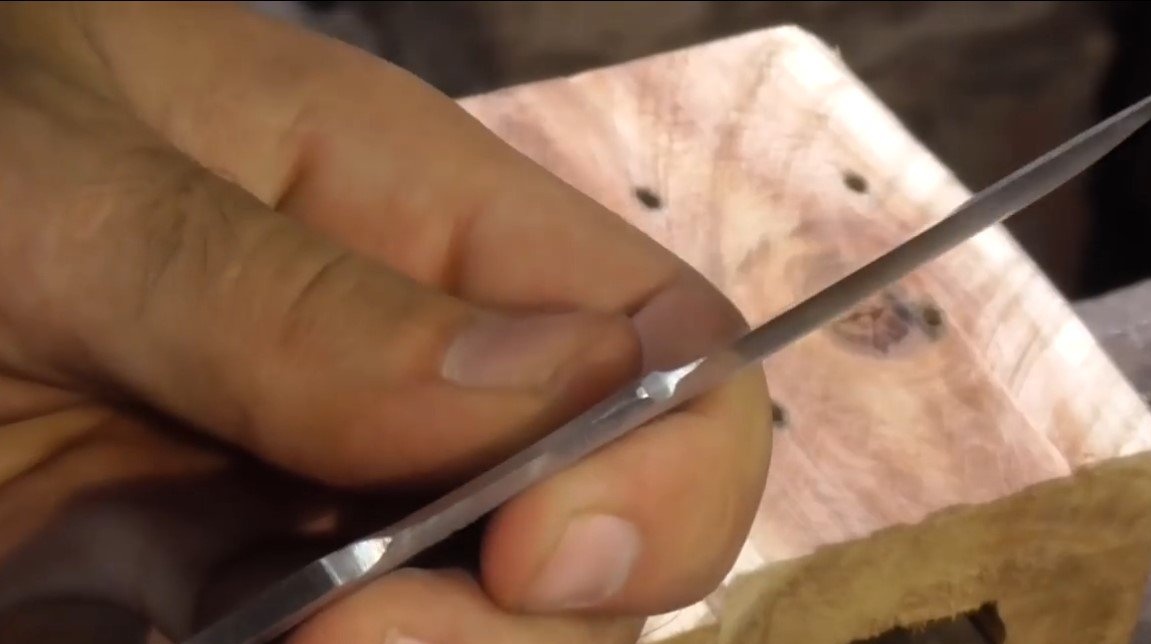
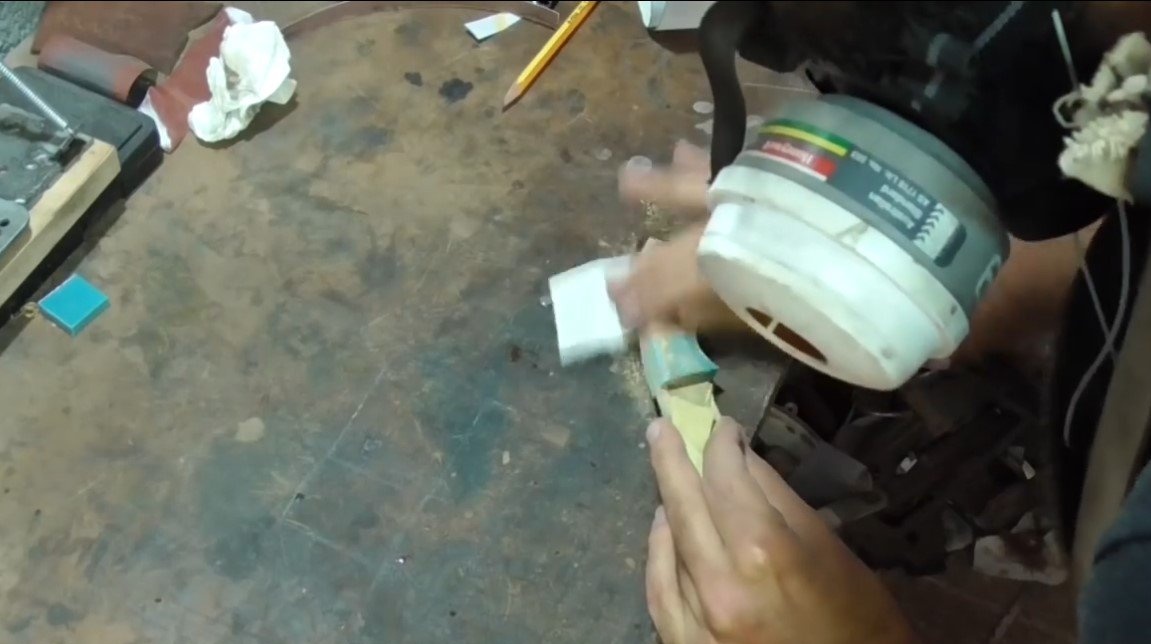
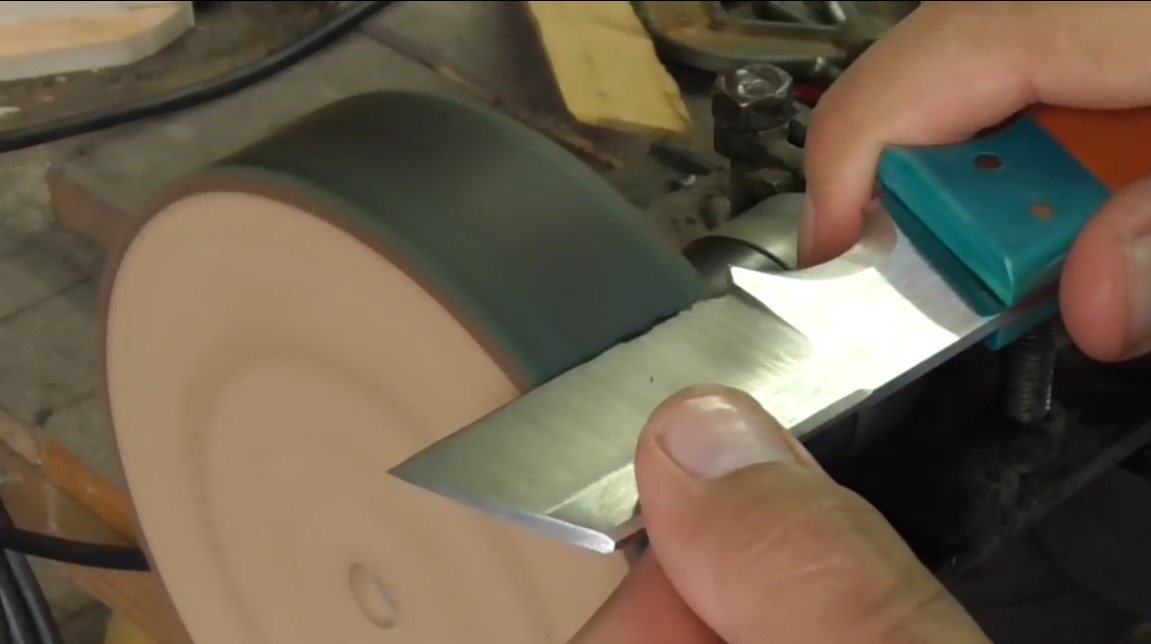
Step Six Sharpening and finalizing
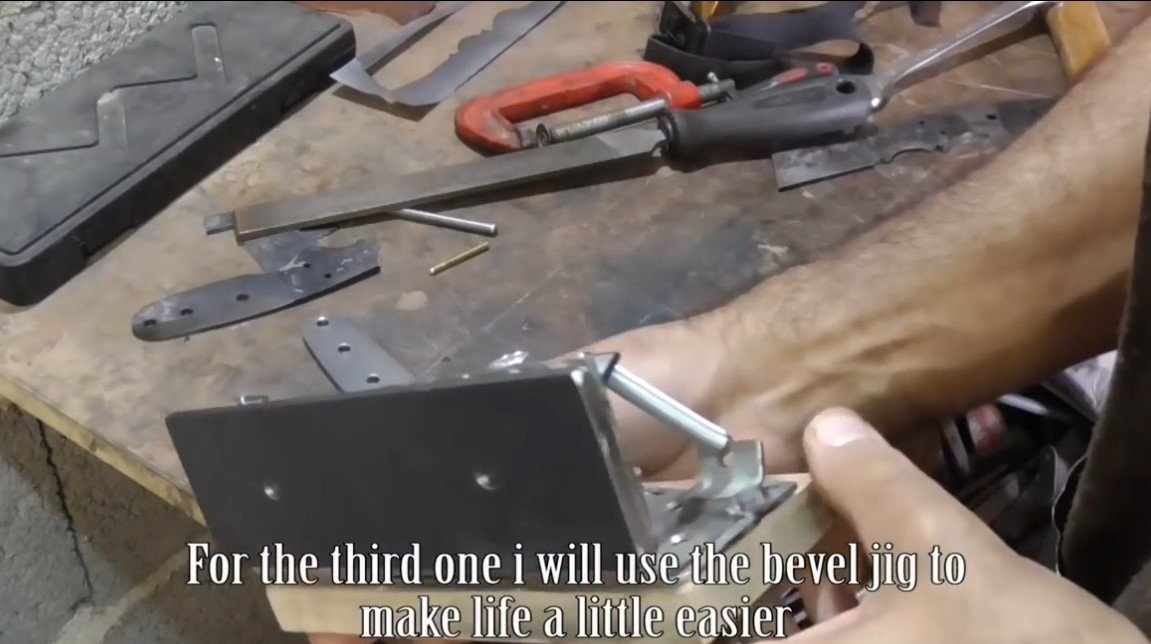
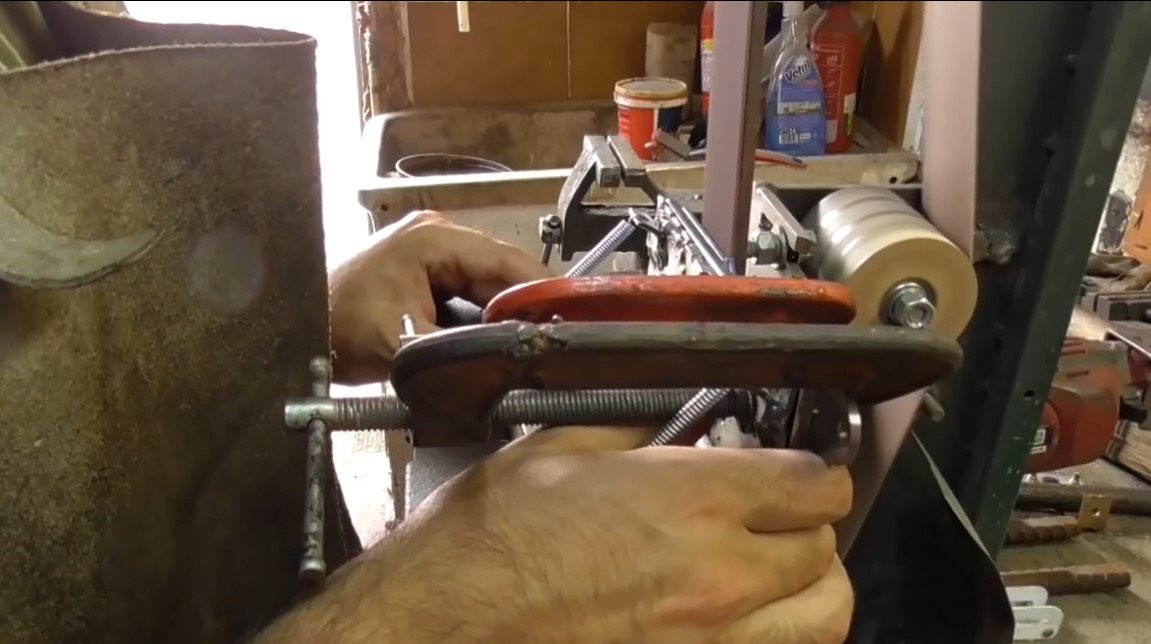
We are finishing the bevels, the author made a special holder to clearly withstand the angle of grinding. At the end, we sharpen with a fine sanding belt "by eye". Care must be taken, the author holds the blade against the movement of the tape. So steel is sharpened well, but if the seam of the tape hits the blade, the consequences can be dire.
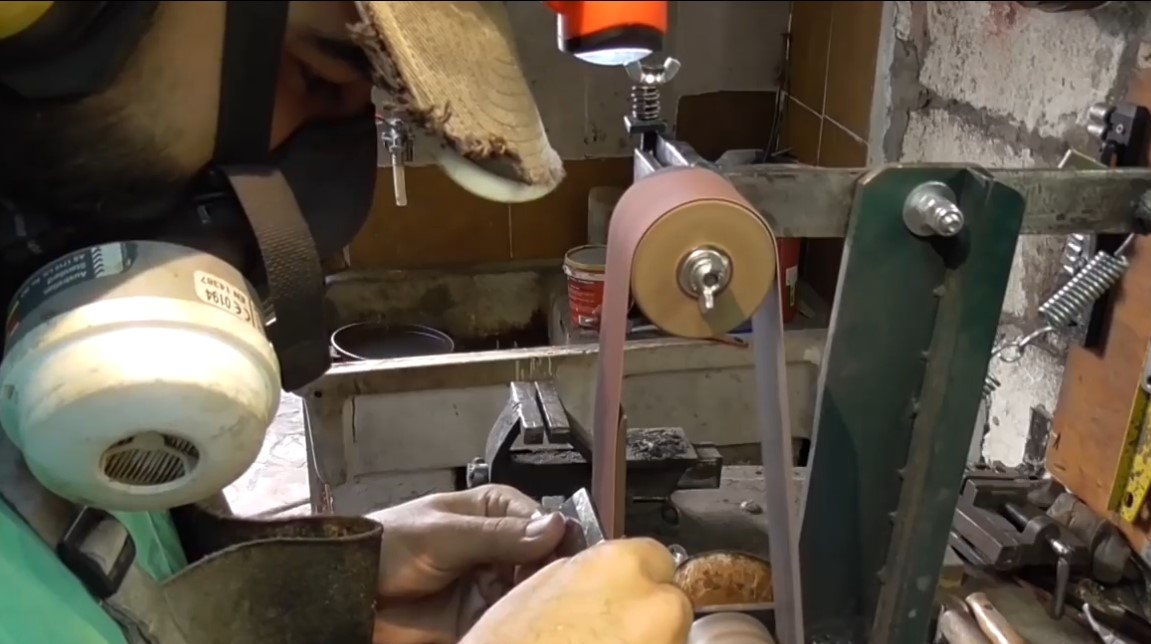
At the end, we finish the knife with an emery and a drill, instead of a drill, the author used a drill with an emery cloth.

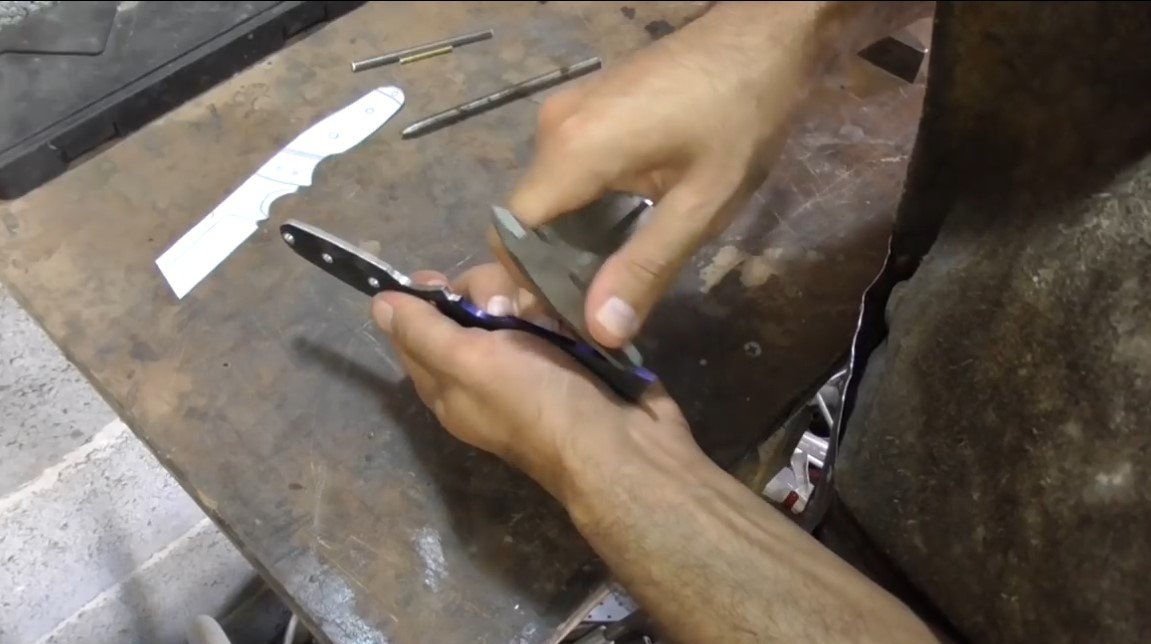
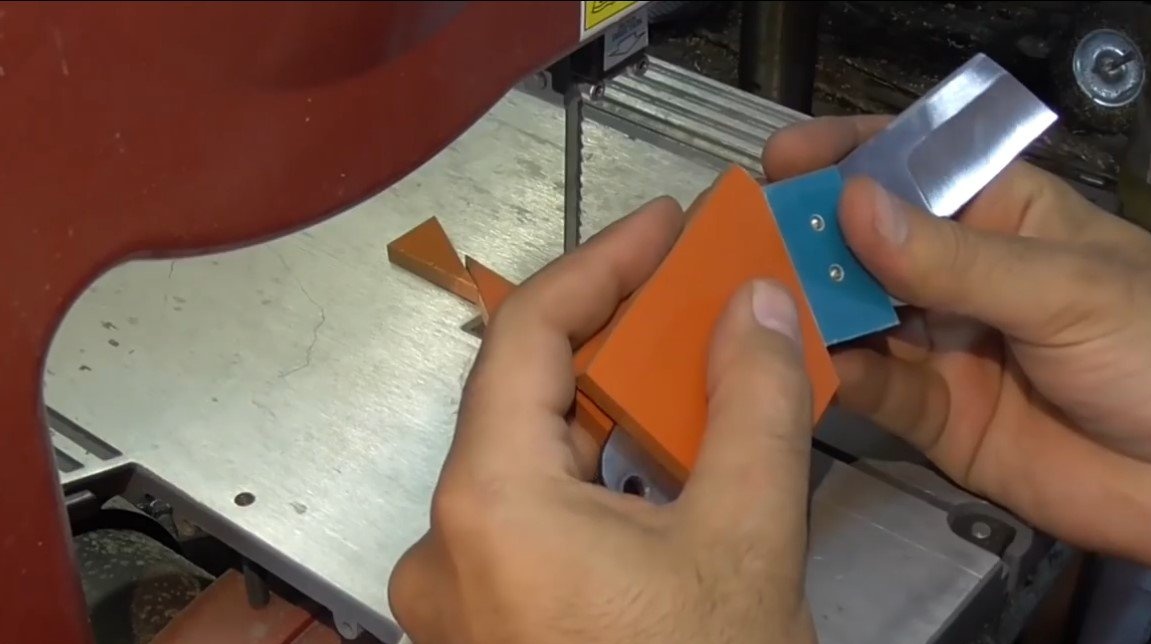
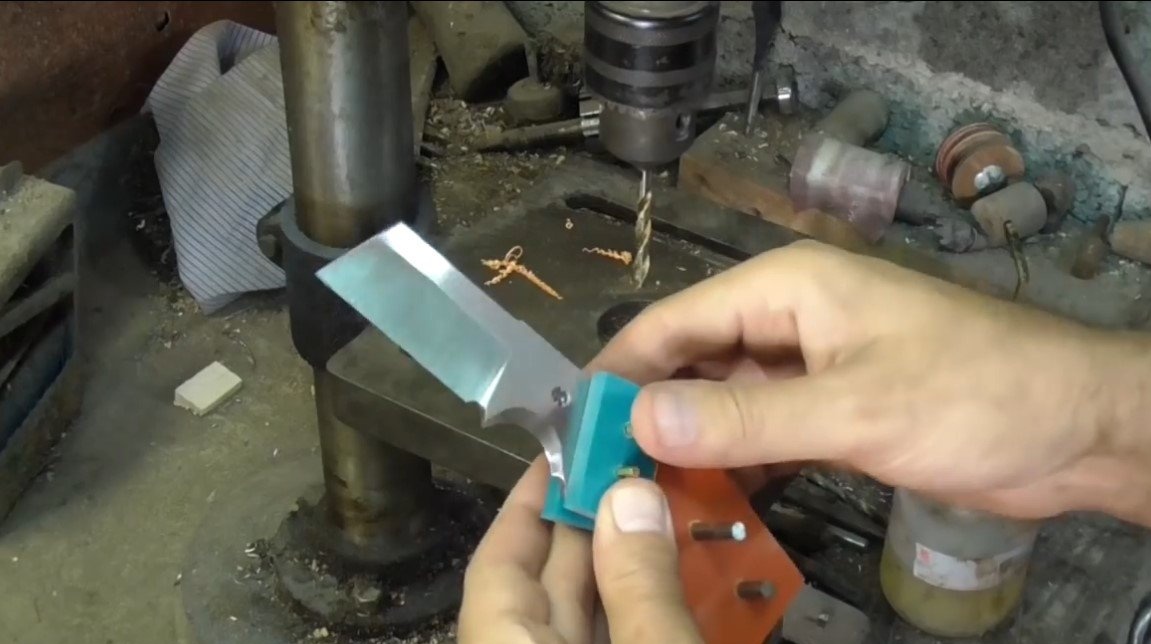
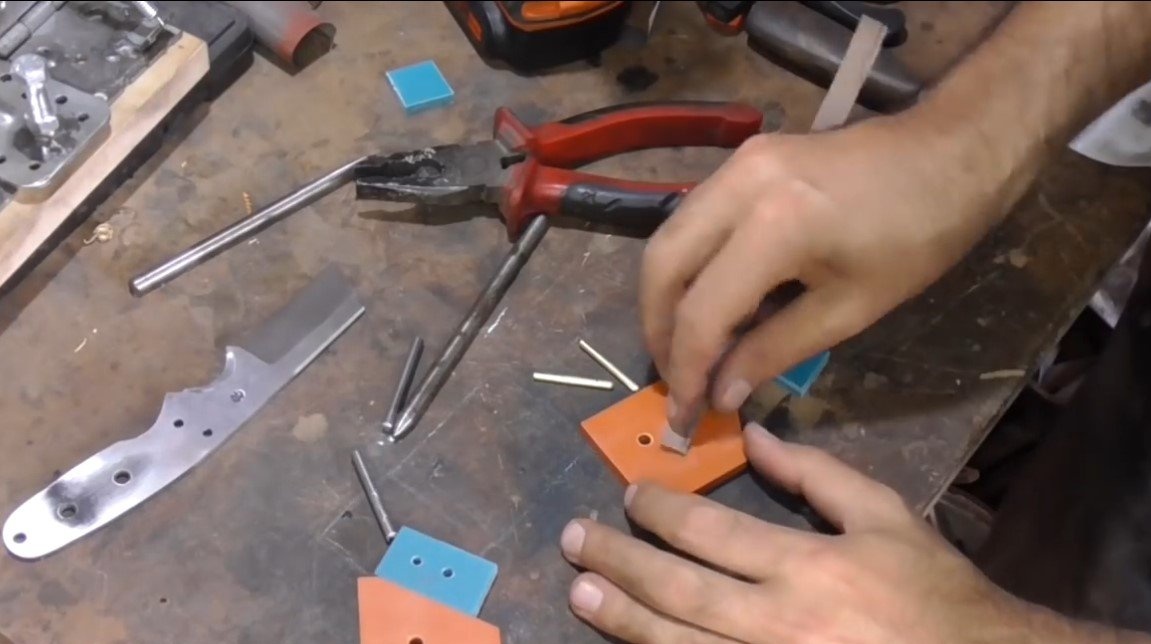
Seventh step. Handle assembly
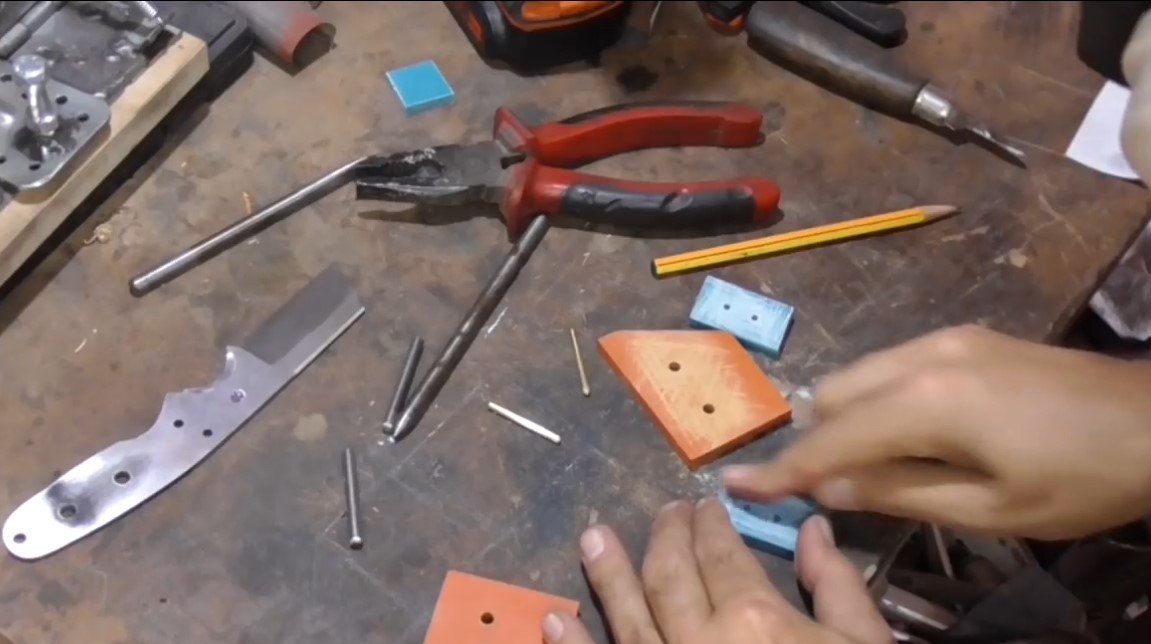
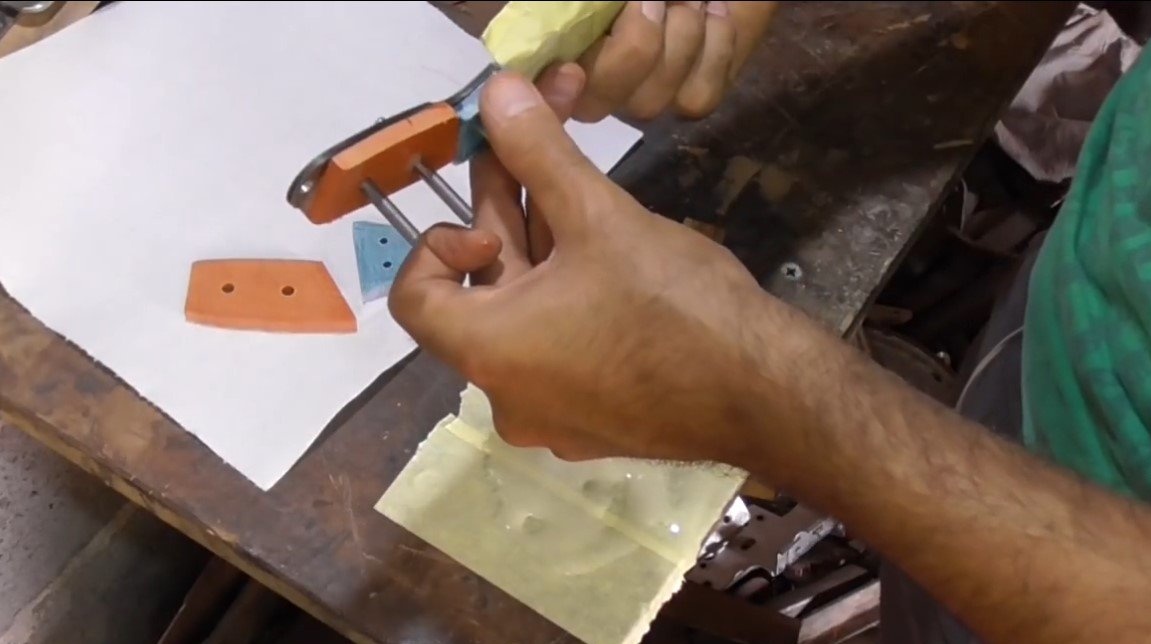
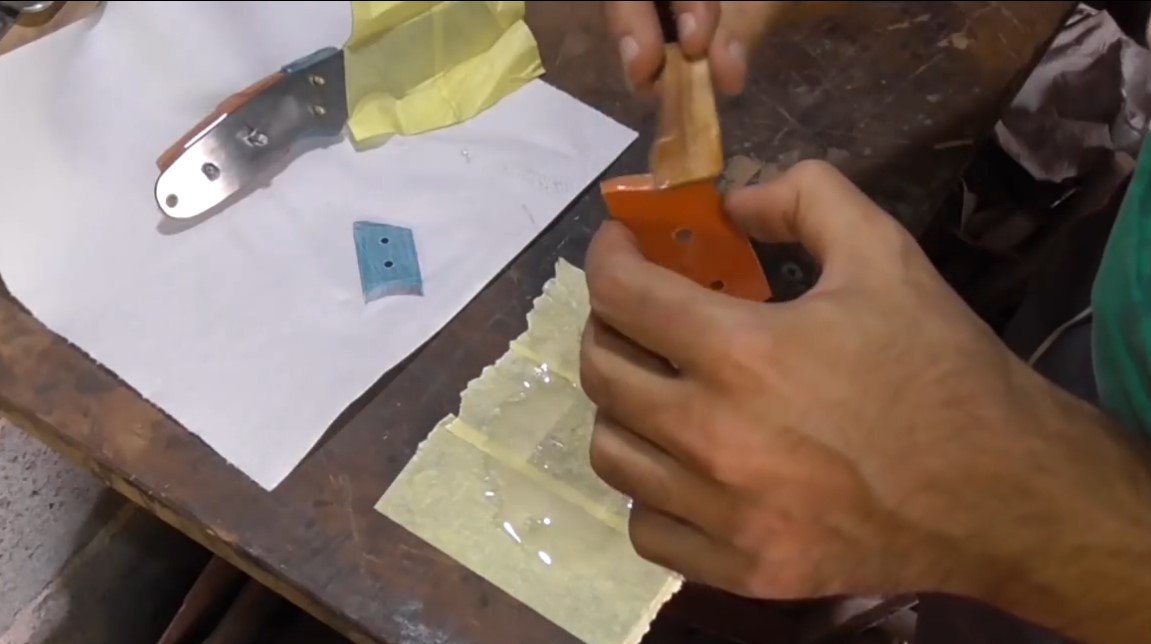
We assemble the handle, to begin with, the author cut the blanks for the linings from G10, it is convenient to work on a band cutting machine and a circular saw. Lining consists of two halves, different colors.
When everything is ready, we prepare the pins and glue the future pads on the handle. We clean all glued surfaces with rough sandpaper so that the glue sticks well. At the time of gluing, we tighten the handle with clamps.

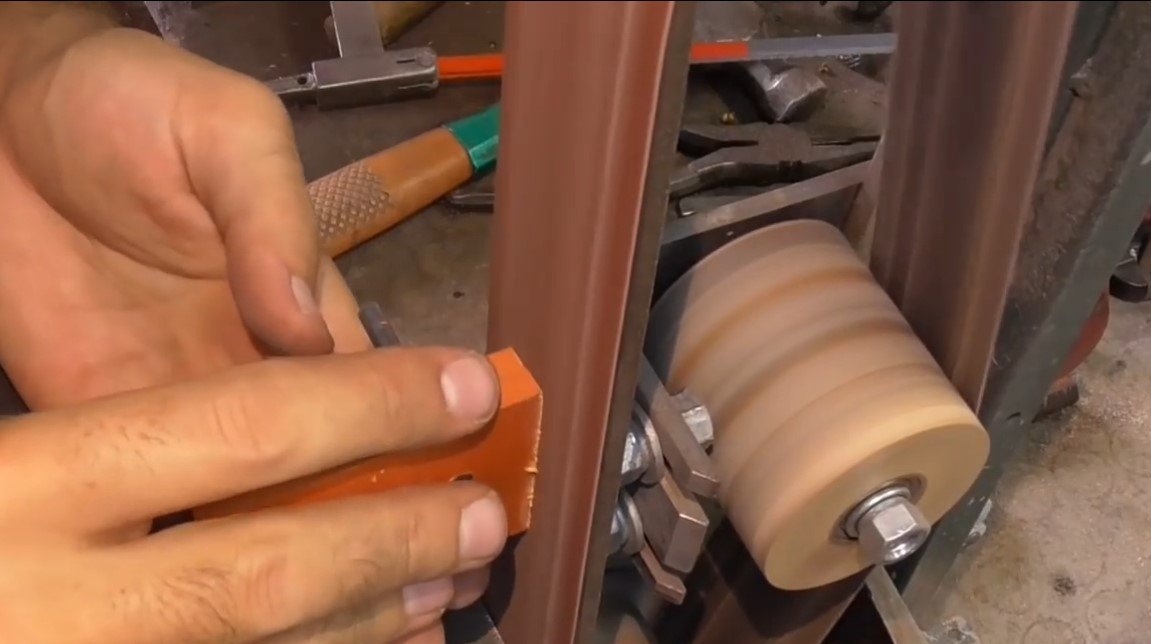
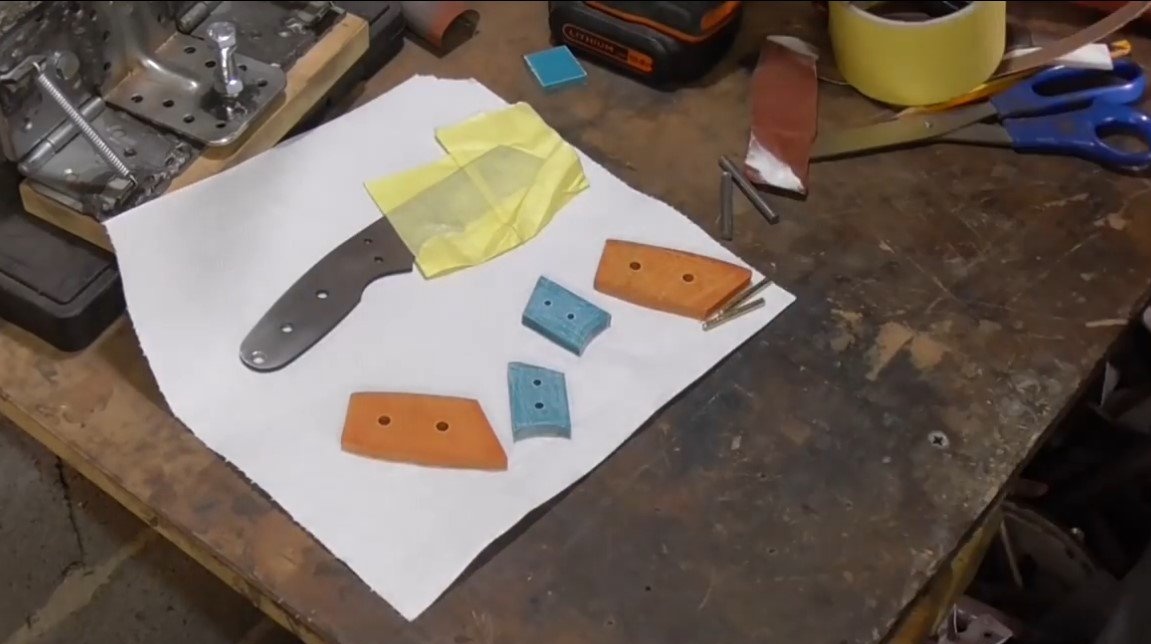
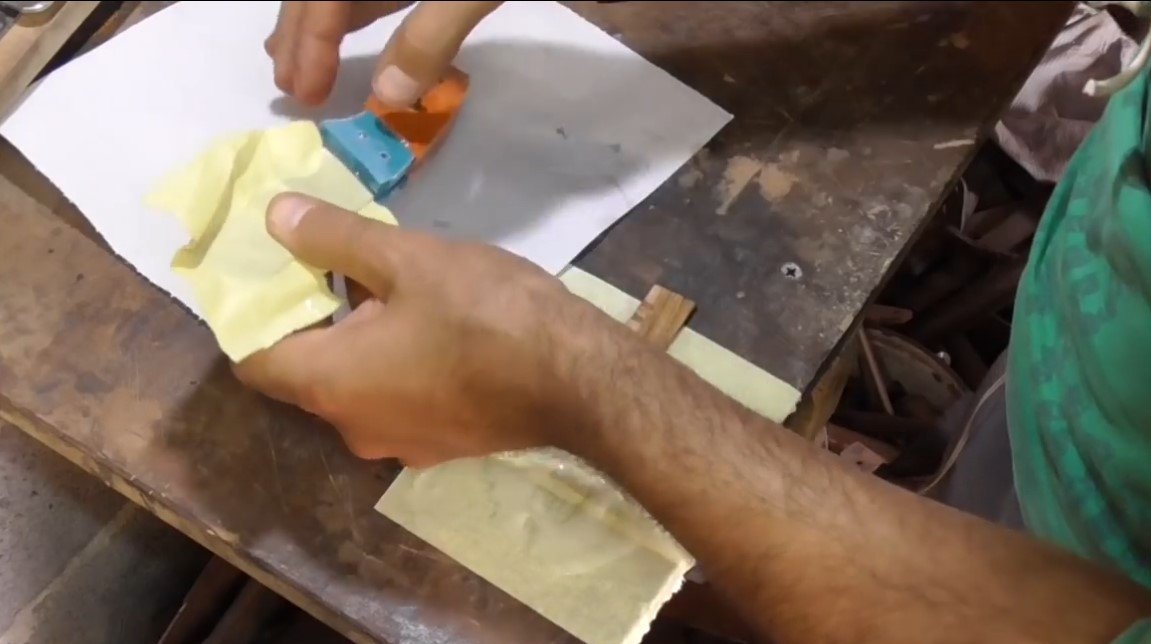
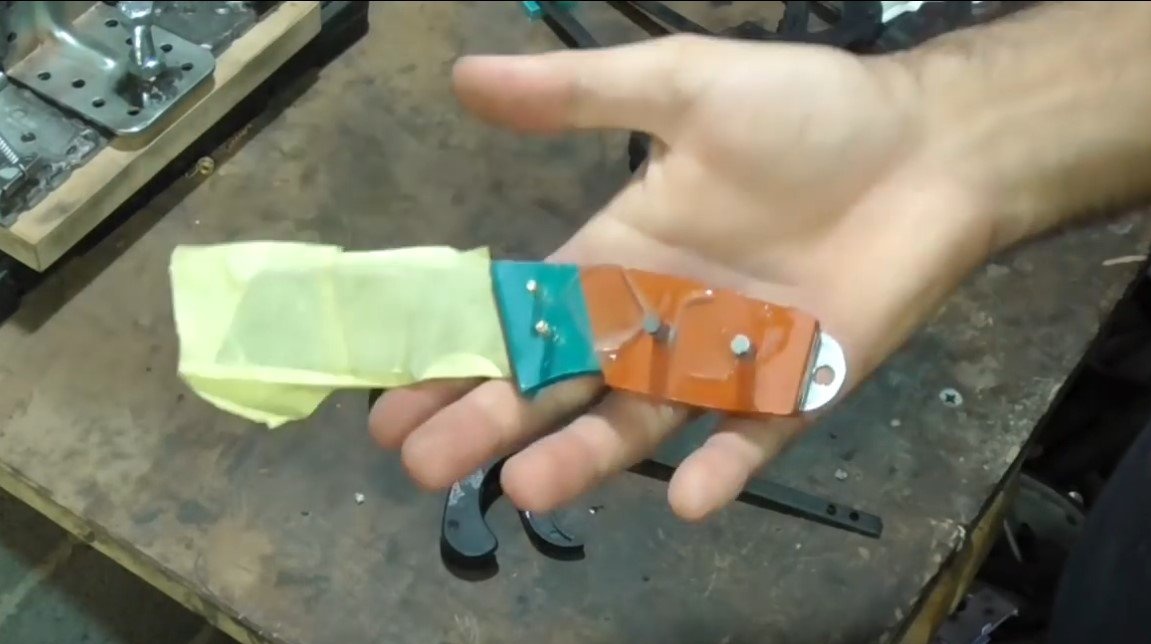
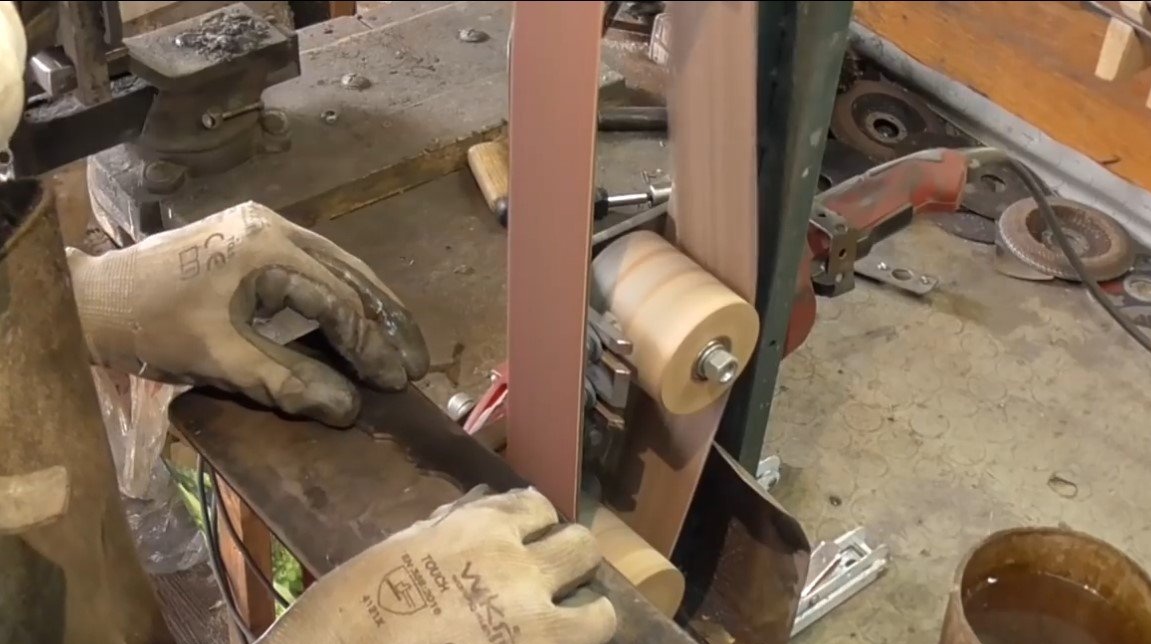
When the glue has hardened, it remains to form the desired profile of the handle using a belt grinder. We form a perfectly smooth surface by hand, using sandpaper. It is possible to grind such material with water, it is faster and better.
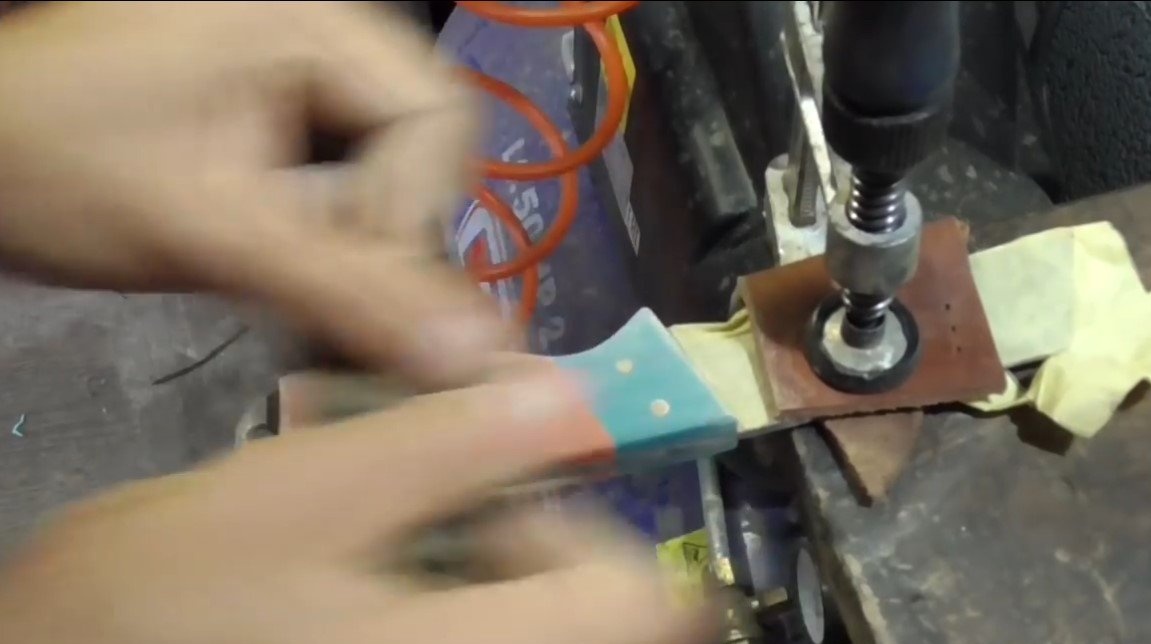
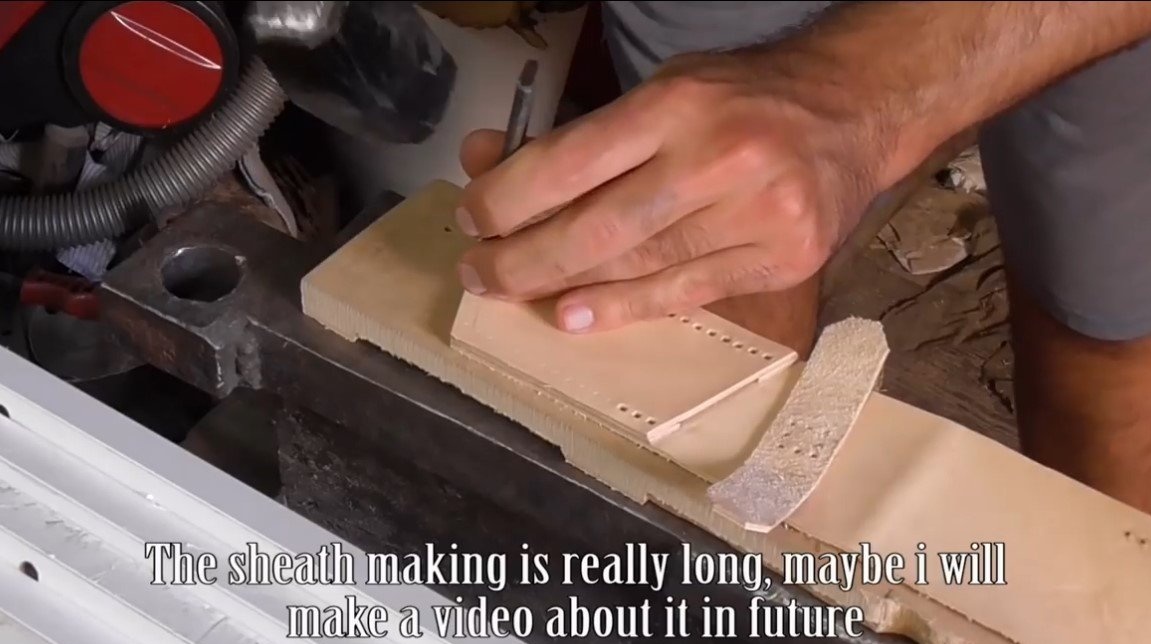
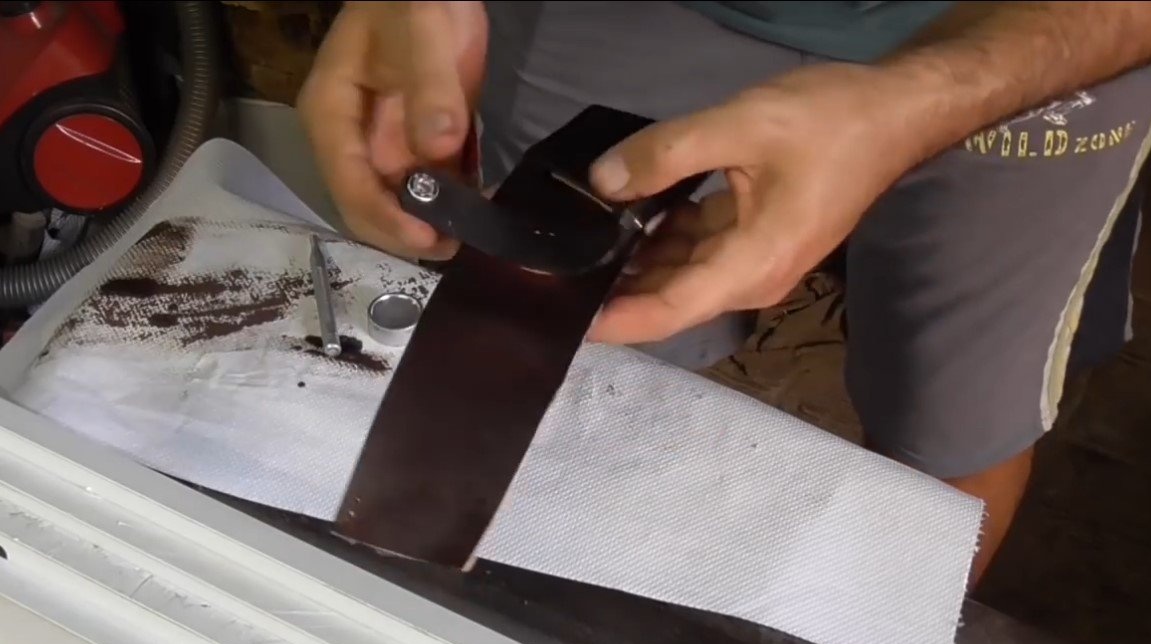
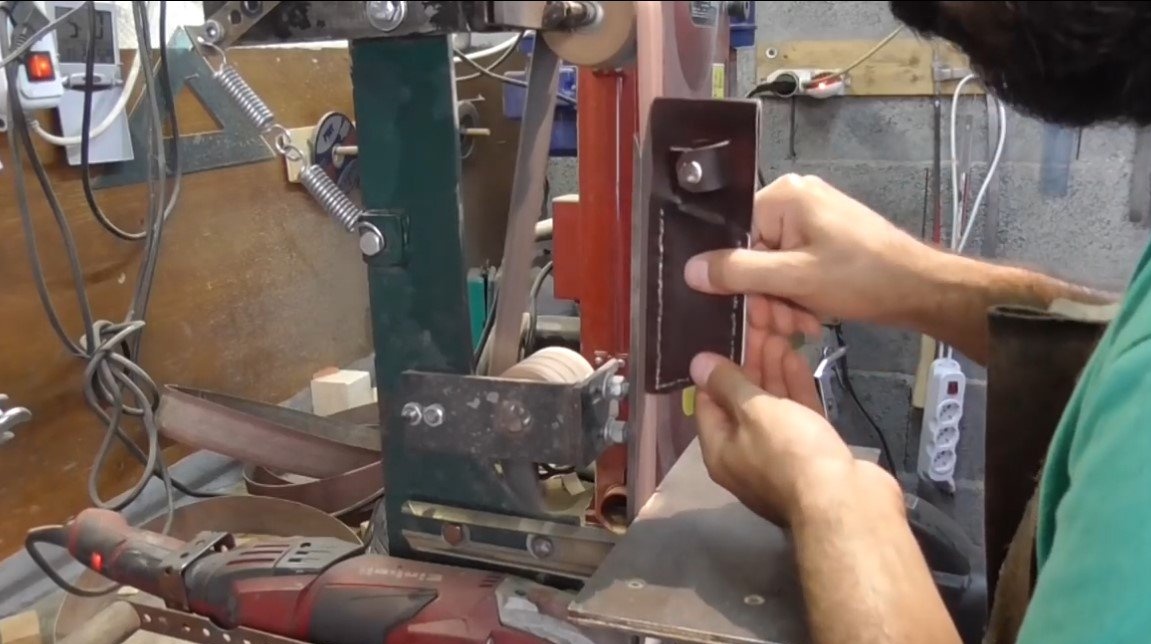
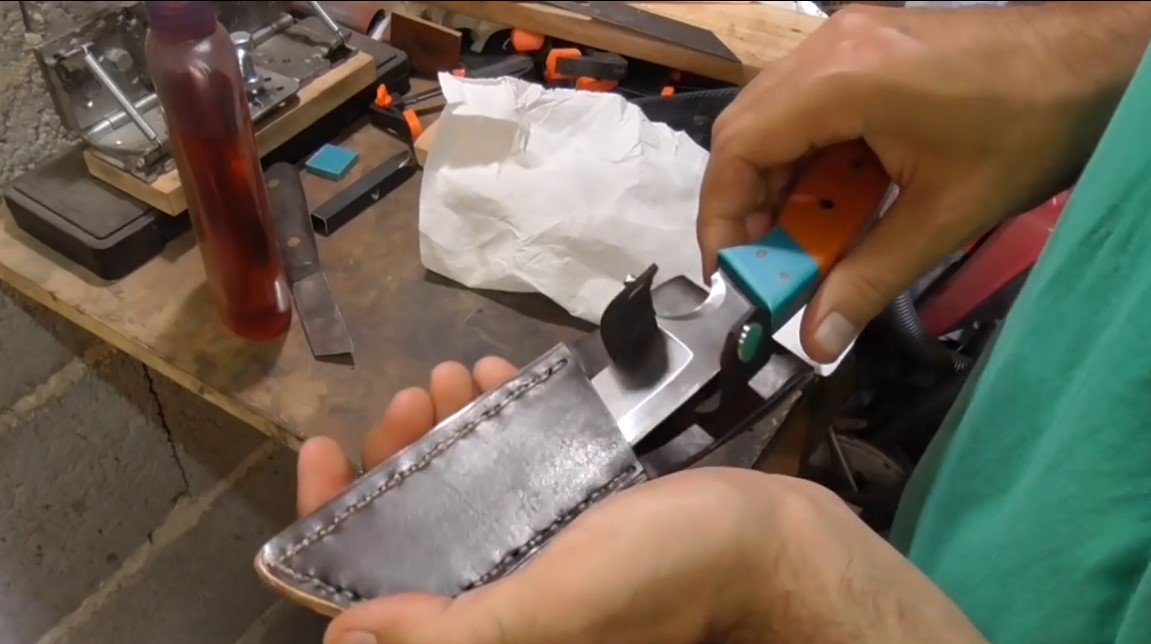
Step Eight. Scabbard and finishing touches
The author has assembled excellent knife sheath using leather. We impregnate the skin with oil, now it is protected from water. We also cover the handle with oil or varnish, and if rusting steel is selected, it will not be superfluous to protect the blade.

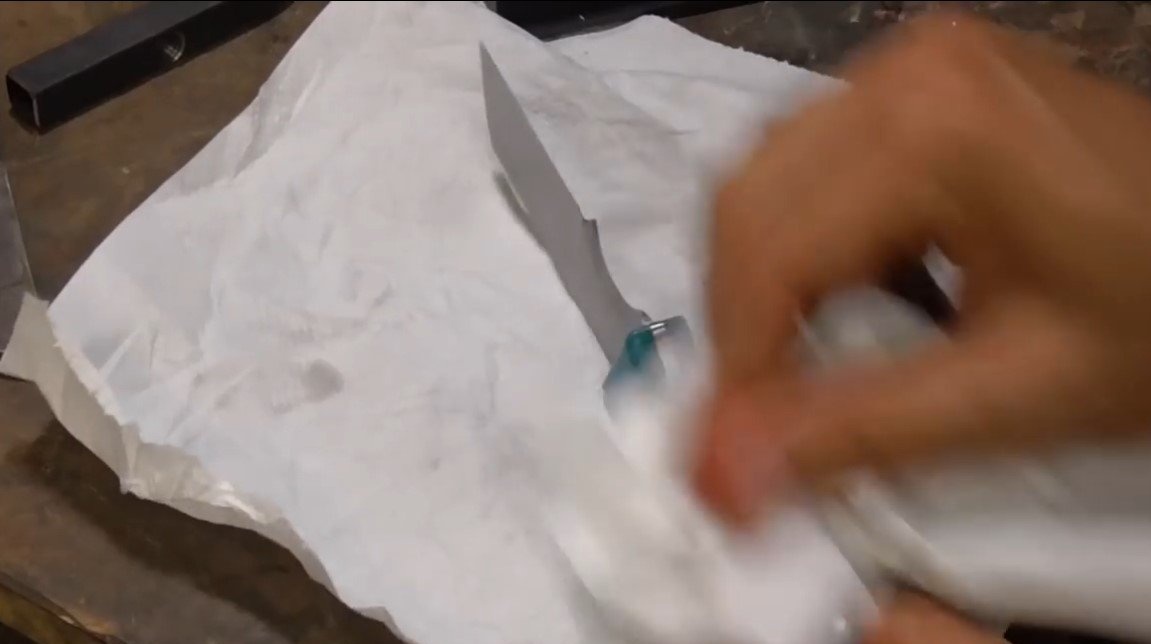
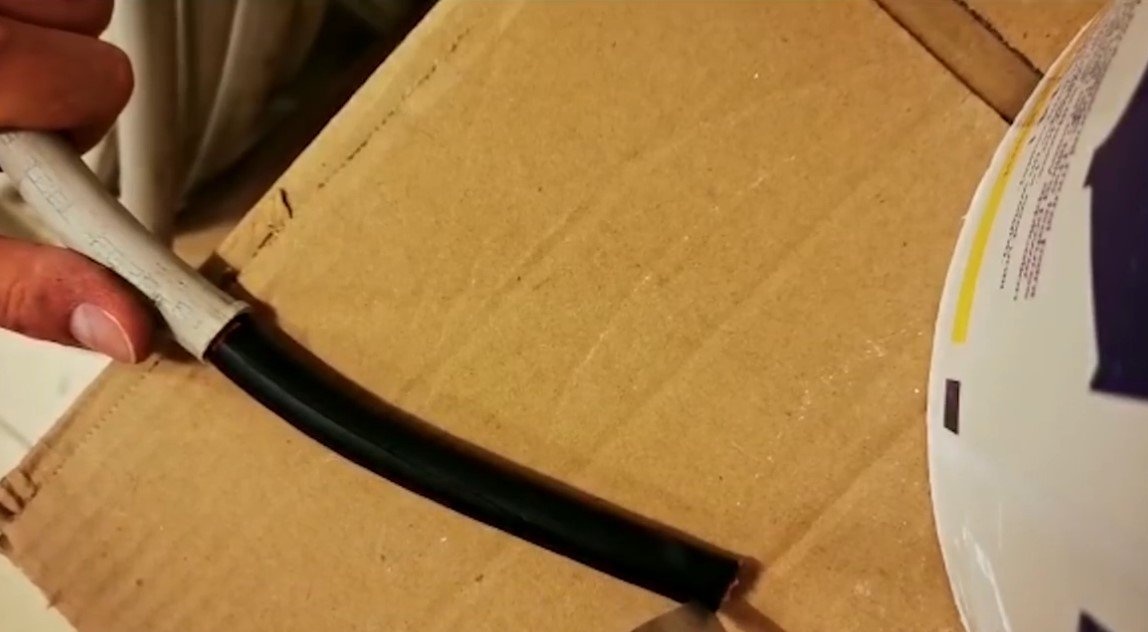
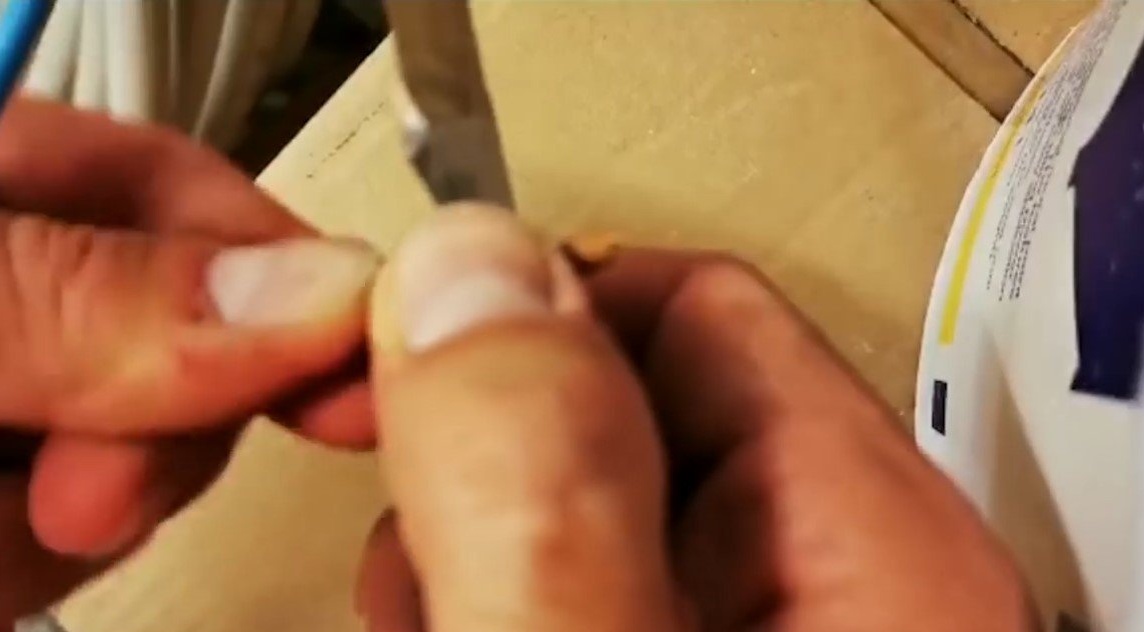
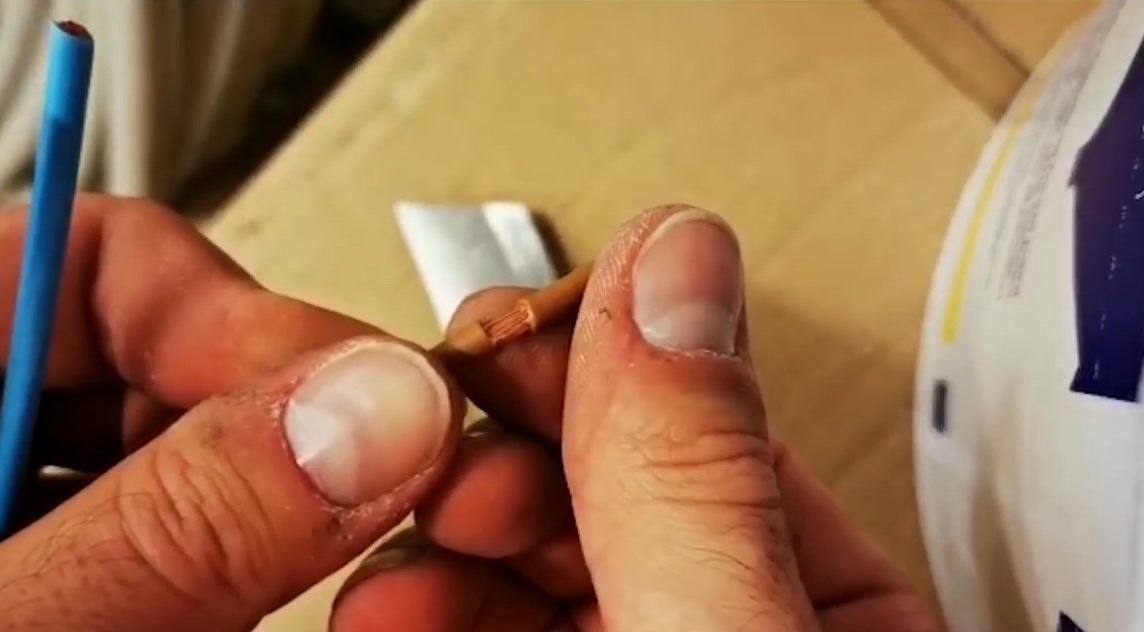
You can final sharpen the knife. The author sharpened by polishing the blade on the machine. As a result, the knife turned out so sharp that the author shaves his hair. In fact, the knife is also good, they can easily remove insulation from a variety of types of wires and cable. On this project is completed, I hope you homemade I liked it, and you found useful thoughts for yourself. Good luck and creative inspiration, if you decide to repeat this, do not forget to share your ideas and homemade things with us!