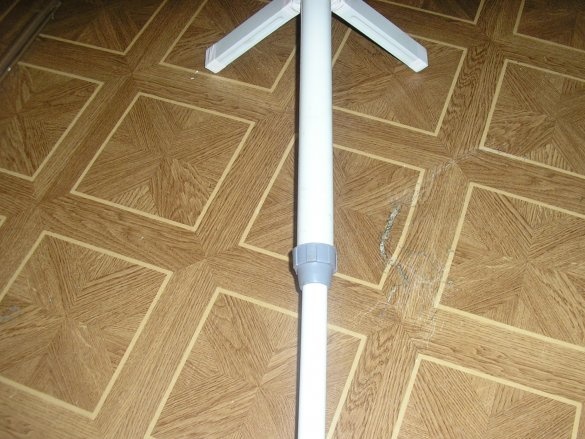
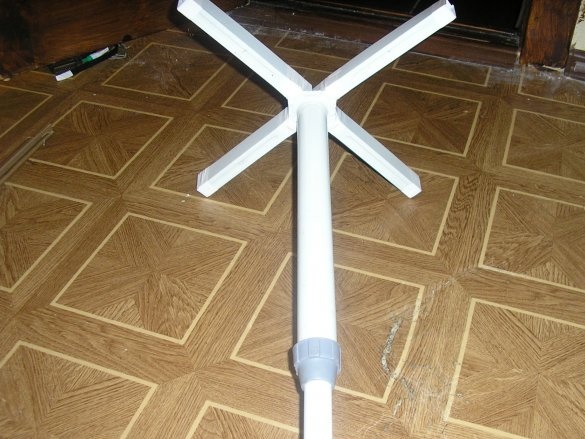
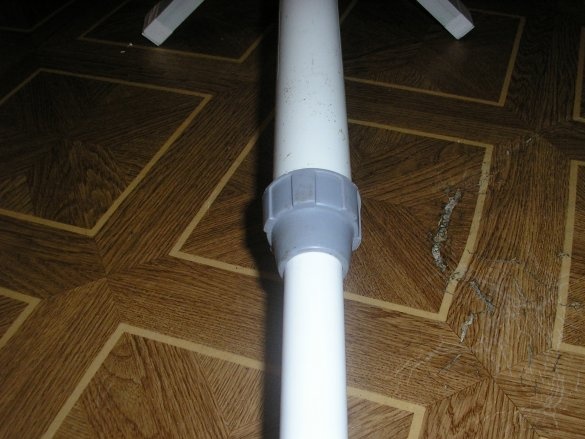
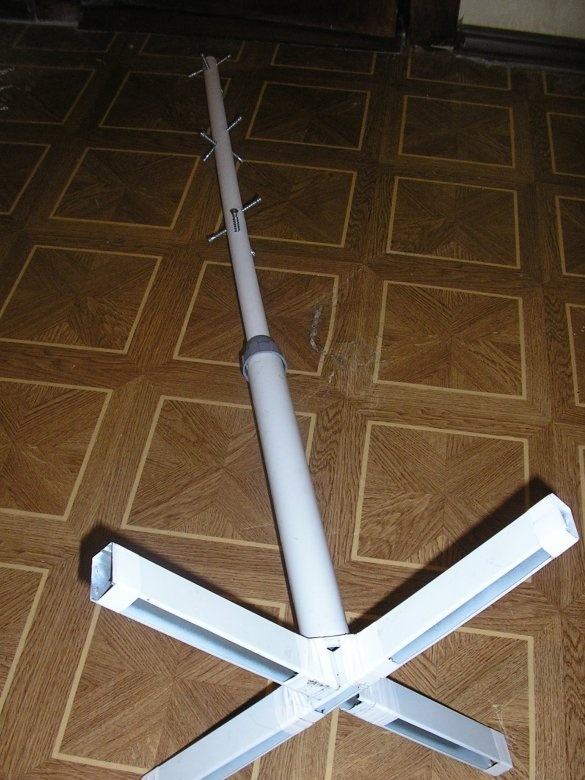
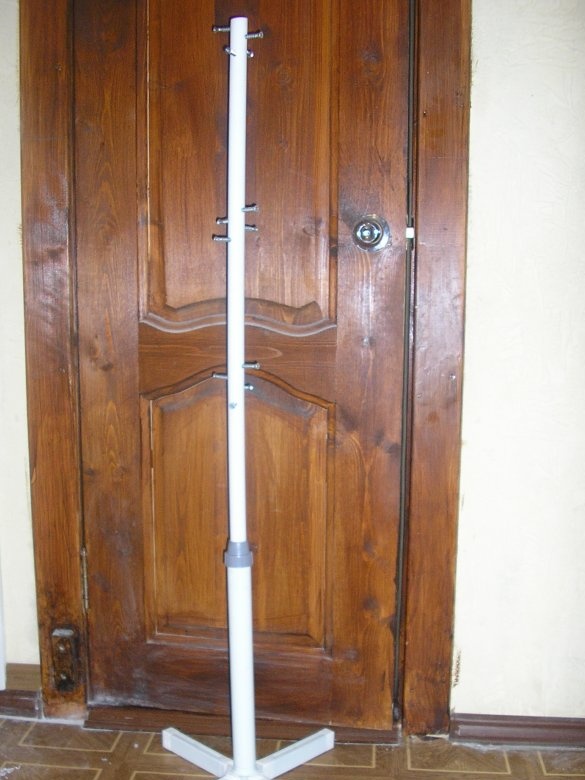
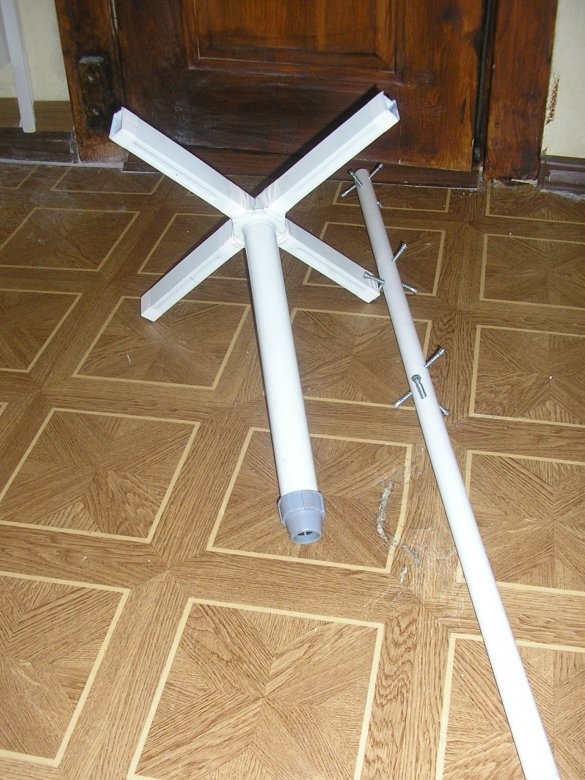
In this article I will tell you how in 25 minutes I made a floor hanger from a stand from an unusable fan and a piece of plastic water pipe.
To make such a thing is not difficult. Enough basic knowledge, skills and a minimum of materials and tools.
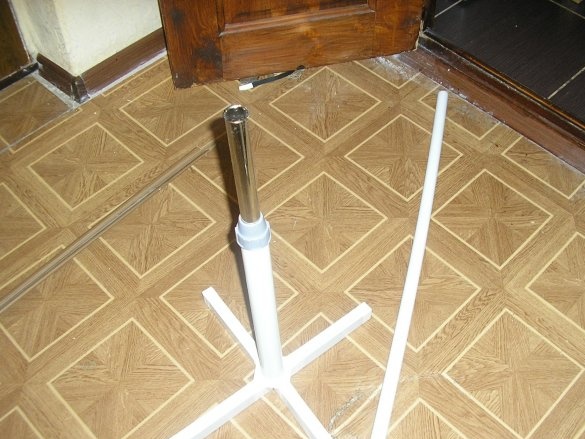
A few years ago my fan on a high stand failed. I think many have this or have been. In it, one of the windings of the electric motor burned out and I found it inappropriate to repair the fan. Everything that may ever come in handy, I took off, threw the rest. Among those left was a stand.
And then, once, I had nothing to do, but there was a desire to craft. And the eye came across a stand from a fan and trimming plastic water pipes. An idea came to make this a floor hanger.
I decided not to procrastinate and immediately got to work.
Details and materials:
Fan stand
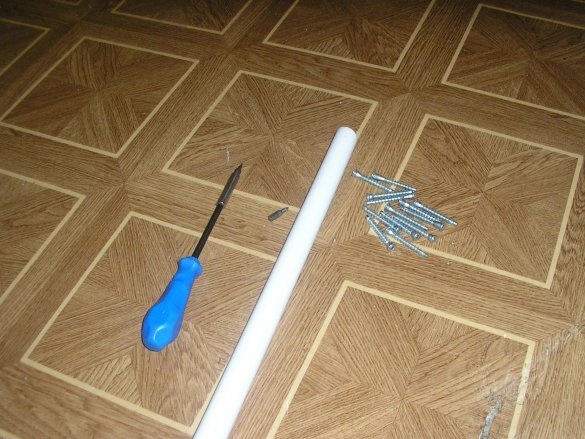
Plastic Water Pipe Trim
Wood screws
Instruments:
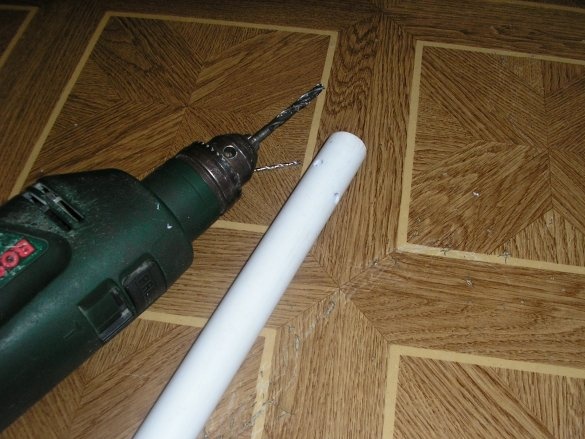
Electric drill
Drills for metal 2 pcs.
Screwdriver
Roulette
Calipers
Permanent marker
Manufacturing process.
Step 1.
From several pieces of plastic pipes, I chose a suitable length. My eye is "set" and I suggested that the stand clamp should compress the pipe well. Checked, and it turned out. This greatly simplified further work.
Step 2
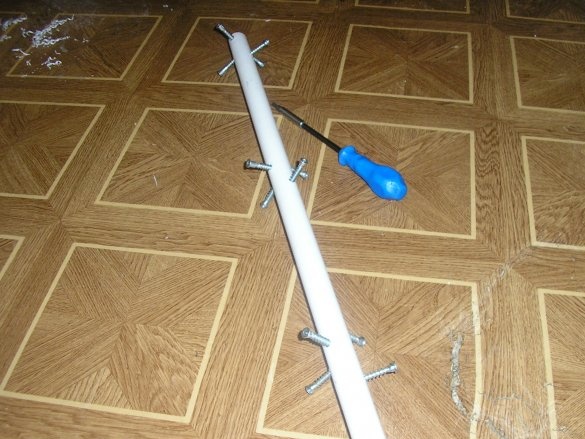
As "hooks" for hanging things, I decided to use fairly long, 50 mm screws, which I left after assembly different of furniture. In total, I decided to put 12 pieces, 4 pieces at three levels in height.
Step 3
Using roulette and a permanent felt-tip pen, he marked the centers of future holes. I decided to make holes at an angle of 90 degrees and an offset in height.
Step 4
The caliper measured the diameter of the threaded part of the screw and picked up a drill bit for metal of a slightly smaller diameter. I also prepared a drill with a diameter of 3 mm for preliminary drilling, since a thick drill can jump off the pipe.
Step 5
He drilled 12 holes first with a drill with a diameter of 3 mm, and then with a thick drill.
Step 6
I screwed 12 screws with a screwdriver. He twisted it all the way, that is, until the end of the screw rests against the pipe wall. Checked, all the screws hold very firmly, do not swing.
Step 7
I inserted the pipe into the stand. Tightened the clamp. The hanger is ready.
Step 8
I began to check the product.
It turned out that the hanger is very stable and does not tip over not only when hanging light summer clothes, but from winter clothes, like warm jackets.
In addition, it is easily adjustable in height.
And also it is assembled and disassembled within ten seconds.
Hope this homemade and the article will be useful to you.
I will be glad to your comments and suggestions.
Regards, R555.


