
Many of you are faced with the marking of workpieces, and often you need to accurately mark the center line of the board, or profile pipe.
In this article, the author of the JSK-koubou YouTube channel tells you how easy it is to make device for these tasks, namely the centering thicknesser.
This homemade product is as easy to manufacture as it is useful in marking work, and can be repeated literally from the trash.
Materials
- Oak plank
- sheet plywood
- steel bar
- PVA glue
- Sandpaper.
Instruments, used by the author.
- Miter saw
- Marking planer
- Drilling machine
- Hand press
- Automatic pencil, awl.
Manufacturing process.
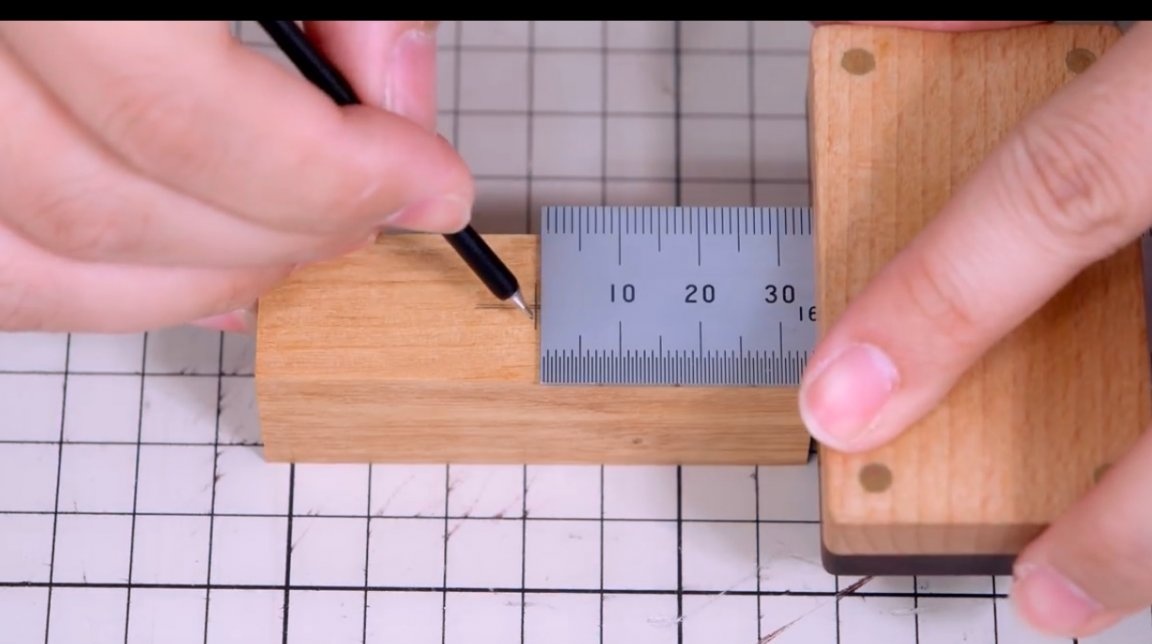
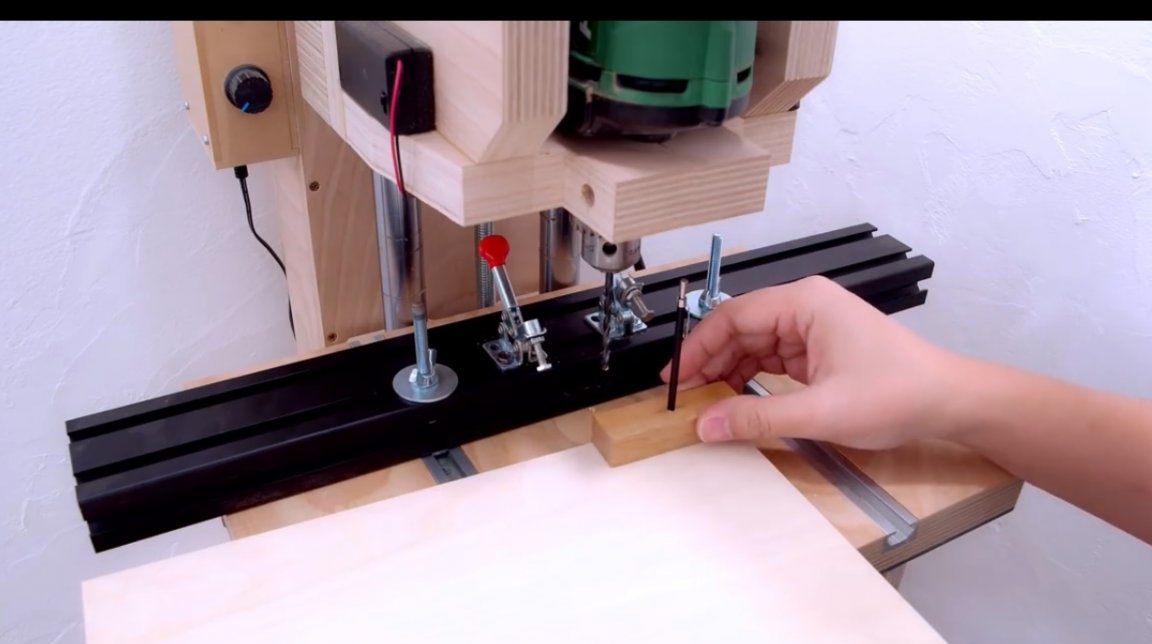
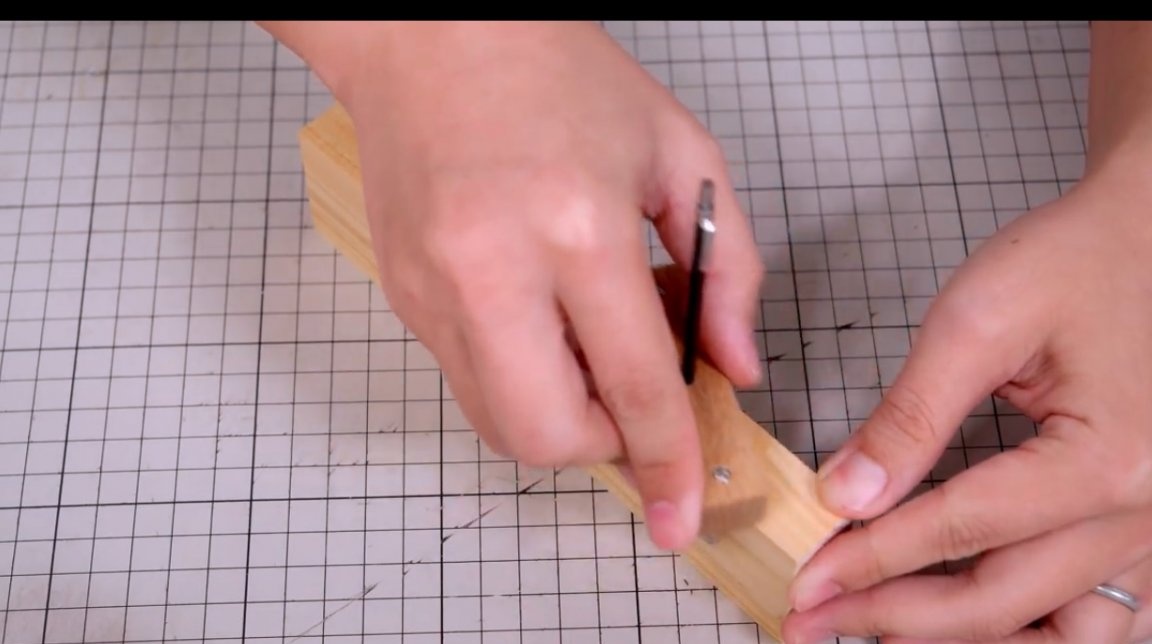
First of all, the master cuts a small rectangular blank from an oak board.
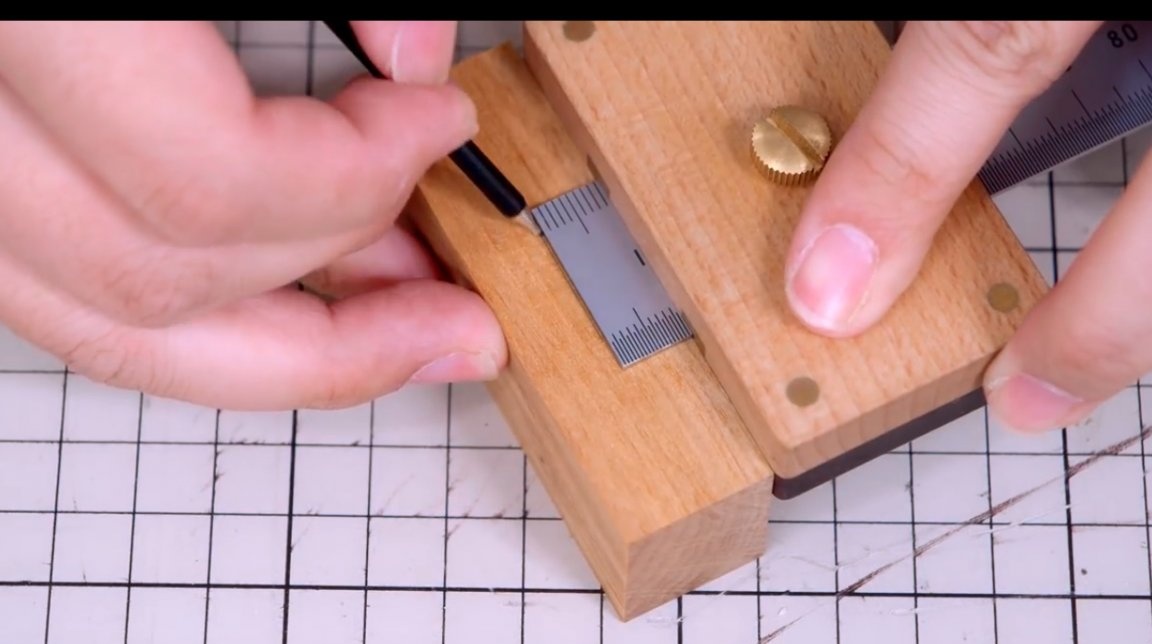
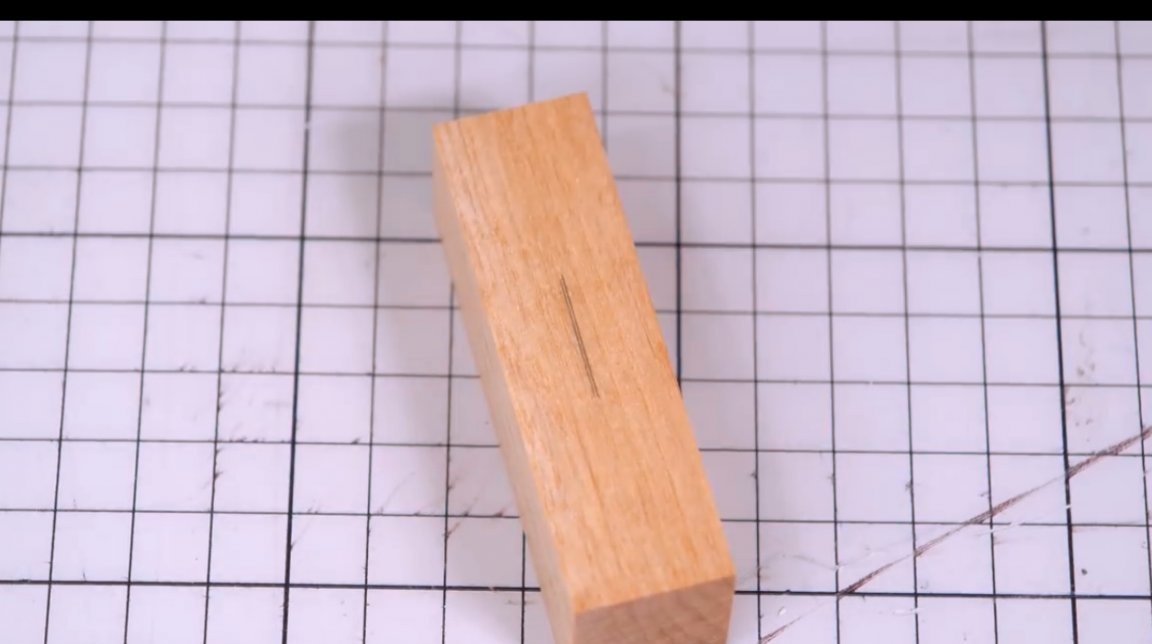
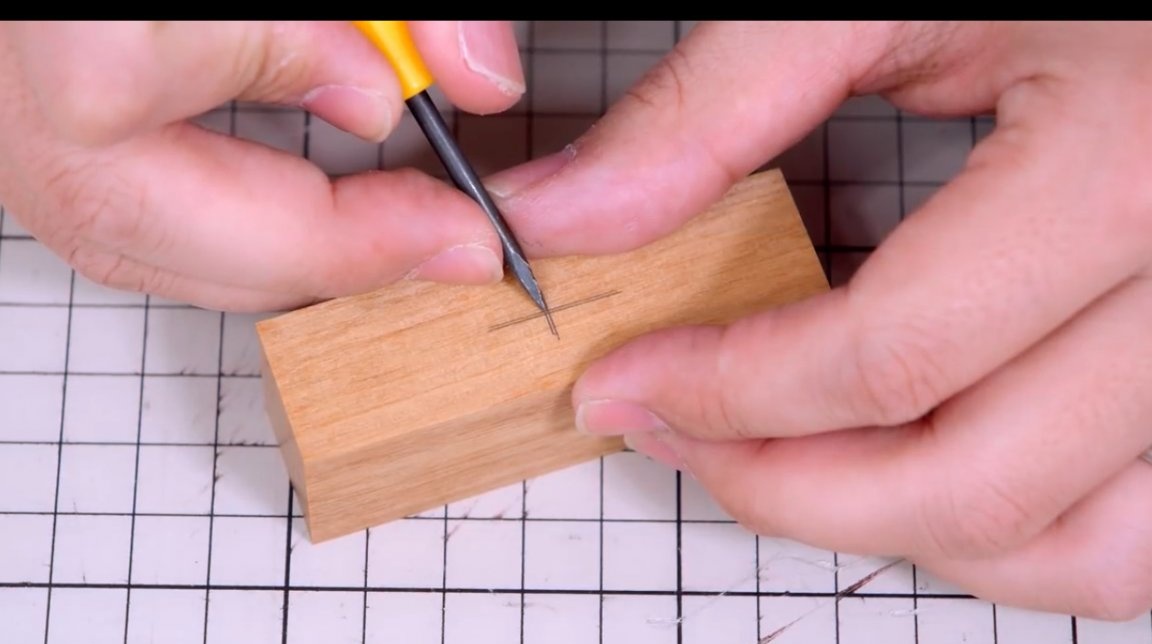
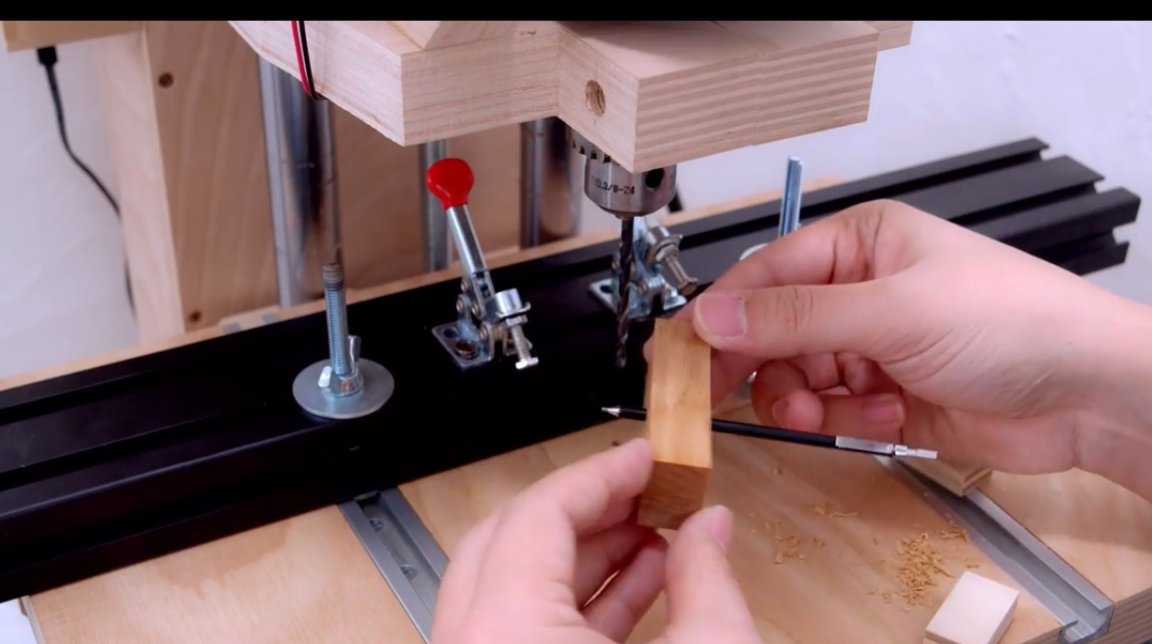
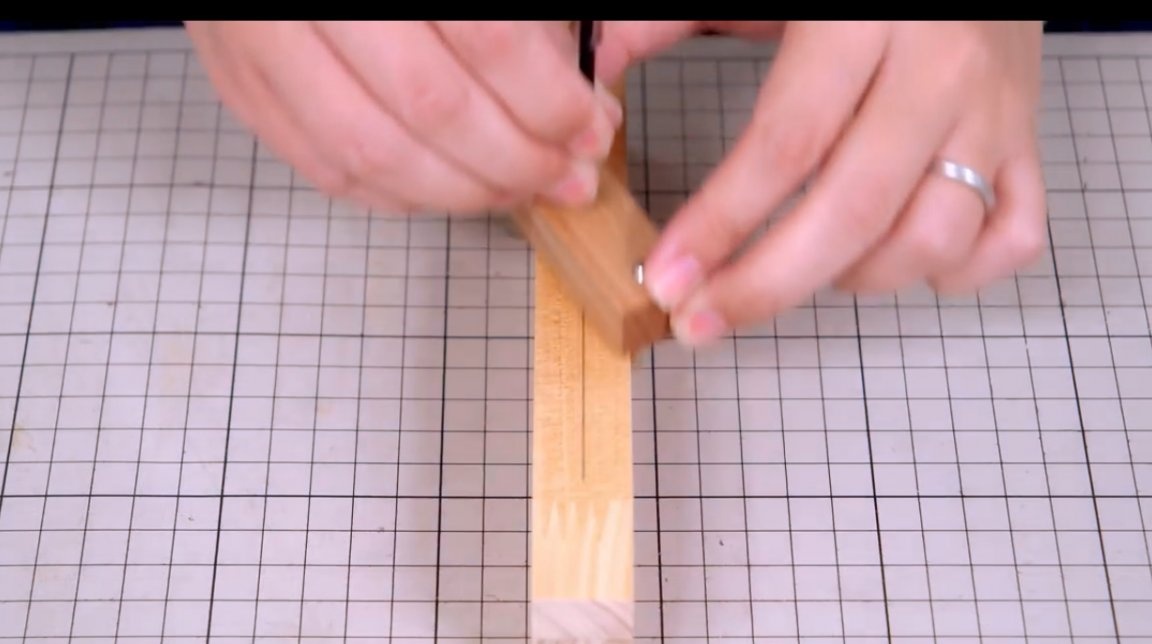
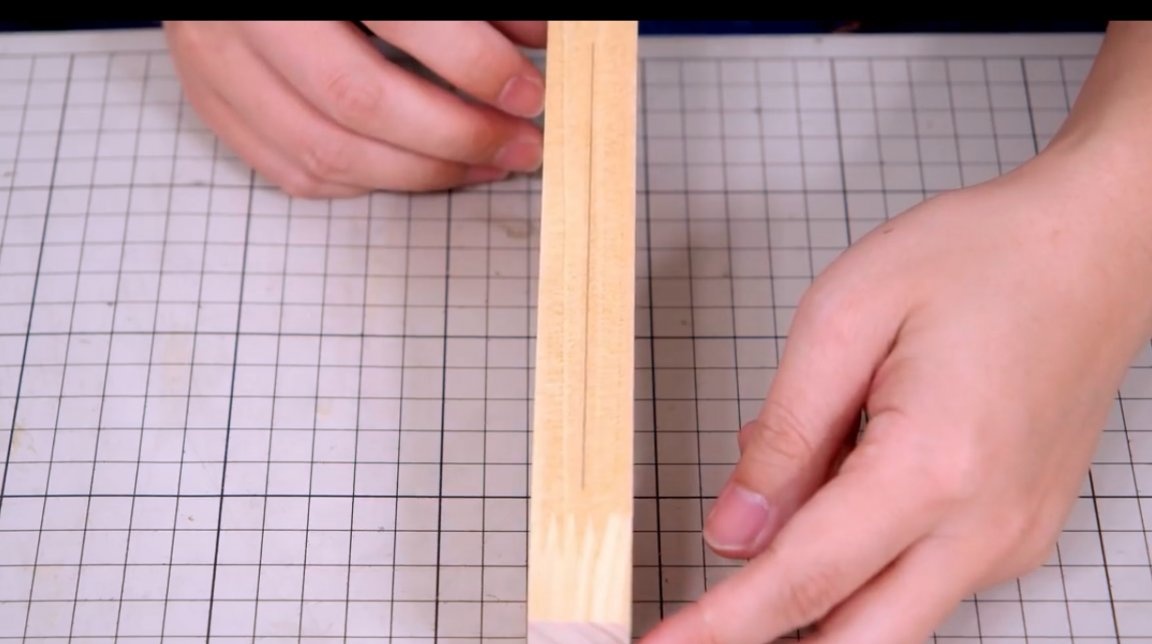
Now, with the help of the marking planer (there are many articles on this site about its production, they can be found using the search), the author finds the center of the workpiece, marking it up on both sides. Then marks the center with an awl.
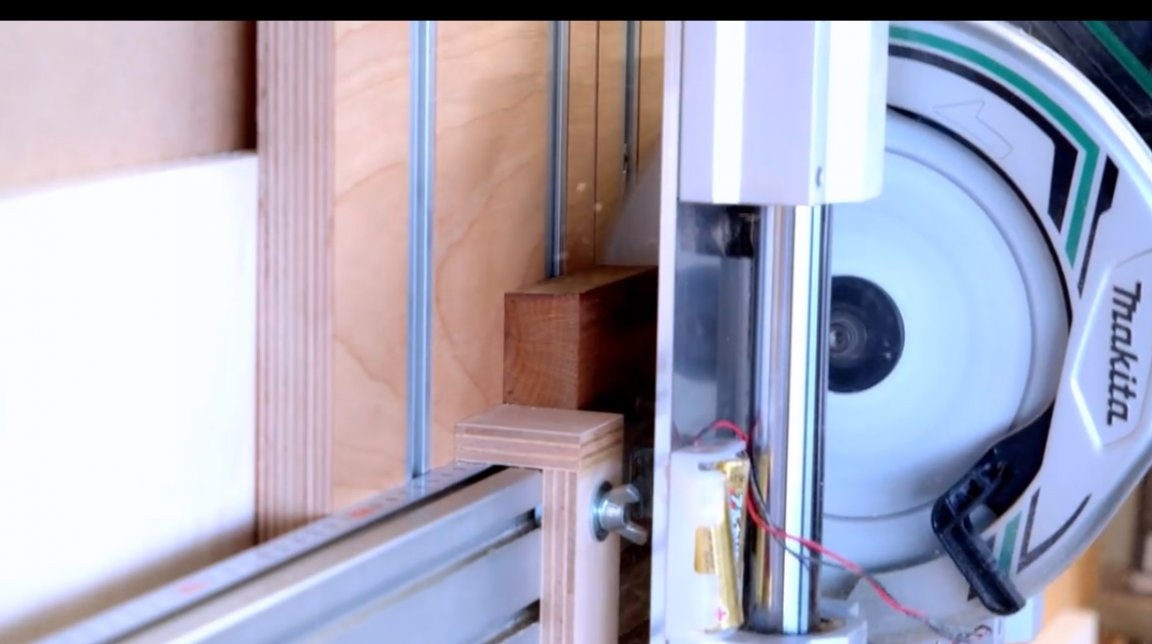
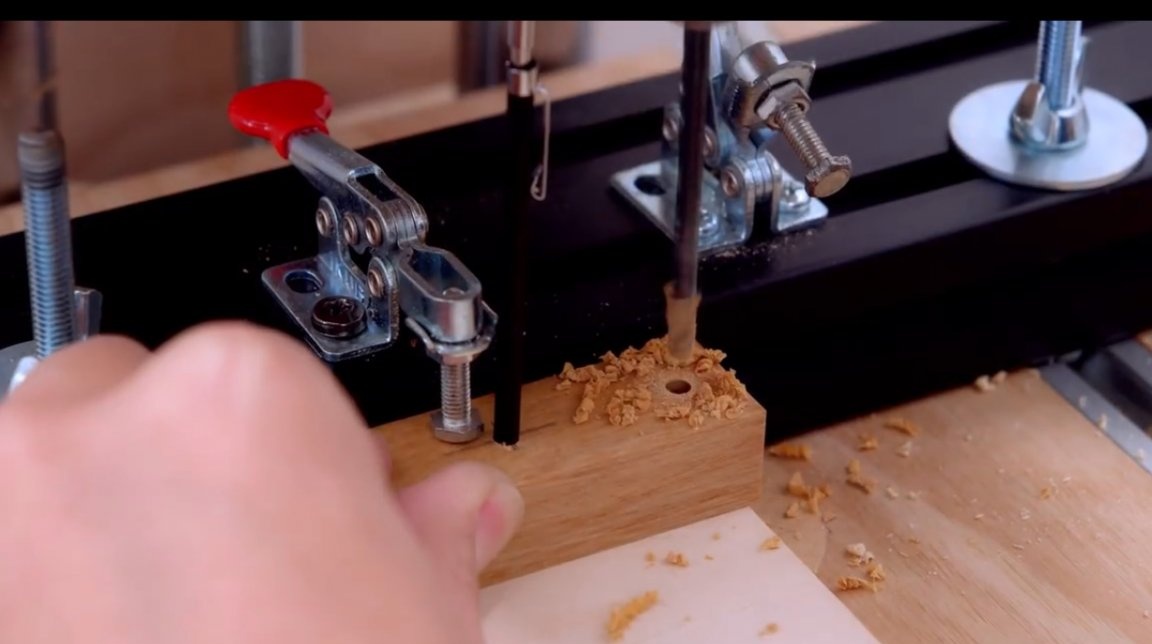
It fixes the workpiece on the table of the drilling machine, and drills a through hole, first with a thin and then with a thick drill, according to the diameter of the pencil.
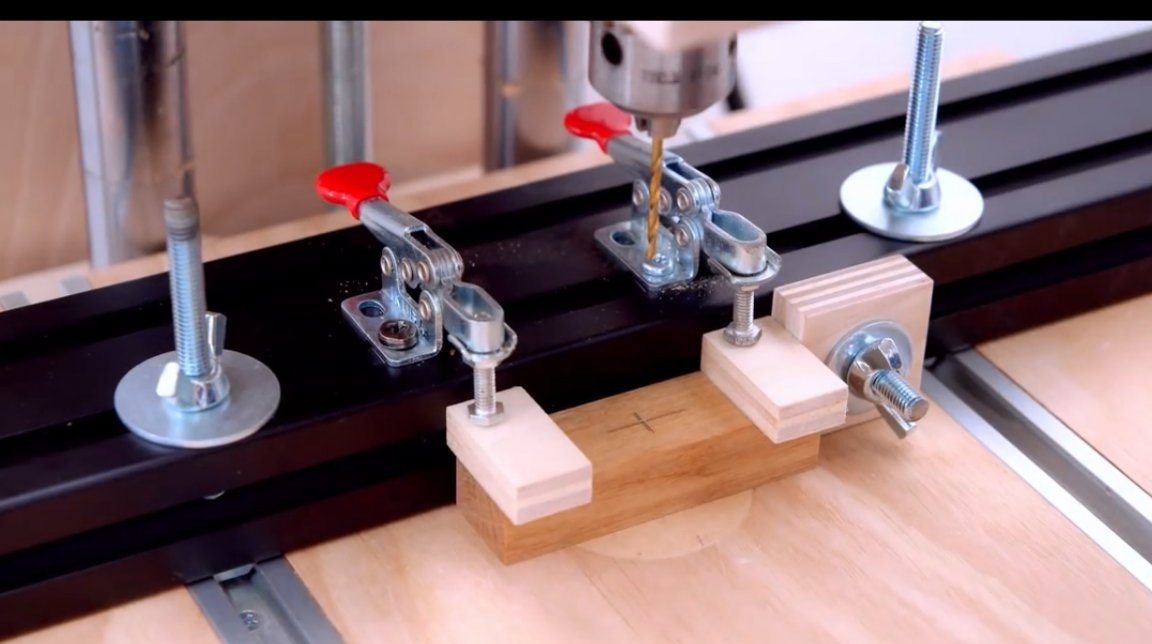
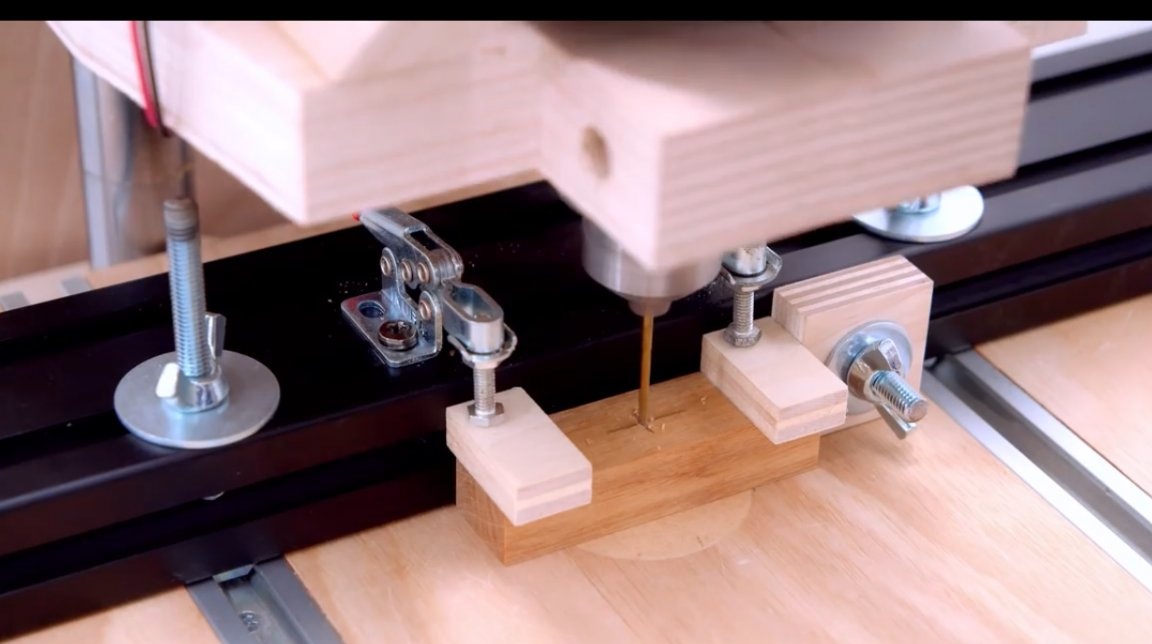
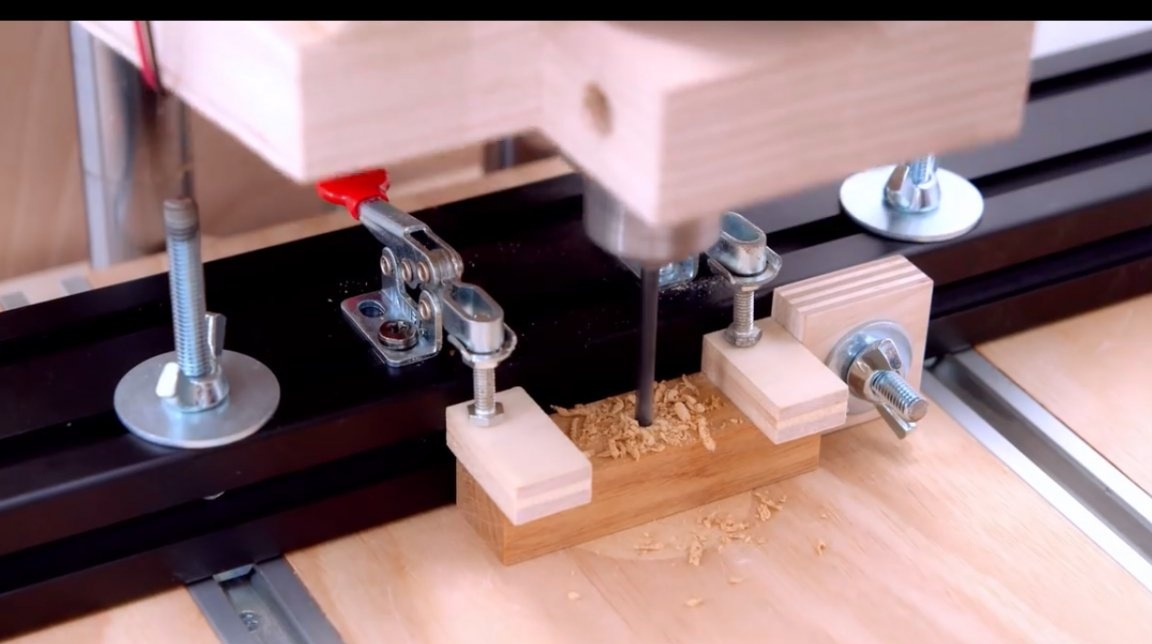
The pencil should go into the hole with virtually no play, but without effort.
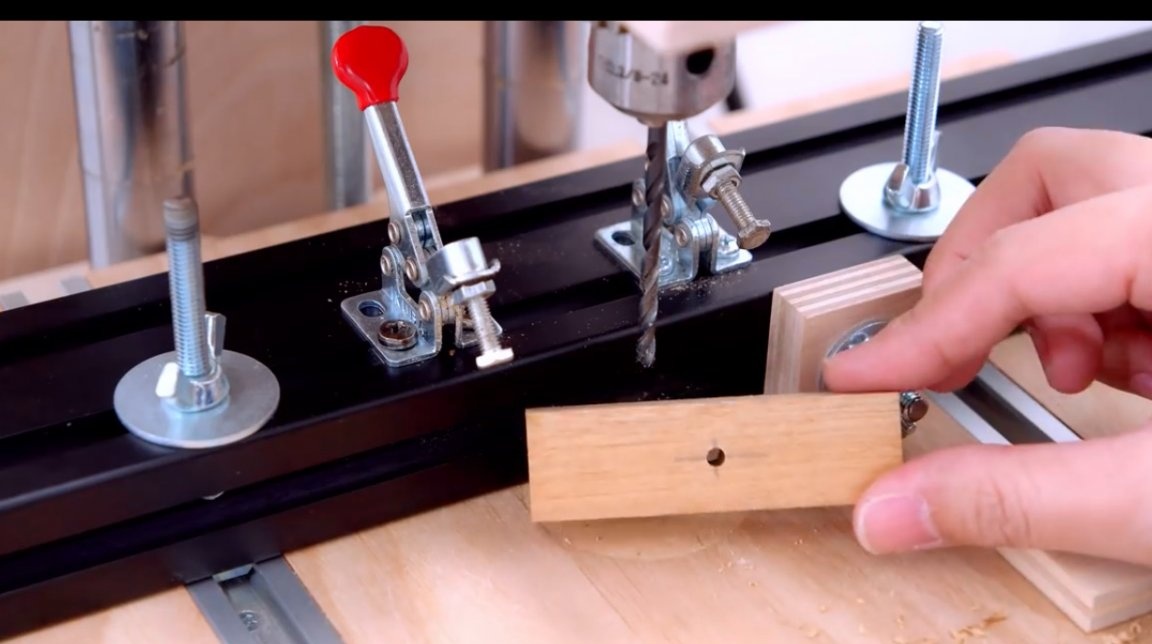
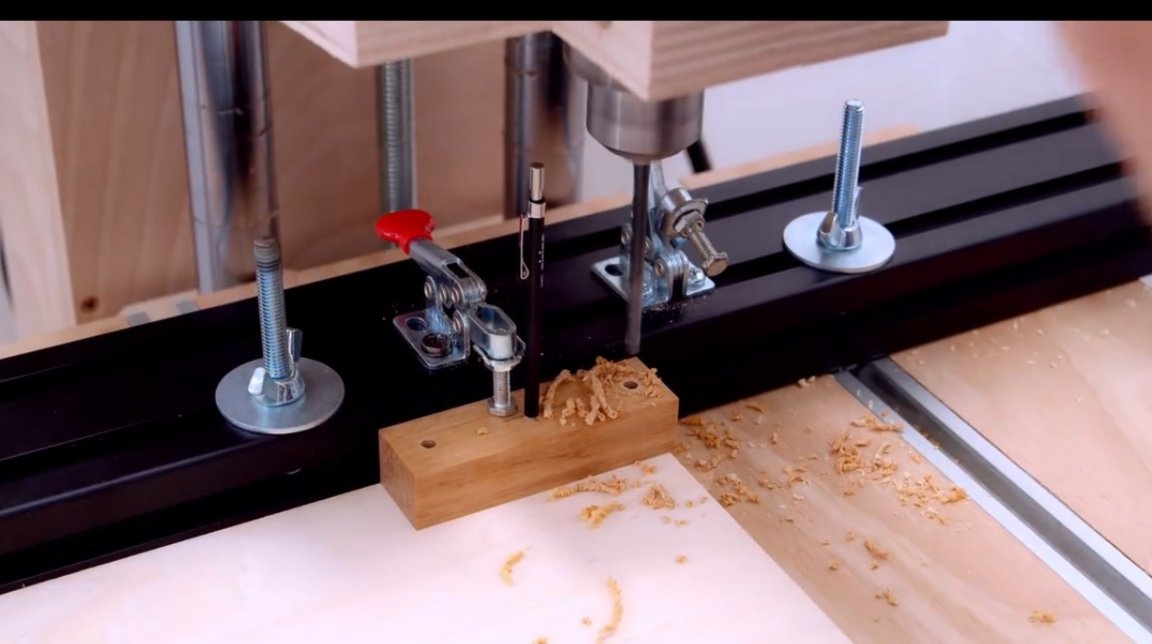
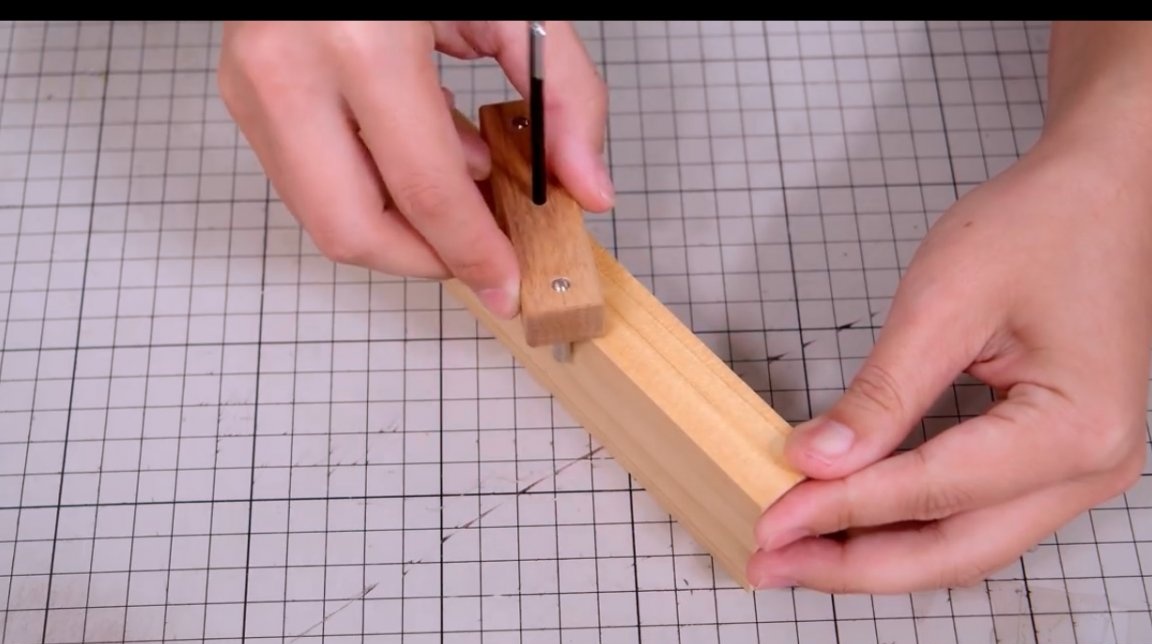
In order to accurately drill two more side holes for the stops, the master needed to make a hole along the diameter of the pencil in the sheet plywood.
A pencil is inserted into the block, and into the hole in the plywood. First, the first side hole is drilled, then the workpiece is turned 180 degrees, and a second hole is made.
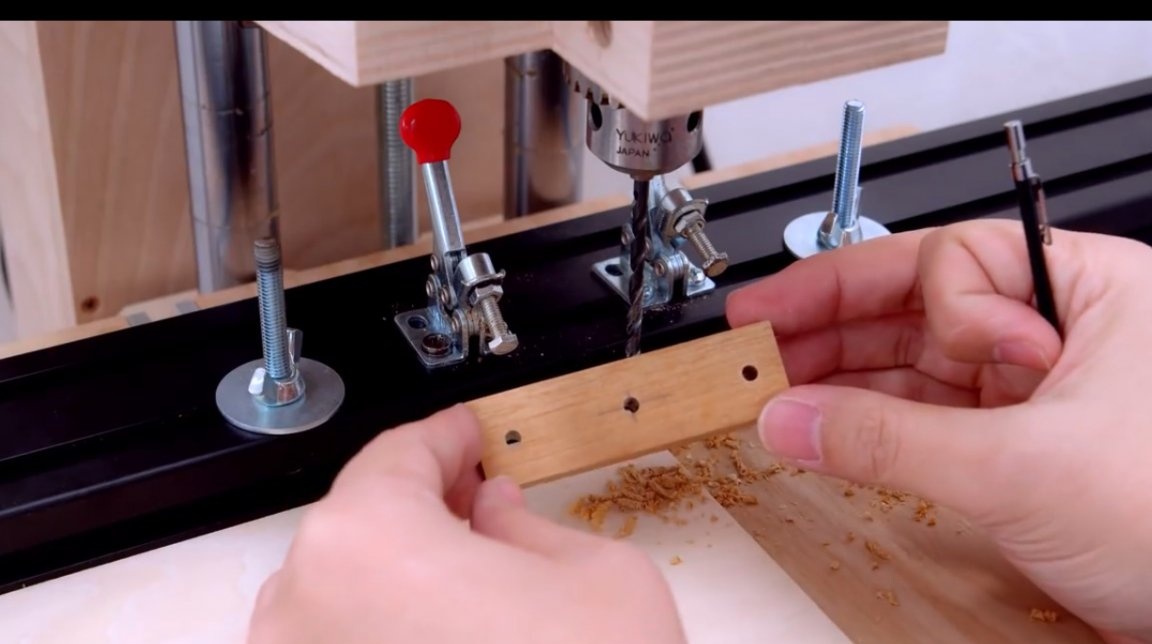
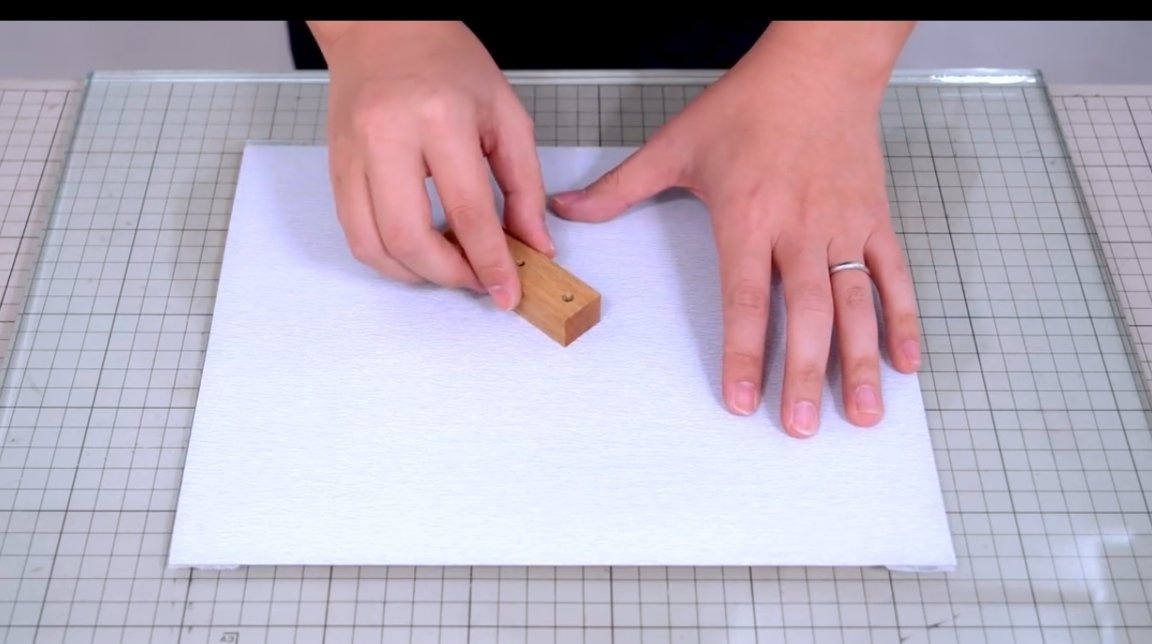
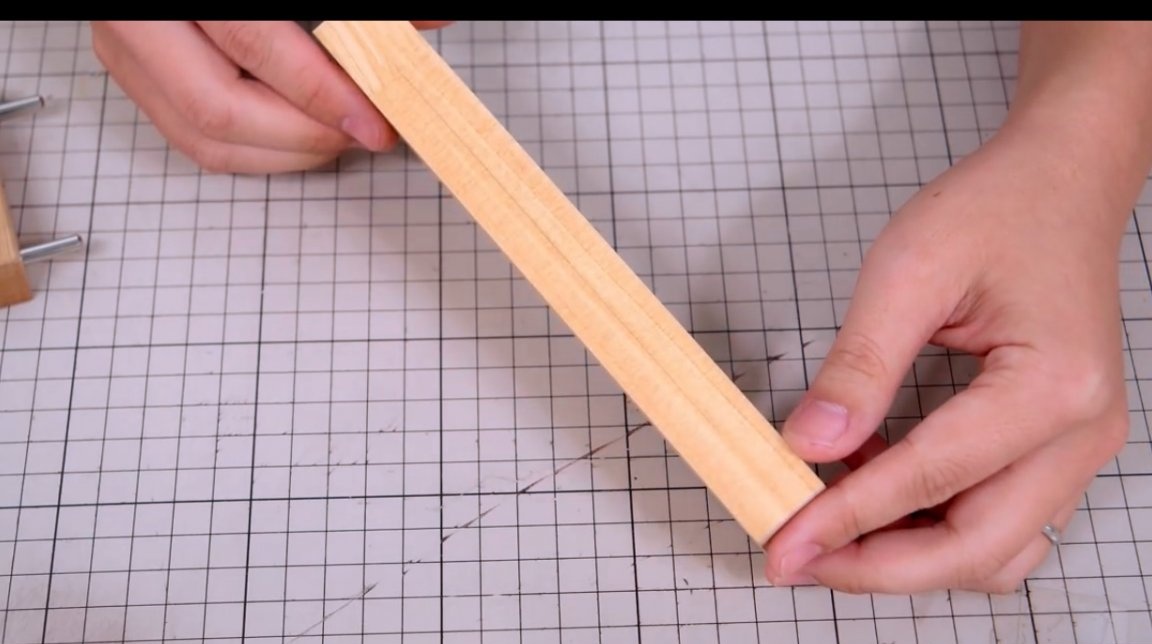
The surfaces of the resulting block are polished with fine sandpaper laid on a glass sheet.
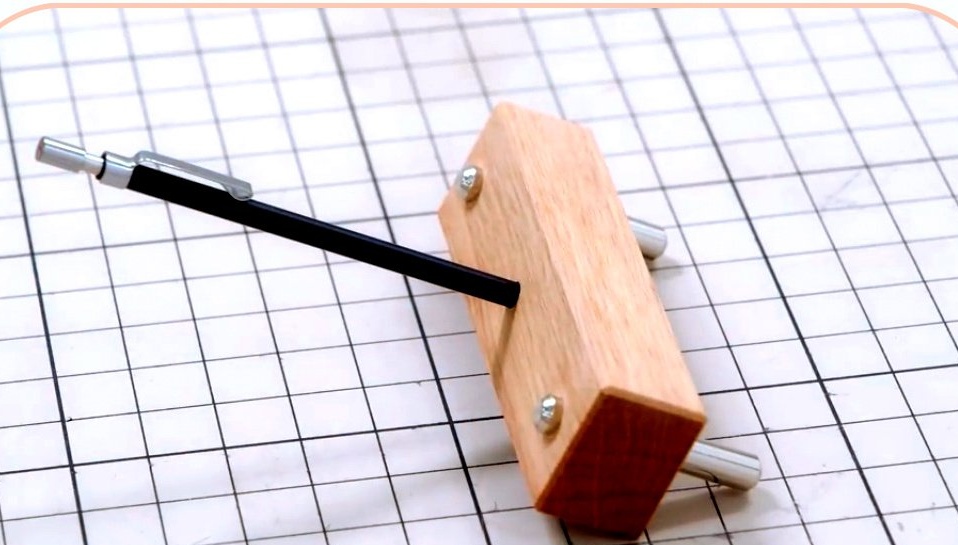
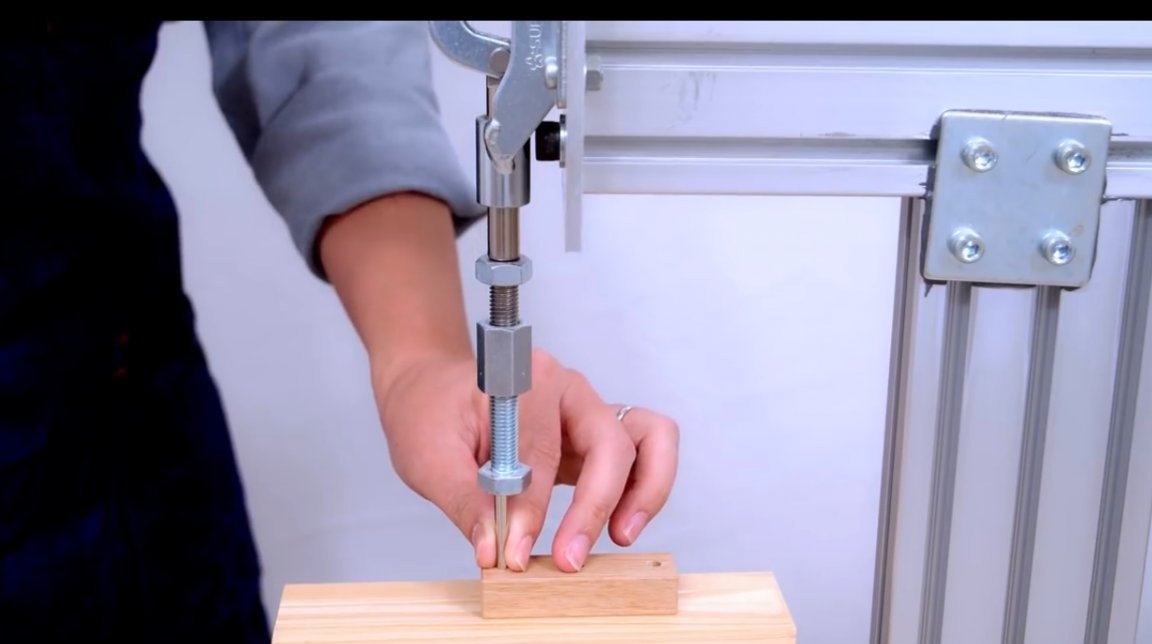
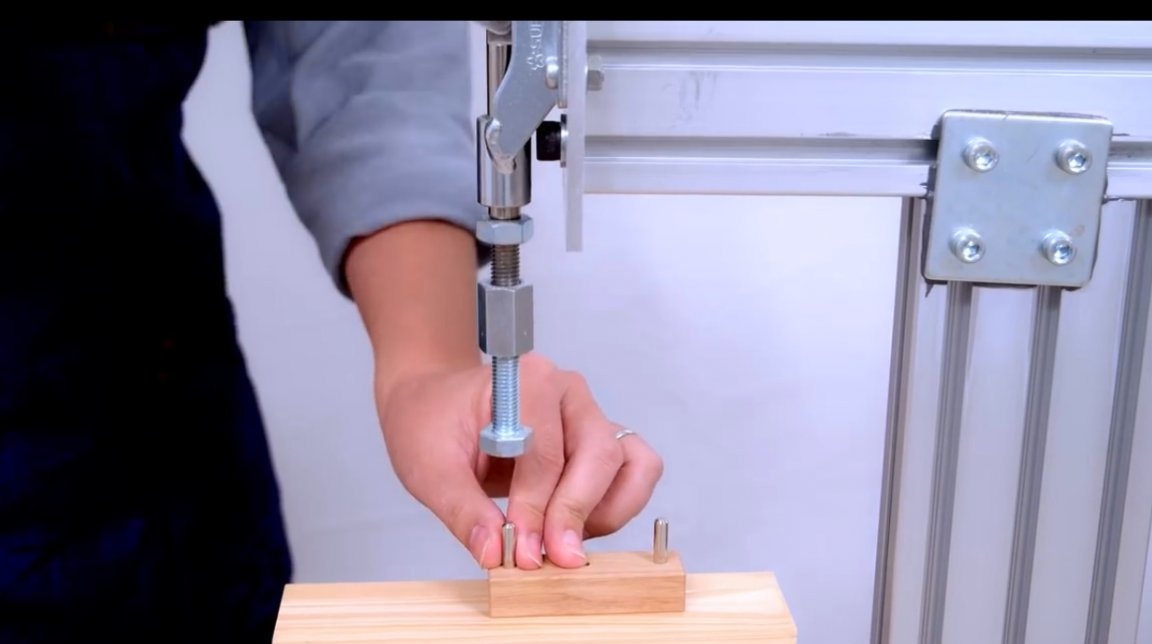
Now two steel bars are pressed into the side holes. Shanks from broken drills can also be used.
The nose of the automatic pencil is lubricated with PVA glue, and inserted into the hole.
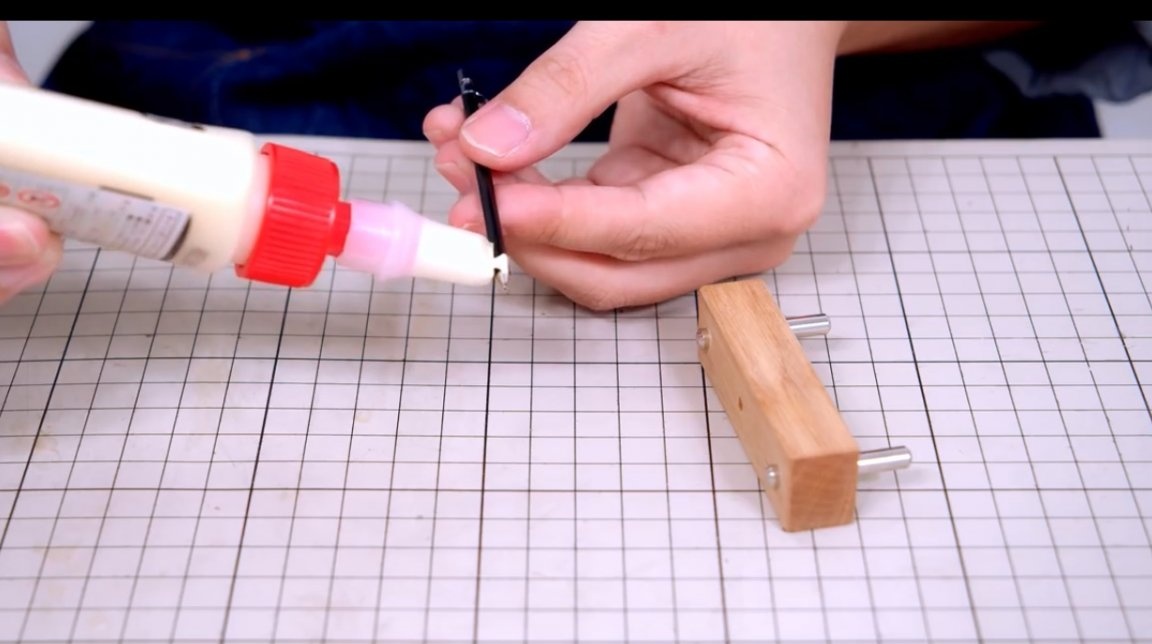
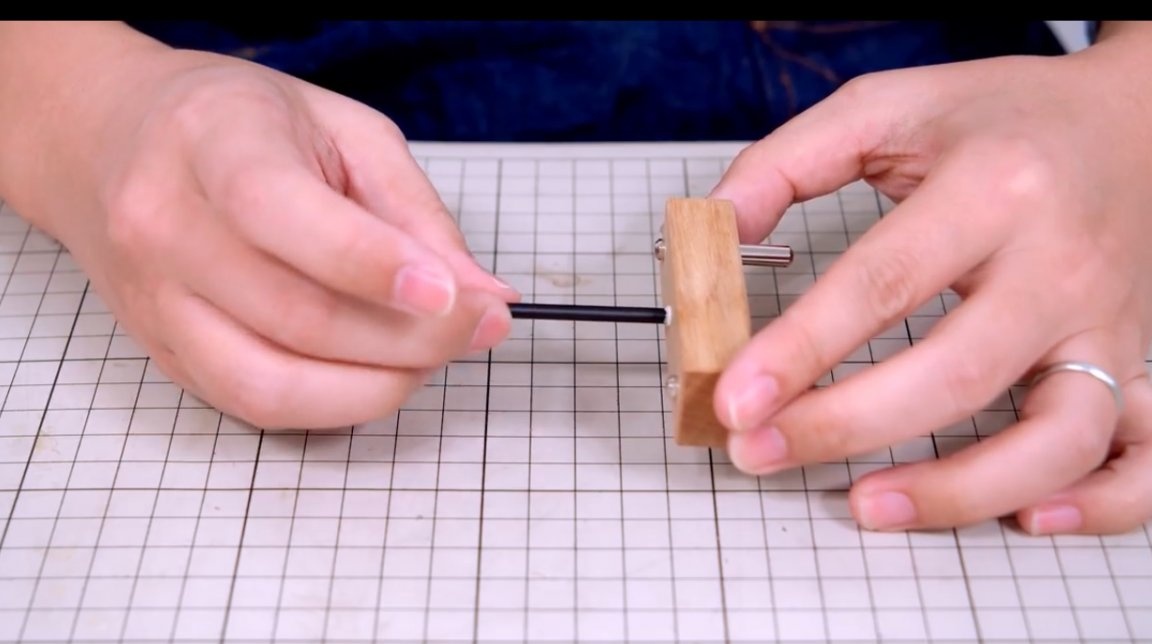
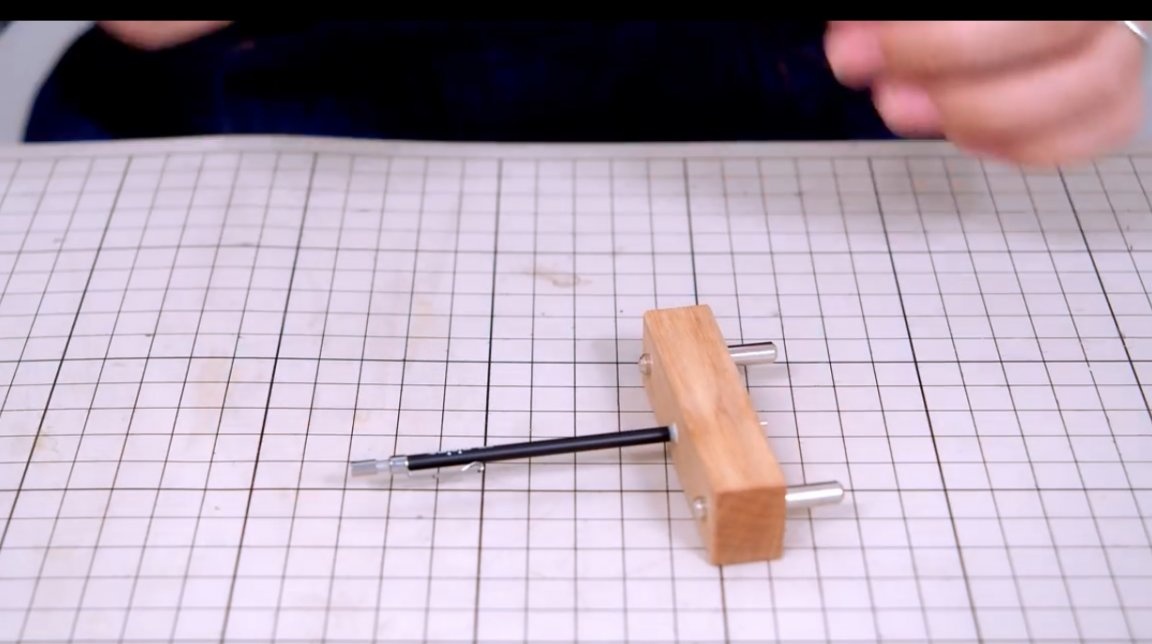
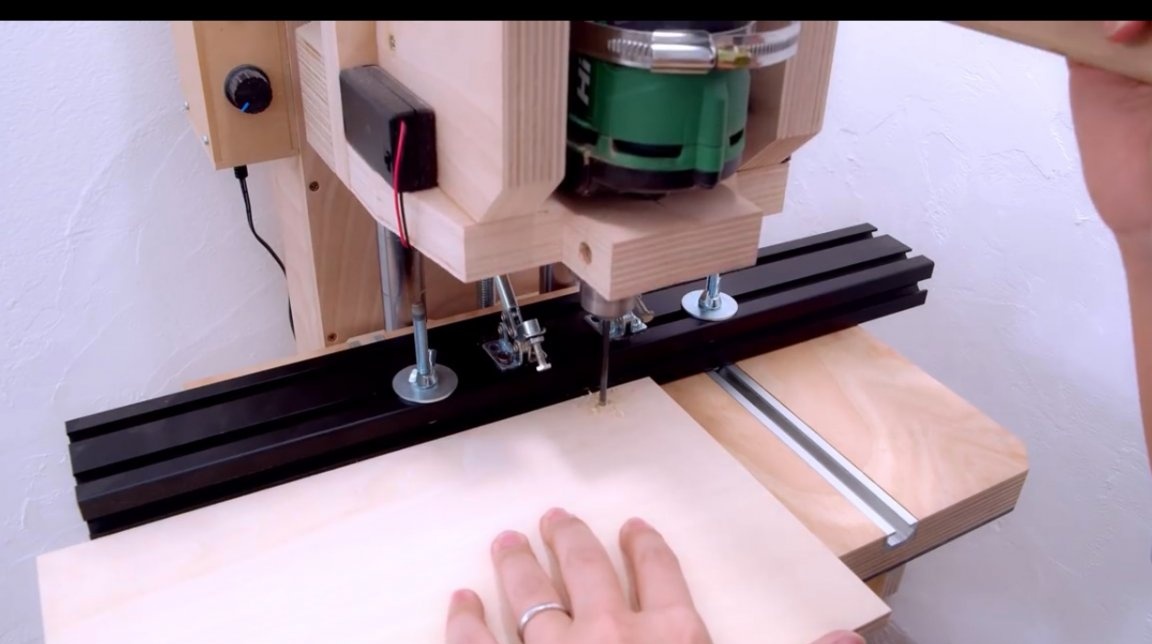
After the glue dries, the pencil can be adjusted in height, it will move easily, but without side play. The author draws the first line on the side of the board in one pass.
And now the fixture test for accuracy. The first half of the line is drawn from one side to the middle of the board, and then the board unfolds, and the second half of the line is drawn. They coincided so precisely that you can’t even see where they overlap!
Such a thicknesser can also be made much larger, then it will allow you to mark more overall workpieces. Of course, for marking steel profile pipes, instead of a pencil, you can use a sharp steel scriber, or a thin marker.
I thank the author for a simple but useful fixture for the home and workshop!
All good mood, good luck, and interesting ideas!
Author video can be found here.