

Hi friends. I am sharing with you another project to expand the capabilities of my workshop. This is a boron machine. Often it is necessary to work with small details, to customize something, to file and so on. She will also be invaluable in my hobby for making knives. Moreover, there is a huge amount of equipment. These are various disks for metal, milling cutters, polishing and grinding mugs and stones, small brushes and more. Well, let's get started.
Step 1
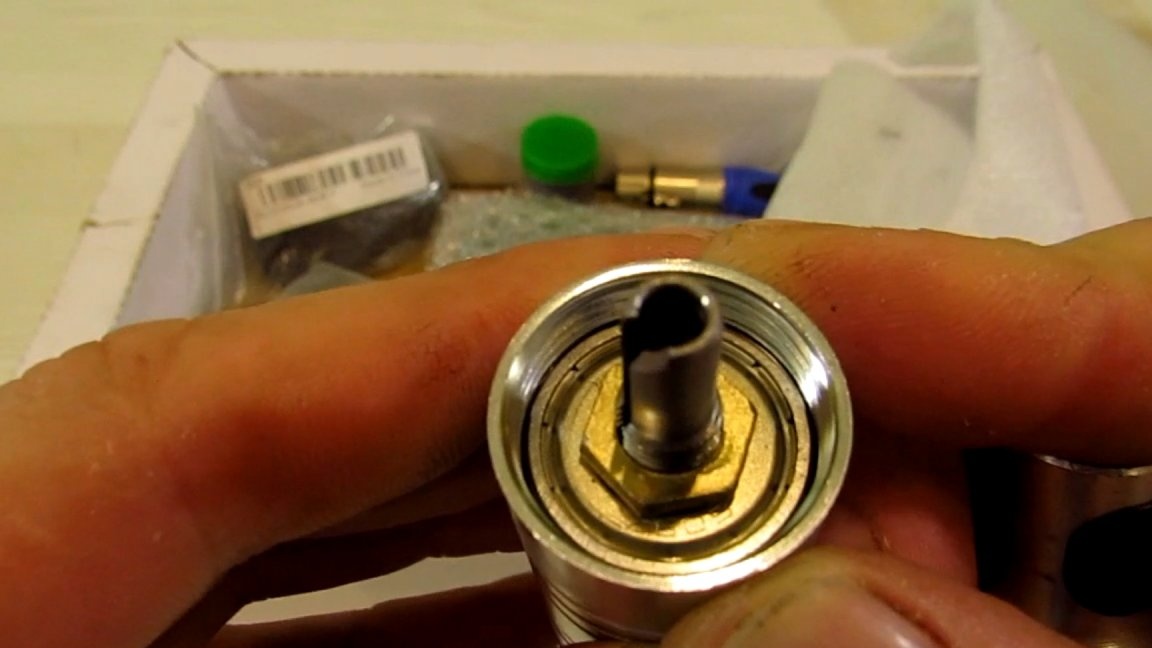
Key parts have been ordered in China. They are not expensive, and everyone can buy. Let's start with the spindle. This is a shaft mounted on bearings in an aluminum housing. On the one hand, a tool holder is fixed on the shaft, on the other hand a screw cap that tightens the bearings and serves to connect the drive cable. Since we will not rotate the spindle with this cable, in the future this part will need to be redone.
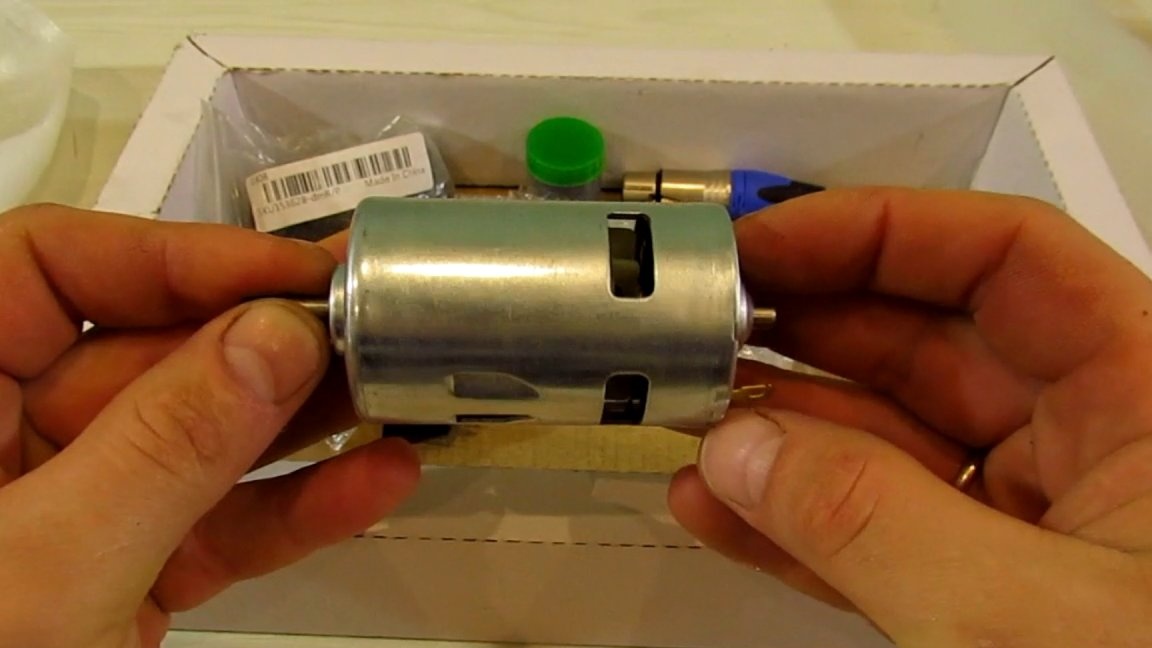
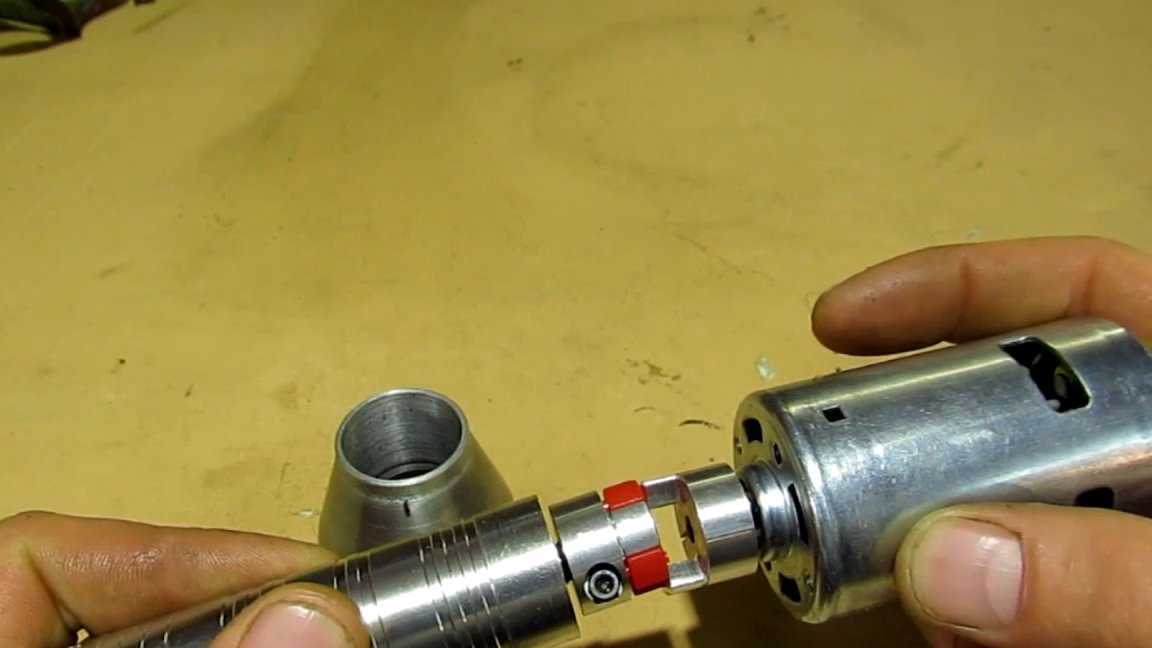
The electric motor for the machine needs a high speed. The choice fell on the 775 collector motor powered by 24V and with speeds of 15,000 per minute. Turnovers are needed large due to the small diameter of the snap in order to maintain cutting conditions.
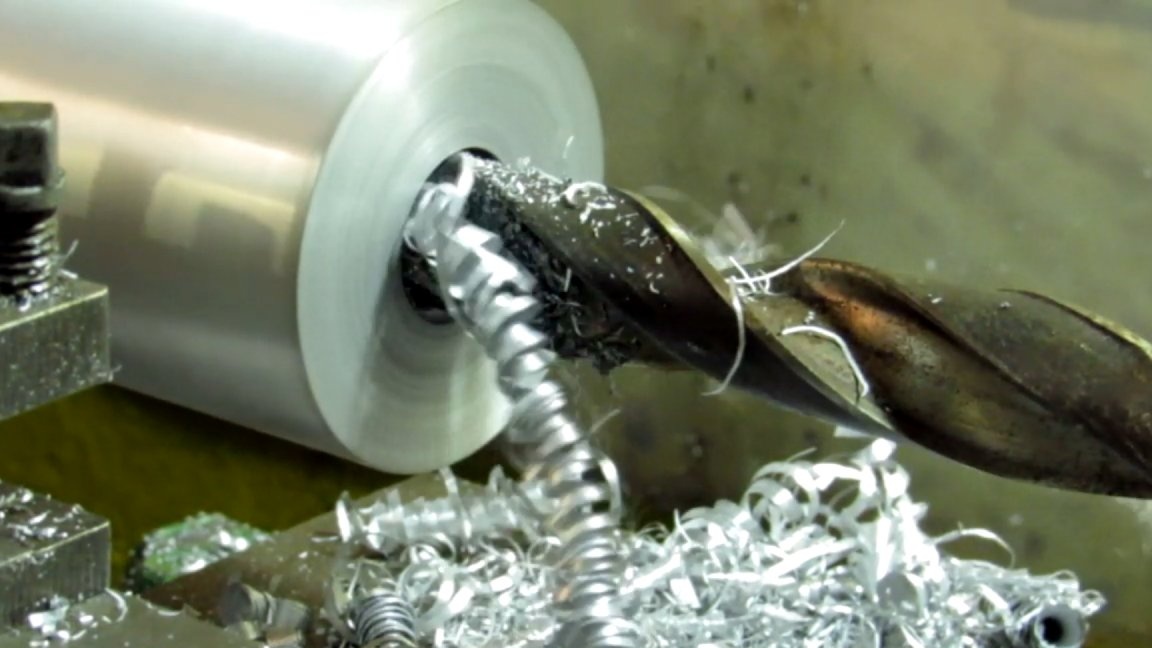
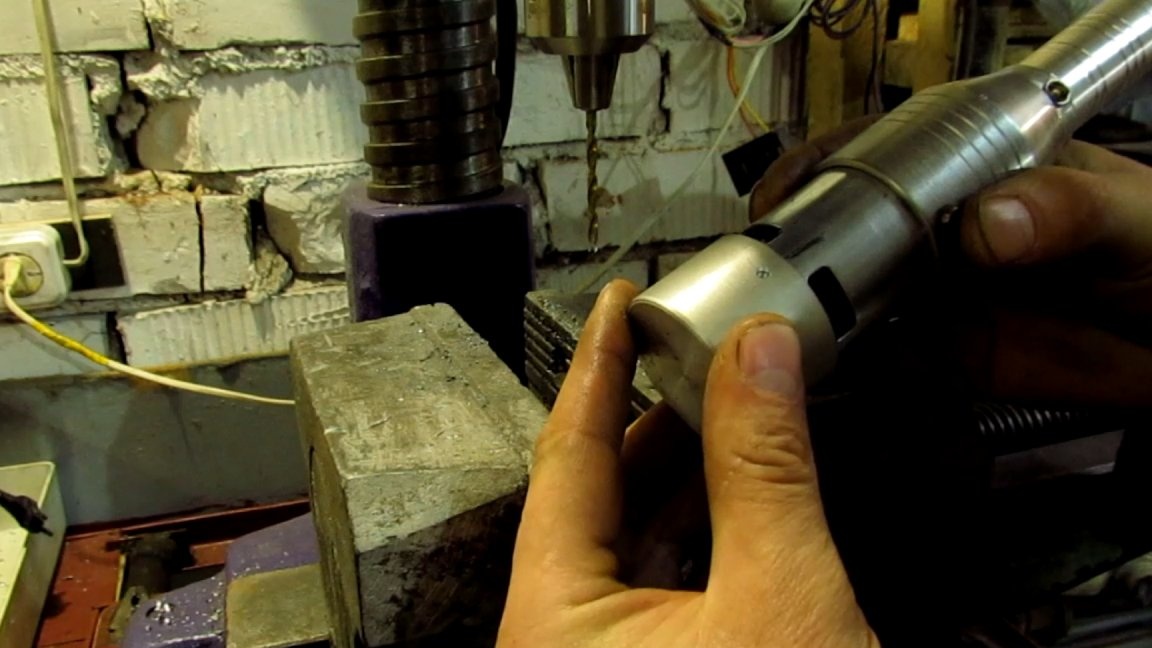
This whole thing will be connected through a cunning coupling. It consists of two halves, between which there is a plastic insert. The coupling halves are split, put on the shaft and crimped on it by tightening the screw. In my case, the diameter of the hole in one half is 5 mm, and it ideally sat on the motor shaft. The second half of the coupling along the central hole did not fit on the shaft of the boron machine itself, and it had to be drilled up to 6.3 mm.
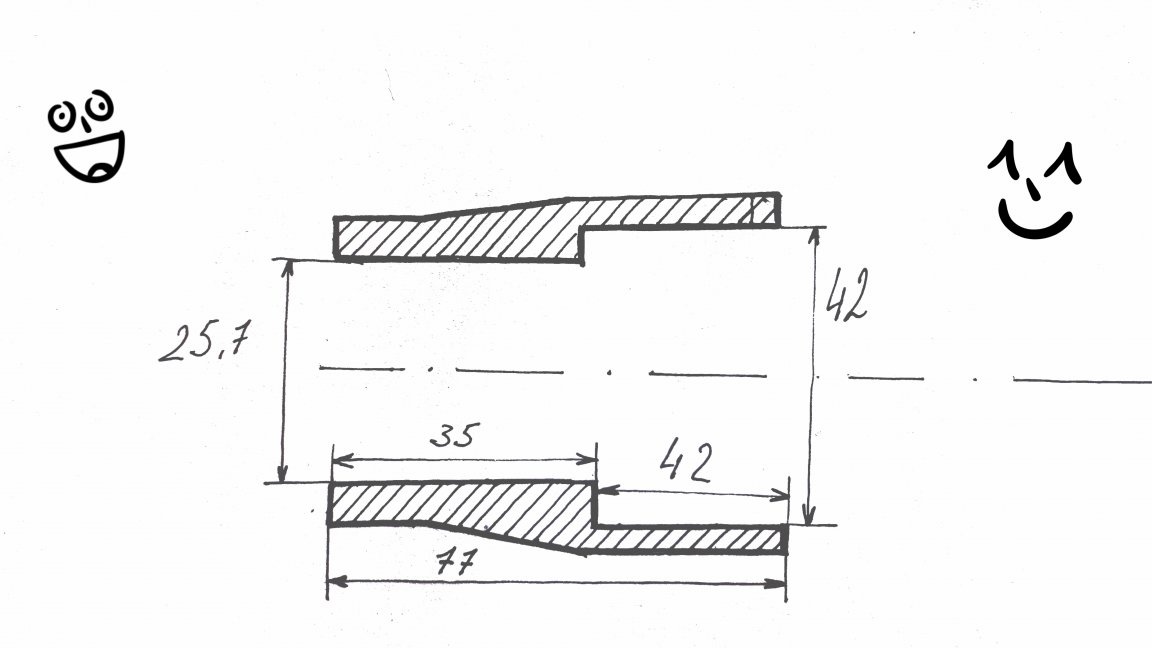
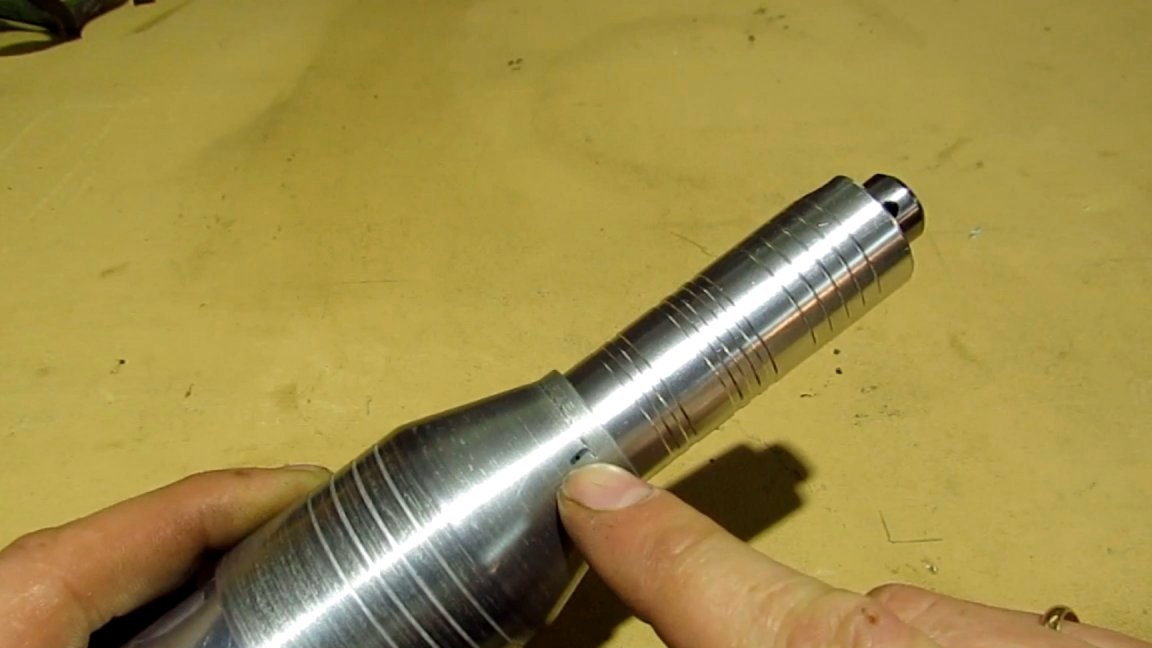
To connect all this, you need an adapter. The case is complicated by the different diameters of the parts to be joined. On the motor it is 42mm, and on the spindle of the boron machine 25.7. Here it is actually not difficult to solve this problem. You can pick up various tubes made of plastic, aluminum and other materials by inserting them into each other. You can stupidly dissolve along, cut the excess part and twist the clamps. But I didn’t want it as simpler, but as it were, more technologically advanced. The choice fell on aluminum. It has sufficient rigidity and is easy to handle. But I found a suitable blank, and it was decided to repeat the whole process of obtaining the desired blank.


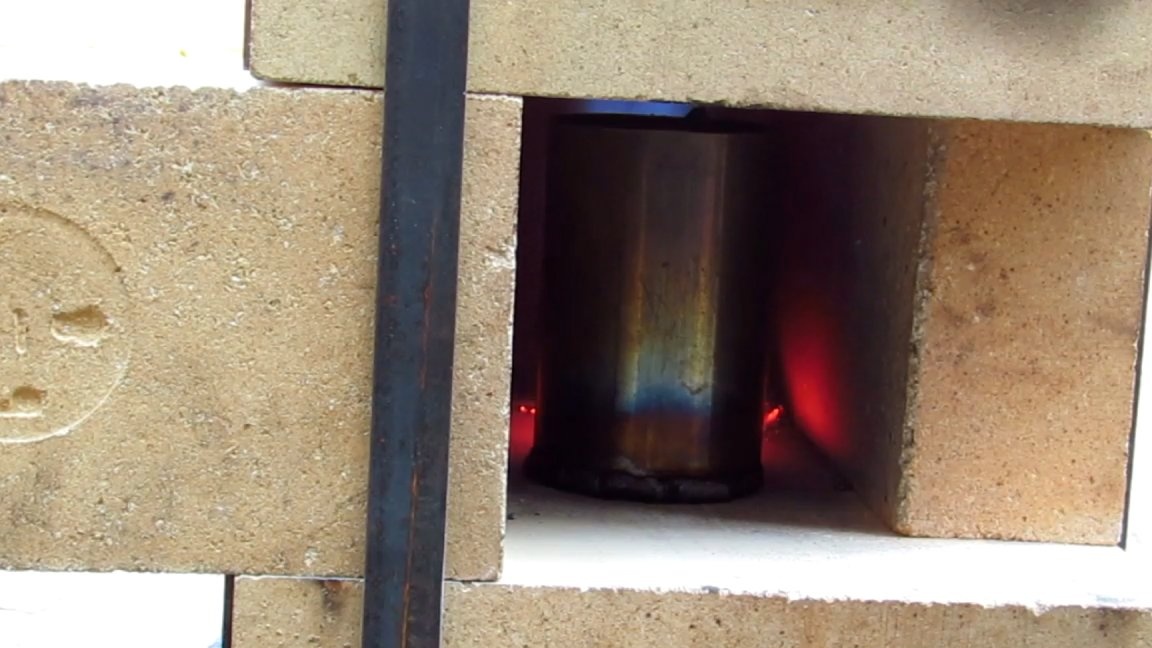
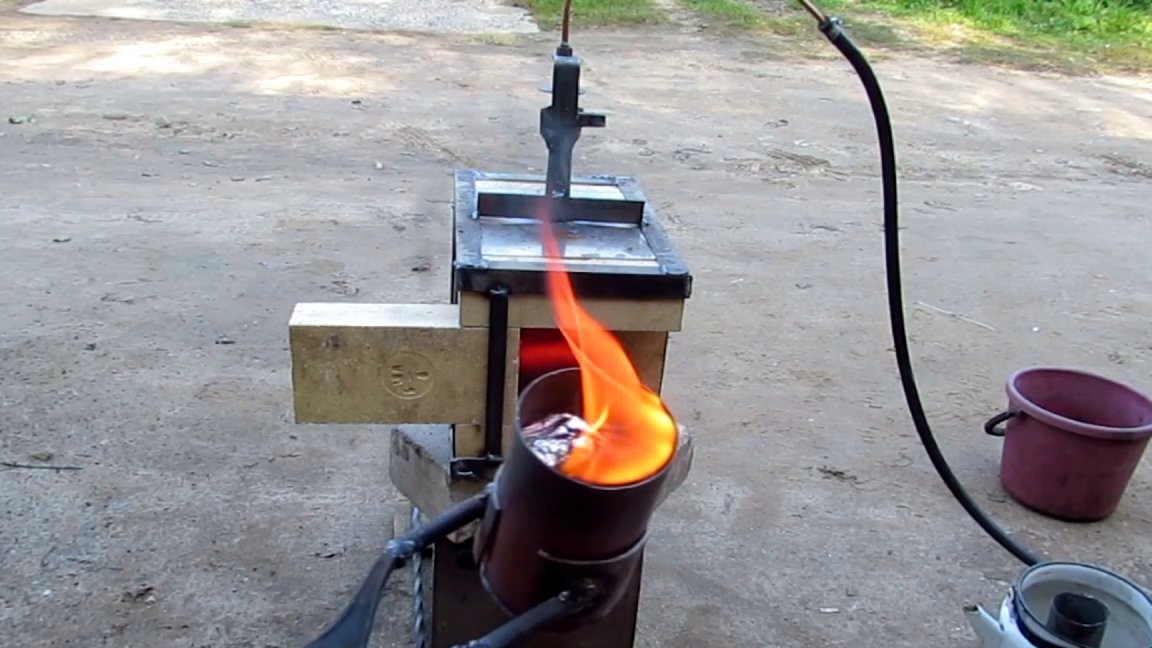
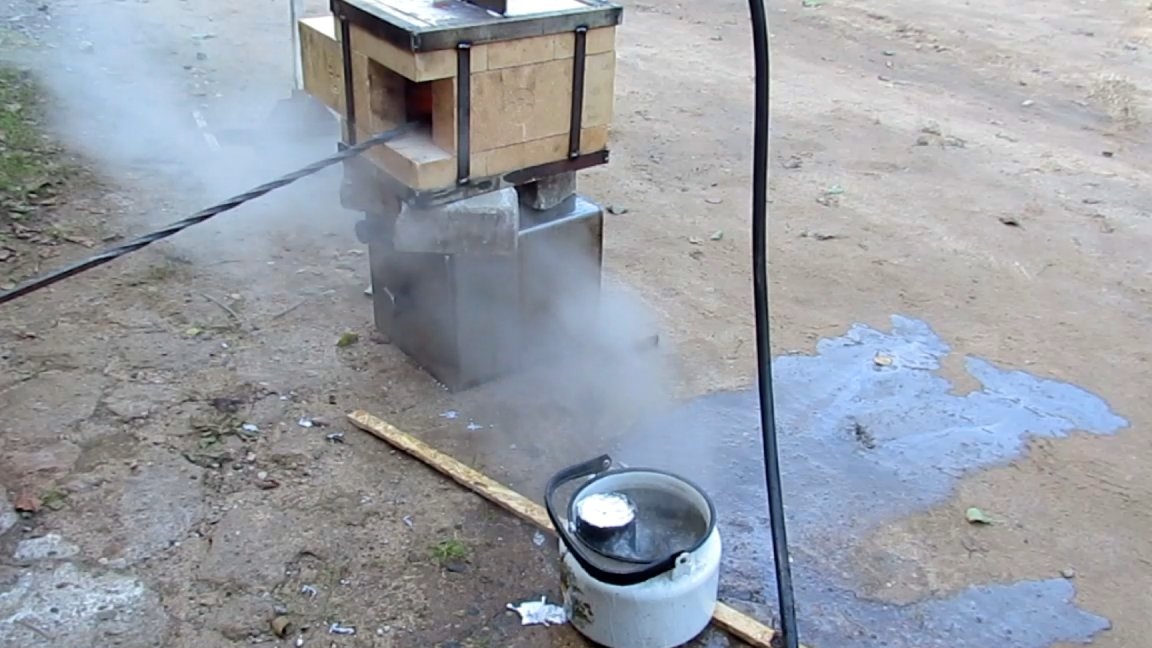
Step 2. Raw materials extraction, smelting and casting. We are not looking for easy ways.The raw materials for the preparation of steel were covers from burned-out engines of washing machines, automobile pistons, a transmission shank of the glorious AZLK plant, and various trimmings of a corner and tubes. The raw material was cut into small pieces and it was collected not a little more than a 5-liter bucket. Smelted this business with a friend in the garage. He just made a small gas furnace. We quickly cooked a stainless steel crucible, pincers from old pliers, prepared the mold and go ahead. The horn gives sufficient temperature for smelting, even more. Here it is worth saying about safety measures. When pouring molten metal, a mask is required on the whole face, or at least glasses, thick gloves on the elbow, welding gaiters are suitable. And not any moisture. In the crucible it naturally will not be, but in the form it can. Therefore, before adding raw materials to the crucible, it must be warmed up on the stove itself. The form also needs to be put on the oven for heating and drying. It is not very pleasant to get water boiling during a metal spill and subsequent clap with spraying molten metal in different directions. Especially for brick forms. It has moisture even when it looks dry. The metal begins to cool from the edges and seals, and steam gets inside, its pressure rises and breaks through the thin walls of the frozen metal and a bang occurs. Better to pour in metal molds. Be careful.
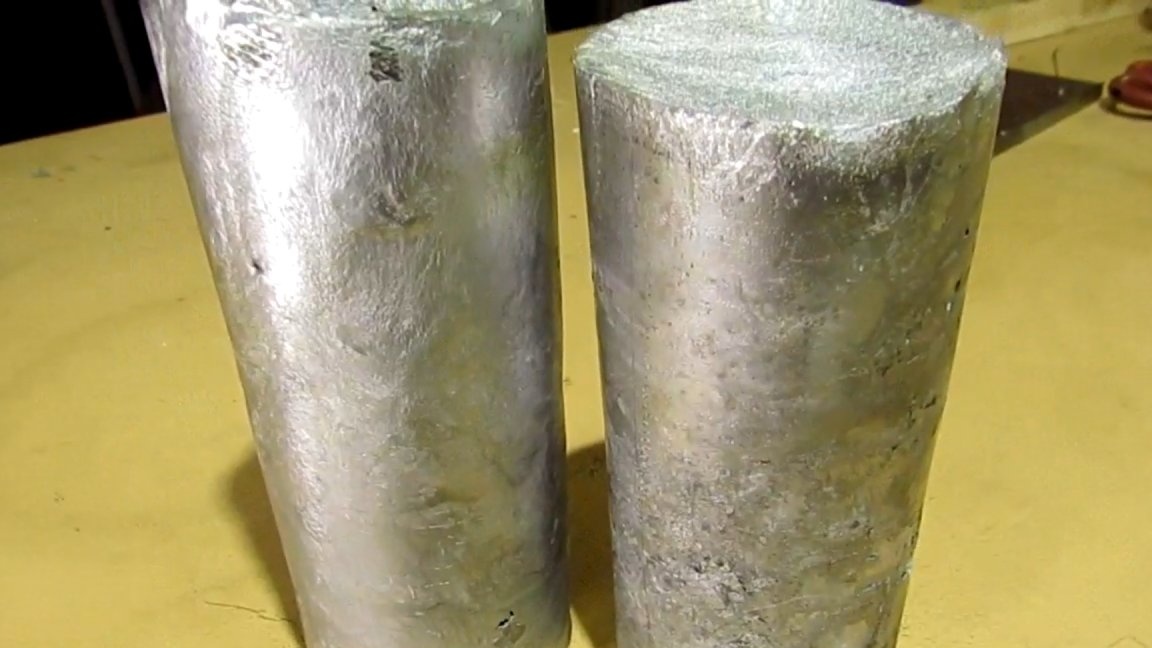
In general, the smelting was successful. From the scrap bucket we got three pigs. A spray can of paint was used as a form.
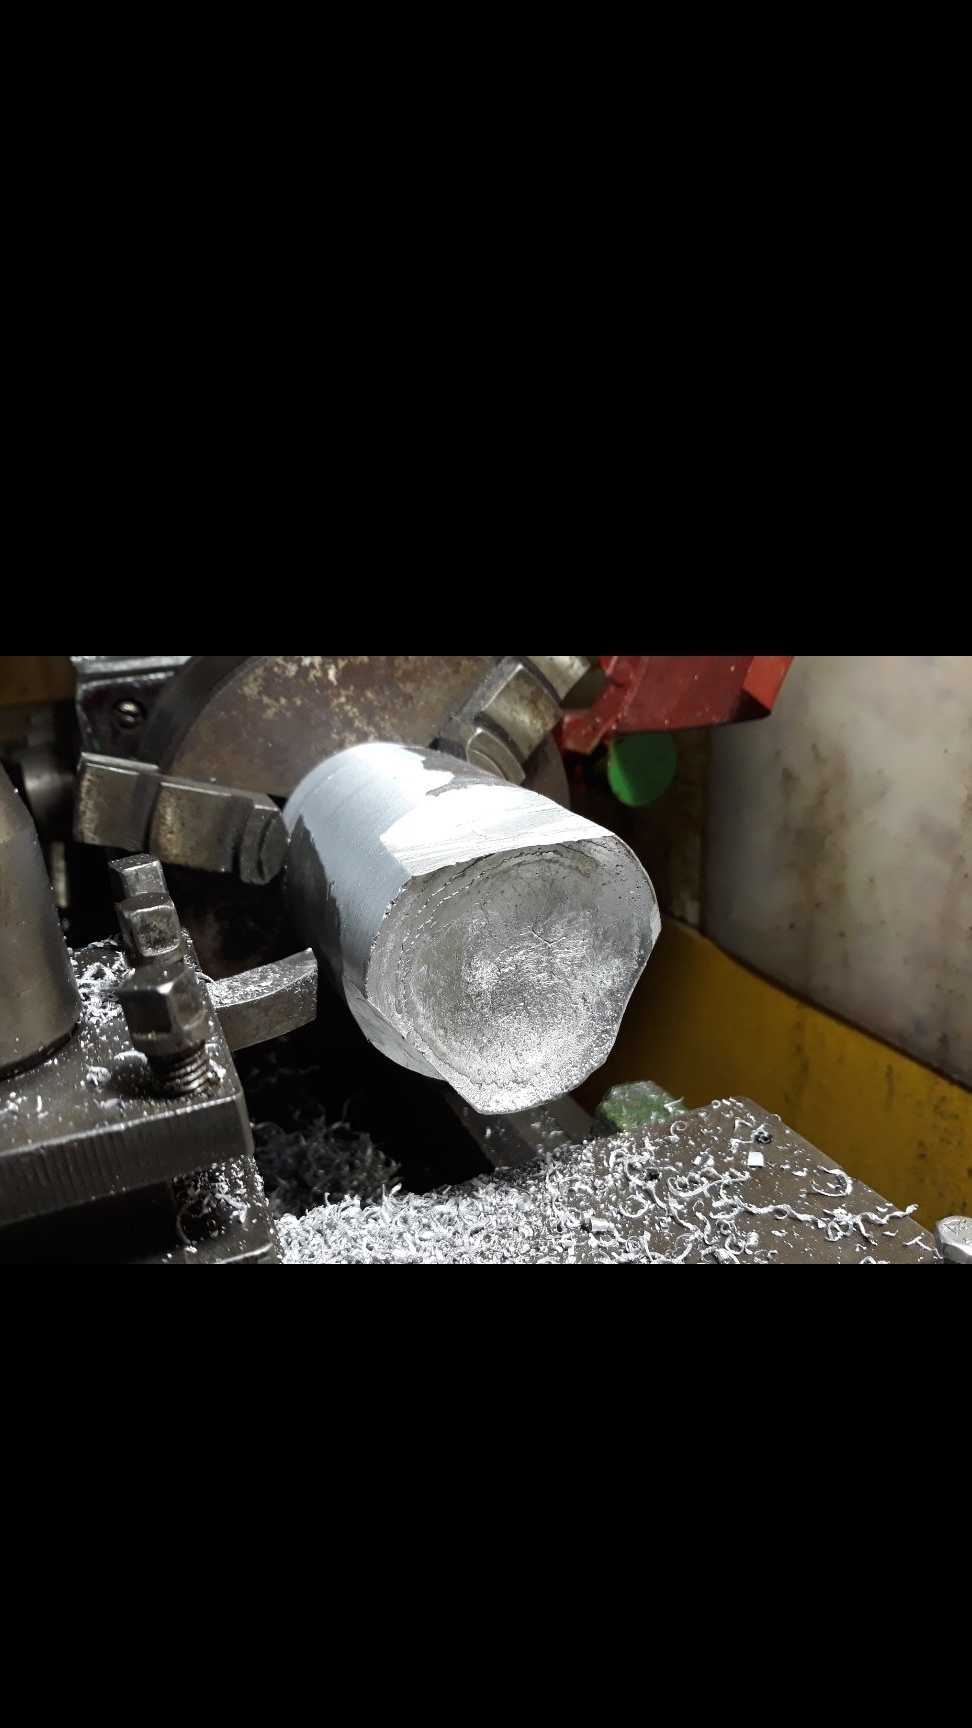
Step 3. Sharpen the adapter.
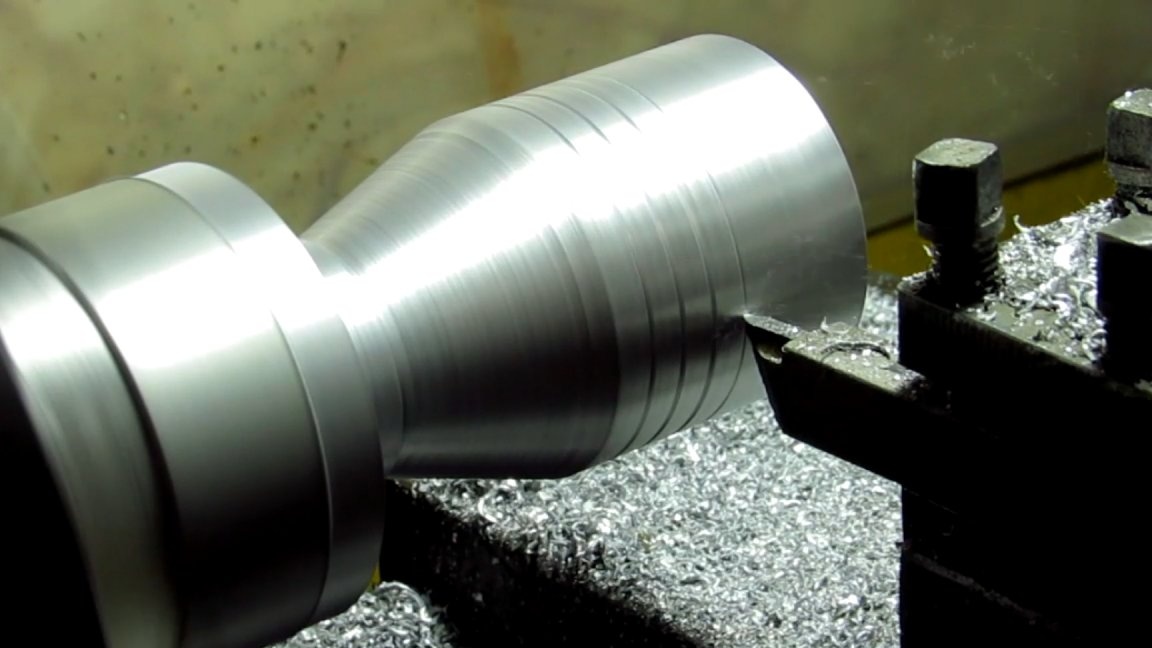
The diameter turned out to be large, it was possible to cast less. This disc did not climb into my machine in diameter and had to cut small areas at the clamping jaws of the turning chuck. Well, of course, most of the material went into shavings to get the right part. You can also cast the workpiece and carry it to the turner. Aluminum is easy to melt with a blowtorch. And the stove was quickly layered from a pair of bricks. The process is very interesting. In general, I exhausted this adapter for several hours behind the machine and the chip mountains. It turned out to be 72 mm long. Will do, do mm at 5 length. It turned out briefly for me and drilled holes on the very edge. This is not convenient, so the drawing indicated an elongated size. Better than end-to-end.

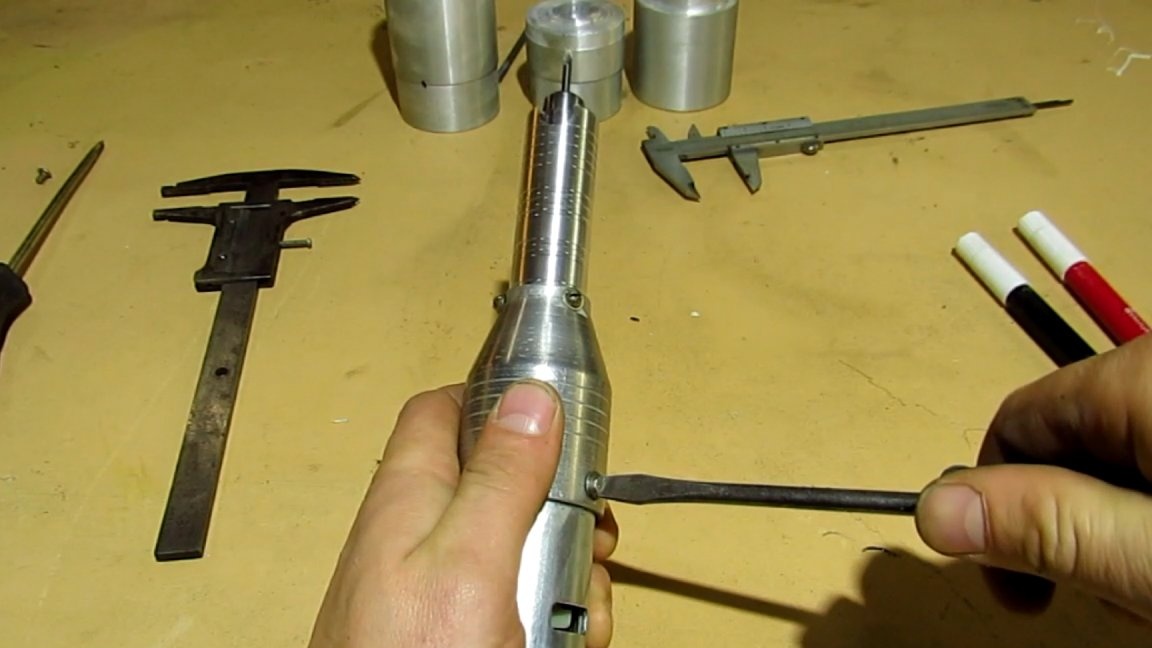
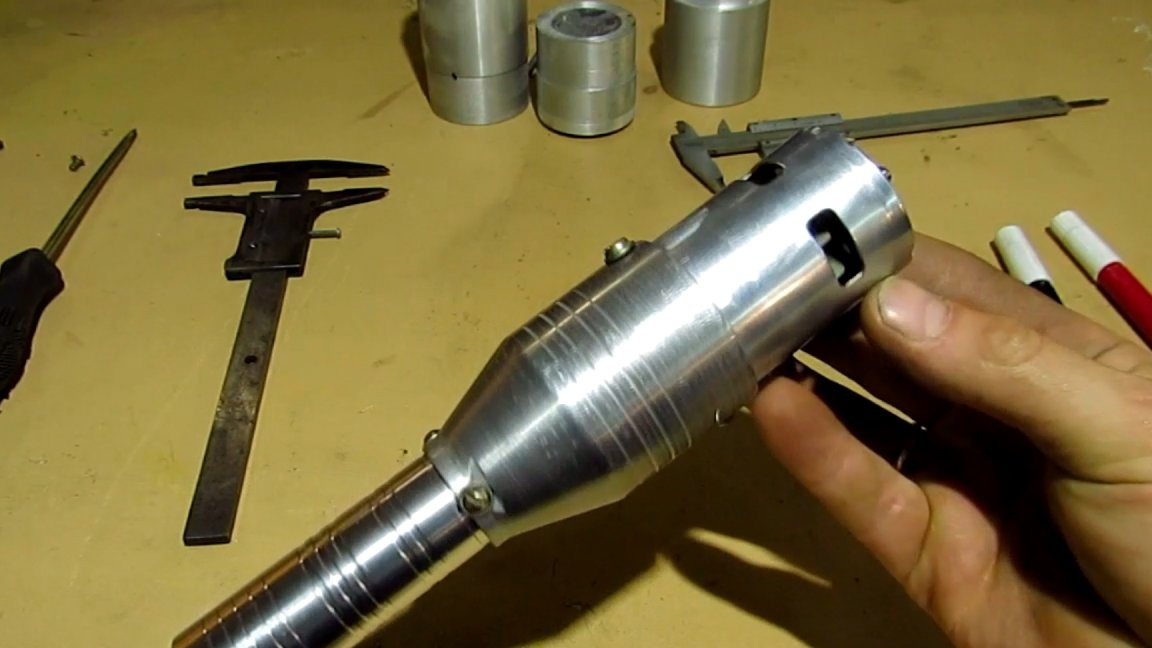
Step 4. Assembly
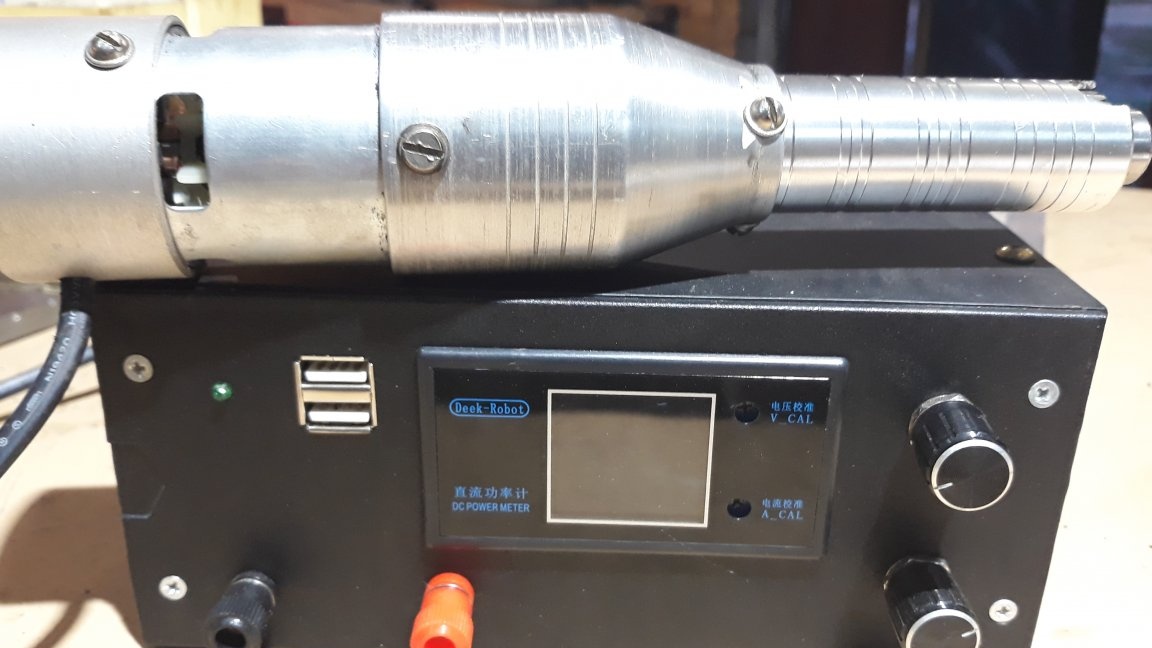
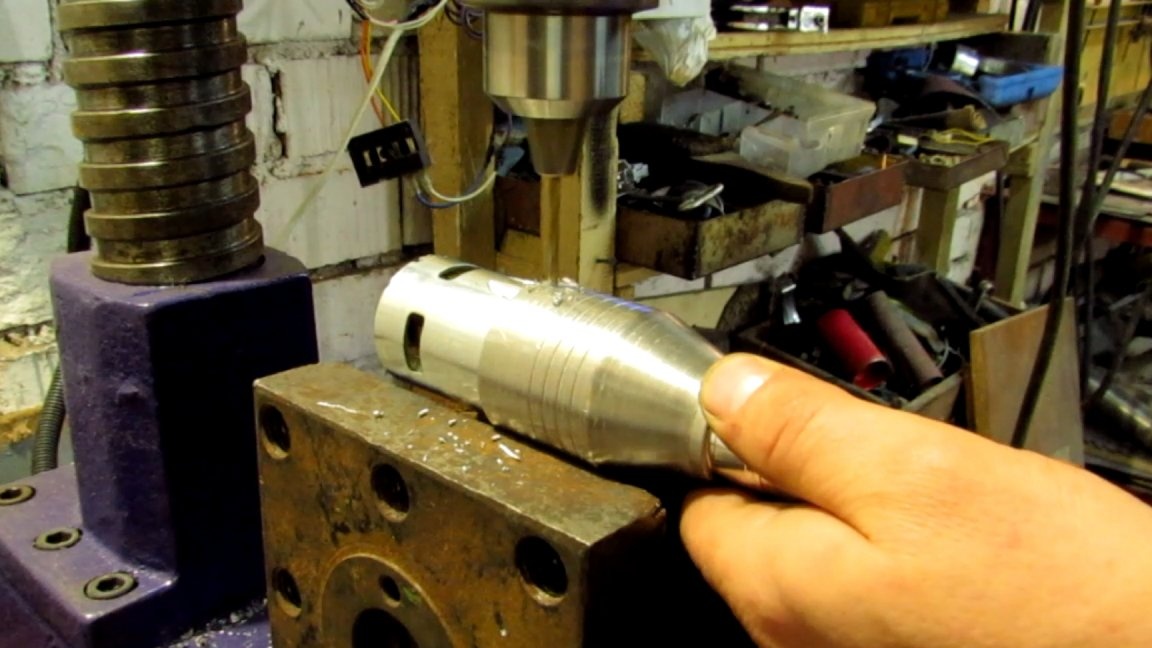
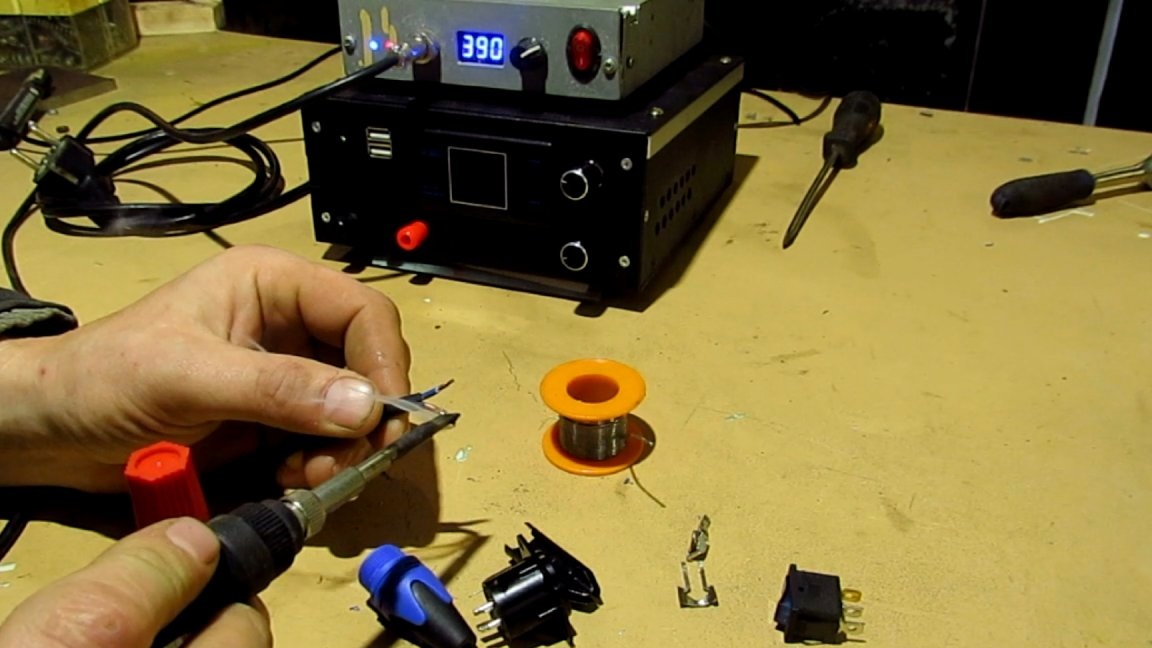
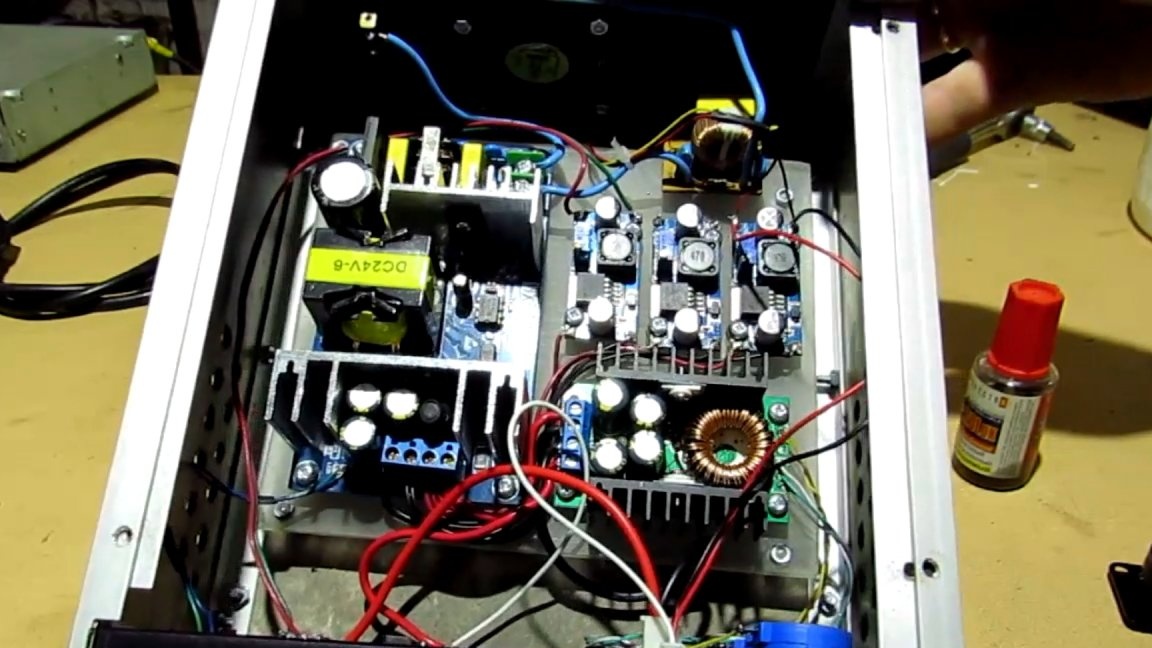
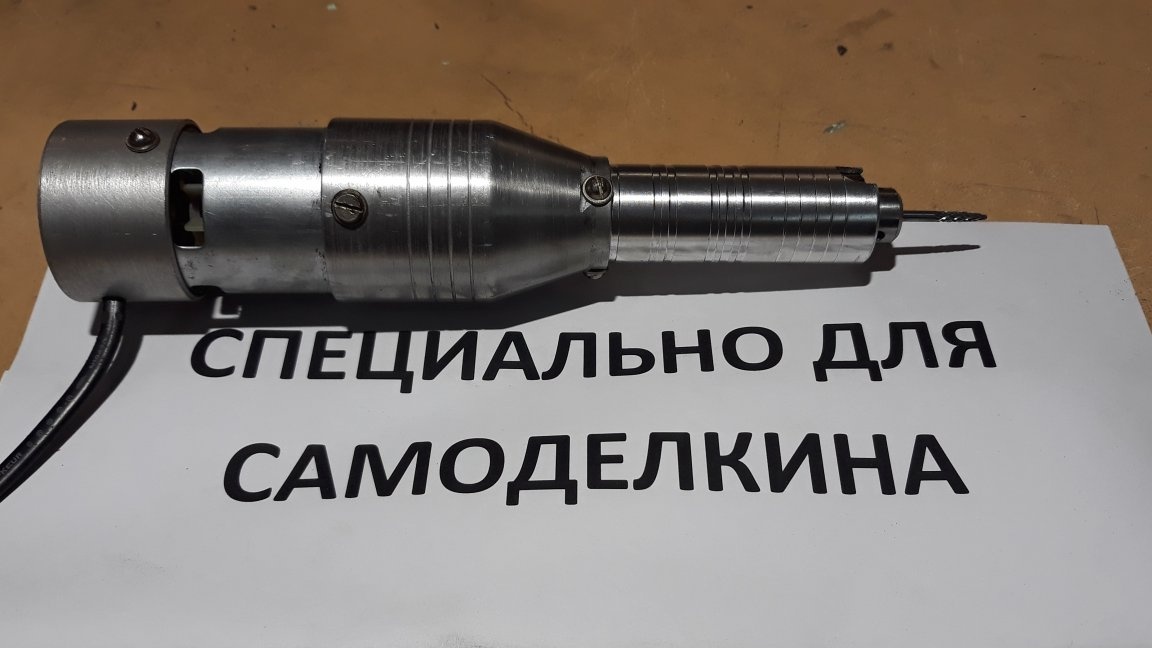
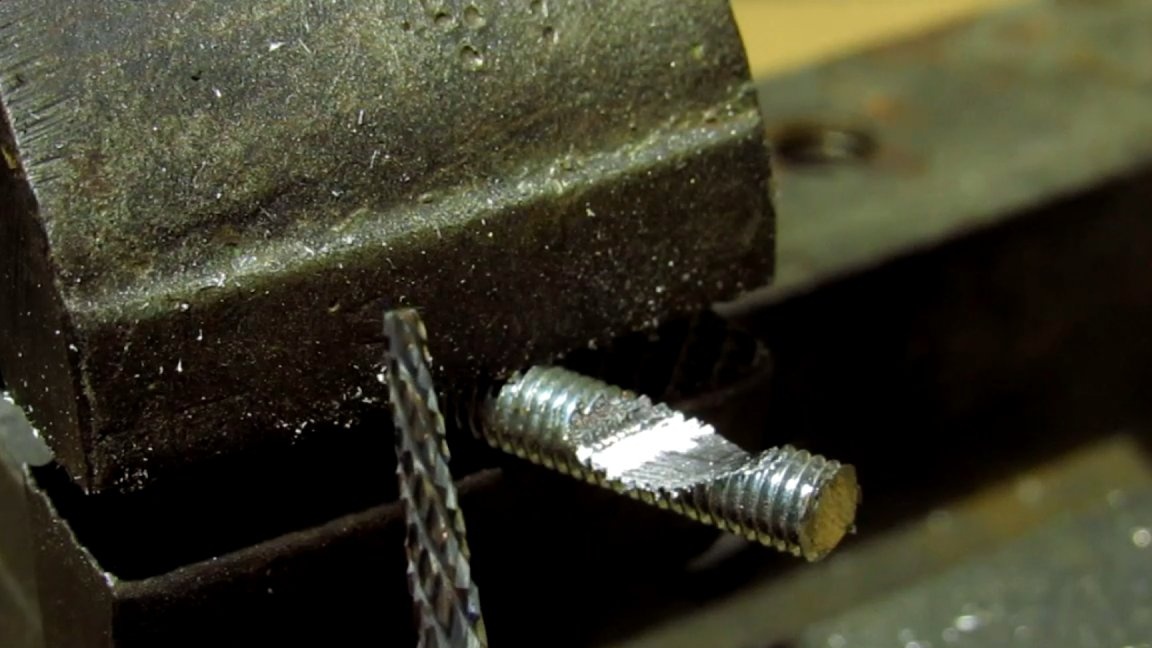
Now there are a few tips for assembling so that you can avoid some mistakes. In the spindle, it is necessary to unscrew the rear cap, saw off it leaving the thread and screw it into place. It fixes the shaft with bearings. I collected on the M4 screws. You need to drill assembly, for exact alignment of the holes. Three screws are enough. Place the holes behind the bearing, closer to the cartridge. There is a shaft inside and nothing prevents the drill and tap exit. Now the motor. It has two magnets. Place the holes between them. Do not go deep with a drill; you can damage the rotor or brushes. And yet, metal dust and sawdust are well magnetized on it. When all the holes are drilled and the threads are cut, you can assemble. We dress and fix the halves of the couplings on the shafts, connect the spindle and motor with a plastic insert and push this whole thing into the case from the motor side. Also from this disc I turned a cap on the motor from the side with glue. Soldered the wires, insulated everything with electrical tape, you can use blue, threaded the wire into the drilled hole and secured it inside with a plastic clamp. The cover is also mounted on two screws. On the other hand, soldered the XLR connector. It is very comfortable and has a latch. Well, sort of like you're done! I will be powered from my home-made power supply. This motor needs about 5-6 A current. My block is suitable for this. I cut the mate of the connector into the rear panel and powered through the switch. Vidos about the manufacture of such a unit from ready-made modules can be found on the channel. The machine has passed all the tests and tests. Satisfied with the result and recommend for repetition. A very necessary thing.

Links to the necessary components for the assembly:
Spindle
Motor
Connector Mom
Jack dad
Coupling
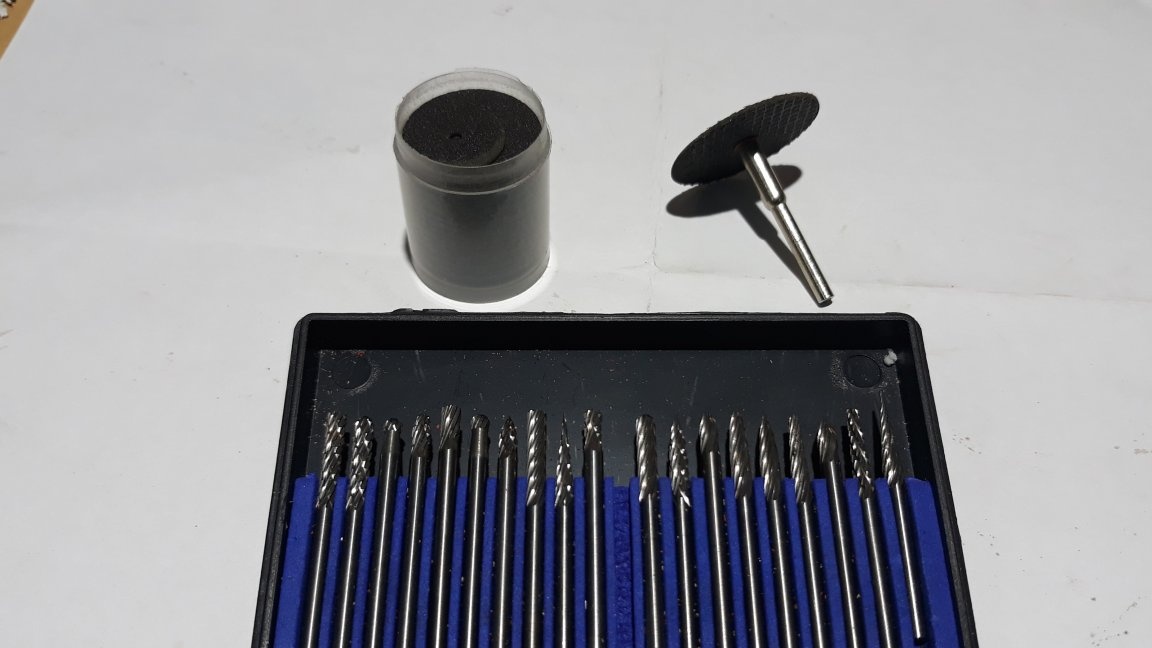
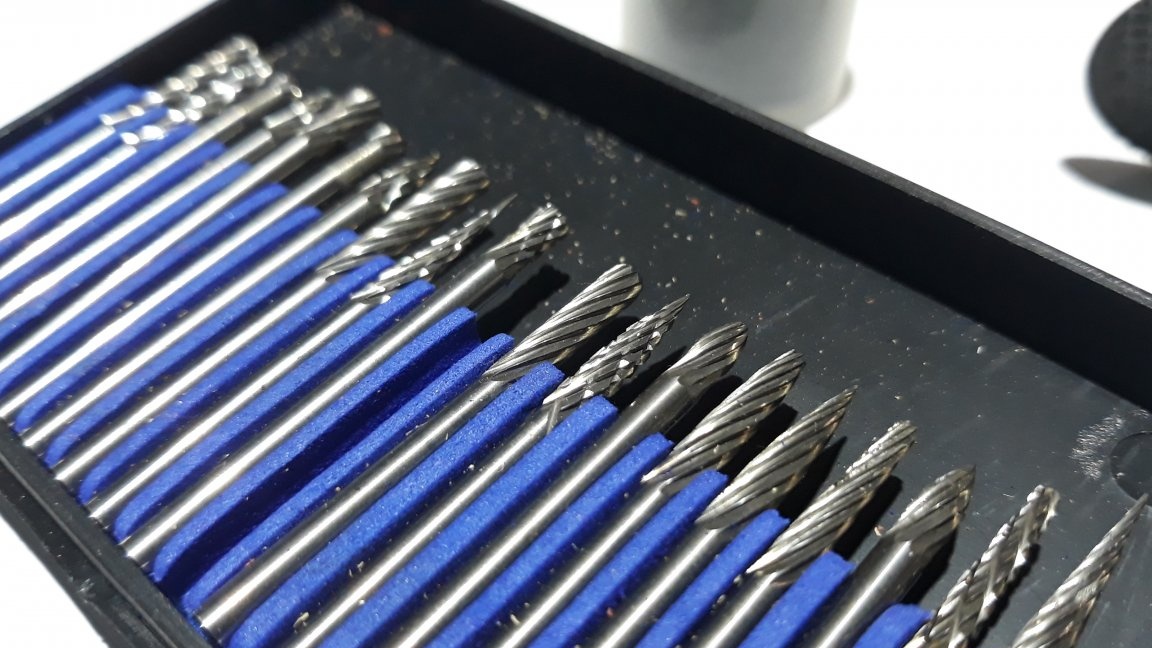
Milling cutters
In more detail about the manufacture of a boron machine, you can look in the video:
Tools required:
Drill, screwdriver or drill press.
3mm drill, M4 tap and M4 screws.
A lathe or a familiar lathe.
Screwdrivers, pliers, soldering iron, wires.
If you do not sharpen the clutch:
Various pipes, couplings, adapters.
Hacksaw, thin section machine, clamps and everything that fits.
Thanks for attention. Until next homemade. Till.