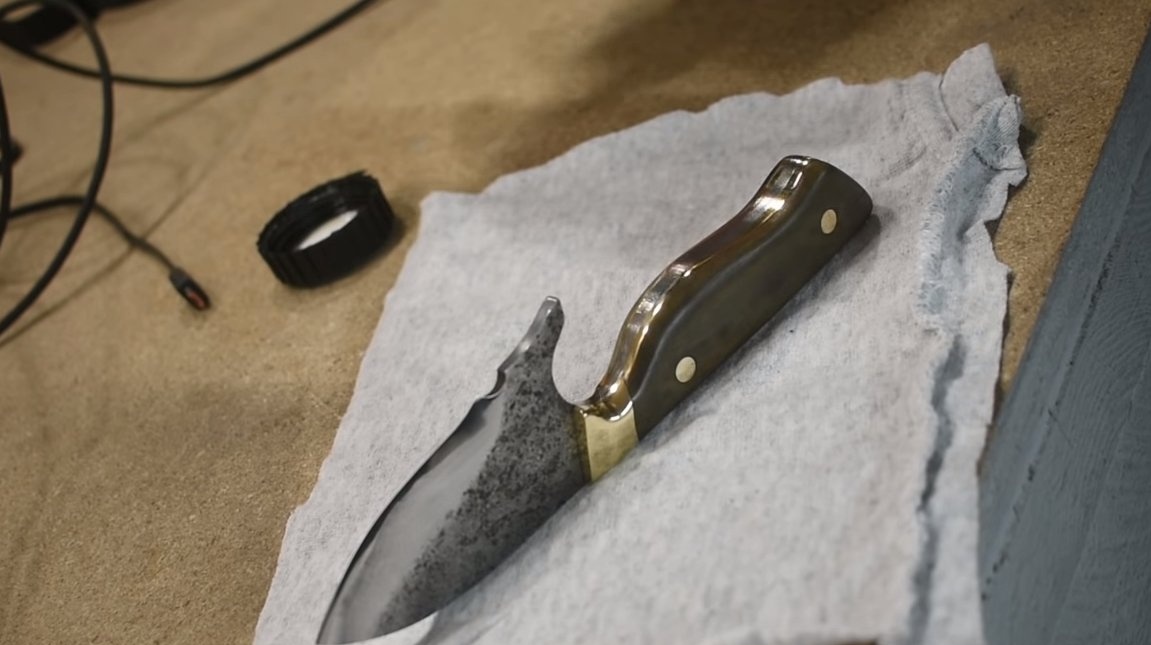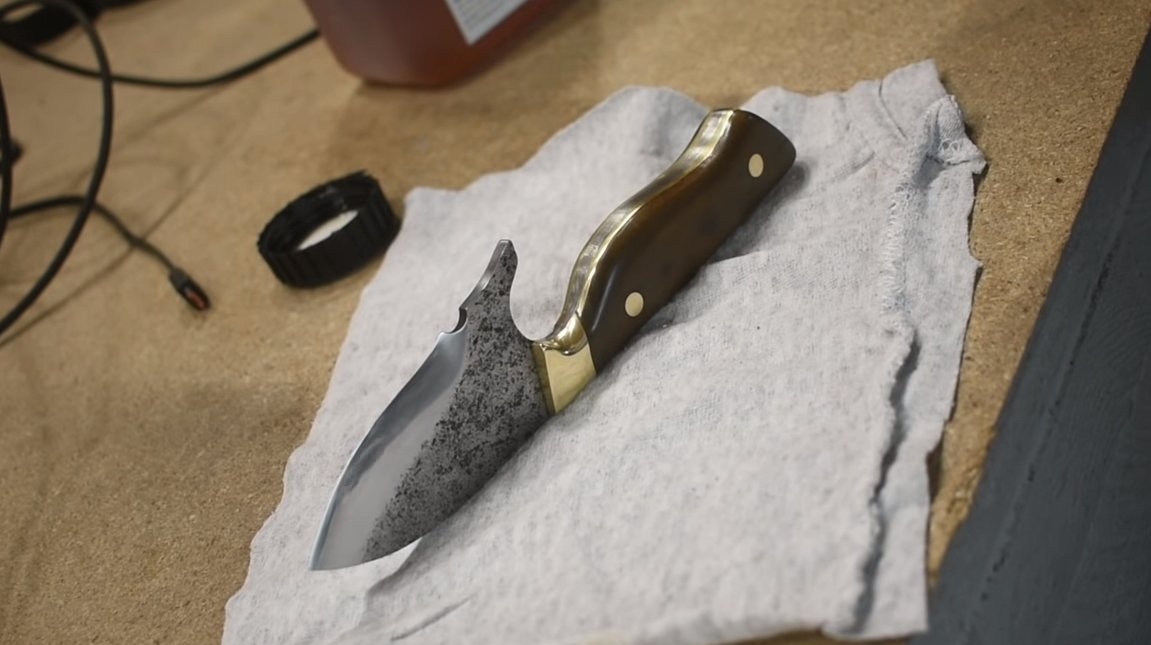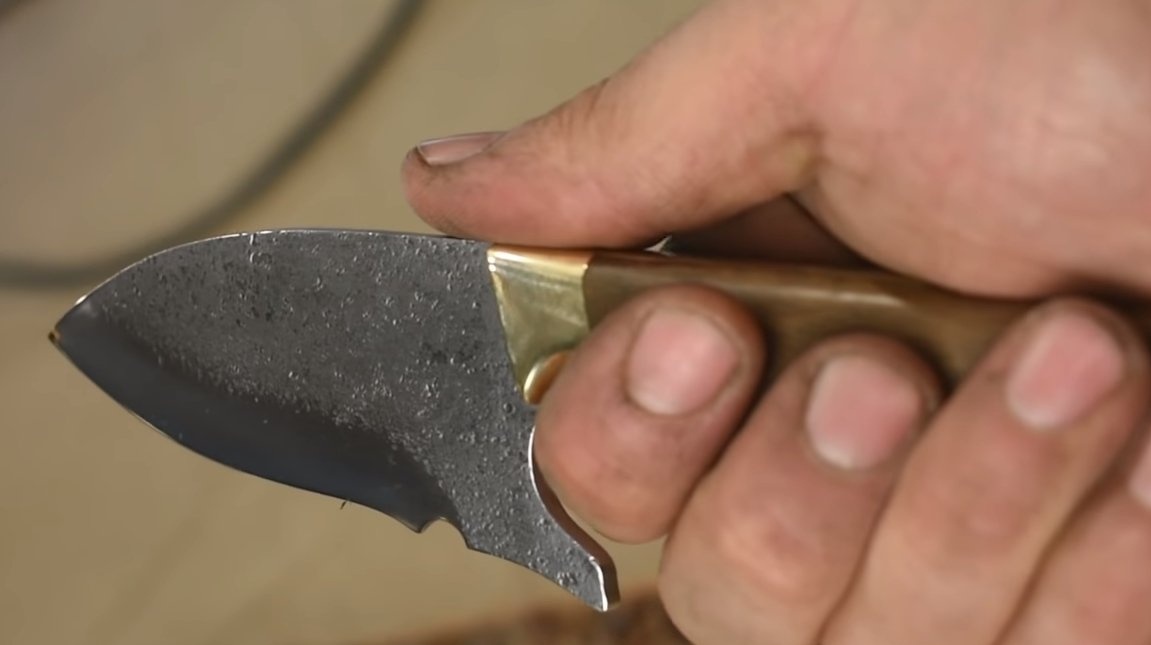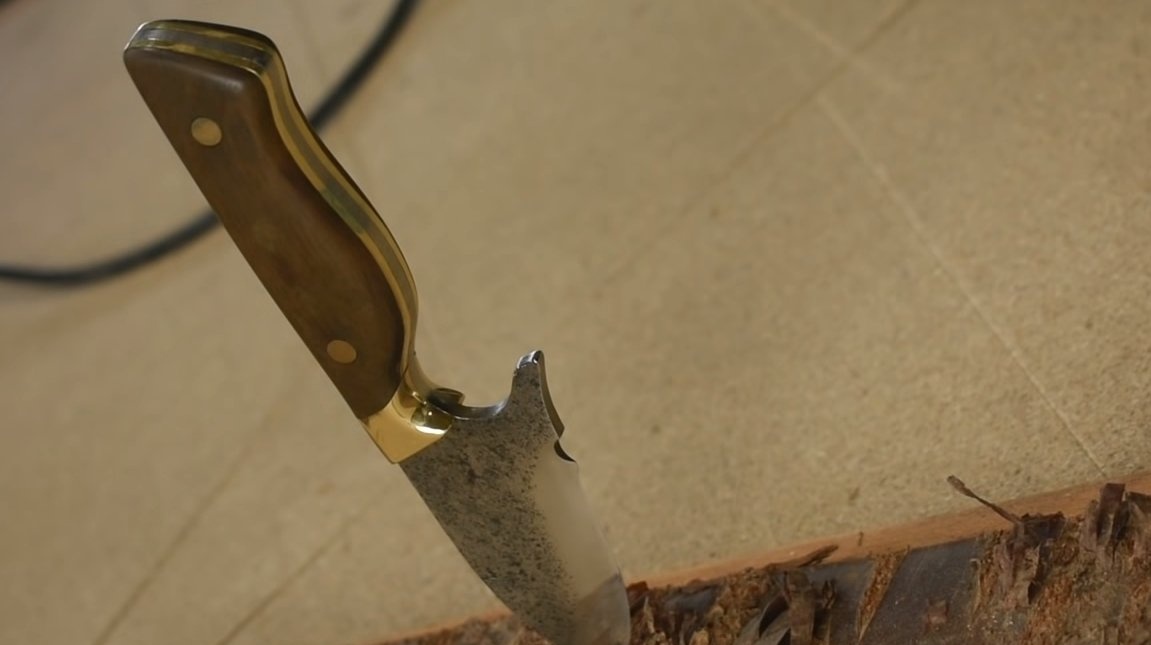
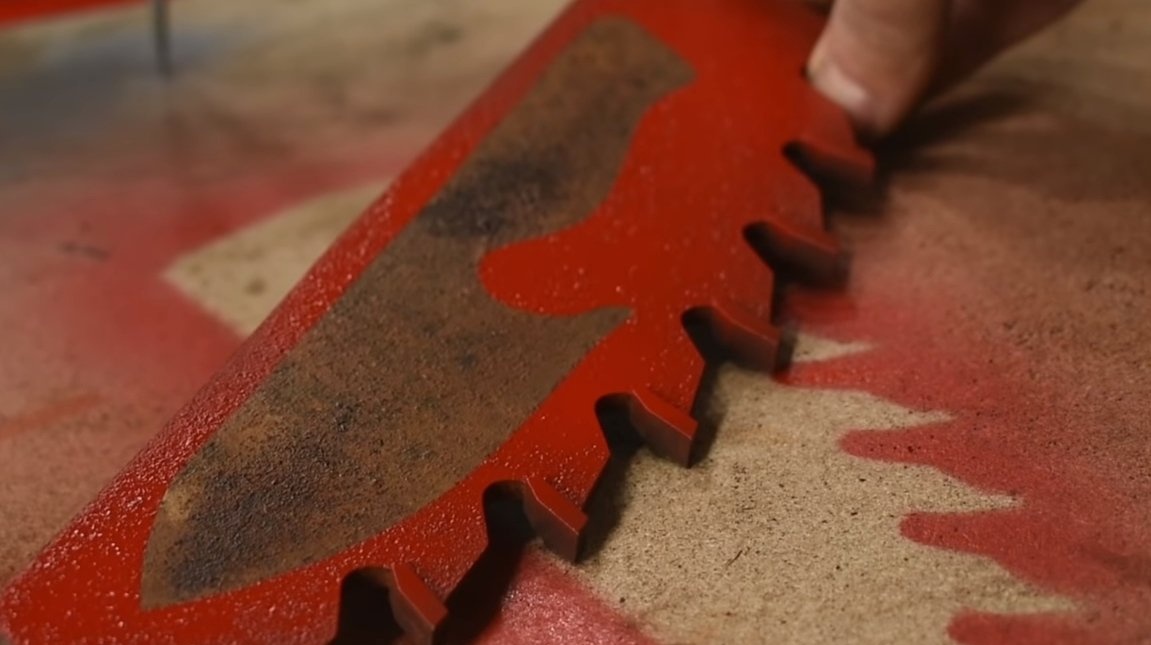
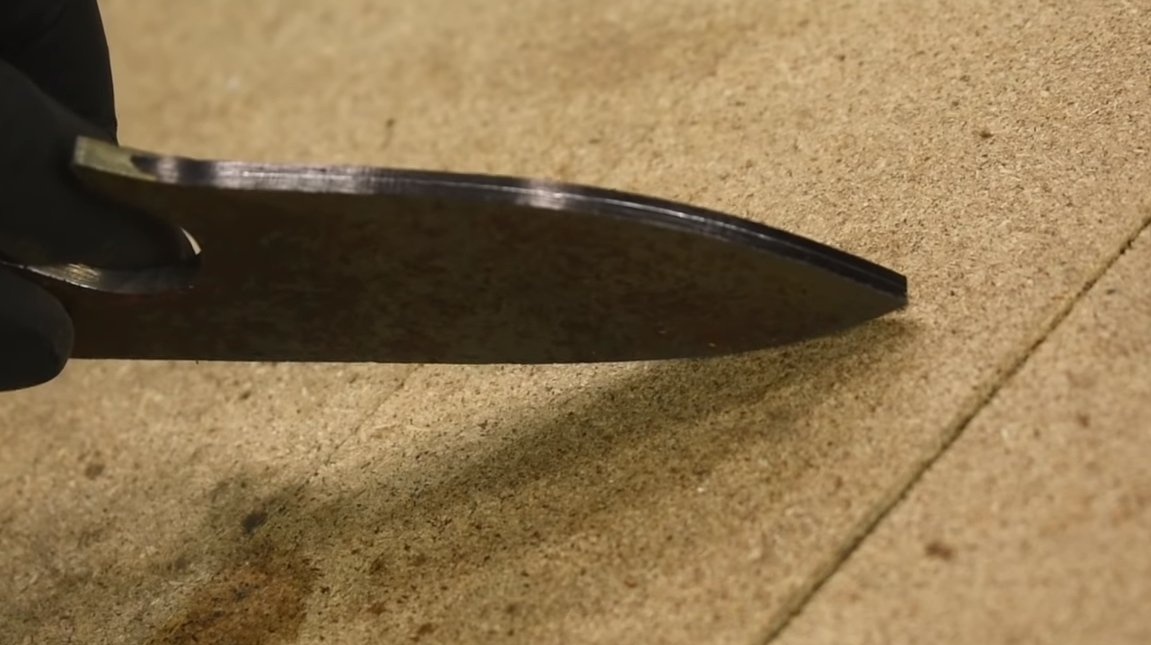
Hello fans to craft, today we will look at how to make a strong knife from an old saw blade. Such a knife can be taken with you on hunting, fishing, and in everyday life it will be useful. This knife is made of carbon steel, it has been hardened, so the blade will remain sharp for a long time. An interesting pattern on the blade was formed naturally over time, the circular disk rusted and covered with shells, it looks quite interesting. The handle is made of wood with brass elements, it is reliable and looks great.
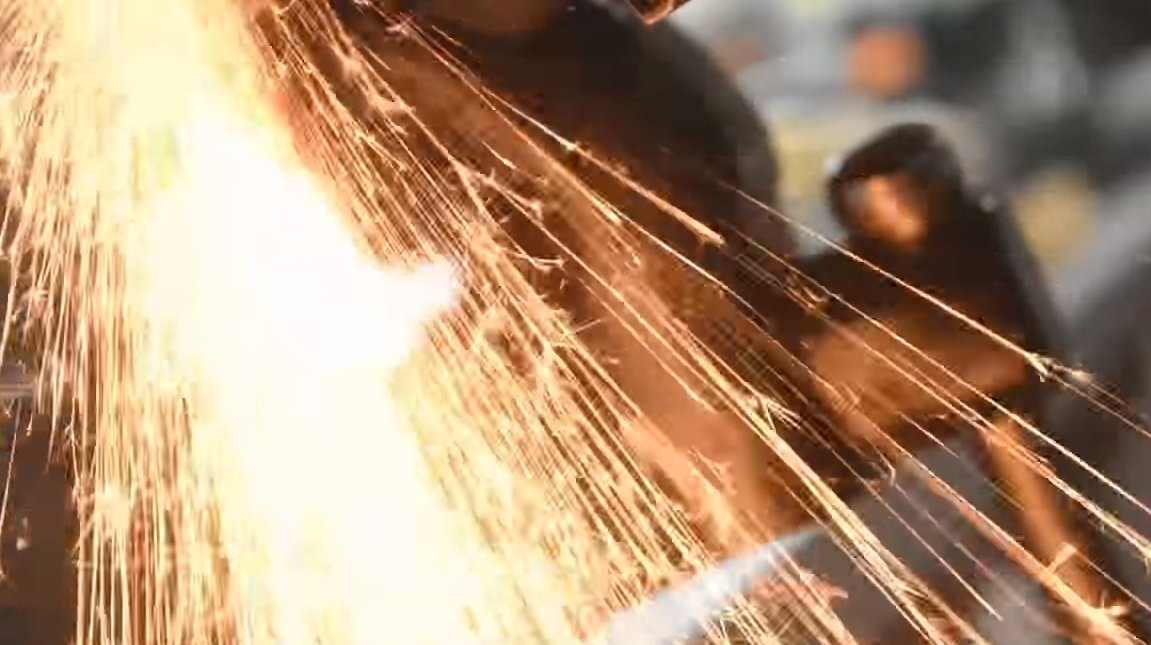
Only flaw homemade that such steel will continue to rust, so it must be covered with a patina or otherwise protected against corrosion. The author also used the tool quite affordable, the main work was carried out using a grinder.
Materials and tools used by the author:
Material List:
- old circular disk;
- a tree for overlays;
- sheet brass;
- brass rods (for pins);
- epoxy adhesive;
- oil for wood impregnation.
Tool List:
- grinder;
- drilling machine;
- tape cutting machine, jigsaw or the like;
- gas-burner;
- oven;
- files;
- sandpaper;
- belt sander;
- hammer;
- clamps;
- drill;
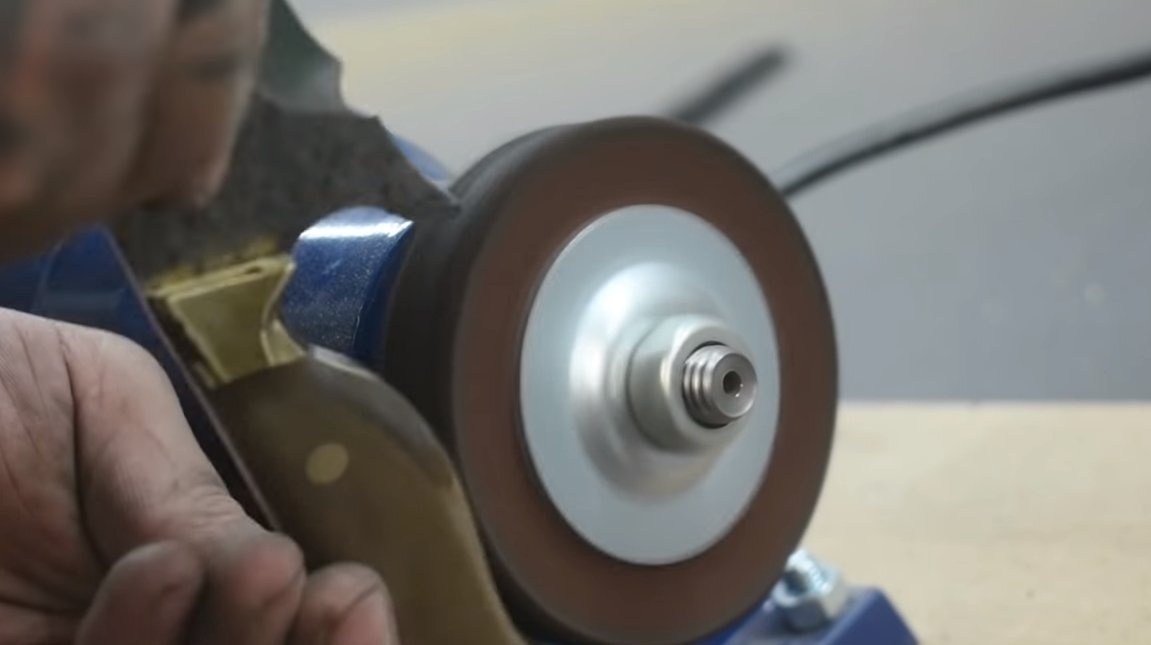
- polishing machine.
The process of making a knife:
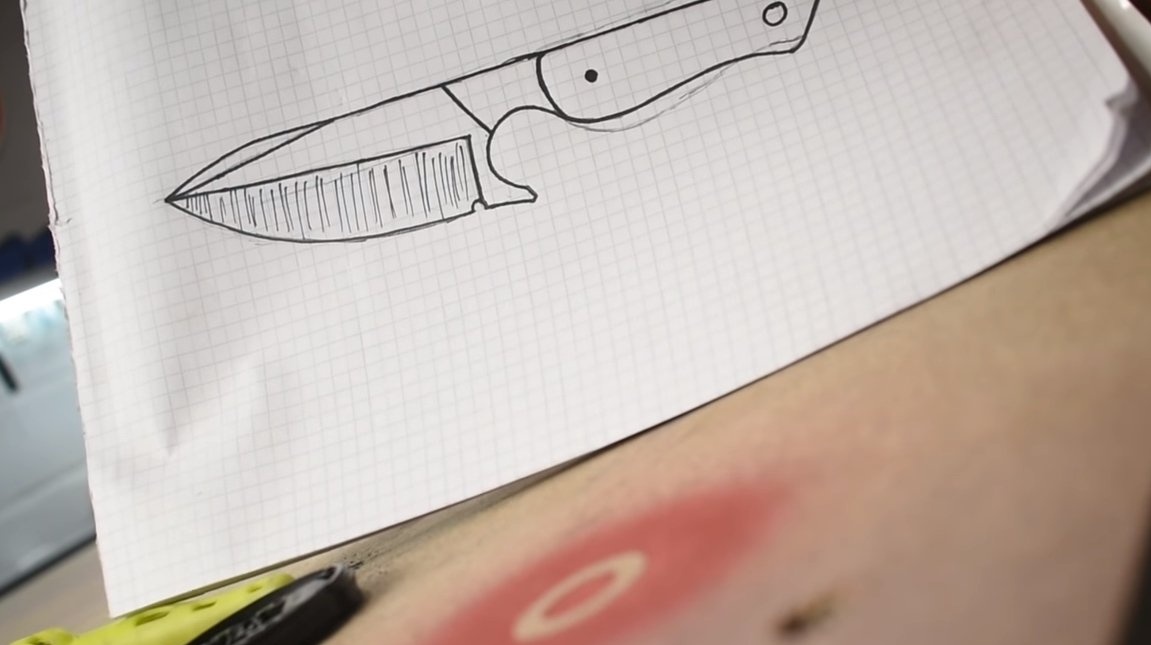
Step one. Cut the knife profile
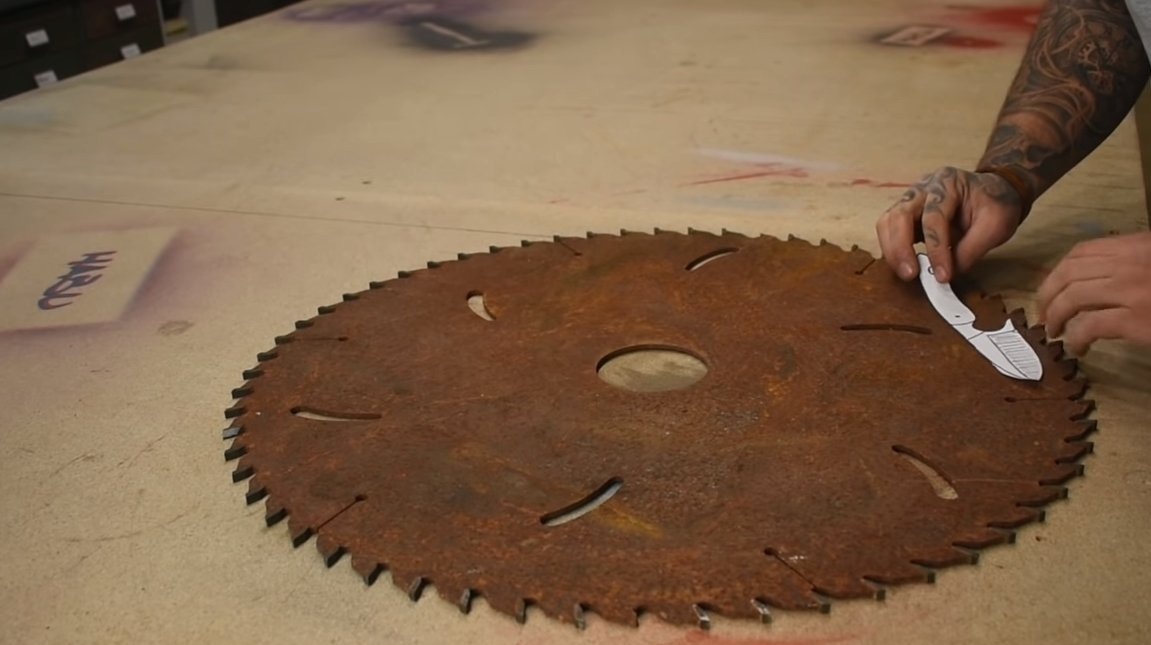
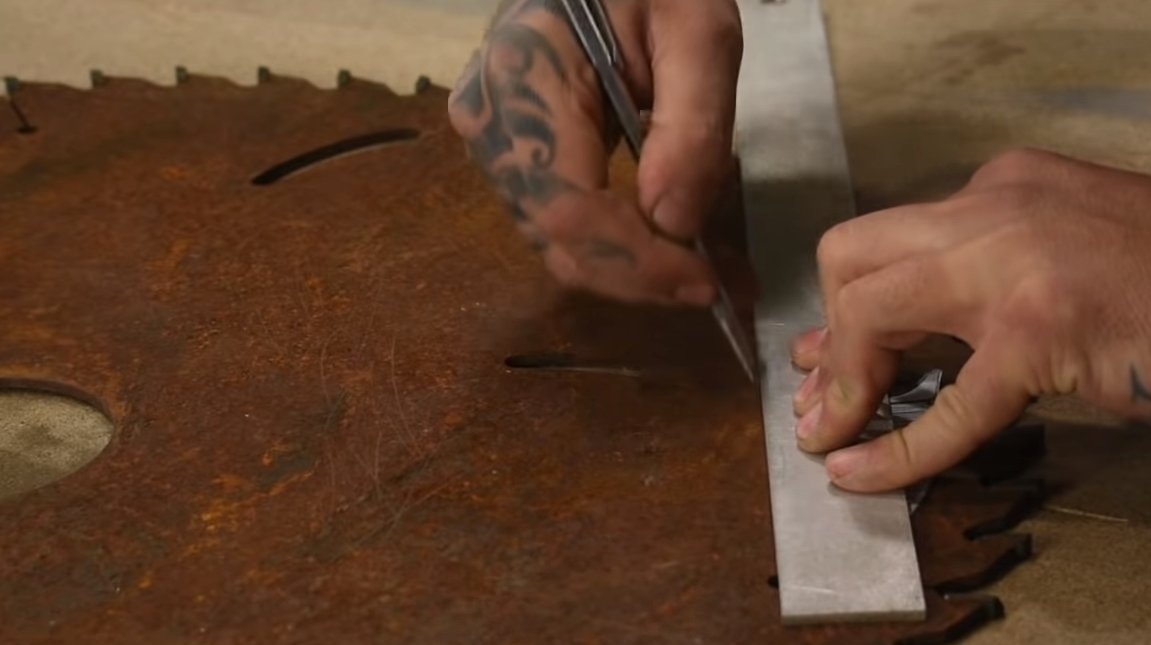
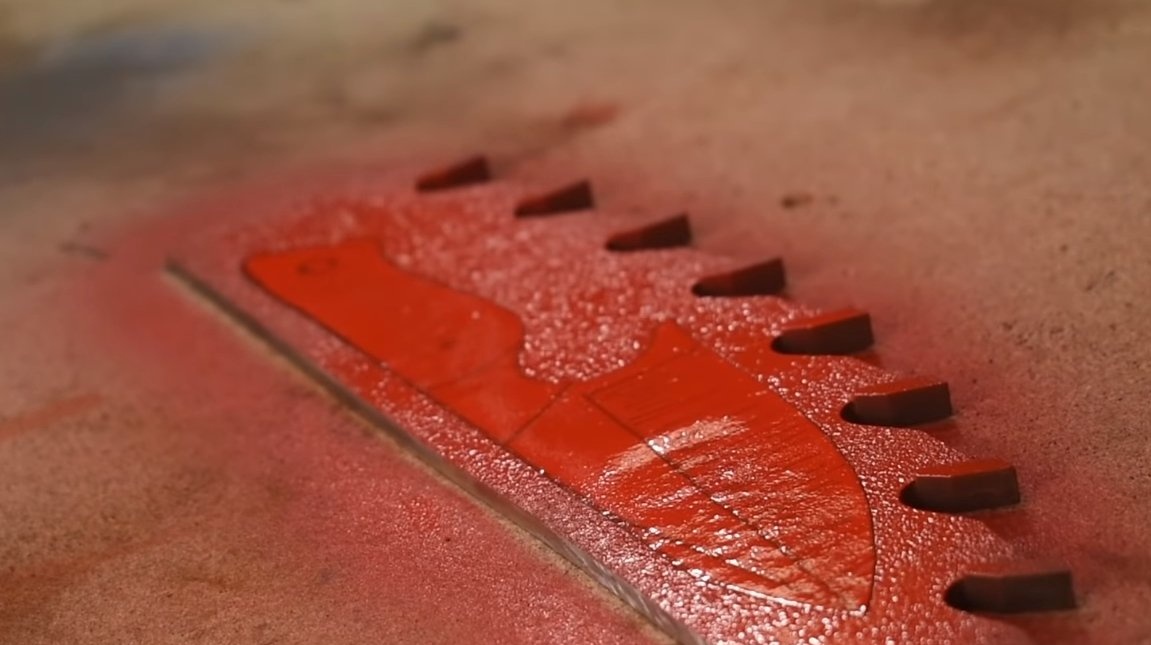
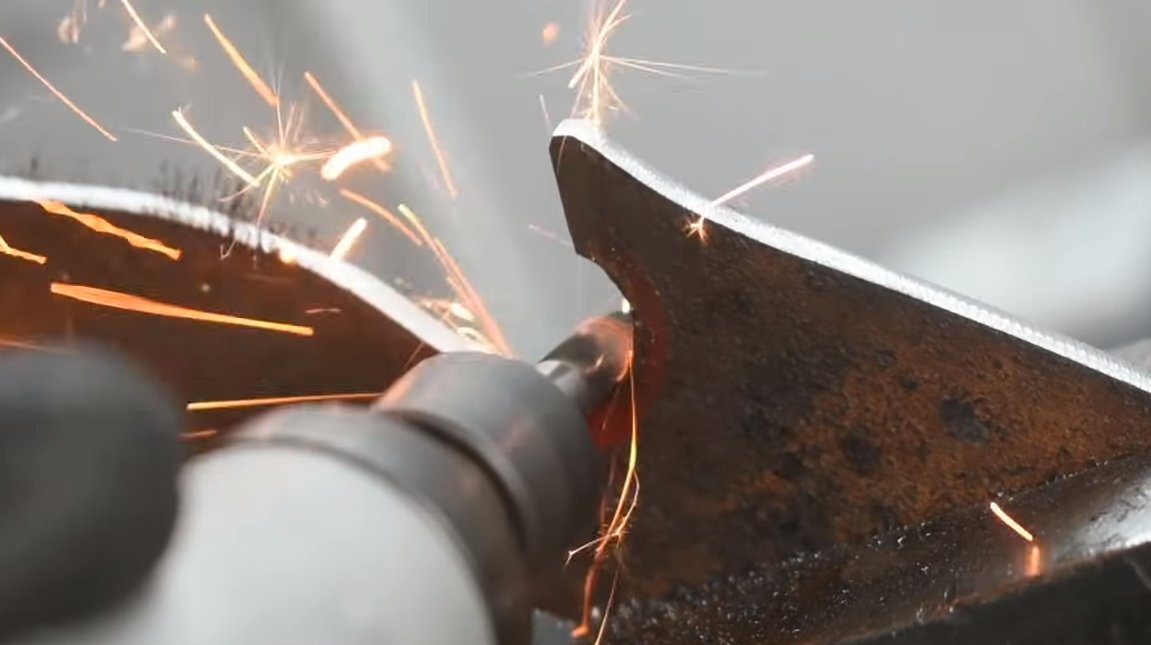
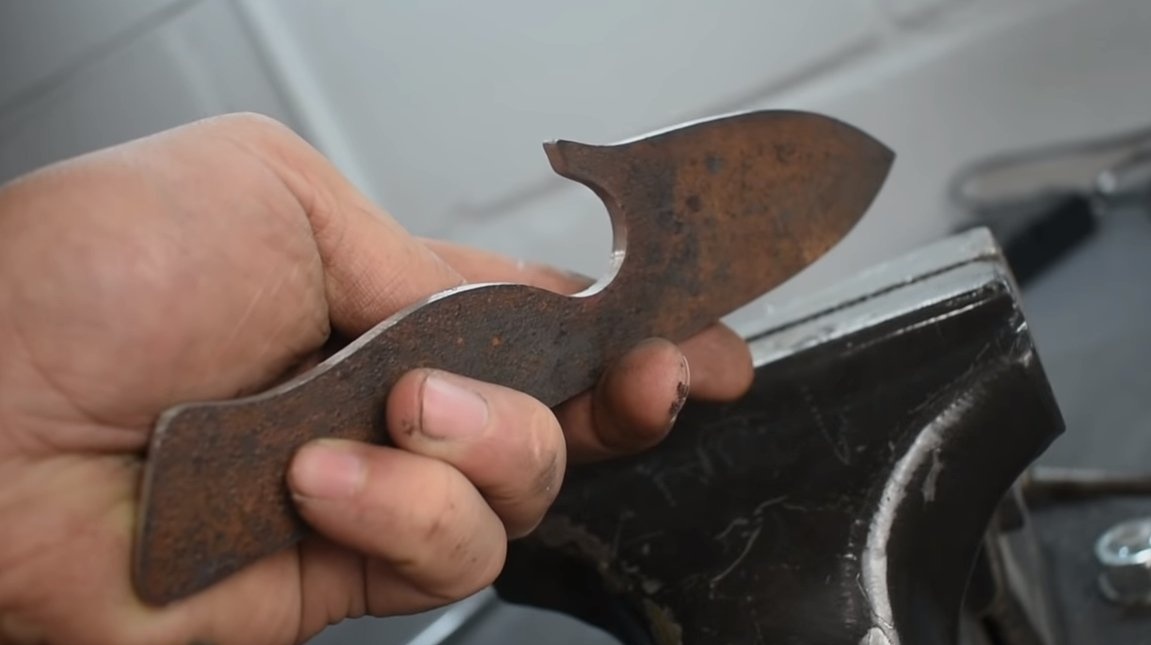
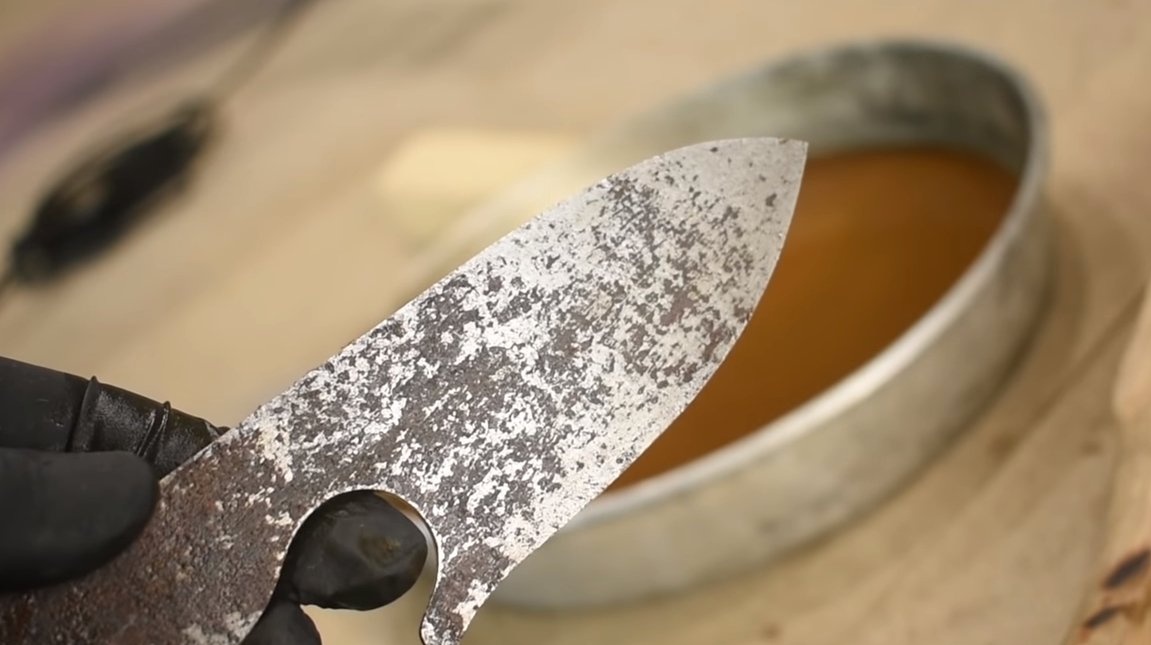
We start cutting the profile of the knife, the author’s circular disk is quite ancient, and good carbon steel was also used in it. We cut off the workpiece of the required size and transfer the knife template to it. To transfer the template to metal, the author used a spray can of paint.
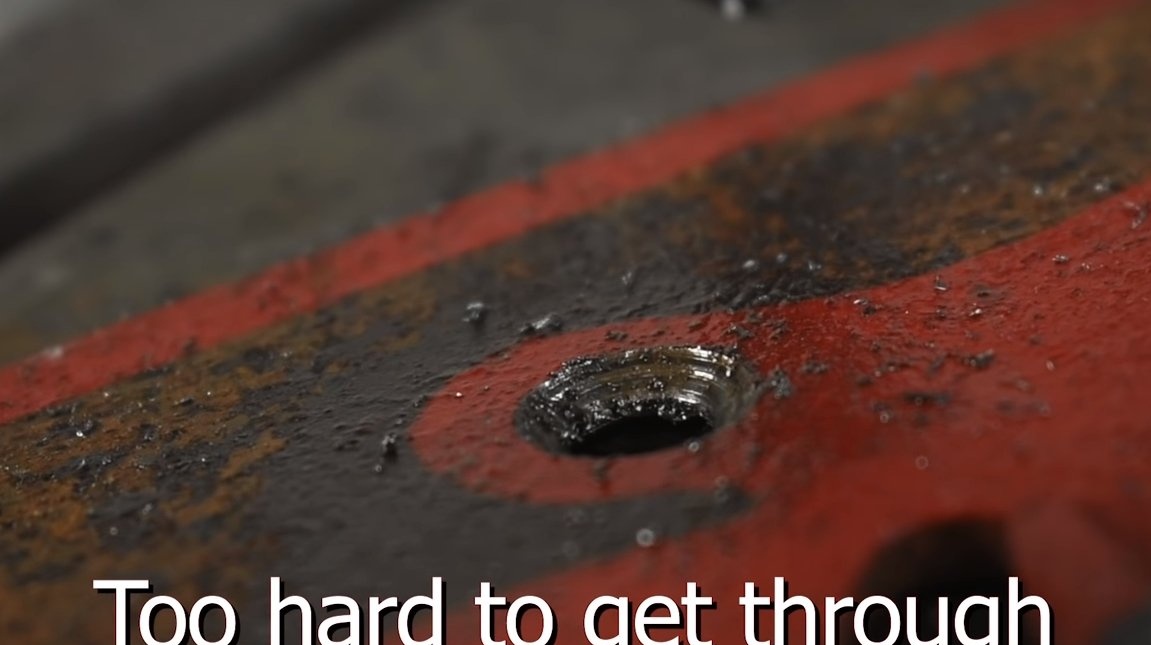
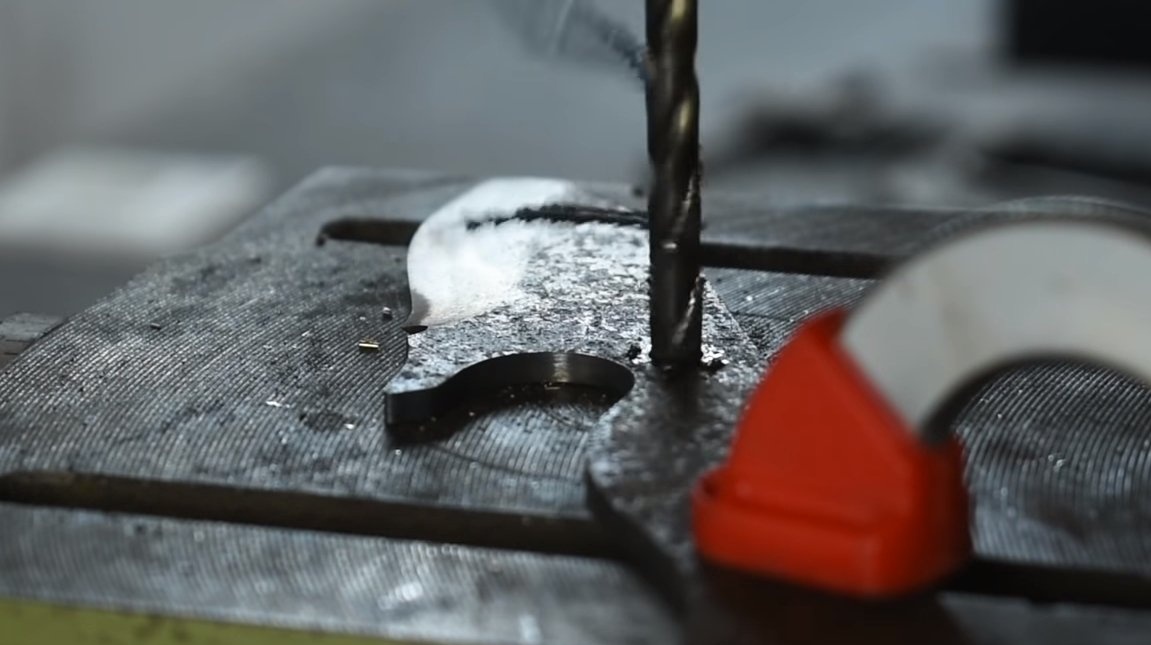
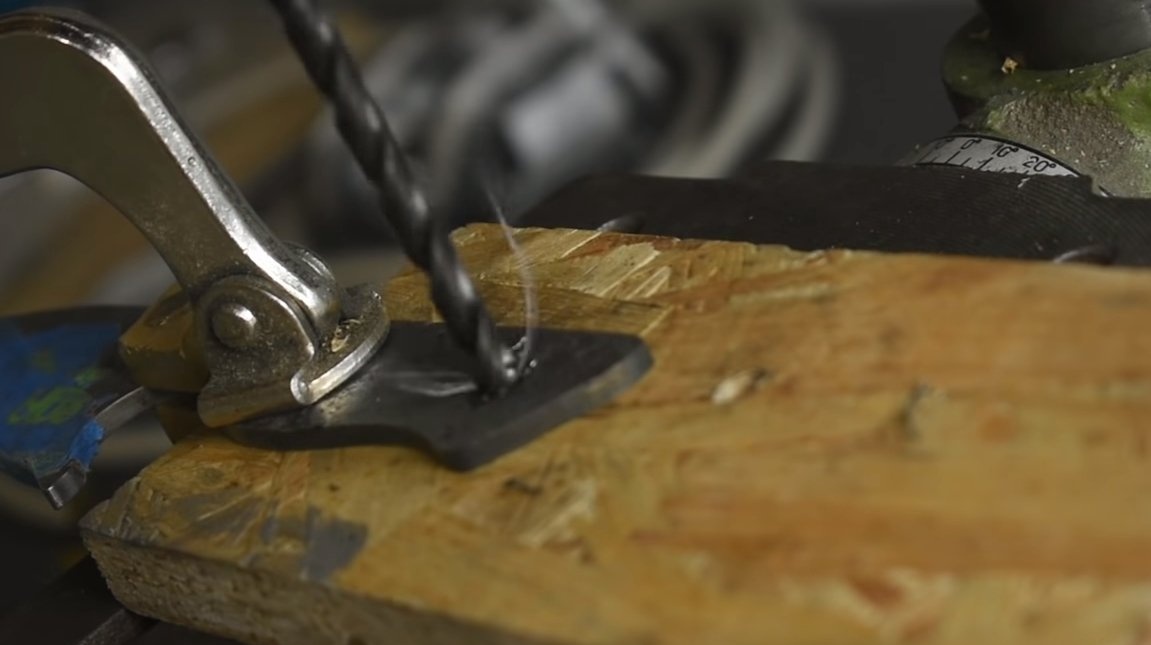
You can start cutting, arm yourself with a grinder and get to work. Our steel is quite thick and strong, so it will take quite a while to cut. Having cut out the main profile, the author tried to immediately drill a hole in the workpiece, but without preliminary tempering they began to do this.
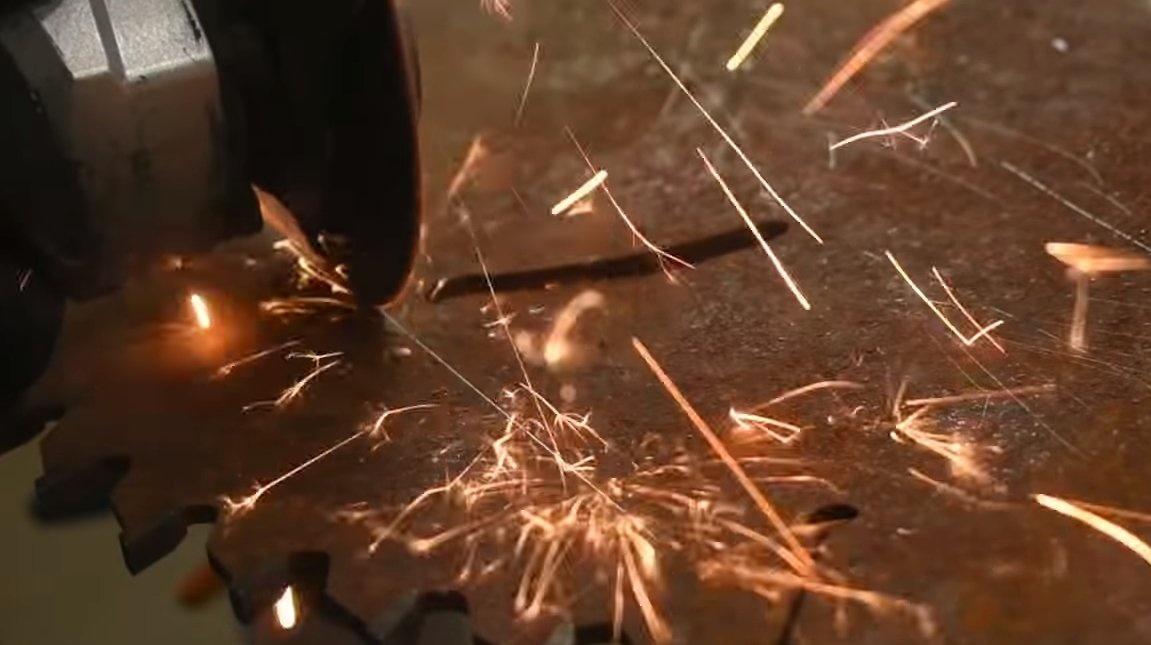
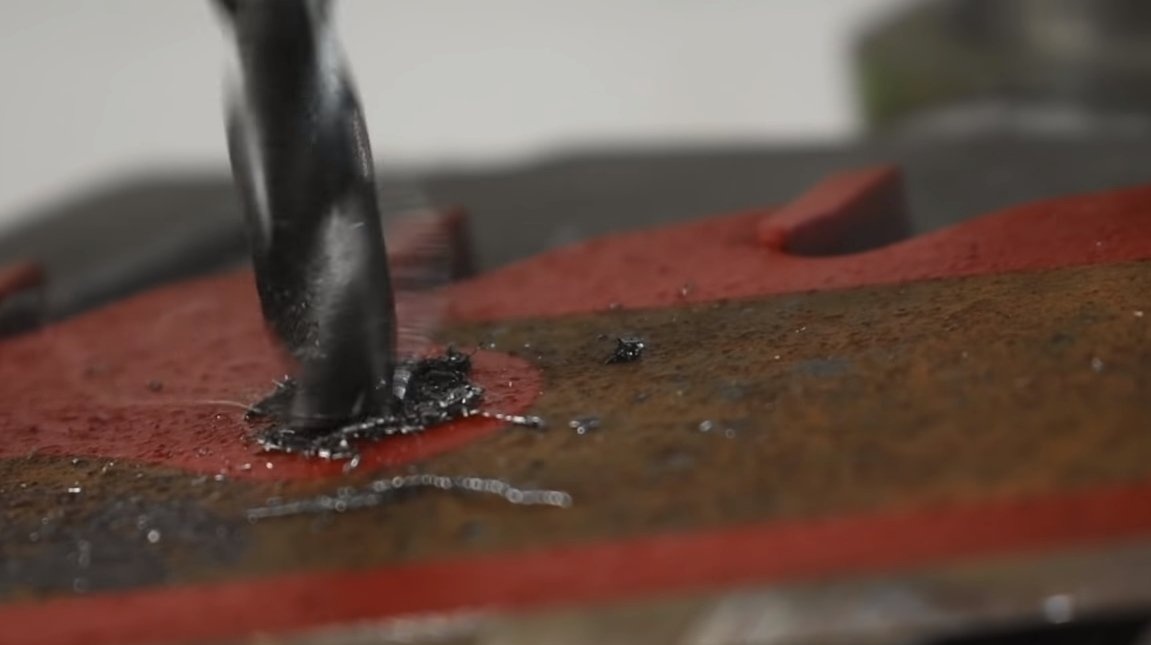
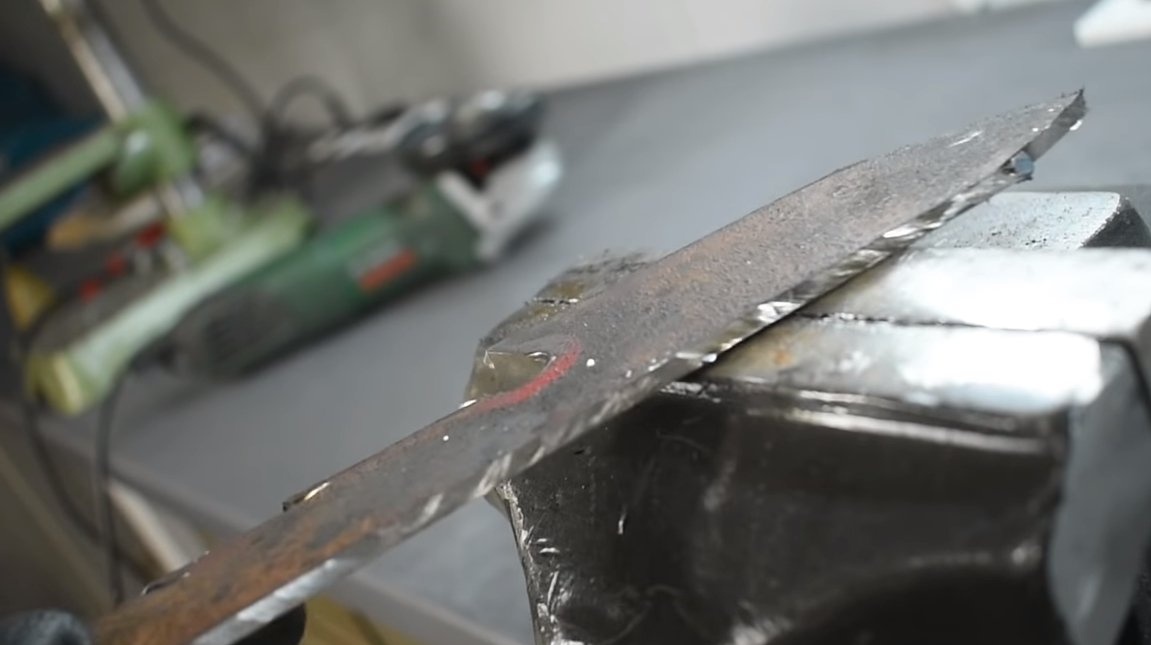
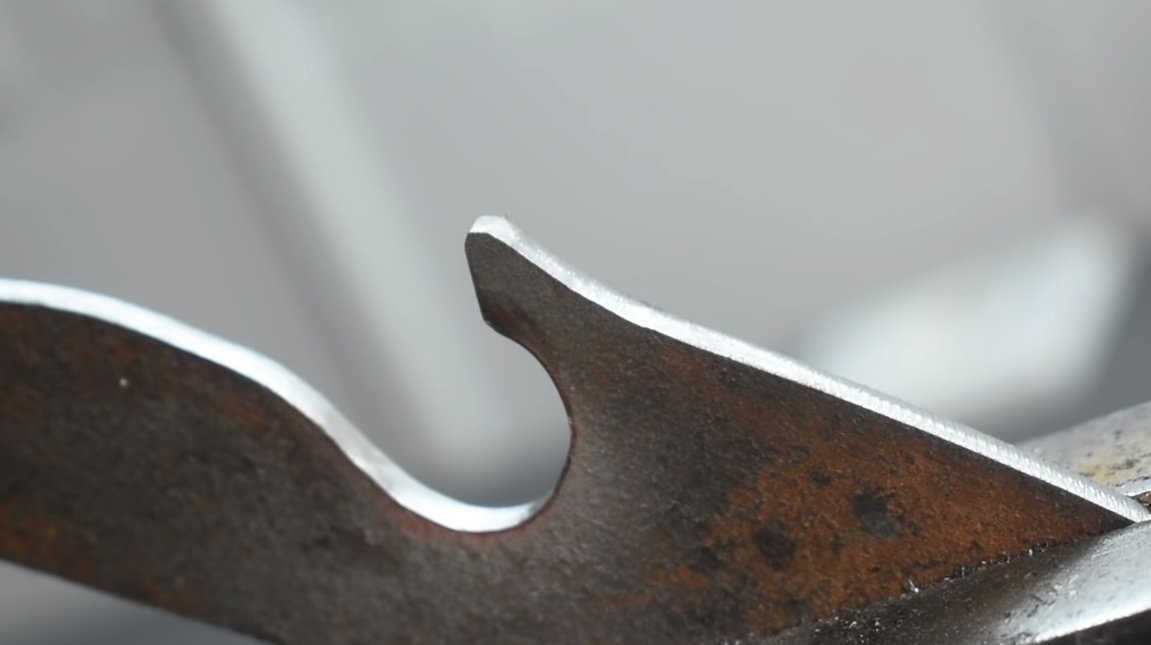
When the main profile is ready, we are finalizing it; for these purposes, the author installs a thick grinding disc on the grinder. For the final processing, a drill with the appropriate nozzle was used, so the knife profile was brought to the ideal.
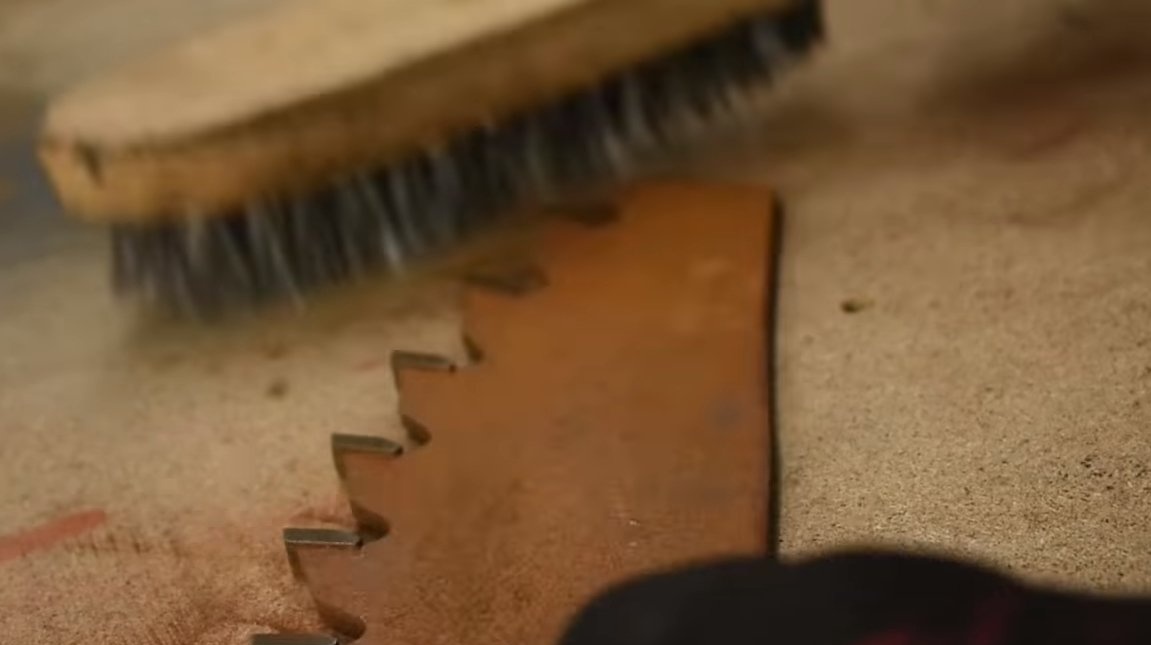
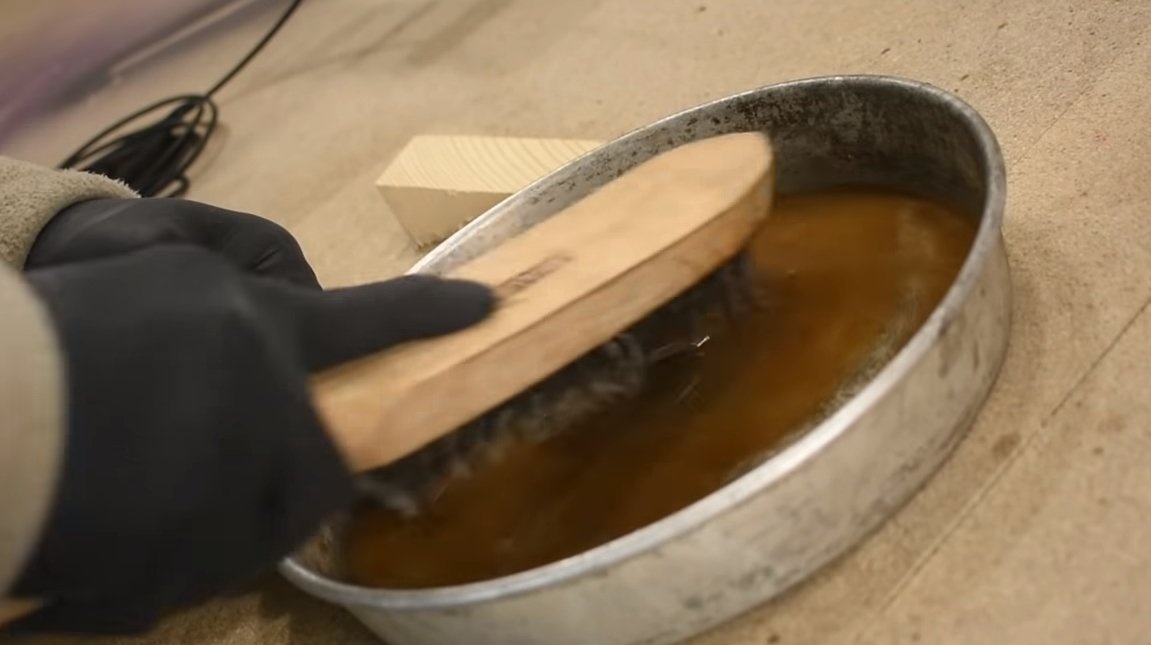
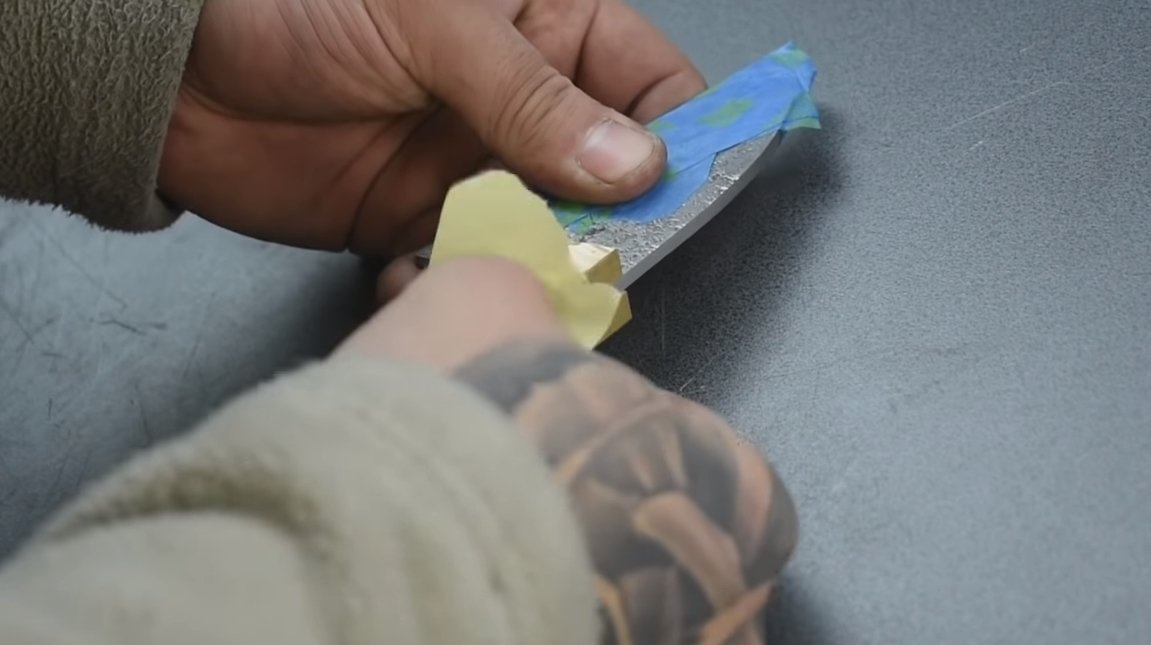
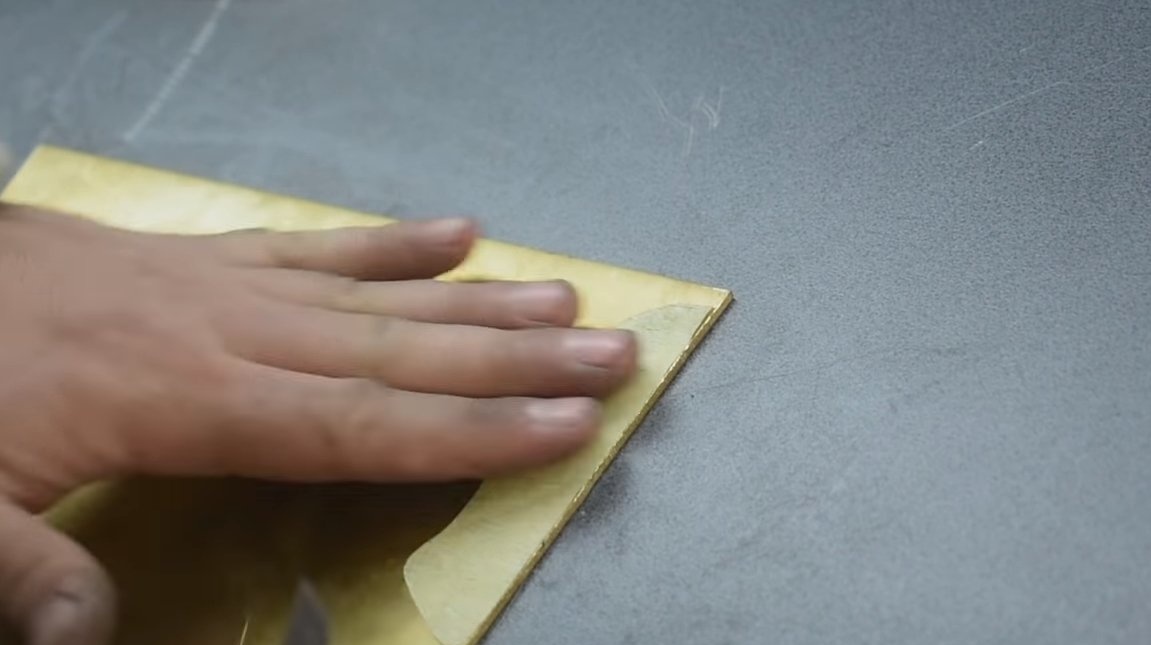
In the end, we clean the blade well with water and a stiff brush, and a unique pattern will be visible. You can also easily walk on planes with sandpaper.
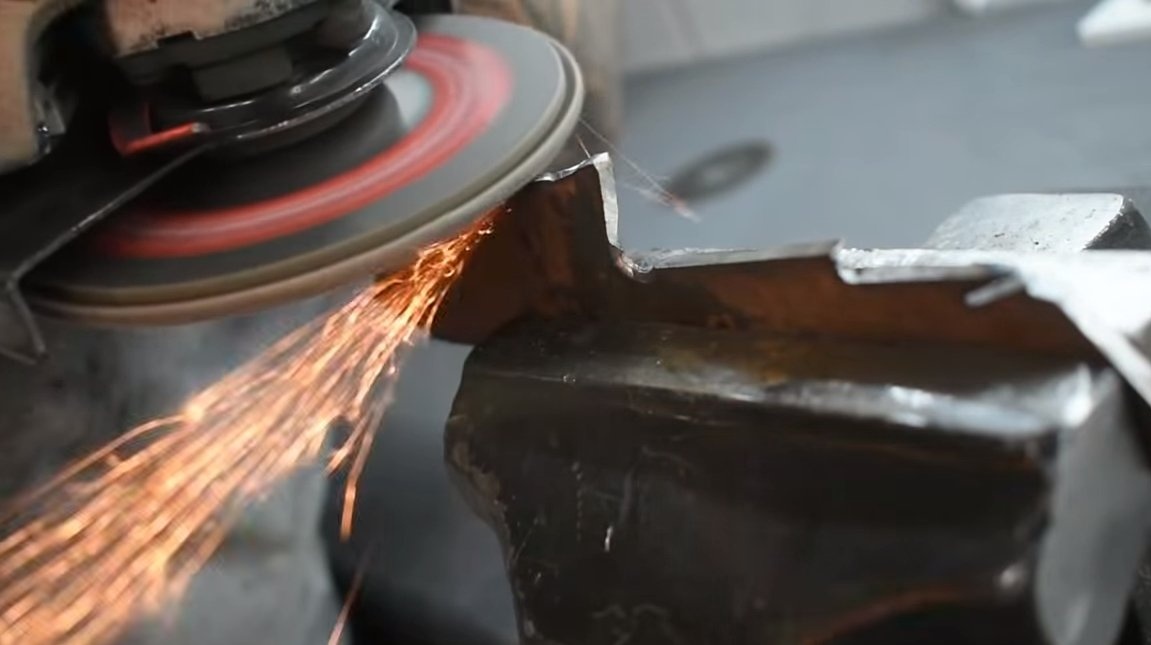
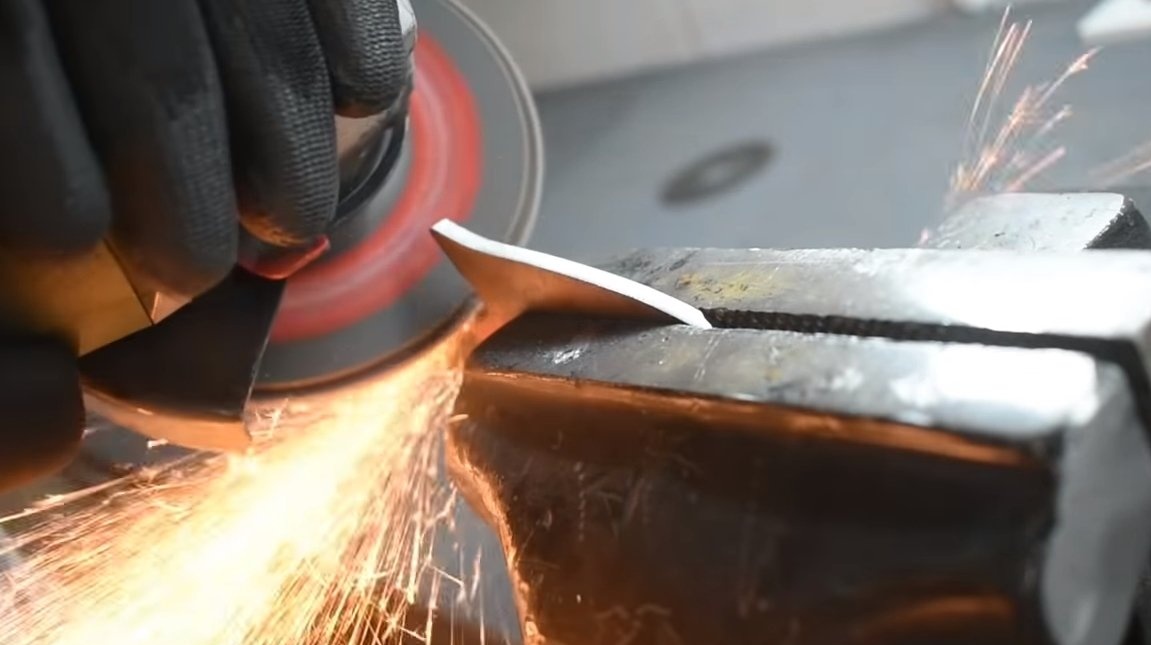
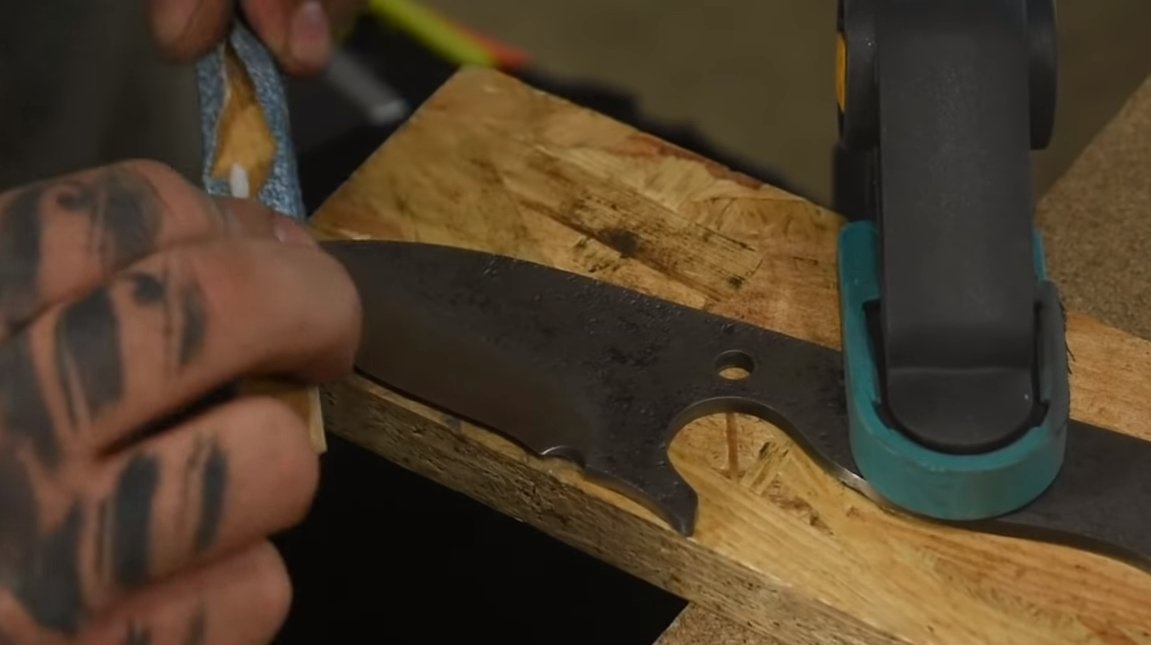
Step Two Bevels
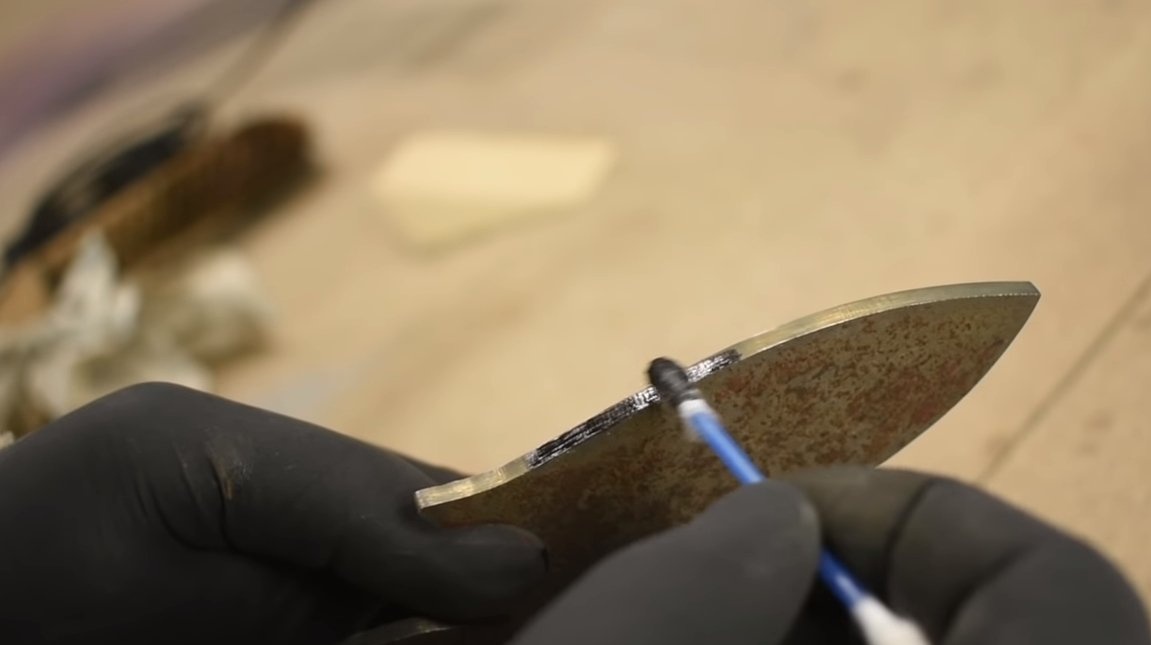
You can begin to form the slopes on the knife, the smoother they are, the thinner the blade will be, and the better it will cut the knife. But keep in mind that too thin a blade can be brittle. To begin with, we need to draw a centering line along the future blade, which we will focus on when grinding. Such a line can be drawn with a drill of the same diameter as the thickness of the blade. And so that the line was clearly visible, the author paints over the metal with a marker.
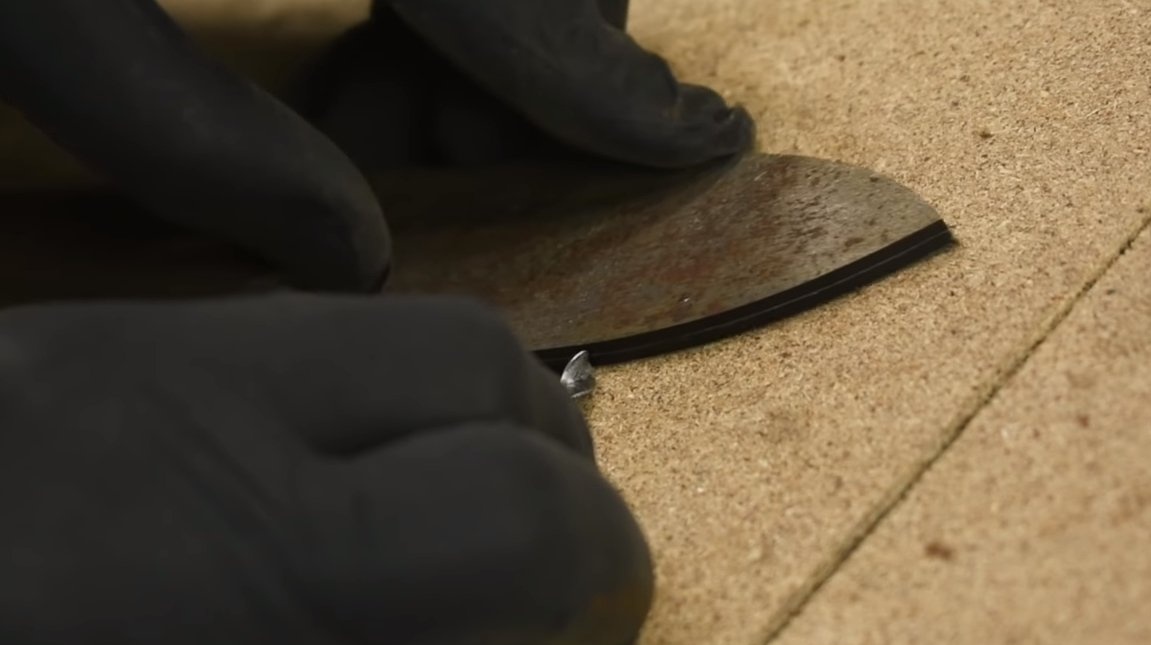
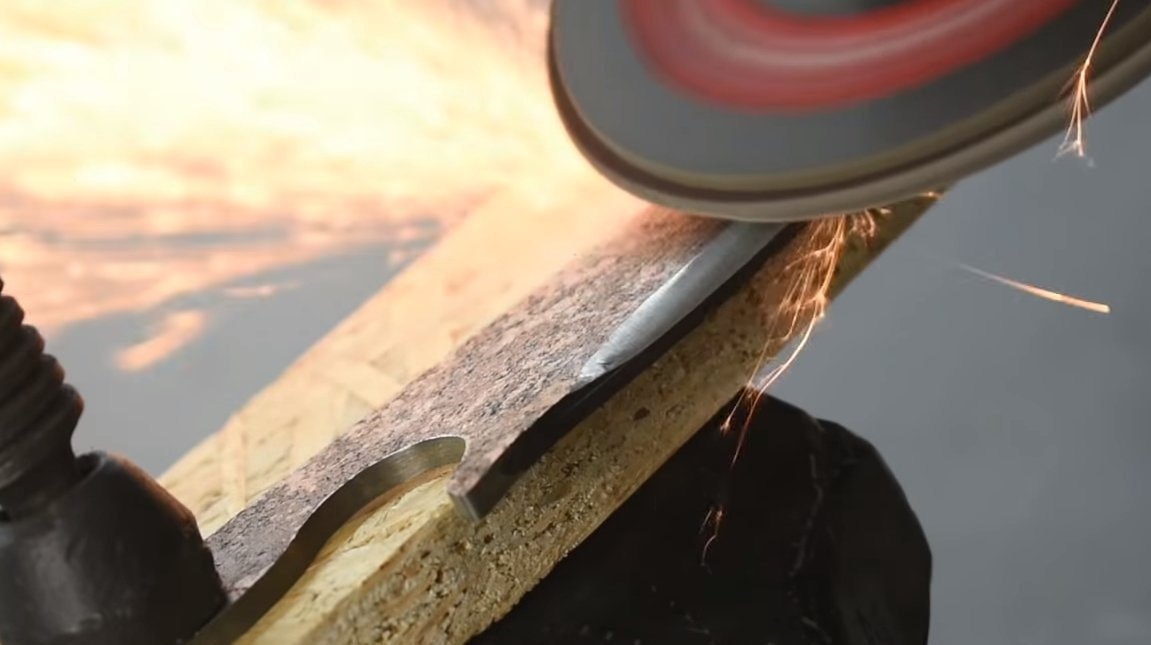

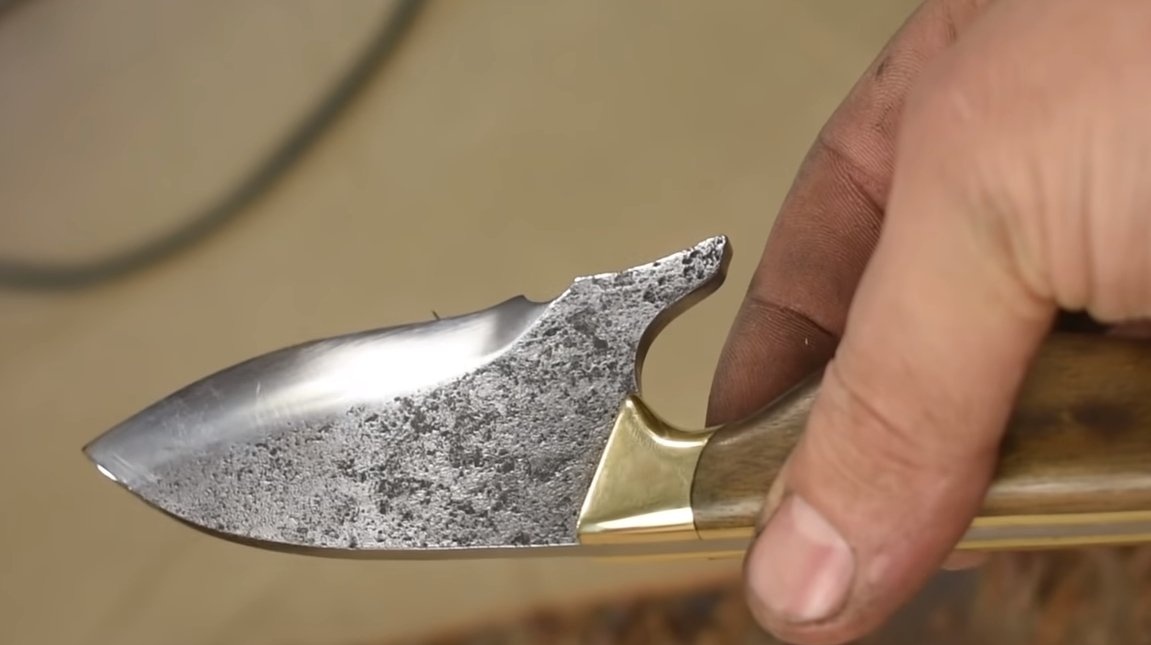
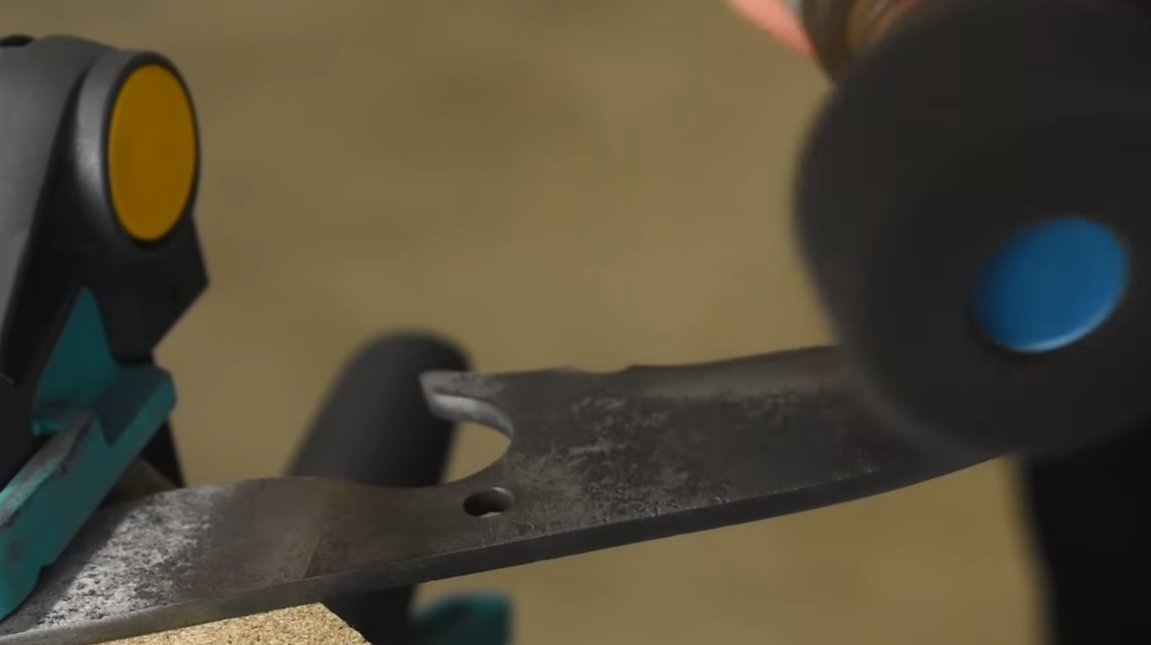
Next, hold the blade on the table and arm ourselves with a grinder. We need a grinding disc, they can easily form bevels. Of course, you will need some experience, in this case it is better not to rush, so as not to spoil the knife. The bevels should be symmetrical, the same width on both sides. Also, if desired, you can make a notch at the end of the blade, it will perfectly decorate the knife and protect your hands in case of something.
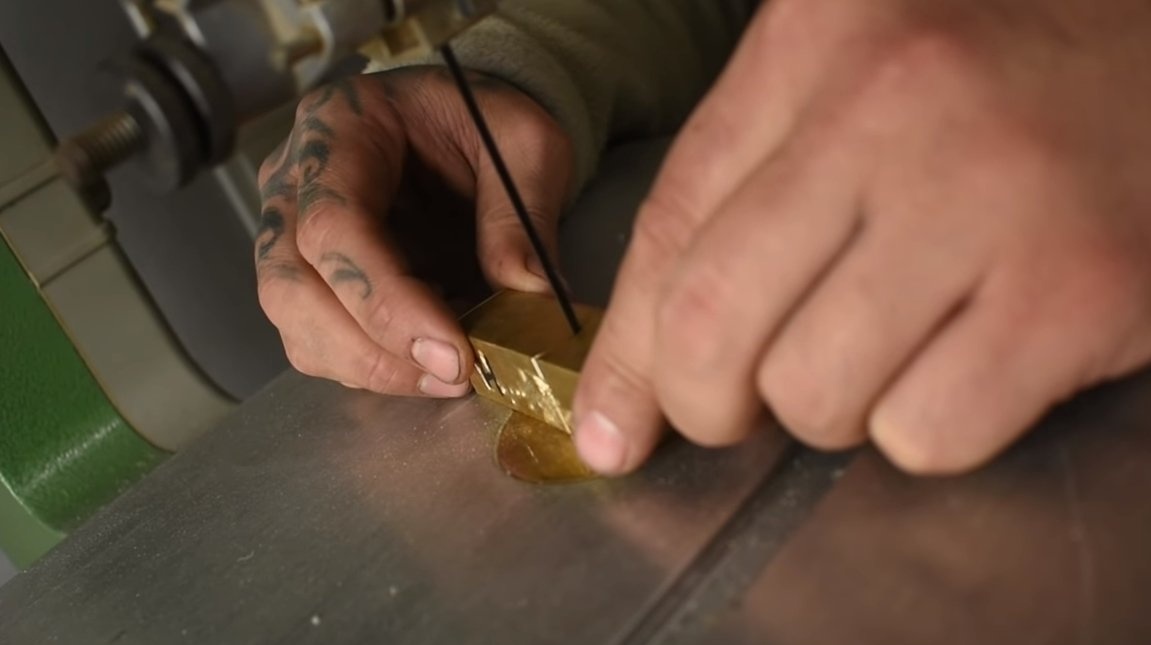
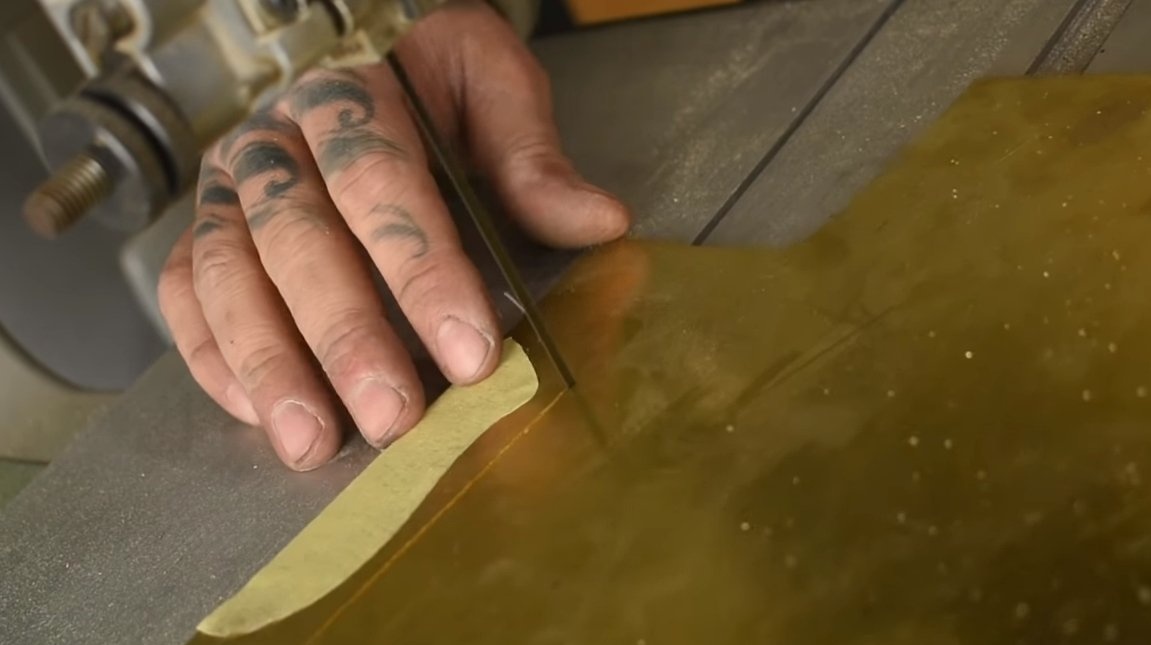
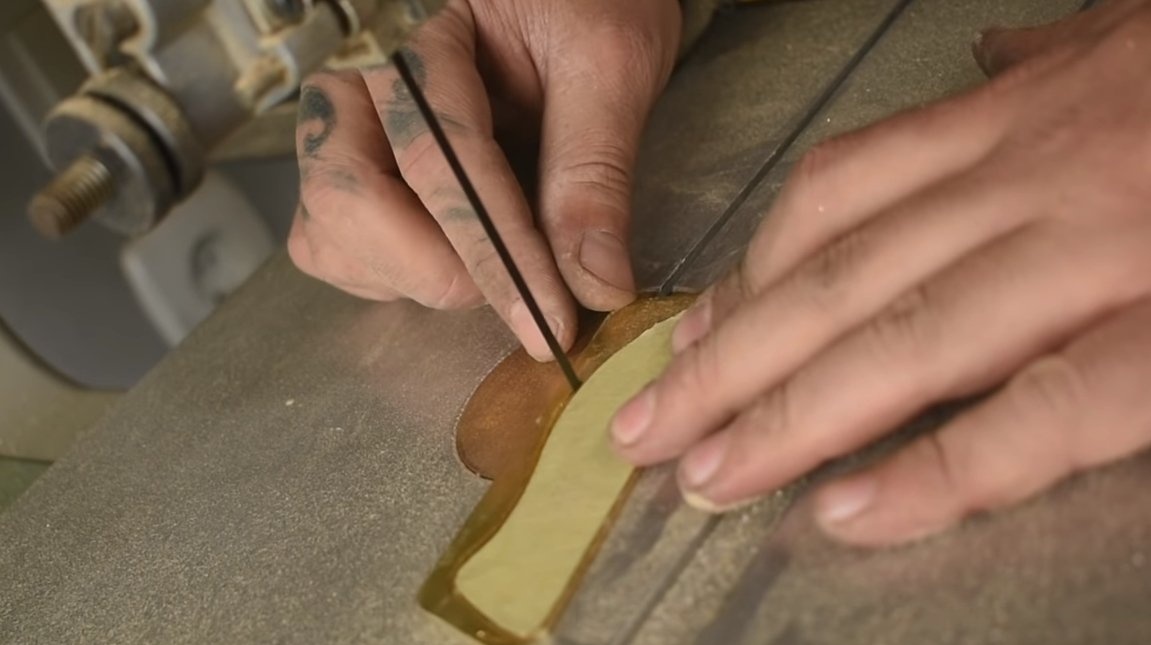
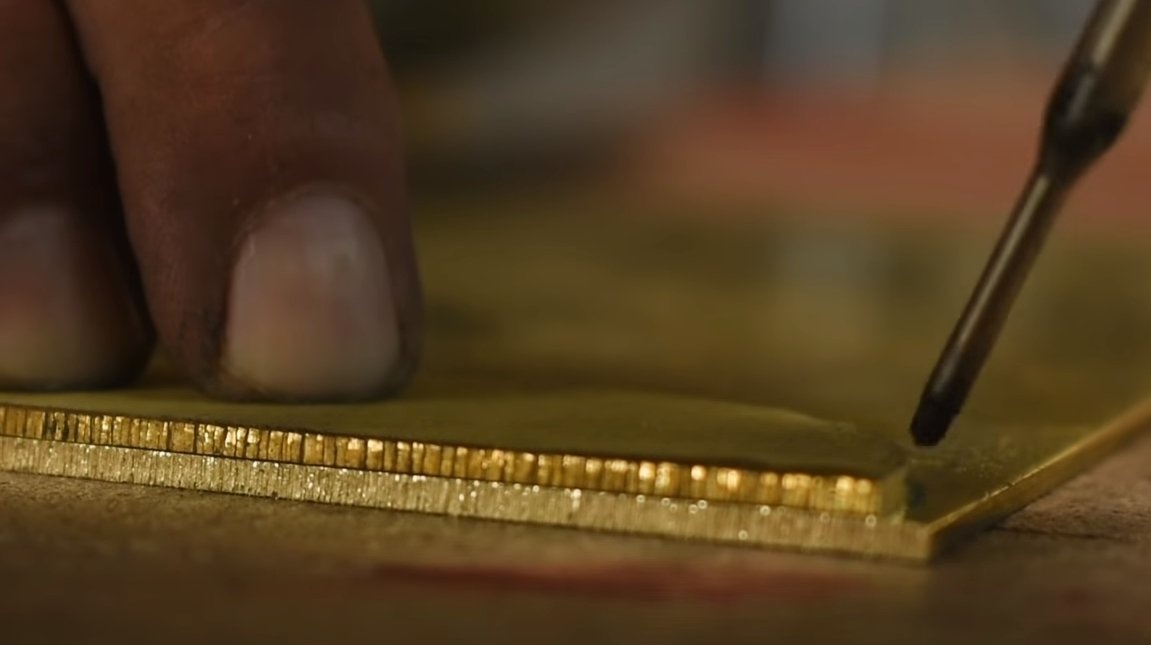
Step Three Bolster
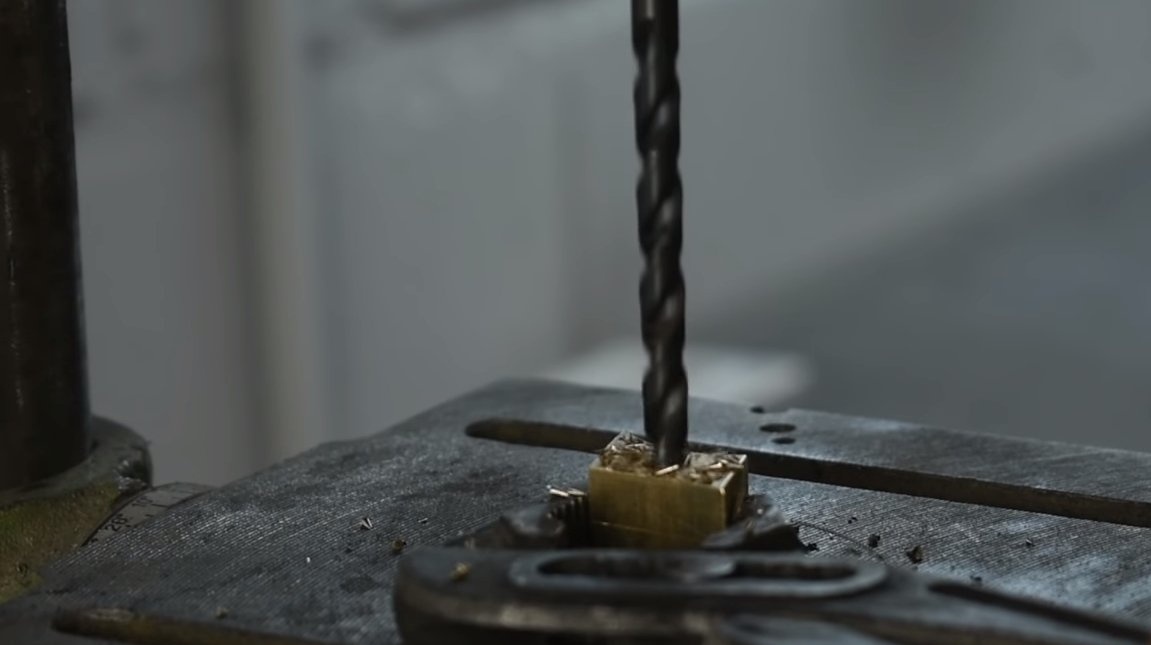
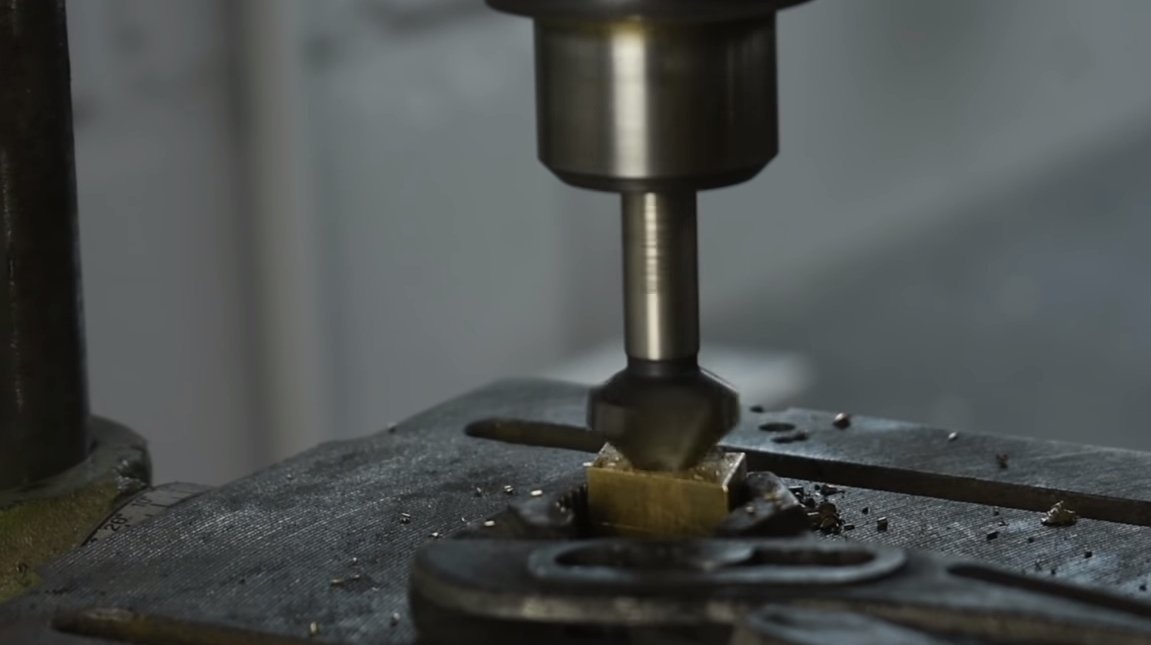
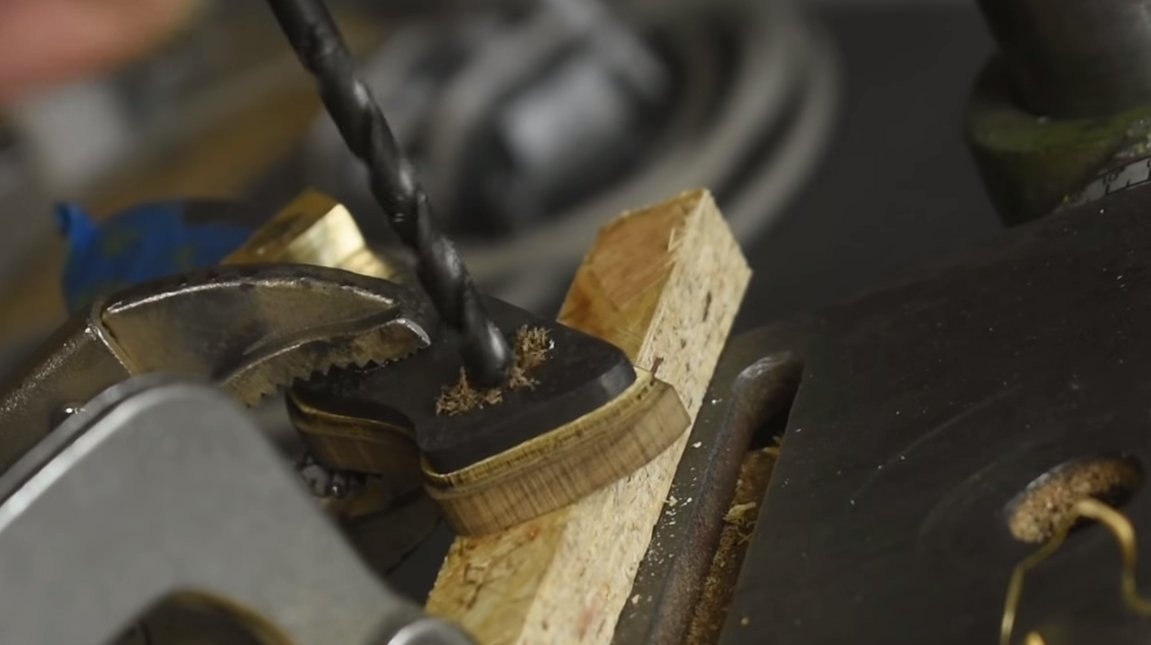
Let's make a bolster for a knife, here we need brass, the bolster consists of two halves. The author uses his own band cutting machine to cut brass. We drill holes and make parts the same.
In the knife handle, we drill a hole for the pin rivet, which will hold the bolster.
Step Four Heat treatment
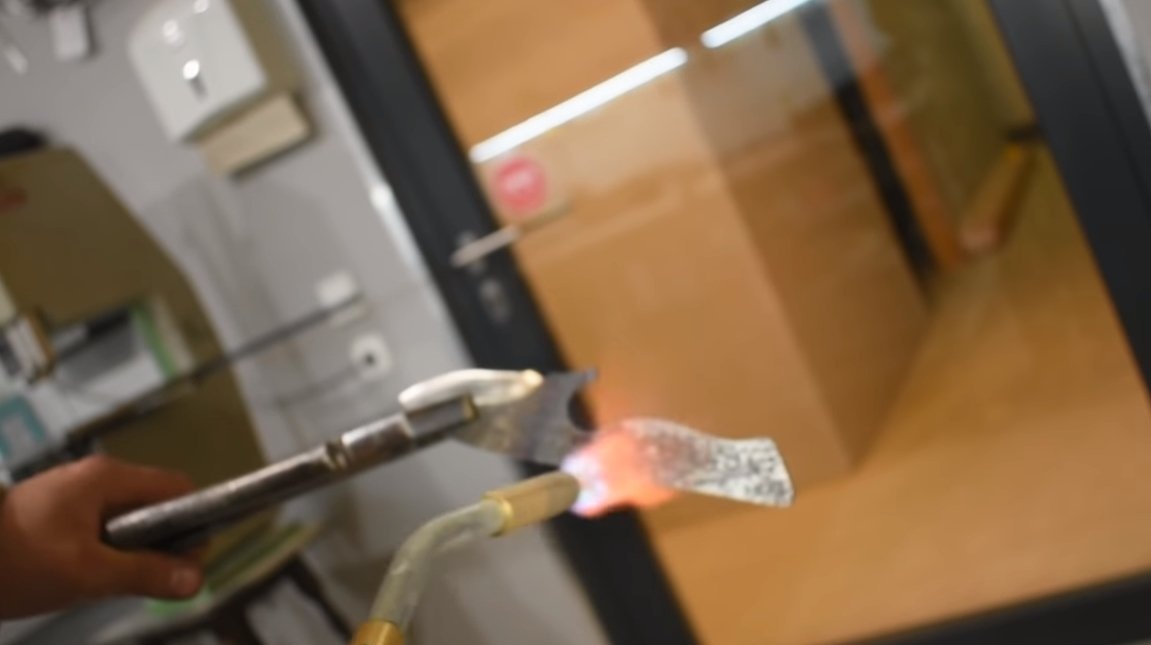
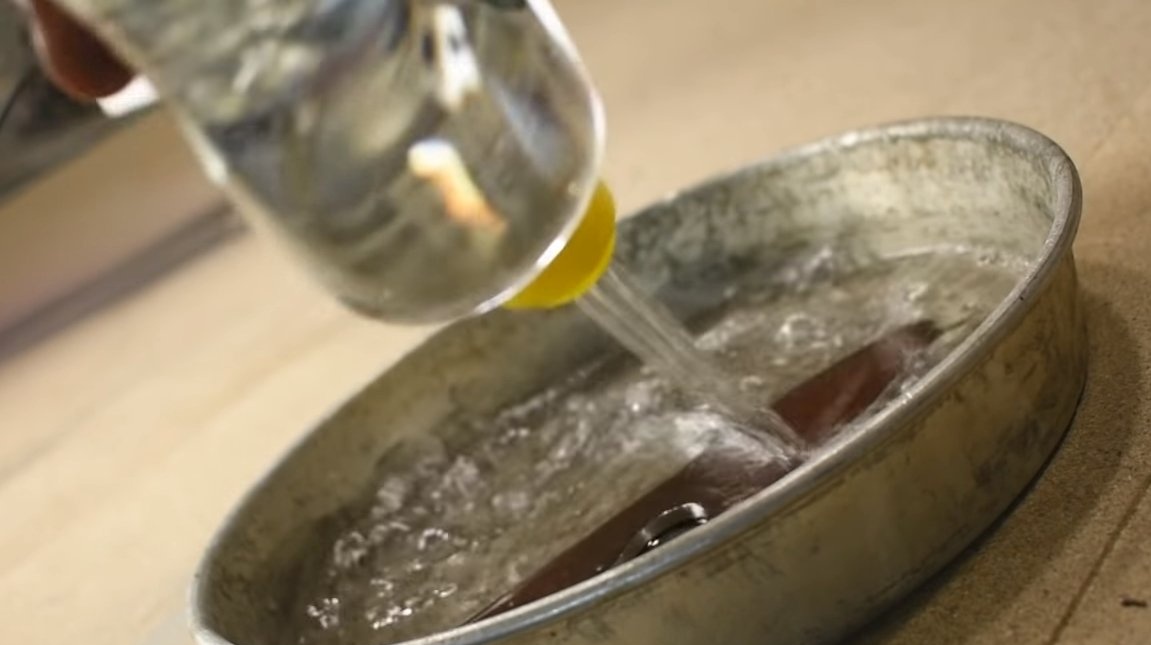
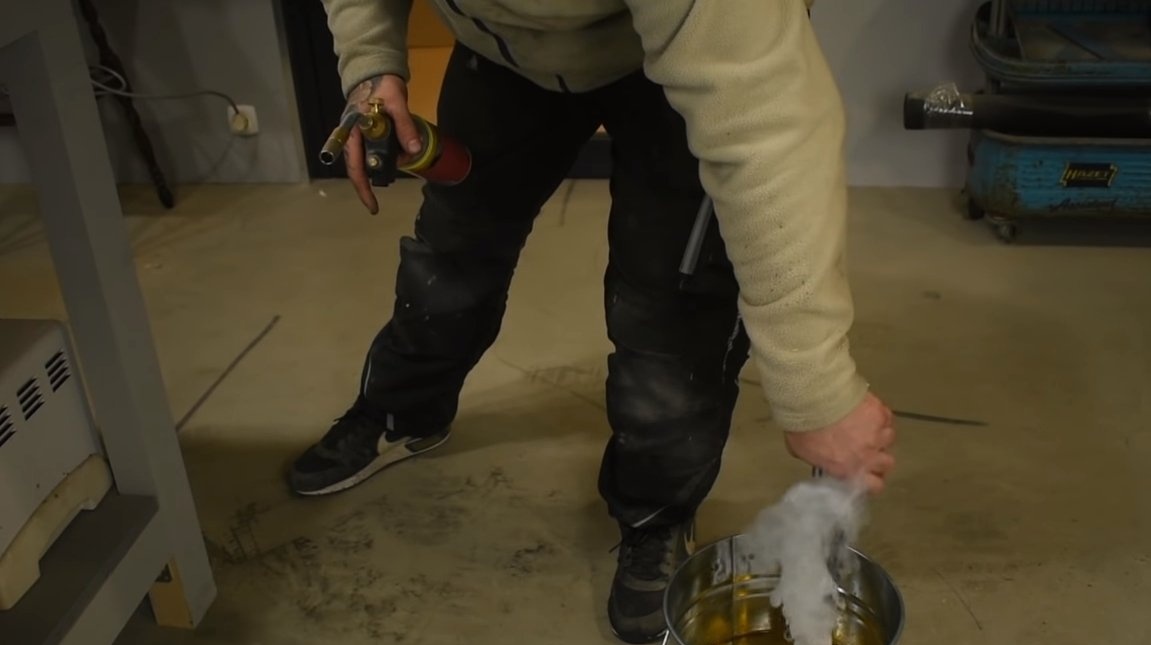
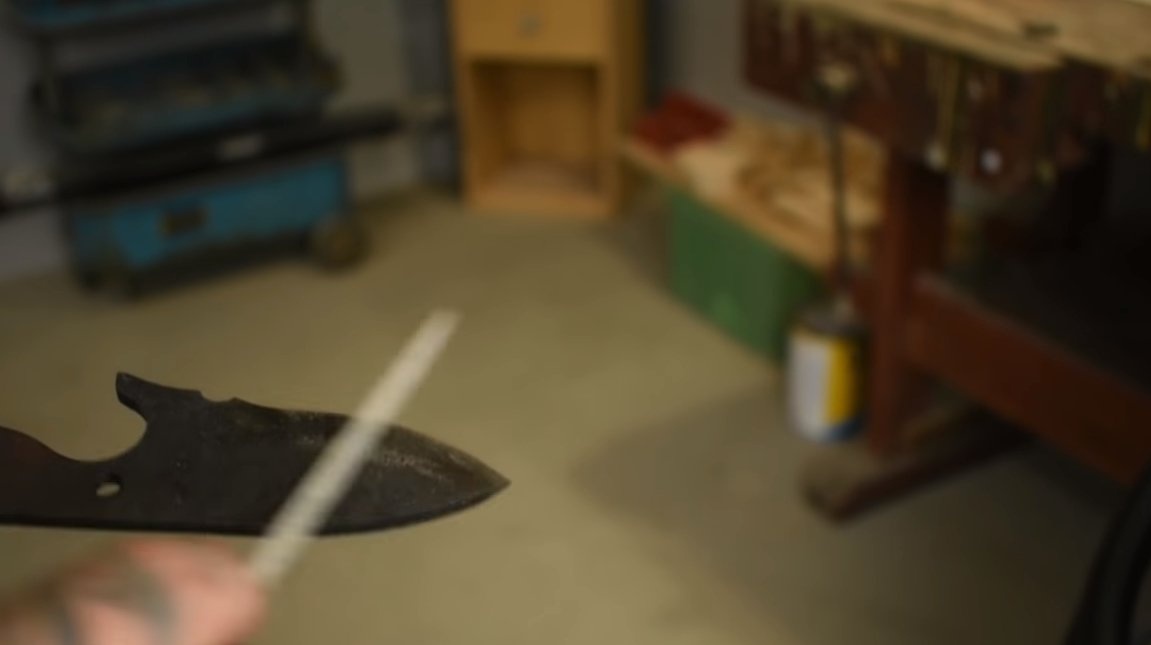
When the blade is ready and you have drilled the necessary holes, the product can be hardened. We heat the blade until a bright red glow and dip in oil. We check whether it turned out to harden steel, it should not be taken with a file.
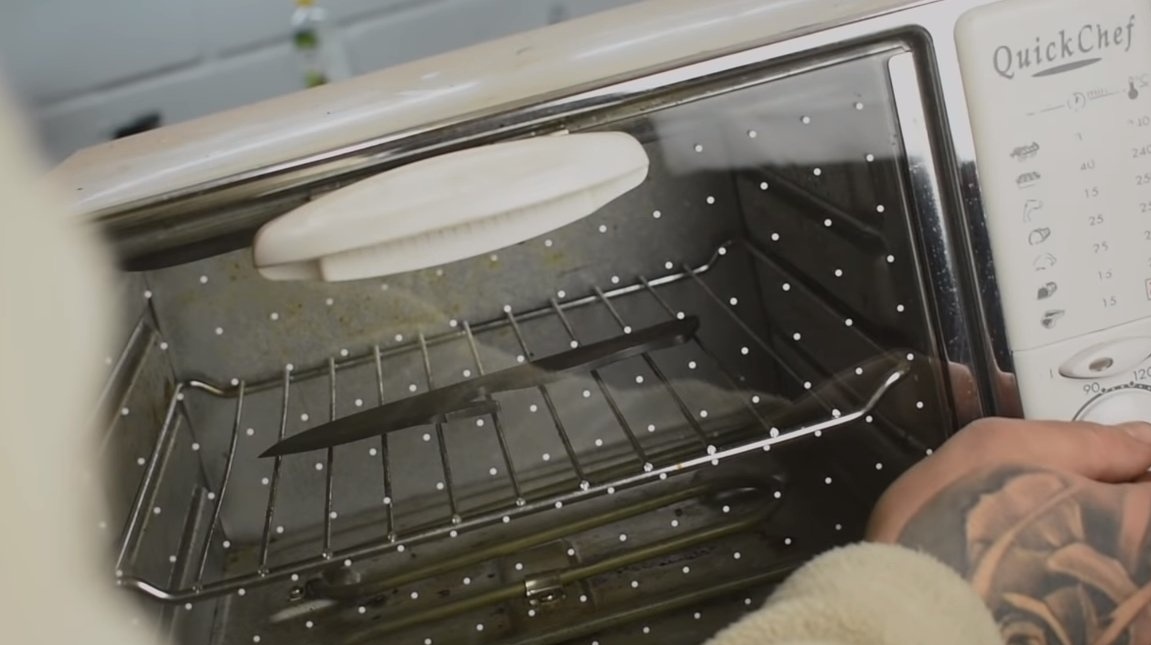
Next, the steel must be released, which will make the blade flexible, it can withstand heavy loads. We leave in an oven at a temperature of 200 ° C.
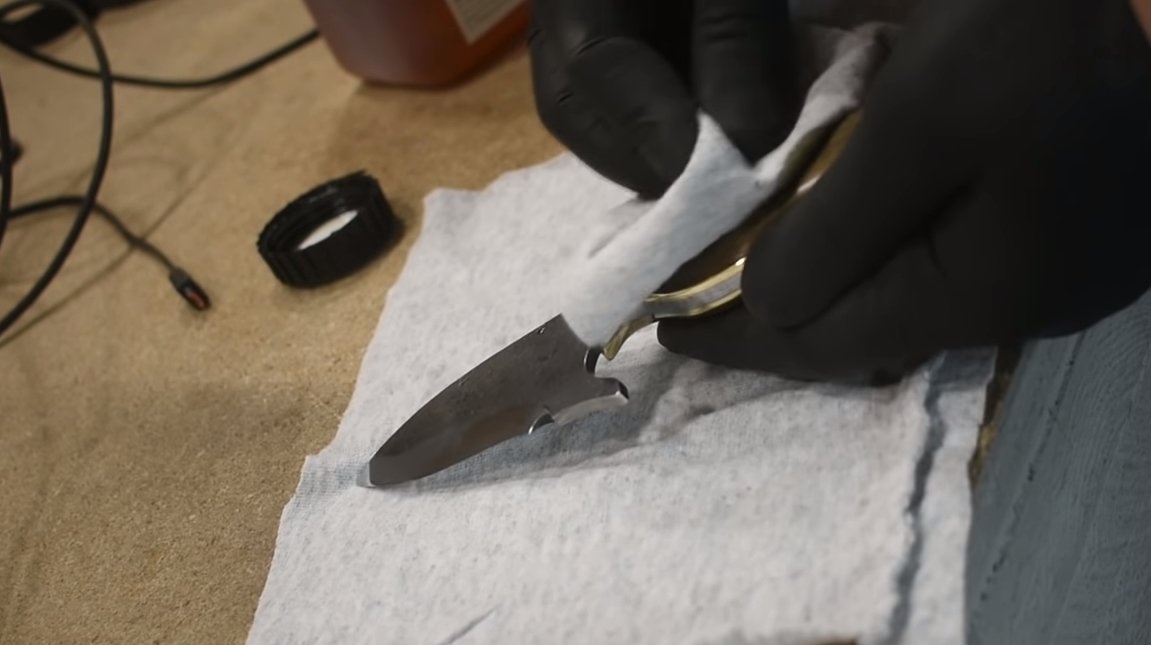
That's all, when the heat treatment is finished, we grind the blade with an emery cloth to shine. To make paper work more efficiently, wet it in soapy water or use WD-40.

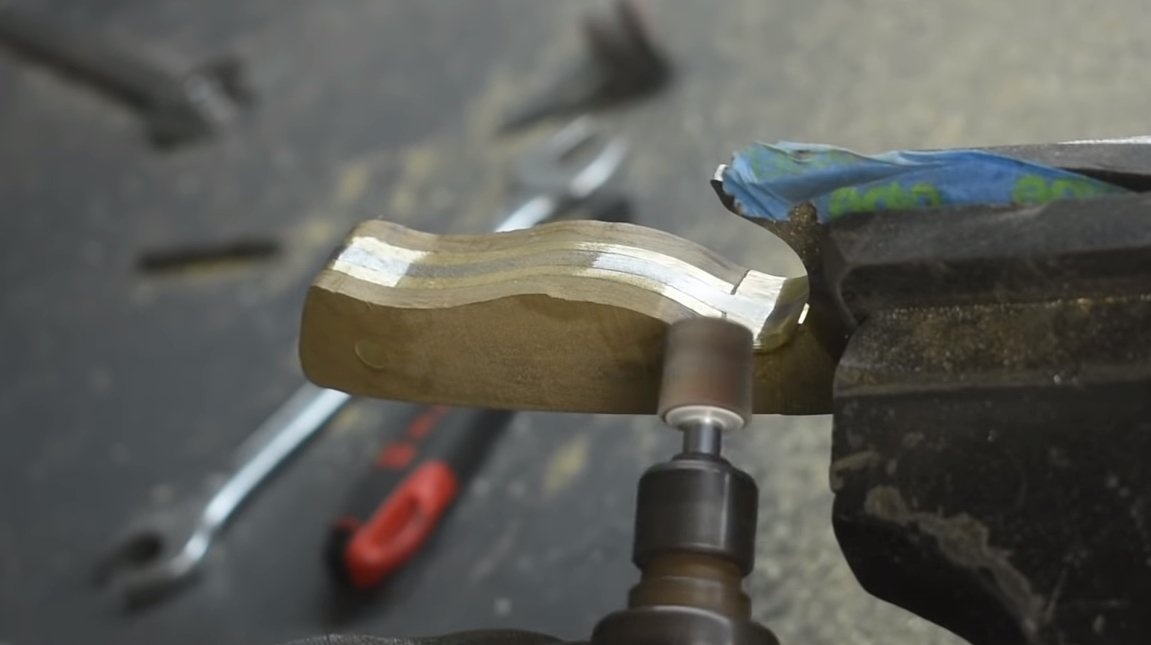
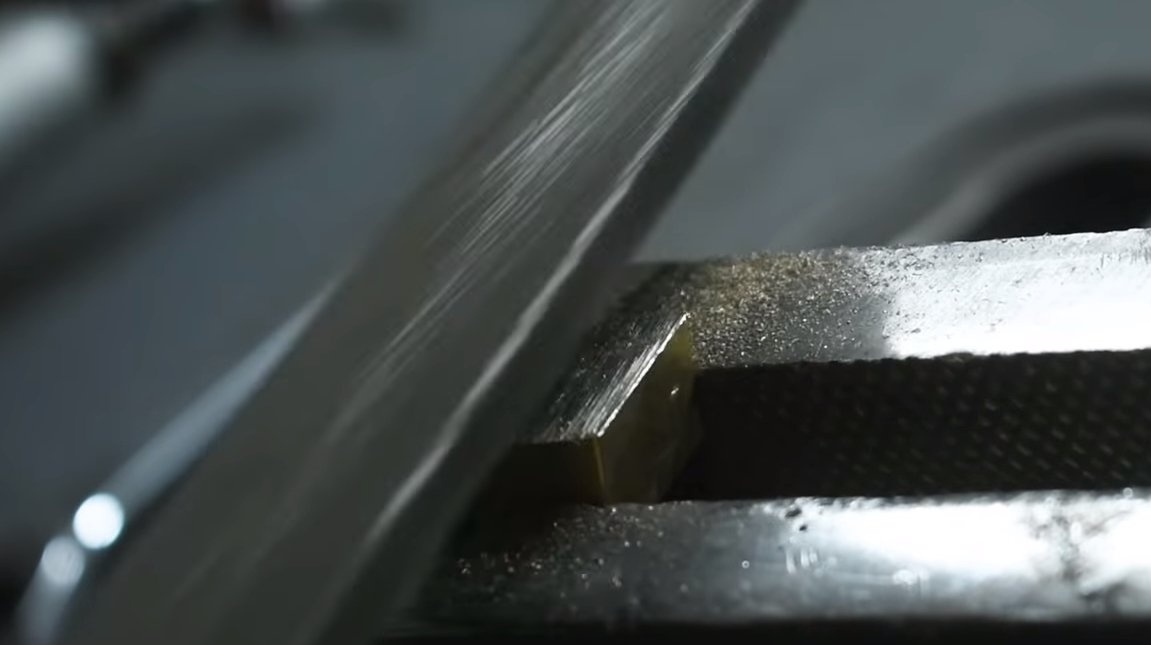
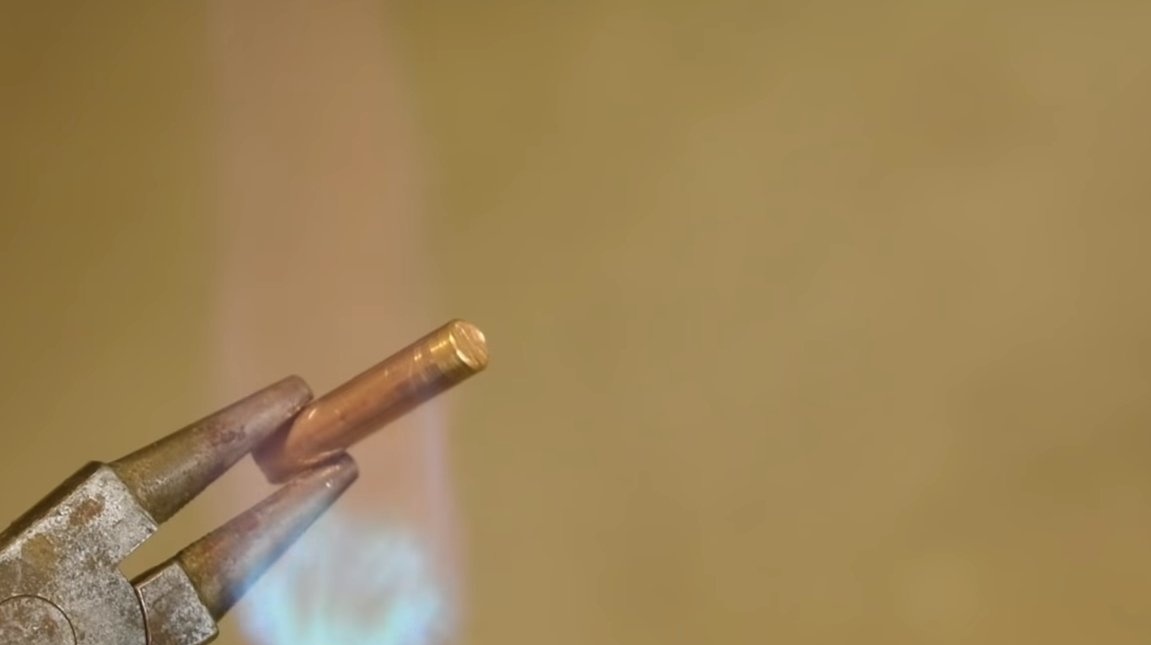
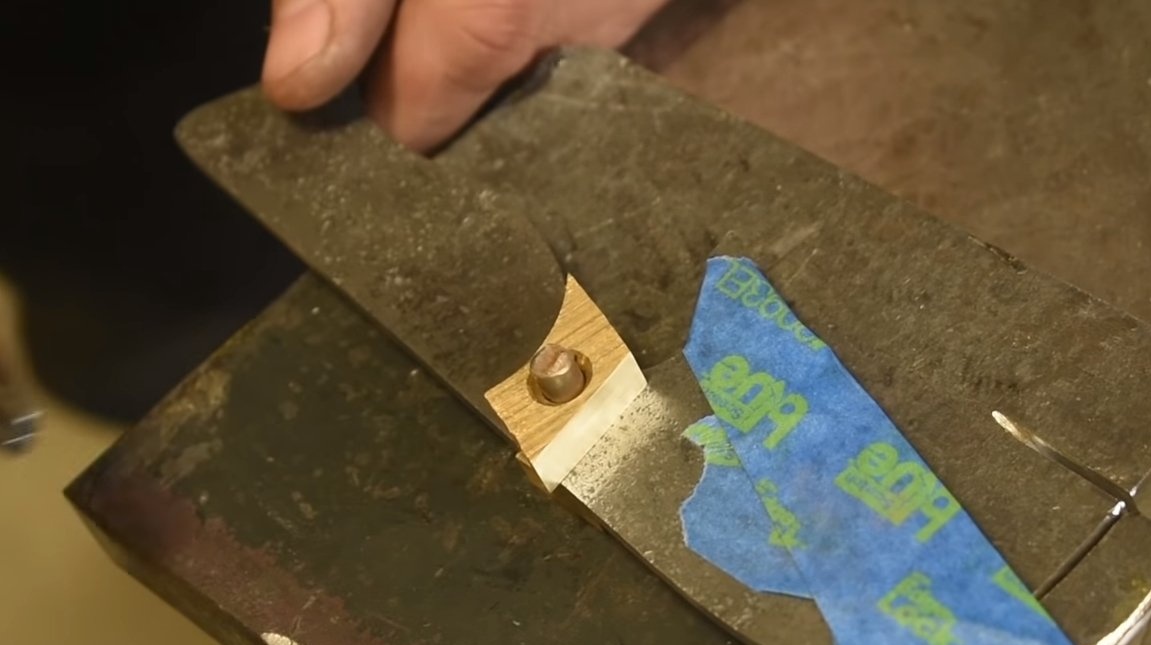
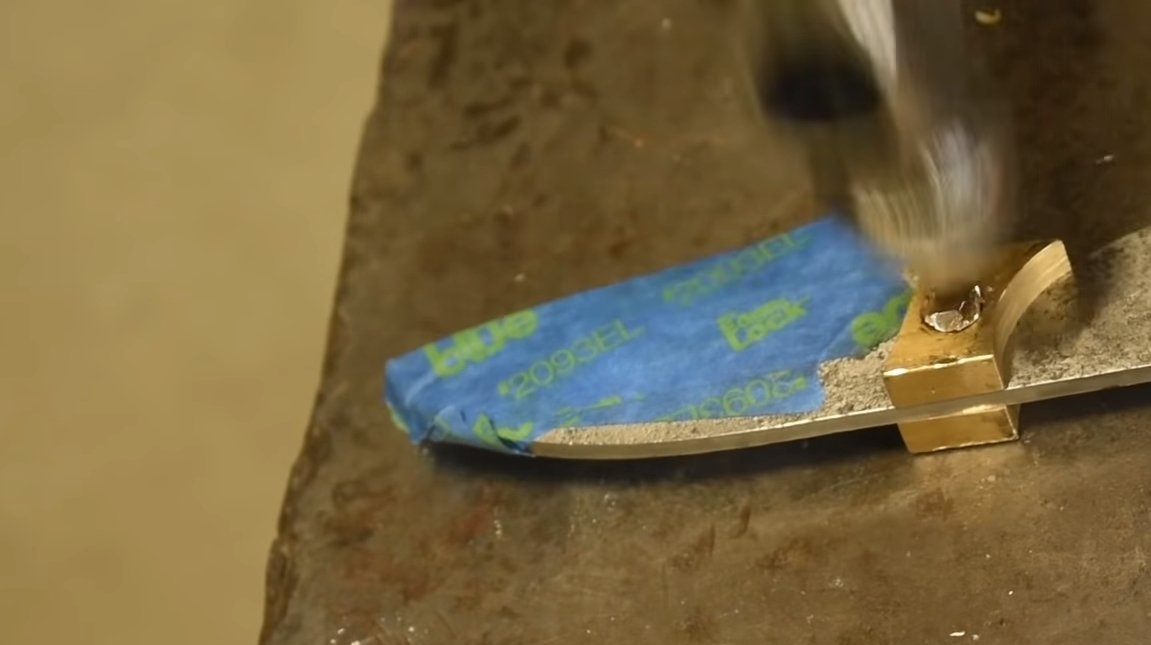
Step Five Bolster installation
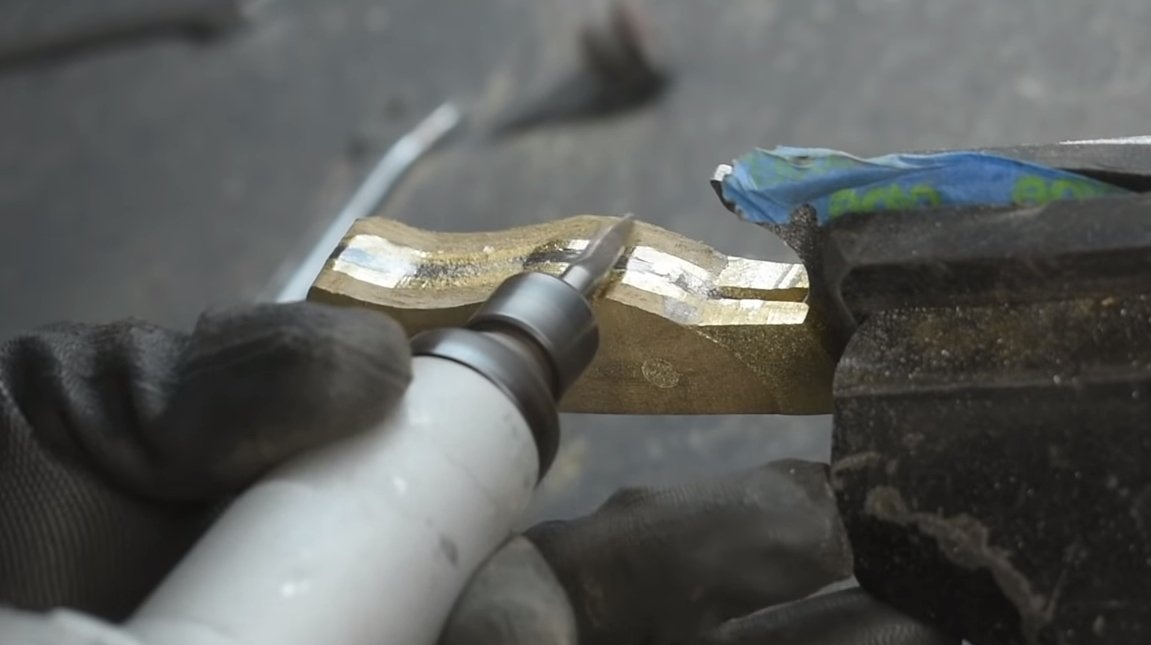
We install the bolster on the handle, here we need a rod made of brass. We heat it with a burner and let it cool, after which the metal will become soft. We install the pin in its place and rivet. As a result, we get the boltster whole, the rivets will not be visible.


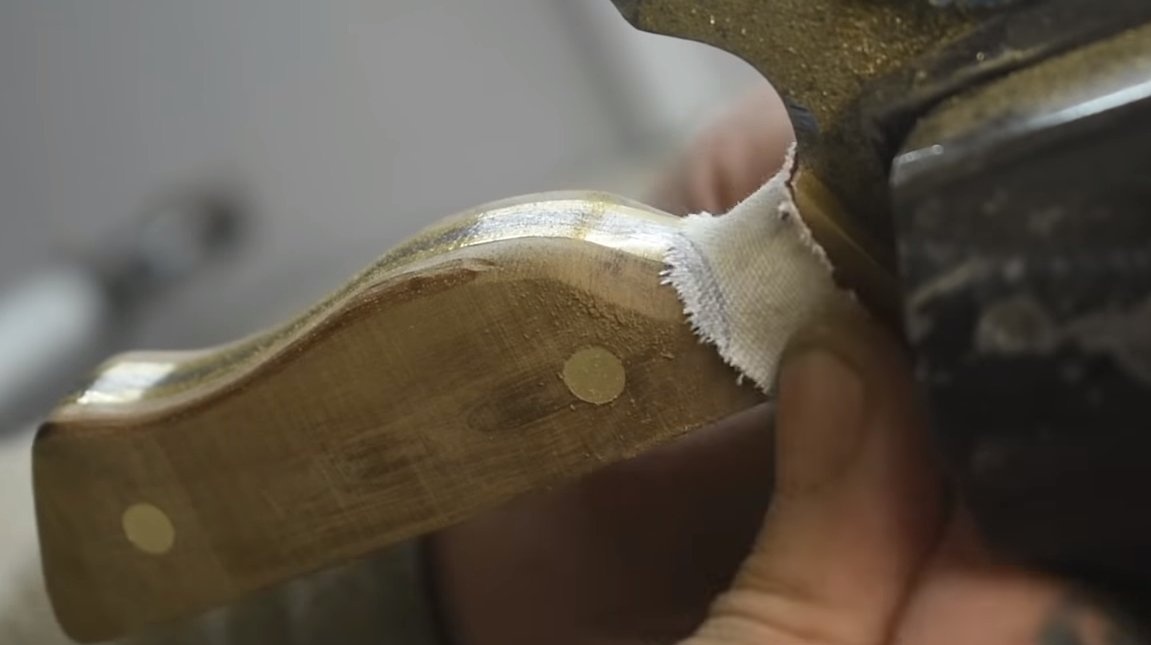
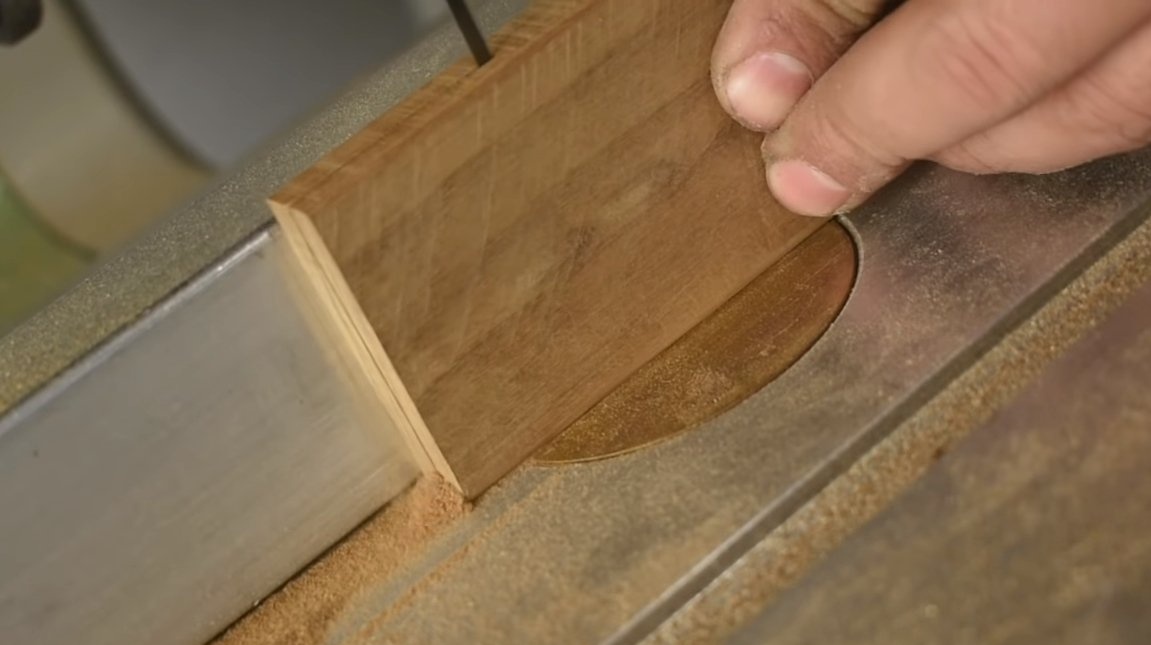
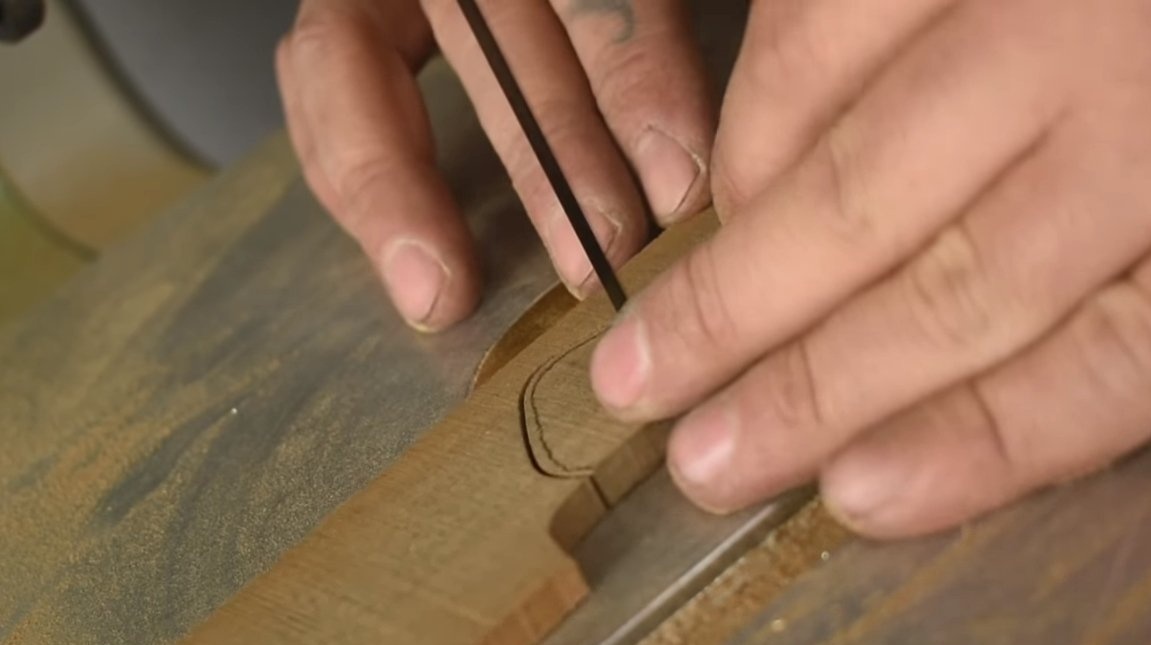
Step Six Pen assembly
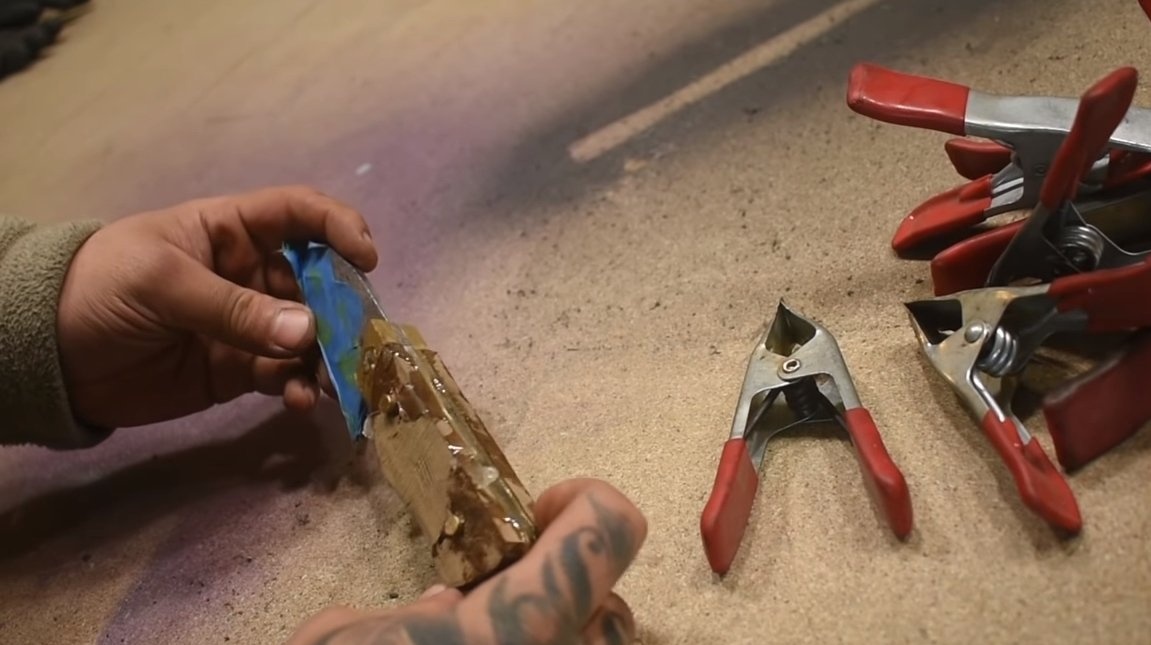
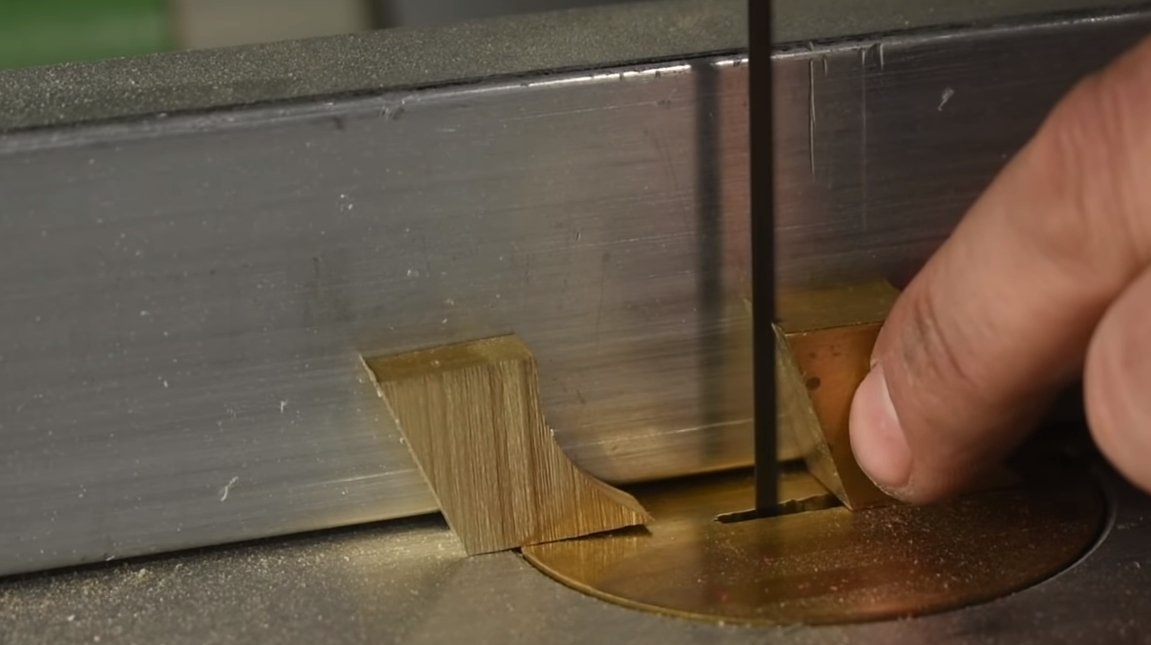
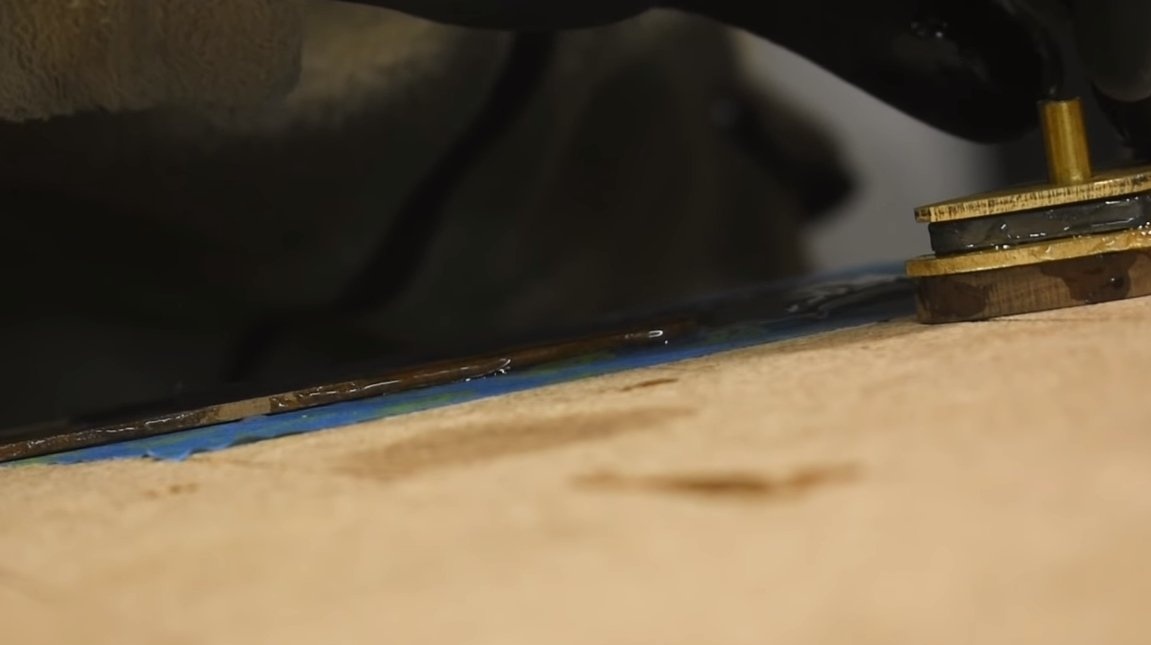
For the handle we need wood and brass sheet. From brass sheet we cut out the substrates under the wooden lining, with them the handle will look very interesting. We also cut two pads of wood, drill holes and prepare brass pins.
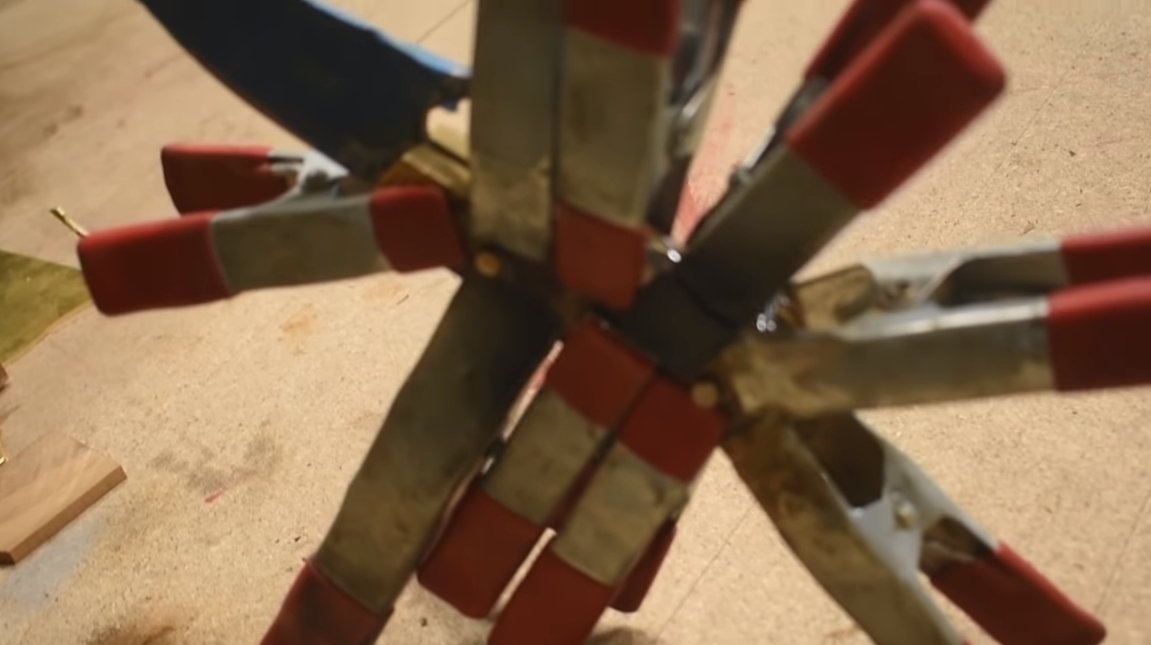
Now the handle can be assembled, for such purposes we need epoxy glue. We well lubricate all the parts to be glued, including the pins and glue them. We tighten the handle well with clamps or clamps, leave this whole thing to dry.
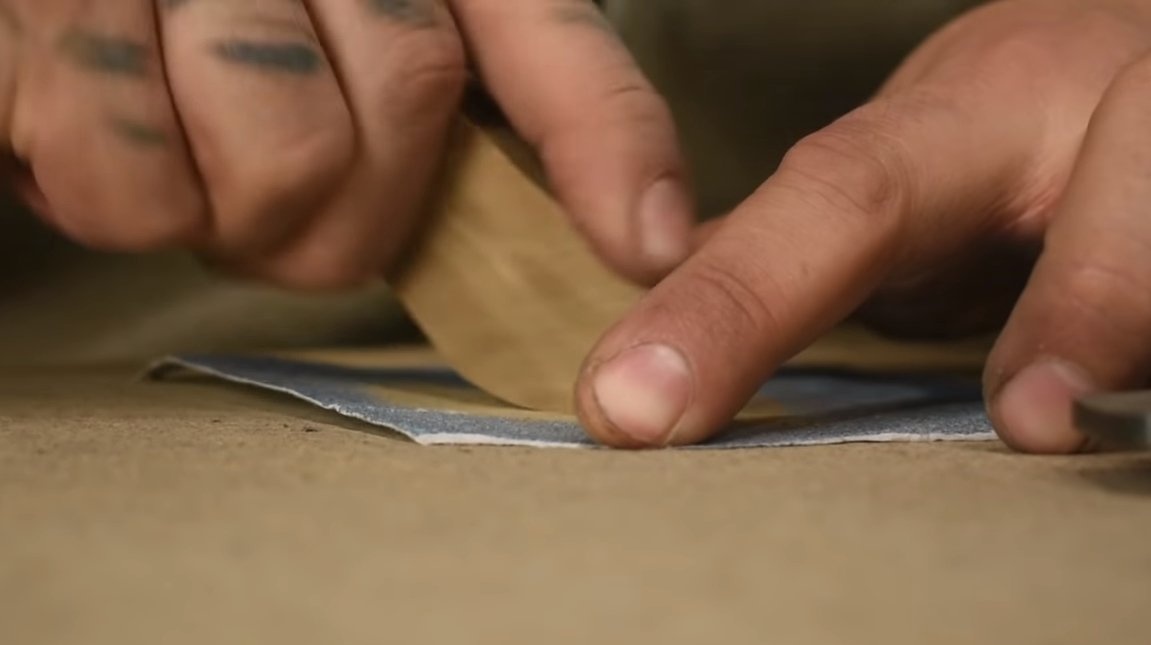
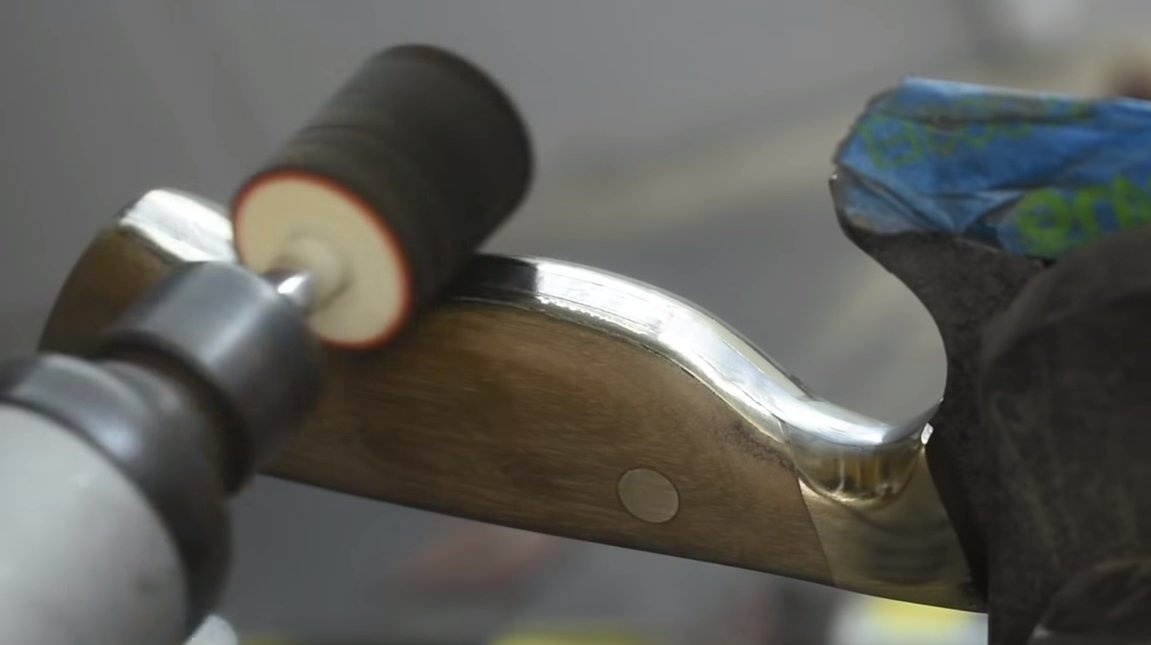
Seventh step. The finalization of the knife
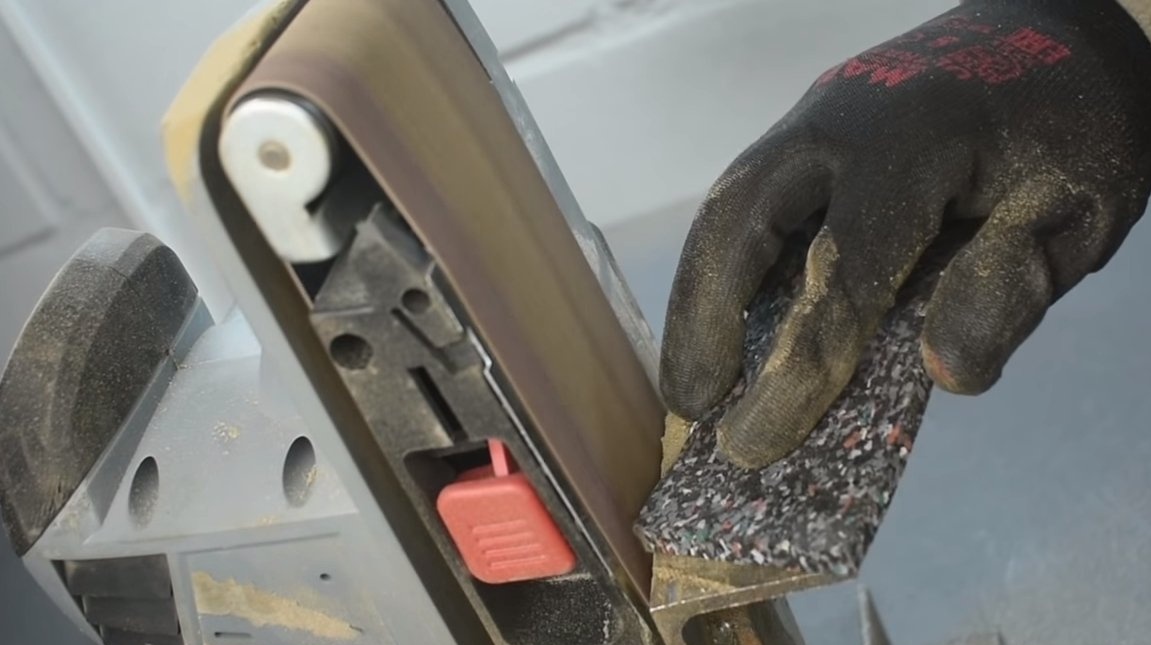
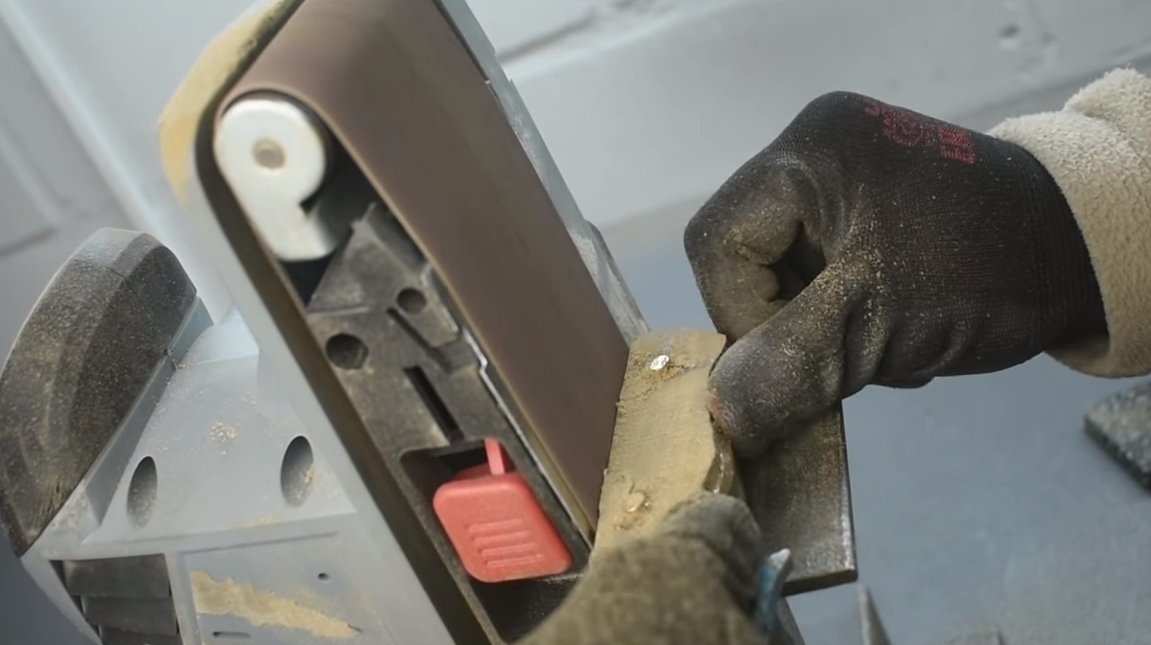
When the glue dries, you need to give the handle the desired shape. Rough processing is carried out using a belt sander, and we also use a drill. If there are no such tools, this is not a problem, you can remove the excess with files on wood. We carry out finer processing manually, using sandpaper. If you make the handle absolutely smooth, the wood pattern will become very expressive. That's all, the knife is almost ready, at the end we soak the handle with oil so that the tree is not afraid of water. Also, thanks to the oil, the tree will look amazing.
The project is over, I hope you liked the homemade. Good luck and creative inspiration, if you decide to repeat this. Do not forget to share your ideas and homemade things with us!