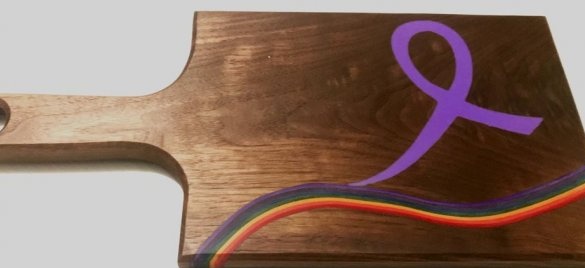
Are you tired of plain cutting boards? Then this instruction is just for you.
Tools and materials:
- Walnut board;
-Paper of different colors;
- Joiner's glue;
Epoxy resin;
-Dye;
- Edible mineral oil with beeswax;
-Double-sided tape;
-Roulette;
-Compass;
-Protective clothing;
- Band saw;
- Electric jigsaw;
- CNC machine;
- Belt sander;
-A circular saw;
Milling cutter;
Step One: Harvesting
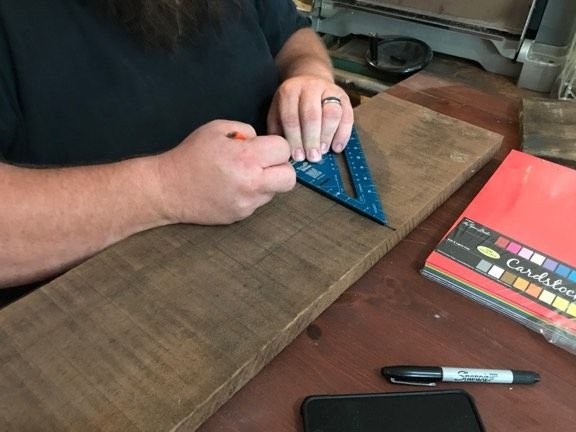
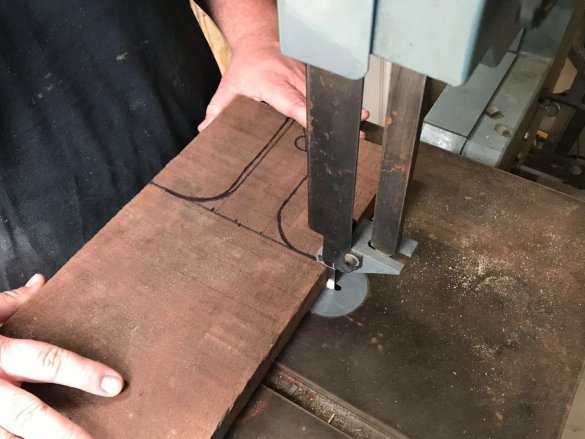
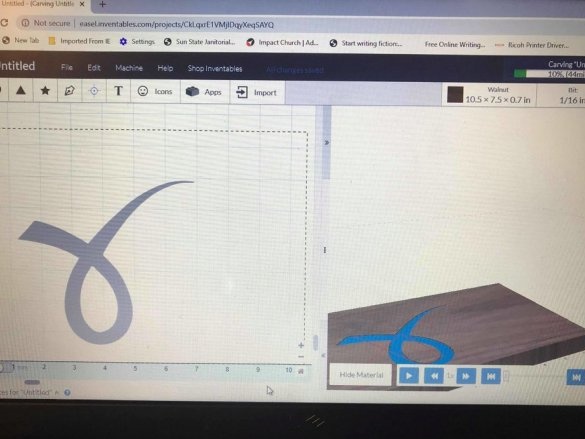
The first step is the master, on a nut board draws the outline of the cutting board and drawing. Cut the board along the contour.
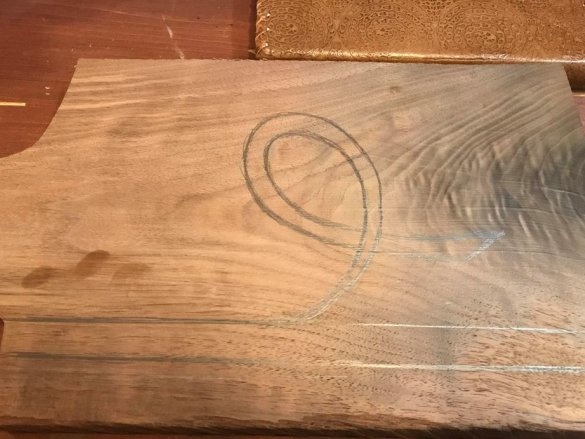
Step Two: Drawing
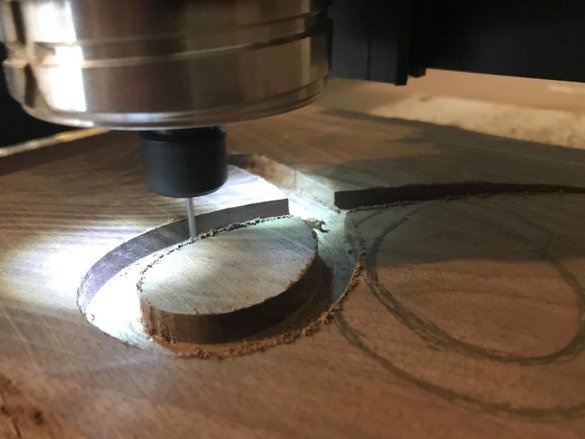
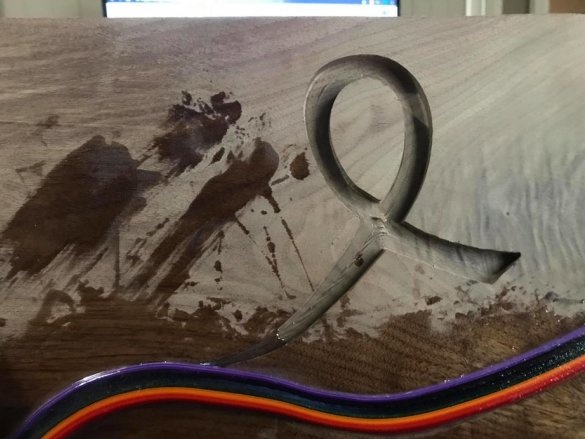
Cuts a drawing on a blackboard.
Step Three: Paper Stock
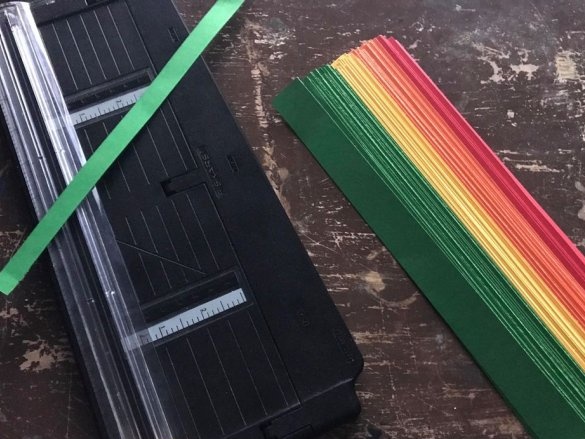
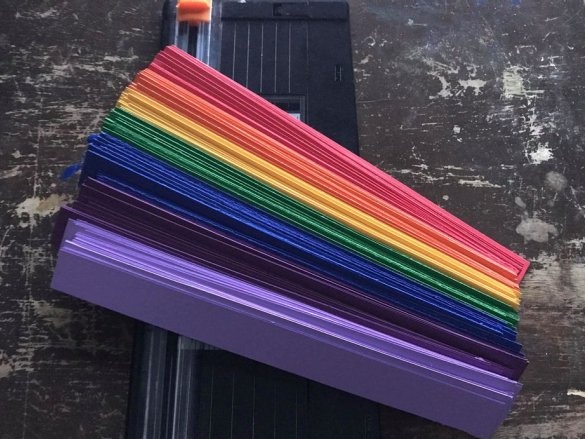
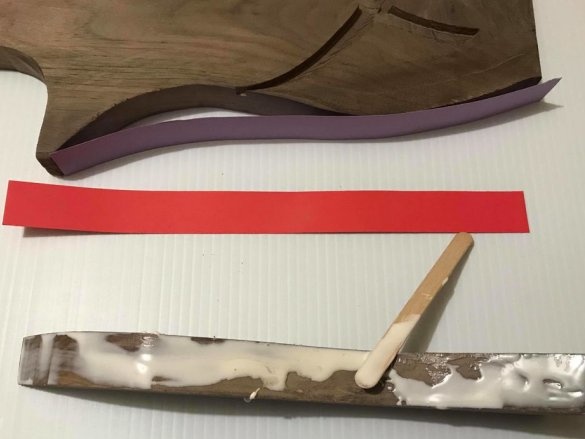
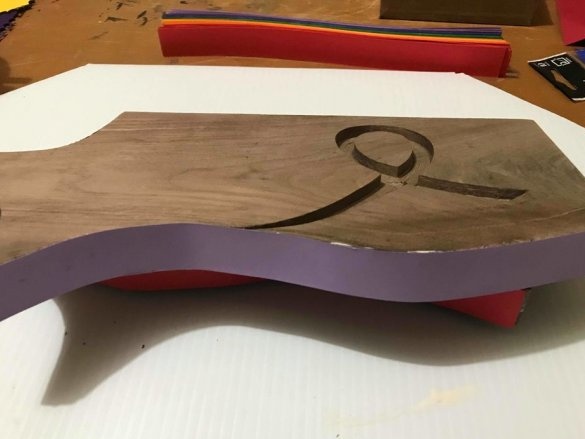
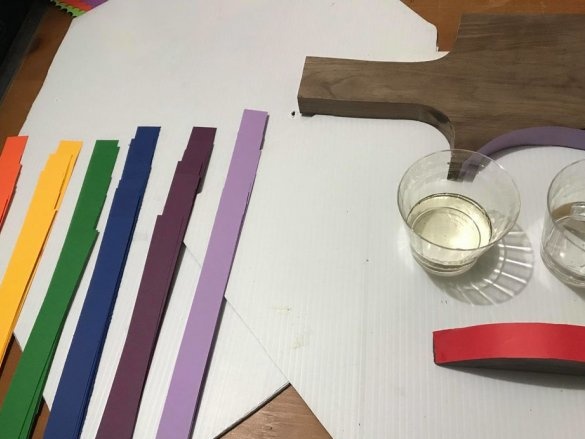
The rainbow insert is in the form of a wave. The master measures the wavelength and thickness of the board, then cuts strips of colored paper by size.
Step Four: Cut
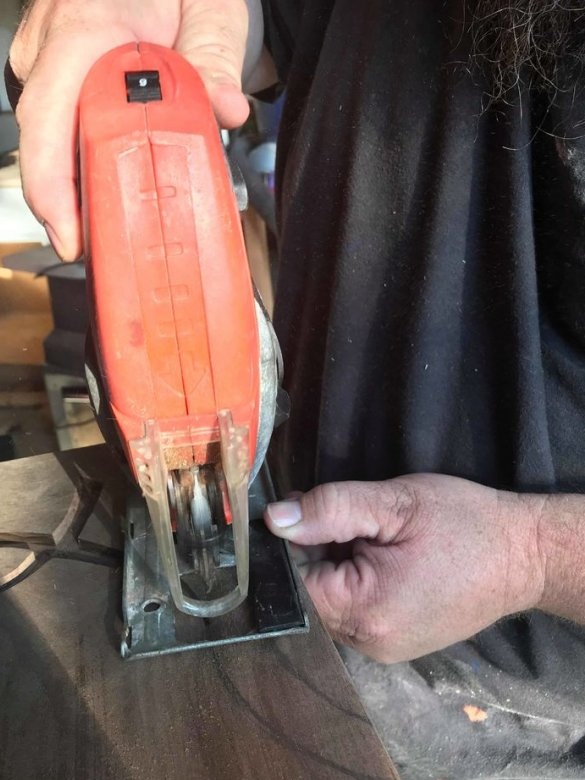
Cuts a strip from the board along the thickness of the insert.
Step Five: Gluing
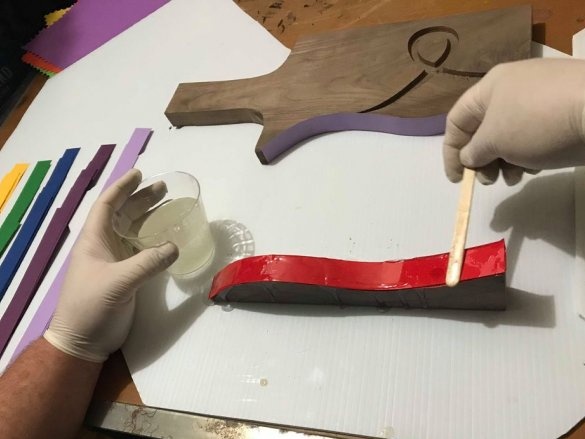
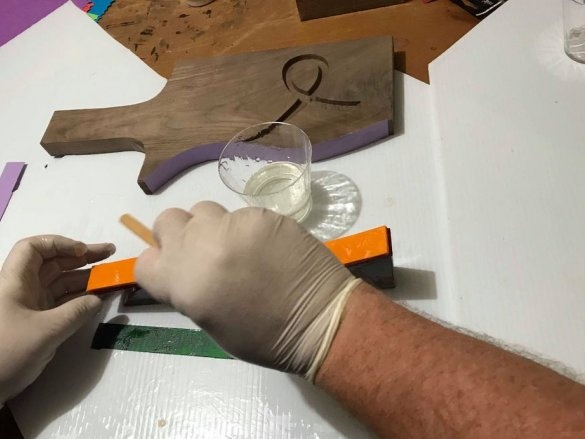
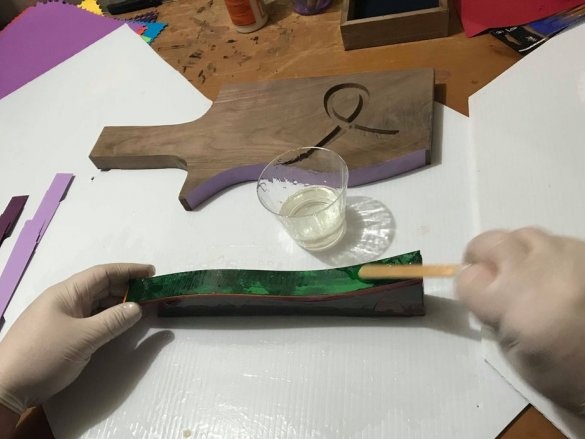
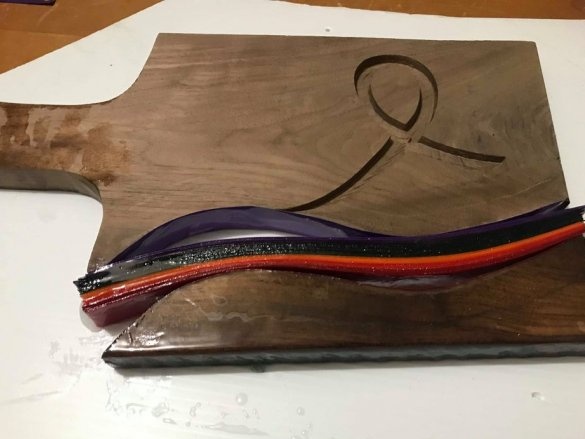
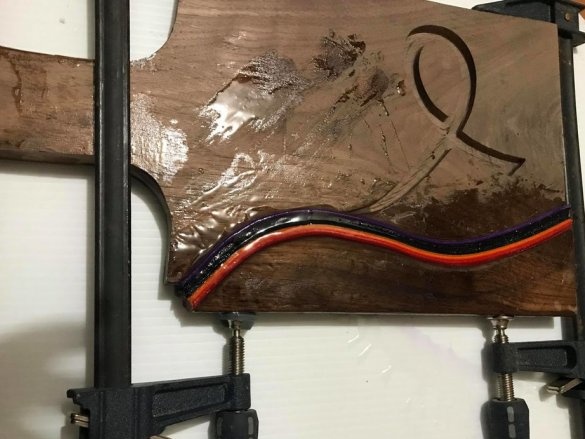
Folds paper strips by color. Mixes epoxy with hardener. Sticks strips of paper. Glues part of the board. Clamps with clamps until dry.
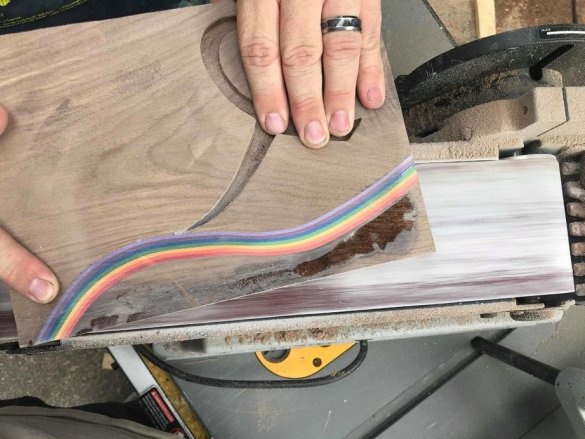
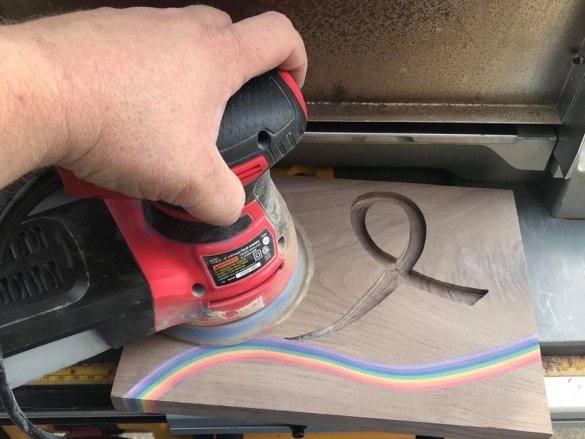
After drying, the resin polishes the protruding paper.
Step Six: Fill
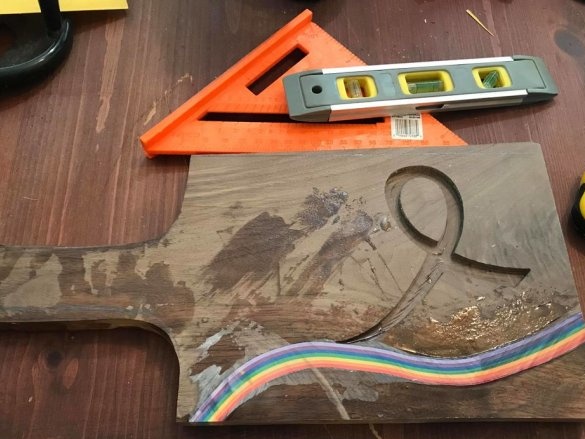
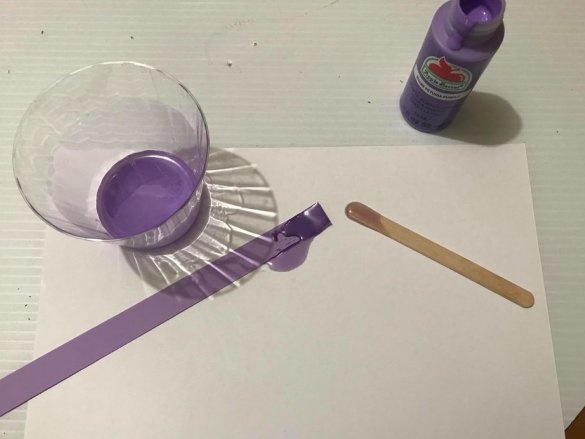
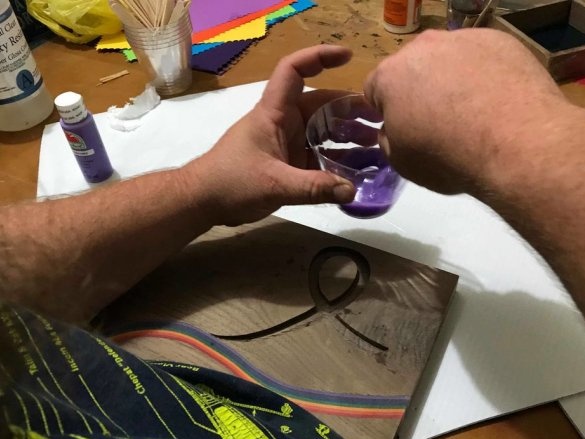
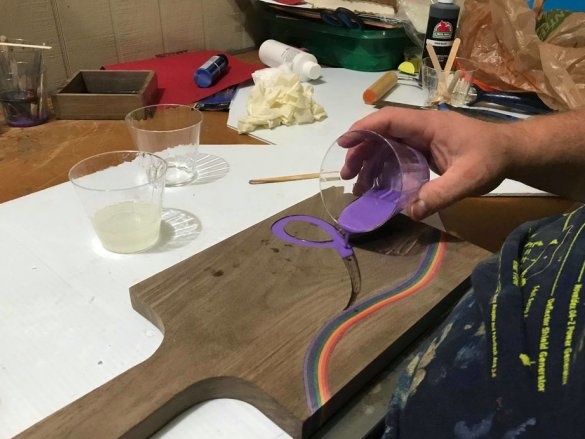
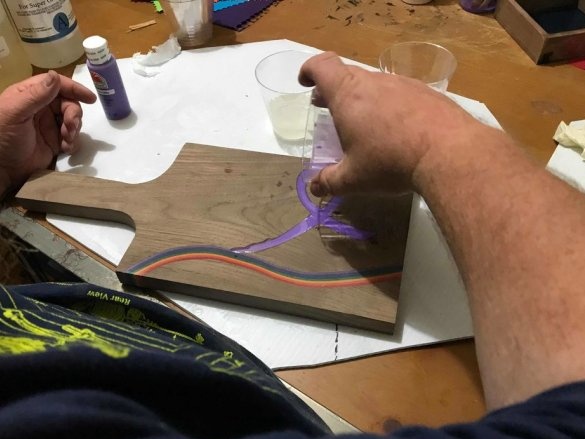
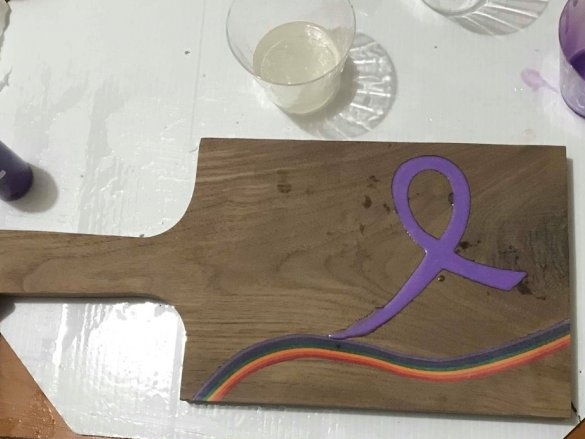
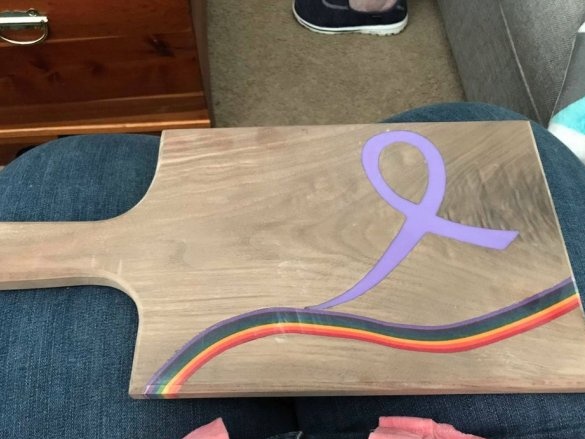
Knead another batch of epoxy. Adds dye to it. Fills the picture.
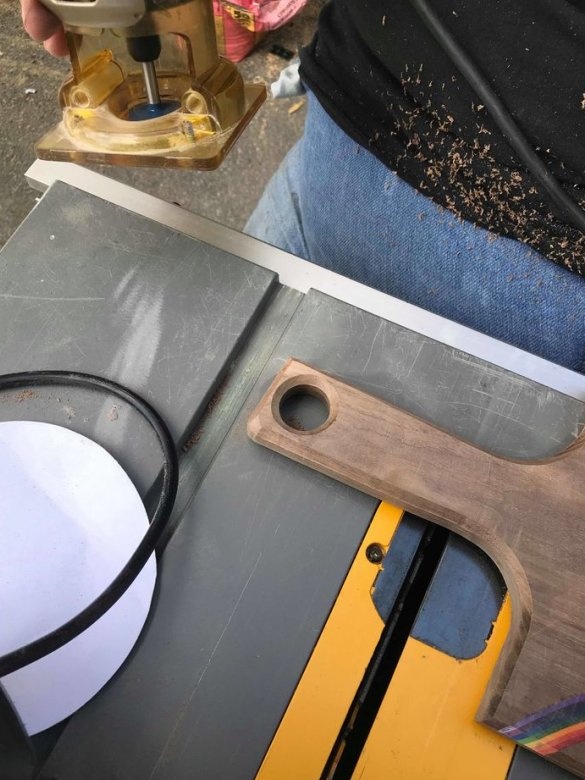
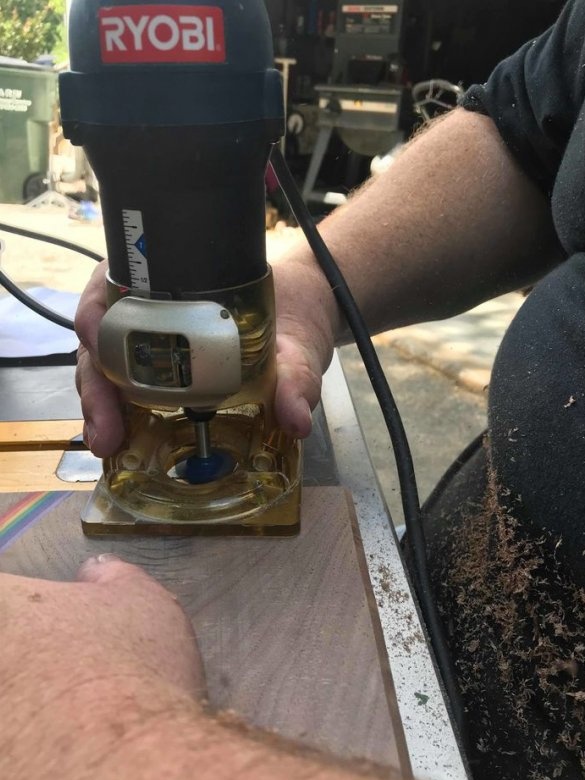
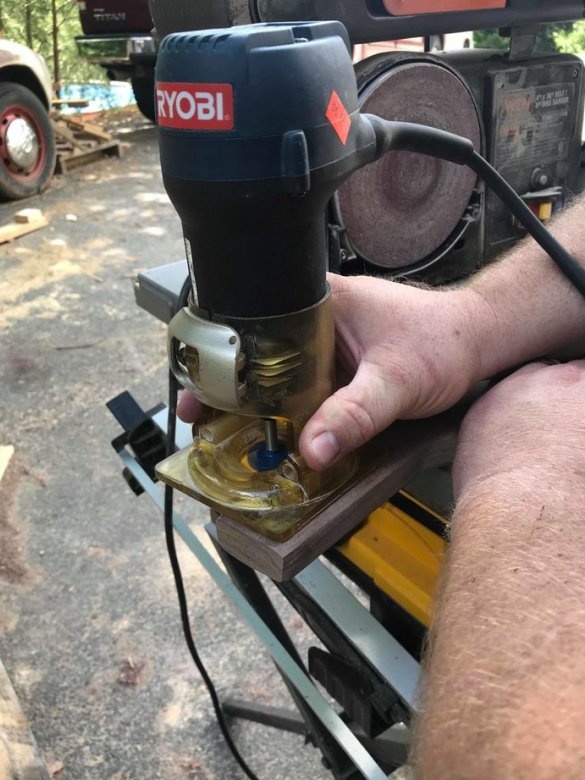
Seventh step: hole and milling
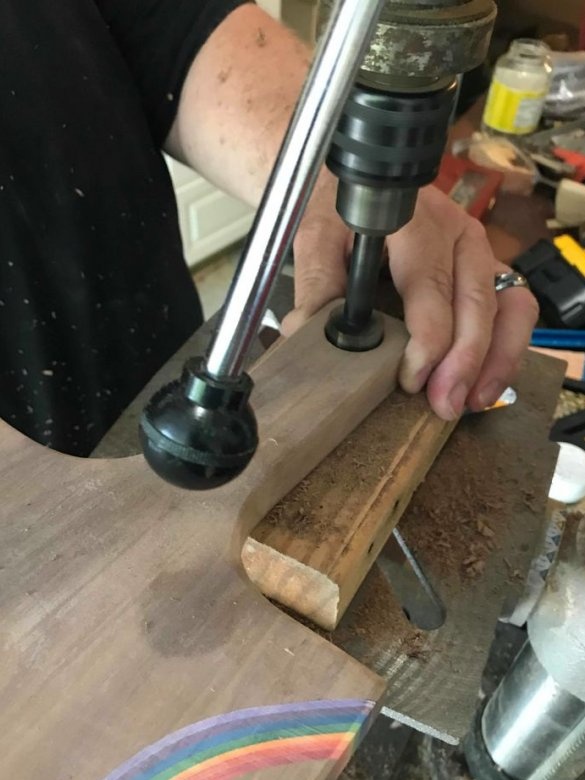
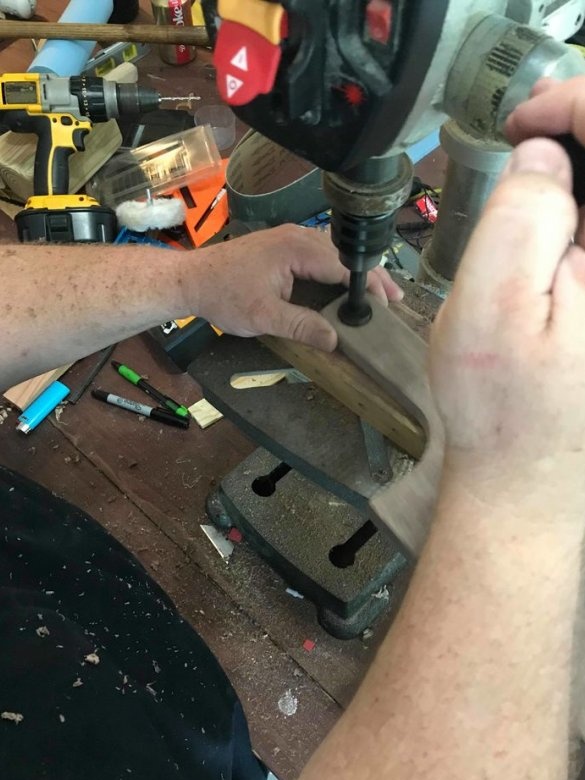
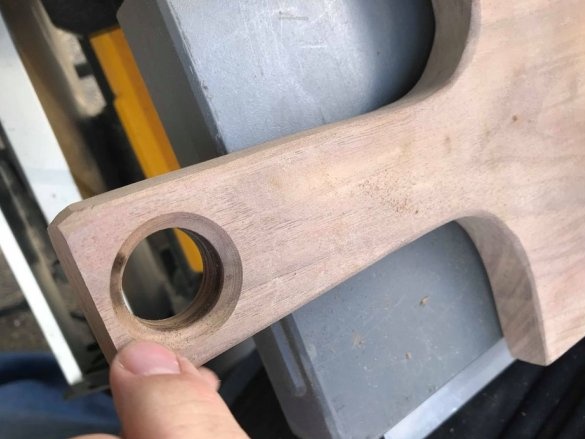
In the handle cuts a hole.
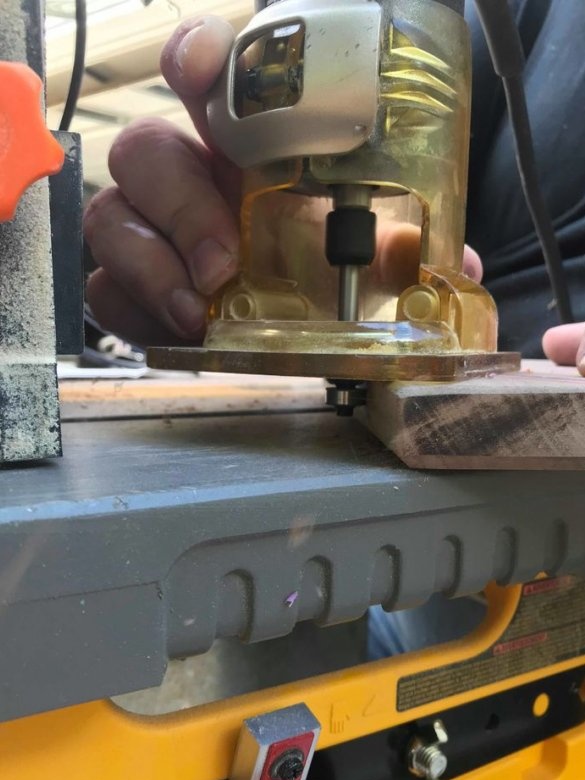
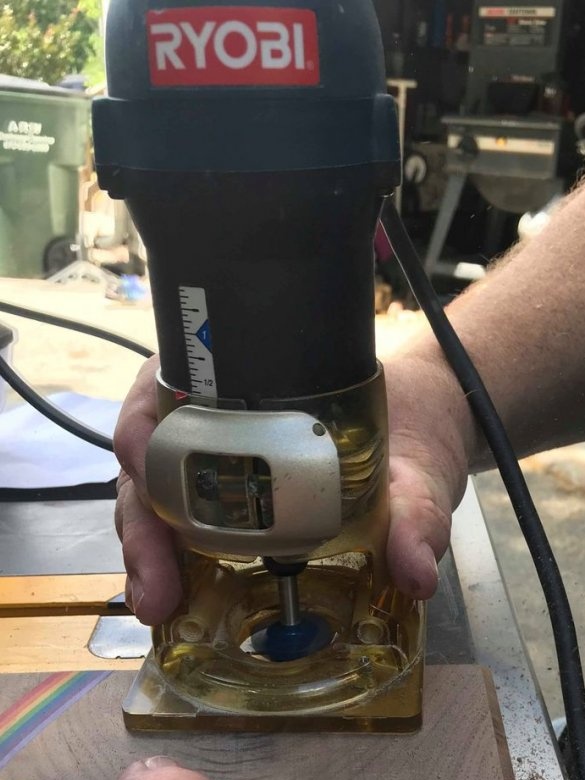
Mills the board around the perimeter.
Step Eight: Grinding
Grinds the board.
Step Nine: Cover
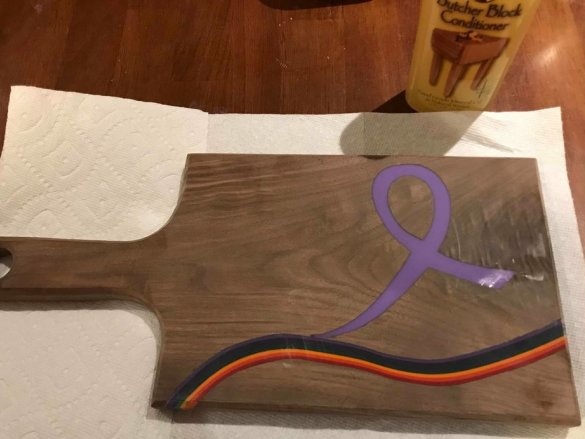
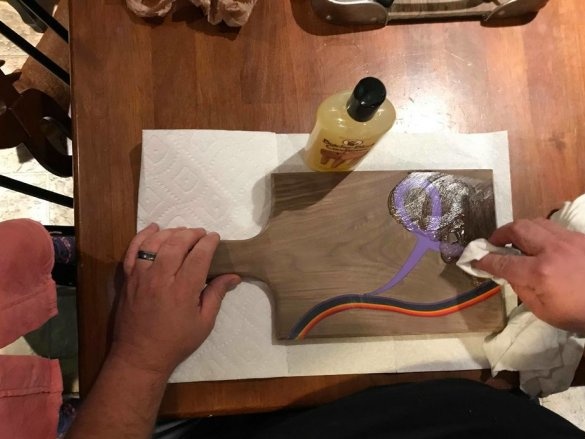
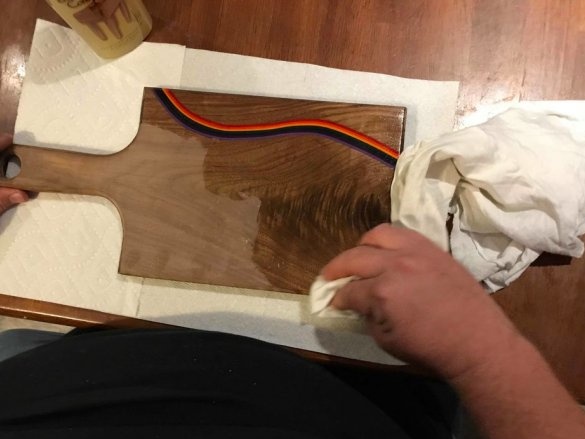
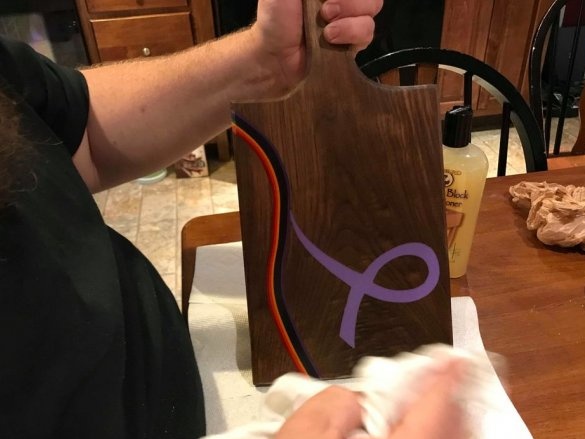
Apply oil with wax to the board.
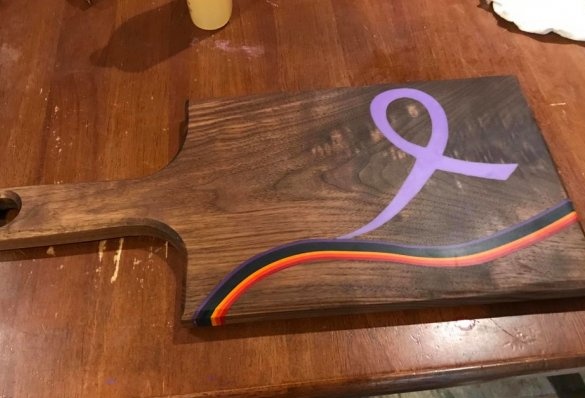
All is ready.

