
This article will show you how easy and simple it is. do it yourself it’s easy to make an excellent budget softbox.
Of course, you can order a ready-made softbox from China, for example, from the same Aliexpress, but the price of such a softbox will be very, very big, so today we will do it ourselves. The further instructions are taken from the YouTube channel “On TV Review”.
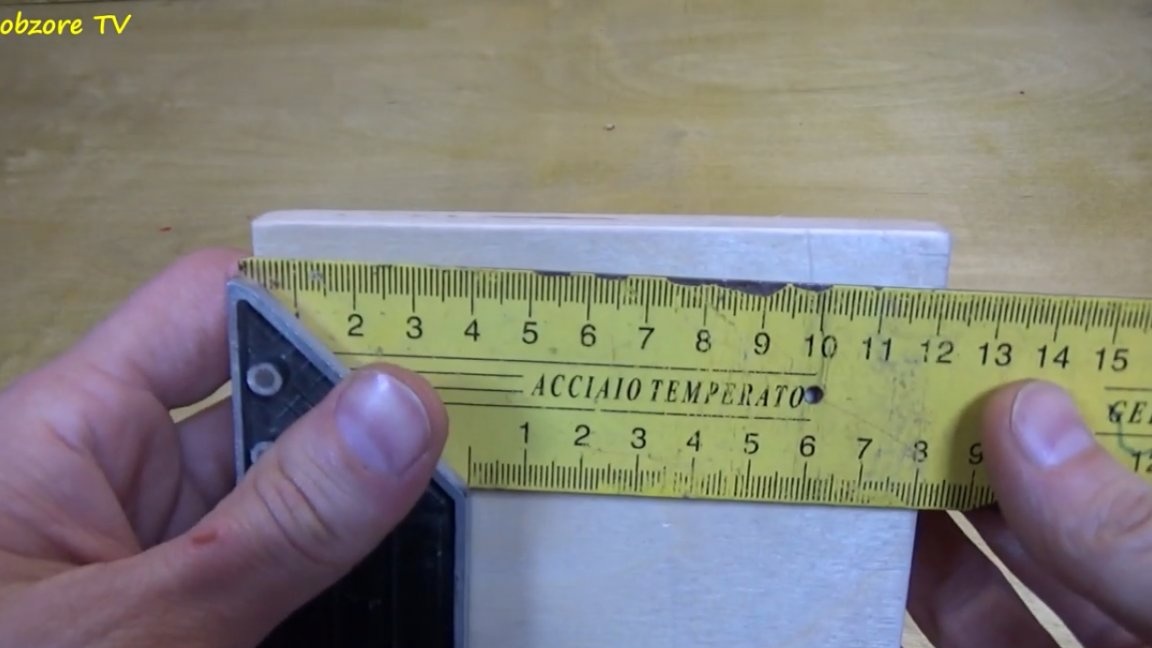
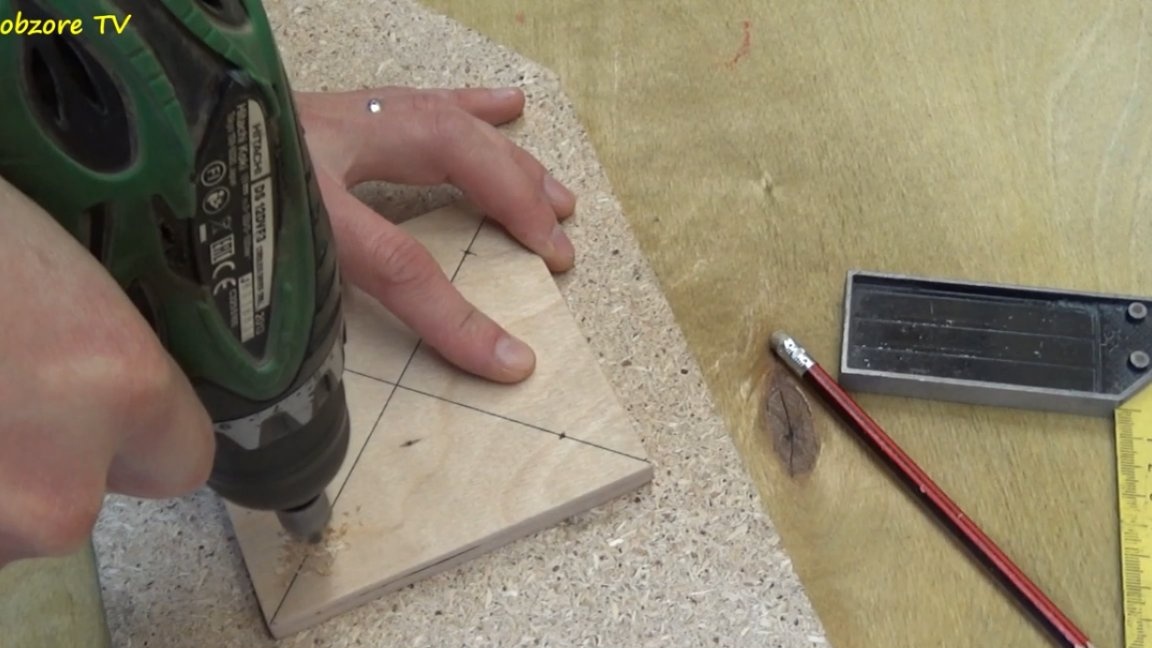
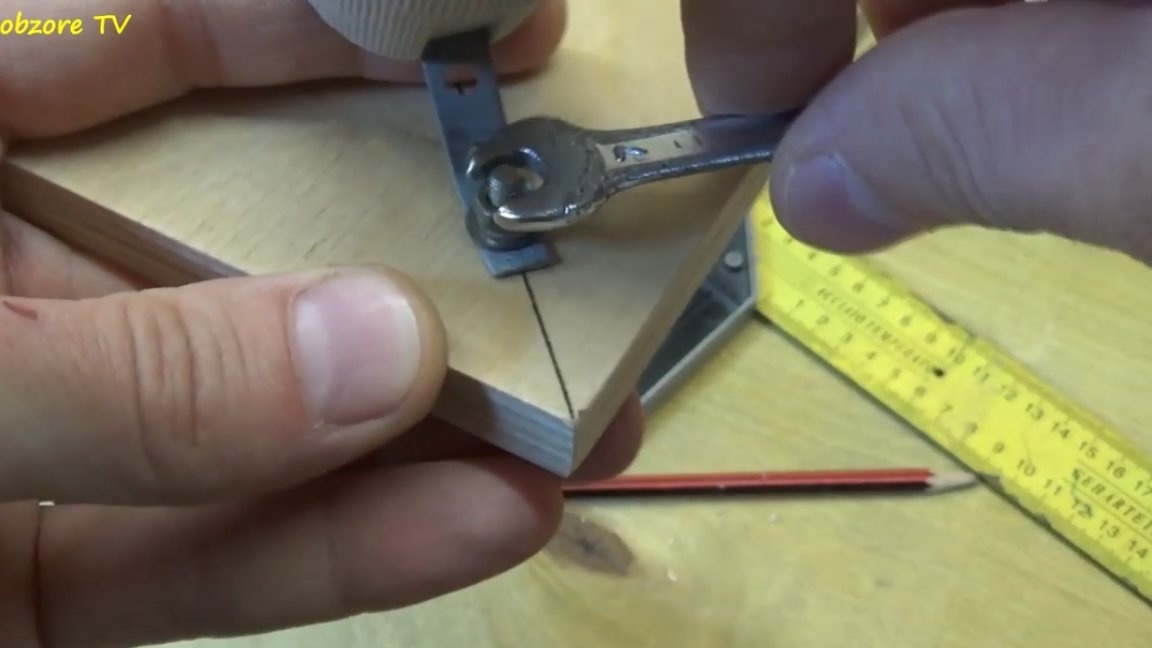
To make the base, it is necessary to cut a square with a side of 120 mm from a piece of plywood.
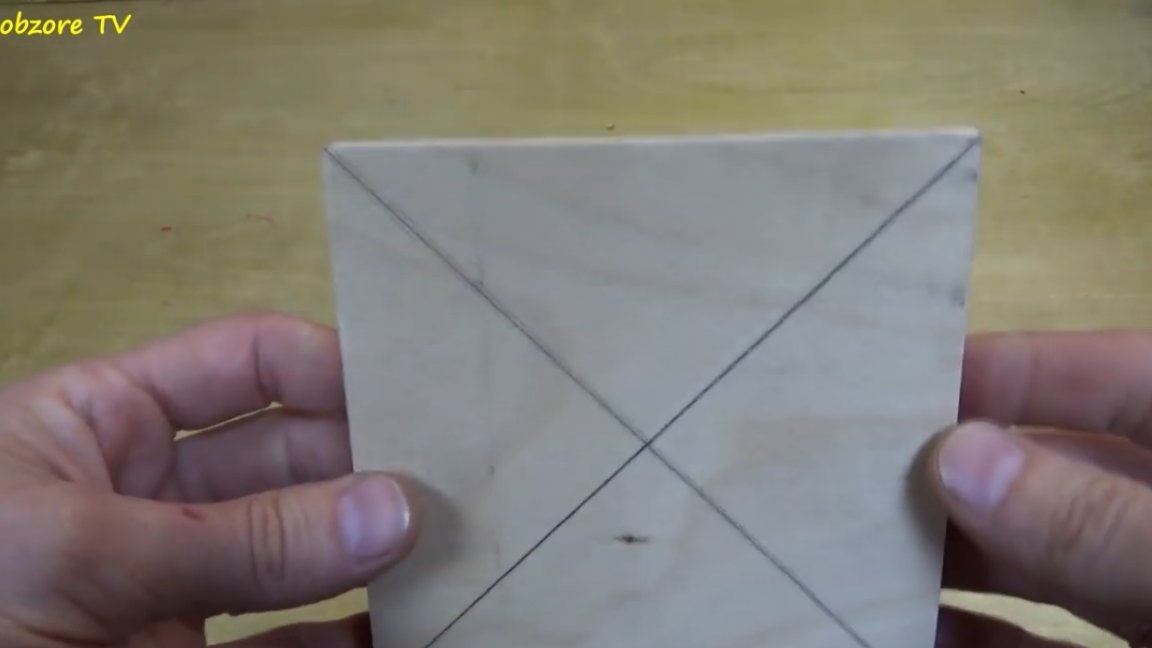
Then it is necessary to find the center of the resulting workpiece. To do this, draw two diagonals. The intersection of these diagonals will be the center of our detail.
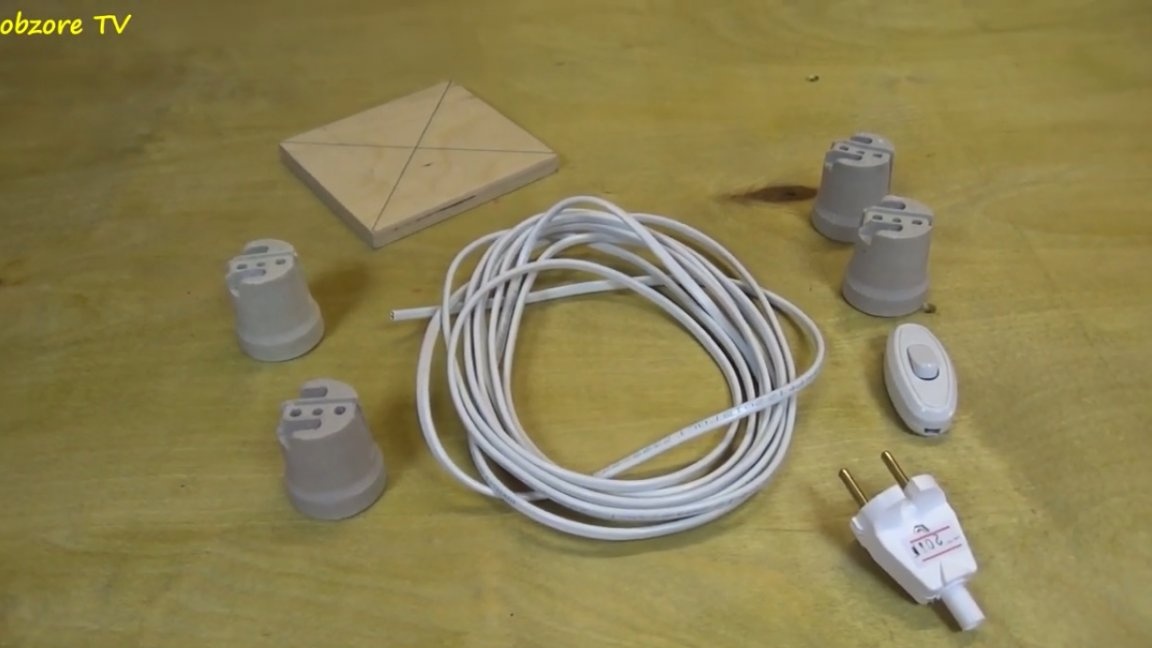
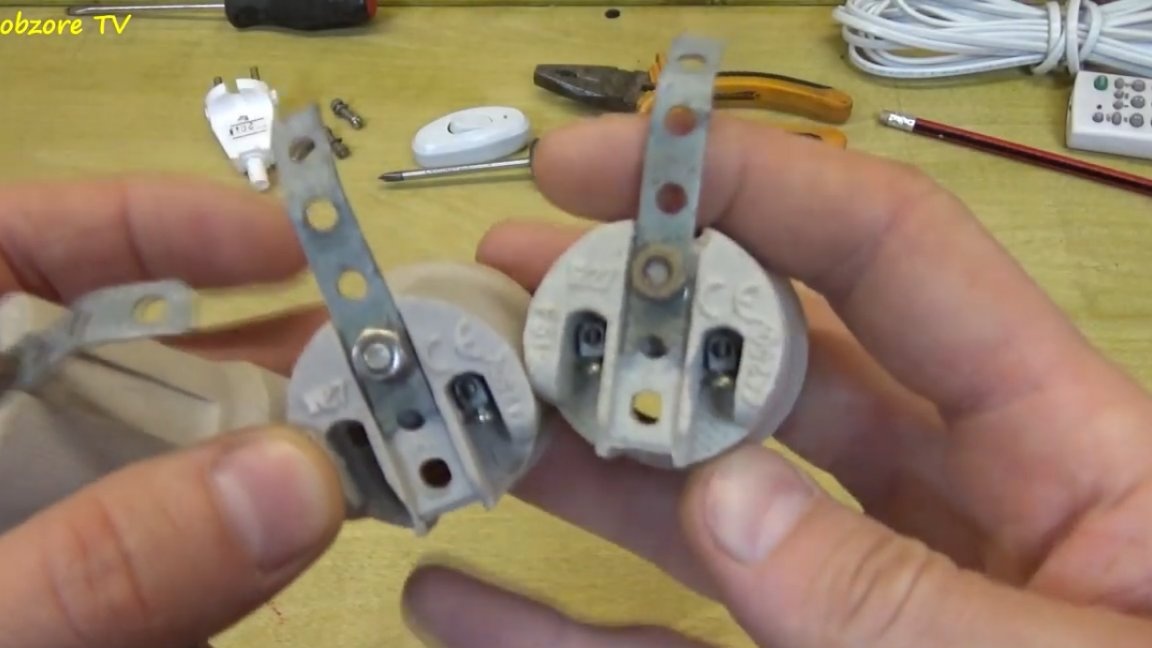
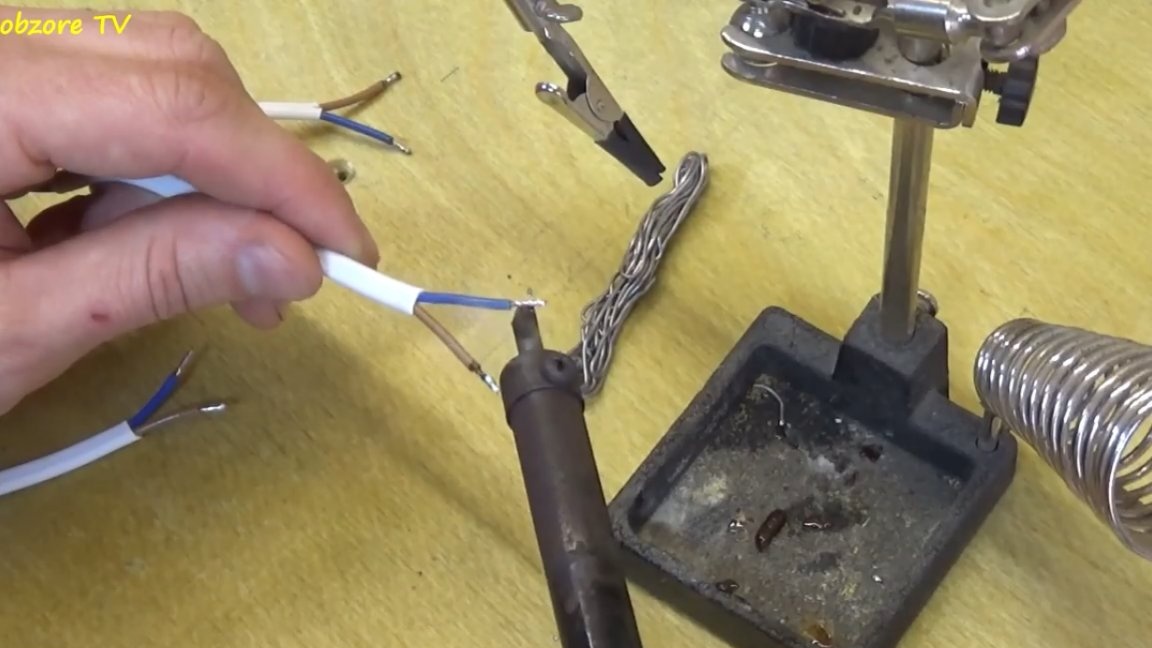
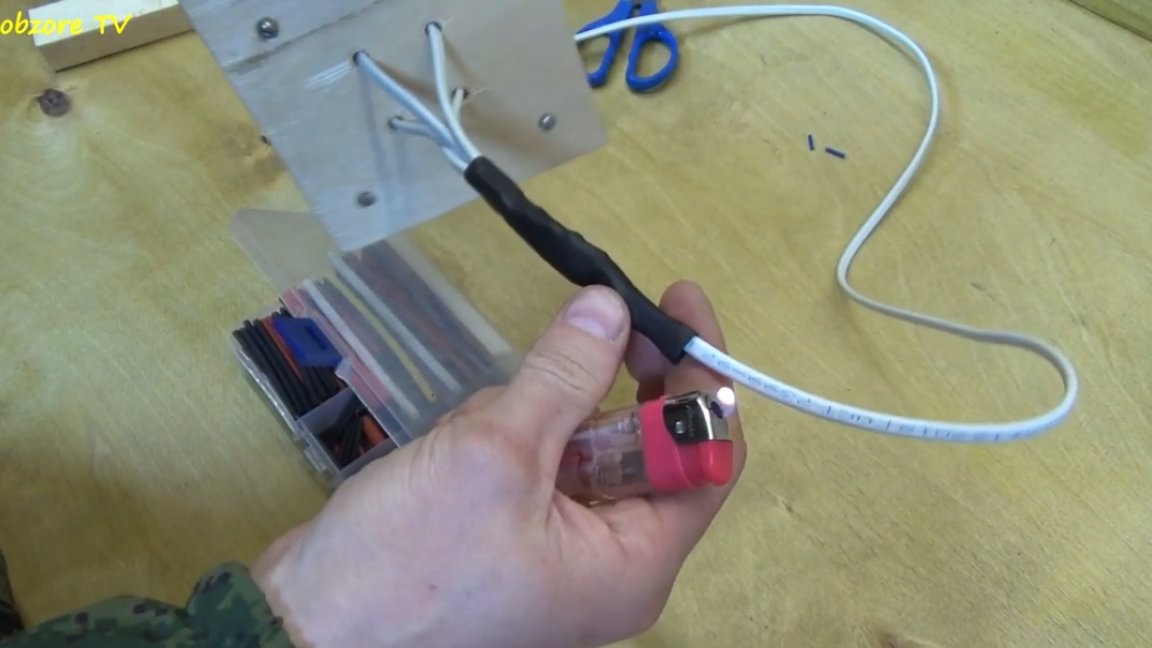
Next we will need: 4 electric cartridges, electric plug, switch and wire.
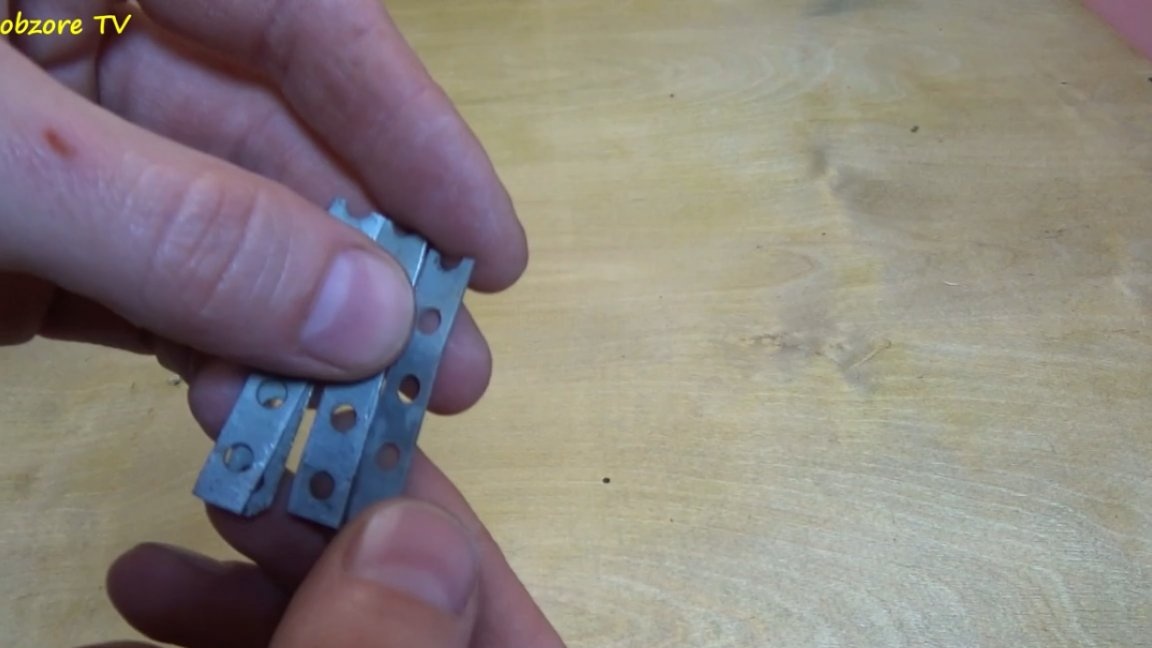
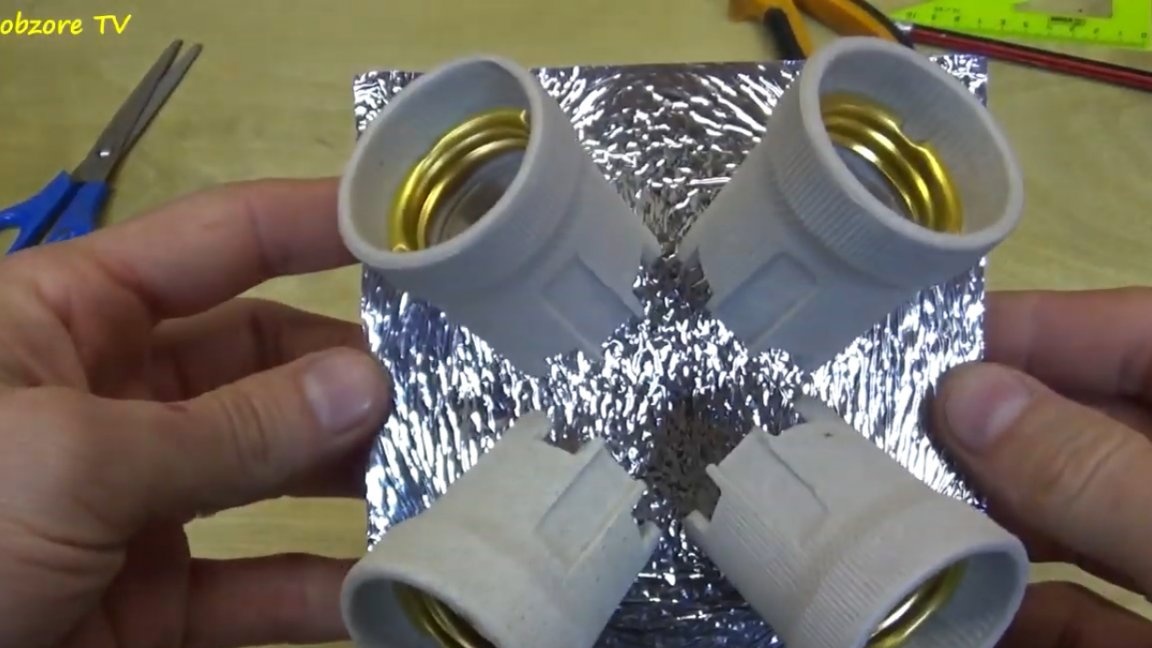
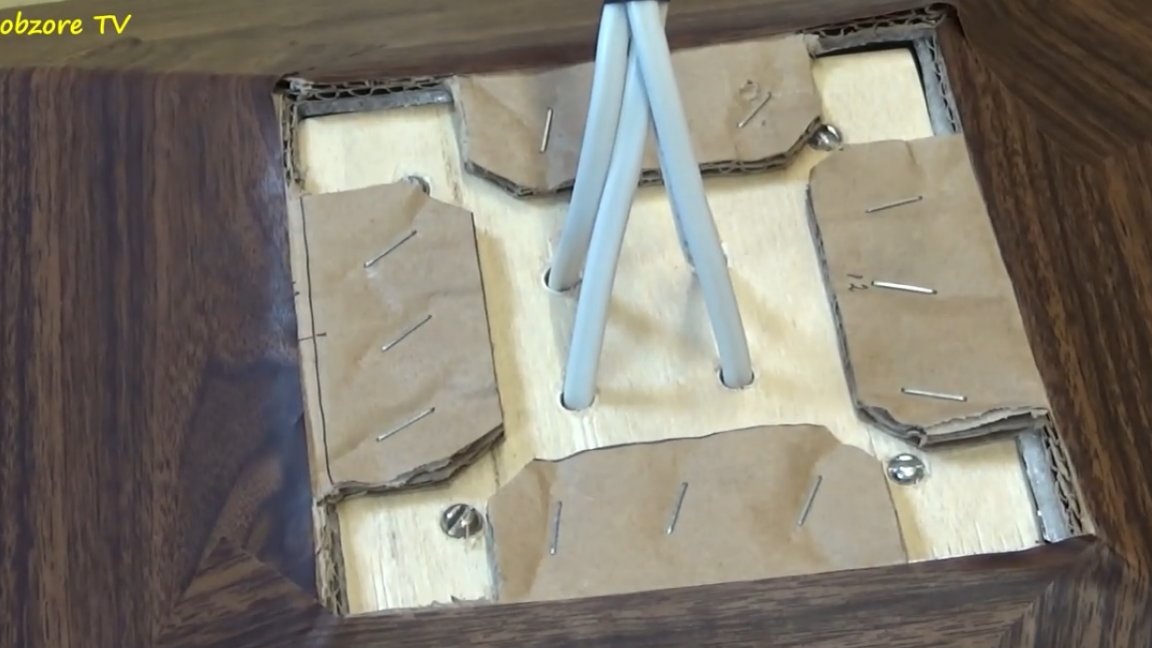
Cartridges must be fixed at the base. For this, the author made small metal plates.
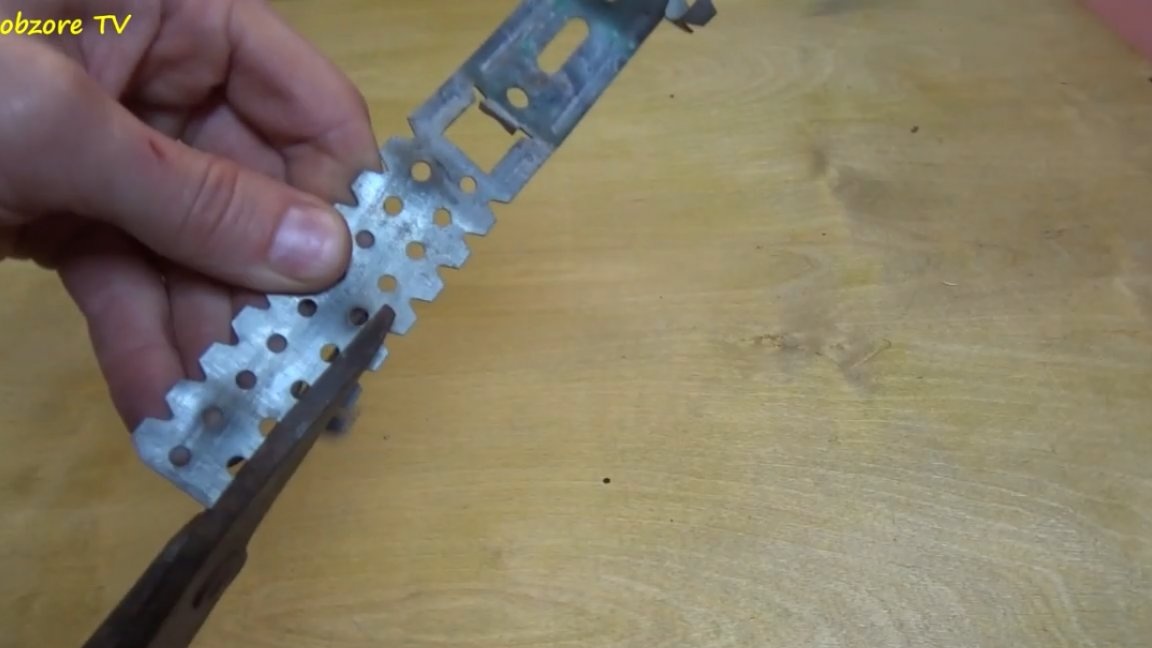
The result was such home-made minikronstein.
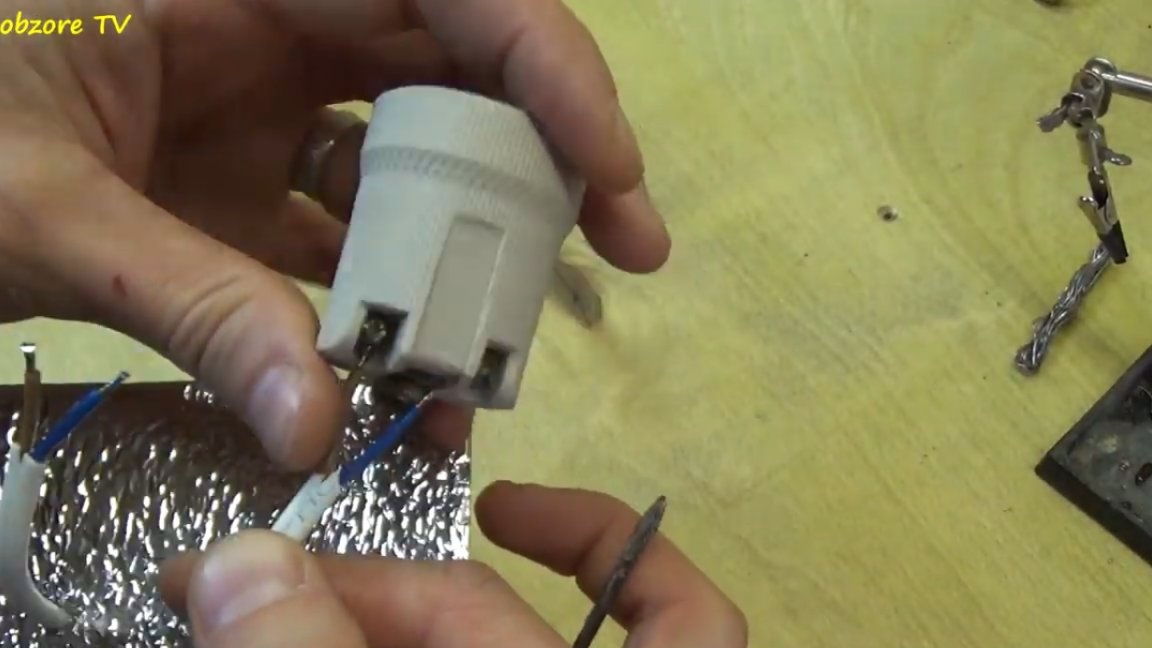
Then the resulting plate must be fixed on the cartridges. That's what came out of it:
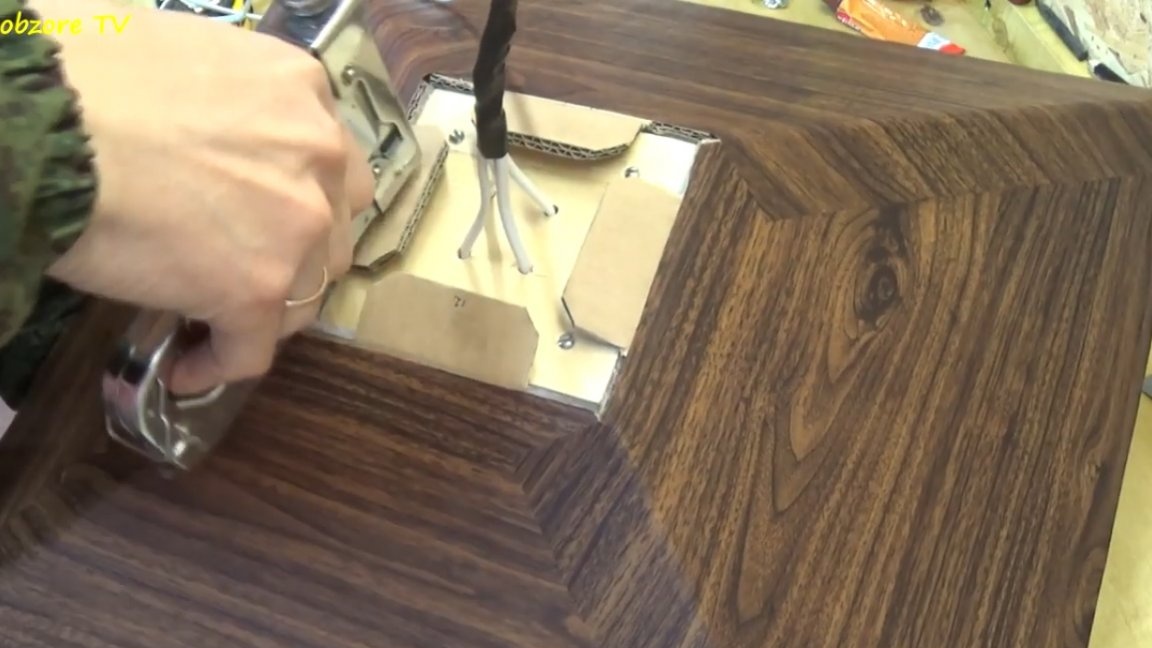
Further, in the plywood base, it is necessary to drill holes in the amount of 4 pieces. Like this:
We insert screws into these holes and attach cartridges with brackets to the base.
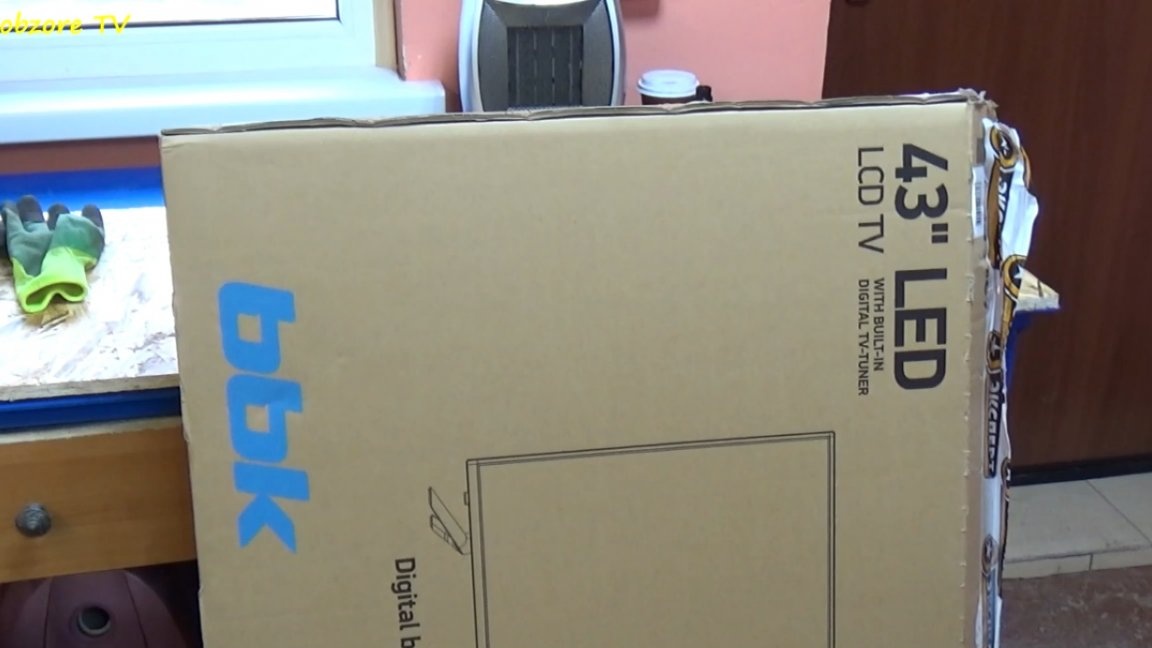
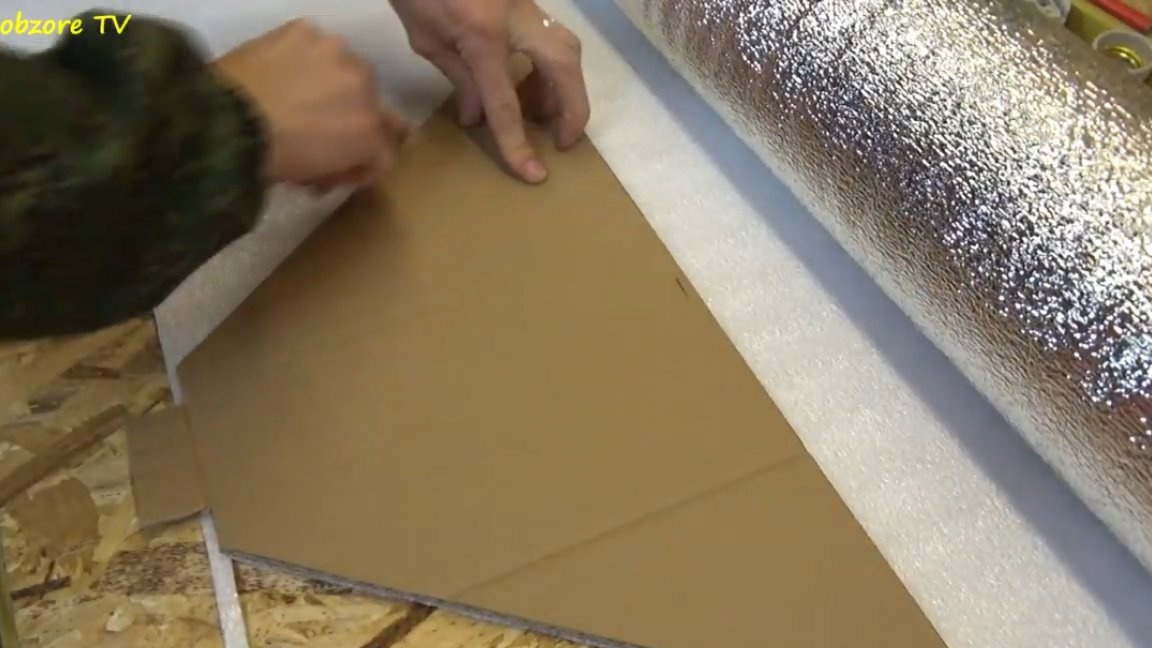
The main details of the softbox will be made of ordinary rather thick cardboard. For this purpose, some kind of box from household appliances, for example, from a TV, is perfect.
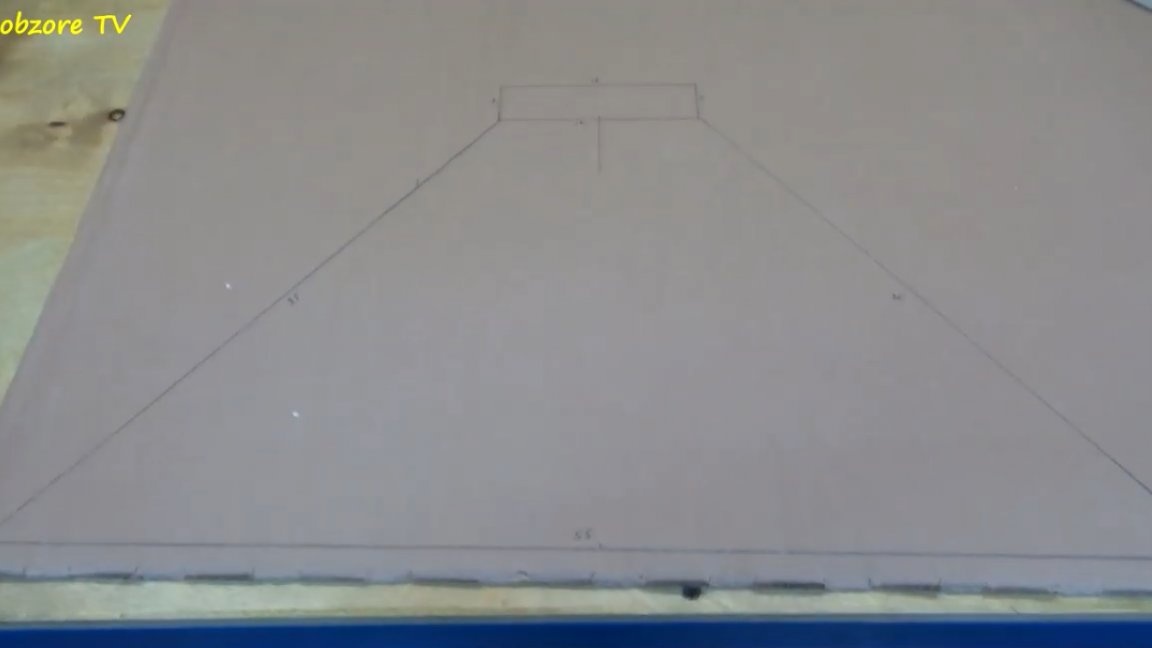
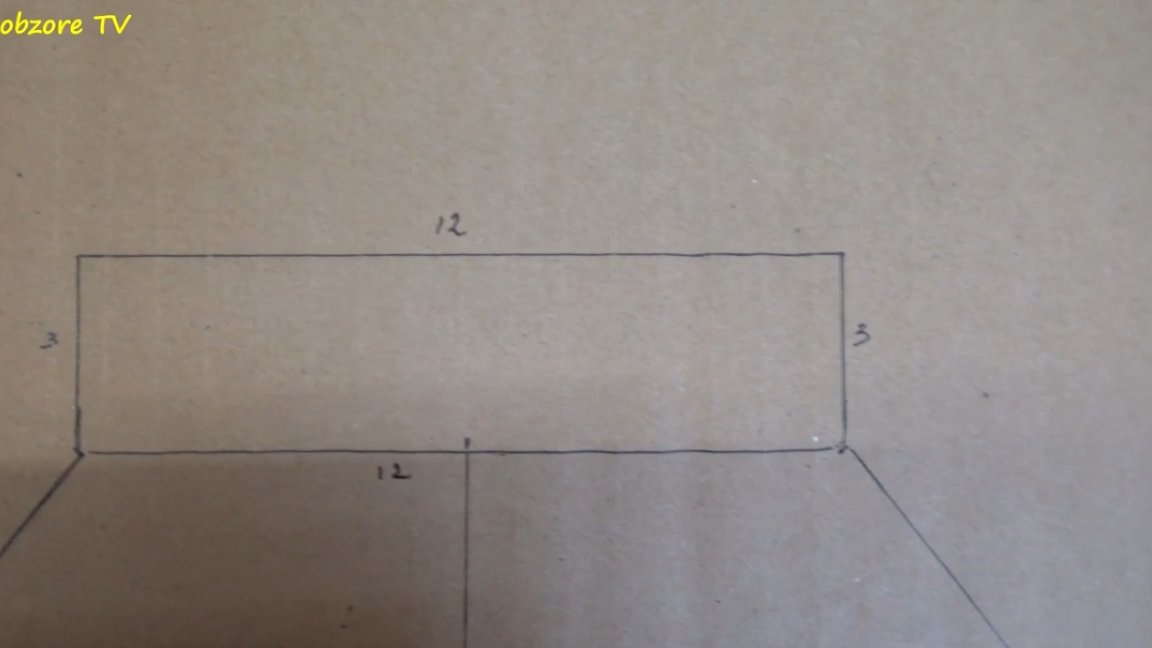
Mark up the cardboard. The bottom side will be 55 cm, and the sides will be 35 cm. You also need to take into account a small ledge with a width of 12 cm and a height of 3 cm, it is needed so that later cardboard parts can be fixed on the base.
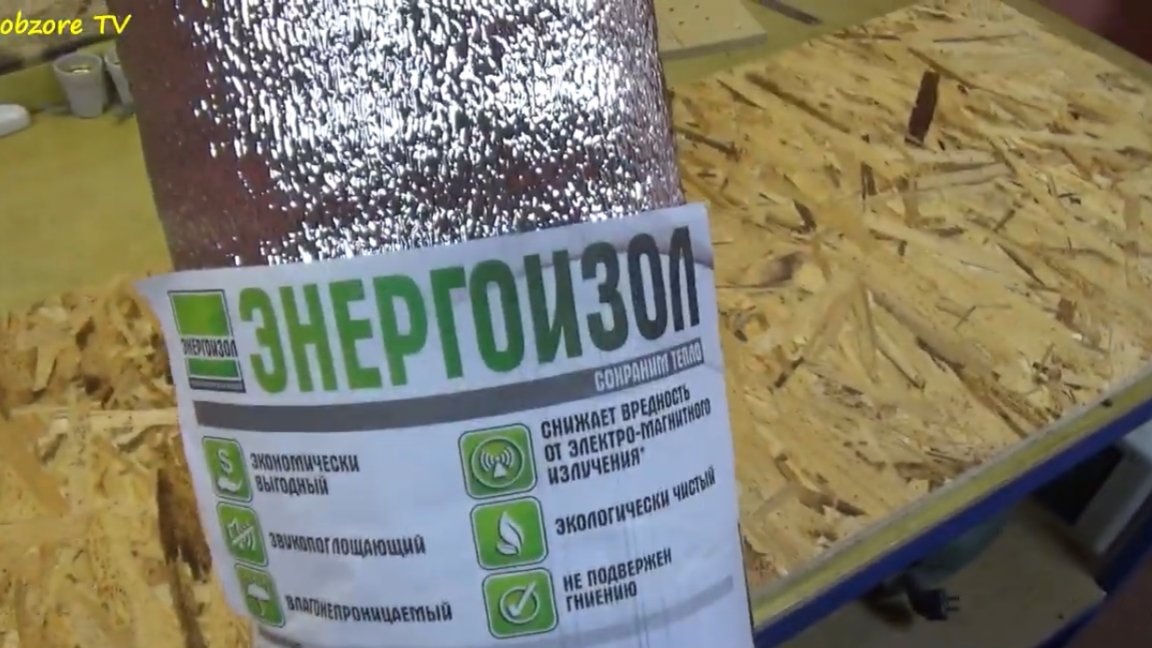
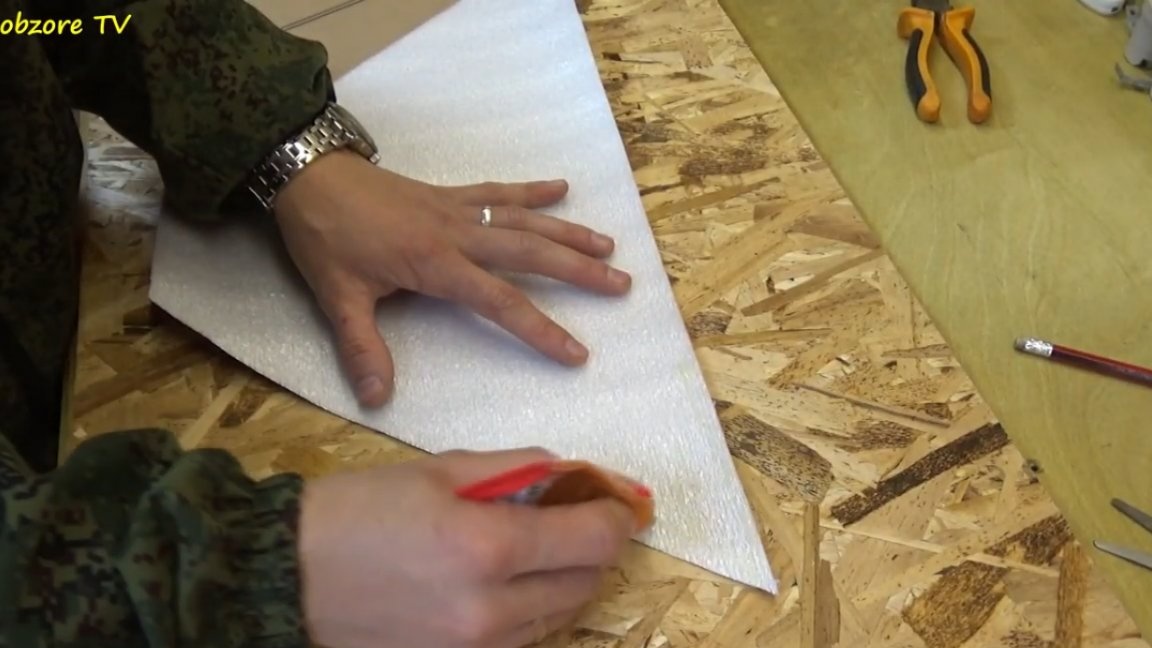
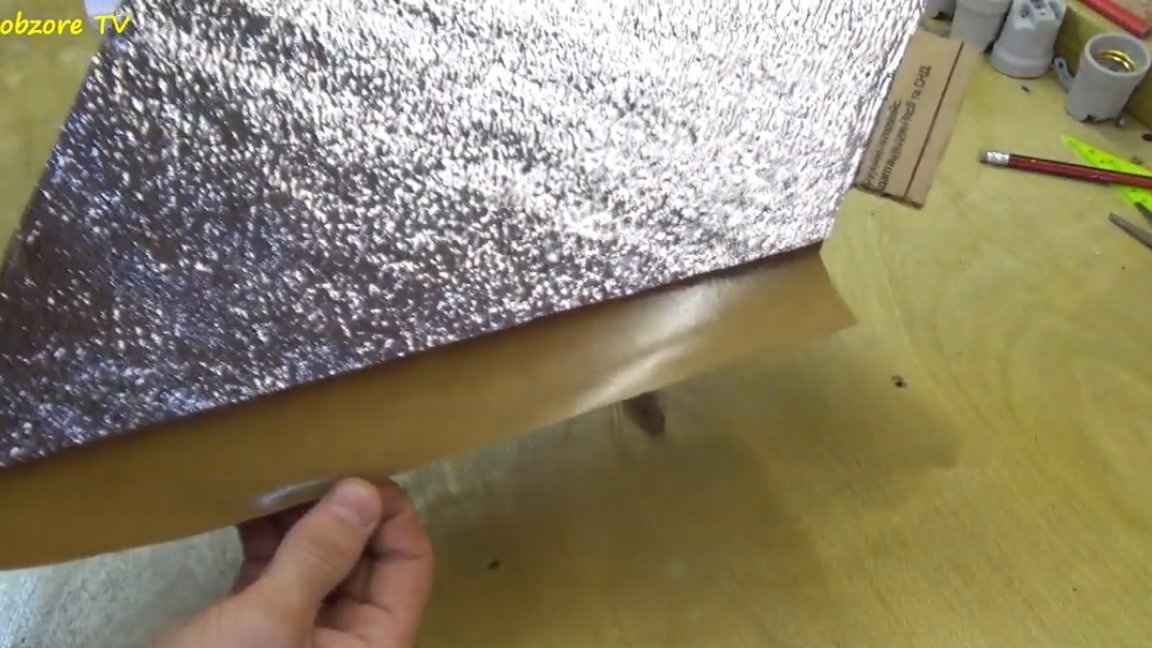
The author made a reflector from the thinnest foil insulator (energizol) 2 mm thick.
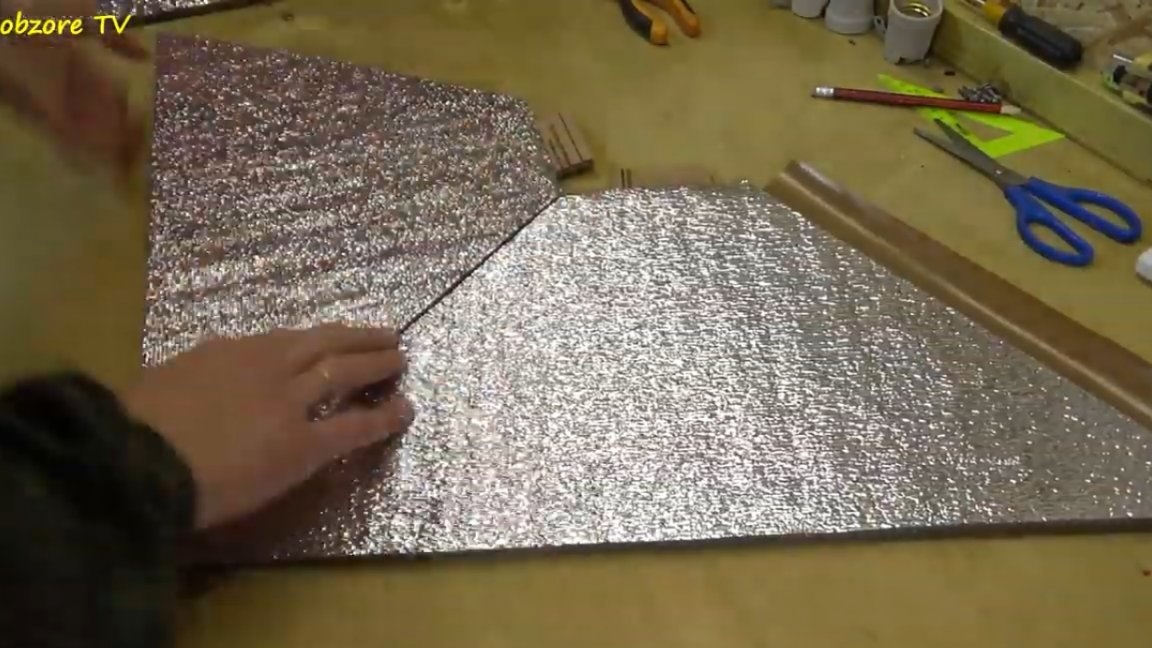
We mark and cut the energizol.
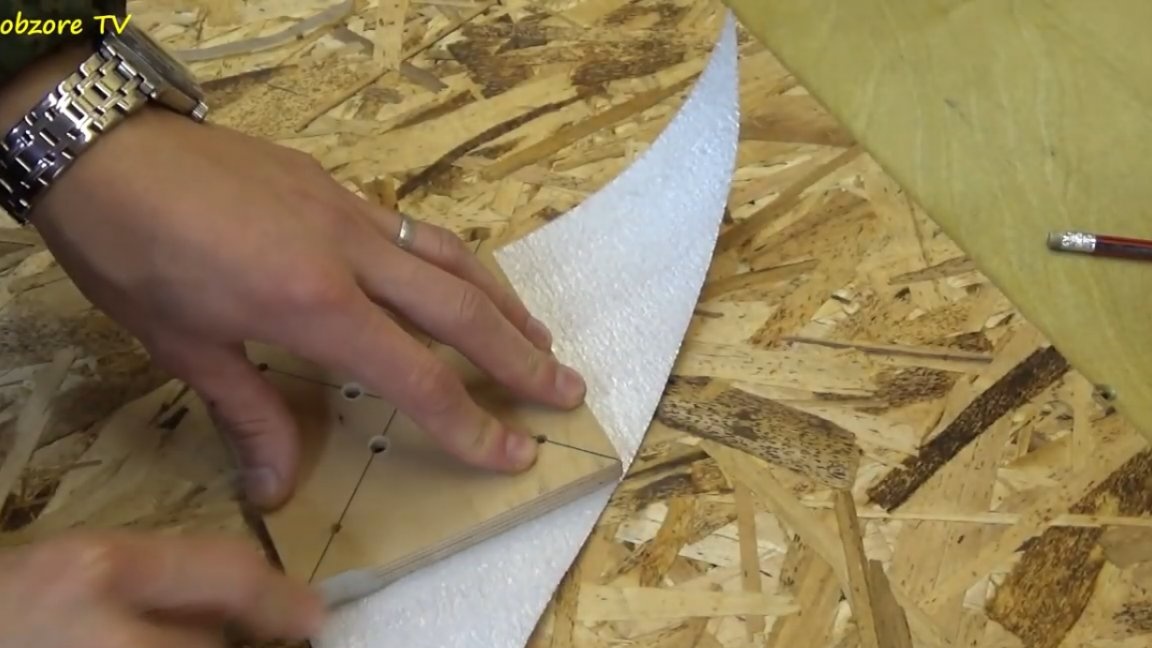
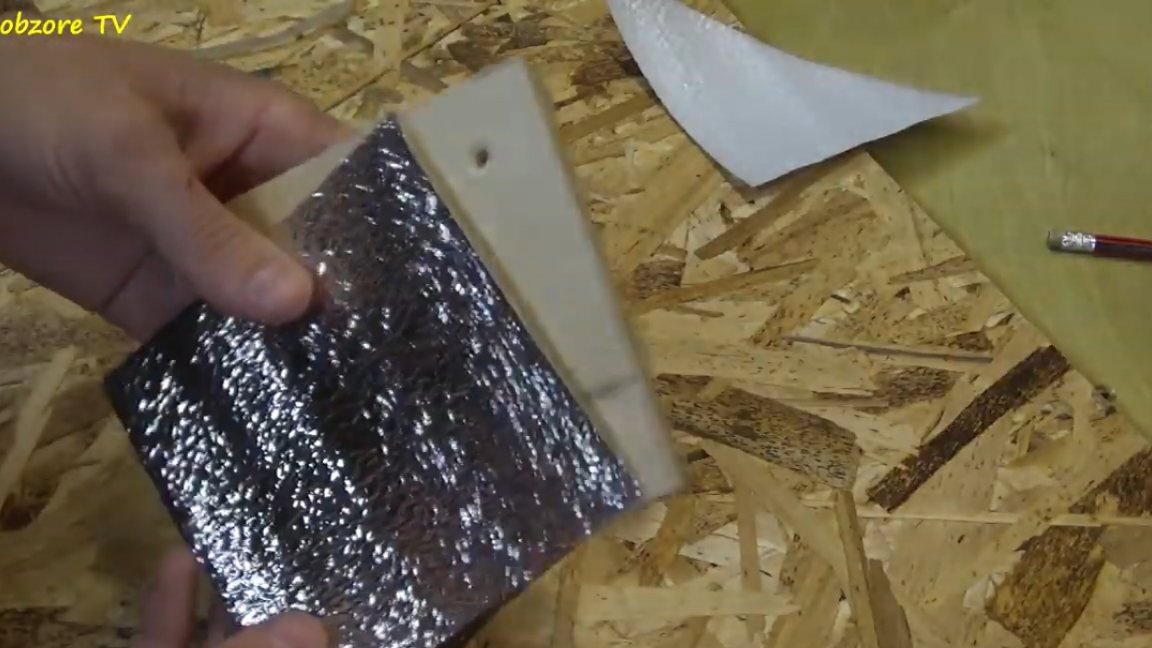
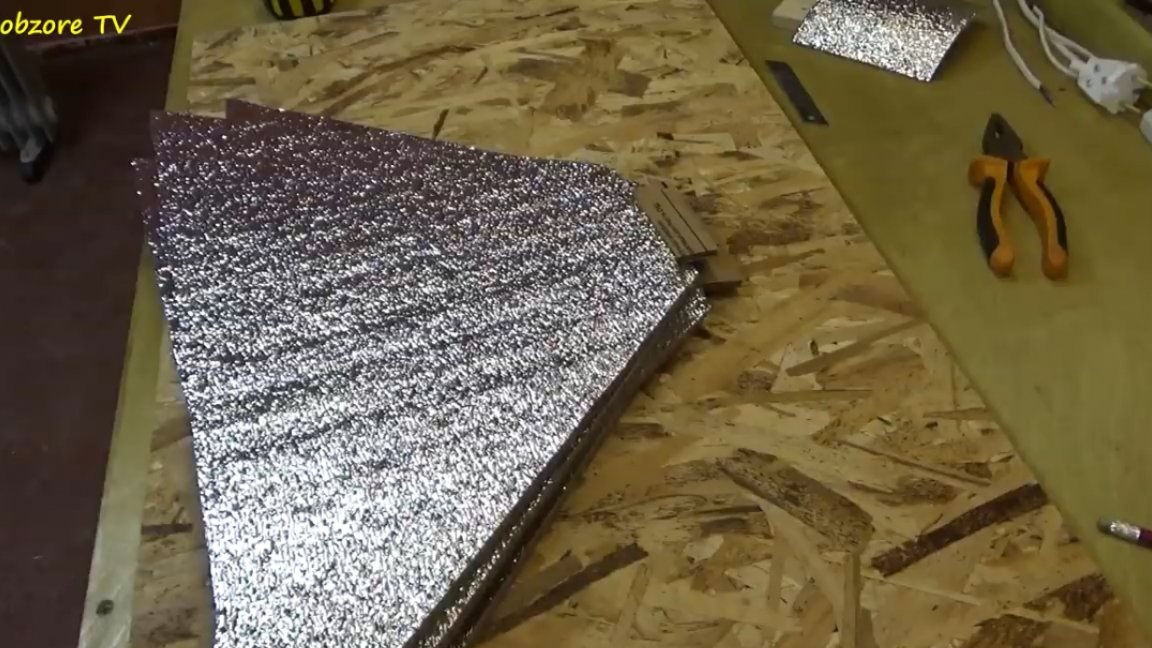
Then, using universal glue, we glue together previously cut cardboard blanks with parts from energizol.
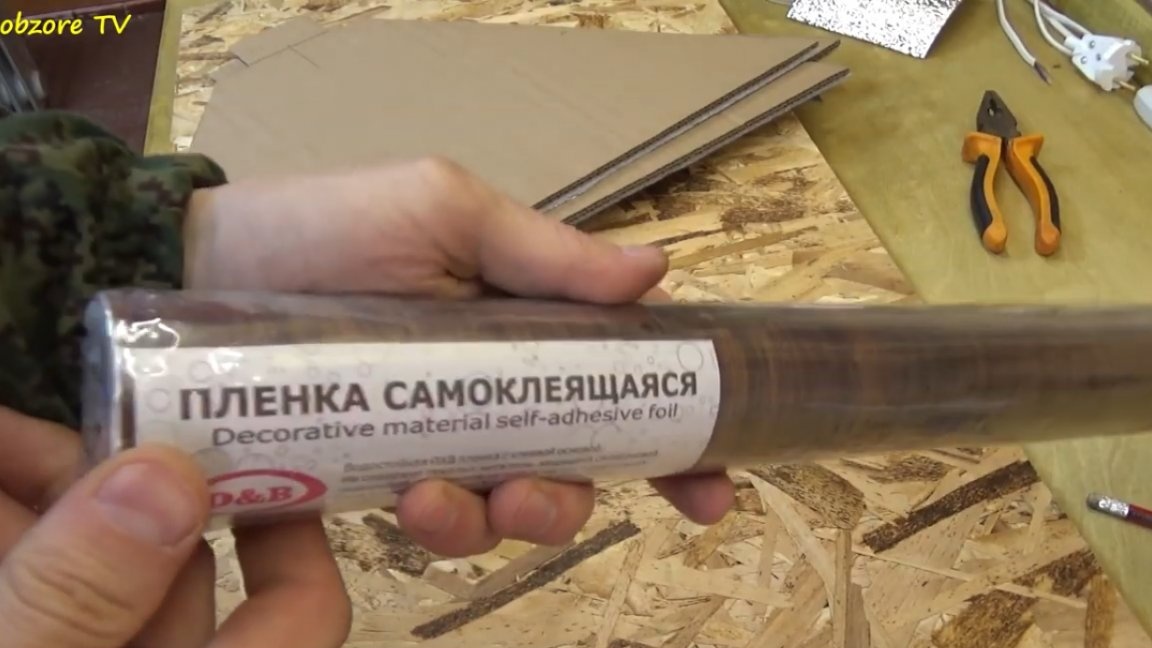
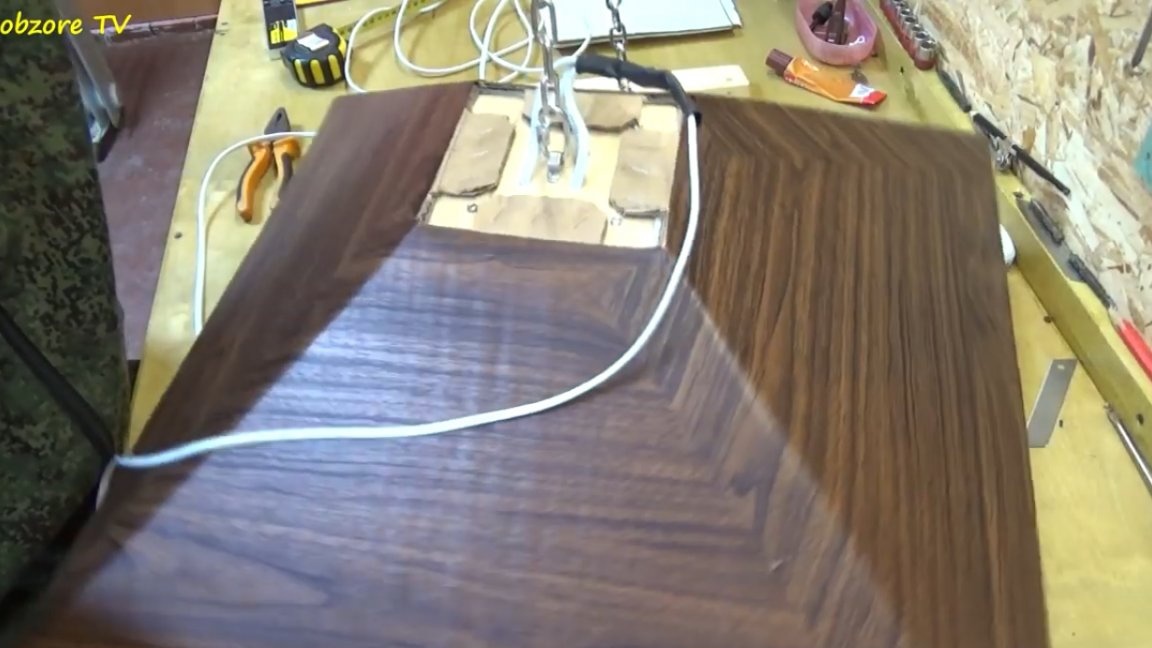
The outer sides of the future softbox, made of cardboard, were sealed by the author with a self-adhesive film. The film must be glued carefully so that there are no bubbles, gradually separating the protective layer from the adhesive base.
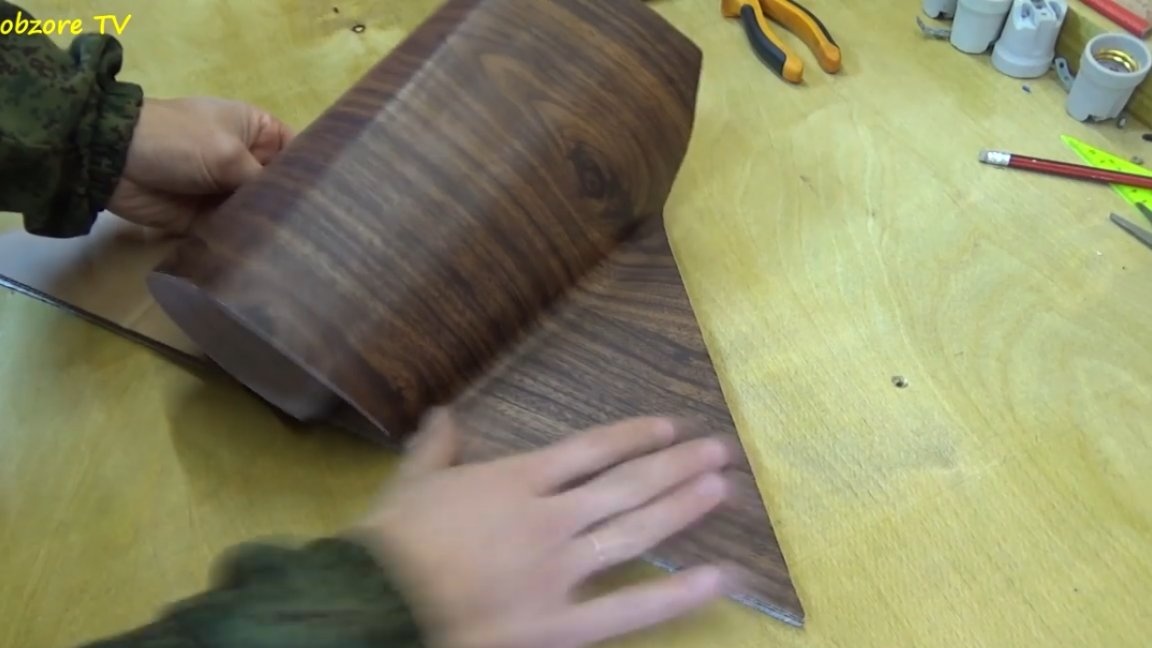
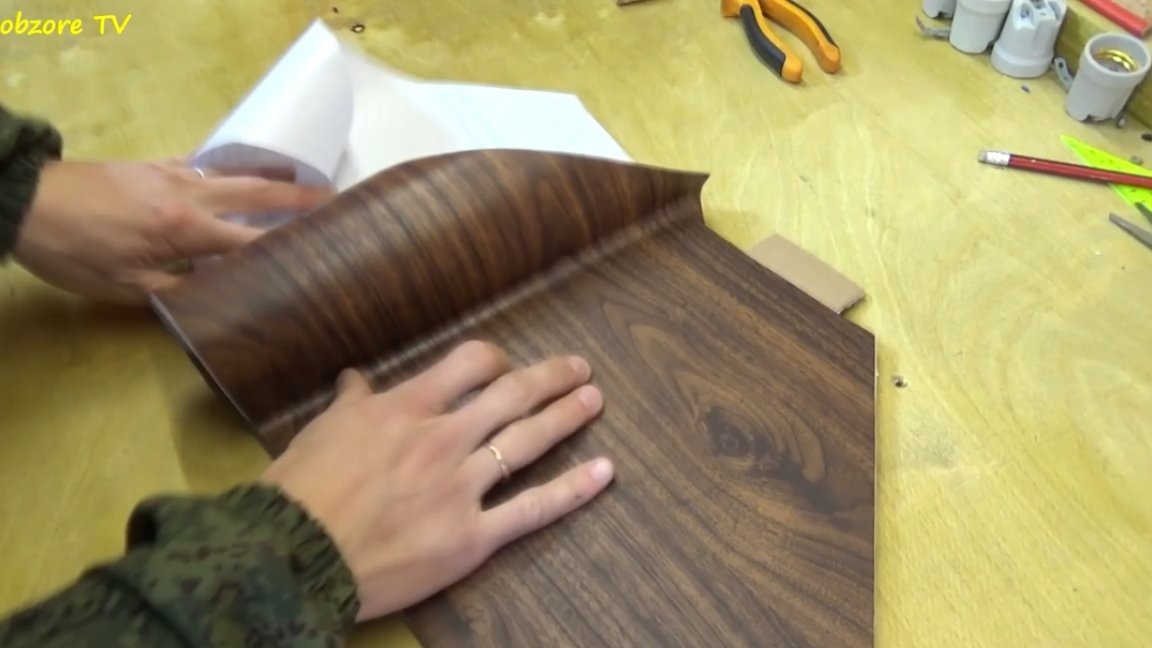
In this case, it is necessary to leave a slight indent, so that later you can glue everything together.
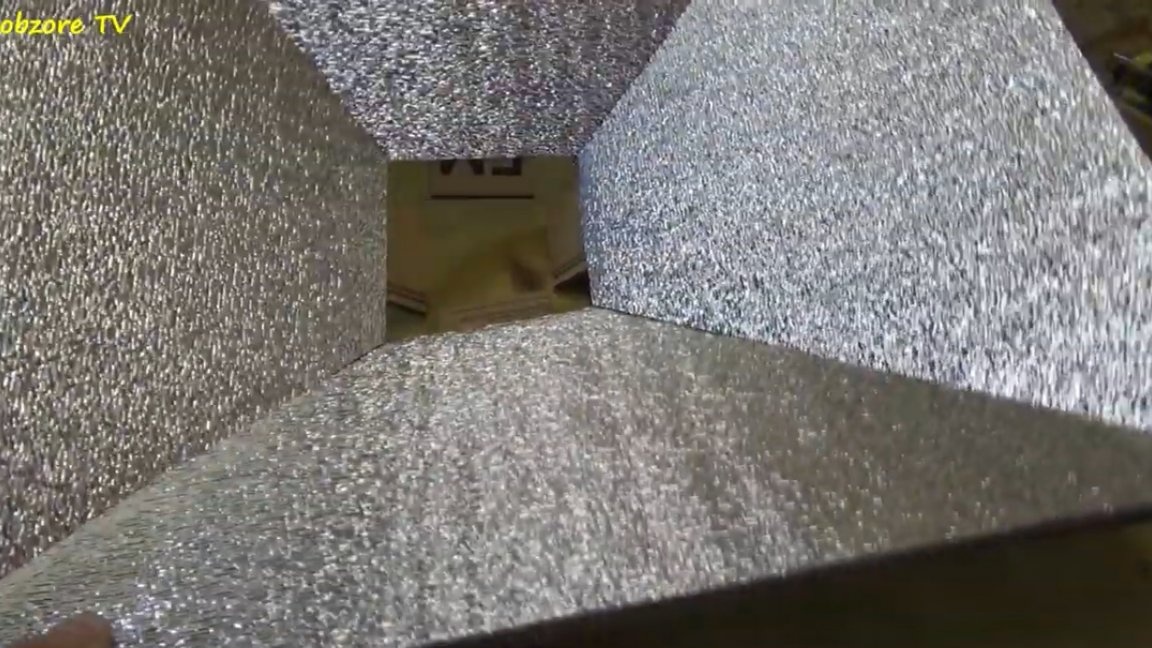
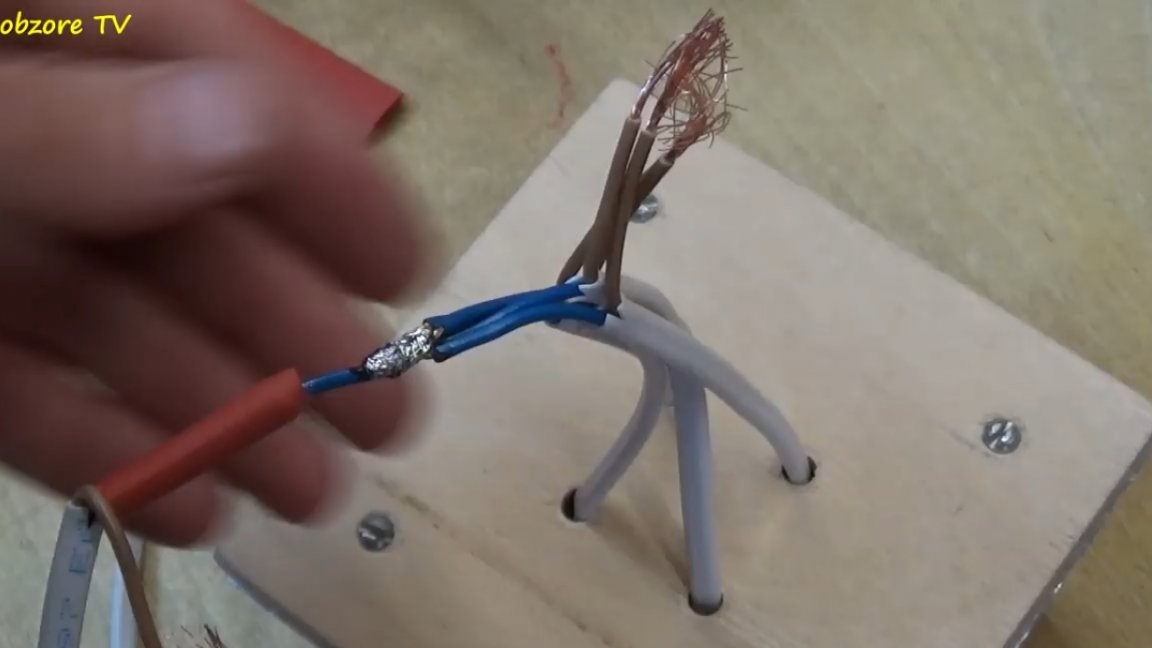
After that, we begin to assemble the structure as a whole. We glue all the parts together and connect the electrical part.

Next, you need to install the bulbs in the cartridges.
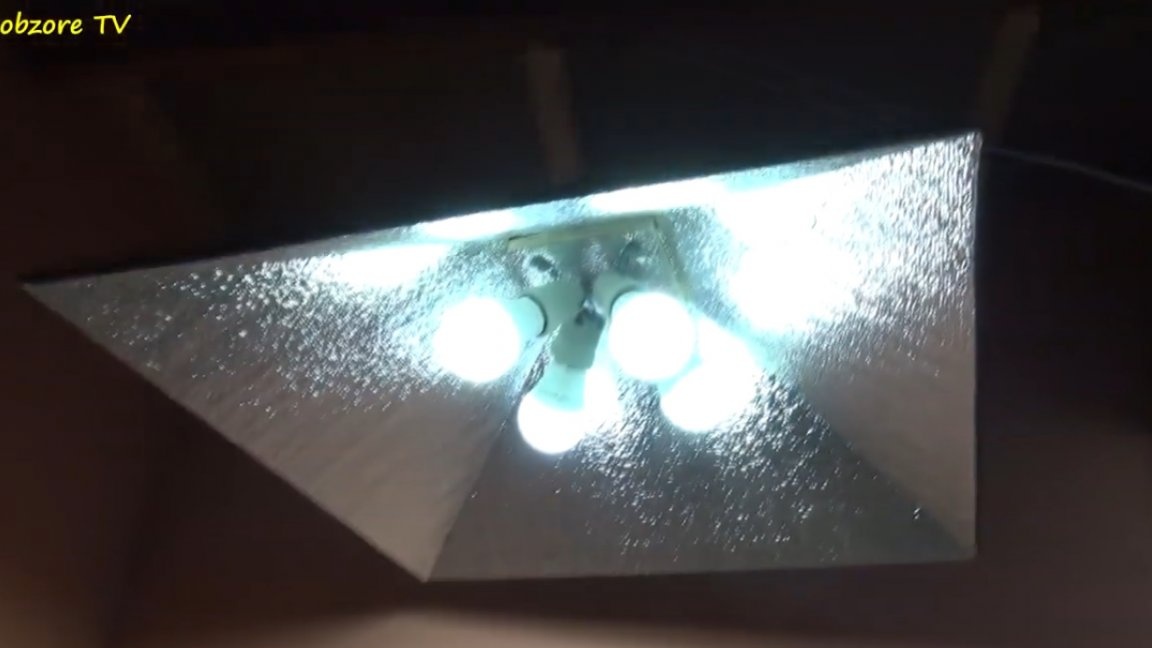
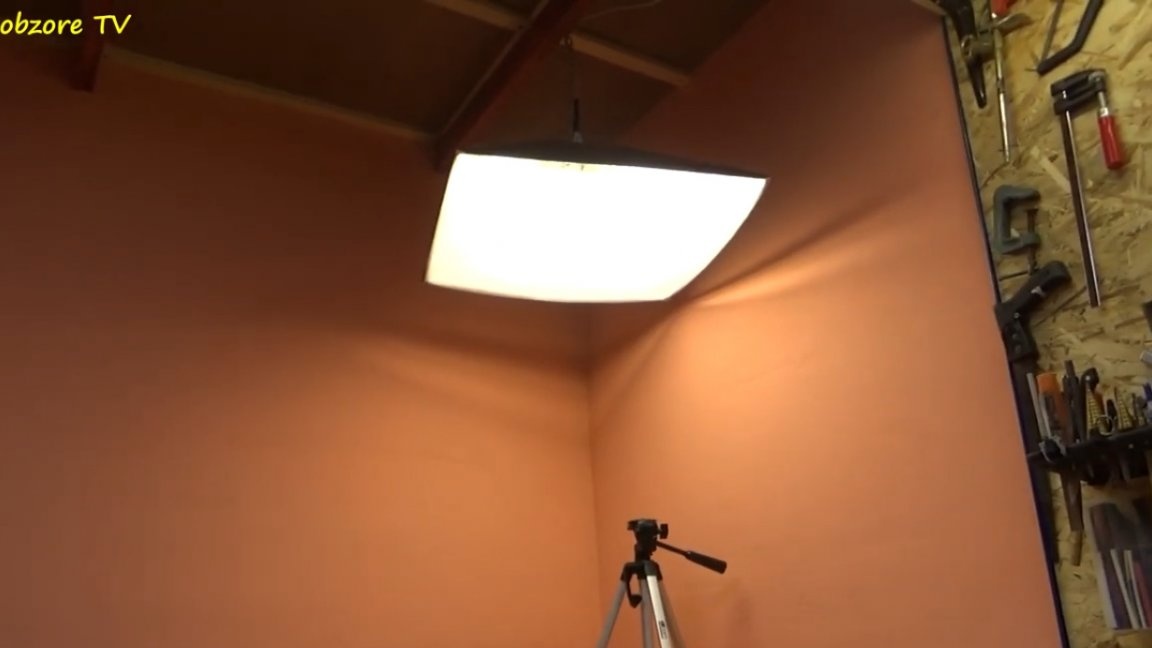
As a result, we got such a softbox. To make the shadows a little softer, the author installed a homemade diffuser. He made it from the usual vapor barrier, it is matte and smooths the shadow well.
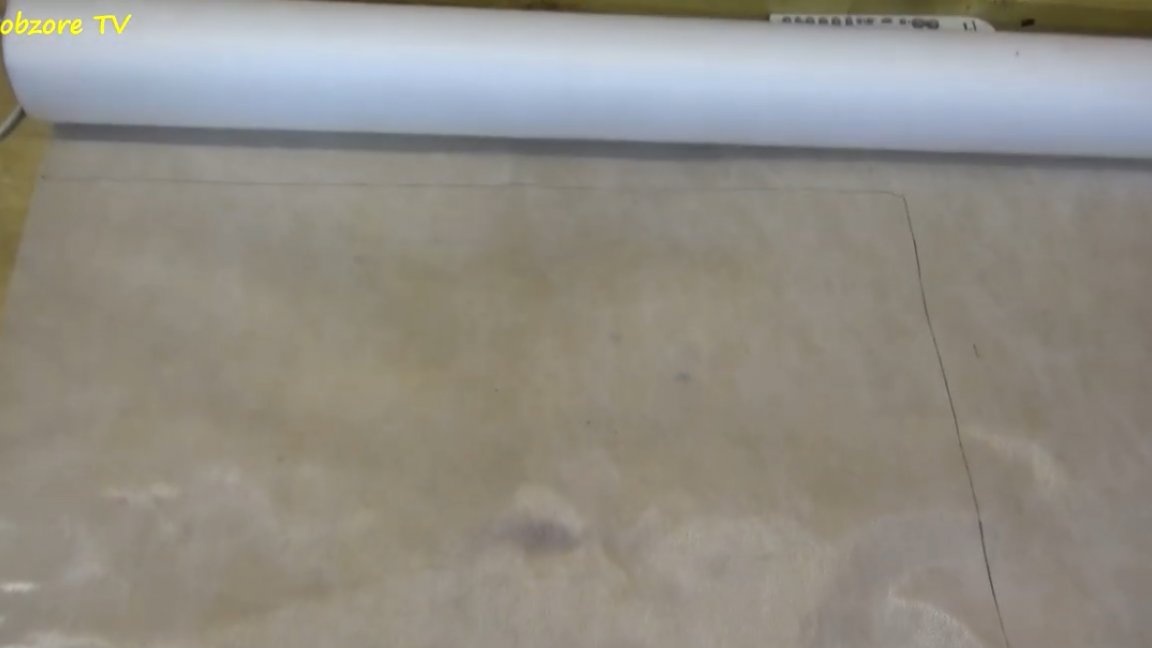
Then it is necessary to stick the resulting diffuser on the base on ordinary hot glue.
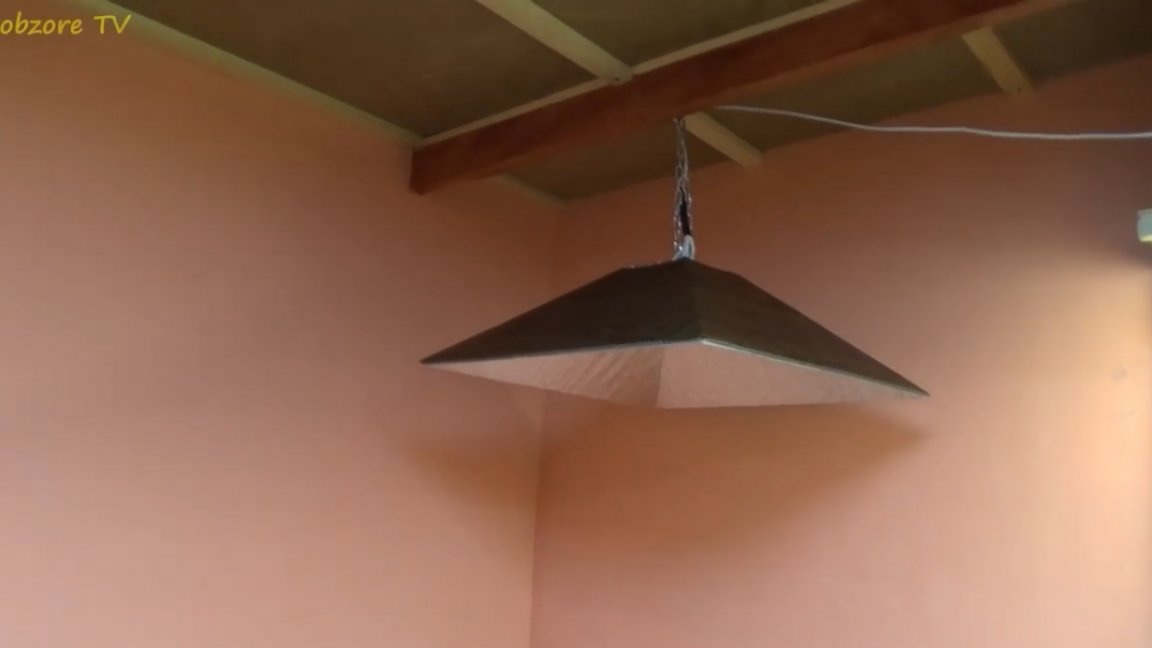
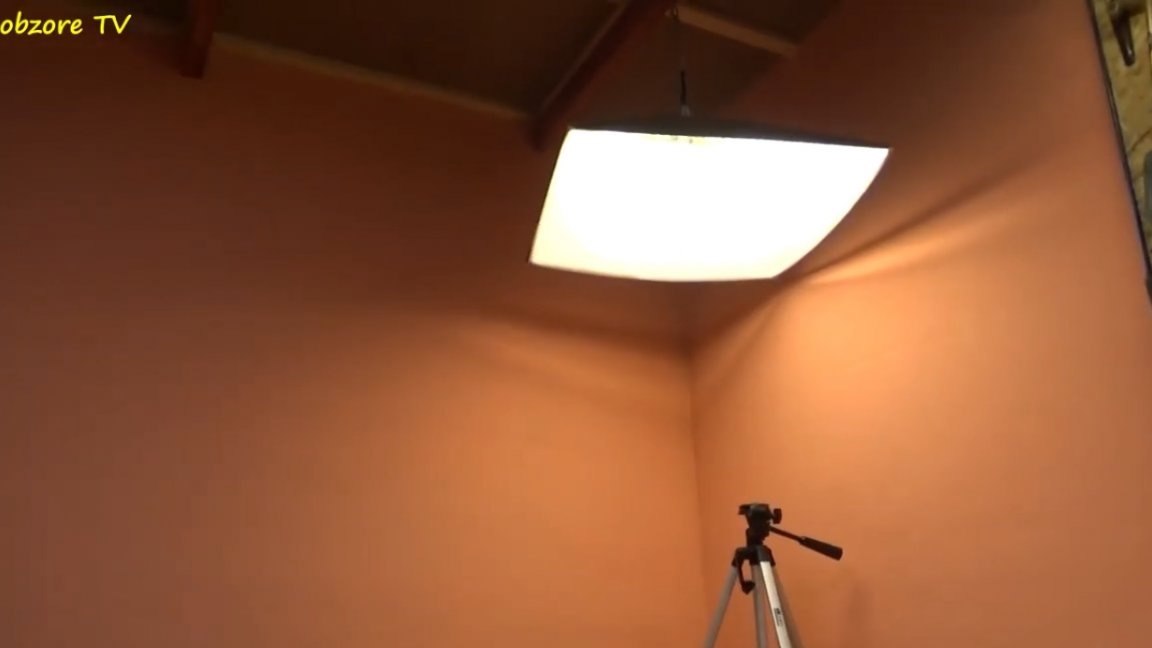
In the end, such lighting came out. That's all. Thank you for attention. See you soon!
Author's video: