
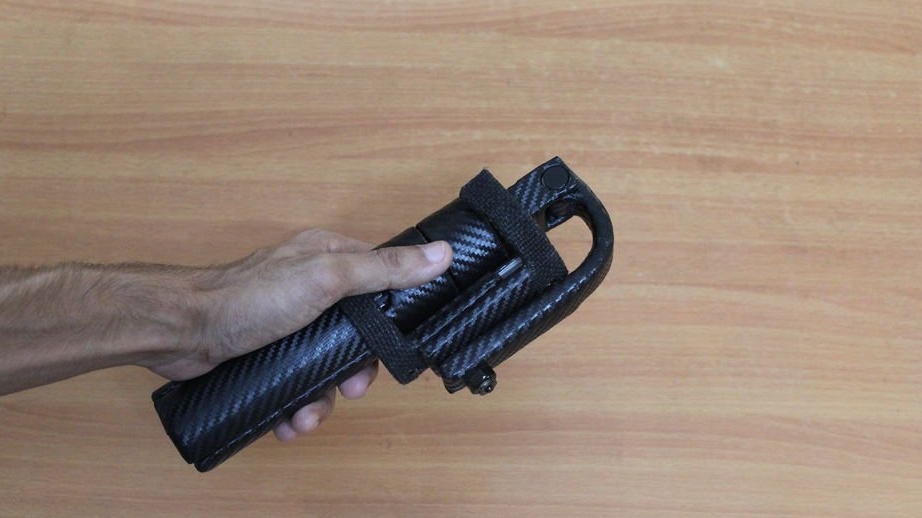

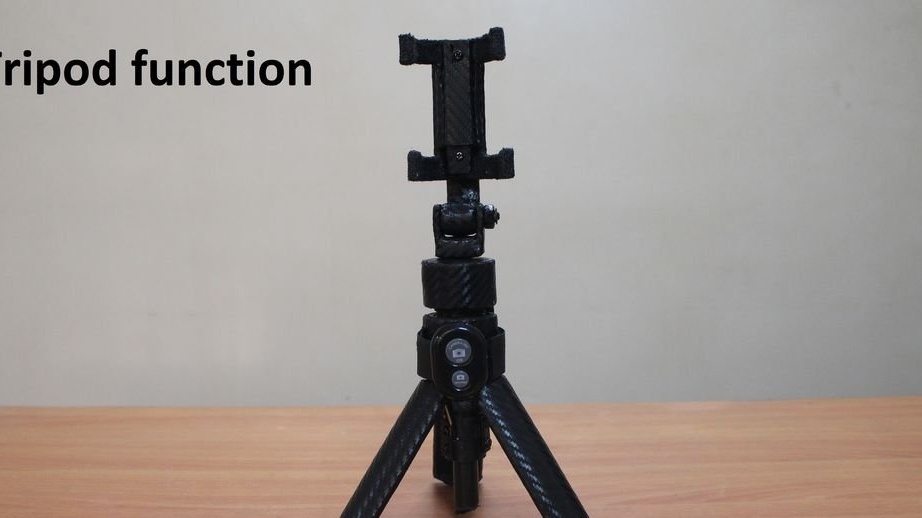
In this article, we will look at how the Master made multifunctional device. This device can be used as a tripod for video shooting, a selfie stick and a phone holder in car.
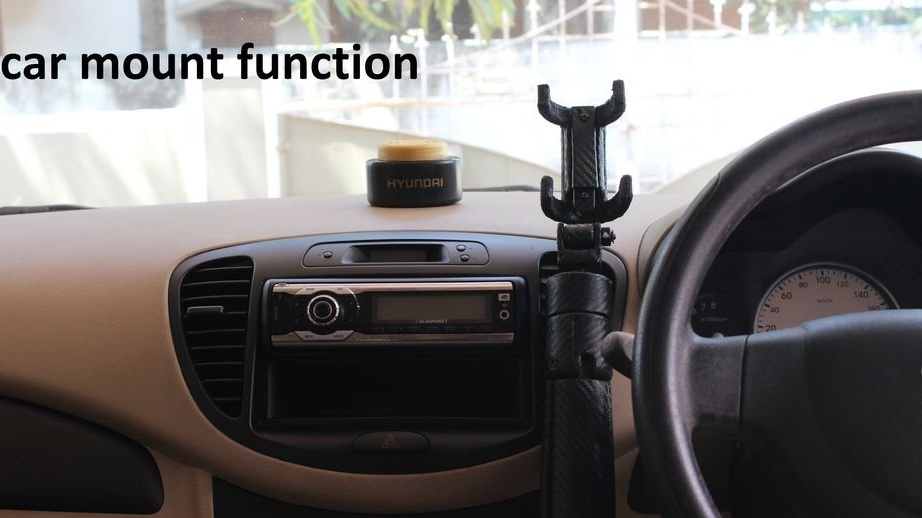
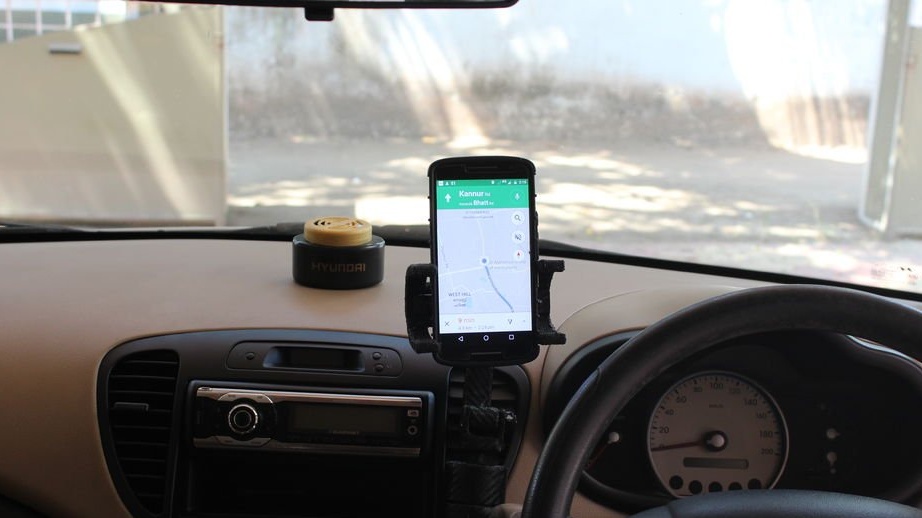
The device is easily transformed to any desired position, has stable legs, and in the car it is mounted on the ventilation grill. In addition, the car mount can be combined with a selfie stick setting so that the phone can be locked at different heights and in different positions. This gives you more options for video recording inside the car.
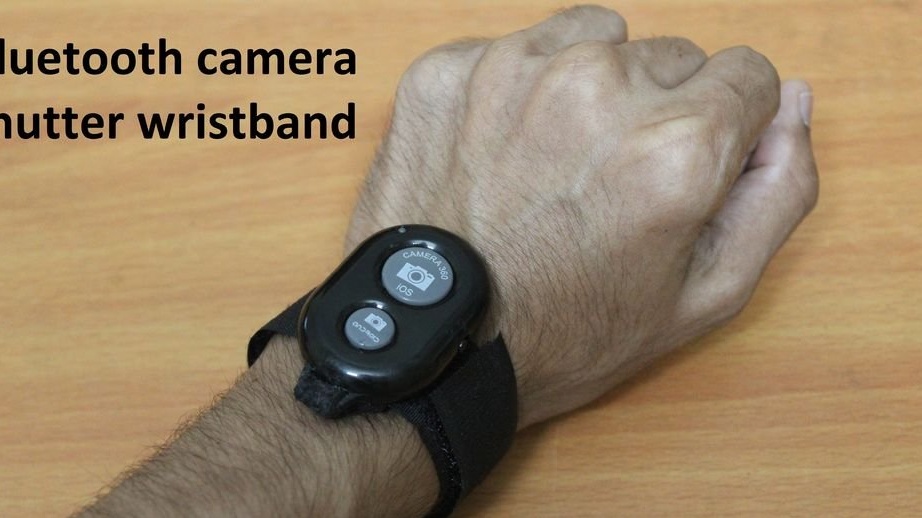
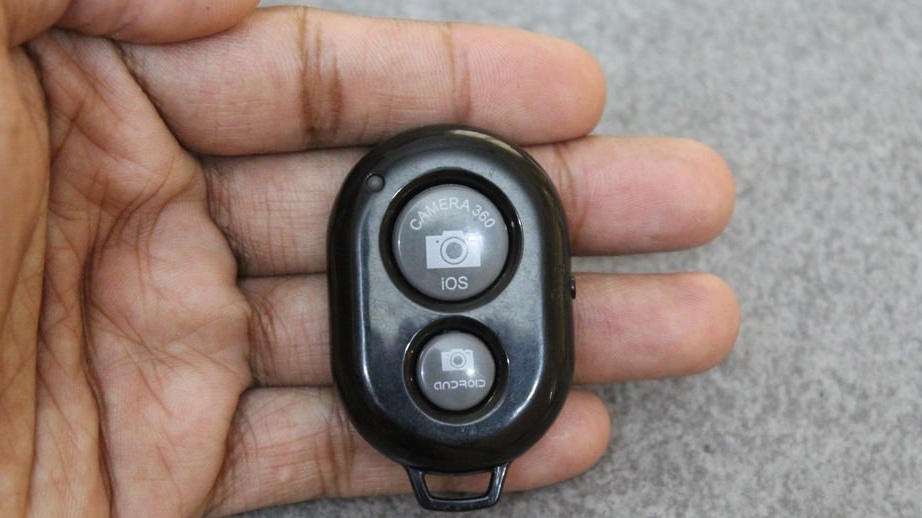
Master also made a bracelet for the Bluetooth remote control of the camera so that it can be fixed either to the tripod body or to the wrist. This makes it easier to control the camera from a distance.
So that there is no confusion, the master recalls that he gives the dimensions in two standards, in inches, for pipes, and in centimeters, for everything else.
Tools and materials:
Pvc pipes of different diameters;
-PVC fittings;
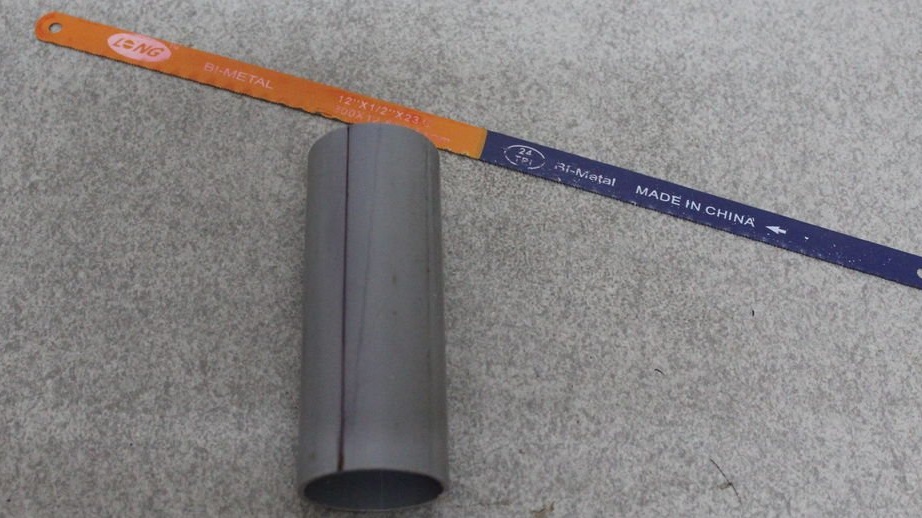
- Hacksaw for metal;
-Marker;
-Aluminum radiator;
-Drill;
-Fasteners;
-Glue;
-Wire;
-Pliers;
-Threaded rod;
-Rope;
-Construction hair dryer;
- Velcro;
-Jute cany;
-Vinyl film;
-Rule;
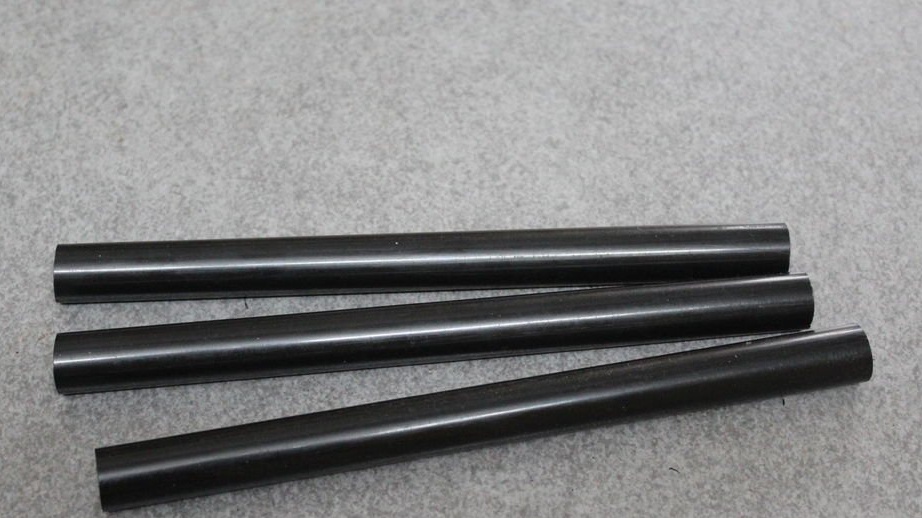
Step One: Making Legs
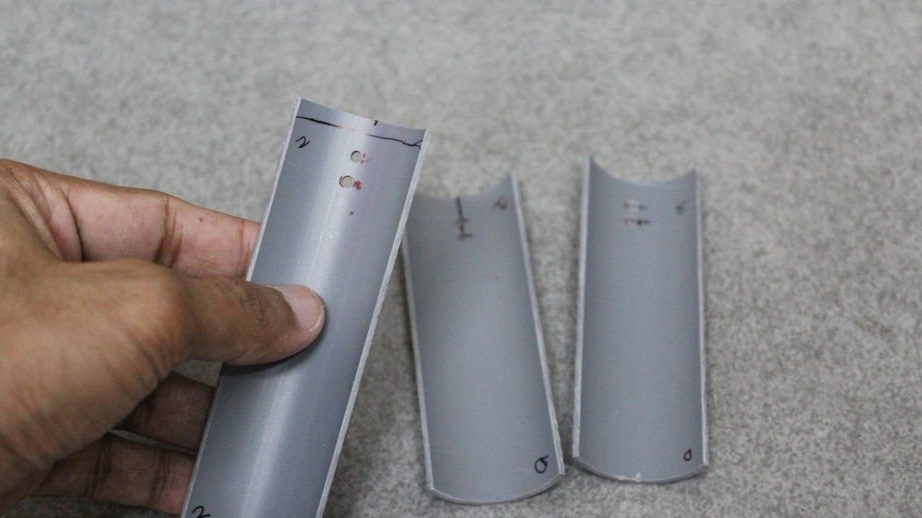
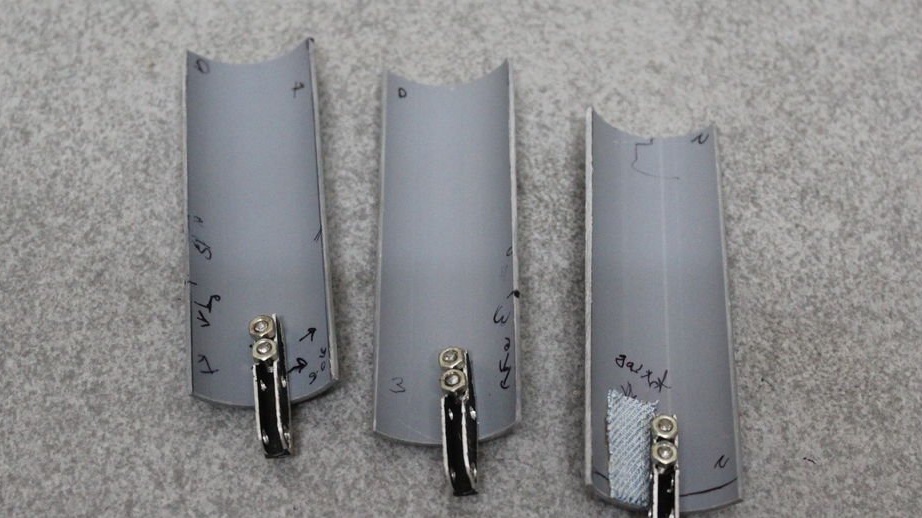
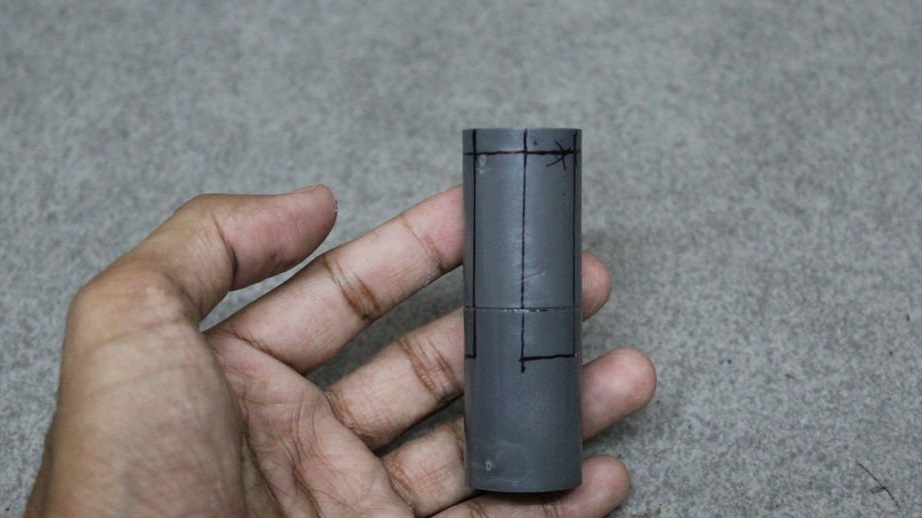
As can be seen from the figure, the legs are made of PVC pipe cut into 3 equal parts. The pipe has a diameter of 1.5 inches and a length of 10 cm. The master marks and cuts the pipe lengthwise into three equal parts. The edges of the parts are polished.
An important aspect to consider when choosing a PVC pipe is the use of a pipe with a minimum wall thickness. The pipe used by the author has a wall thickness of about 2.1 mm. At a later stage, he will add several layers of fabric over his legs and this will “thicken” the part.

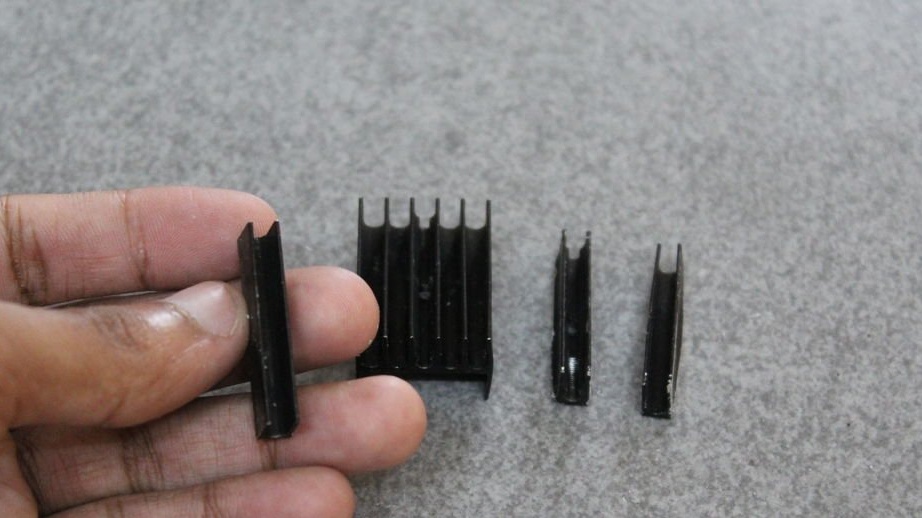
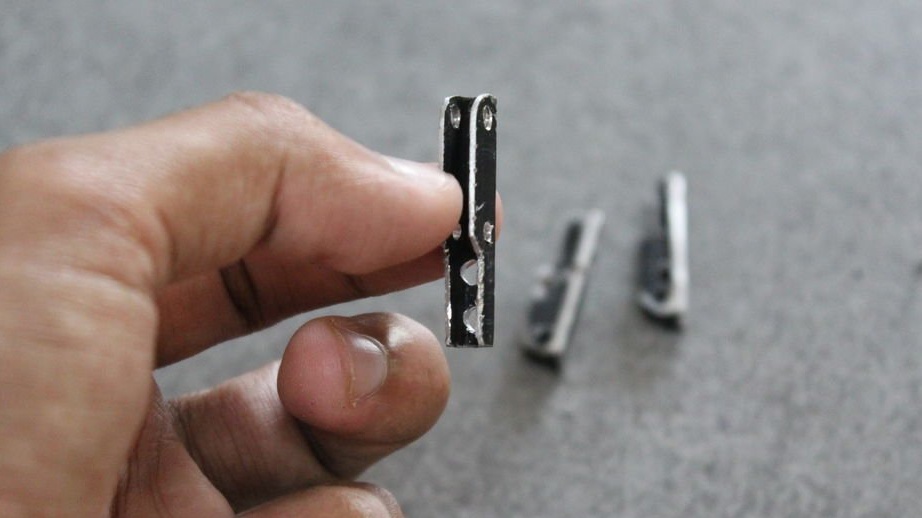
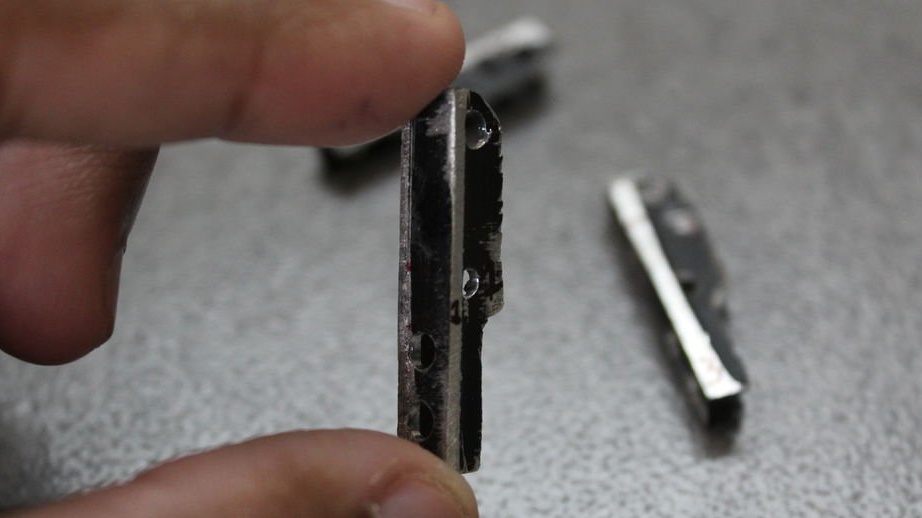
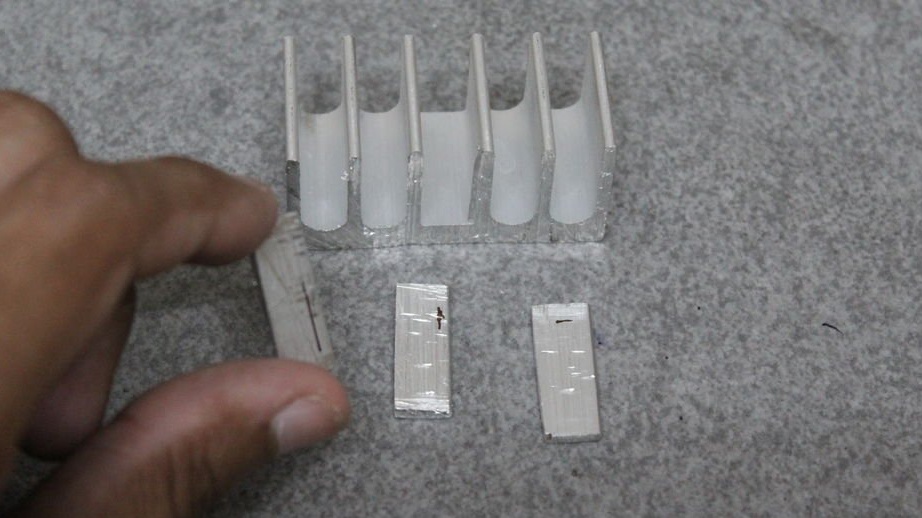
The next step is to create an articulated support connecting these legs to the main body. The hinge must support the entire weight of the tripod with the smartphone. The master decided to make staples for the hinge from an aluminum radiator, firstly, the master has it, and secondly, it is easier to handle. The radiator was sawn as shown. Next, 2 vertical and 2 horizontal holes were drilled in the scallops (hole diameter 2.9 mm).Vertical holes were used to fasten the radiator on the legs, and horizontal holes were used to fasten the hinges and the mechanism of rotary opening of the legs. The hinges were attached to 3 legs with small bolts and nuts. The parts must be fixed so that they protrude 1.5 cm. After fixing the parts, the nuts applied glue to the nuts for fixing.
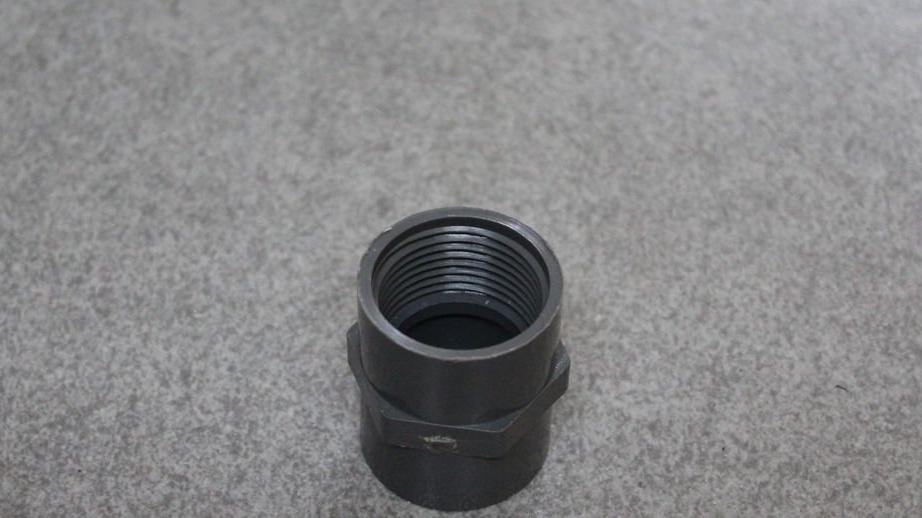
Step Two: Fitting
The main part of the tripod consists of a plastic 1.25 inch threaded fitting on one side. The legs are attached to this part with bolts. To do this, on the smooth half of the fitting, three cuts must be made. The threaded end should face up. Most of these fittings are hexagonal in circumference. You need to find the midpoint of the sides of the hexagon, through one, and cut the grooves. Then drill holes for the bolts on which the legs will be mounted.
Step Three: The Mechanism
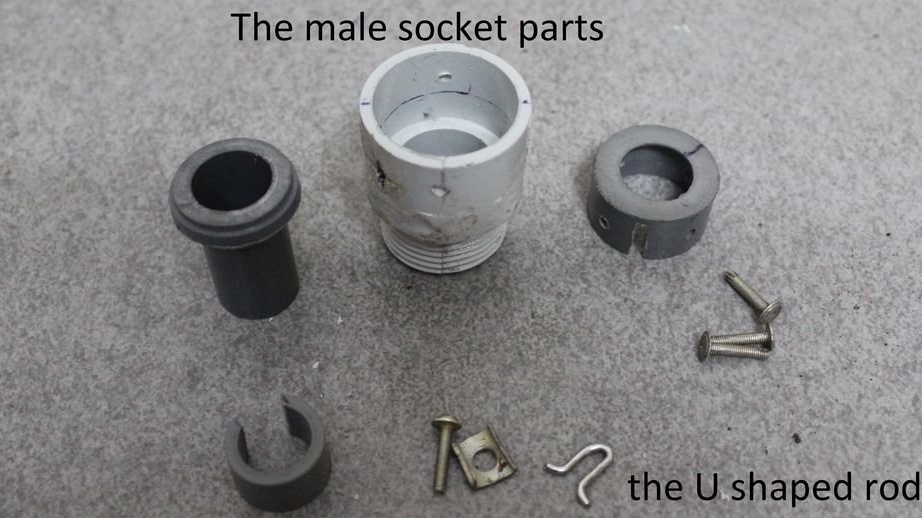
This part also has 1.25 inches of thread. A part consists of several additional parts located inside it. In addition, this is the most important part of the entire tripod, as it provides a mechanism for expanding the legs of the tripod and fixing extension sticks for the selfie stick.
A part with an external thread will be connected by a fitting to an internal thread. This is a threaded rotation that causes the legs to rotate and open.
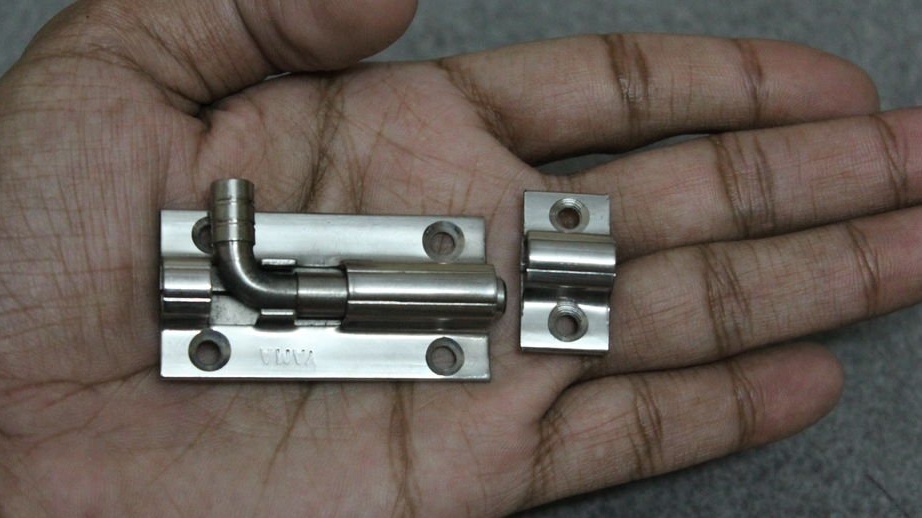
The second function of the part is the self-stick latch.
In order for both functions to work, additional parts are inserted into the connector
The plunger head is made by gluing a 3/4 inch PVC pipe and a 3/4 inch end cap. Then you need to trim the end of the lid so that one ring remains.
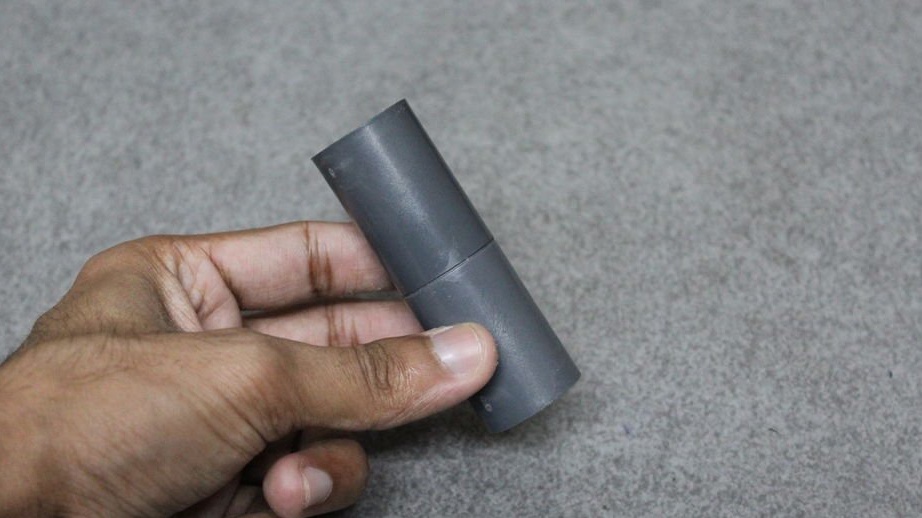
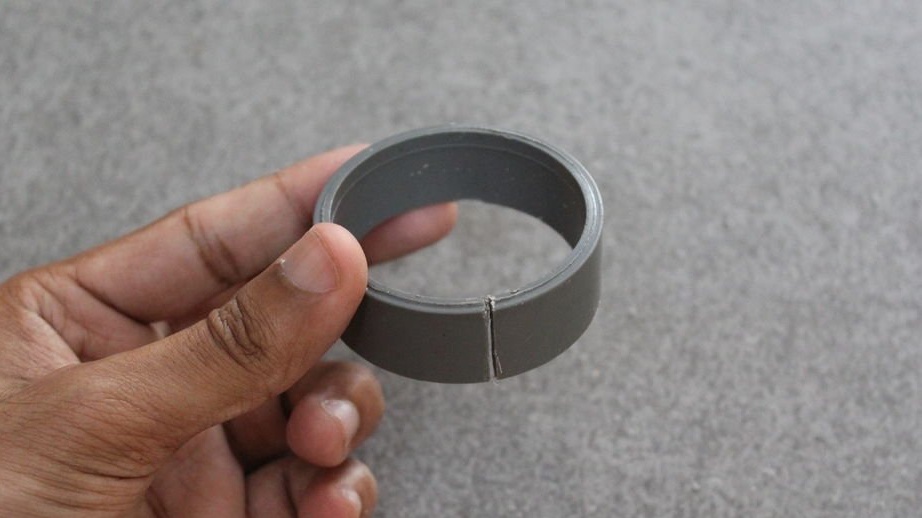
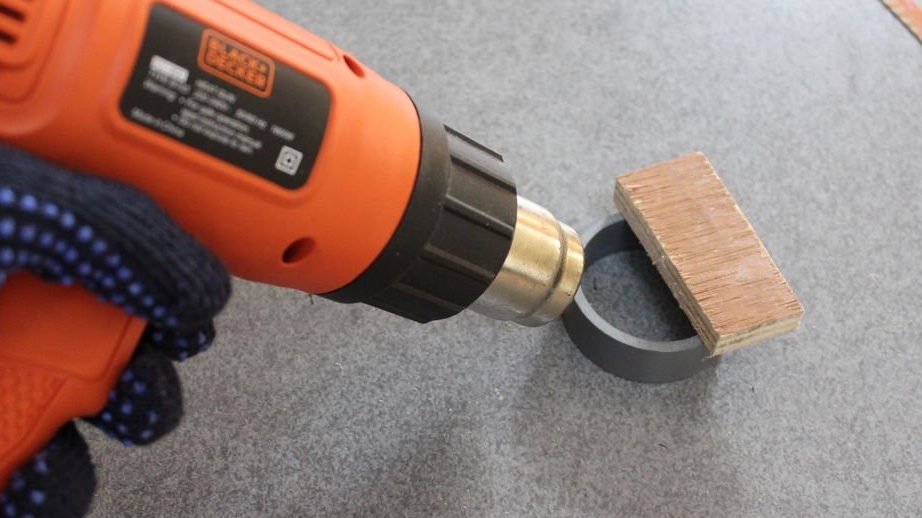
The clamp is made of two tubes of the same diameter. One tube is cut and heated by a hairdryer. When heated, it contracts. The goal is to install the cut part inside the second tube.
Holes are drilled in the coupling. Metal pins and a wire bracket are installed in the holes. Next, previously prepared parts are installed.
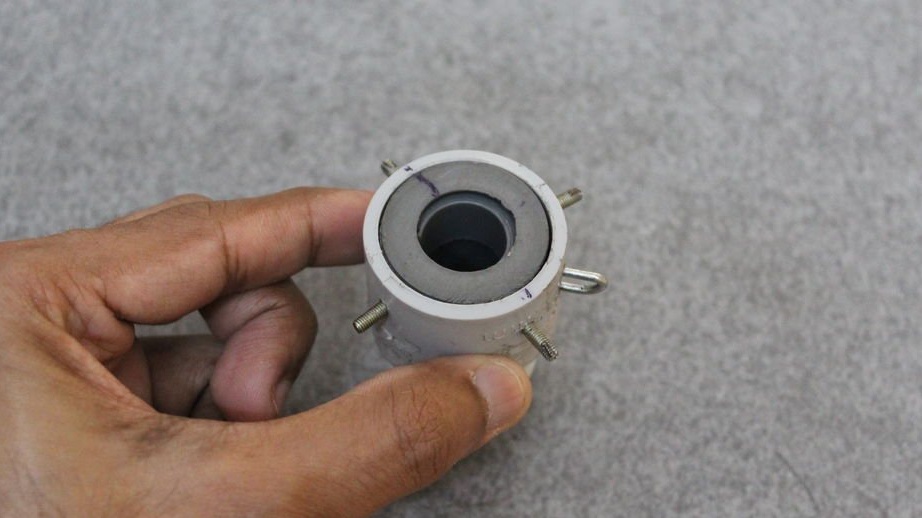
Step Four: Staples and Radiators
He makes three staples from the spokes of an umbrella, as in the photo. Saw off the plate from the radiator and drill holes in them.

Step Five: Plunger Body
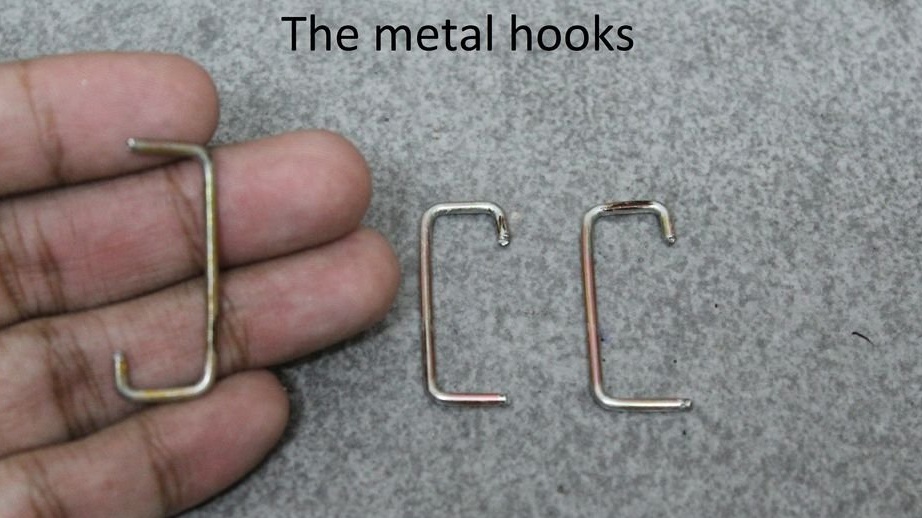
The body is made of 0.75 inch pipe. Grooves are cut out in the case. In these grooves, aluminum hinges will “hide” when closing the legs. In the lower part of the part, holes for fixing hooks are drilled.
The body adheres to the part protruding from the bottom of the fitting.
Step Six: Selfie Stick
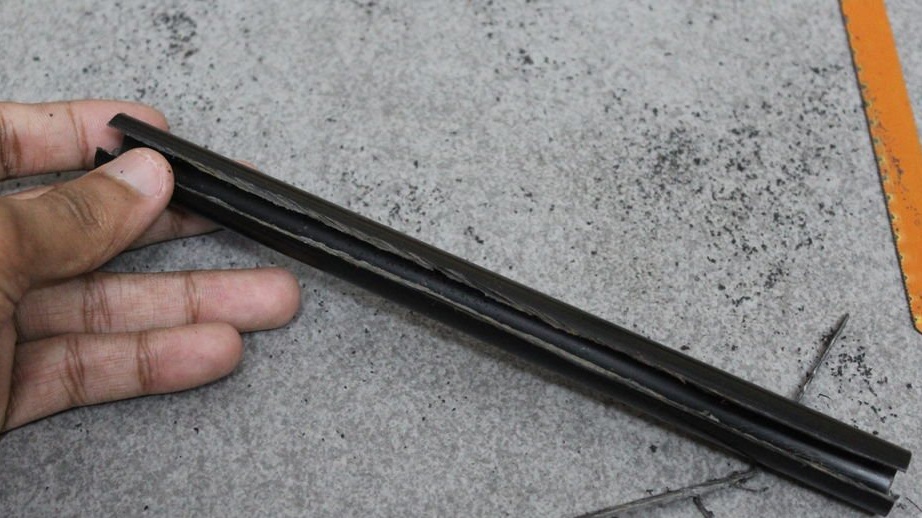
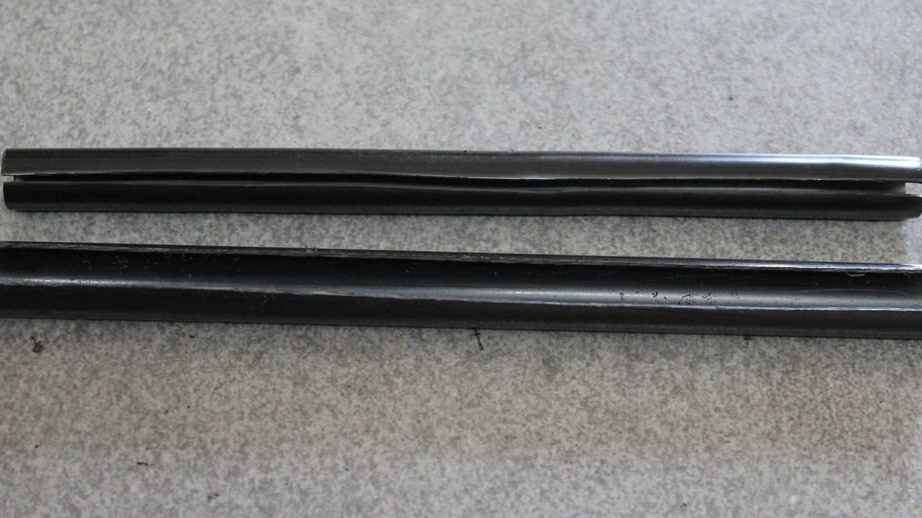
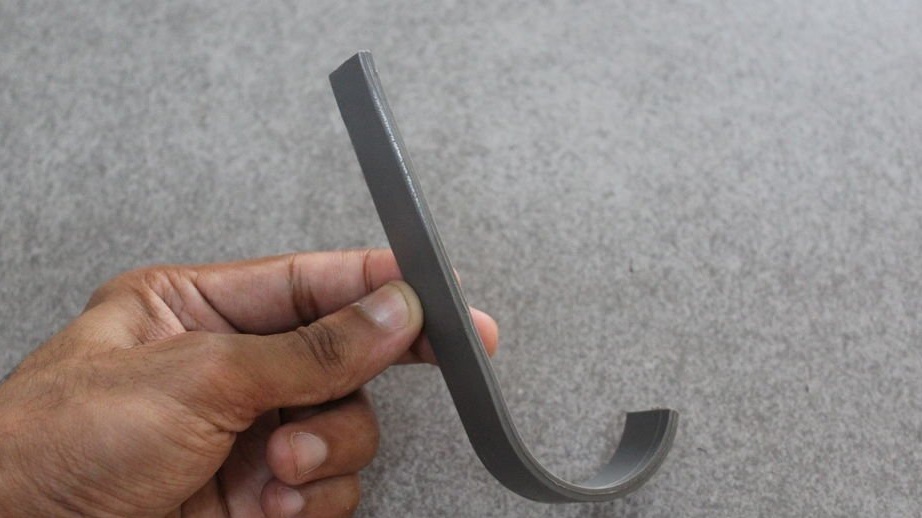
The stick is made of half inch PVC pipe. Cut off three pipe sections of 15 centimeters. In one section, a strip of 1 centimeter is cut along the pipe, in another 2 centimeters. The cut tubes are heated by a hairdryer so that their edges, to a length of 10 cm, converge. The ends of the tubes are cut 1-2 cm, heated, and a closed end is formed. A hole is drilled in the center of the end. Then the tubes are inserted one into another and an unheated 5-centimeter piece will create enough friction to hold the stick in position.
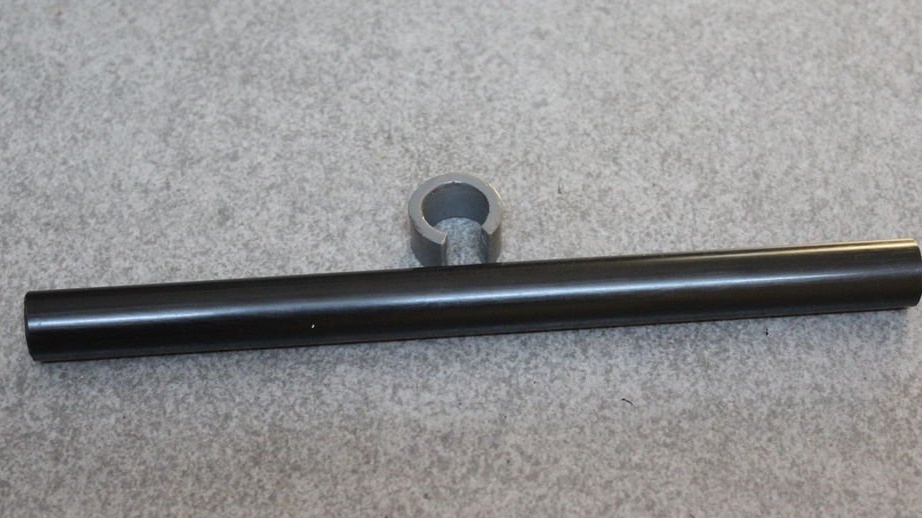
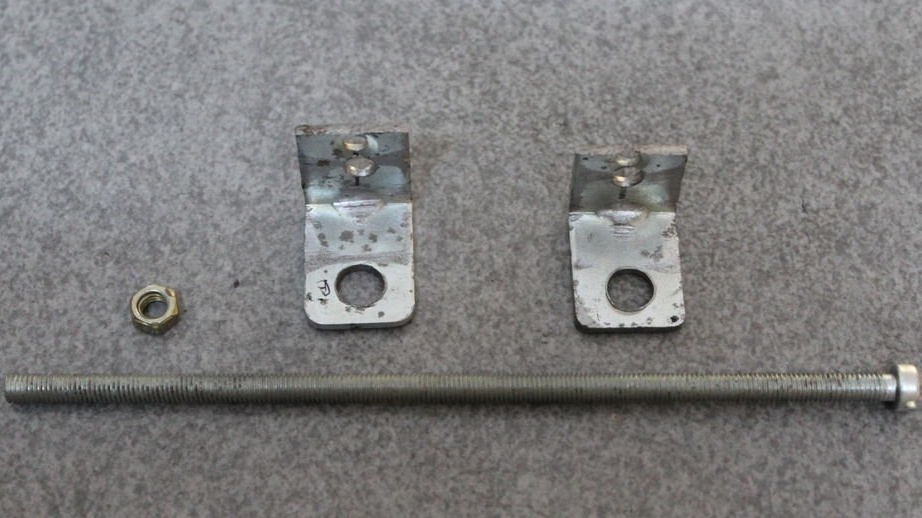
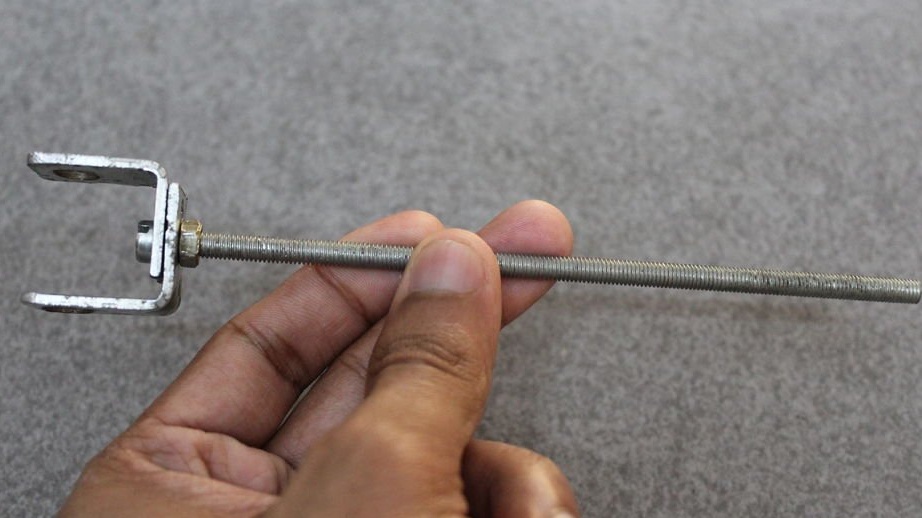
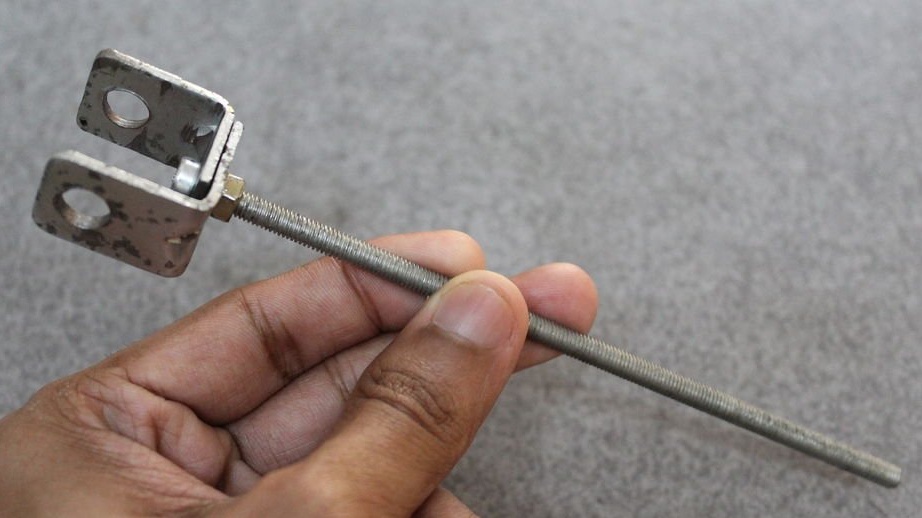
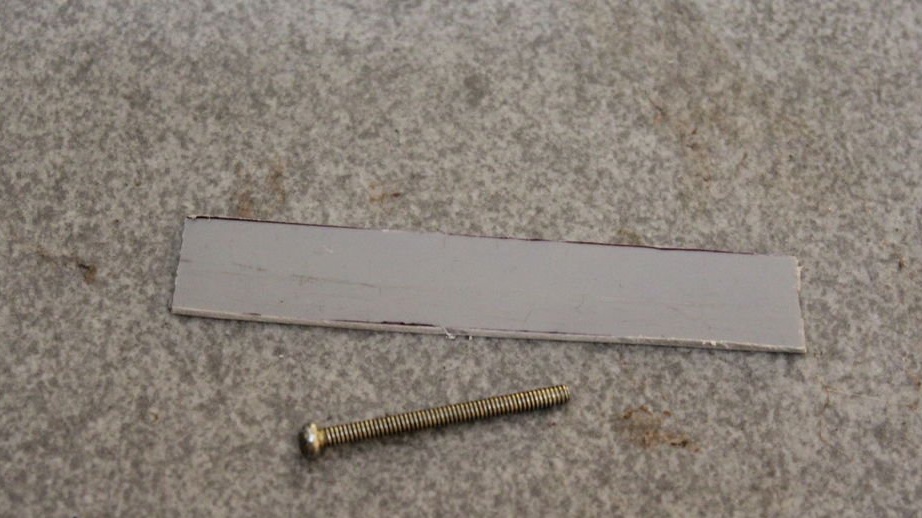
Seventh step: threaded rod
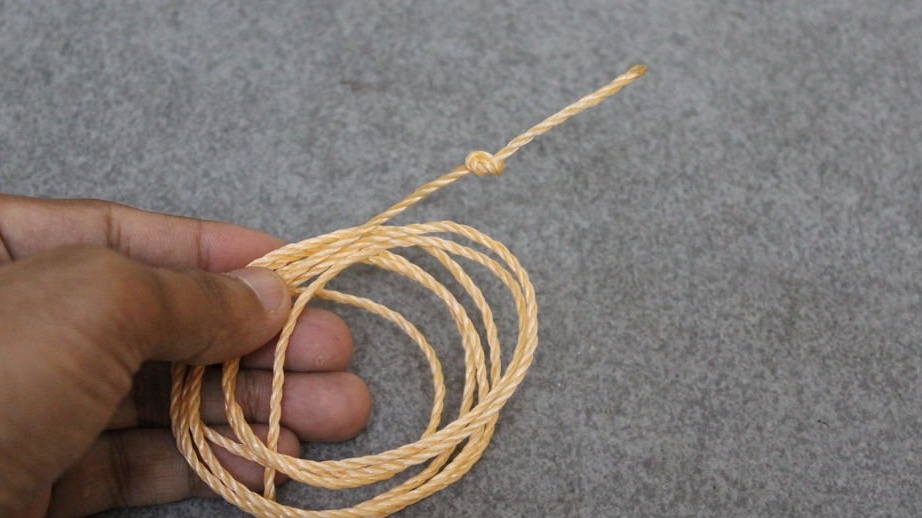
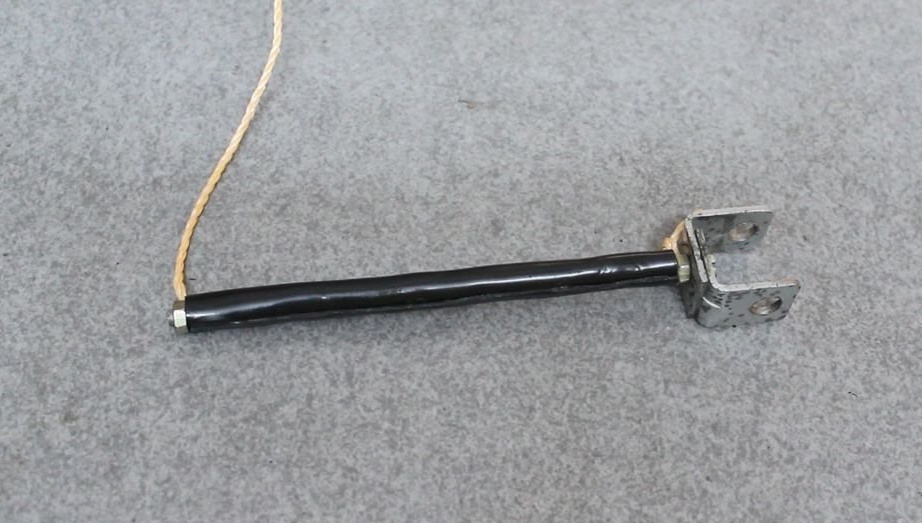
Makes the next detail. At the end of the threaded rod, two angles are screwed. Tie a cord to the rod. Places a heat-shrink tube on the thread and heats it.
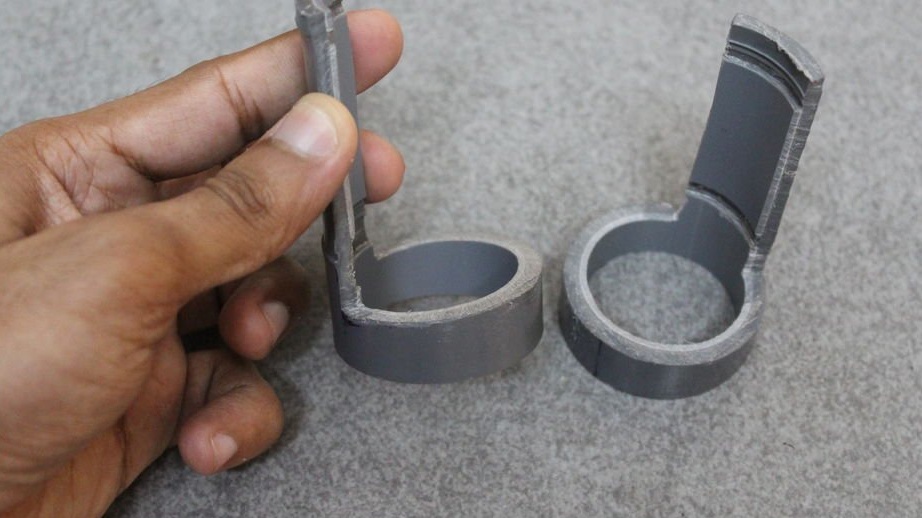
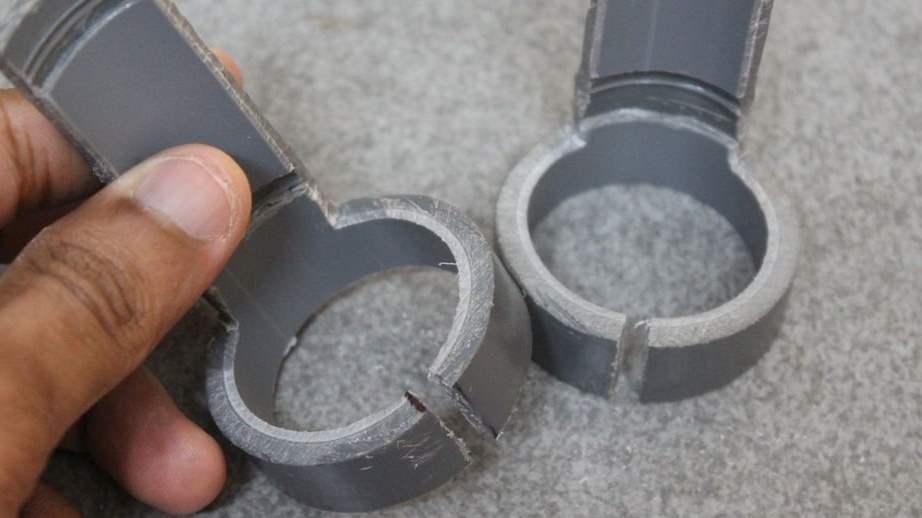
Step Eight: Phone Holder
Makes the item as, in the photo. It will connect the phone mount to the holder.
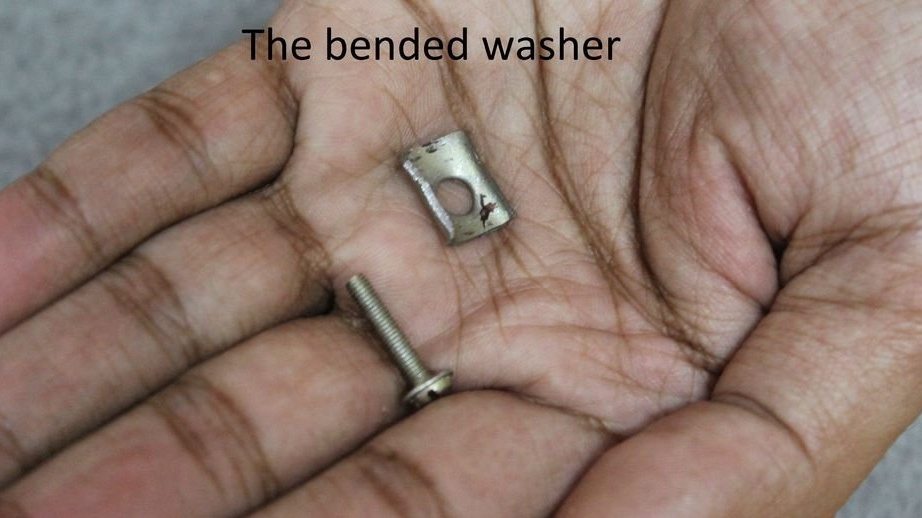
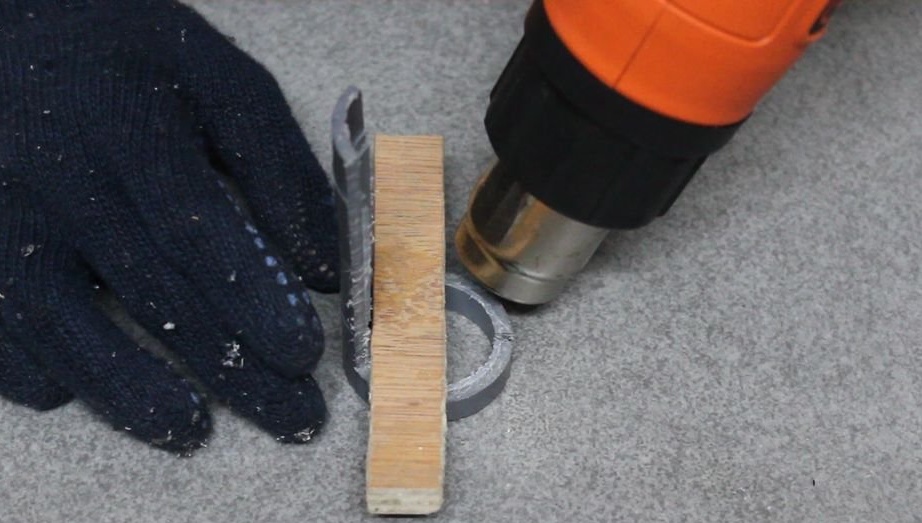
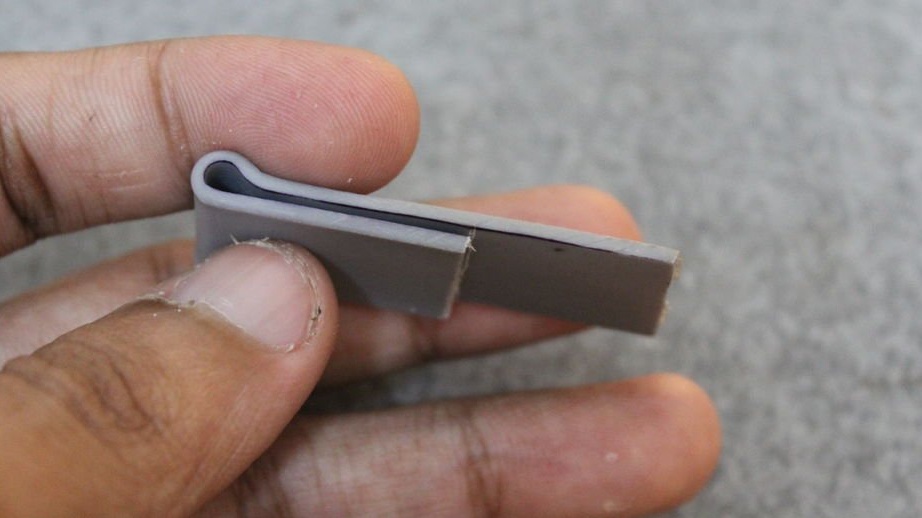
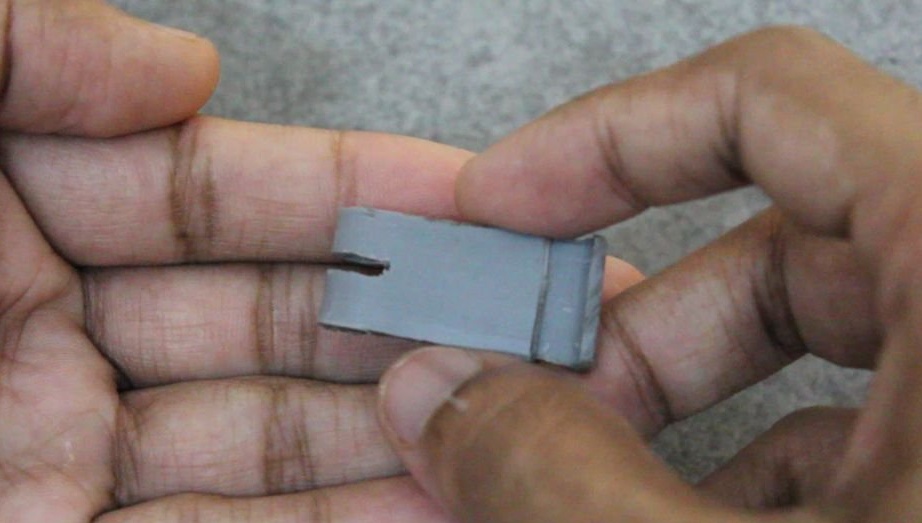
Cut two clamps from a pipe. The wizard gives the details the desired shape with a hairdryer. Prepares three gum. In rubber bands pierces holes and installs screws. Top covers gum vinyl film.

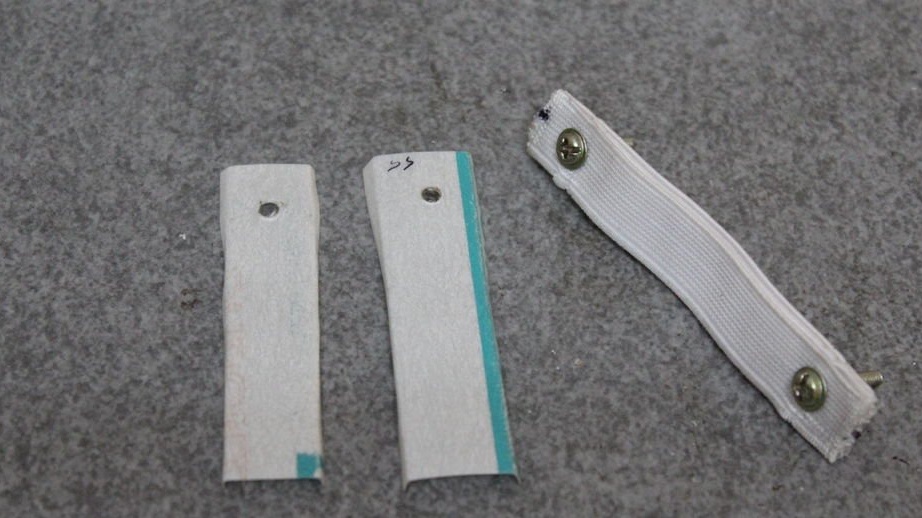
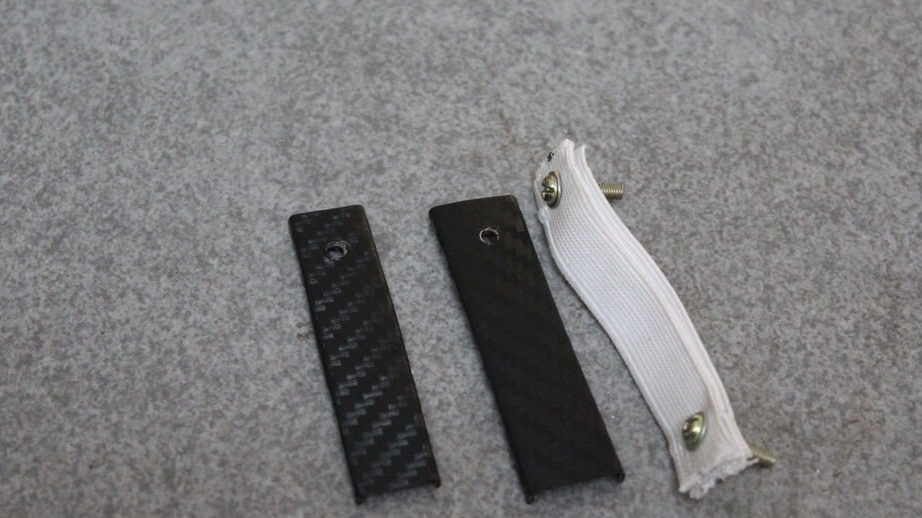
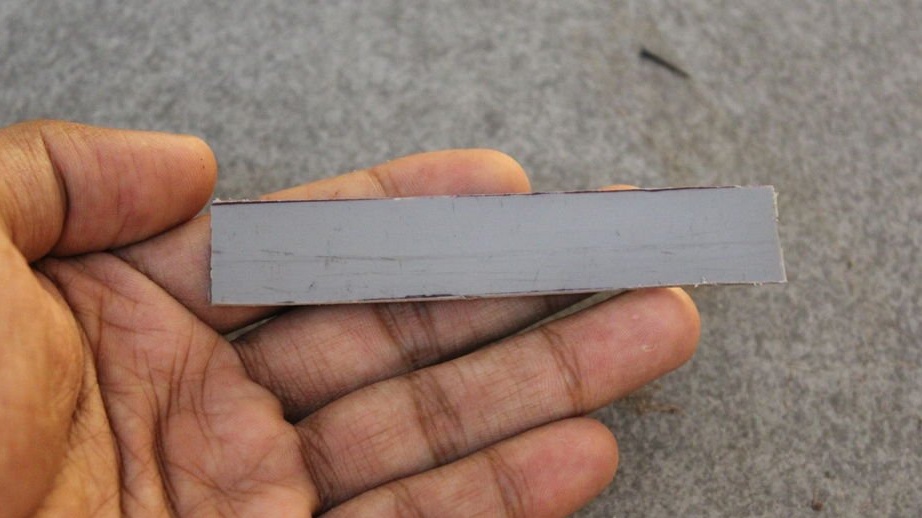
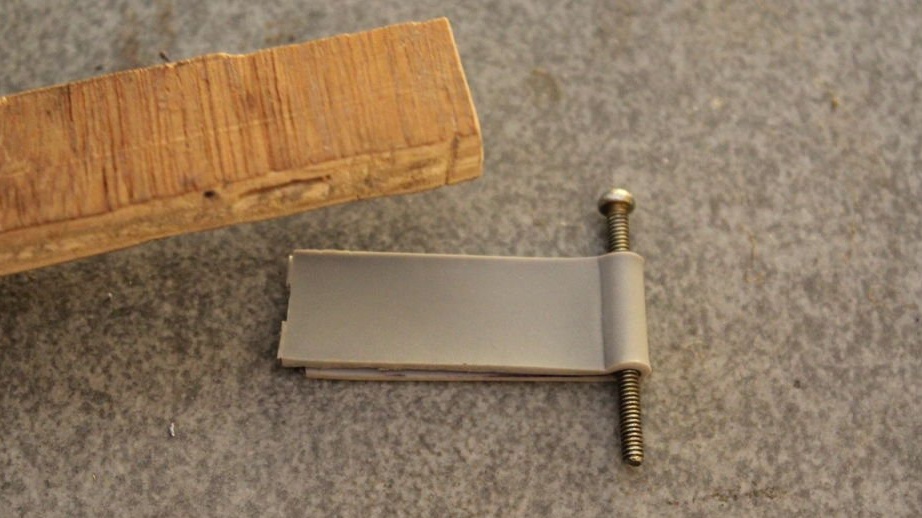
A clip is made from a strip of plastic, which will ensure the installation of the holder on the ventilation grill of the car.
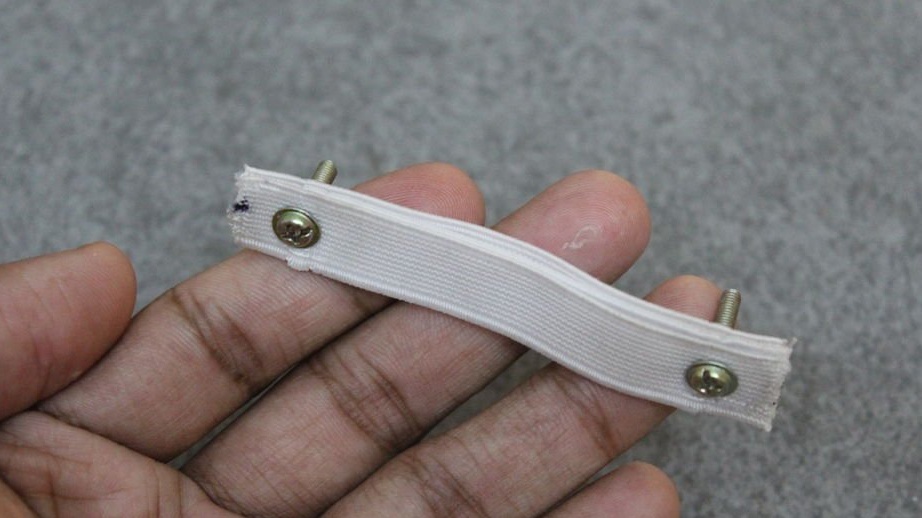
Step Nine: Strap
For the remote control, the camera makes a Velcro strap.
Step Ten: Pasting
To give the device a beautiful look, the master glues the details with four layers of jute fabric.Each layer master burned with a soldering iron. This made it possible to hide all differences, irregularities, and protruding parts. The last layer was glued vinyl film.


Step Eleven: Build
Now you need to assemble the device. Fixes hinges and hooks. Screws the legs. Sets a selfie stick. Before installing the stick, you need to stretch the rope through the tubes, tie at the end and cut.
Then screw the phone holder.
Everything is ready, 3 in 1 fixture is ready.
To understand the complete manufacturing process of such a device, you can watch the video.