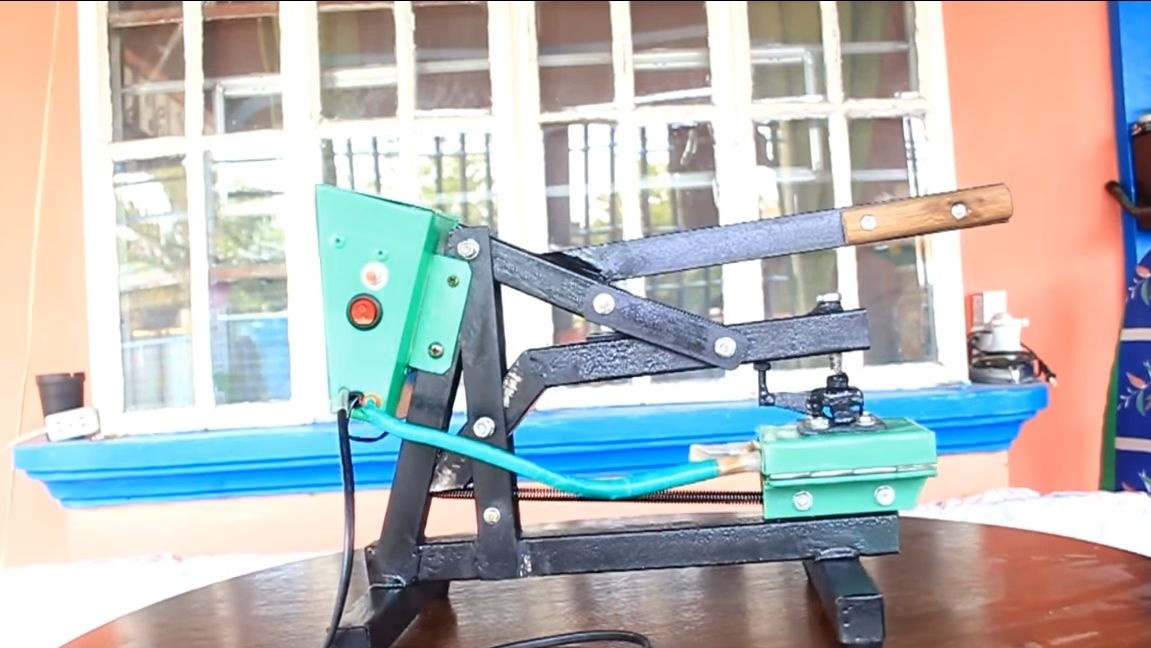
If you are a real man, you probably have a workshop, as well as car, well, or for sure there is a two-wheeled vehicle such as a motorcycle or even a bicycle. One way or another, you will punch the wheels, especially when driving along fields, rural roads and other places where there are a lot of nails and other objects in the ground that can pierce the wheel. The best method to seal a punched wheel is vulcanization. We actually seals the punctured place with rubber. This approach will not be compared with any patches on glue and so on. But what if the vulcanizer is not at hand? There is only one conclusion - to do it yourself. If you assemble such a machine, you can easily provide vulcanization services and earn money on it.
The vulcanizer discussed in this article is fairly easy to assemble. The frame is made of square pipes, plates and other common materials. As for the heating element, it is used as a heater from an electric kettle, such a detail can also be found on a flea market for a penny.
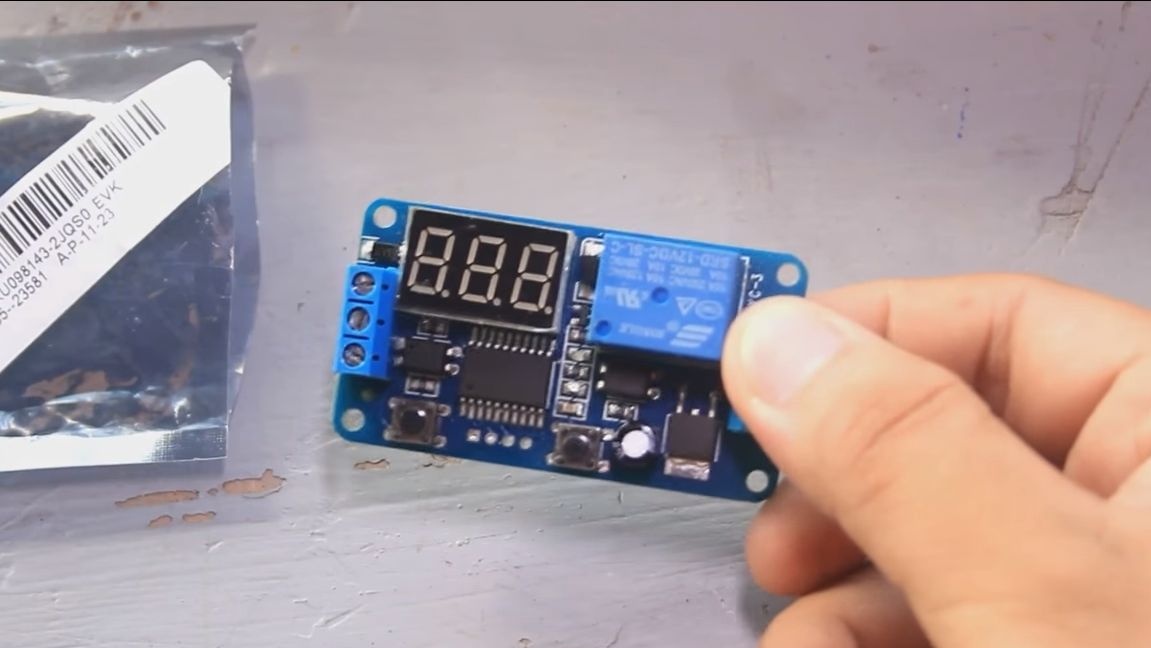
The device is equipped with a timer, thanks to which the machine can be turned on for a clearly defined time. You can experimentally achieve such a time that vulcanization occurs as efficiently as possible. The timer is inexpensive, it can be ordered from China. So, we will consider in more detail how to make such a vulcanizer.
Materials and tools used by the author:
Material List:
- heating element from the kettle;
- bolts, nuts, washers;
- square pipes;
- Sheet steel;
- ;
- keyboard switch;
- switch;
- wires;
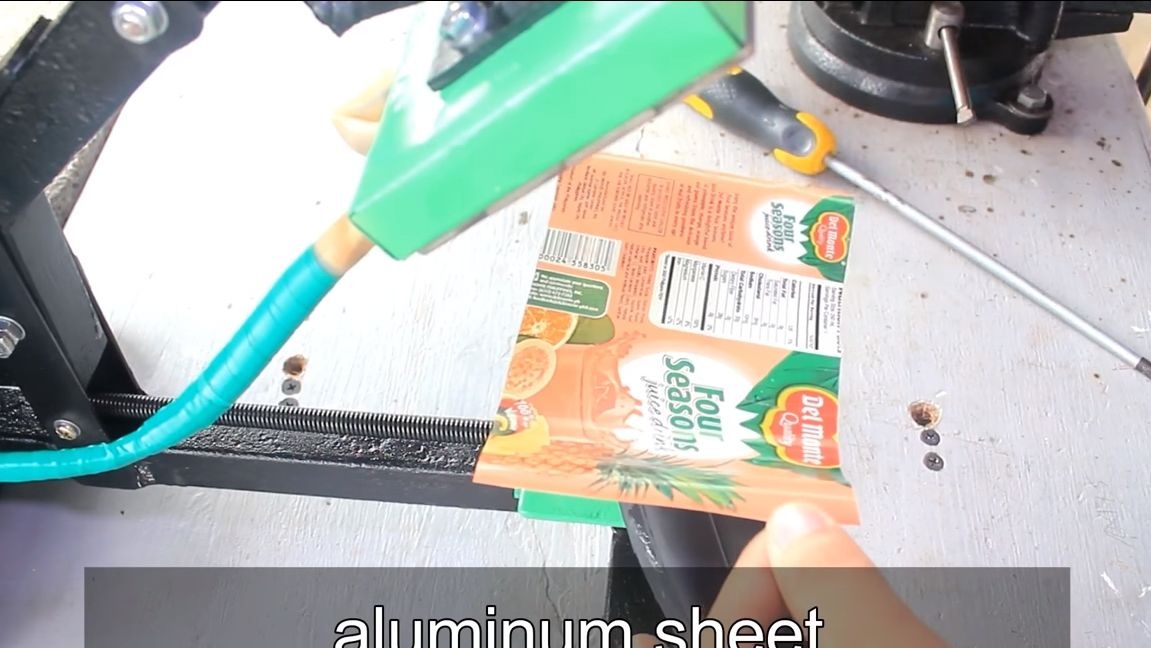
- sheet aluminum;
- spring;
- 9V power supply.
Tool List:
- a hacksaw for metal or grinder;
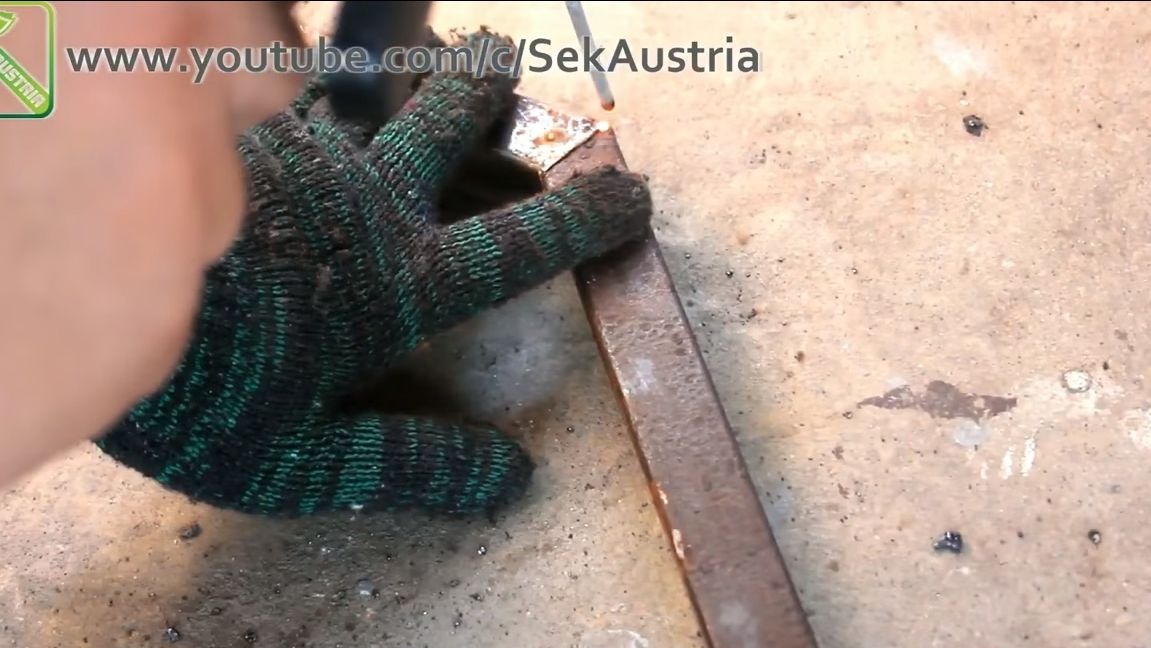
- welding machine;
- ;
- a hammer, wrenches, pliers, etc.
The process of manufacturing the vulcanizer:
Step one. Frame manufacturing
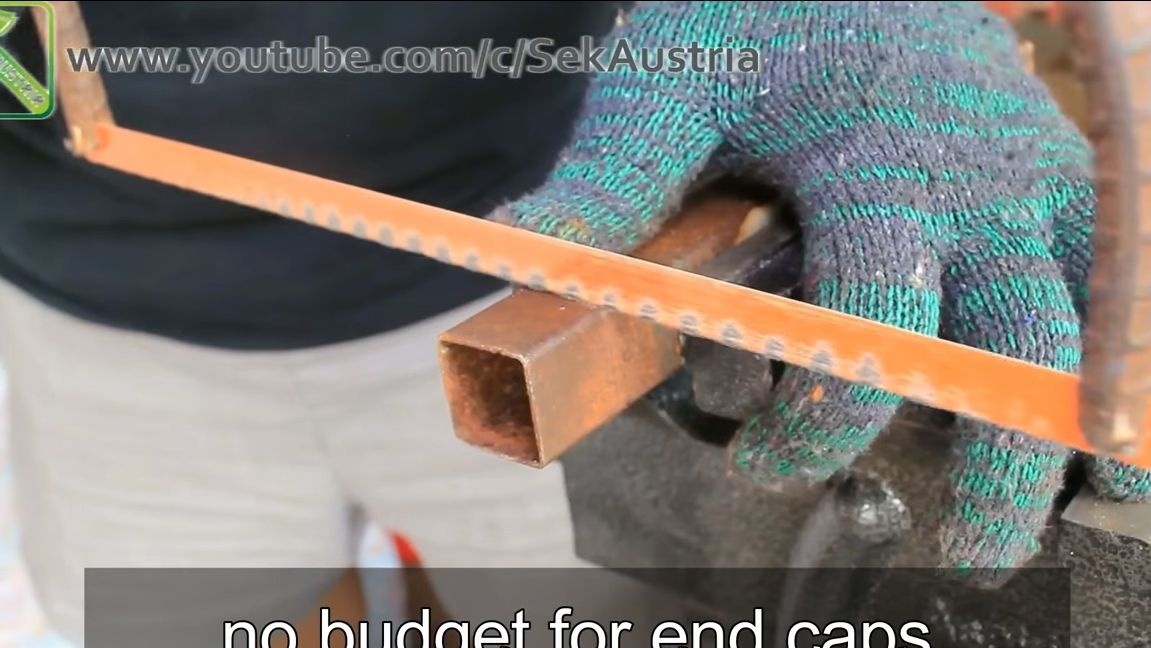
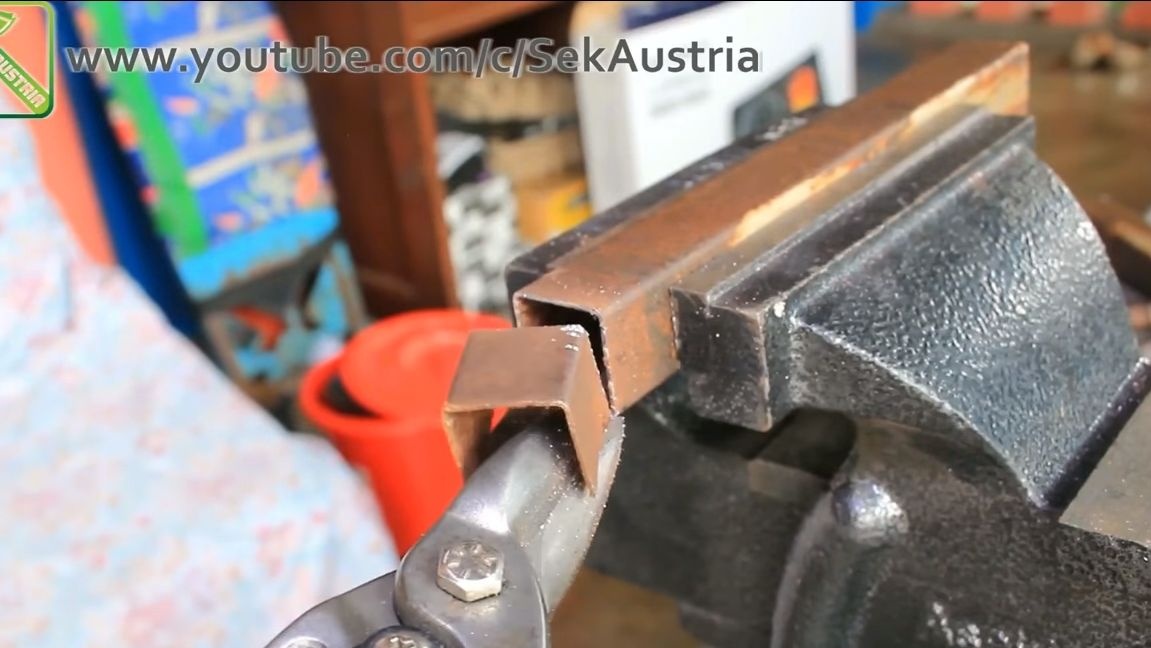
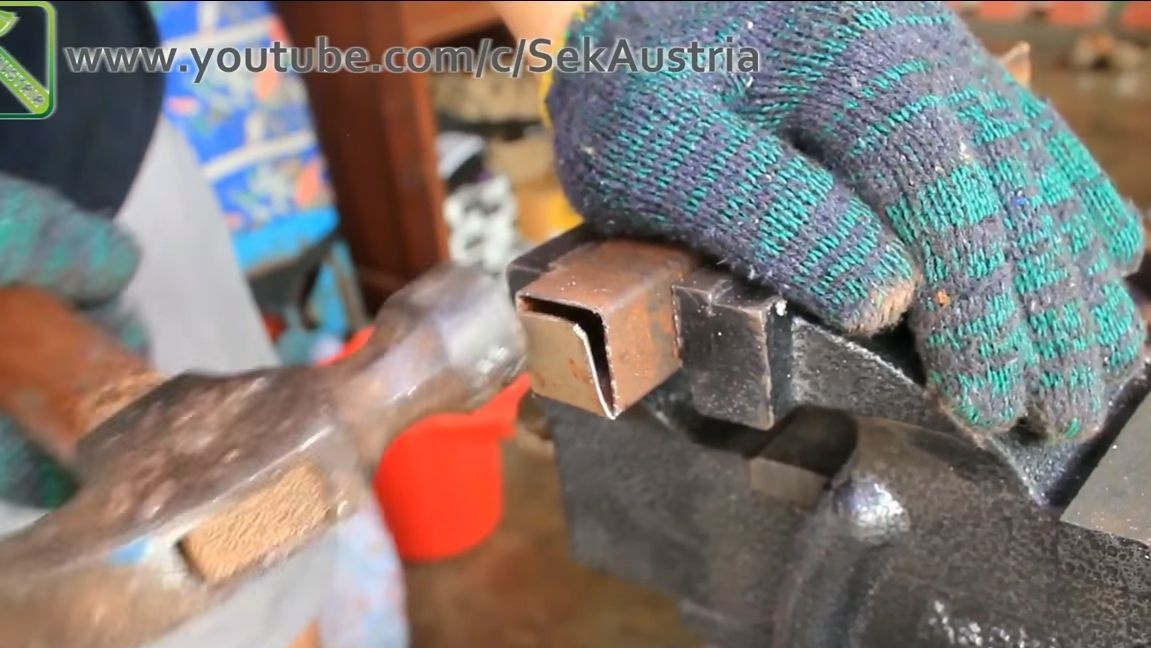
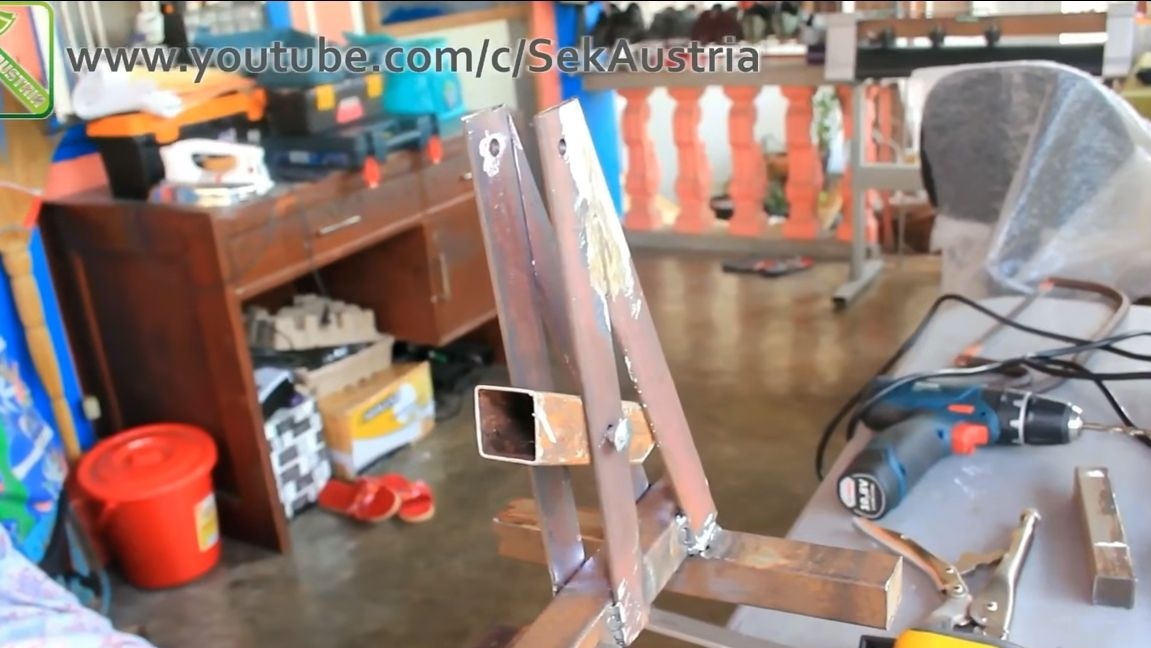
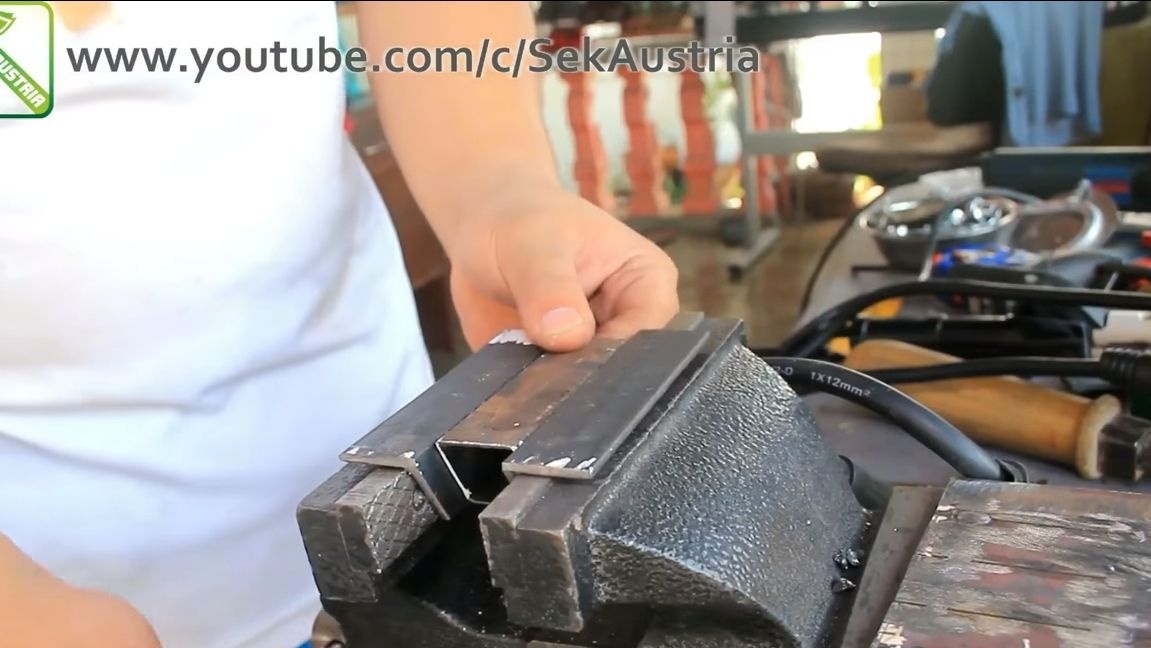
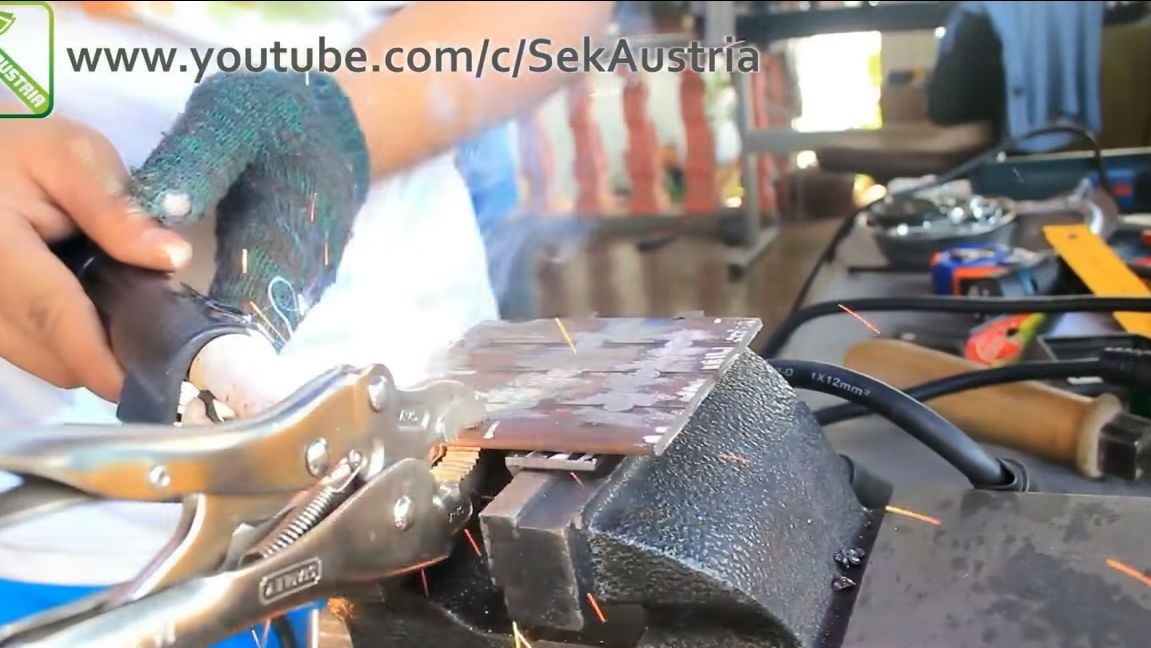
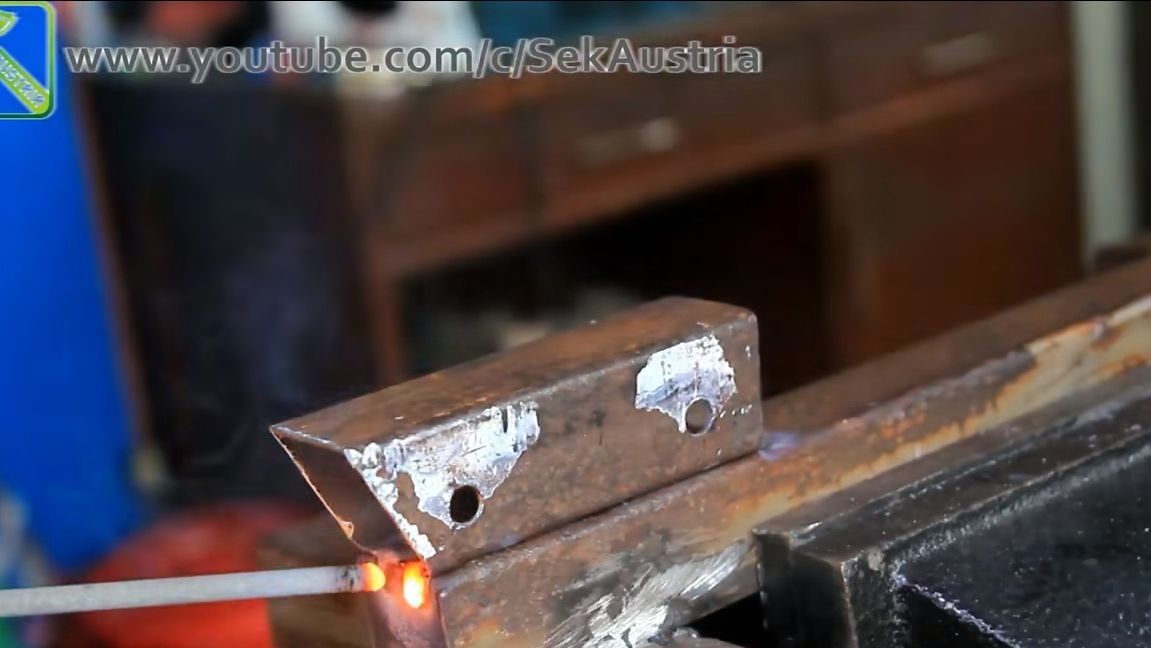
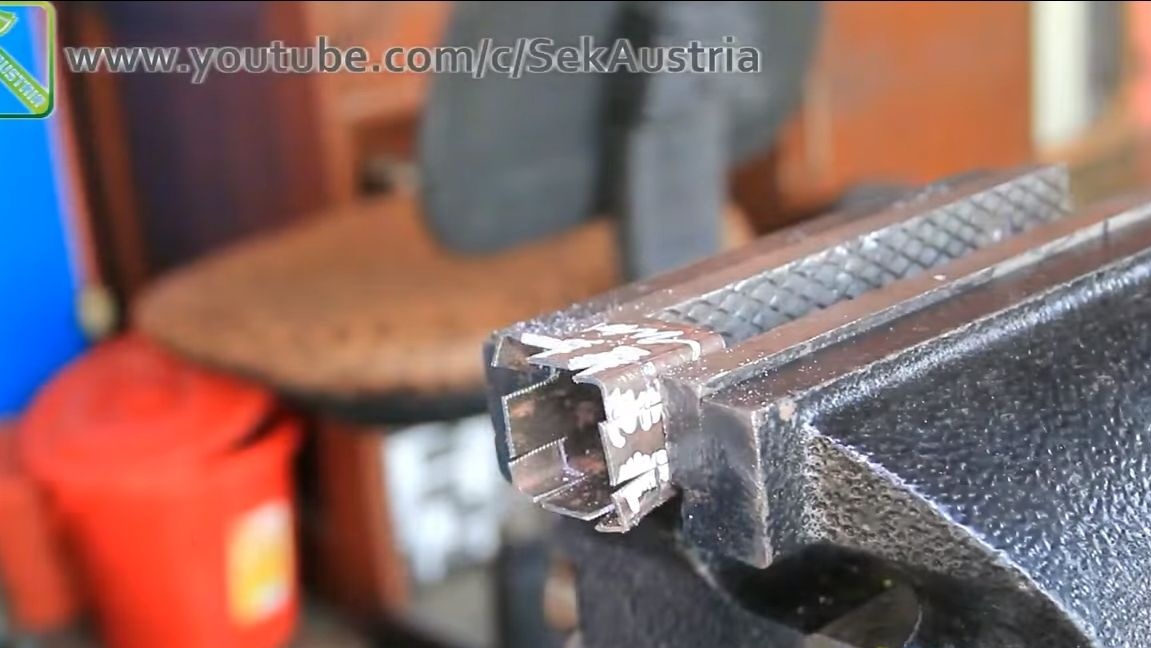
First of all, we will make a frame on which all the necessary nodes will be located. For its manufacture, the author used square tubes. First of all, we cut the required number of blanks, the author decided to drown the ends of the pipes. To do this, cut out a figure in the form of the letter "P" at the ends of the pipe, and then bend the remaining plate inward. We grab the plates by welding.

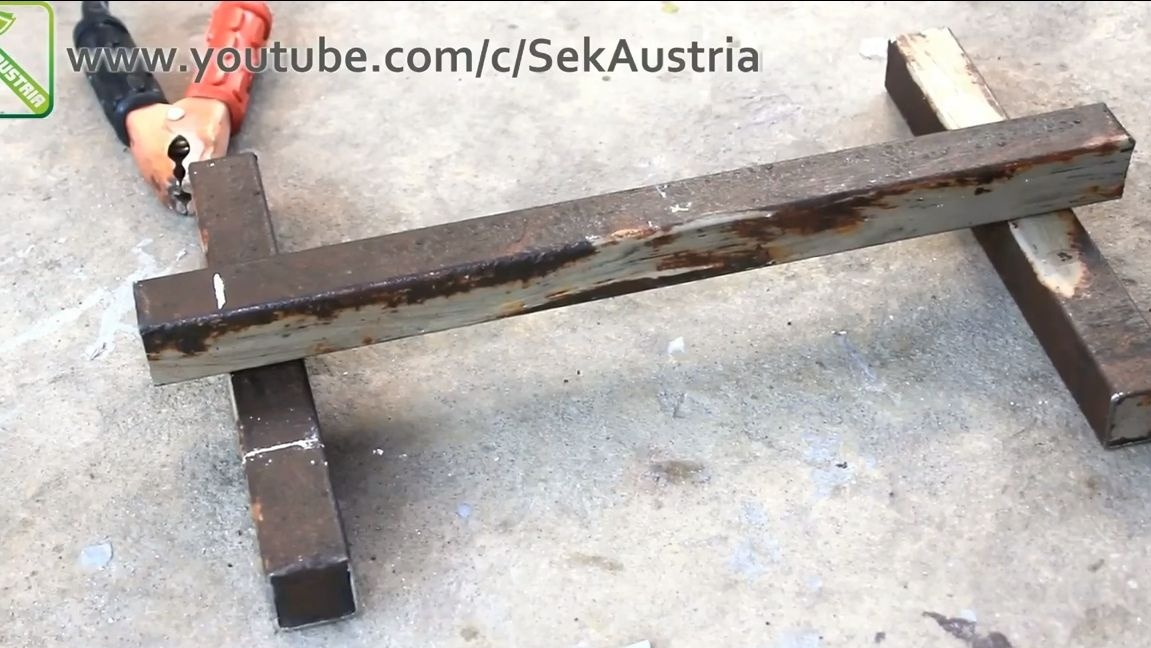
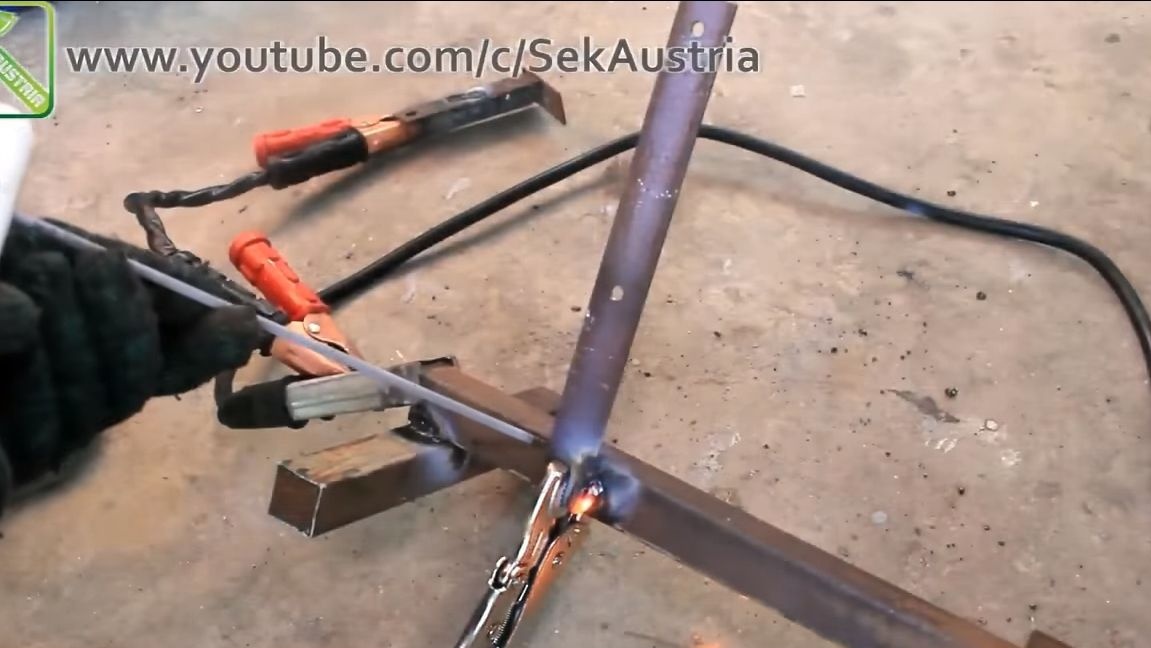
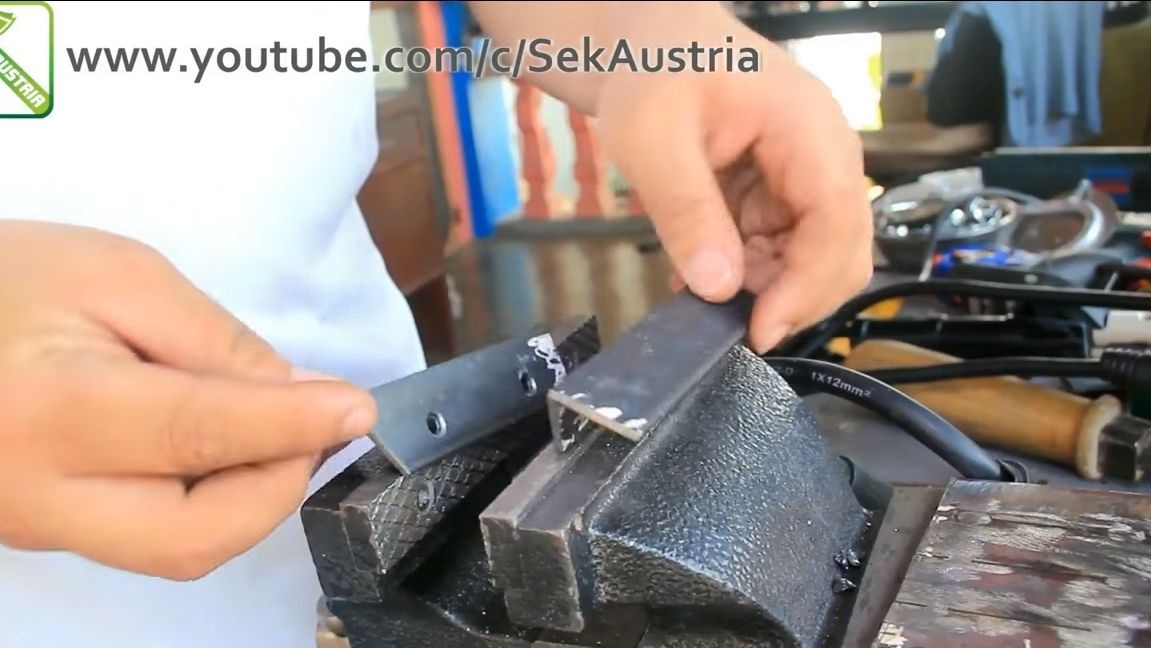
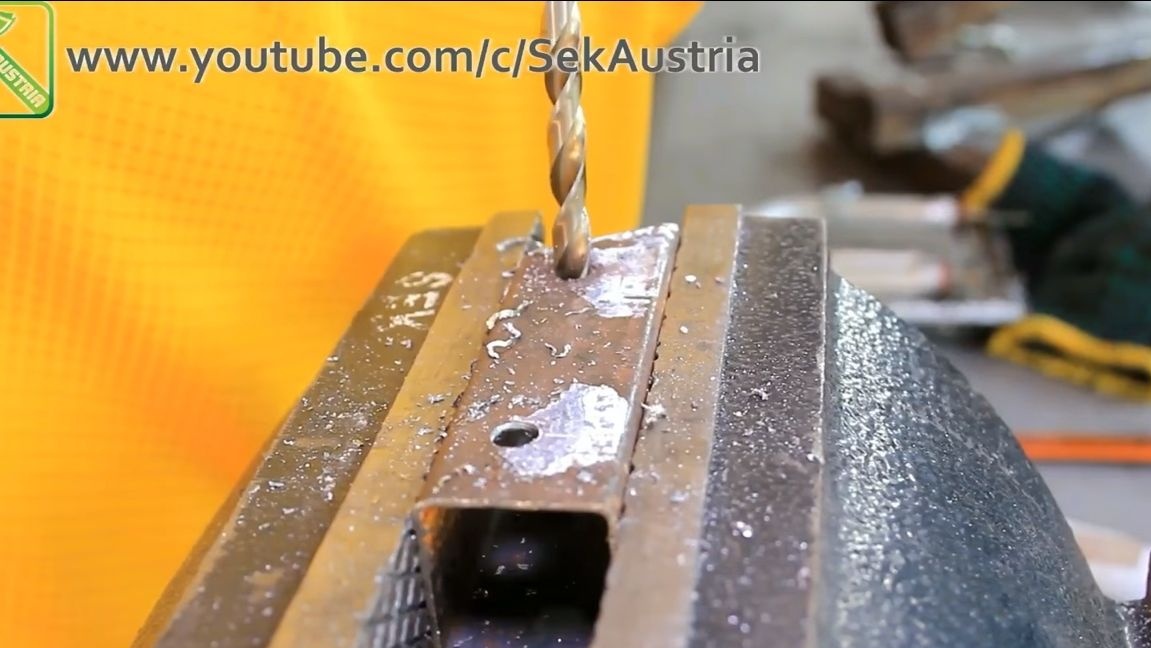
Getting to the assembly of the frame. Weld to the ends of a long pipe across the short, they will work as supports.Next, we need brackets for installing handles. For their manufacture, we take steel plates and weld them in the form of the letter “A”. We drill holes for the axis, which is a bolt.
Step Two Making a heating element holder
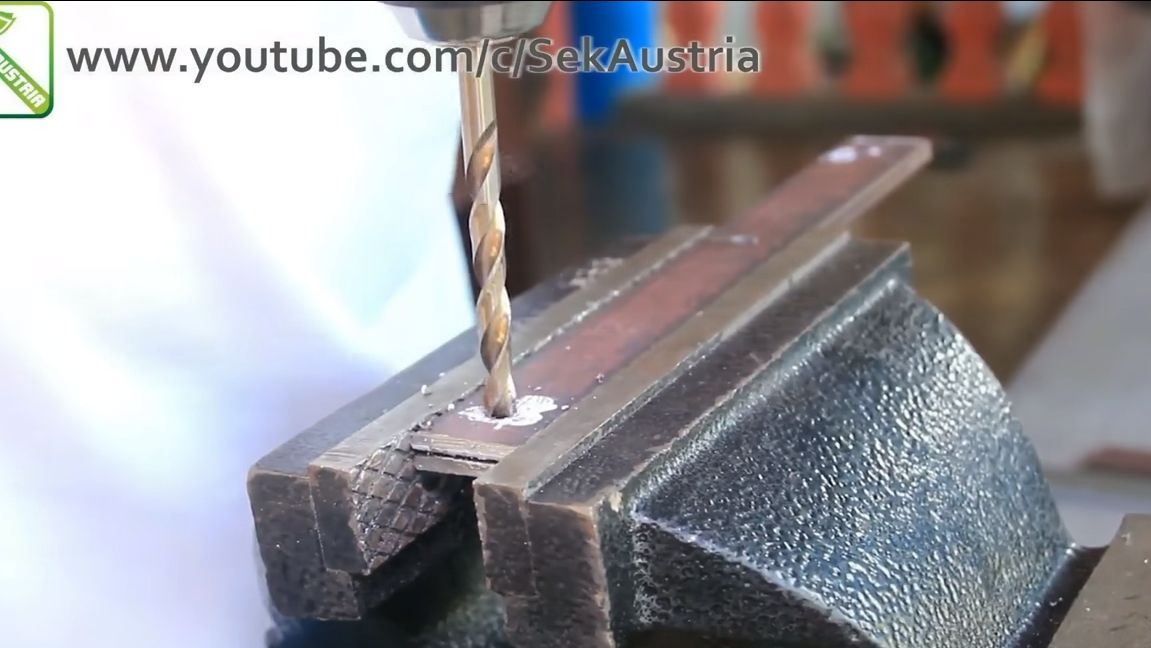
A lever is pivotally mounted on the frame, at the end of which a heating element is placed. For the manufacture of this lever will need two pieces of pipe. We cut them at the right angle and weld, as the author in the photo. Well, then we drill a hole to fix the handle on the bolt.
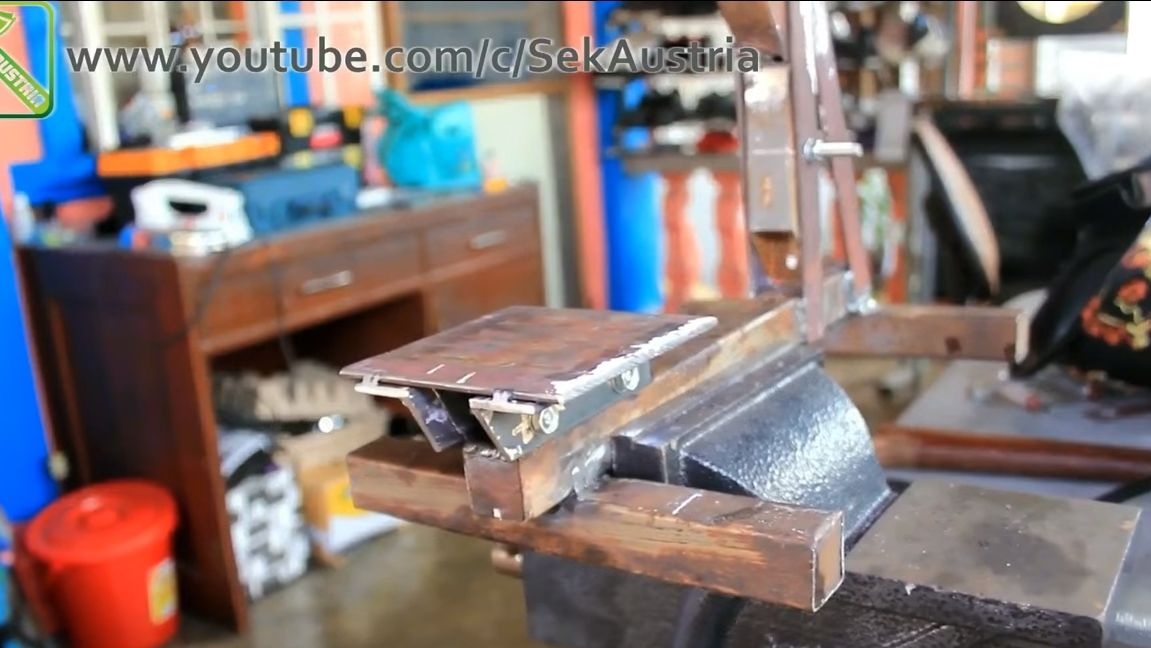
Step Three Making a work table
The desktop is the part of the machine on which you will place the vulcanization chamber. To make it, you need a steel sheet. But since the author did not find the sheet of the required size, he welded together several narrow sheets.
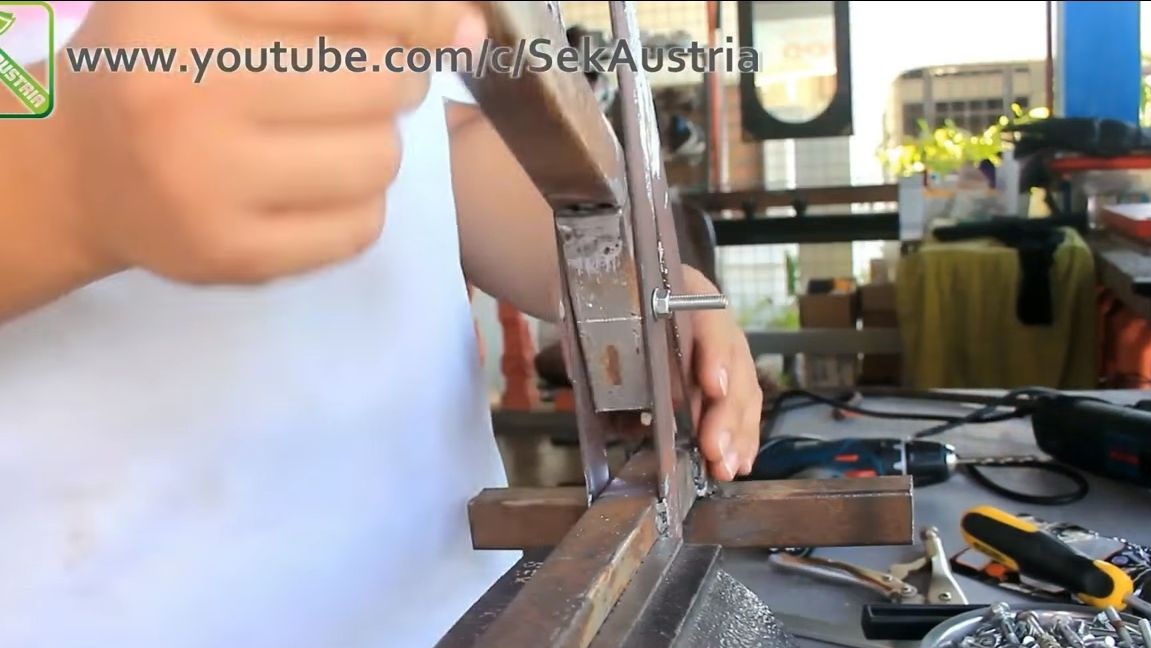
The author decided to make the table removable, for this we weld two corners to it and drill holes in them. We weld a piece of pipe to the frame, in which we also need to drill holes. Now fix the table with two bolts and nuts.
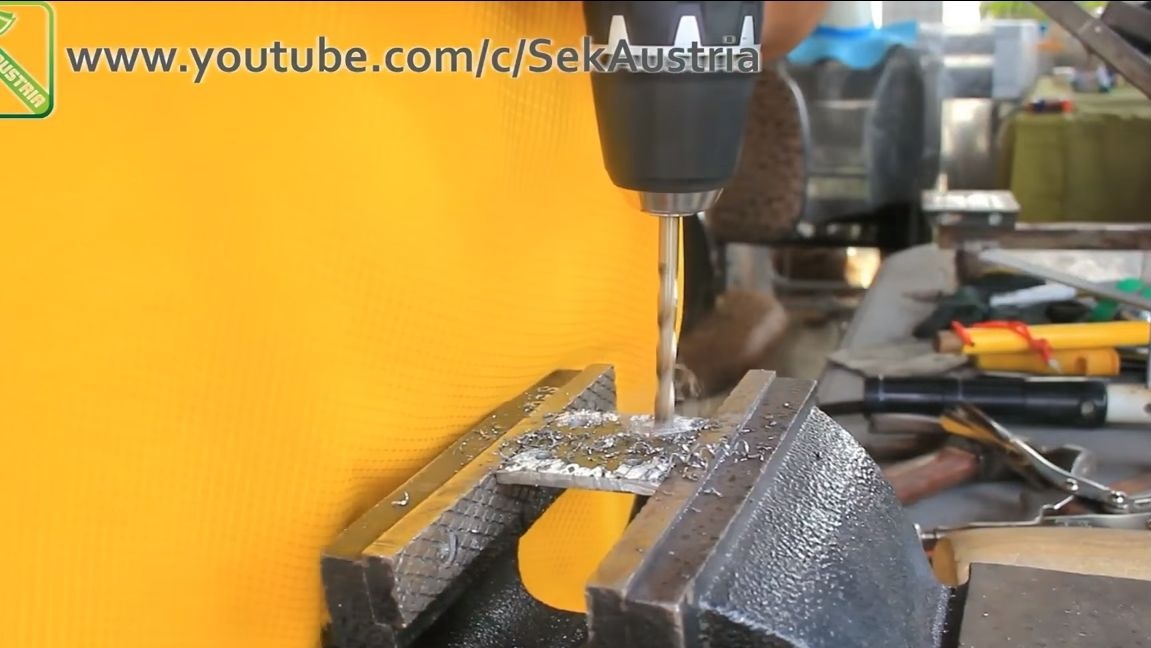
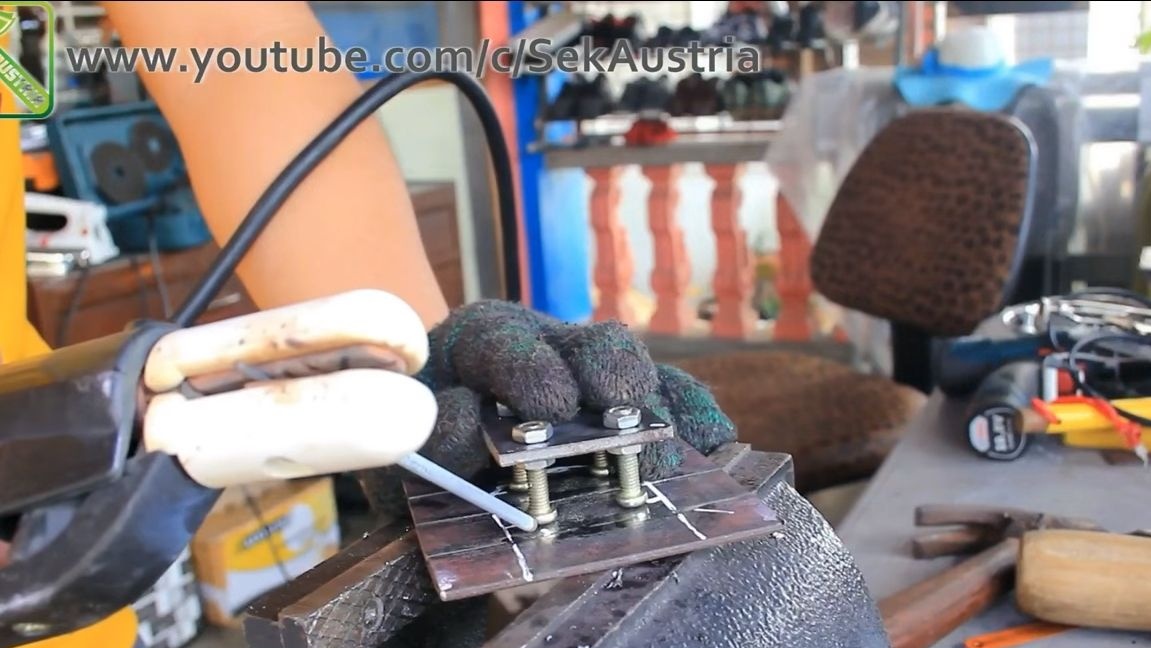
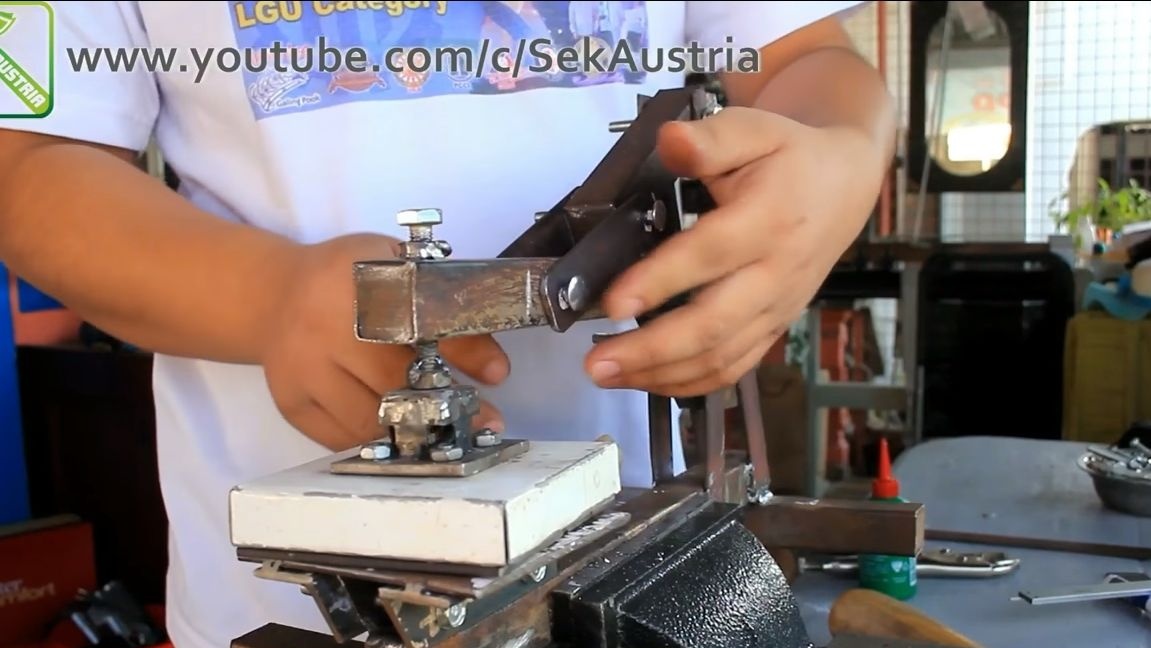
Step Four Bracket for heating element
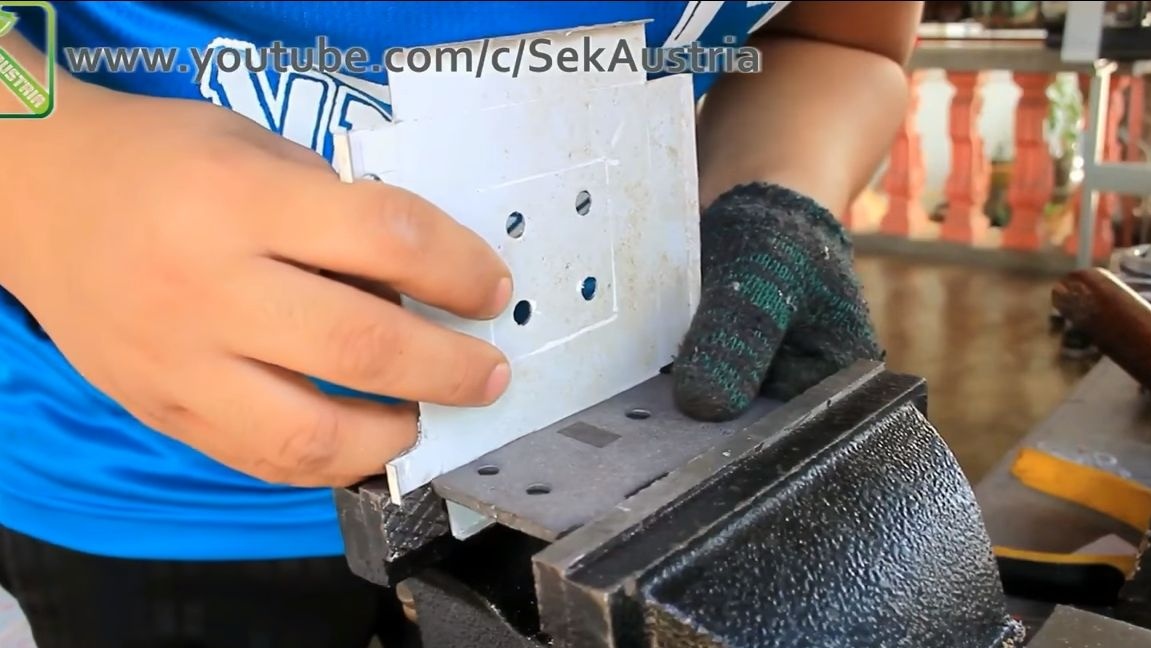
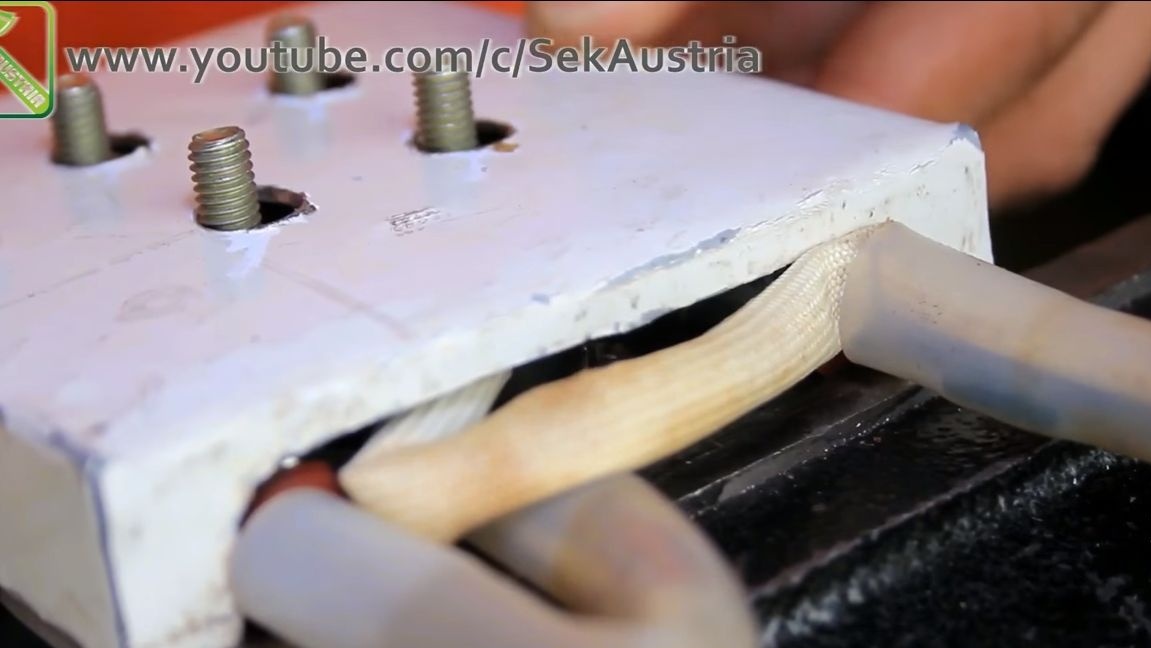
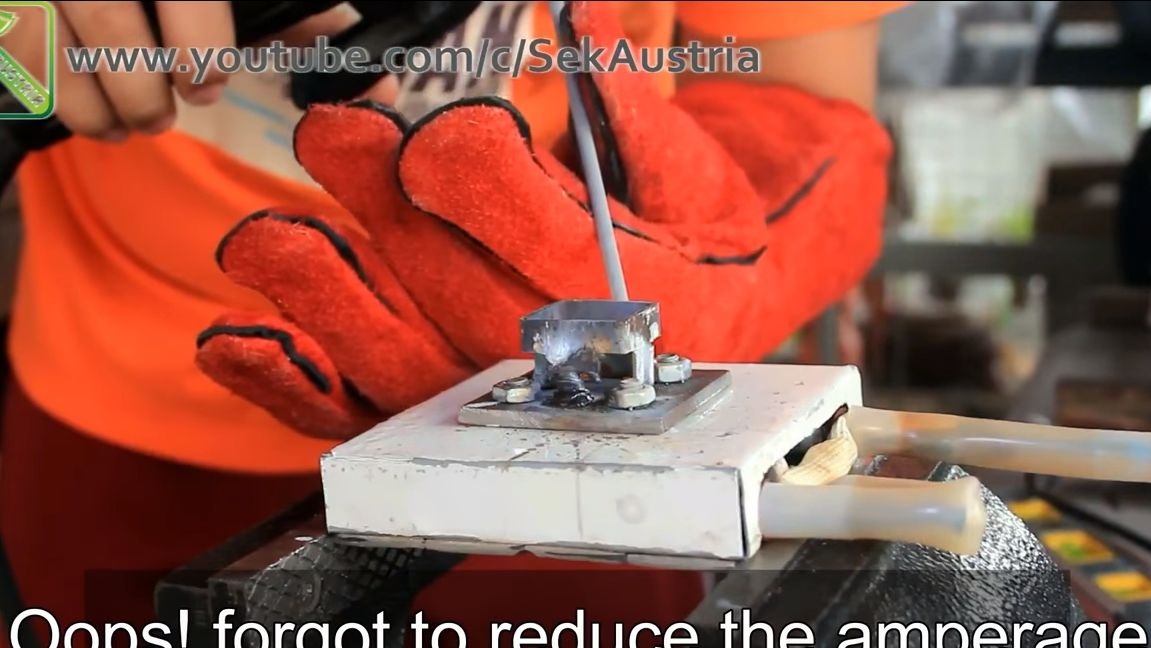
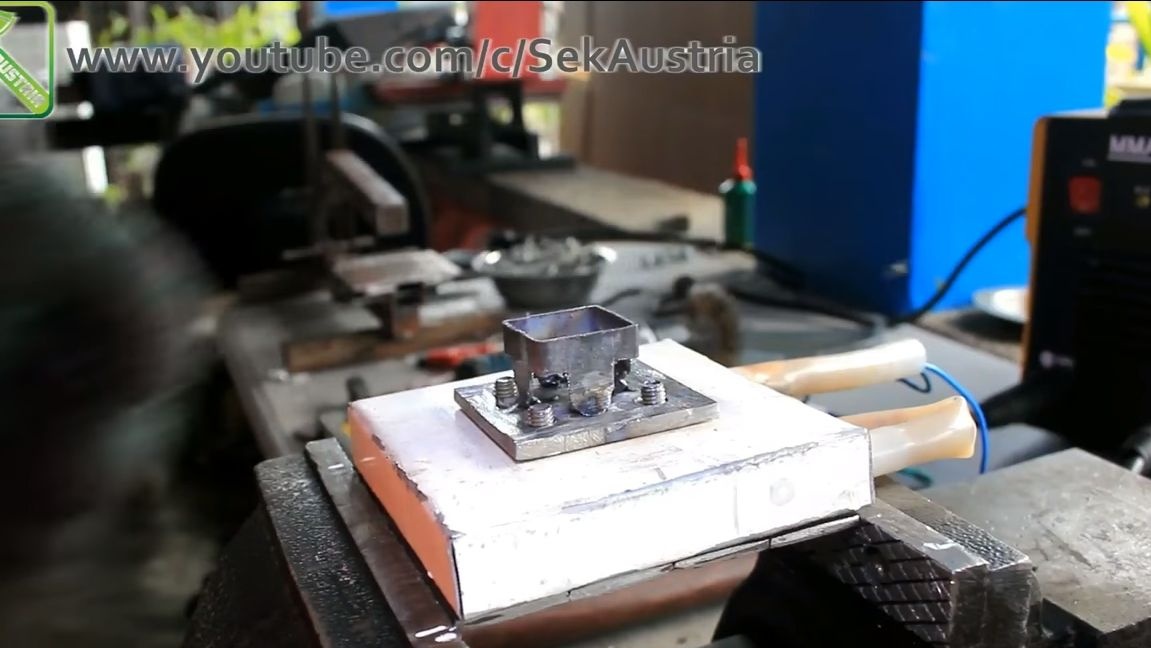
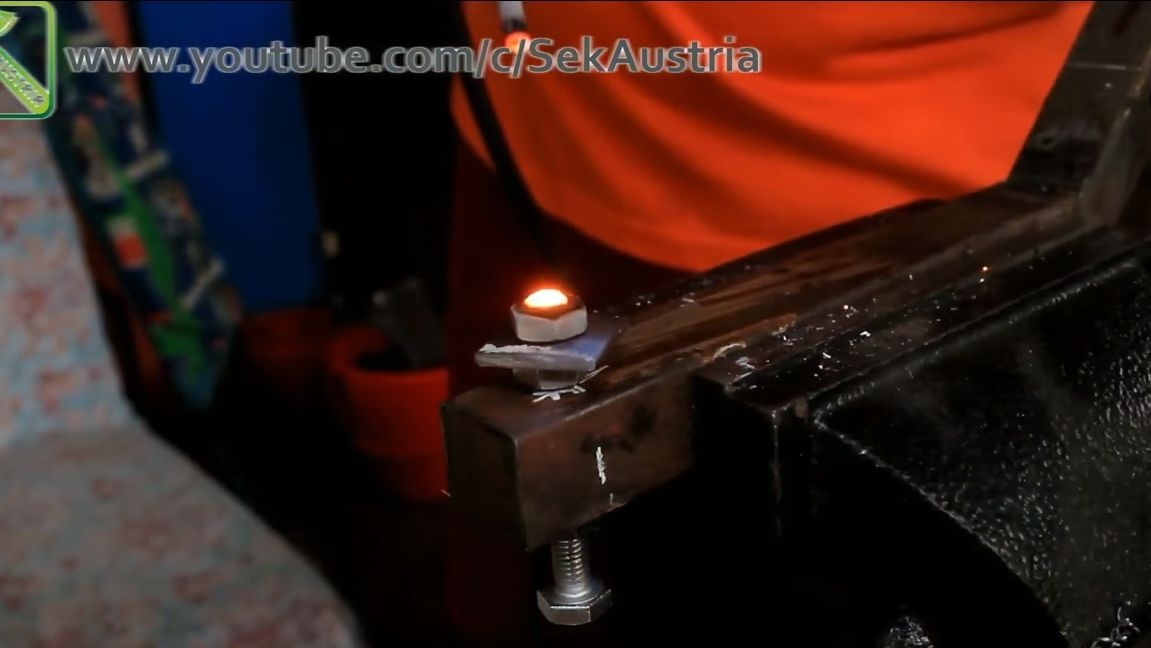
Under the heating element, you need to make a special bracket. To do this, you will need another piece of sheet material of such a size as a working table made earlier. You need to weld 4 bolts to it or just threaded rods. The distance between them is selected depending on the size of the used heating element.
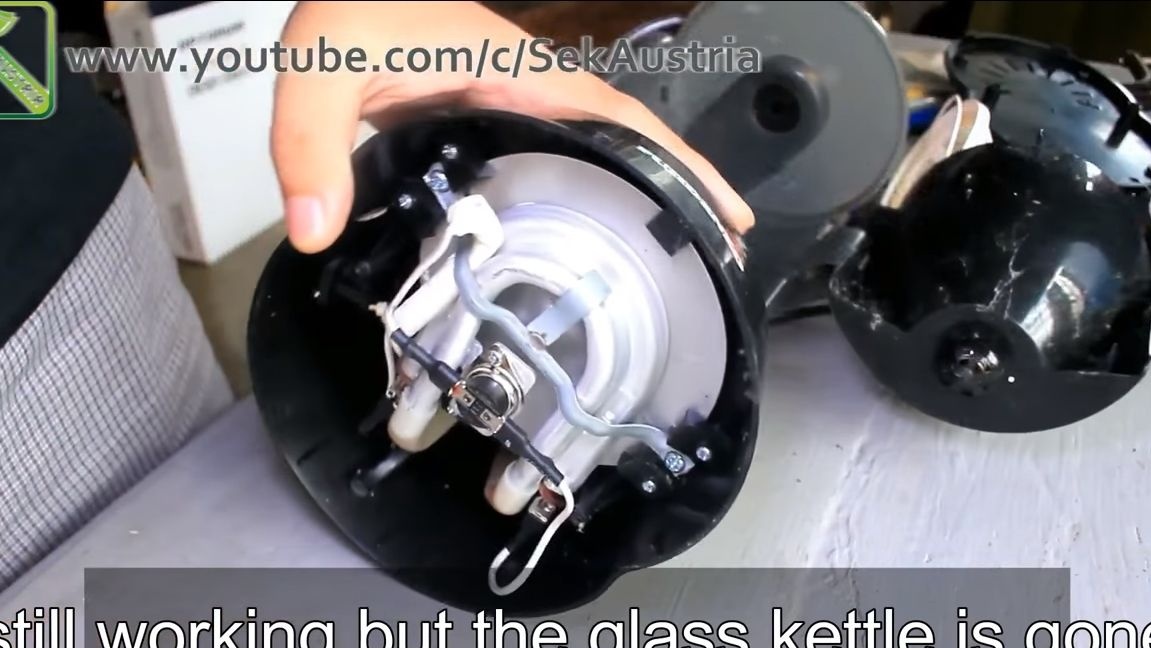
Step Five We get a heating element
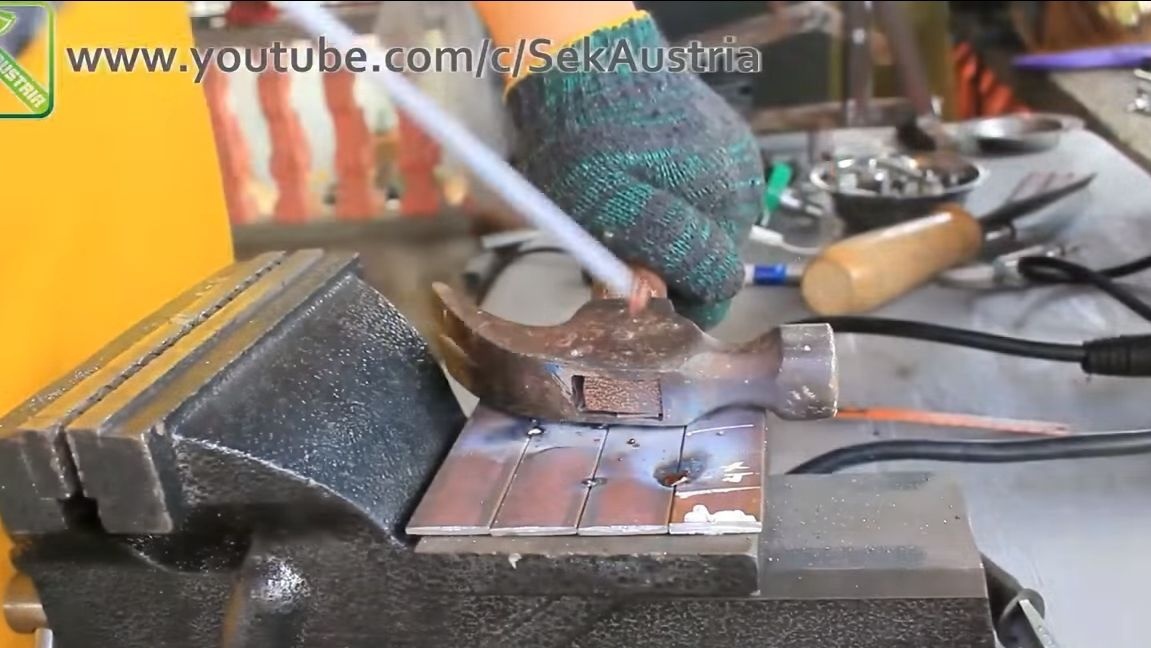
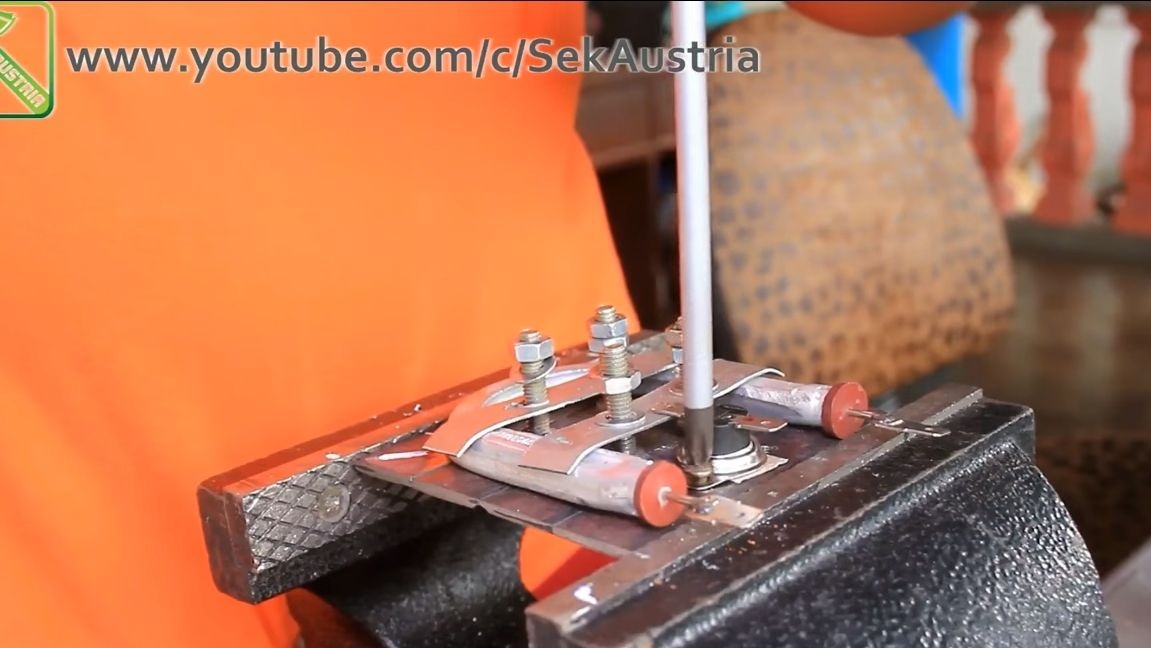
Now we find the heating element, the source of the author was an electric kettle. We disassemble the kettle and remove the heating element, cut off excess from it. You will also need a “thermal switch” that breaks the circuit if the heater warms up above a certain temperature. We need it for security, so as not to overheat the device.

Step Six Assembly of the heating device
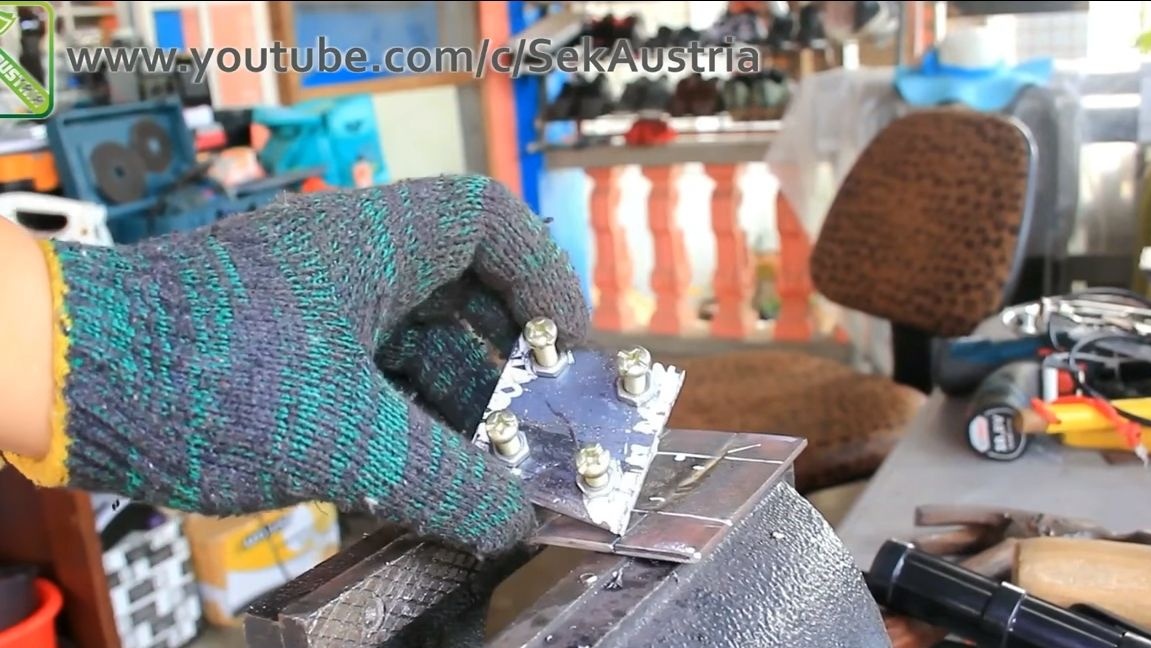
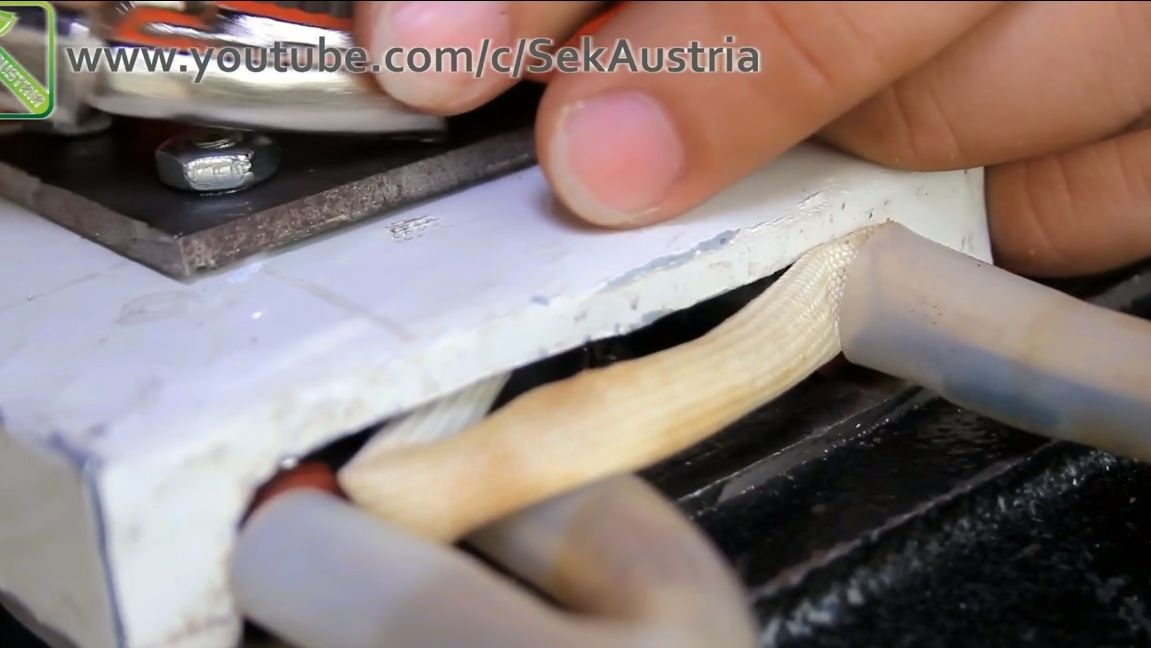
We install a heating element on a steel plate to which we previously welded the bolts. We fix the heater using plates, as well as washers and nuts. Next, on the plate itself, we place in a convenient place a “thermal switch", it must be properly pulled to the surface so that there is good thermal contact. The author drilled holes, cut the threads and screwed the device with screws. We connect the wires and try to turn on the heater for a short time. If it works, great.

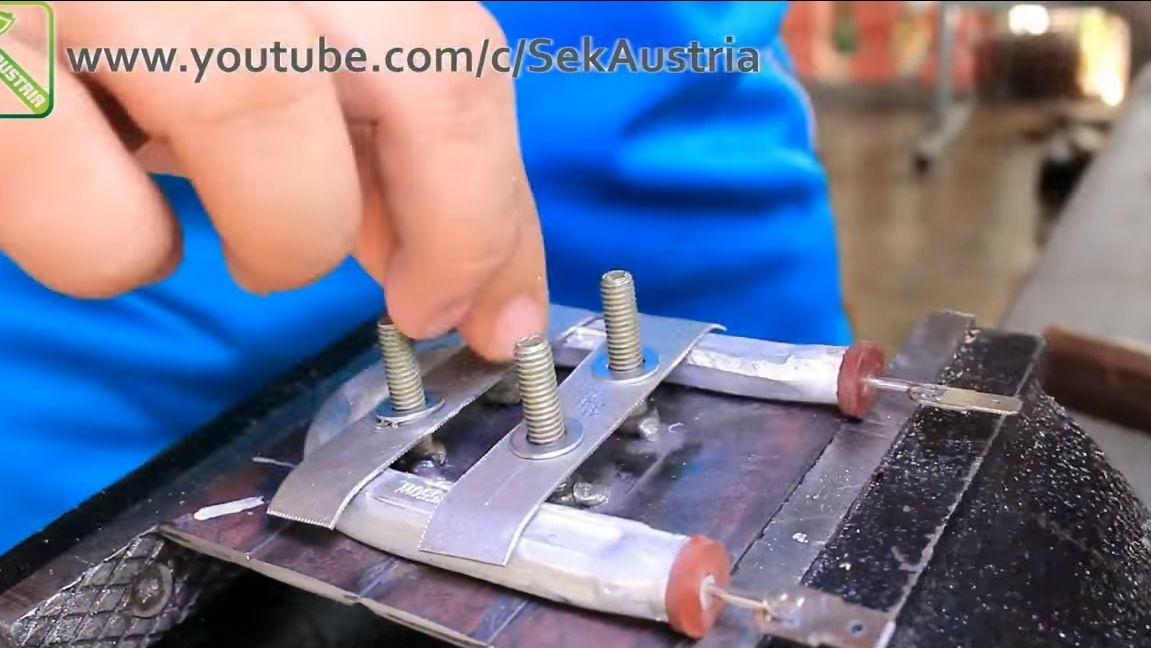

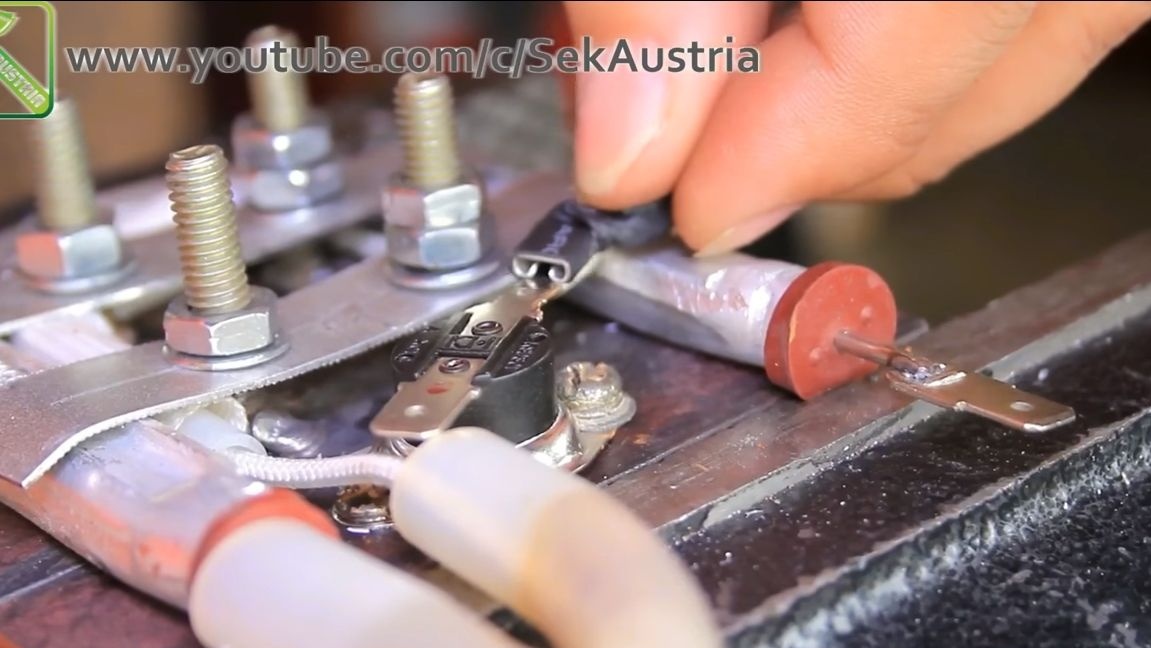
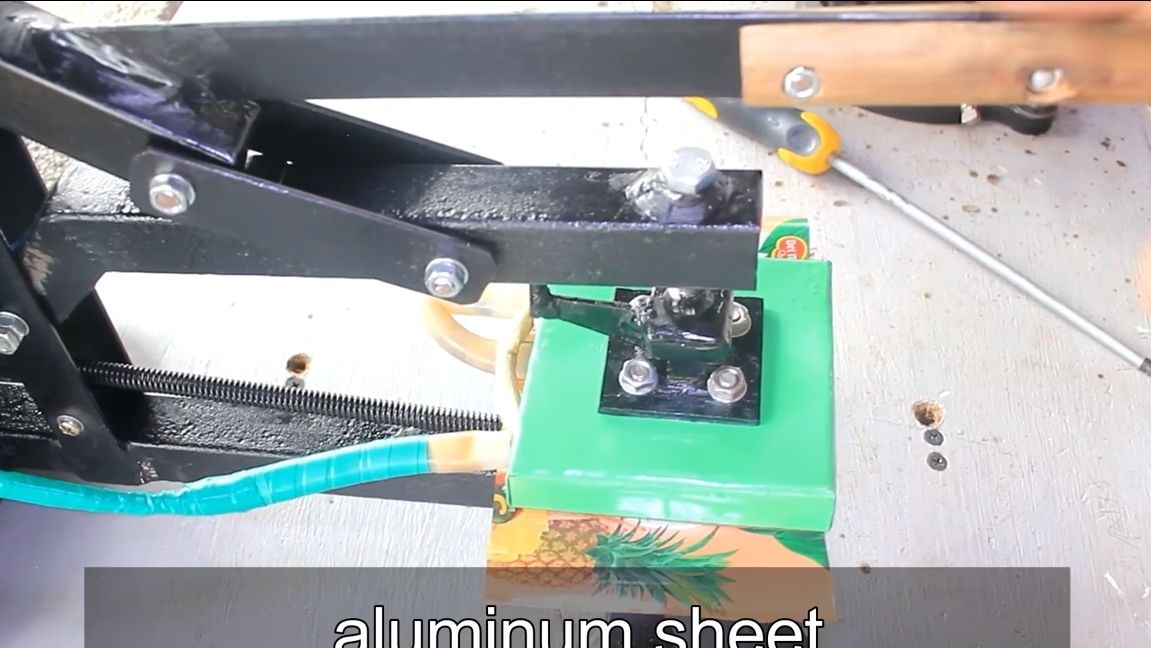
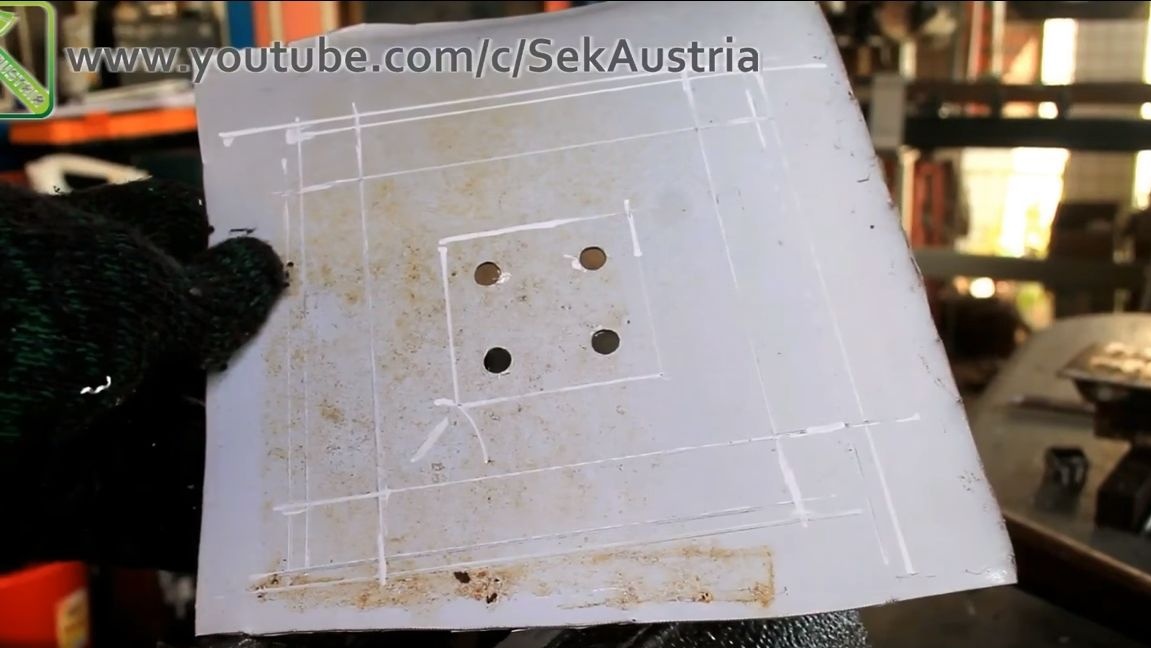
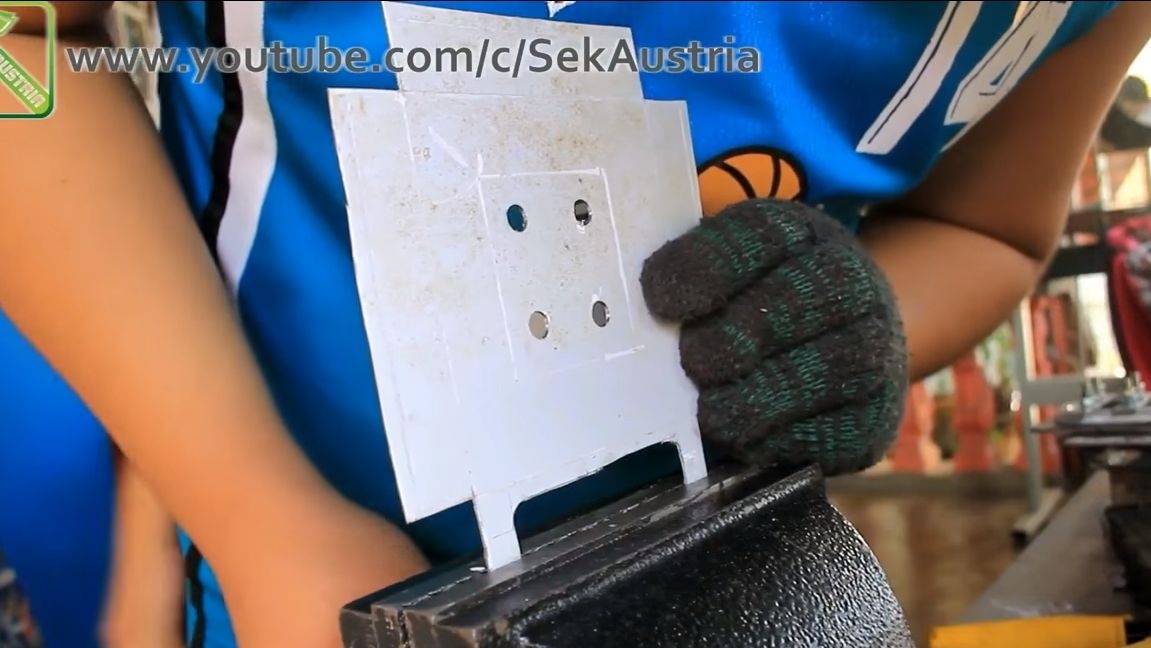
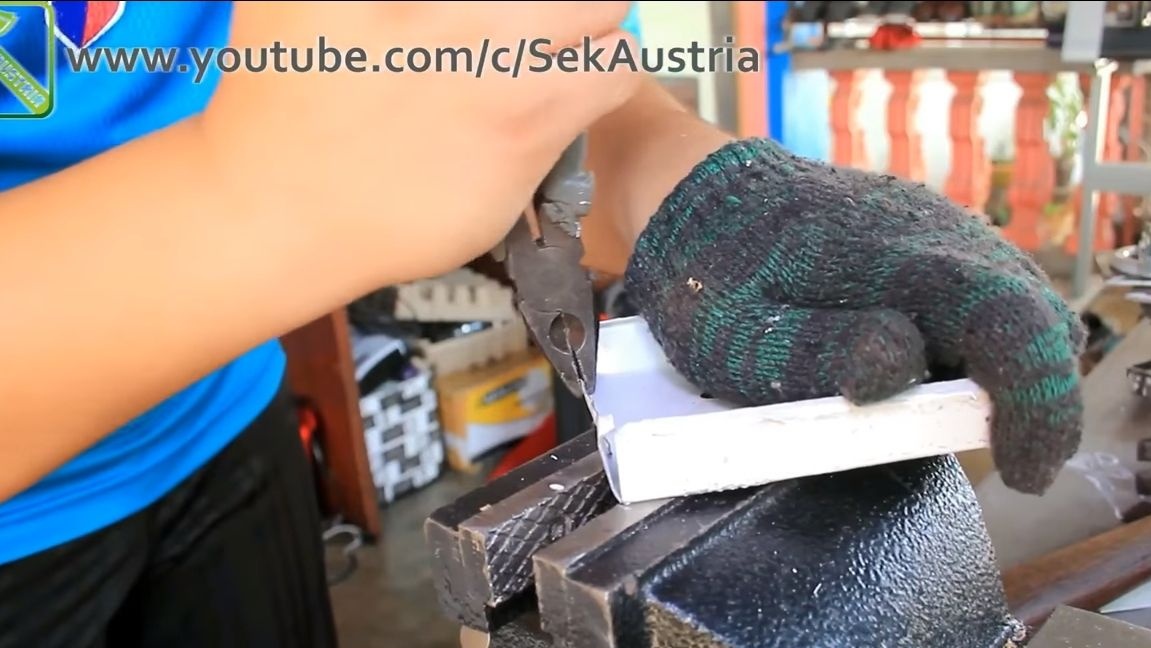
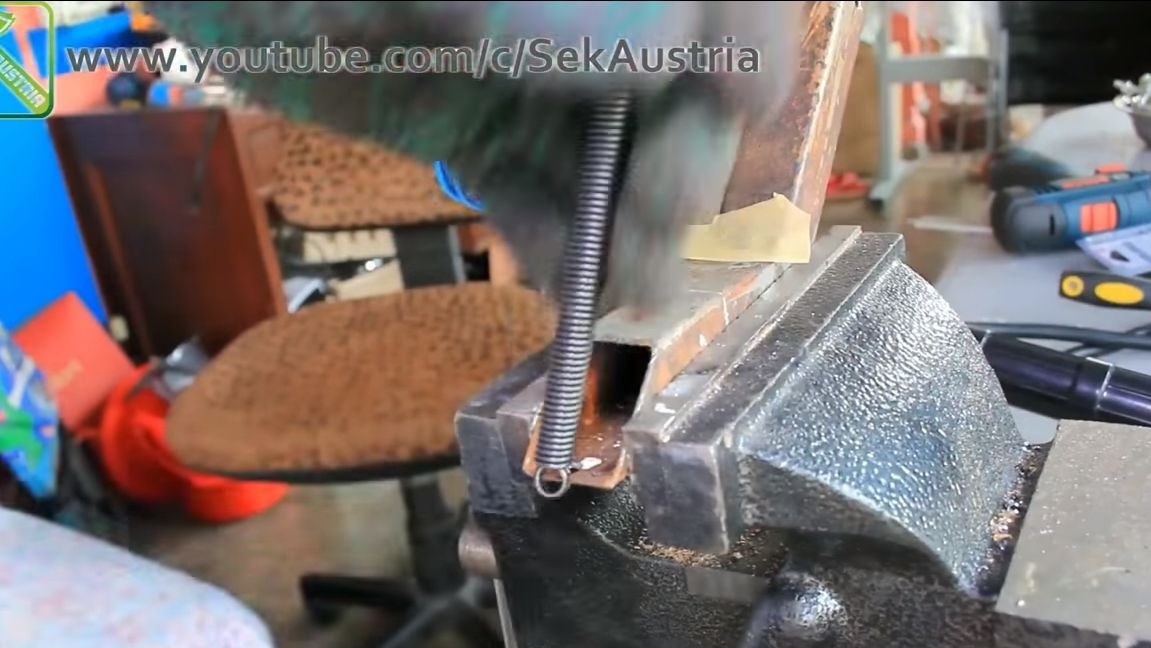
It is imperative to make a protective housing over the heating element for safety reasons. For this you will need sheet aluminum. We drill holes for the studs in it, and then we cut and mold, depending on the needs. As a result, we get an excellent cover. From above we install a "washer" made of thick sheet steel and fasten with nuts.
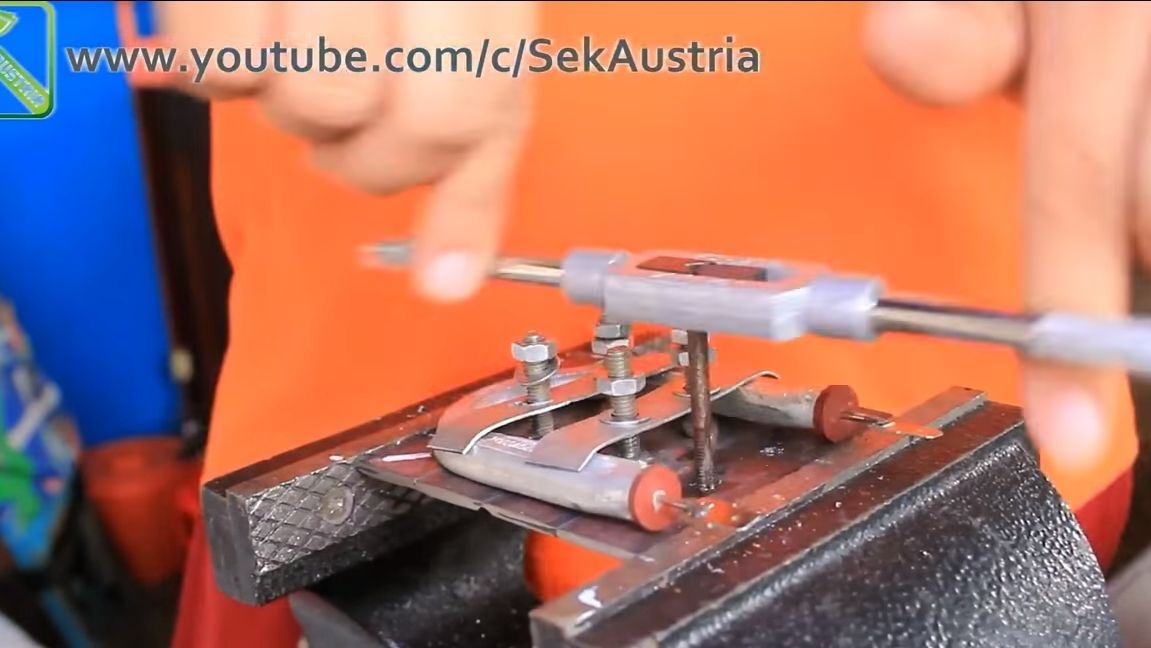
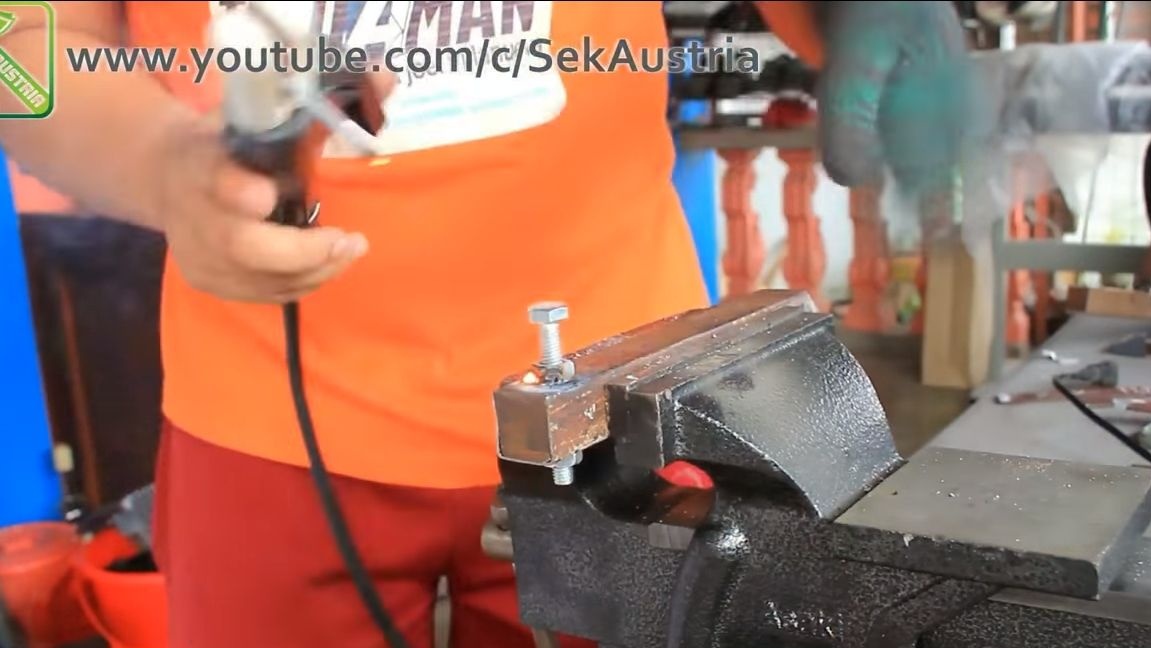
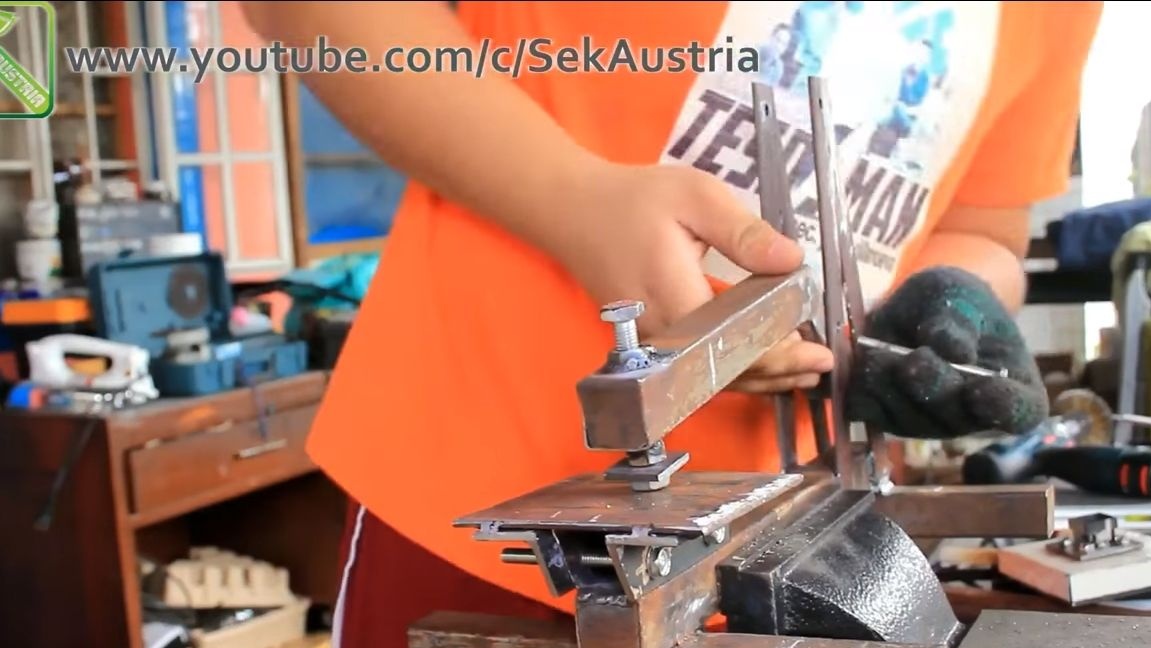
To the steel plate you need to weld the bracket, which is made from a piece of square pipe. It is needed to mount the element on the lever.
Seventh step. Installation of a heating element
At the end of the lever, drill a hole and weld a nut. We wrap a bolt in it. At the end of the bolt, we install a plate between two nuts, to which we then weld our entire structure with a heating element.
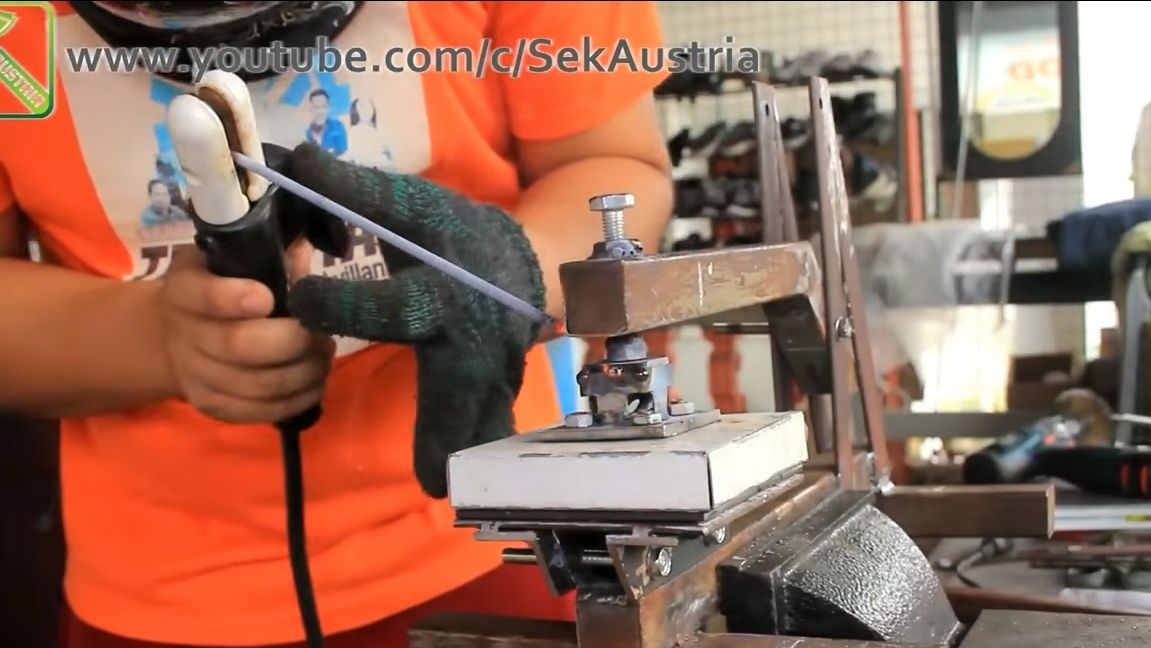
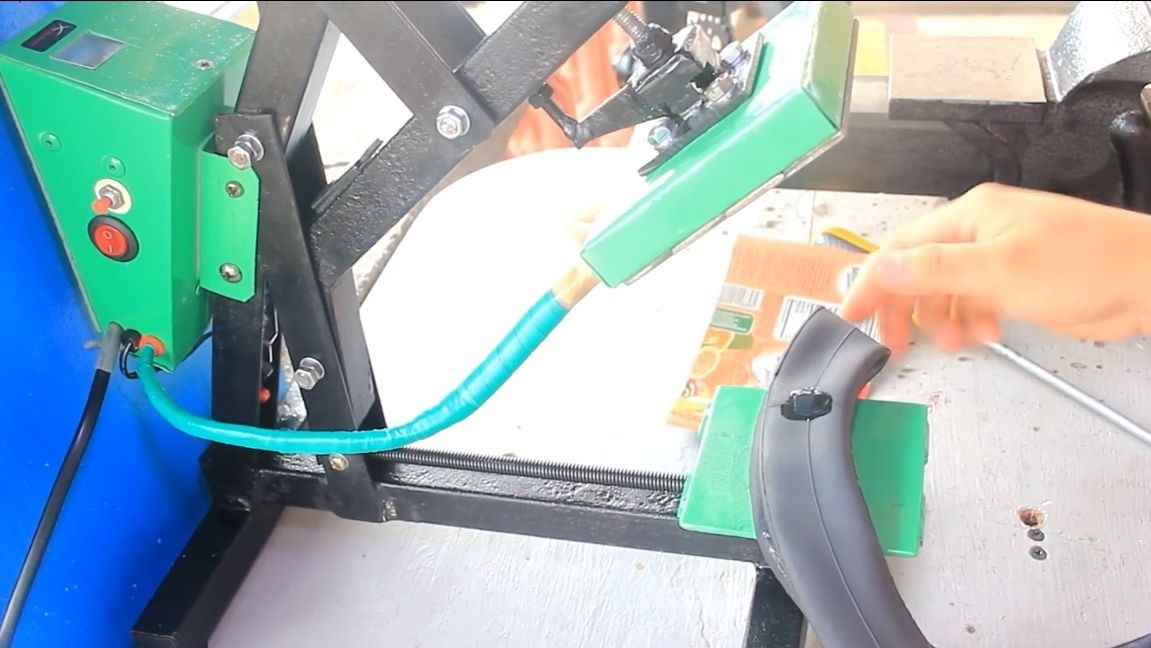
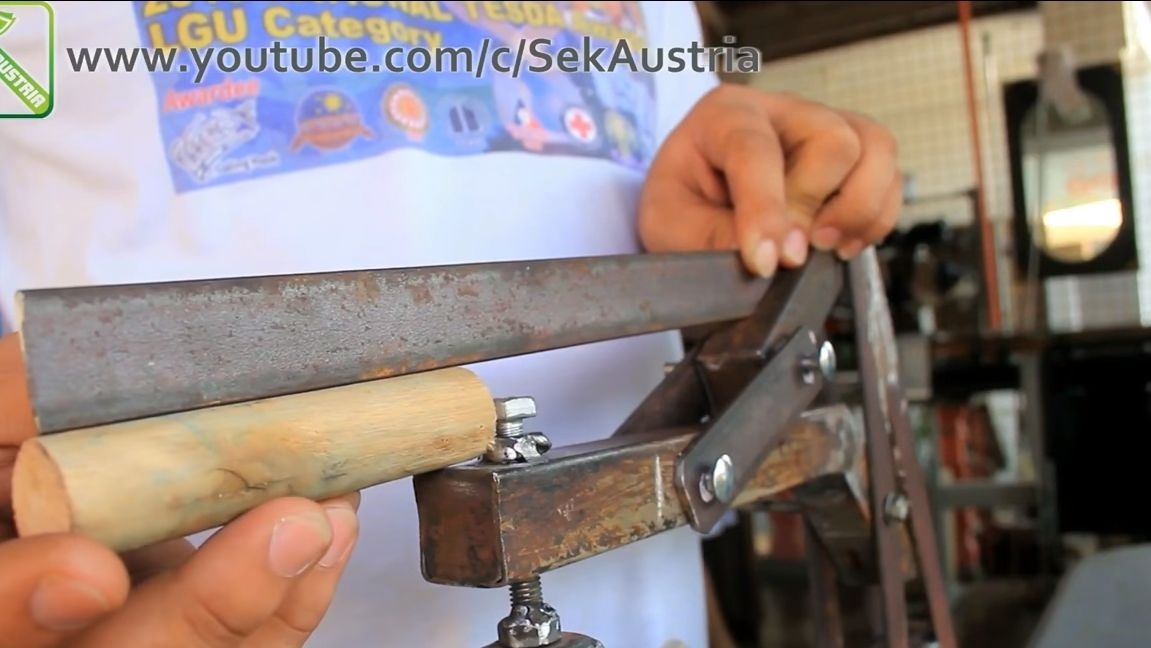
Step Eight. Making a work pen installation
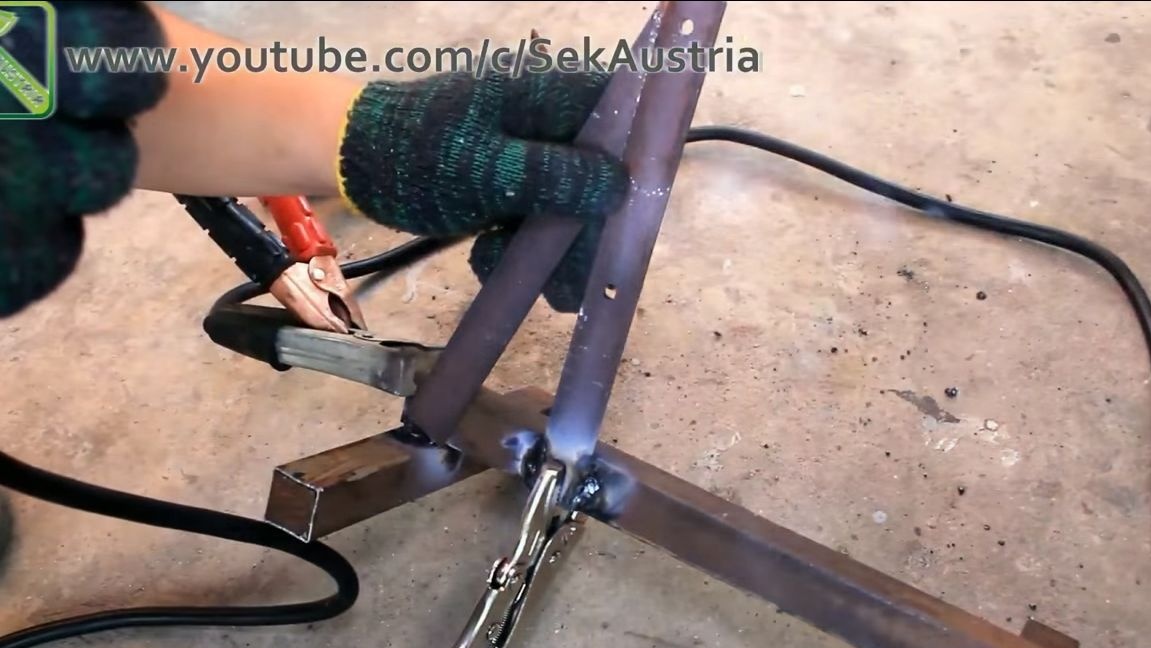
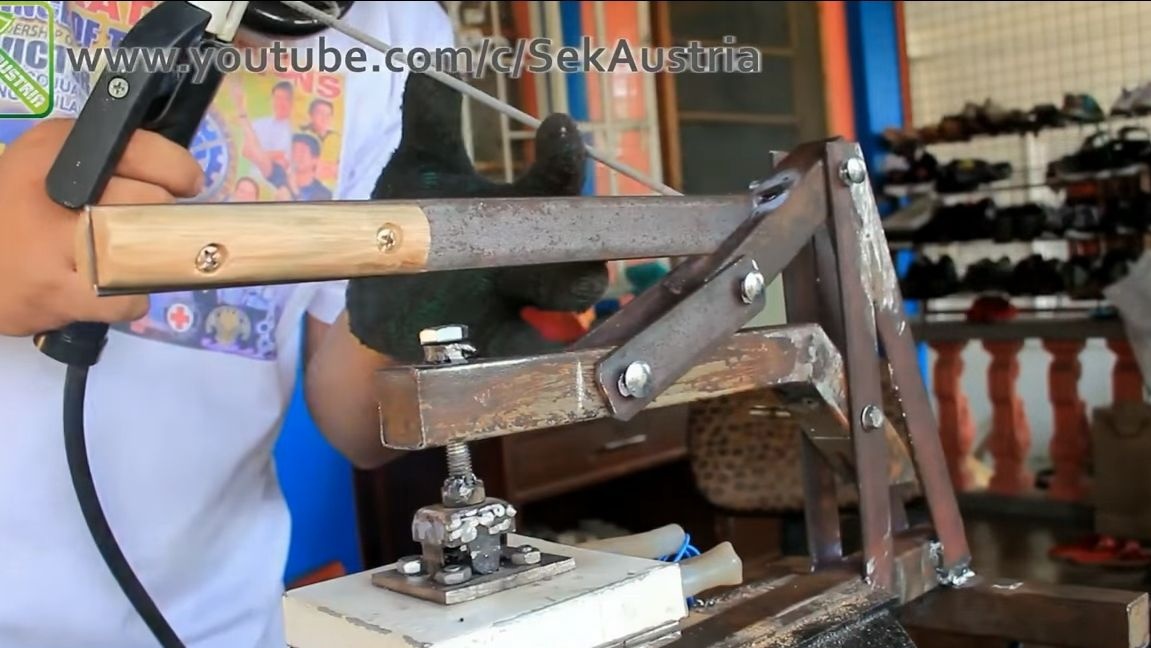
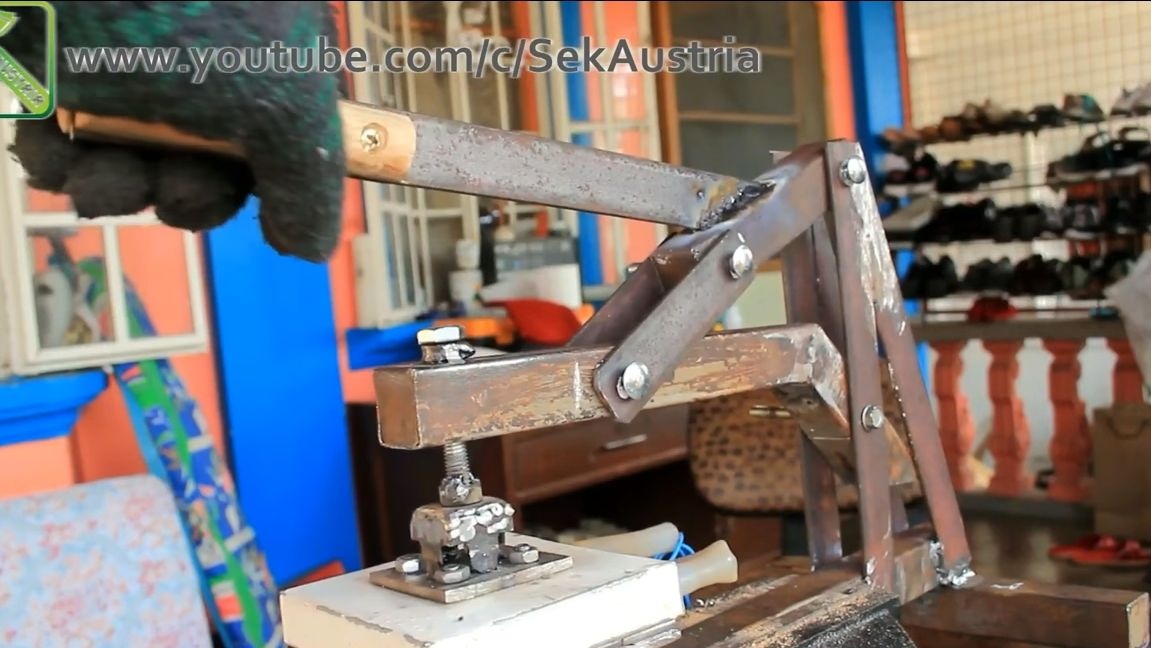
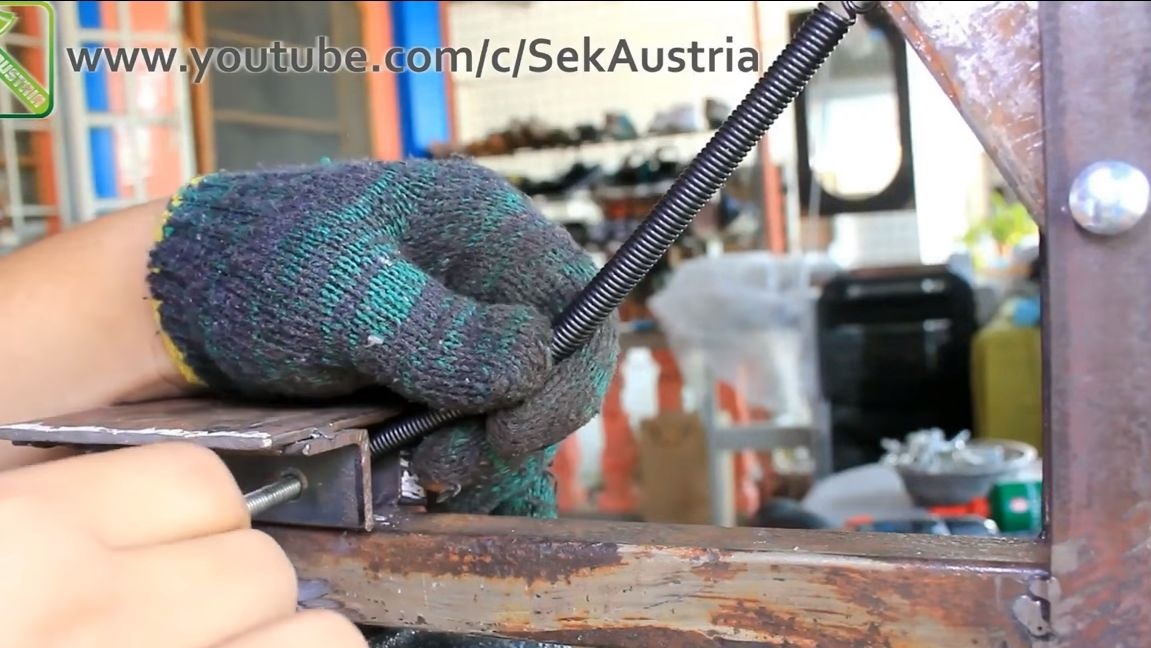
A working handle is needed to lower the heating element during vulcanization. For its manufacture, we take a piece of a square pipe, drill a hole and fasten it hinged at the highest point of the frame. Next, we weld a steel plate to this piece of pipe, this will be our handle. For convenience, the end of the handle can be trimmed with wood or just pull a piece of hose. To connect the handle and the lever on which the heating element is installed, we take two plates and drill holes. We connect everything pivotally with bolts and nuts.
Finally, install a spring that will always lift the handle up. After that, the manufacture of the mechanical part of the machine can be considered finished!
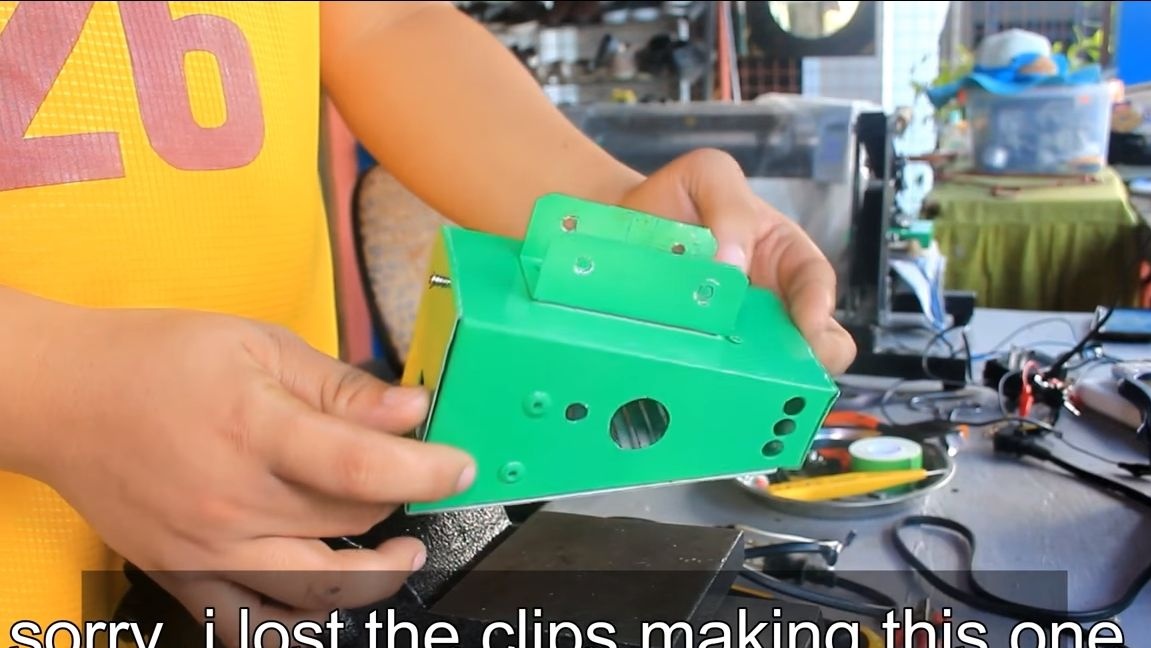
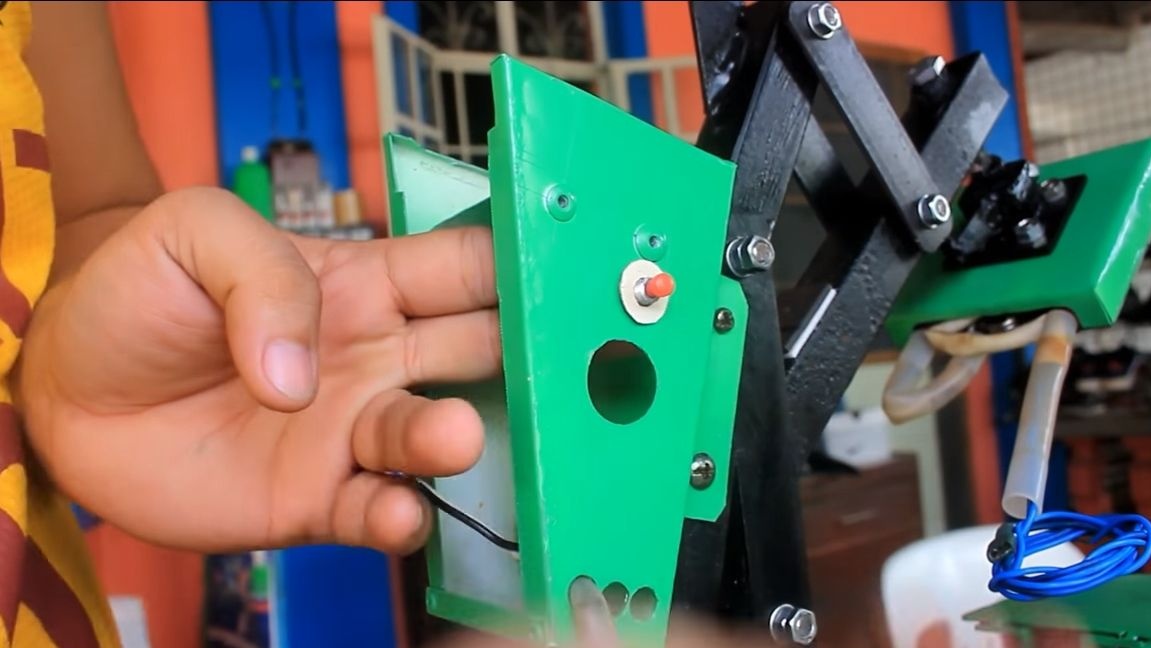
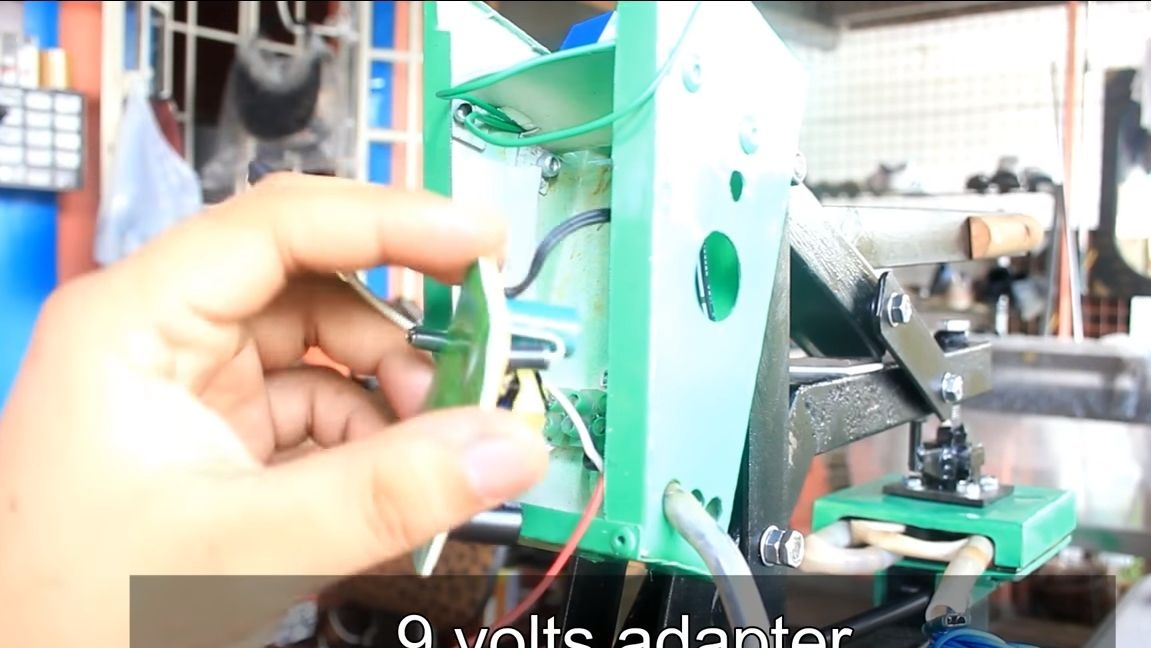
Step Nine. Electronics Installation
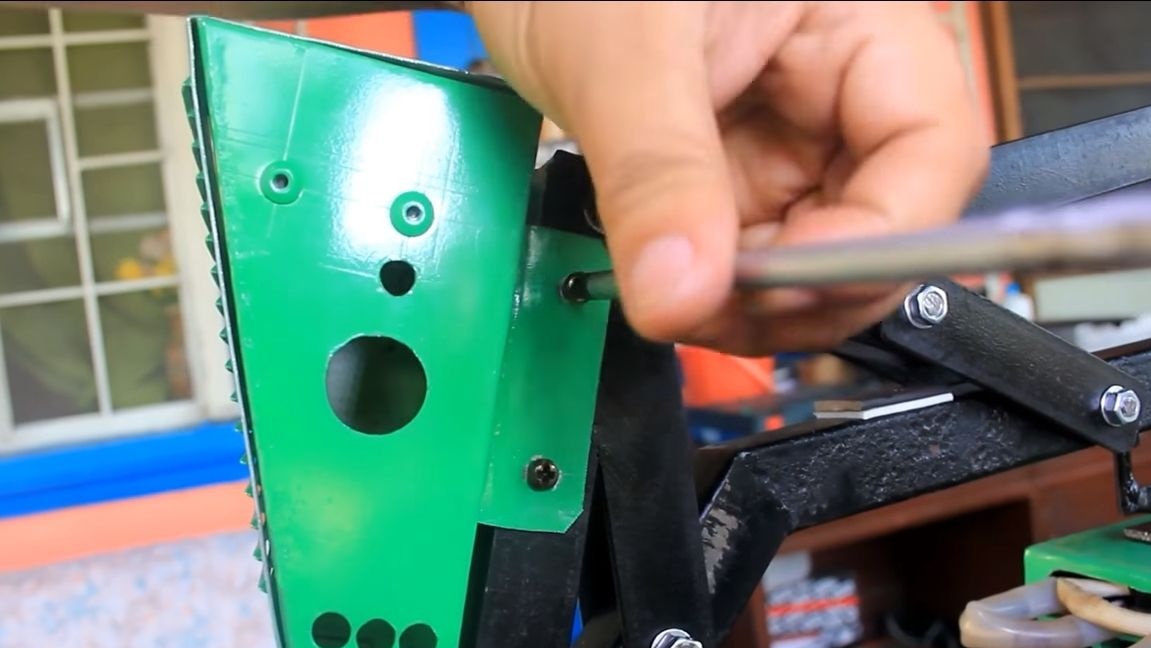
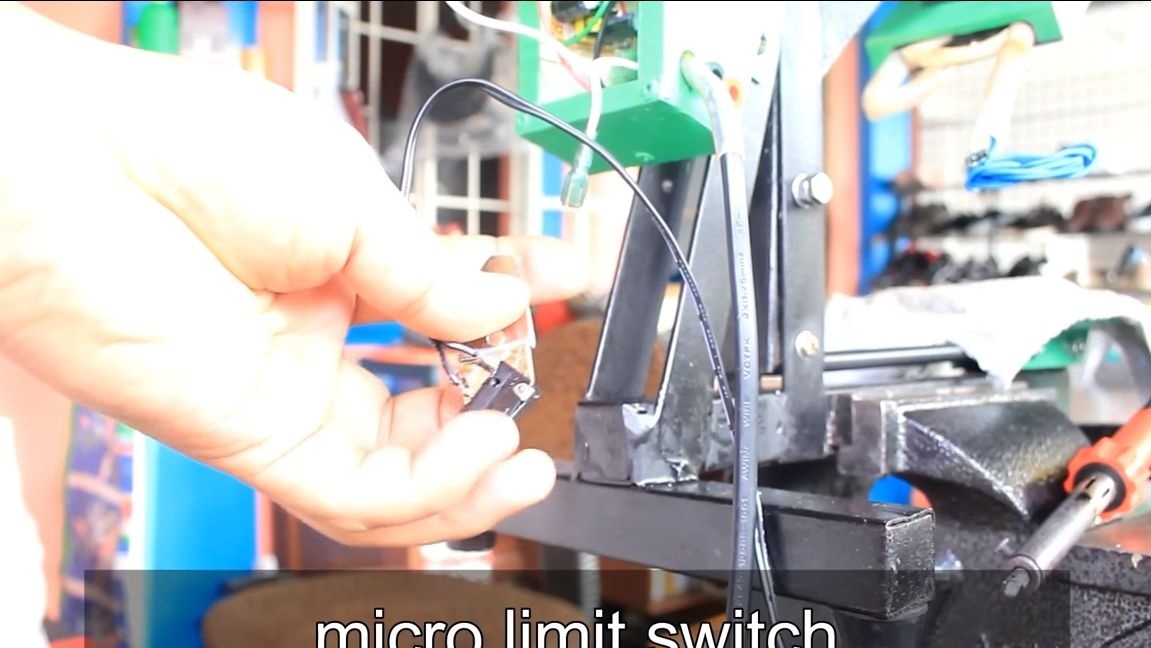
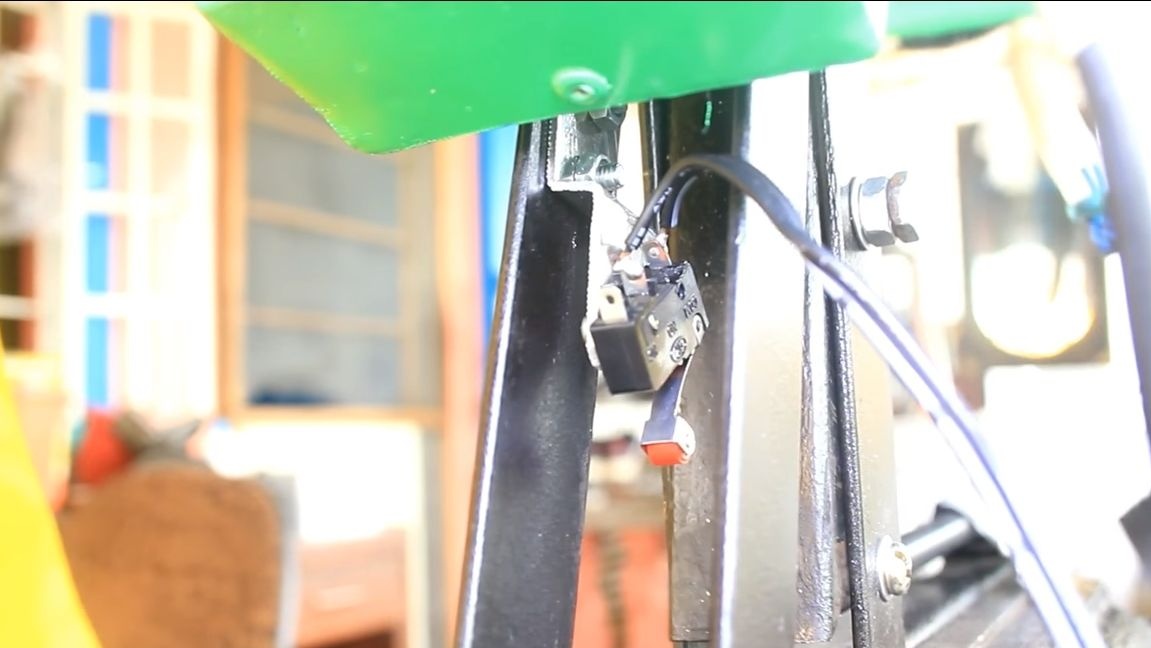
We will need electronics, which will allow us to turn on the heating element for a precisely specified time. You will also need a 9V power supply to power the timer. All this electronics placed inside the case, which is made of sheet metal. In addition, a button and a switch are installed on the case. And so that the machine turns on only when the lever is lowered, the author also installed a keyboard switch.

Step Ten Challenges!
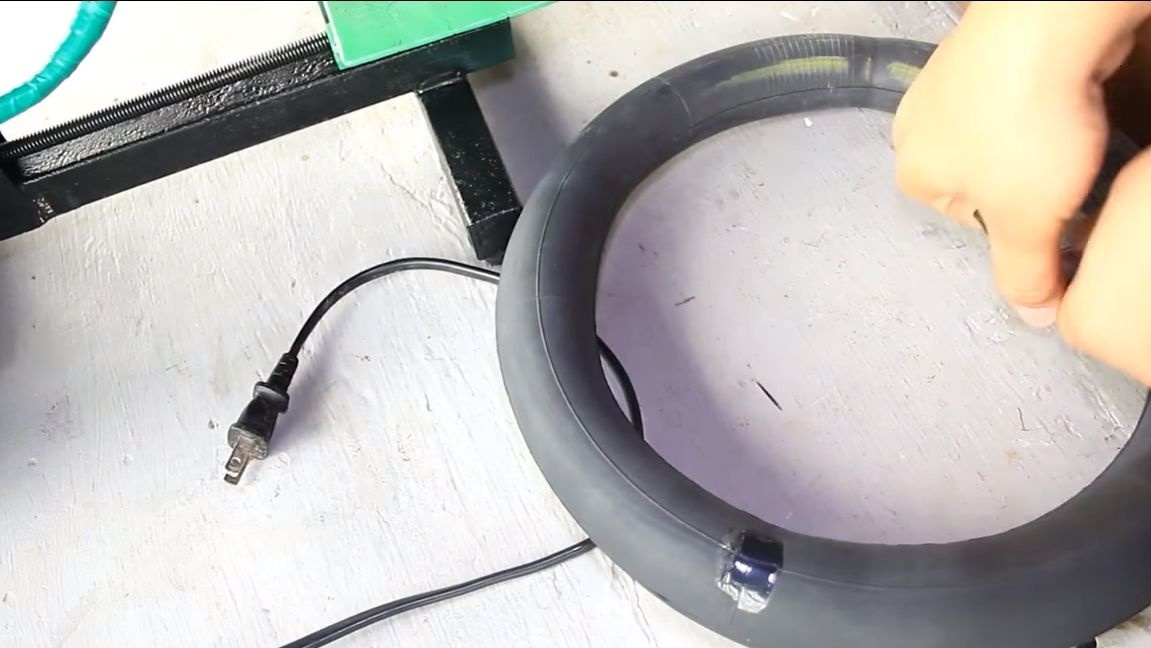
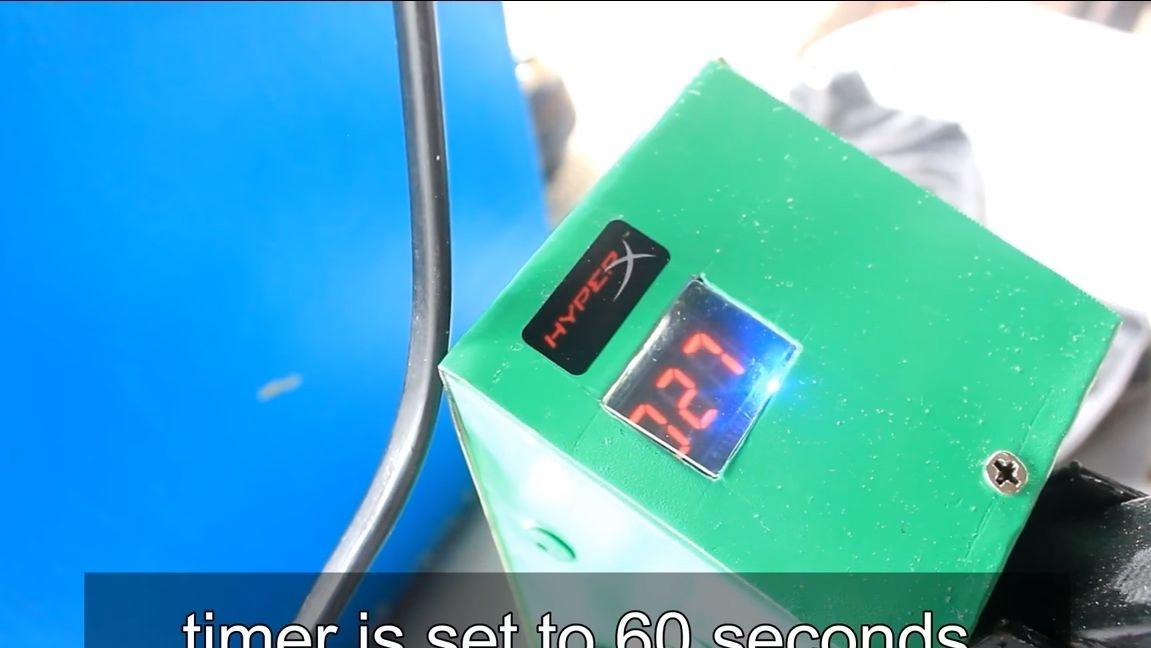
As a test, the author decided to vulcanize a bicycle chamber. Experience has shown that for good vulcanization you will need to set the timer to 60 seconds. When this time passes, the device turns off and the camera can be removed.
That's all, the project is over, I hope you liked it. Good luck and inspiration in making homemade!