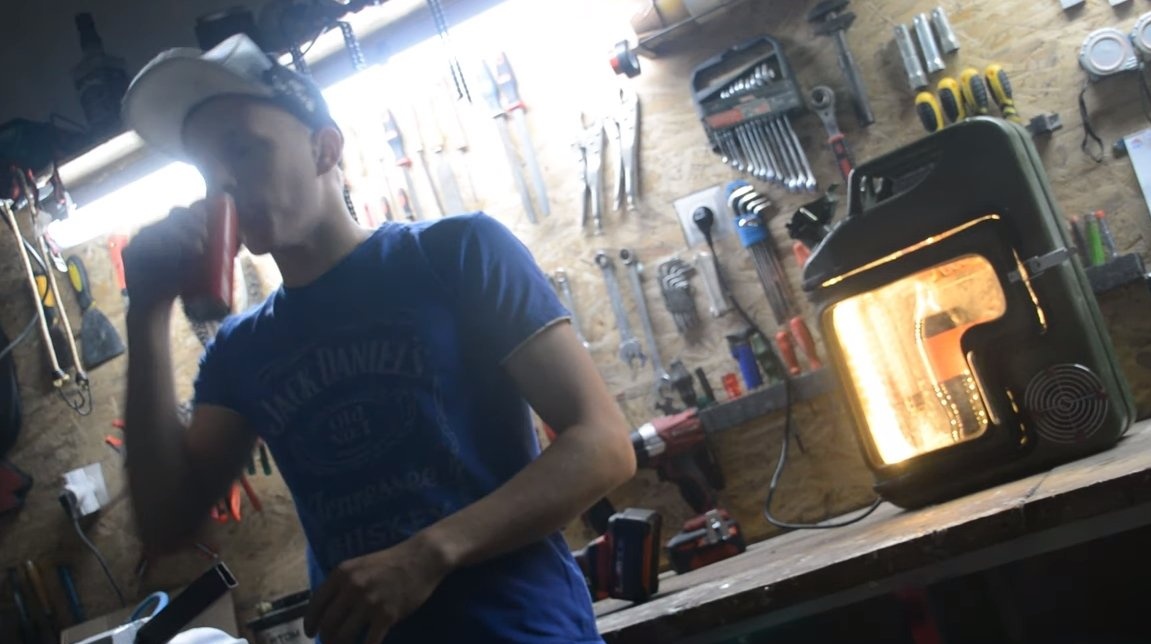
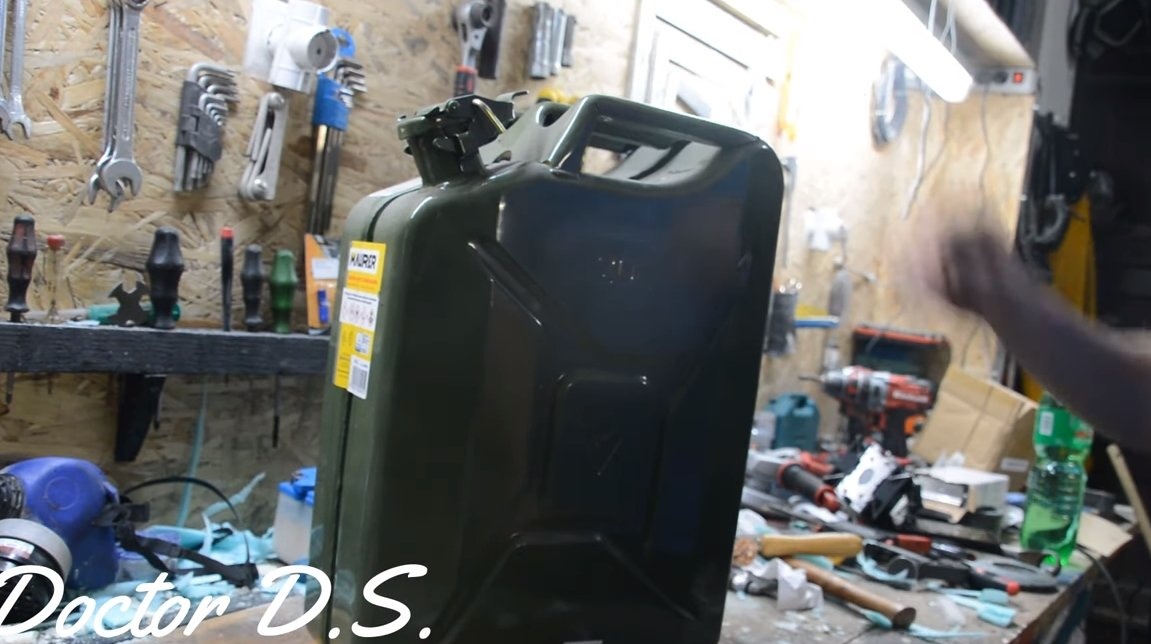
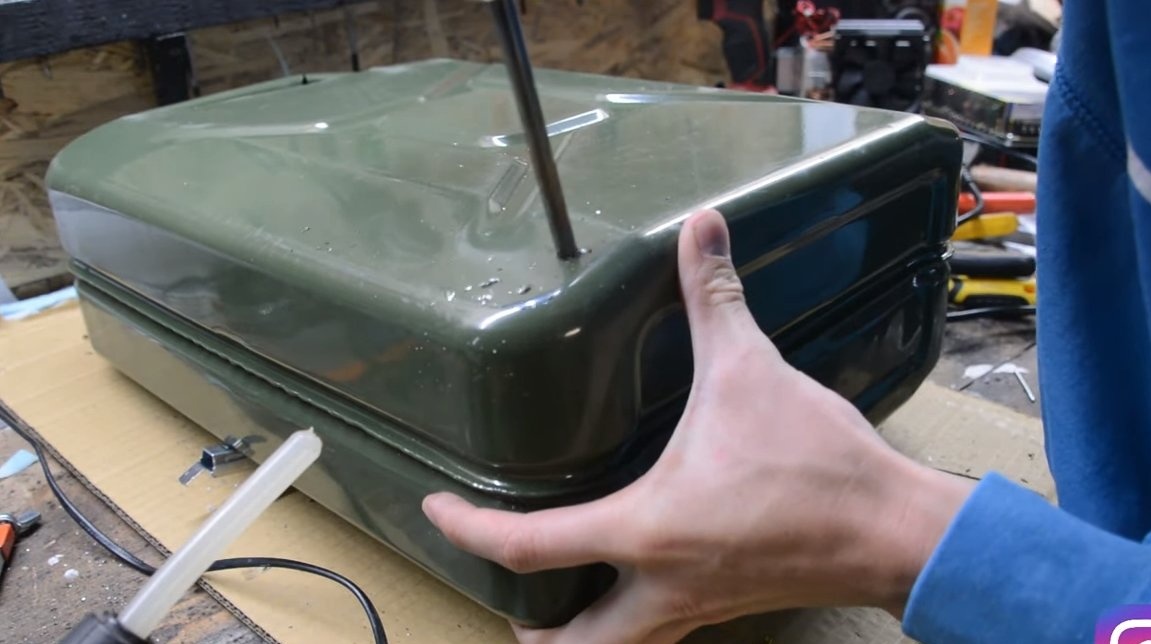
Although the summer is moving towards the end, there are still many days left when it will be quite hot. The only thing you want at such a time is to drink cool drinks. But what to do, because the refrigerator is not everywhere, it may not be in the garage or in the country. One author decided to try to solve this problem by making a small portable refrigerator. As a case, the author used an iron canister of 20 liters, and it was bought ready-made, it is powered from a 220V network through a power supply. By the way, it can easily work from a 12V power supply, so that such a refrigerator can be carried in a car. The device is lightweight and compact, the temperature inside the device is around 5 degrees Celsius, which is enough. If you are interested in such a project, I propose to study it in more detail!
Materials and tools used by the author:
Material List:
- 20 l canister;
-;
- a sealant for doors from the car;
- foil;
- Power Supply;
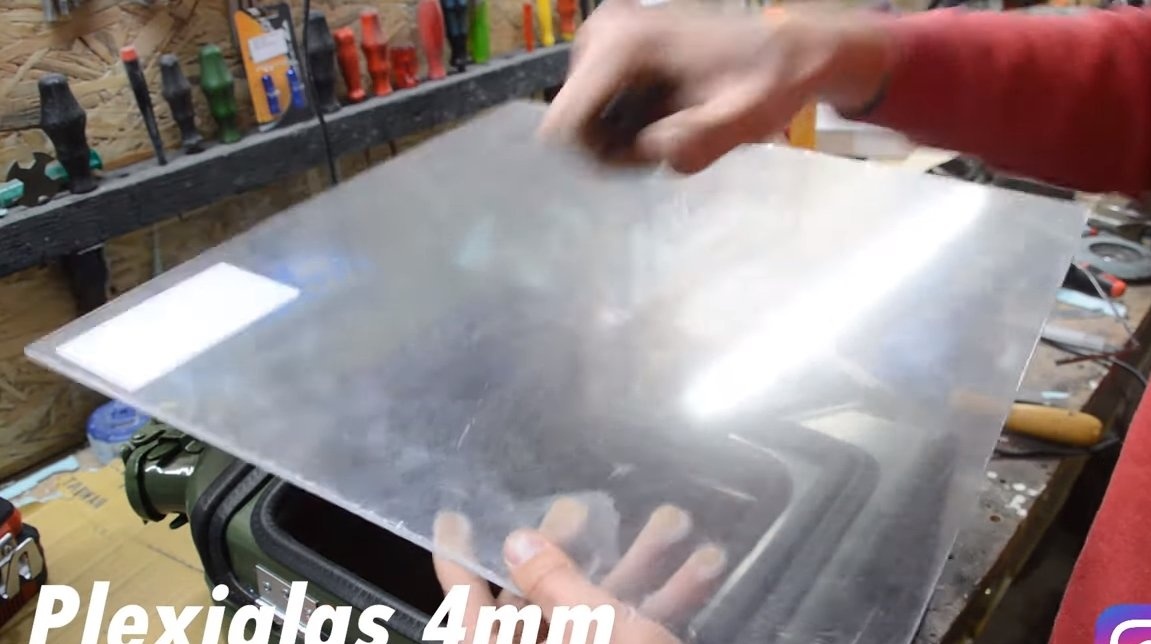
- plexiglass;
- sheet foam rubber;
- door hinges;
- LED Strip Light;
- polyurethane foam;
- a thermometer and more.
Tool List:
- grinder;
- rivet gun;
- drill with crowns;
- glue gun;
- marker;
- ruler;
- stationery knife.
Refrigerator manufacturing process:
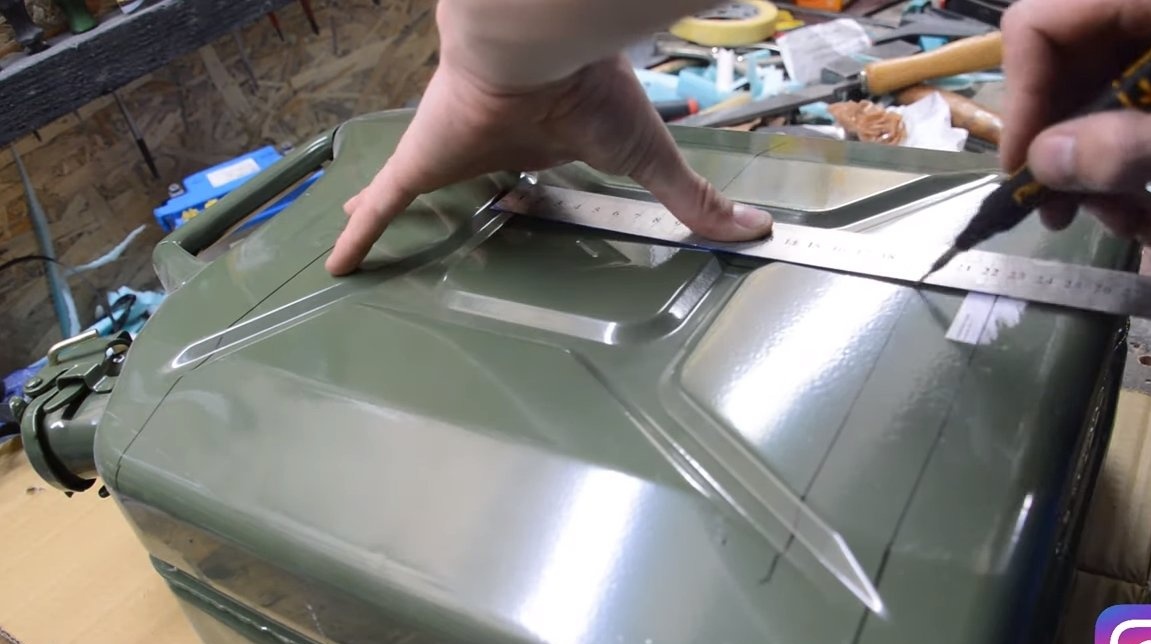
Step one. Cut the canister
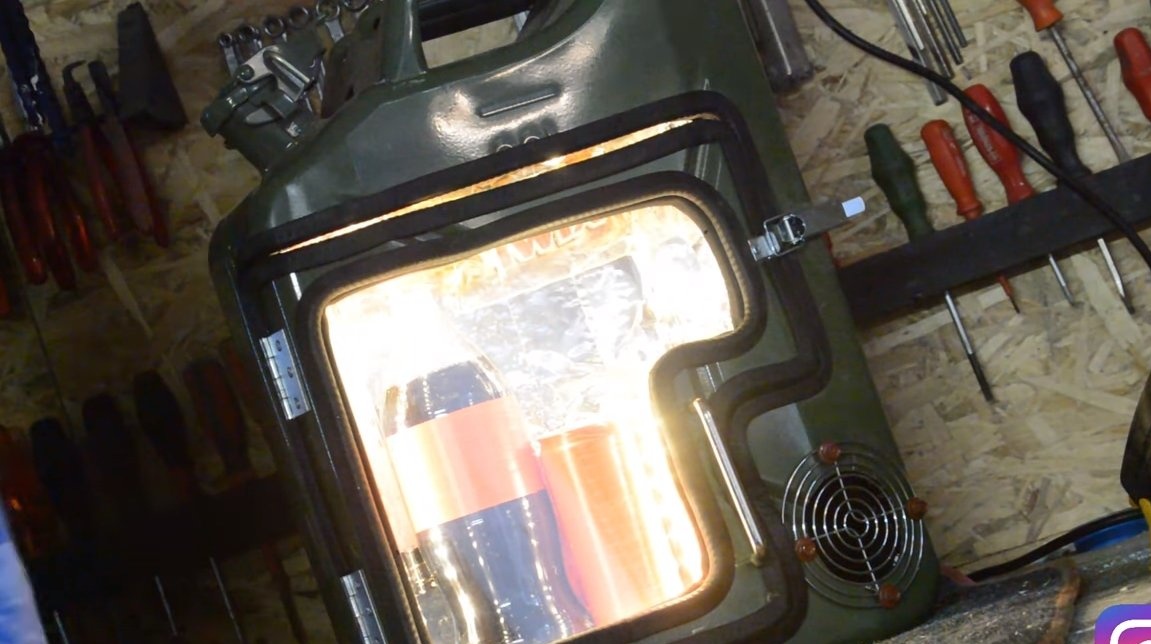
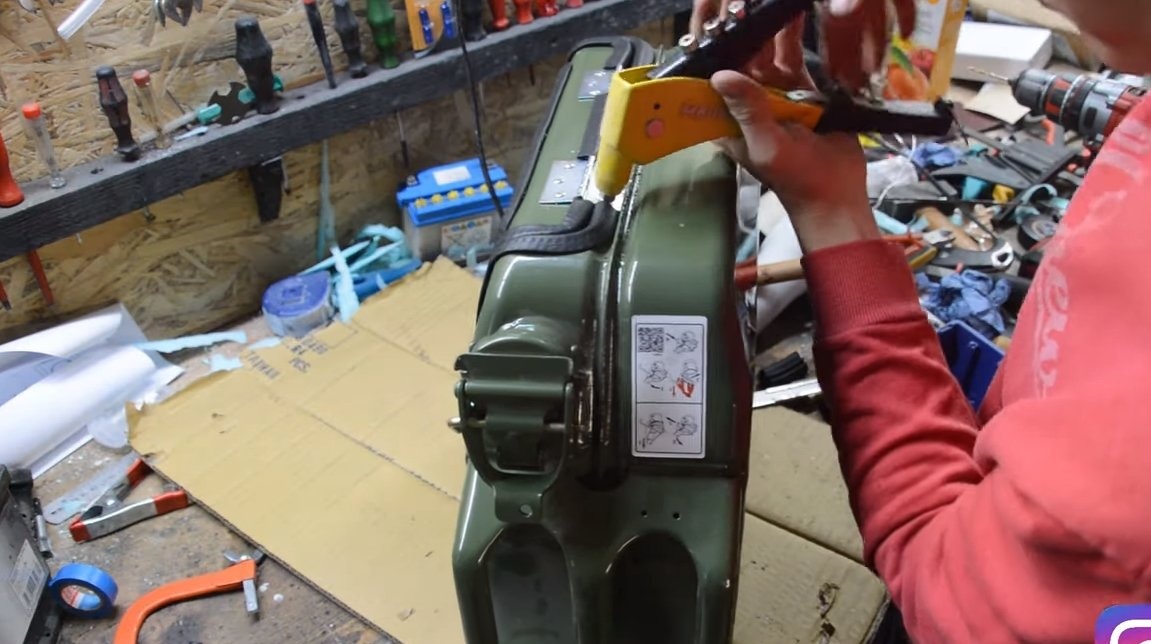
First of all, we need to cut the door on the side of the canister. The author has a transparent door, plexiglass was used for this. Of course, with a backlight and a transparent door, the refrigerator looks quite interesting, but keep in mind that due to such a door there will be increased loss of cold, in extreme cases, the glass can be made double.
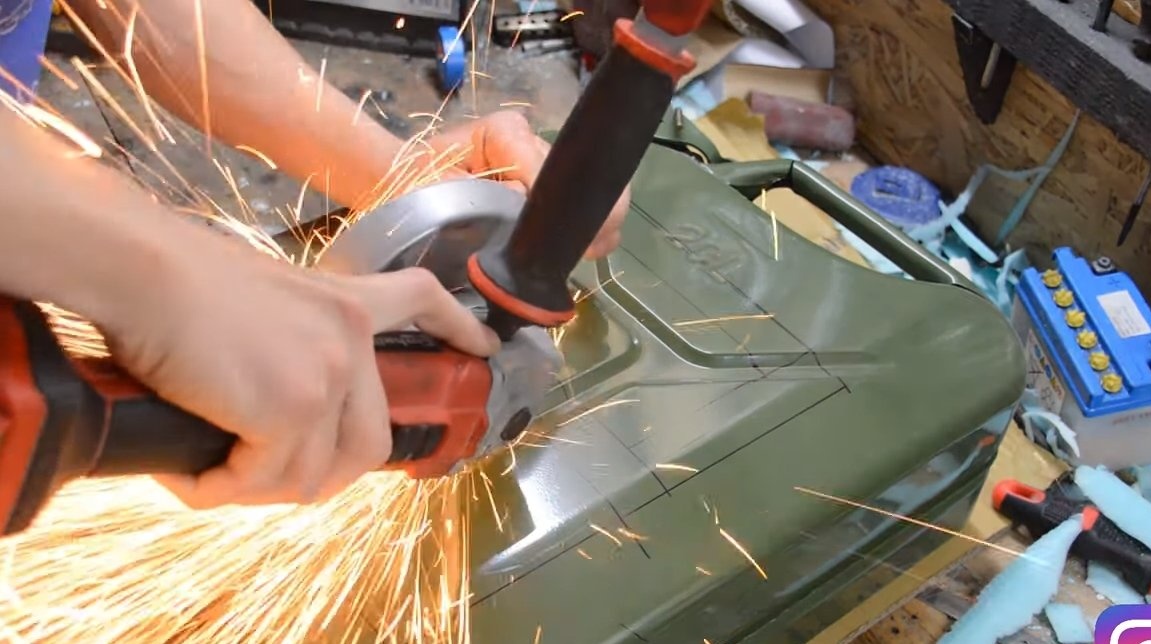
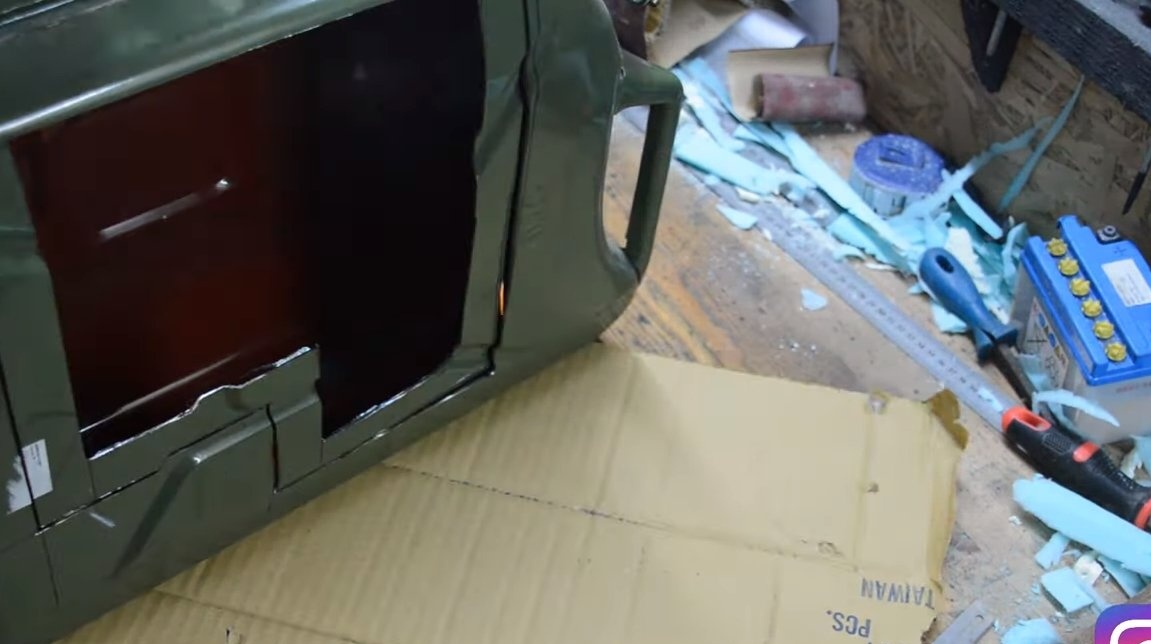
Having marked everything, we work as a grinder. Note that if previously there was gasoline or other fuel in the canister, the canister will most likely explode when cutting. It is better to rinse the canister well or cut it with water inside.
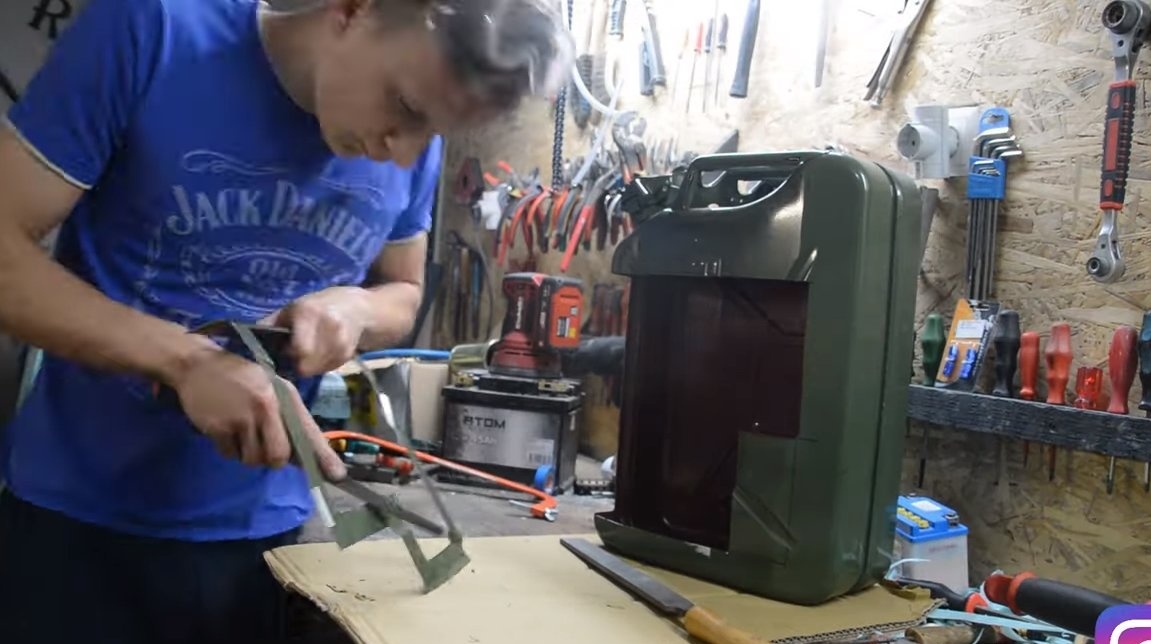
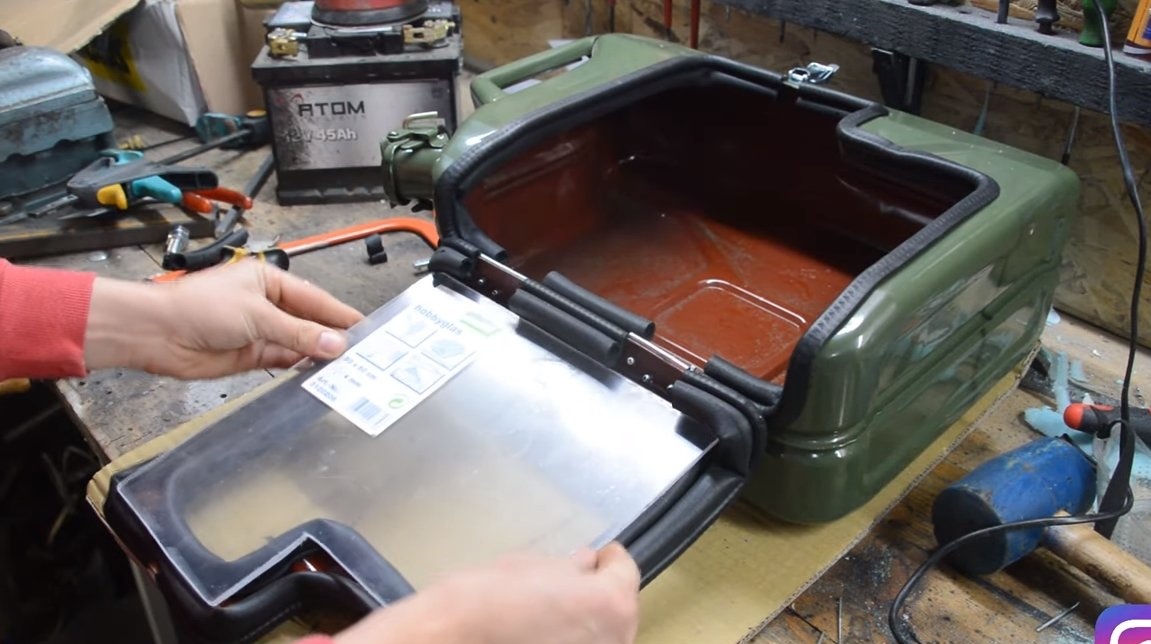
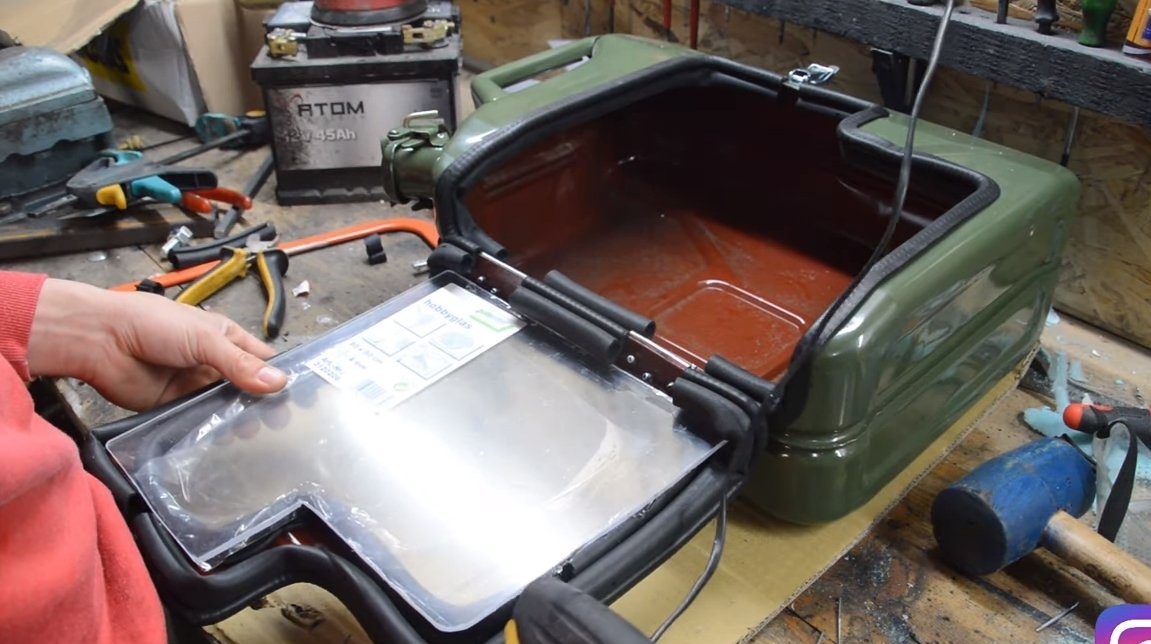
Step Two Door
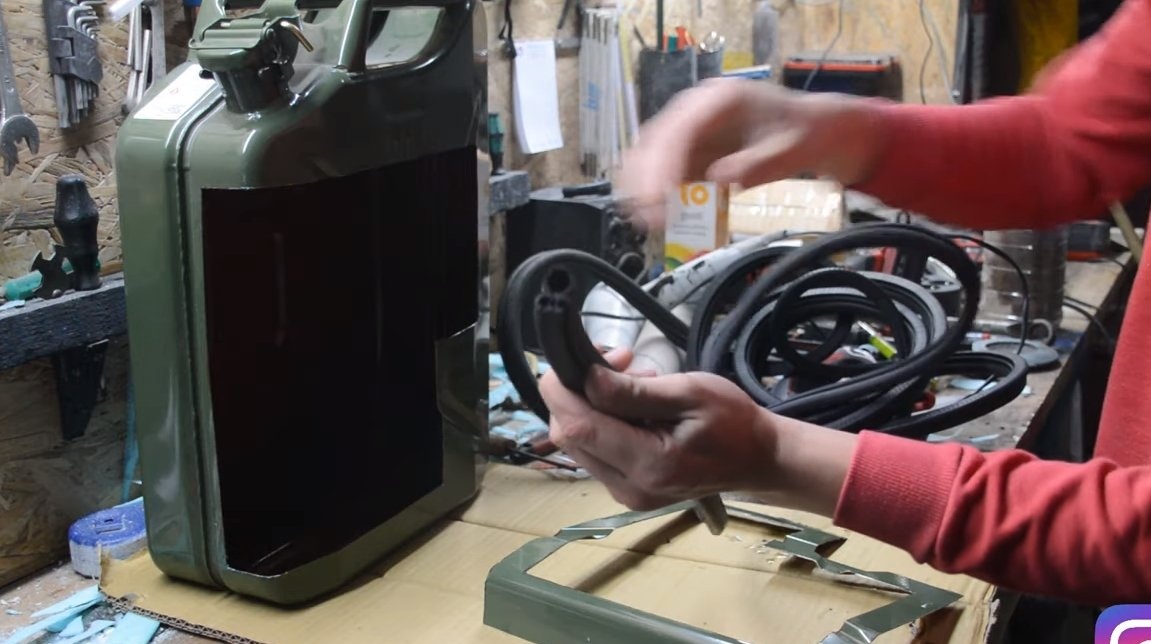
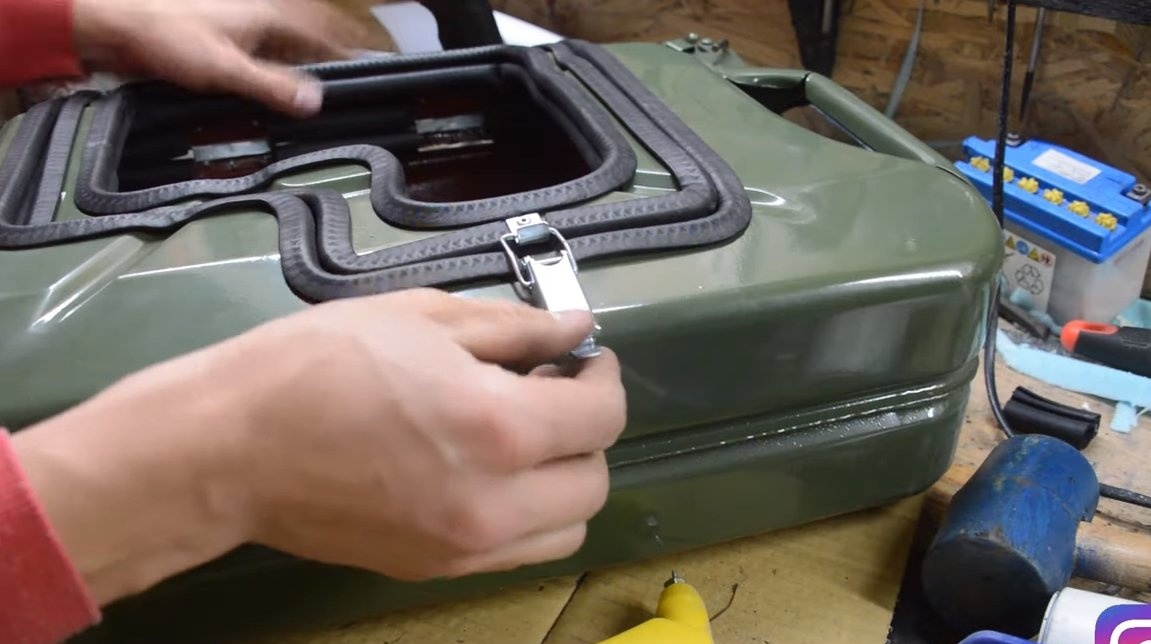
We equip the door, it is very important for us that it fits tightly, otherwise the cold will quickly leave the refrigerator. As a sealant, the author used the rubber bands from the car, which are usually placed on the door, trunk and so on.
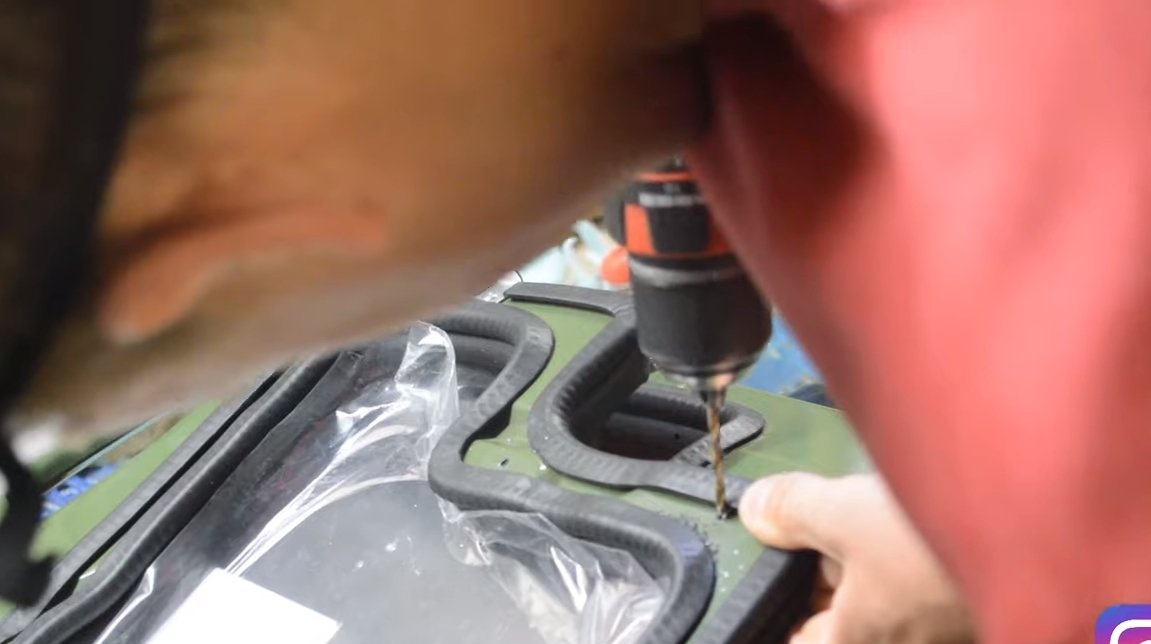
We hang the door on the door hinges, the author used rivets to fasten the hinges, but you can also use screws with nuts.
In the end, we install glass on the door, in our case, plexiglass is used as the material, it is easy to cut and it conducts less heat compared to natural glass.The author glued plexiglass to the door from the inside using a glue gun. For better thermal insulation, you can install another glass outside.

Step Three Installation of refrigeration equipment
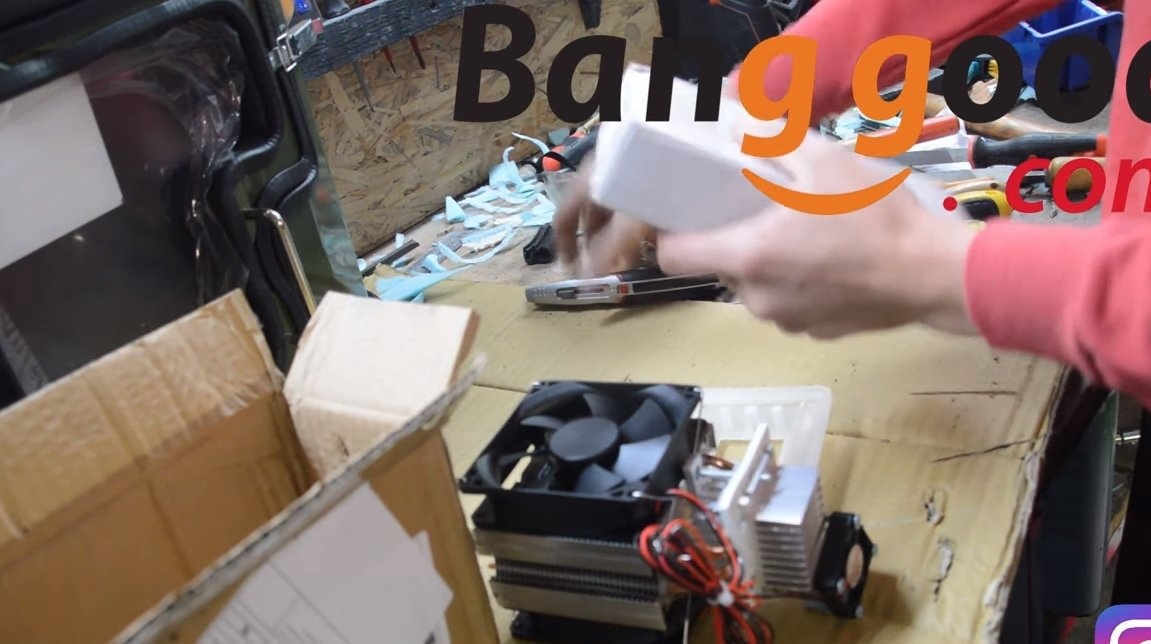
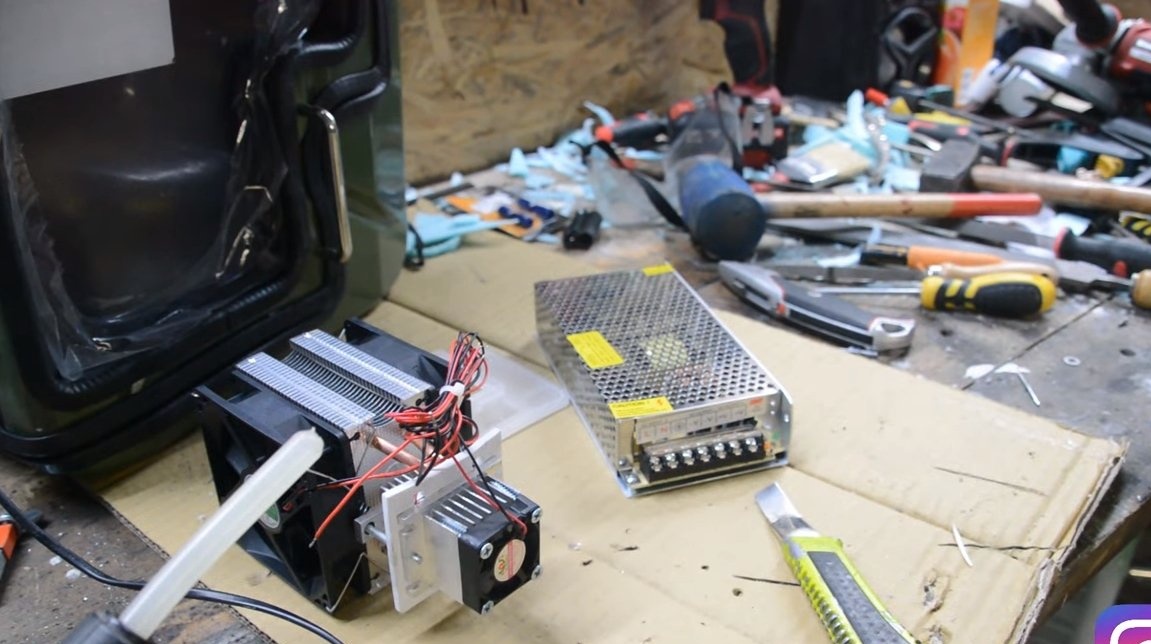
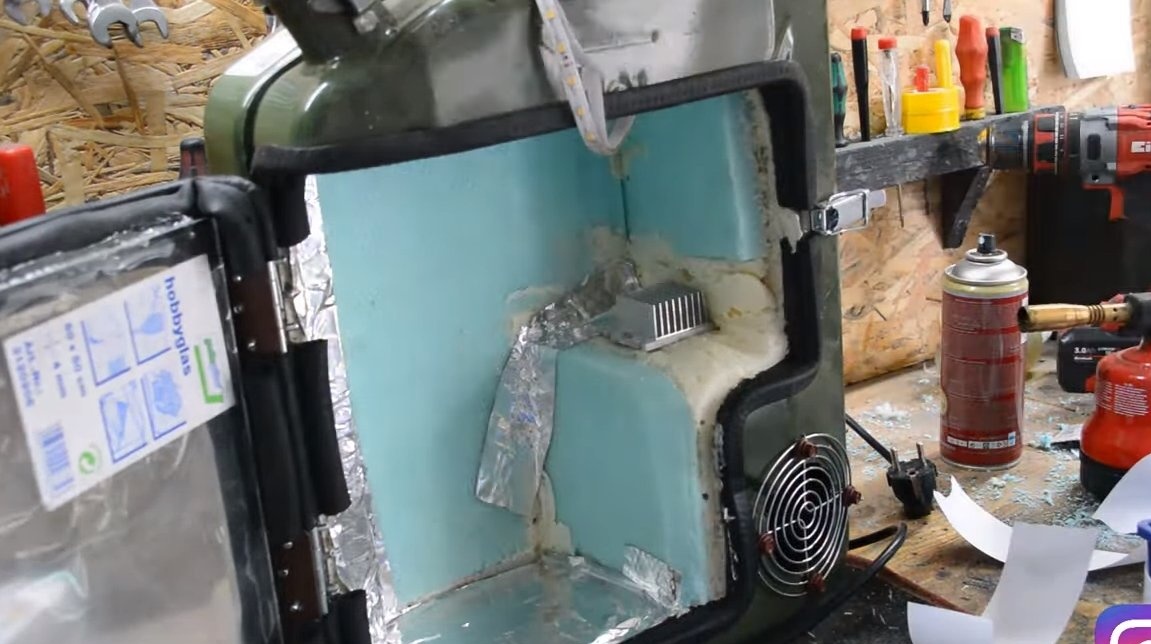
Our refrigeration equipment runs on 12V, it is designed on semiconductors (probably Pelt elements are used). The device consists of three main radiators, two of them remove heat outside, and the third is installed inside the refrigerator, it is the cooler. The author uses a power supply to power the equipment, but it would also be useful to put out a socket for connecting the battery.
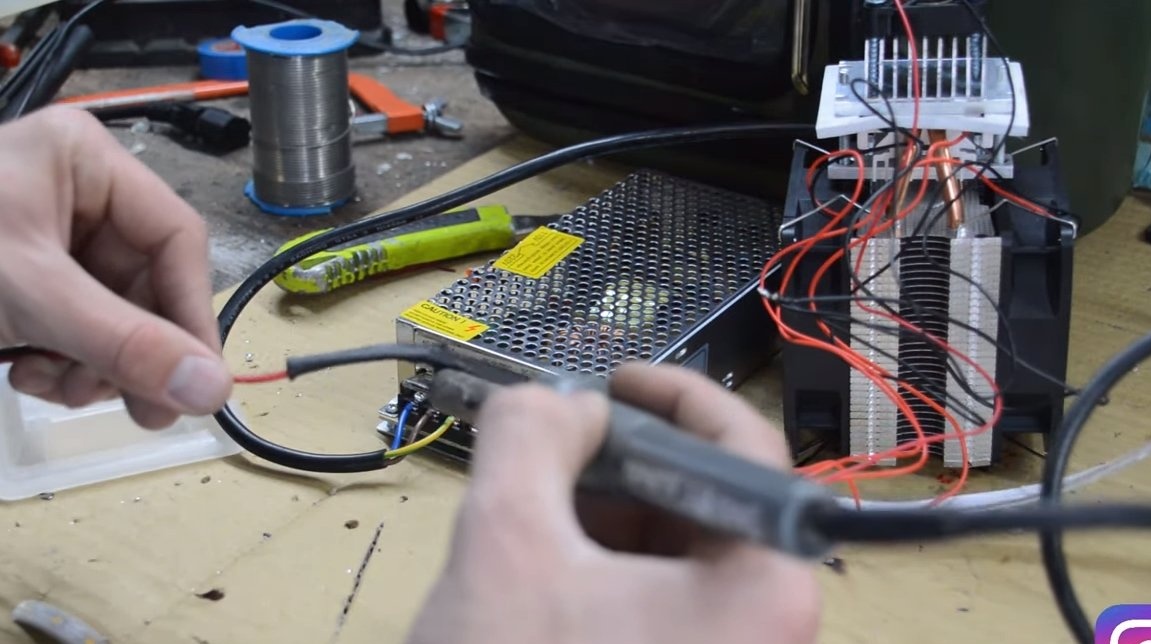
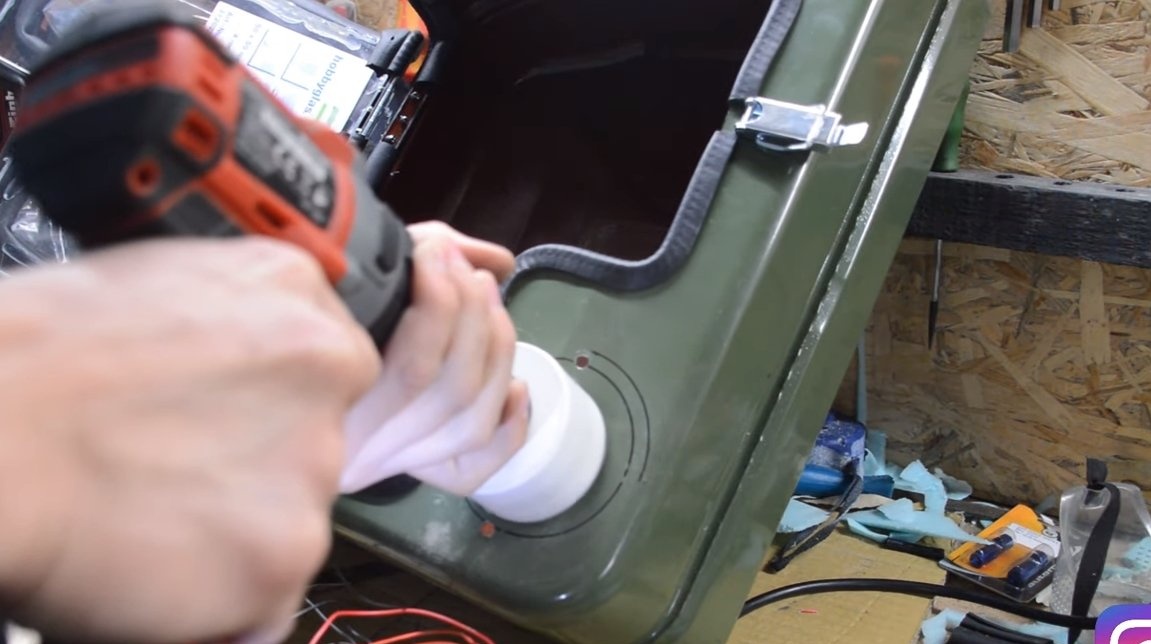
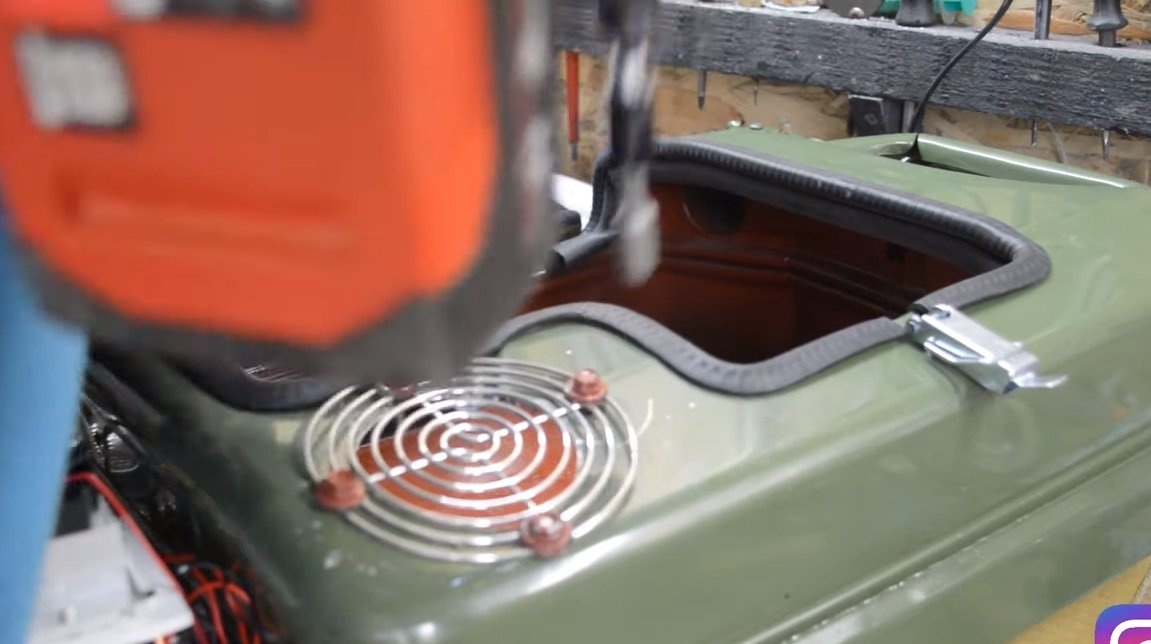
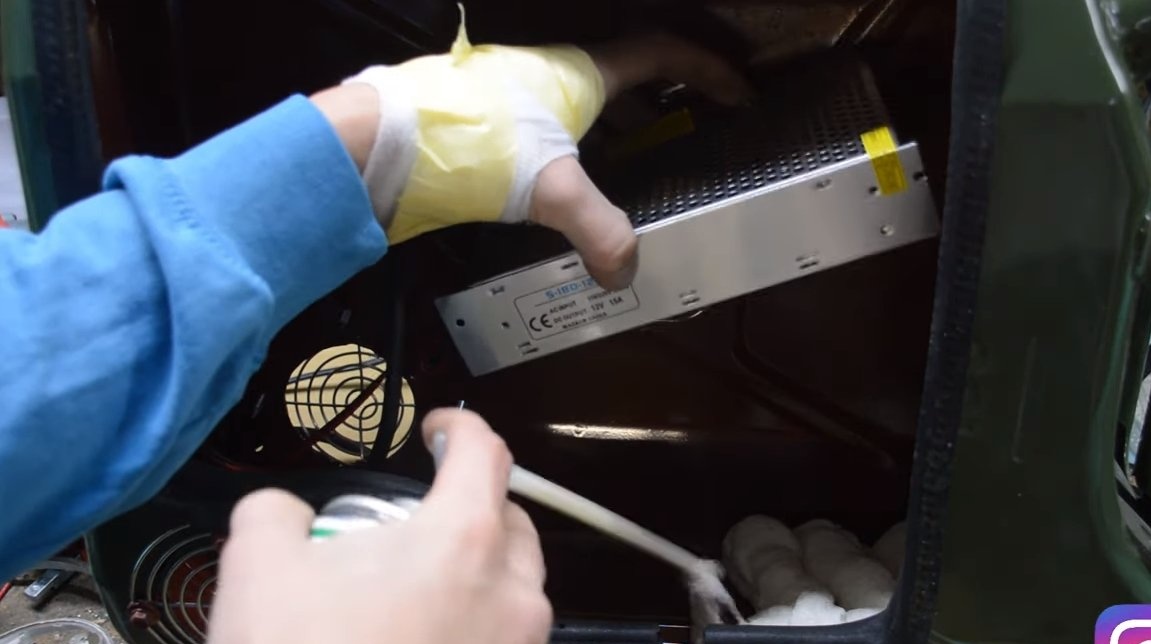
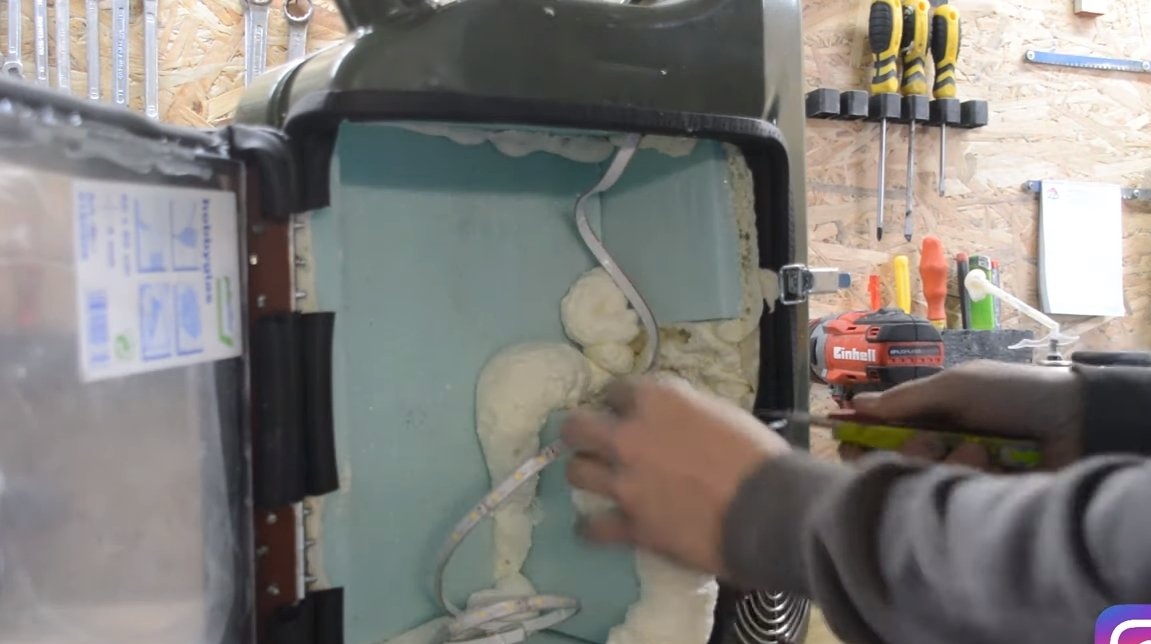
We drill holes in the lower corner of the canister for blowing cooling radiators, the author puts protective grilles on the holes. You can fix the equipment on the mounting foam, also do not forget to install the power supply. Note that the power supply will warm up, and heat dissipation is also important for it, so you do not need to fill it all with foam. At the same step, we also connect a 12V LED strip as a backlight.
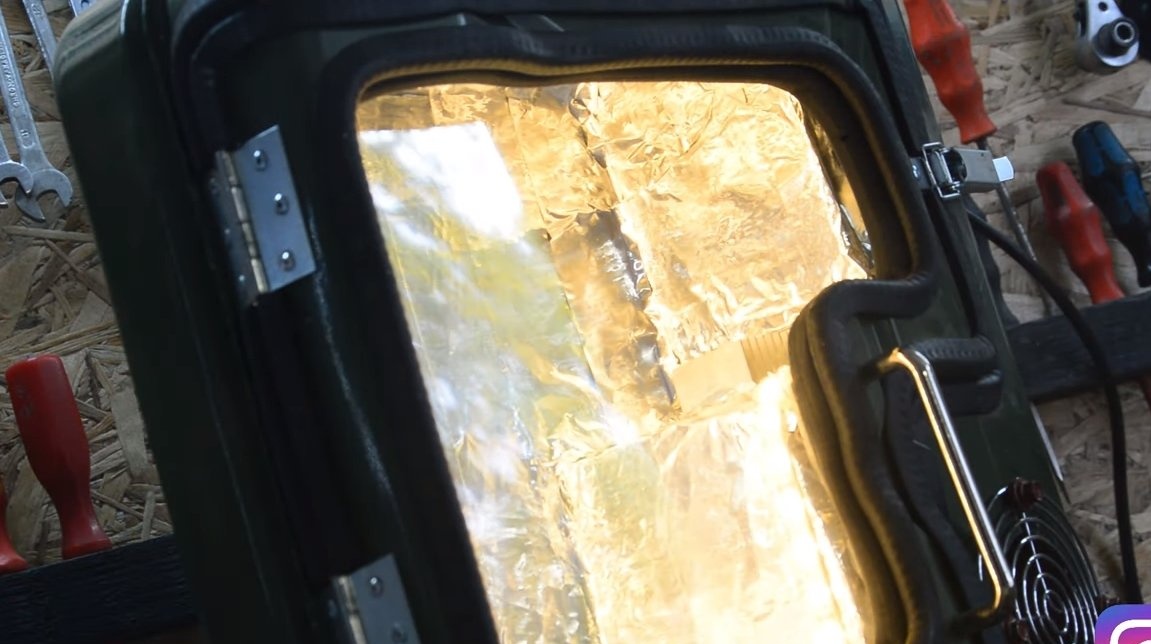
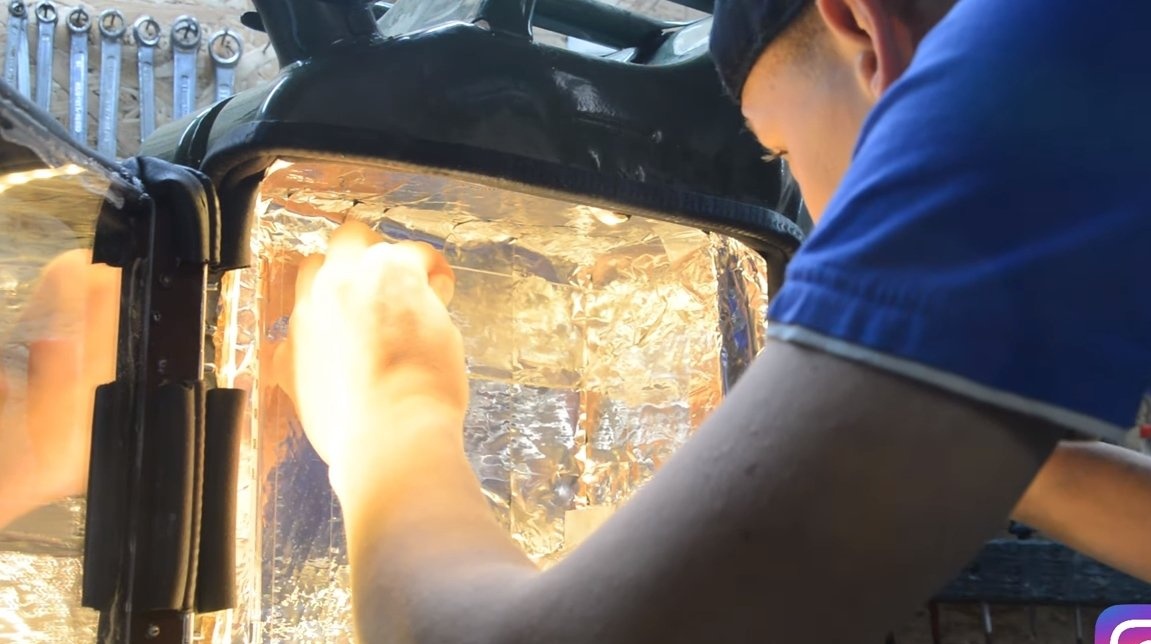
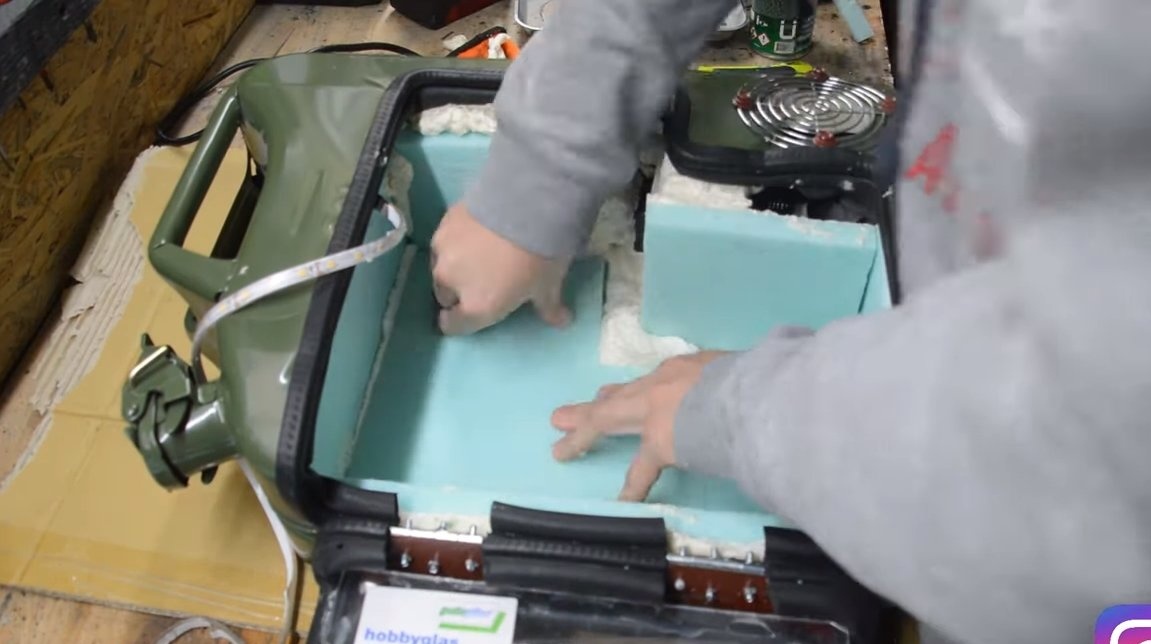
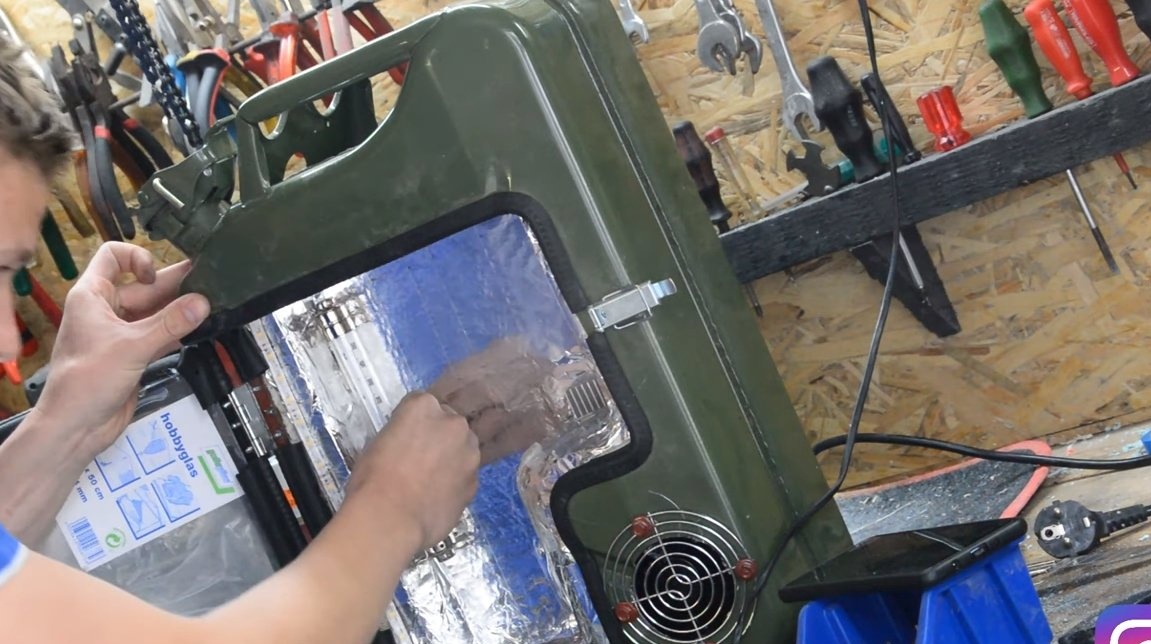
Step Four Insulation
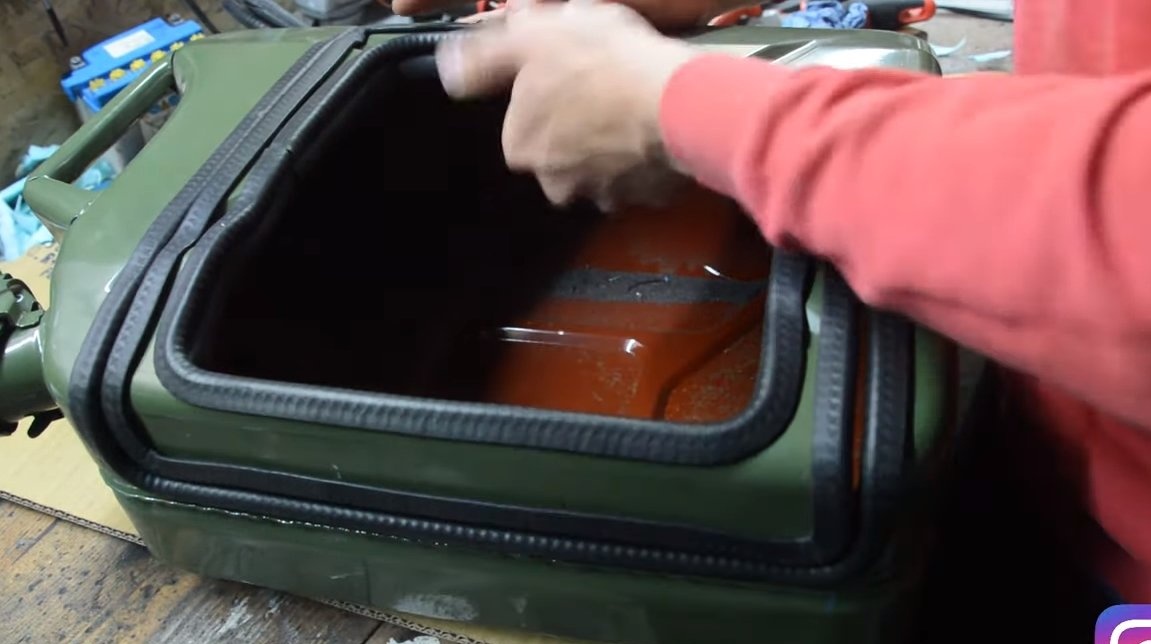
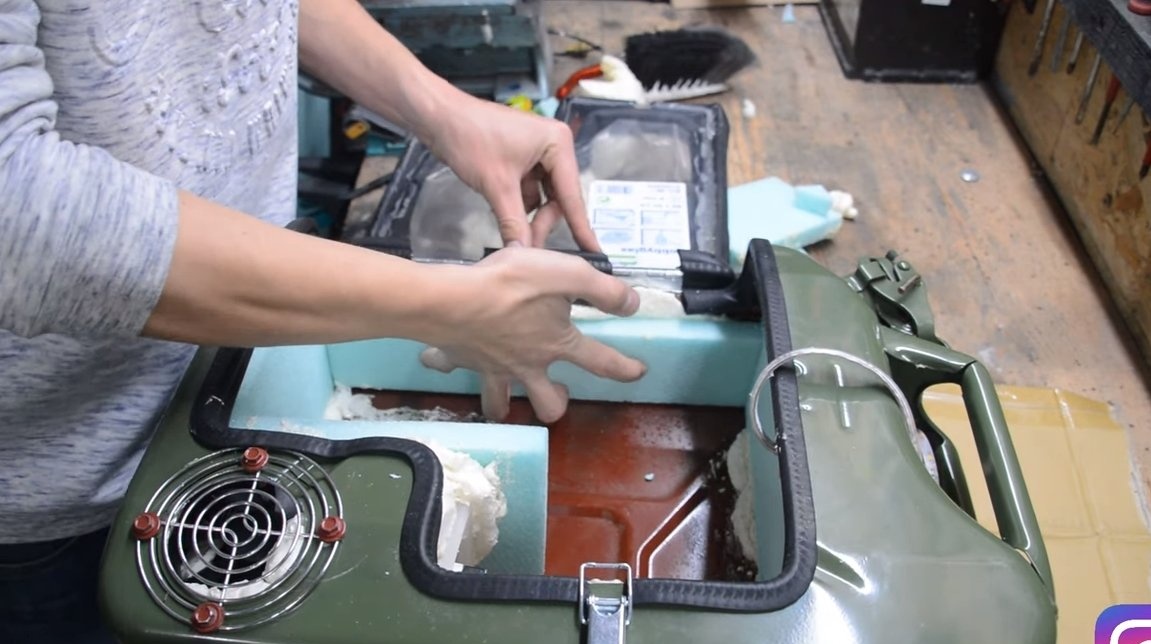
The whole body must be well insulated from the inside, as a result we will get lower temperatures. As an insulator, sheet foam rubber is perfect, we glue it inside the refrigerator, as an adhesive, you can use mounting foam or hot glue. We also paste over the foam rubber and refrigeration equipment, as a result, only the “cold” radiator should remain inside the refrigerator.
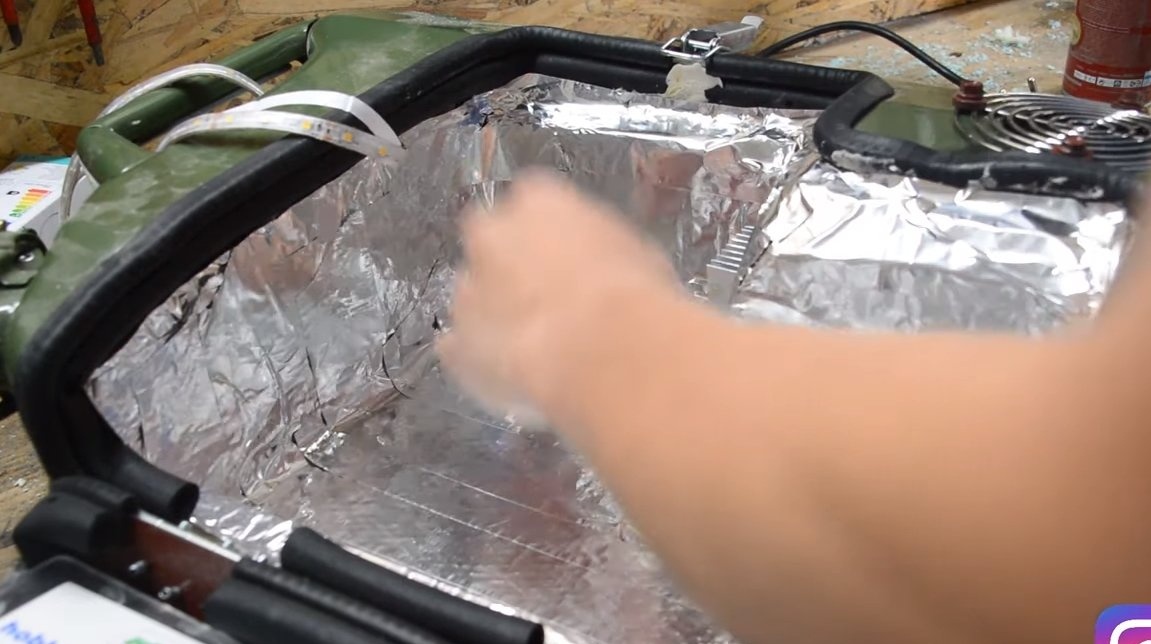
As an additional insulation and an interesting inner world, we glue it inside with foil. In the end, it remains only to glue the LED strip in the right place.
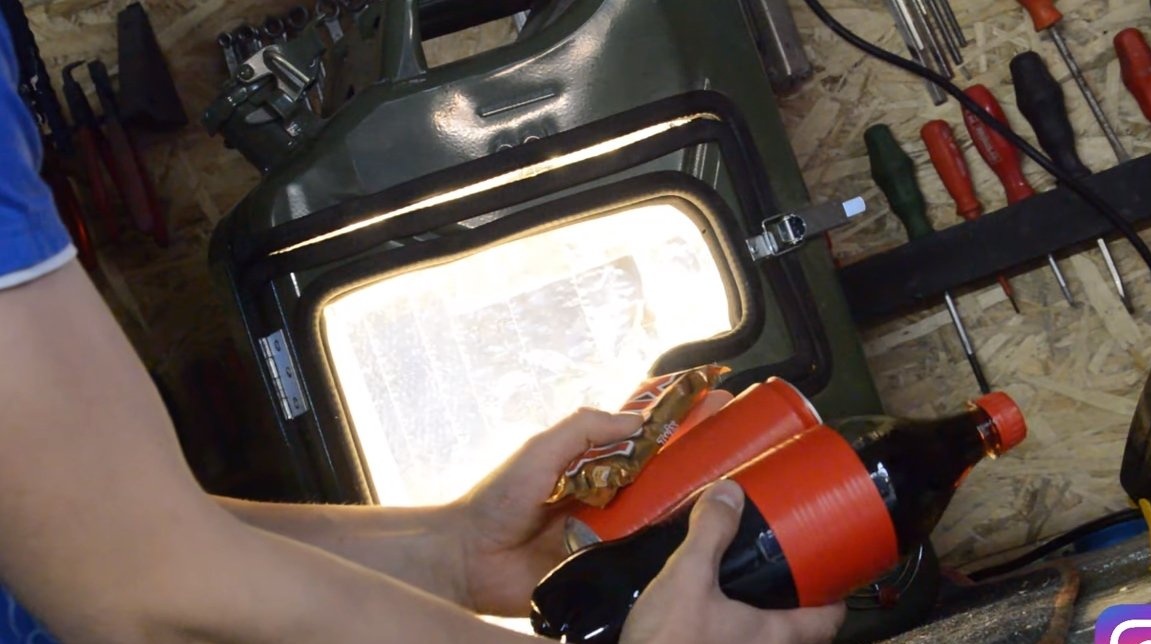
Step Five Finishing touches and tests
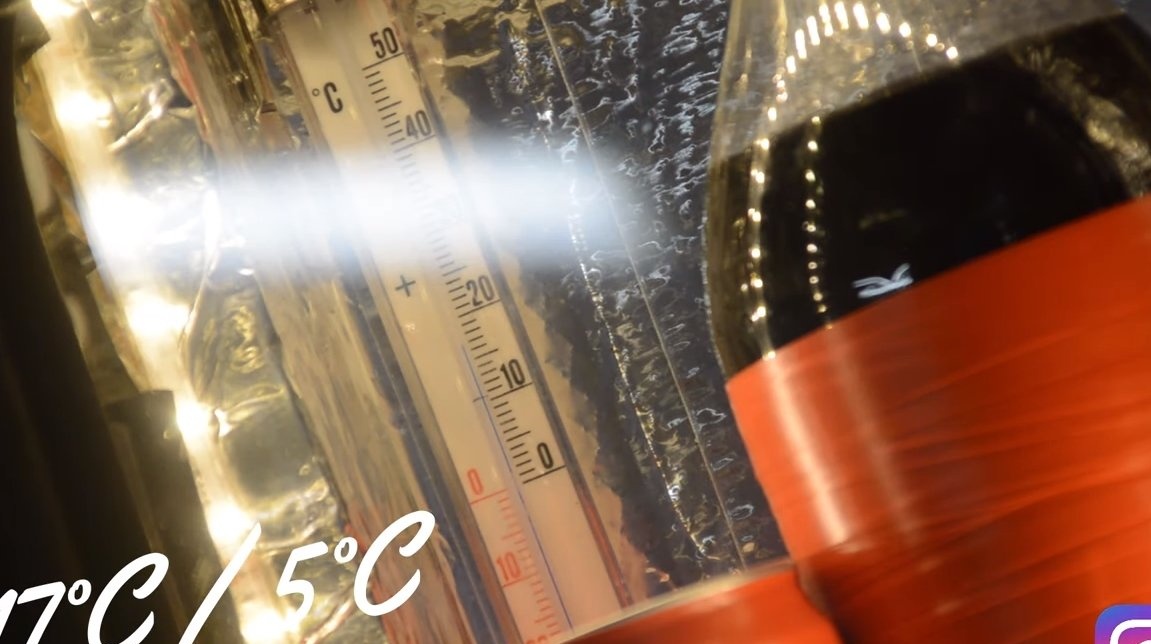
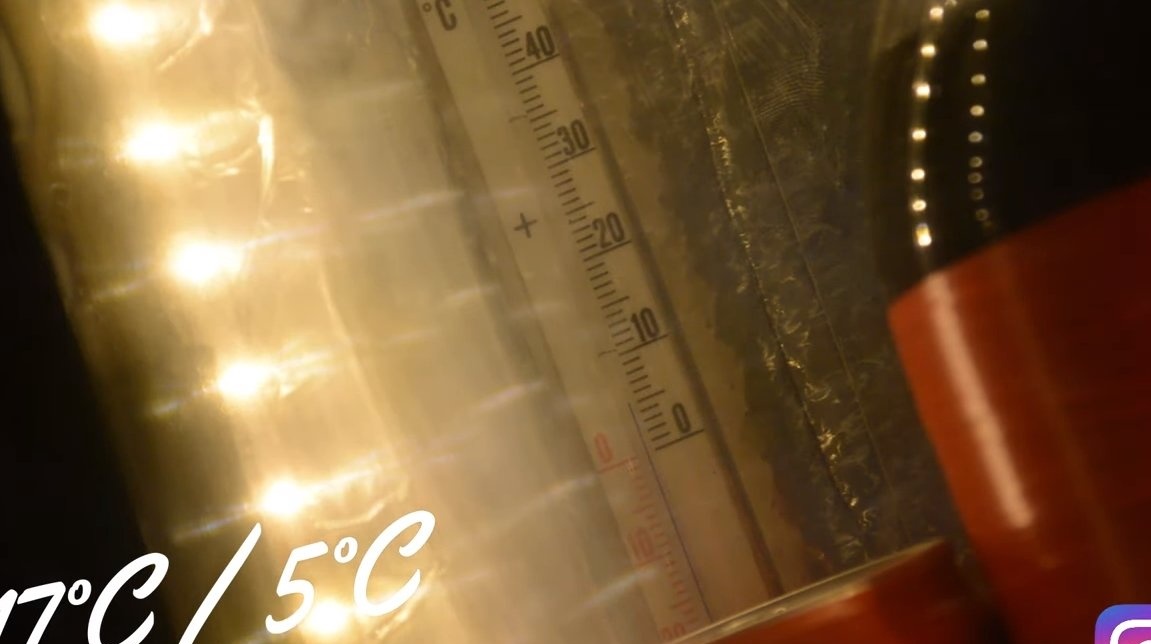
The refrigerator is ready, install a thermometer inside so that you can monitor the temperature. You can do the first start, the refrigerator looks great. The temperature quickly dropped from + 17 ° C to + 5 ° C. The author glued a shelf with hot glue, it helped to put Twix inside.
That's all, homemade It works fine, and it can be powered from the car’s on-board network, battery or from the 220V network through the power supply.
On this project can be considered successfully completed, I hope you liked the homemade work, and you found useful ideas and thoughts for yourself. Good luck and creative inspiration, if you decide to realize such a homemade product. Do not forget to share your ideas and homemade things with us!