

I think everyone who likes to work do it yourself, faced with such a problem as a breakdown of the hammer handle. Particularly susceptible to this are the handles of hammer nails.
This tool is very convenient. Especially at a construction site. After all, there you often have to assemble and dismantle various temporary structures - formwork, scaffolding, scaffolds, supports and so on. At the same time, nails must be driven in and pulled out, because, often, these structures are made of the same boards. With such work, having only one hammer-nail puller, you can perform all the necessary operations.
But the fact is that rough temporary structures are assembled from boards of large thickness and, as a result, large nails are used. In addition, nails are rapidly oxidized by precipitation and mortar, and it is difficult to remove them. At the same time, the hammer handle is subjected to enormous loads directed “to break”, and if it is made of wood, it breaks very often. I tried to weld a piece of metal pipe instead of a handle, but this shifts the center of gravity, and the hammer substantially loses its impulse of impact. As a nail clipper, it can still be used, but, now, hammering large nails with it is already difficult.
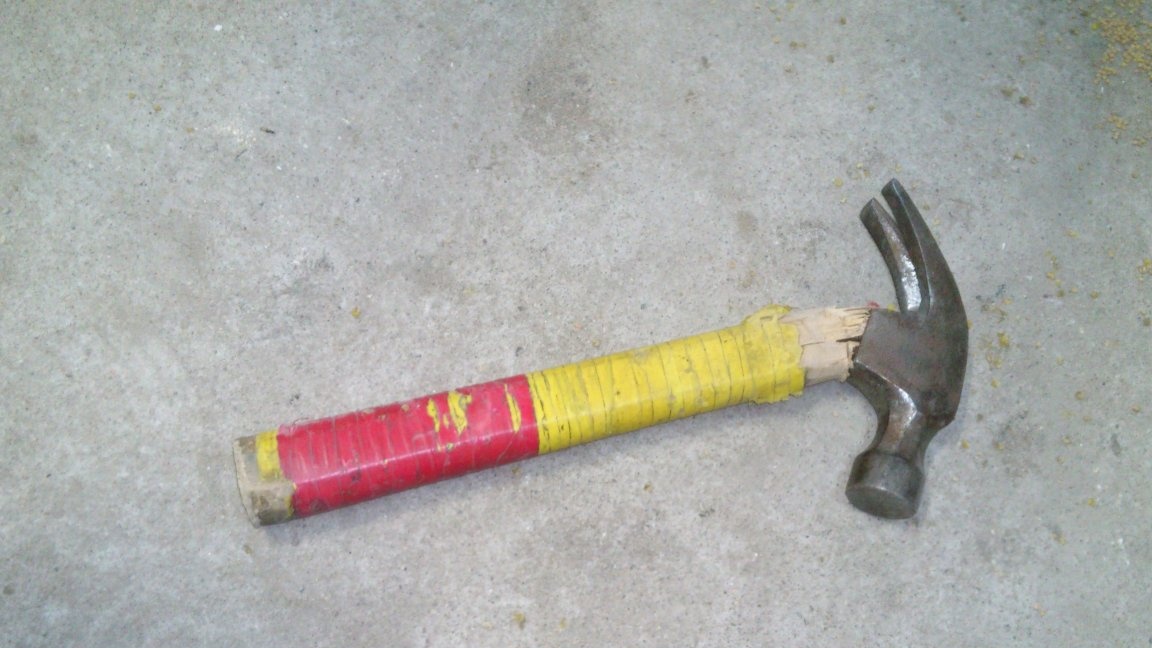
Since there is always not enough time, so as not to stop the work, I got three hammers-nails. When one breaks down, I work for the other. Why then there are three of them? ... Yes, because, firstly, the time for repairing the "first victim" is not immediately found. Secondly, it happened that he broke two in one evening ... Even, specifically, on the same nail!)))
The handles that come with hammers from the store tend to break immediately. When planting a hammer on a new one, I usually strengthen it - with a long drill on a tree, I axially drill a handle two-thirds of the length, fill the hammer, and then drive a metal pin with a diameter of 8 mm into the handle.
But this is “not a panacea”!)))
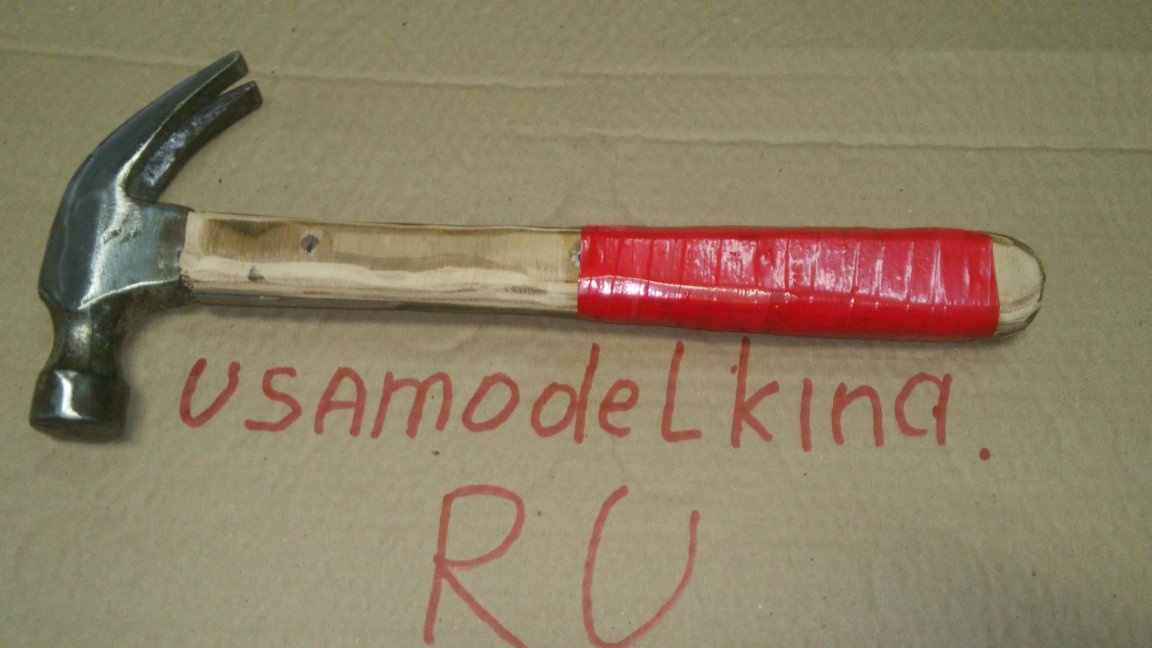
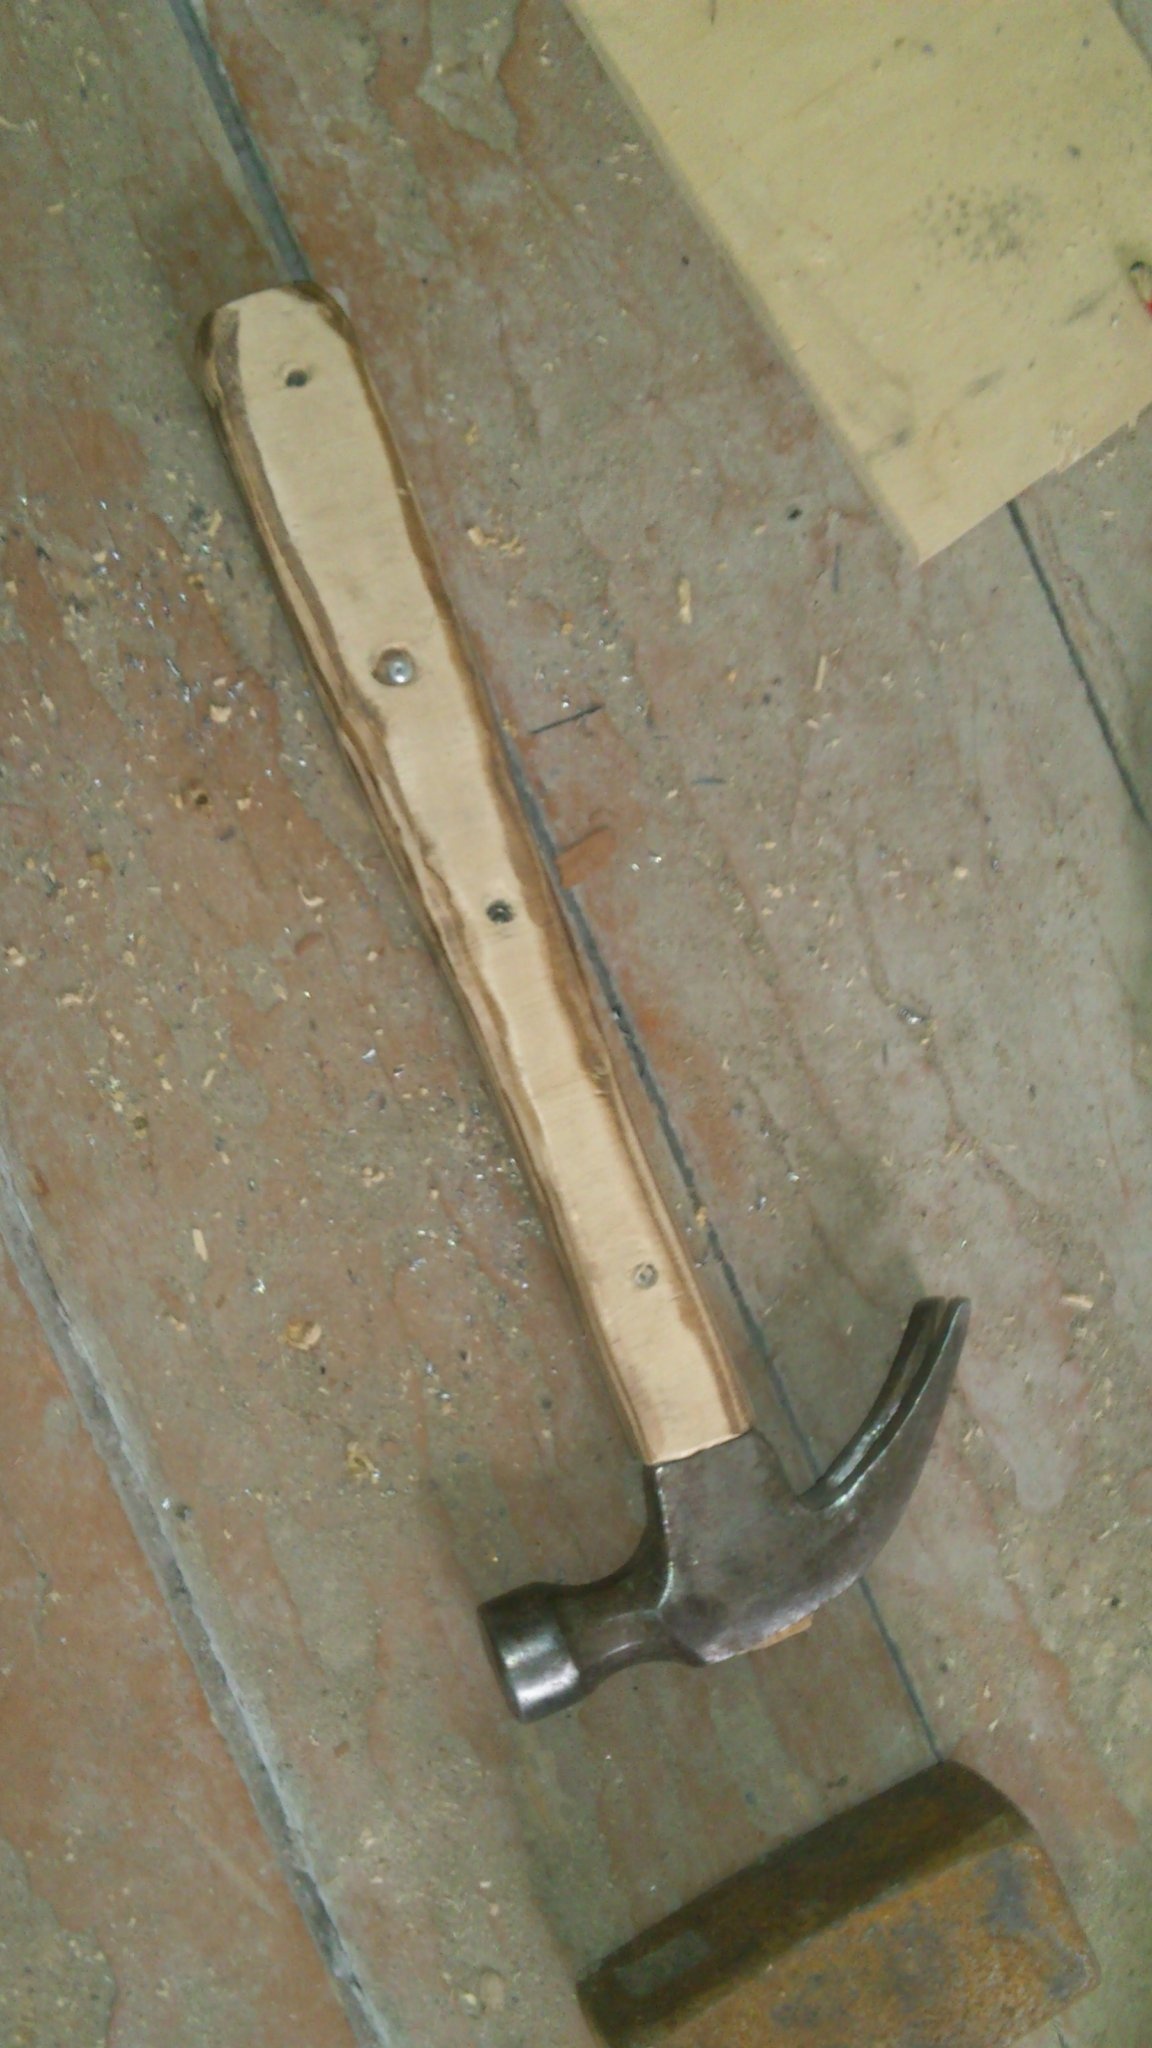
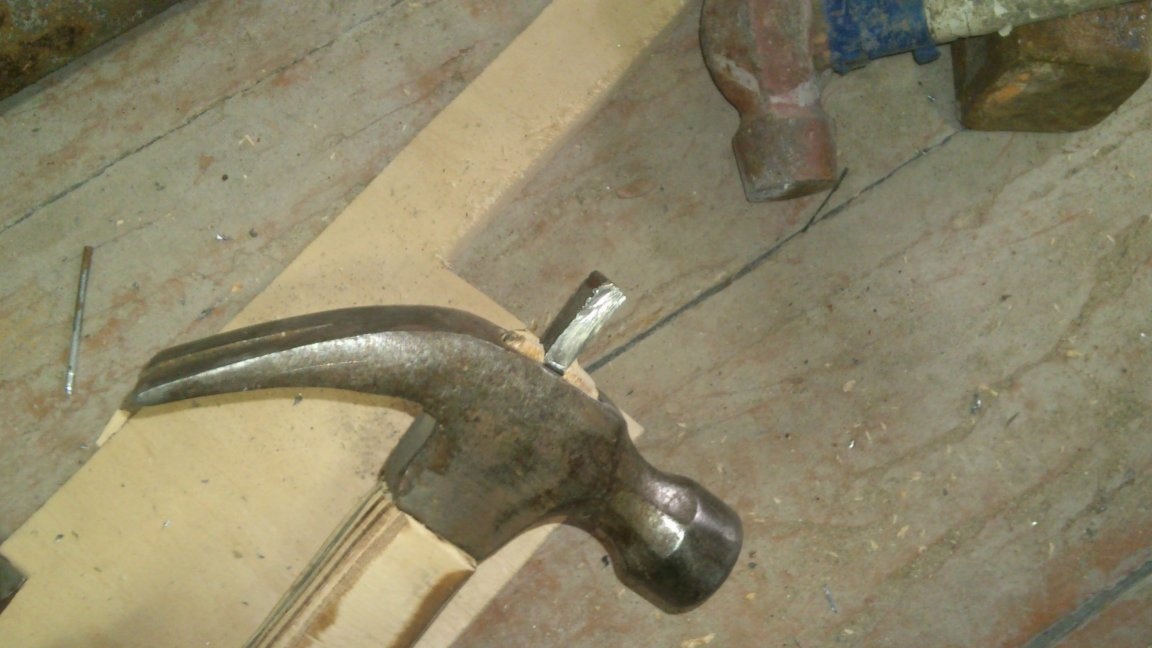
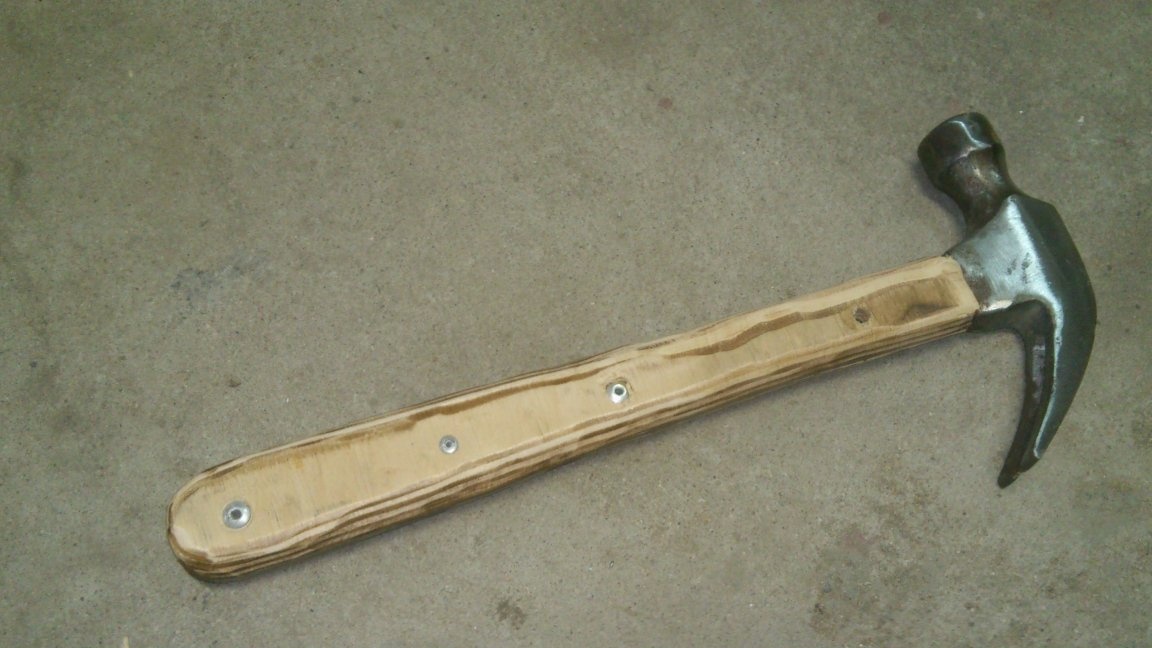
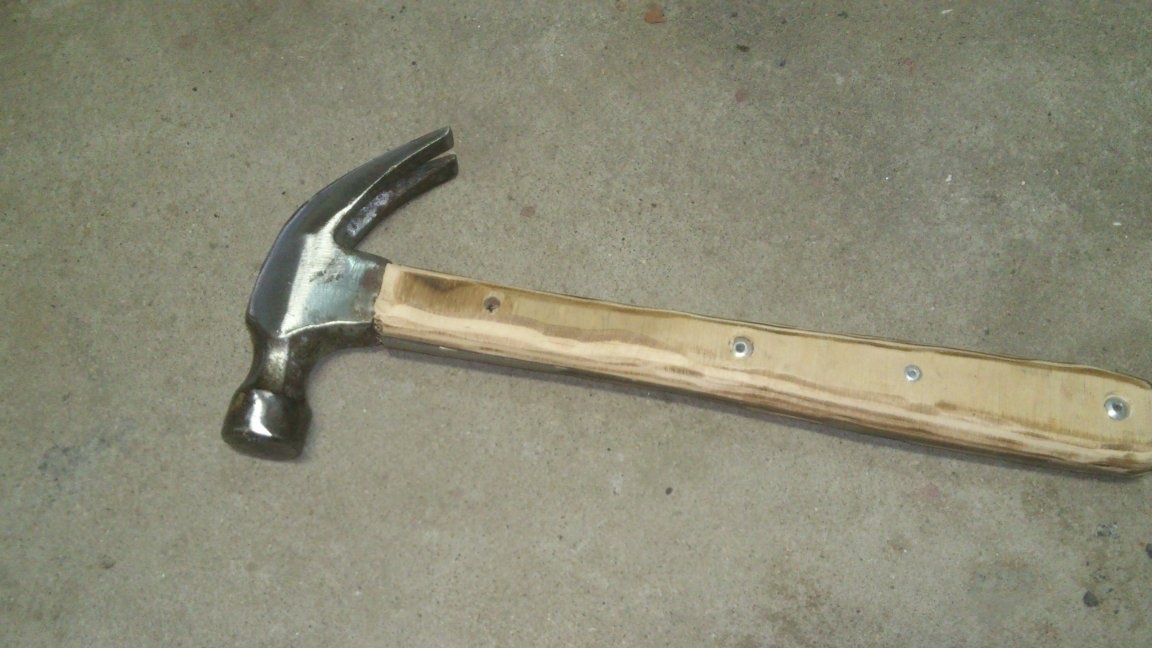
The hammer, which is in the photo, is already with a pin. That is why, his "head" was bent, but did not break off.))))
Recently, I have found a way to make very strong handles. Two of my hammers have already been redone. And while they’re setting life expectancy records. ))))
Quite by accident, I left both redone in another car, so the breakdown of the hammer "stopped work" this evening. I redid the latter and decided to introduce you to my way. Perhaps this will come in handy for someone. Among other things, he is also good at using “junk” materials - leftovers and trimmings.
Here's what you need for this:
1. A piece of metal strip.
2. Trimming plywood.
3. Several screws with nuts, or rivets.
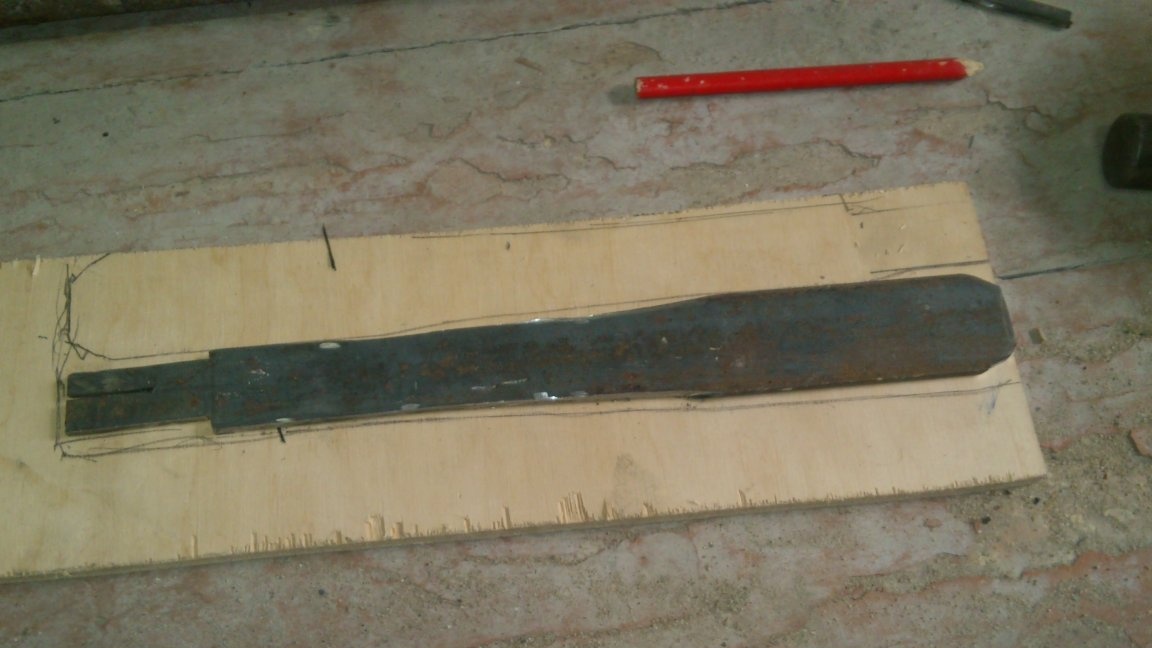
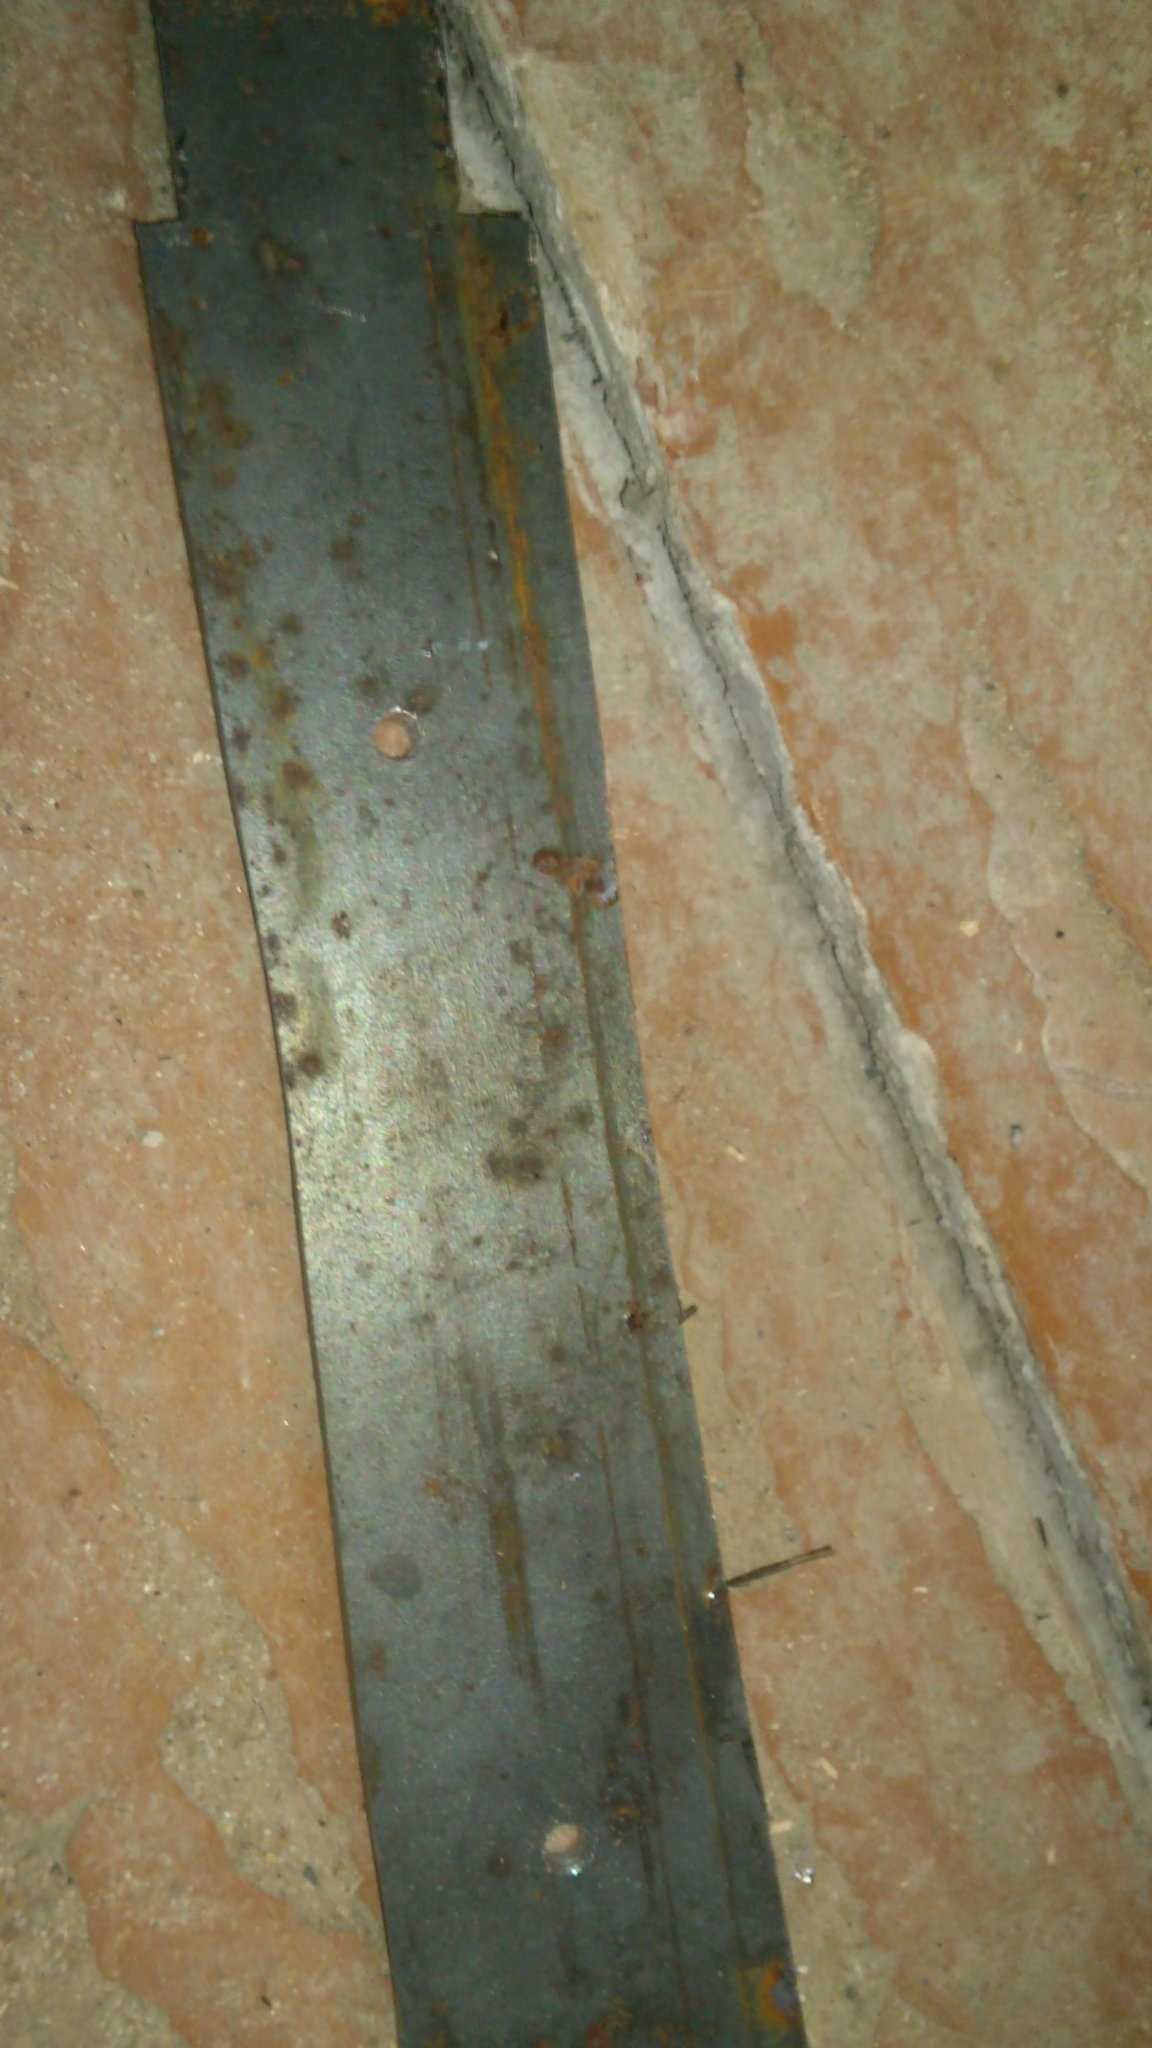
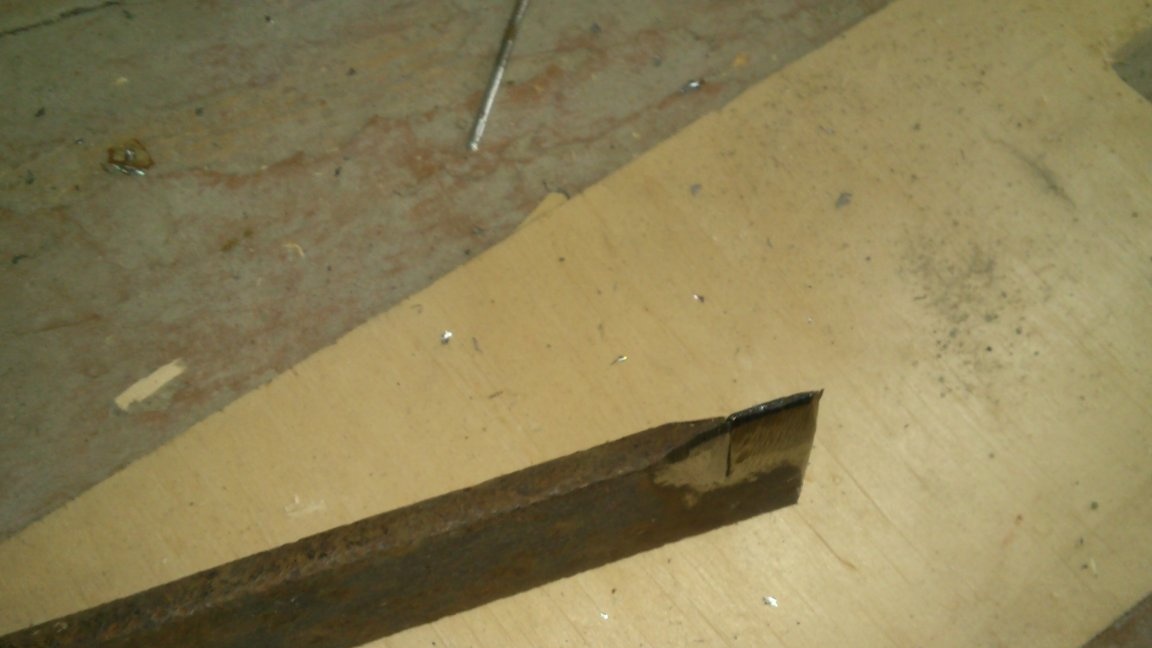
Here is the same hammer as in the first photo:
As you may have noticed, his handle is already shorter))). After the first breakdown, I cut it off and used it again ...
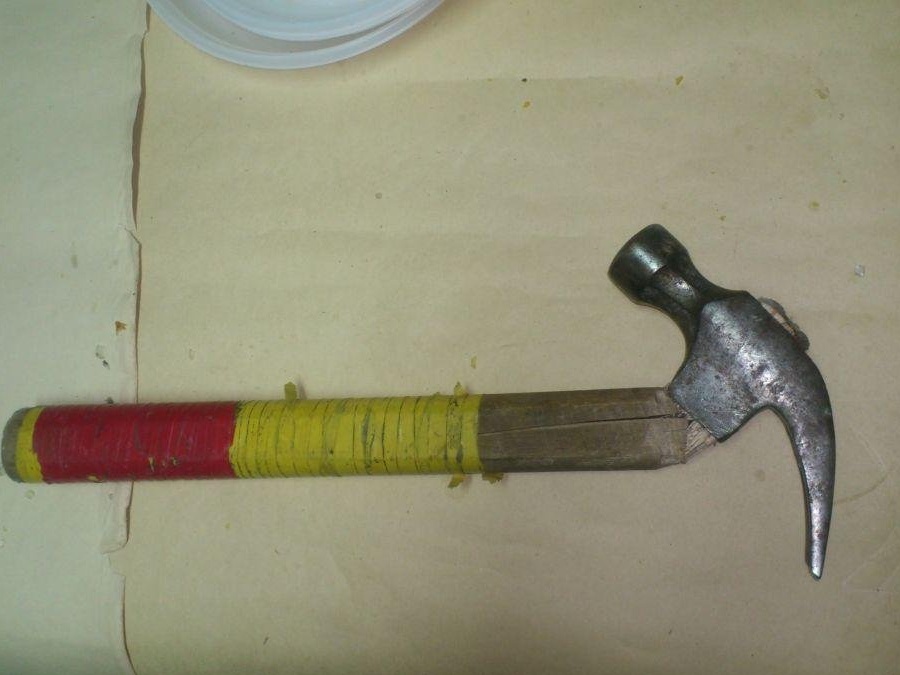
With the help of angle grinders, I "released" the hammer from the handle, sawing a metal pin:
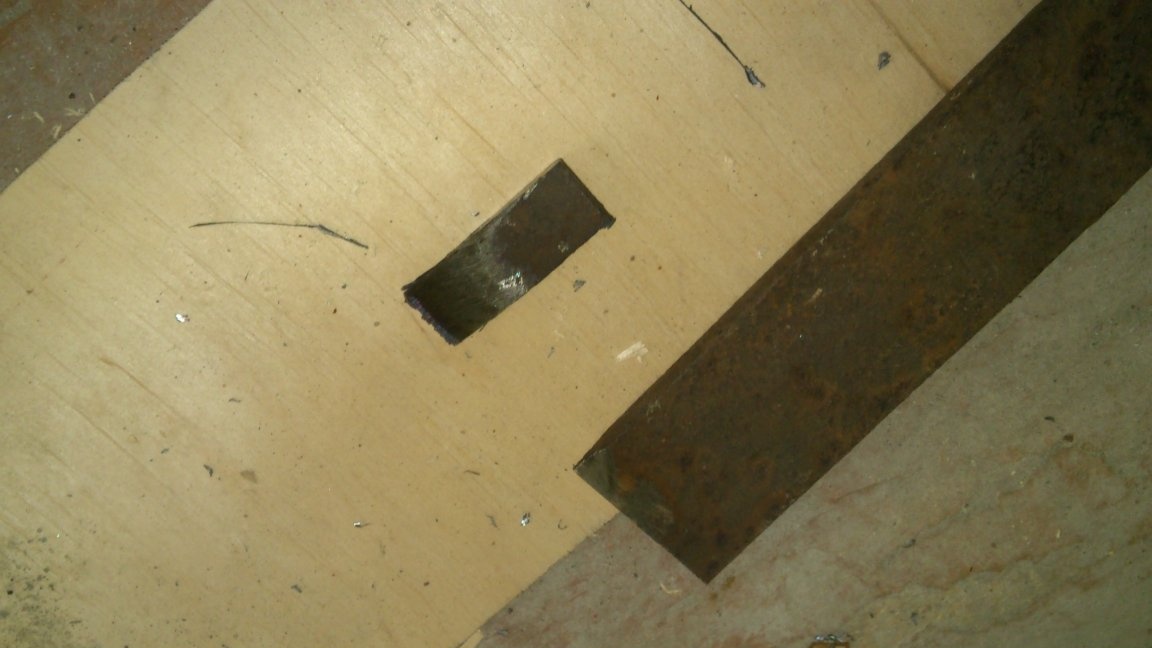
Then I found a piece of the “forty” strip in the “necessary scrap metal”. (It’s just that I have such scraps. But it’s also suitable for a different size. Or, for example, you can use a shelf of a steel corner. The main thing is that the thickness of the steel is 3-5 mm.)
Cutting off the necessary length, I reduced the width of the strip at the end to a value equal to the length of the landing hole of the hammer by a length equal to the height of the hammer:
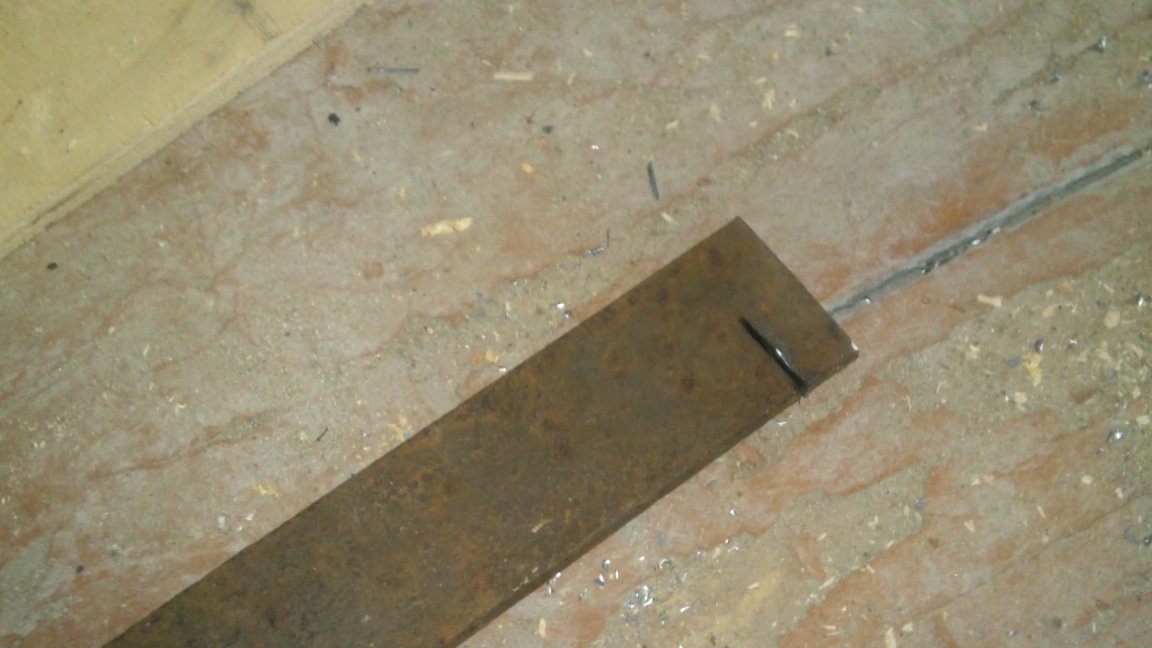
Then he made an incision for the wedge (such hammers wedge across)

After that, with a cutting wheel, he gave the contour of the future handle to the segment of the strip (roughly):
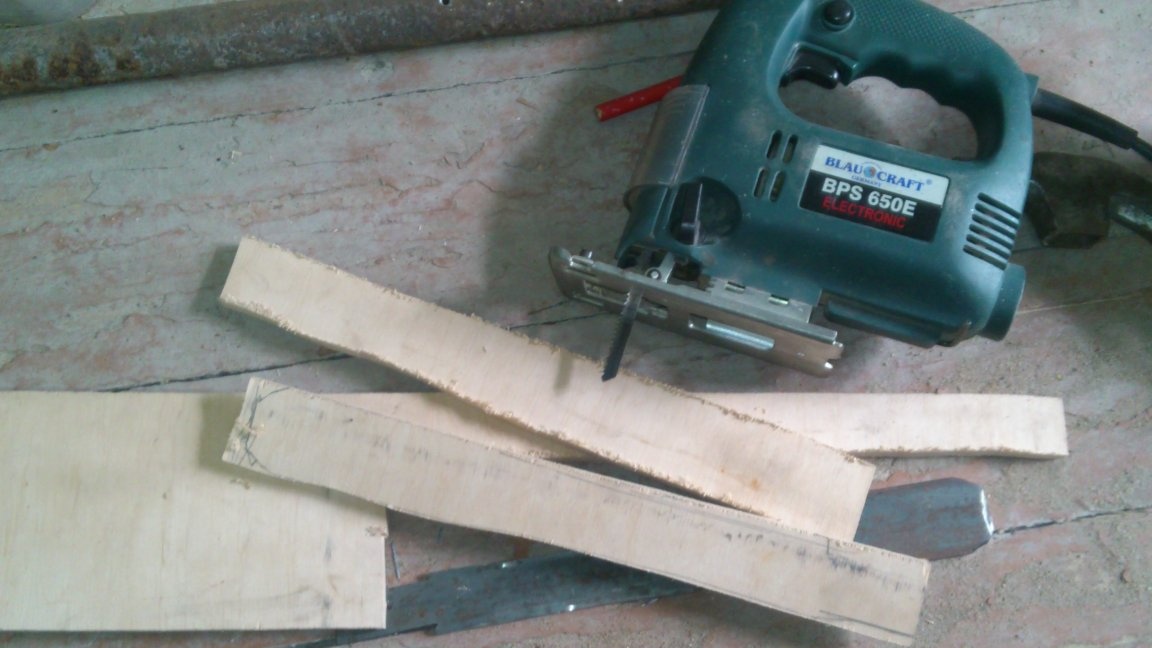
found scraps of plywood, 10 mm thick. Using a metal part as a template, he marked out and then cut out two future pads with a jigsaw. At the same time, he also cut out roughly - not exactly along the contour, but with a margin:
Now you need to fix the lining on the metal. I used to use screws with nuts for this purpose. But then I worked in a workshop. Today, as if it were evil, nothing at hand (at a construction site) turned out to be similar. But you need to do this "here and now", otherwise then there will not be time soon ..))) Rummaging in my stocks, I found a bag of rivets:
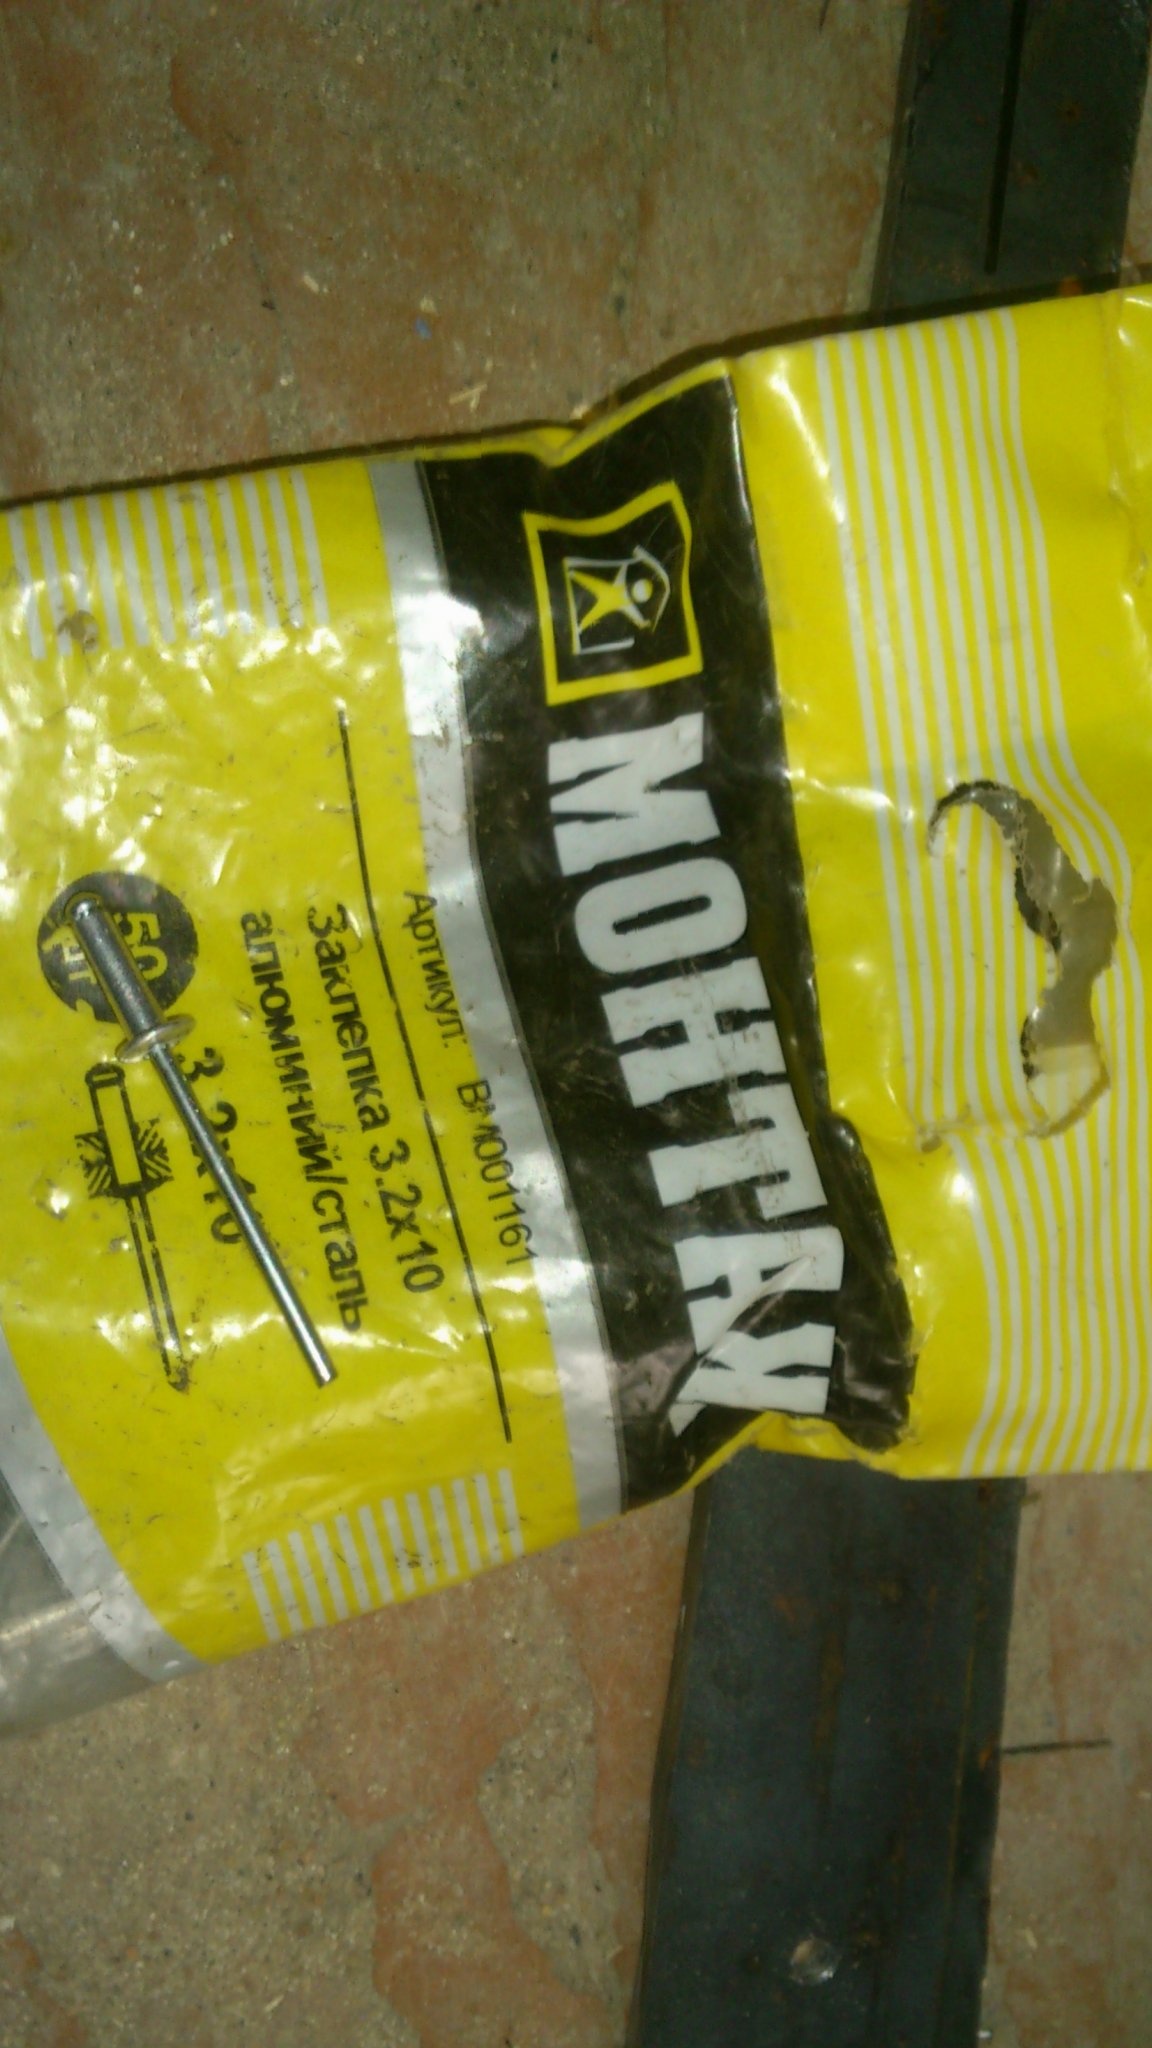
The rivets are not suitable in size - too small!
I found only two large ones:
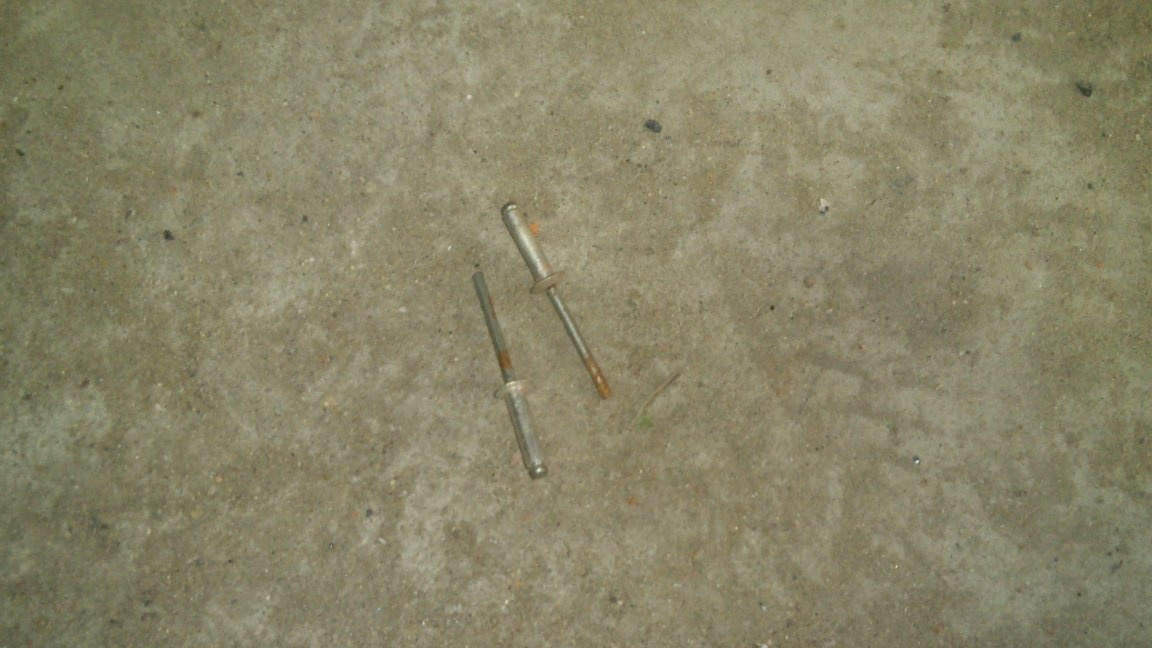
Well ... "For lack of a stamp, we will write on a regular one"))) ... I decided to rivet the plates to the metal one at a time with small rivets, and then fasten the end of the handle through two large ones. To do this, first drilled two holes for small:
According to this "template", I made holes in the overlay:
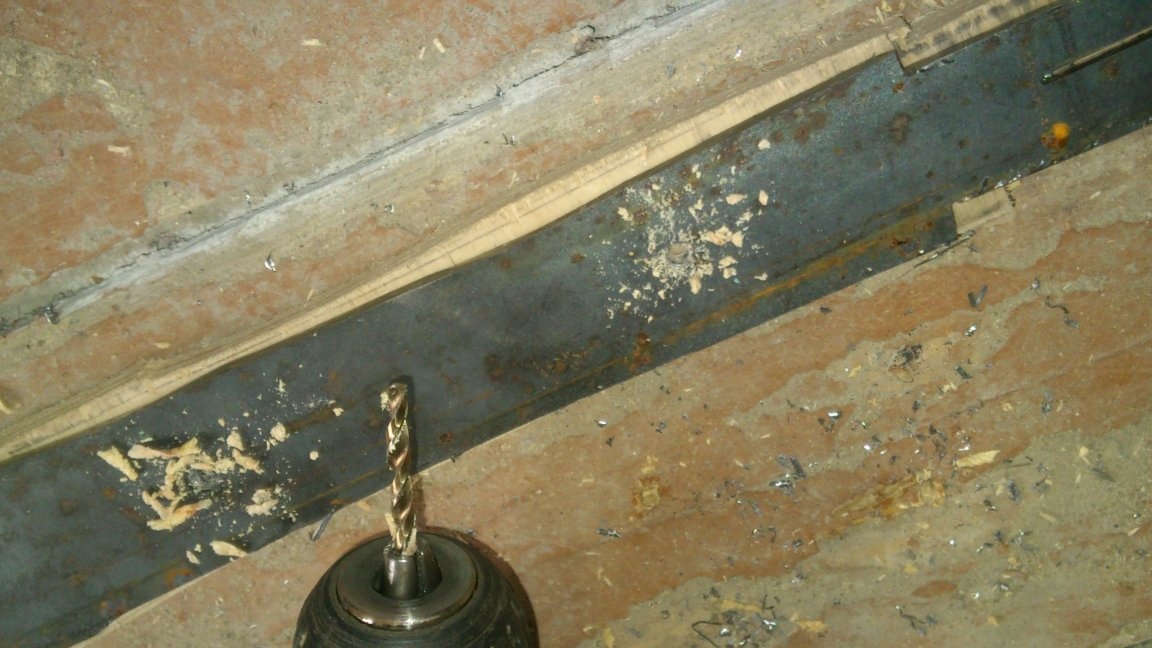
Even so, the length of the rivets was not enough. But I buried them a little in plywood, having drilled a little under the hats with a large diameter drill. When installing, difficulties again appeared - the riveter available at the construction site was of that design that does not have a “nose” !!! Therefore, he did not reach the riveted hat buried in the tree .. I solved this problem by putting a ring on the shaft, which I cut off the rivets of a suitable diameter from the thread:
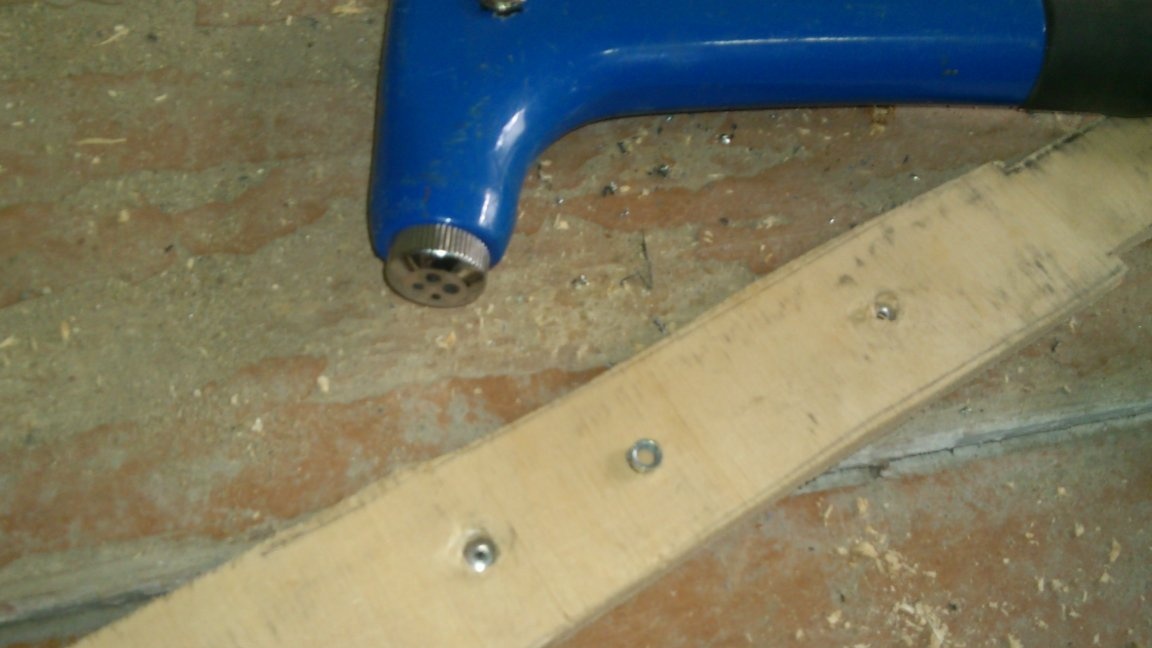

On the other hand, I riveted a second pad. Drilled through the plywood directly into the metal. When I felt that the metal was passed, I put the rivet in the same way. After fixing it, I drilled through two holes, 5 mm in diameter, and pulled the whole “sandwich” with the two large rivets. At the same time, he also drilled a large diameter on both sides. On the one hand, a hat was placed in this “hole”, and on the other, an M5 washer, riveted on a rivet.
After that, setting the emery-petal wheel on the “grinder”, I slightly processed the resulting workpiece, giving it the shape of a handle:
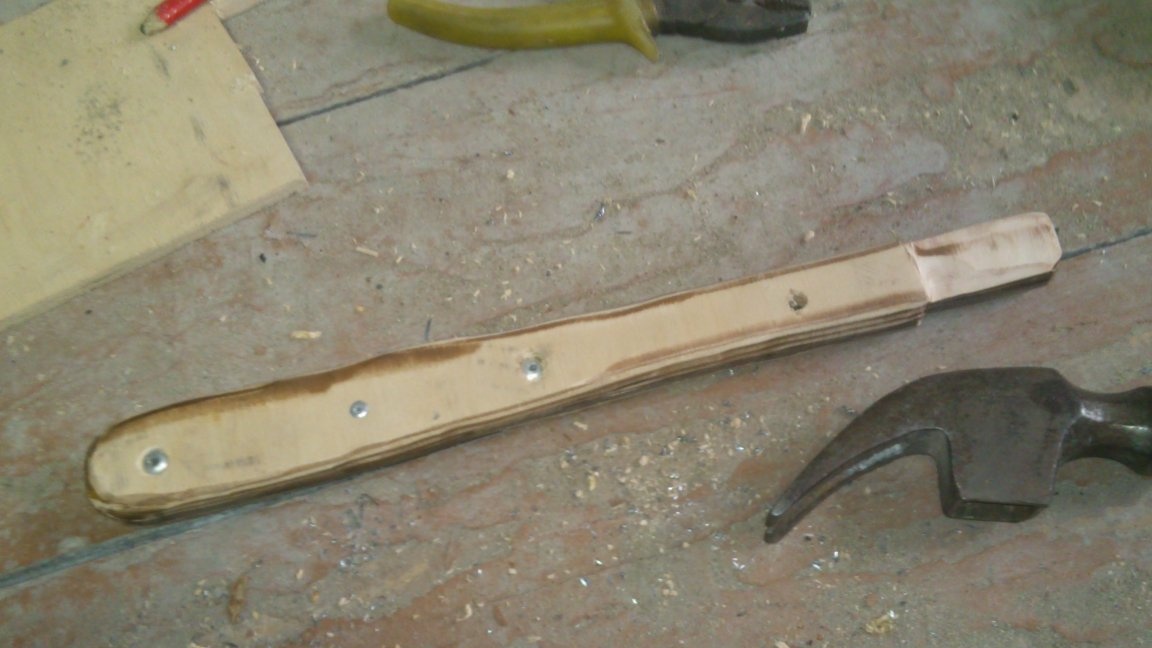
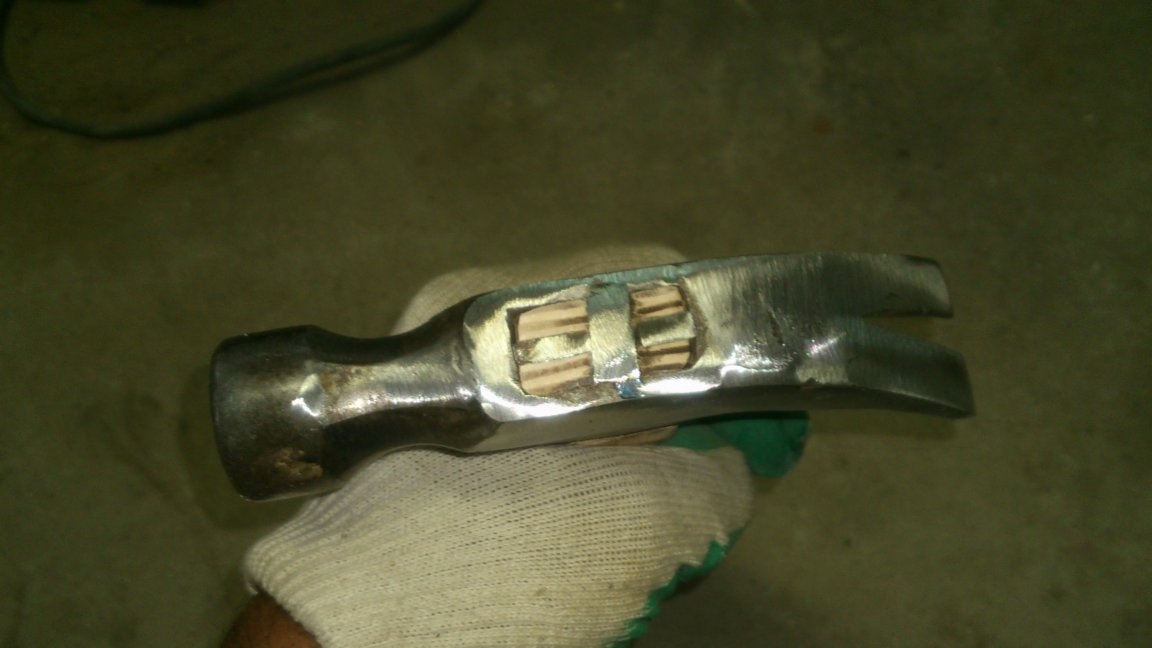
And tightly, with the help of a small sledgehammer, he planted a hammer on it:
Now you need to make a wedge. After examining the hammer, I came to the conclusion that the wedge is needed with a thickness of at least five millimeters. Therefore, my strip as a material for its manufacture is not suitable ...
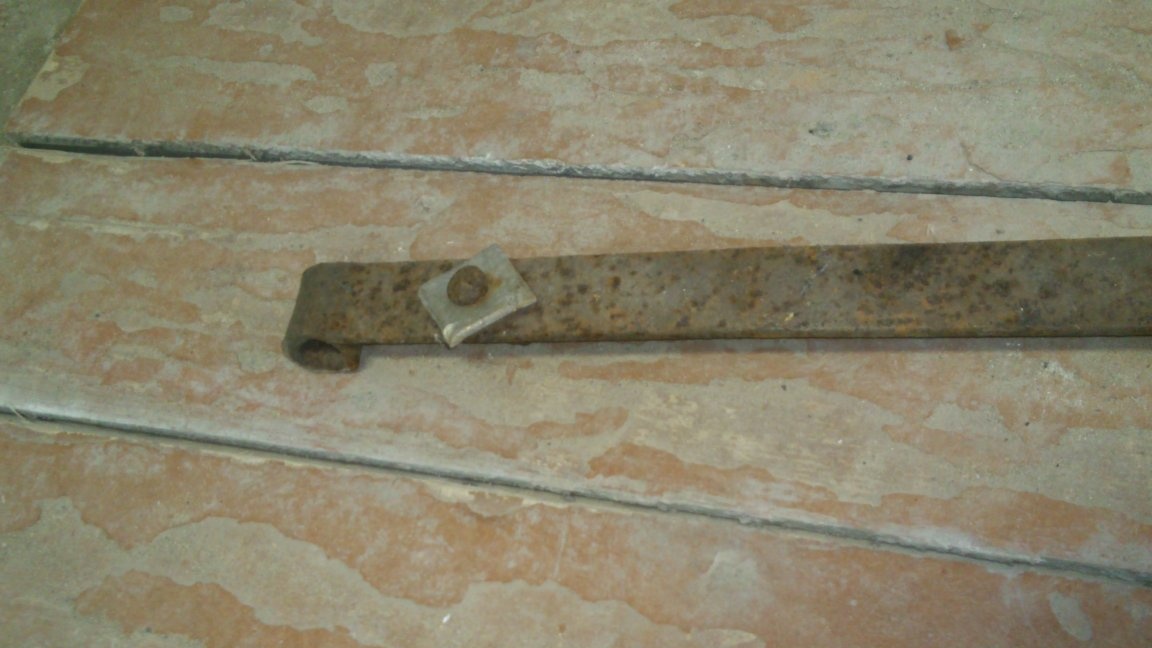
Once again digging into the “scrap metal”, I found just such a detail. Once it was part of the canopy of the barn door:
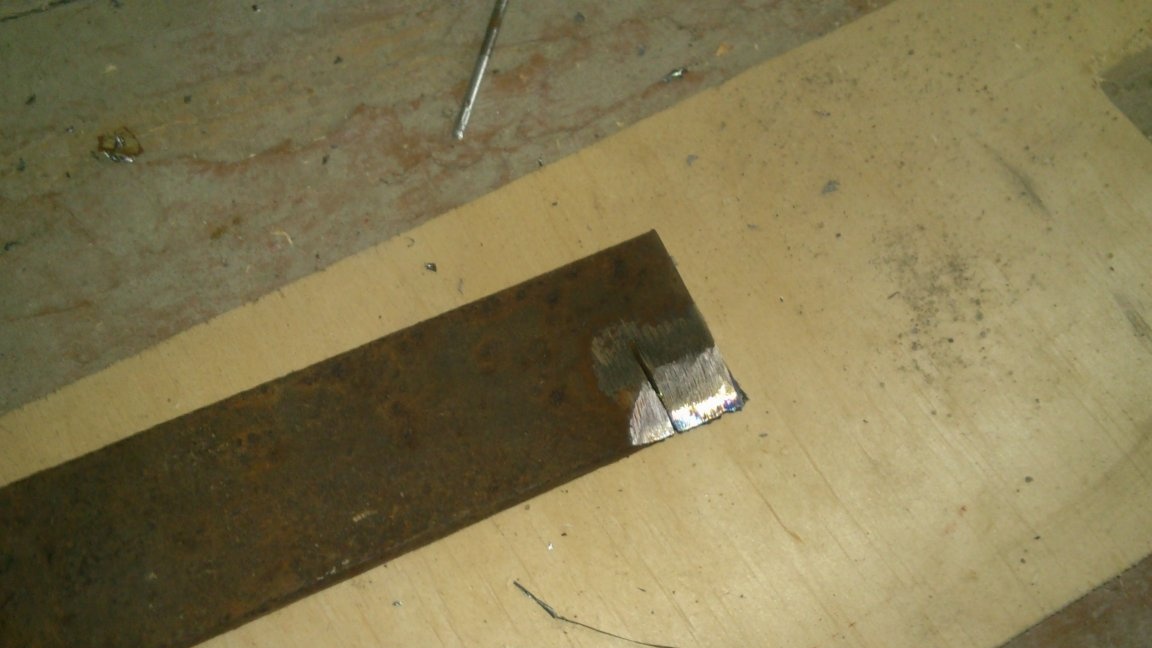
Having made an incision in size equal to the width of the hammer’s landing hole, I, using the "grinder" with a cleaning circle, sharpened the future wedge. And only after that, cut it off completely. (Why is this so? Yes, because I'm not in the workshop! There are no vices. And it’s convenient to keep it while you are grinding!)))))
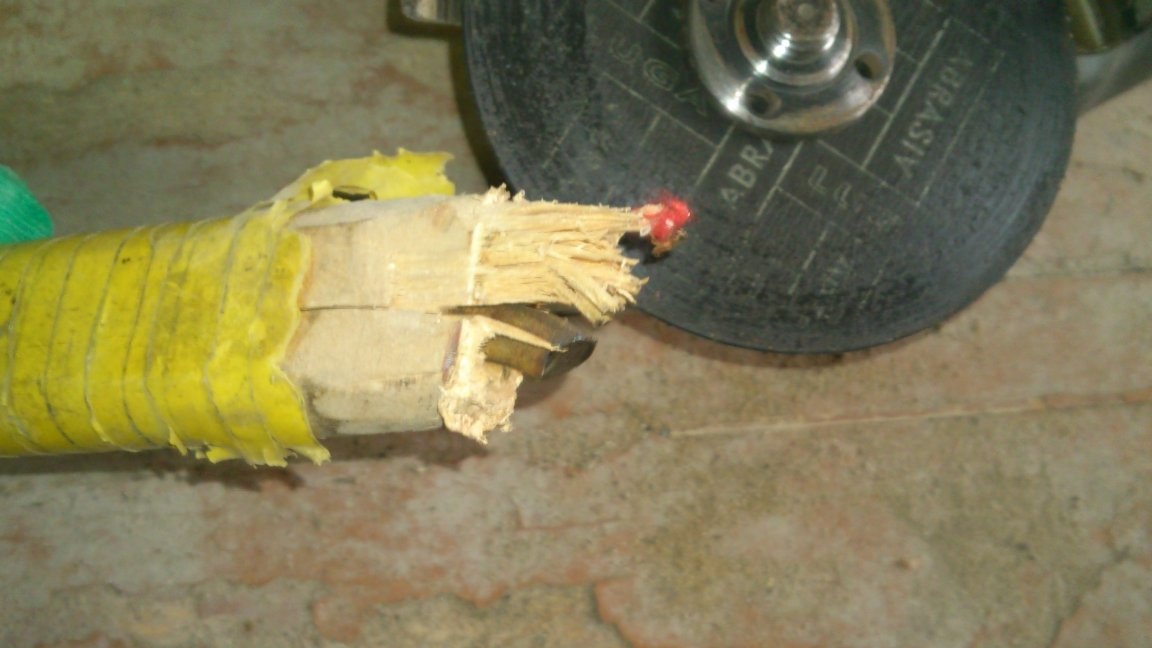
It remains to hammer a wedge into place. As you remember, in the metal part I made an incision under it in advance, and he himself split the plywood:
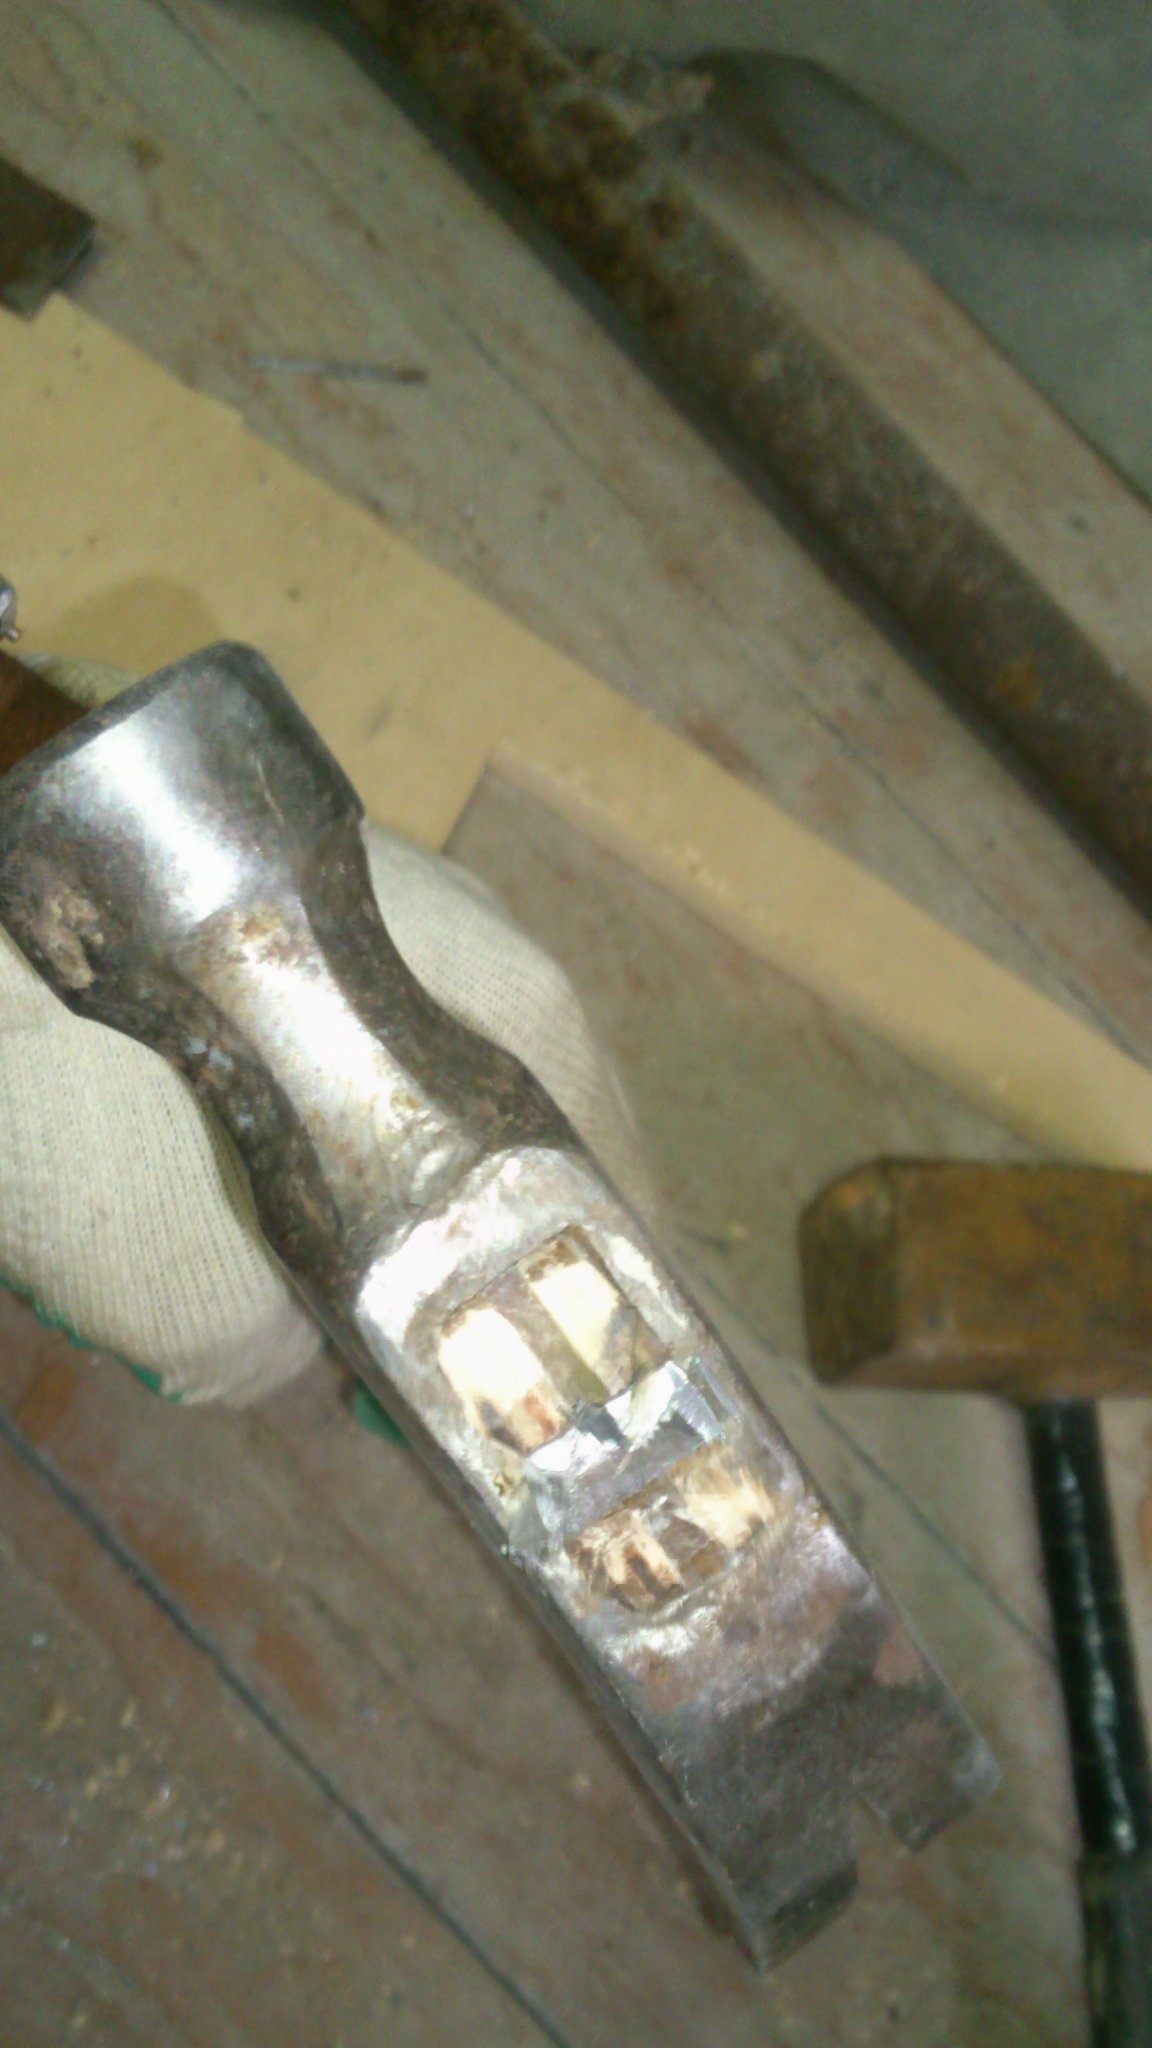
That's all! It remains to slightly “bring” the petal circle:
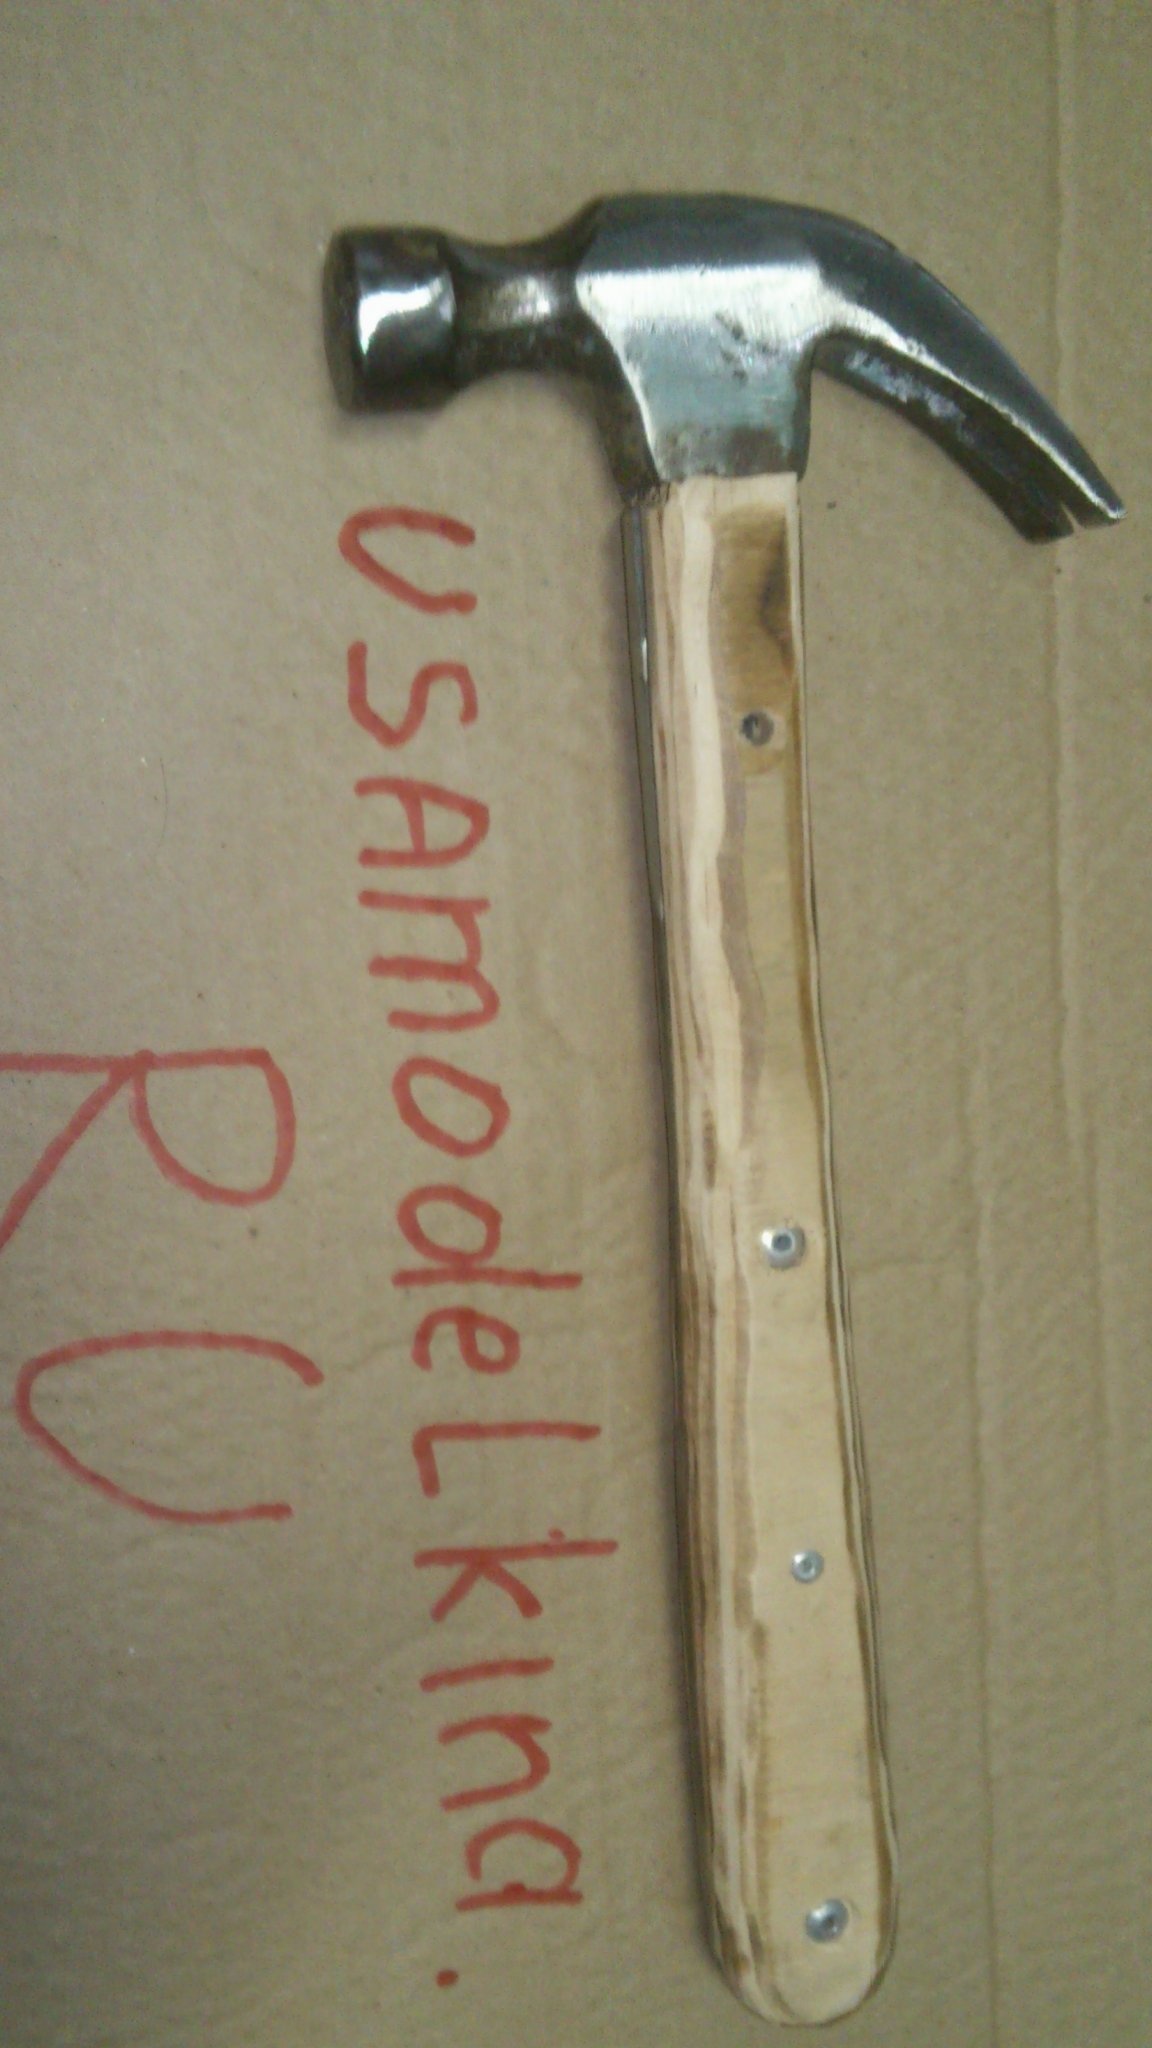
Well, as a finishing touch - wrap with electrical tape ... Of course, I understand that I am using the "wrong" electrical tape! ))). Real, kosher electrical tape should be blue !!! ... But, excuse me ...Need a bright color! Because a tool that has fallen at a construction site “hides” very much and runs the risk of being trampled, or littered with construction debris, if it is not “striking” very much ... So, red and yellow colors are best! ...
As already mentioned, this design of the handle is very successful, as practice has shown. The handle is not particularly heavy, therefore, the hammer retains its "impact properties" almost completely. At the same time, the metal strip "on the edge" together with plywood, are able to withstand significantly greater loads than a round cross-section pin, and even more so, a simple tree.
I would be glad if someone would find my experience useful.