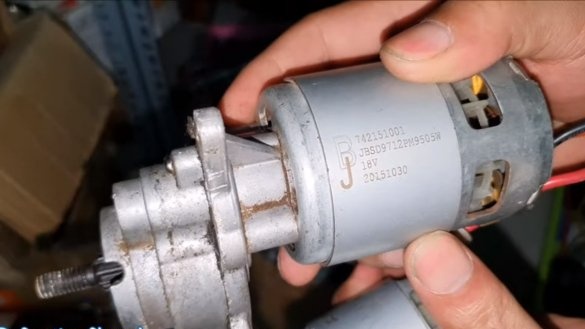
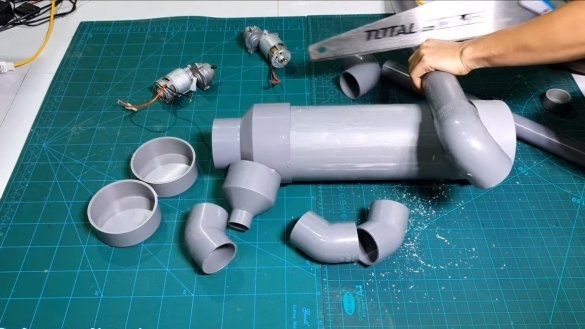
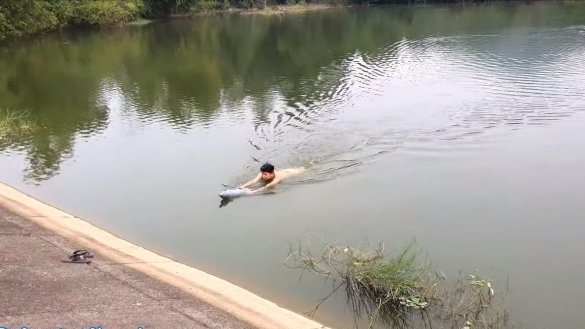
Hello fans to craft, today we will consider how to make a water scooter. With such homemade You can swim quite quickly, this is not only interesting, but in some cases also useful. Self-made electric motor gear drives the action, and the whole thing works on batteries. The scooter case is made of plumbing parts that can be easily found in any building. If you are interested in the project, I propose to study homemade work in more detail!
Materials and tools used by the author:
Material List:
- ;
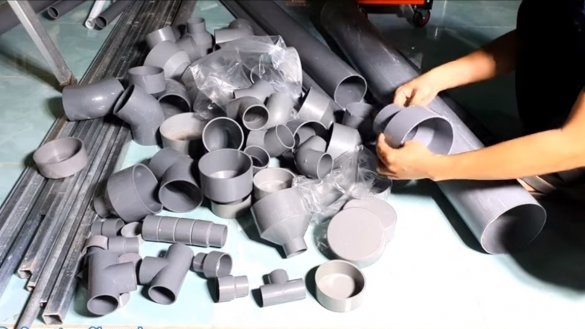
- pipes, plugs, corners (and other plumbing parts for the housing);
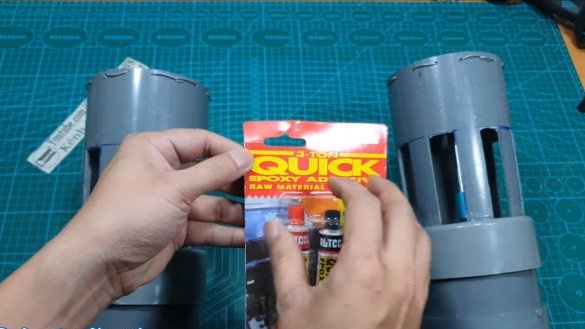
- sealant, epoxy glue;
- screws and nuts;
- ;
- rubber from a car or bicycle camera;
- couplings;
- wire;
- powerful circuit breaker;
- wires;
- batteries (capable of powering the selected engines).
Tool List:
- a hacksaw for metal;
- Miter saw;
- drill;
- marker;
- glue gun;
- a drill.
Scooter manufacturing process:
Step one. Housing
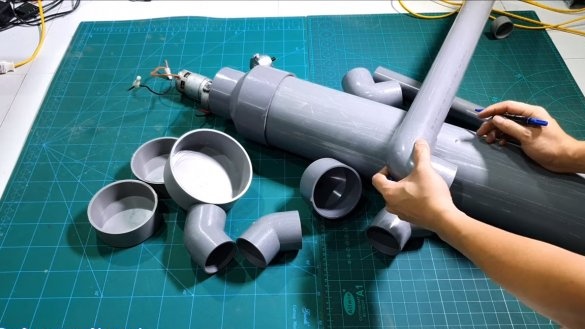
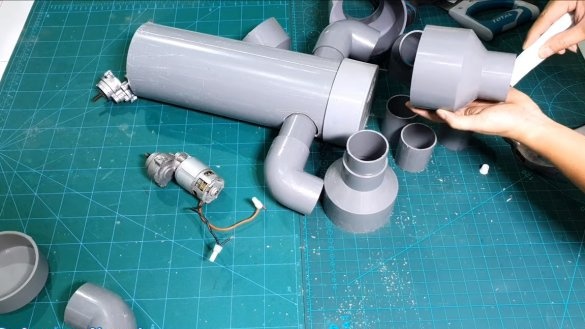
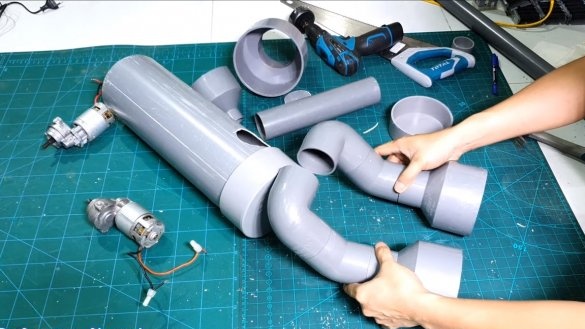
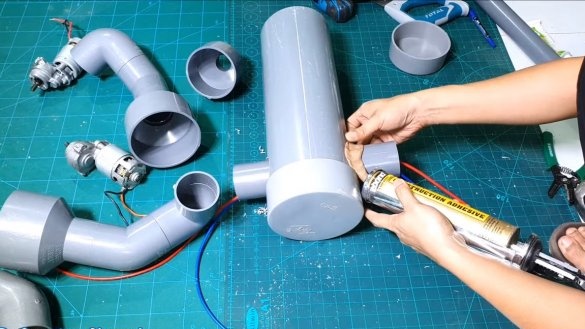
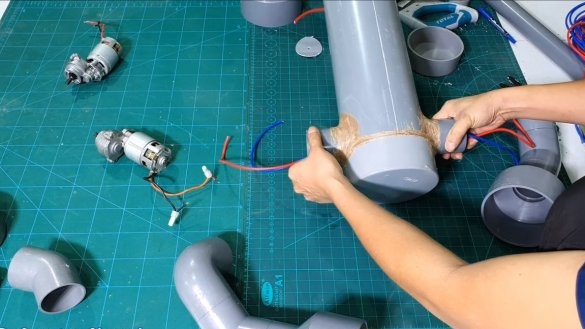
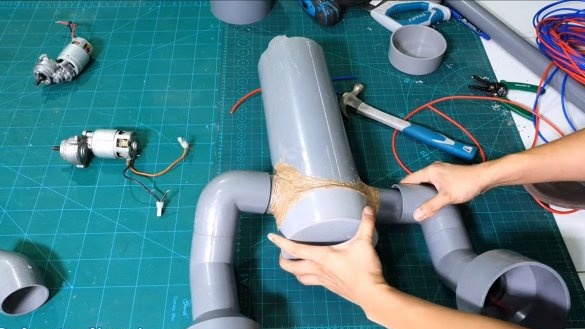
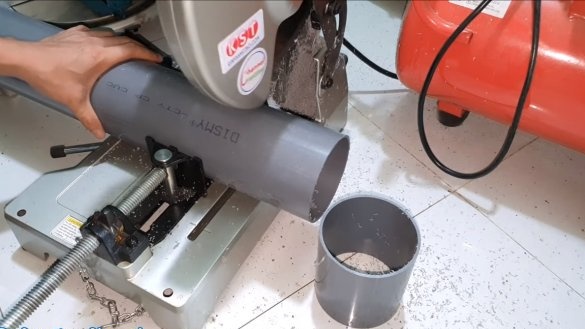
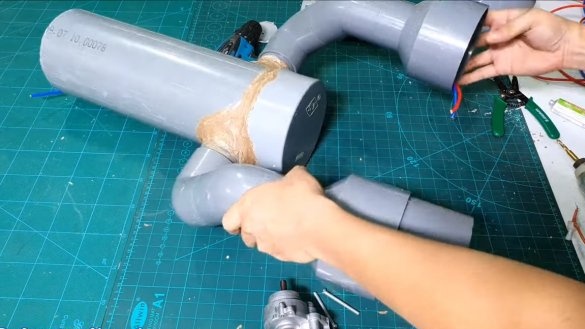
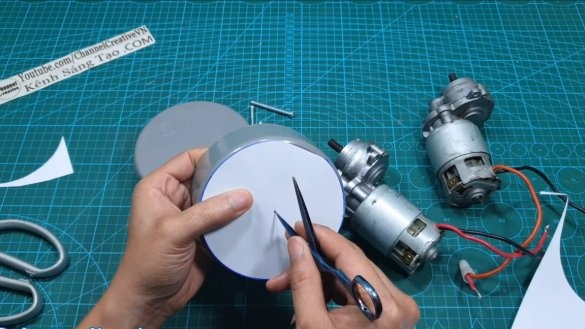
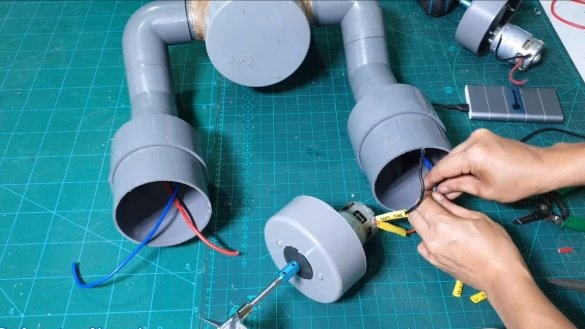
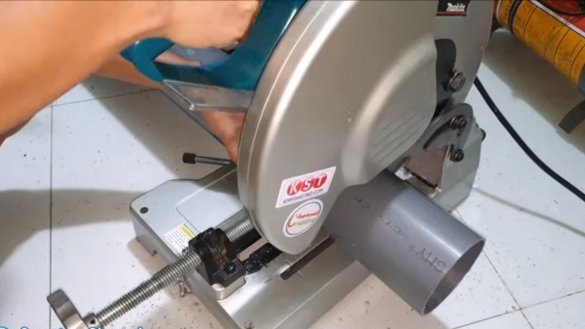
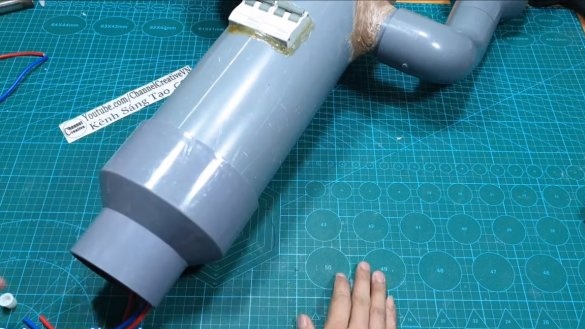
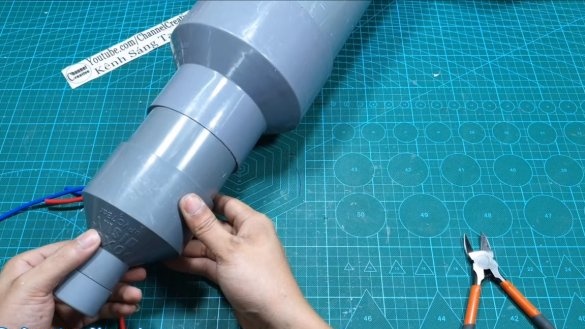
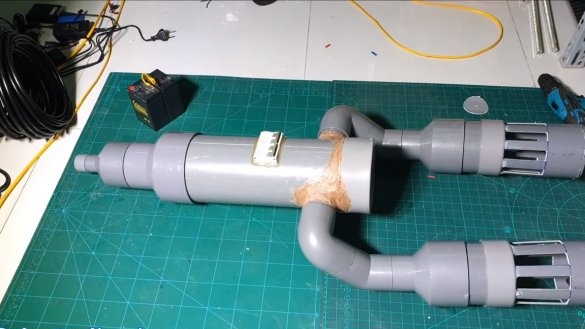
First of all, we will make a case for homemade work, for these purposes we will need plumbing parts. The main body of the body is a piece of pipe with a diameter of 110, we cut the parts, and then we glue it with good glue. As glue, you can use epoxy or special glue for plumbing pipes. It is important to understand that all connections must be airtight, otherwise water will quickly disable engines and the battery. From above, all joints can be well coated with a special sealant.
Step Two Engine installation
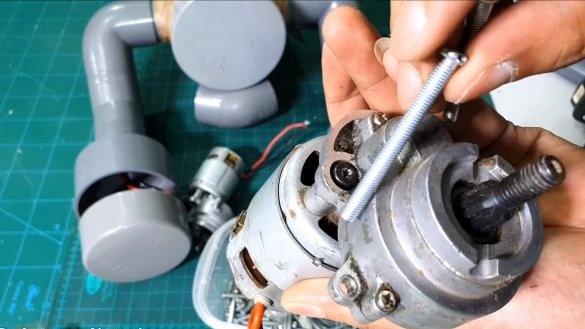
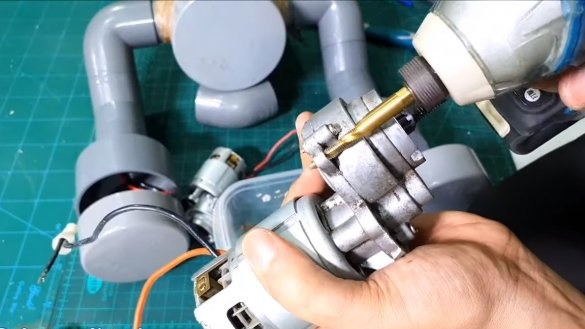
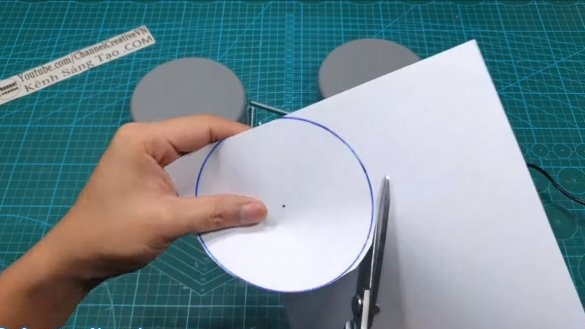
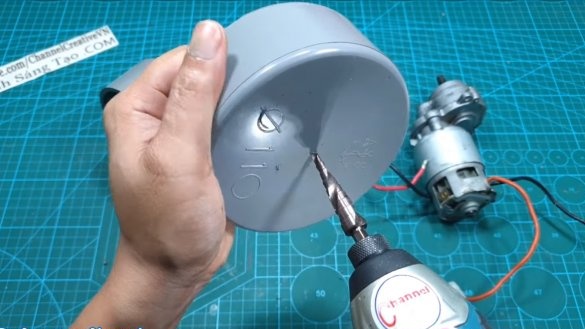
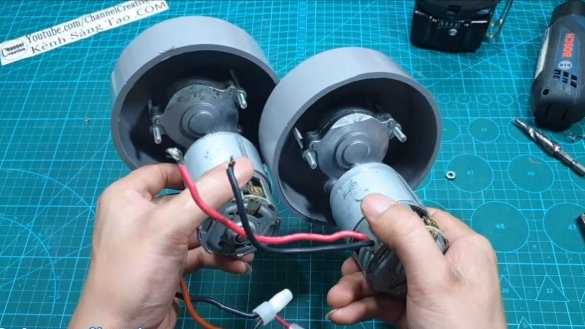
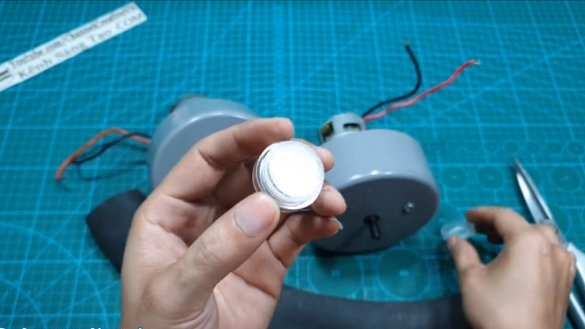
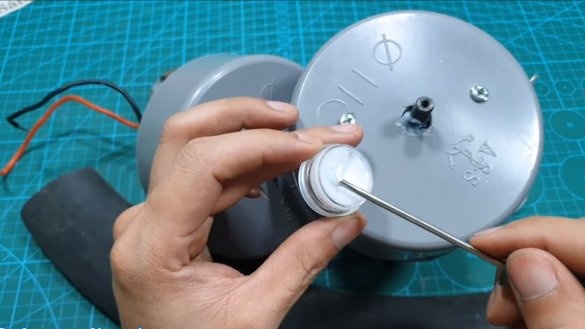
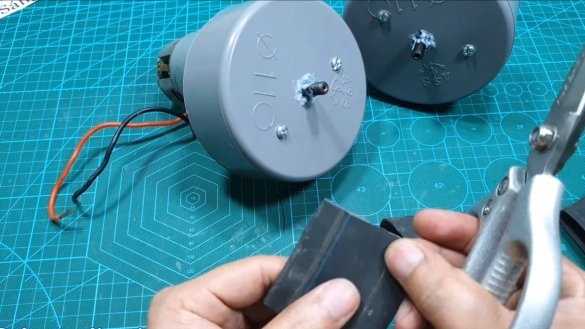
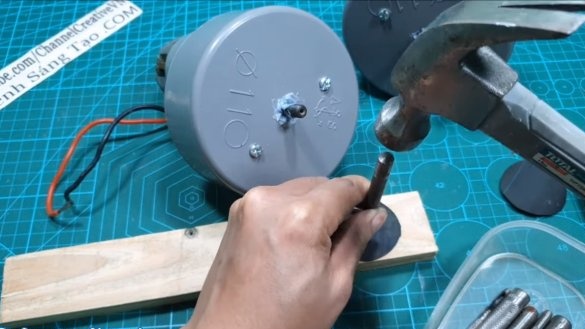
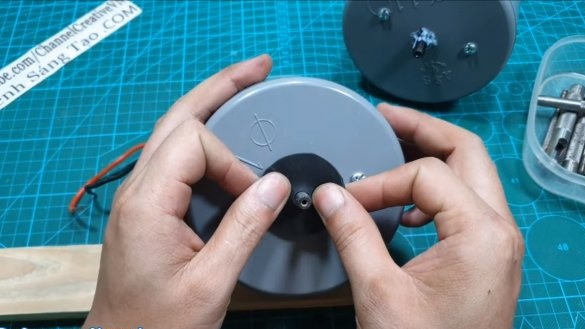
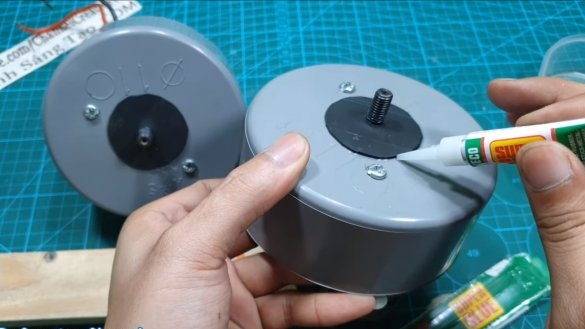
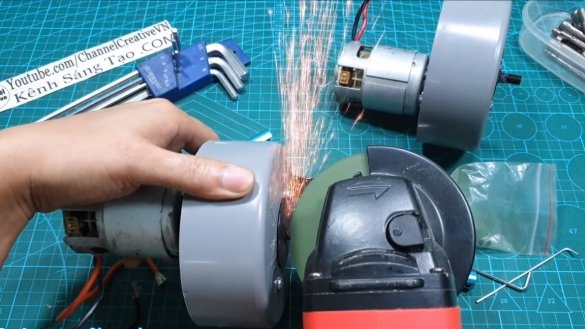
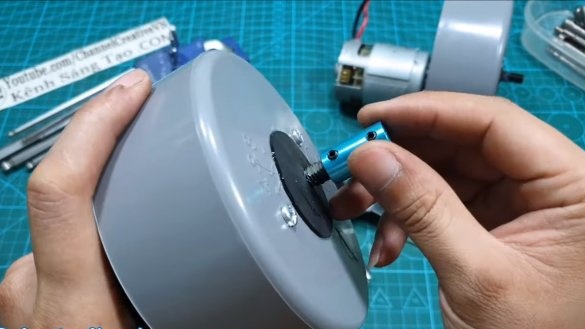
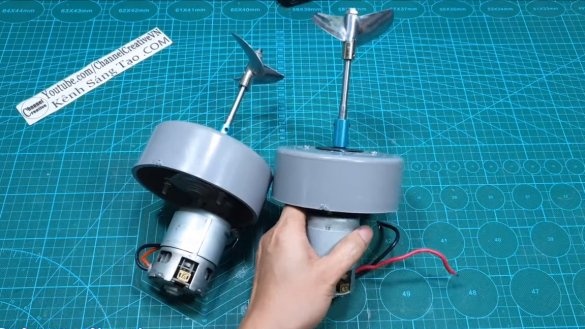
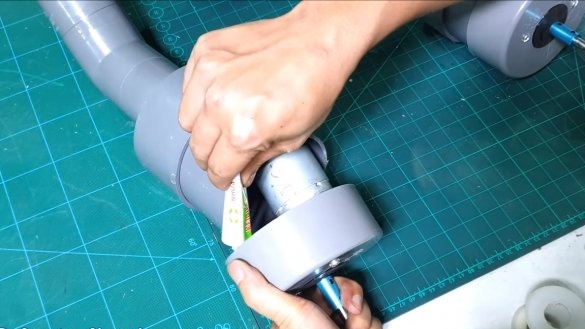
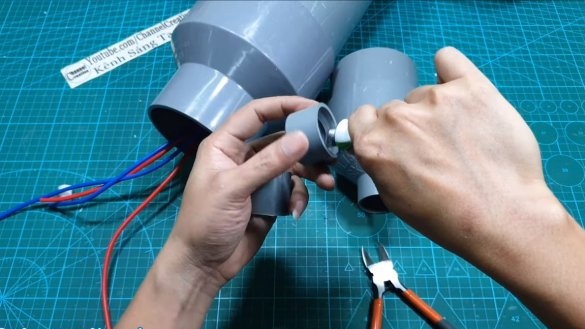
We will install engines in plugs for pipes, for this we drill the corresponding holes. Screws are used to fasten the motors, in the engine housing we drill holes and cut the threads if you do not want to use nuts. The most important thing in the design is that it is better to place rubber washers under the screw heads so that water does not leak to the engines. We also need to seal the motor shaft, cut a rubber seal from the chamber for this purpose and punch a hole in accordance with the shaft diameter. There should be grease under the shaft seal, so the seal will last longer, and there will be additional resistance to moisture. The gland is glued to the author using superglue, which is not very reliable.
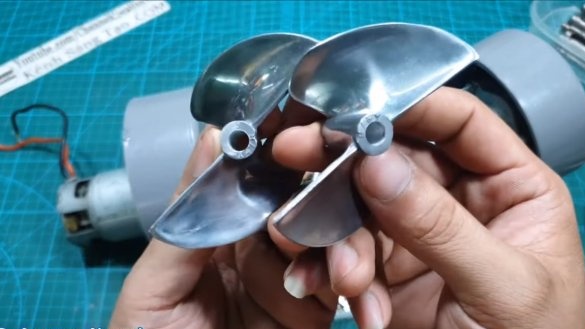
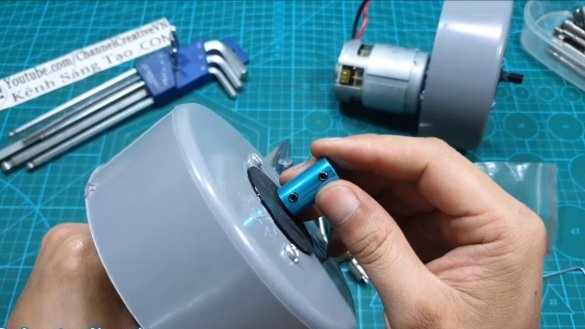
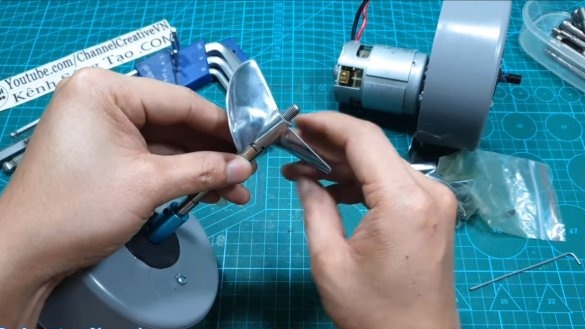
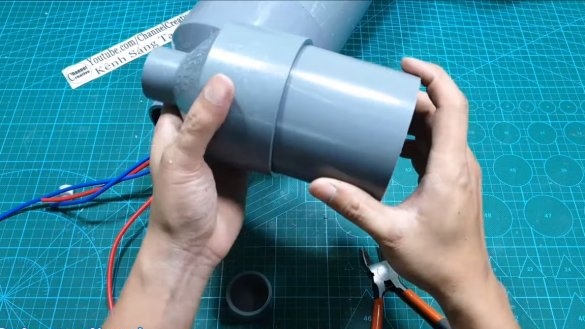
Shafts are installed on the motor shafts through special couplings, on which the propellers are mounted. Various shafts, including screws, can be used as such shafts.Then, plugs with installed pipes are installed tightly and tightly on the scooter body.
Step Three Protective shields
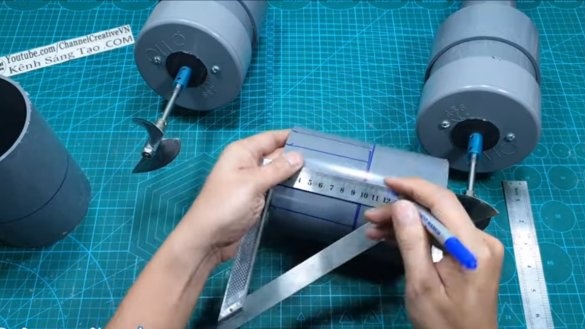
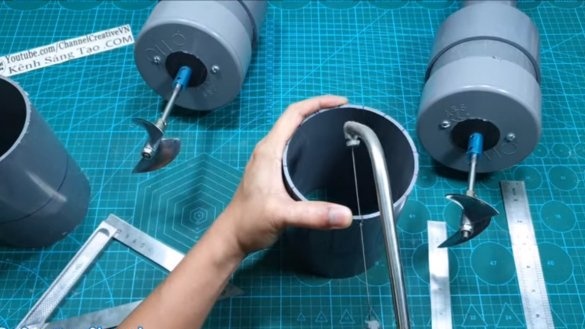
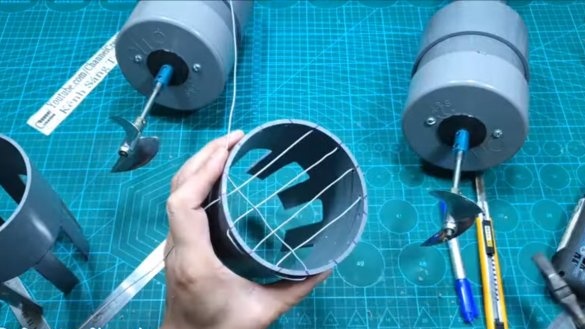
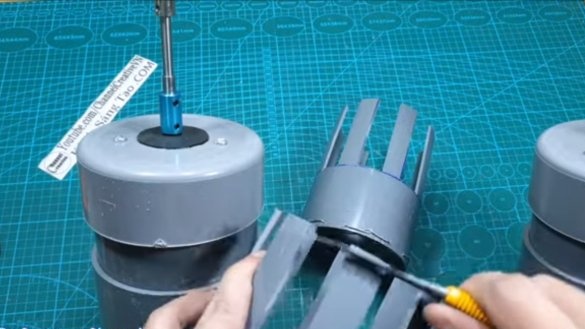
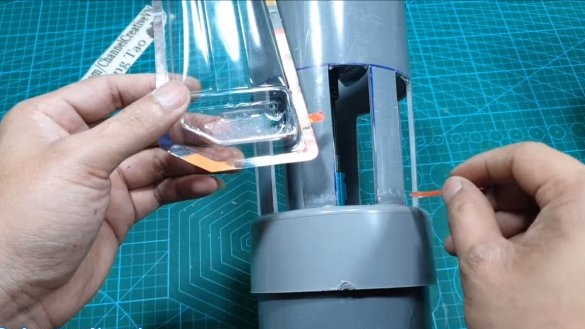
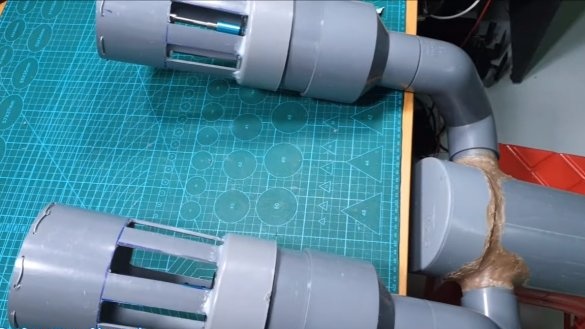
Above the propellers, it is necessary to install protective shields, we make from pipe pieces. In pipes, you need to cut windows through which water will flow into the screws. The ends of the shields are equipped with an iron mesh, which can be made of wire. The shields are firmly glued to the body with good glue, you can use epoxy.
Step Four Finishing touches
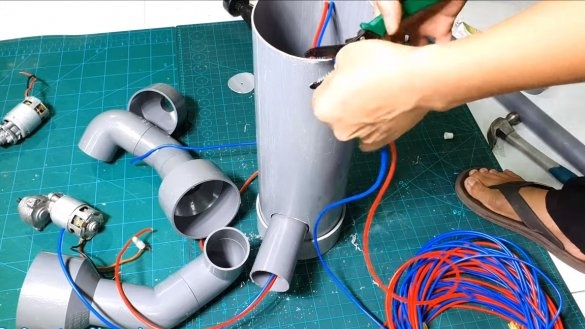
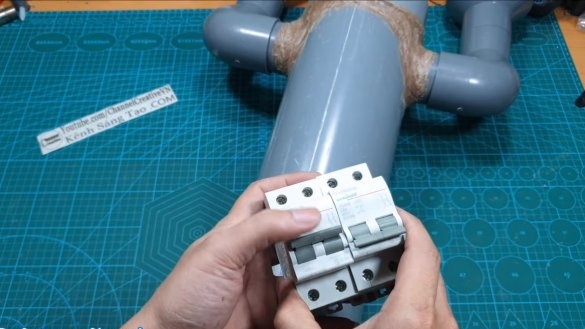
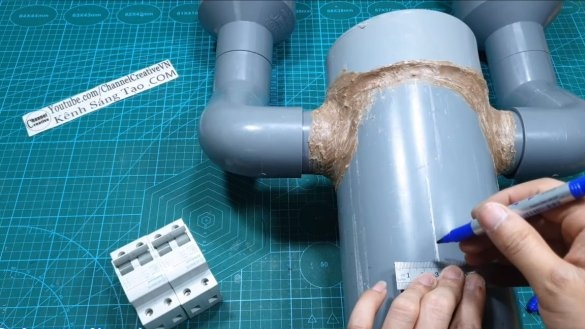
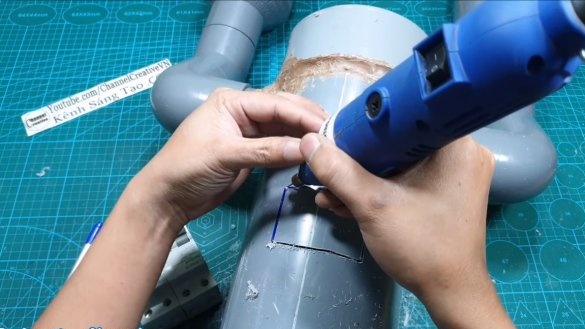
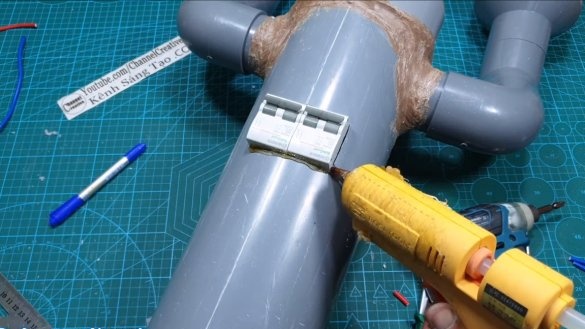
At the end, we cut a hole in the upper part of the case with a drill and install the switch. Of course, above the switch, it will be necessary to make a sealed protective casing. The author sticks the switch on hot glue.
That's all, install the batteries inside and collect the nose of the scooter.
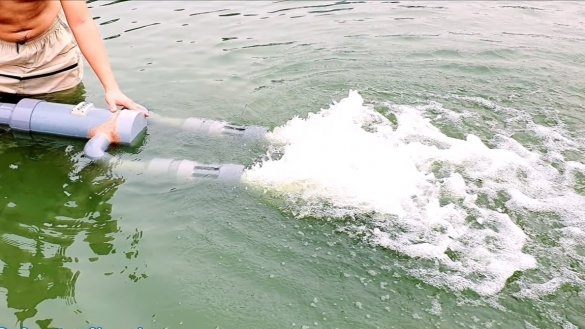
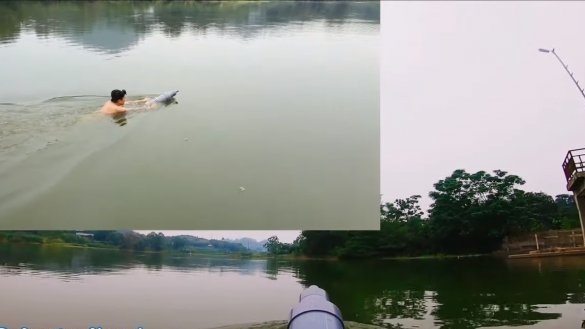
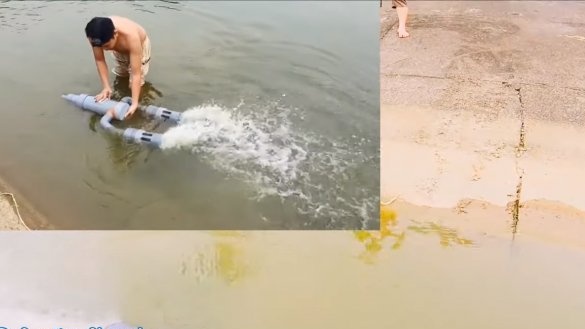
The homemade product is ready, you can go for testing, the author went to the lake. The thrust of the scooter turned out to be quite strong, the author drives on the water pretty quickly. Homemade turned out interesting, especially for children. This is the end of the project, I hope you liked the homemade work, and you found useful thoughts for yourself. Good luck and creative inspiration, if you decide to repeat this, do not forget to share your ideas and homemade things with us!

