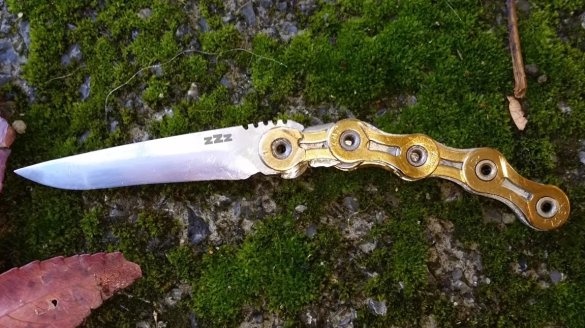
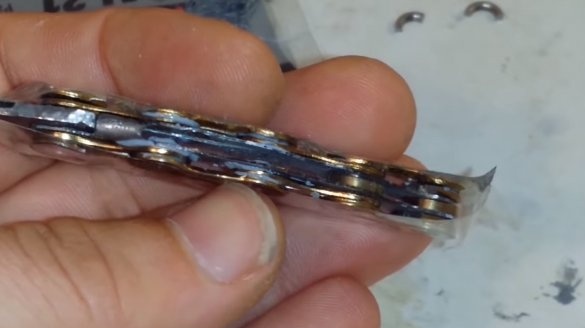
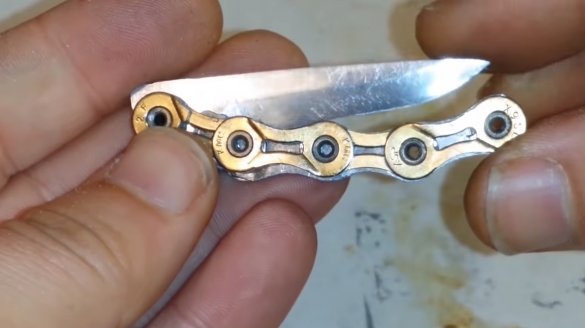
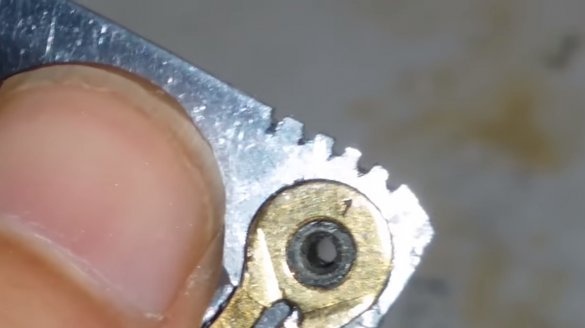
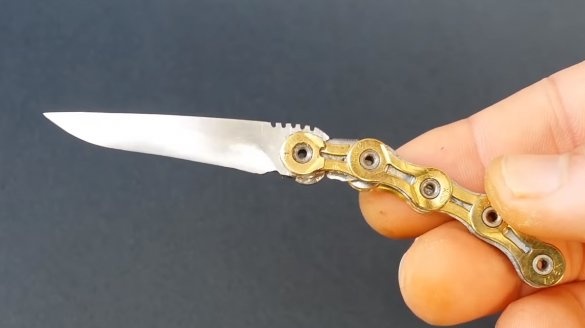
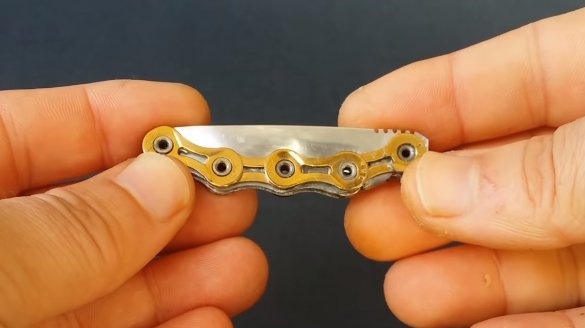
I welcome fans to craft, this time we will look at how to make an interesting little knife from bicycle parts. The blade was made of cycling brake disc, and the handle was made of a bicycle chain. Everything looks pretty interesting, although scratches from poor grinding are visible on the blade, and the glue slightly spoils the appearance. In general, the knife turned out great, it works great and is convenient. For the manufacture of the author used a drill and a drill, the knife is made quite simply. If you are interested in the project, I propose to study it in more detail!
Materials and tools used by the author:
Material List:
- sheet steel (for the "skeleton" of the handle);
- bicycle chain;
- brake disc from a bicycle;
- epoxy adhesive.
Tool List:
- drill;
- drill;
- drawing instruments;
- device for disassembling the chain;
- gas burner and oil;
- file;
- marker.
The process of making a knife:
Step one. Blade making
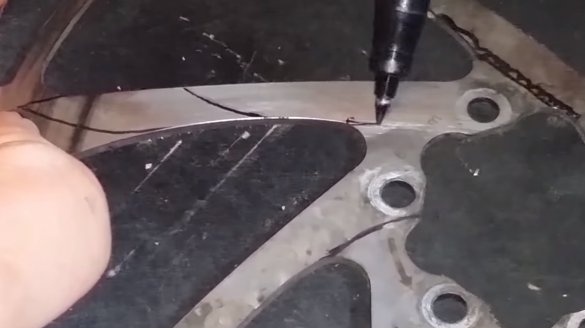
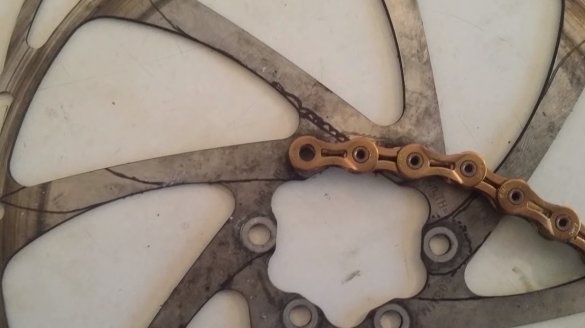
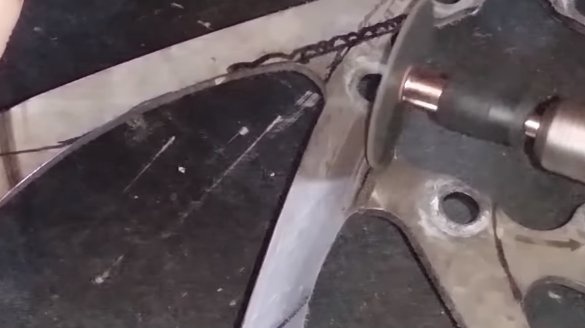
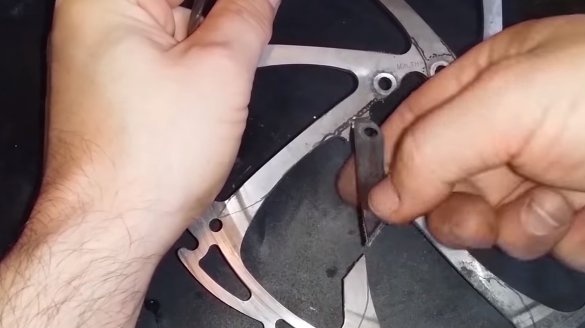
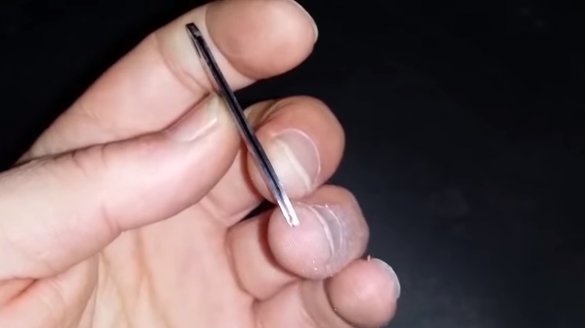
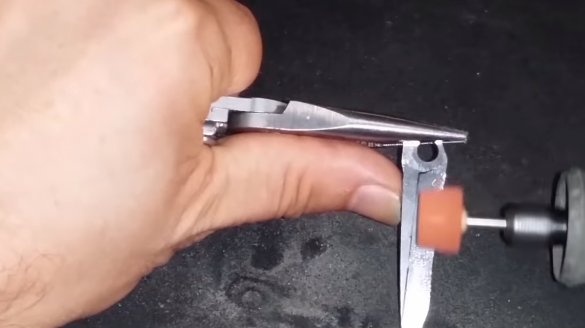
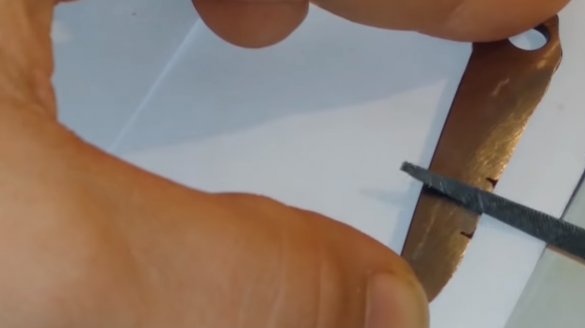
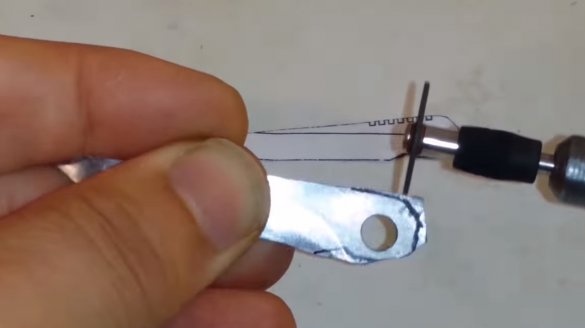
First of all, we will make a blade, for this we need a brake disc from a bicycle. The disk already has a part that resembles a blade in shape, and we need to cut out this part. For work, the author uses a drill. Next, you need to modify the blade along the contour, install the grinding nozzle on the drill and get to work.
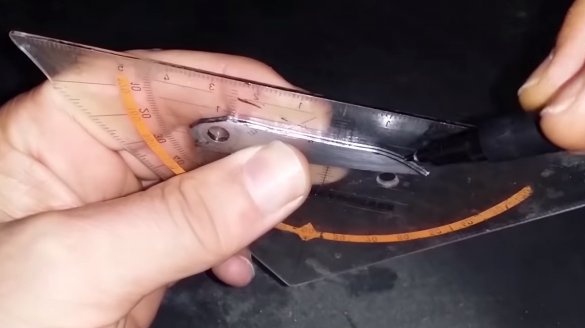
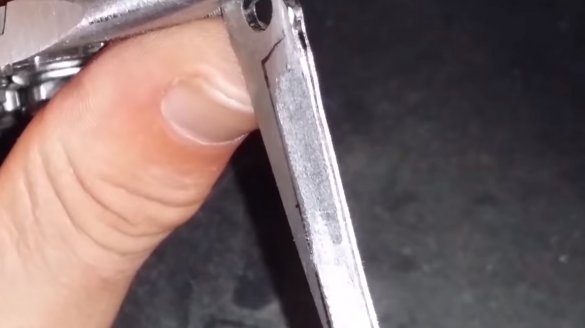
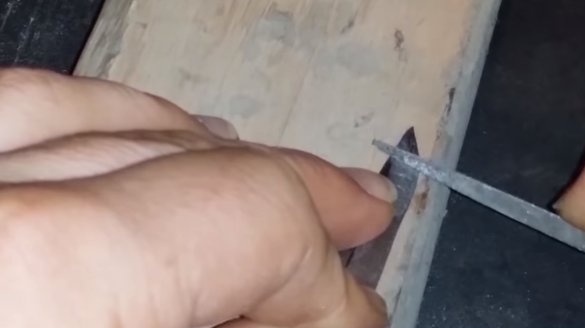
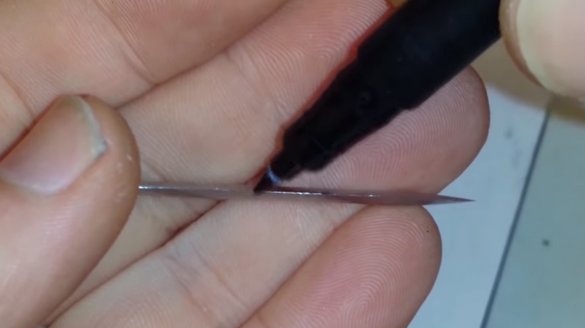
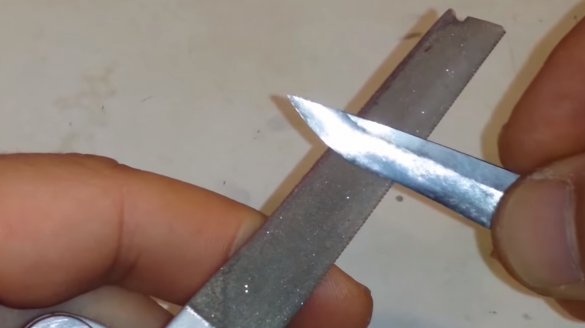
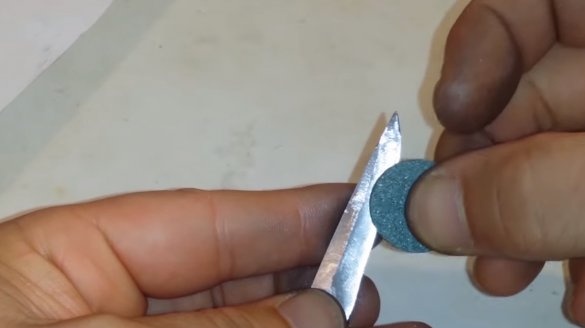
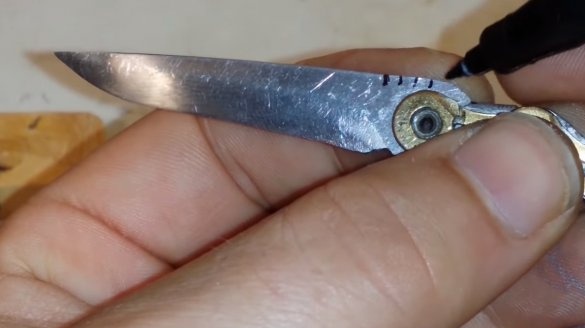
The blade is almost ready, you don’t even need to drill a hole in it, it is already here. Now you need to make the descents, mark everything with a marker and get to work. We also work with a drill. The author carries out the final work with the help of files. To remove scratches, it is advisable to sand the blade with fine sandpaper. As a result, the blade turned out quite sharp, paper cuts without problems.
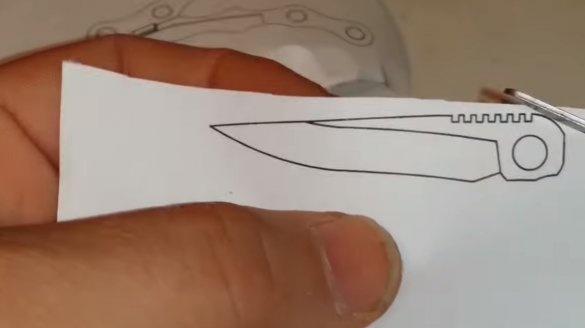
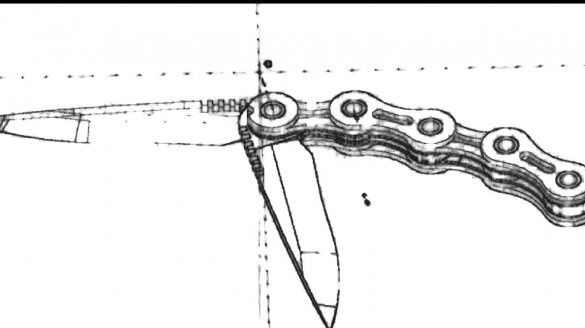
At the end, the blade will need to be finalized in accordance with the template.
Step Two Skeleton of the handle
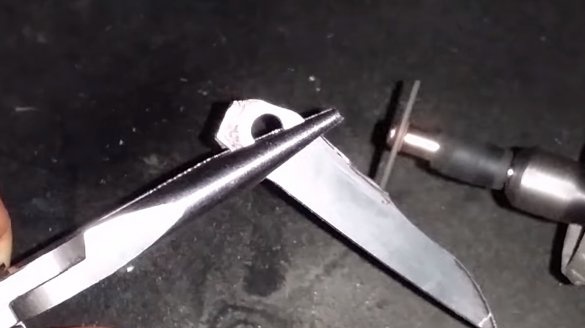
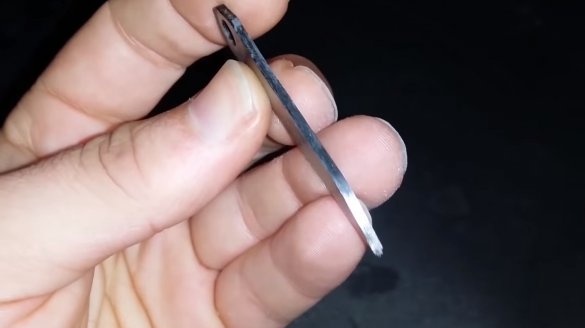
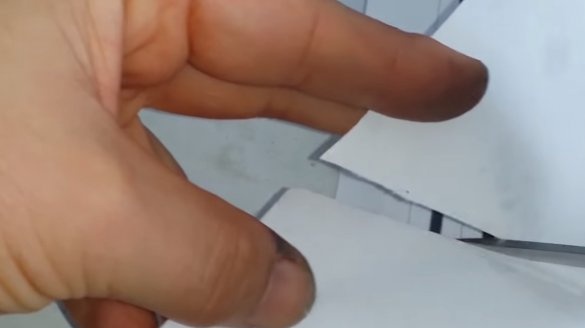
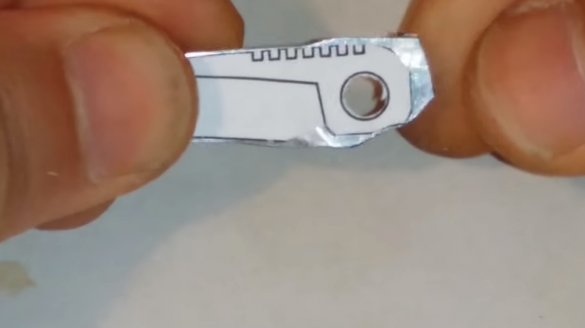
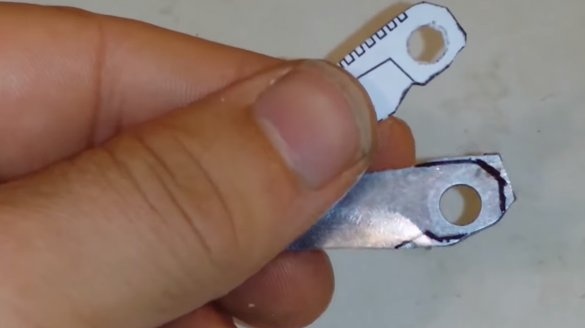
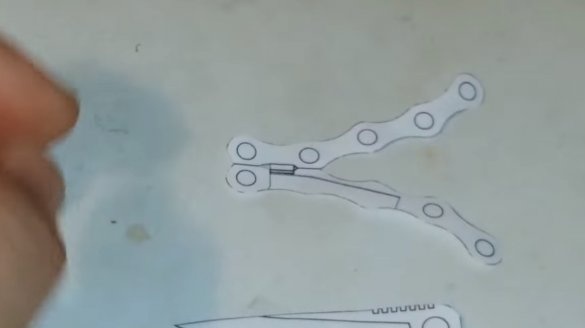
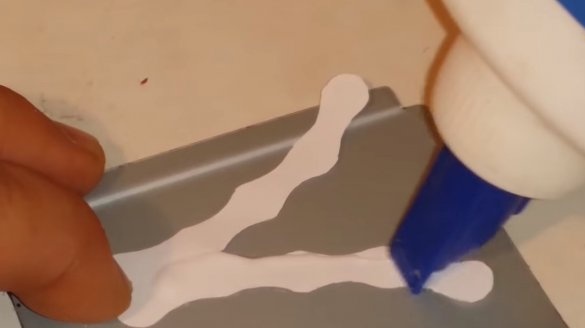
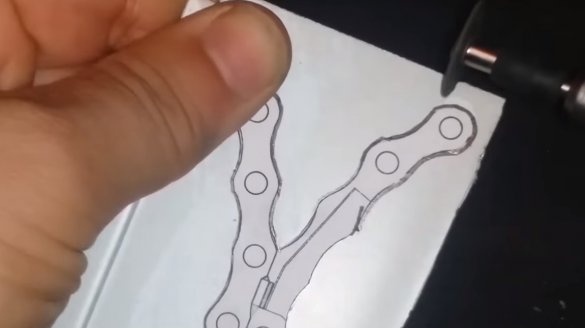
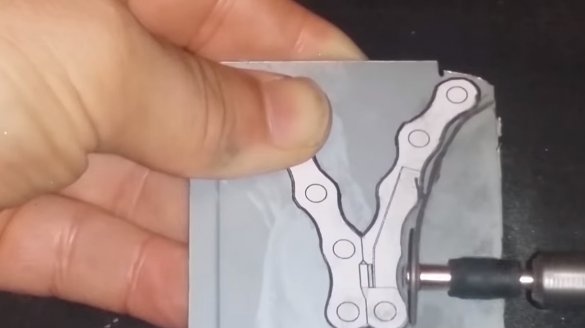
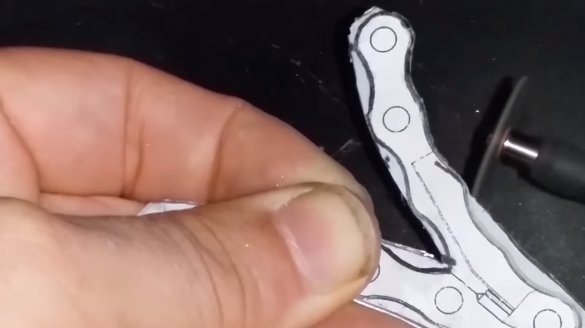
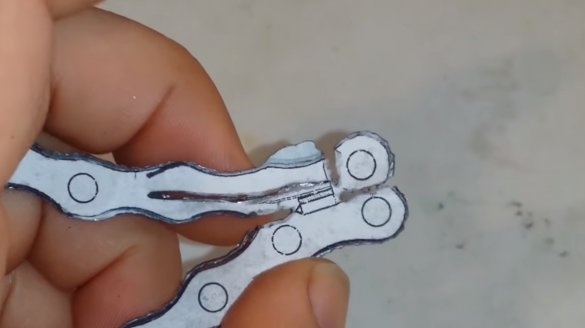
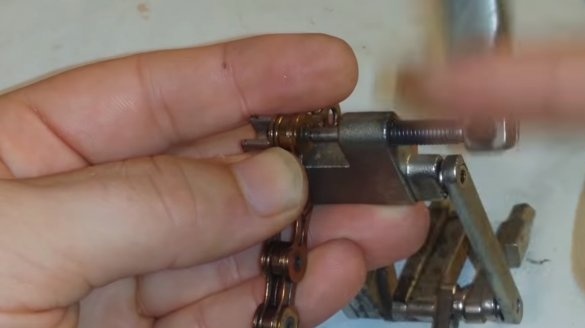
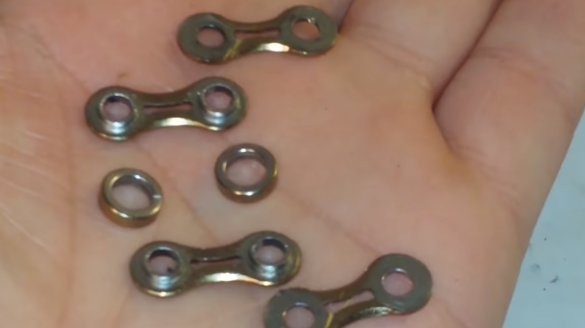
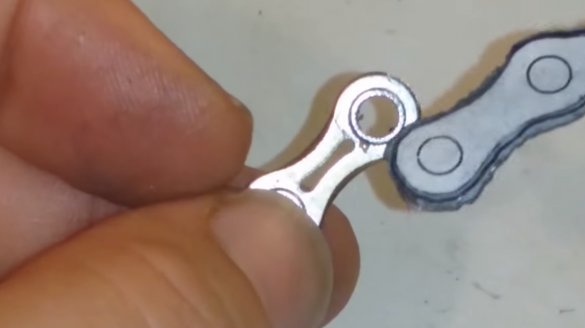
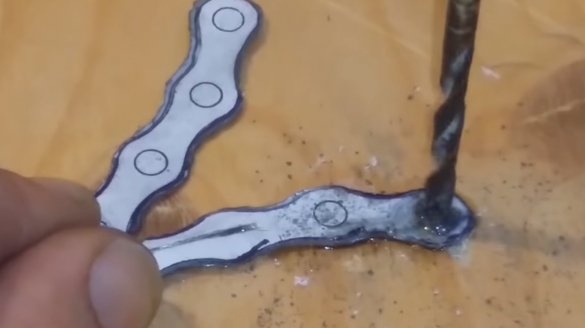
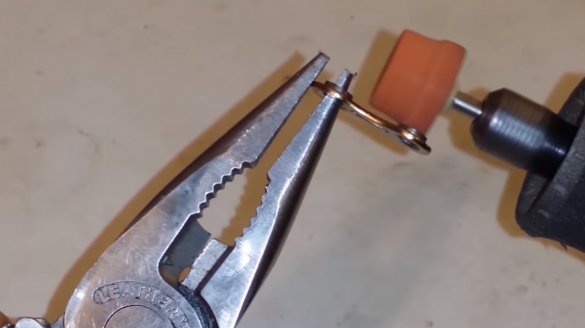
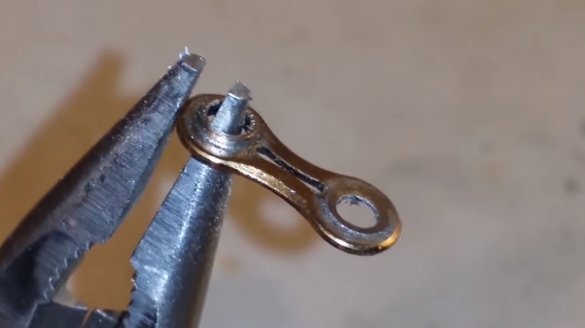
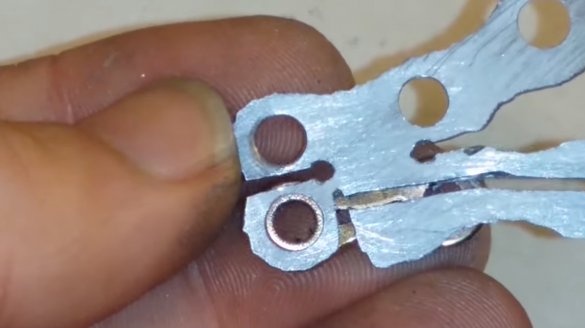
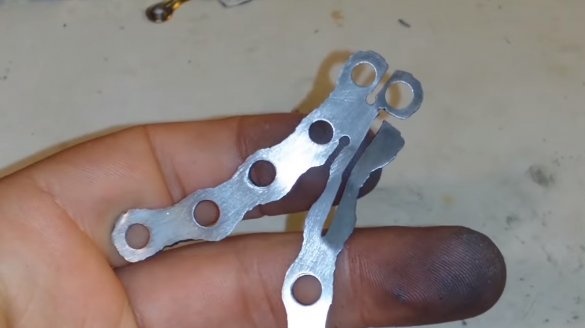
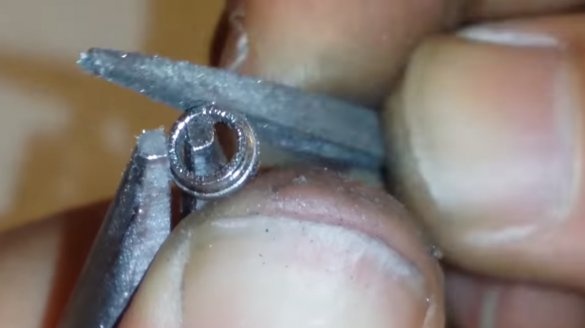
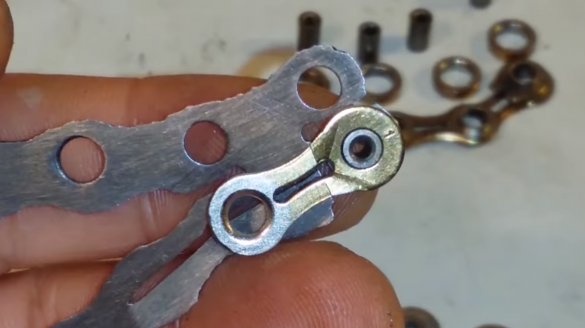
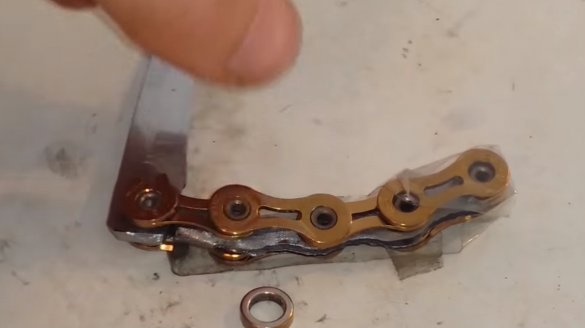
The chain itself will not be able to hold the shape, so we need to make a skeleton for it. We make a drawing and cut out the skeleton of steel. It is important to use steel, since the skeleton must be strong and a spring is provided in it. The design consists of two halves that fold when assembling the knife. The skeleton is provided with a stop and a spring. We also need to prepare the chain, it needs to be disassembled using a special tool that presses the axes in. The internal protrusions of the links must be sharpened, the links with us will be used as decor.
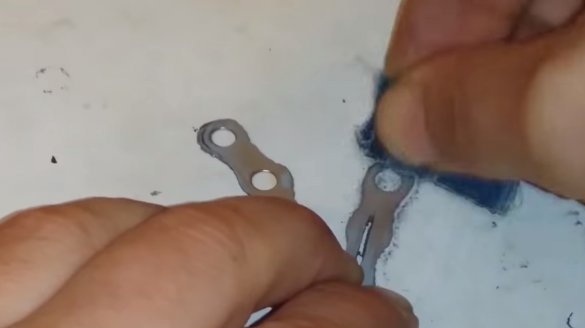
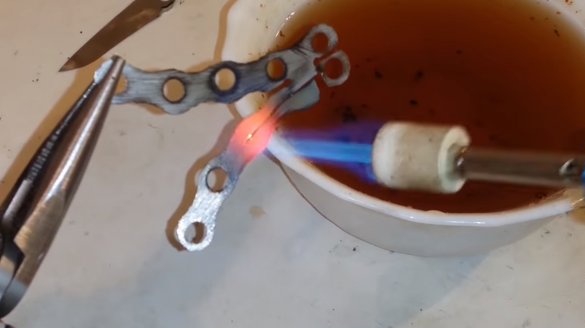
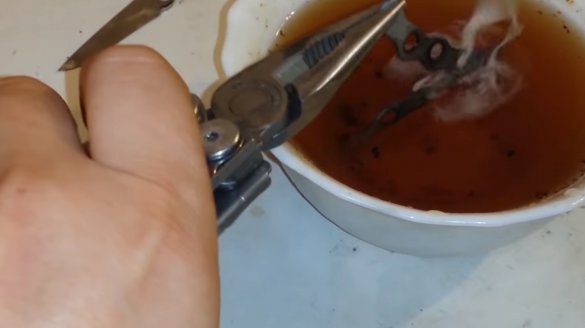
Next, we refine the skeleton, we need to drill holes in it, and also make a spring. There is already a spring in the structure, it just needs to be bent and tempered. For hardening, the author heats the part with a burner until it glows red, and then lowers the steel into the oil. If the spring does not bend, it may need to be released by heating. Now you are ready to assemble the knife.
Step Three Assembly
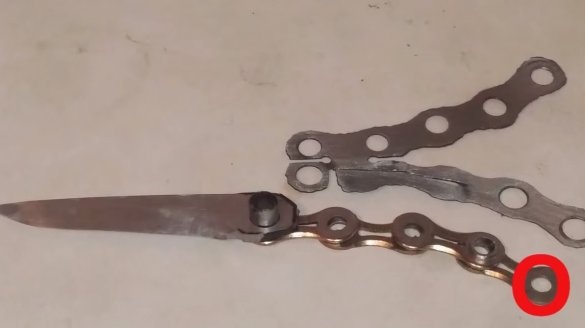
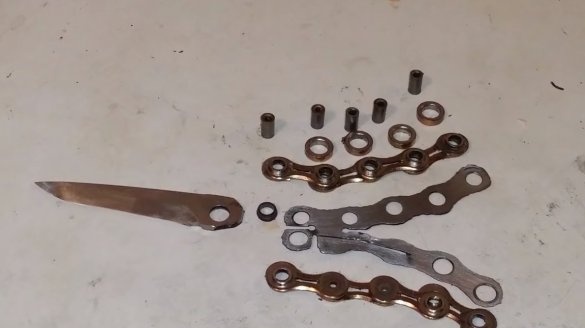
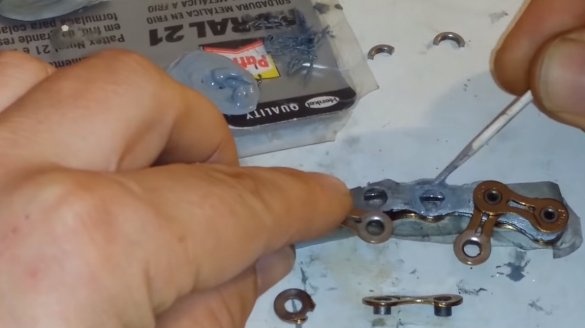
The knife can be assembled, all the details can be seen in the photo, these are pins, spacer rings, skeleton, chain links, a ring for the hole in the blade, and also the blade itself.
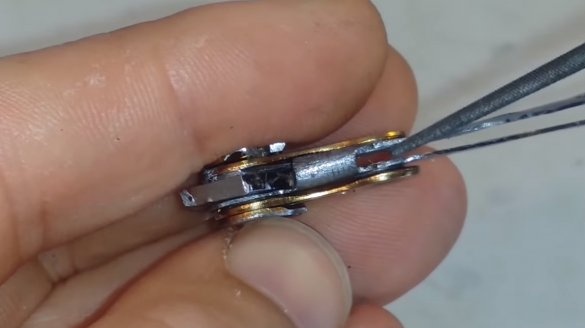
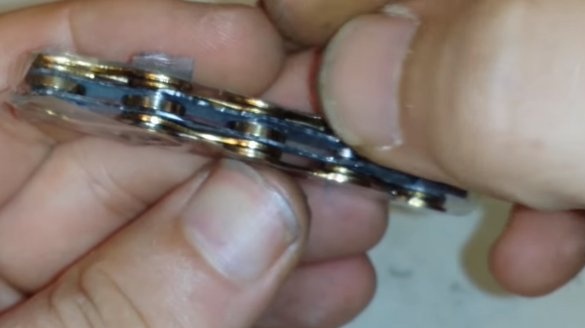
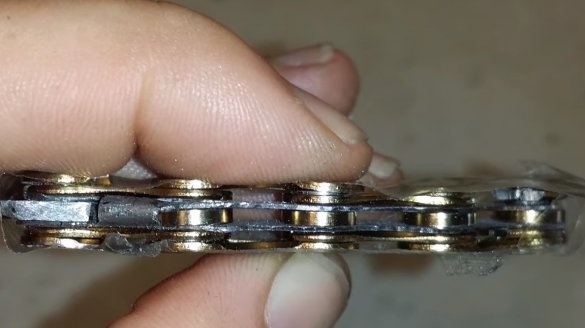
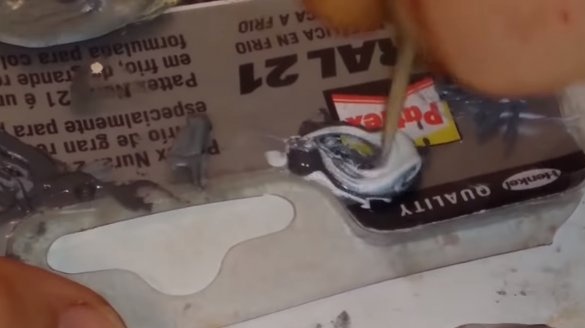
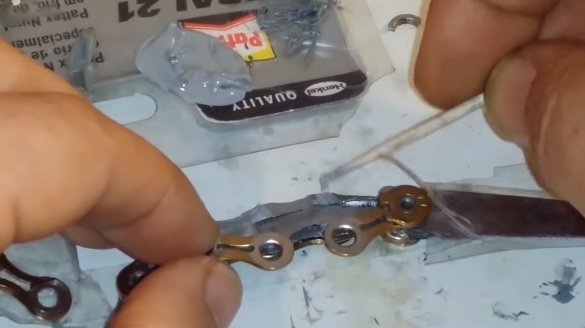
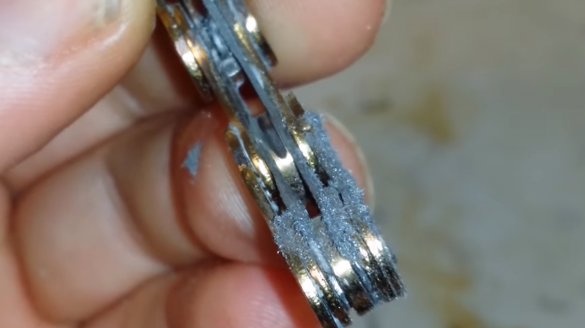
We assemble the hilt, if something does not work out, we grind it with a drill. After making sure that all the parts fit well, knead the epoxy glue and glue the links. It is better to use glue colorless so that it is not visible. So that the spacer rings do not interfere with the blade entering the handle, the author cuts them in half and glues them into the handle. We leave the whole thing to dry.
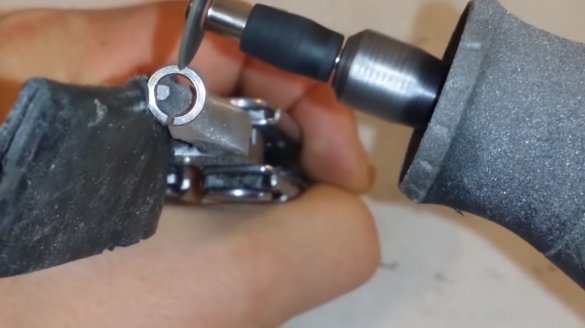
When the glue dries, the knife will be ready, it will remain to walk the cutting disc of the drill along the inside of the handle, where the blade enters to remove the frozen glue. At the end, the author cuts the cloves on the blade in accordance with the plan.
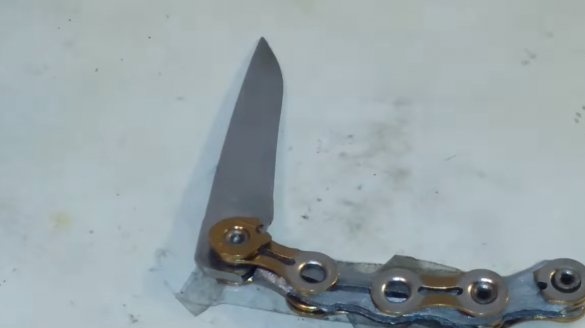
As a result, the knife is ready, it looks quite interesting, although it is made a little carelessly, but for the first model it’s not bad. The knife folds perfectly, also the blade holds well and firmly rests against the stop.
This is the end of the project, I hope you enjoyed it, good luck and creative inspiration, if you decide to repeat this. Do not forget to share your ideas with us and homemade!

