If you have a drilling machine with a movable table in your workshop, then perhaps you already had the task of accurately drilling cylindrical parts across exactly in the center.
In this article, the author of the Be Creative YouTube channel will tell you how he made the simplest mechanical center finder, with which this task can be solved easily and simply.
This homemade product does not require the purchase of special materials, it can be made in a few minutes.
Materials
- Steel square 15X15 mm
- Furniture corner
- Screw M4 under the hexagon.
Instruments, used by the author.
- Drilling and turning machines
—
—
-, core, hammer, ruler, drill
- Marking pencil.
Manufacturing process.
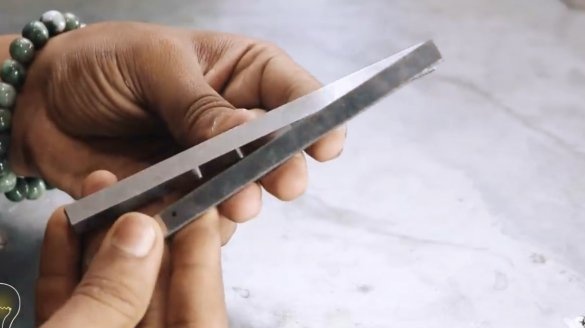
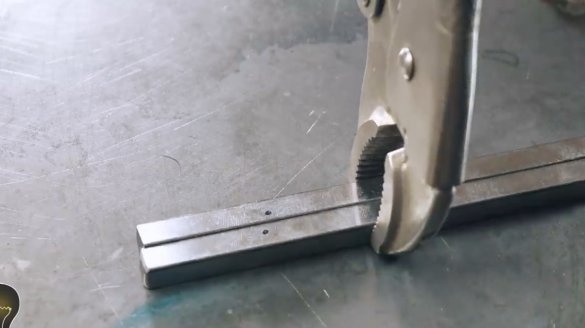
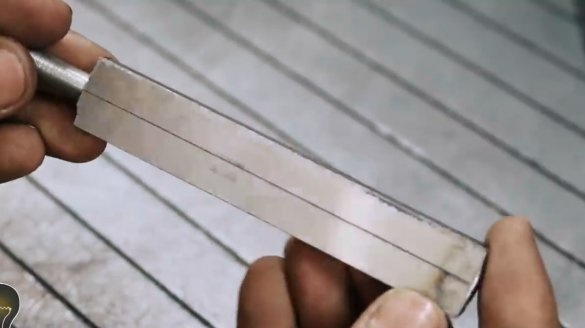
So, to begin with, the author fixed two blanks from a steel square of 15X15 mm of suitable length between themselves with the help of a geyfer capture.
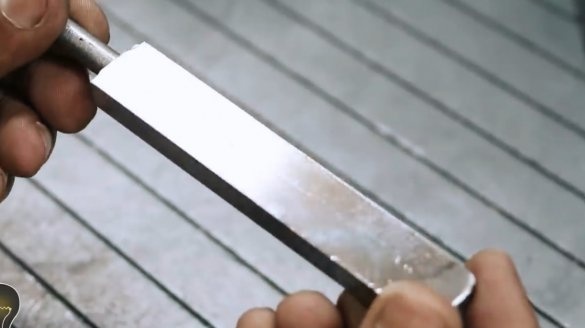
On one side he grabbed them with welding, and knocked off the scale.
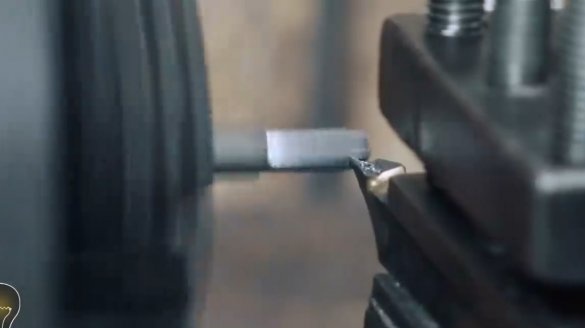
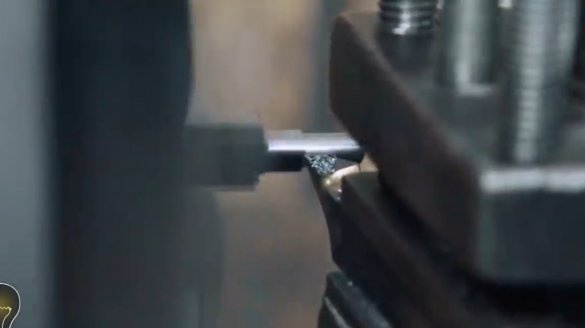
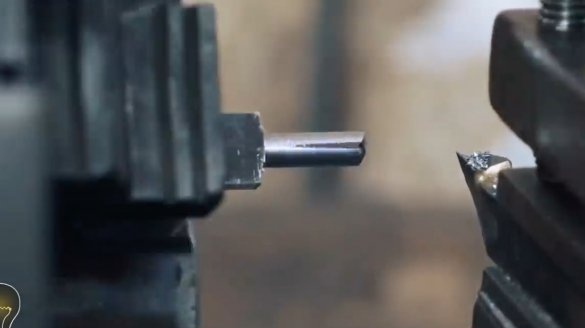
On the other hand, in the center, I welded another piece of a square 50 mm long. Then he installed the workpiece in a lathe, and turned the latter into a cylindrical shape. It is important that the product is centered.
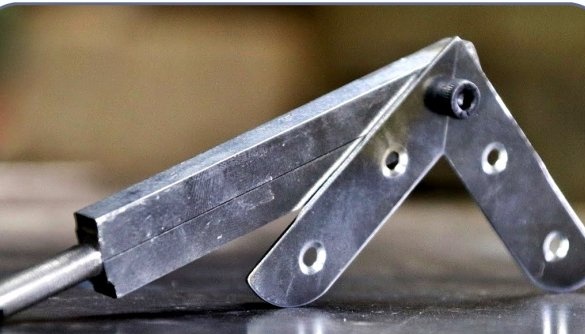
The main part of the tool turned out.
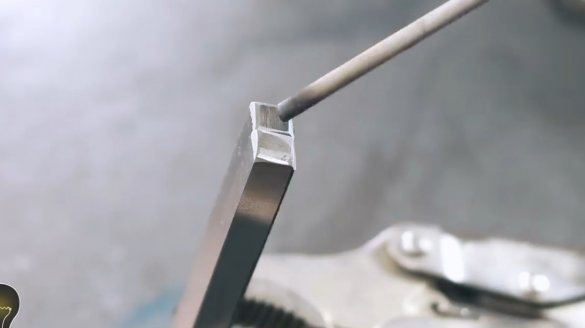
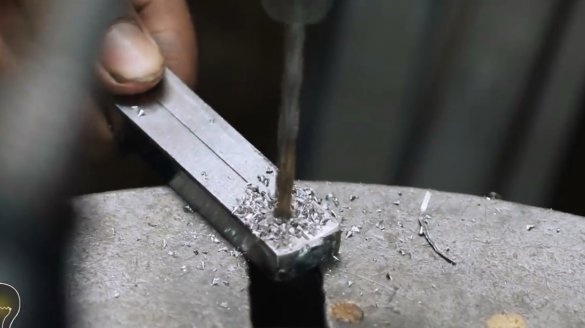
He screwed it in the lower part and drilled a hole with a 3.3 mm drill. This also needs to be done strictly in the center.
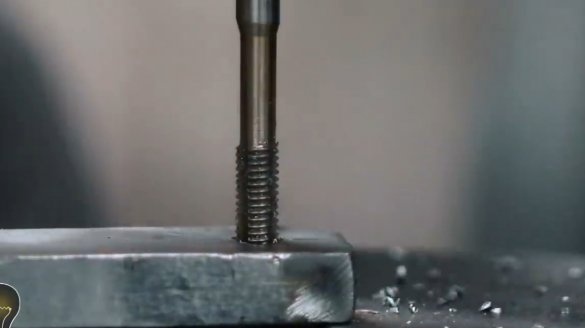
Then in the drilled hole I cut the M4 thread.
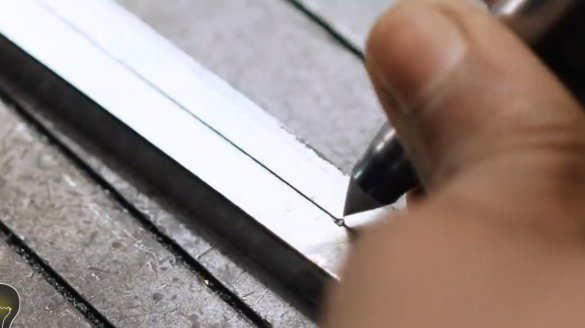
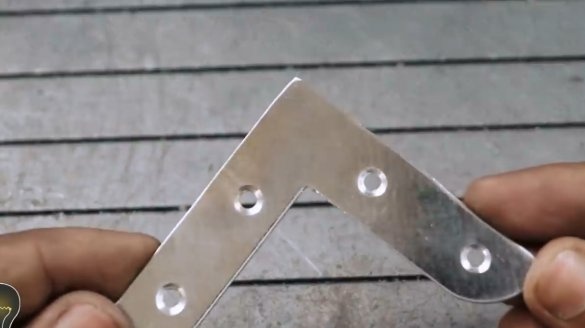
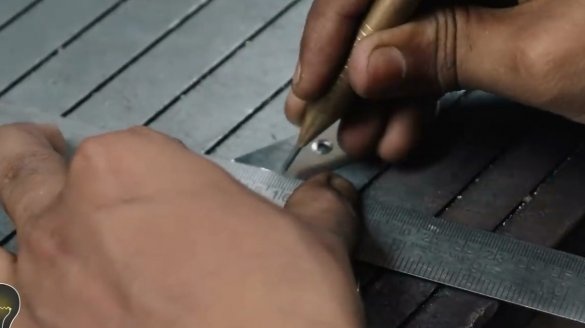
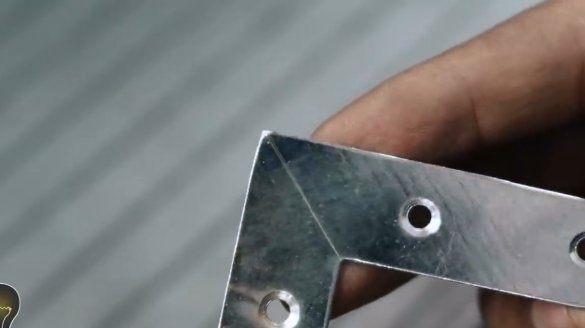
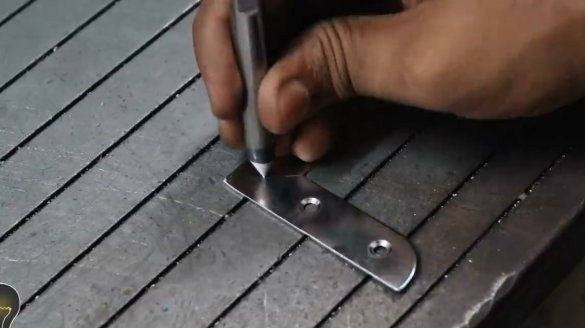
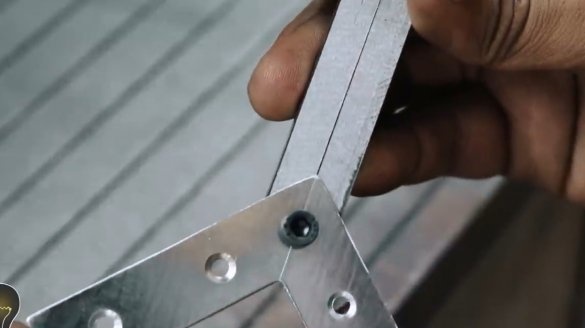
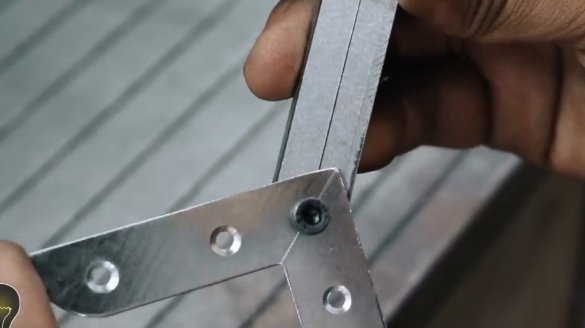
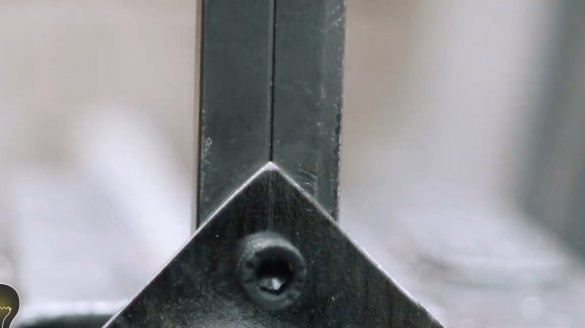
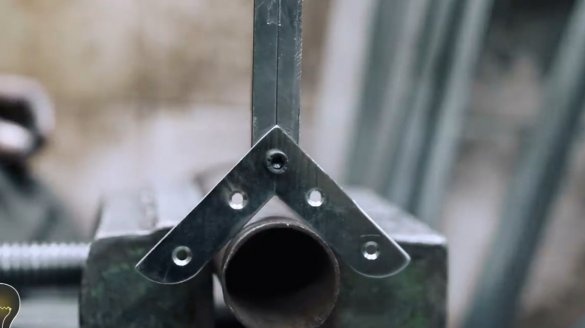
Now you need such a furniture corner. It is important to check its geometry. The internal angle must be strictly 90 degrees. Further, the author drew the markup from the outer corner to the inner one. Here the angle should be exactly 135 degrees relative to the inner faces.
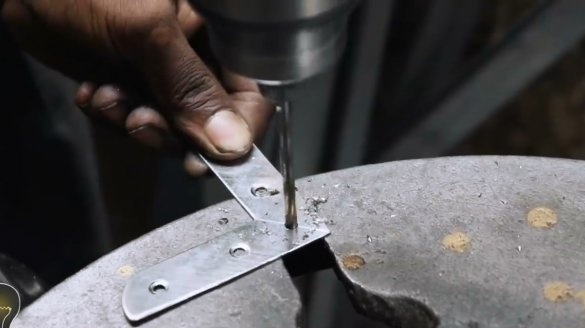
He filled the workpiece in the center of the marking, and drilled a hole with a diameter of 4 mm.
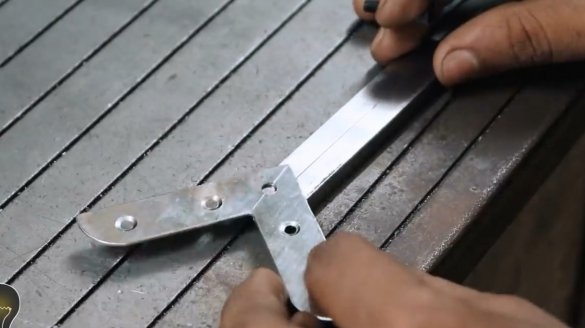
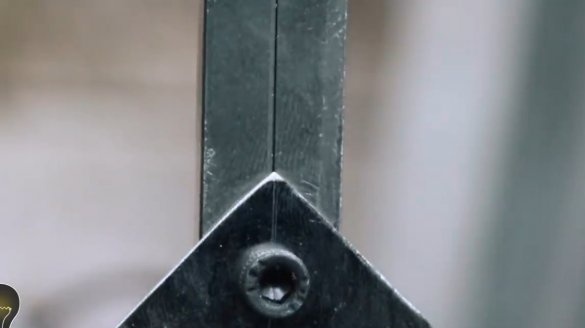
Connected the received parts among themselves by the M4 screw under a hexagon. In this case, the corner should move freely. It is also advisable to place a polyethylene washer under the screw head.
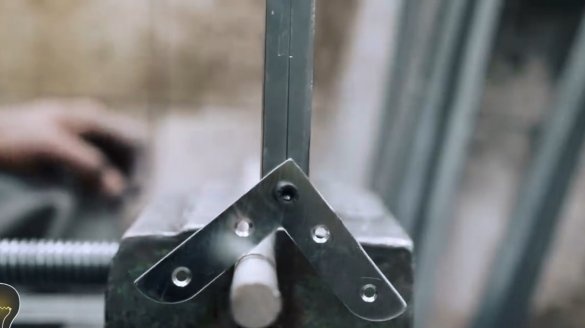
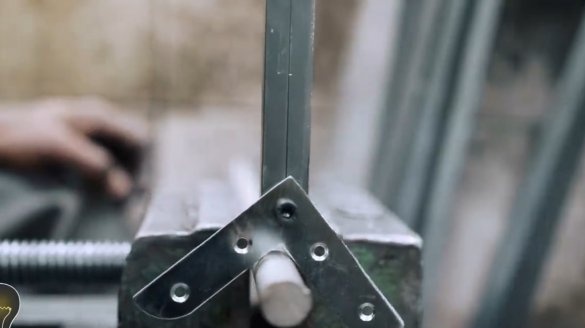
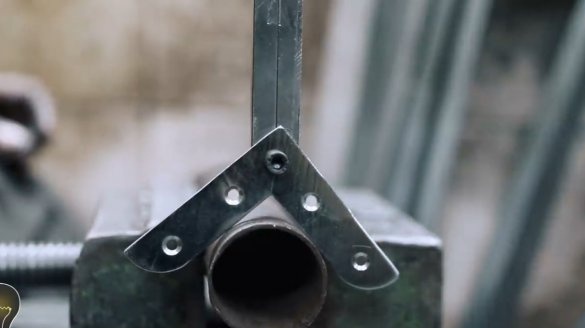
The author conducted the first test on a fairly thin bar. Fixed in the cartridge device. From the offset of the marking line and the junction between the squares, you can understand whether the workpiece is precisely set relative to the center of the machine chuck. By adjusting the movable table you need to achieve their coincidence.
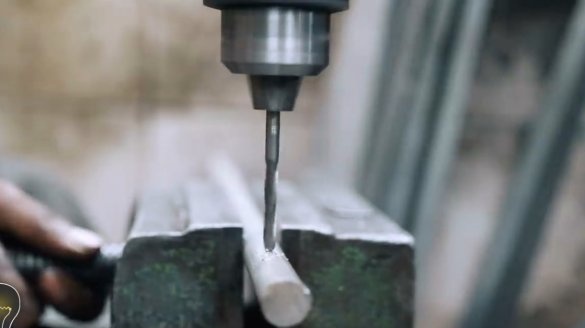
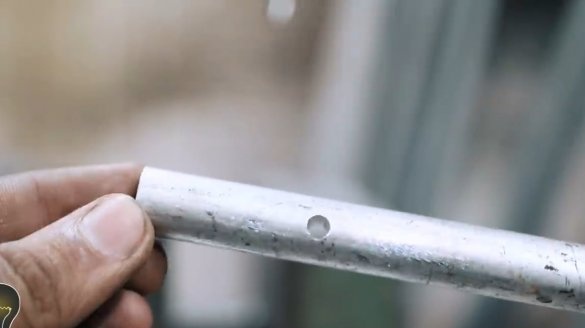
Now you can safely drill. The through hole turned out very accurately even on such a thin part.
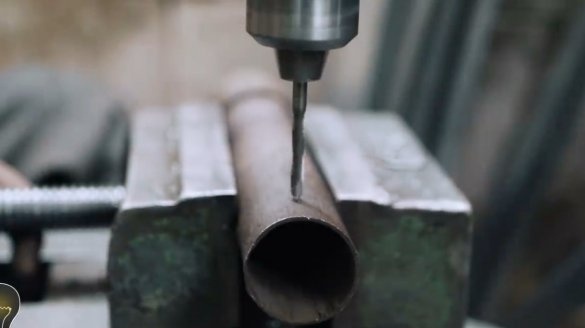
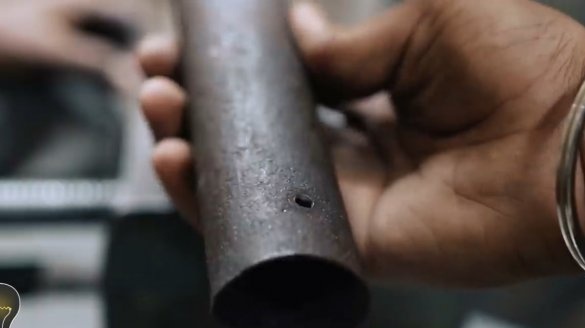
Then he took a pipe with a larger diameter, and repeated the experiment. It can be seen that the hole was drilled correctly, but the author unfortunately did not drill through it, and did not measure the deviation. With minor modifications, such a device can be made even more accurate. Namely - to weld to the corner a small piece of steel wire in the form of an arrow, and not focus on the markup.
Thanks to the author for the idea of a simple but useful tool for drilling and milling machines!
All good mood, good luck, and interesting ideas!
Author video can be found here.

