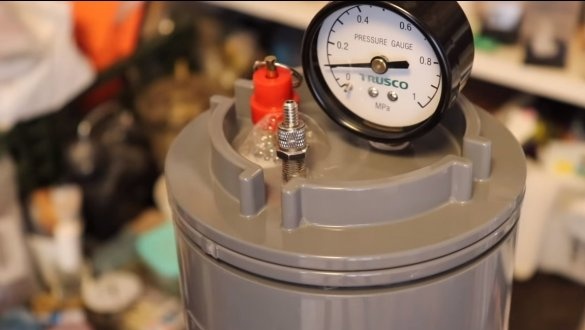
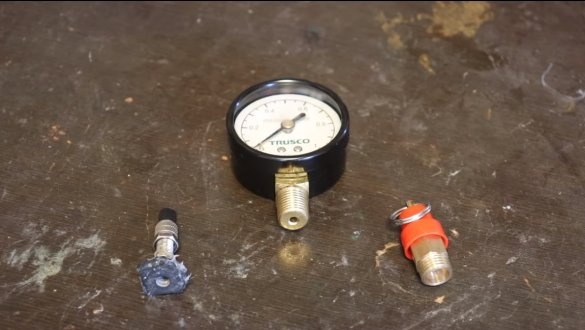
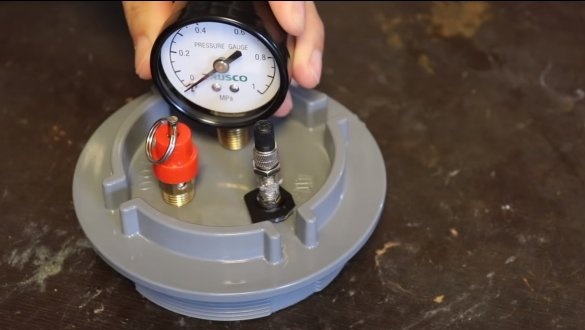
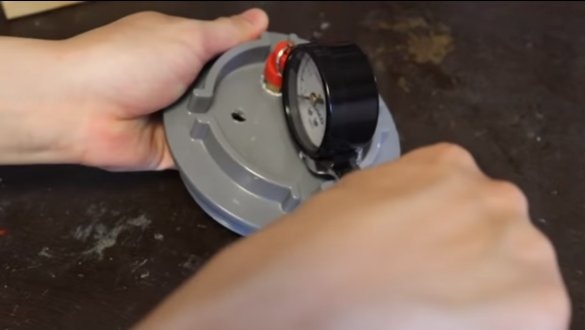
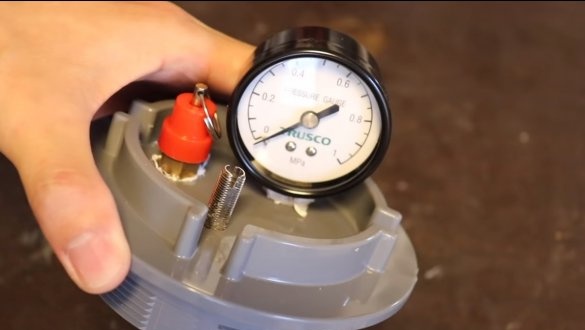
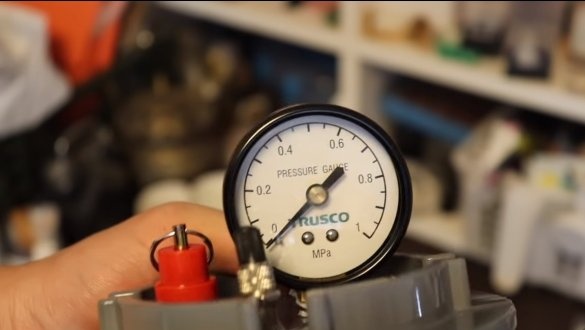
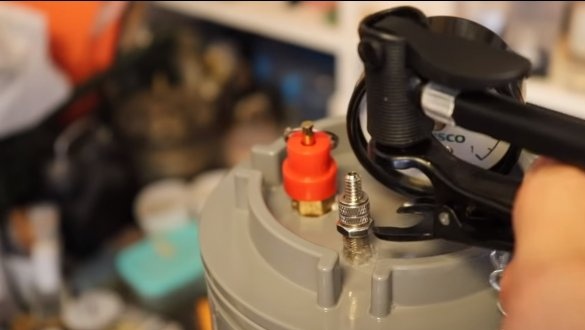
I welcome all fans to craft, today we will consider how to build the simplest low-pressure chamber for casting parts from epoxy resin. The author used plumbing components as components, of course, such a camera is not able to withstand high pressure, but it is quite possible to get a figure of 3 atmospheres. The camera has a cap on the thread and is easily unscrewed, a pressure gauge is installed in the cap, and there is also an emergency valve to relieve excess pressure. If the project interests you, I propose to study it in more detail!
Materials and tools used by the author:
Material List:
- a piece of sewer pipe;
- a cap for the pipe;
- a part with a thread and a cover for plumbing;
- silicone sealant;
- fum tape;
- valve to relieve excessive pressure;
- a bicycle chamber (or a nipple from it);
- pressure gauge;
- plywood.
Tool List:
- a hacksaw for metal;
- drill;
- tap for threading;
- hand circular saw;
- a hammer or mallet.
The process of manufacturing a pressure chamber:
Step one. Housing
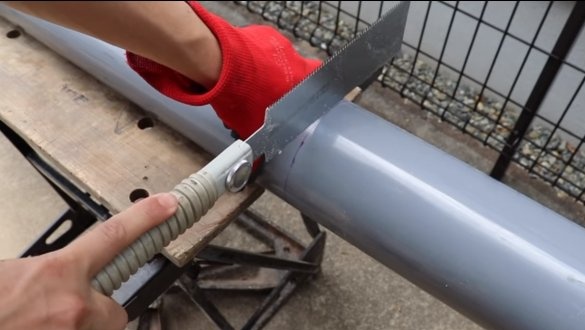
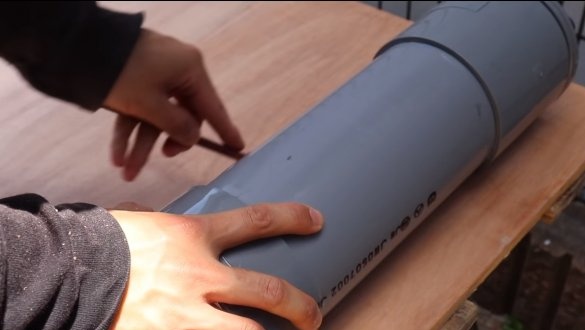
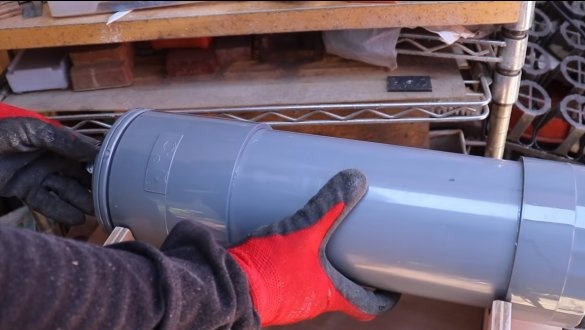
Housing homemade going very simply, arm ourselves with a hacksaw for metal and cut a plumbing pipe. Pipes come from different materials, these are PVC, polypropylene, and others. It is better to choose a pipe of maximum thickness with a maximum number of layers, such a pipe will be able to withstand maximum pressure.
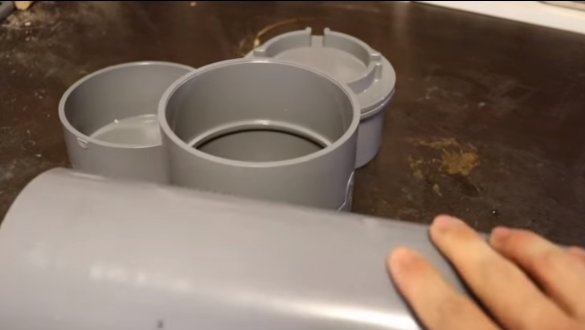
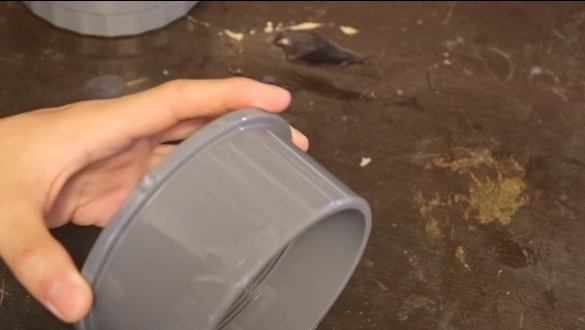
Having cut the pipe, we install a plug on one side of it. We use glue or sealant; in addition, it is recommended to attach the plug with screws so as not to disrupt.
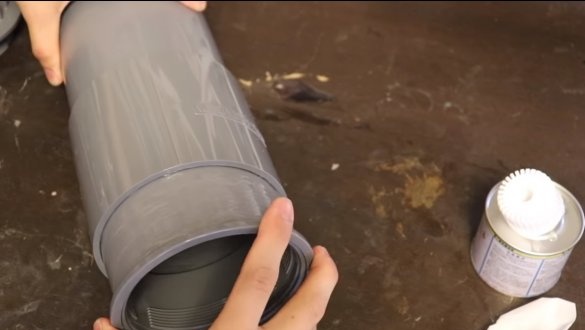
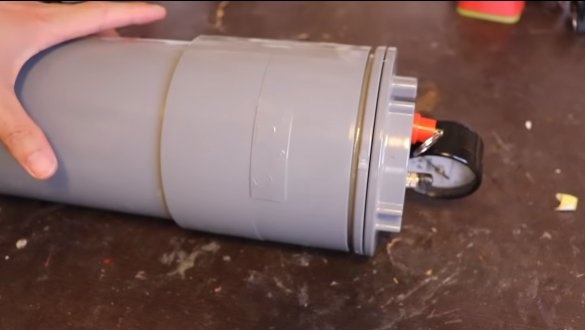
Well, on the other side of the pipe, a part with a thread is installed in which the cover is wrapped. That's all, after that the homemade housing is ready.
Step Two Installing parts in the cover
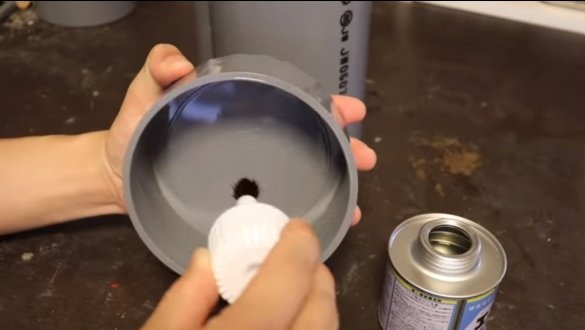
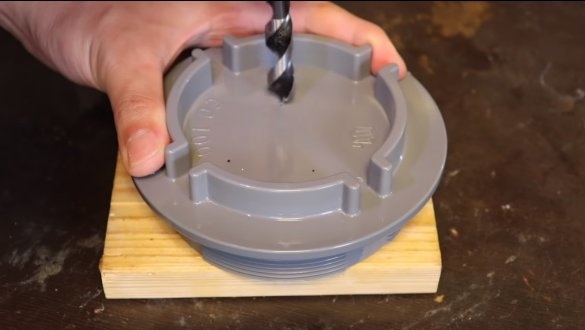
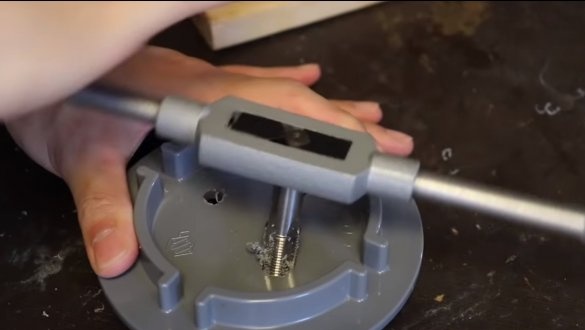
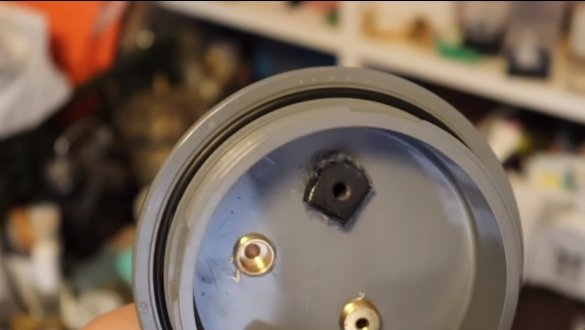
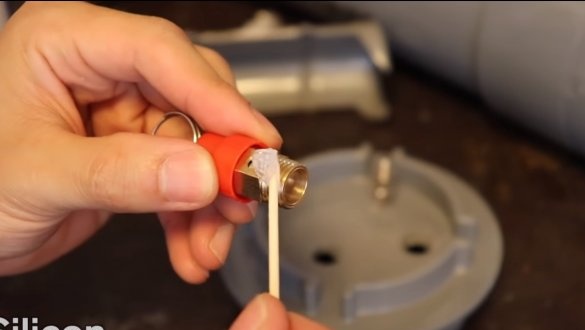
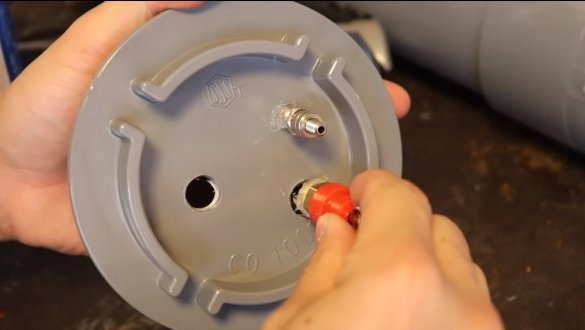
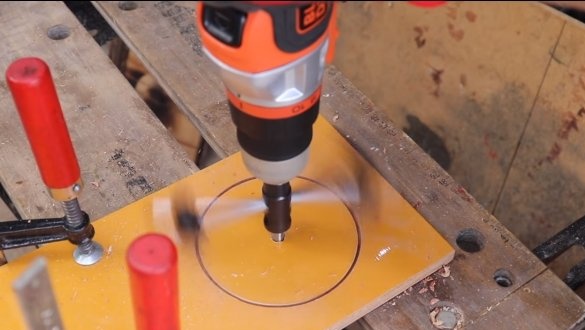
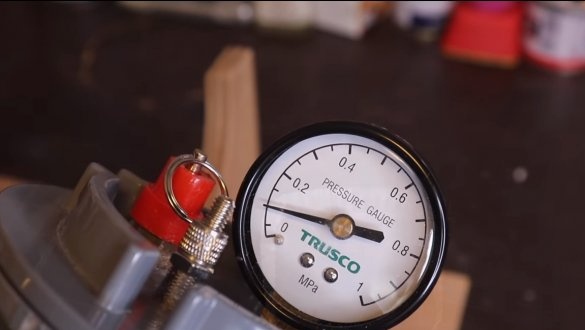
We drill holes in the pressure chamber cover and cut the threads, here we wrap the pressure gauge and valve. Silicone thread sealant can be used to seal threads. If you plan to achieve high pressure in the chamber, it is recommended that you install nuts on the valve and pressure gauge from the inside.
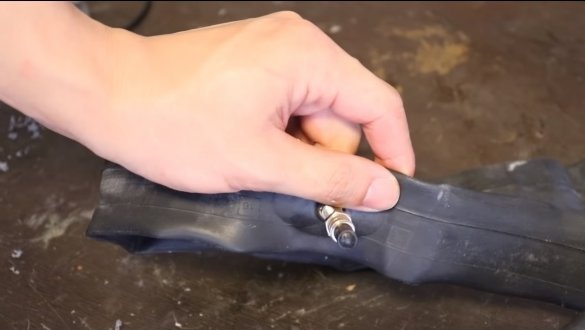
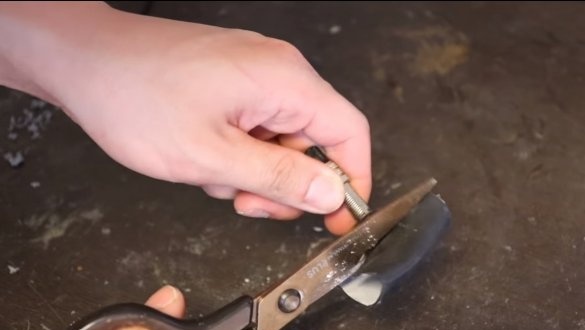
We also need to install the nipple from the bicycle chamber, cutting it off in advance. We cover the nipple with silicone sealant and screw it with a nut from the outside.
At the end, we check all the connections with soap and water and in case of etching we seal.
Step Three Stand and test
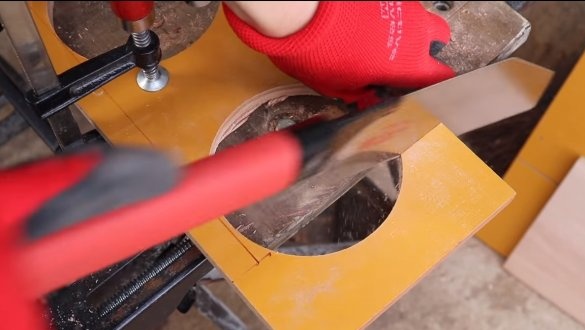
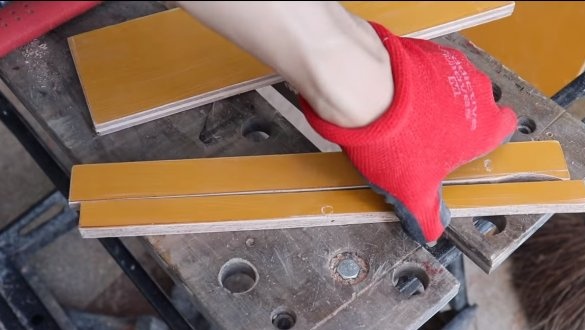
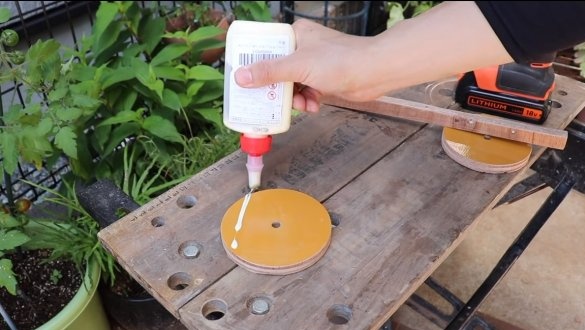
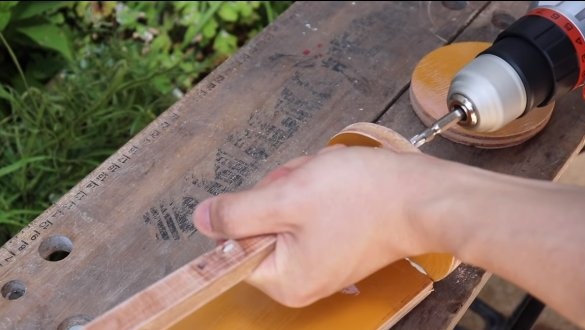
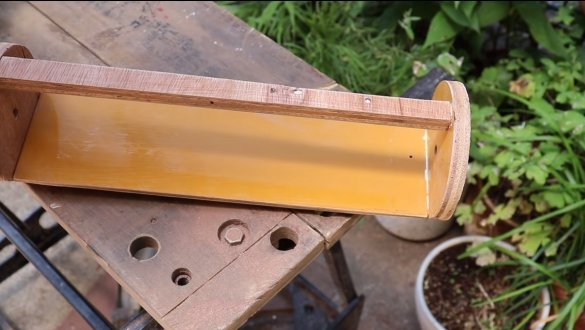
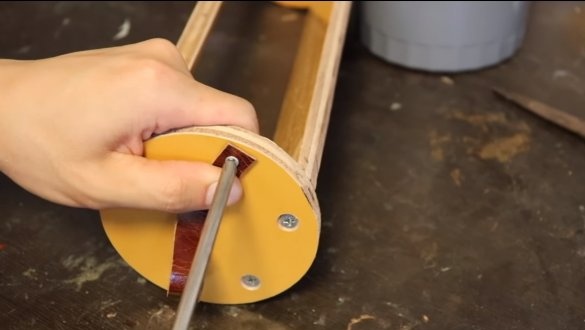
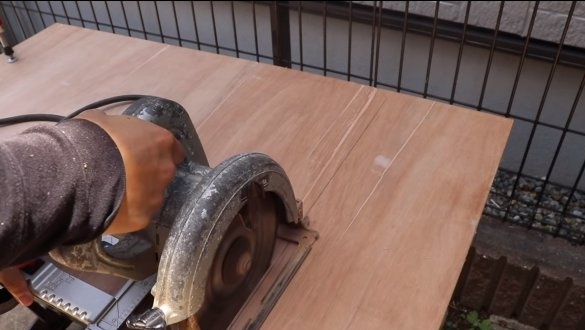
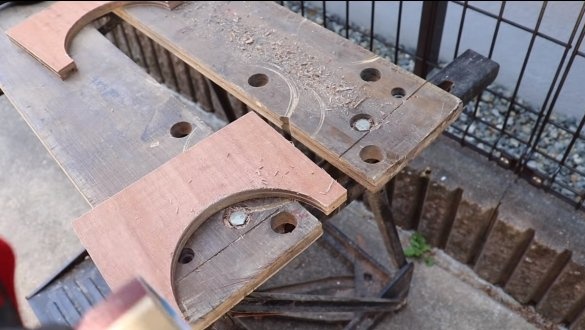
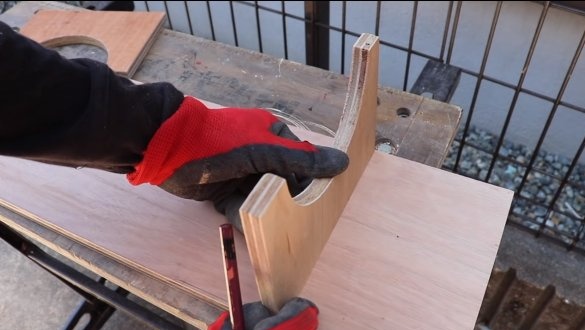
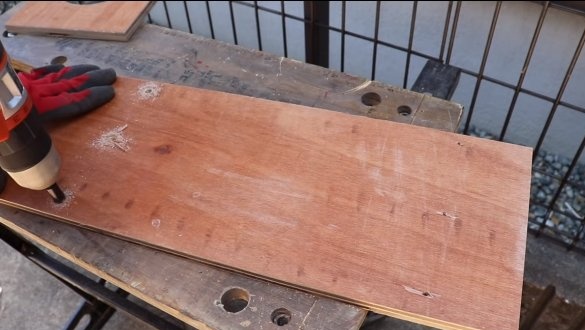
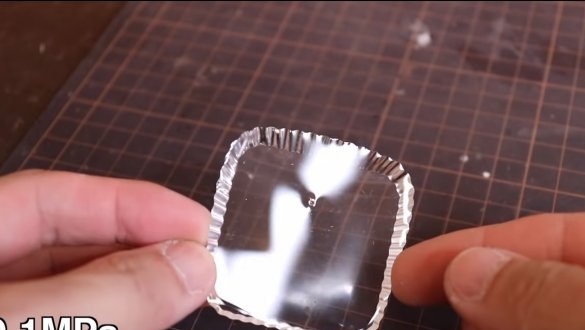
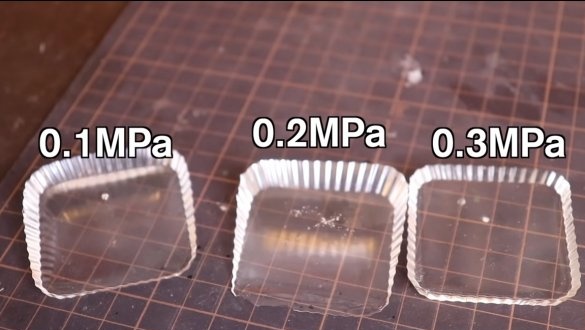
We make a stand for the pressure chamber, it can be cut out of plywood, twist everything with screws and now the homemade product is ready. To carry the pressure chamber, you can install a strap with a handle on it. The author tried to carry out injection molding up to 3 atmospheres. Due to increased pressure, air bubbles decrease and become almost invisible. The chamber can be inflated with a hand pump or a 12V compressor, and pressure can be relieved by turning the valve spool or through the emergency valve.
I hope you enjoyed the project and found useful thoughts for yourself. Good luck and creative inspiration, if you decide to repeat this. Do not forget to share your ideas and homemade things with us!

