Hello to all lovers of craftsmen, today we will consider how to make a modern bench made of concrete. To make the bench, the author used quite serious equipment, including a CNC milling cutter, but simpler tools can be dispensed with. Of greatest interest is the abstract drawing, which the author made in epoxy. This pattern was created according to a special method, from the pens of felt-tip pens. The bench looks delightful, and it is also very strong thanks to the fiberglass that was added to the concrete. If the project interests you, I propose to study it in more detail!
Materials and tools used by the author:
Material List:
- concrete;
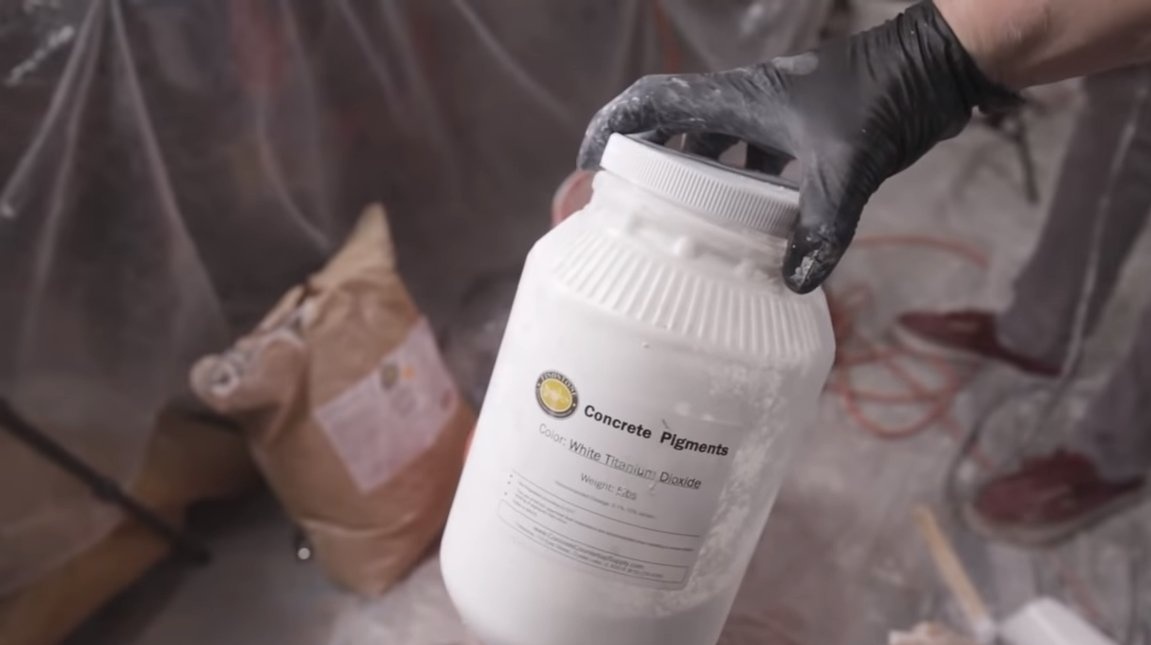
- titanium dioxide (white dye);
- plywood for legs;
- markers or felt-tip pens;
- epoxy resin for pouring.
Tool List:
- jigsaw;
- marker, tape measure, rulers and so on;
- CNC milling machine;
- screwdriver, drill;
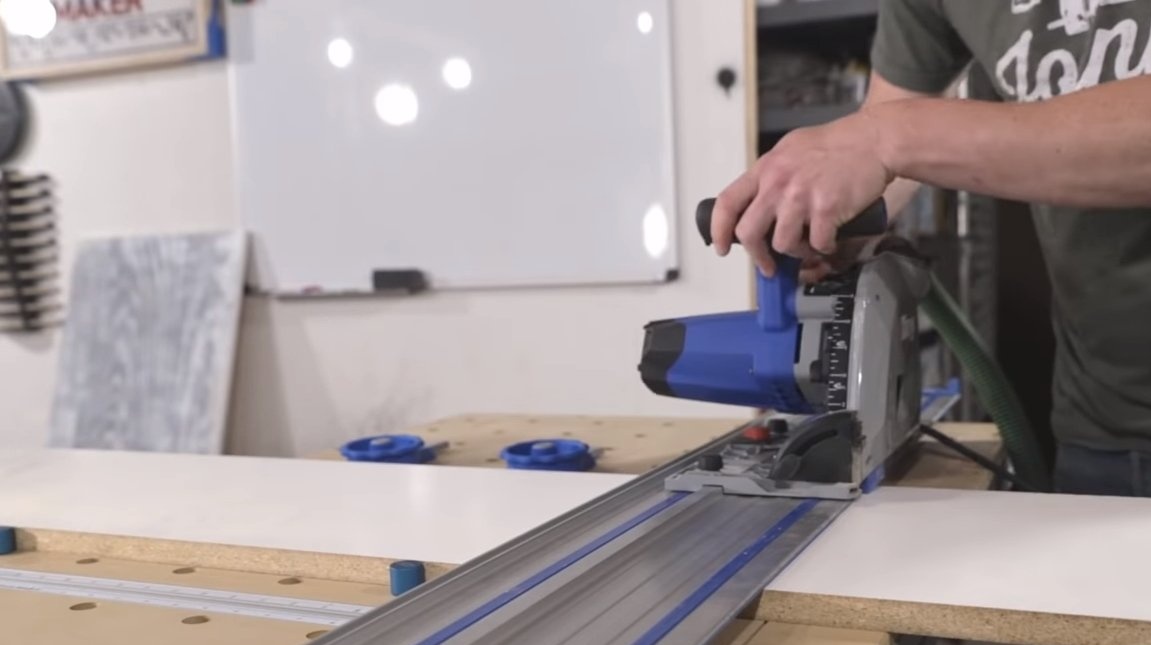
- a circular saw;
- building hair dryer;
- a vacuum chamber;
- manual polishing machine;
- silicone sealant;
- Particleboard for formwork;
- oil or varnish for wood.
Bench making process:
Step one. Formwork
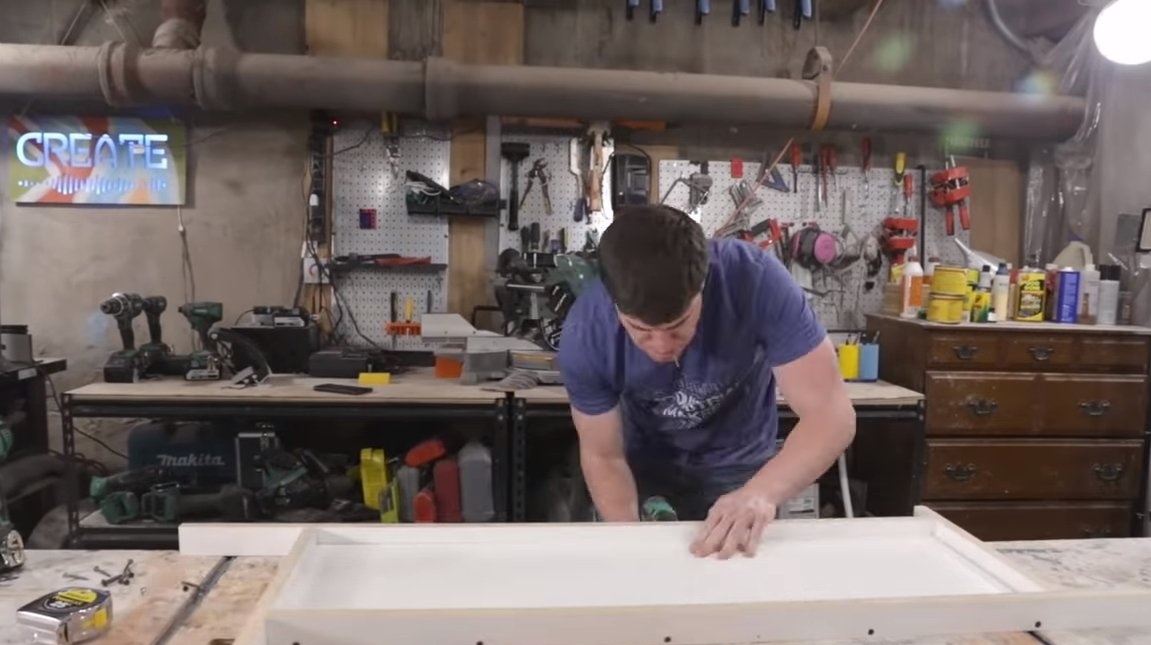
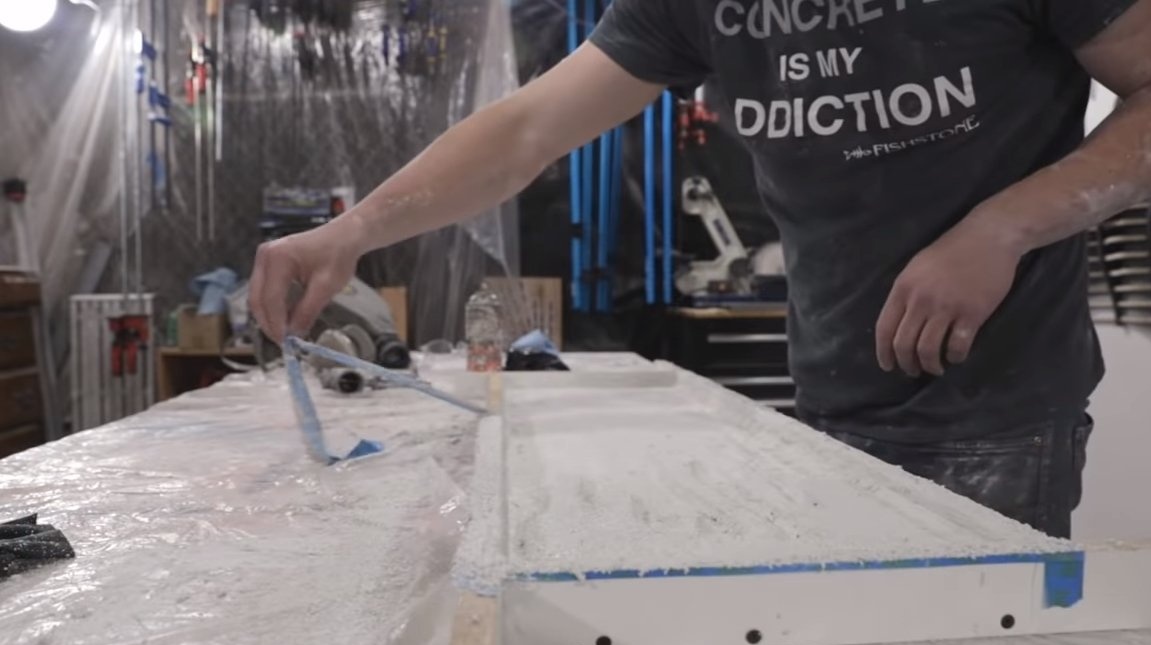
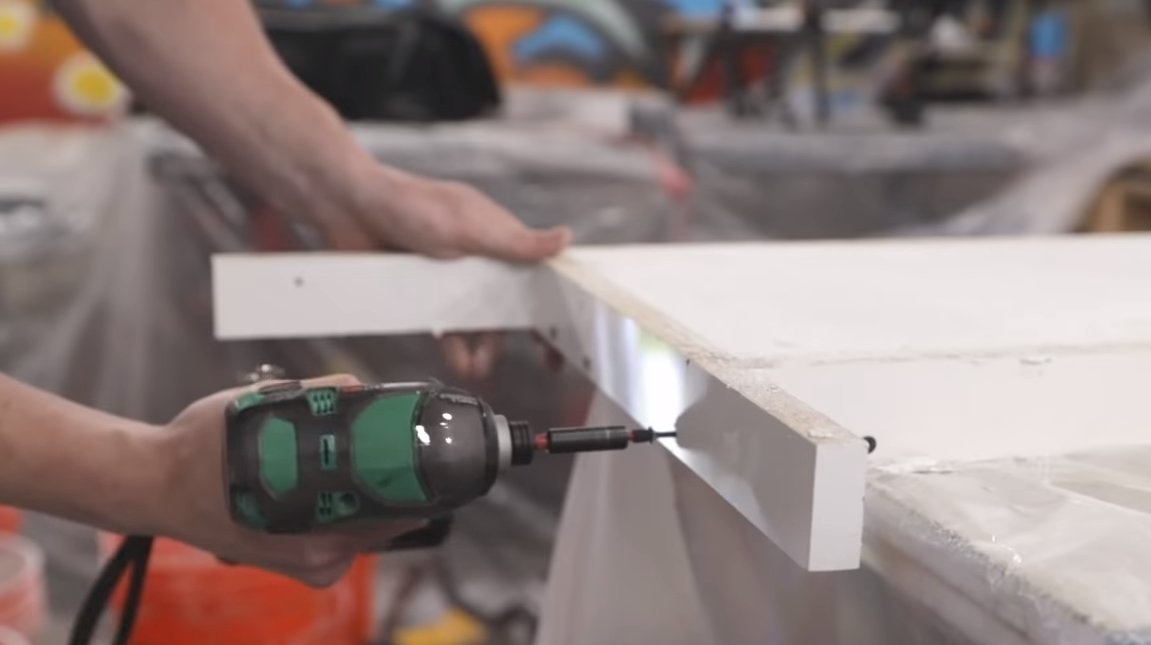
First of all, we assemble the formwork, for this we cut the chipboard and twist the formwork with screws. For tightness, the author uses silicone sealant. To make the seams neat, the sealant must be “rolled out” with a special tool with a ball at the end.
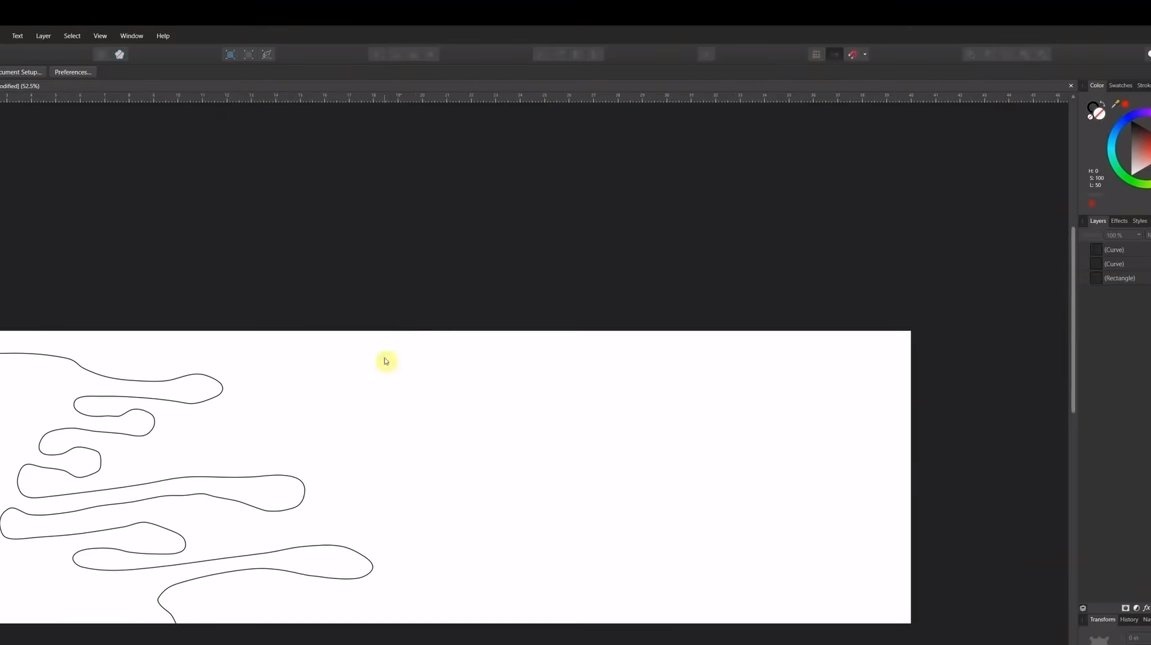
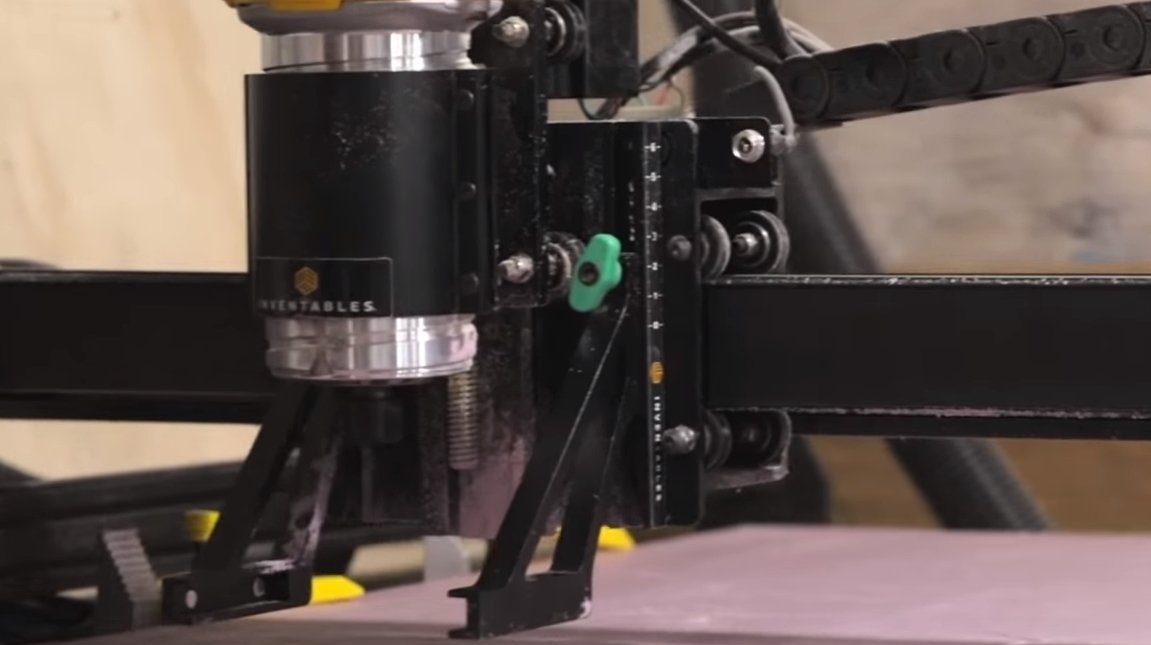
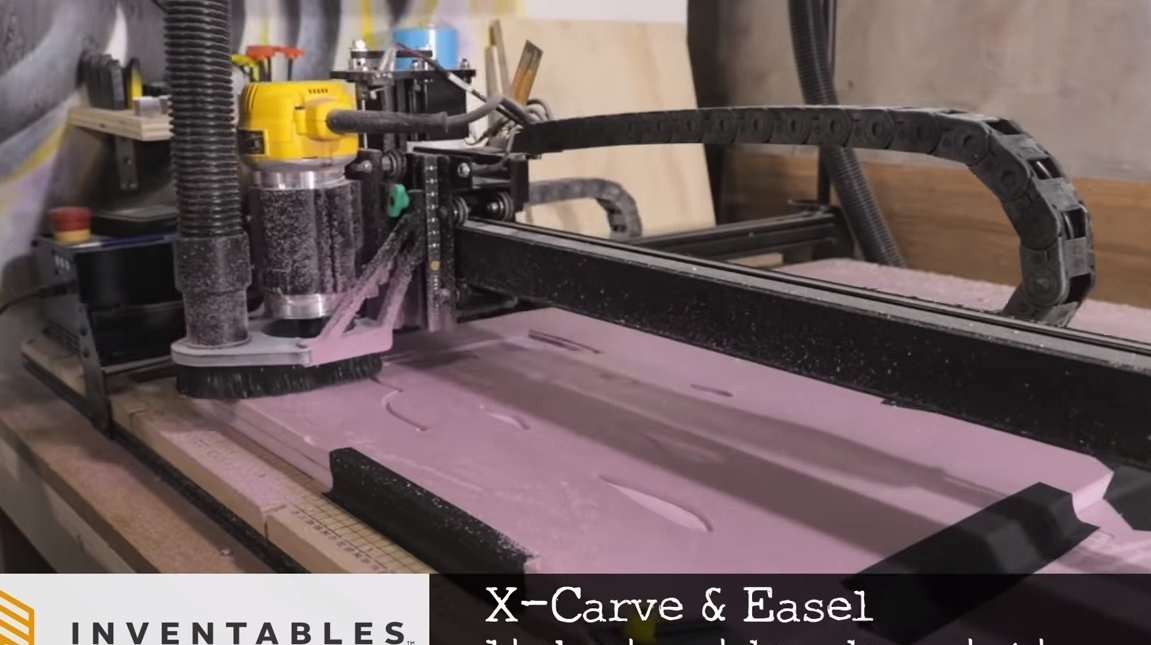
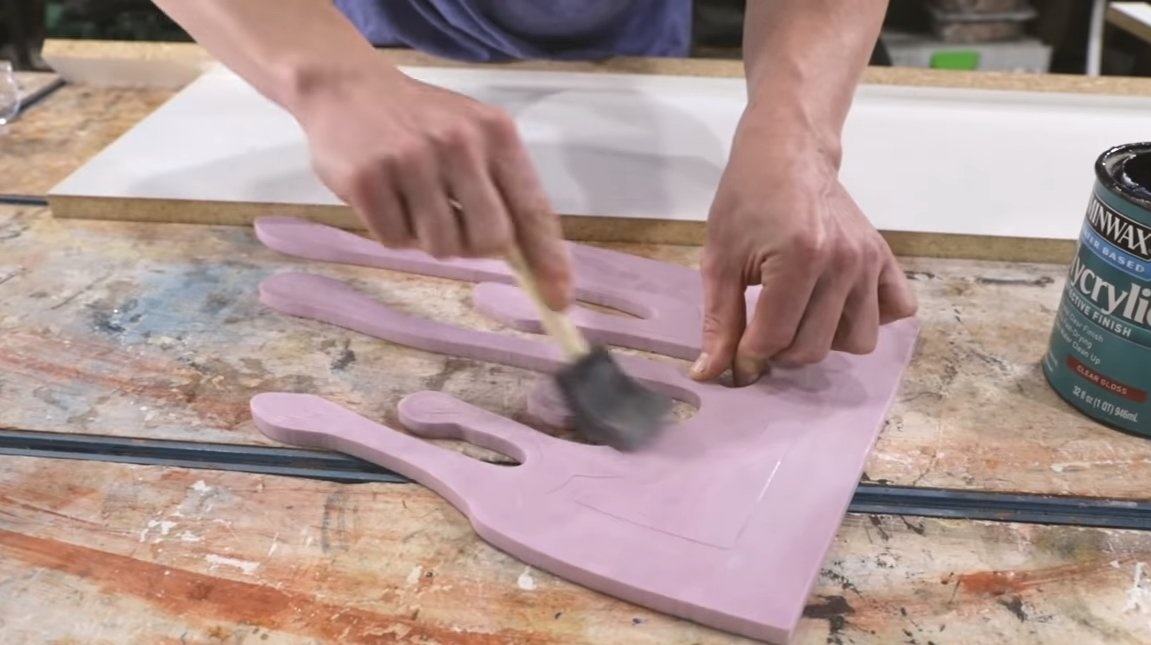
In addition to the formwork, we also need to make a shape that will become a relief with a beautiful pattern. The author designed this relief on a computer and cut it on a CNC milling cutter. As a material, dense foam or other similar material that can be excavated from concrete is suitable. We process the formwork with separation wax so that concrete does not stick to it.

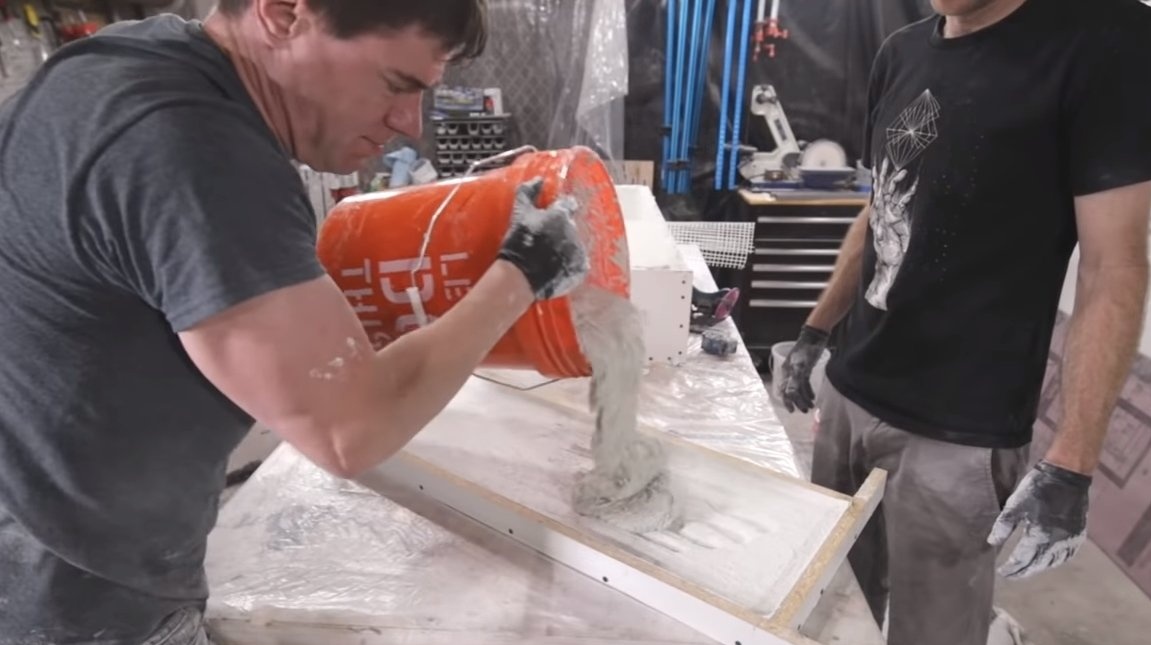
Step Two Pour concrete
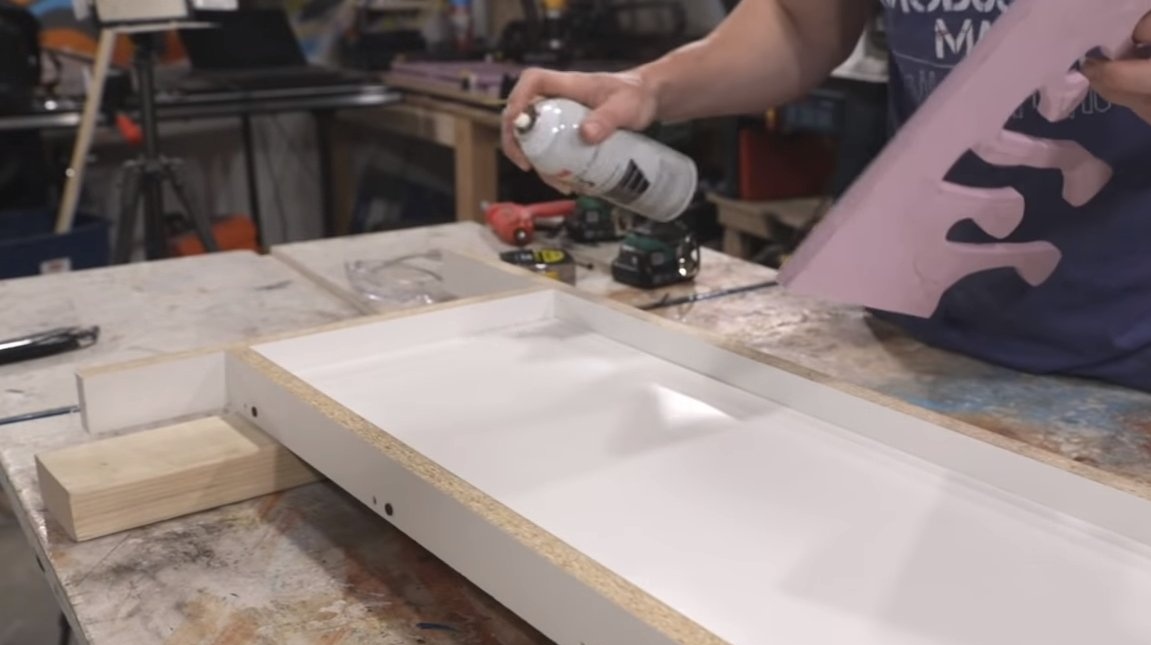
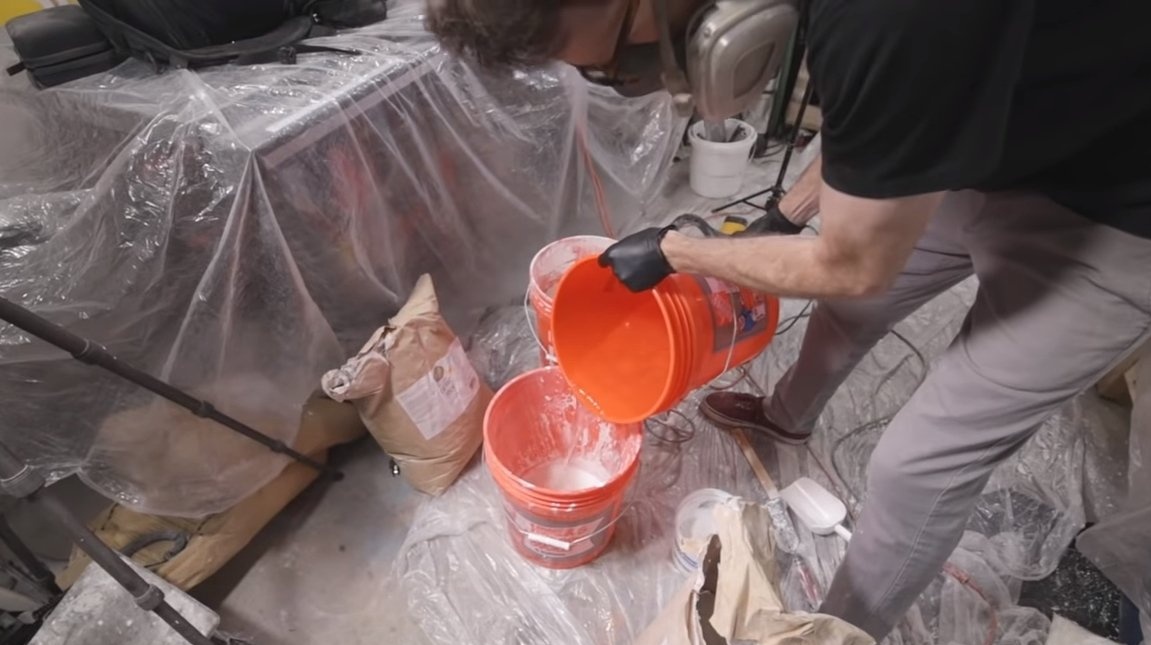
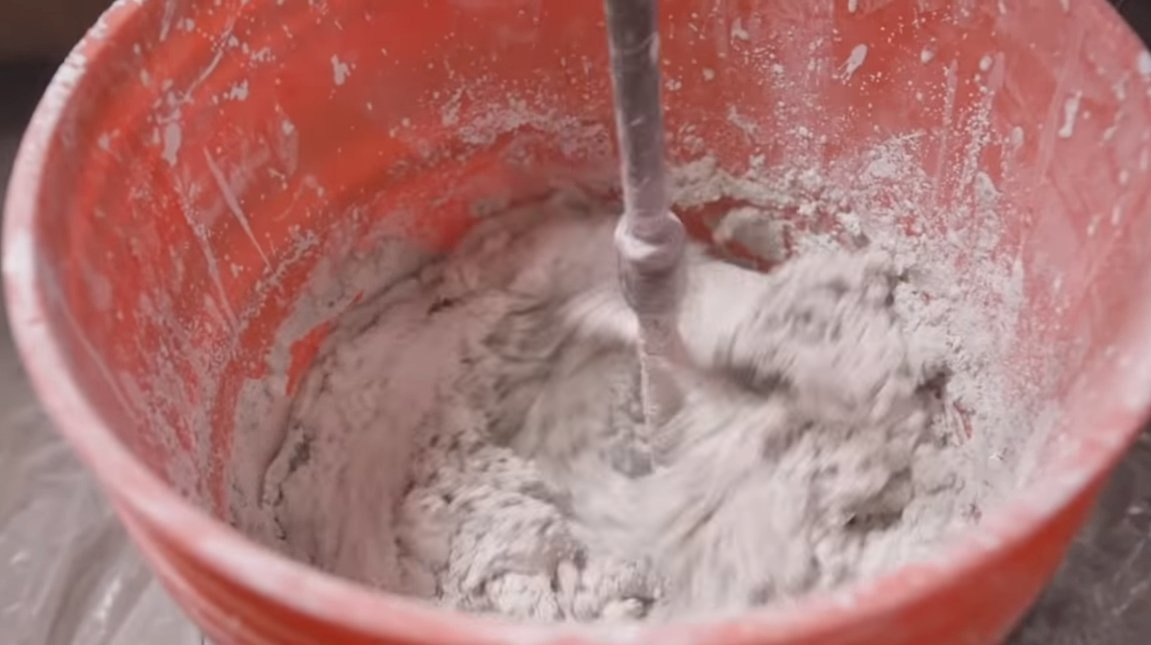
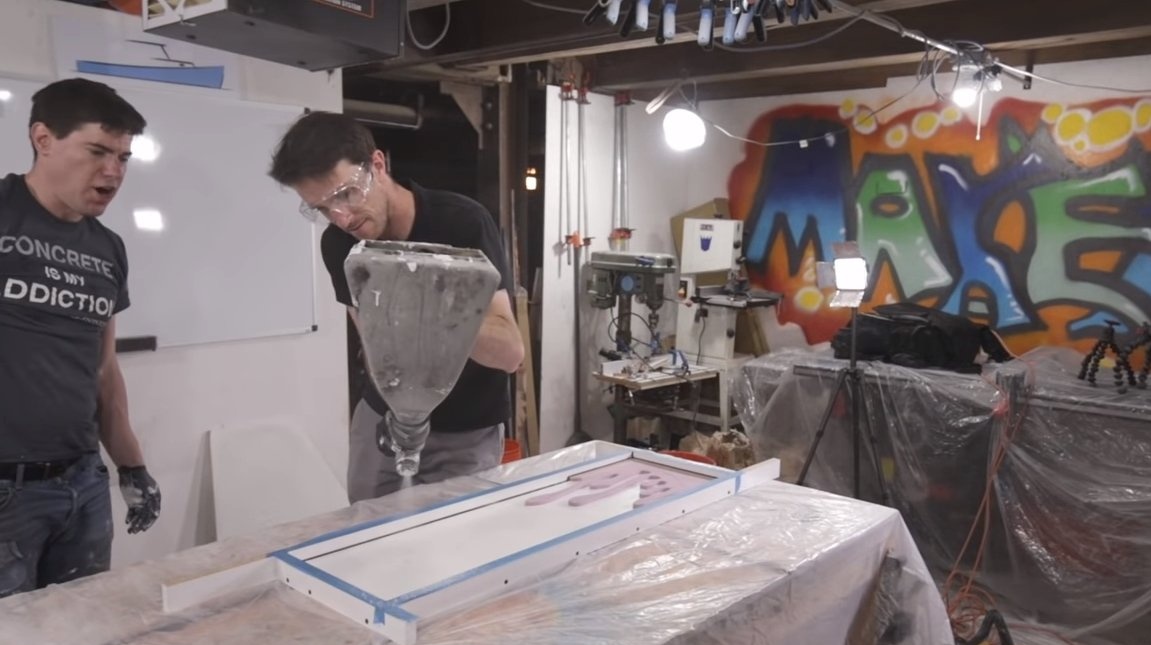
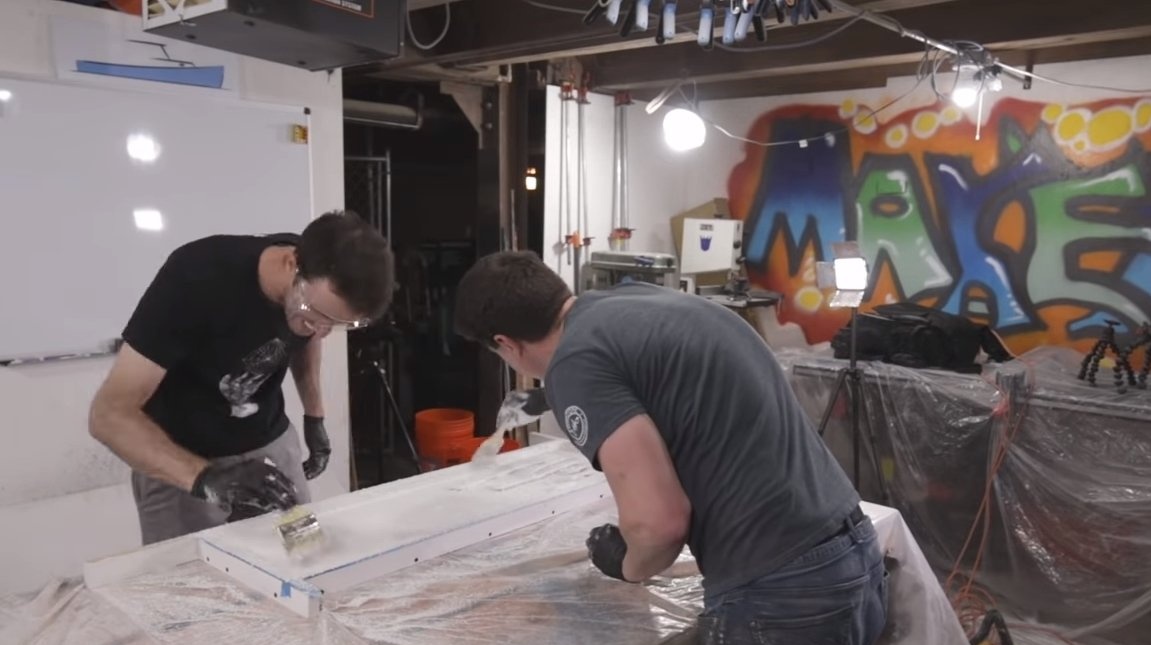
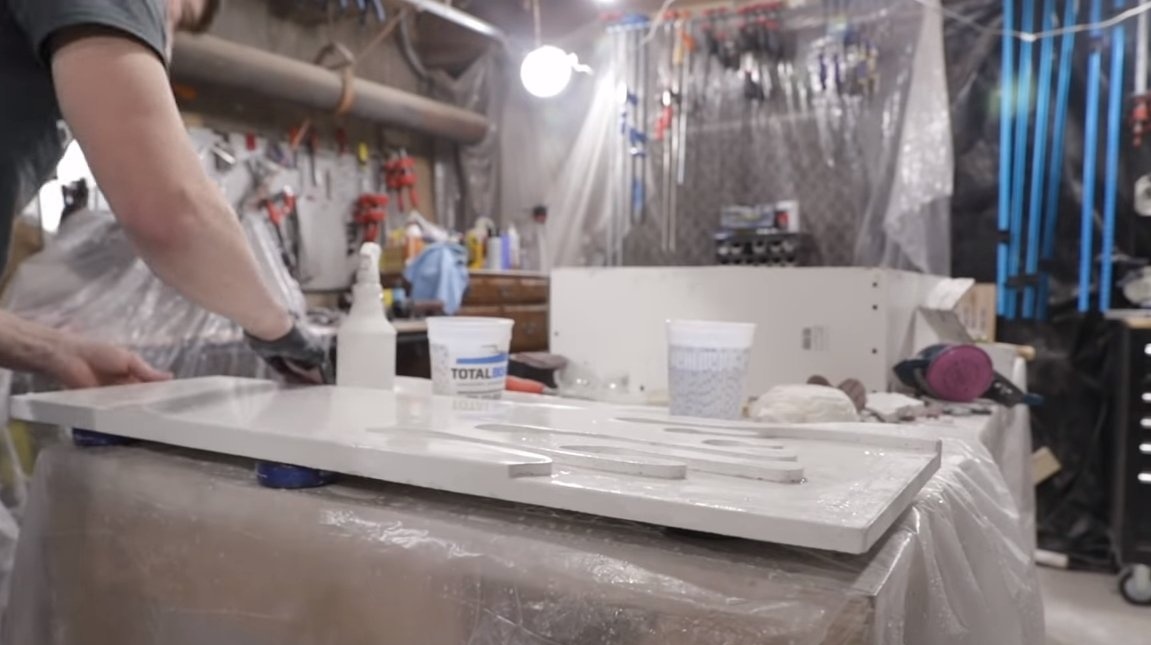
We mix concrete, add white dye, the first layer will be front, we will not add fiberglass yet. The author applies the mixed concrete from the sprayer, and then the concrete is evenly spread on the formwork with a brush.
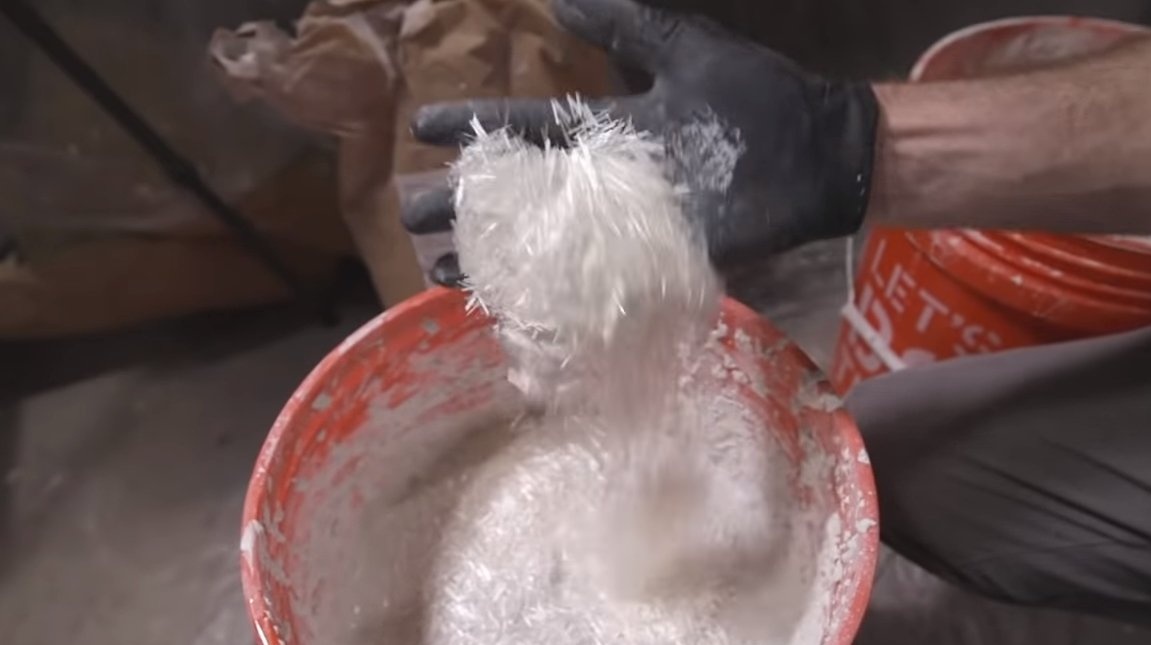
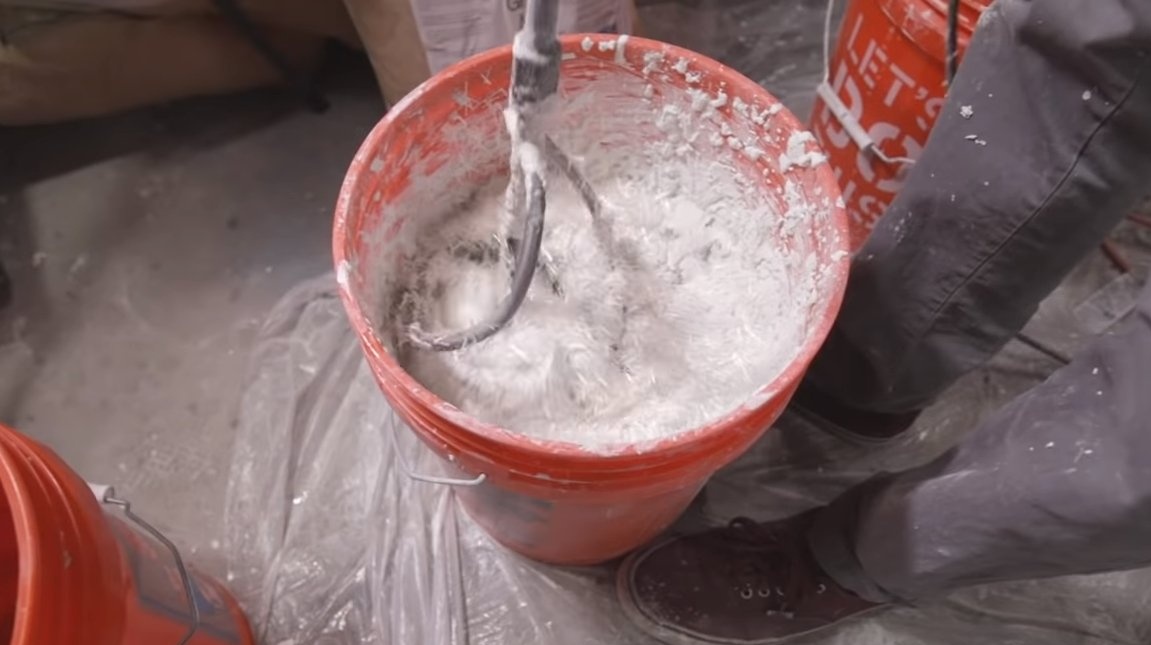
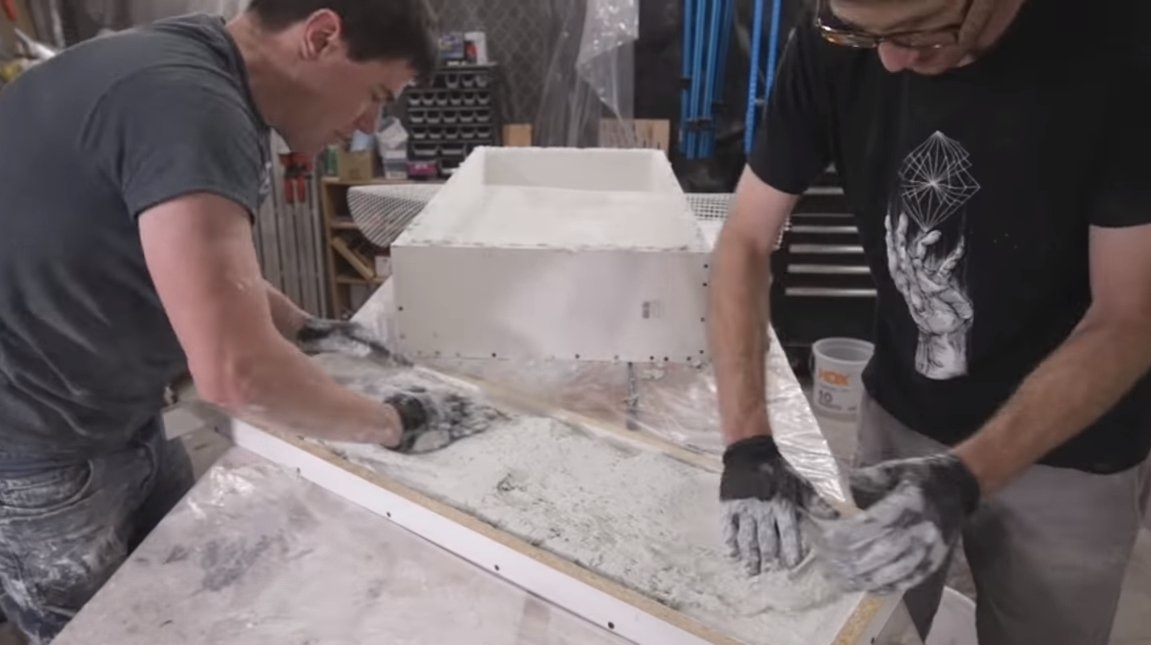
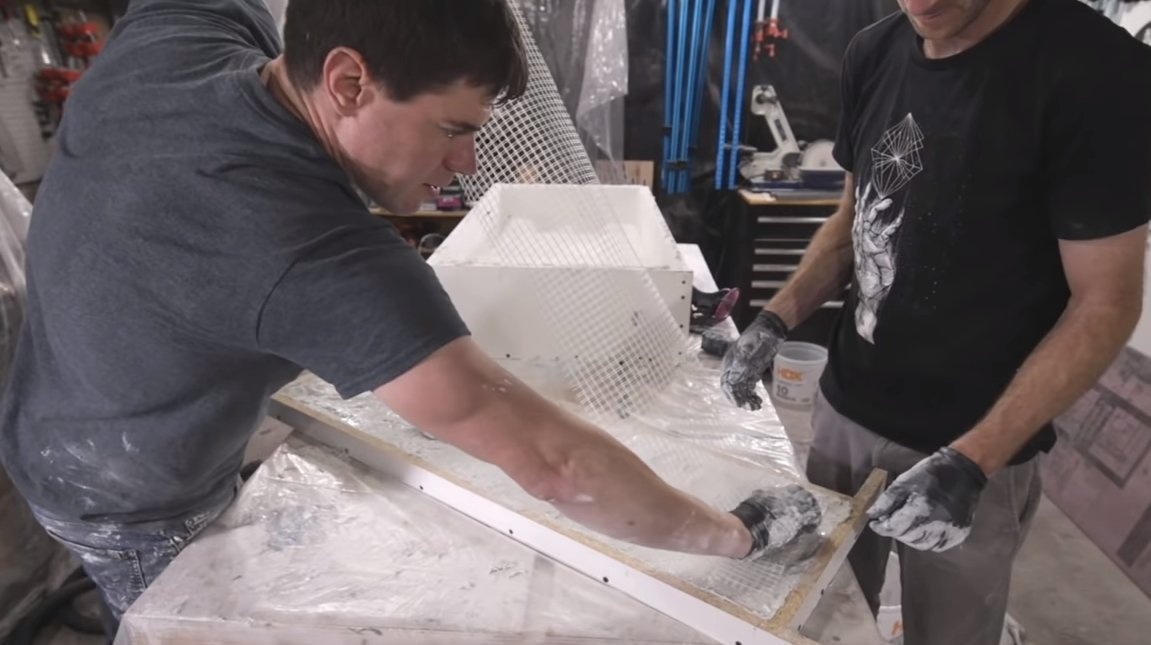
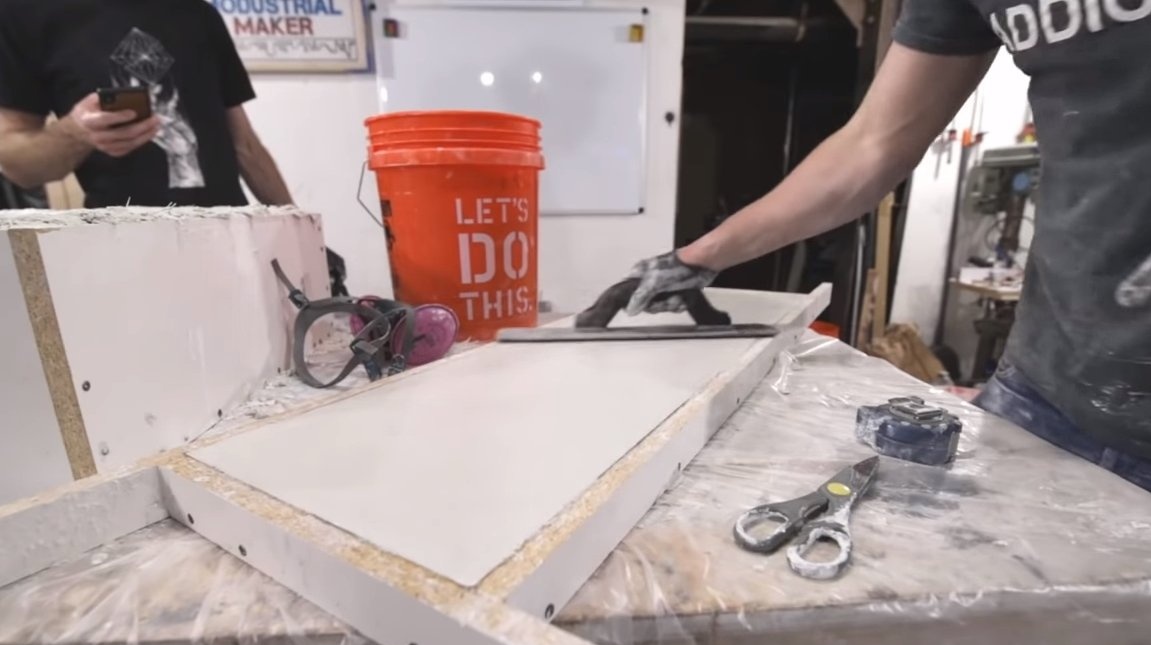
When the first layer dries, it will be possible to fill in the second layer, it will be power. For the second layer, we add fiberglass to concrete to increase strength. In addition, the author reinforces concrete with a plastic mesh. Spread the concrete evenly over the formwork and level the plane. We leave the whole thing to dry.

Step Three We disassemble the formwork
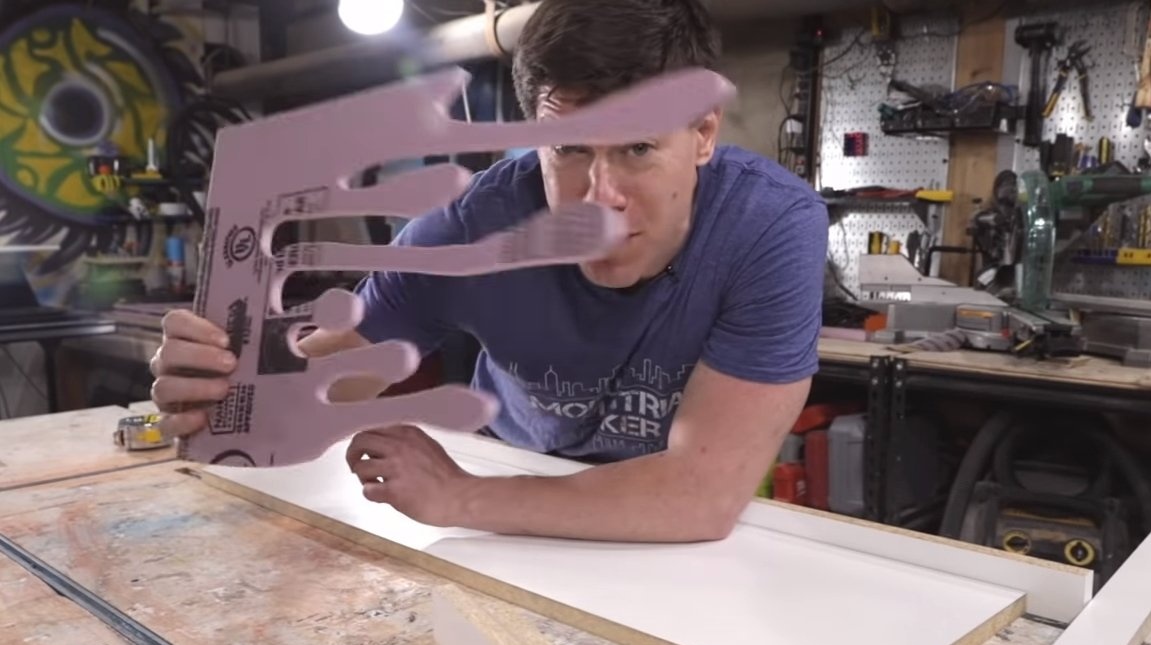
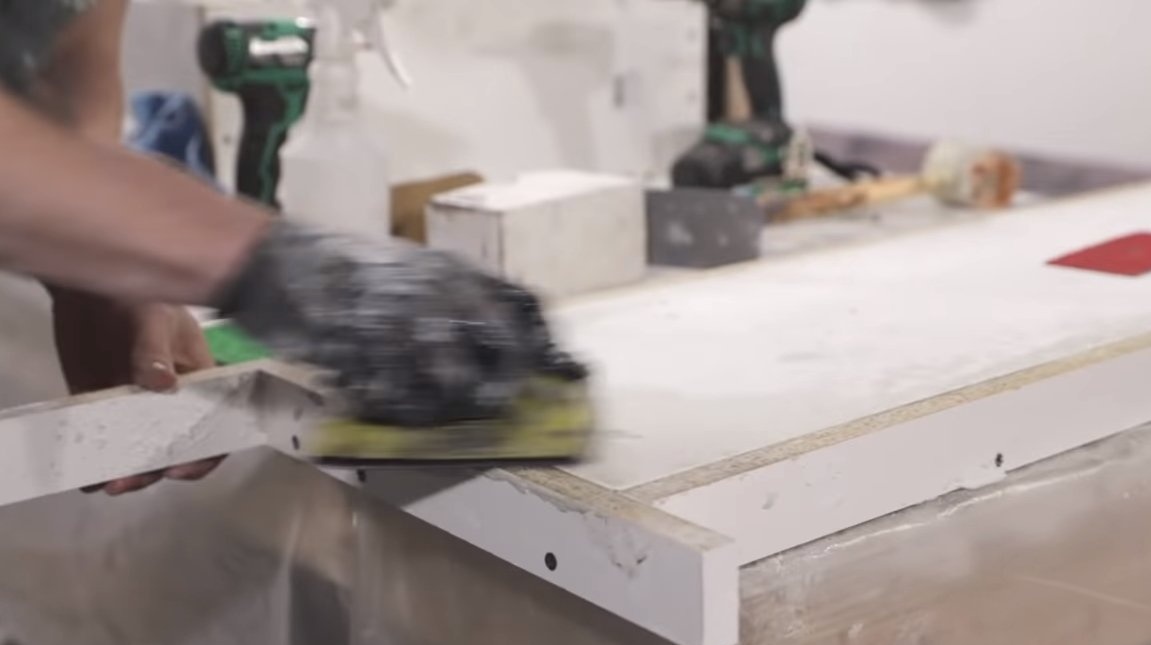
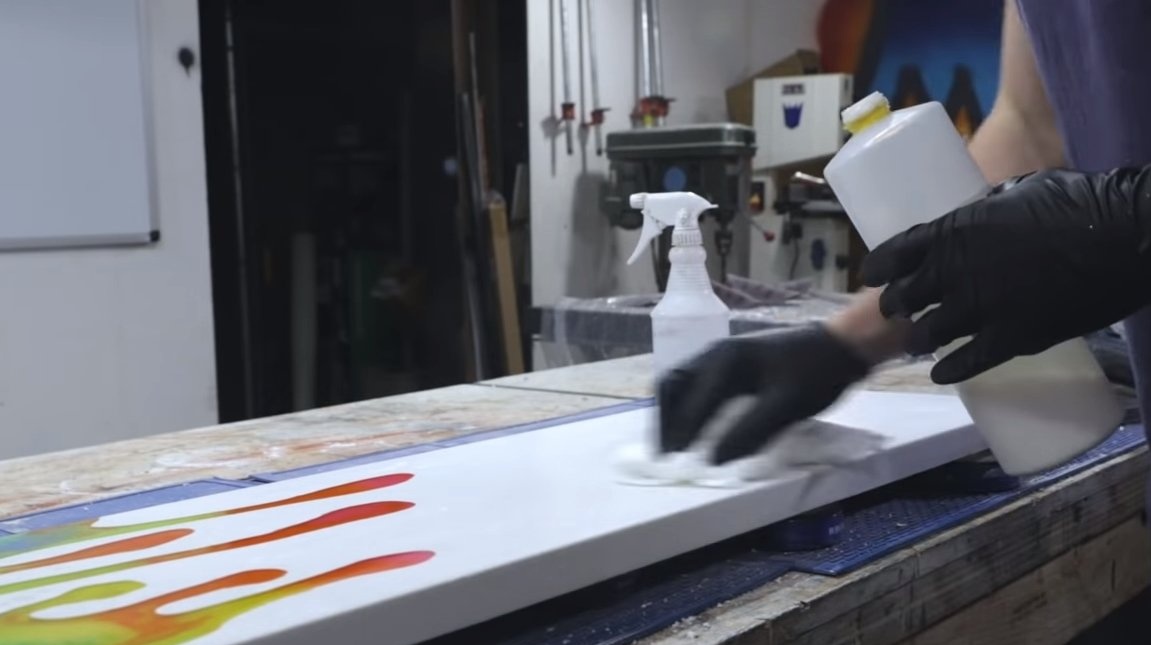
When the concrete has dried, we perform a light wet sanding with the upper plane using sandpaper. That's all, disassemble the formwork and turn over our cast plate. From the niches in concrete you need to dig out our relief. We clean concrete well, it can also be washed.
Step Four Resin filling
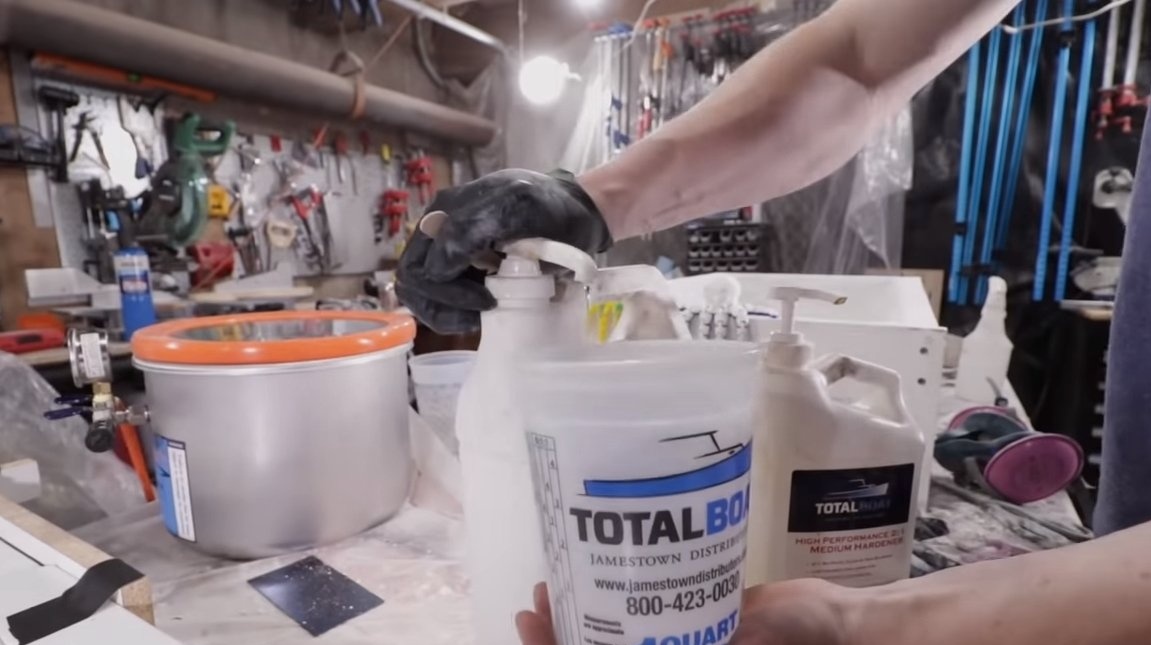
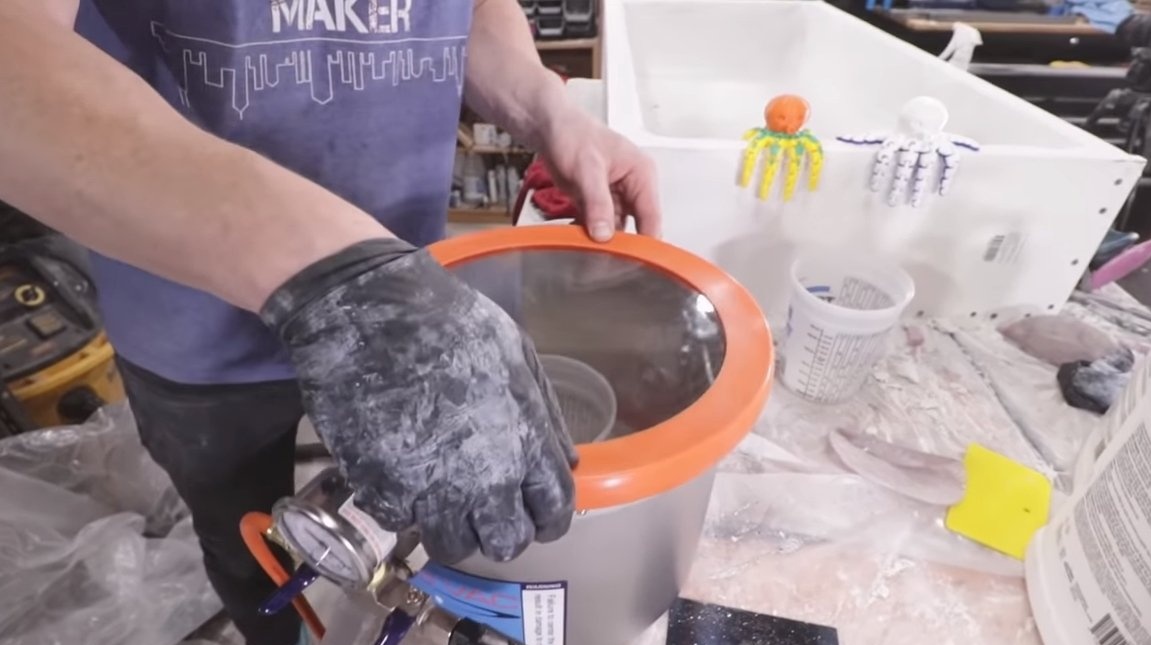
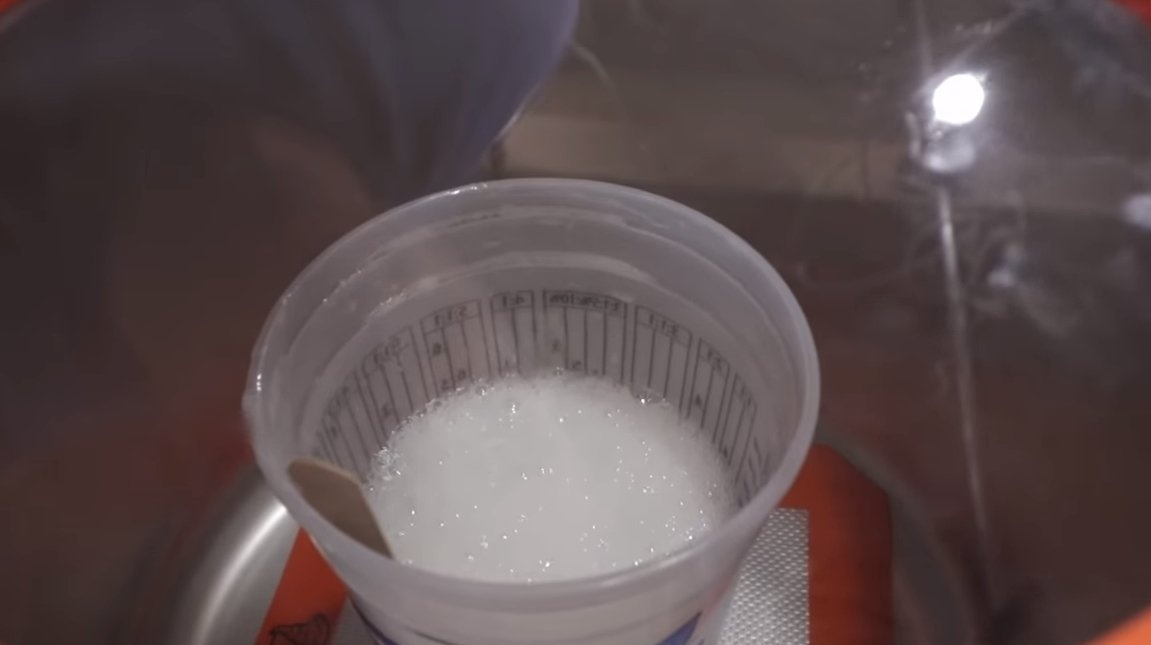
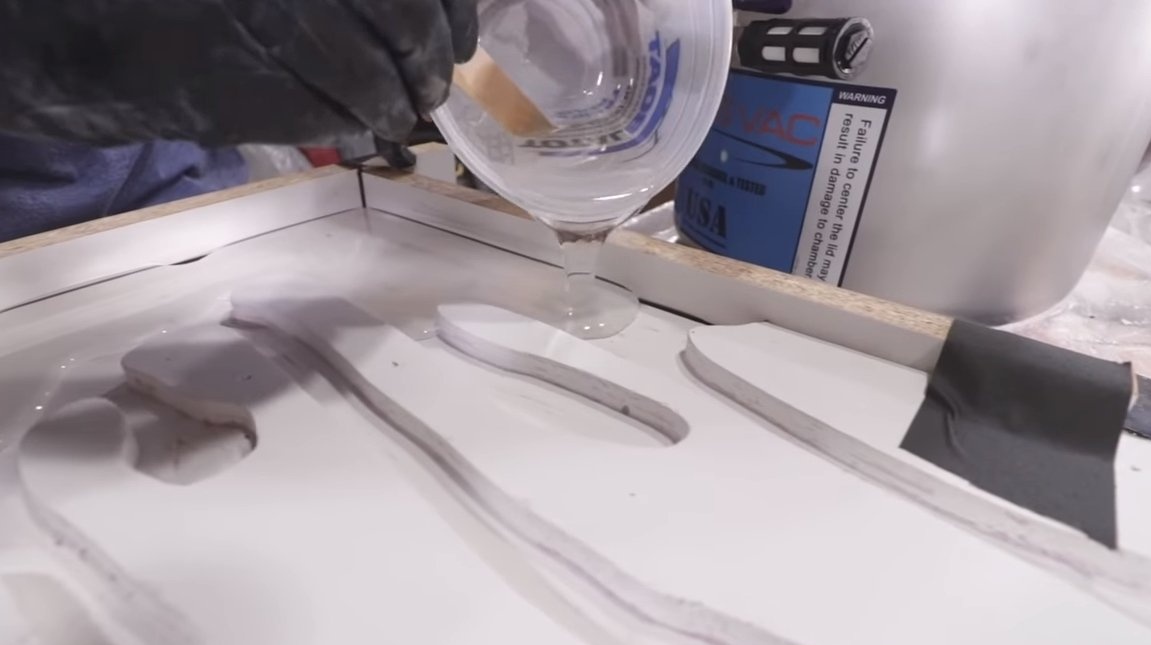
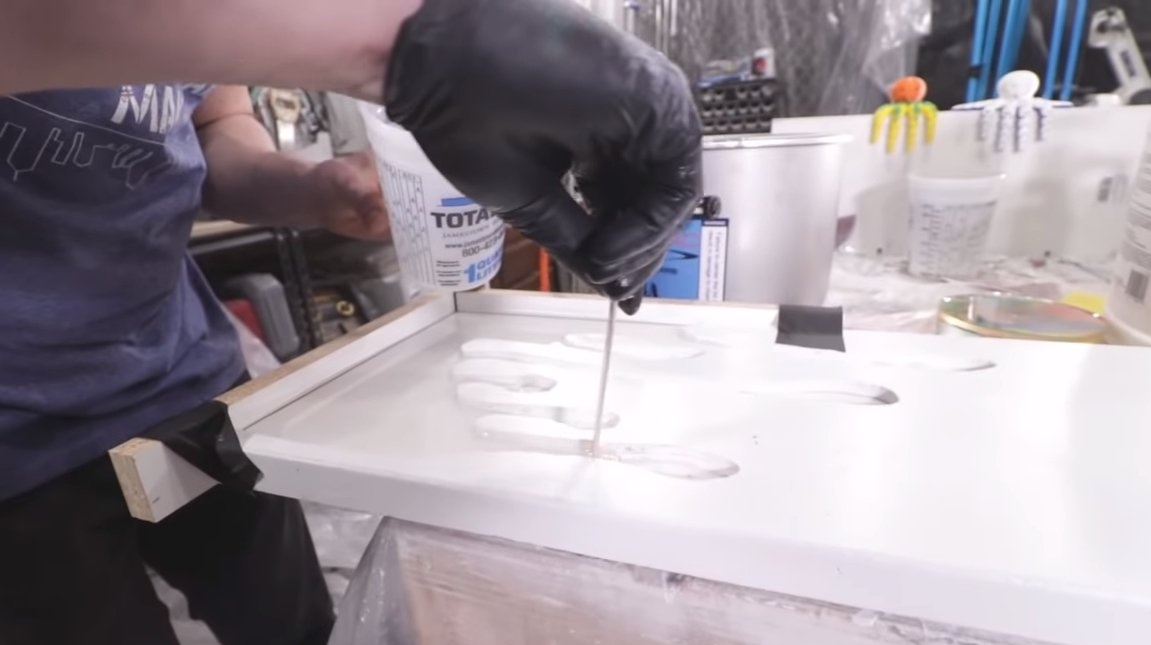
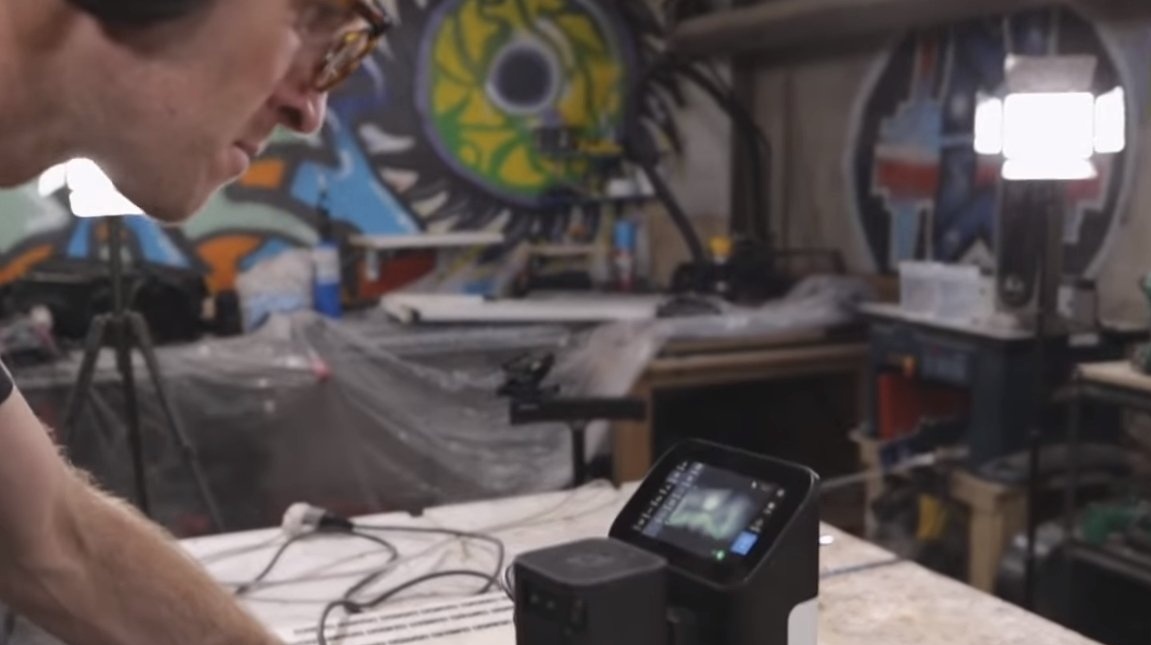
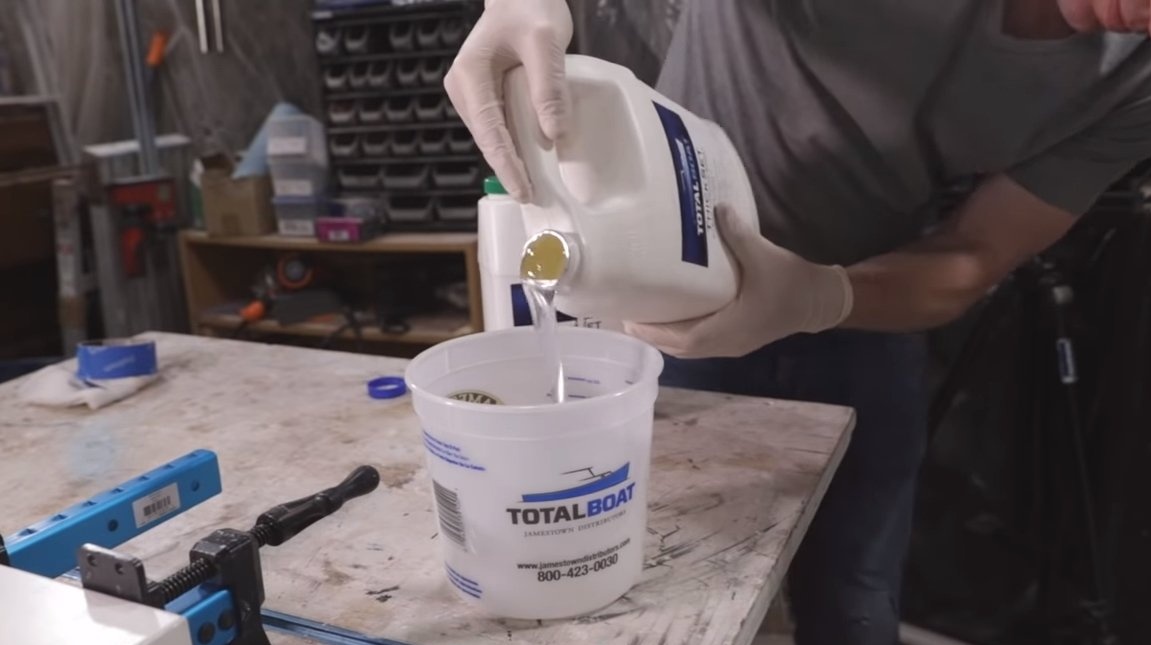
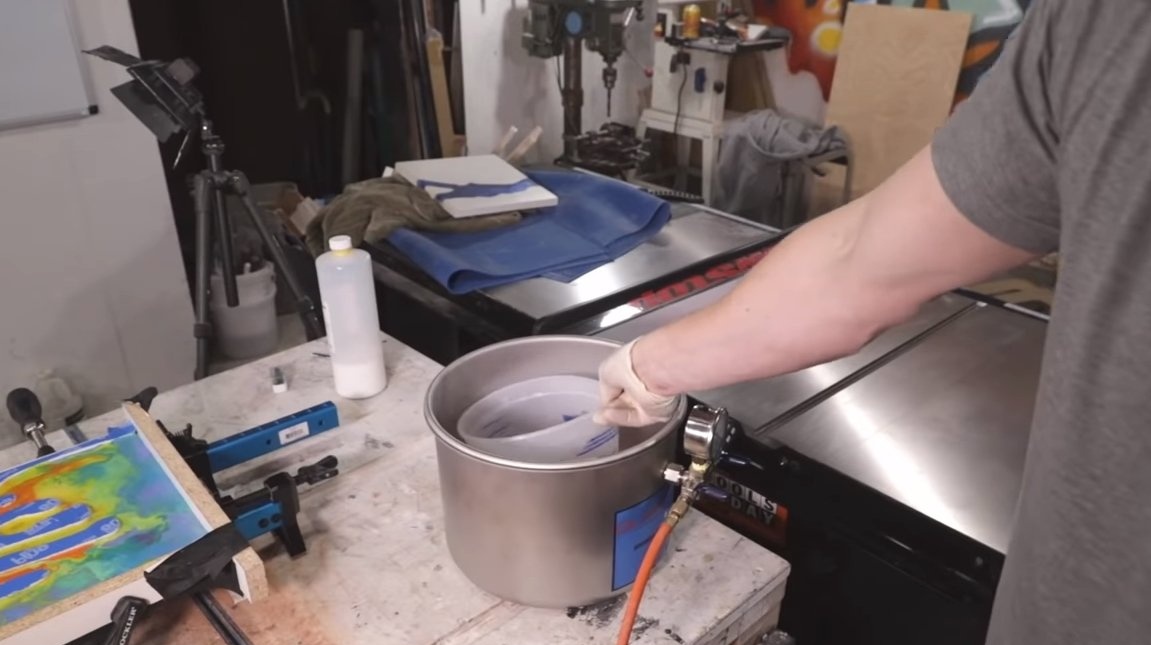
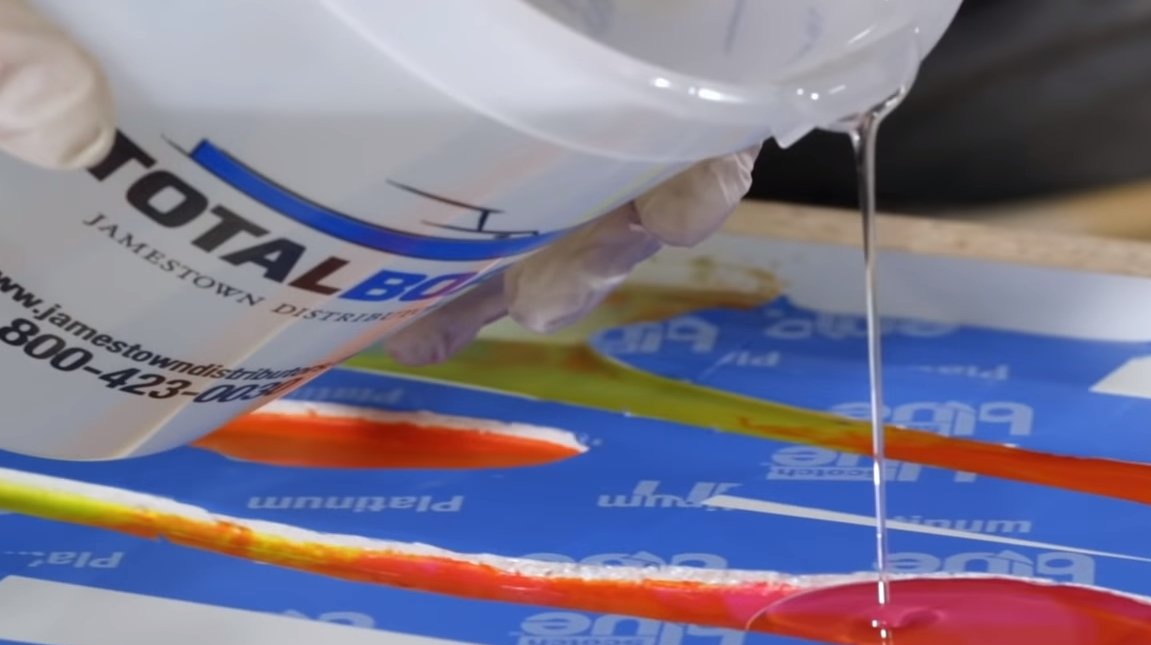
We assemble around the concrete slab formwork from chipboard and fill the first layer of epoxy resin, it will be transparent with us. To remove air bubbles, the author first places the resin in a vacuum chamber.
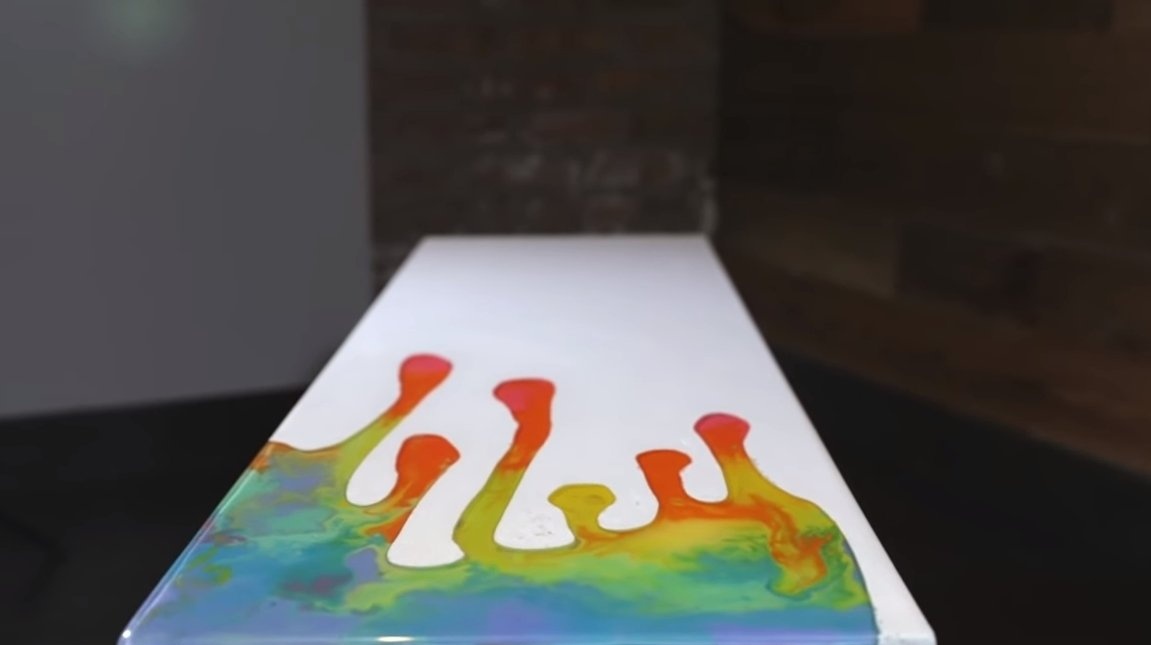
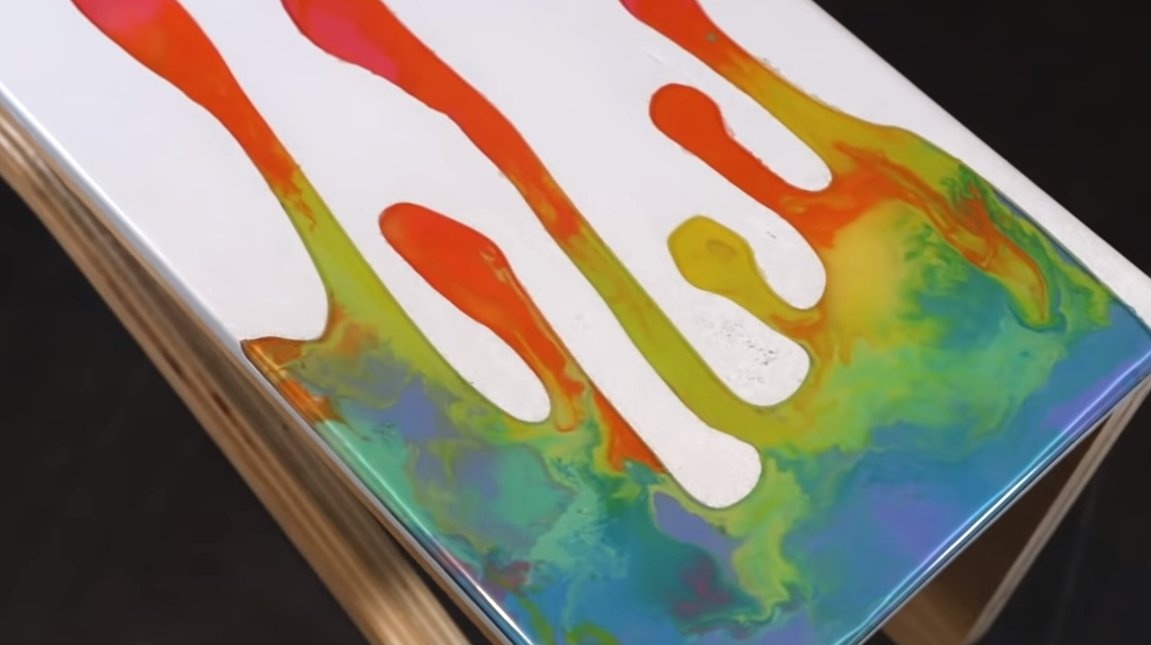
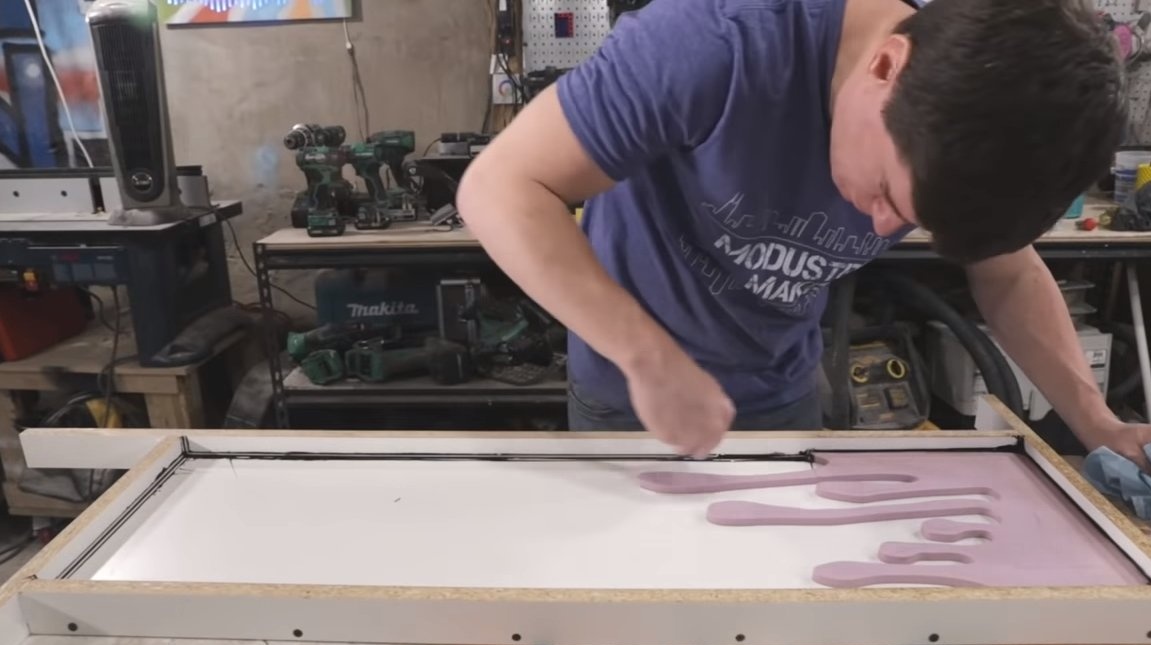
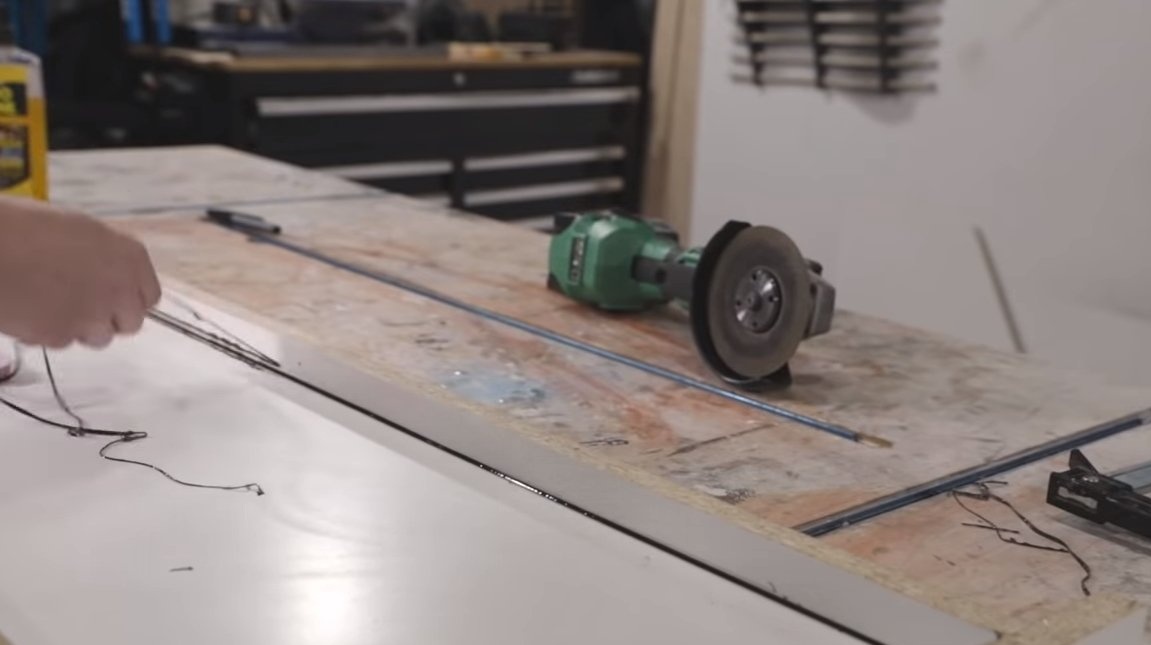
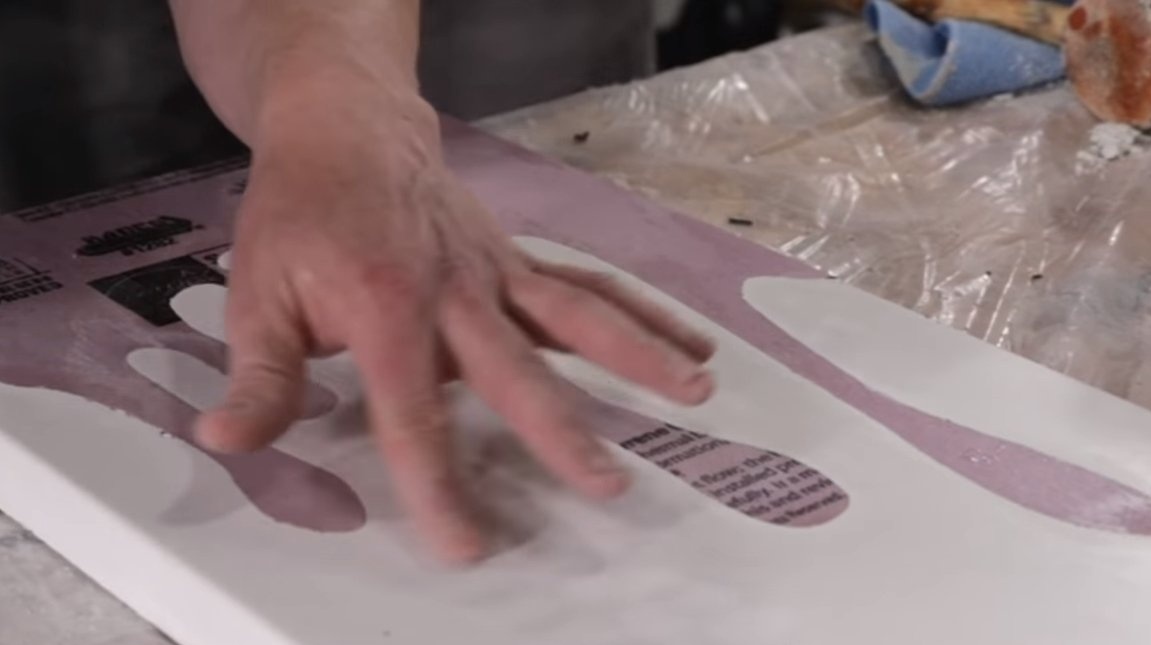
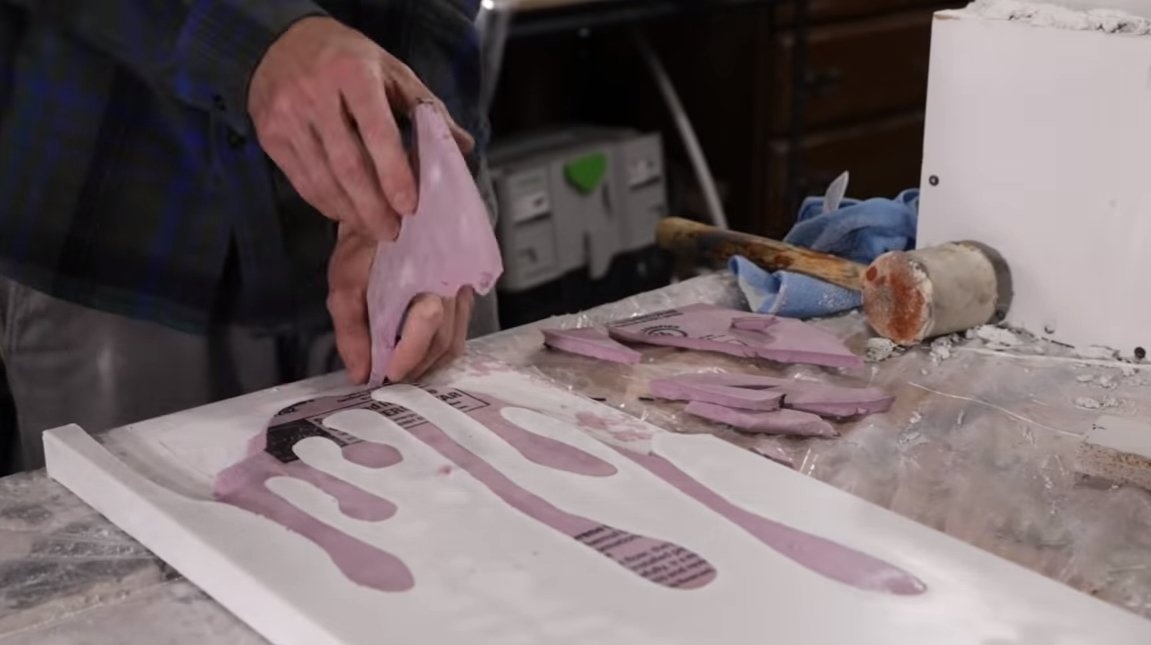
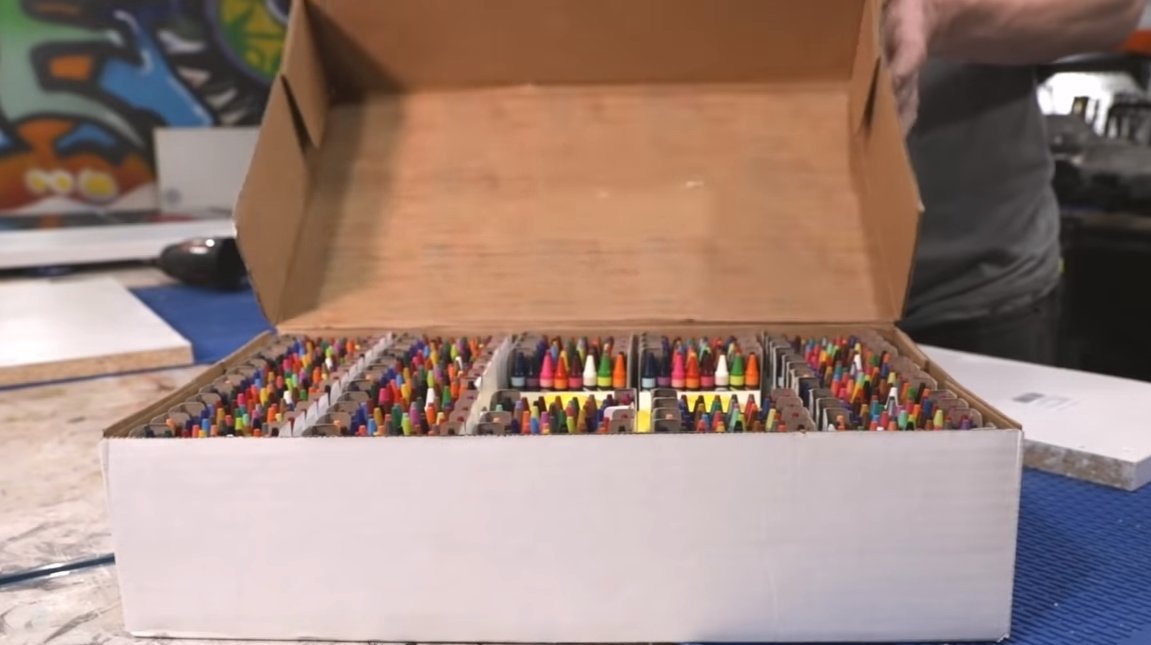
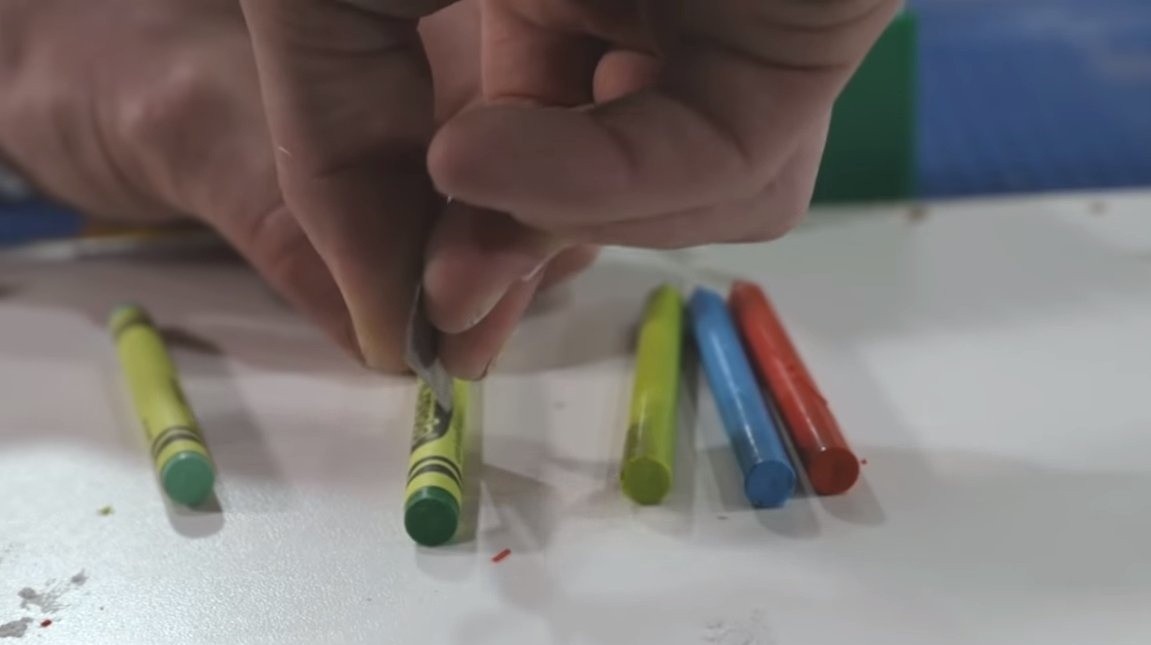
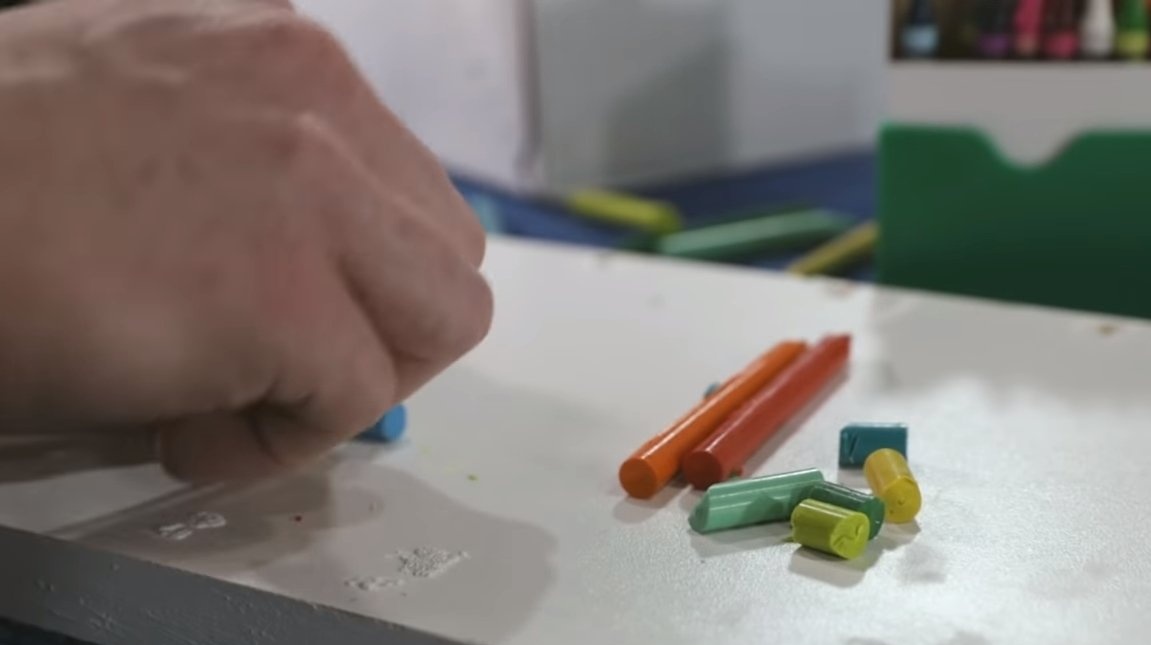
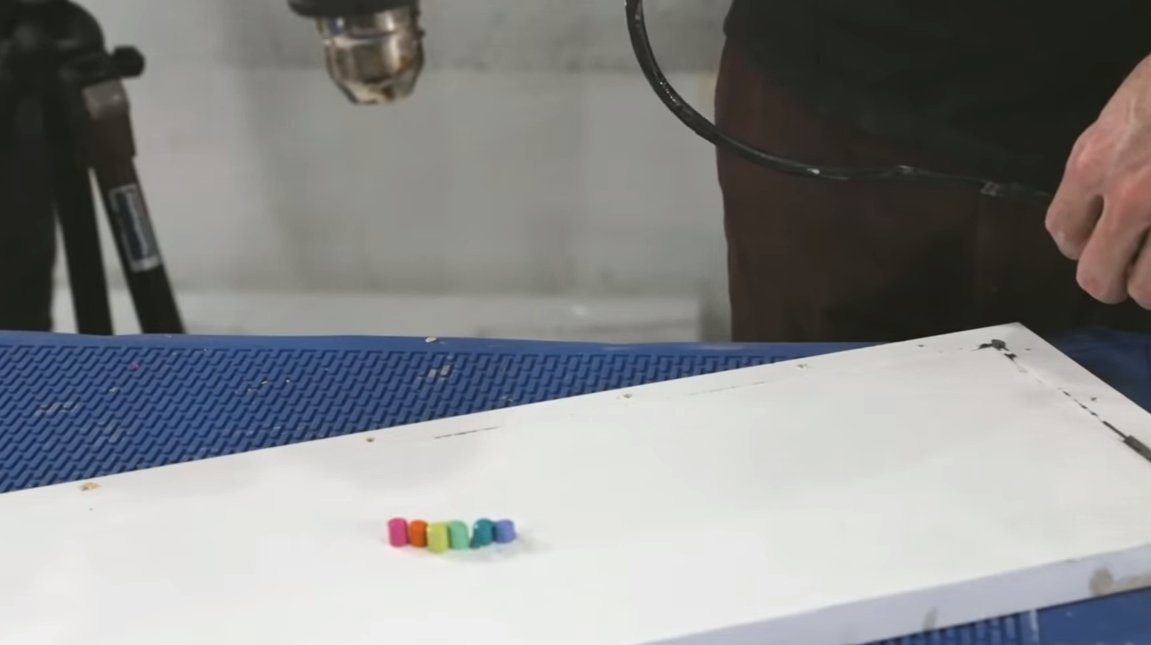
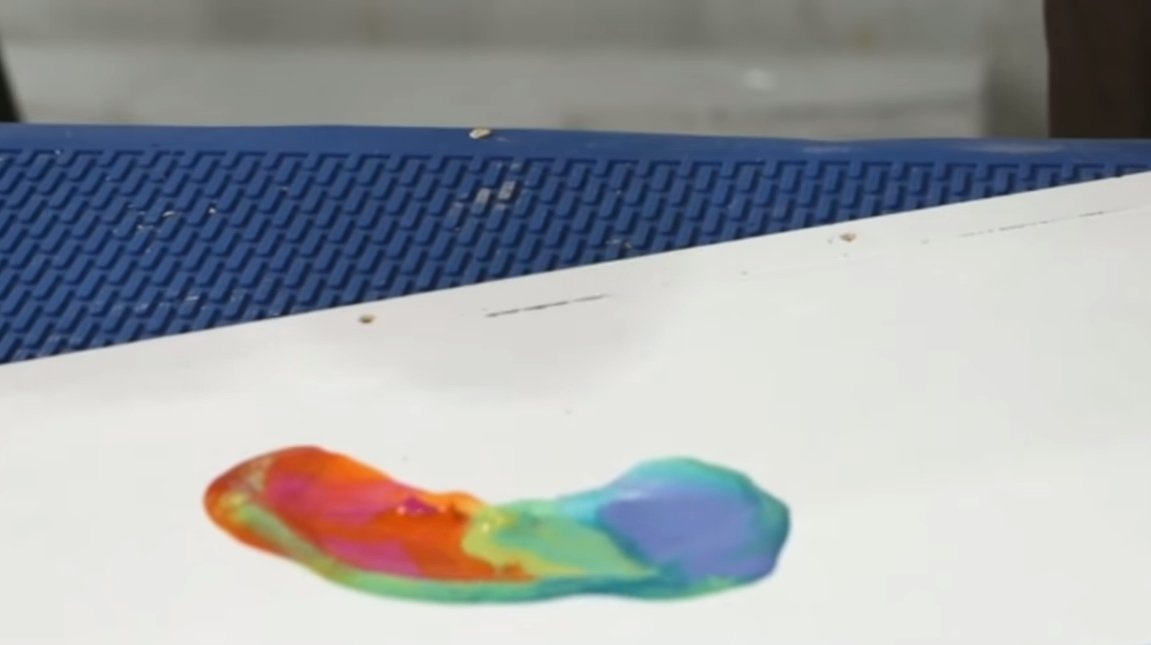
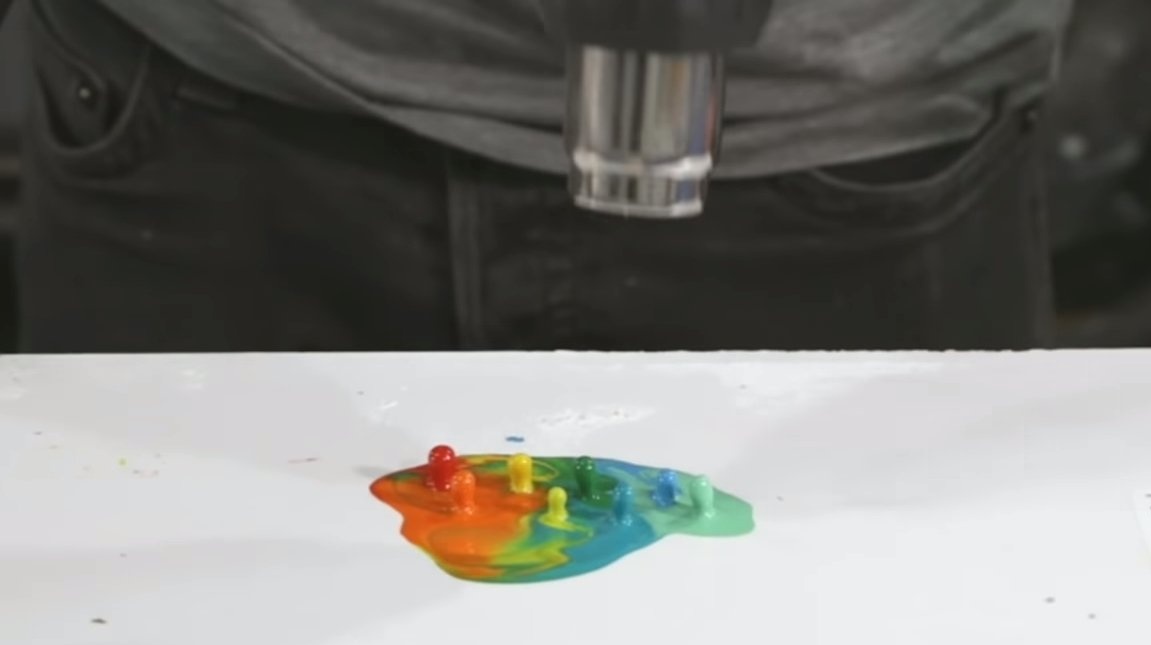
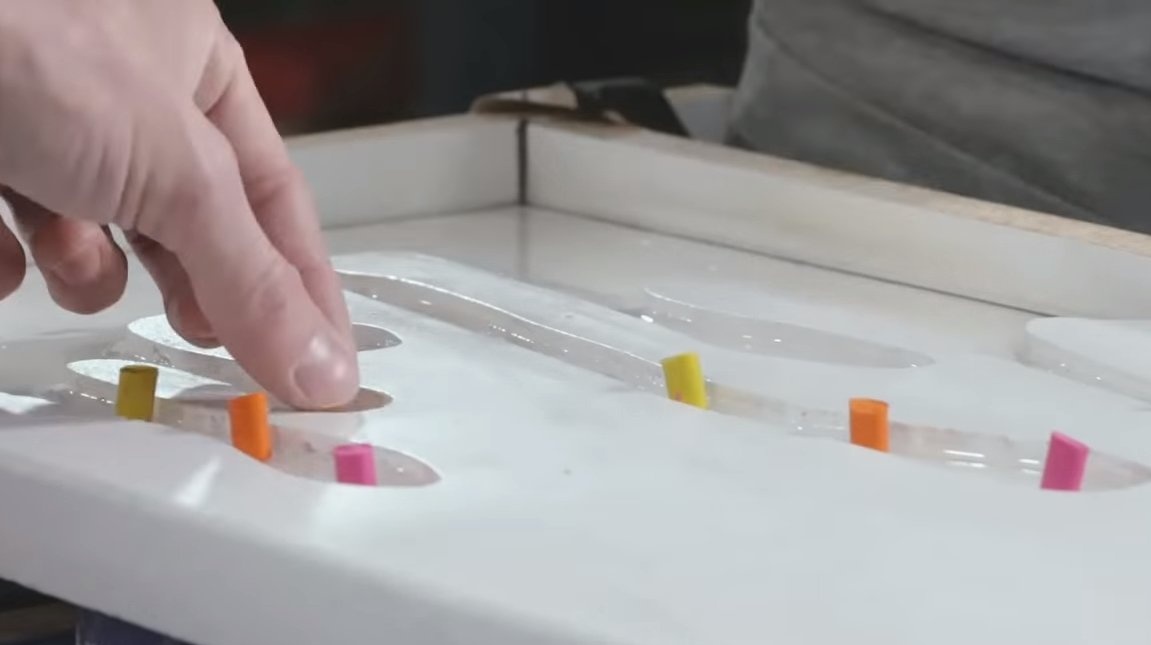
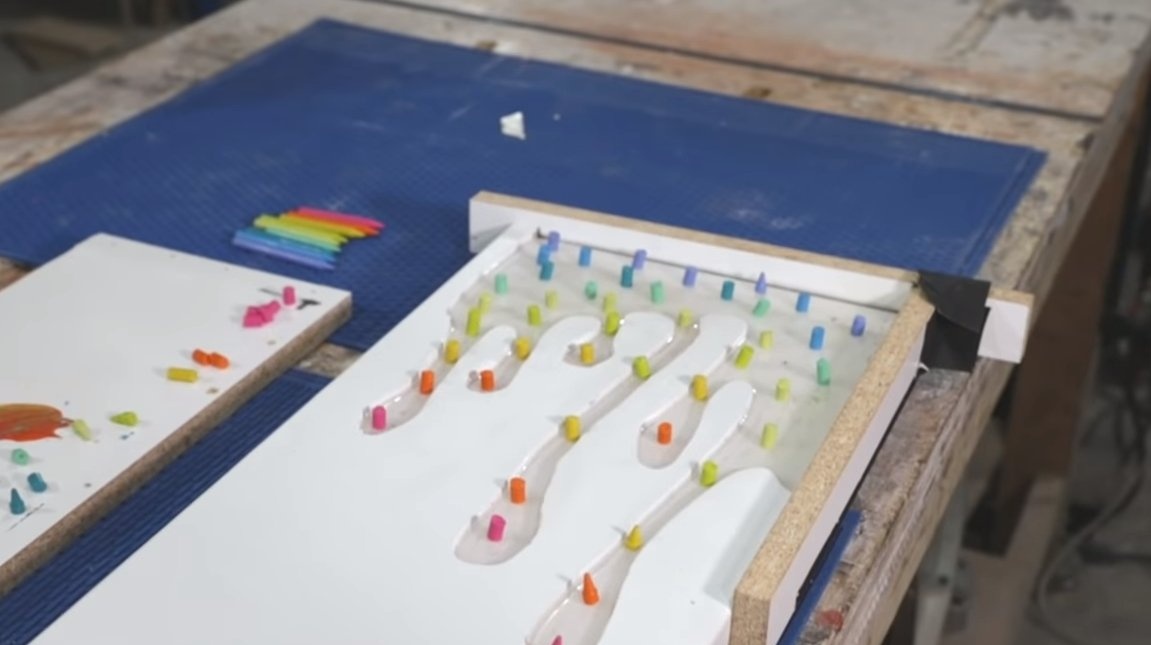
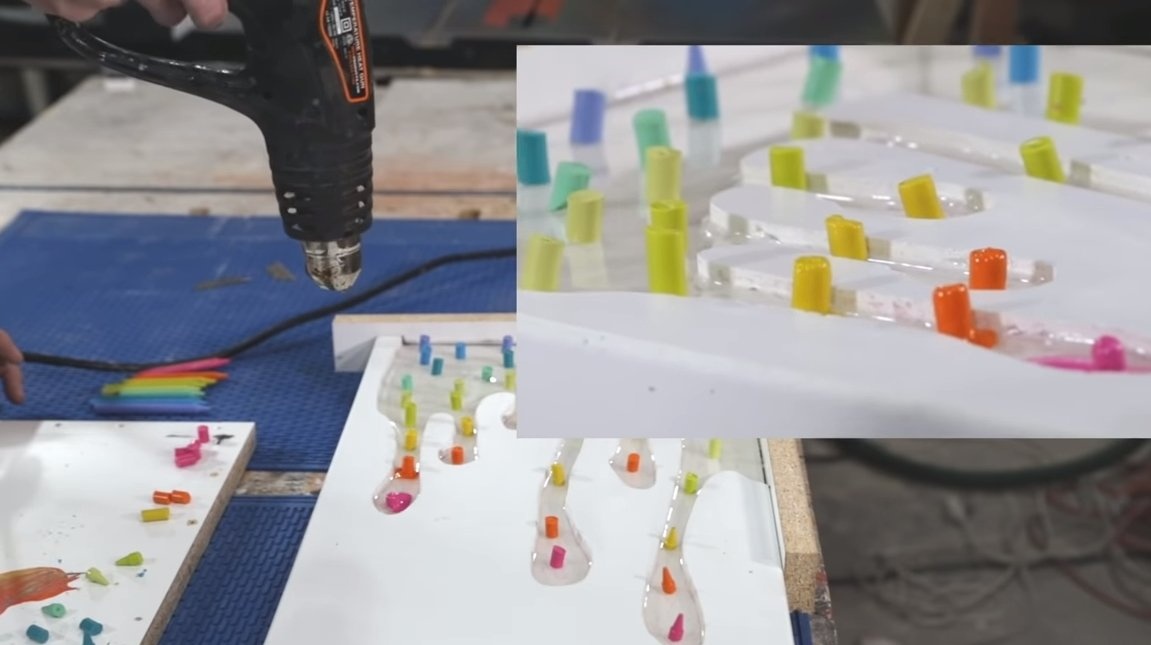
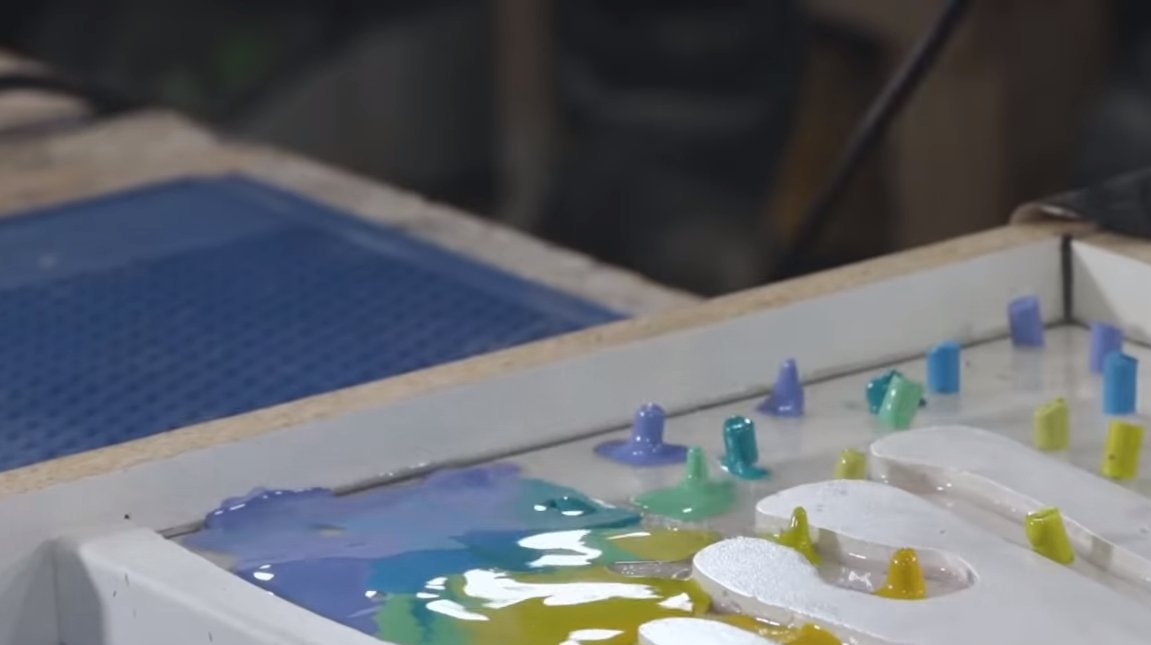
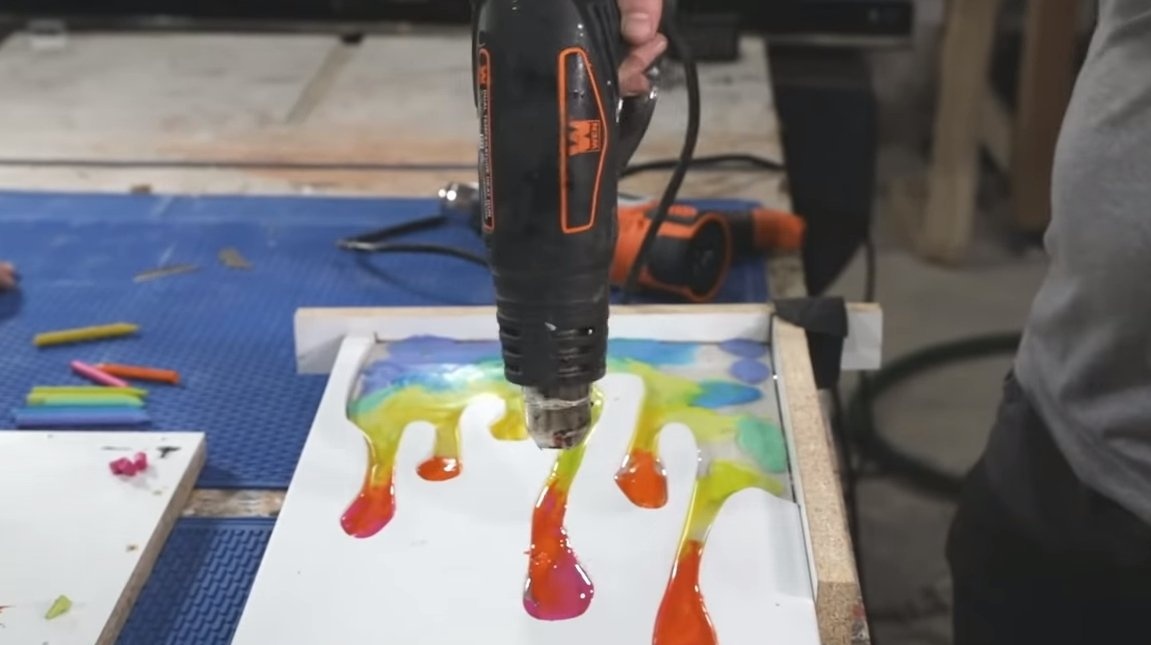
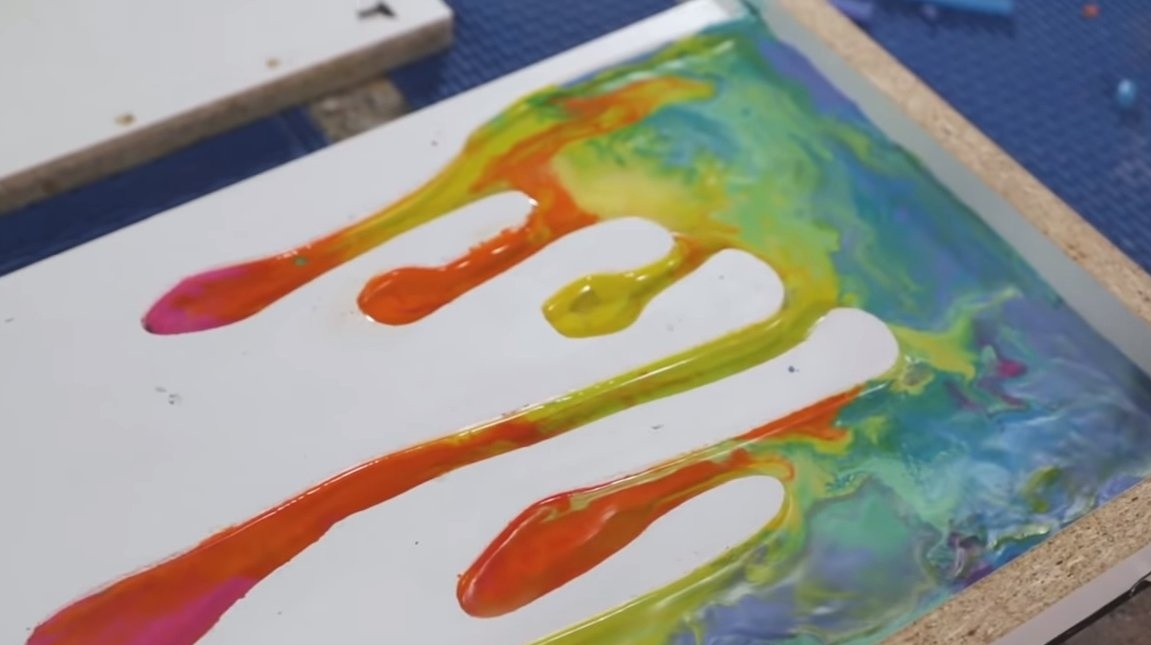
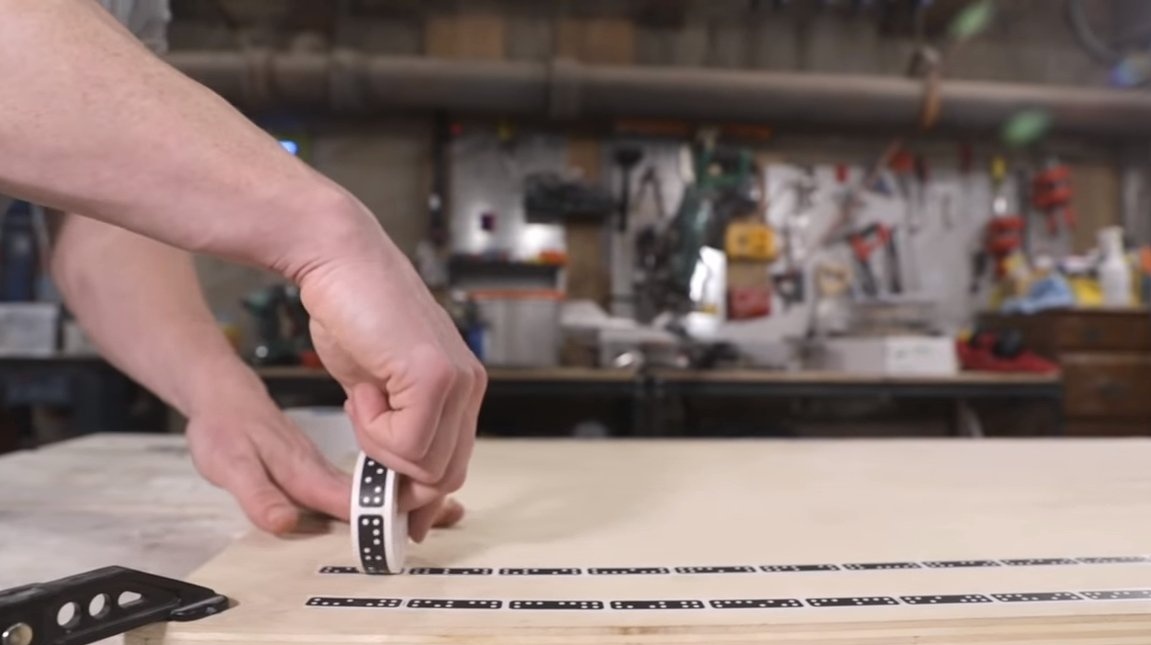
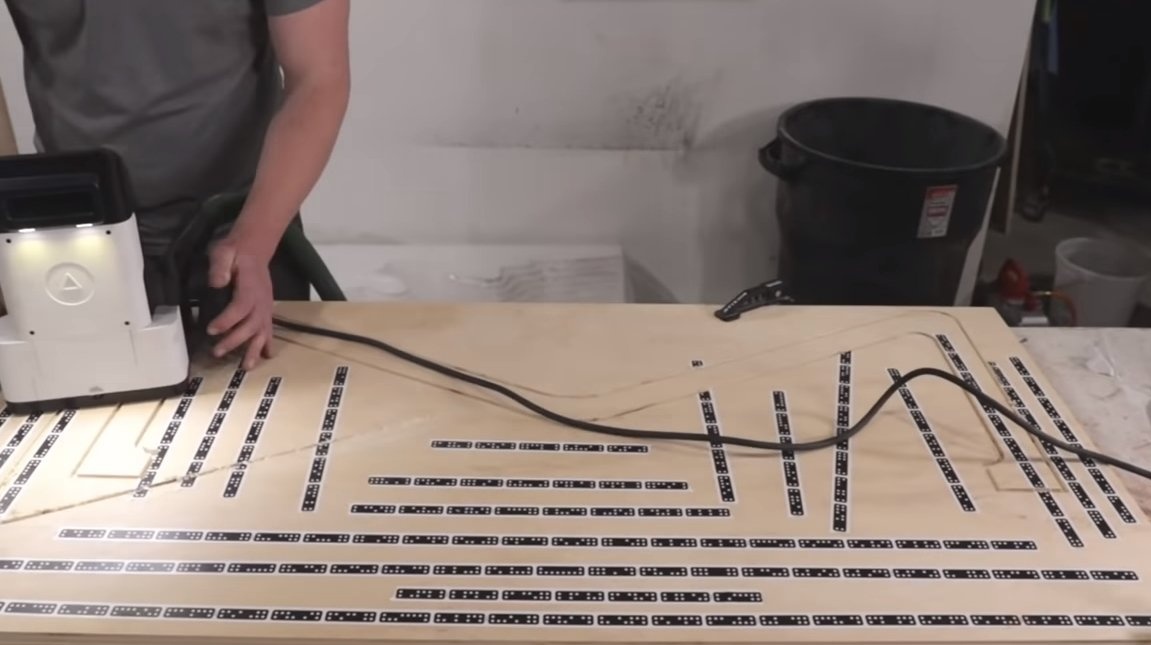
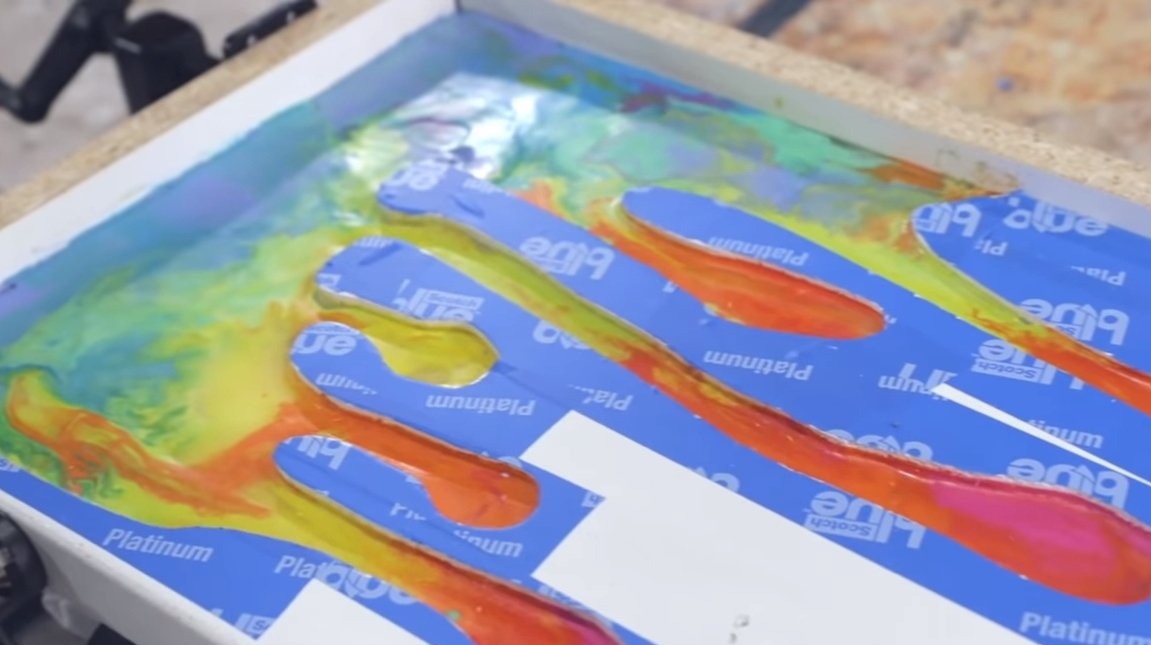
Next, we will prepare the dye, we need rods with dye from markers or felt-tip pens. If such a rod is heated with a construction hair dryer, it spreads. We cut the rods and poke into the epoxy. We select colors at our discretion. When everything is ready, you will need to heat up pieces of felt-tip pens and dyes will beautifully spread on the resin. This layer should dry completely.


Step Five The foundation
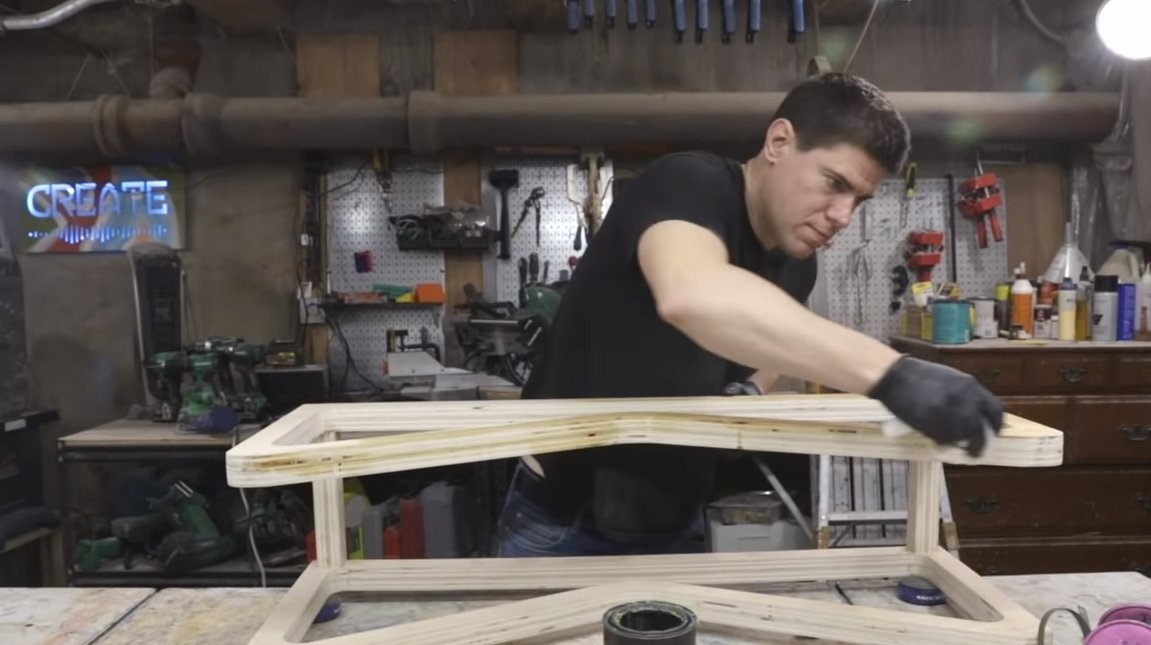
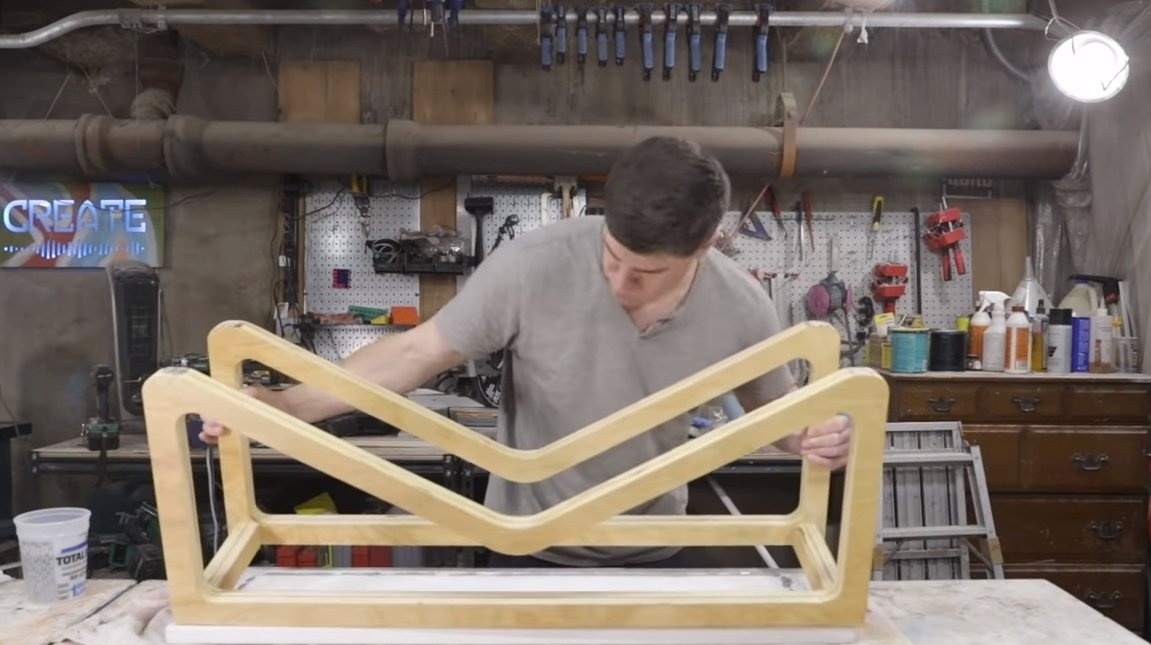
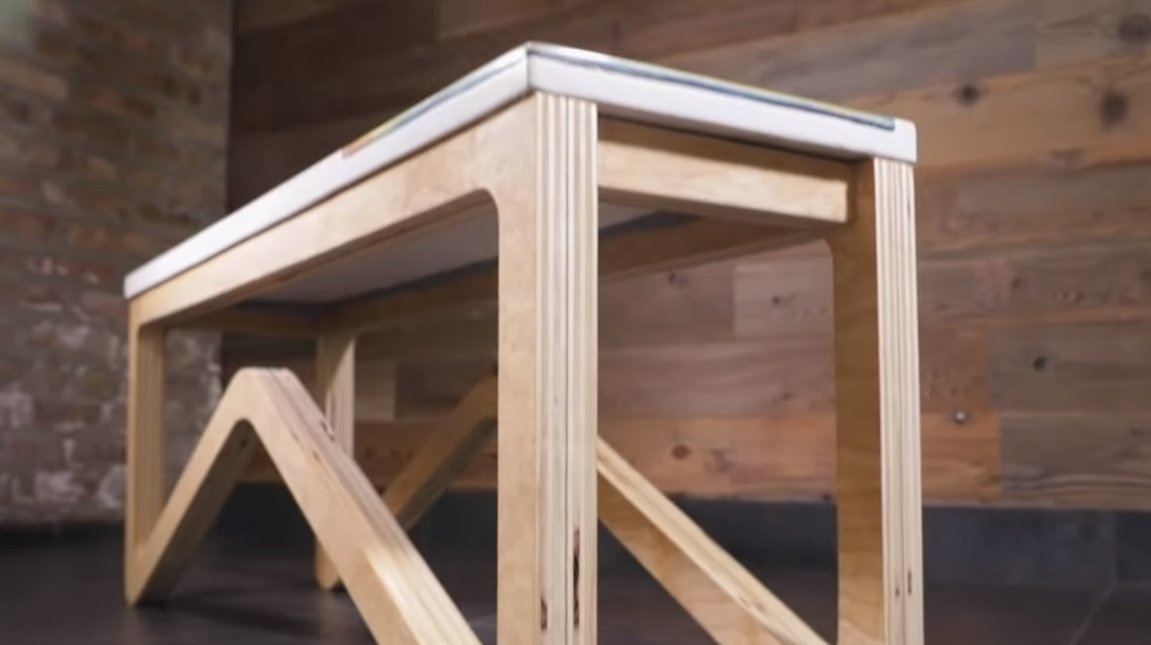
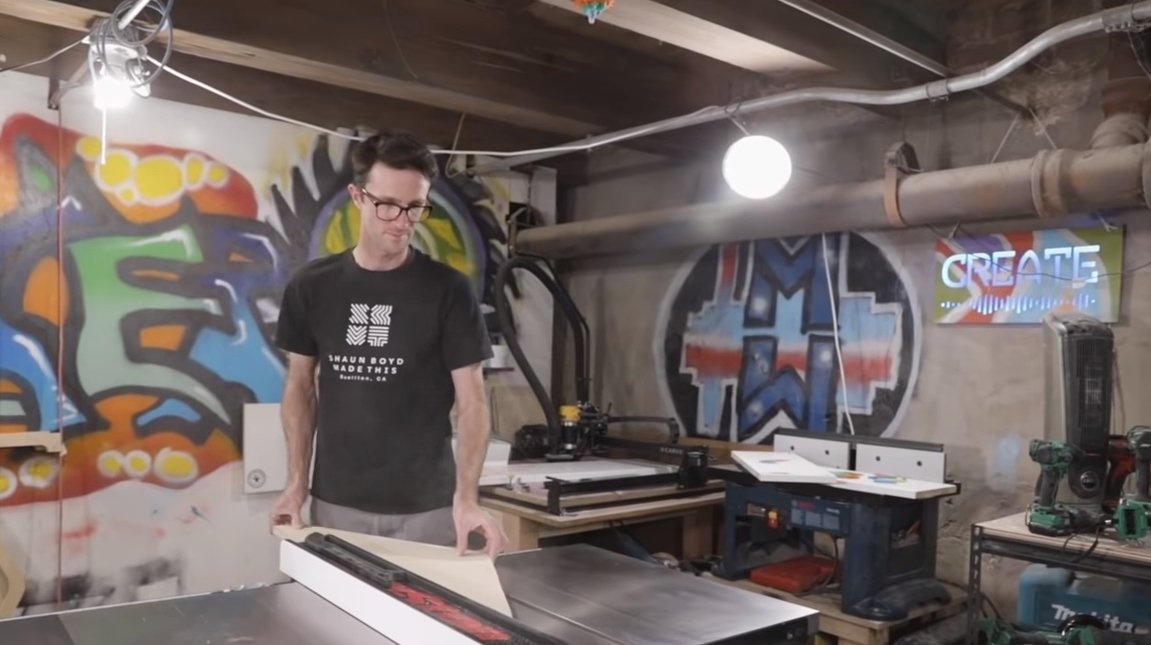
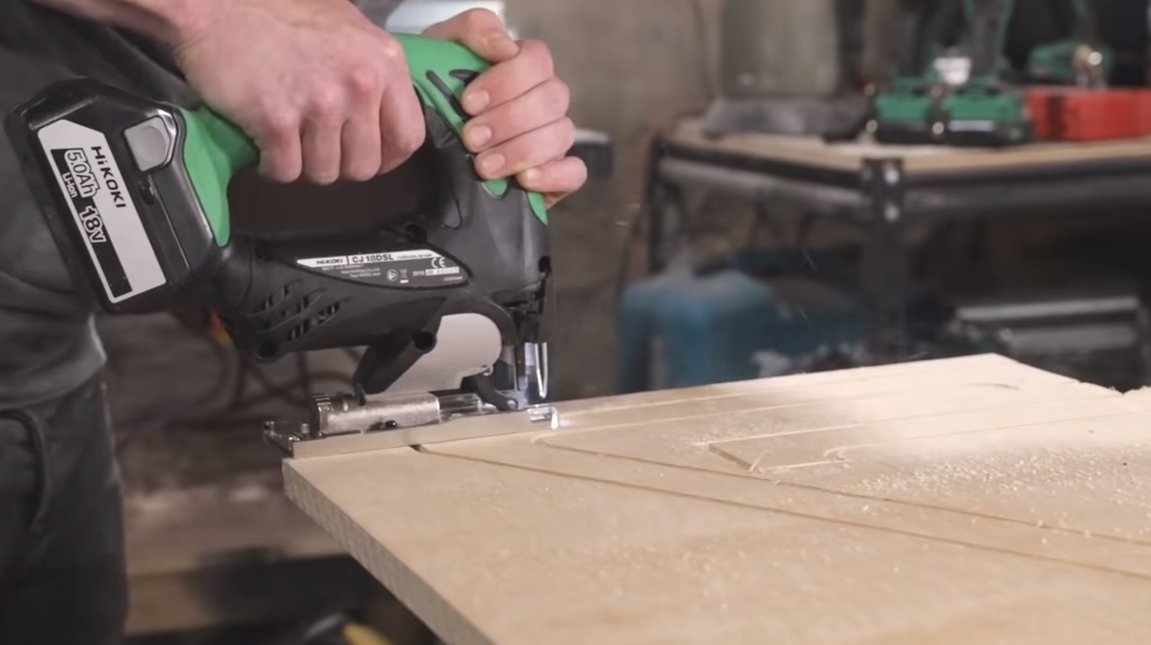
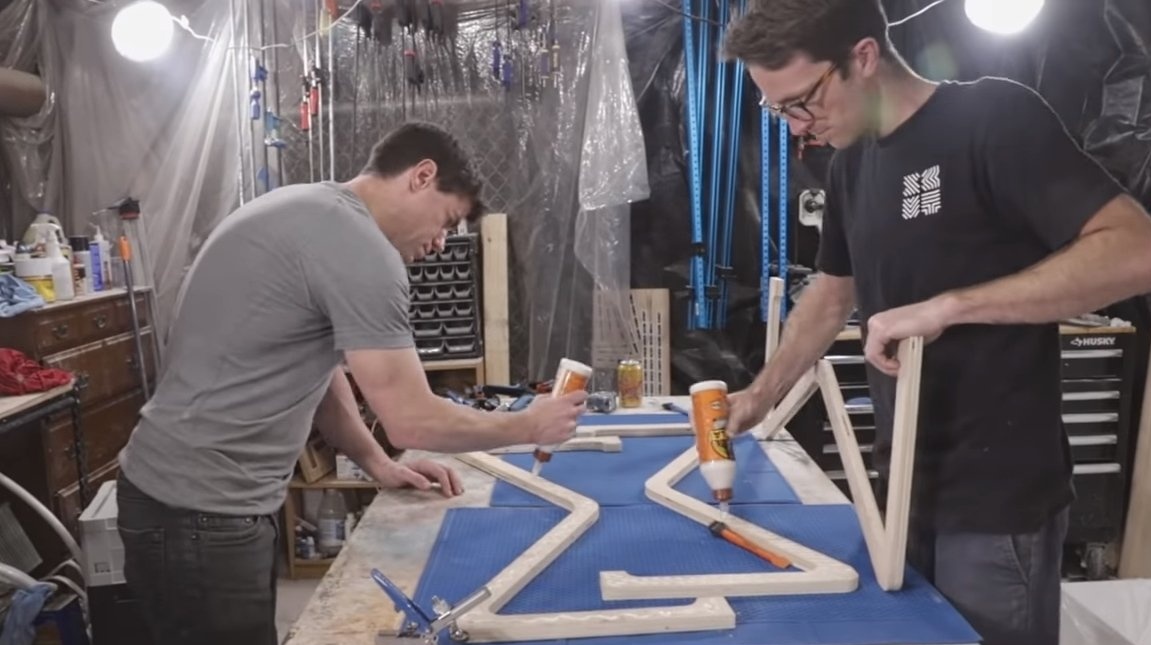
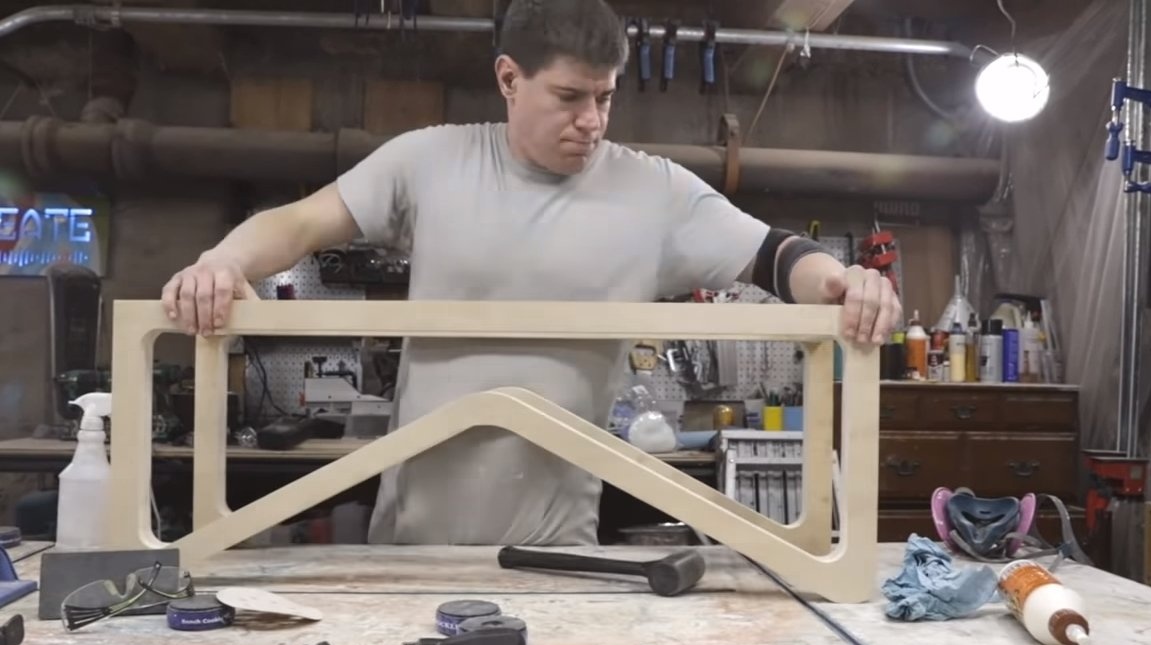
We will prepare the basis, we will need to cut 4 parts in the form of the letter "M", these will be the legs of the bench. The author glues plywood to strengthen the legs, as a result, two details should be obtained. We glue the legs together with cross members and let the base dry.
To cut plywood, the author used a milling cutter, jigsaw and other tools.

Step Six Concrete slab refinement
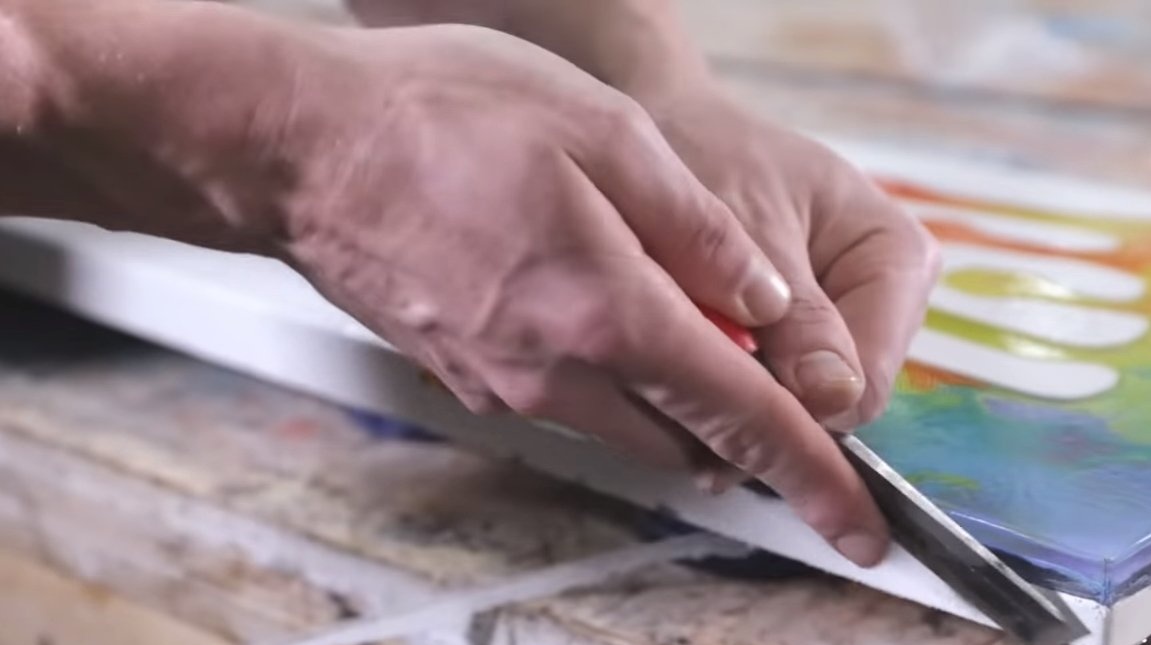
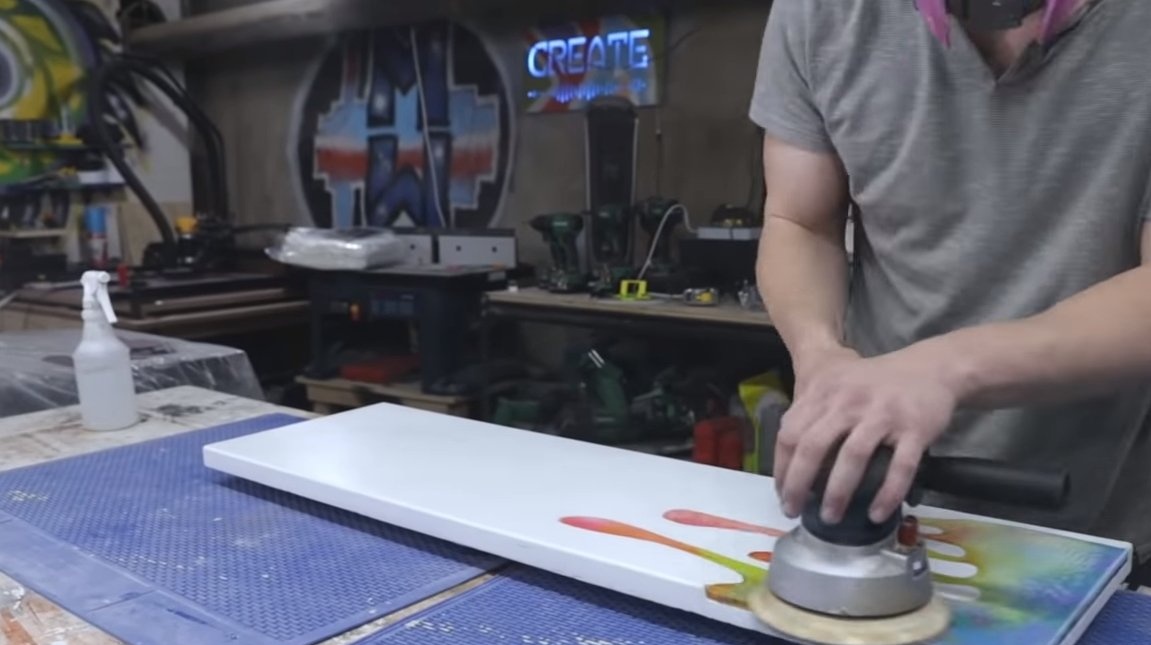
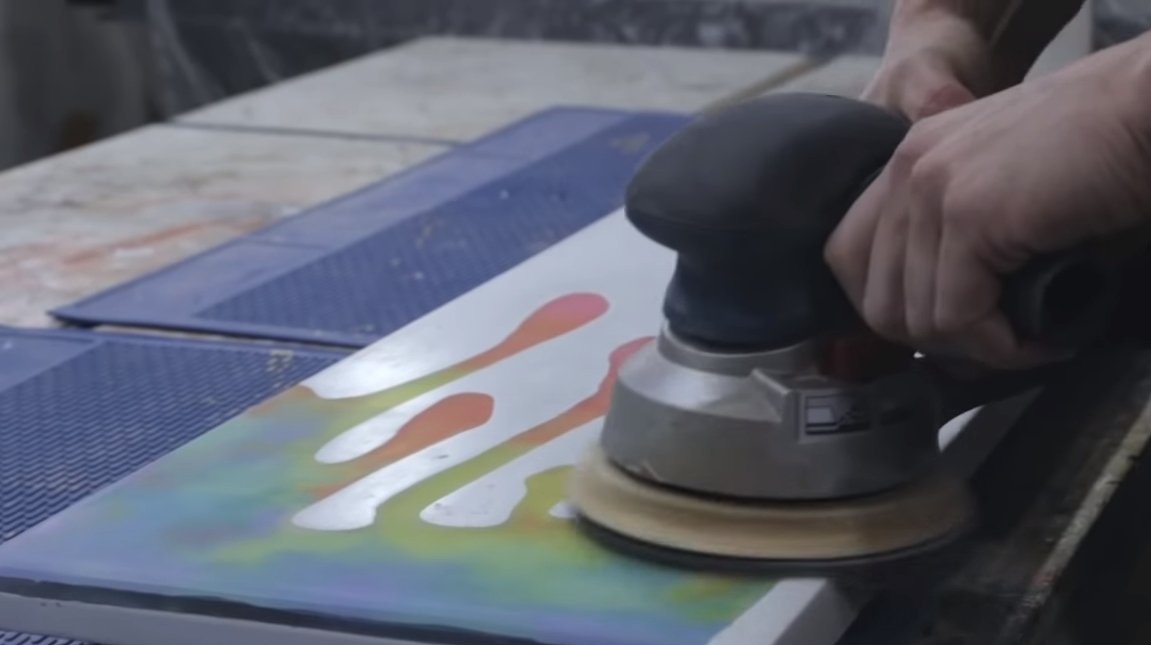
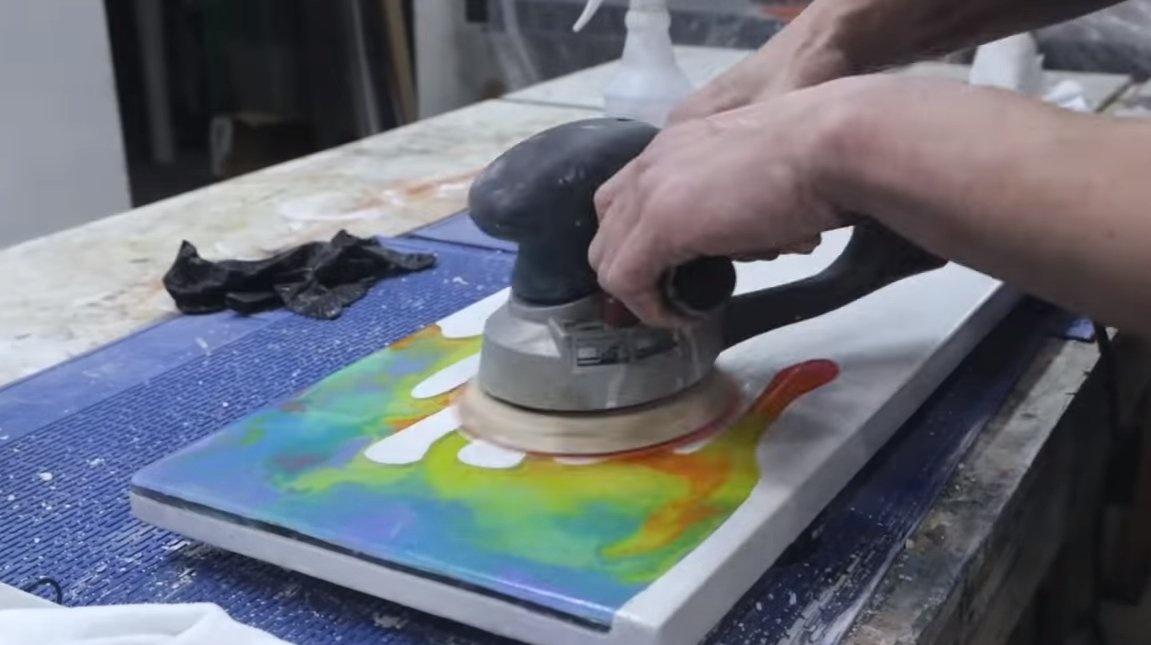
We are finalizing the concrete slab, we need to pour the last layer of epoxy on top and let it dry. Then we grind the plate well with an orbital machine and polish the epoxy to transparency. In the end, you can cover the slab with liquid glass, varnish or a thin layer of epoxy.

Seventh step. Final touches
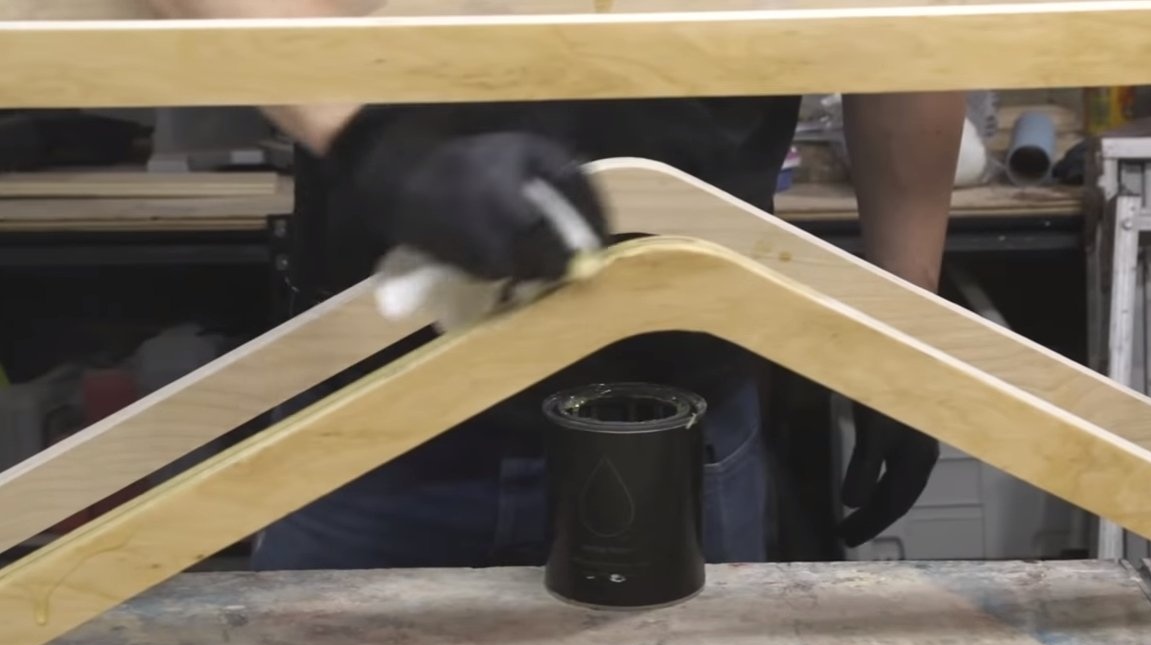
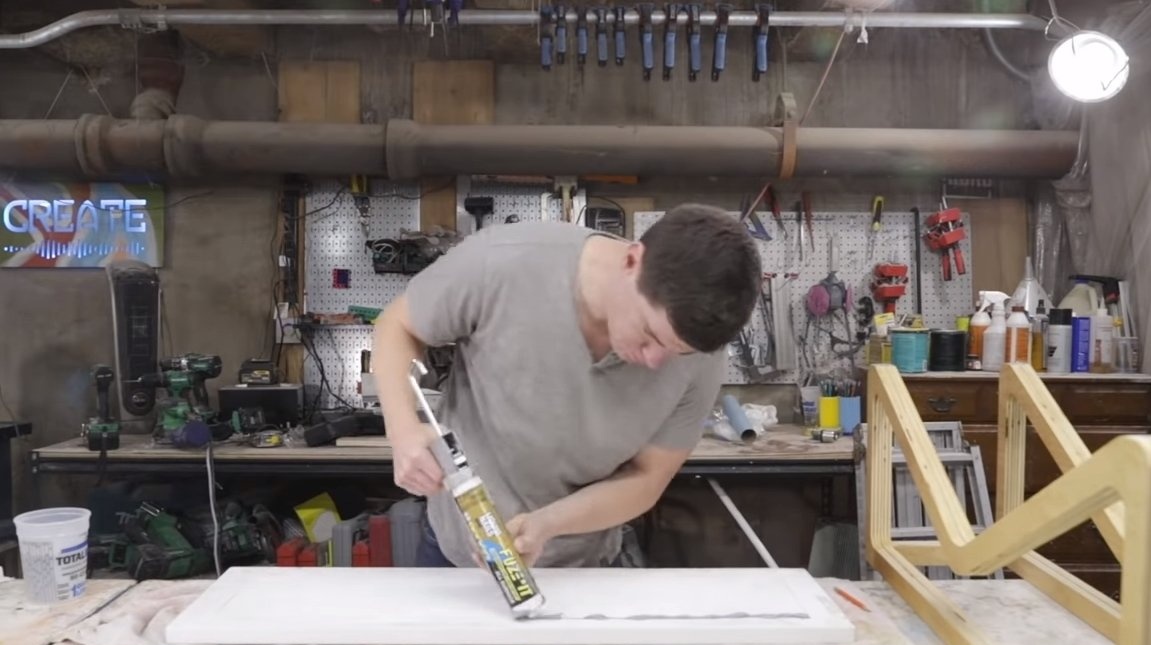
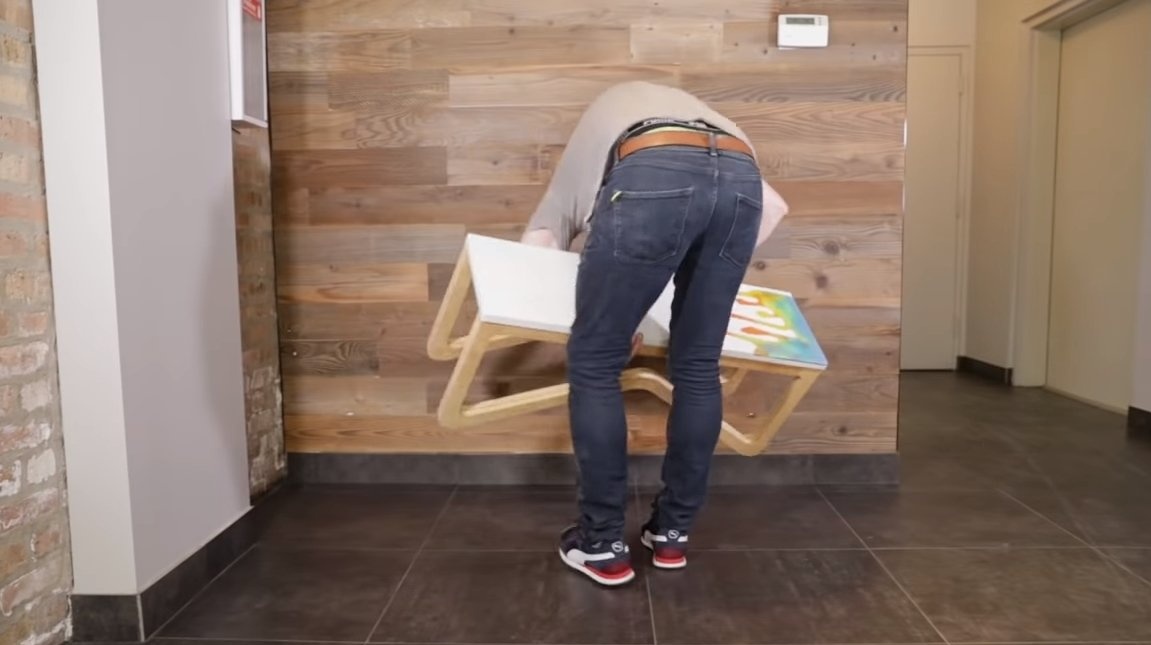
Saturate the wooden base with oil or varnish. We do not use oil for the upper part to which the plate will fit. The author glues the foundation to a concrete slab using building glue (such as “liquid nails”).
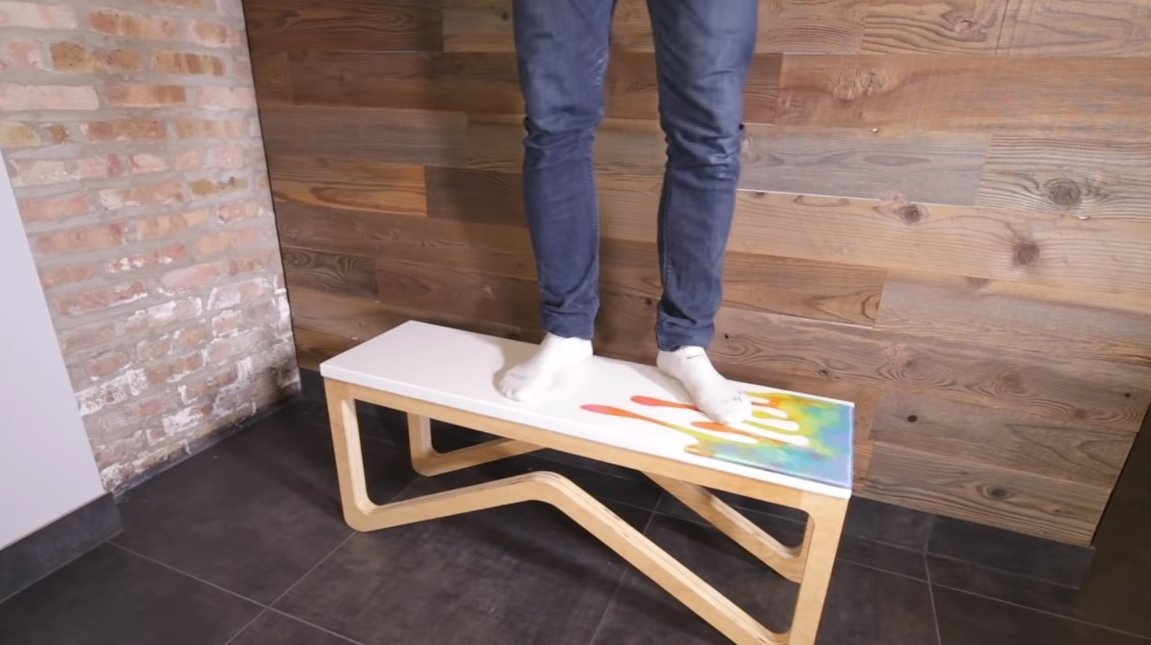
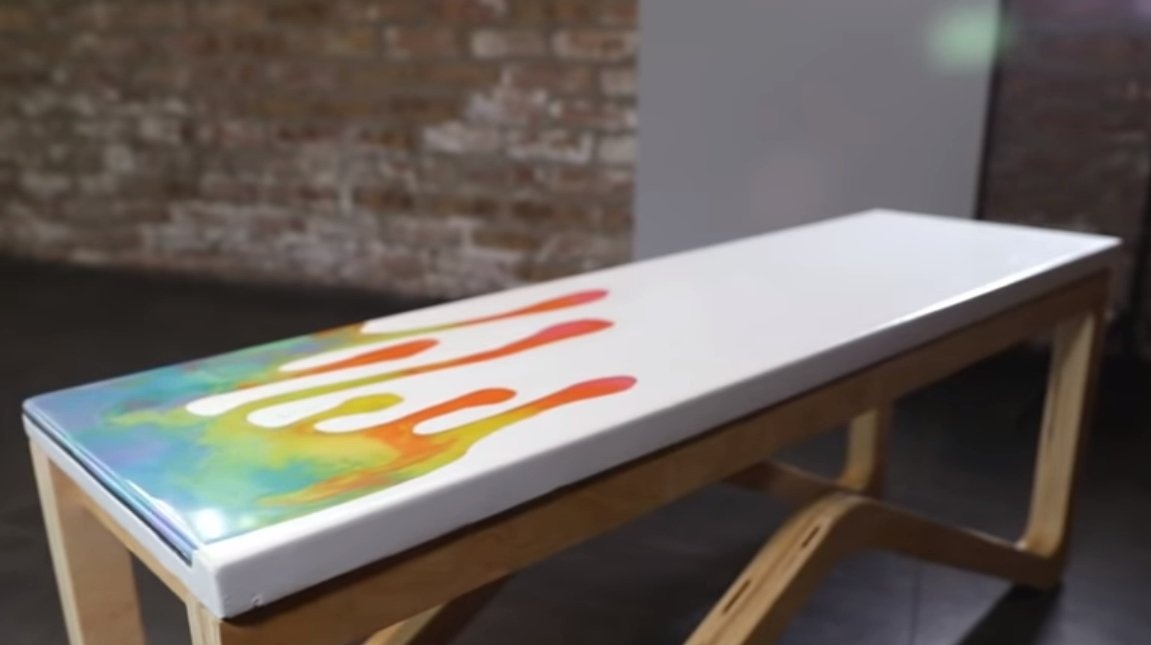
After that, the bench is ready, homemade turned out to be strong, the author easily gets his feet on her. The concrete slab even springs and does not crack. The bench looks great, I hope you liked the project, and you found useful thoughts for yourself. Good luck and creative inspiration, if you decide to repeat this, do not forget to share your ideas and homemade things with us!