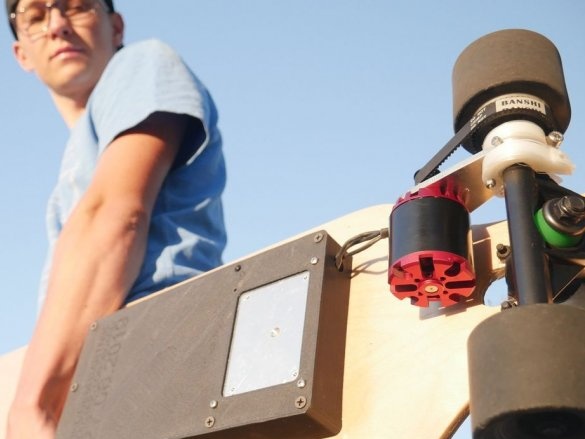
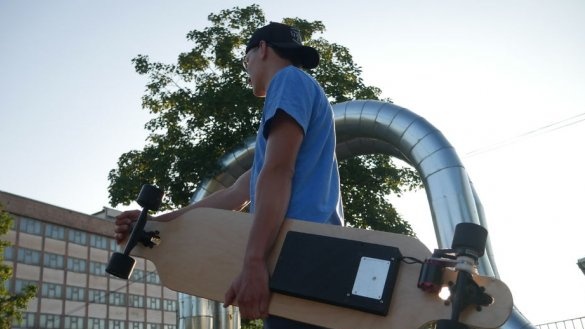
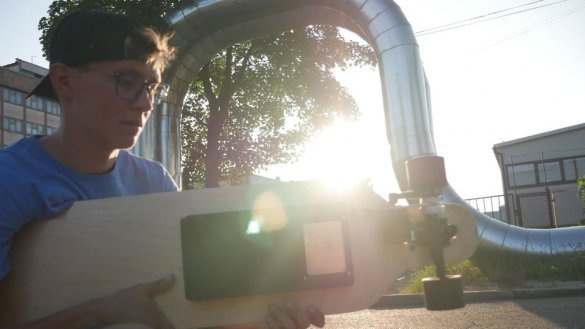
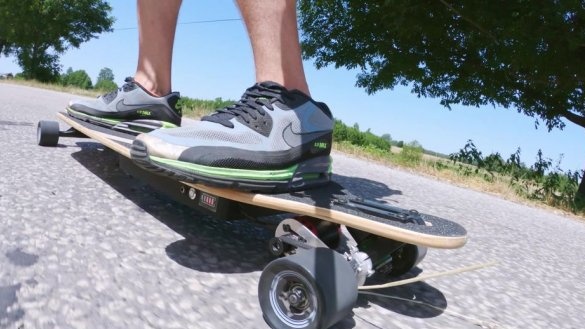
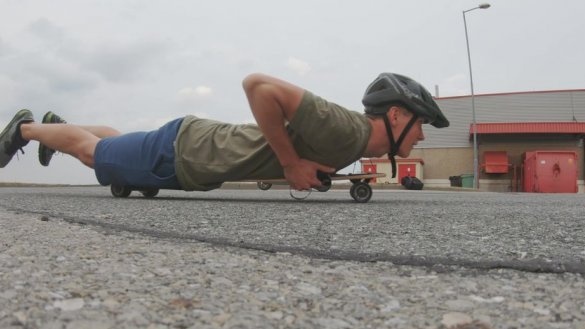
The price of an electric skate is quite high and the master decided to do it yourself. His skate can ride on a single charge of 15 km at a speed of 24 km \ h. At a price he cost the master about $ 150.
Tools and materials:
-3D printer;
-Computer with software;
-Fasteners;
-Vise;
-Drill;
-CHPU-machine;
-File;
-Burner;
- Pliers;
-Screwdriver;
- Keys are metalwork;
-Aluminum plate;
Step One: Mount
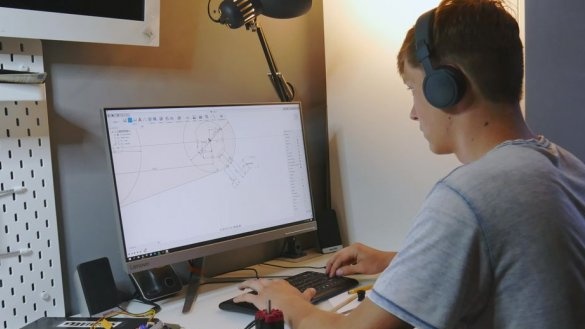
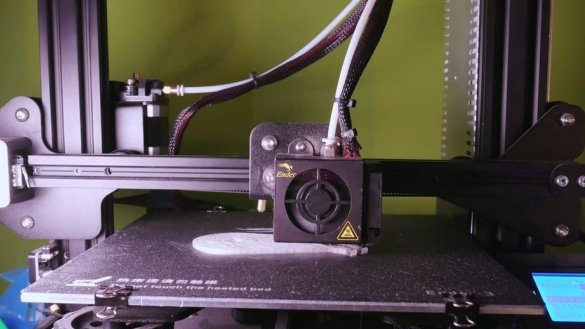
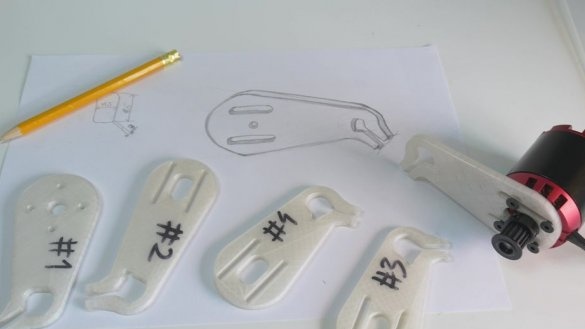
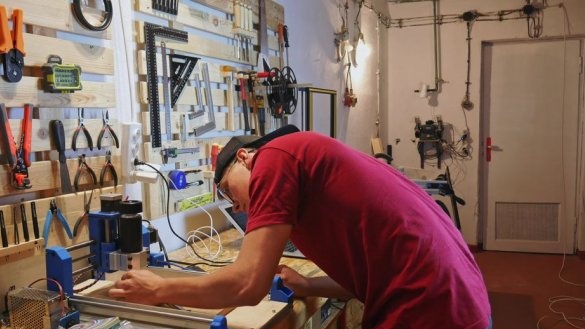
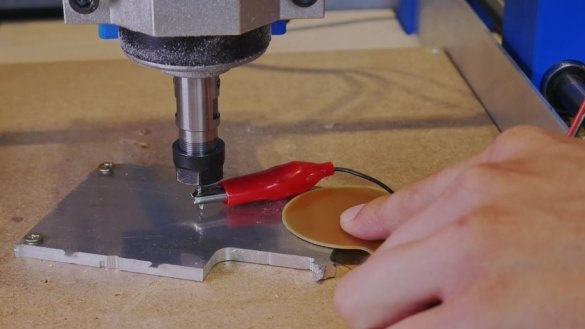
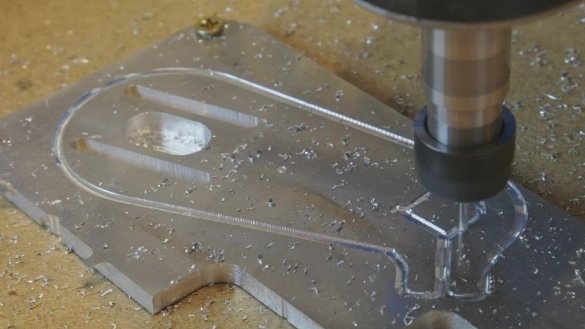
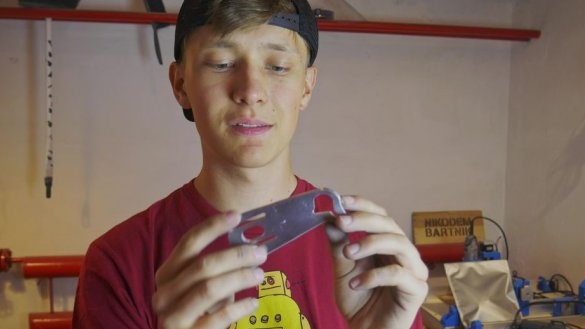
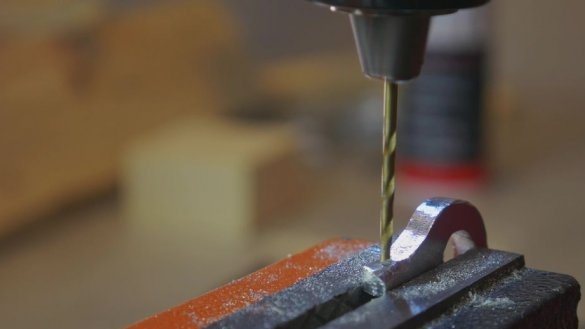
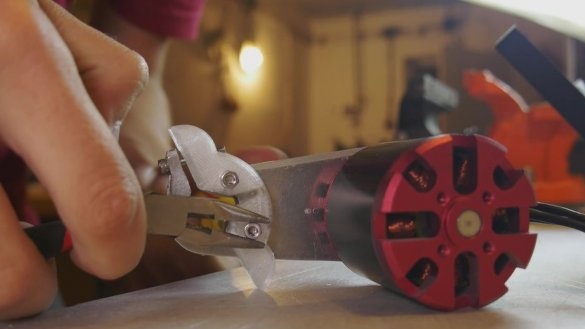
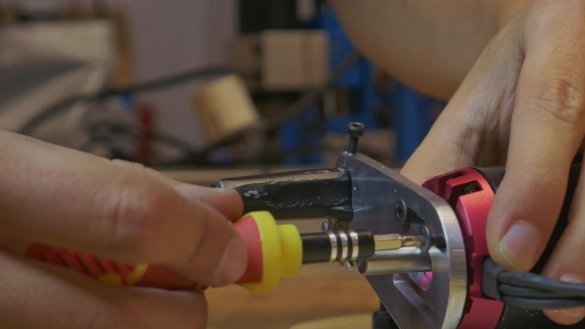
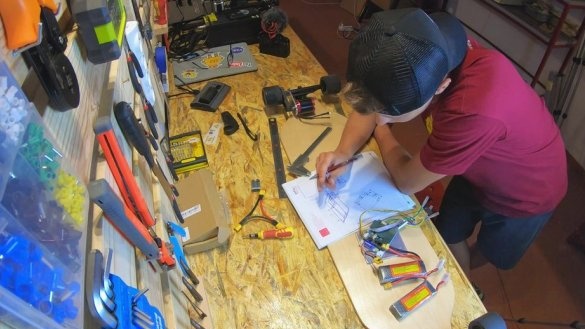
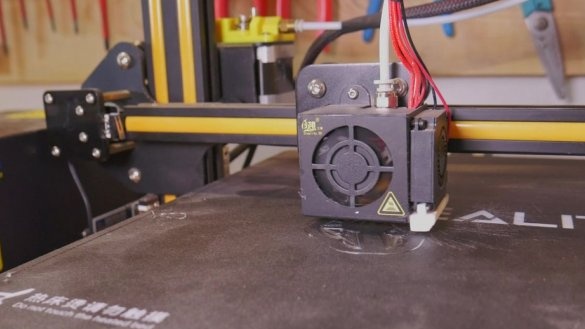
The mount can be purchased, for example, this one, but you can do it yourself. The wizard developed the mount in Fusion 360. Then, he printed a template on a 3D printer. Carved aluminum mount on a CNC machine. He filed and drilled holes.
Templates can be downloaded below. The last two files are simply printed on a printer with parameters of 100%, 4 perimeters, PETG thread.
motor holder longboard.step
FLGUR9QJXUO8SR2.stl
clamp2.stl
Step Two: Attach a Pulley to the Wheel
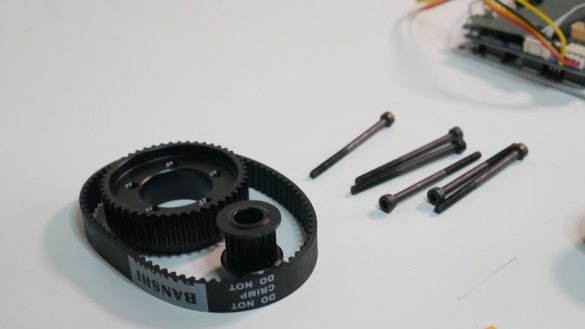
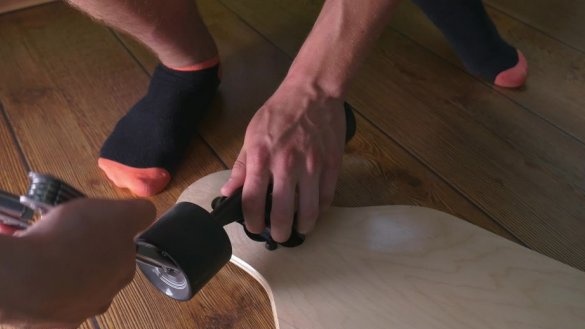
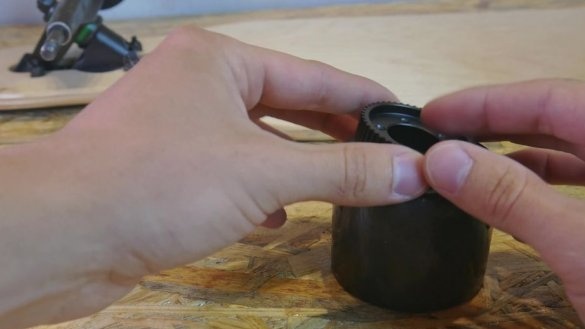
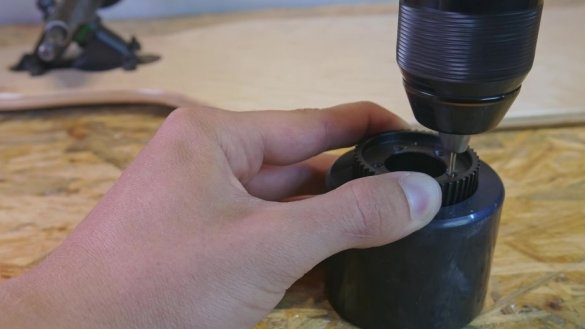
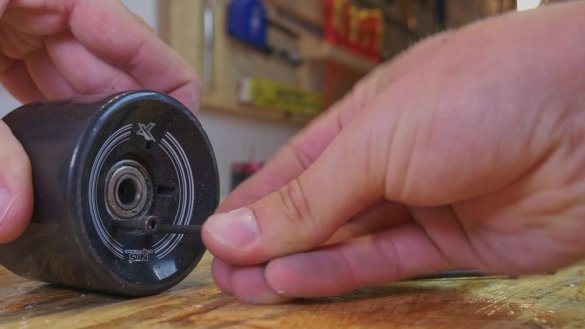
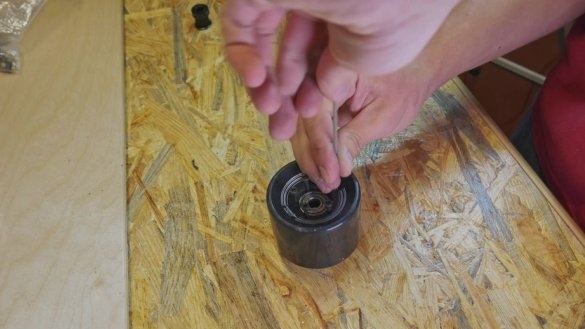
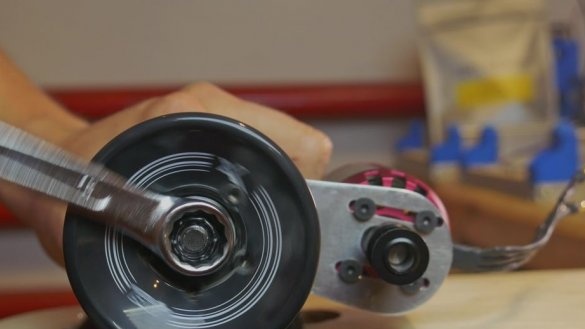
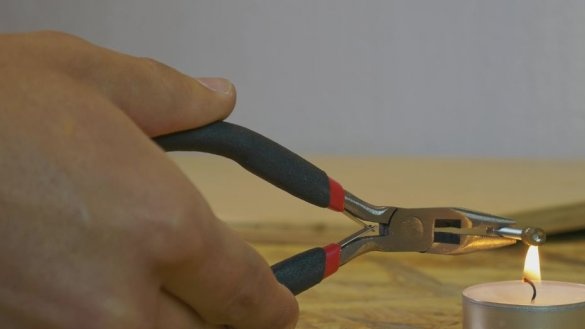
To attach the pulley to the wheel, we need to drill 5 holes in the wheel. In this case, the master also had to print a support for this pulley because it was too deep in the wheel. Drilling these holes is quite simple, use a standard drill bit for wood or metal, and work slowly, this rubber is easy to melt. After that, simply insert these 5 long screws and ideally center the pulley so that it works perfectly.
gear support 1.stl
Step Three: Build
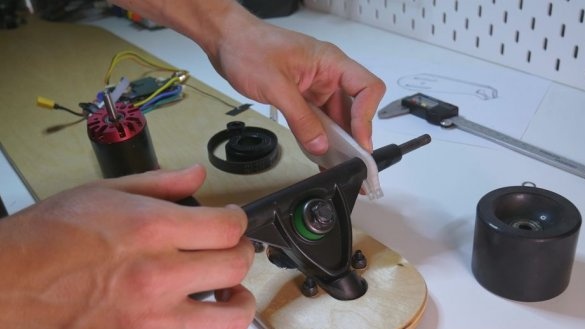
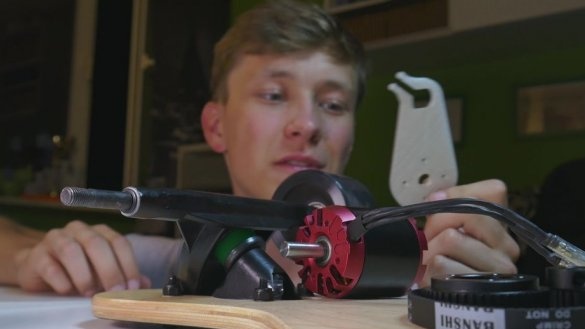
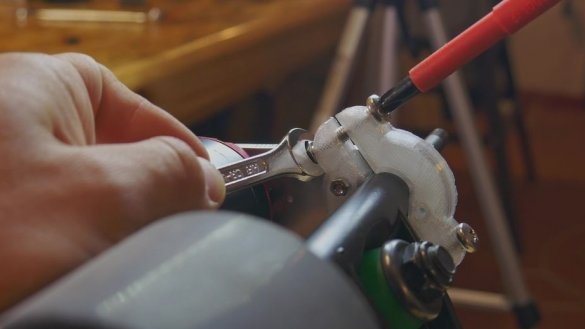
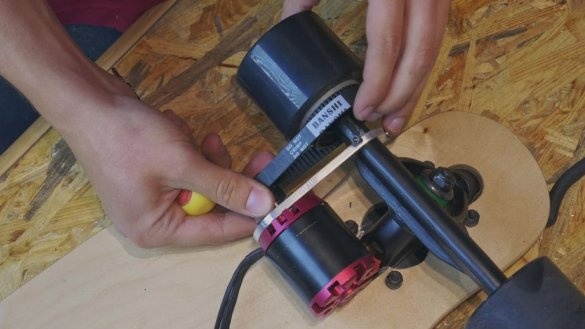
Assembly must begin by drilling two holes in an aluminum plate to attach the 3D clip. Then attach the motor to the plate with 4 screws until you need to fully tighten them. Place the mount on the rail and secure it as tight as possible. You can also put a smaller pulley shaft on the motor shaft. Now it's time to install the wheel with the pulley that was attached earlier. And finally, put on a belt and pull it, moving the motor, now you need to tighten the motor mount.
Step Four: electronics
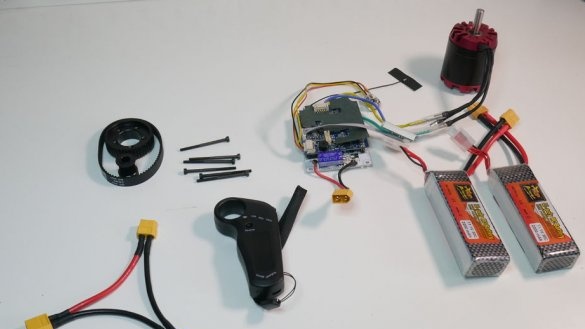
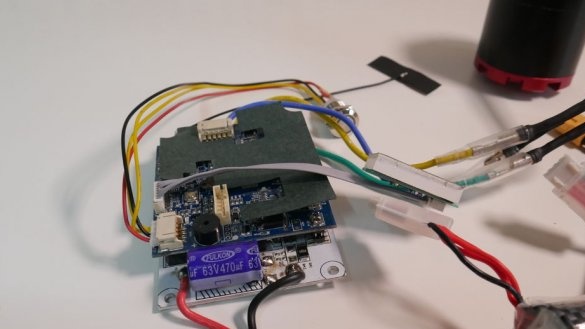
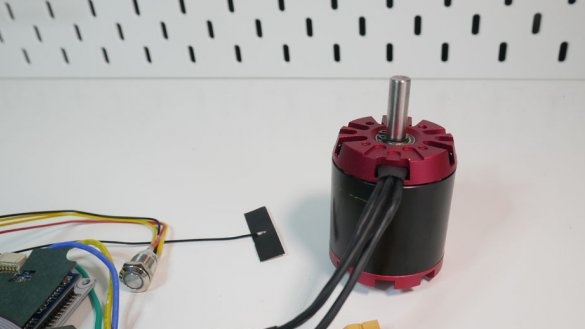
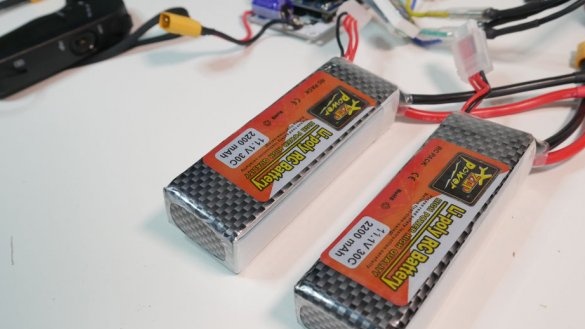
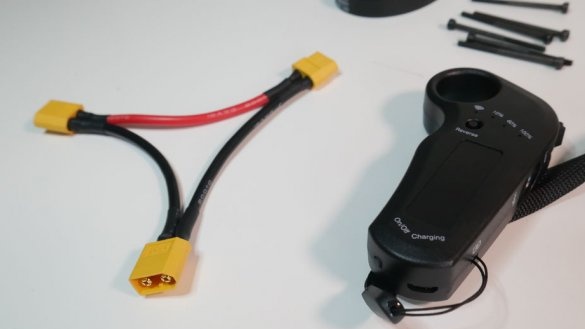
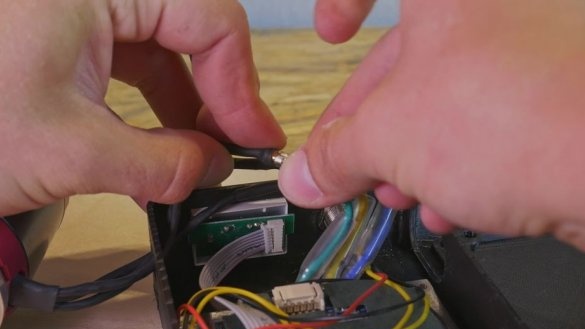
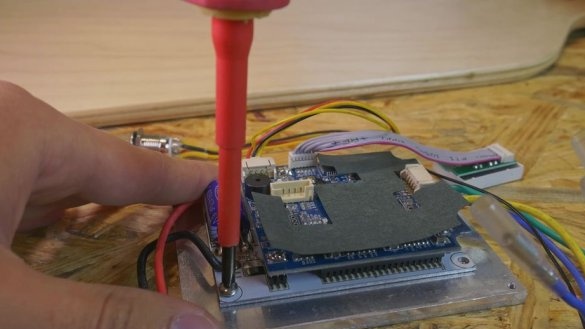
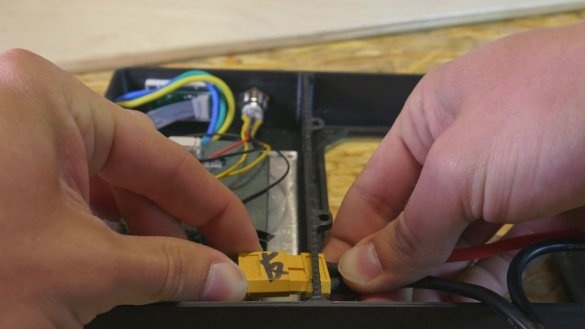
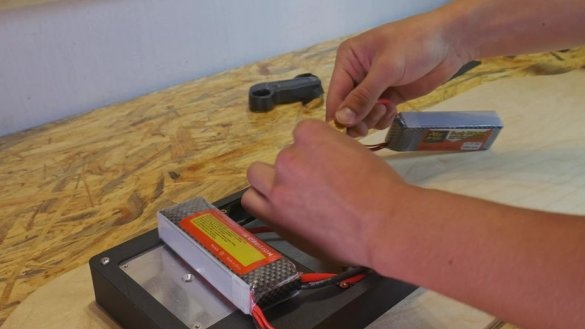
Connecting electronics in this project is extremely simple: you need to connect the batteries, and thanks to the XT60 connectors there is no way to do it wrong. You also need to connect the engine to the ESC (total 3 cables).If the motor rotates in the opposite direction, you need to swap two of the three cables, and the rotation will change.
Step Five: Enclosures
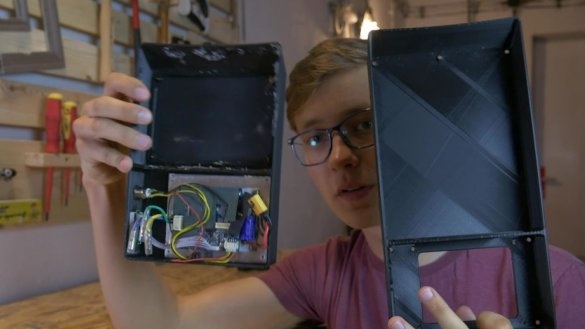
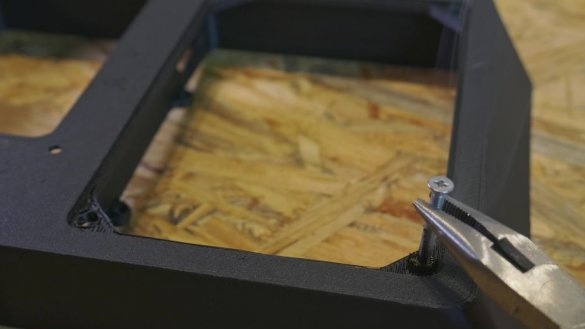
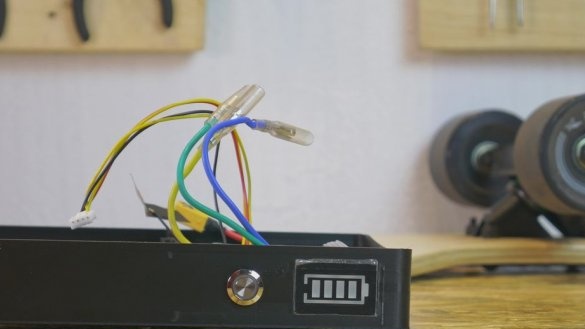
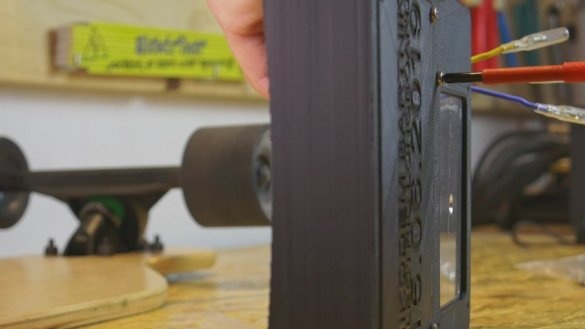
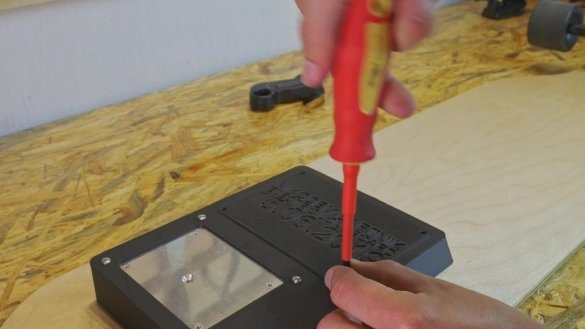
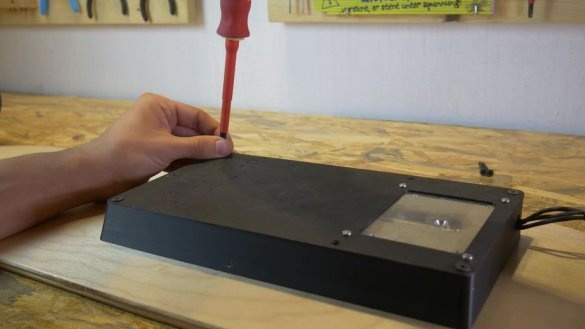
In the future, the master plans to replace lithium-polymer batteries with lithium-ion 18650, so he makes two cases for electronics. He prints the cases on a 3D printer.
box.stl
box2.stl
Step Six: Testing
It's time to check out the electric skateboard. The master takes the remote, puts on his helmet and stands on the skate. Now you need to turn on both the skateboard and the remote. Gently press on the gas. You need to be careful here, since it is easy to fall from it. To learn how to ride an electric skateboard, you need some time and practice, but it is a lot of fun and a great way to ride through the crowded streets!
Seventh step: replacing the batteries
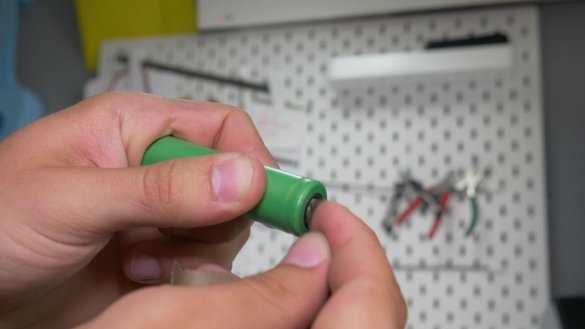
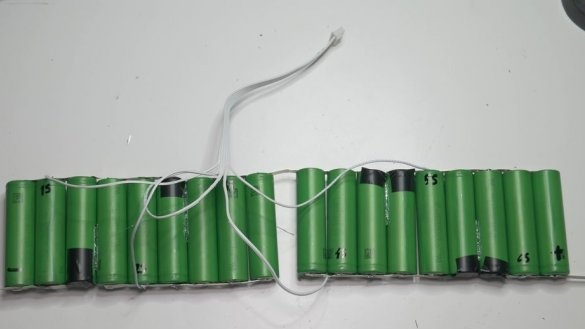
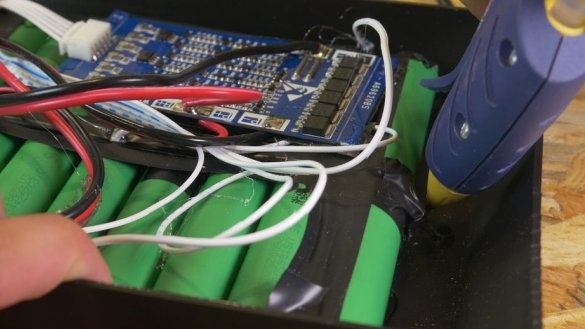
After some time, the batteries that the master installed on the skateboard failed and he replaced them with lithium-ion. He collected the battery according to the 6S 3P scheme.
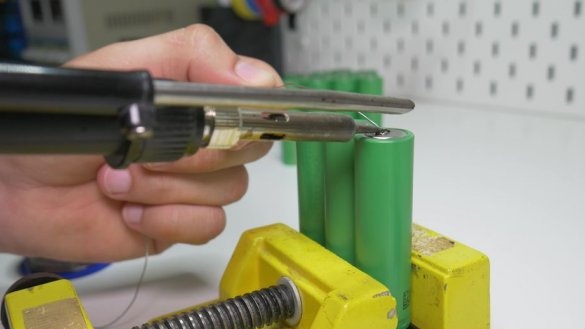
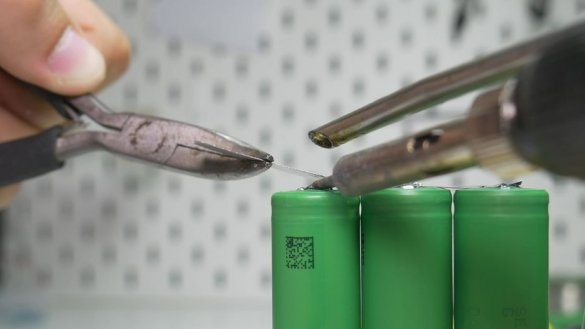
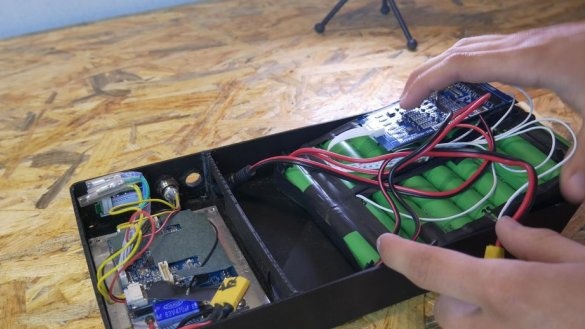
The correct method of manufacturing this type of battery is spot welding, unfortunately, the master does not have it, and the batteries had to be soldered. Soldering these batteries is not recommended; they can simply be destroyed in this way. He used a nickel tape to solder them. To properly and safely charge the batteries, you need to connect it to the BMS (Battery Management System). The problem is that the BMS that he used can produce a maximum of 15A, which is too little for an electric skateboard. Of course, in this case there is no protection against overcharging. Fortunately, the ESC has low voltage protection and it will turn off the engine when the battery voltage drops. Completely unprofessional, he protected all the battery terminals with an insulating tape, not professionally, but it works fine :) Then he added the charger connector to the BMS, put it all in a 3D-printed box and installed it on a skateboard.

