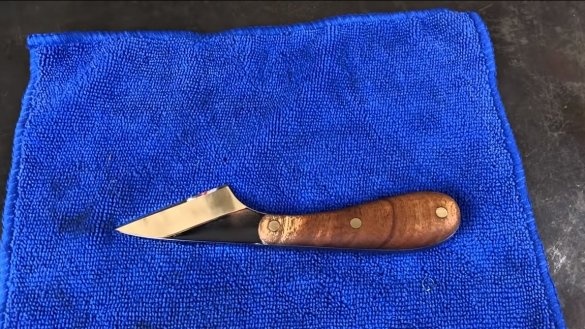
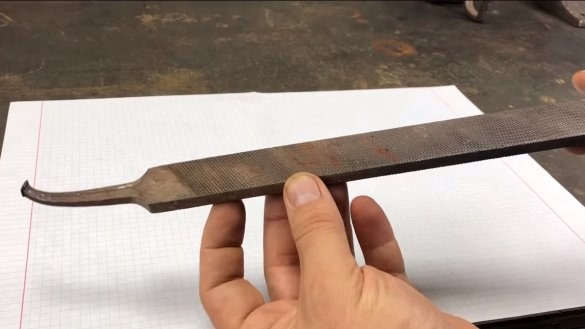
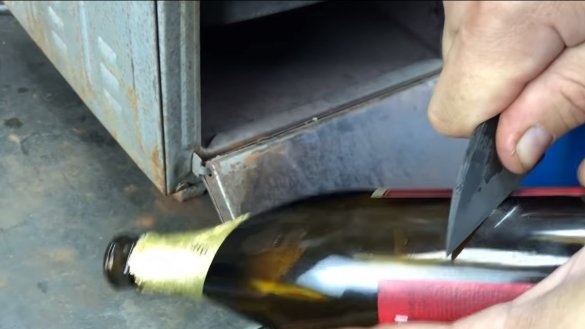
Greetings to all lovers of craftsmanship, I propose to consider a project for the manufacture of a strong knife for woodcarving. Homemade The author made from an old Soviet file. The knife blade is so strong that the knife even cuts glass. Of course, you won’t be able to make such a knife from a modern file, so look for the right file for homemade work in advance. The blade was cut out by a grinder, but for grinding you will need a belt grinder. If you are interested in the project, I propose to study it in more detail!
Materials and tools used by the author:
Material List:
- old file;
- a tree for overlays;
- brass rods for pins;
- epoxy adhesive;
- tree oil.
Tool List:
- grinder;
- belt sander;
- drill;
- blacksmith furnace and hardening oil;
- paper, pencil, scissors;
- cylinder with paint;
- drills with carbide tips;
- polishing machine.
The process of making a knife:
Step one. File preparation
First of all, check if the file is in your hands correctly. From the file you can break off a piece and look at the end, the metal should be granular, gray and the color should be uniform.
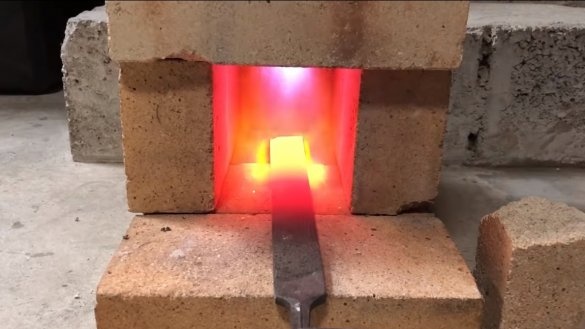
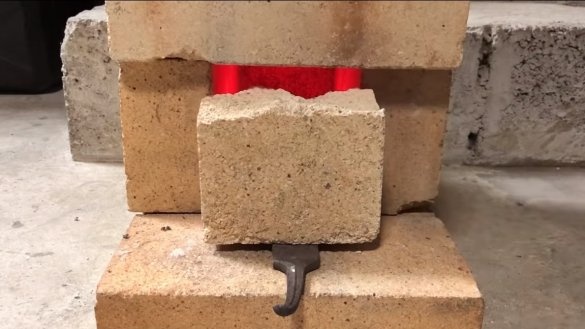
The steel of the file is quite hard and it is better to let it go for further work. We heat the file to a yellowish glow and leave it to cool gradually in the oven. If everything is done correctly, the steel will become pliable and ductile for processing.
Step Two Cut the main profile
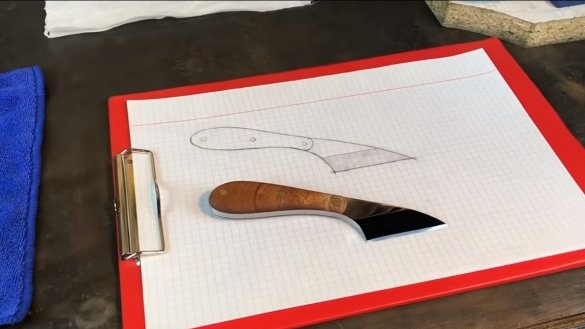
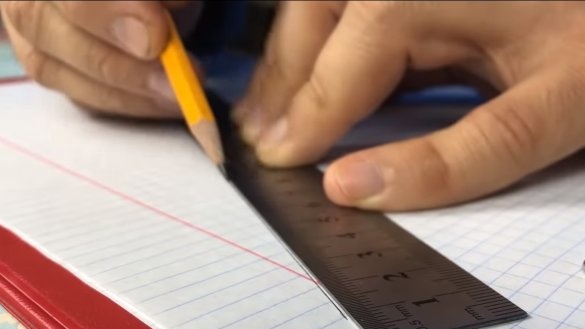
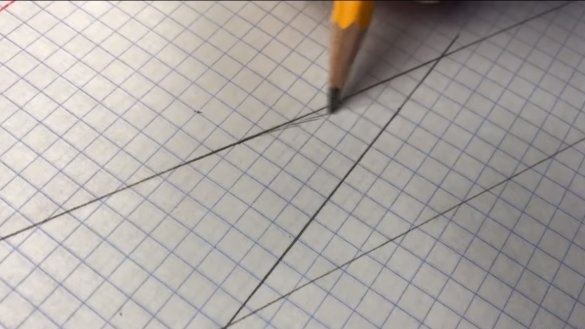
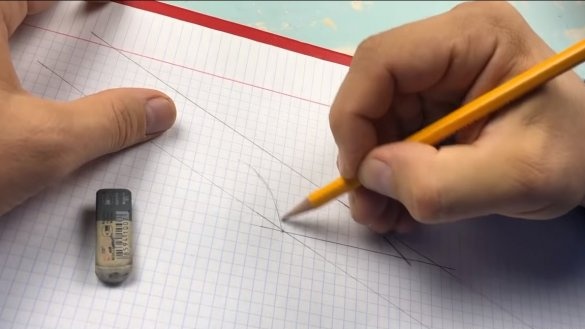
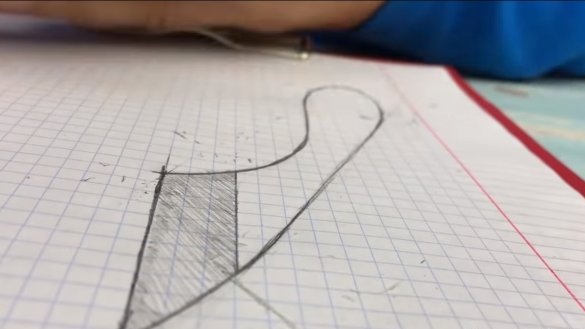
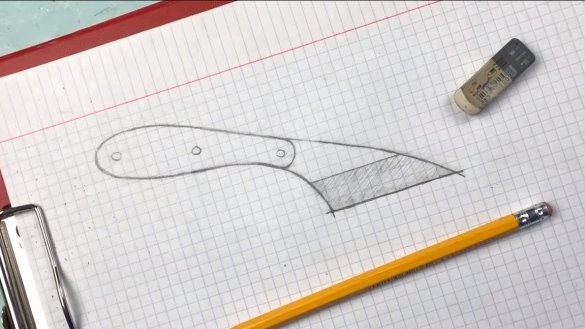
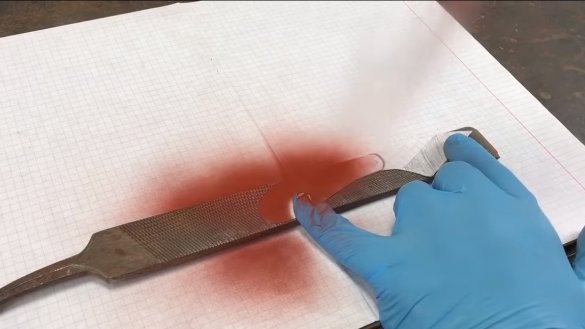
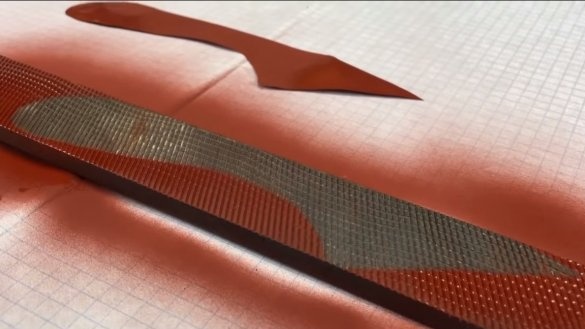
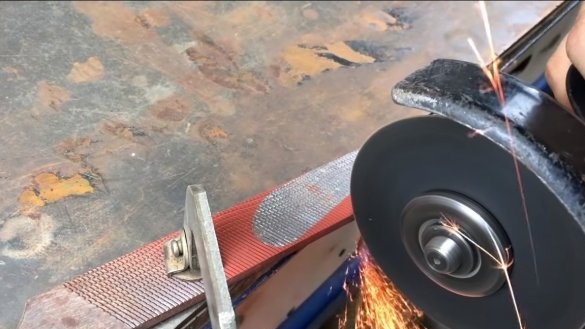
The author drew a knife profile on a piece of paper by hand and cut it out with scissors. Next, we attach the template to the file and paint over with paint from a spray can, as a result, the file will not have a shaded area, which will be cut.
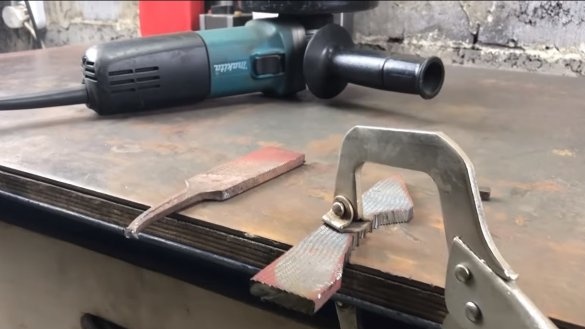
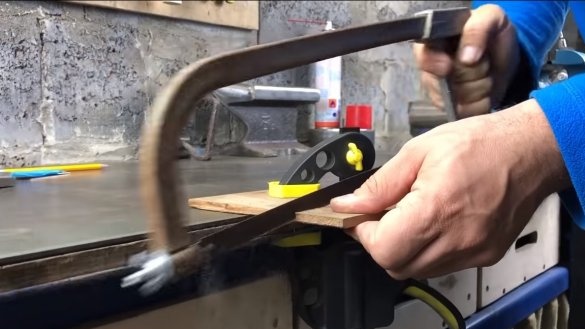
The author made a rough cut using a grinder, problem areas can be cut into pieces. You can also perfectly trim the profile with a thick grinding wheel.
Step Three Blade grinding
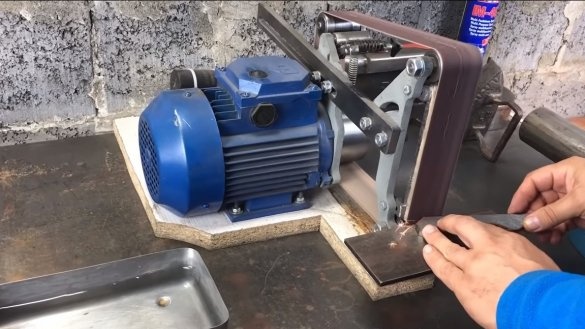
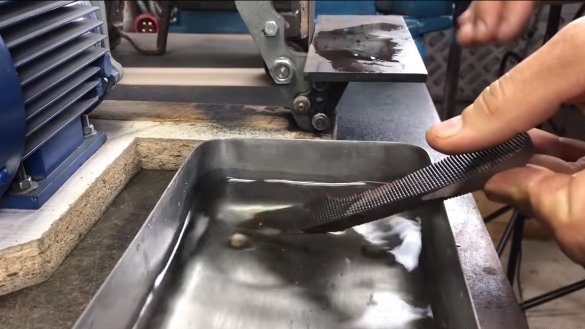
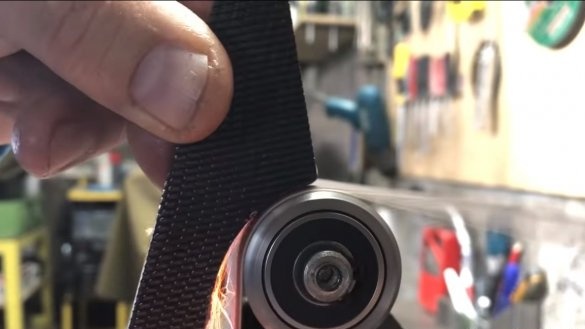
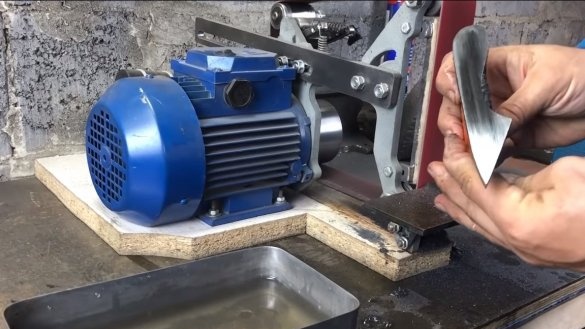
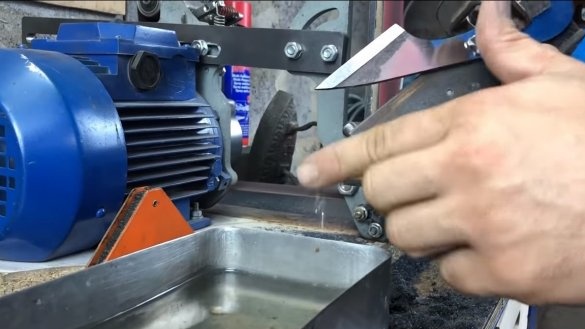
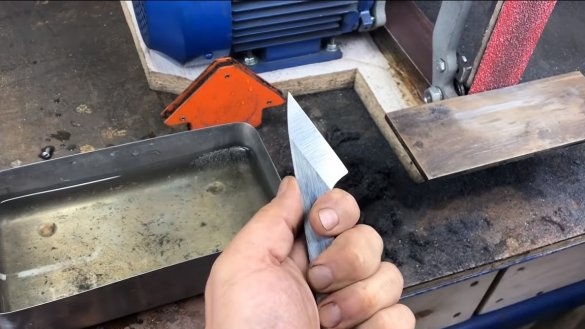
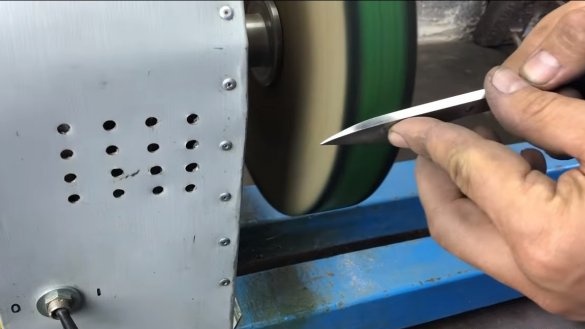
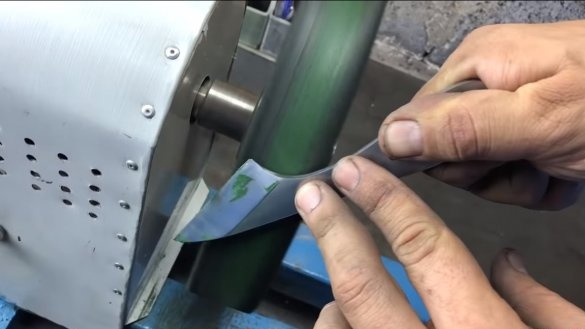
In the manufacture of such a knife has a lot of grinding work, you will need such a thing as a belt grinder. The author carefully processed the profile along the contour, the product will become very hot and burn hands, so that we cool the blade from time to time in cold water.
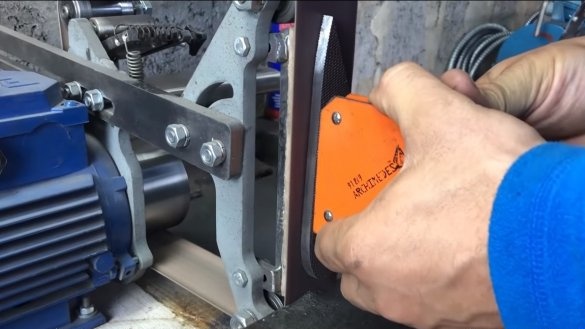
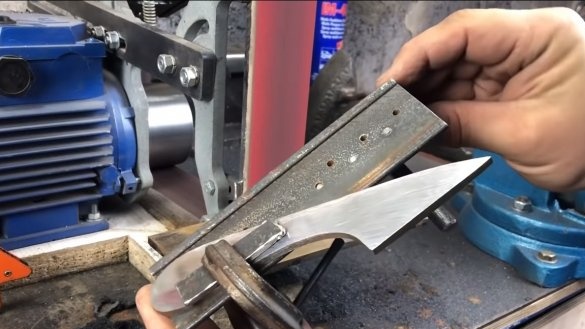
To grind the planes, the author used a magnetic welding square, but keep in mind that when heated, the magnet tends to demagnetize. At the end, the author also formed a bevel on the blade.
Step Four Holes
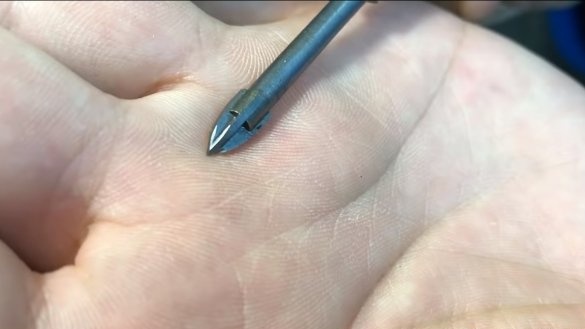
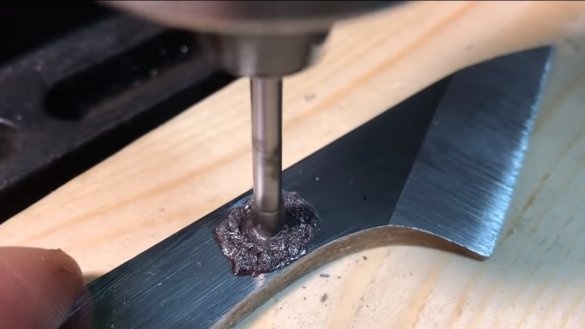
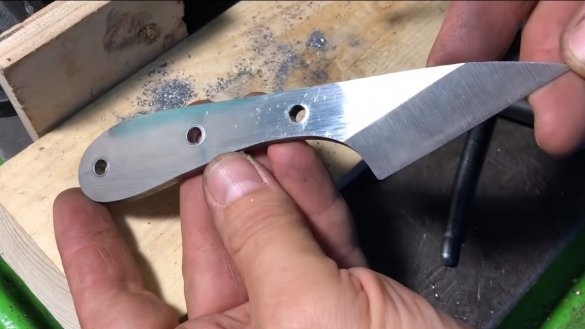
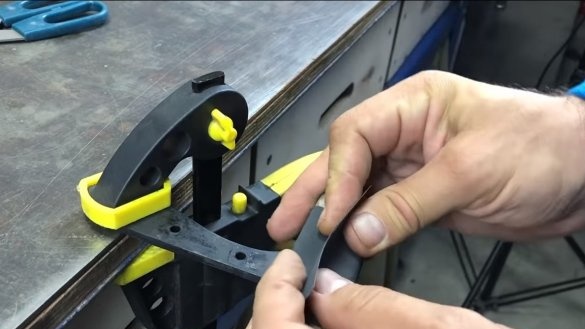
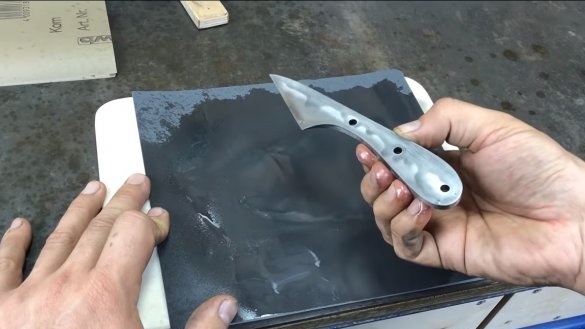
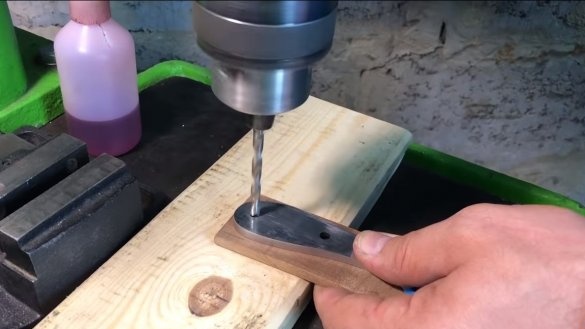
Drill holes for the pins in the handle area. This task was not so easy for the author, even the tempered steel did not want to drill with ordinary drills. As a result, they managed to solve the problem with a special drill with carbide tips.
Step Five Heat treatment
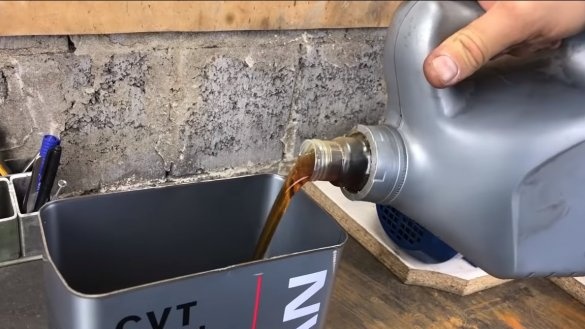
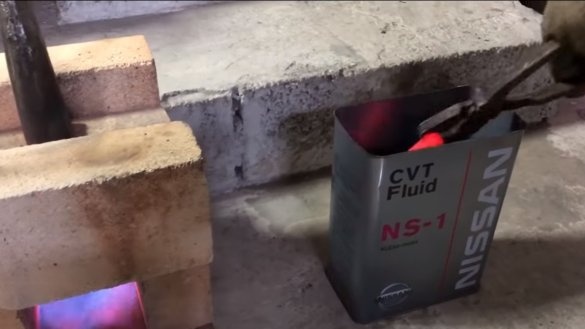
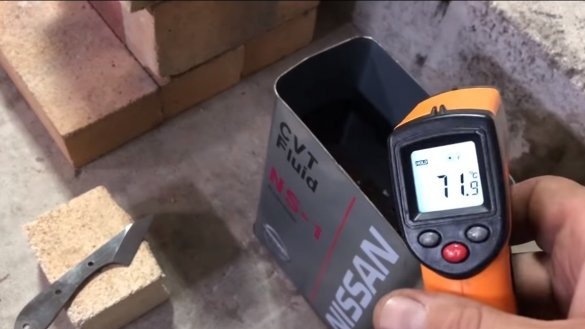
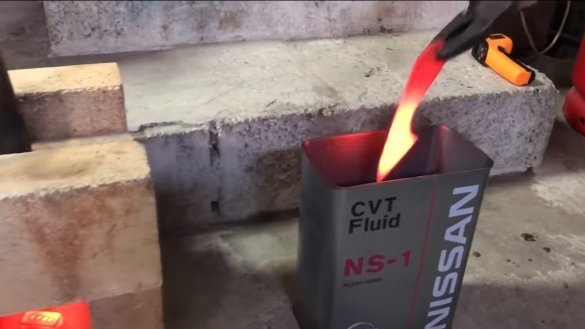
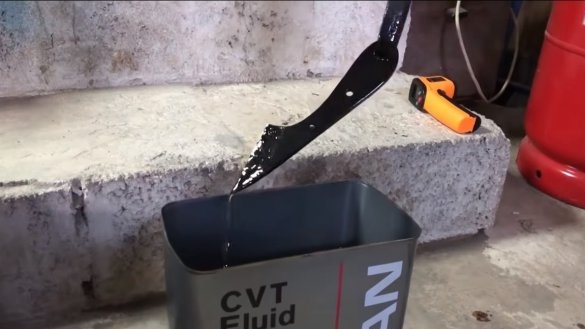
To begin with, we will temper the blade, thereby we will make the steel as solid as possible, but note that the blade will be fragile, its structure will look more like glass. We heat the blade to a yellowish glow and immerse in oil. As for the oil, its author preheated it with a hot bolt to a temperature of about 70 ° C.
After hardening, carefully send the blade into the oven, and heat an hour at a temperature of 213 ° C. After the procedure, yellowish shades should appear on the metal, which will talk about tempering to the optimum hardness.
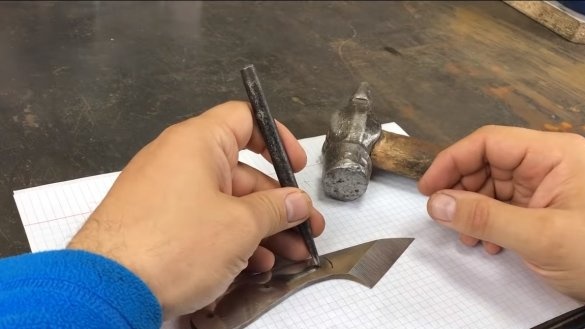
The author’s blade turned out to be quite solid, the blade leaves scratches on the bottle.
Step Six Grinding and polishing
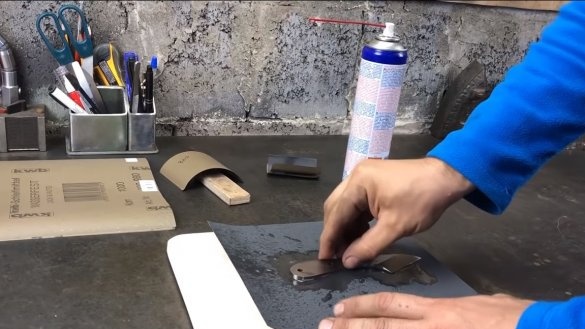
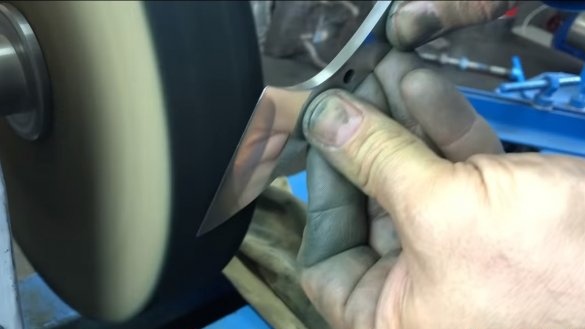
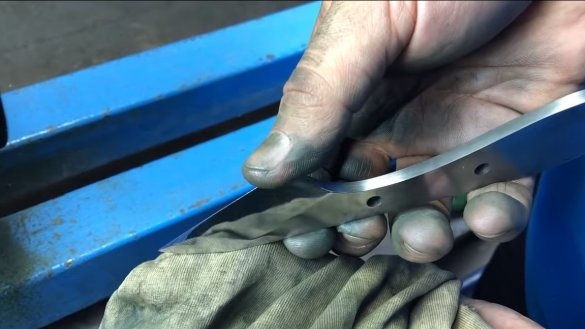
After hardening, we grind the blade with fine sandpaper in order to remove the scale. To make sandpaper work better, use WD-40 or water with detergent. In the end, the author polished the area of the blade with GOI paste on a polishing machine, the metal became shiny like a mirror.
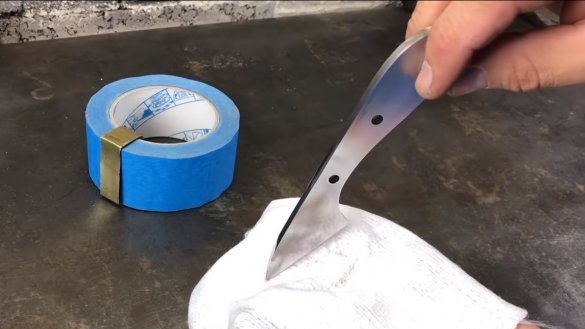
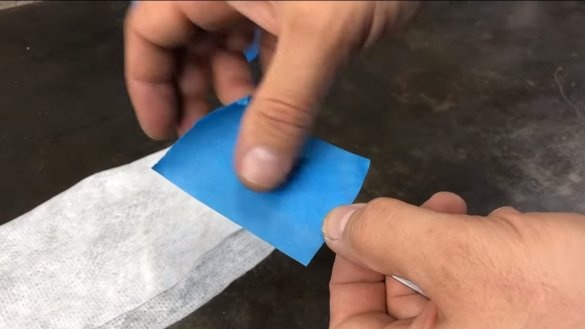
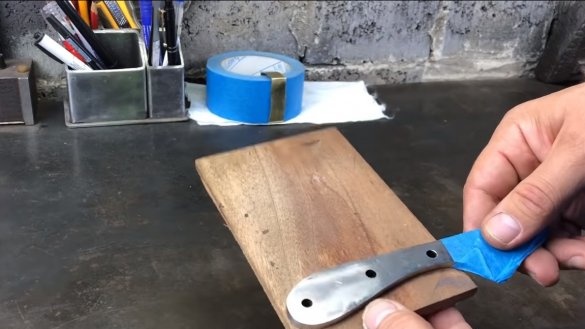
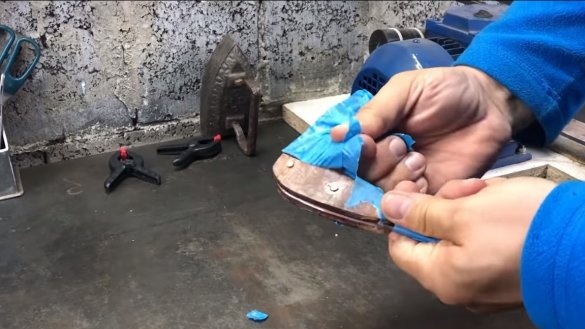
That's all, the blade is ready, wrap it with insulating tape, so as not to damage and not cover with glue in the future.
Seventh step. Handle
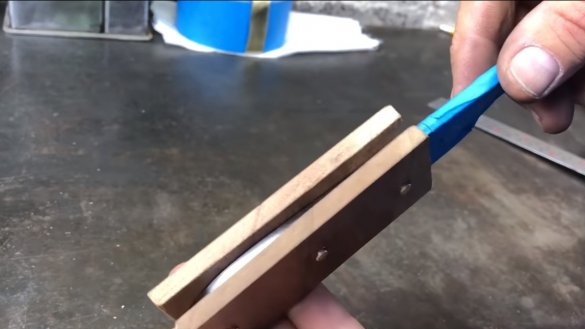
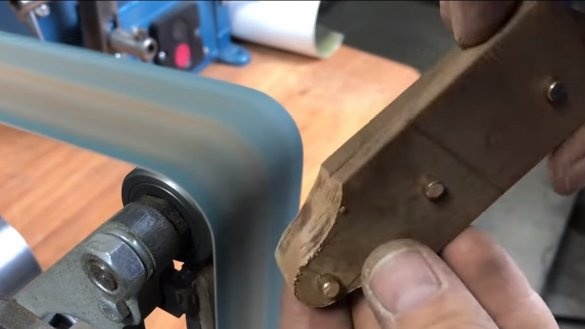
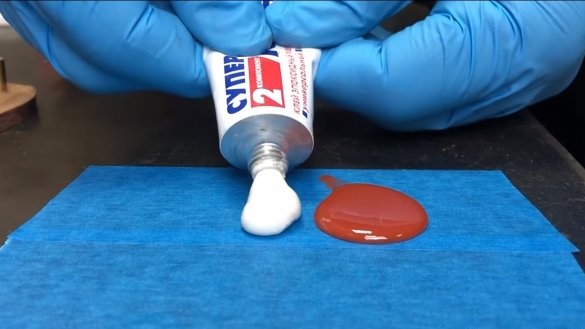
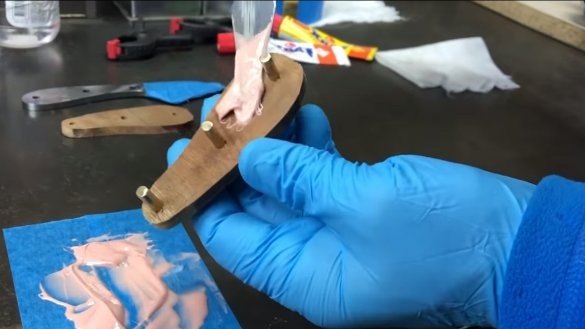
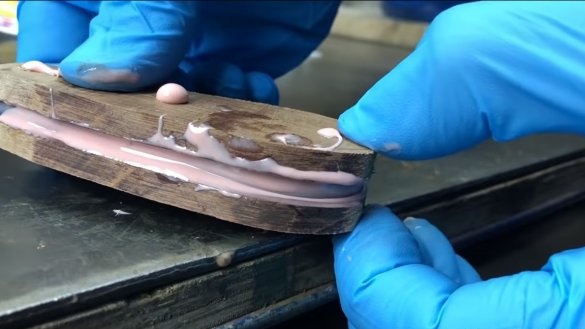
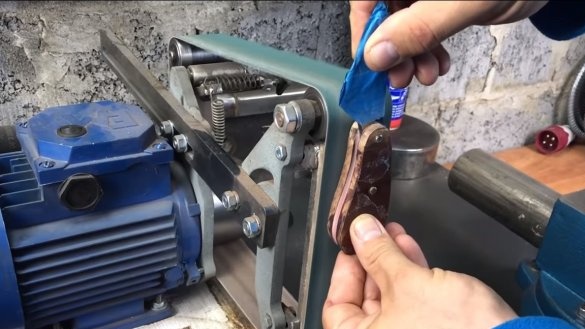
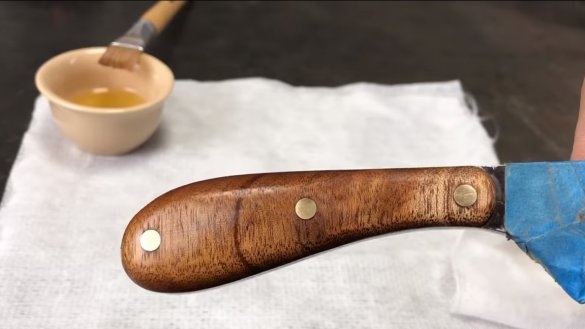
We make lining for the handle, it is better to use wood that is dense and durable, preferably with a beautiful texture. A veneer or the like may be suitable as the material. We cut two blanks for pads and install on the handle using brass pins. We grind everything together on a belt sander and then we can glue the pads on the handle. The author used epoxy as an adhesive.
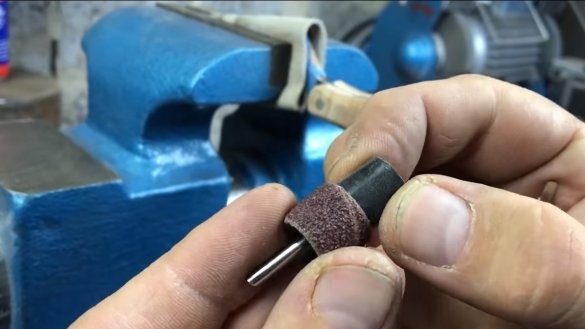
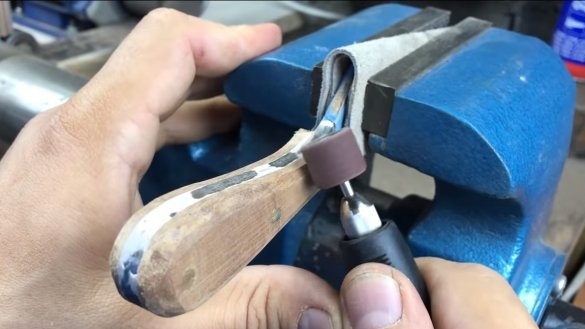
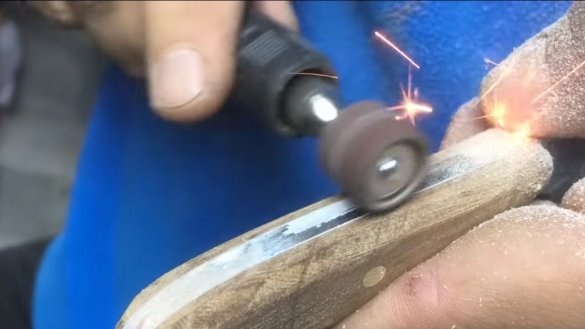
When the glue hardens, you need to set the sticks to the final profile, for this you will need a grinder, as well as a drill. The final processing is carried out with fine sandpaper, the handle should be perfectly smooth steel, then the wood will look beautiful.
Step Eight. Final touches
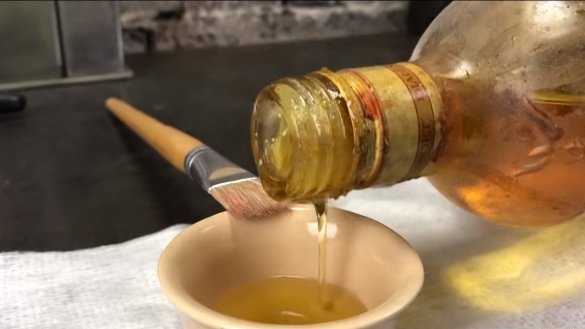
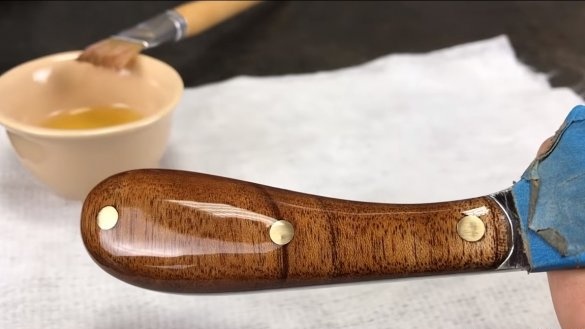
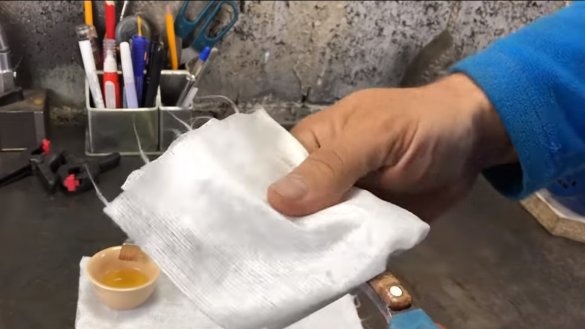
At the end, the handle is saturated with oil, so the tree will not absorb water, and will look great. That's all, after that the knife is ready, the homemade product looks great, and the technical qualities of the knife are on top. This is the end of the project, I hope you liked the homemade work, and you found useful thoughts for yourself. Good luck and creative inspiration, if you decide to repeat this, do not forget to share your ideas and homemade things with us.

