
Back to the folding topic again of furniture for outdoor recreation.
In this article, the creator of YouTube channel “Creates DIY” will tell you how he made a small folding picnic table.

This homemade product is quite simple to manufacture, although it requires the use of a power tool.
Materials
- sheet plywood
- Sandpaper
- PVA glue
- Impregnation for wood
- Stud, wing nuts, M8 washers
- A long nail.
Instruments, used by the author.
- Belt sander
—
—
—
—
—
- Compass, tape measure, ruler, pencil, marker, brush.
Manufacturing process.
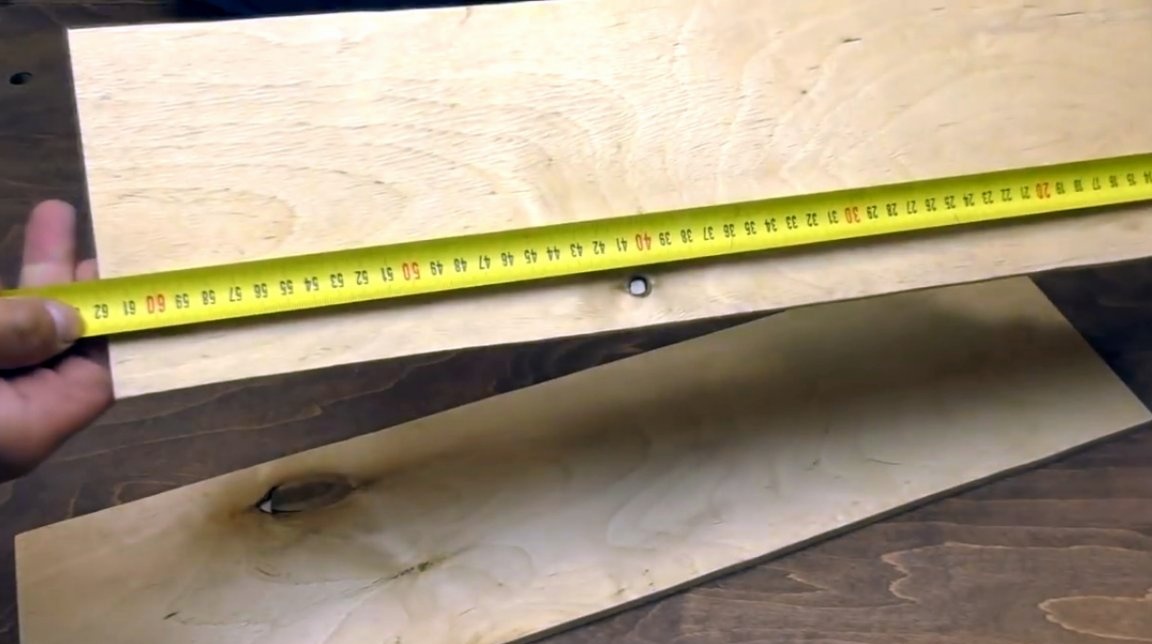
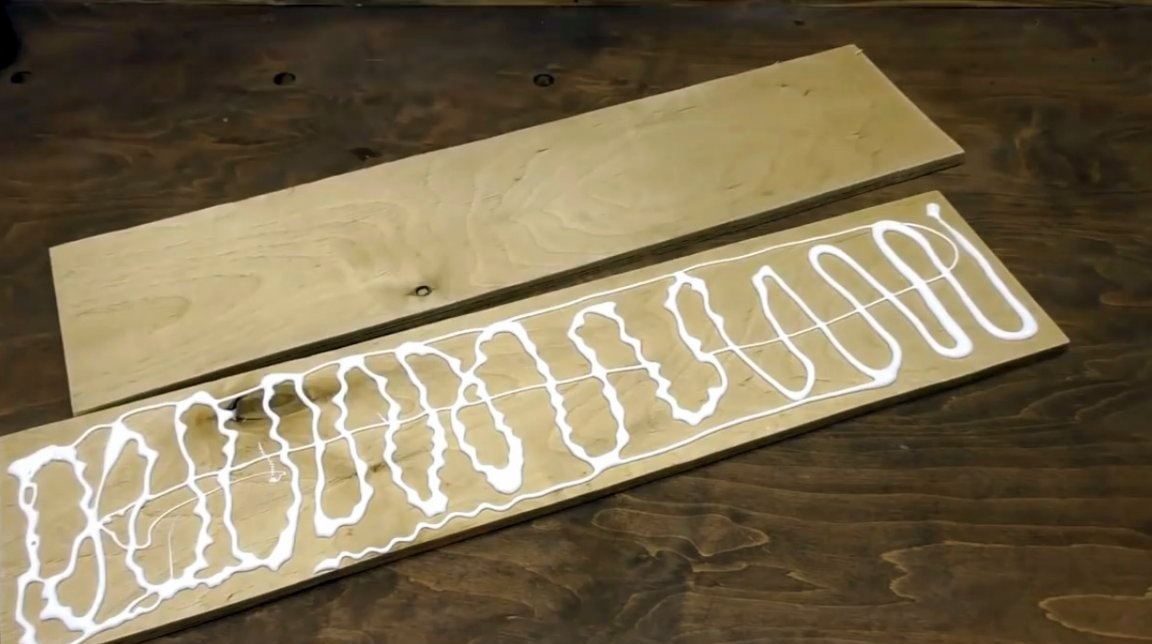
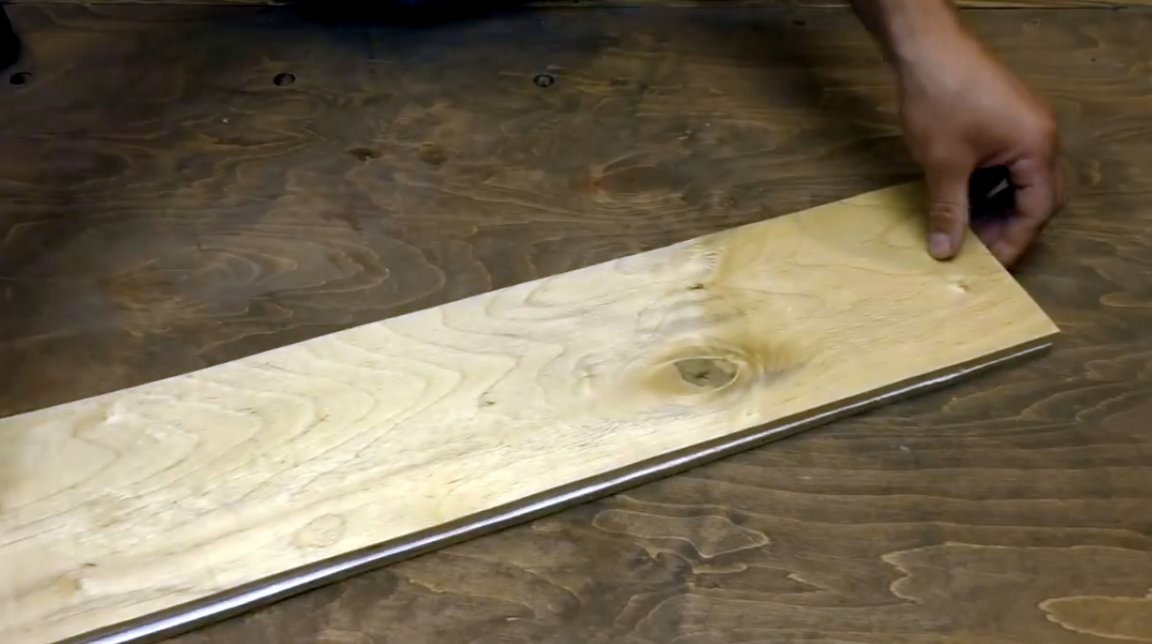
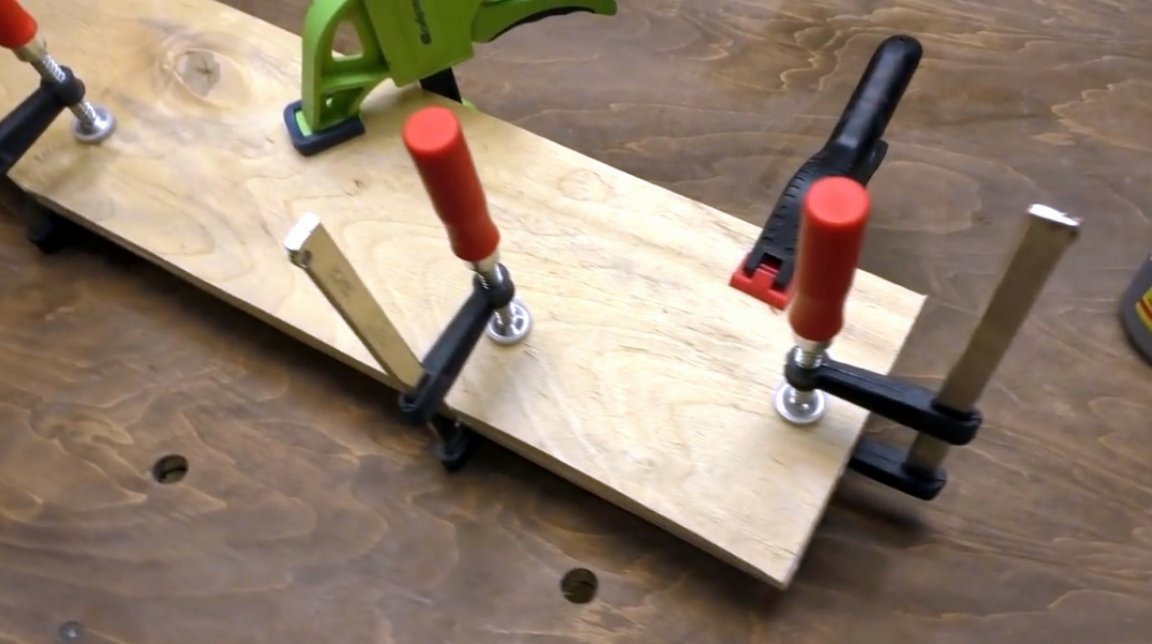
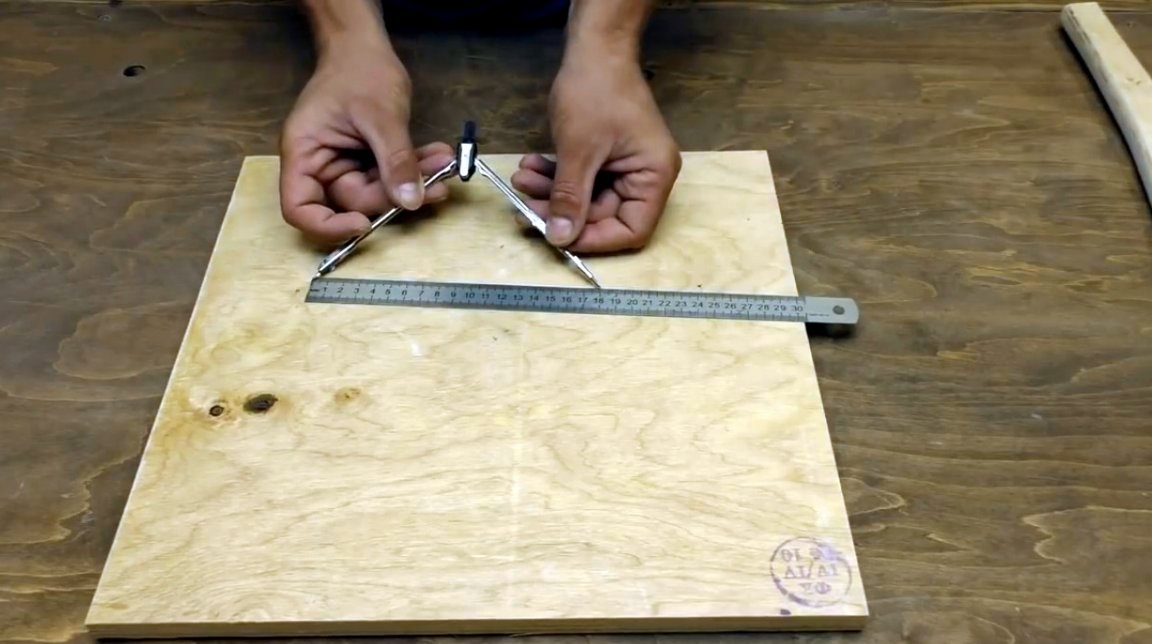
So, for starters, the master cut out two blanks from sheet plywood with dimensions of 620 X 150 mm. Then he applied a layer of glue, and pulled the blanks together with clamps. This is necessary to increase the thickness.
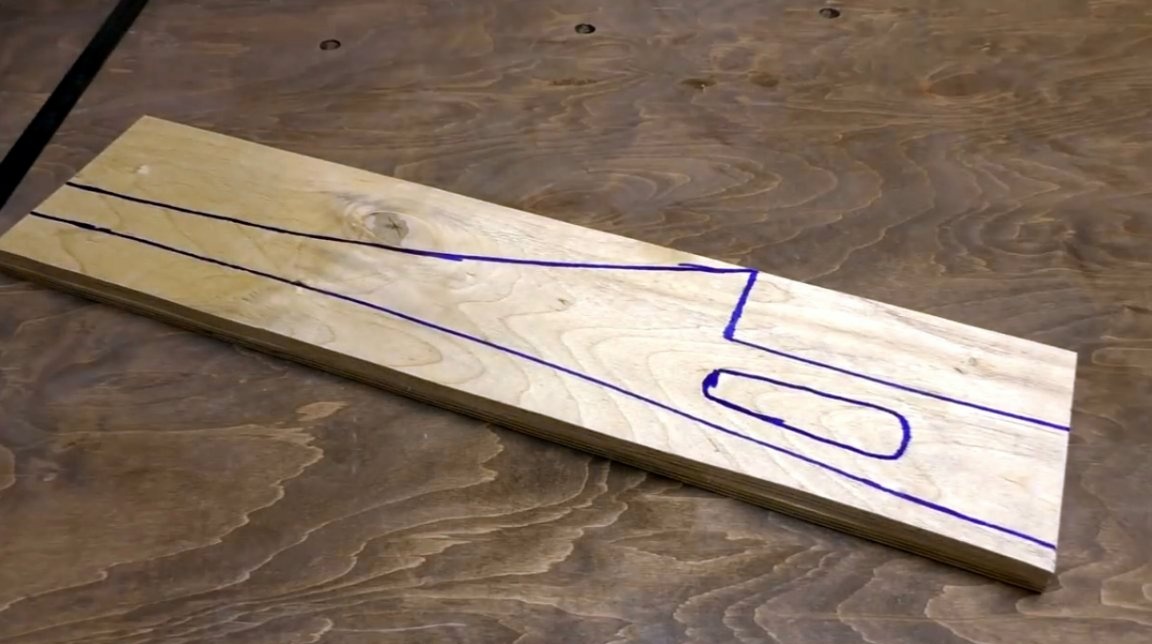
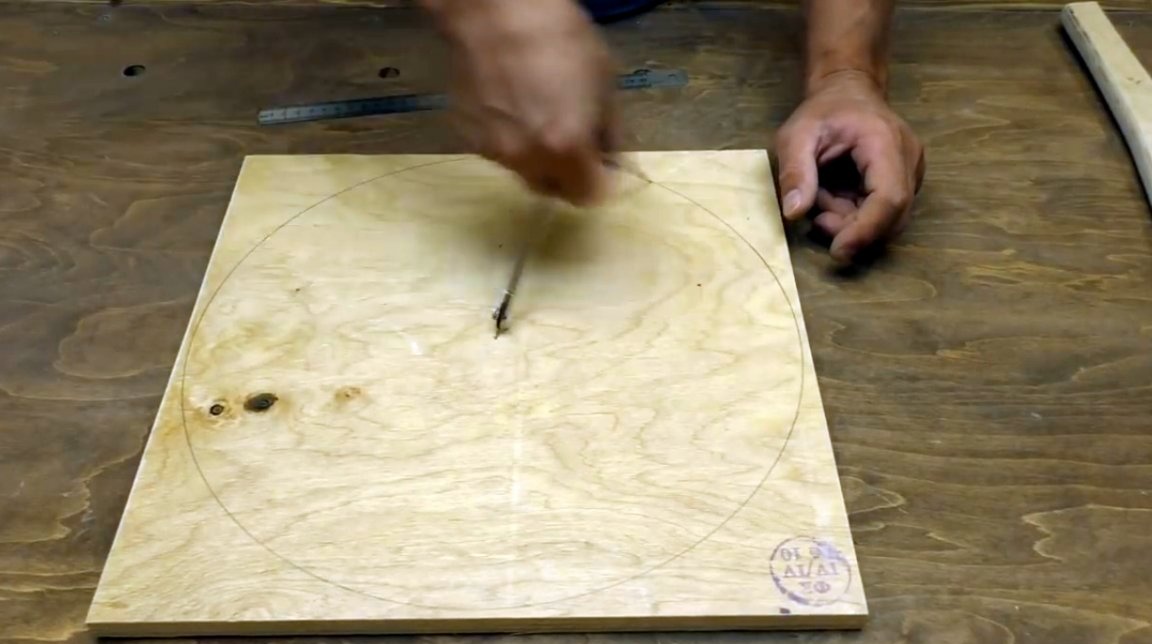
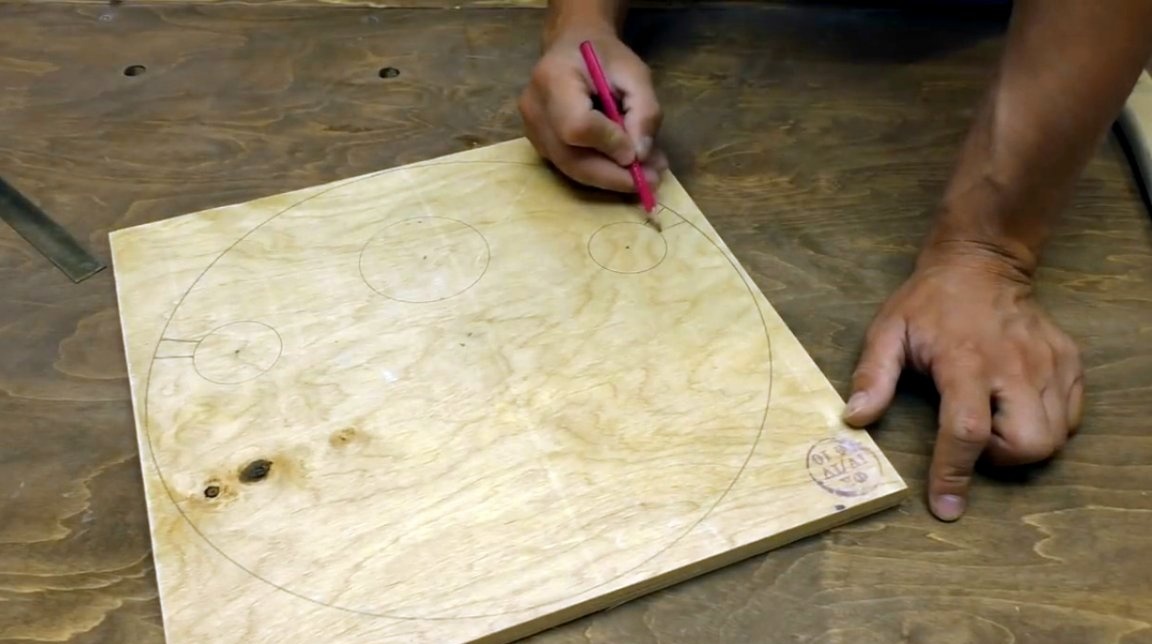
Then the author drew a drawing of the rack for the table.
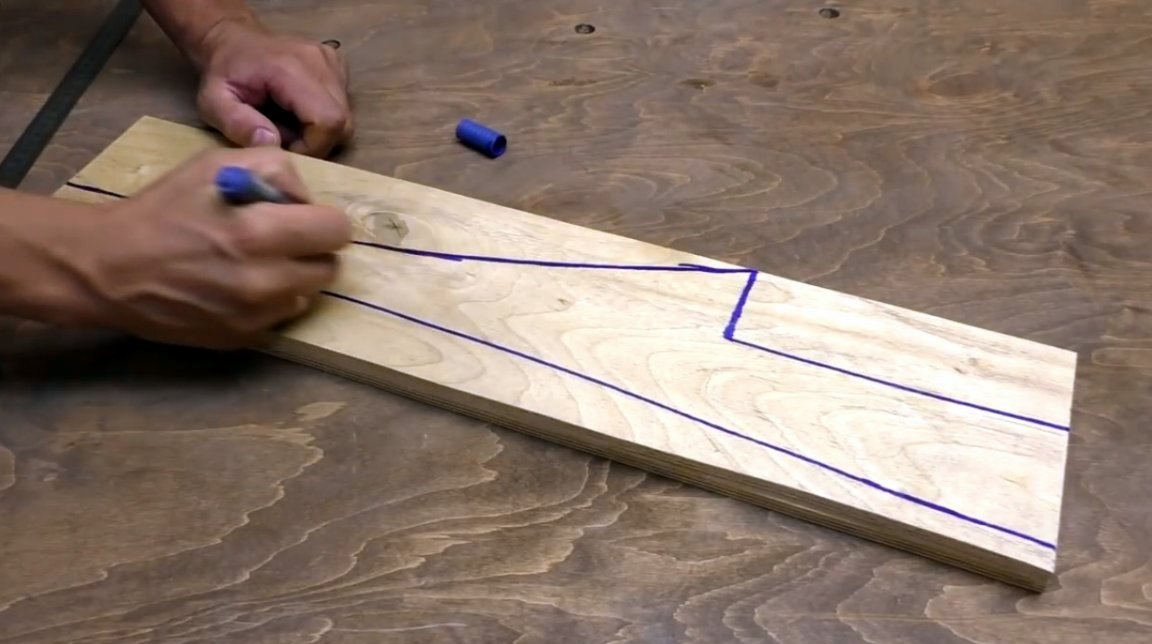
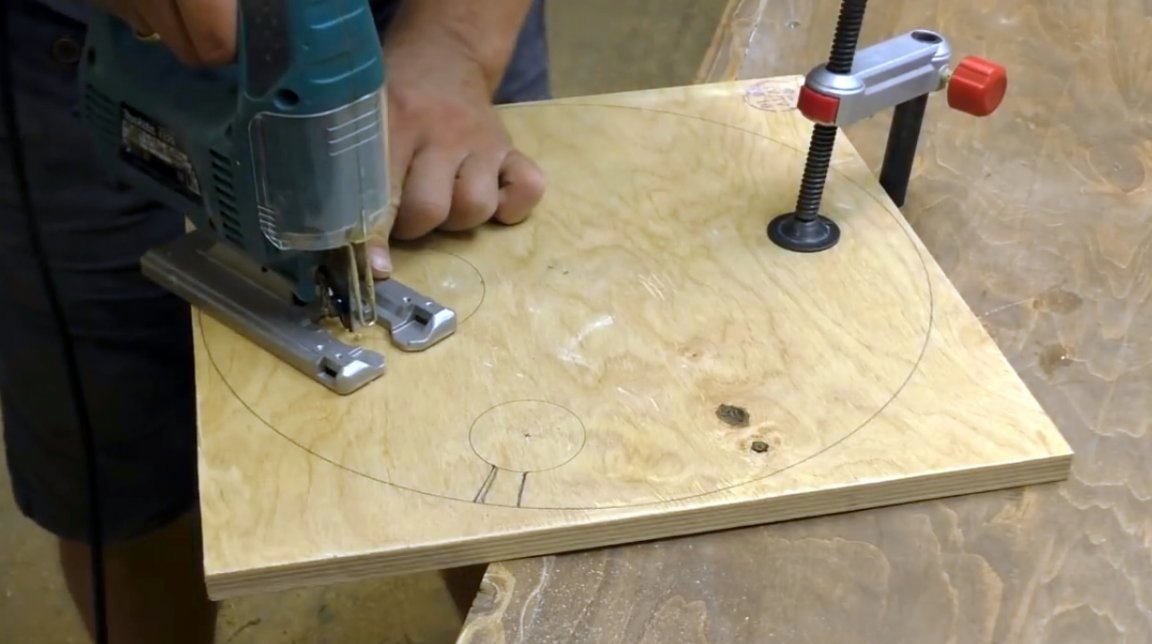
Drilled an inlet for a jigsaw blade.

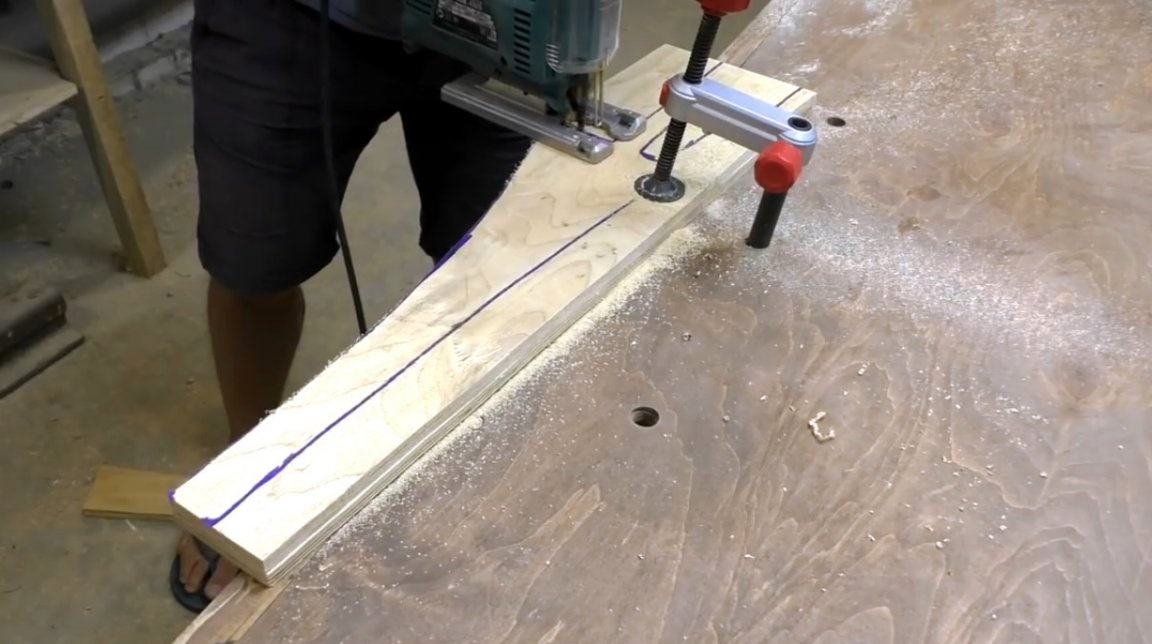
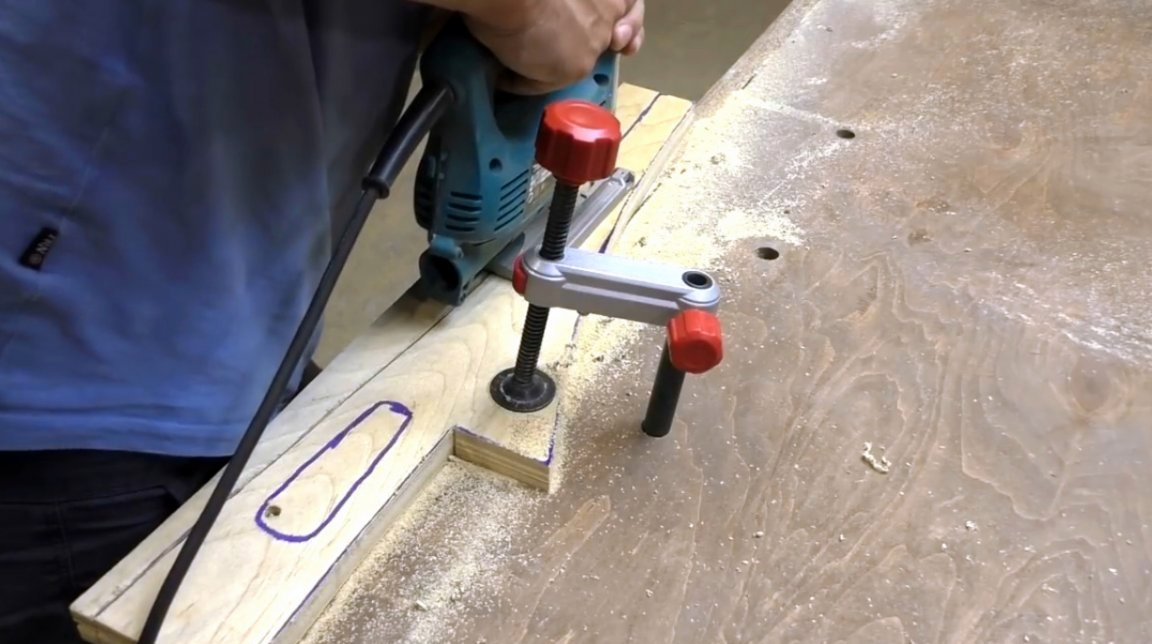
He fixed the workpiece on a workbench, and cut it out with an electric jigsaw.
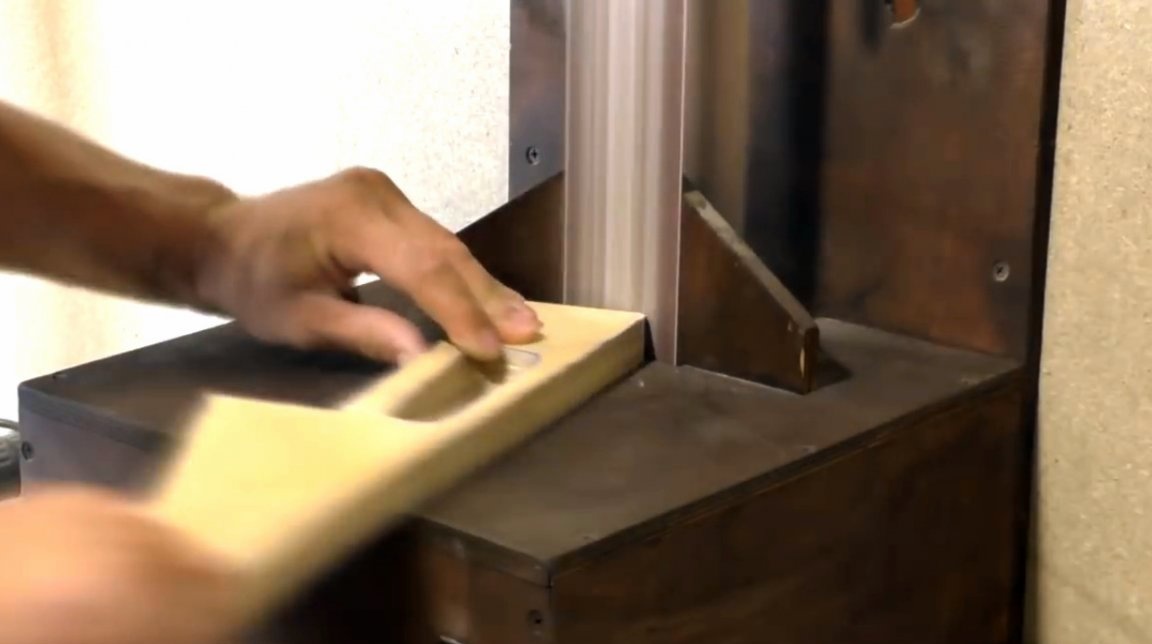
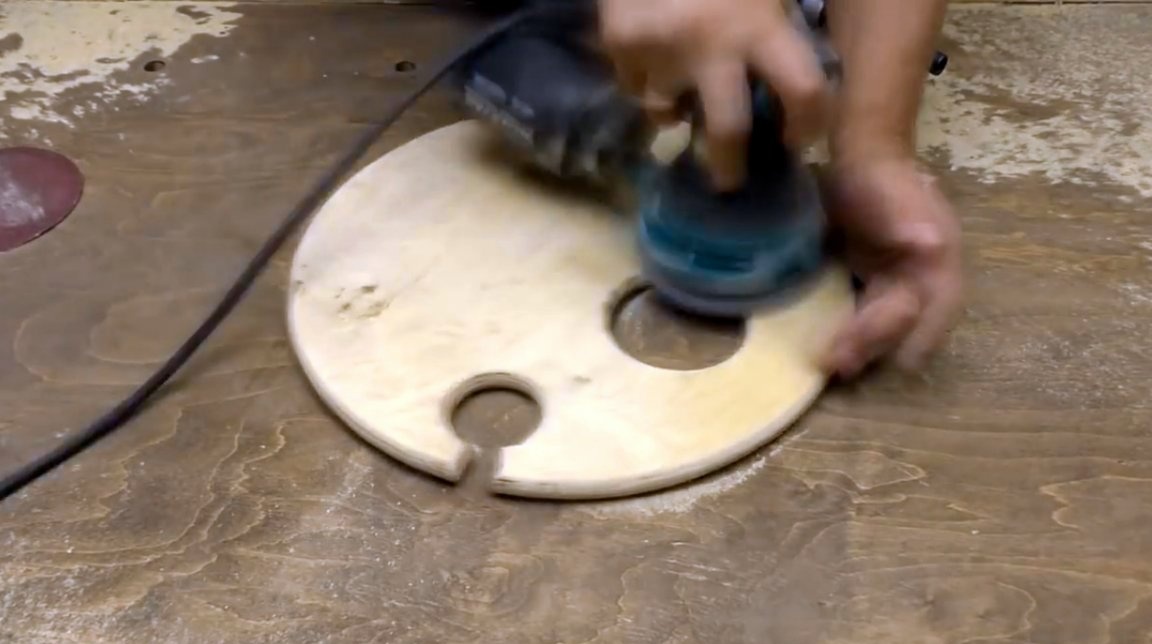
The burrs are cleaned with sandpaper, and the corners are machined on a grinder.

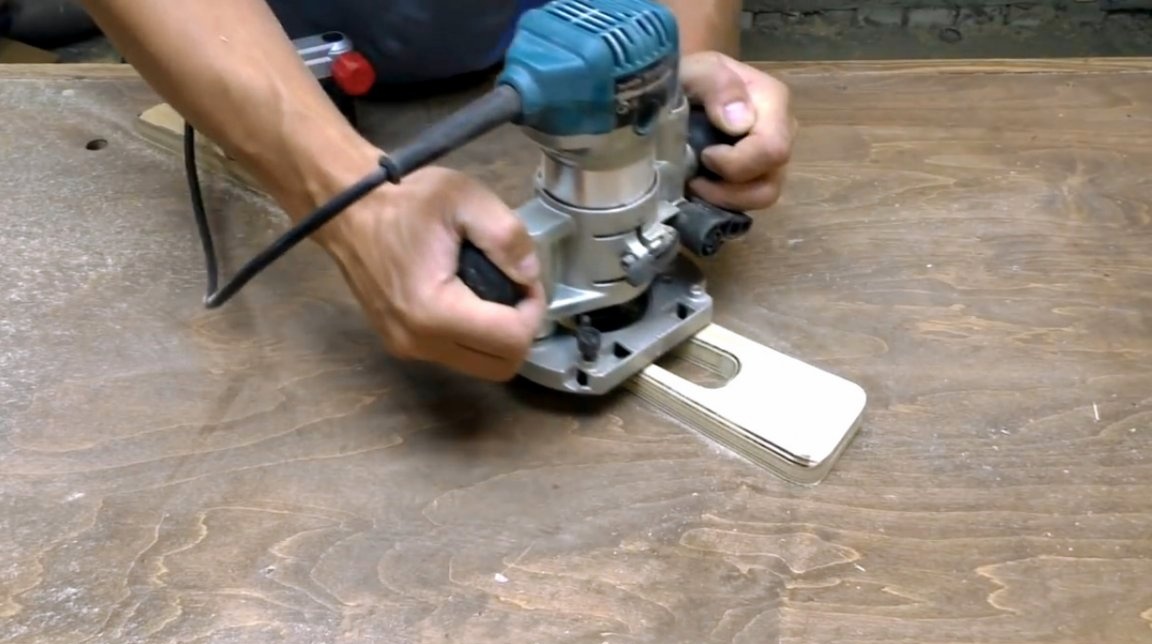
Now all faces are machined by a radius mill with a thrust bearing.

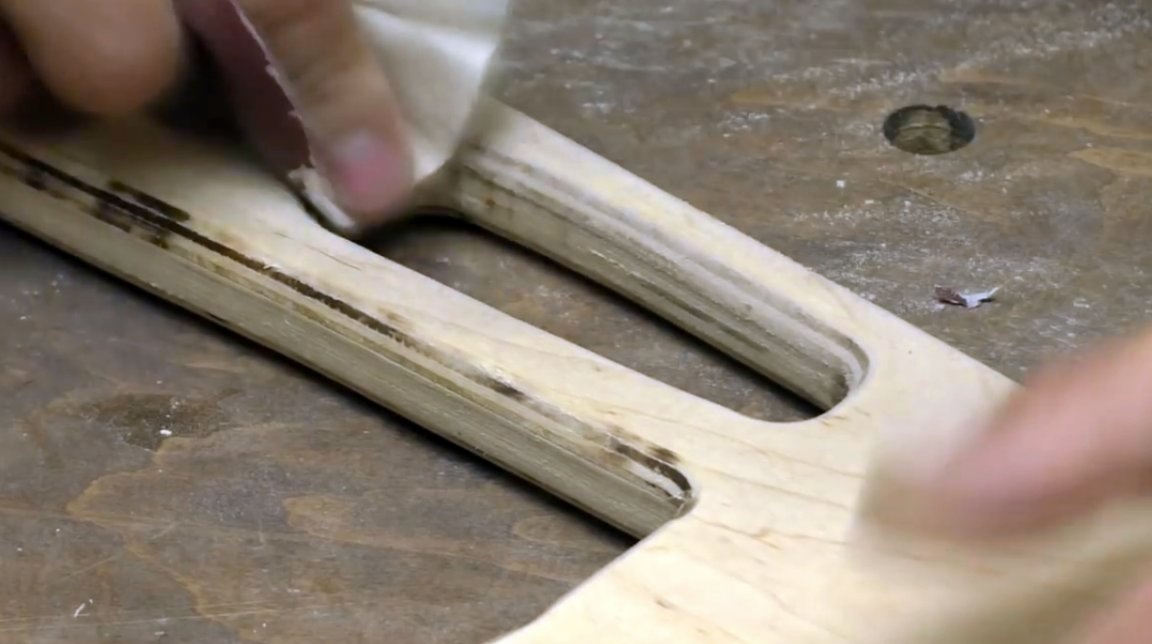
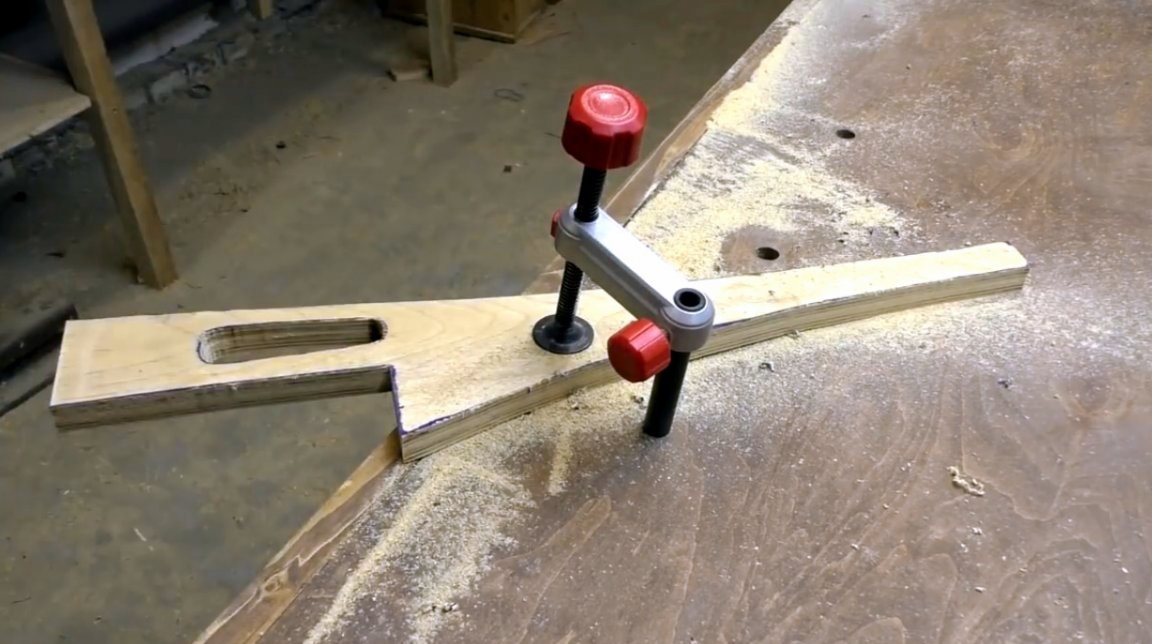
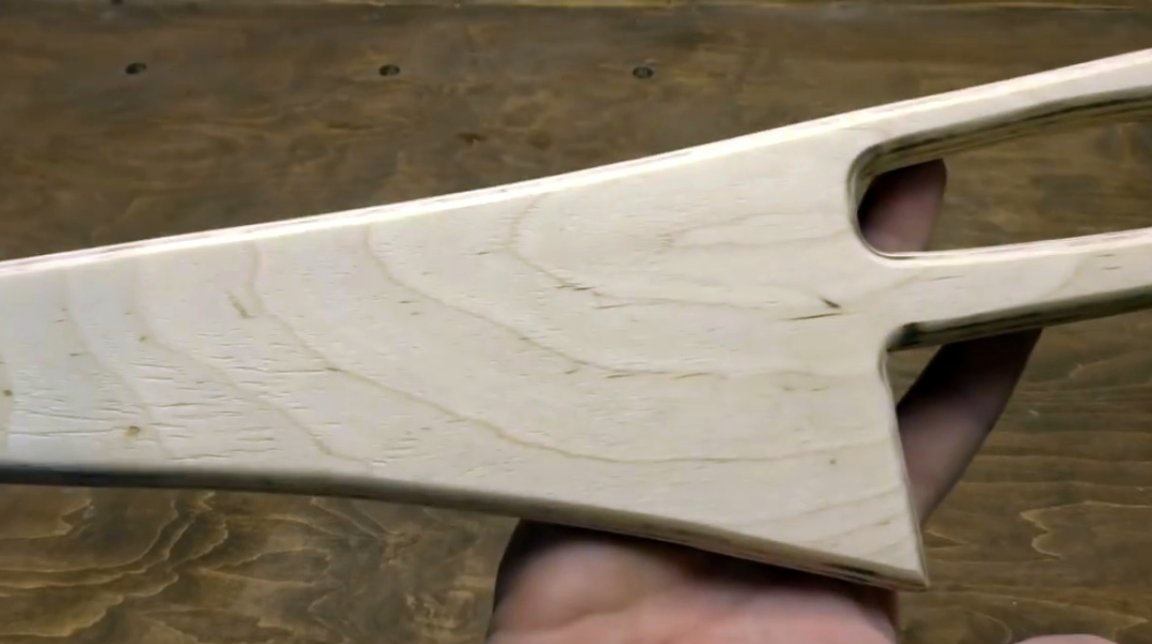
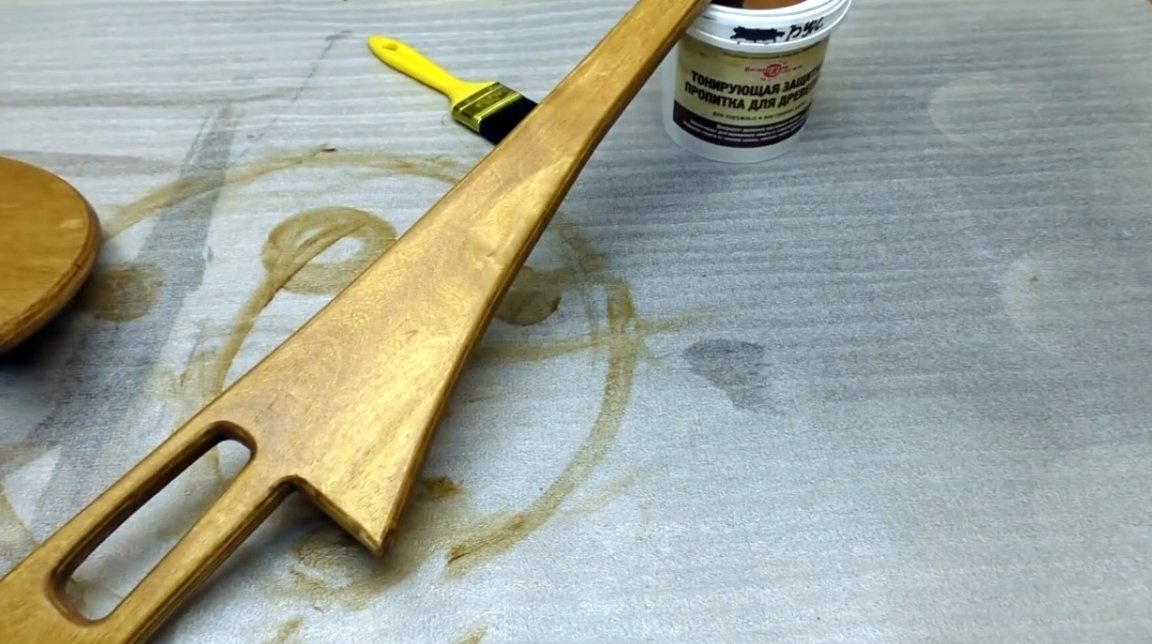
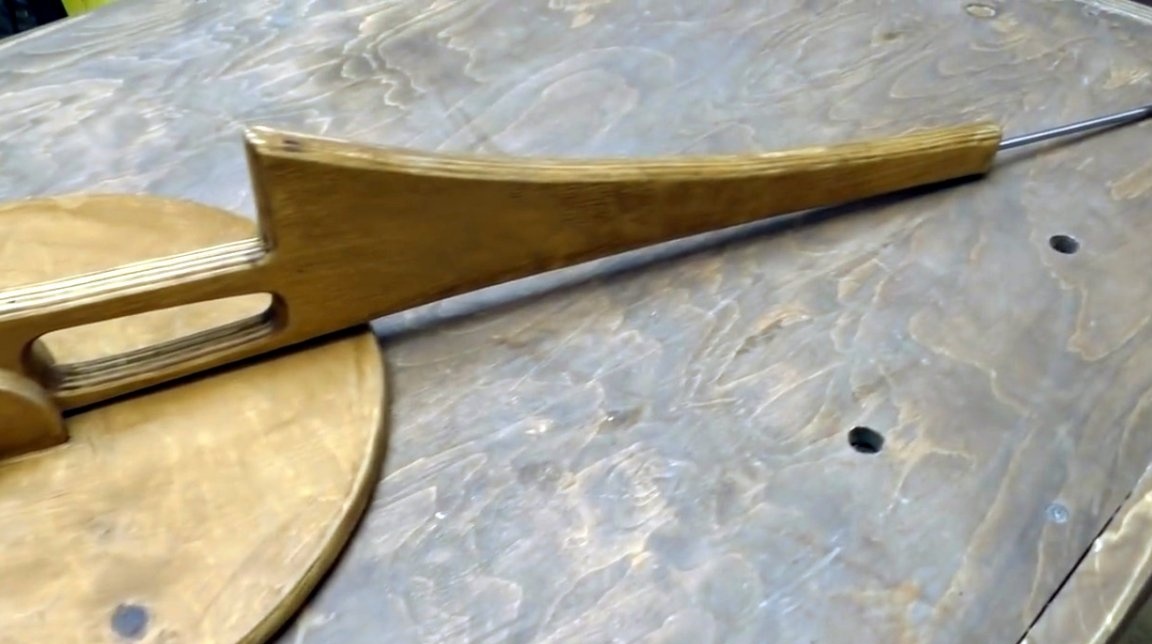
Here's a blank for the rack turned out.
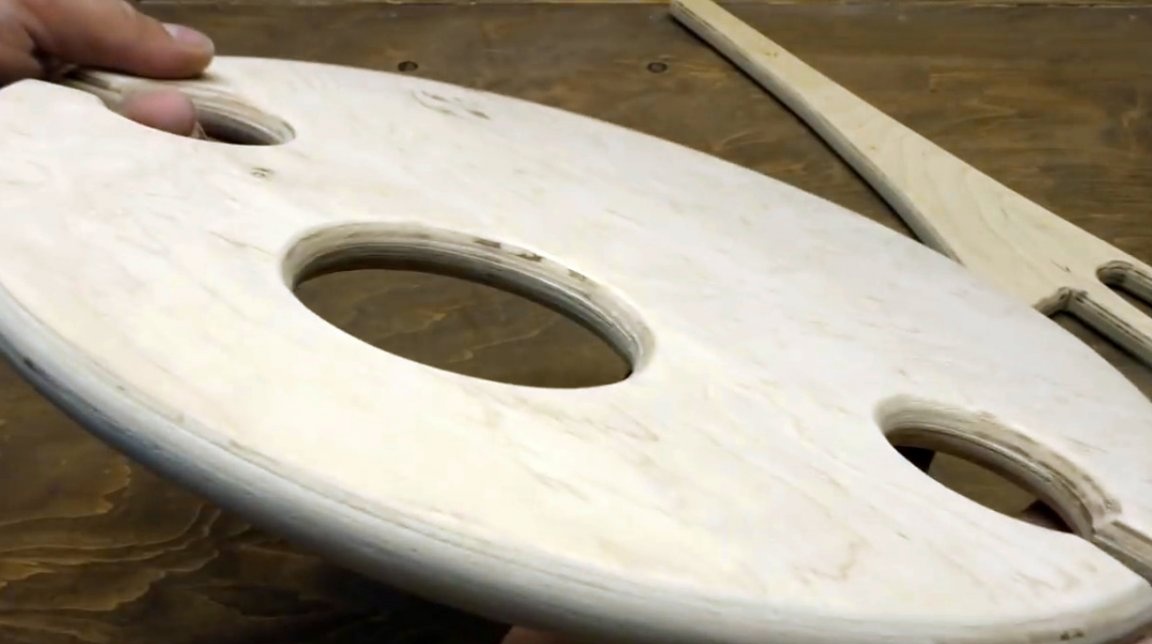
The next step, the master marks the future countertop.
Saws the workpiece according to the drawing, and processes the faces with a milling cutter.


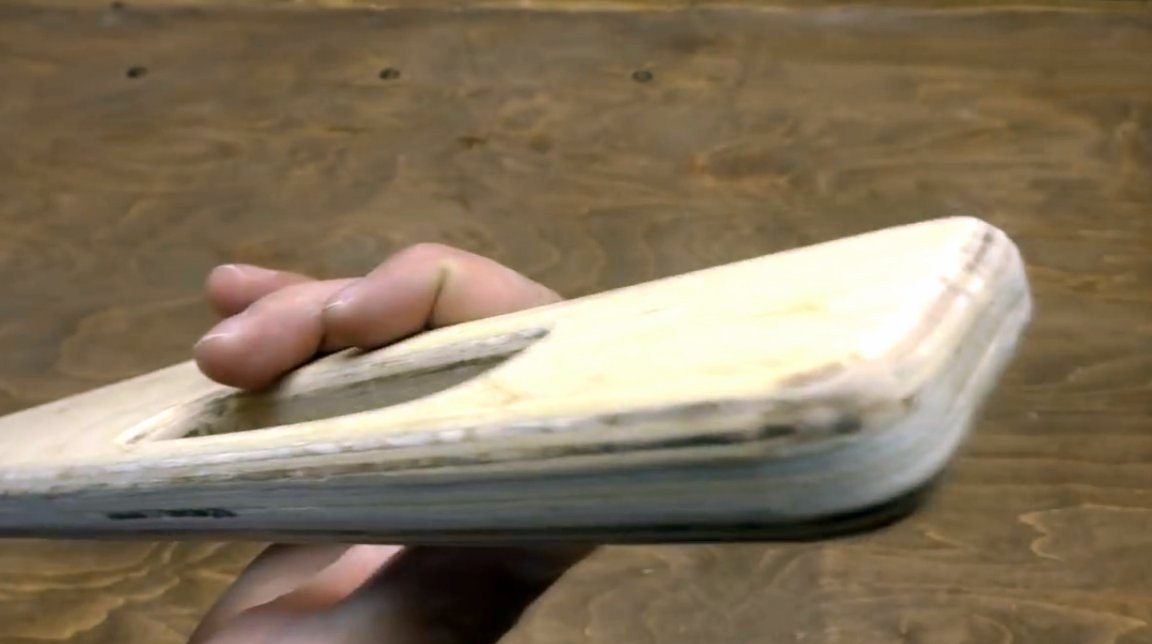
After polishing with an orbital machine, the countertop looks like this.
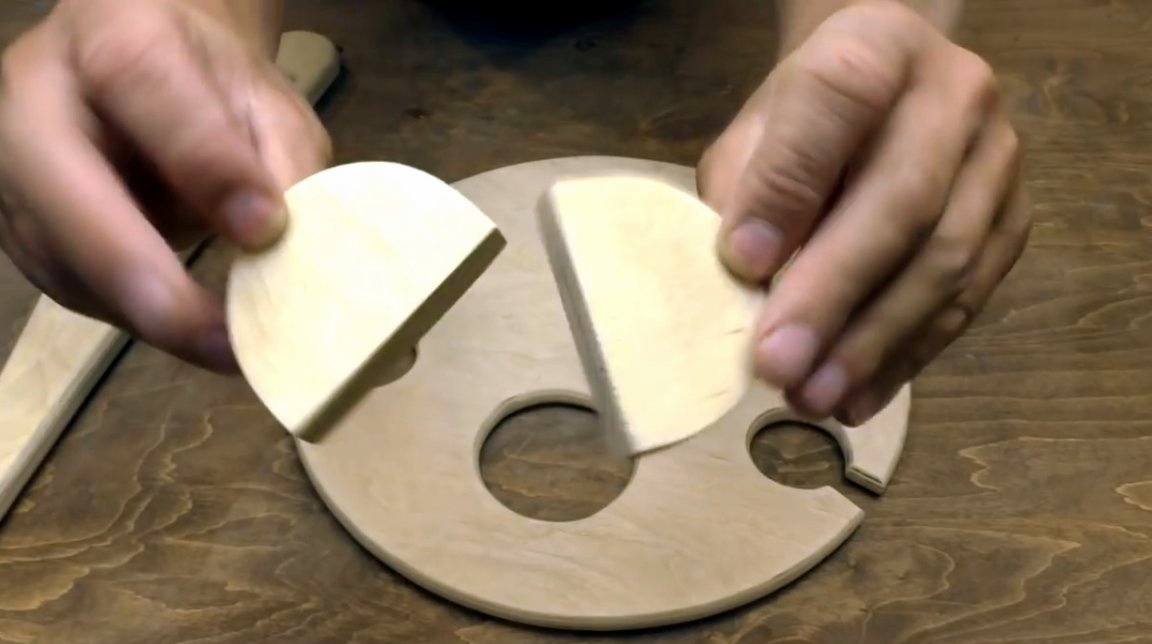
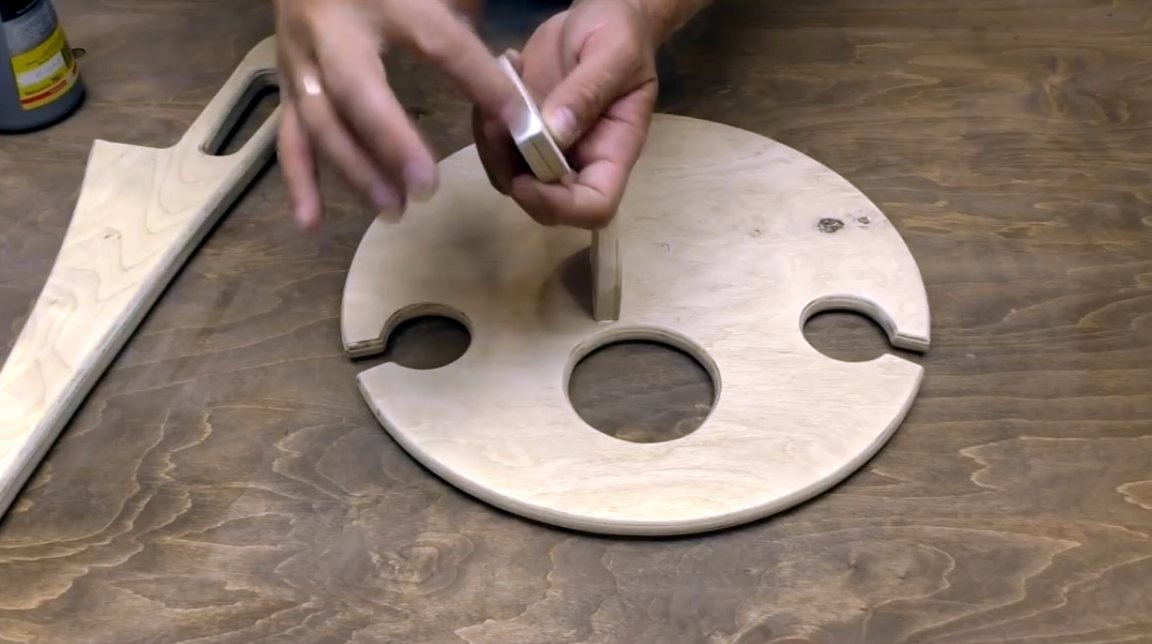
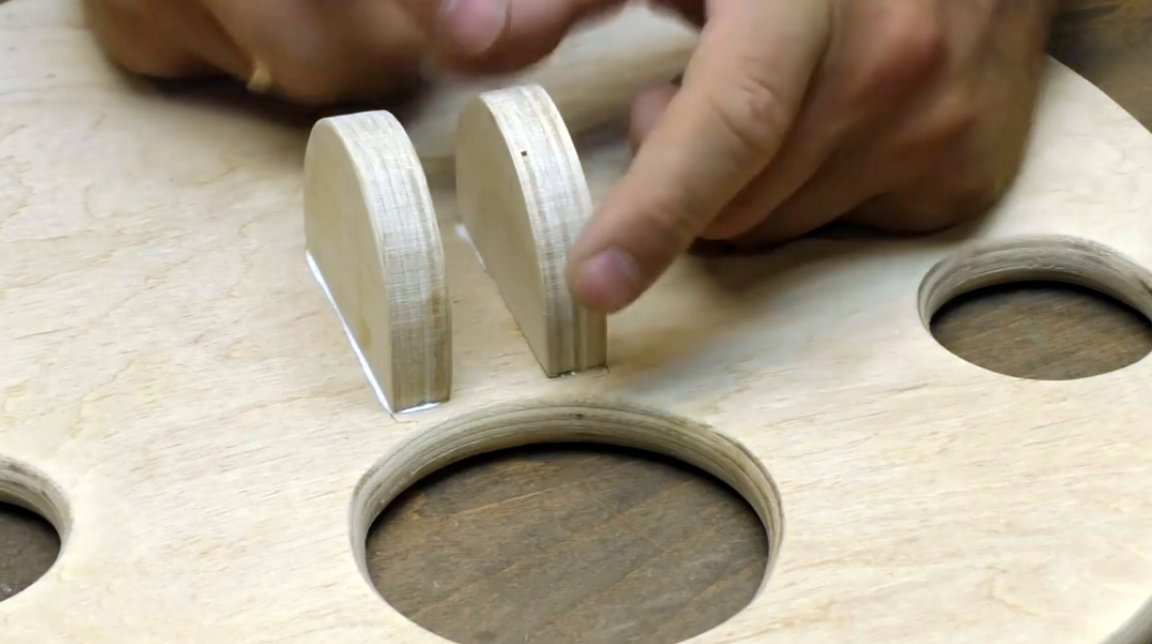
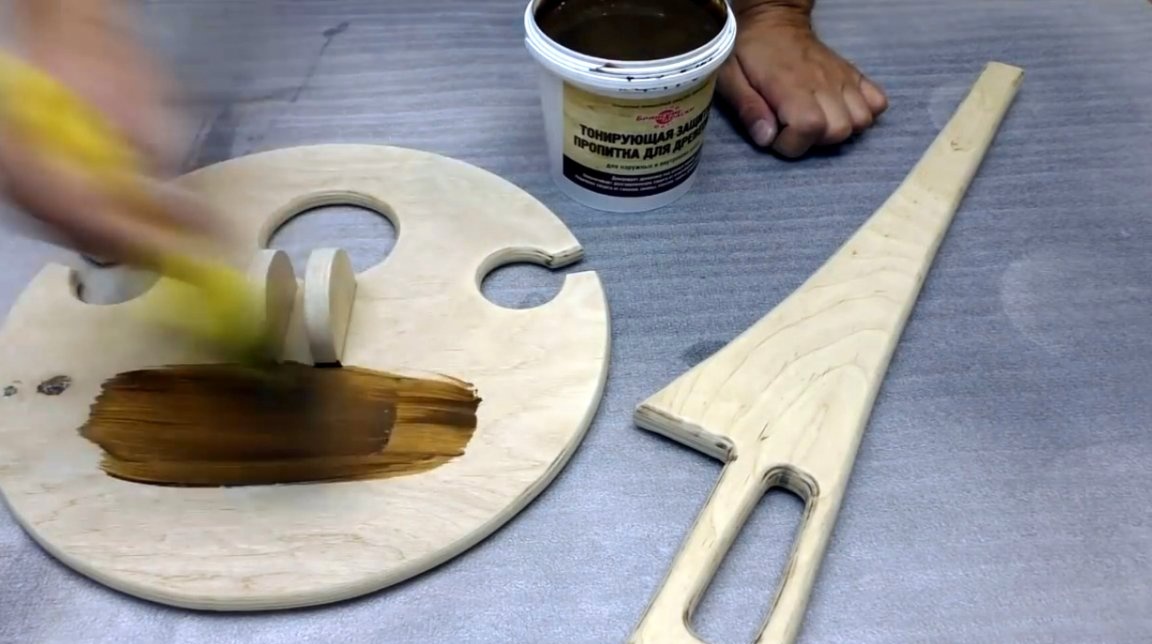
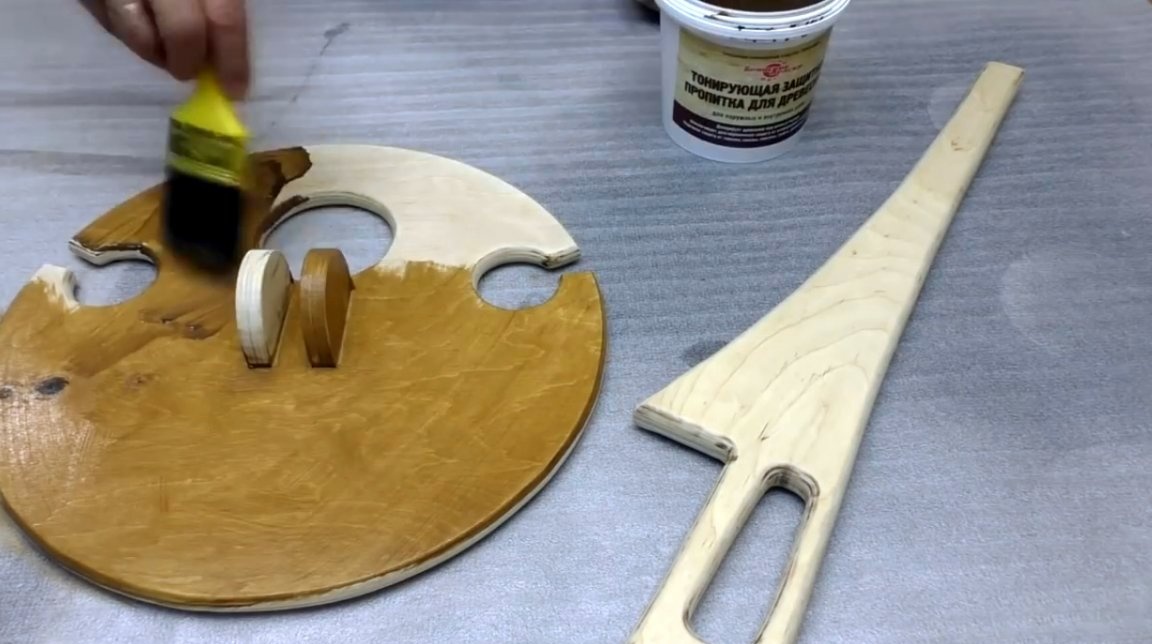
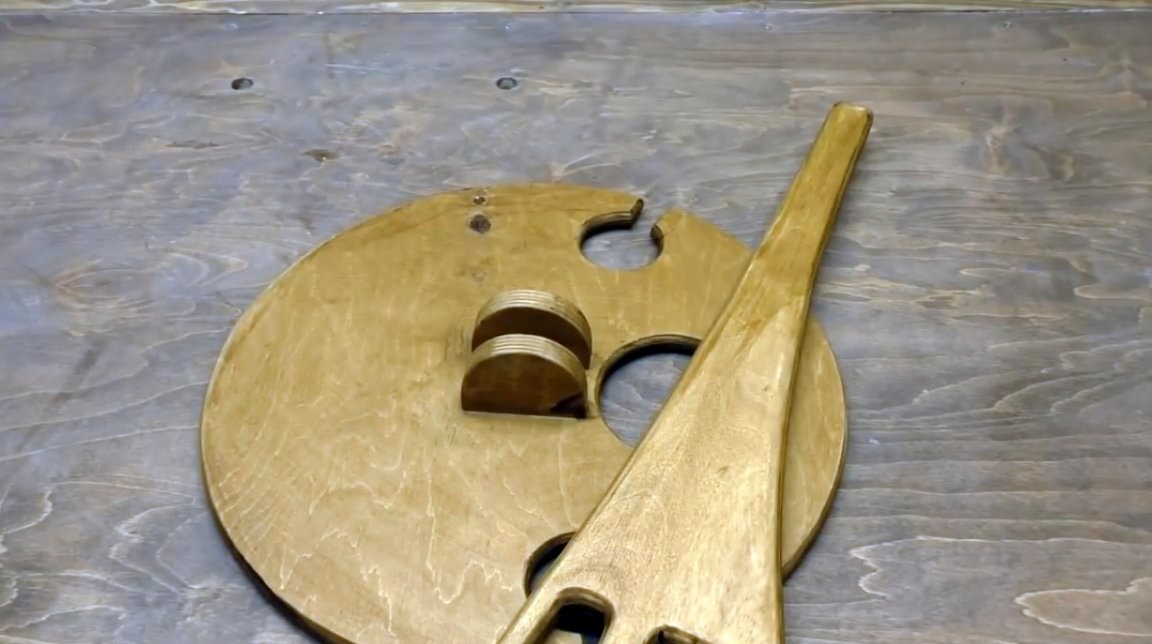
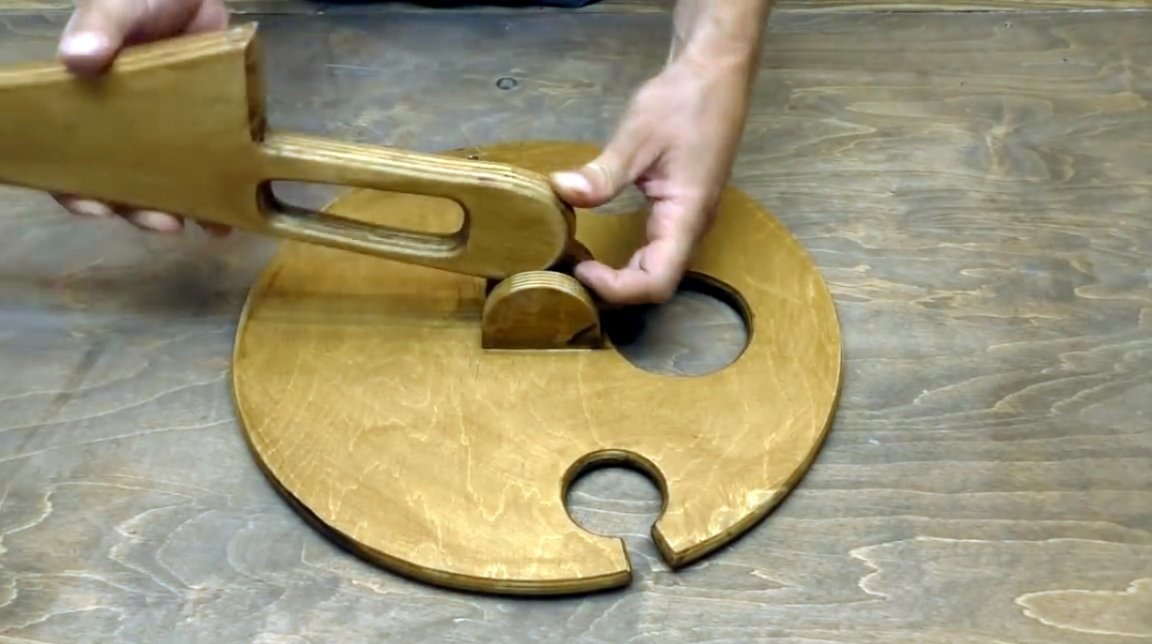
In the center, from the bottom of the countertop, the master glues a pair of blanks for the hinge.
All parts are ready to be coated with protective impregnation for wood. It is advisable to apply a layer of varnish or wax on top.
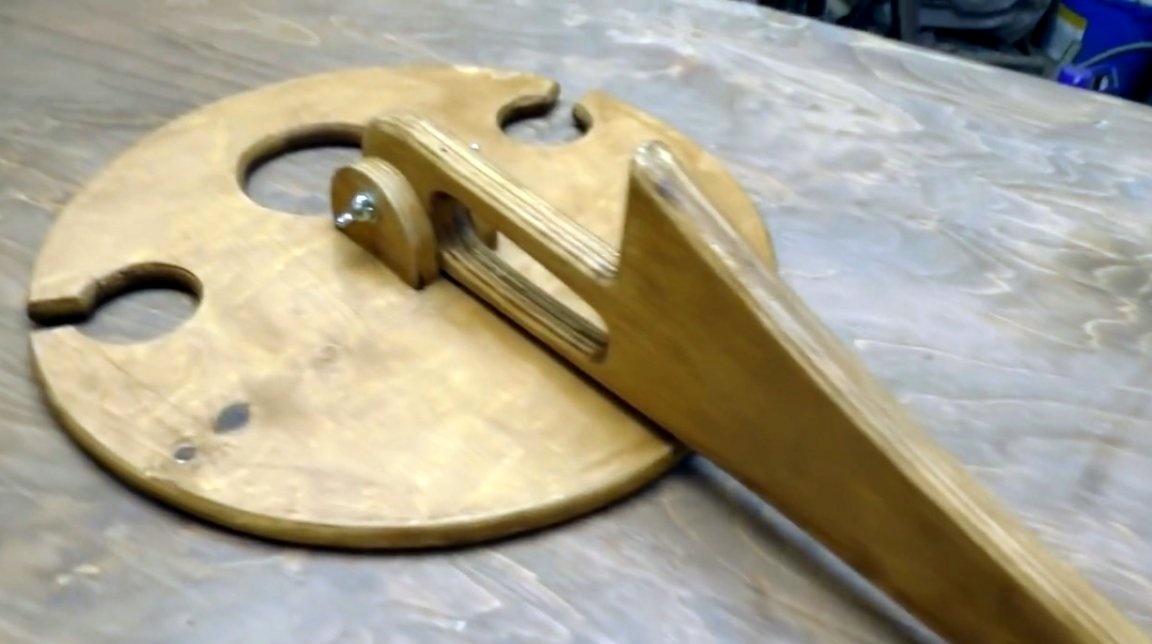
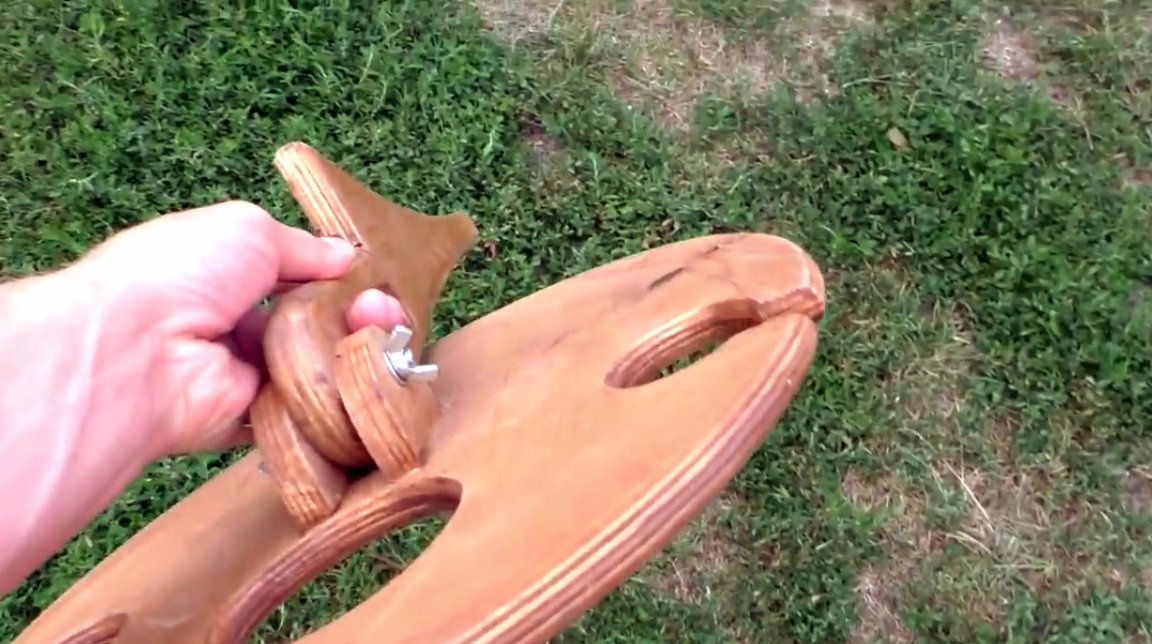
Installs the rack in a swivel, and drills a hole for the clamping device.
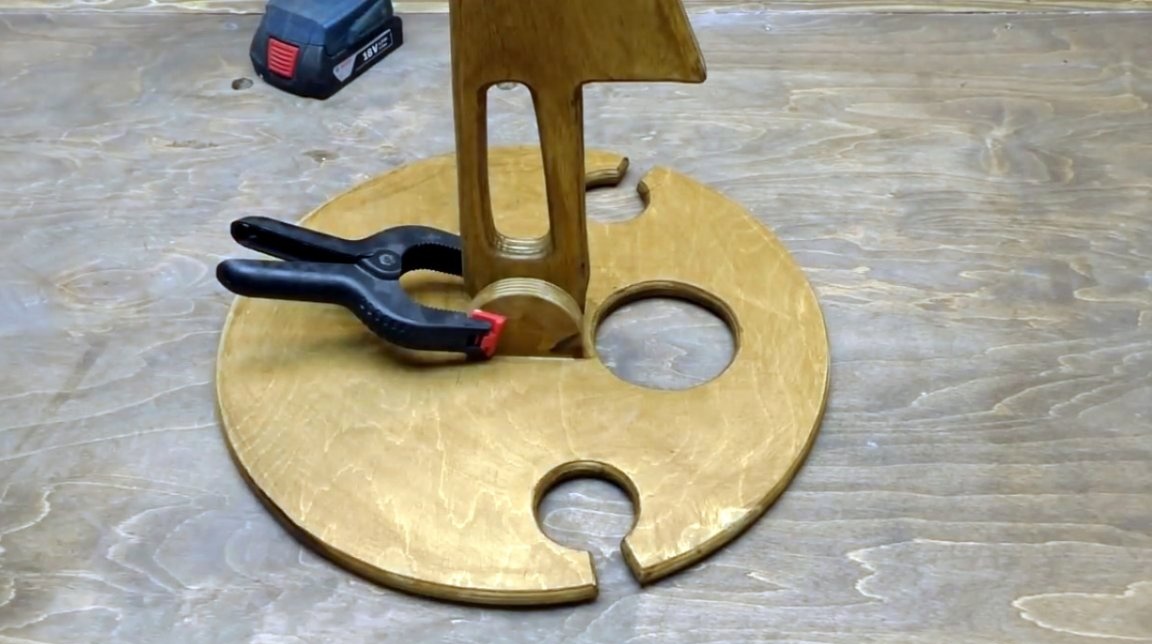

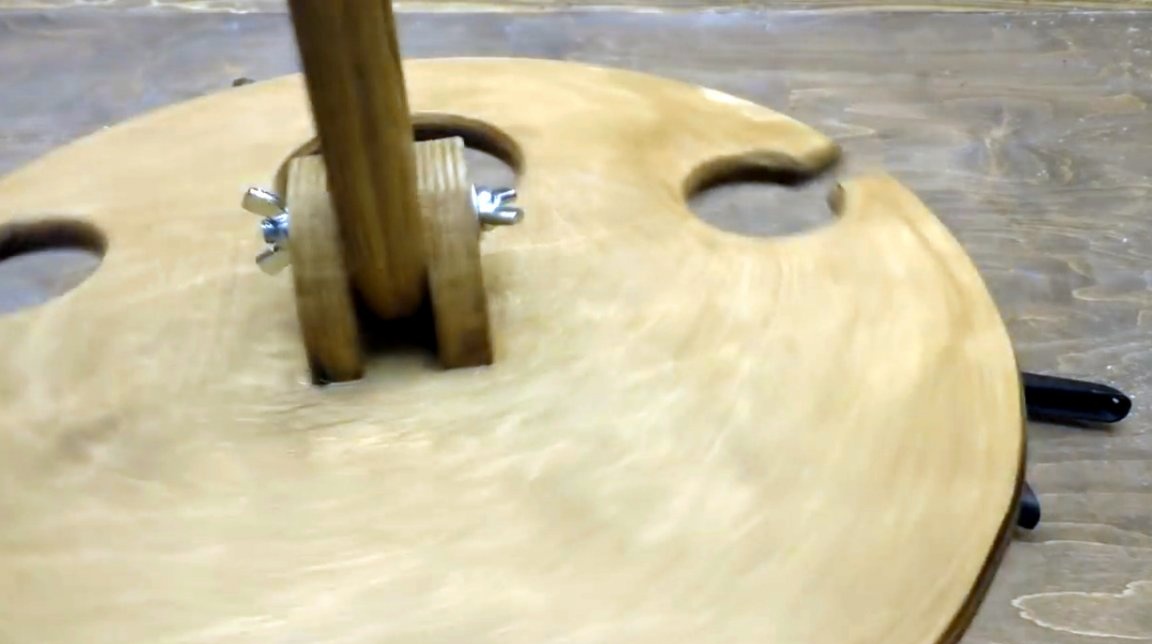
The clamp itself is assembled from an M8 stud, a pair of washers and wing nuts.

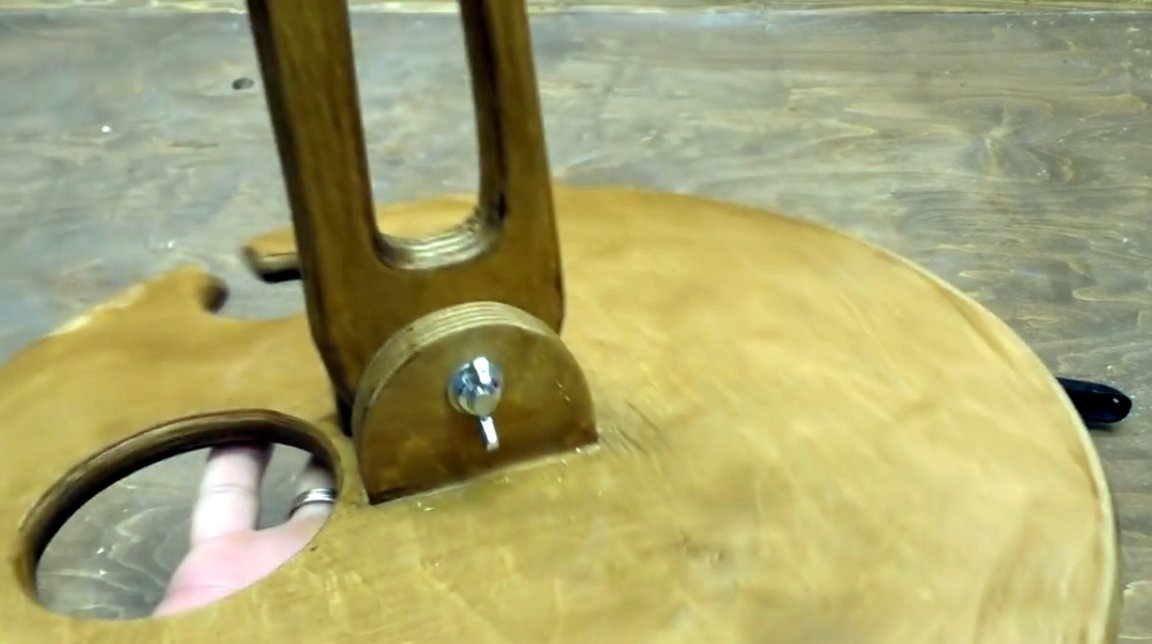
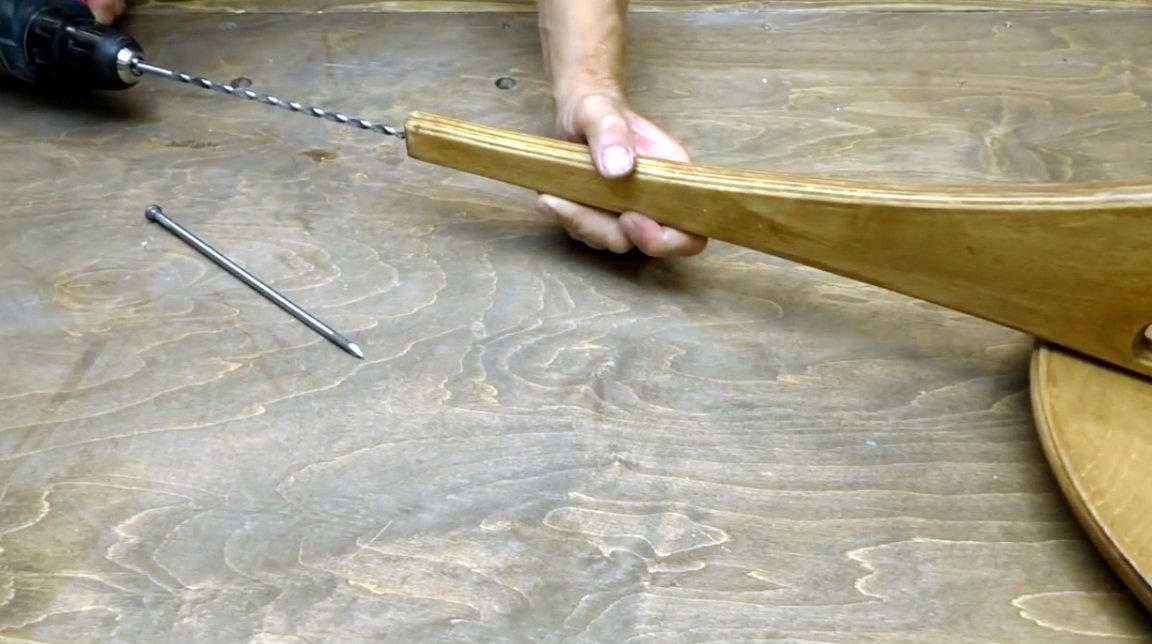
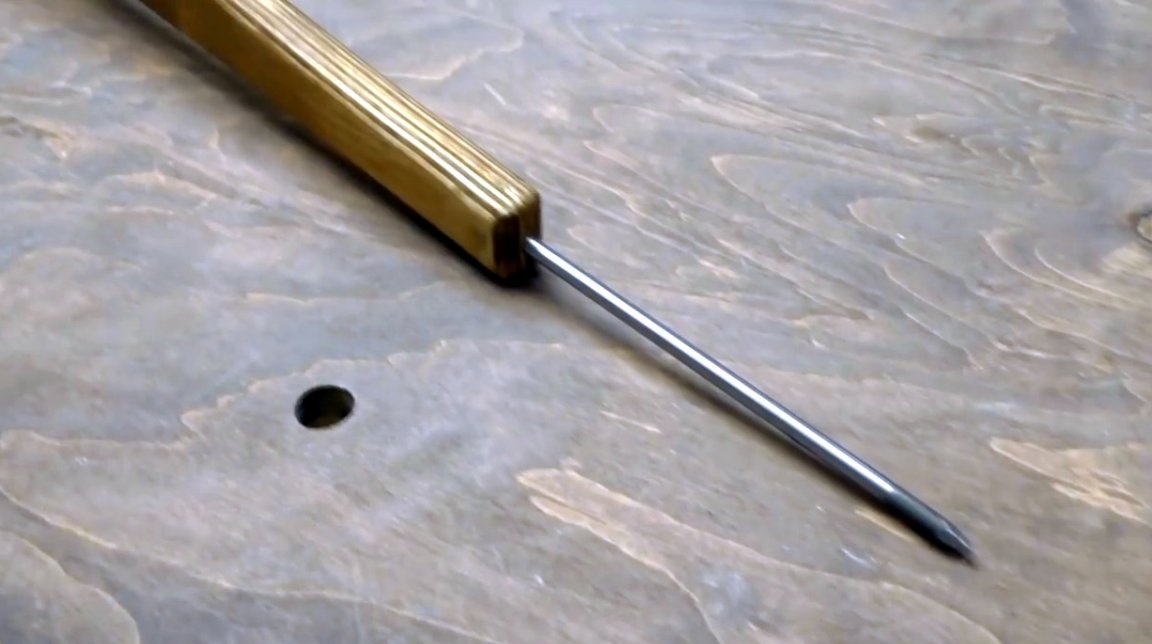
The author will use such a nail as a pin. He needs to trim the hat.

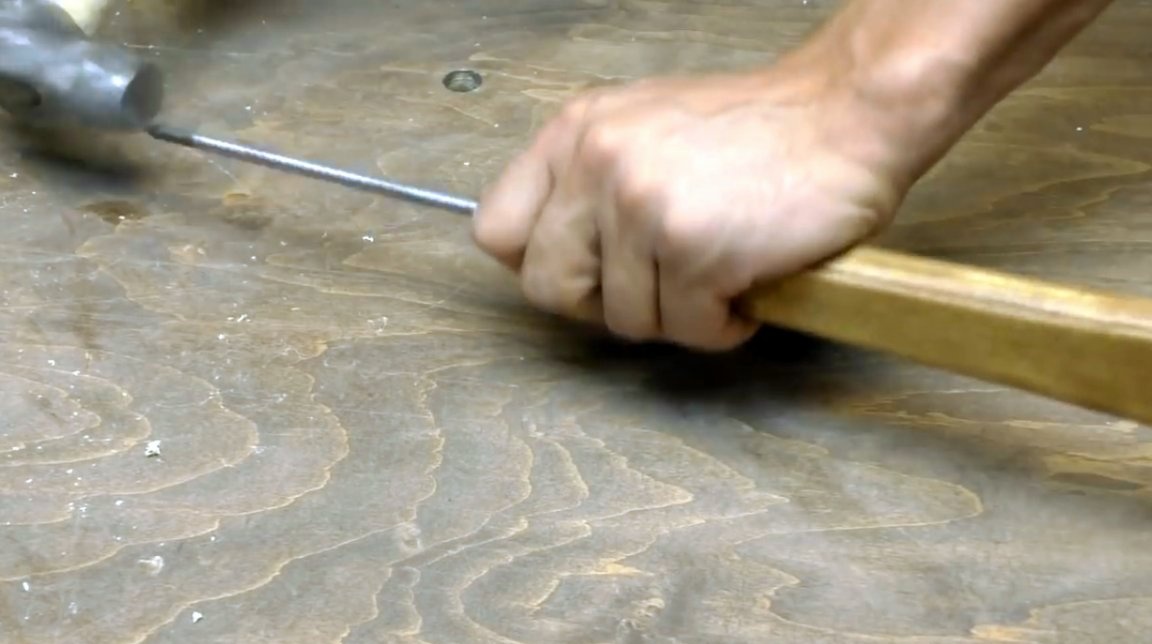
Drills a hole in the bottom of the rack, and hammer a nail into it.
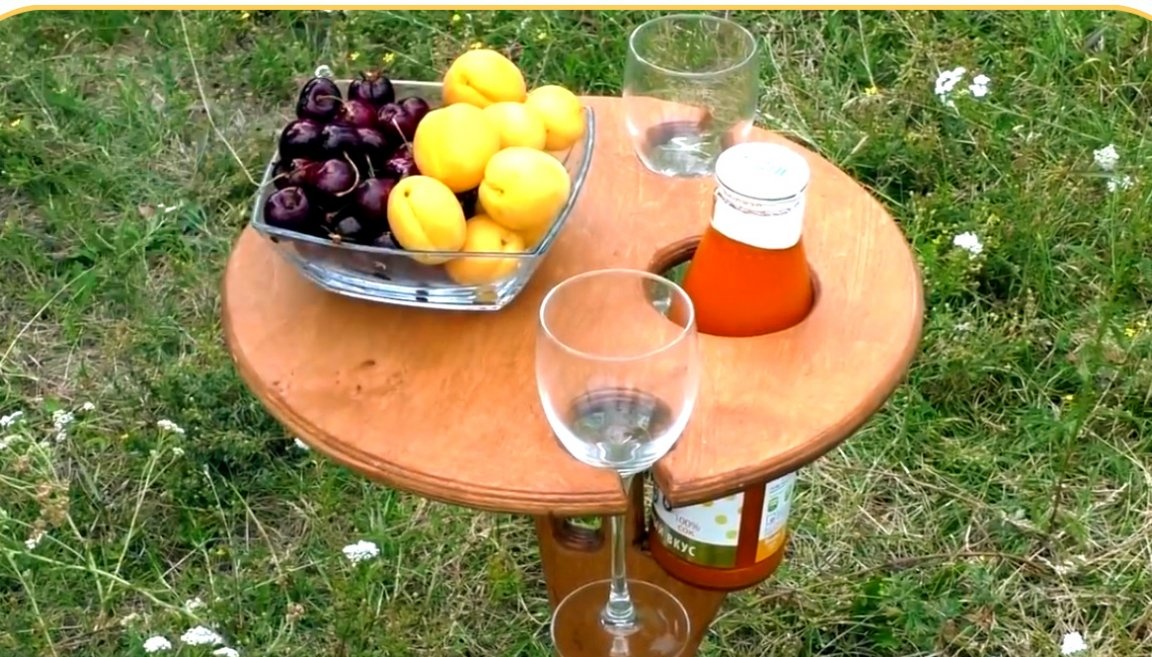
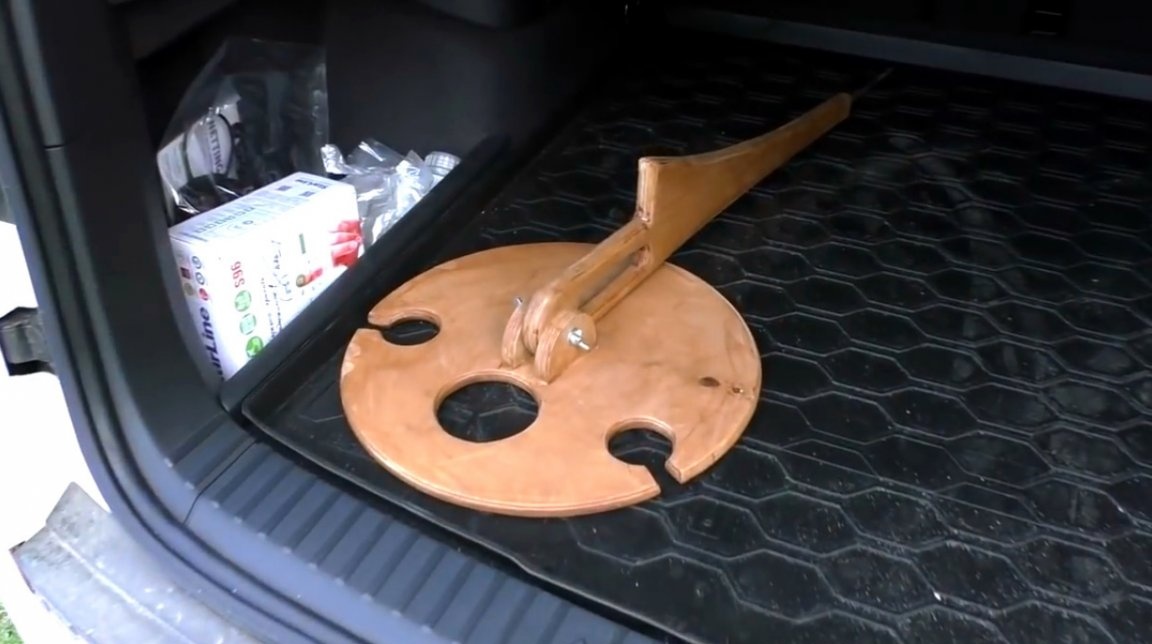
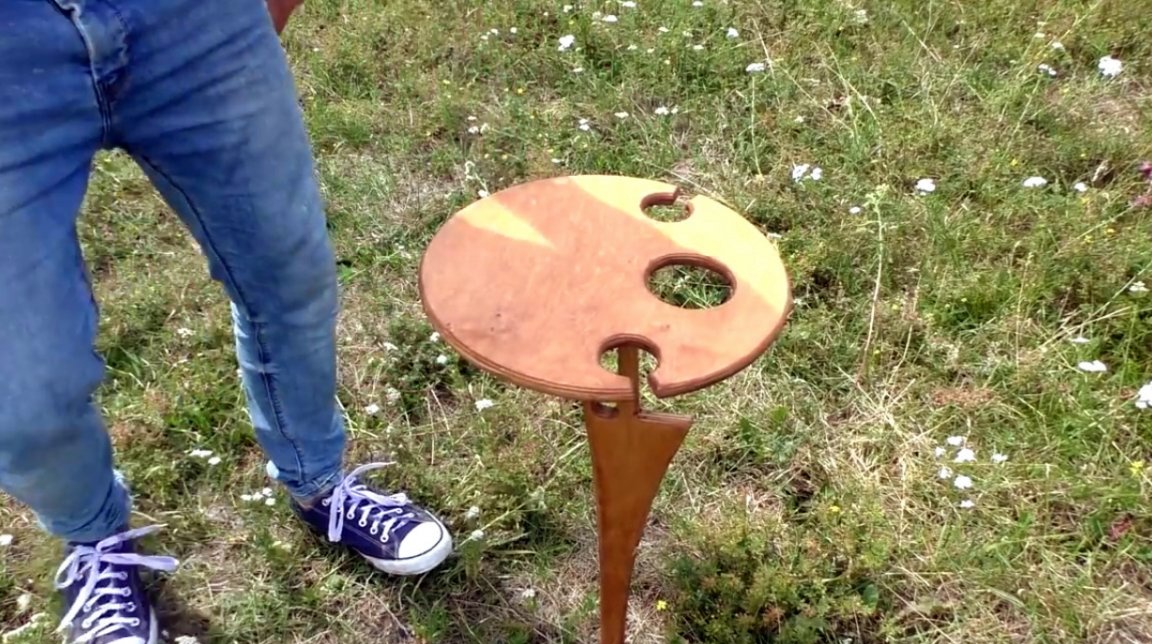
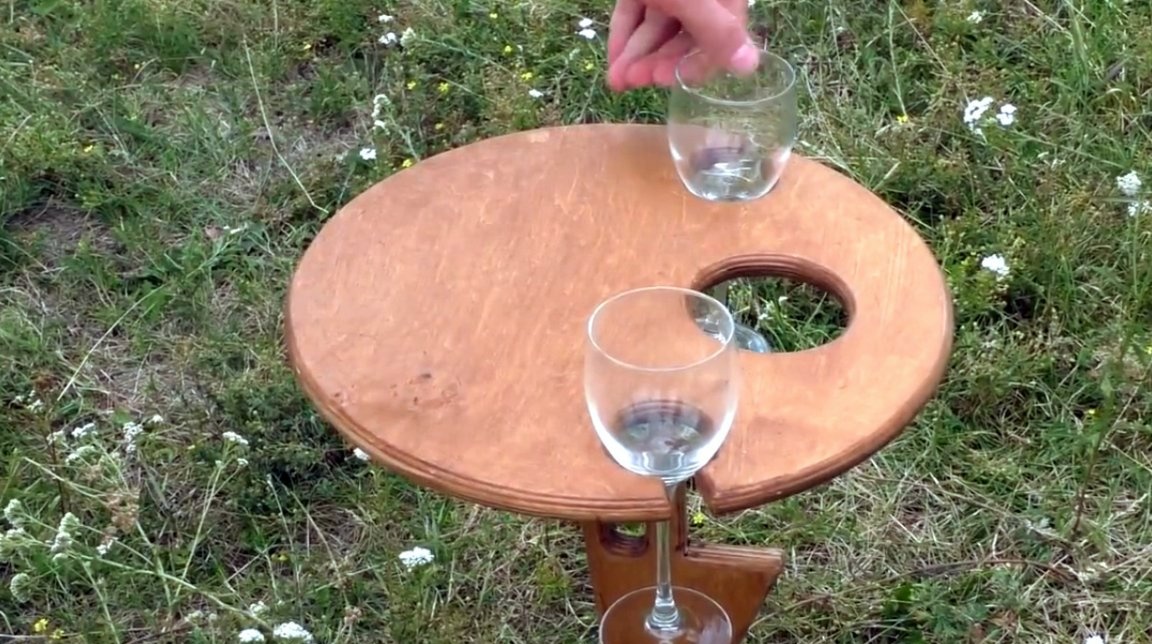
Here's a table.
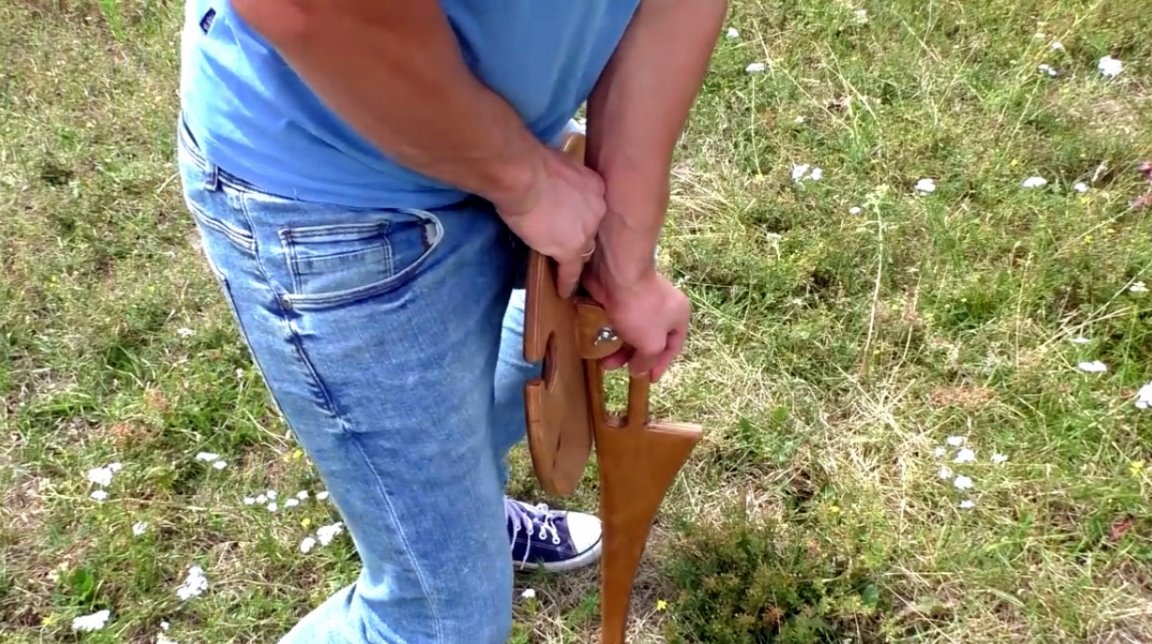
And now some field trials. In the trunk, the table fits without problems, without even disconnecting the rack. Quickly installs and opens.The master made the table in a small children's version, but it would not be difficult to increase the size of the table for his tasks. The only thing that will need to be changed in a large version is to replace the pin with an aluminum corner. And in the "children's" version, the corner will be more reliable to hold the table in the ground.

In a recent article, the master made folding chair. He is very suitable for such a table.
Thanks to the author for the simple idea of a very interesting folding table!

All good mood, good luck, and interesting ideas!
Author video can be found here.