

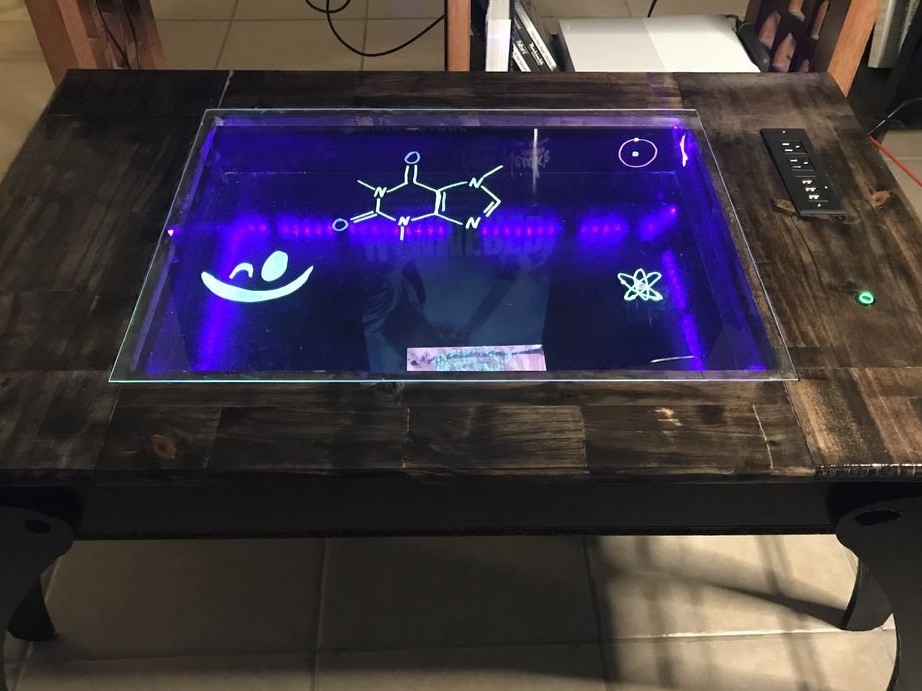
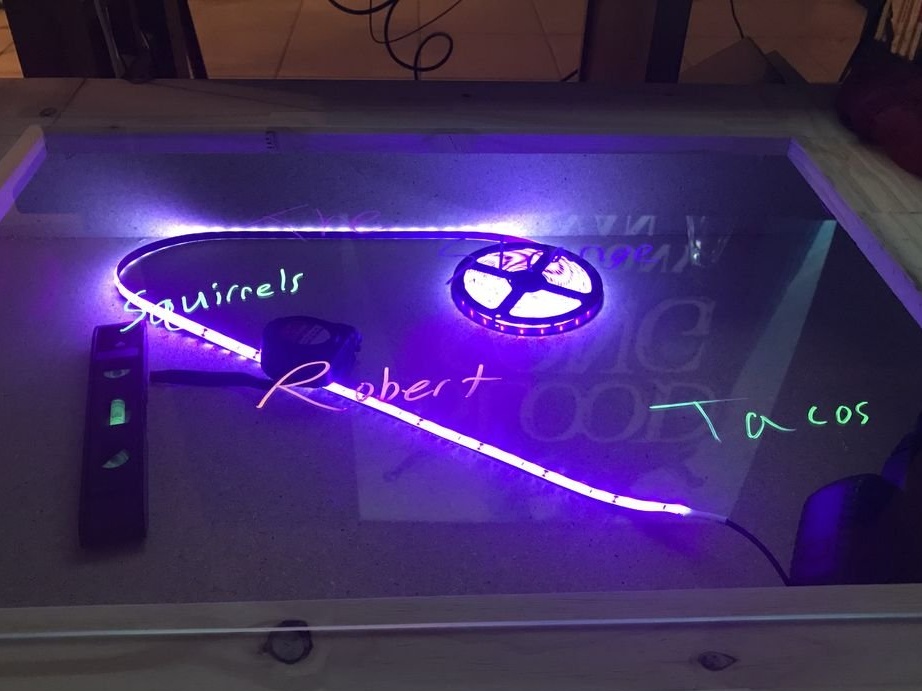
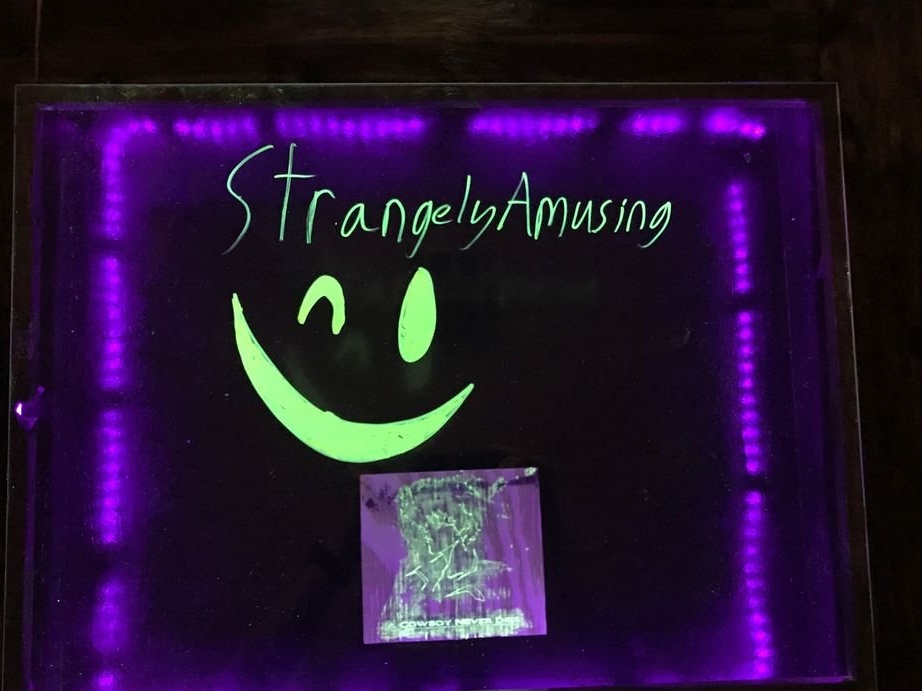
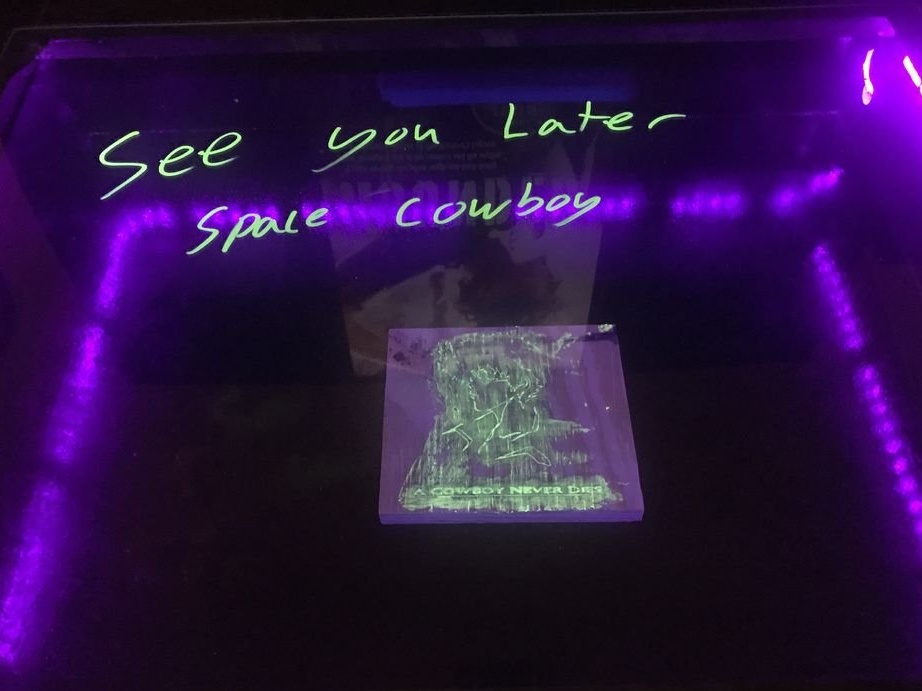
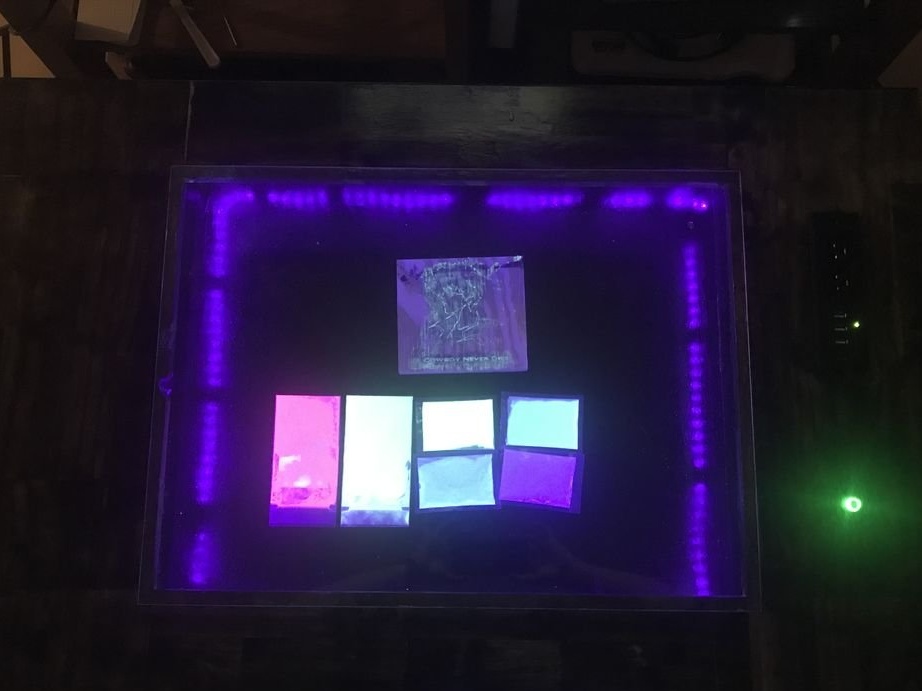
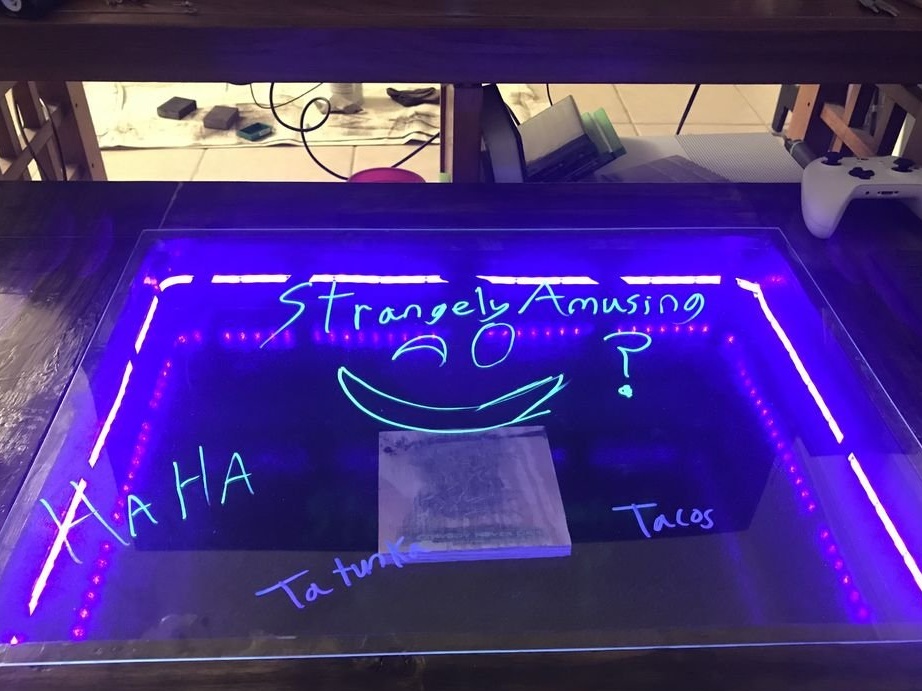
In this article, the Wizard will tell us how to make an unusual coffee table. This table is a lot of unusual, and the shape of the legs, and light display, and ultraviolet light. On such a table, you can draw with UV ink or phosphorescent paint and this gives the drawing an unusual effect.
Tools and materials:
-Drill;
Milling cutter;
-Computer with software;
-Soldering accessories;
- Clamps;
- Joiner's glue;
-Fasteners;
- Loops;
- dowels;
-Conductor;
-Chisel;
-Hammer;
-Paint;
- Stain;
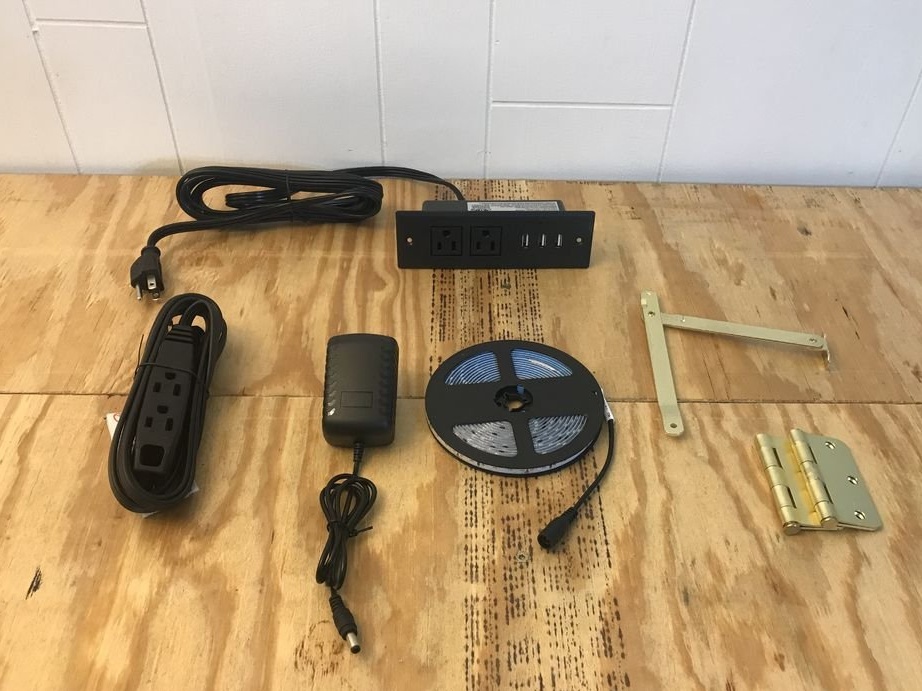
-Arduino;
-Bread board;
- Jumpers;
-DSP;
-Board;
-Switch;
-Socket;
- Tape with ultraviolet LEDs;
-Polyurethane coating;
- Power supply 12V 5A;
-Acrylic;
-Relay;
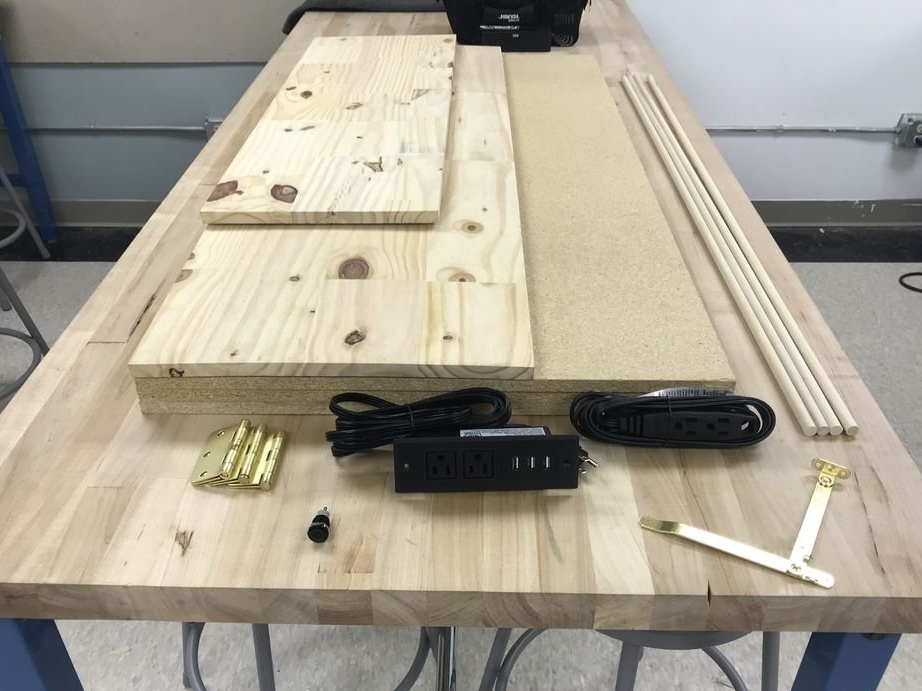
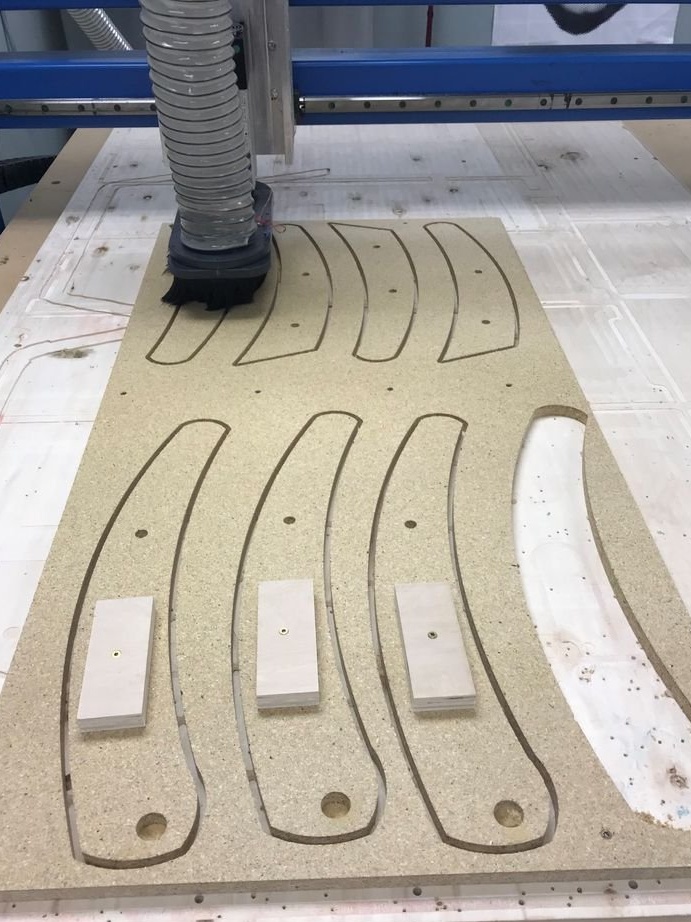
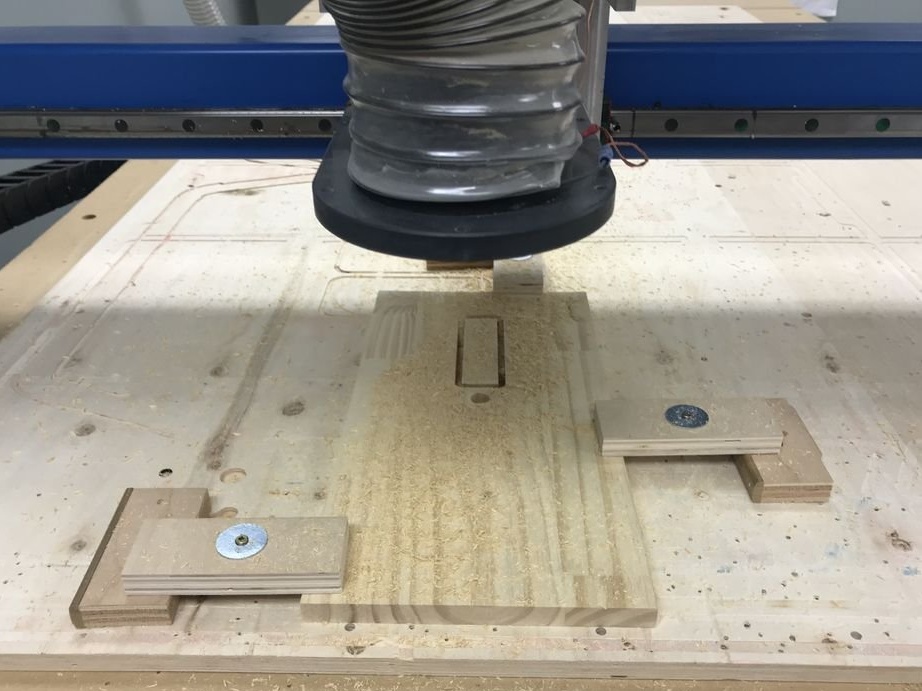
Step One: Material Procurement
From a chipboard the master cuts out (in centimeters): 60.96 * 96.52 -1 pc, 11.43 * 60.96 - 2 pc, 11.43 * 93.34 - 2 pc, 11.43 * 57.78 - 2 pcs. Also cuts legs out of chipboard, the master does not indicate the size of the legs.
From a board cuts out: 21.59 * 43.18 - 2 pcs., 11.43 * 58.42 - 2 pcs., 11.43 * 21.59 - 2 pcs.
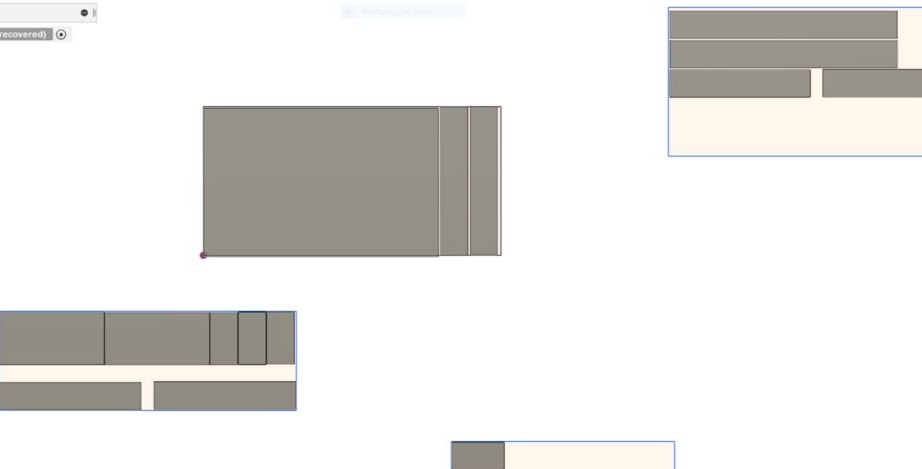
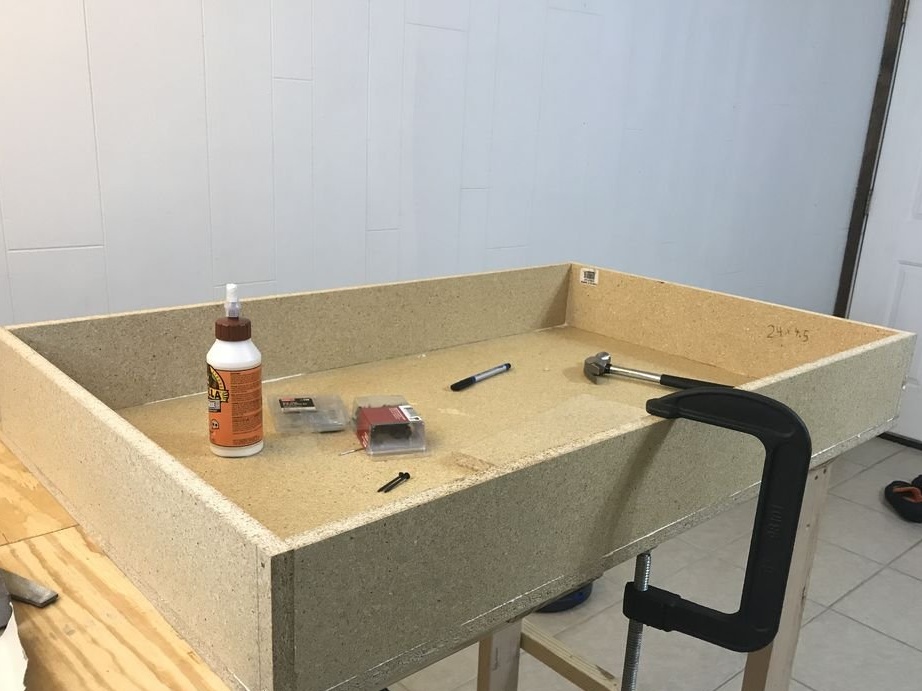
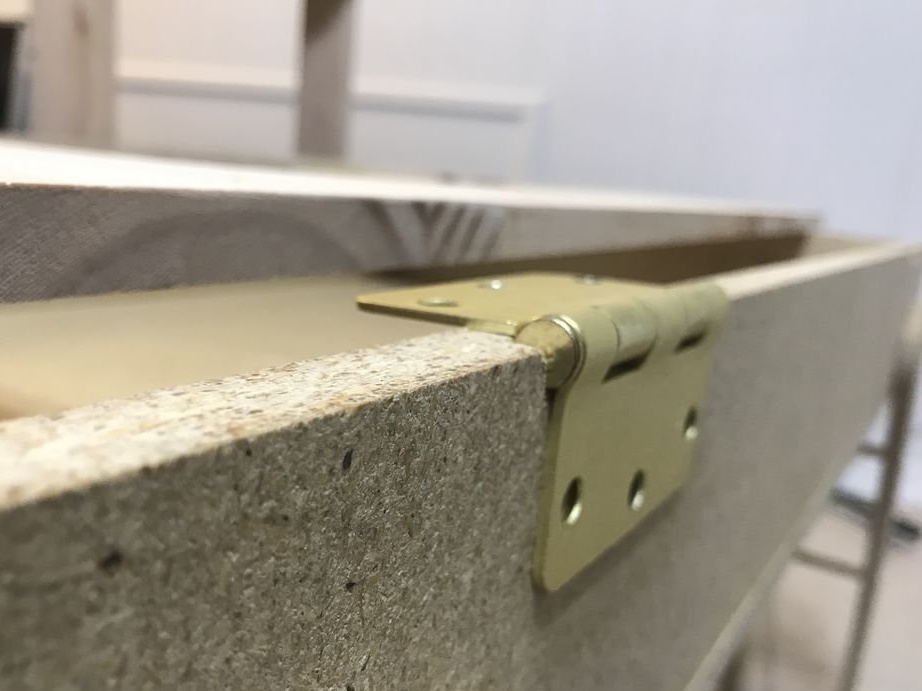
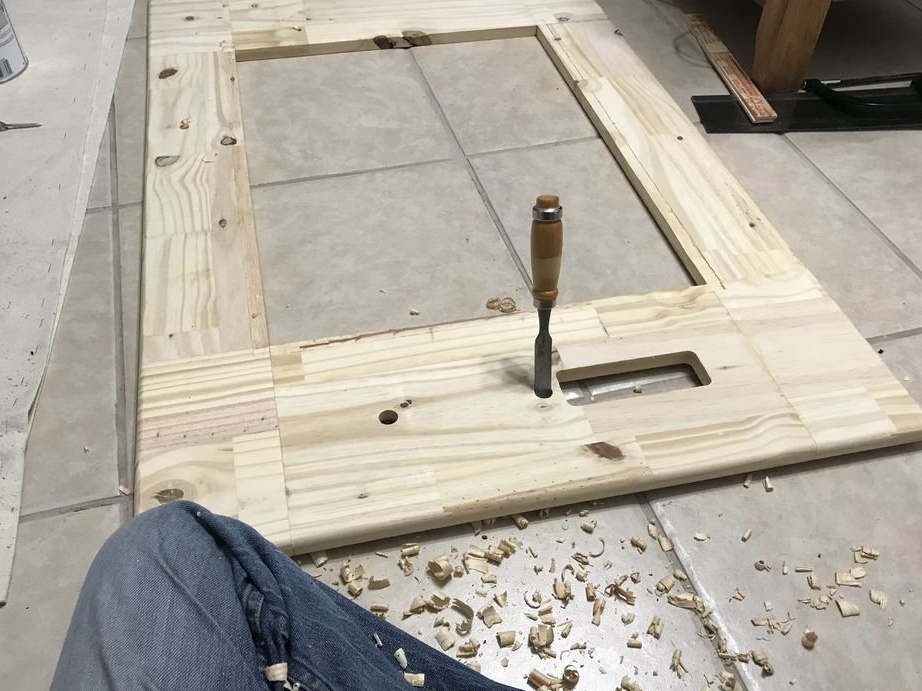
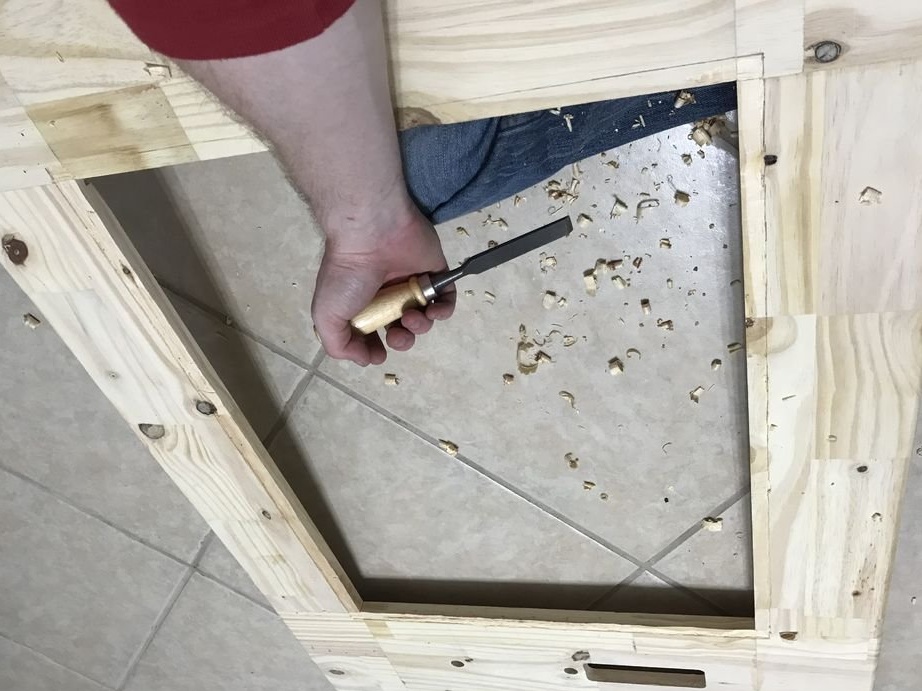
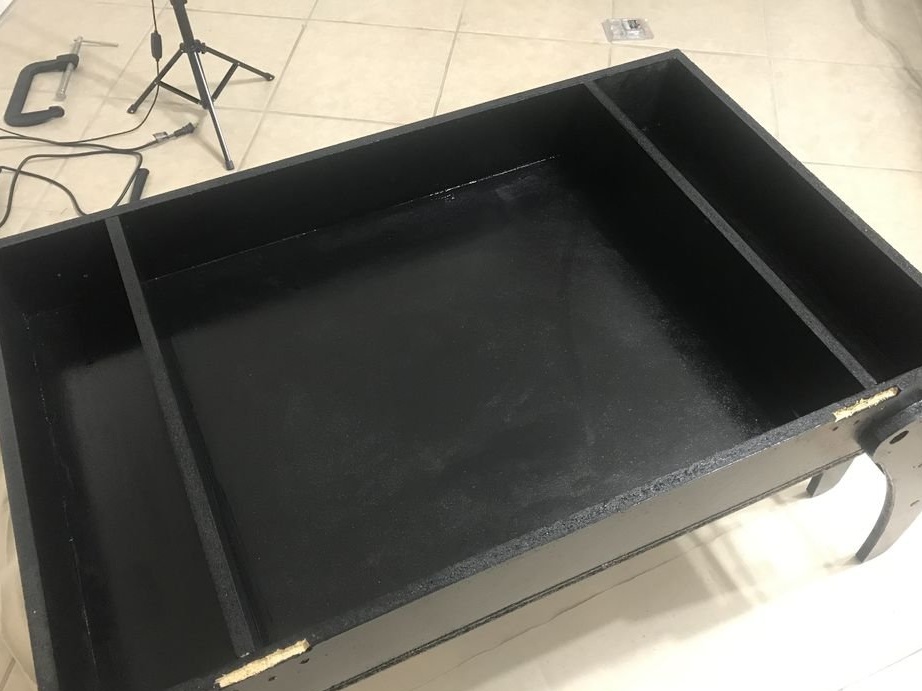
Step Two: Wireframe
Assembles a table frame. Prepares a place for hinges.
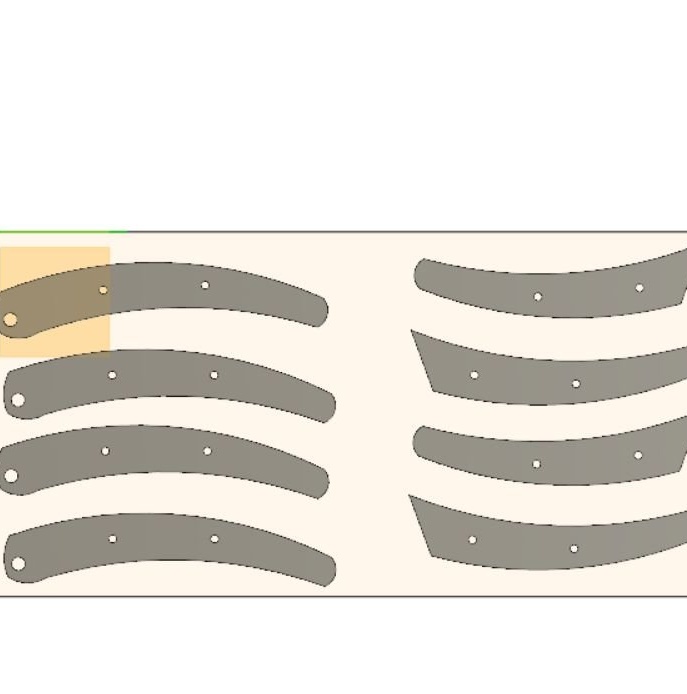
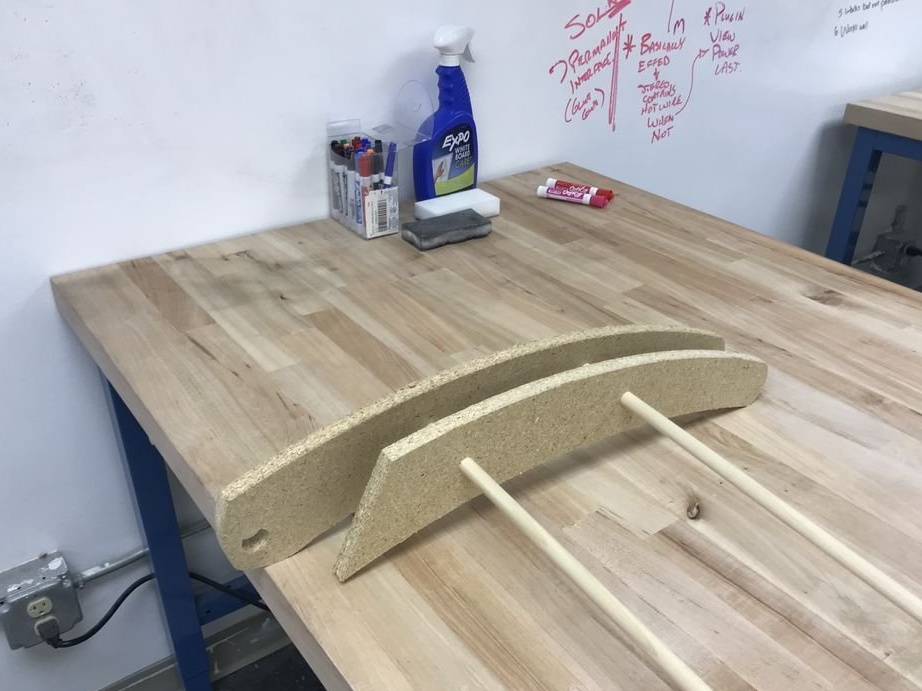
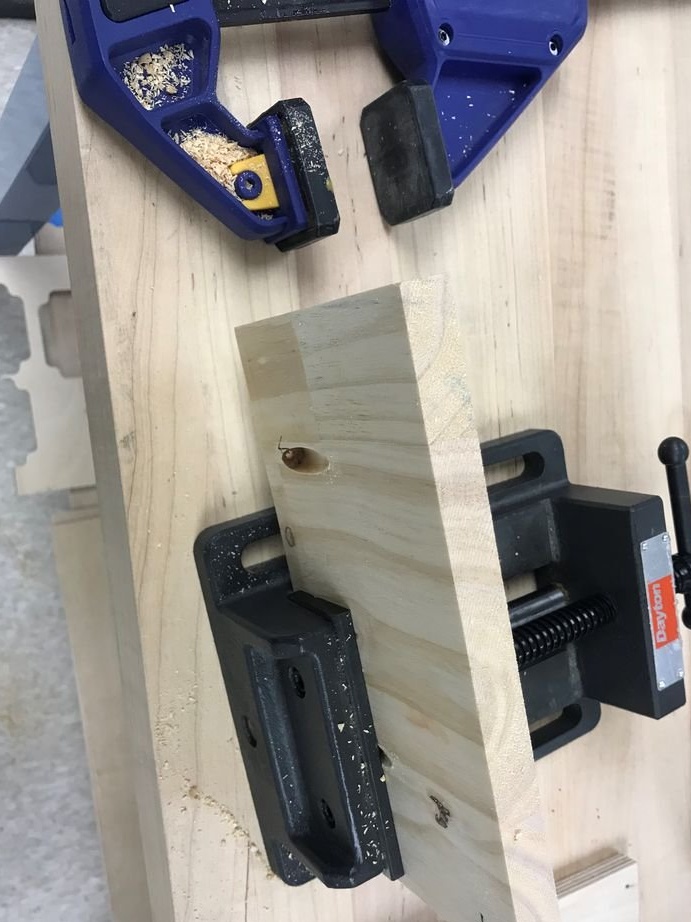
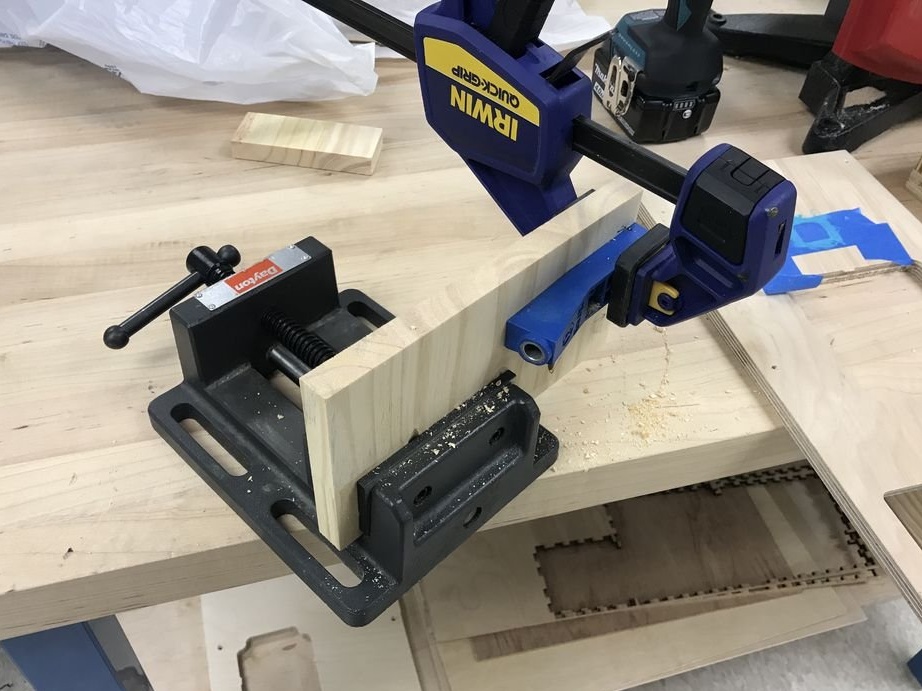
Step Three: Feet
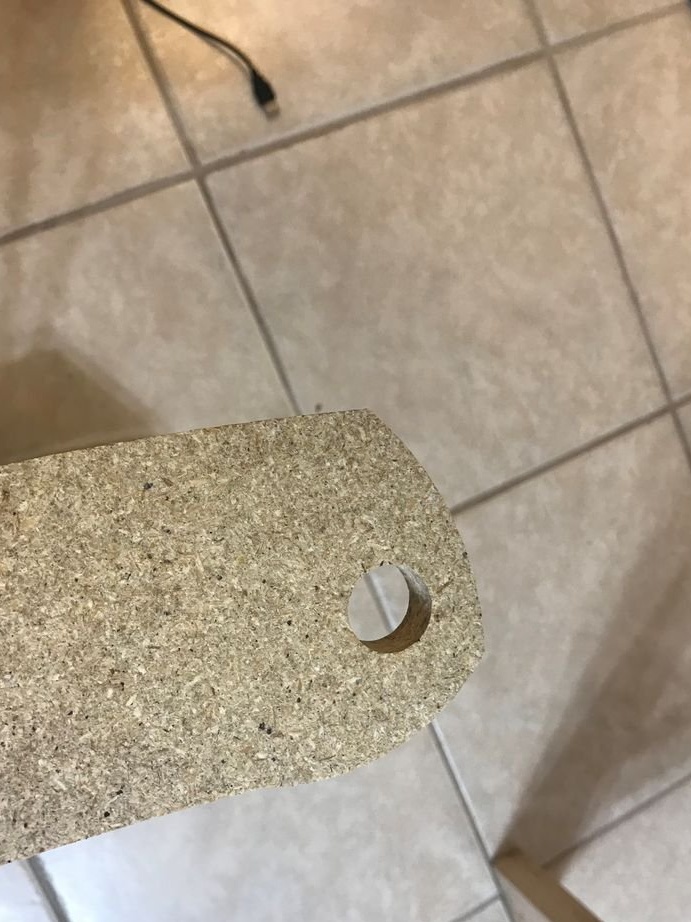
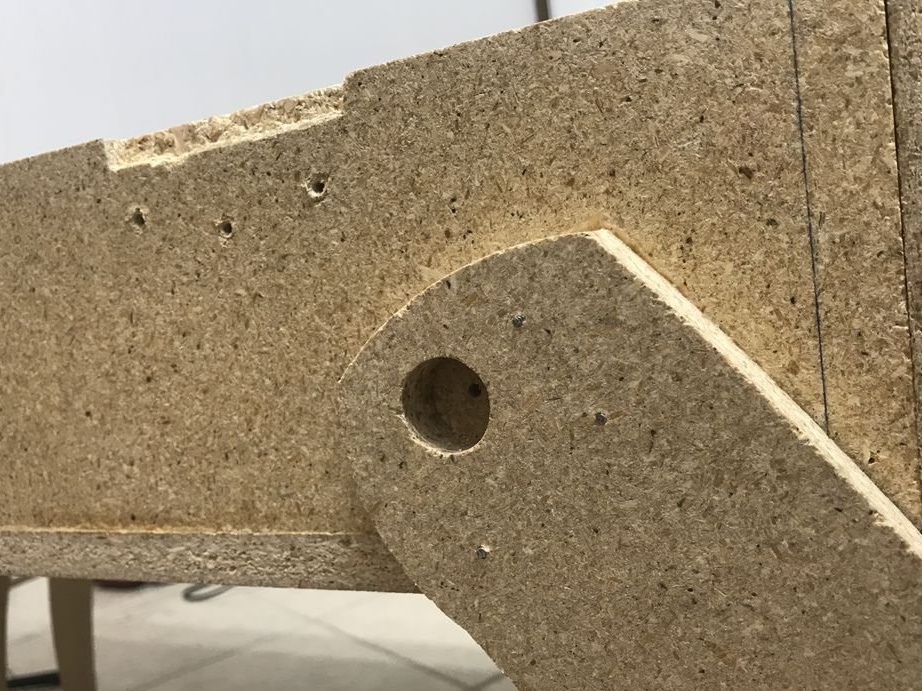
The legs of the master turned out to be of interesting shape. They are connected using dowels.
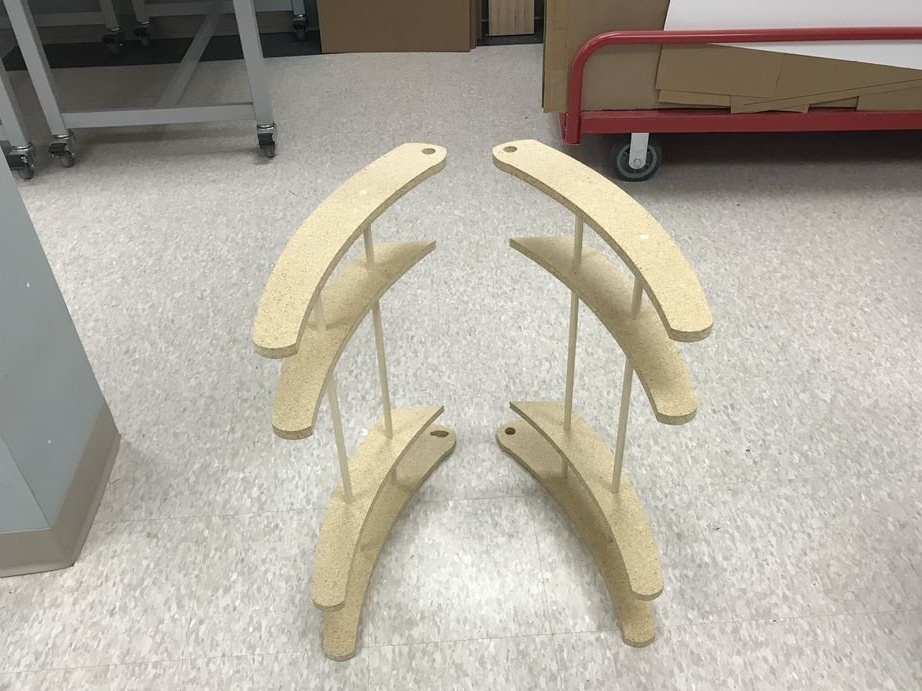
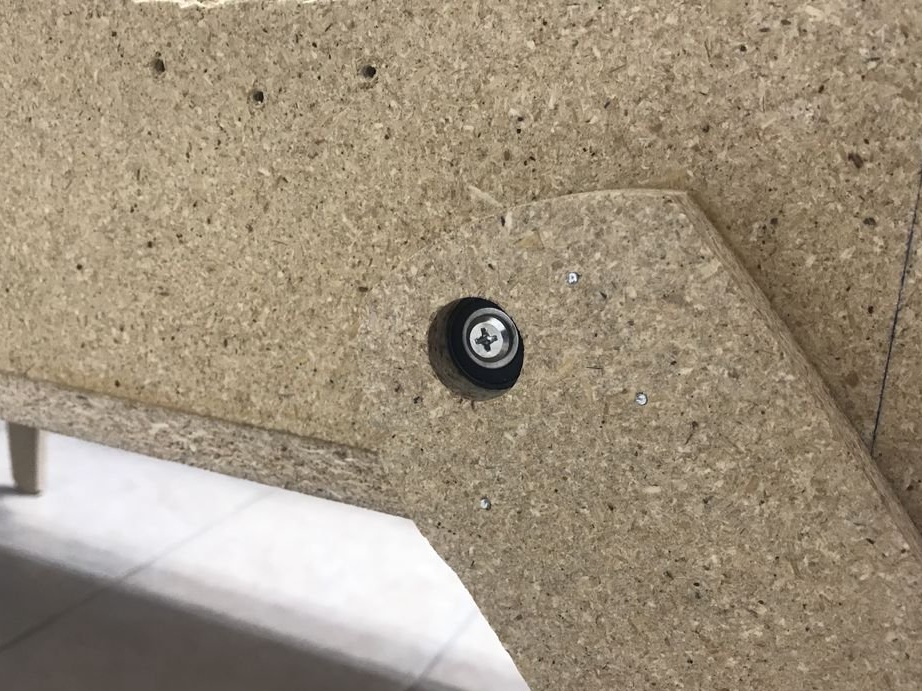
Initially, the legs were attached to the frame with screws and bearings were installed in the holes. This made it possible to adjust the height of the table, but, at the same time, reduced stability. The master abandoned this idea and fixed the legs motionless with the help of wood glue and nails.

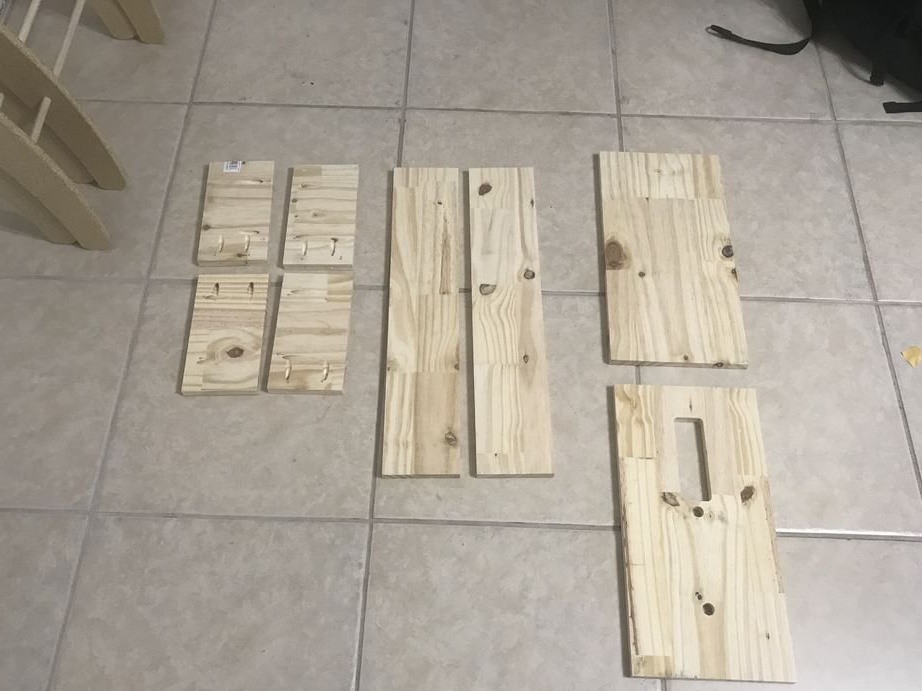
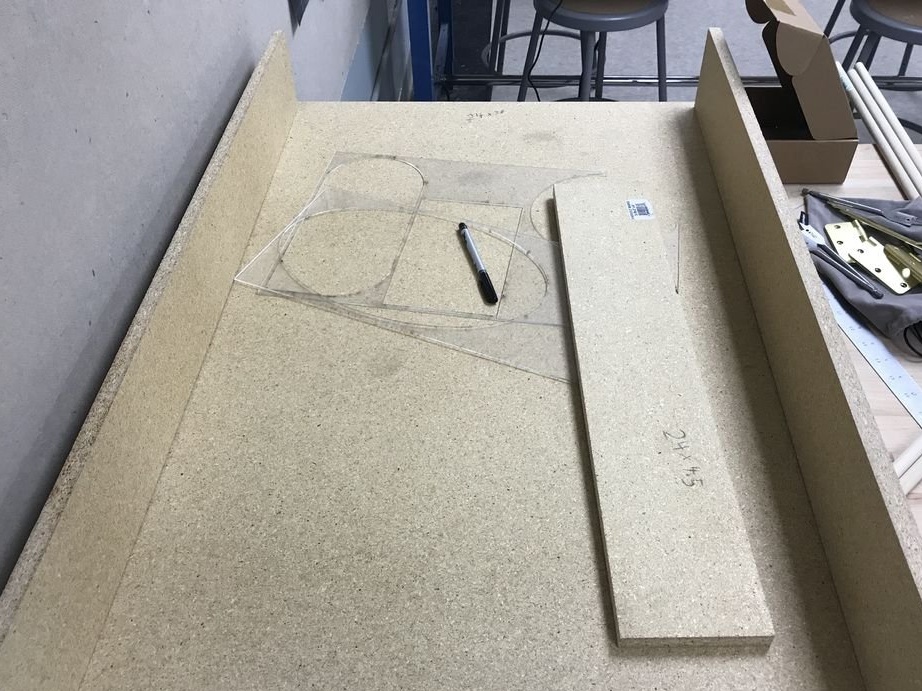
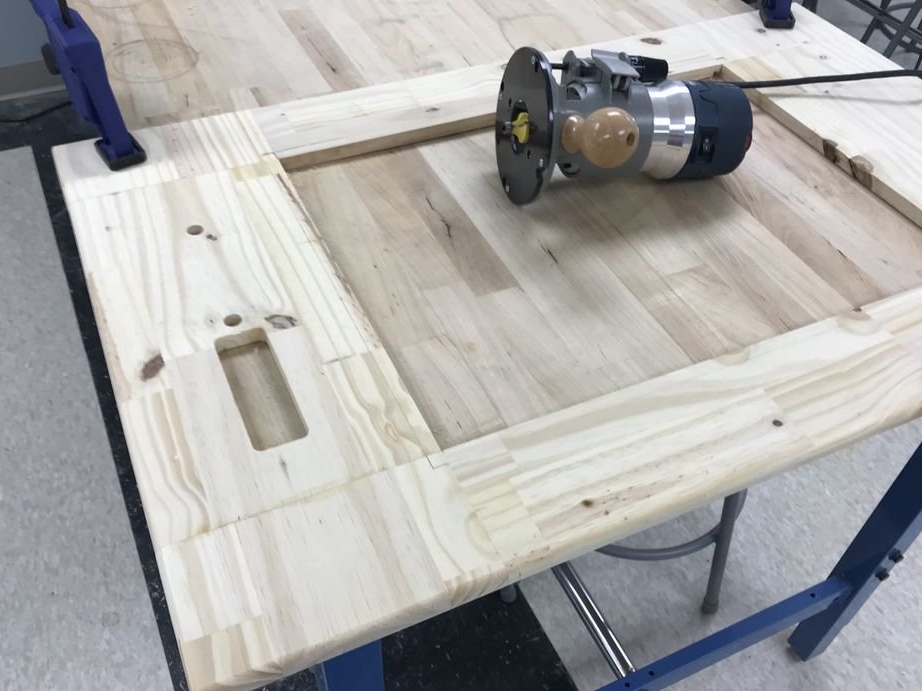
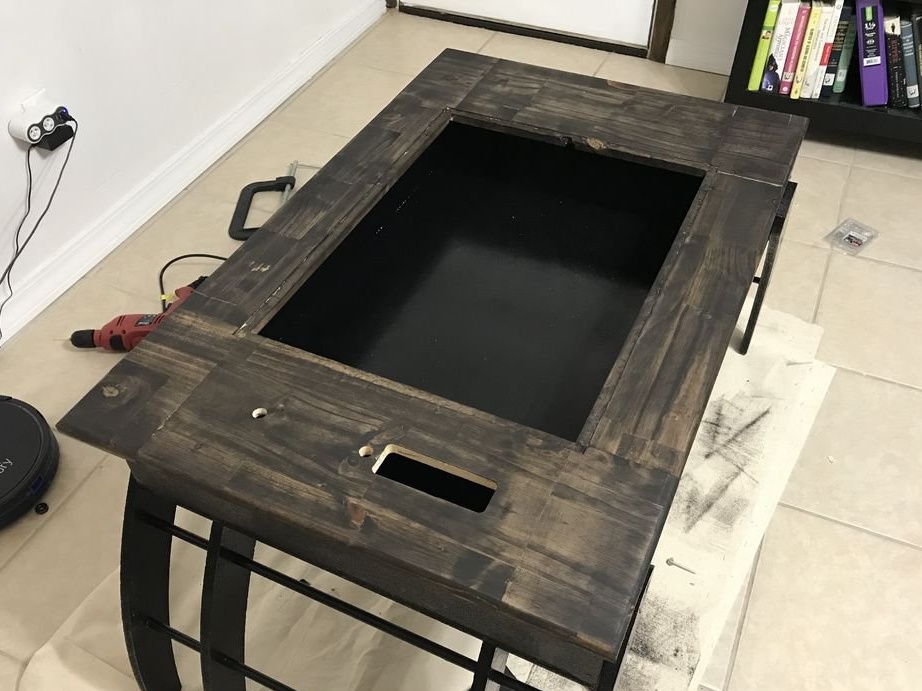
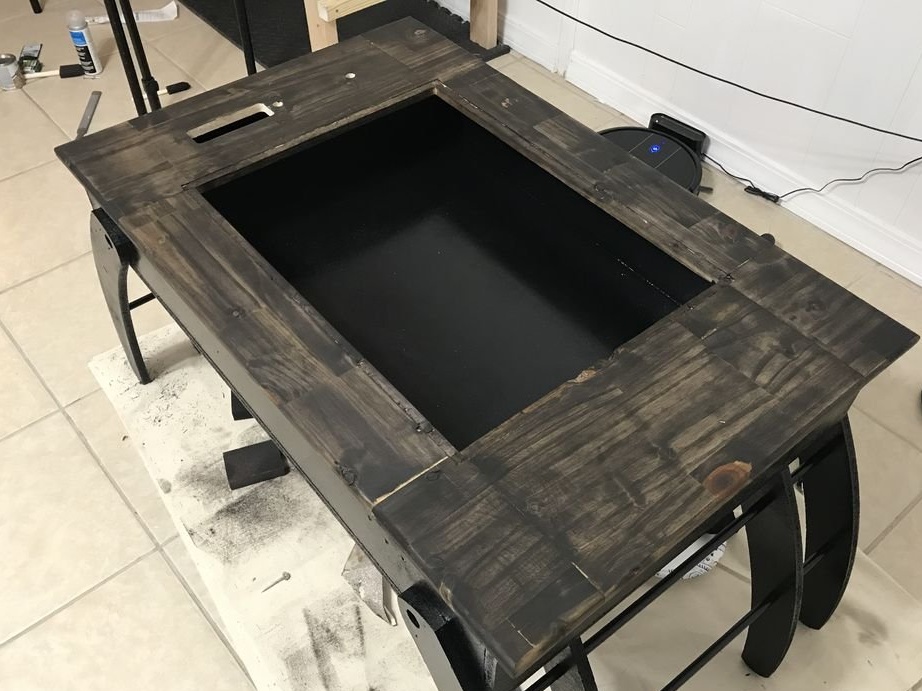
Step Four: Top Cover
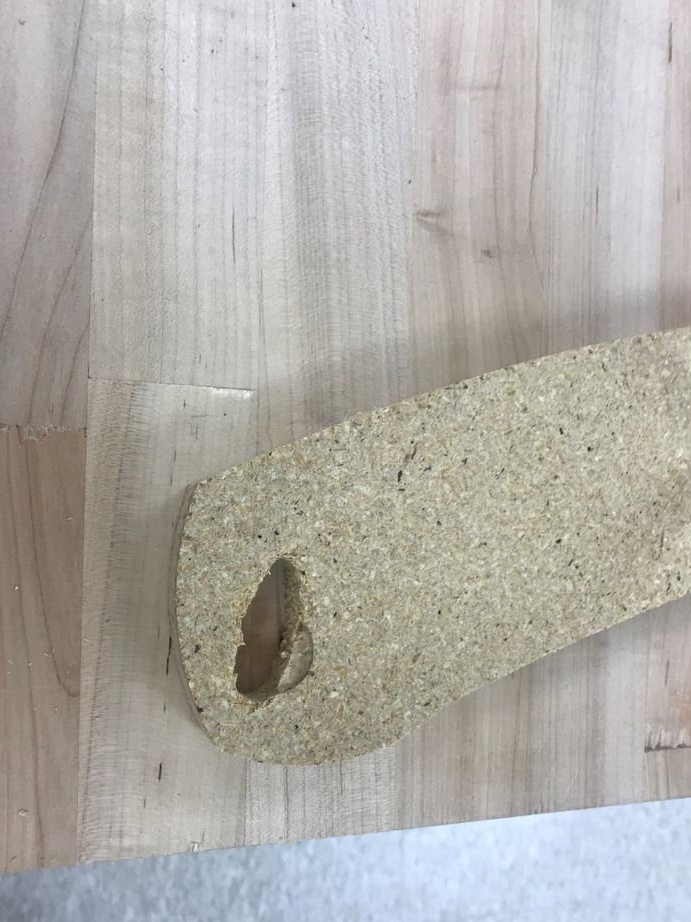
Next, the master collects the table cover. On the cover carves a hole for installing the outlet. Glues the details of the cover.
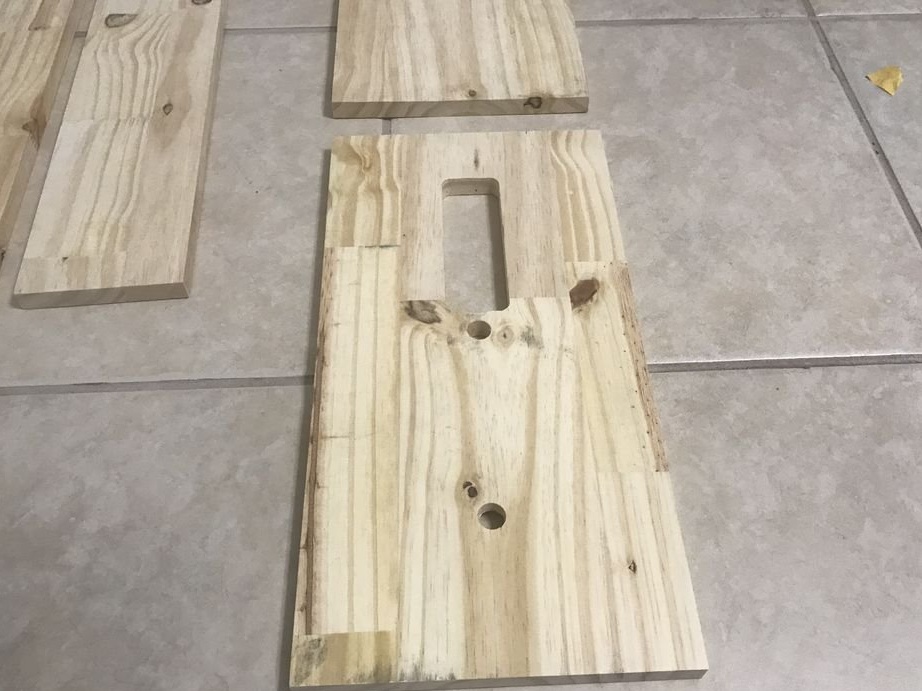
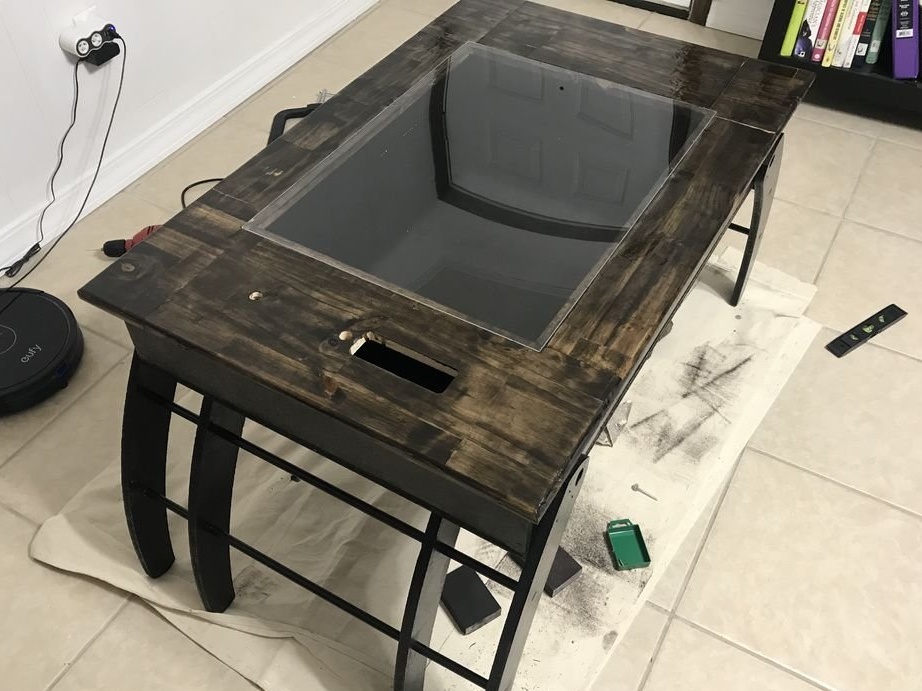
The cover has the shape of a frame. In the center will be located acrylic. To install acrylic flush with the surface, the master milling cuts around the perimeter.
Step Five: Cover
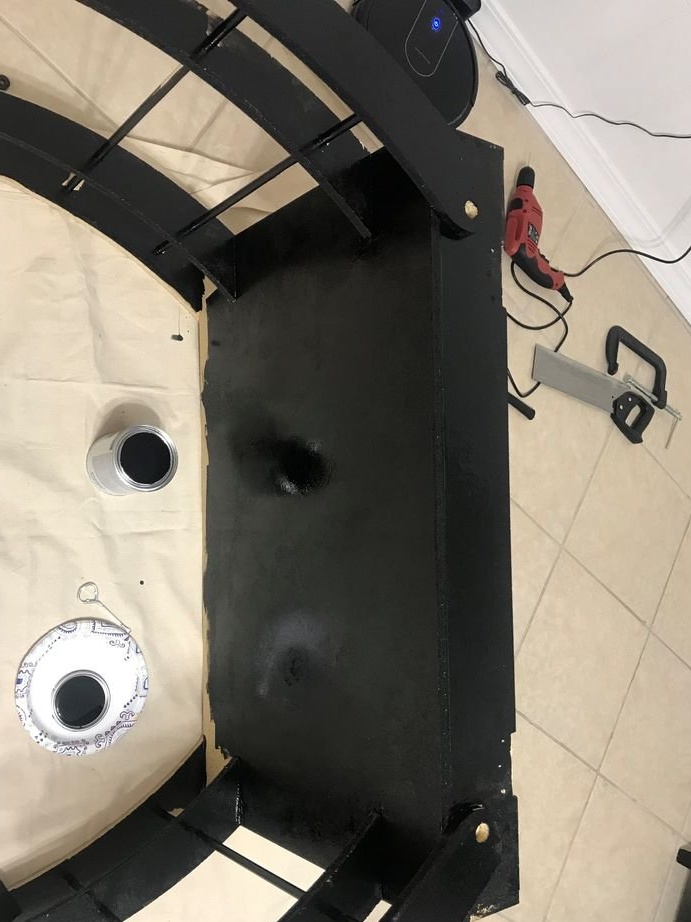
The master paints a frame with legs in black paint. The cover is covered with stain. The inner part is covered with polyurethane.
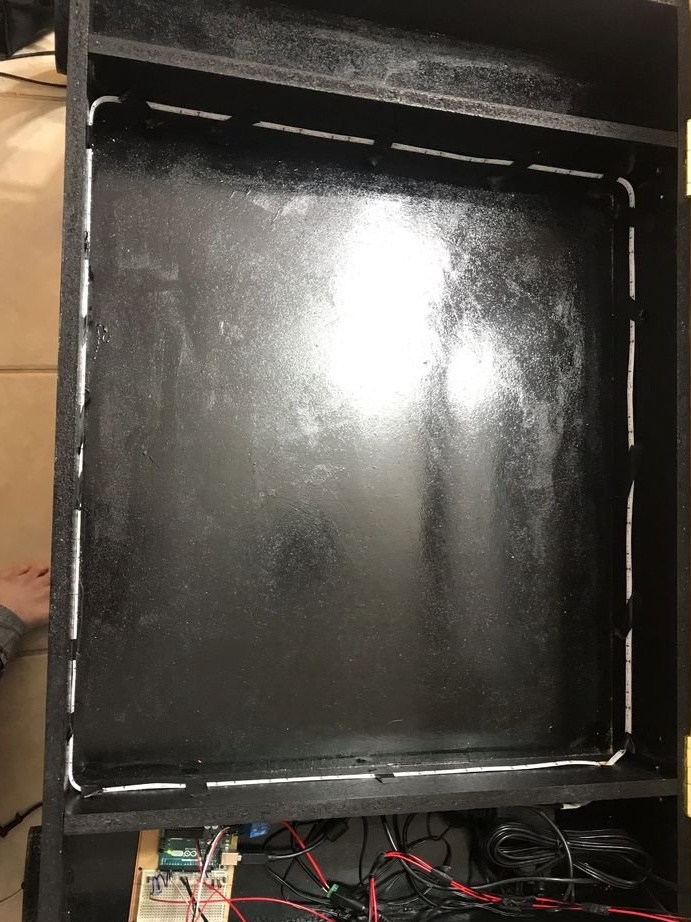
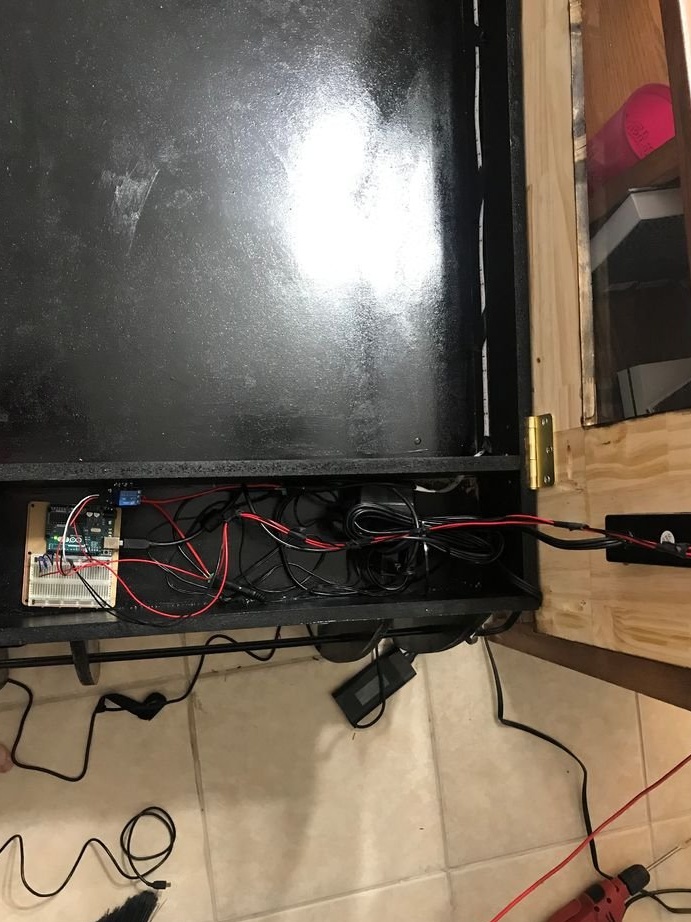
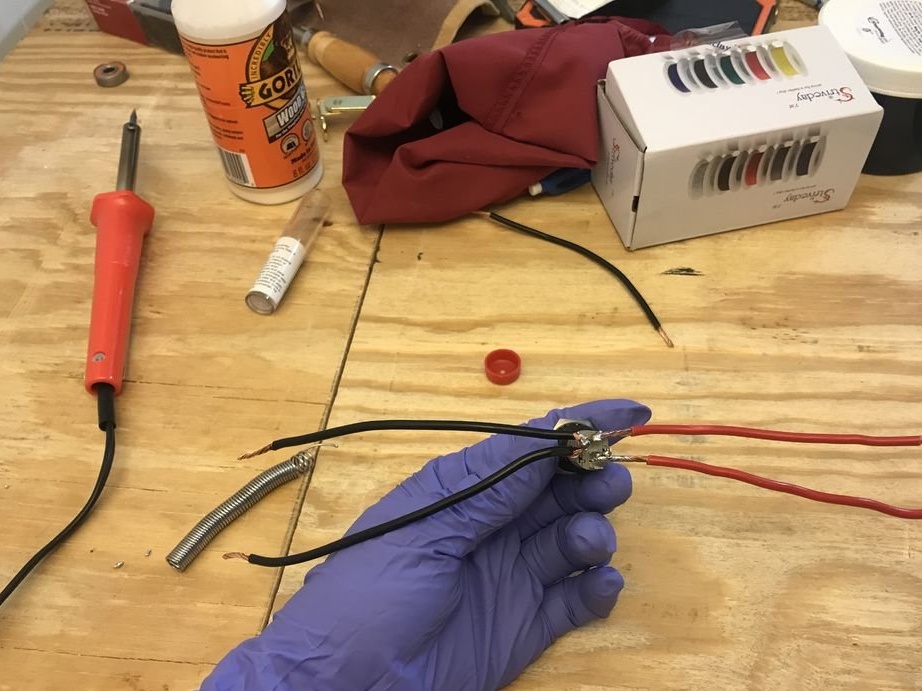
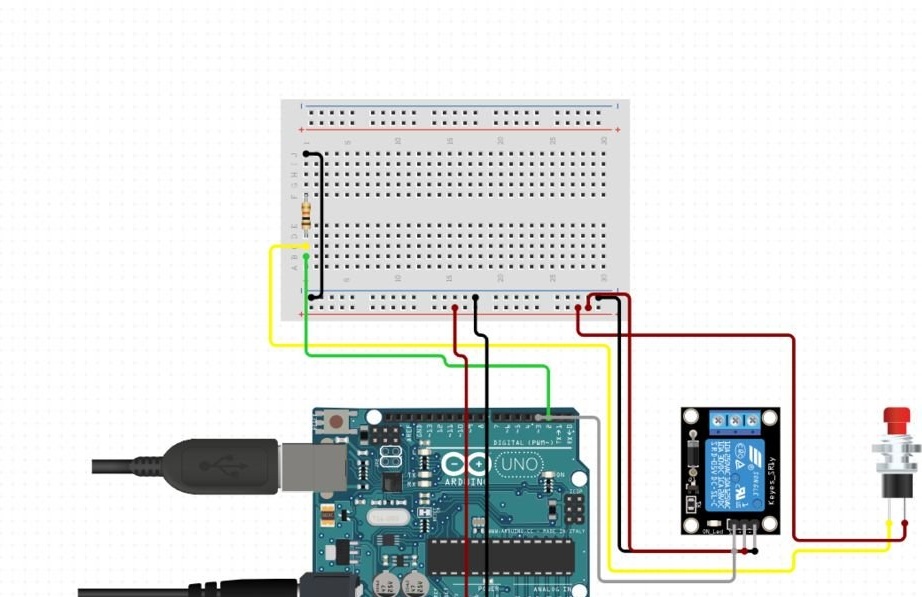
Step Six: electronics
Next, the master glues an ultraviolet tape and mounts the electronics.
Step Seven: Parsing Errors
The master indicates a number of errors in the manufacture of a coffee table.
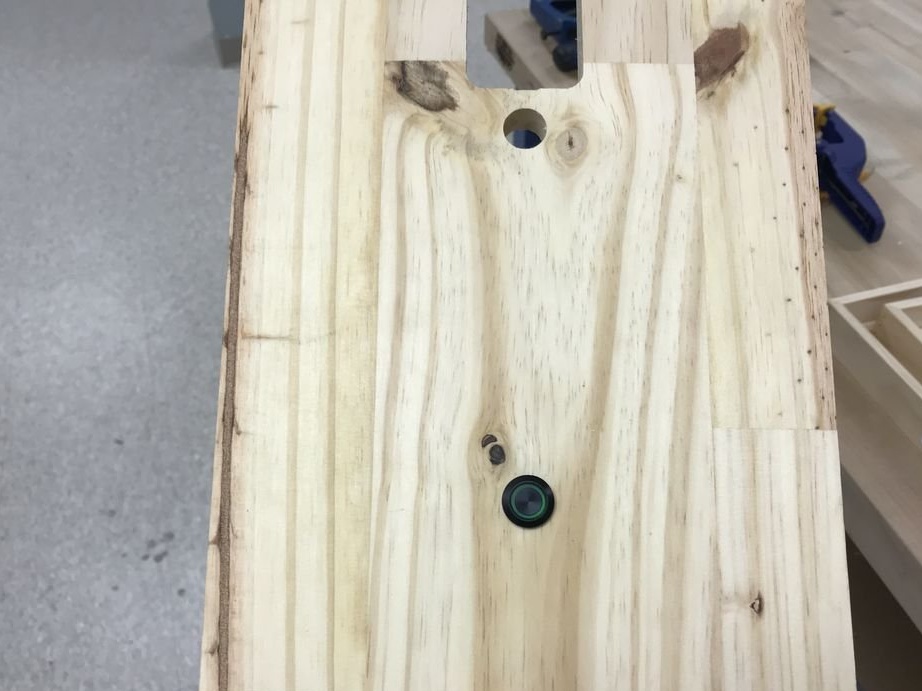
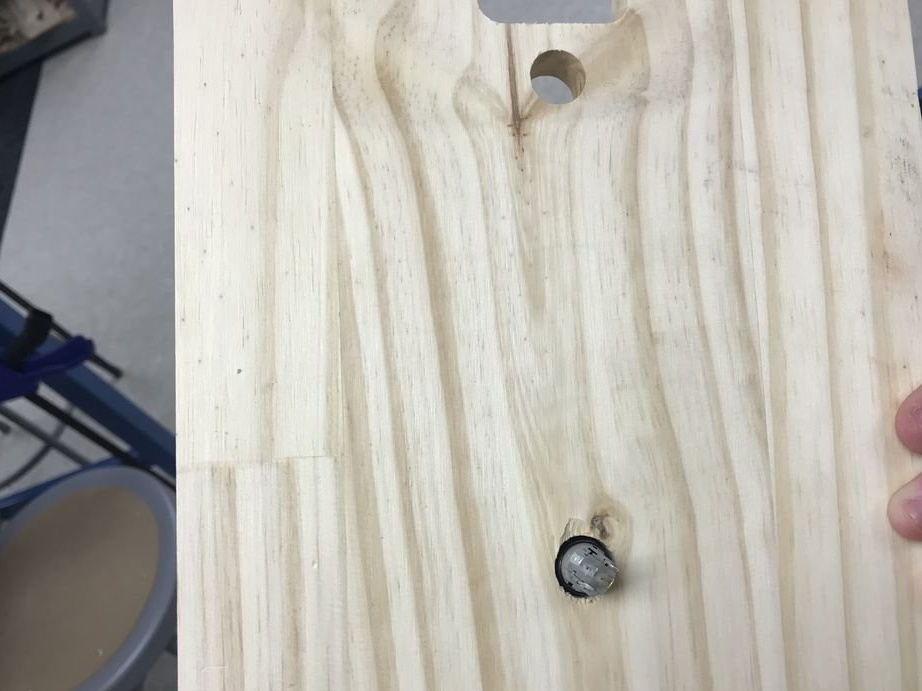
Initially, the installation location of the button was not correctly selected and the hole had to be drilled in another place.
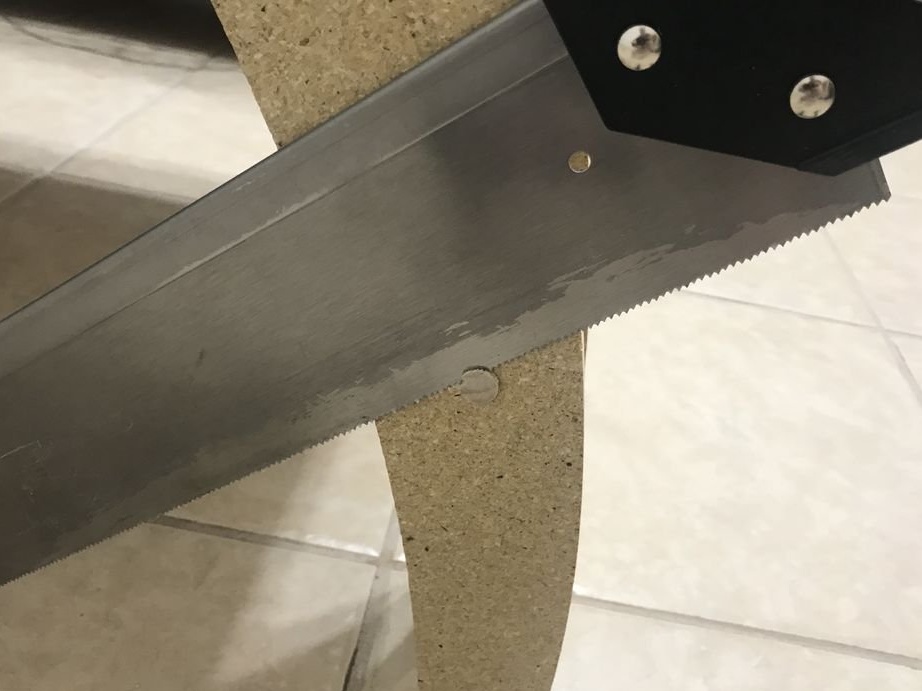
Some parts were damaged during processing.

And finally, instead of complex electronics, simpler devices could be dispensed with.
The coffee table is ready.
The whole process of making such a coffee table can be seen in the video.