
In this article, YouTube author of Ohyo56 tells you how he made wooden cam clamps for a workbench.
Materials
- Hazel wood
- Sandpaper
- Bolt M5
—
- Joiner's glue.
Instruments, used by the author.
- A circular saw
- Drum and orbital grinding machines
- Drilling machine
- Countersink drill
—
— .
Manufacturing process.
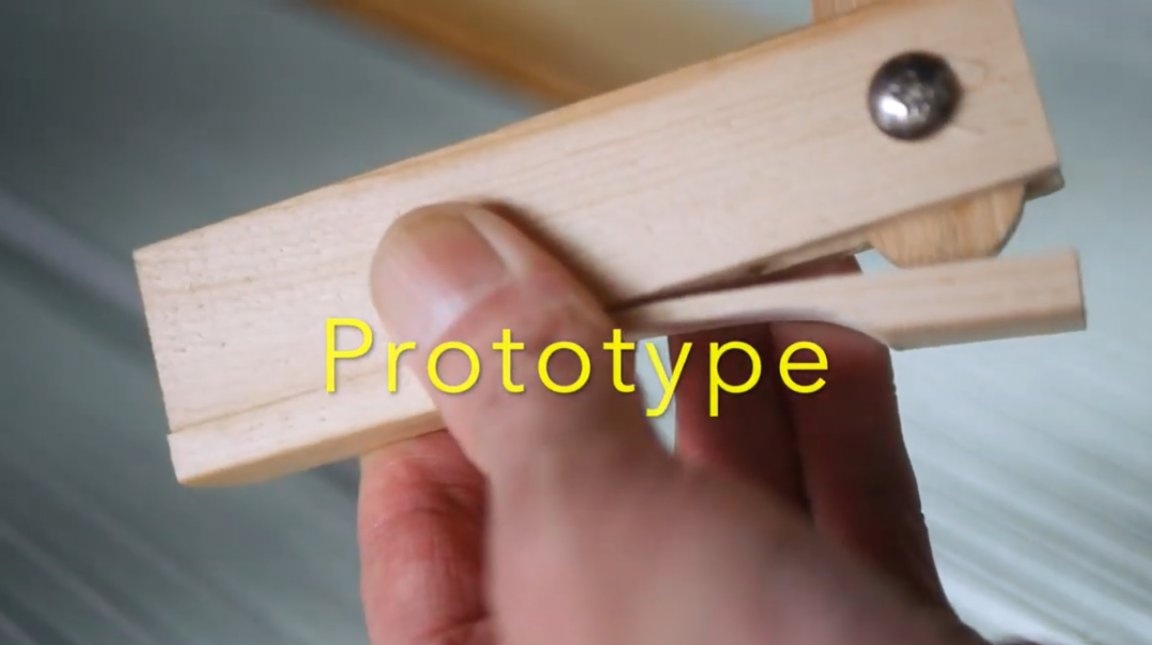
So, for starters, the master made a trial version of the clamp to select the optimal size, and refine the clamping mechanism.
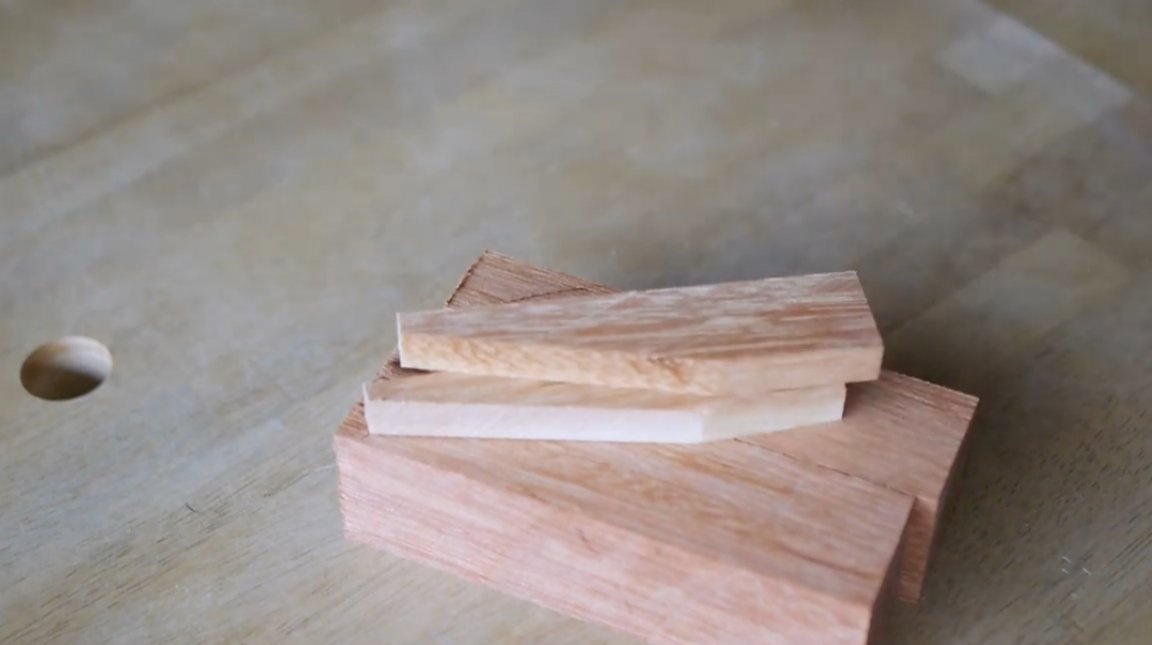
Then he sawed the blanks for the base of the clamps from hazel.
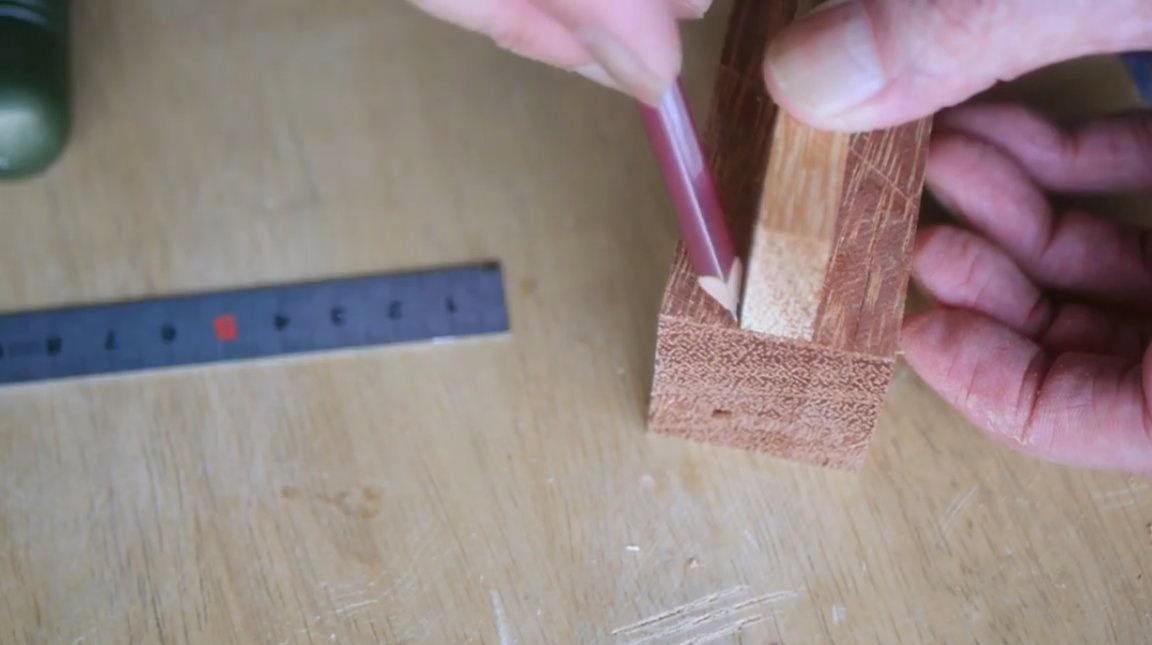
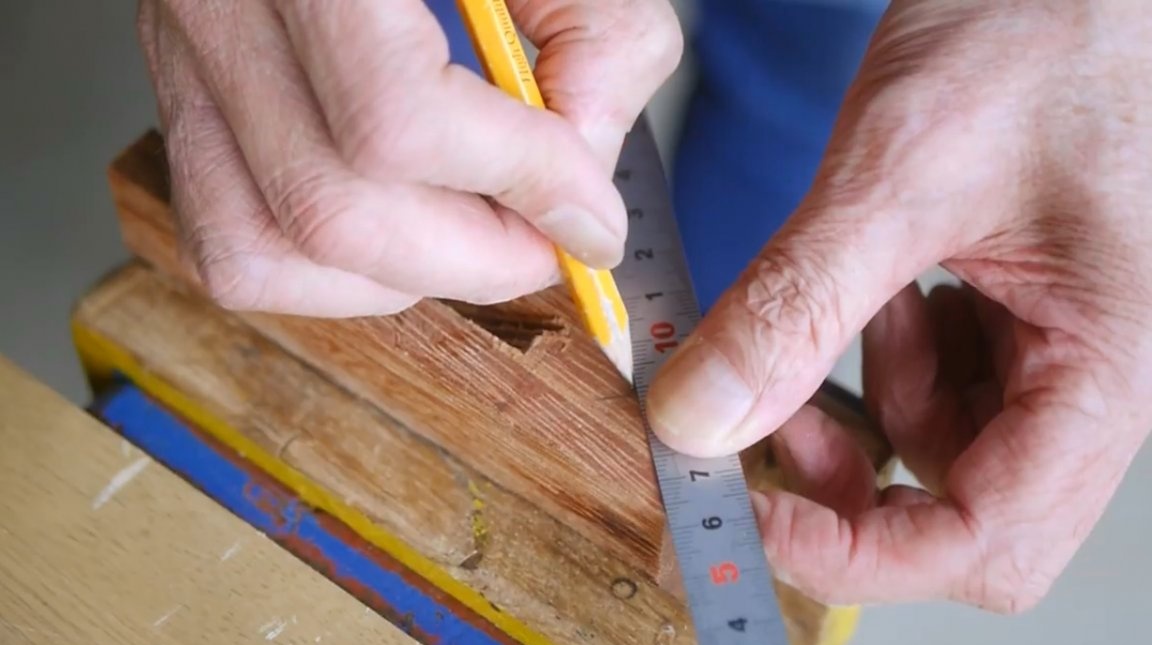
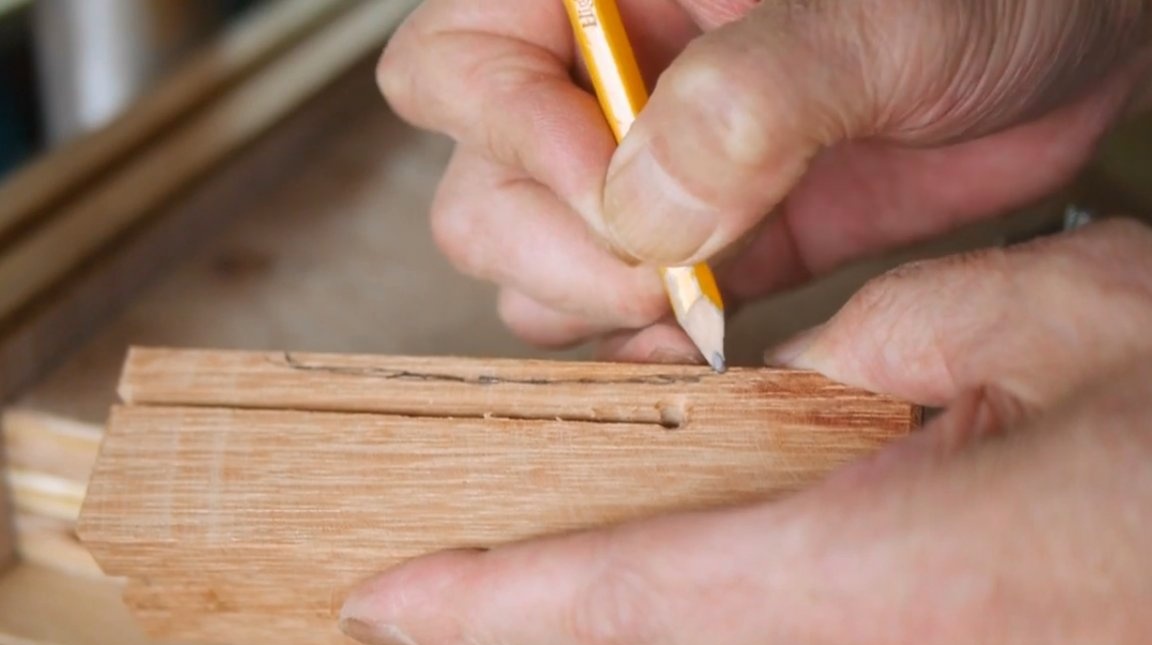
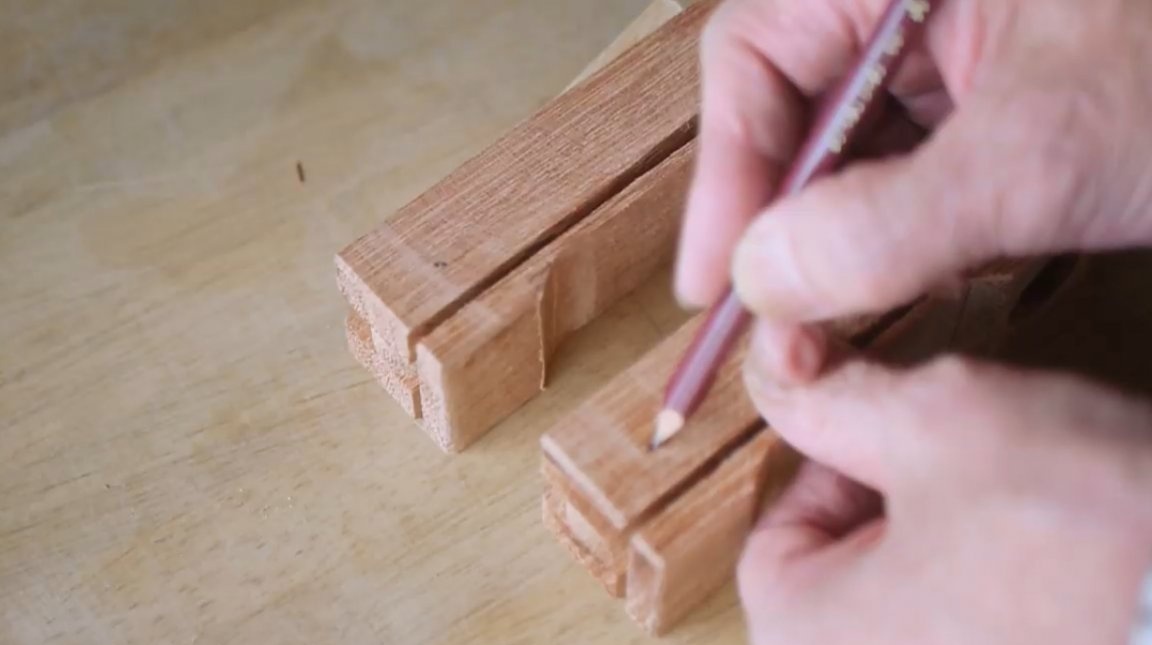
Then I marked the plank of hazel a little less than the width of the base, and cut it at an angle into two blanks for the clamping levers.

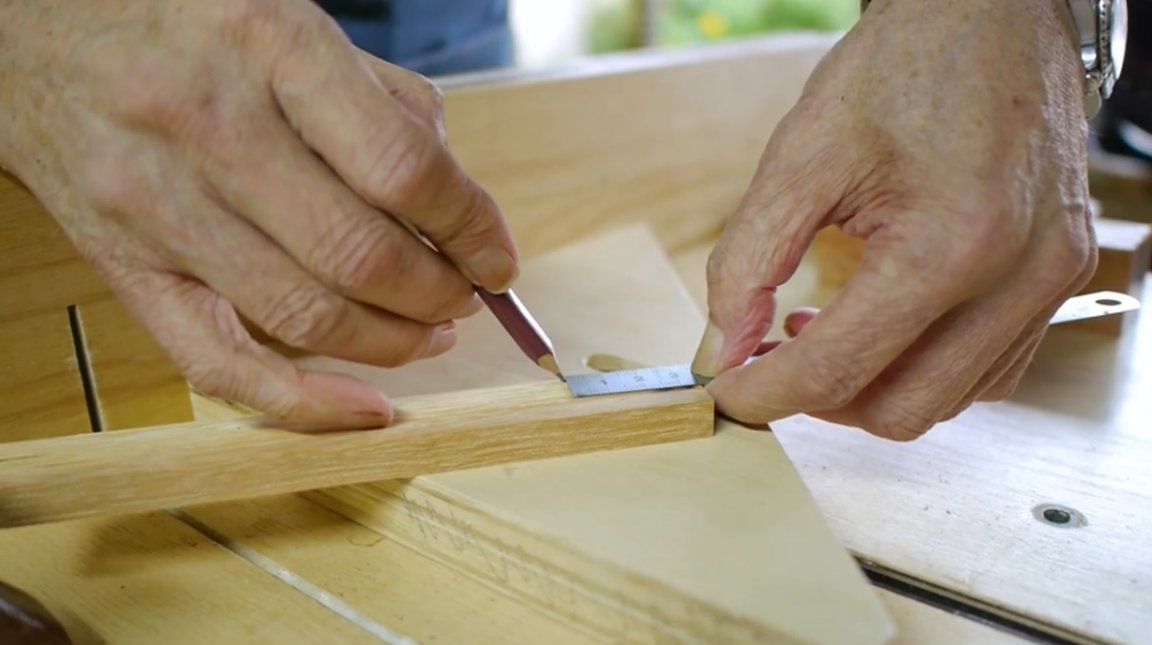

On the leverage received noted the necessary rounding.
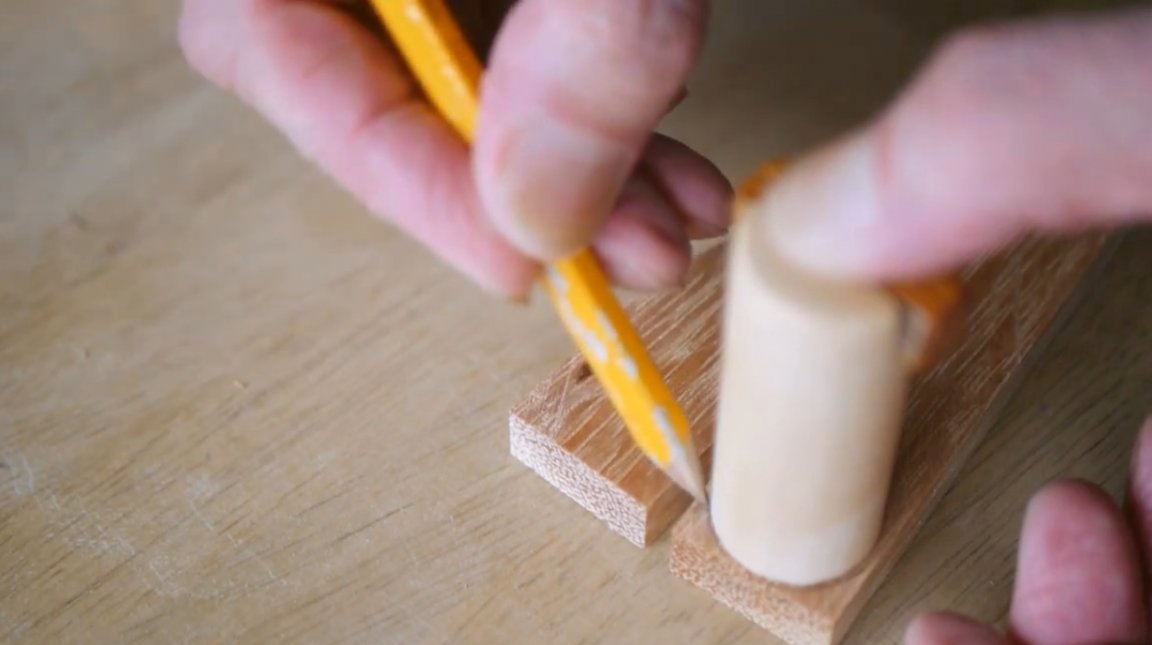
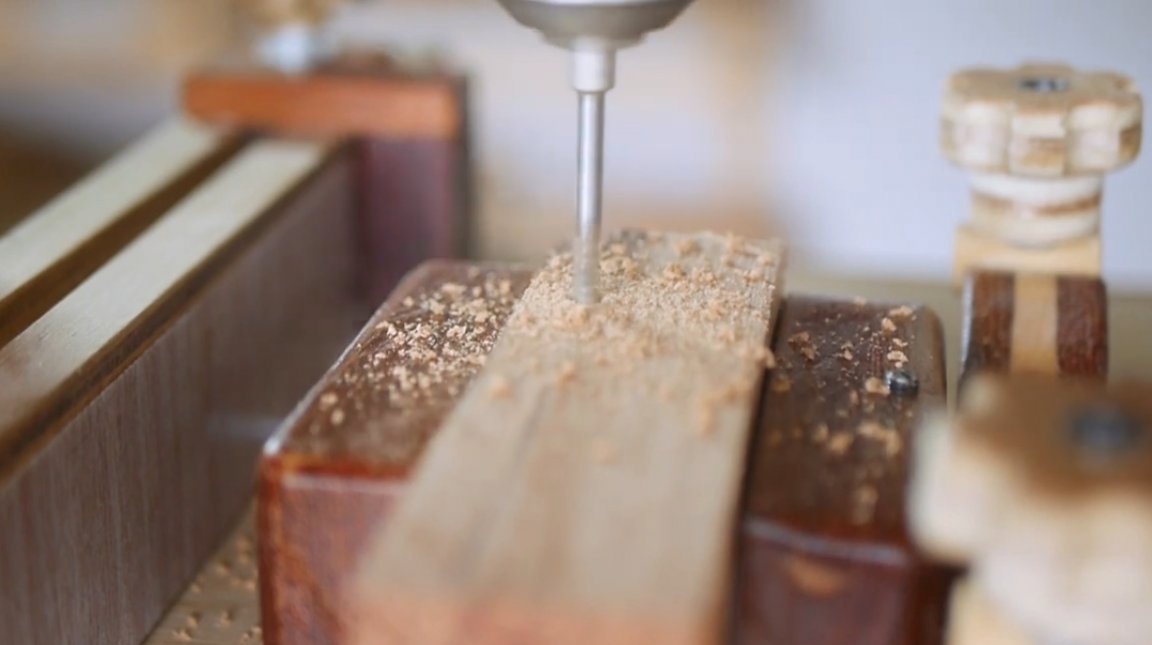
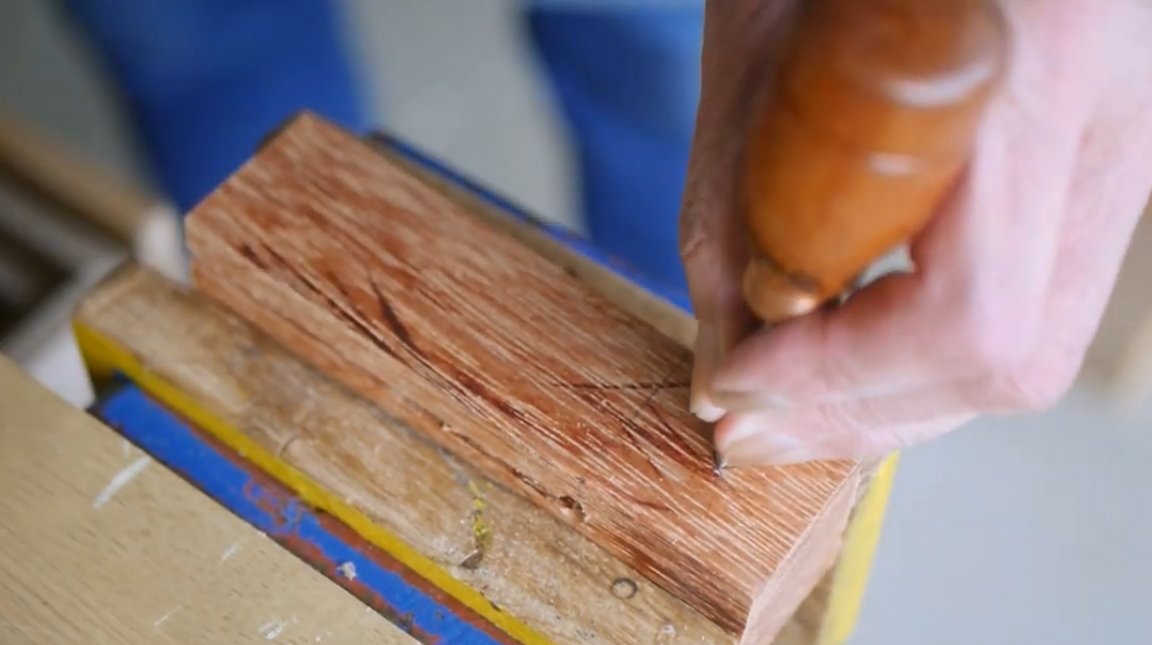
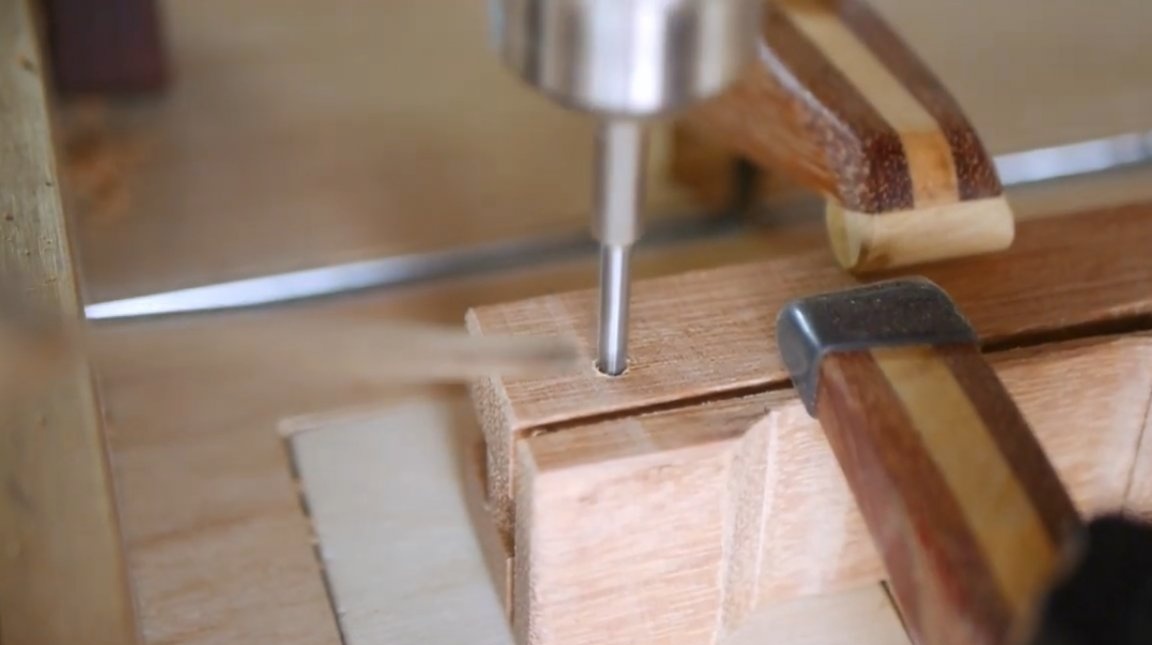
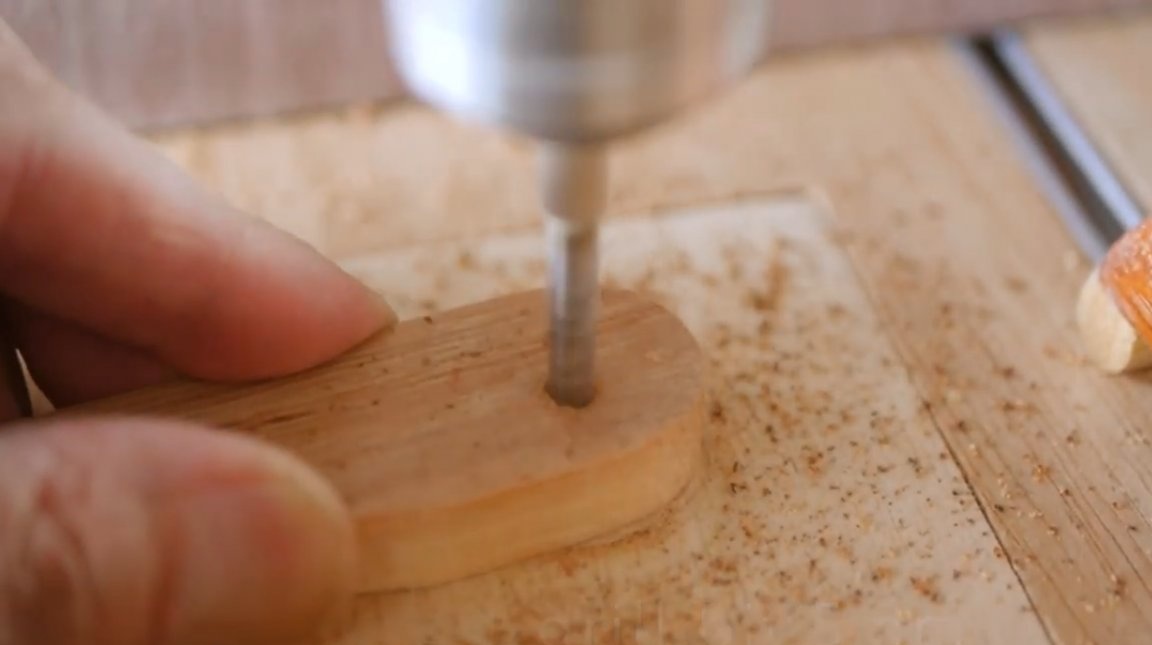
Now the master marks the place for drilling the discharge opening. It is necessary so that the base does not crack. Drills it with a 4 mm drill, and countersinks.

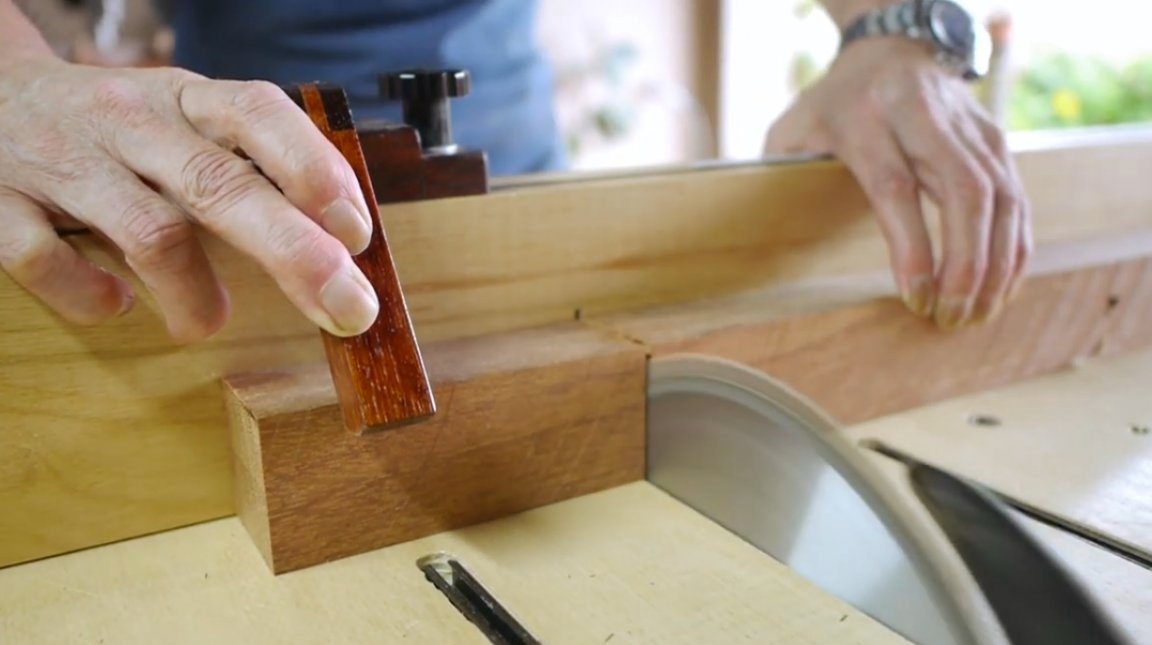
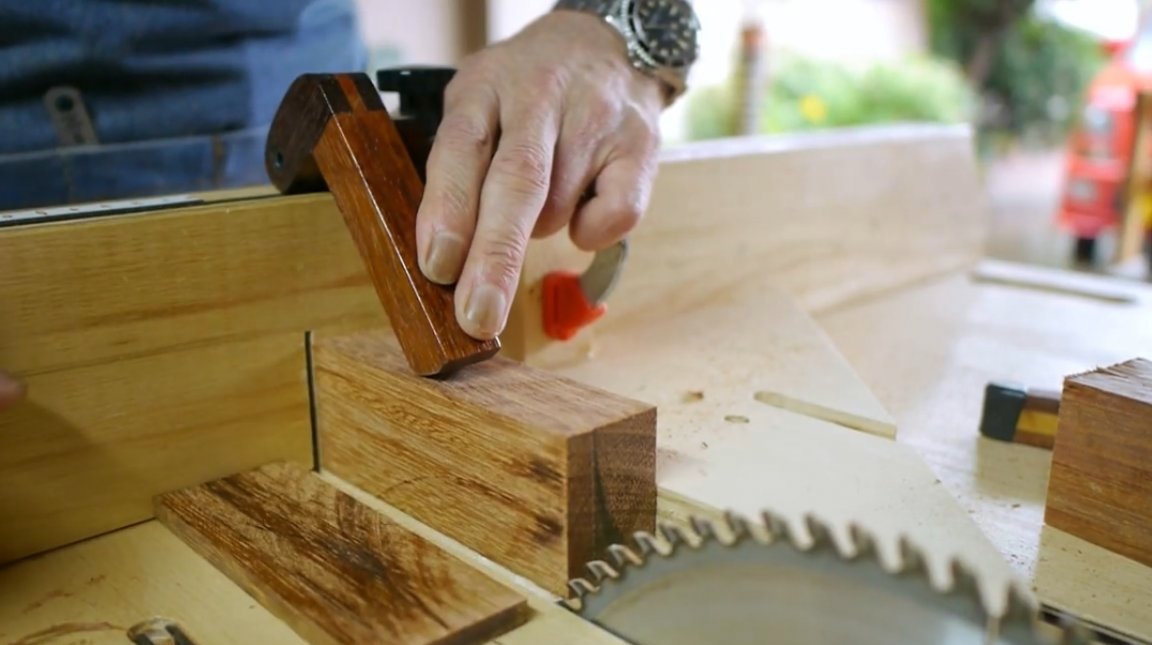
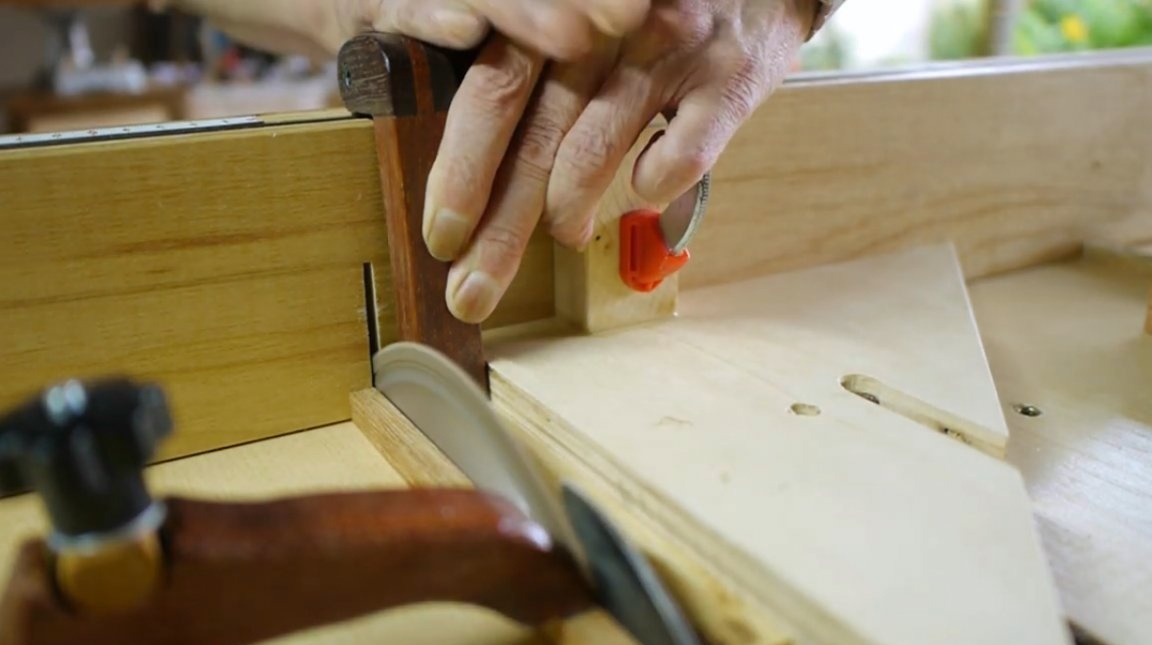
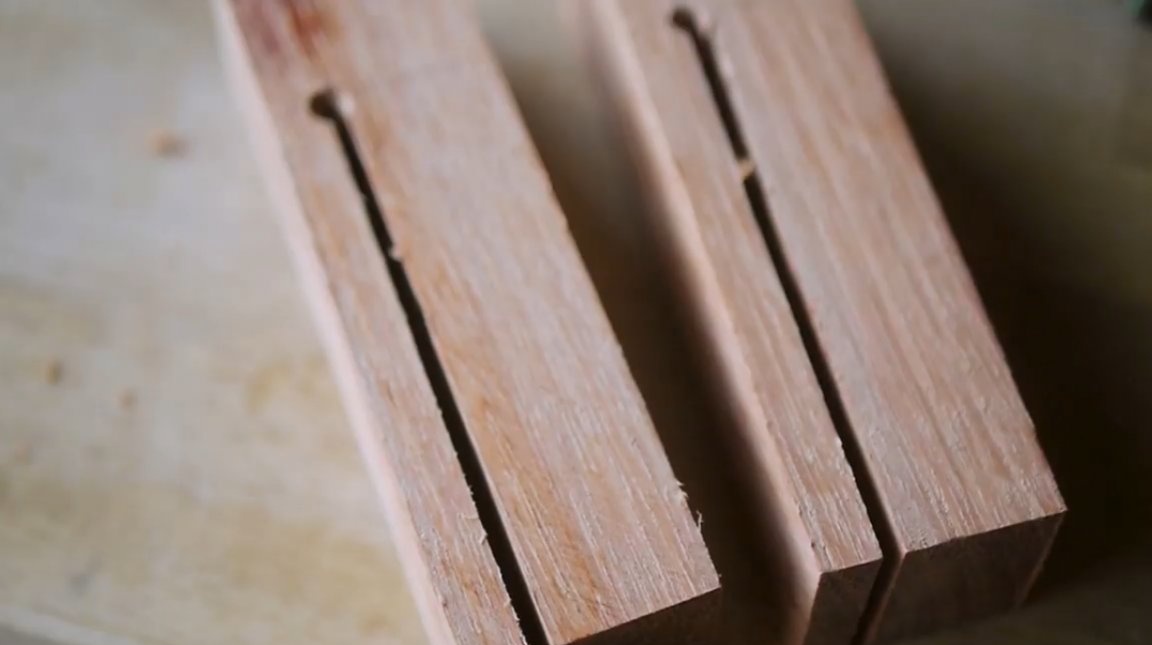
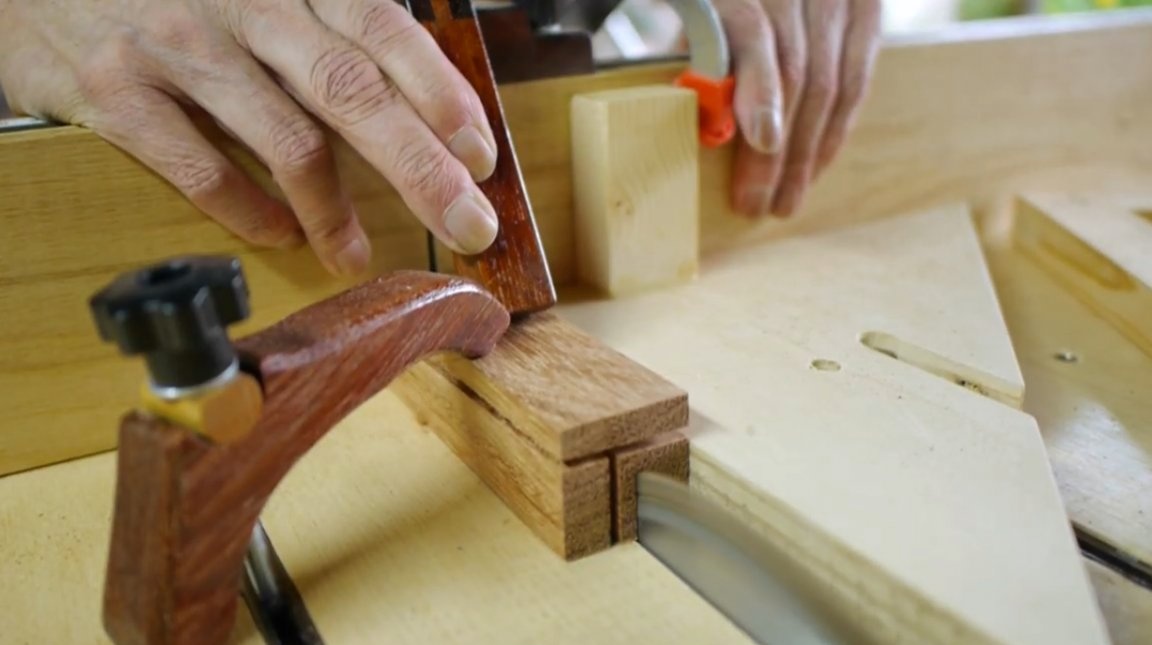
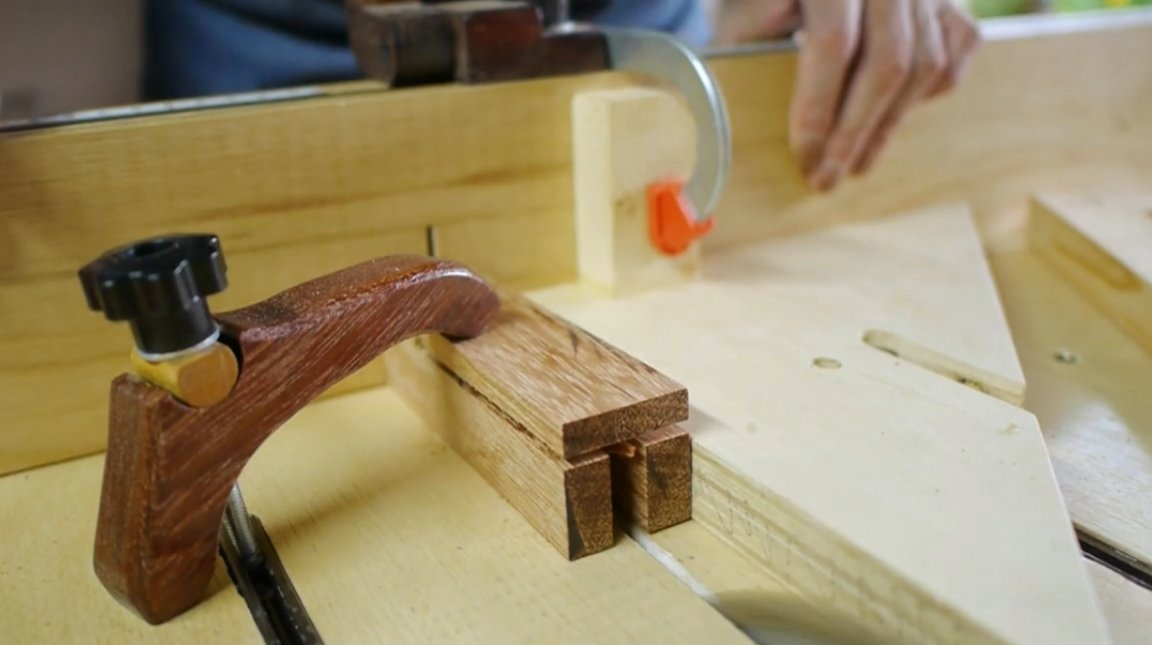
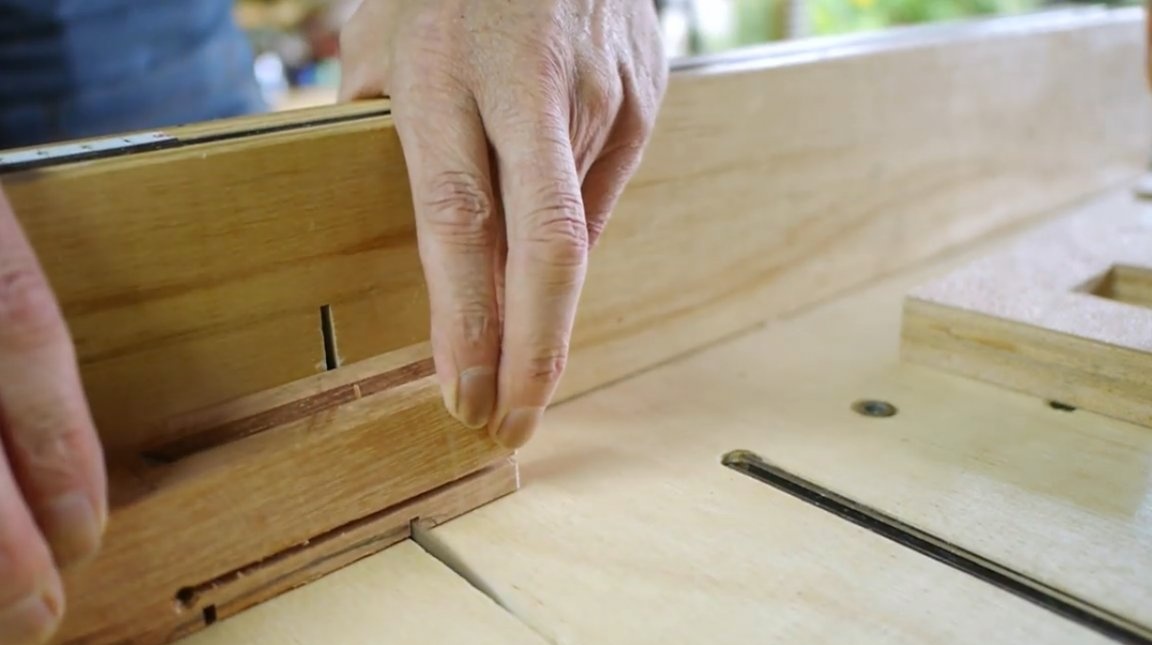
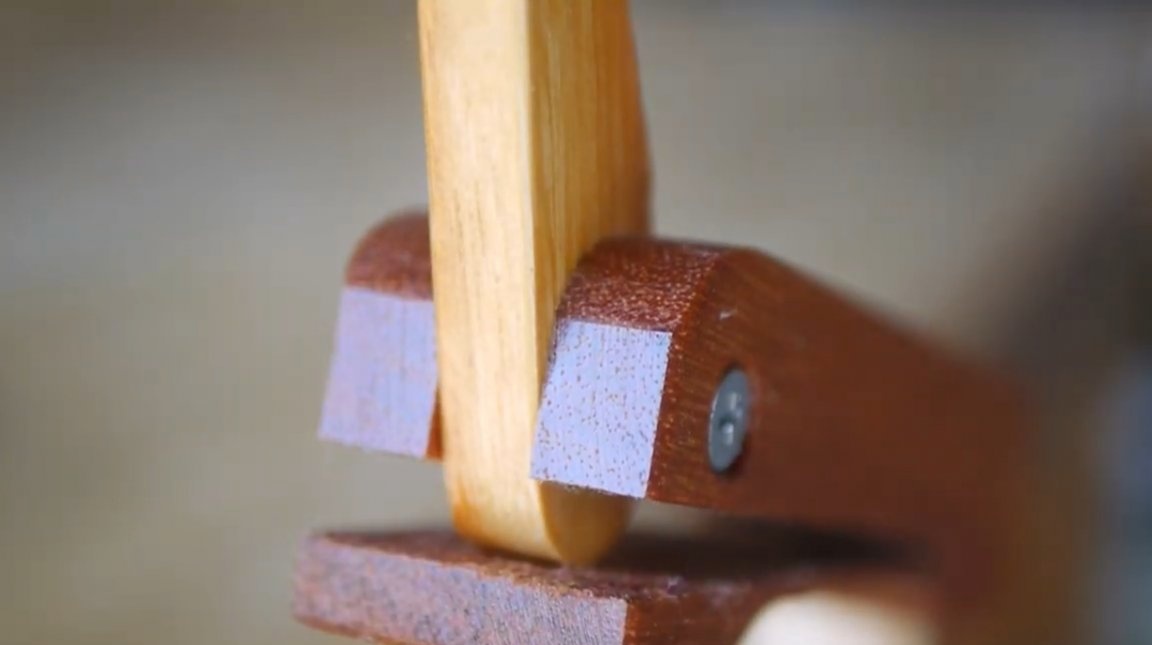
Raising the disk to its maximum height, makes a cut on both sides.
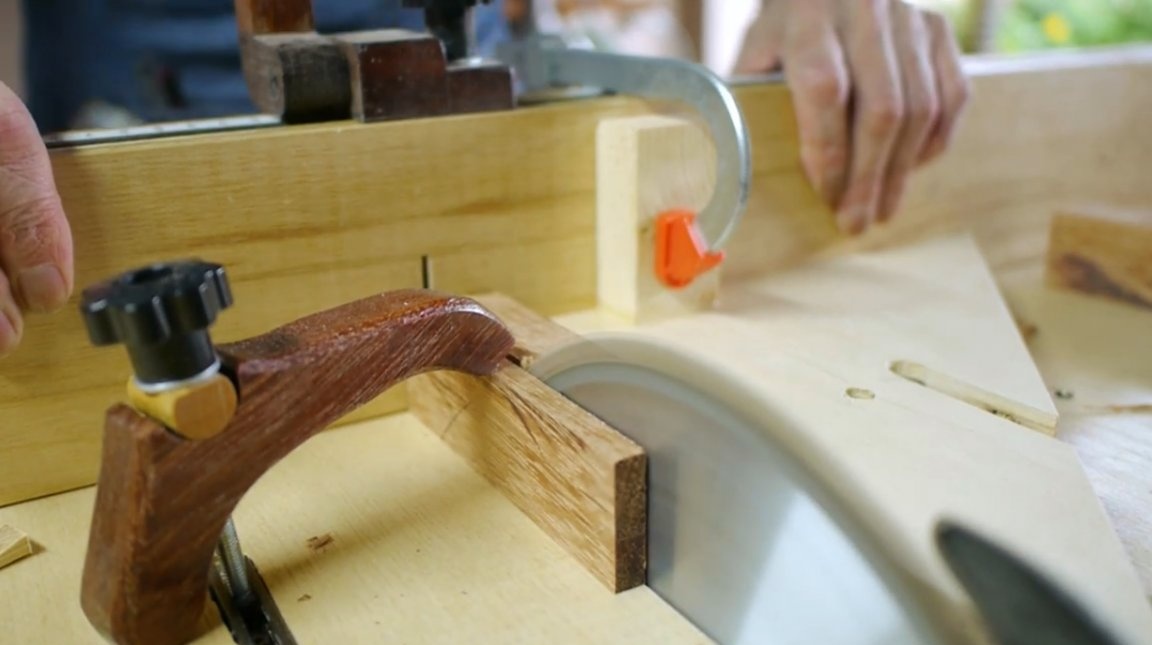
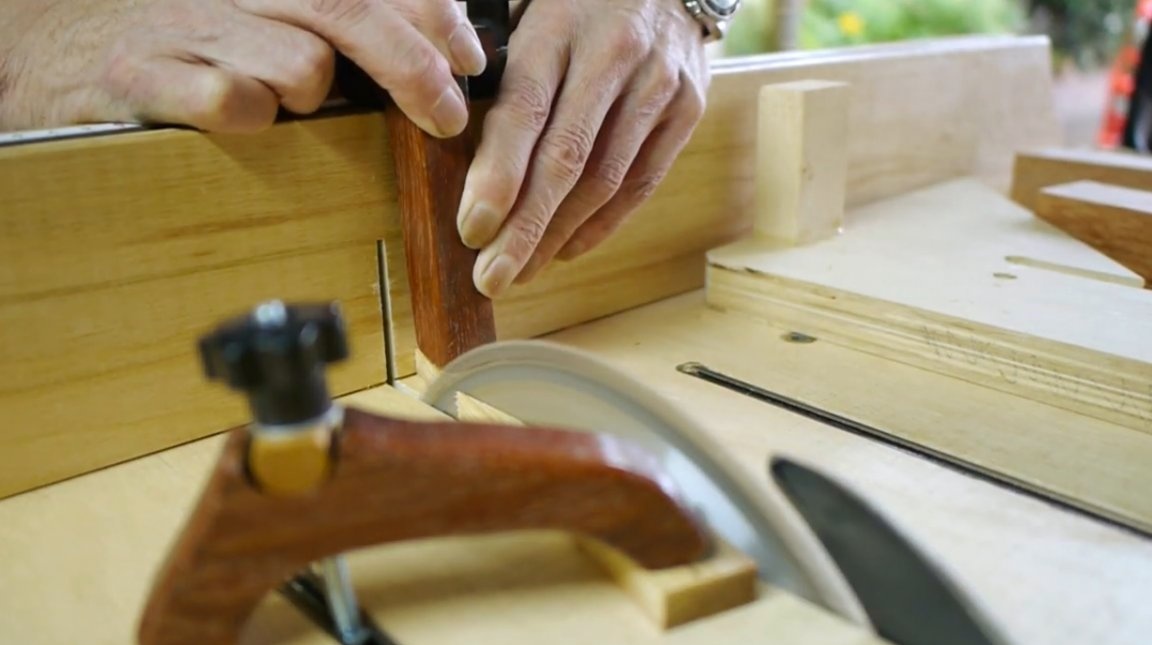
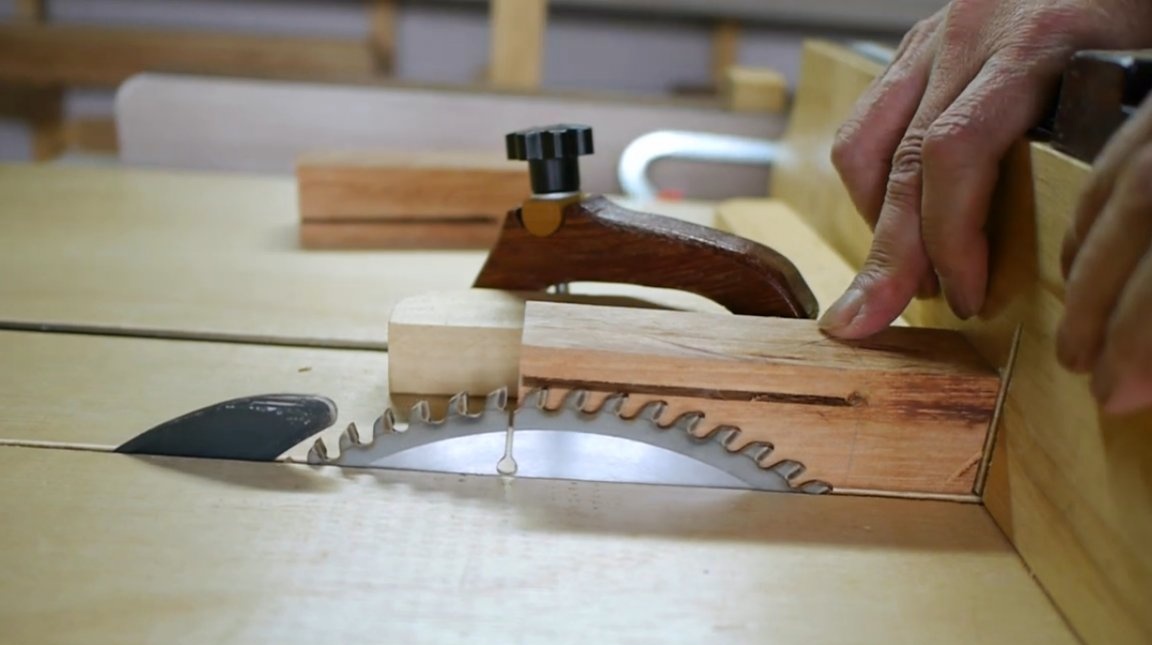
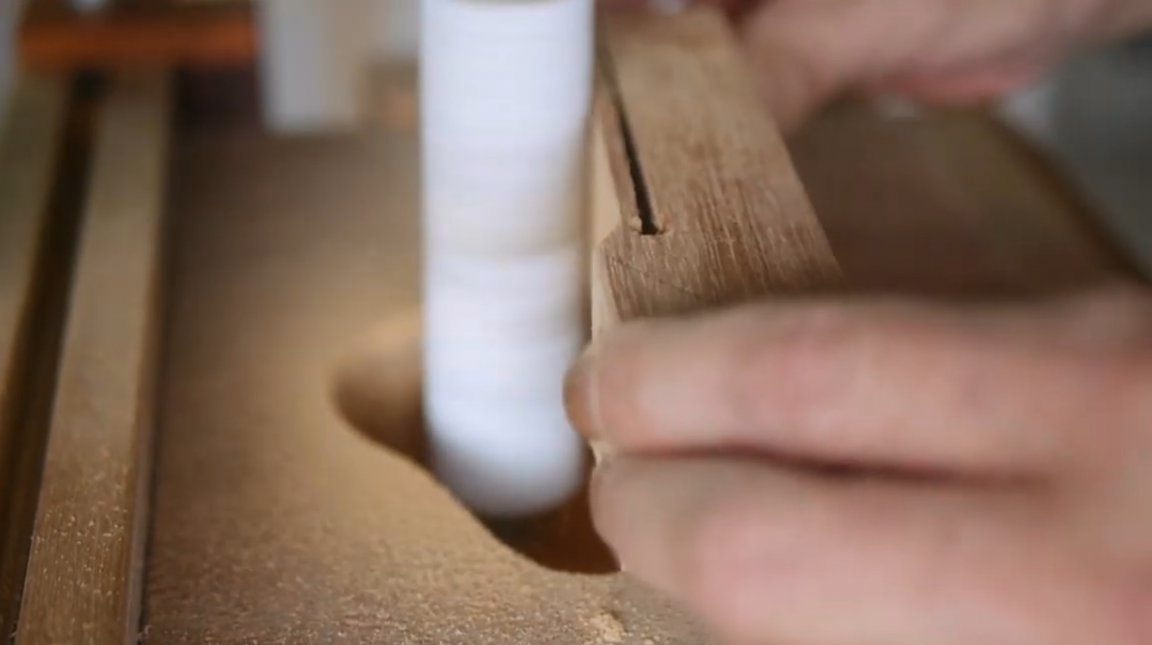
Then he needs to make a groove for the lever. This is done in several passes of the saw.
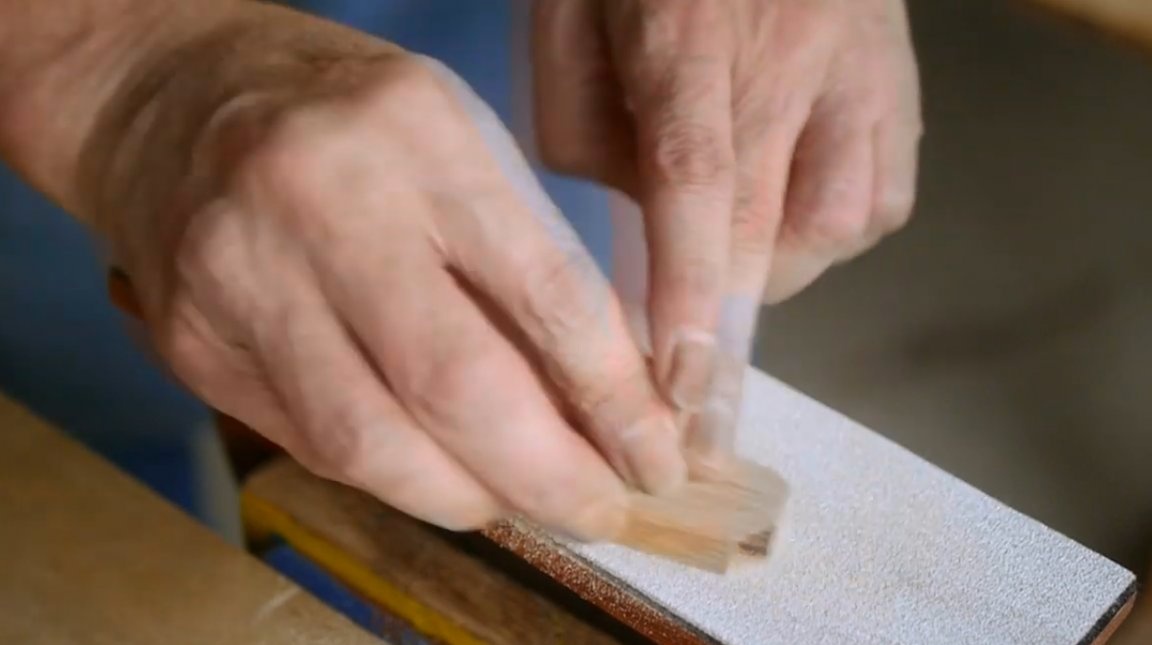
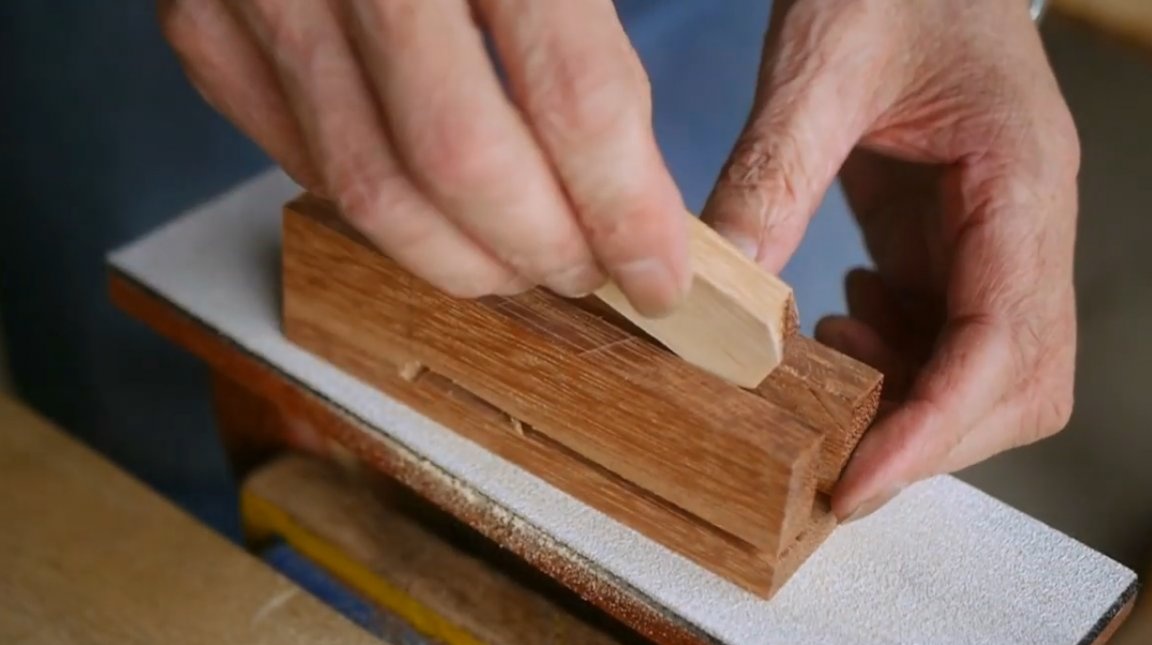
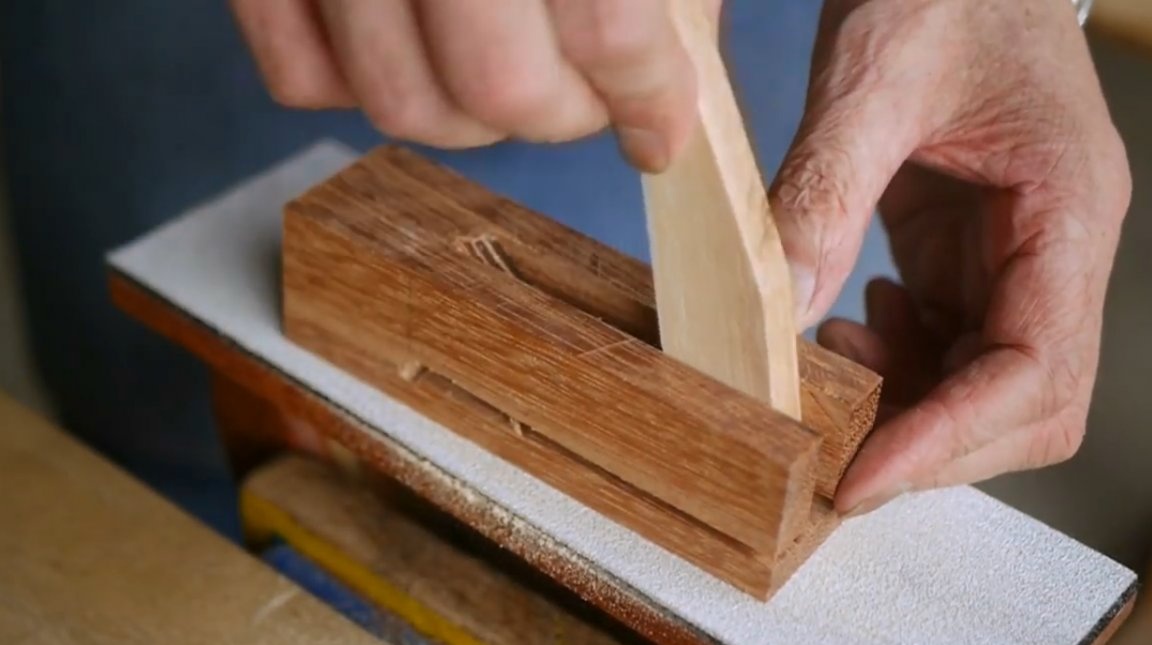
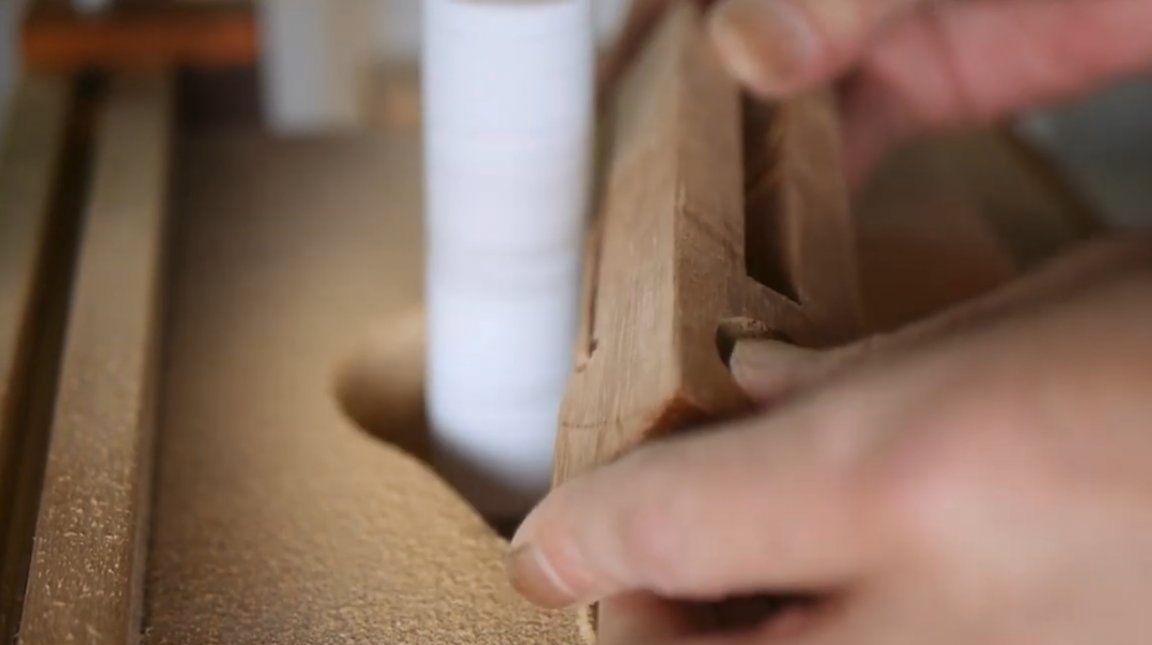
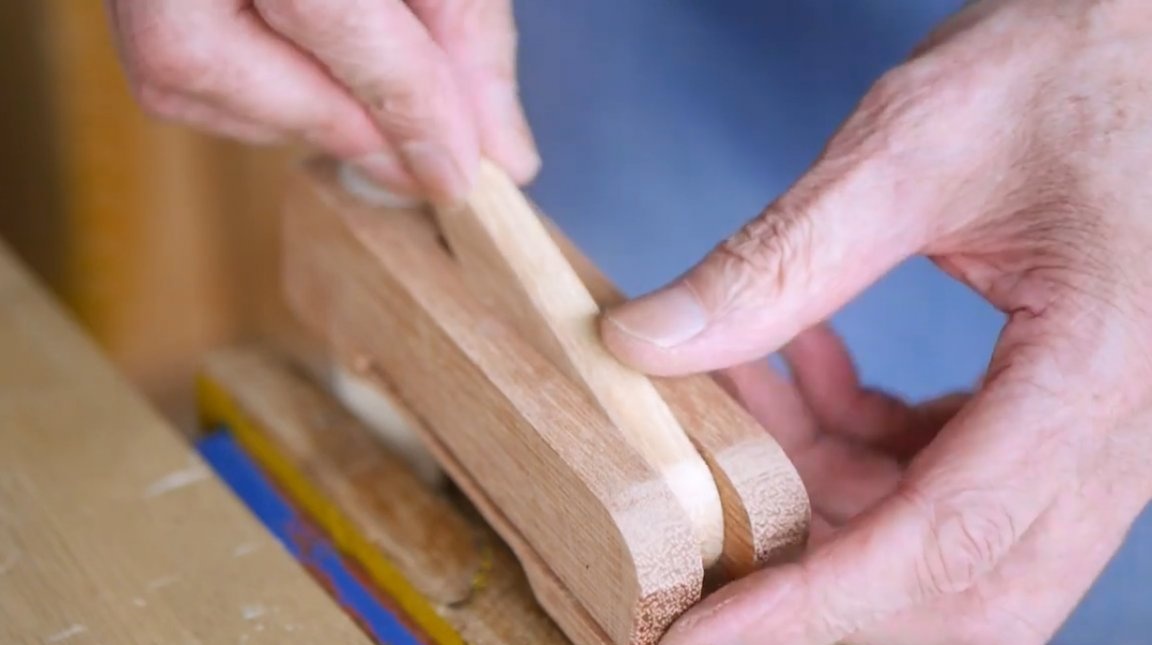
It adjusts the lever along the width of the groove, slightly grinding it in thickness.
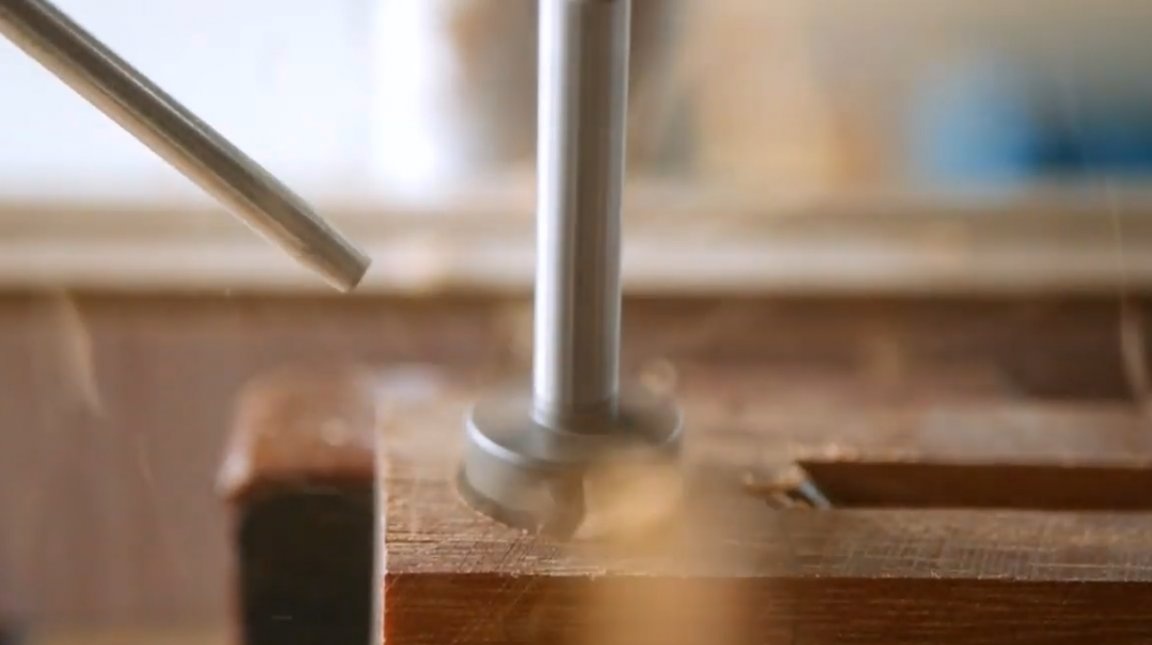
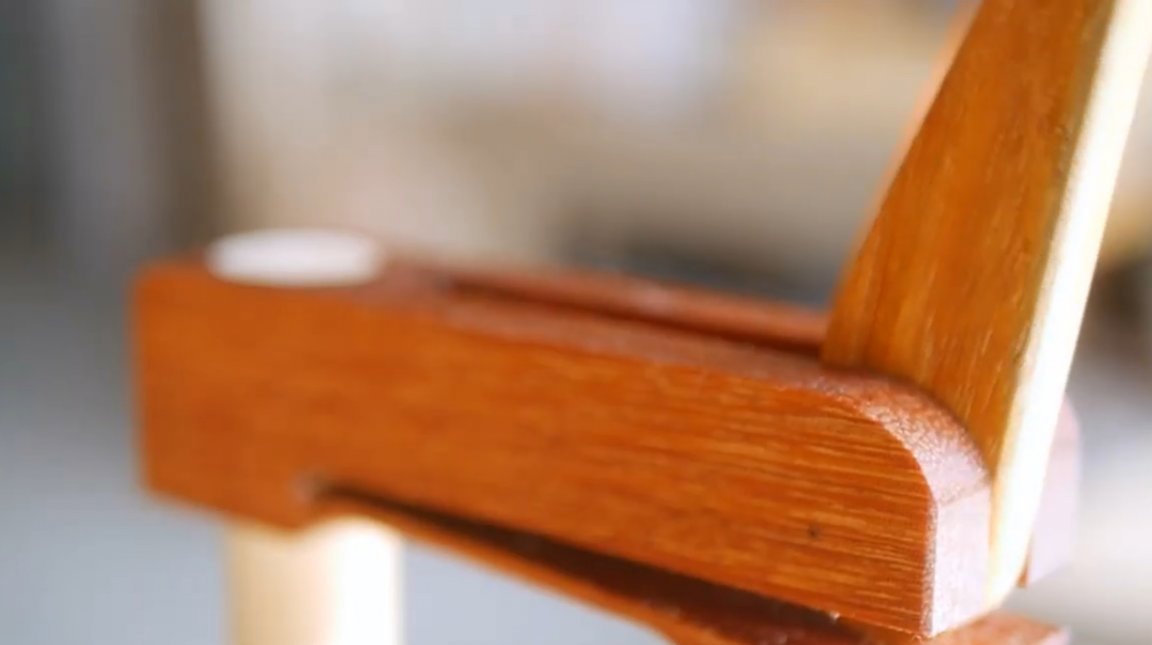
Next, you need to drill a through hole for a pin with a diameter of 24 mm.
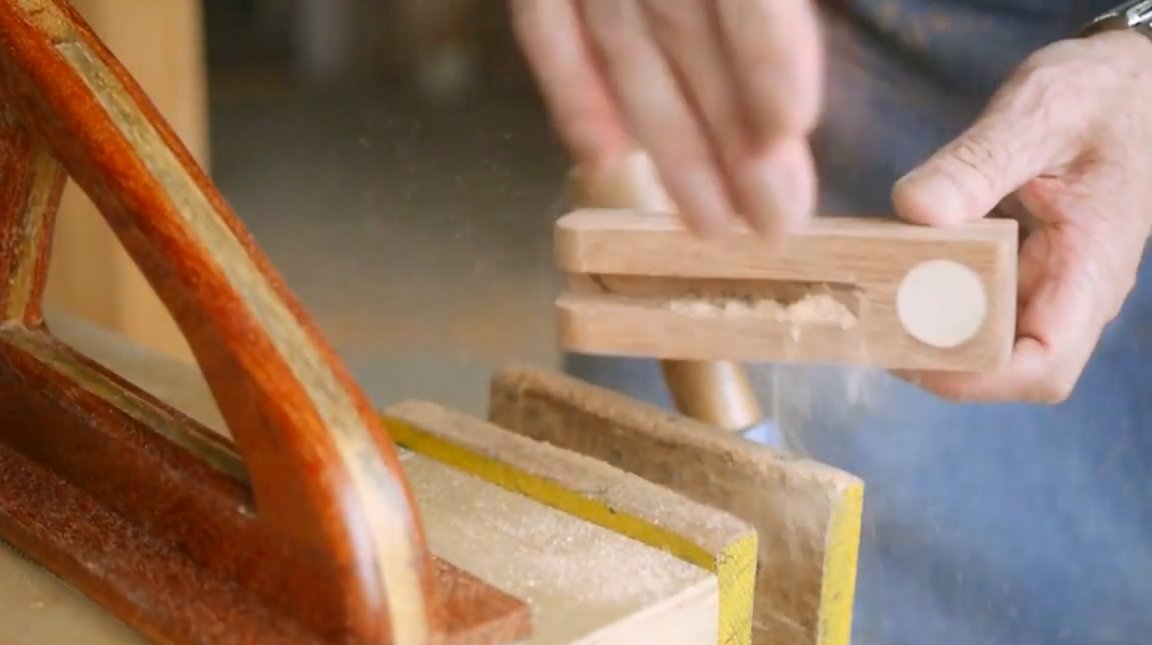
The edge of the lever is rounded on the orbital sander according to the marking. The clamp base is also processed.
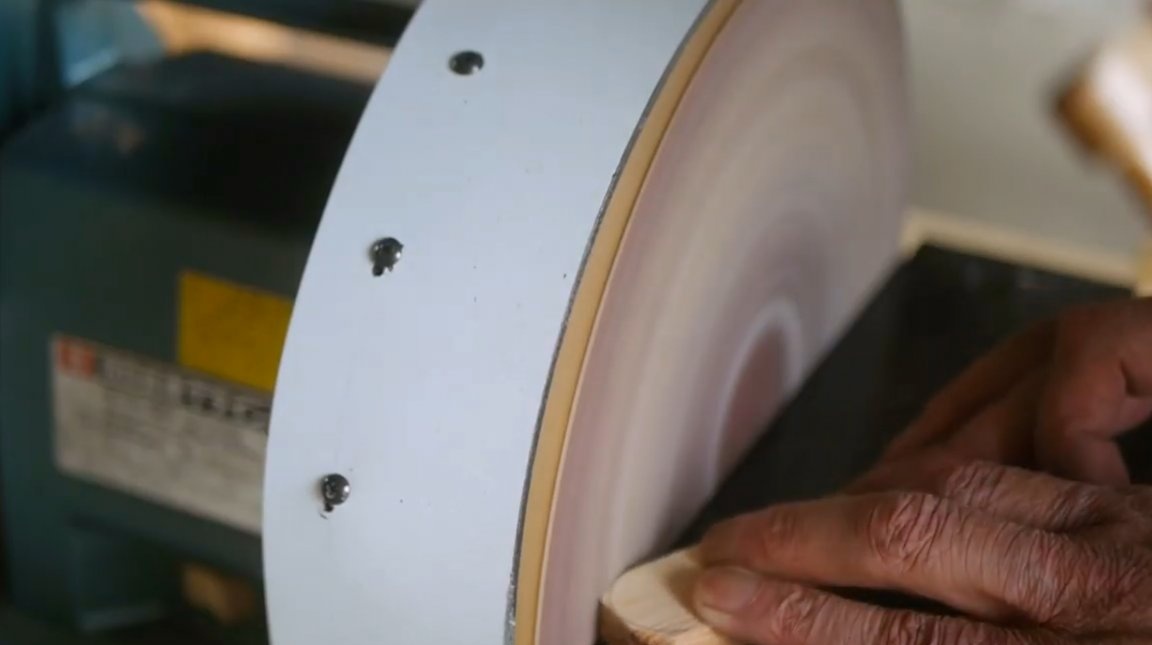
In order for the clip to spring better, the master makes a cut of its lower part, thinning it.

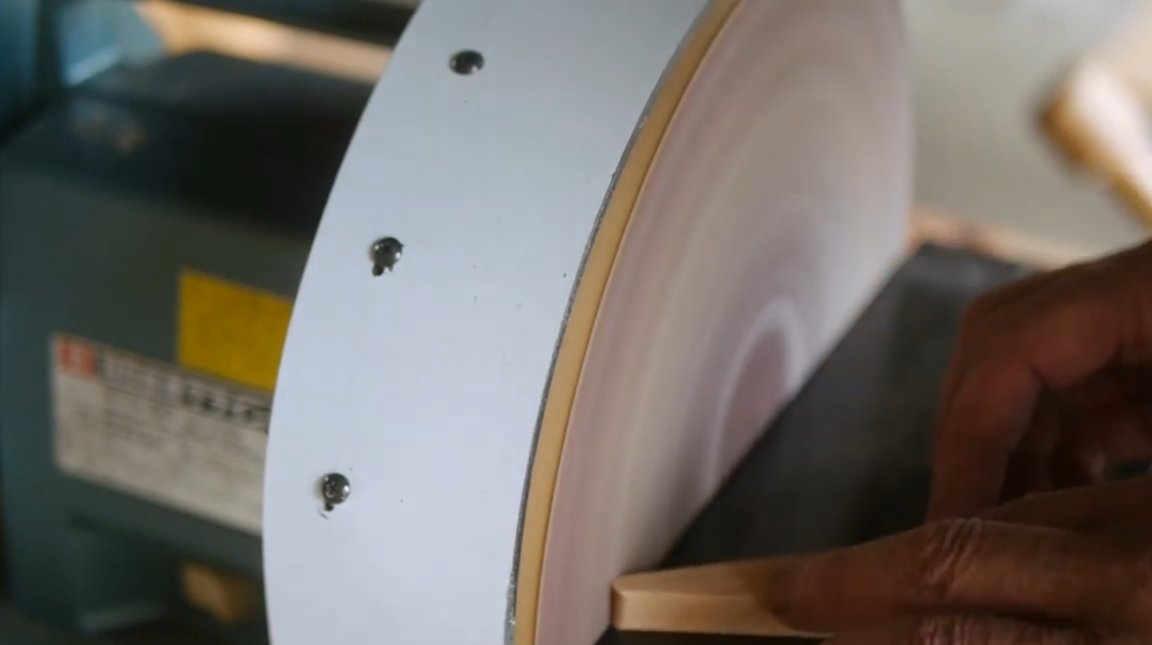
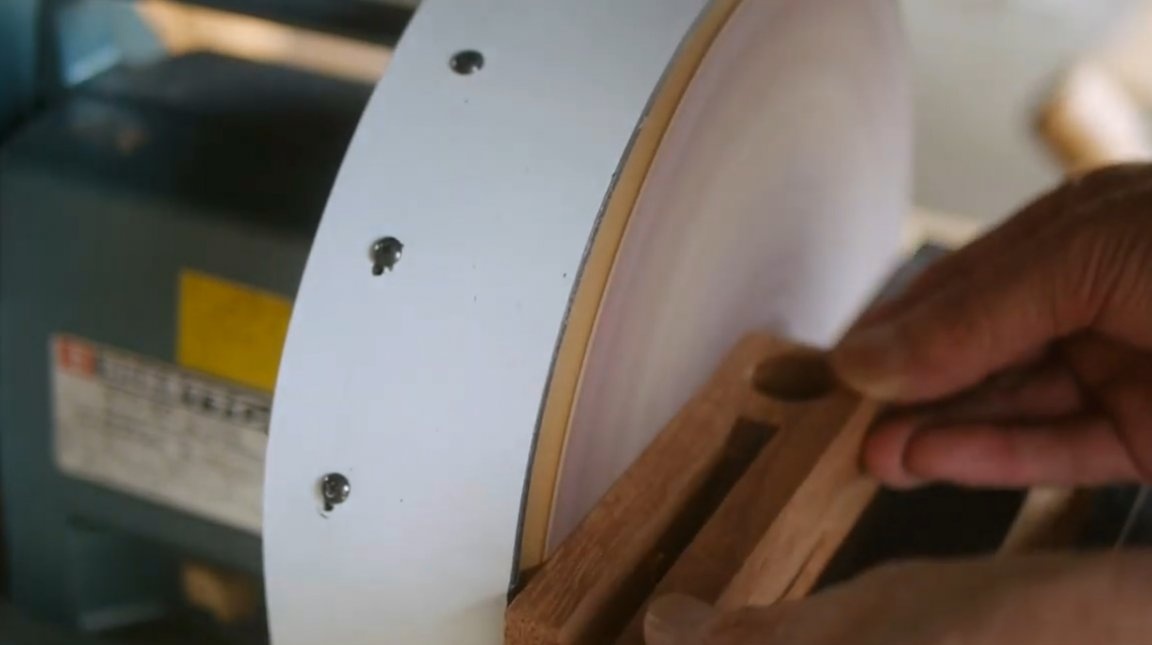
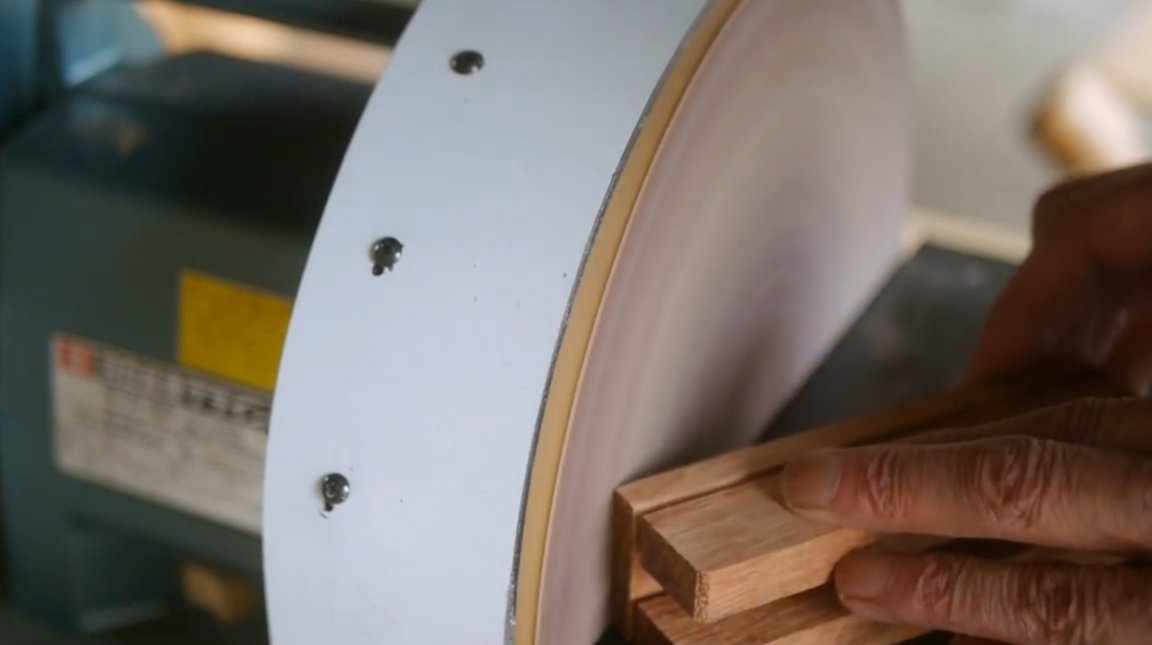
Now it processes the place of cut on a drum grinding machine.
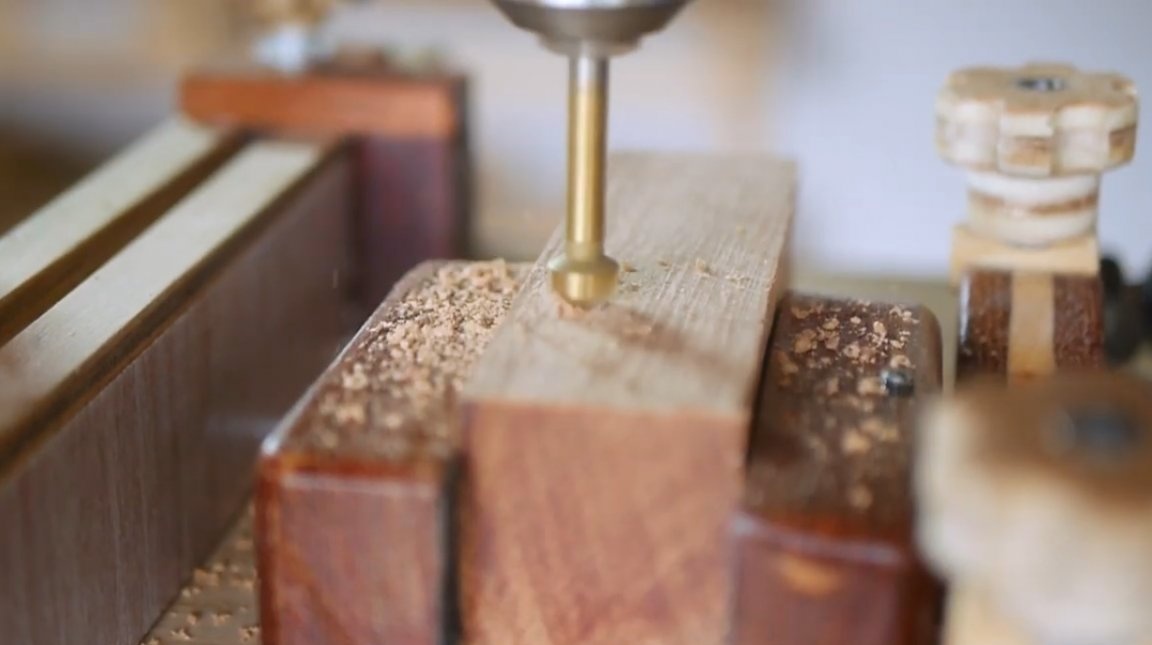
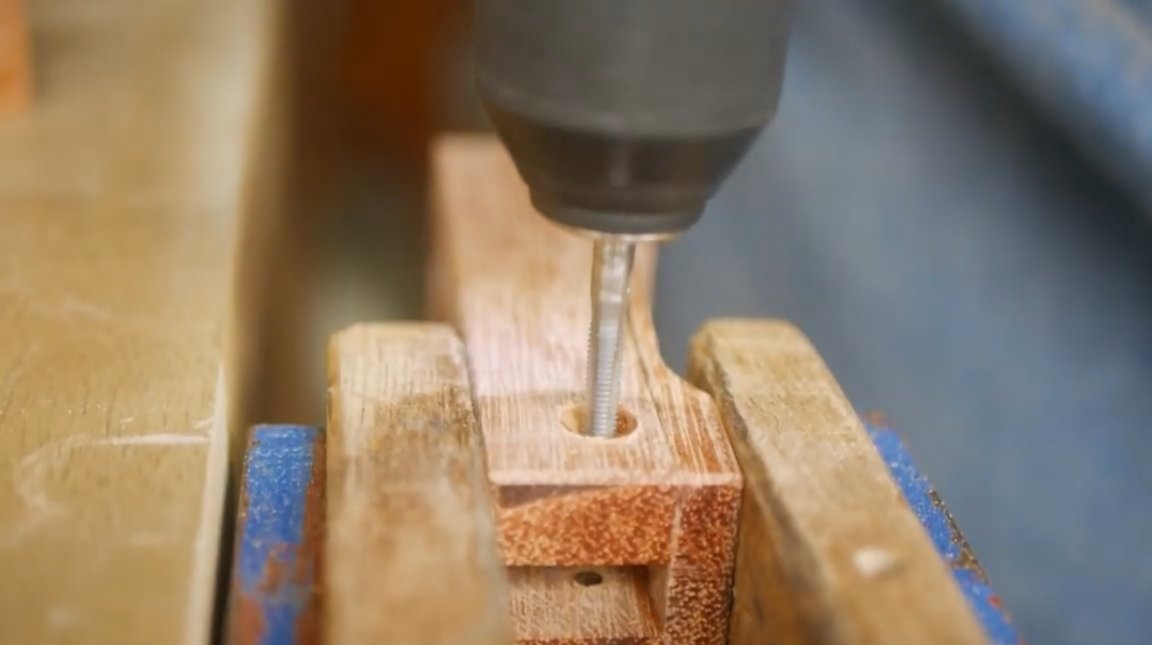
Drills a hole with a diameter of 4 mm for the mounting bolt, countersink it.
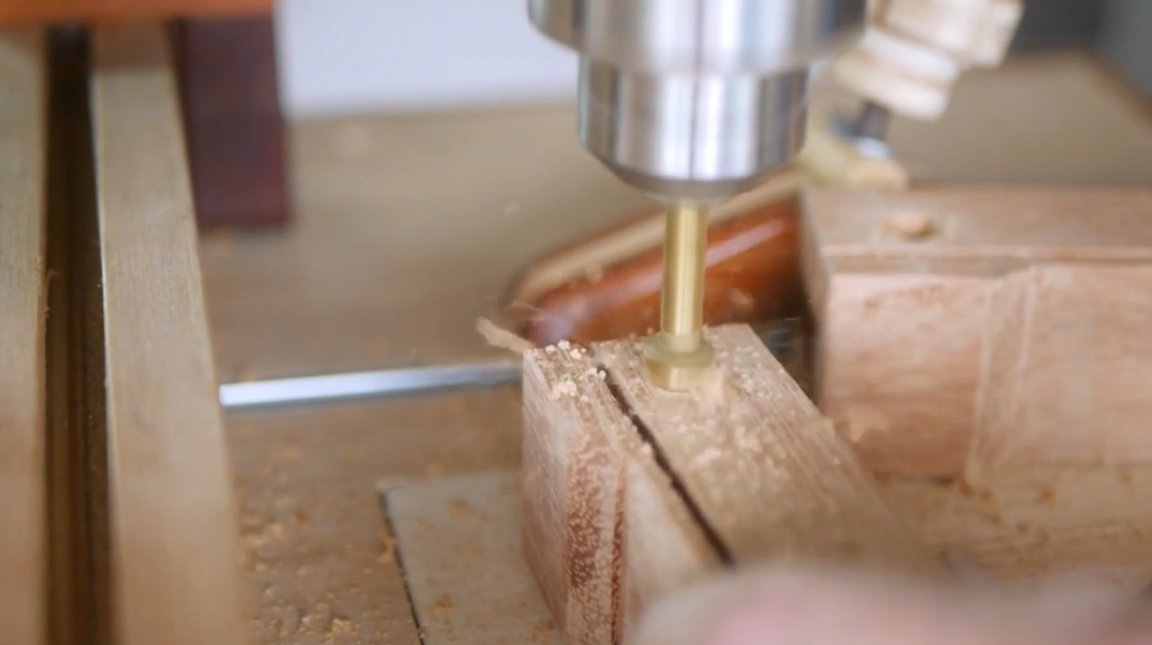
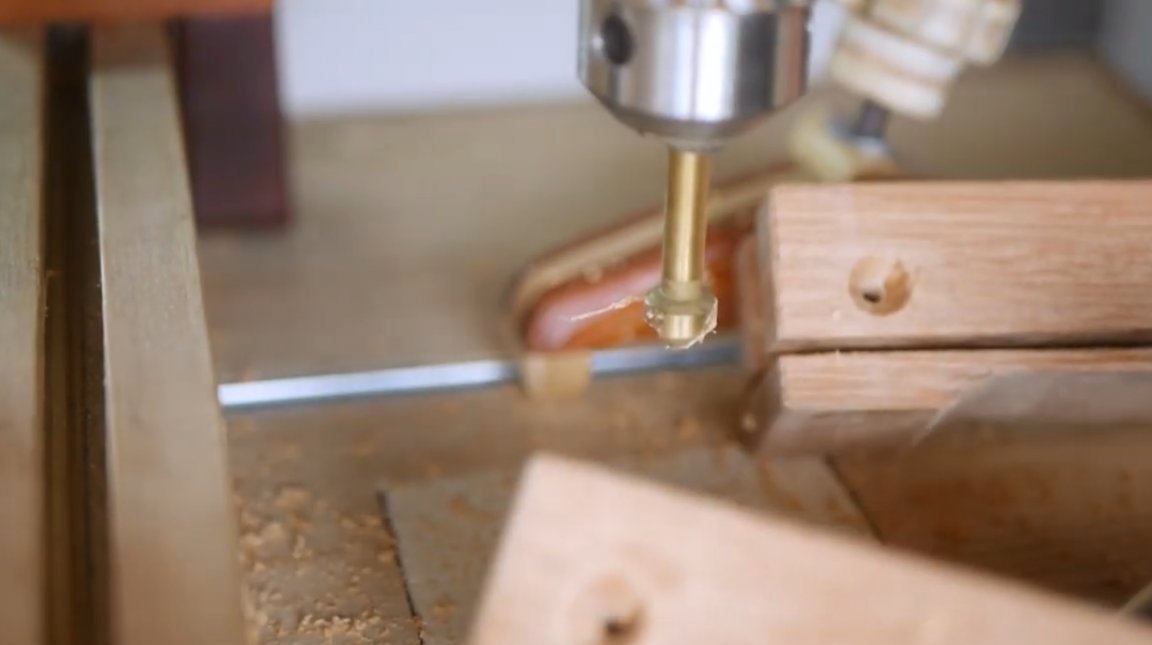
A hole of 5 mm is drilled in the lever itself, it should be offset several mm from the edge.
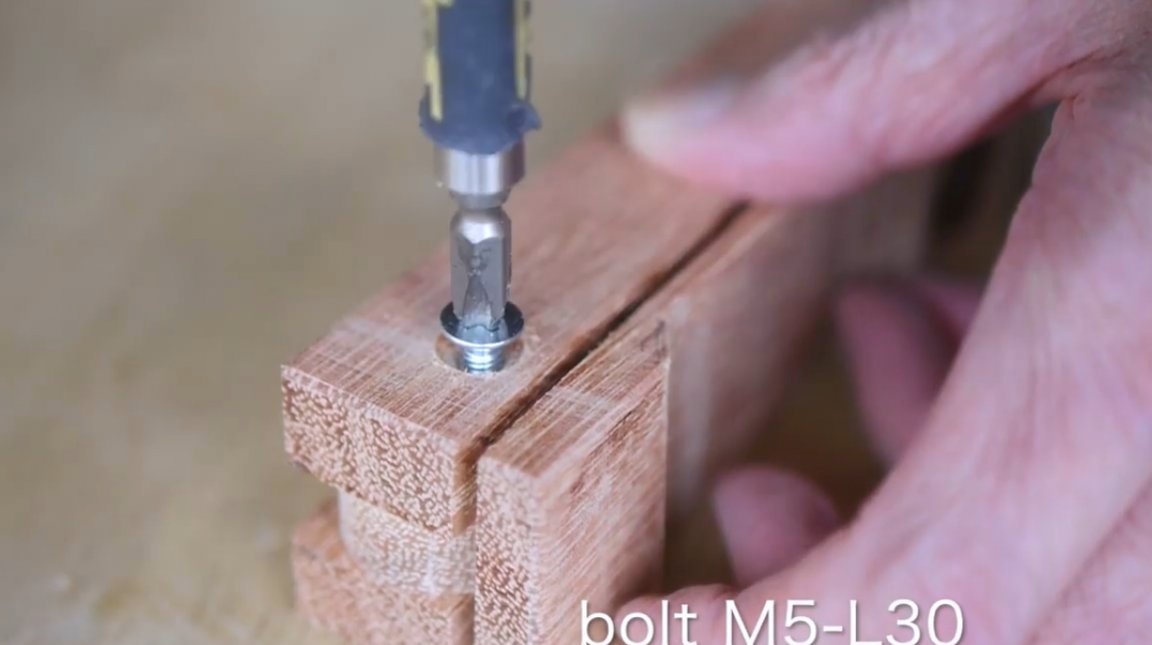
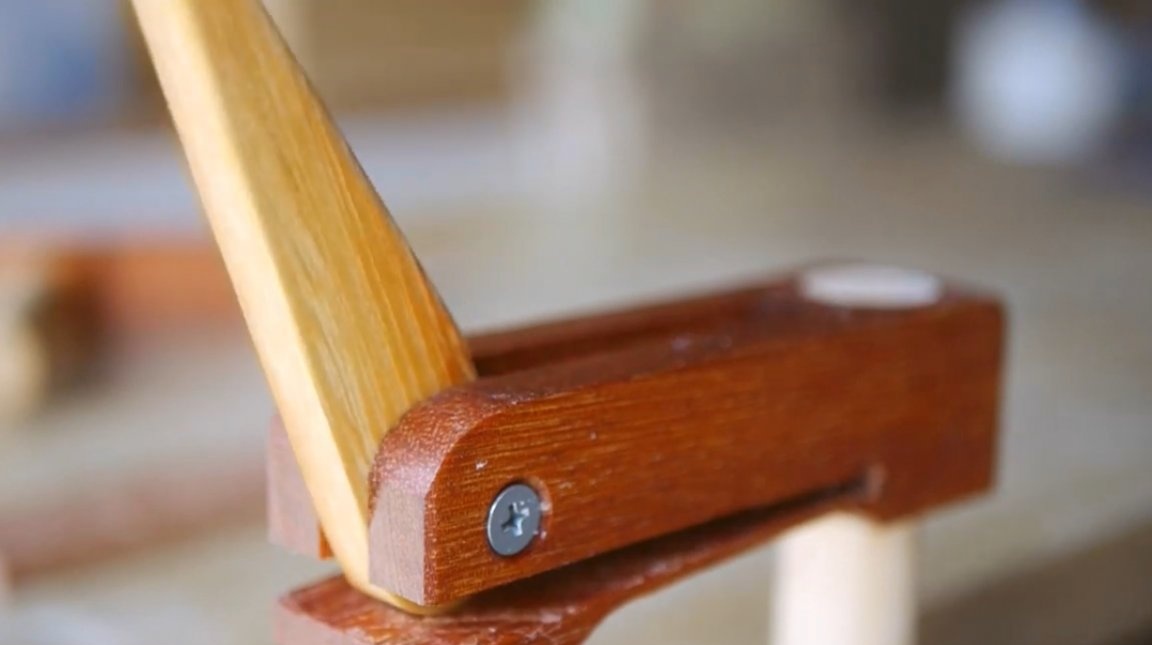
It cuts the thread at the base, and fixes the lever with an M5 bolt.
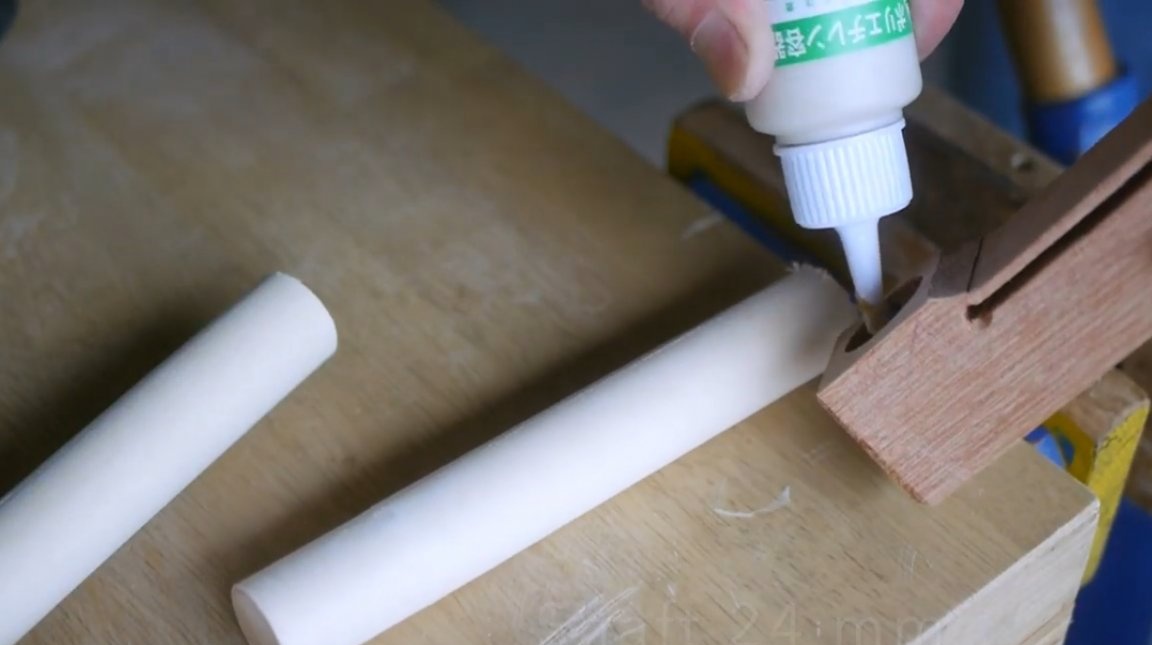
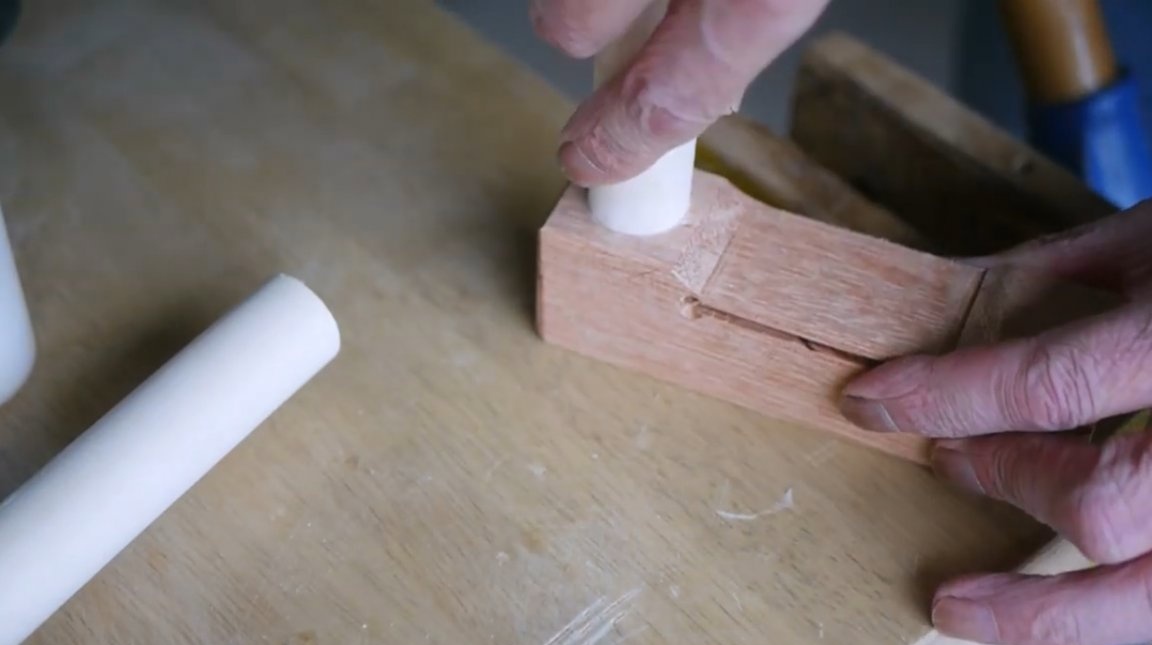
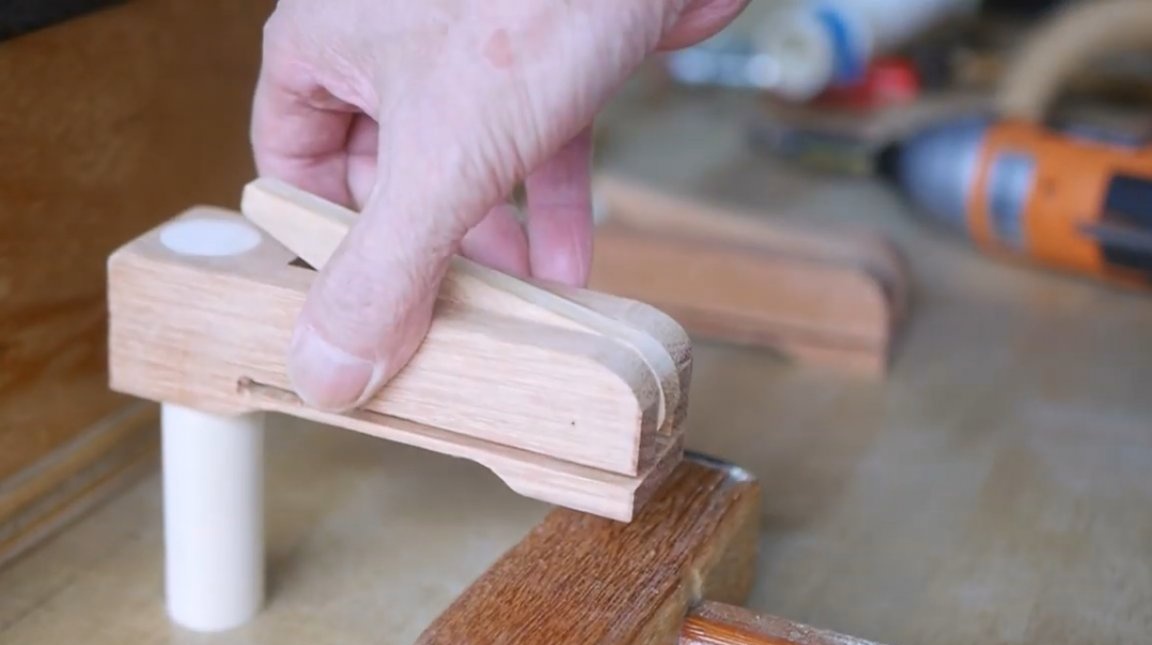
Now you can stick the pin into place.

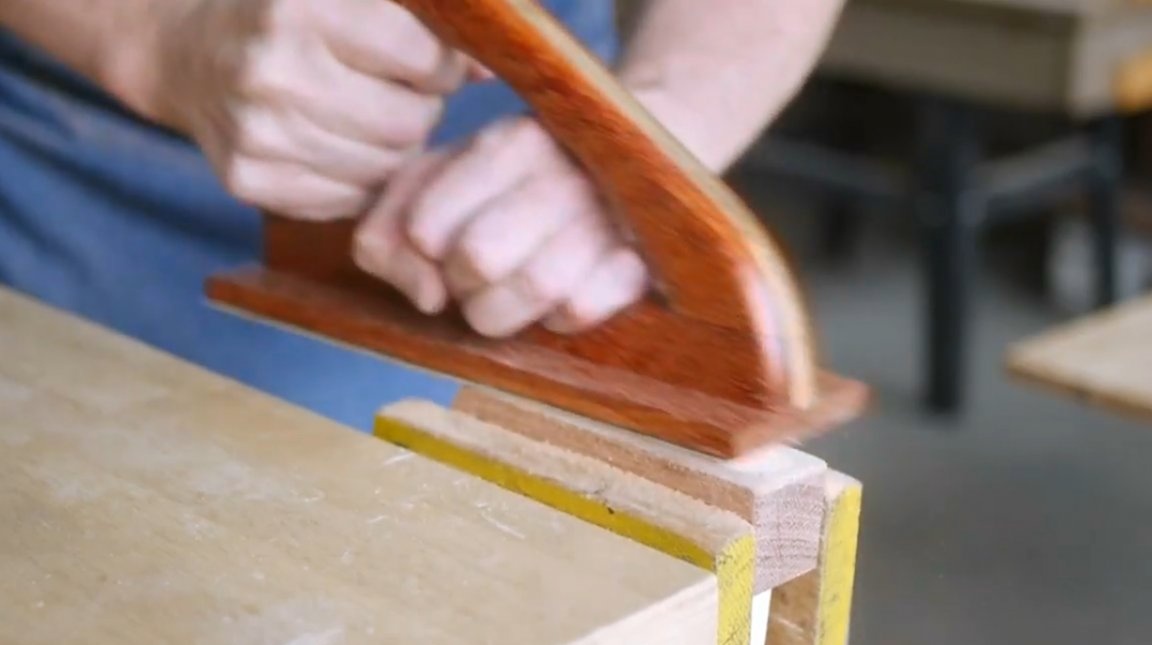
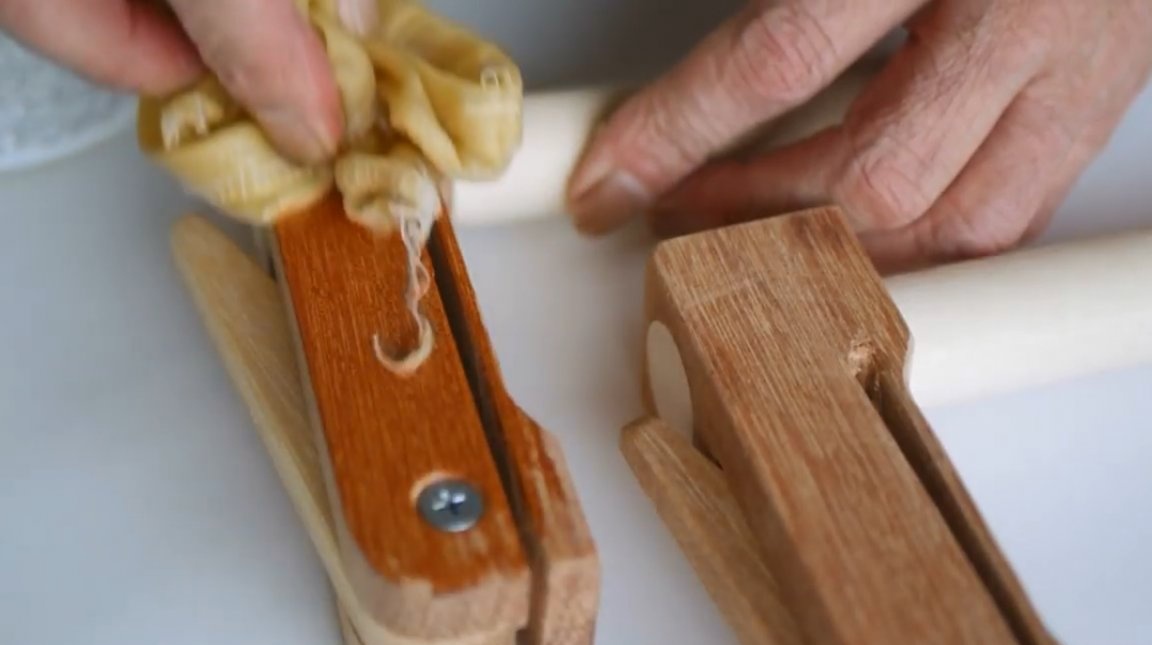
After the glue dries, it polishes the product manually.
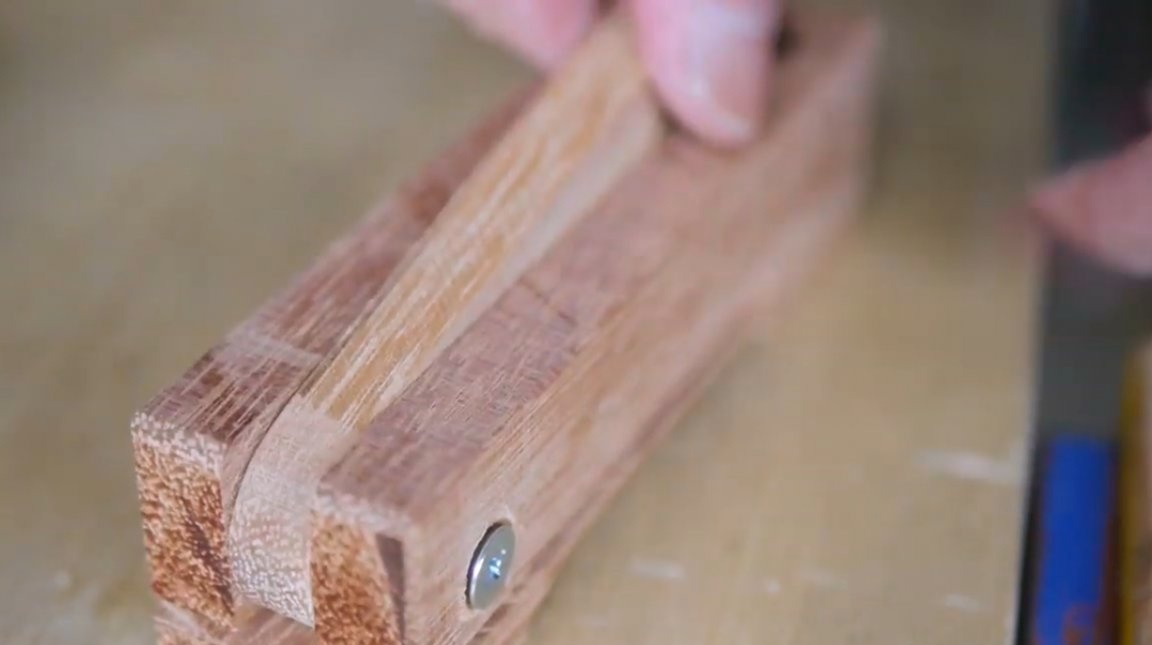
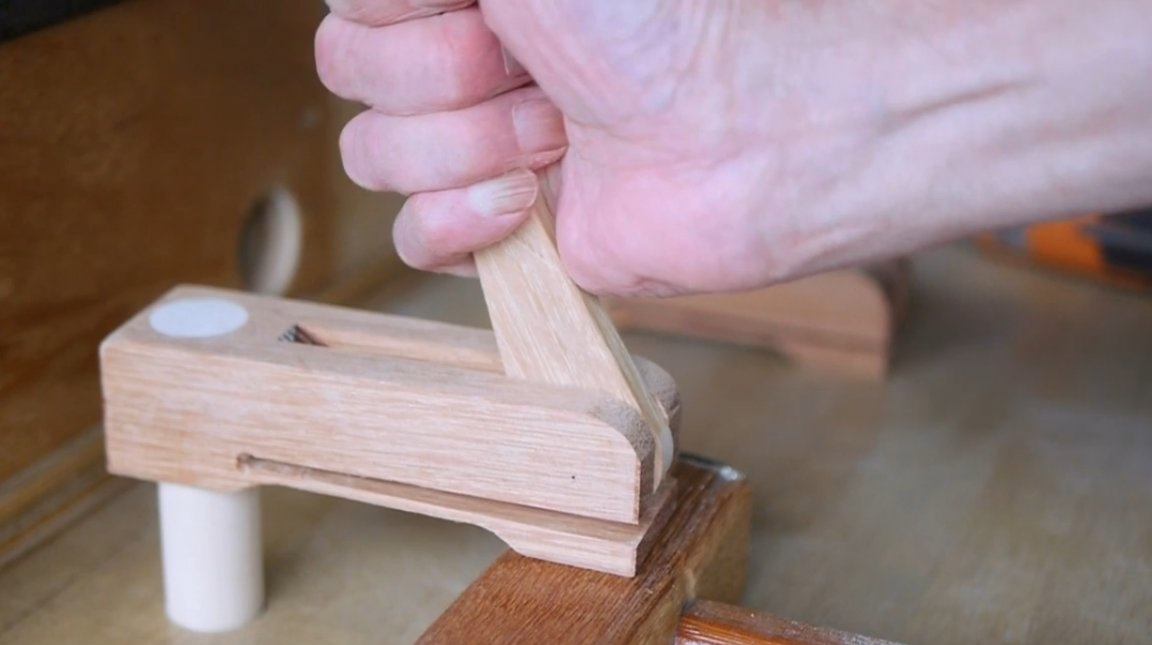
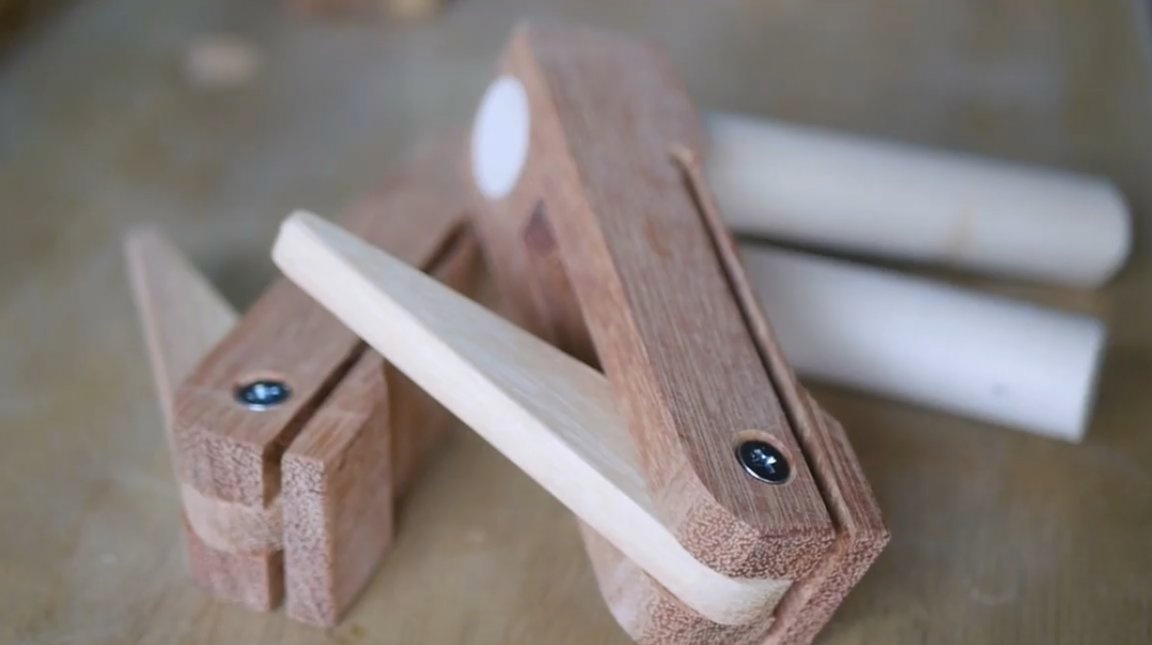
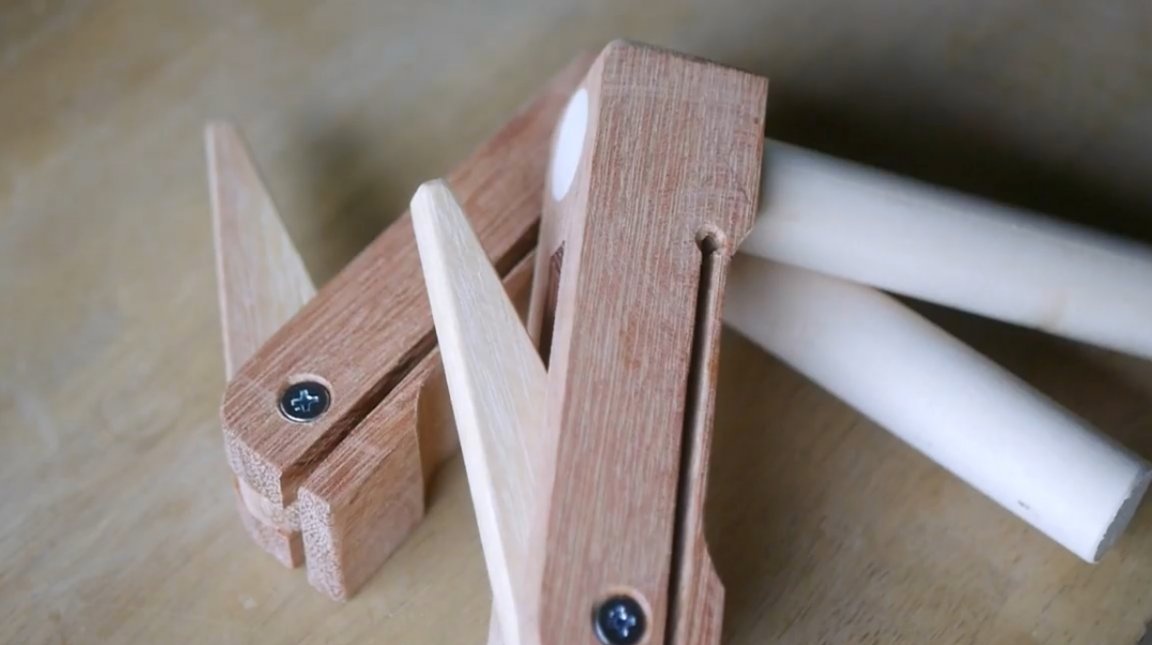
All parts are ready, you can tighten the bolt into place.

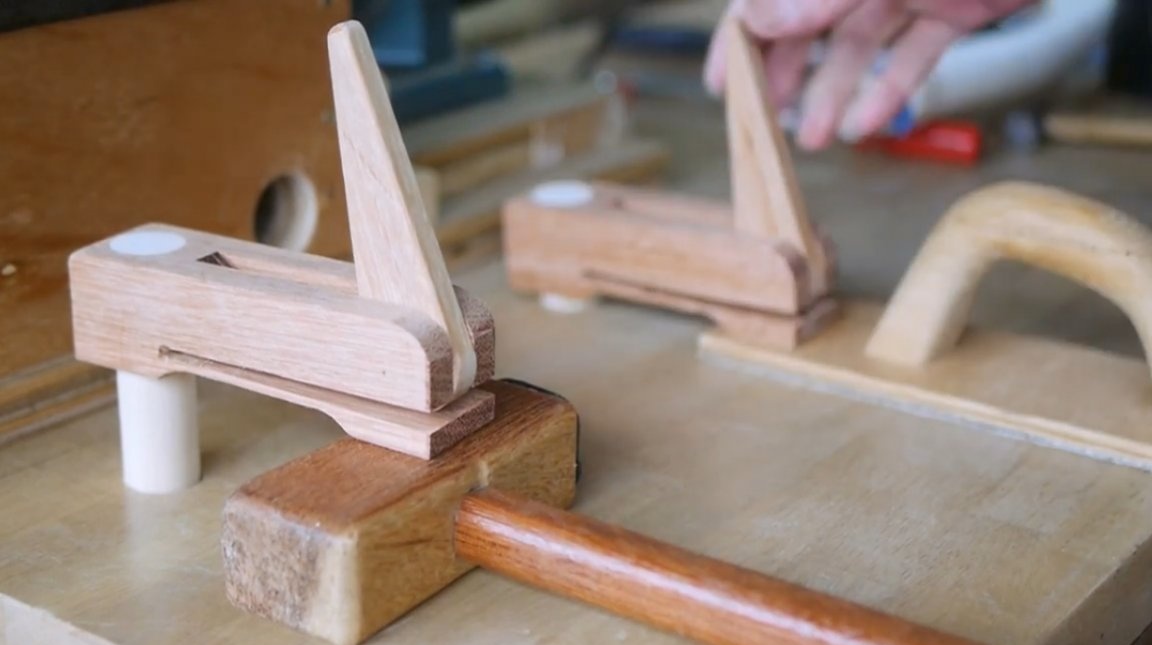
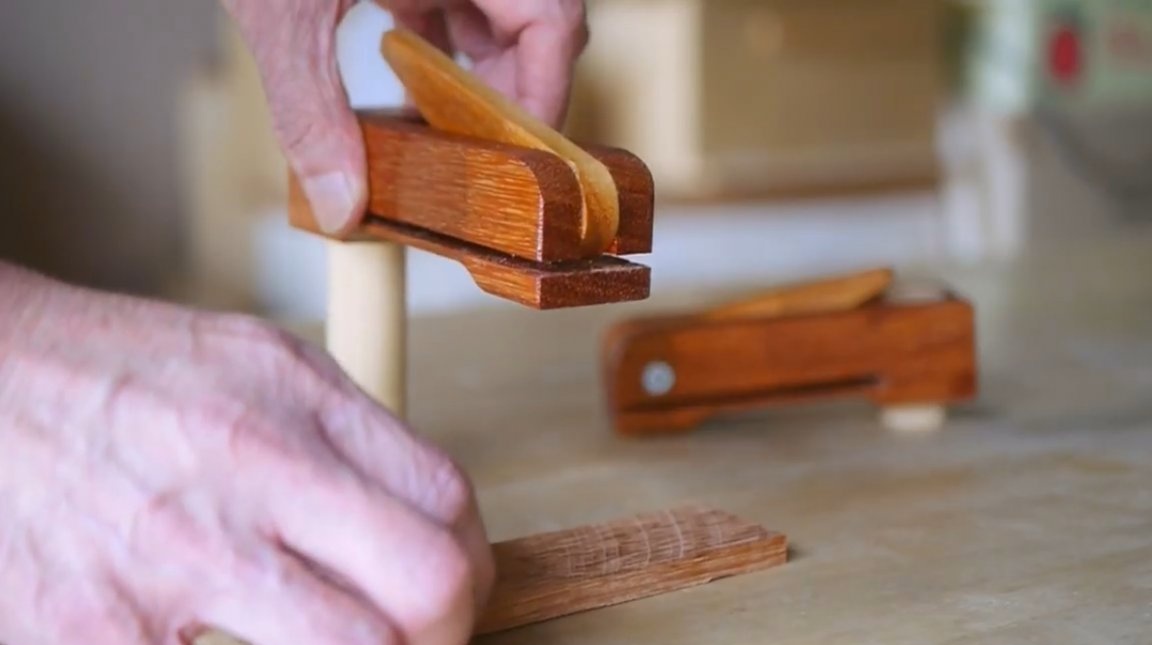
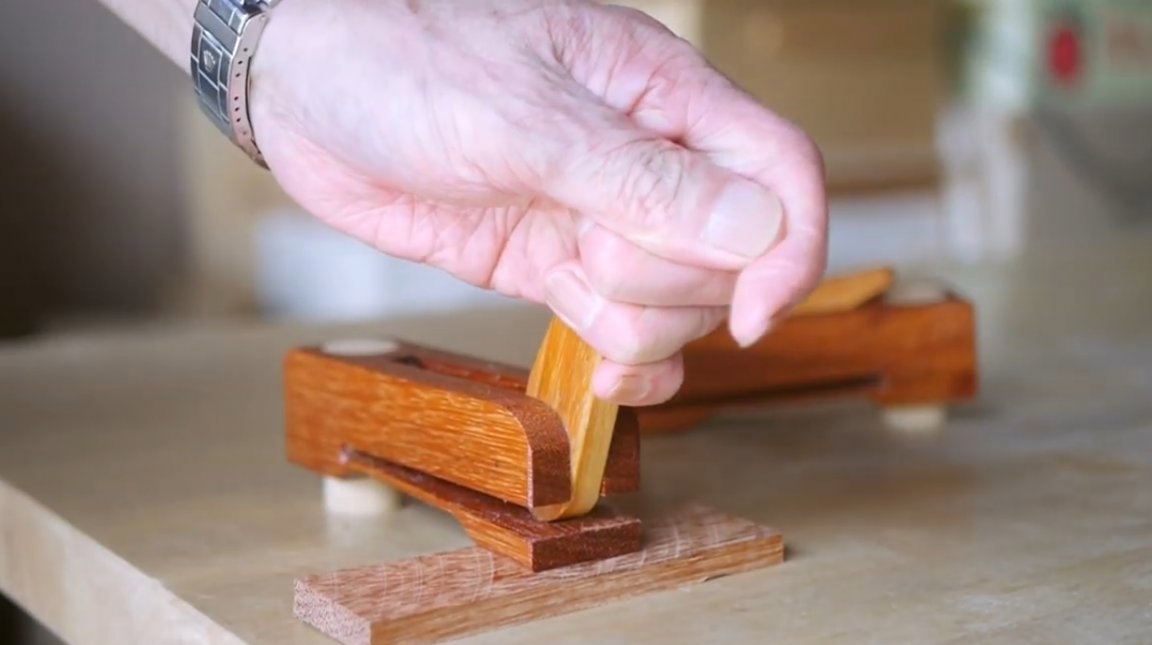
The first tests of clamps for functionality.It is very convenient to work with them, their design allows you to press parts of various thicknesses directly to the workbench.
There was the last touch, it is impregnation with linseed oil.
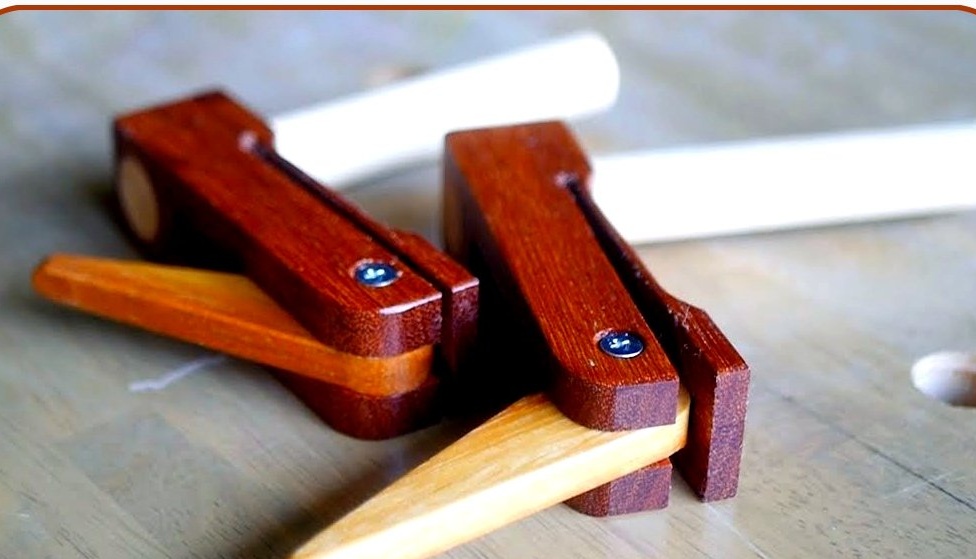
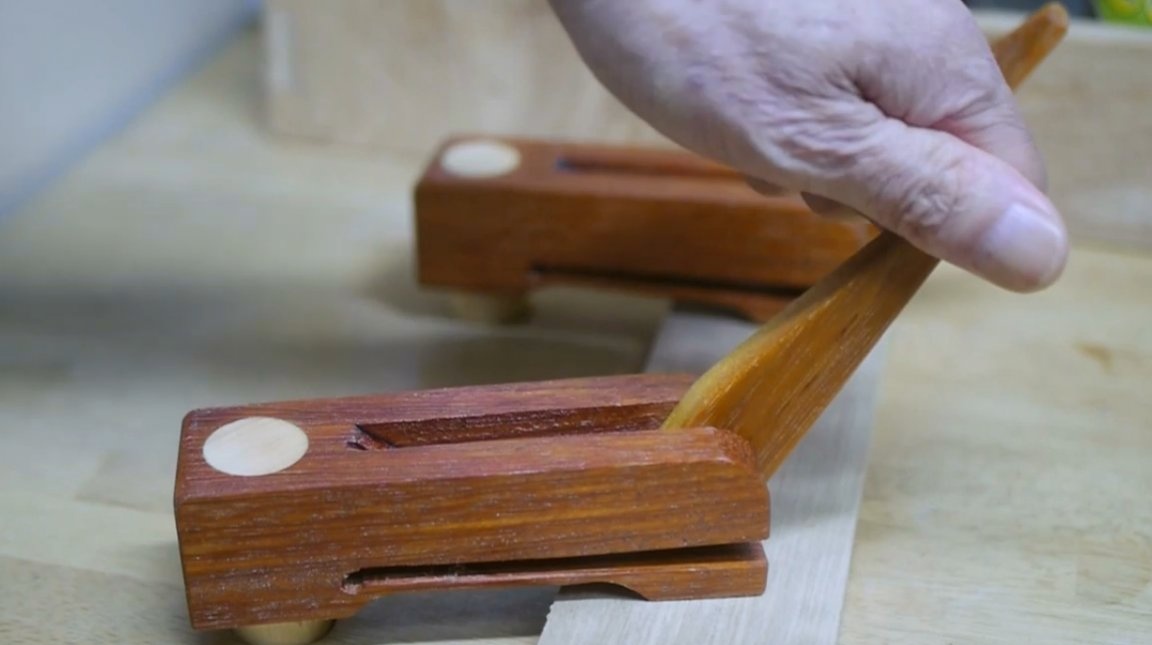
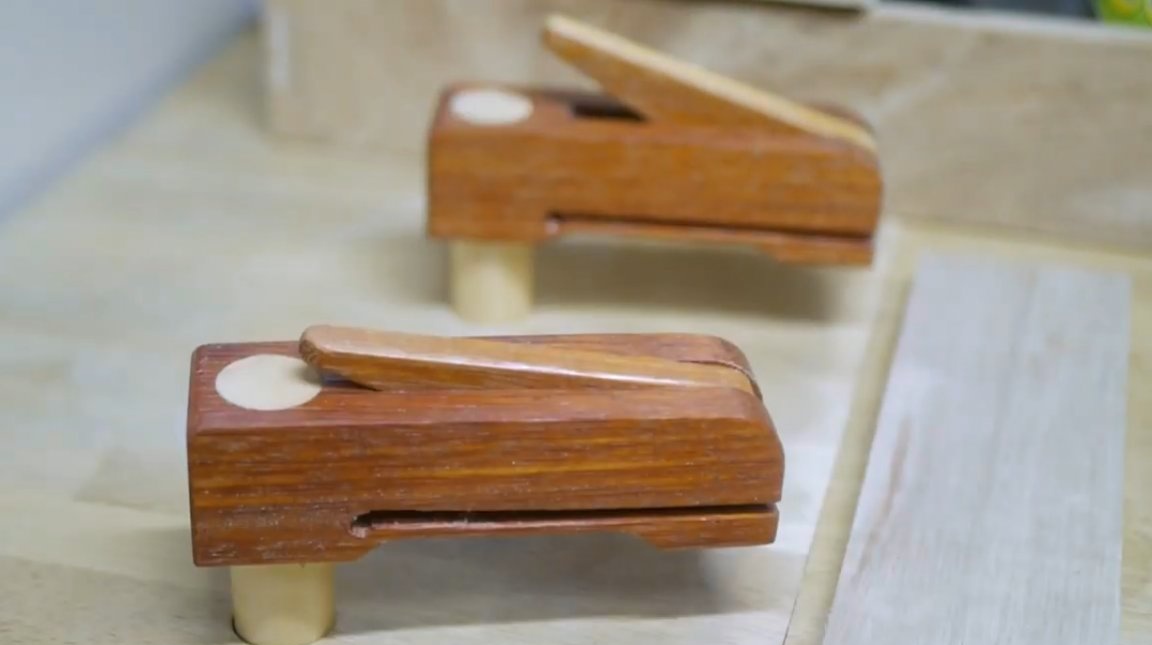
Here is such an interesting and beautiful product turned out by the master.
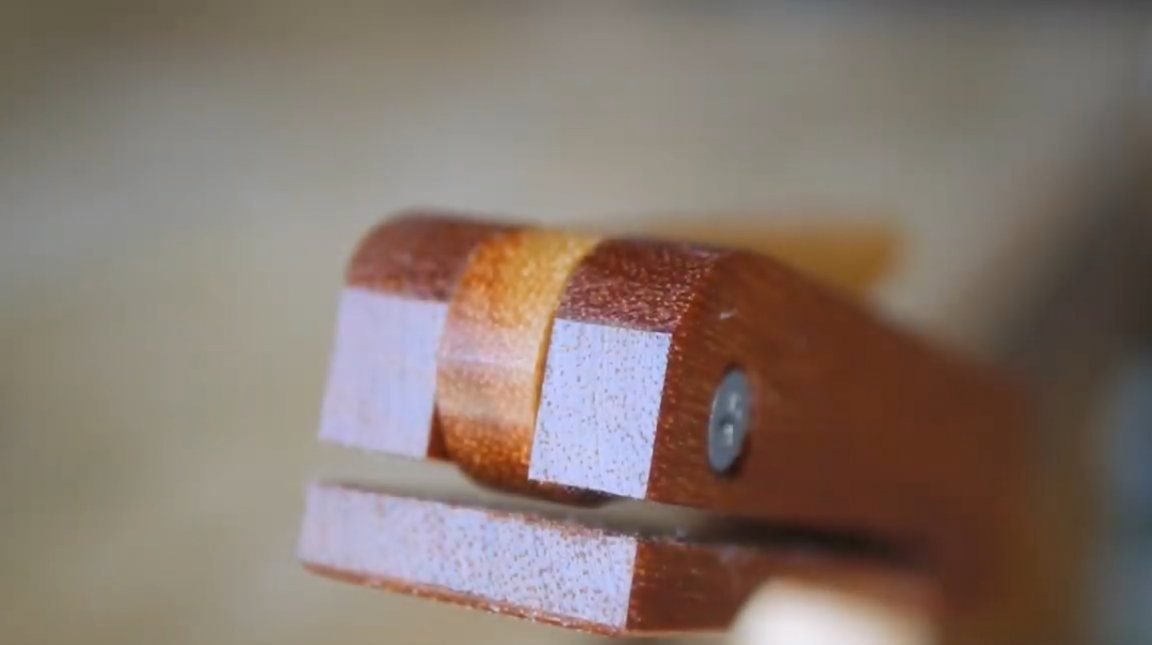
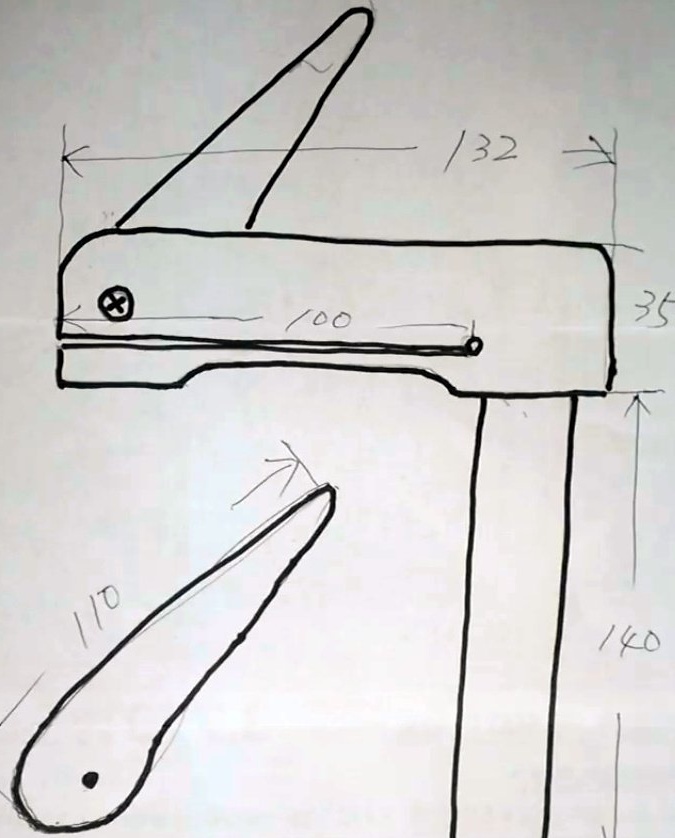
He also kindly provided a drawing according to which he made these clamps. Of course, all sizes can be changed to fit your needs. I also recommend sticking a small lining of cork sheet, fair skin, or felt on the pressure sponge.
Thanks to the author for the simple but useful device for the workshop!
All good mood, good luck, and interesting ideas!
Author video can be found here.