Today I want to tell you how, and from what, I made a pipe bender for plastic pipes.
As I have already mentioned many times, in my free time I am currently doing reconstruction of an old house. And then the turn came to the floor. The floors in the house were wooden. I tore them off, and in return decided to make a heated floor. For this, as you know, a large number of pipes are laid in a concrete screed, through which the coolant will circulate. I chose metal pipes. They bend quite easily, but, nevertheless, if you have to bend them under a small radius, the pipe often breaks. In order to avoid this, various fixtures - pipe benders and spring conductors. The spring conductor is quite cheap and easy to handle, but has a significant drawback - it significantly increases the force required for bending. Given that I now have a small problem with the elbow joint (the sore joint, as you know, is several months at least!)))), And the number of necessary bends of the pipe is close to a thousand, I realized that I need a more complex device - pipe bender! And, as a "sick master", of course, he did not even consider buying it! )))) I made it myself, and here is what I needed for this:
1. Scrap of laminated plywood, 20 cm thick.
2. Cutting the shank from the shovel.)))
3. Trimming sheet steel, 1 mm thick.
4. Trimming strip 40x4 mm.
5. Trimming the profile pipe 15x15, 20x40 and 20x30 mm.
6. Handle from an old drill.
7. The loop is metal.
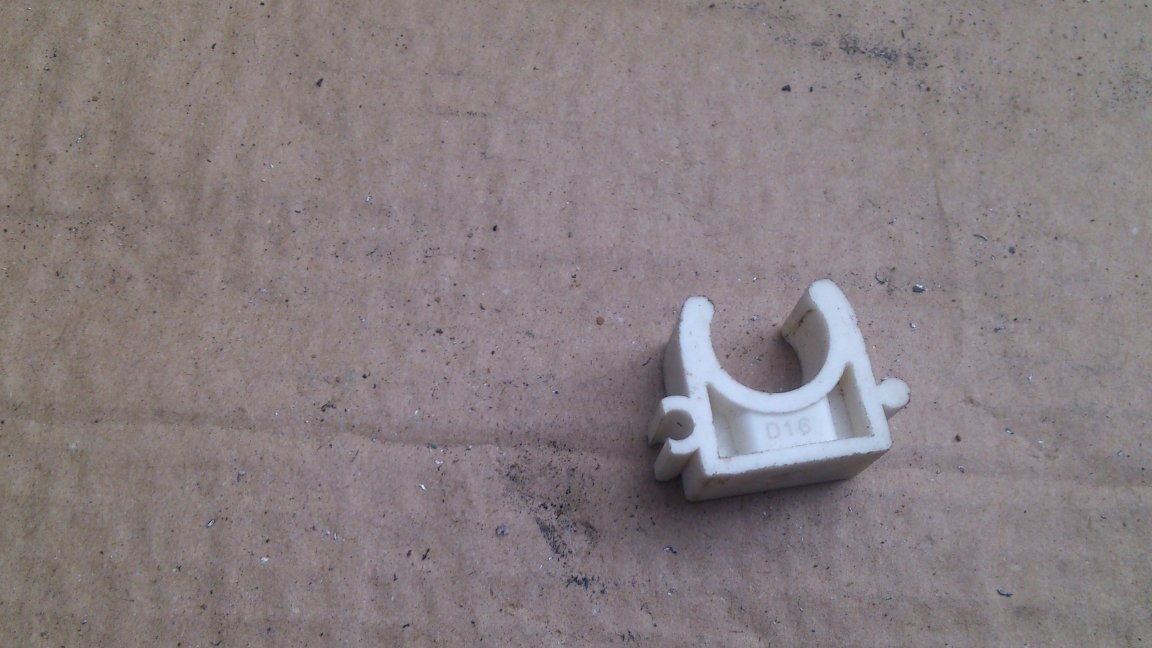
8. Clips for fastening pipes.
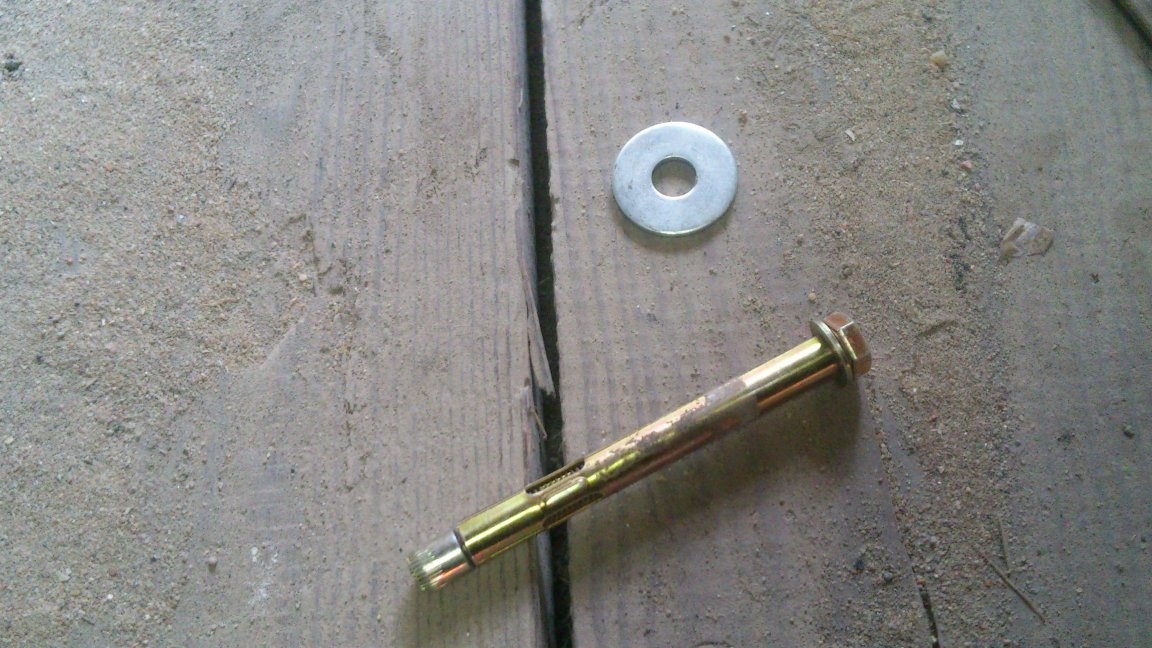
9. Anchor bolts 10x100 and 12x100 mm.
10. Hardware.
As you can see, mostly scraps and leftovers! ))))))))
Pipe benders are different - "rolling" and "crossbow" types. Having thought what tenologies and materials I have, I decided to make a rolling one. The principle of its action is like a seaming machine. The pipe fits into the groove of the template pulley using a pinch roller.
First of all, I decided to make a pulley-template, as the main structural element. Everything else will "dance" from him. I thought over the device for a very long time.And for the manufacture of this part I decided to use a non-standard method - to use a wheel from a trolley for hand luggage (or from a "sitting" baby carriage of the old type) as a pulley, cutting off the rubber from it.))) These wheels are sold in large quantities at the "flea markets" " There it struck me. But then the deadlines were still “not running out” and I decided that I would buy it later ... “There are so many! ... Maybe I’ll see better!” I thought then ... and having calmed down, I safely forgot about it .. .. And, as often happens, at the end of the term “time has accelerated”, there were a lot of urgent matters, and when I realized that I needed a pipe bender tomorrow, and it’s too late to find the wheel, I decided to get by with what is at hand .))))
I had trimmed laminated plywood, 20 mm thick. Once I picked up the remains of the formwork near the construction site where the frame building was built. Then I cut out of these pieces the blanks for the homemade crossbows ... And from this plywood I decided to make a pulley-template.
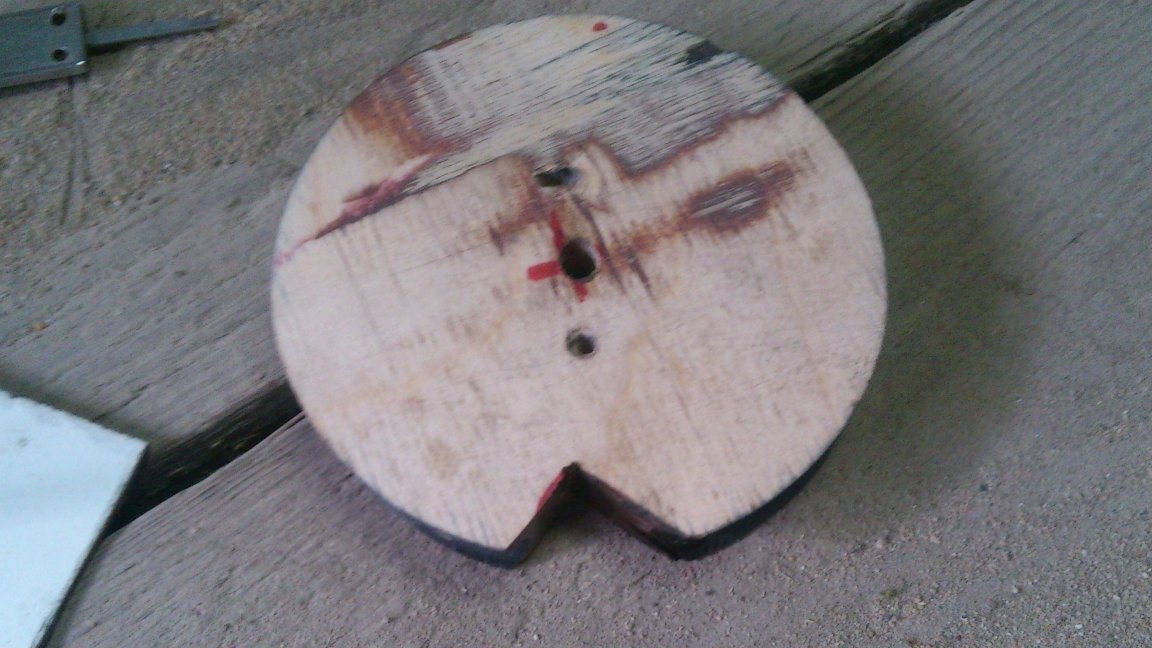
Cut a piece of 10 by 10 centimeters:
And on his homemade machine he gave it a round shape:
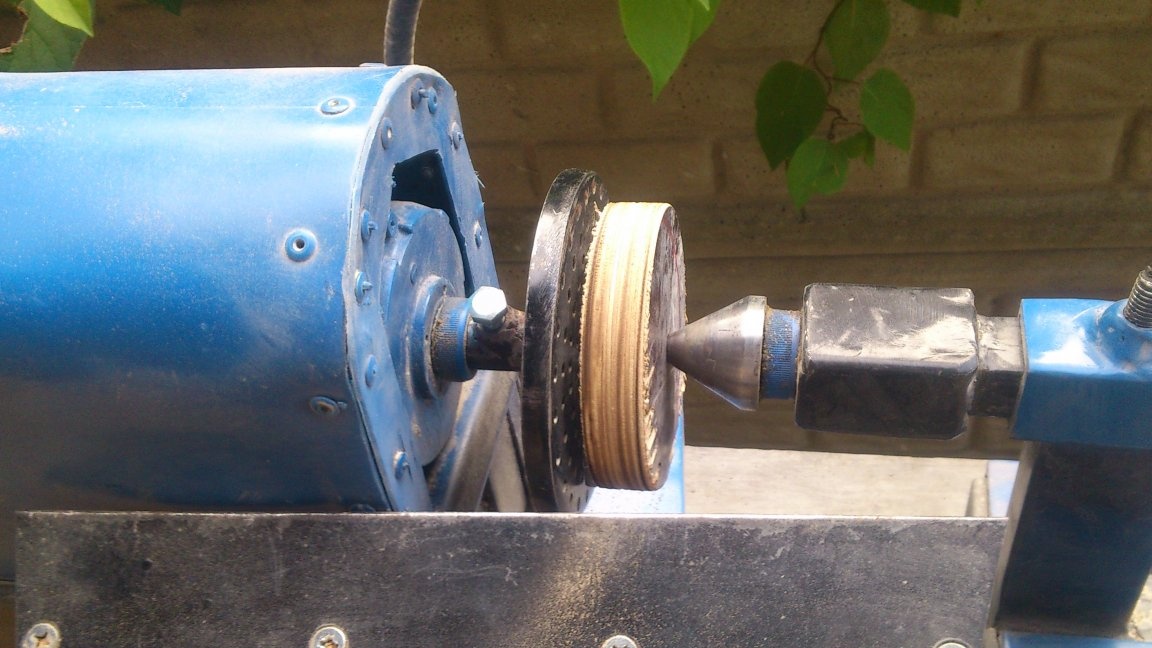
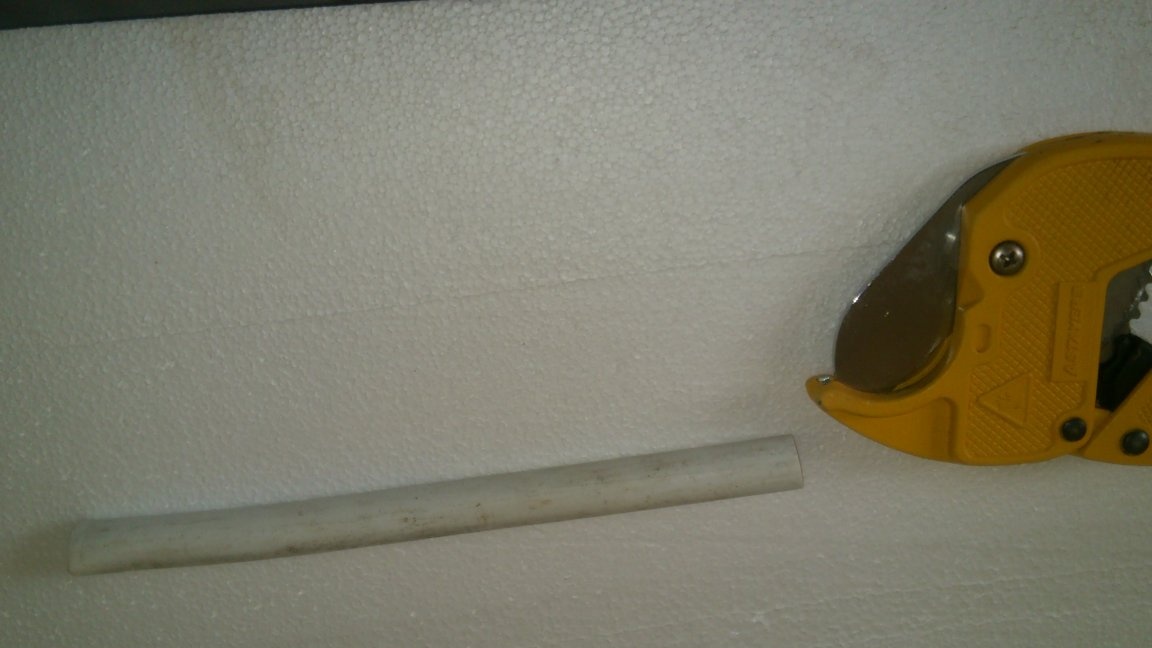
Then, trying on a piece of metal-plastic pipe, I made a selection for it:
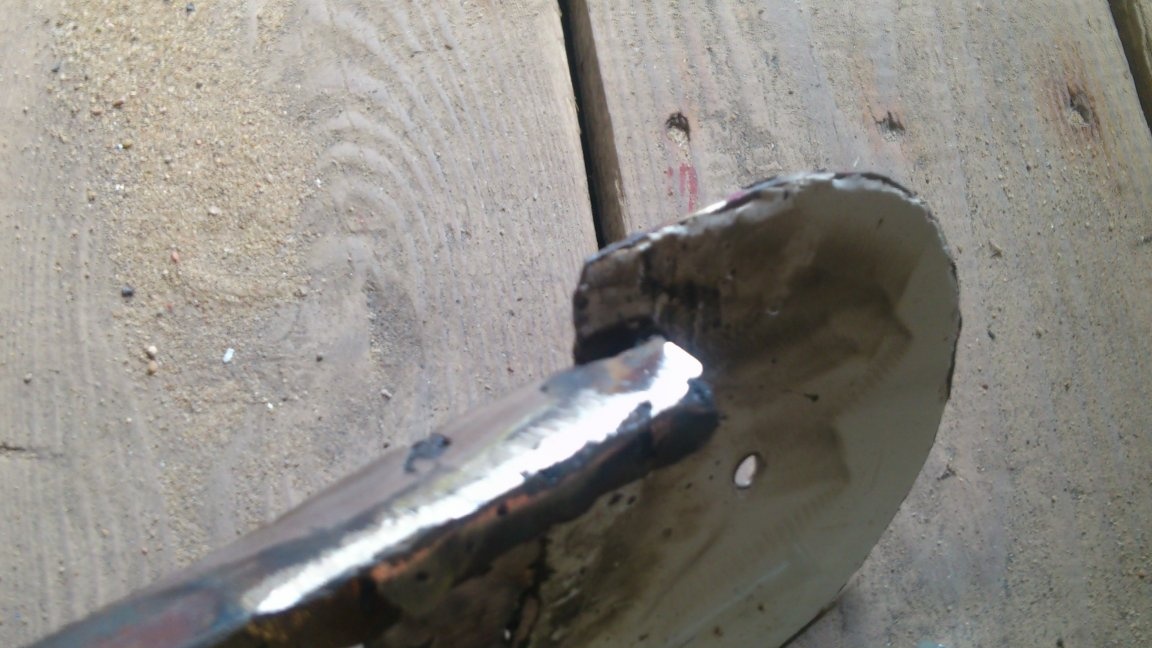
I found a piece of cuttings from a shovel. I made a video out of it:
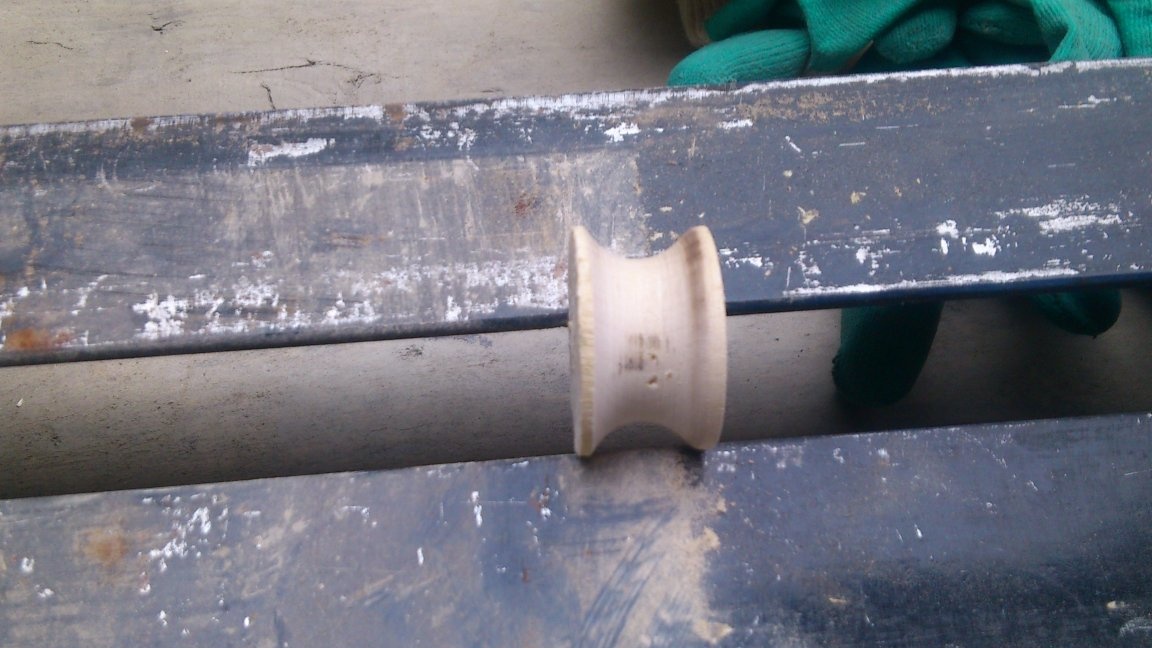
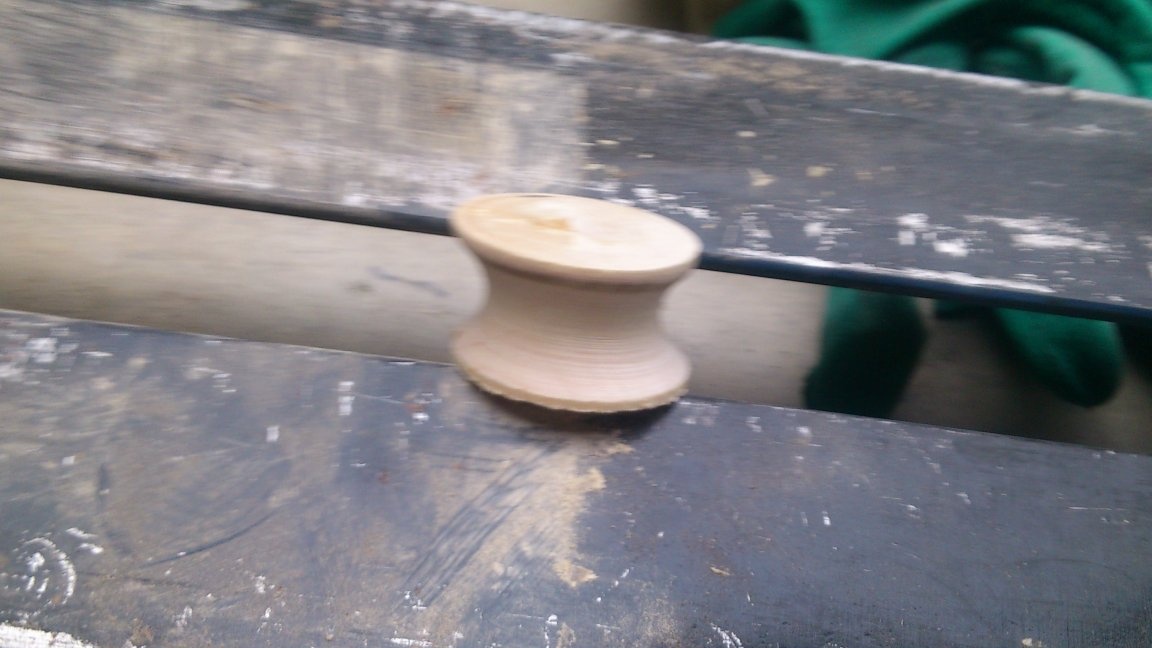
Using a belt sander, he reduced the width of the pulley to 16 millimeters. I tried to do this on the machine, but the surface layers of this moisture-proof plywood are saturated with very strong glue - the veneer was “picked out”, and not grinded! Meisel could not cut it cleanly. No problem. The sander managed.

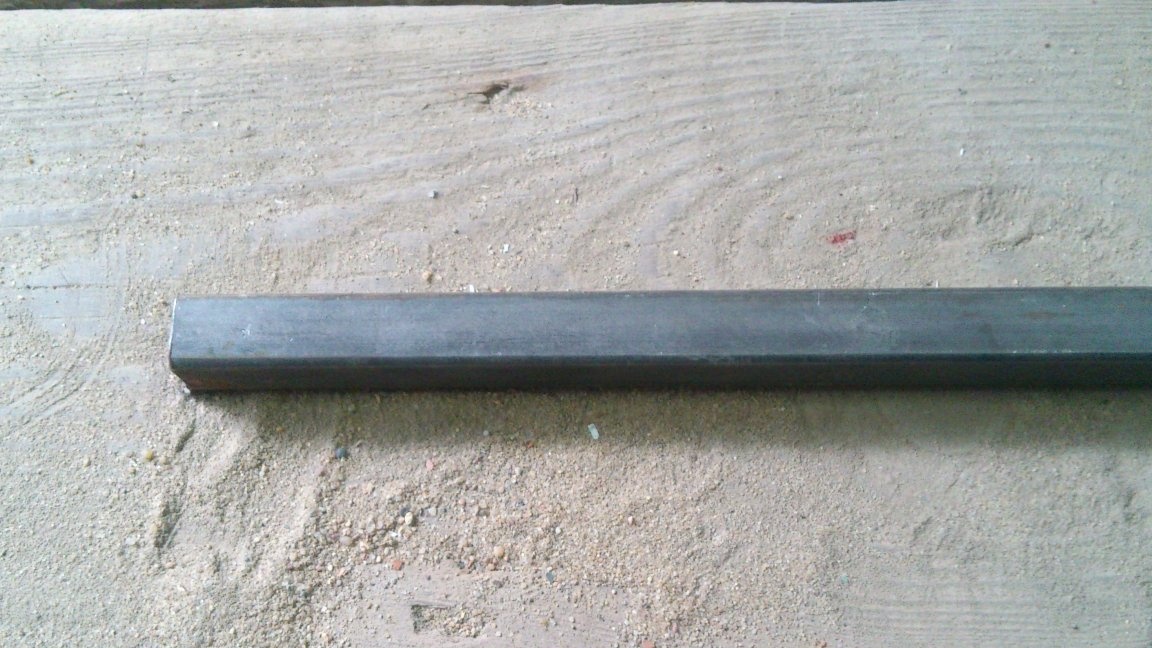
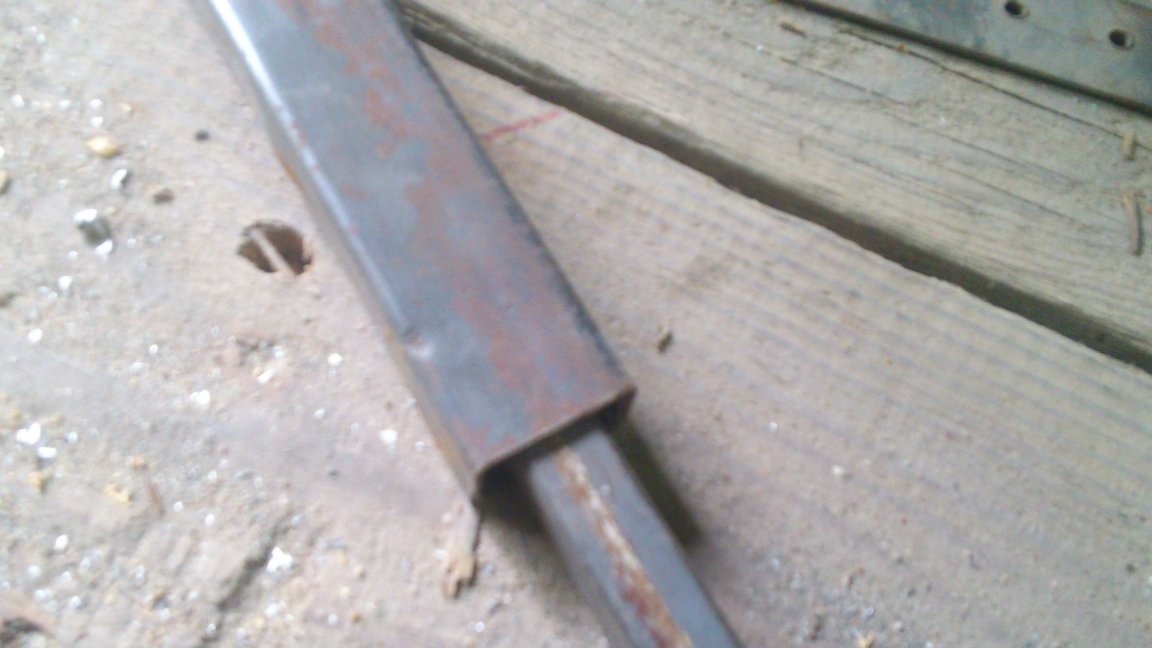
I decided to make the lever arms of the future pipe bender from a profile pipe with a cross section of 15x15 mm. Fortunately, after making supports for curly flowers, I have a few scraps left:
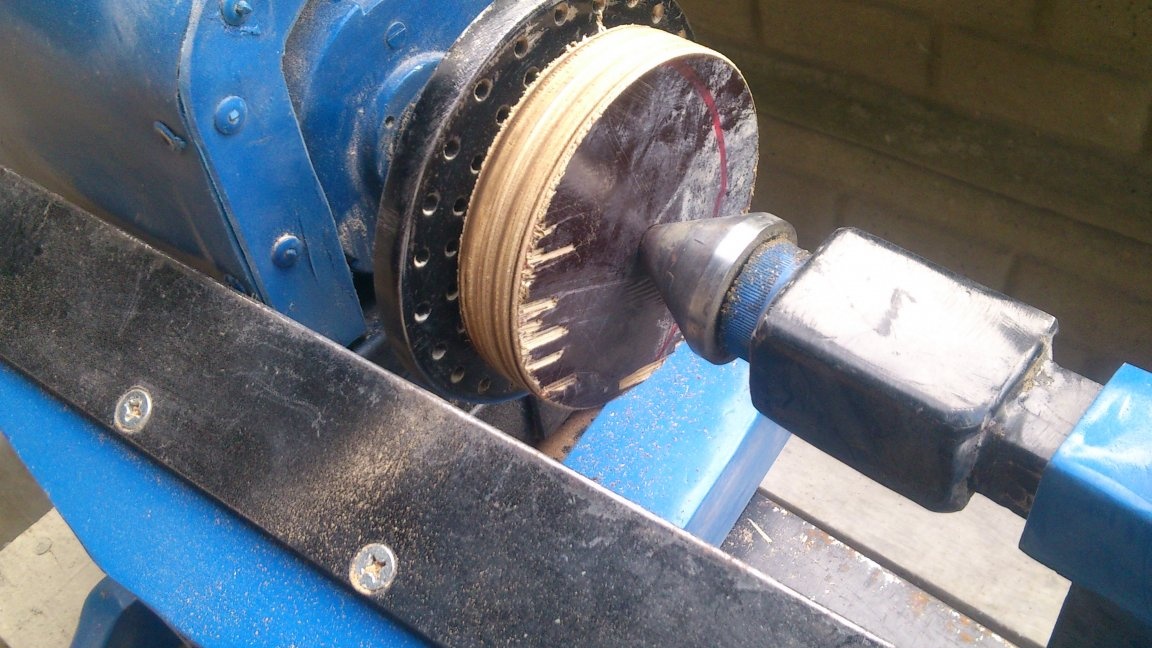
I made a cutout in a pulley and tried on future details, applying a piece of metal to where it will then be applied during bending:

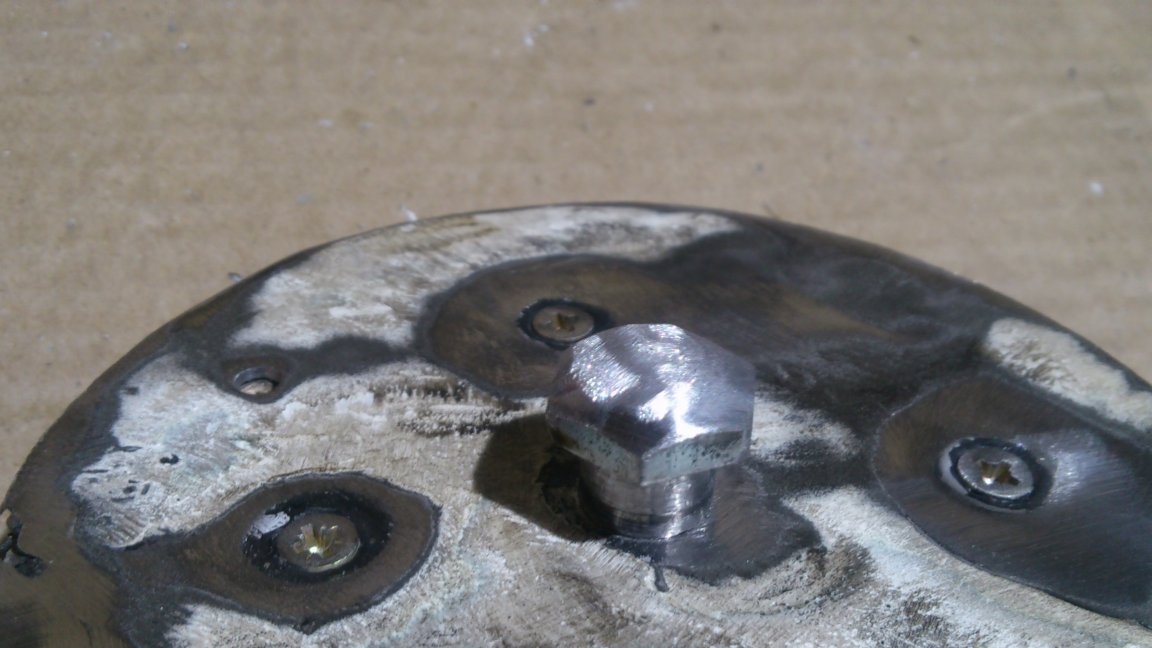
I decided to make metal overlays for a pulley that will play the role of flanges and act as fasteners from scraps of the old cover from the Soviet gas stove.
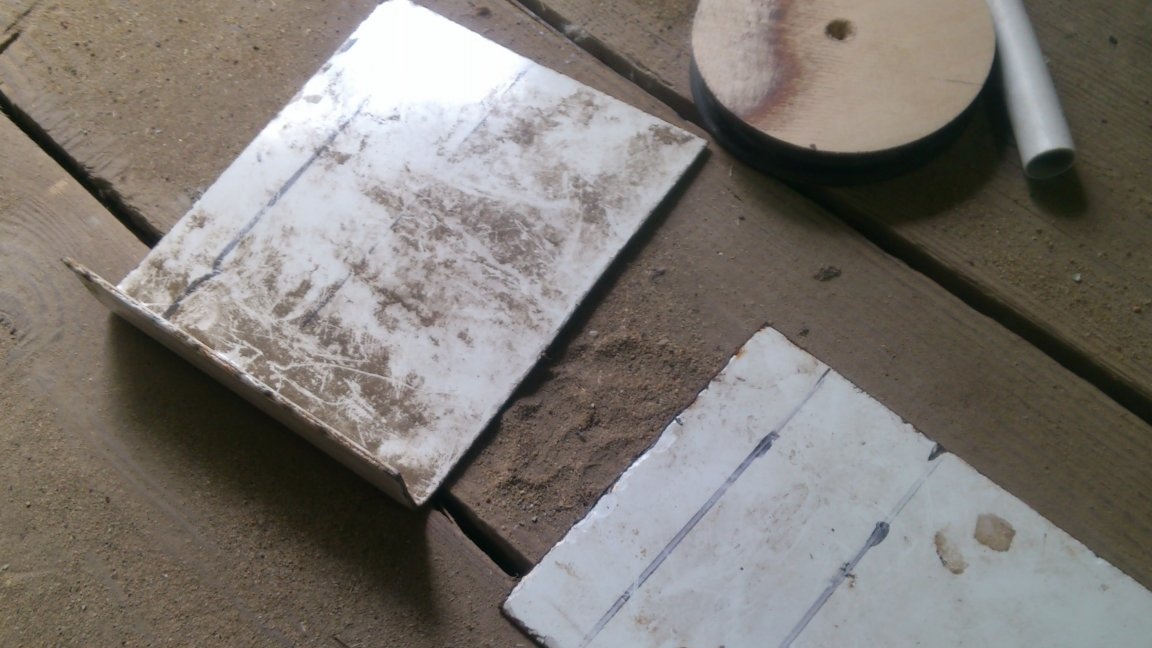
Damn this is my decision !!! )))) It is covered with enamel of extraordinary strength. (That type of enamel, which after application is calcined in the furnace.) It turns out to cut this steel, although the cutting wheel “leaves” quickly. But to clean it - it's impossible! The Bulgarian does not cope with it !!! A large-grain petal circle that easily cuts off a stainless steel only burns from this enamel !!! In order to clean off a little for welding, I used a diamond "tiled" wheel! And then, with difficulty !!! And then, when welding, the enamel "shot", and the metal beneath it burned out right there! ... In short, tormented))))
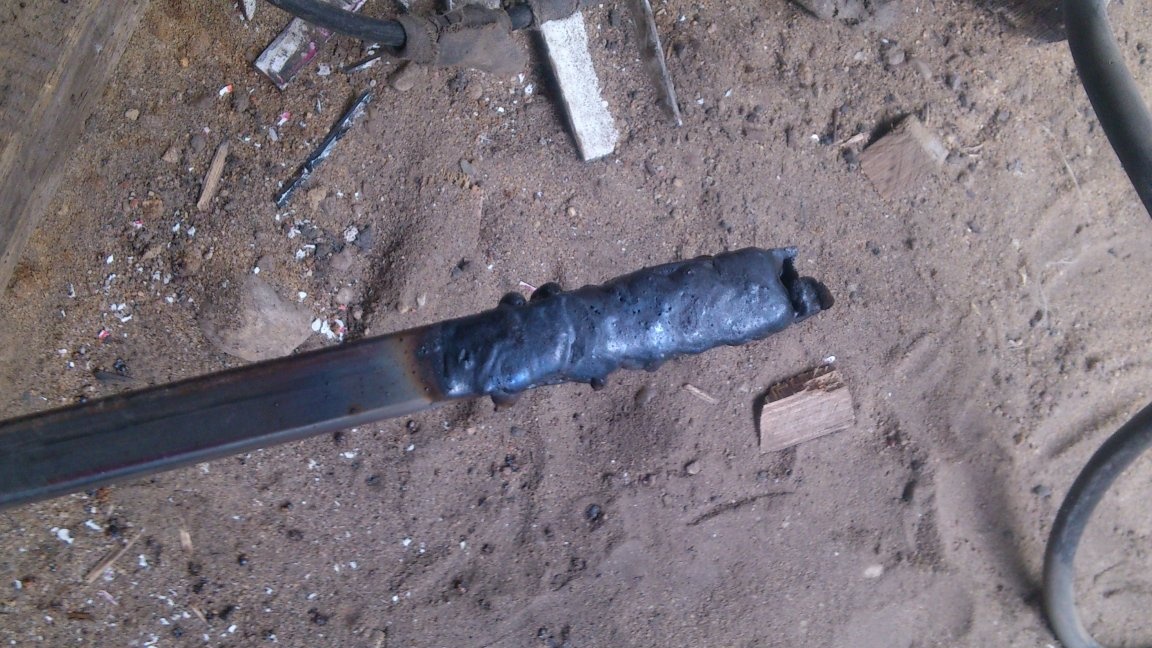
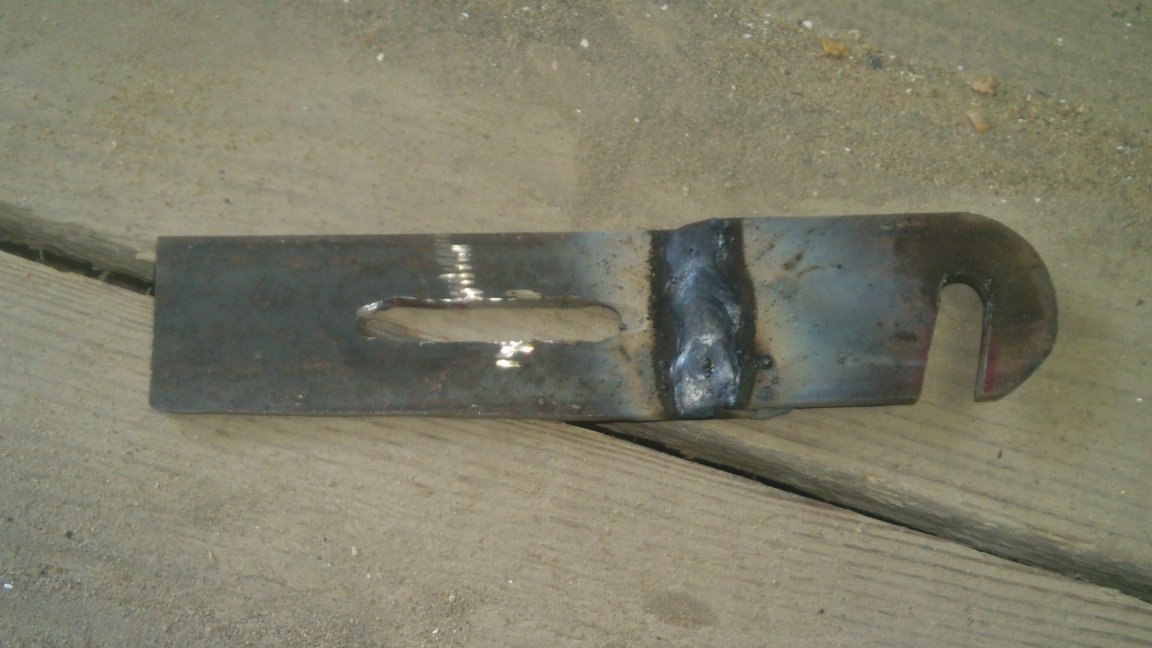
I decided to weld the lever-handle to one of the pads (I forgot to photograph them. They will be visible below). But the pipe was thinner than a pulley, so I first welded the missing millimeter:
And, only then welded to the pad:
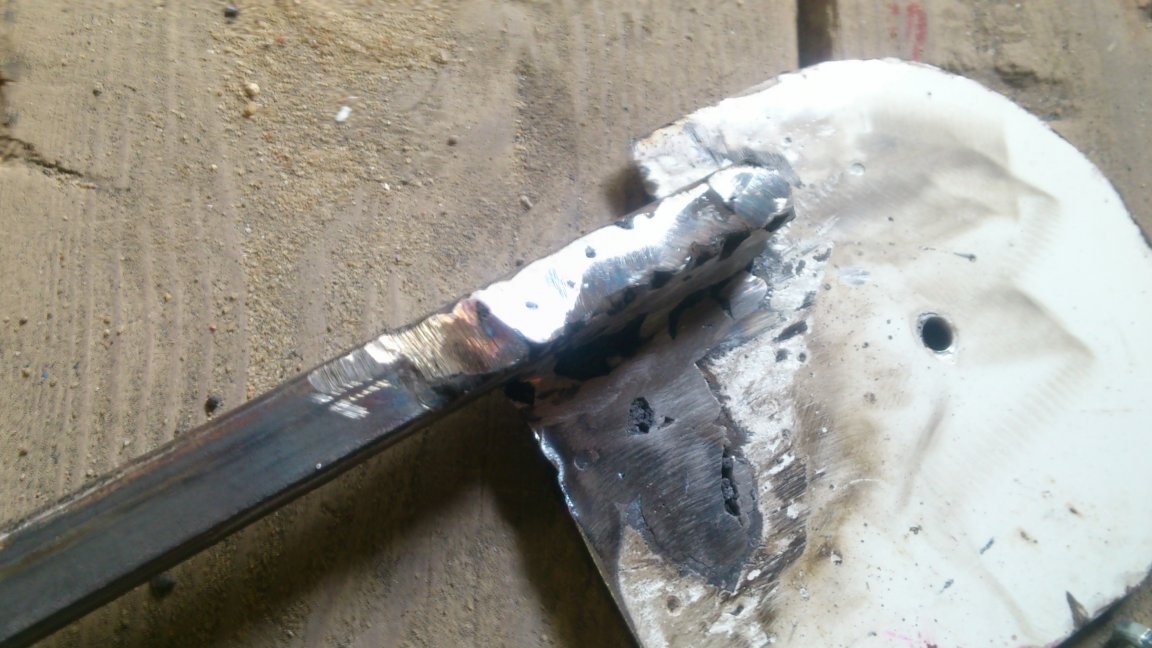
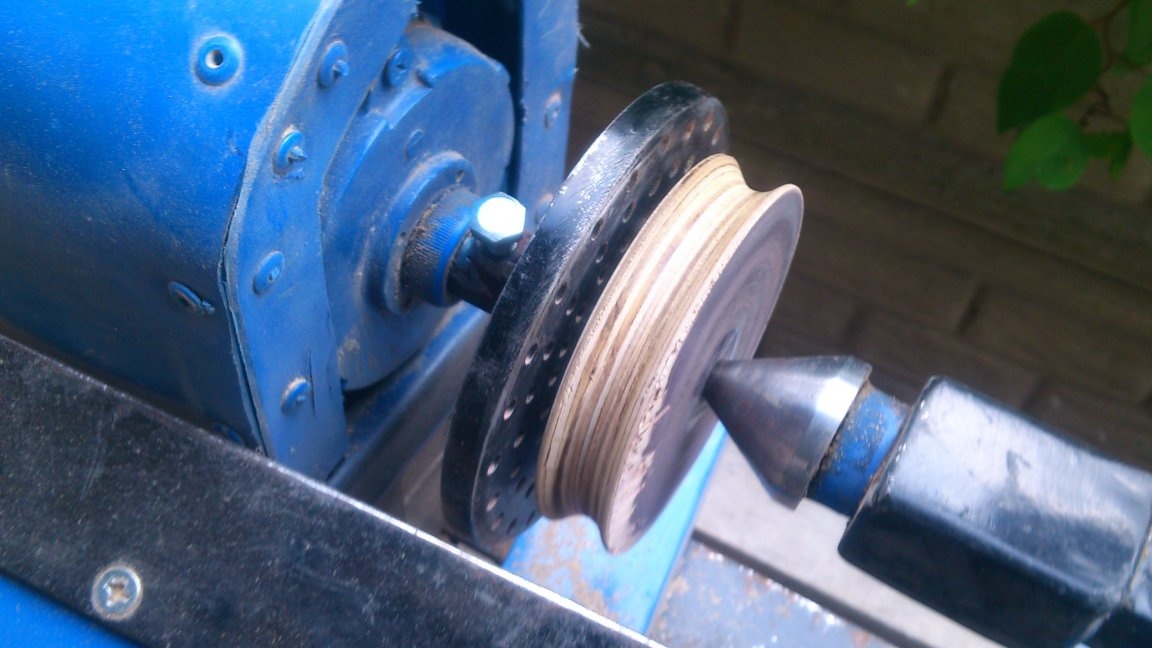
I will explain the features of its form. I made a radius of 5 mm. more than the radius of the pulley (to get a metal flange), and on the bottom side left a square shape "for now, just in case"))). The plans then make some kind of lock-fastener for the pipe. The device has not yet been finalized. So, let it be so for now! Do not need it - cut it off! )))).
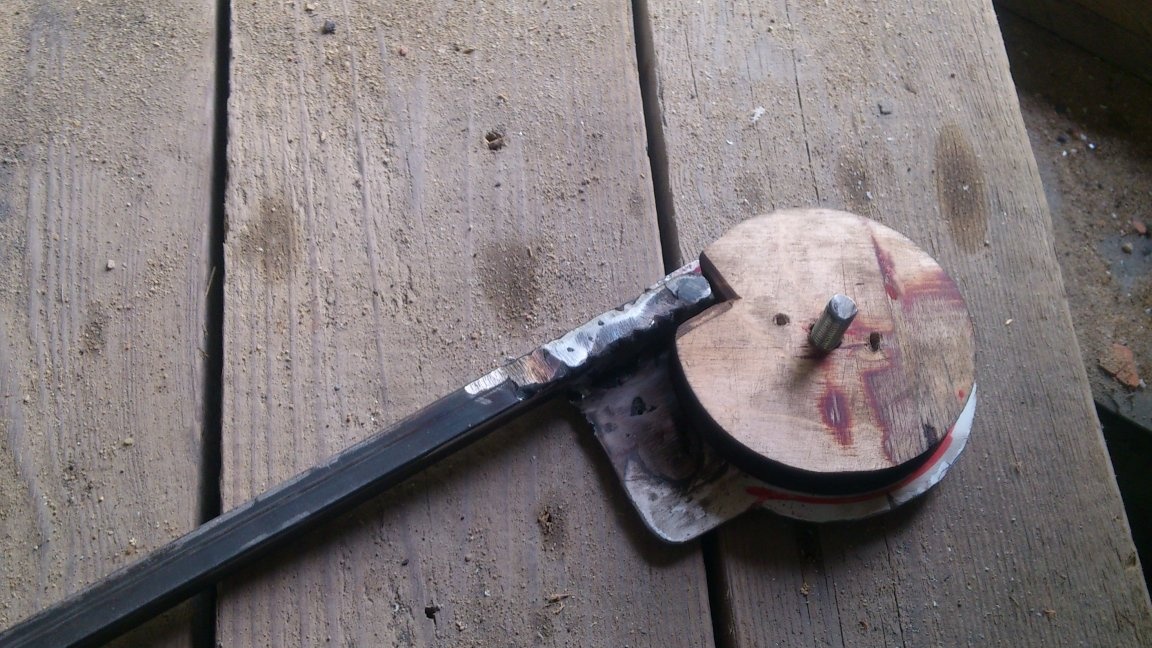
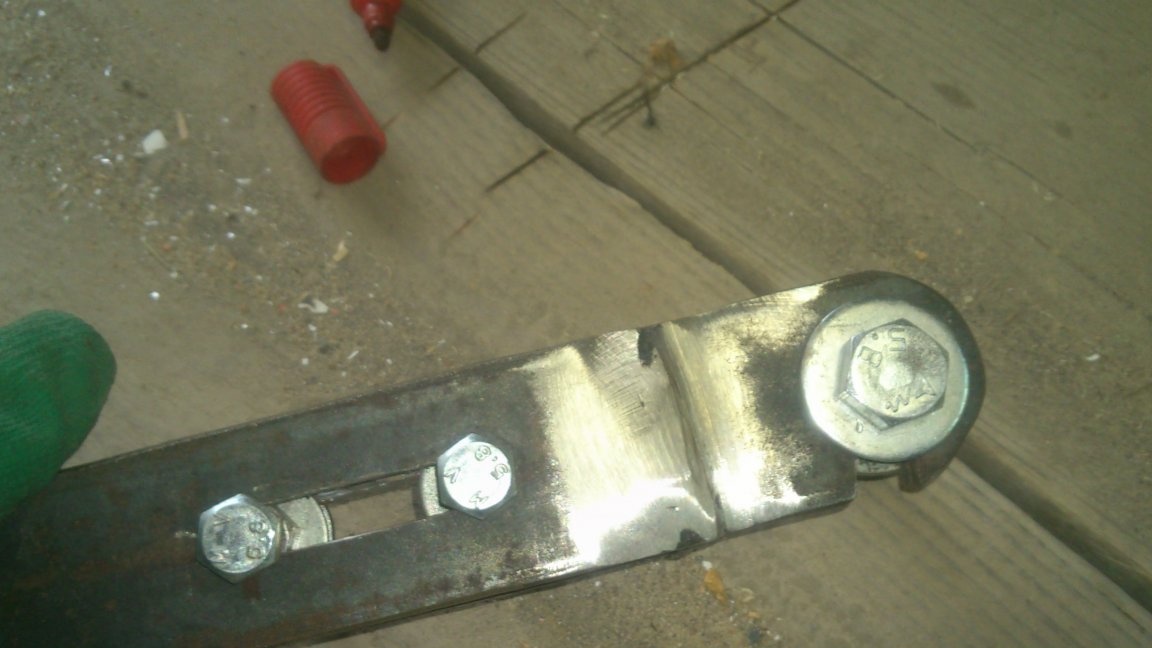
So far I have assembled everything on the axis, in the quality of which the M10 bolt acted.
And he began to manufacture the lever.
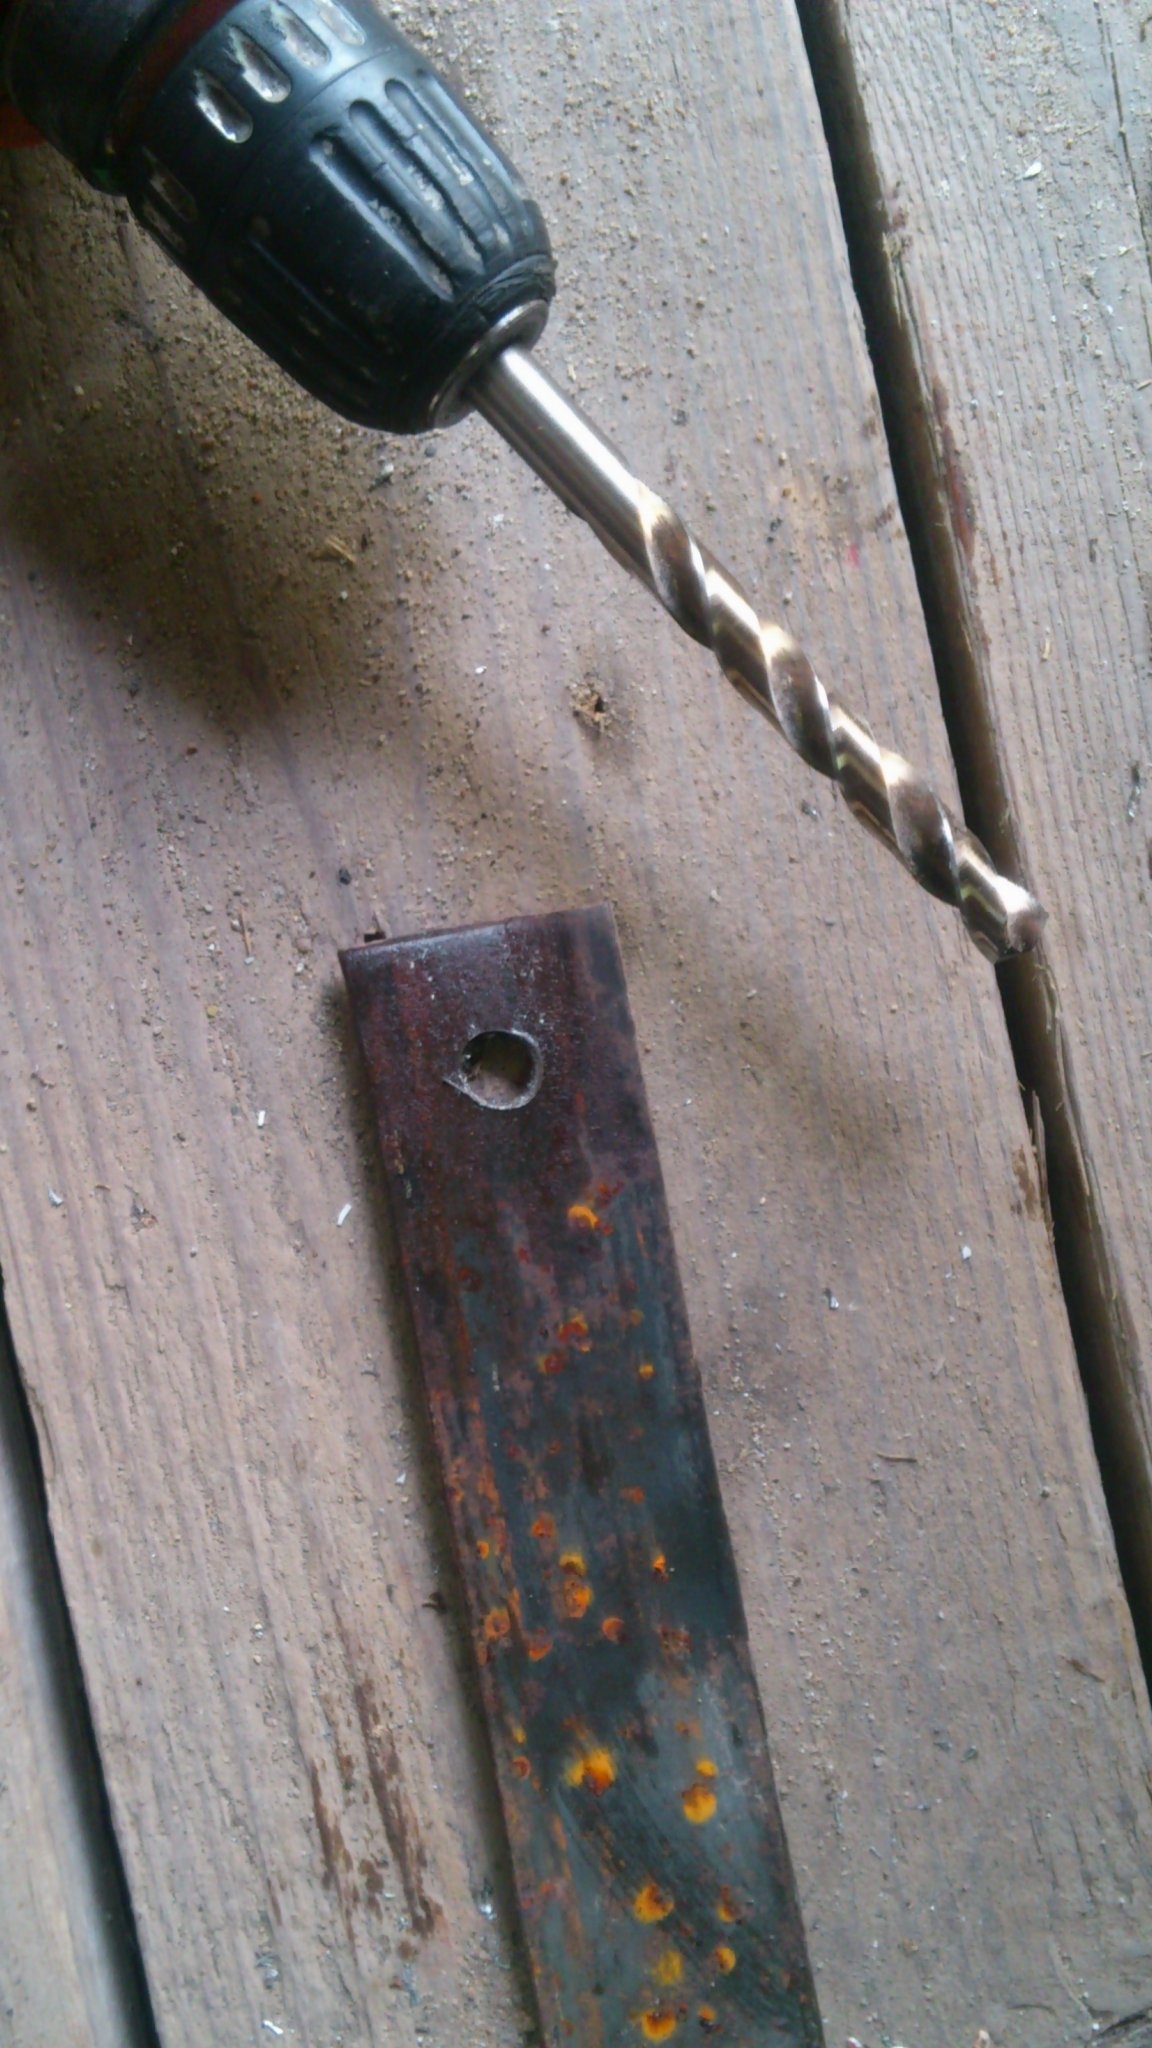
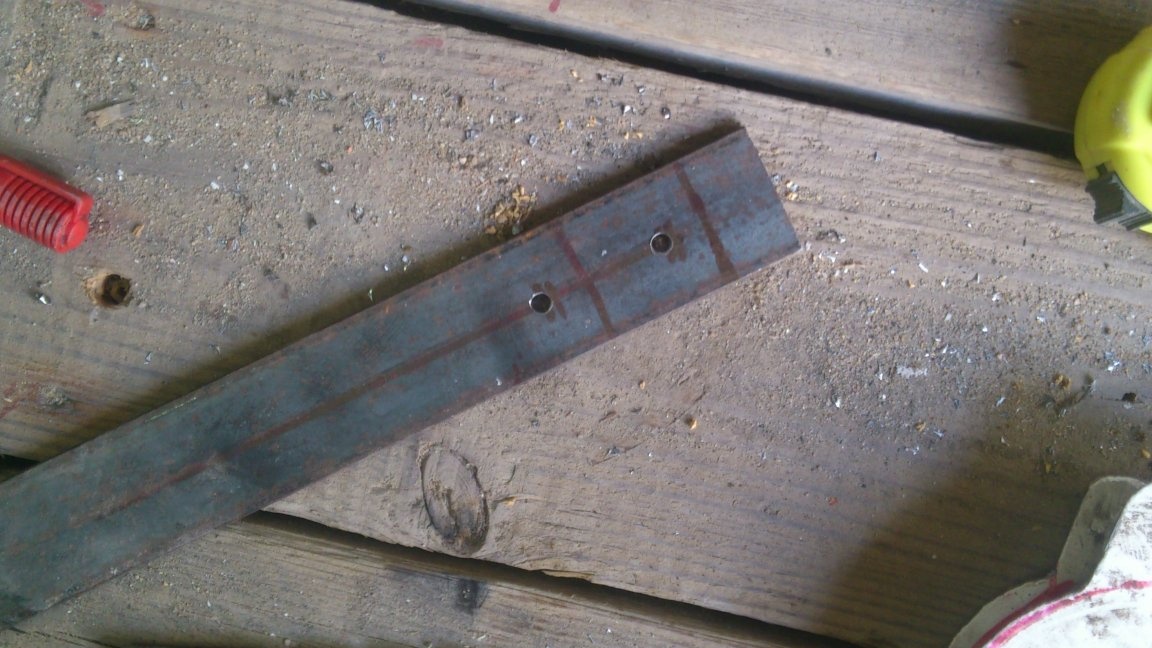
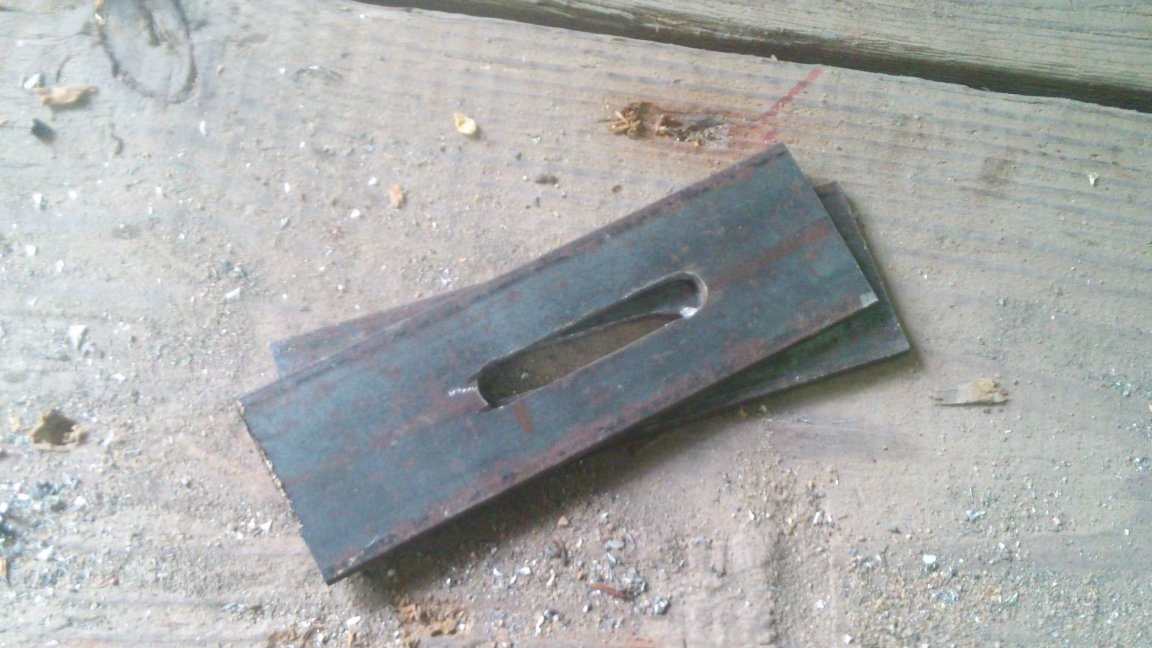
As planned, the lever will be worn on the axle pins sticking out on both sides of the pulley. That is, you need to make its working part in the form of two plates, between which a pulley-template will fit. Between them, the rolling roller will also be placed. I decided to make these plates from a 40x4mm strip. I drilled a hole with a diameter of 12 mm (My machine remained in the country))). Had to be content with a drill!)
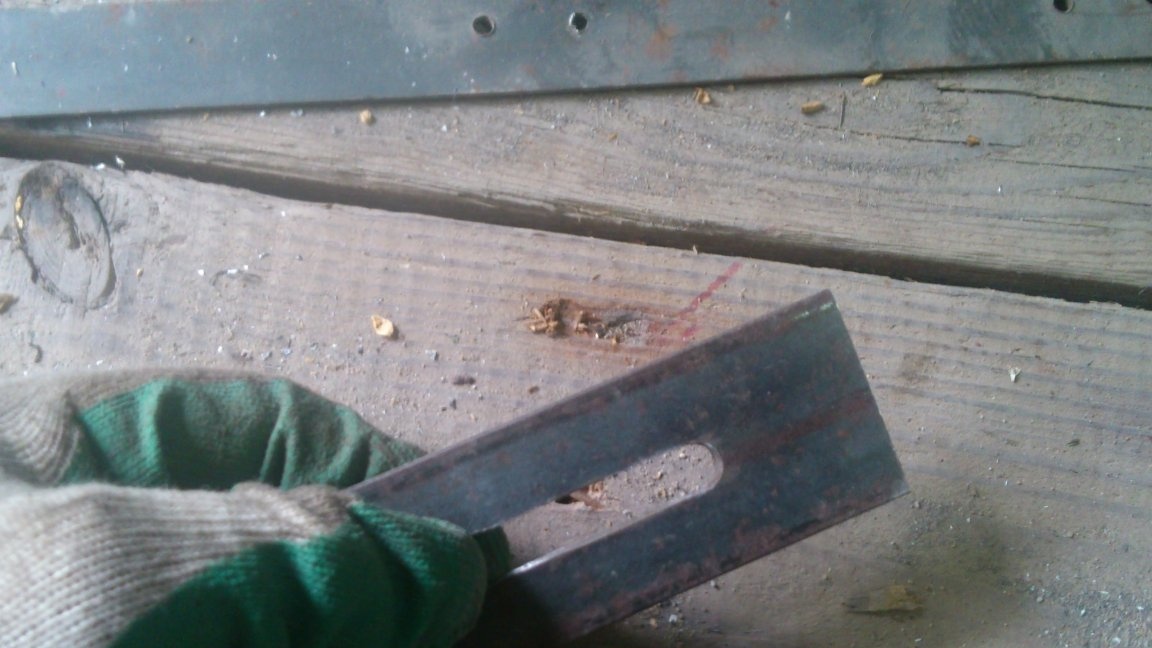
And cut with the help of angle grinder:
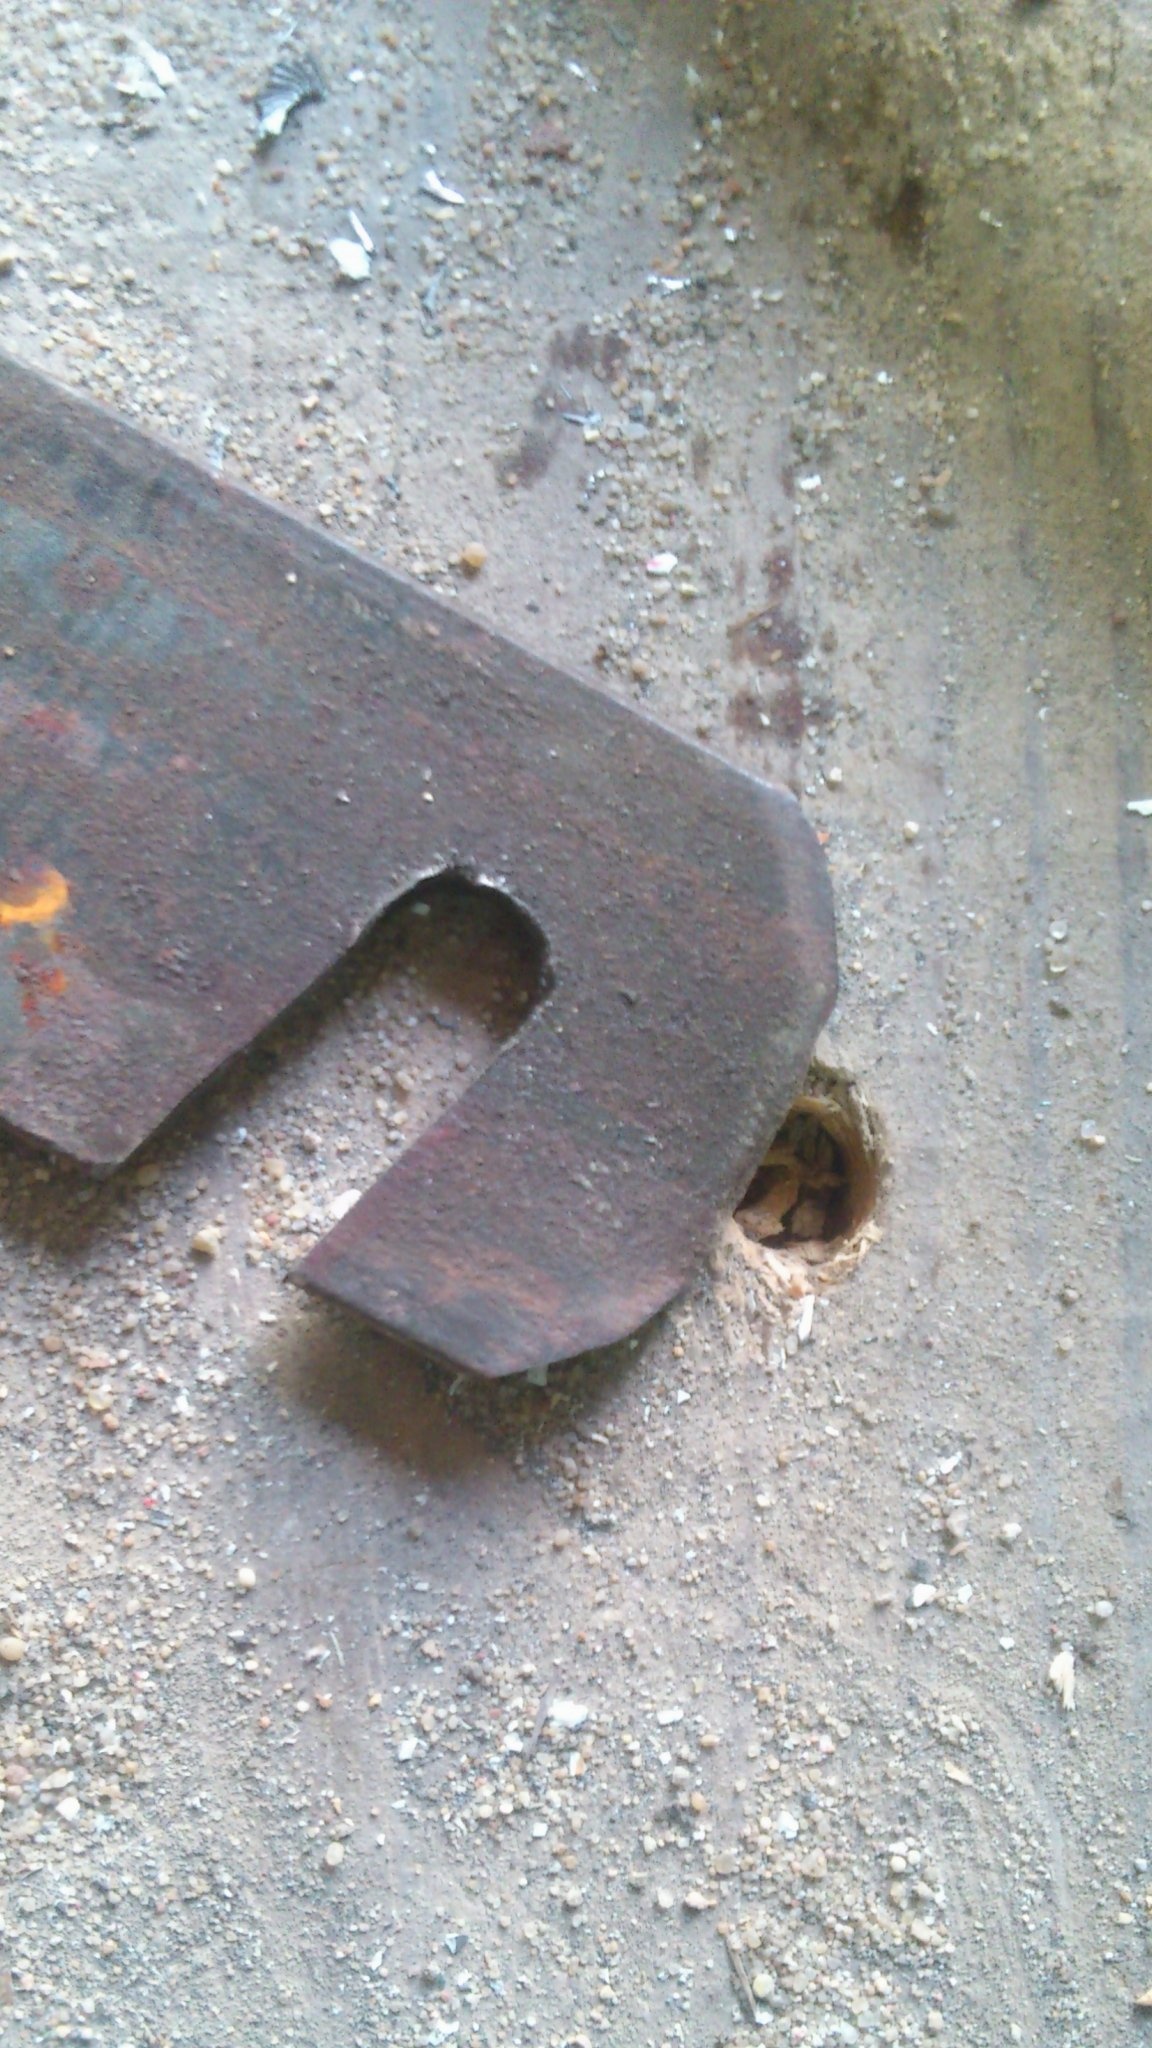
As planned, with this oblique neckline, the lever will be worn on the axle pin.
But, bad luck ... The rolling roller is wider than the template pulley! Yes, and should rotate freely! That is, he will not enter between the "cheeks" of the lever! To make it narrow, I took care - the loads will be quite strong! And he is wooden! As if not burst!
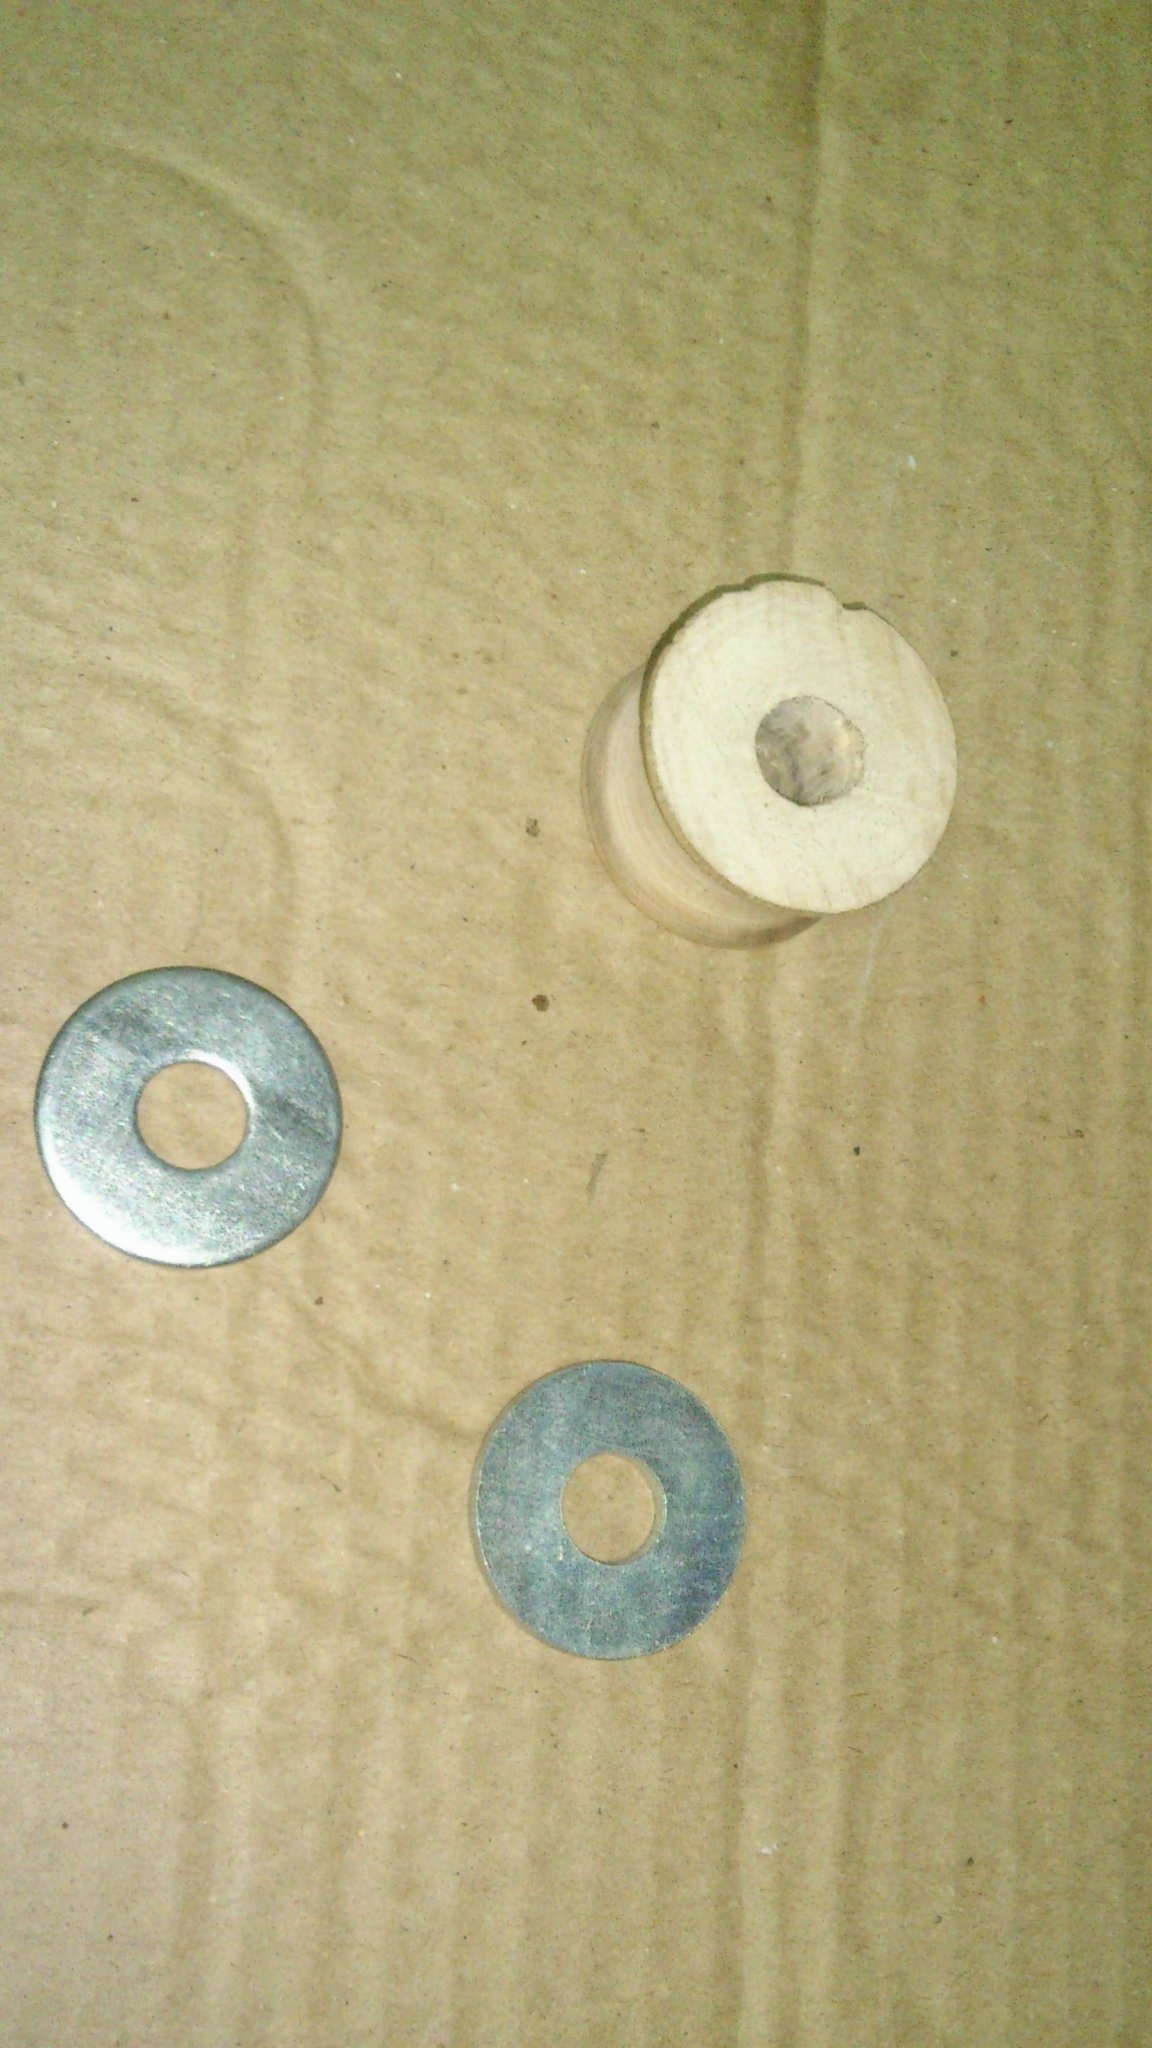
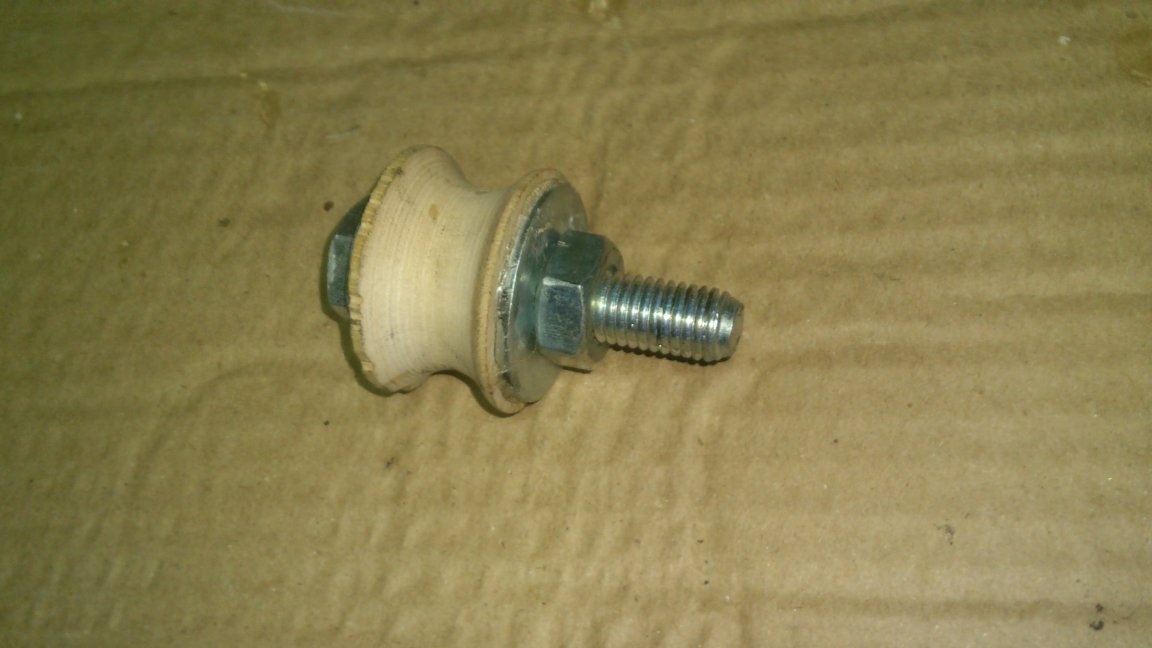
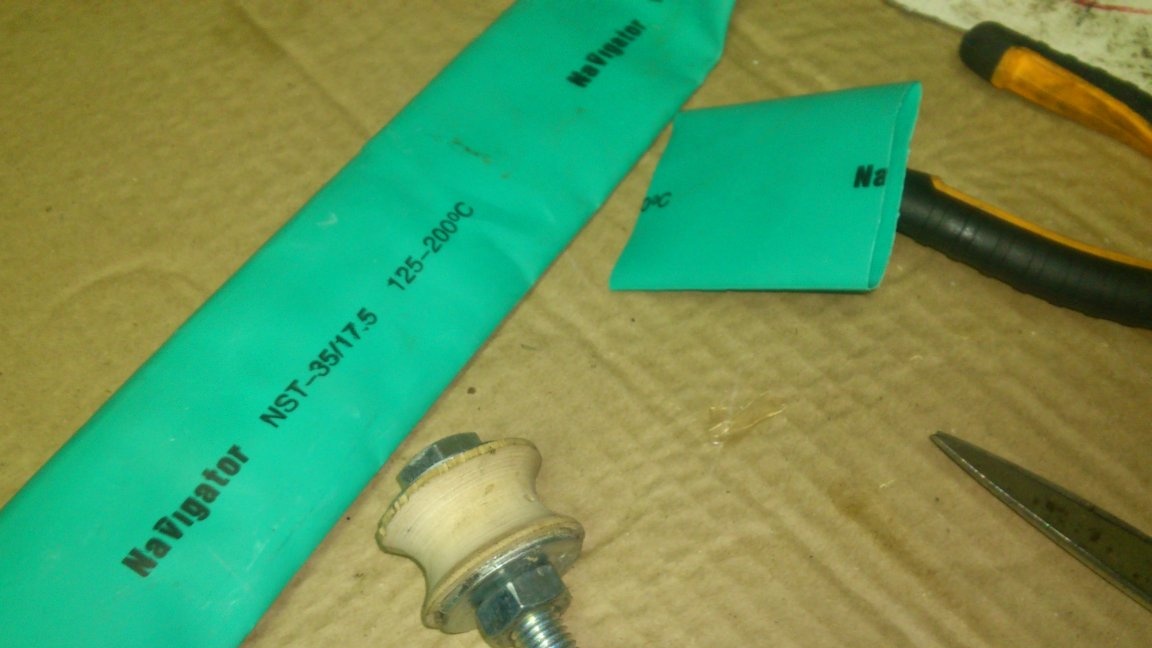
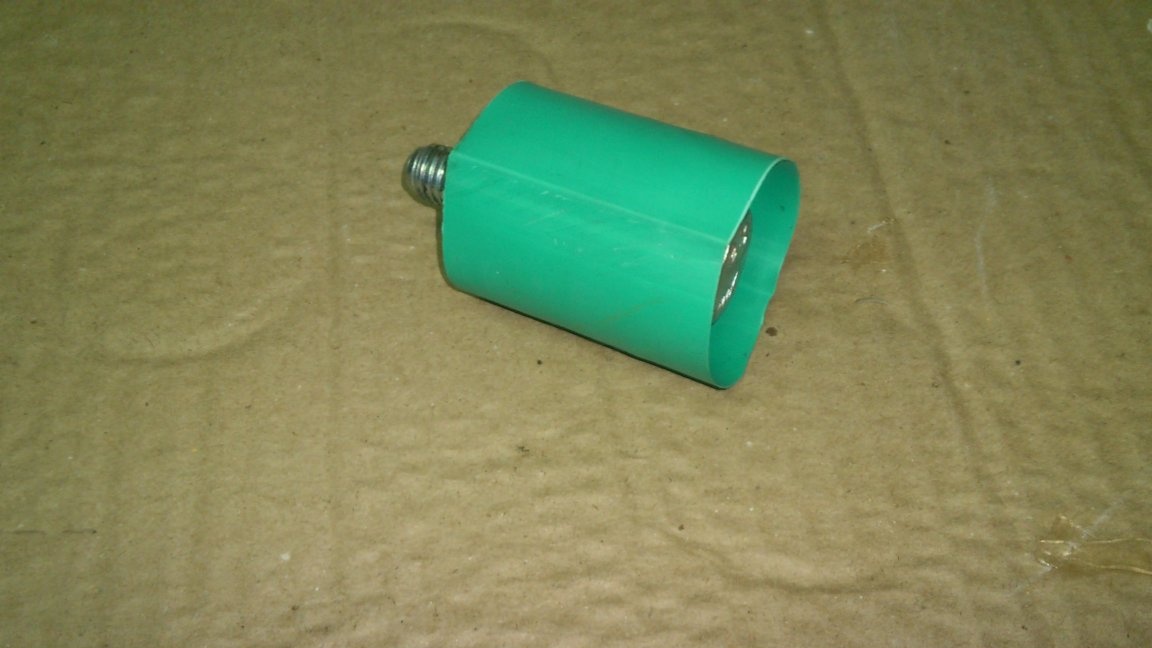
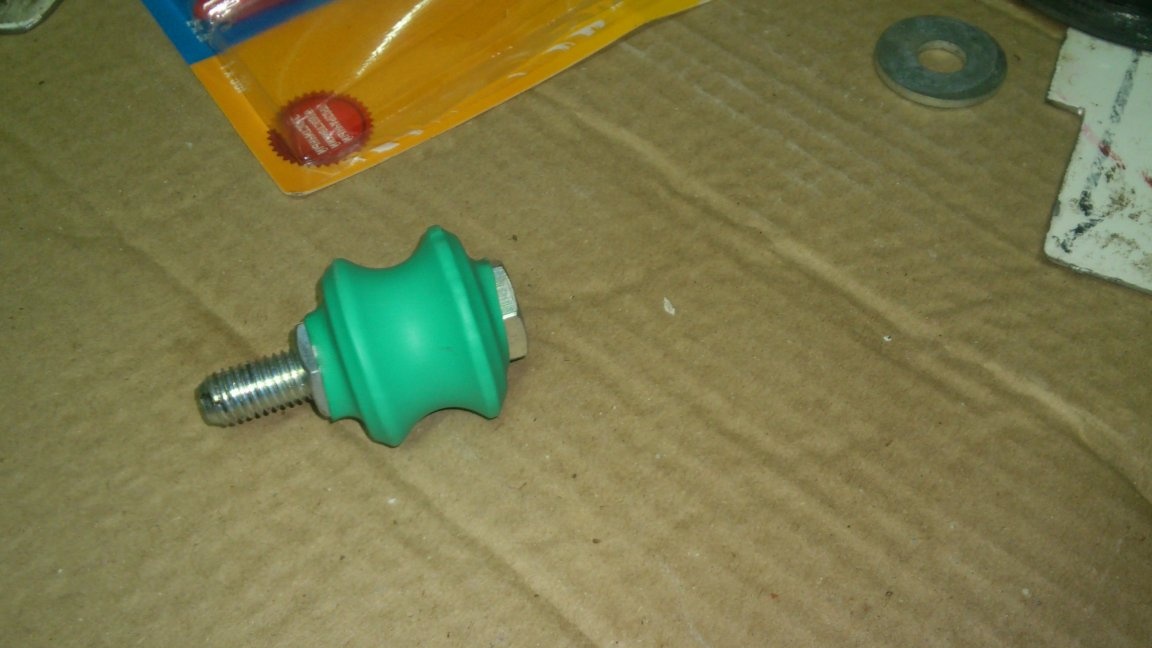
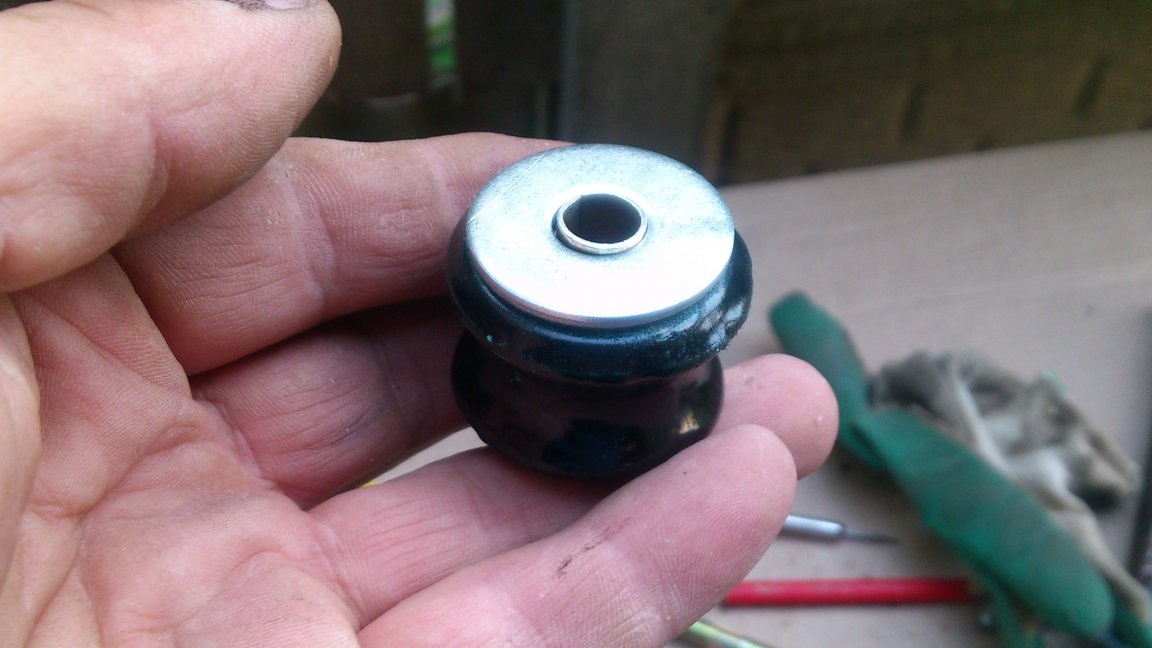
By the way, about the video. I decided to cover it with shrink cambric, before gluing two enlarged M10 washers to it on the sides for reinforcement:
It turned out to be much wider than the pulley! To solve this problem, I came up with separate front and rear cheeks and then overlap in pairs! - so the distance between them in the back (where the roller) is 8 mm wide.
I made two front parts:
And two back. Since I did not know at what distance from the center of the template the rolling roller should be, I decided to make long slots for mounting it instead of holes. Then it will be possible to regulate. To do this, I drilled two holes, with a diameter of 8 millimeters, and cut between them using the "stub" of the cutting wheel - (it has a small diameter! It doesn’t "come out" over the length of the slot!)))
After that, I pulled the front parts with an M12 bolt, overlapped the rear parts with them, and also pulled them together with bolts, already M8. At the same time, I put on several washers on the rear bolt to prevent distortion. Leveled everything
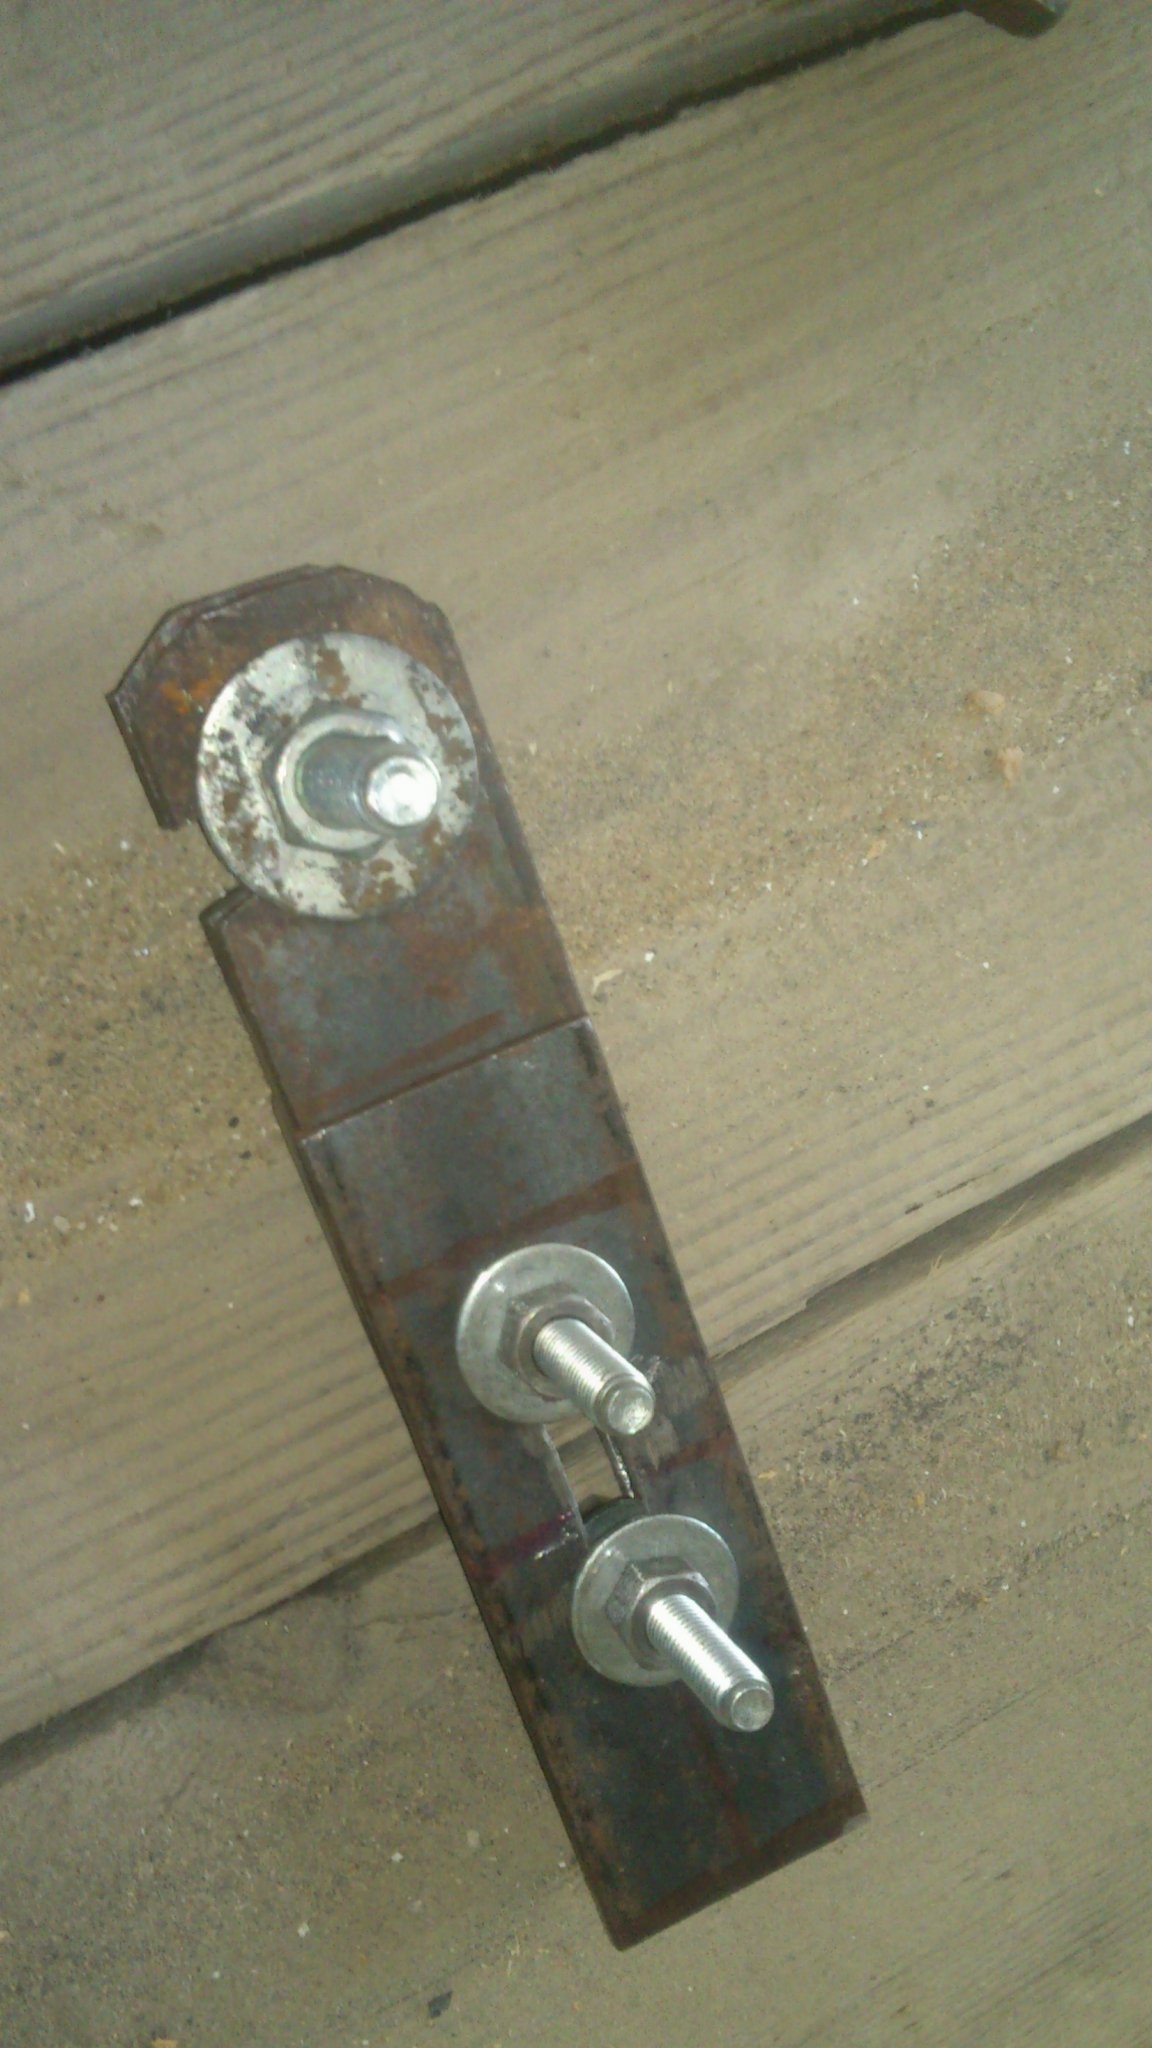
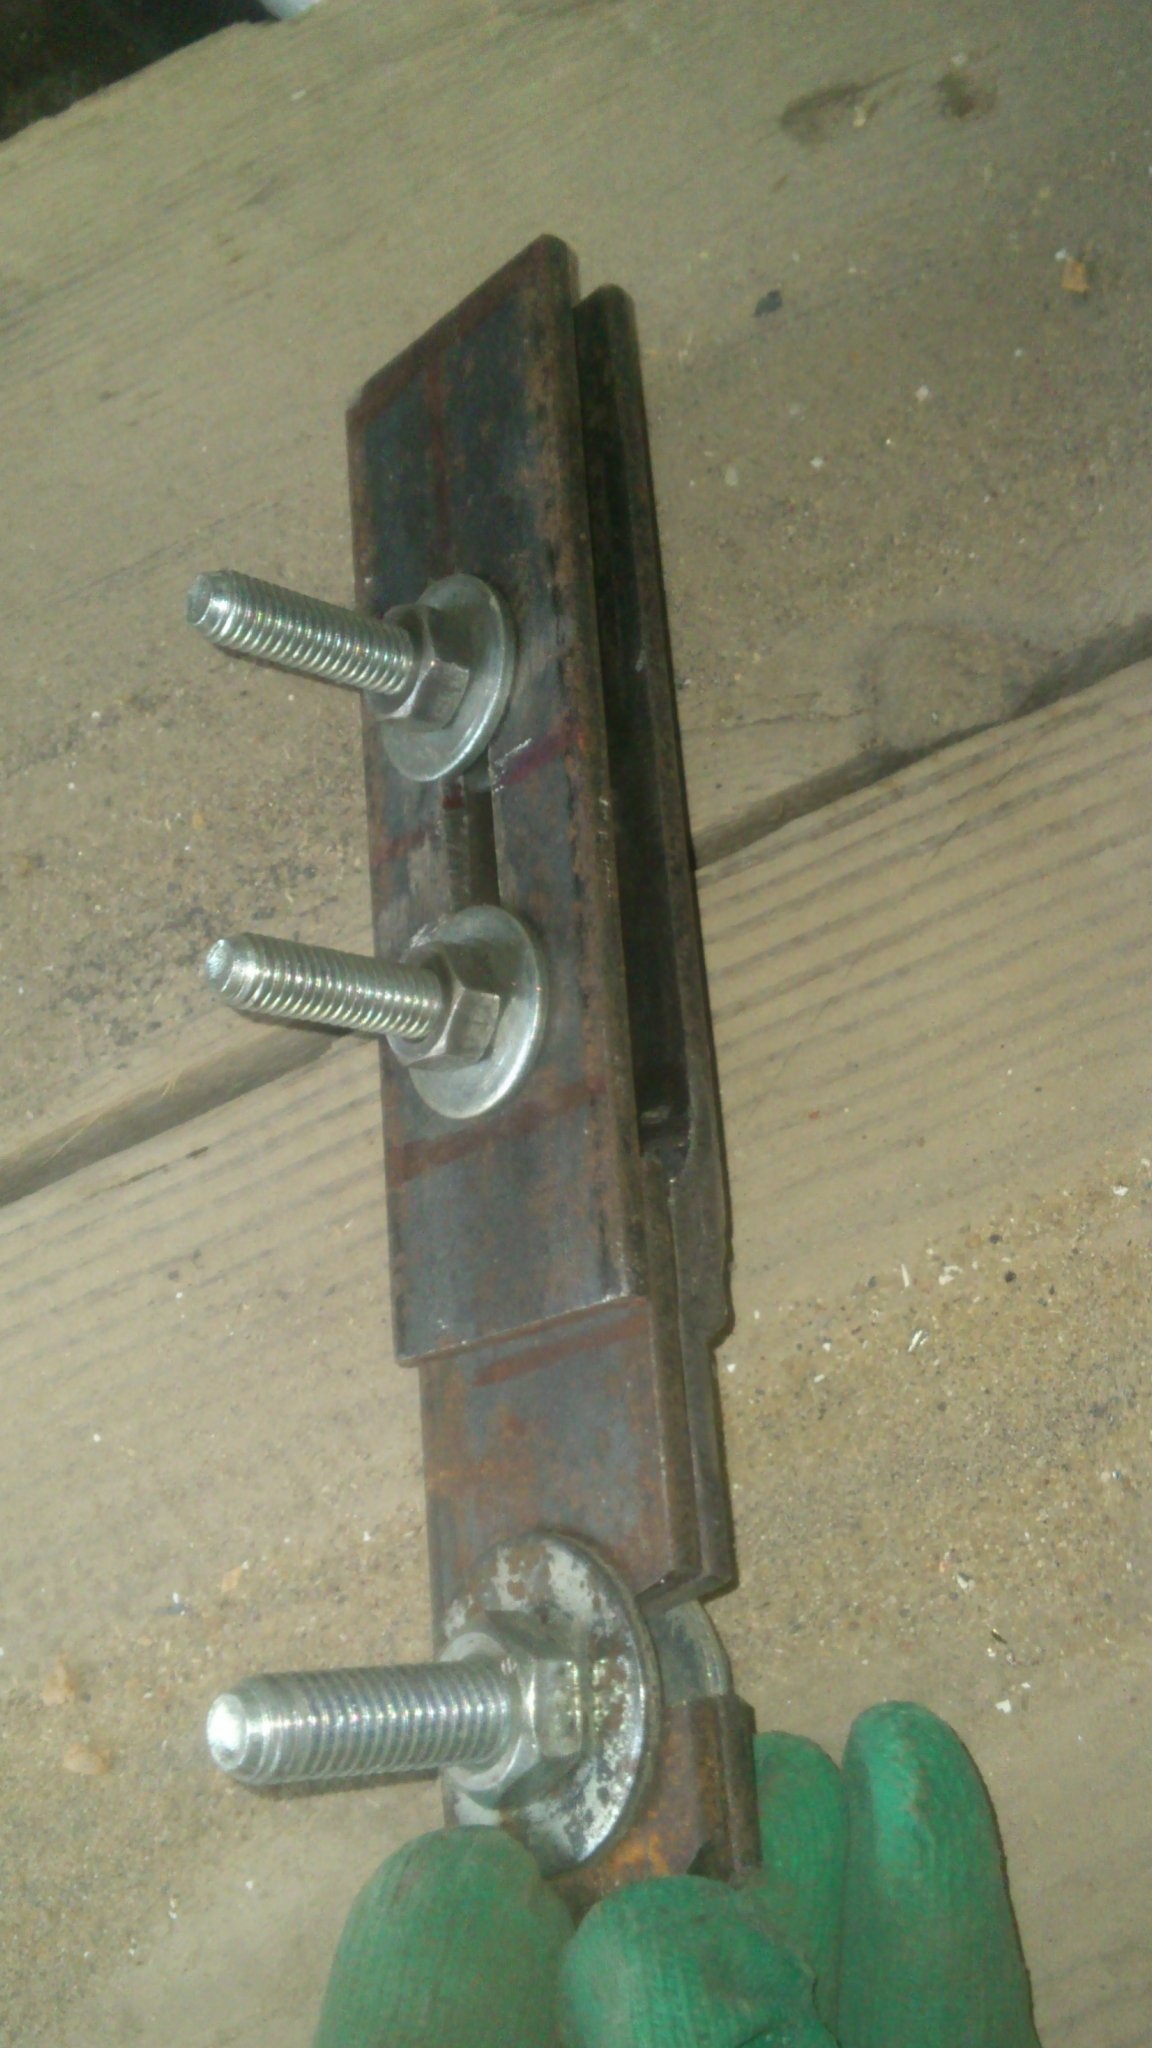
And welded the back of the pads to the front:
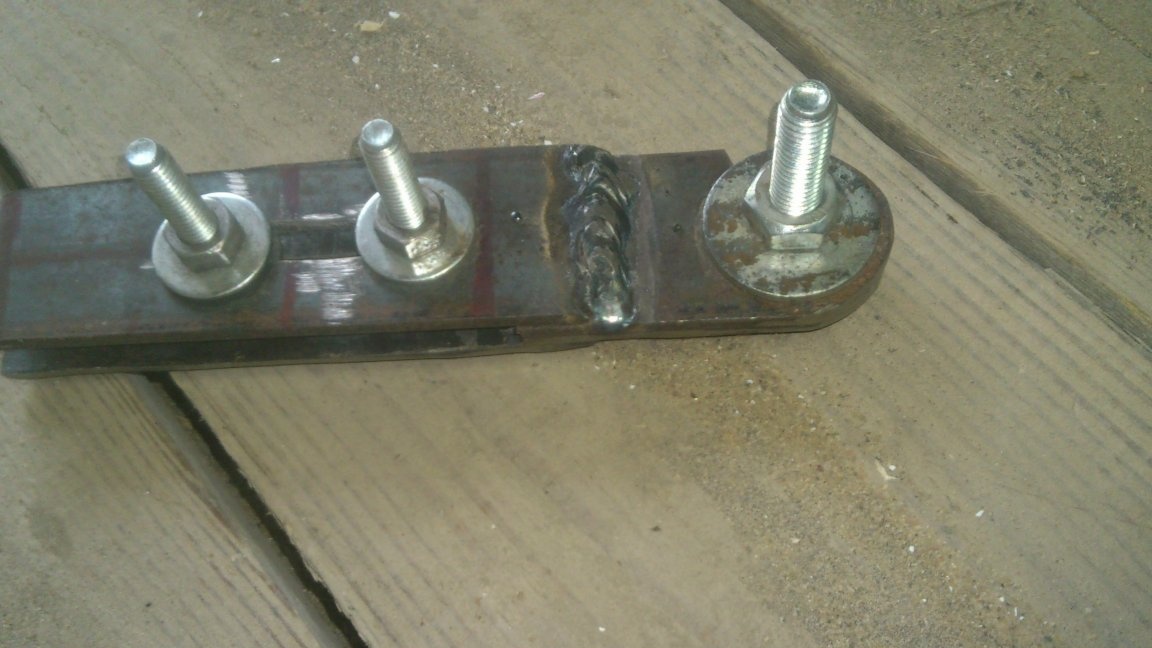
He unscrewed the bolts and boiled it from the other side:
After that, I cleaned it with a petal circle:
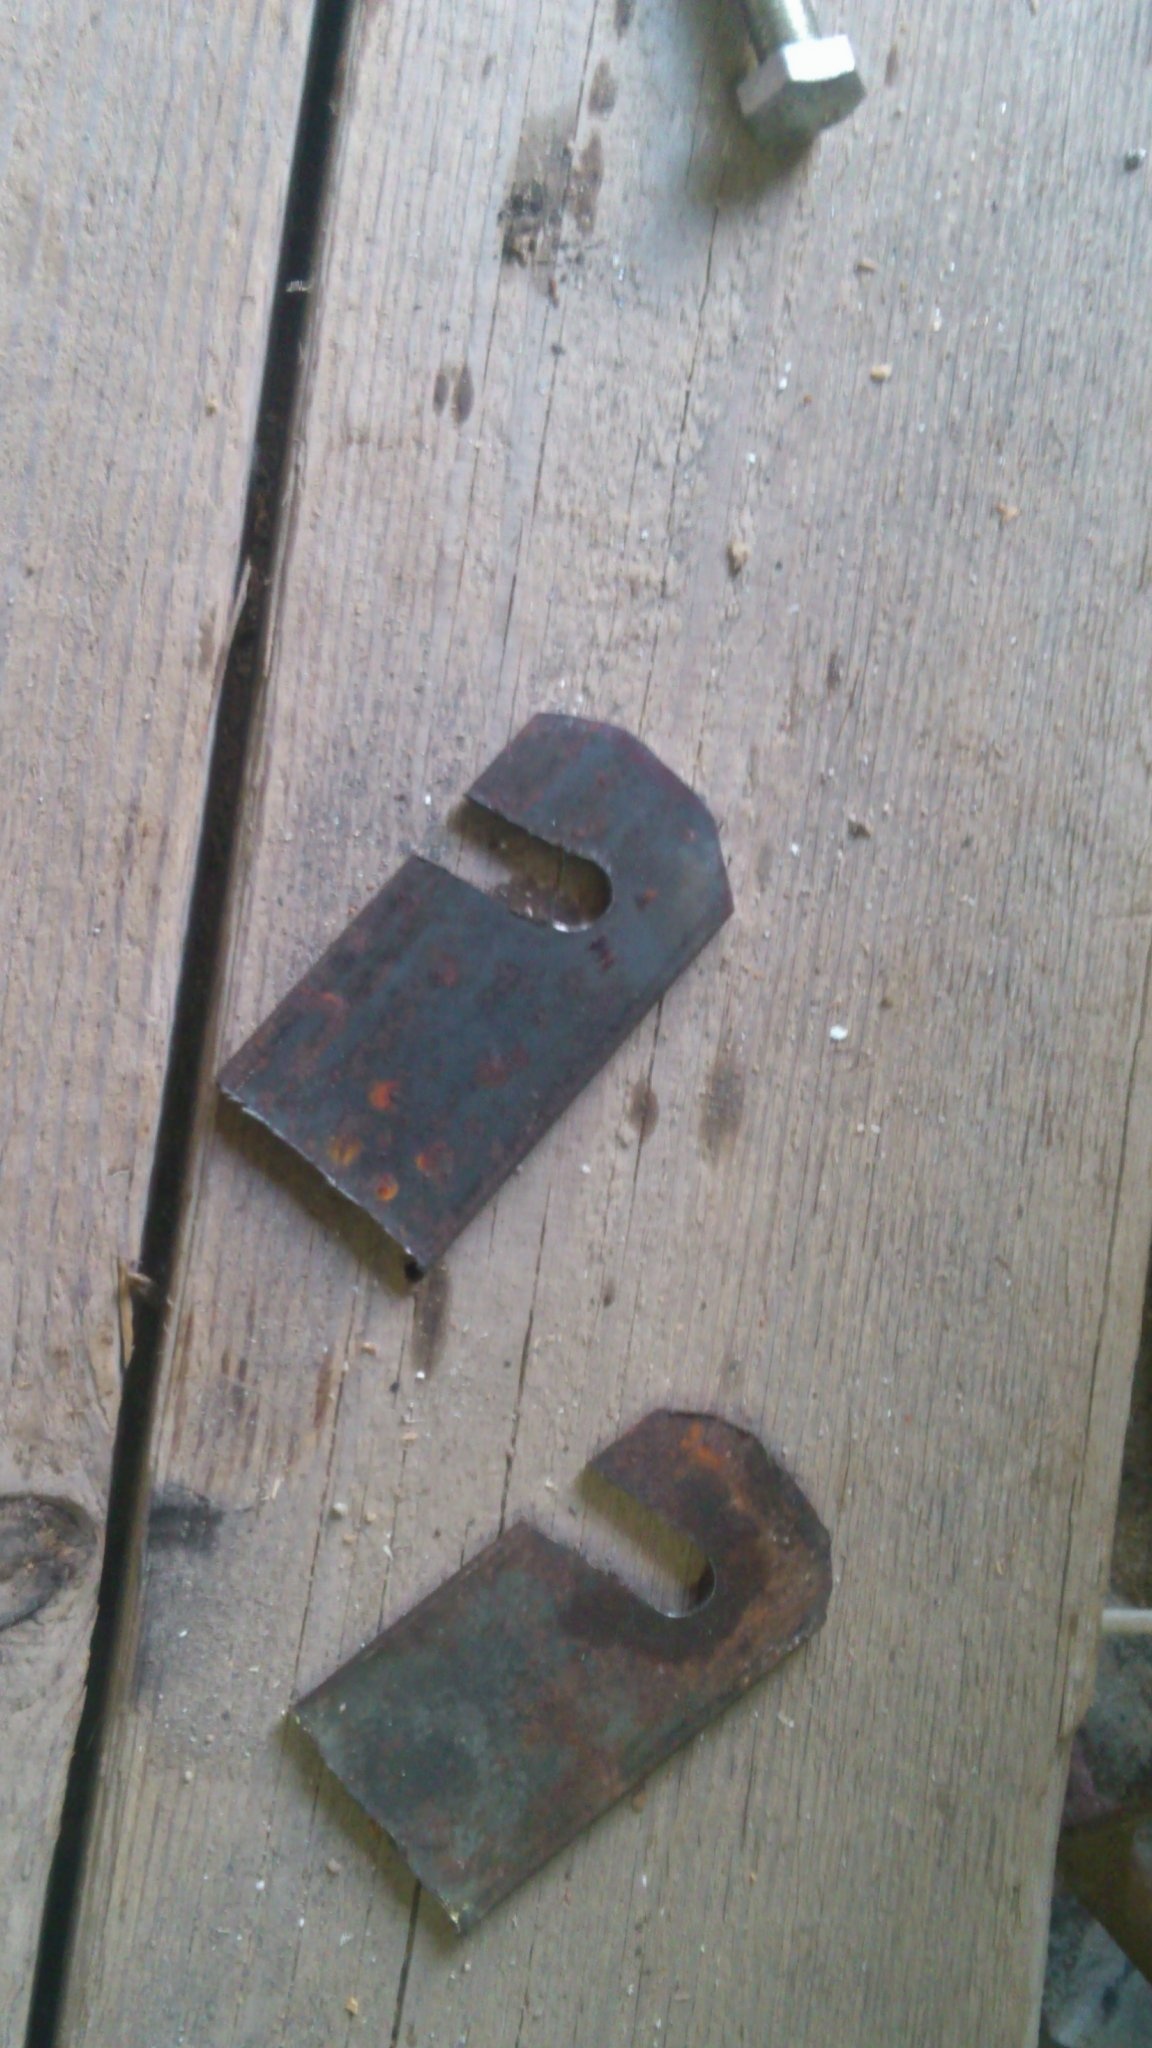
I got two "mirror" such details:
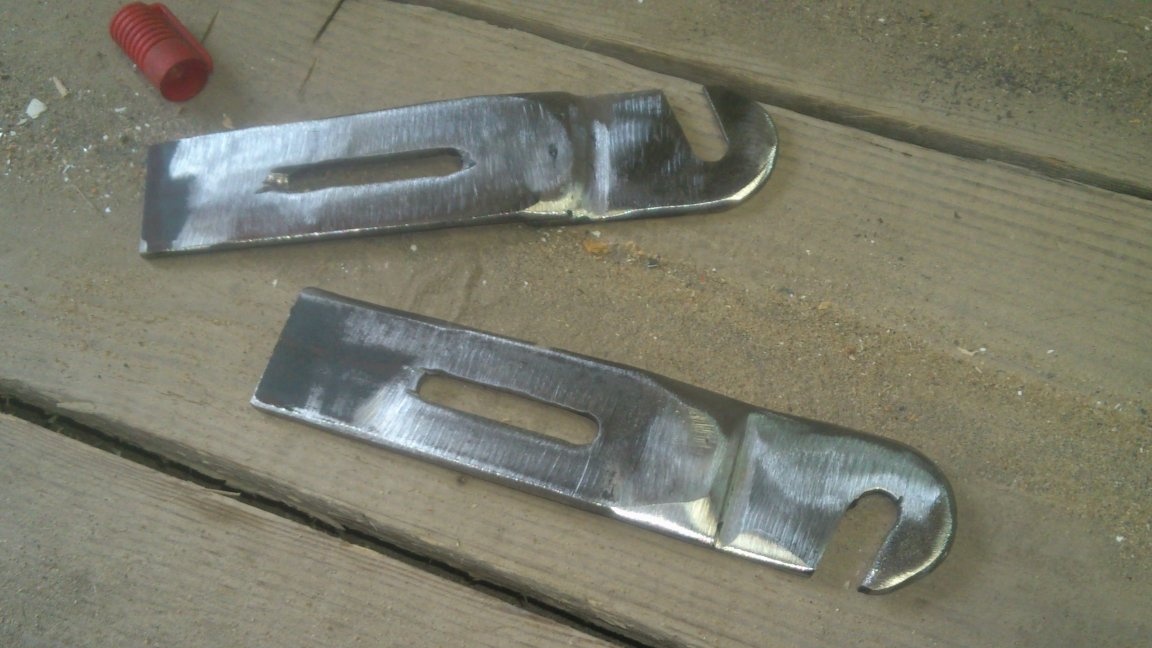
Between them should fit a roller. So, they must be located at a distance of 30 mm from each other. (Found out empirically.)))) It is possible 25mm, but with this arrangement, the front parts of the pads will be too close to the template pulley. So, it’s better to make it wider, and put on the roller axis on the washer on both sides.))))
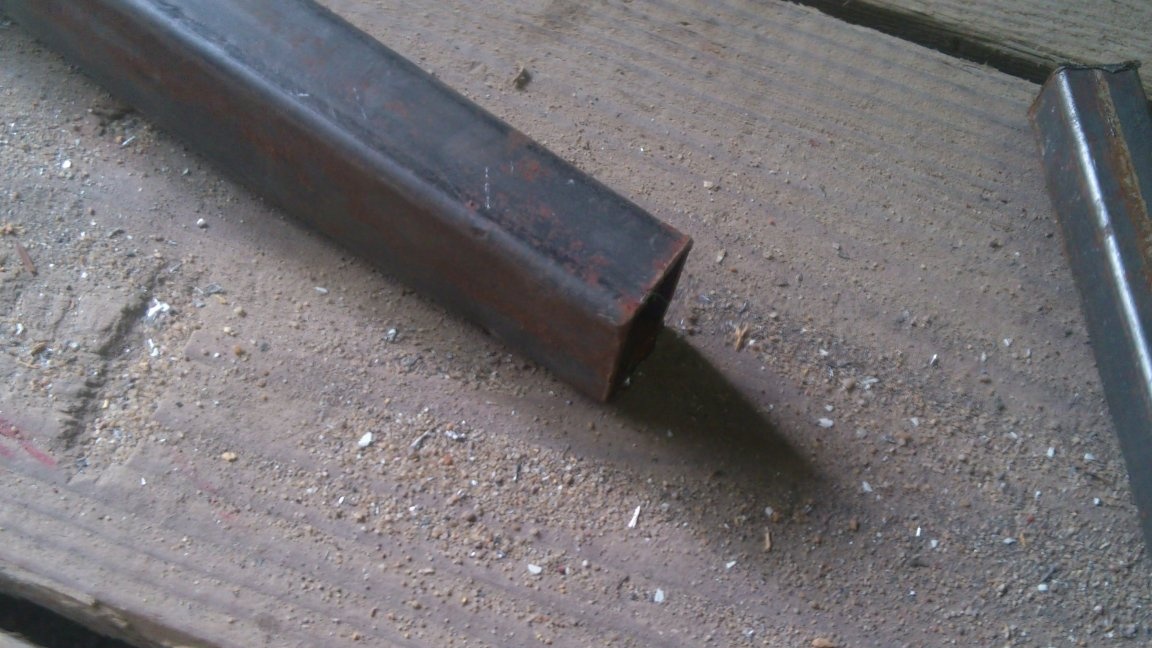
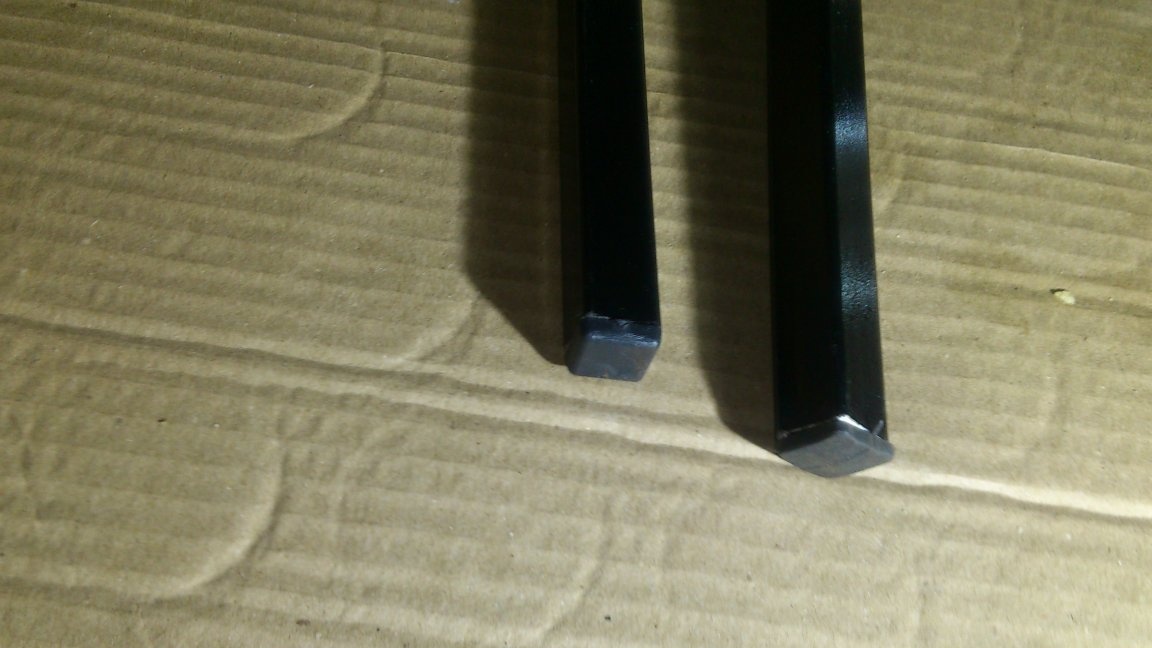
As in the case with the template part of the pipe bender, the handle of the rolling part will also be made of a profile pipe with a cross section of 15x15 mm, so I had to think about how to add the missing thickness. If in the first case I was missing one millimeter, and I just welded it, now fifteen is missing. To impose 15 mm with iron plates - this greatly complicates the design. Therefore, I got out of position by using a trimmed profile pipe 30x30 mm:
I decided to put it on the future handle.
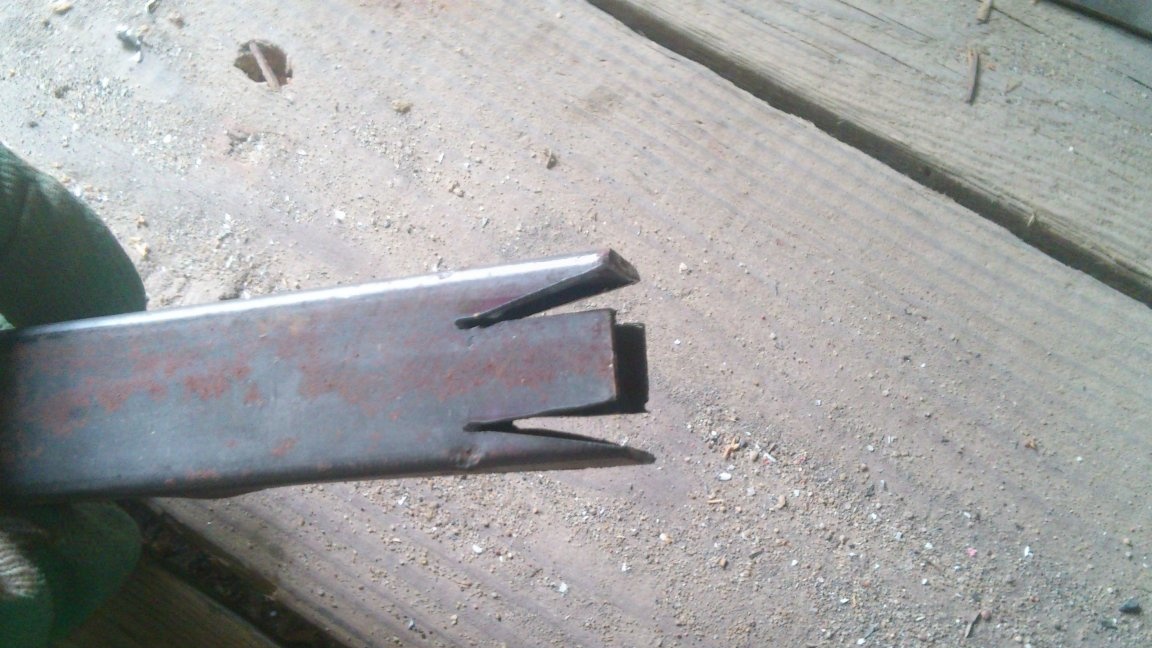
The size difference was compensated as follows. I made two such cutouts at the end of the pipe, leaving 15 millimeters between them:
He put the blank on the handle, grabbed it with welding on the sides, then bent the stripped parts with the hammer blows and scalded everything:
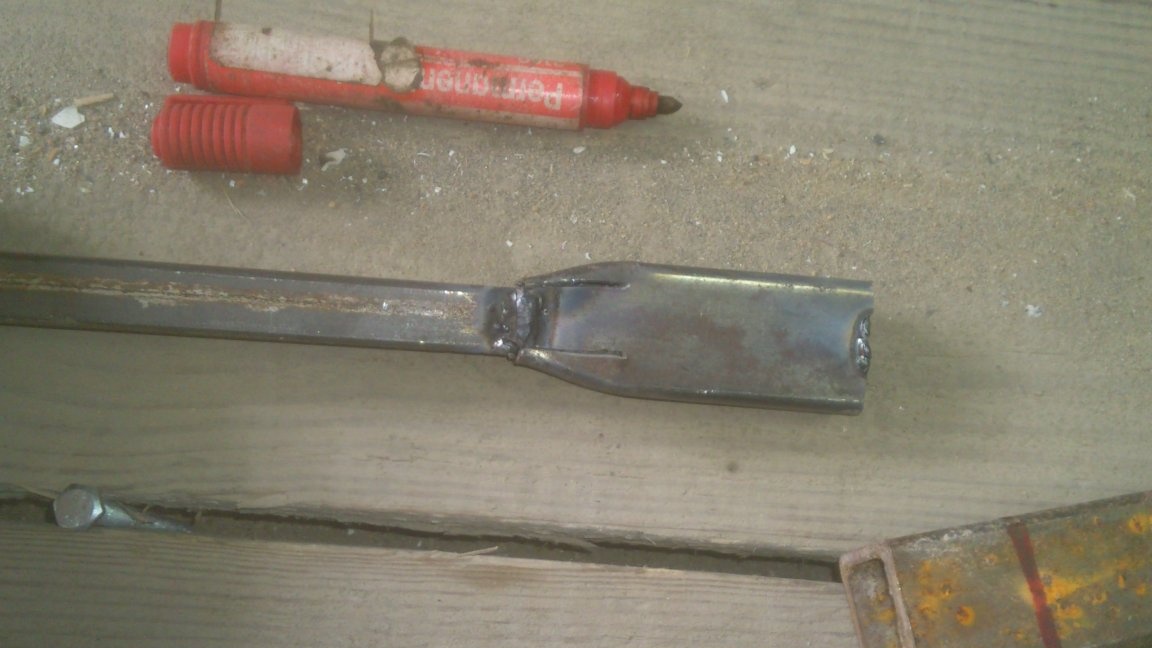
Now I positioned this thickened end between the previously made plates and welded them.
The next day, in the evening, I started installing the rolling roller (I also painted it for some reason.)))

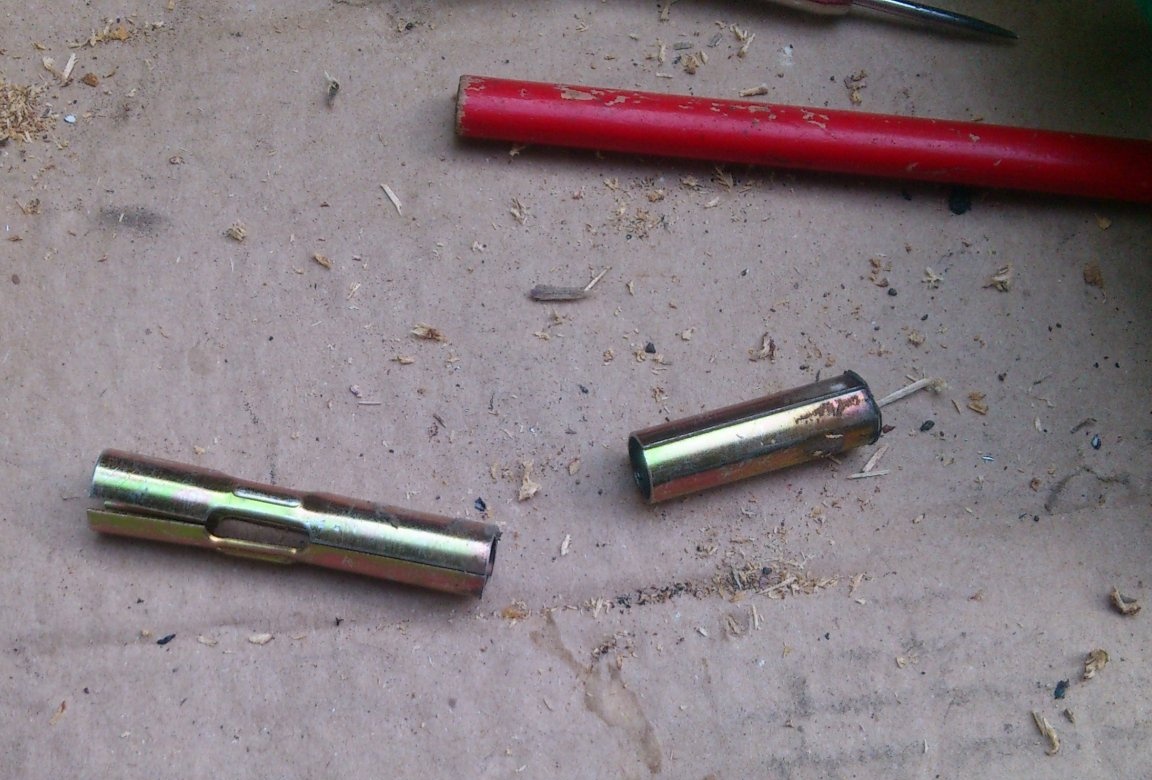
Since the roller should rotate freely, I decided to make the axis for it out of the tube, inside of which there will be an M8 bolt. I took the tube of the required diameter from the anchor bolt 10x100:
He put on an enlarged washer on each side - so as not to hang out !.


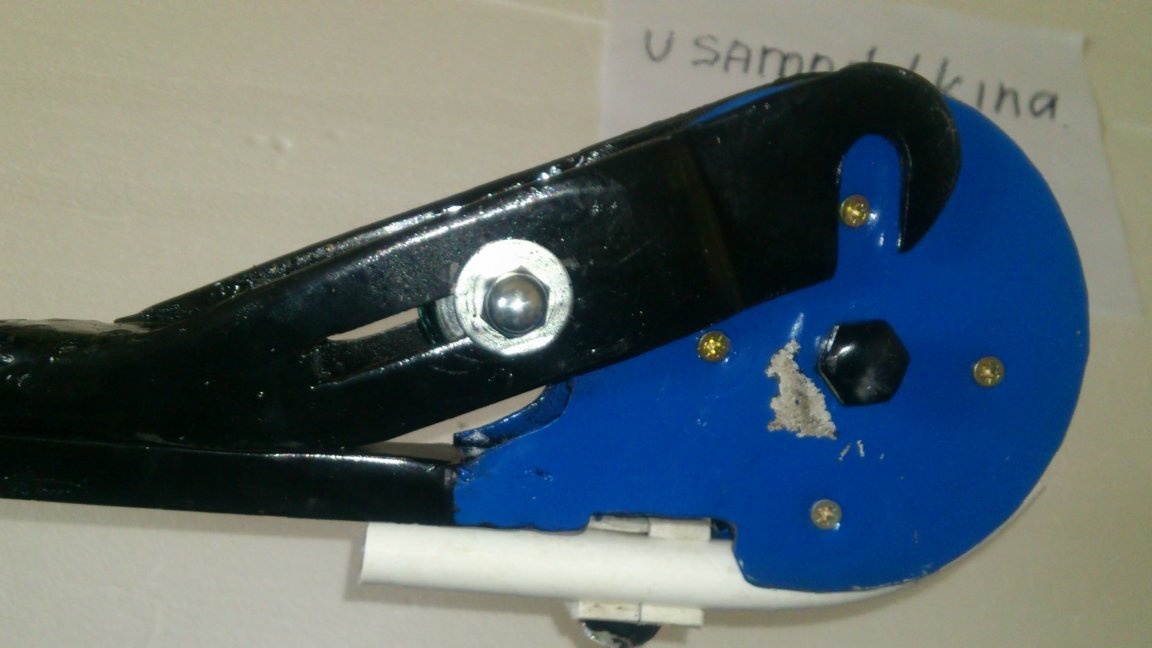
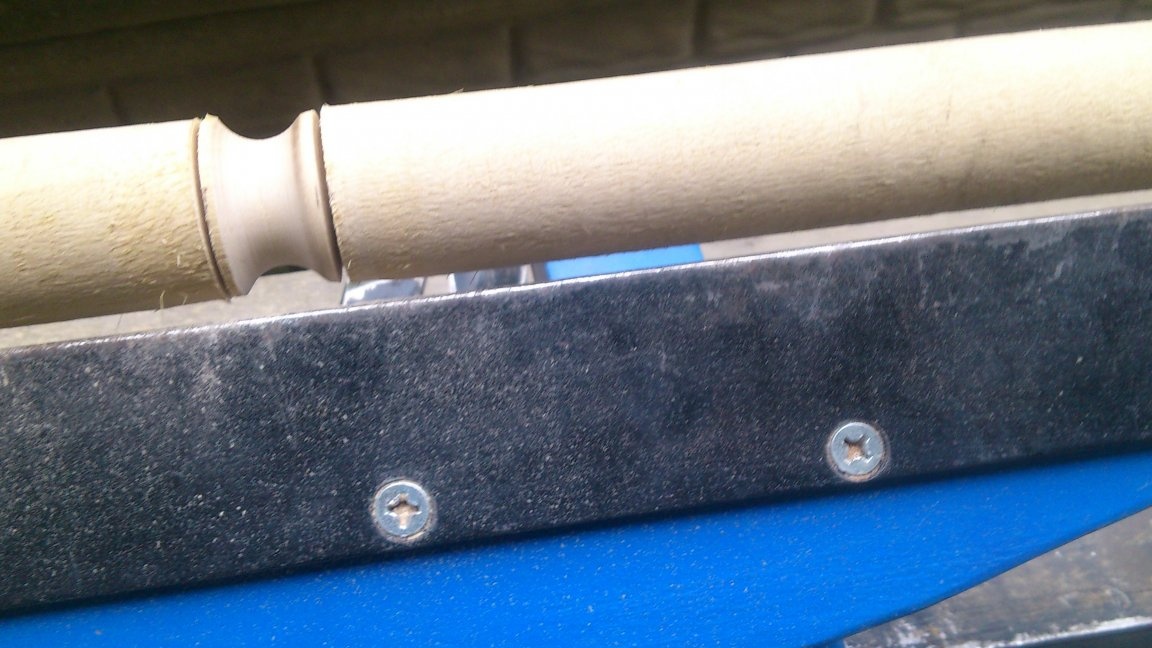
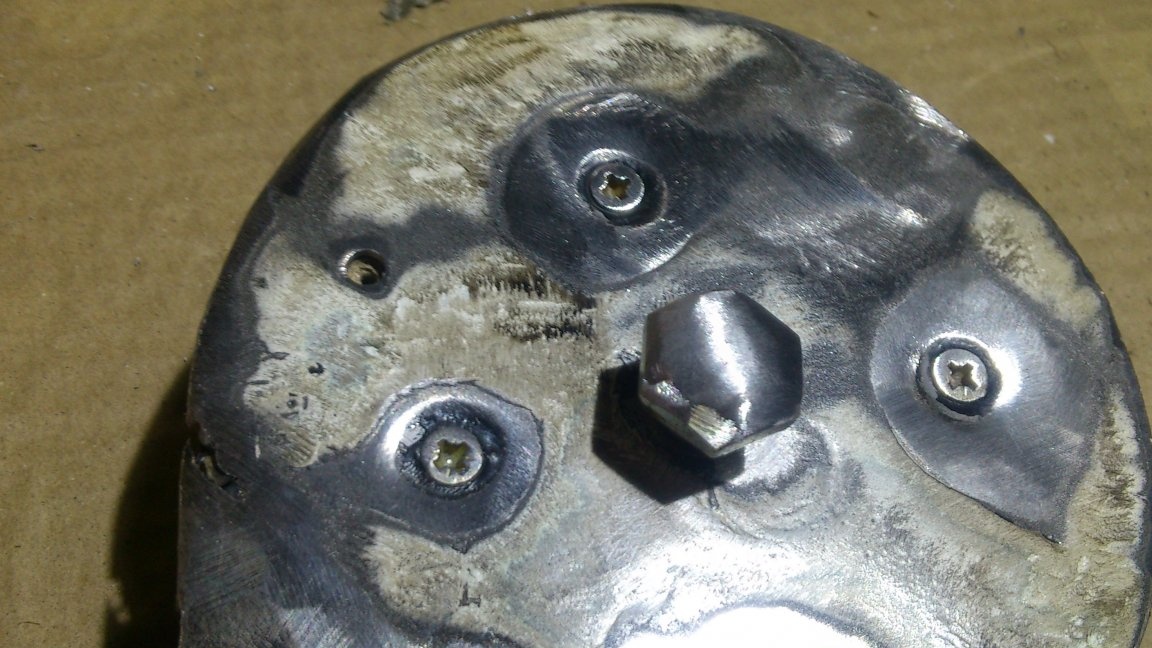
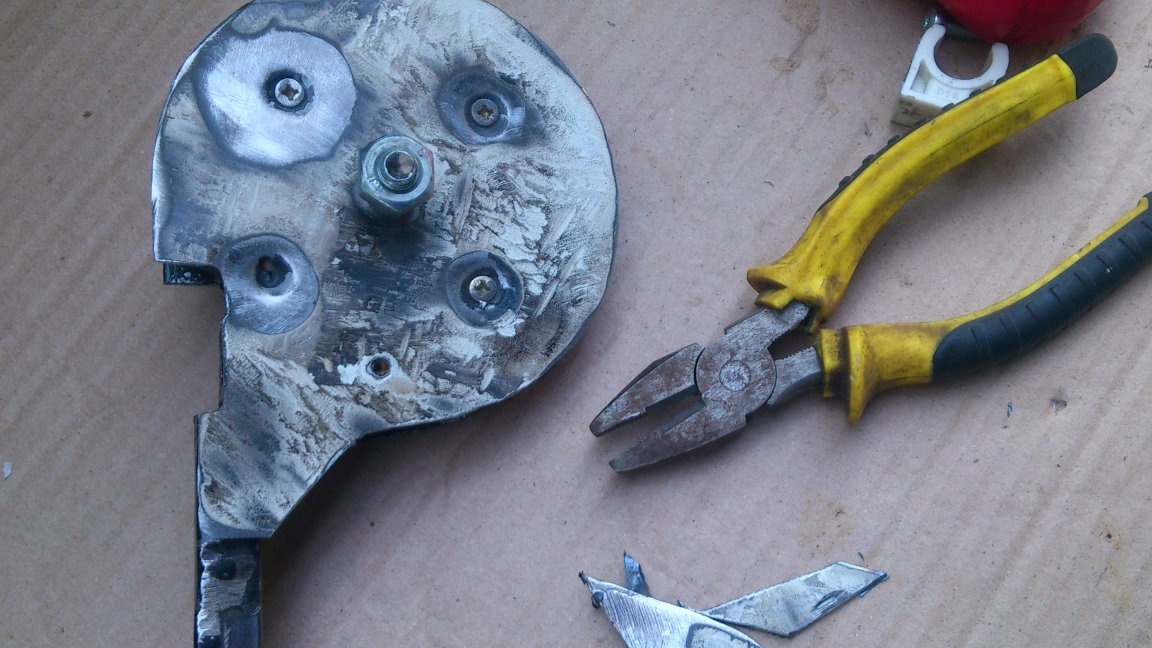
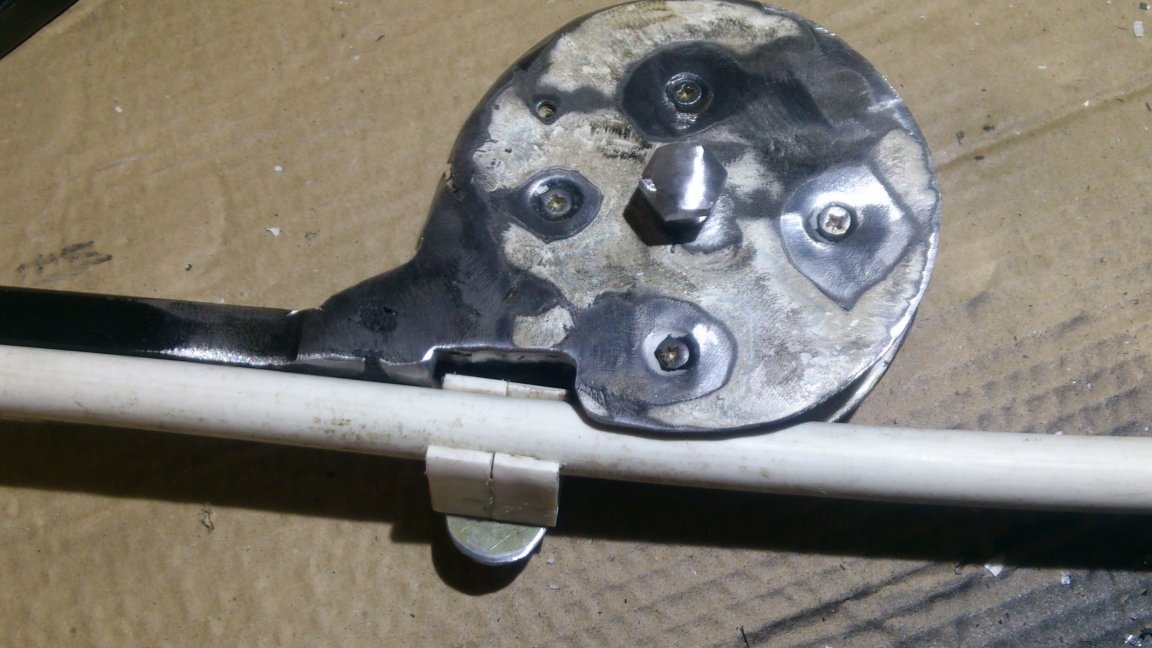
Now we are going to assemble the main, template part of the pipe bender. I decided to connect this design with screws with countersunk hats. To do this, I drilled four holes in each of the pads, making sure that the screws on one of the plates do not “meet” with the screws of the other. I made a sweat for the hats with the help of a large punch, laying the pads on a wooden surface.
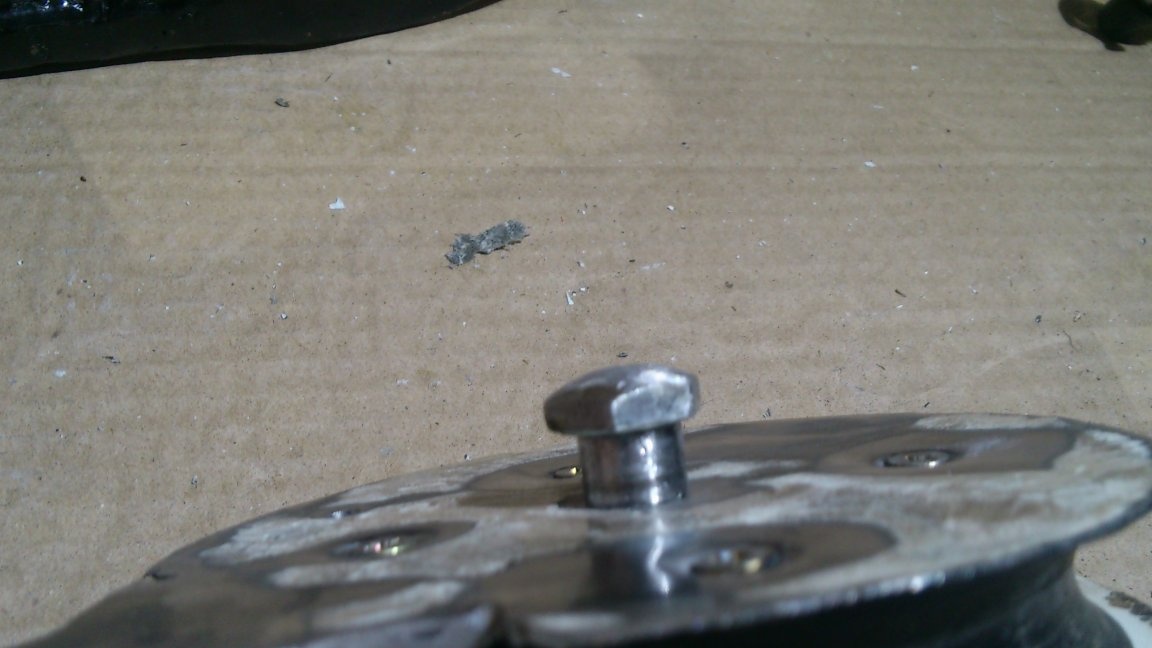
The axis on which the lever will be put on, I made from the M10 bolt and the 12x100 anchor bolt. From the second I again took only a pipe, from which I cut two pieces of 10 mm long. I filled one piece of the tube onto the bolt under the hat itself, then inserted the bolt into the hole drilled in the center of the pulley of the template and the covers, filled the second section of the tube, greased the thread with thread sealant and tightened the nut. After that, he worked with a petal circle, grinding off the height of the cap of the bolt and nut:
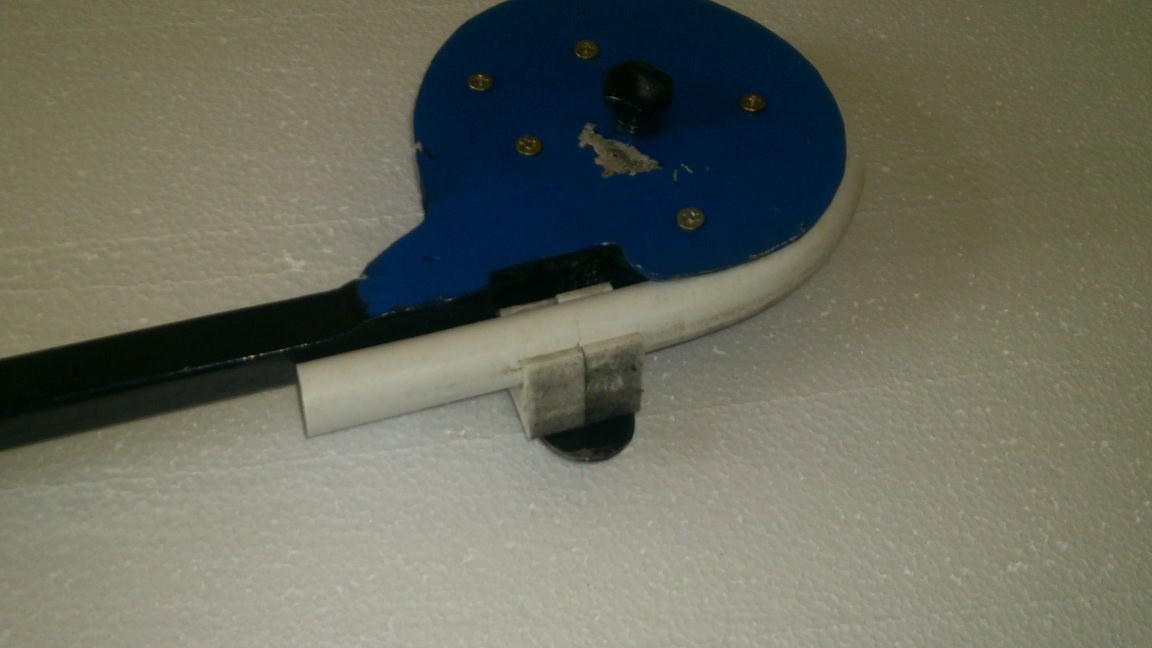
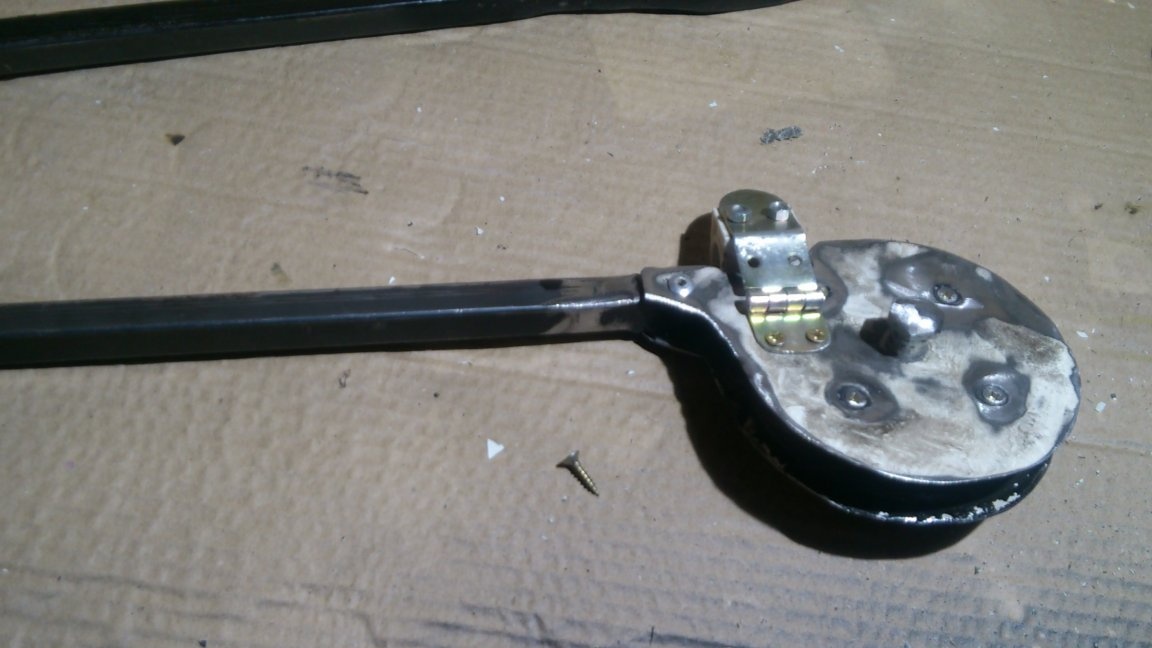
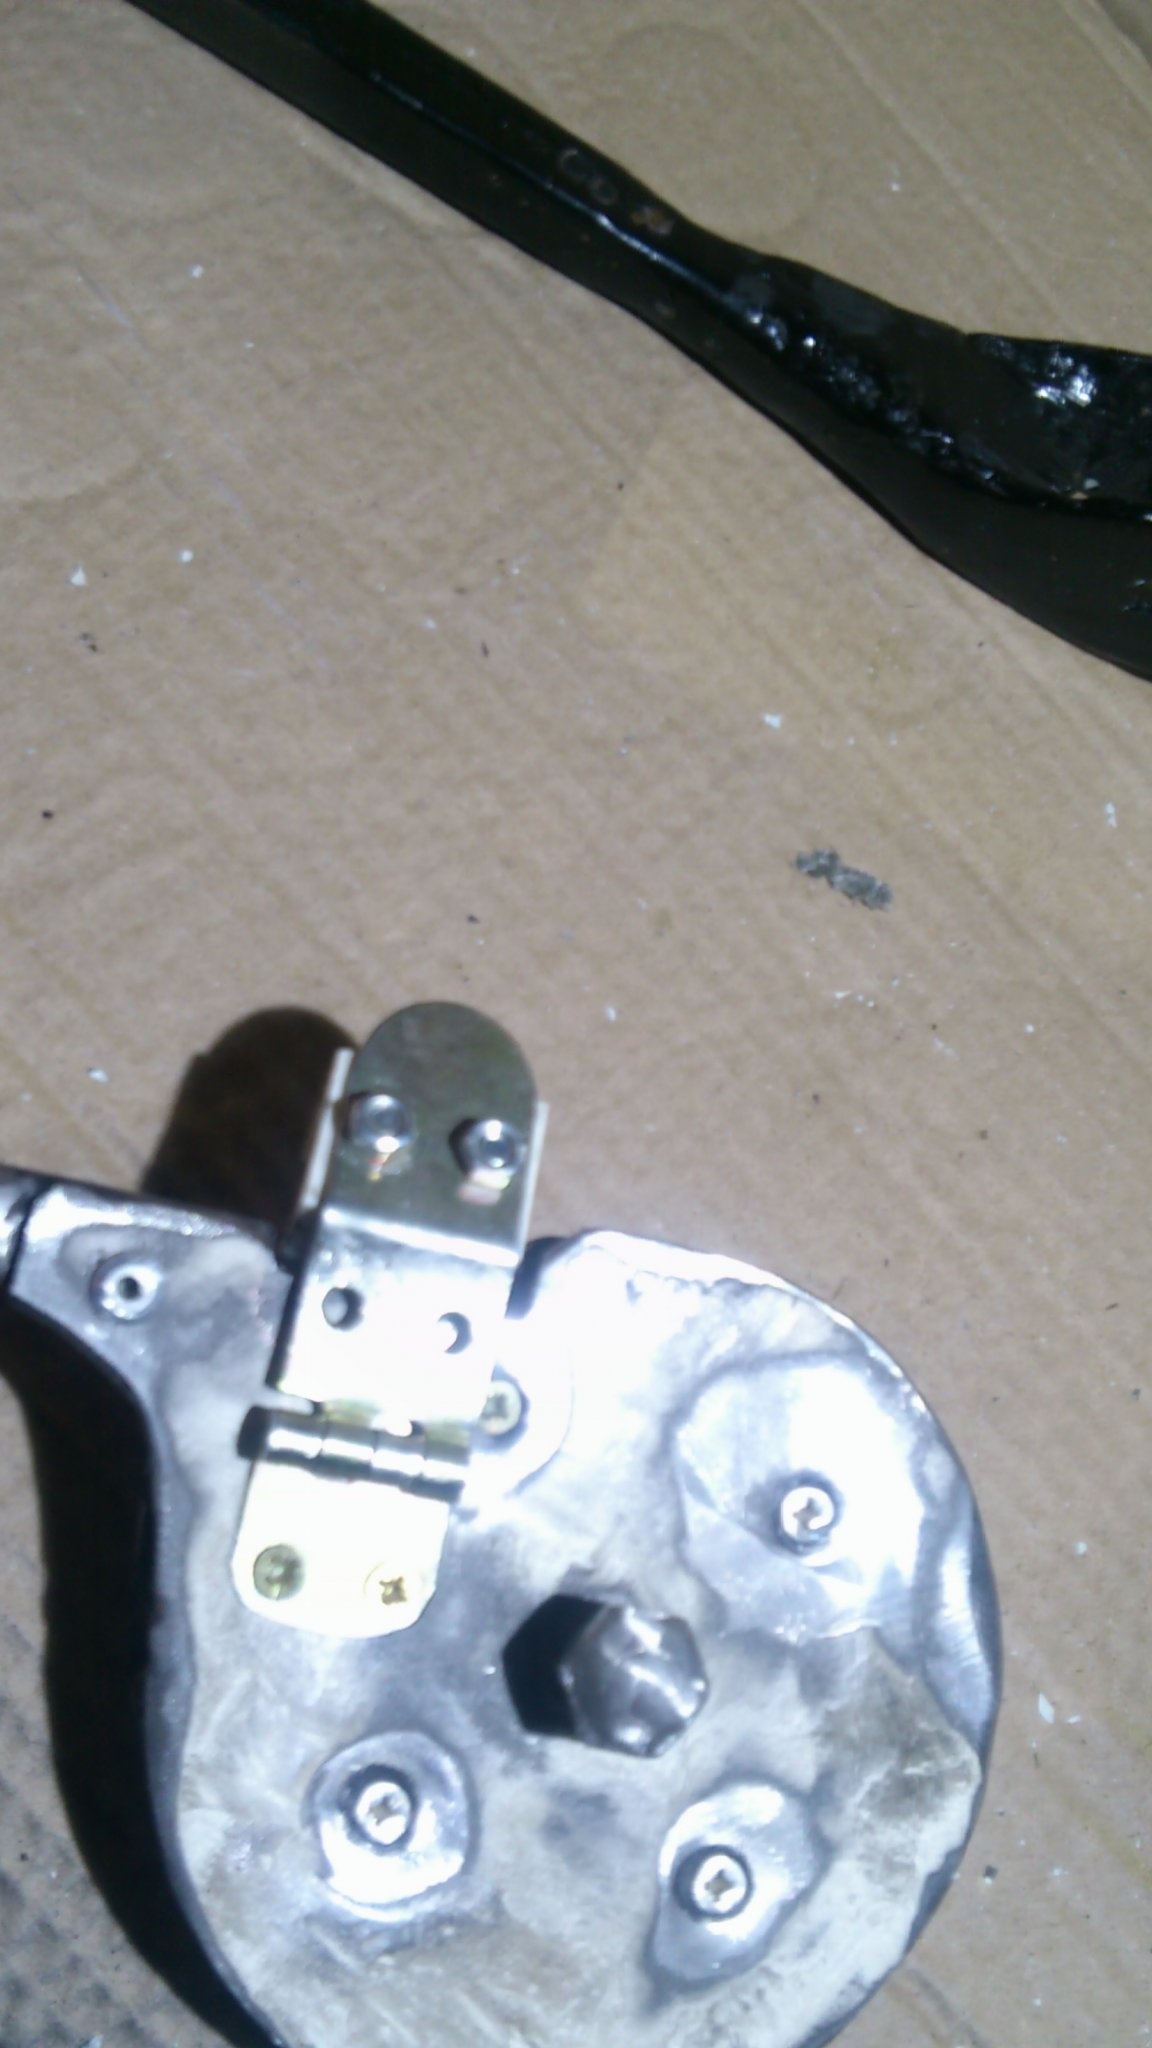
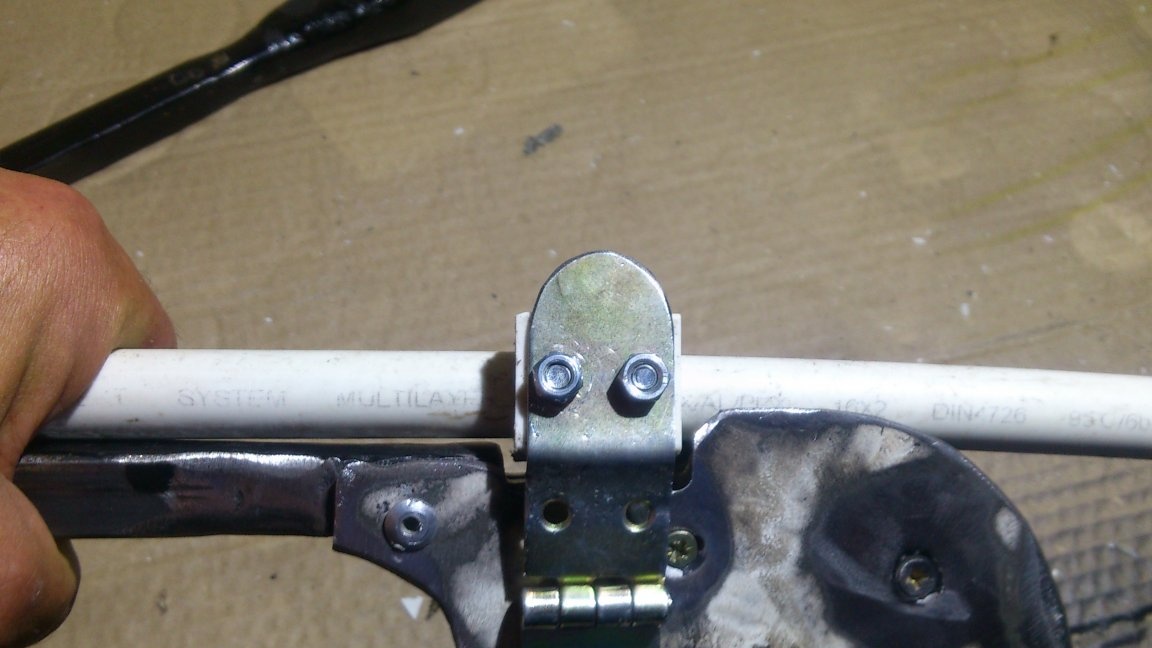
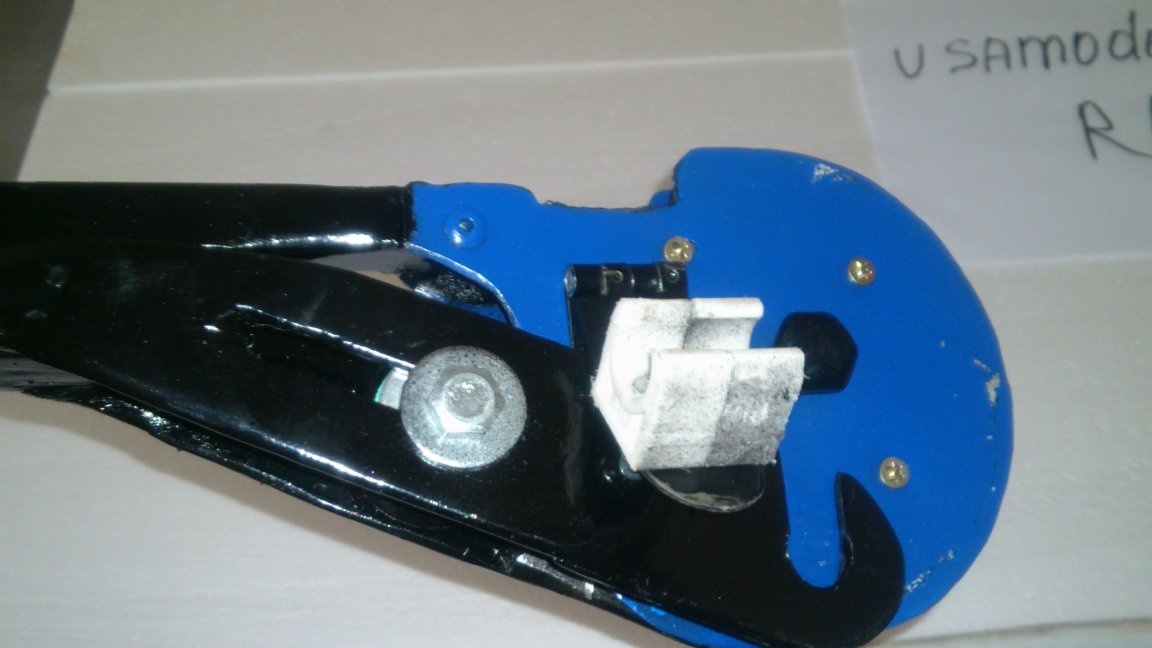
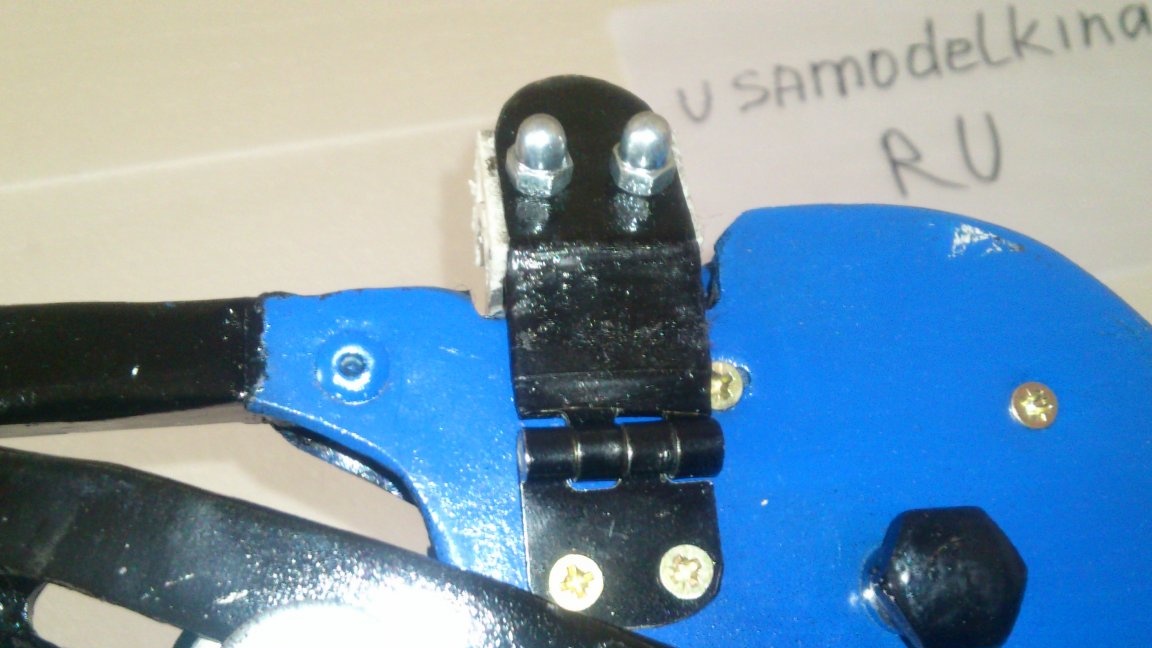
Now you need to make a mount for the bending pipe. If we bend a long section, then we can very well hold the pipe with our hand, grabbing it with a brush along with the handle-lever. But, it is quite possible that I will need to make a second bend immediately after the first, and it will be in a different plane! Then the pipe will not be located along the handle. To make it possible to firmly fix the pipe at the very beginning of the bend, I decided to make a structure from a metal loop and standard fasteners for a metal plate:
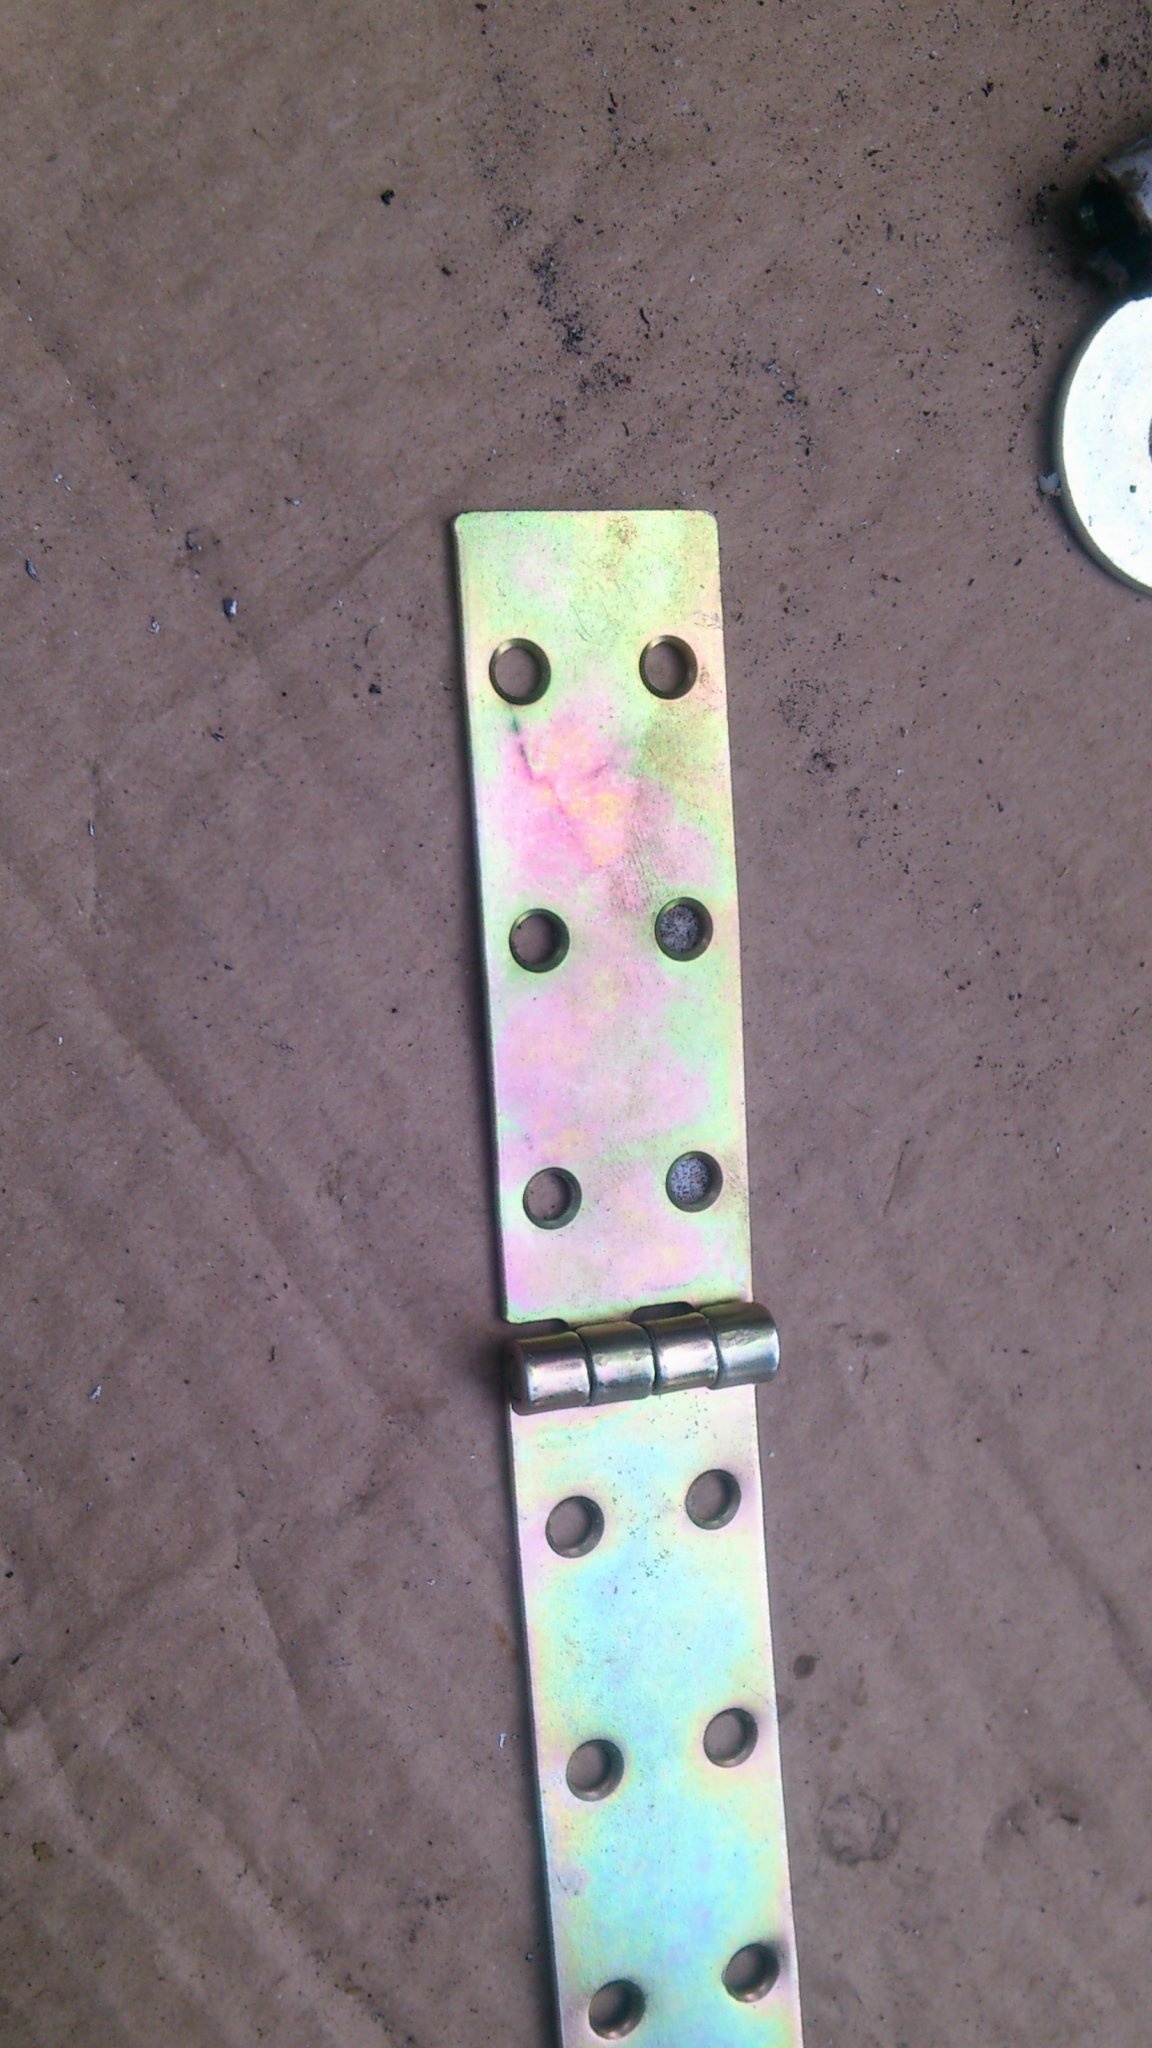
I cut the loop and bent it as needed:
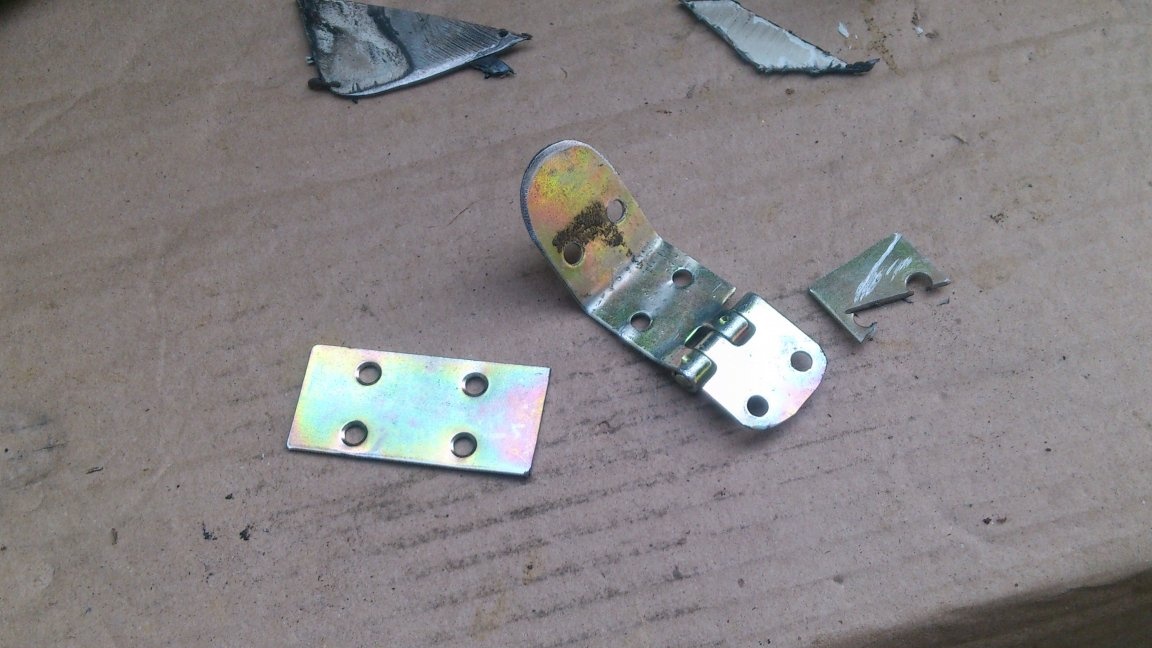
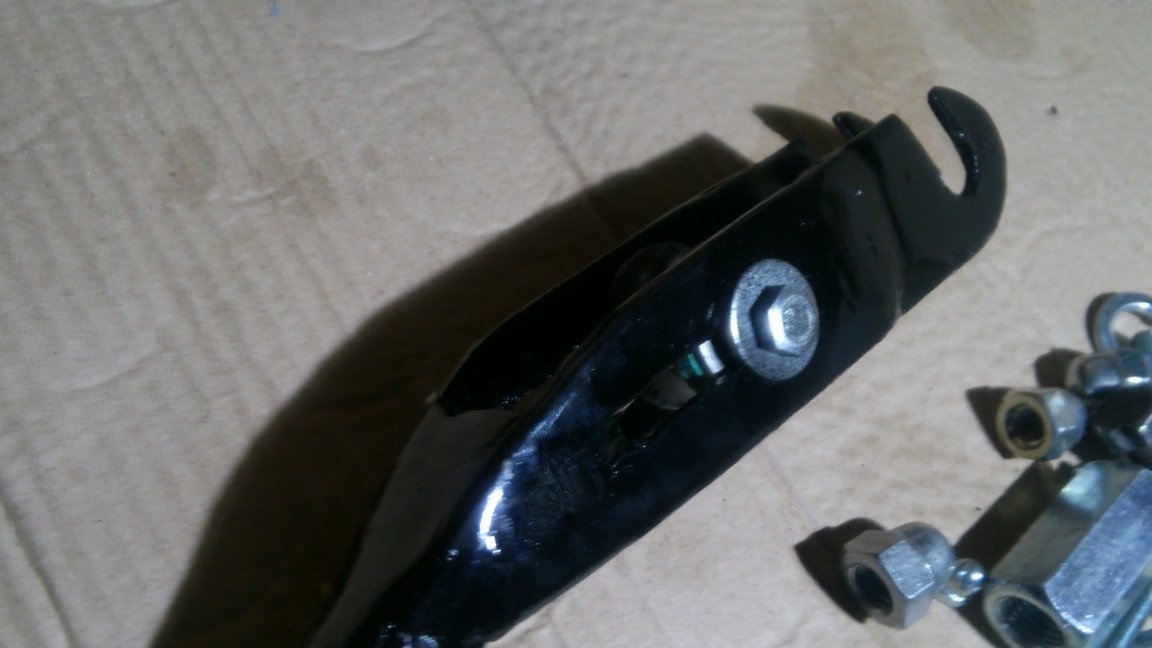
I fastened two fasteners to the loop with the help of M5 screws with nuts, and the whole structure to the pipe bender - with the help of screws:
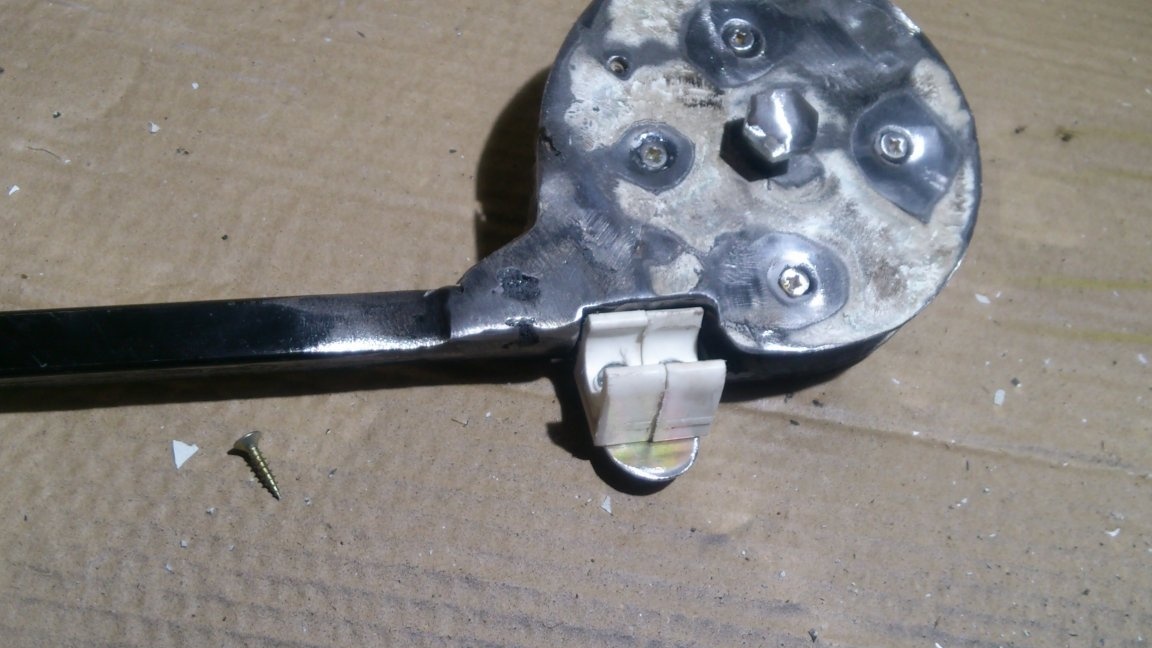
The extensions left at the bottom of the overlays, just in case, can now be trimmed:
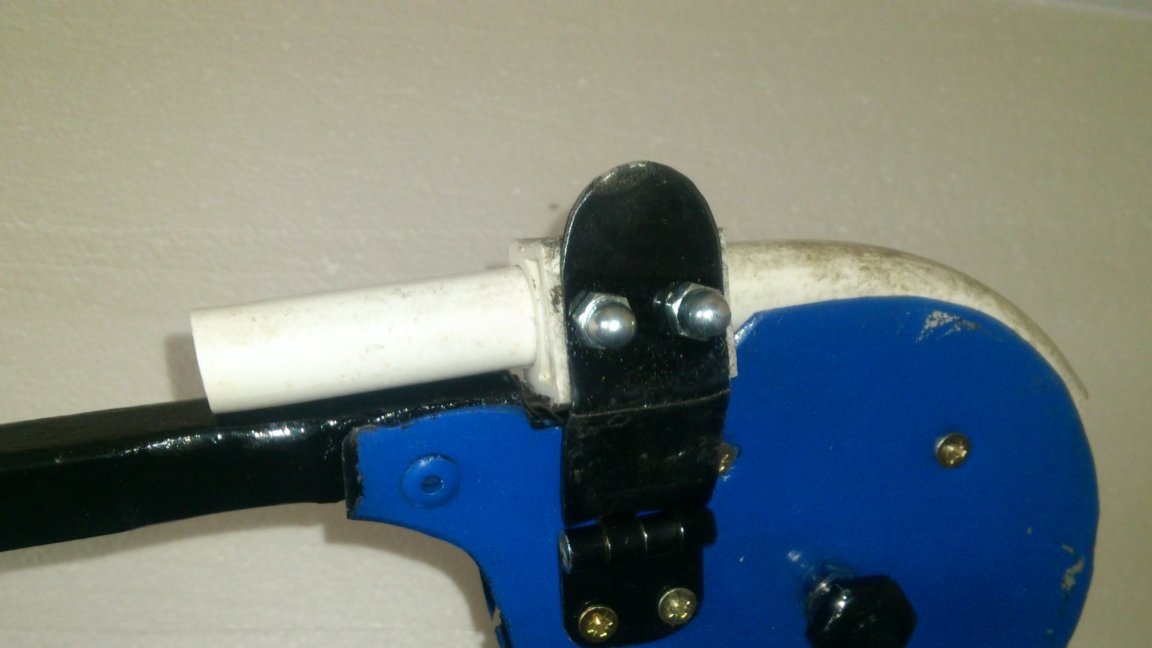
Now the pipe can be firmly fixed:
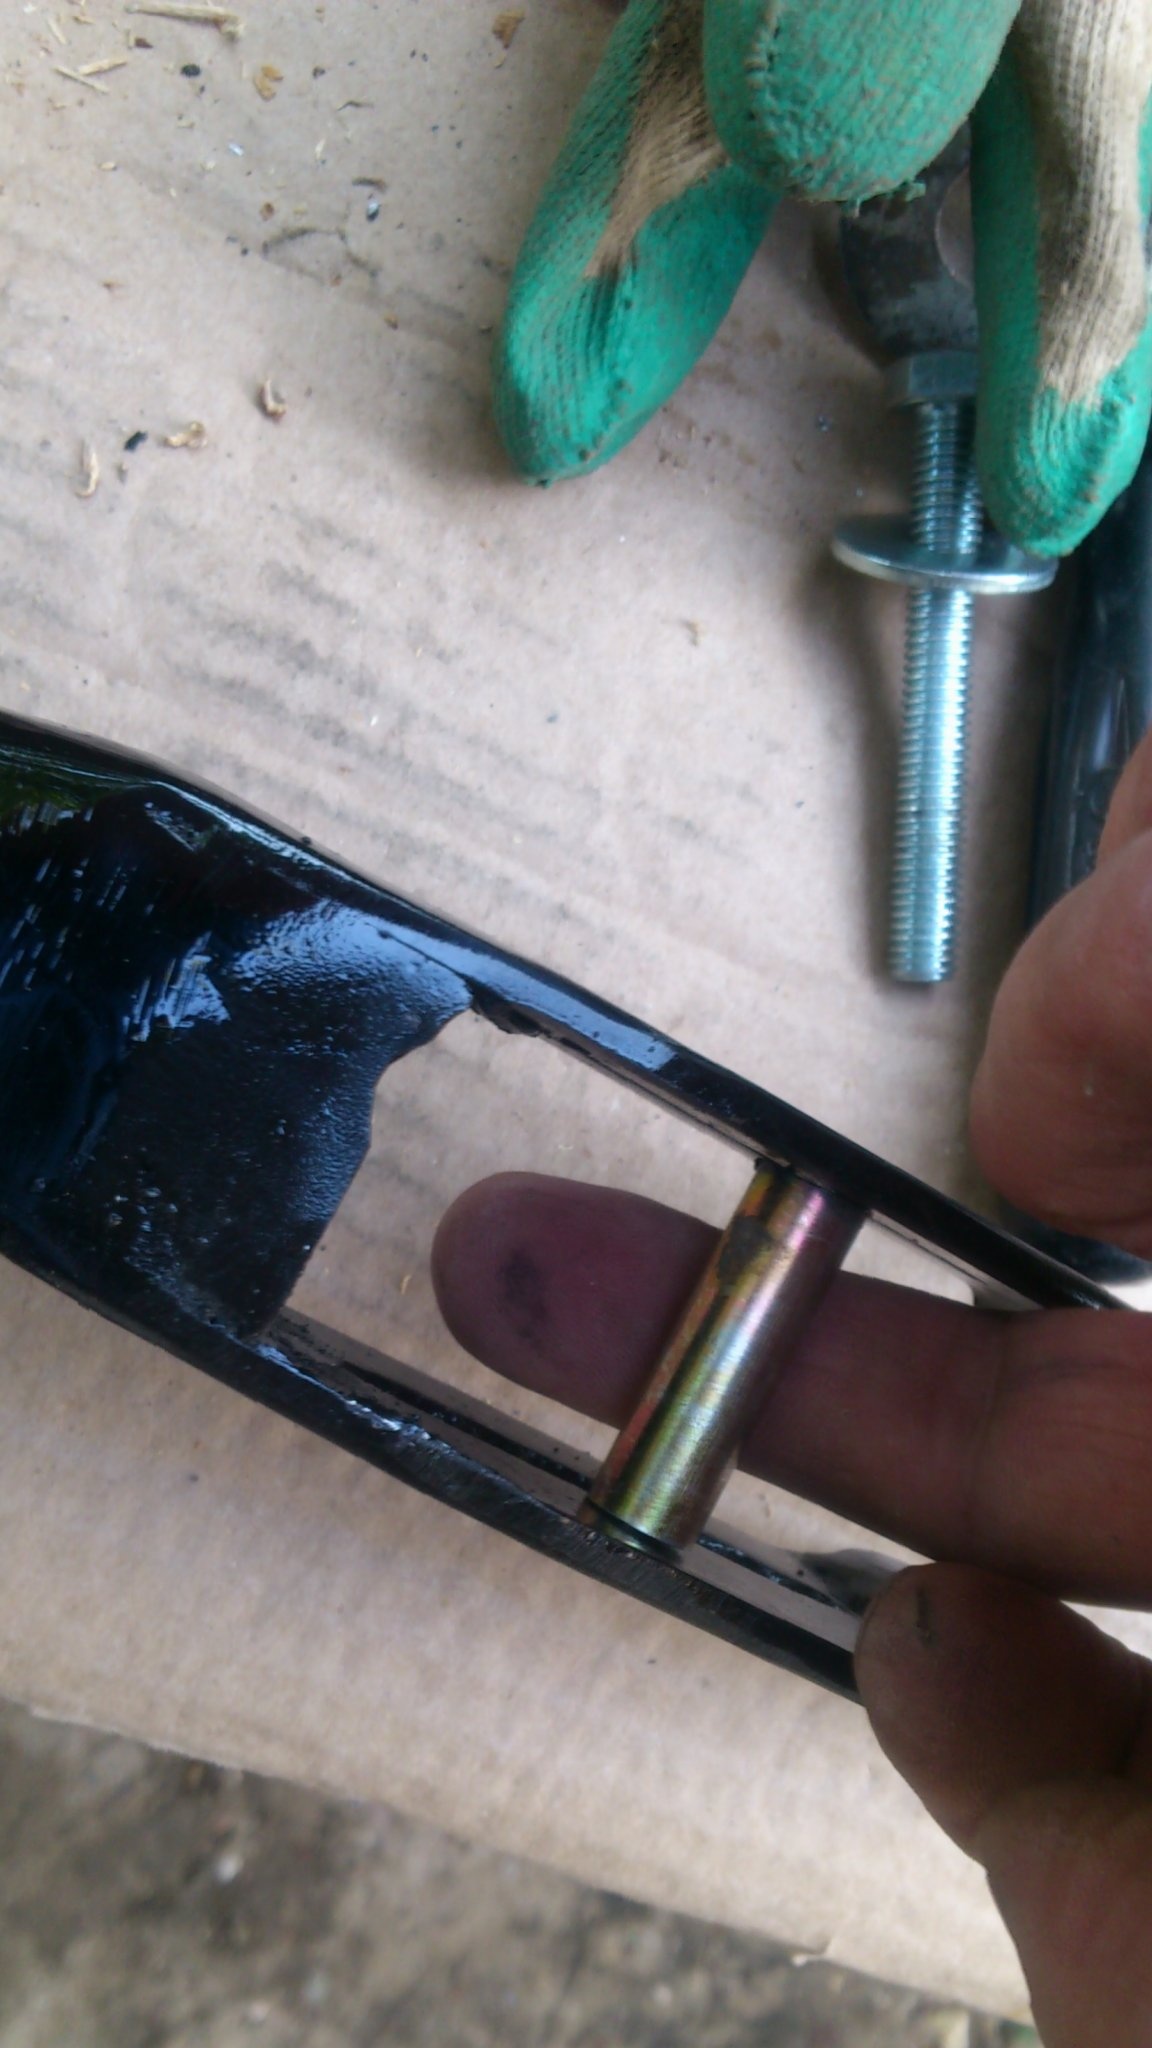
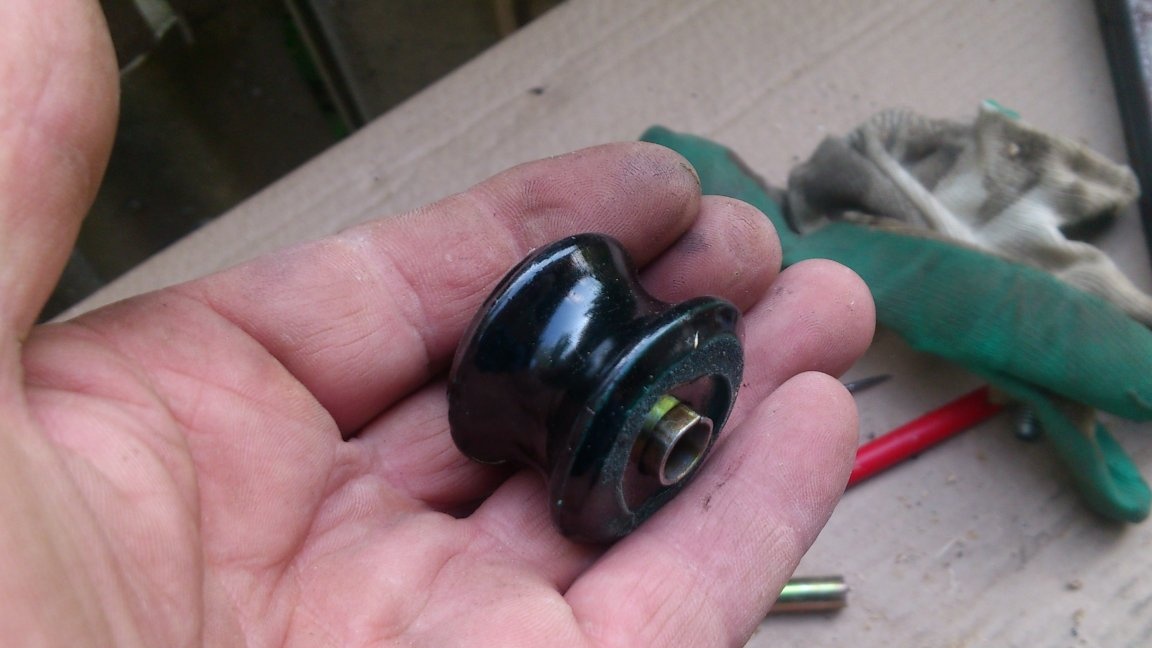
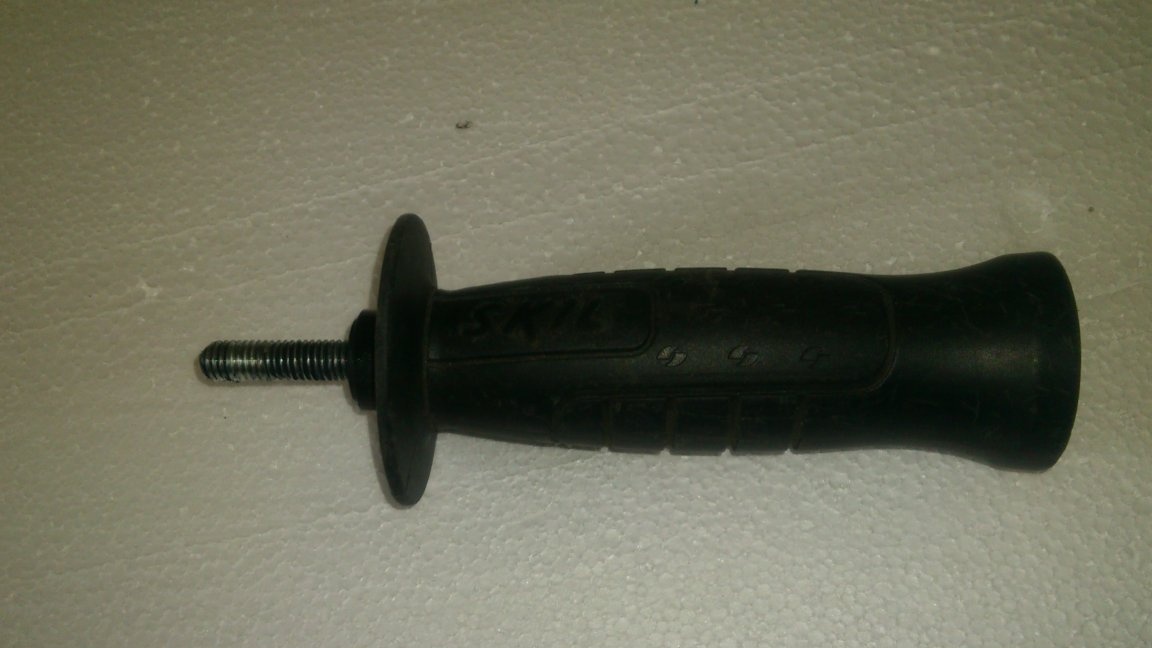
And I also decided to make a removable handle for my pipe bender, similar to a handle from a drill ...
For this purpose, in fact, I used the handle from the old drill)))). One such was in my stock:
I decided to make the handle fastening from trimming the profile pipe 20x30 mm. A hole was drilled in it with a 10 mm drill, and the M8 nut was welded:
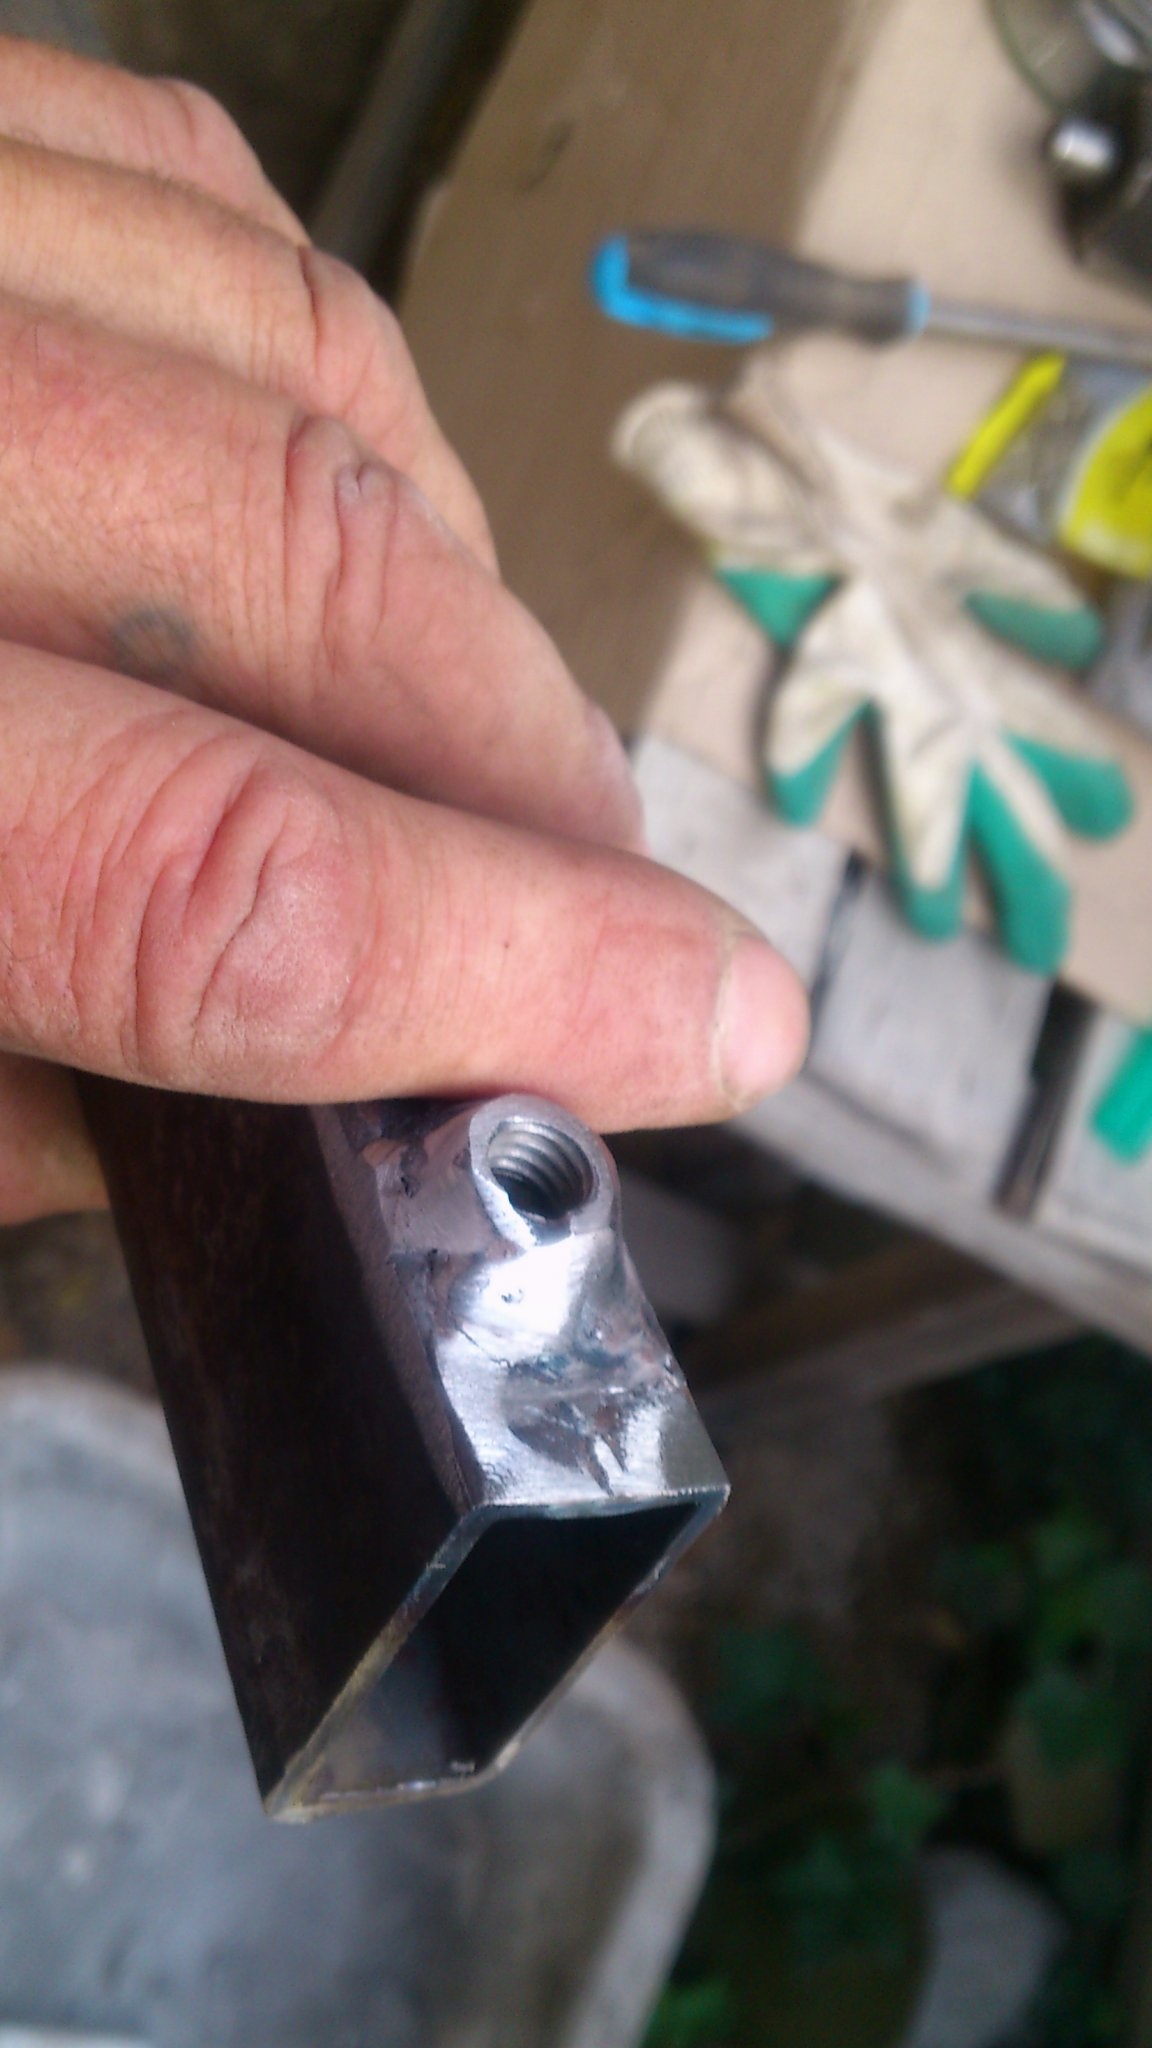
Now cut the area with the nut:
Now, if you put it on a 15x15 pipe, from which I have made lever arms, and screw the handle all the way, you can firmly fix it on any part of the lever ... And if you insert both levers folded together (in the pipe) into it 20x30 is enough space for them) and, again, wrap and hold the handle - then we will tightly fix both parts of the pipe bender for carrying, or storage! This was my idea with a long bolt and a large section of the landing handle.))))
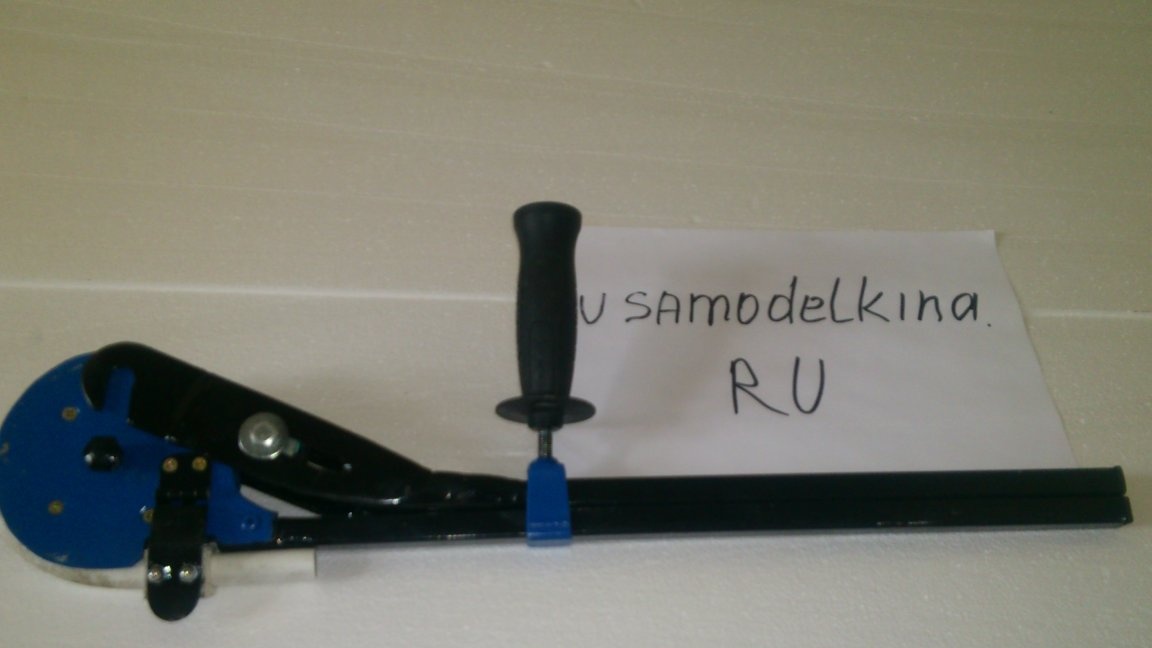
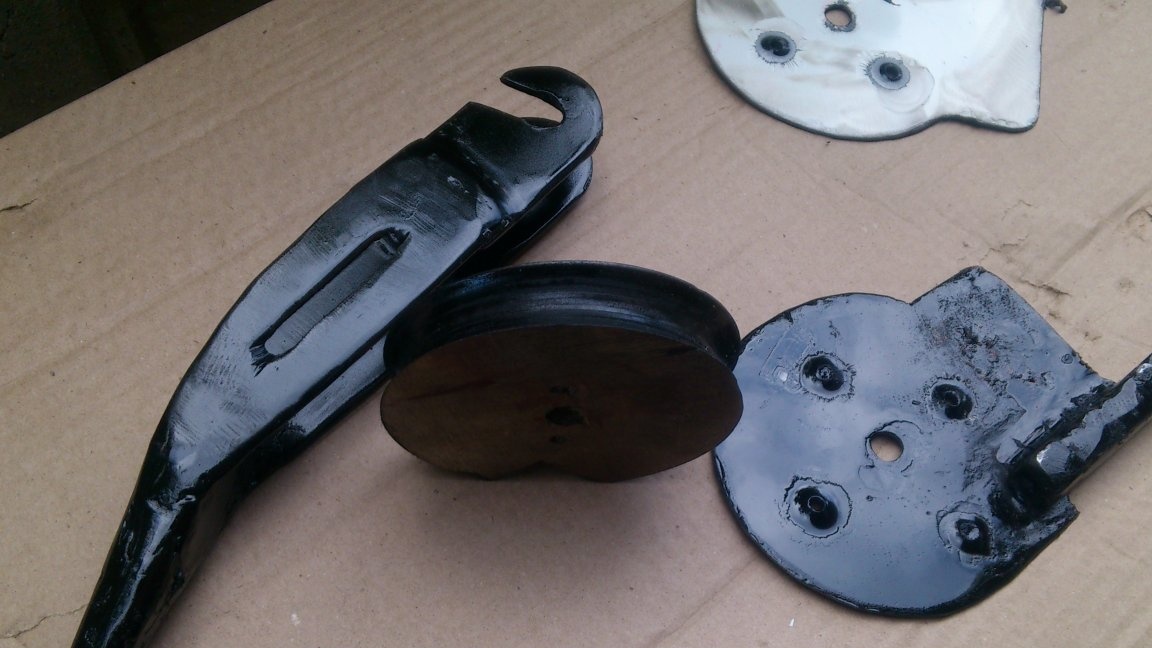
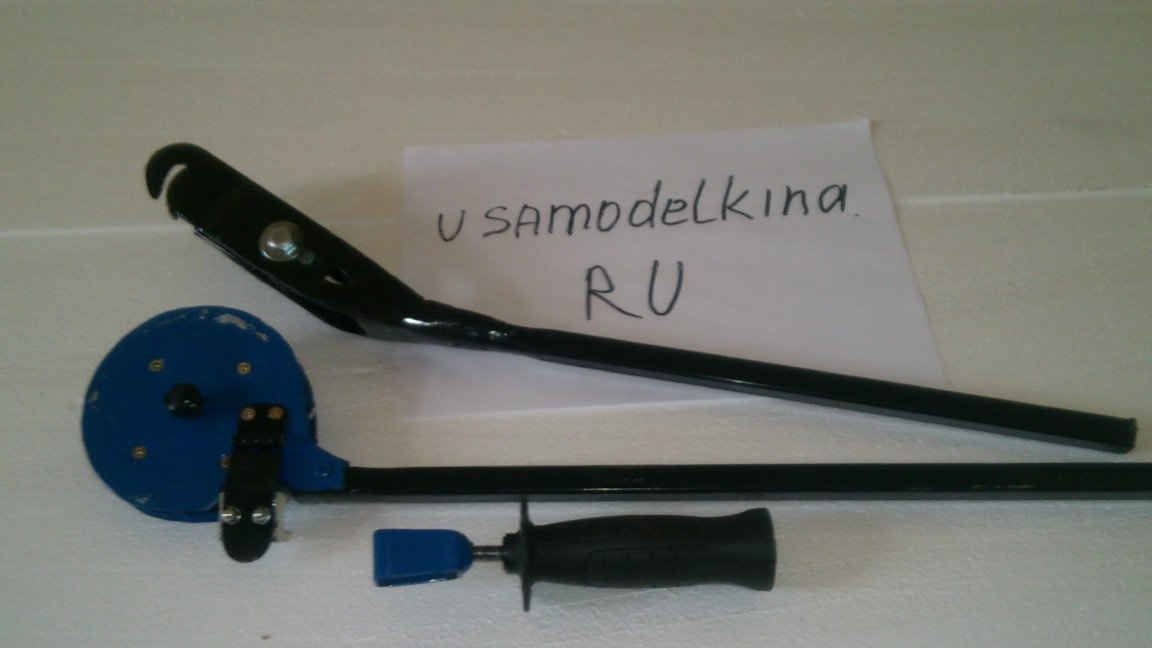
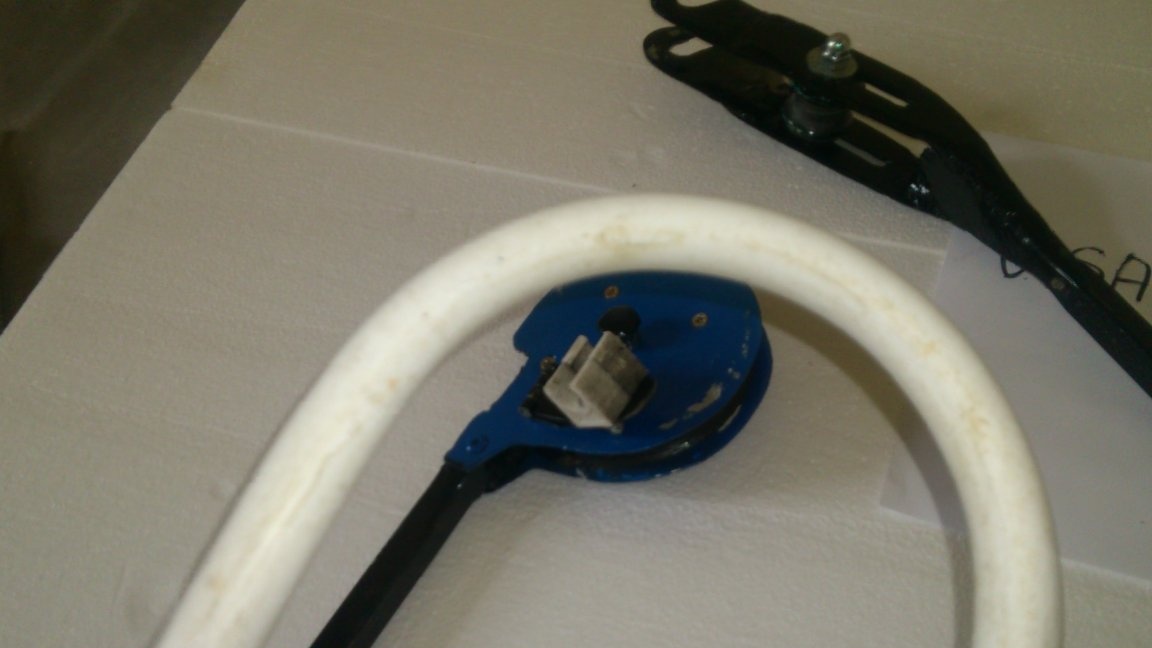
All!!! All is ready. You can proceed to the stage, which I call "combing.")))
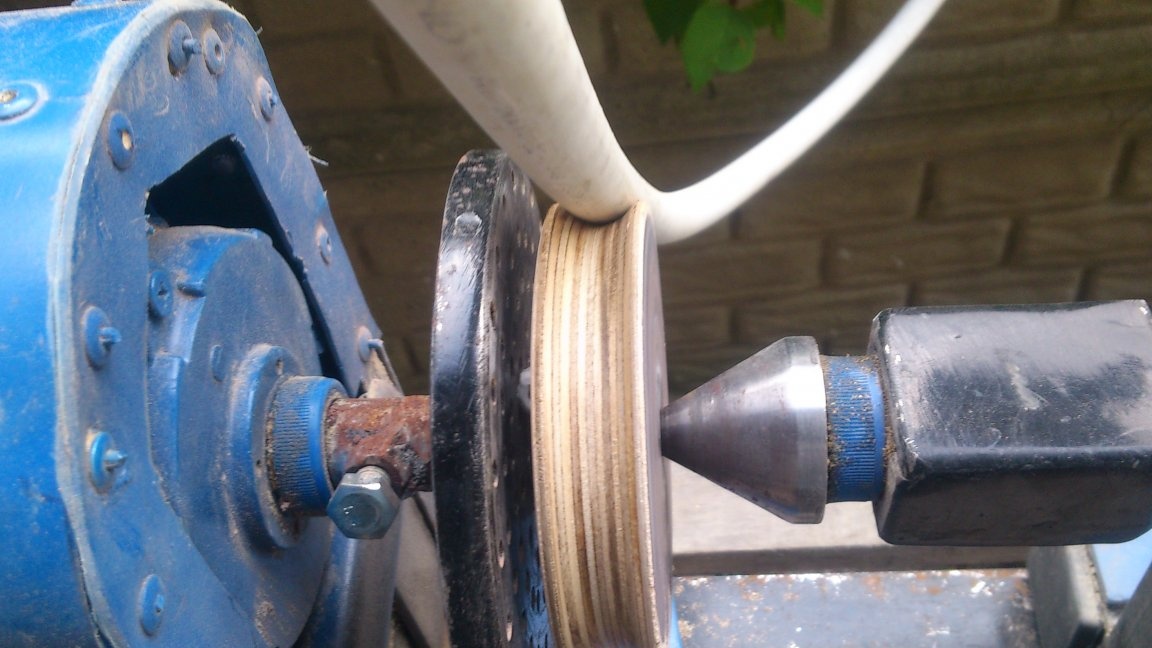
All parts are cleaned, painted, plugs are clogged at the ends, the outer nuts are replaced with cap ...

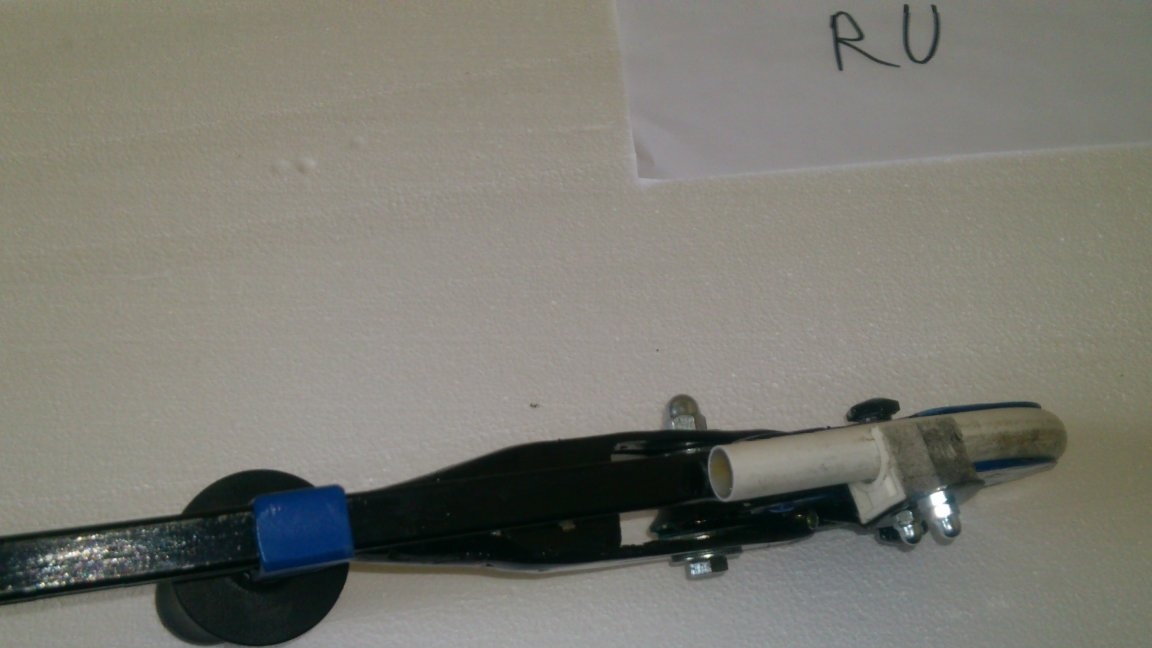
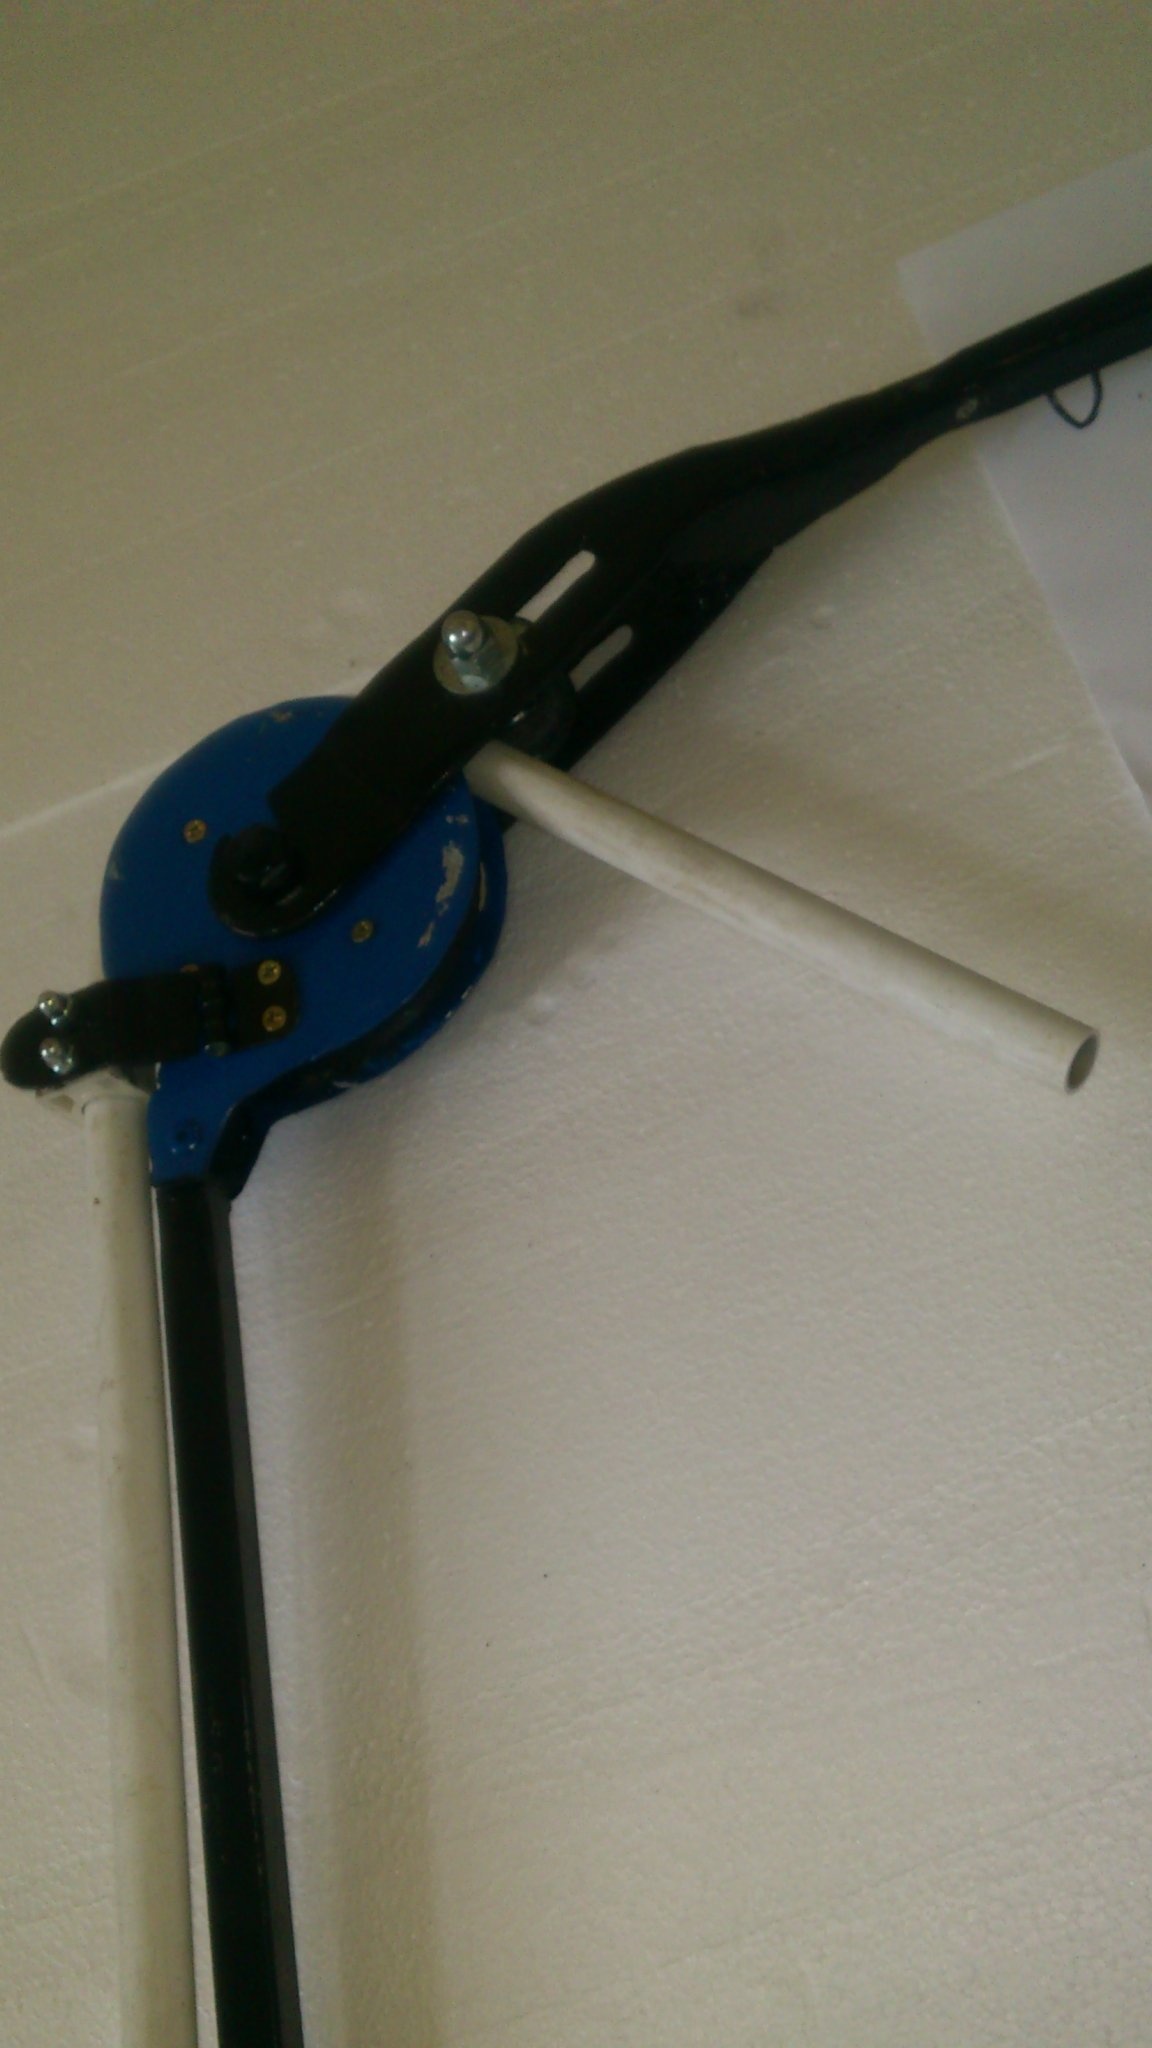
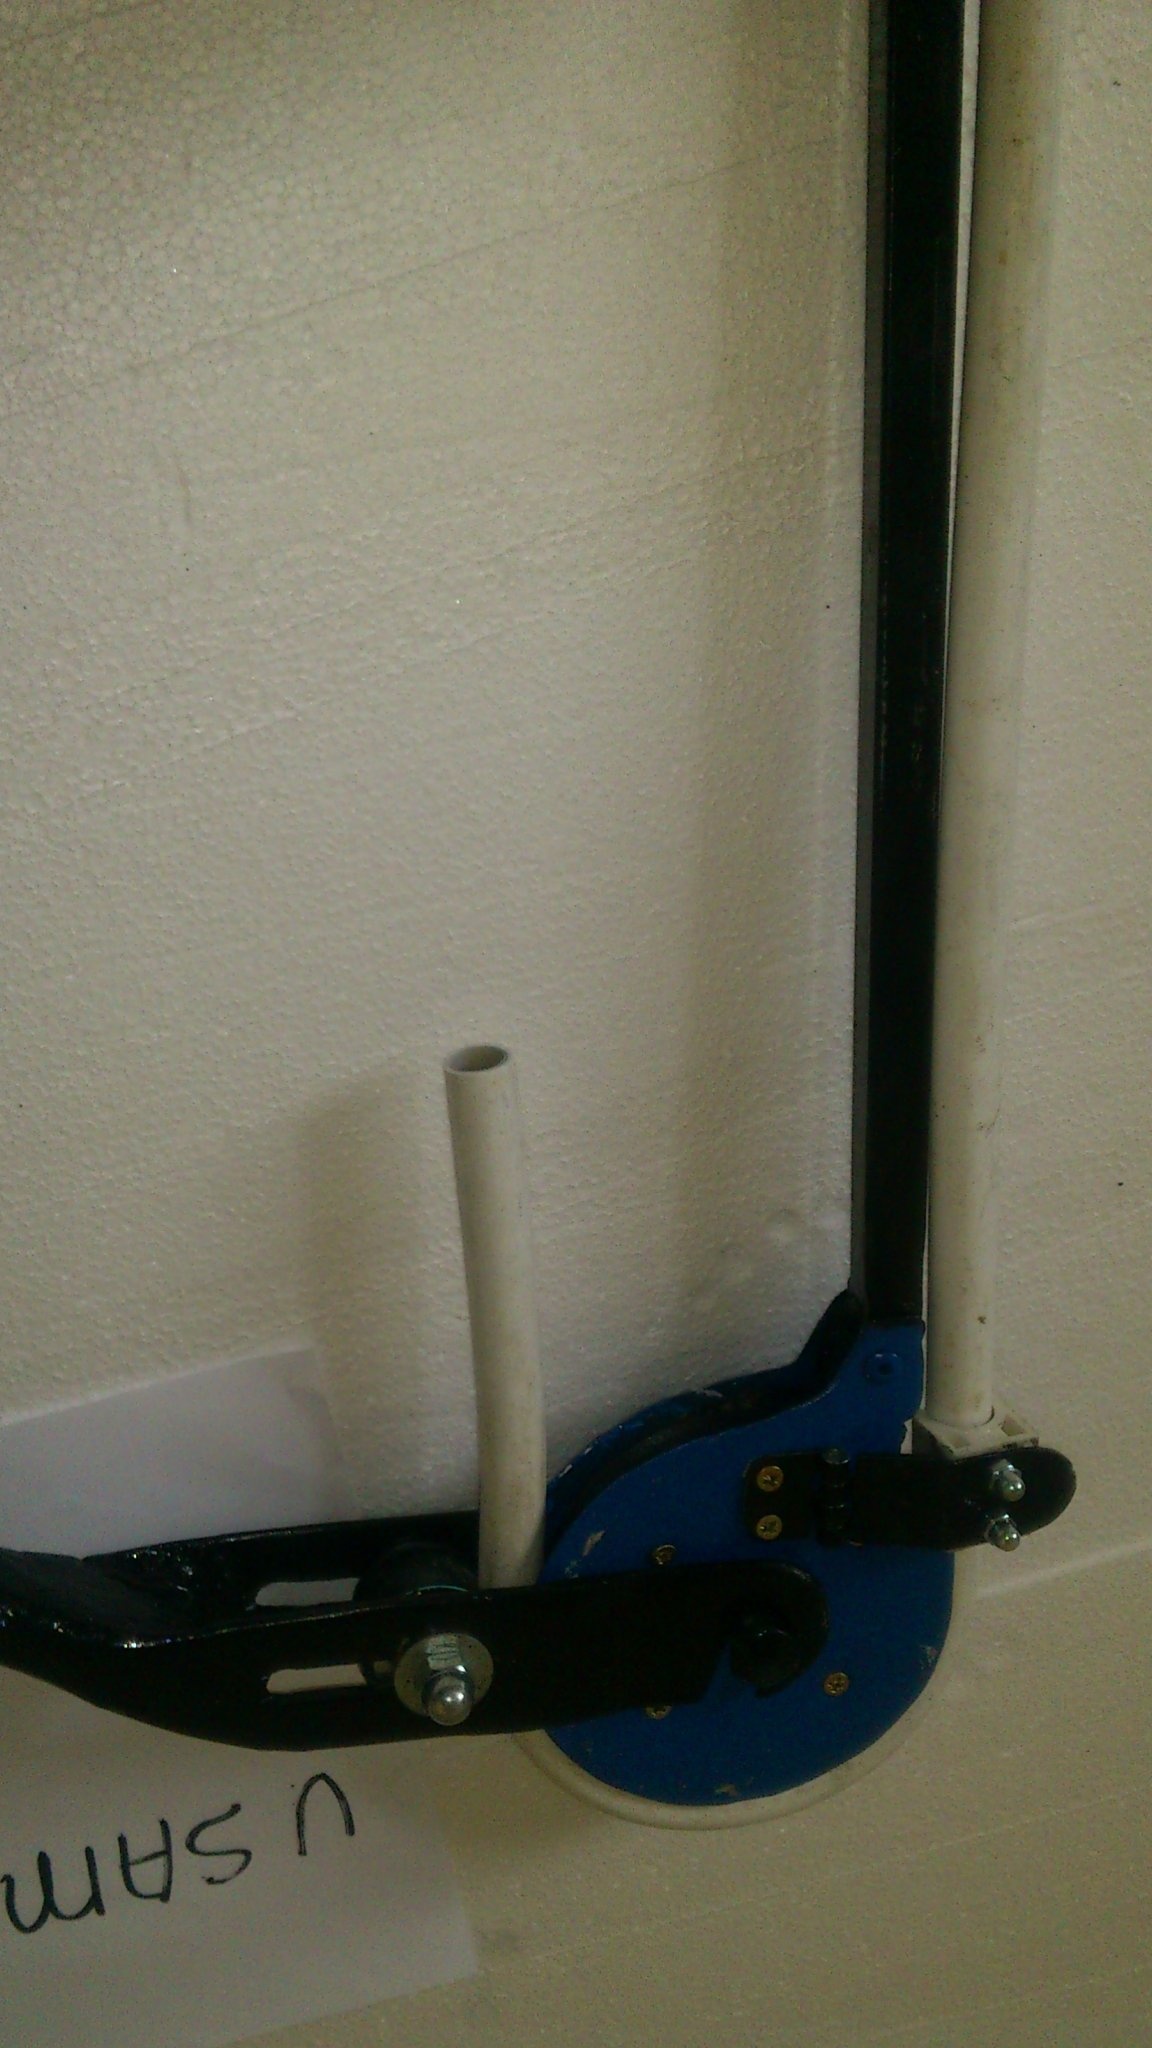
The pipe bends very easily and conveniently:
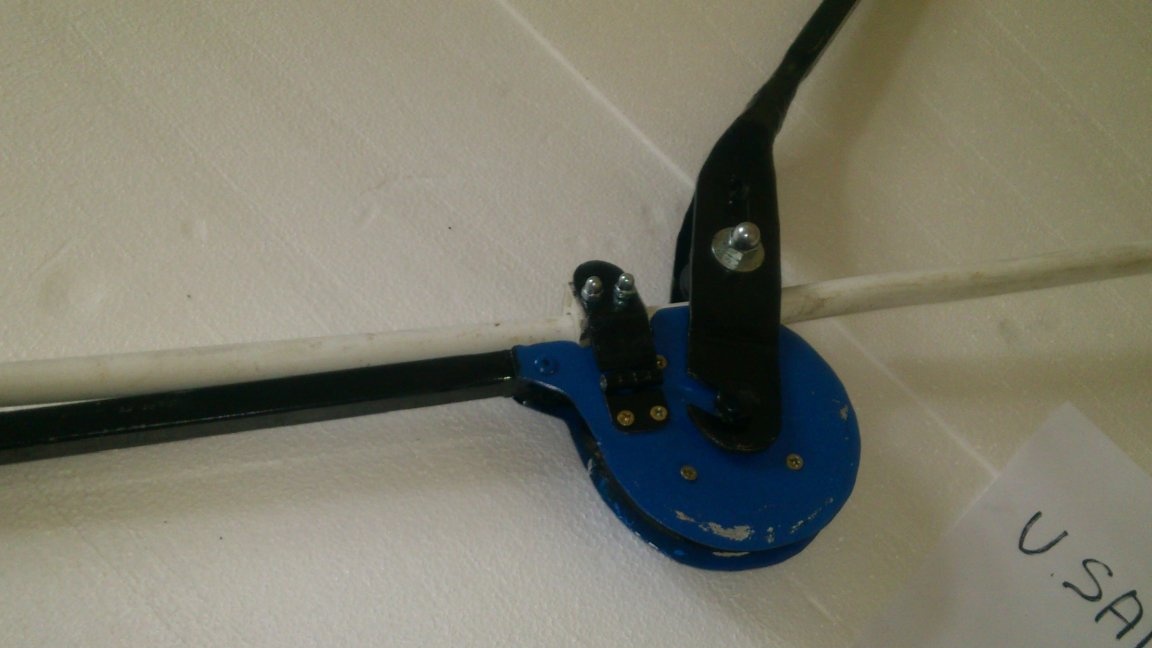
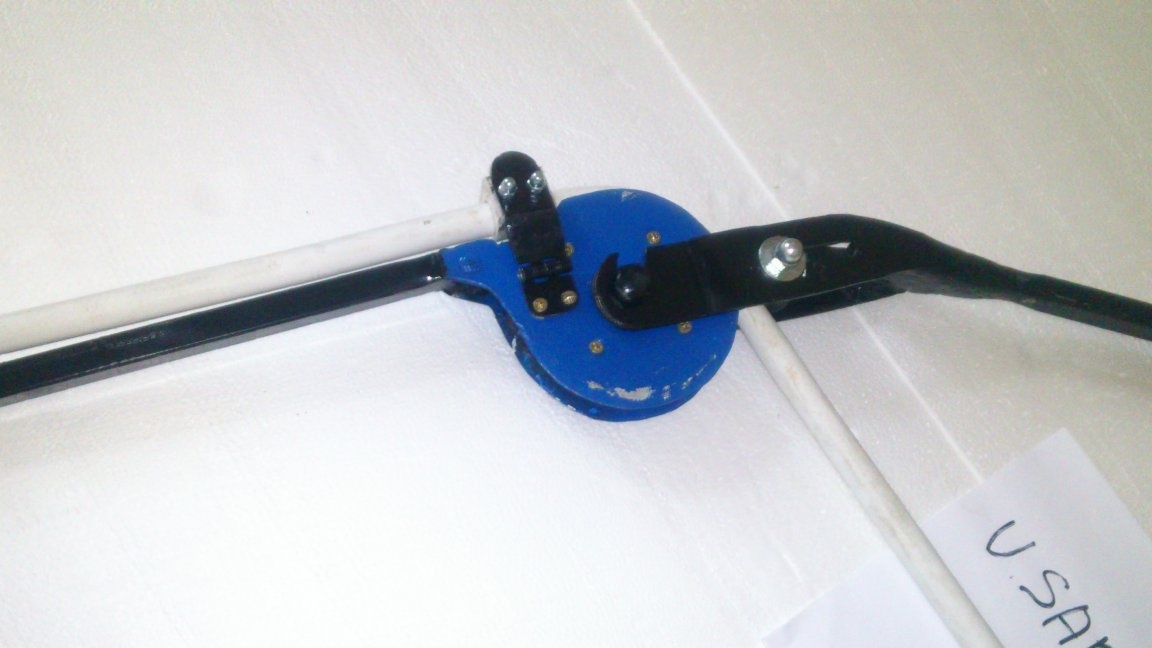
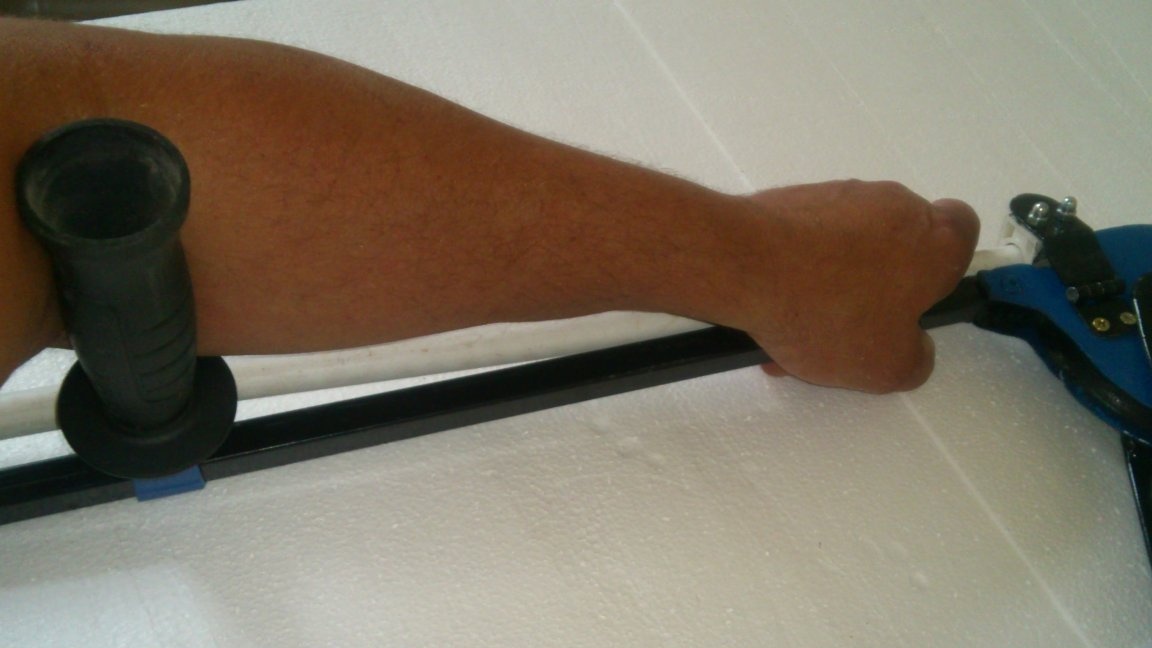
It is convenient to install the additional handle so that it falls under an elbow. Then it is much more convenient and easier to hold the fixed part of the structure:
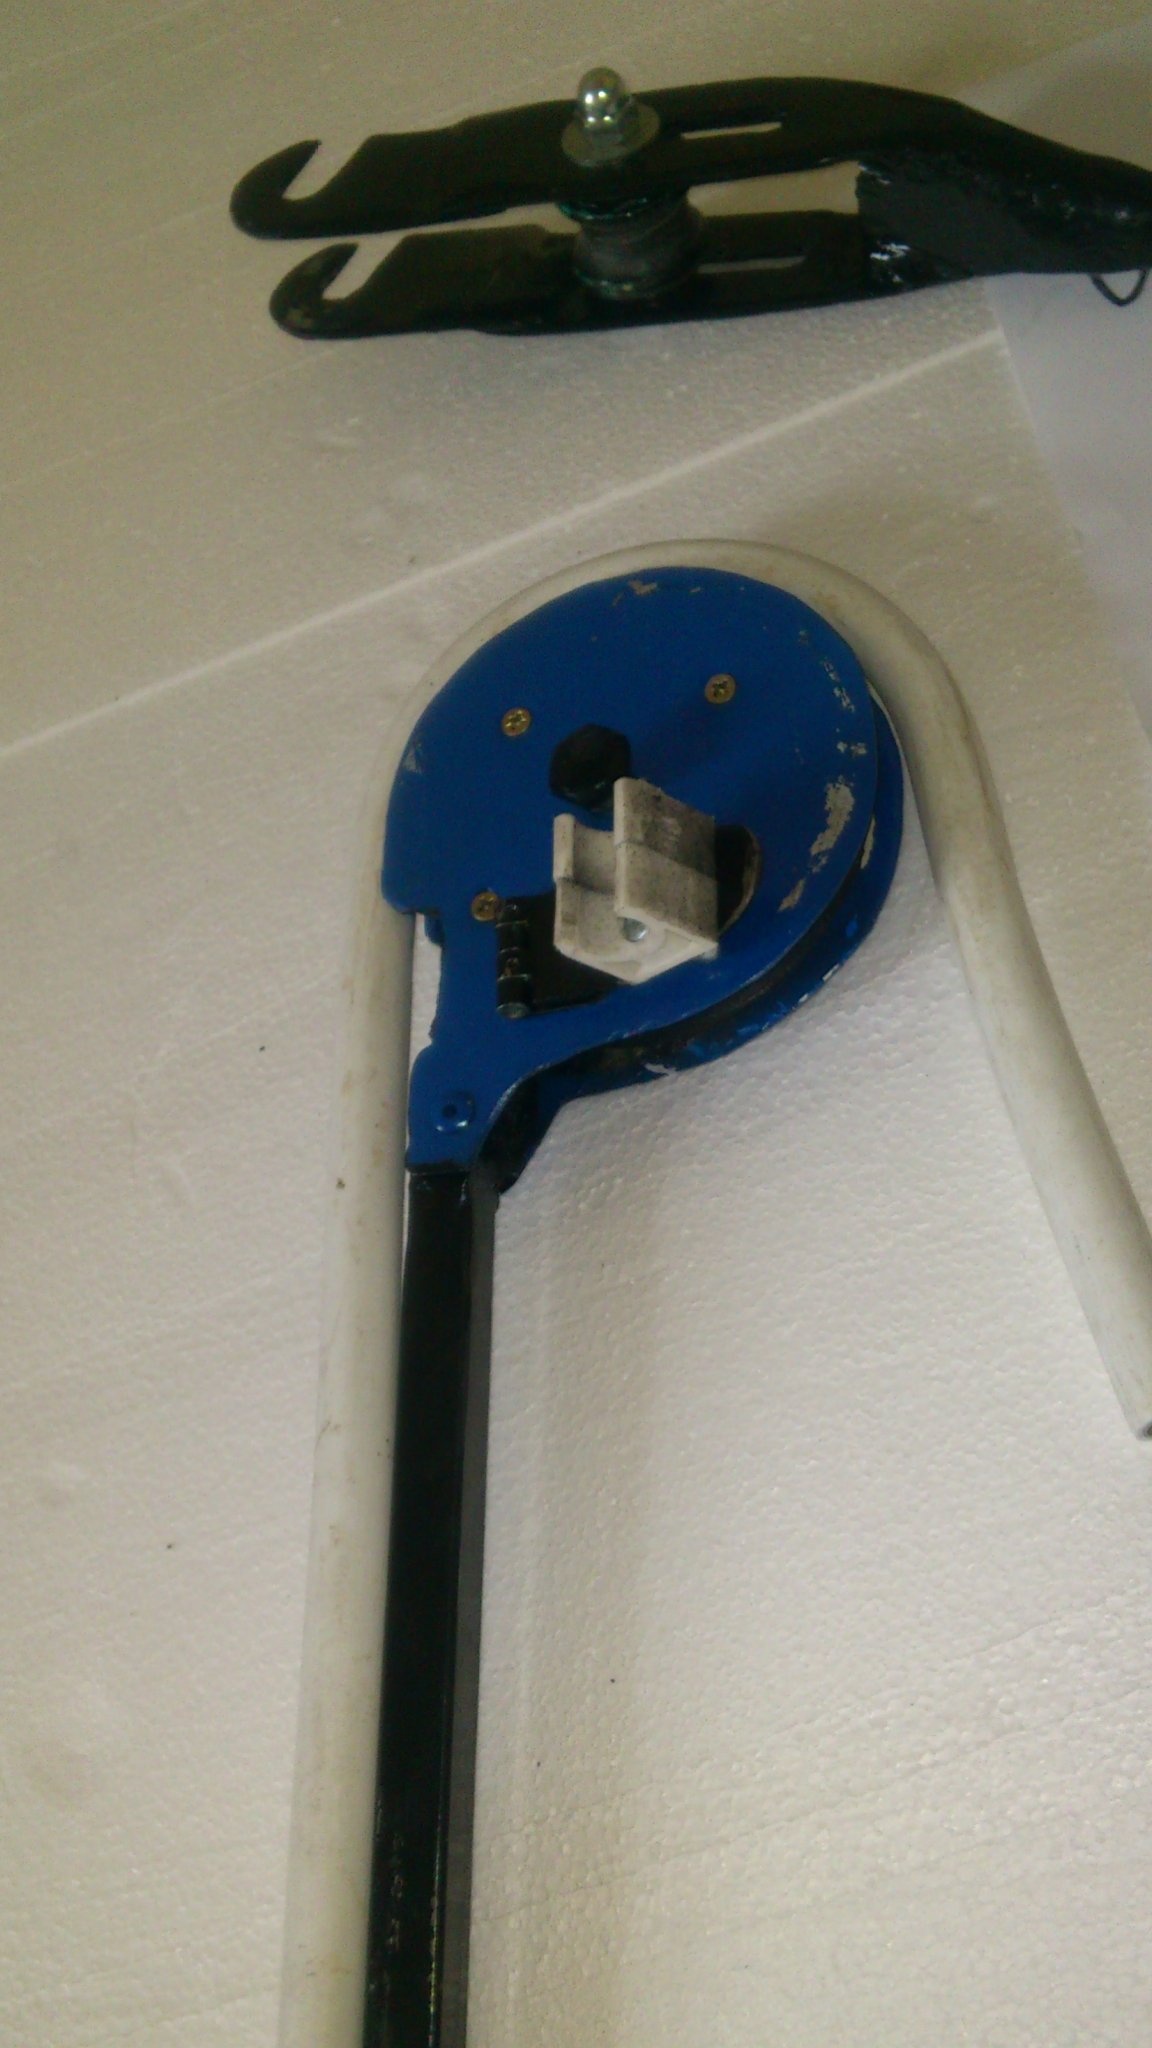
In the "transport position" this handle, as intended, conveniently fixes the structure:
At the same time, both parts are fastened so tightly that I decided not to make any cover or case for this device.
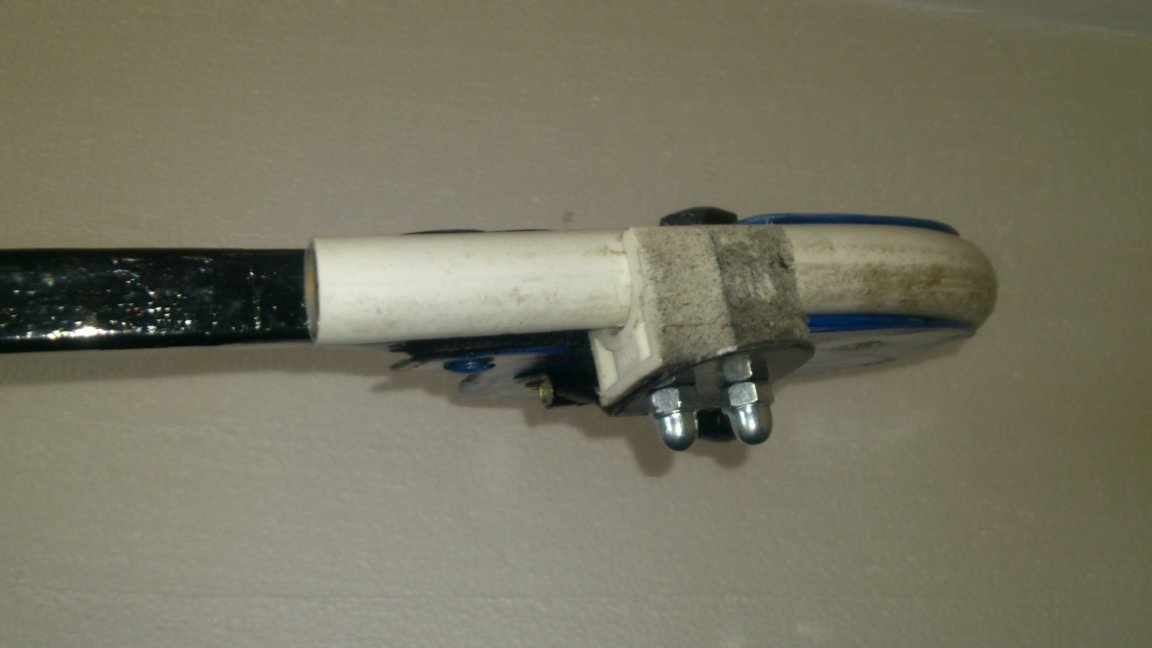
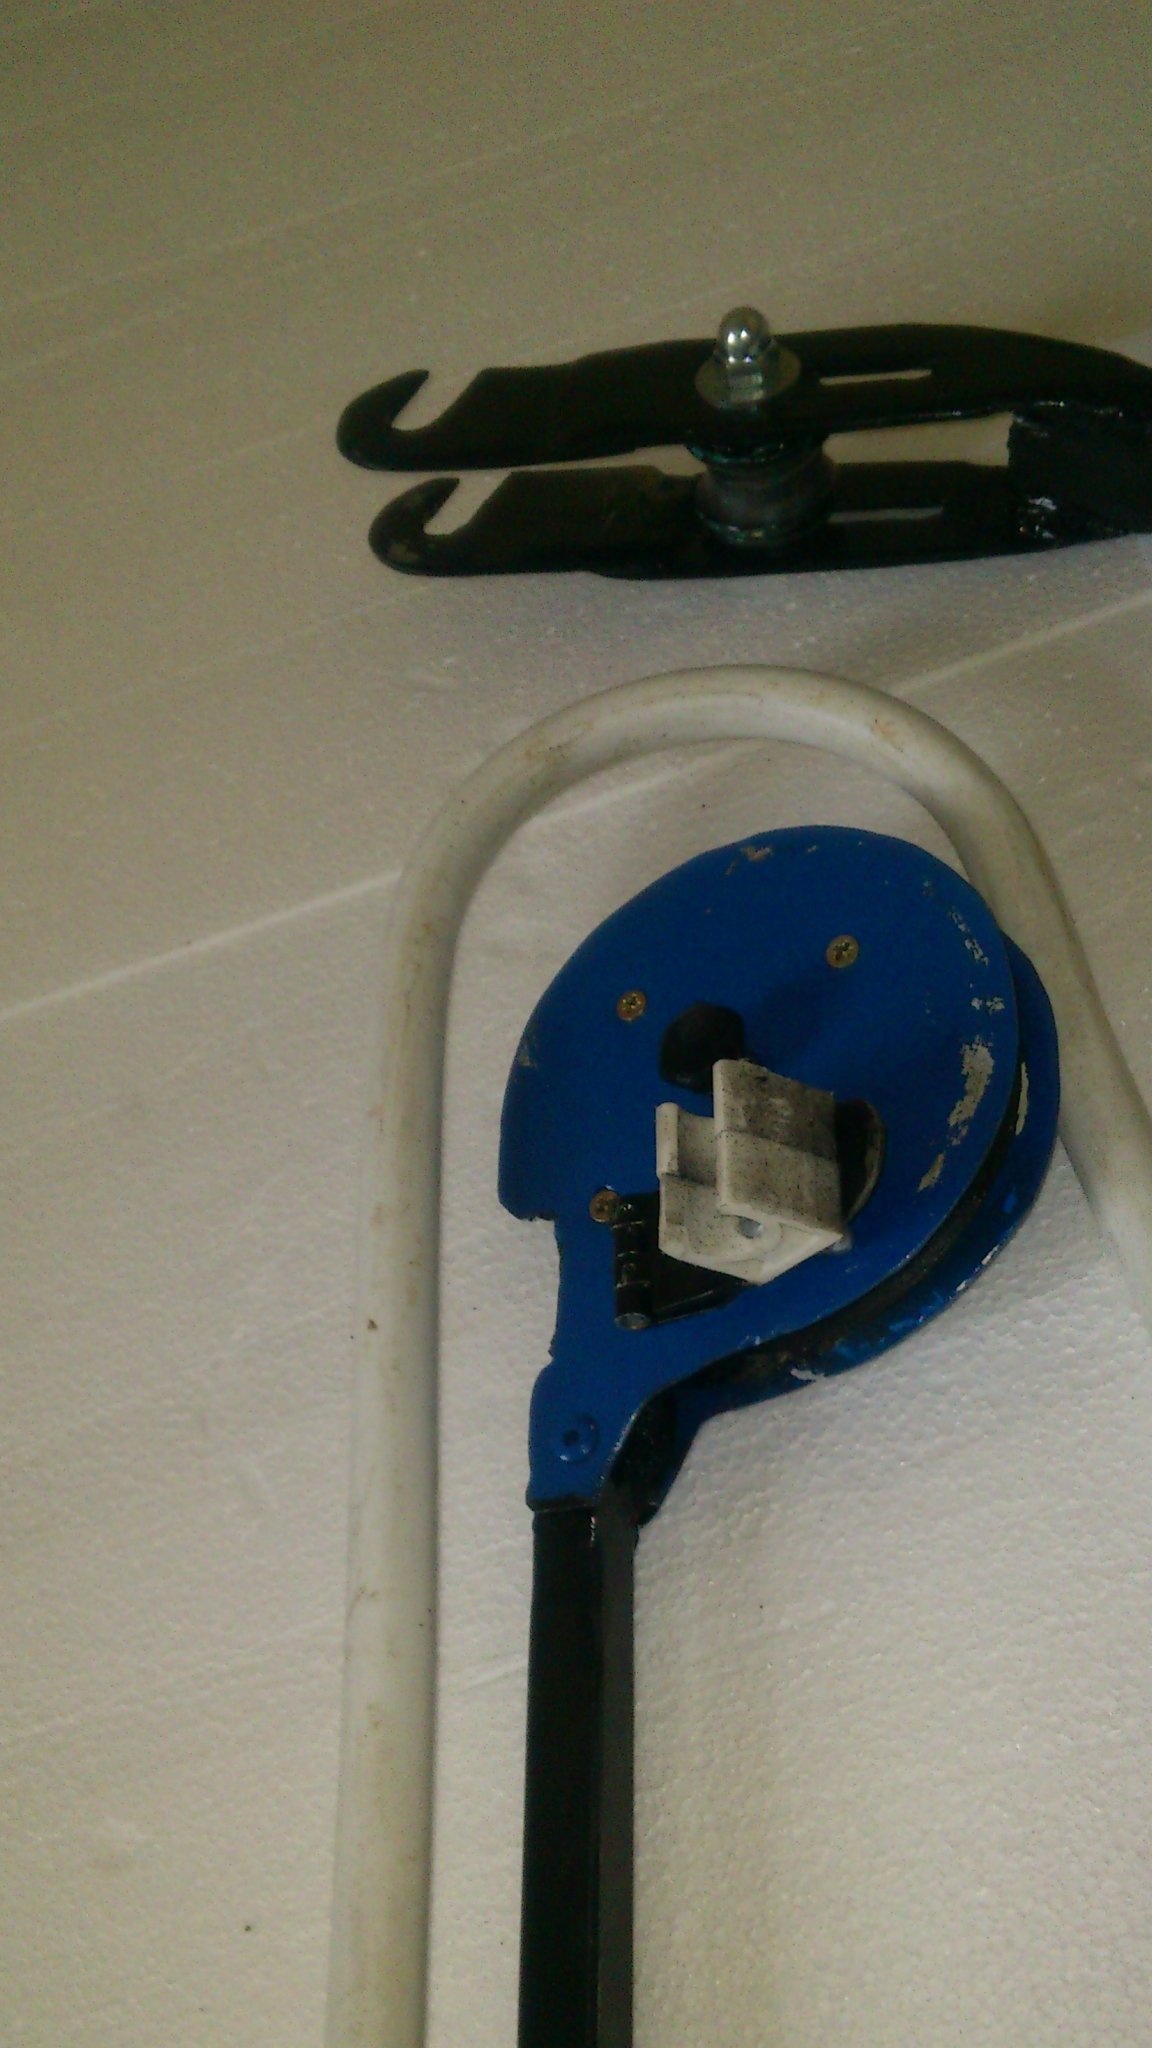
It turned out only that the pipe retainer in the transport position freely dangles and can catch on something:
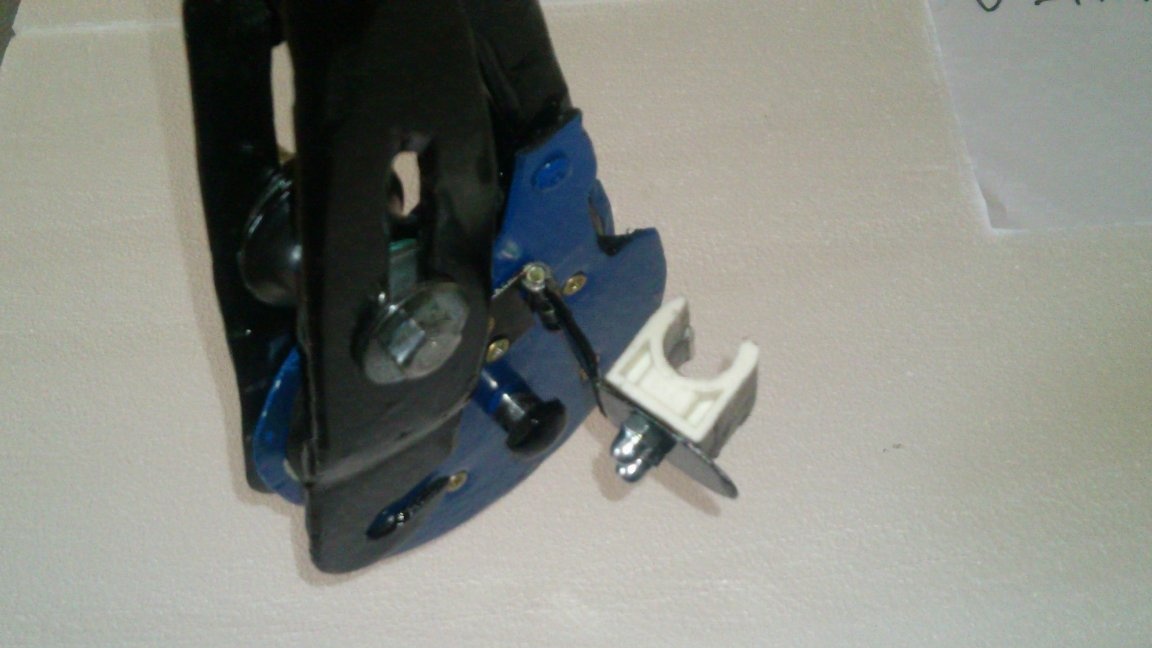
But this problem was easily resolved. A piece of unnecessary pipe was cut, which was fixed and bent. Now it serves as a "latch for the latch")))). He just fits into the pulley and fastens it. So the loop with clips does not hang out: