

In this article I will tell and show how you can do do it yourself a mill with interchangeable nozzles for making wood beads.
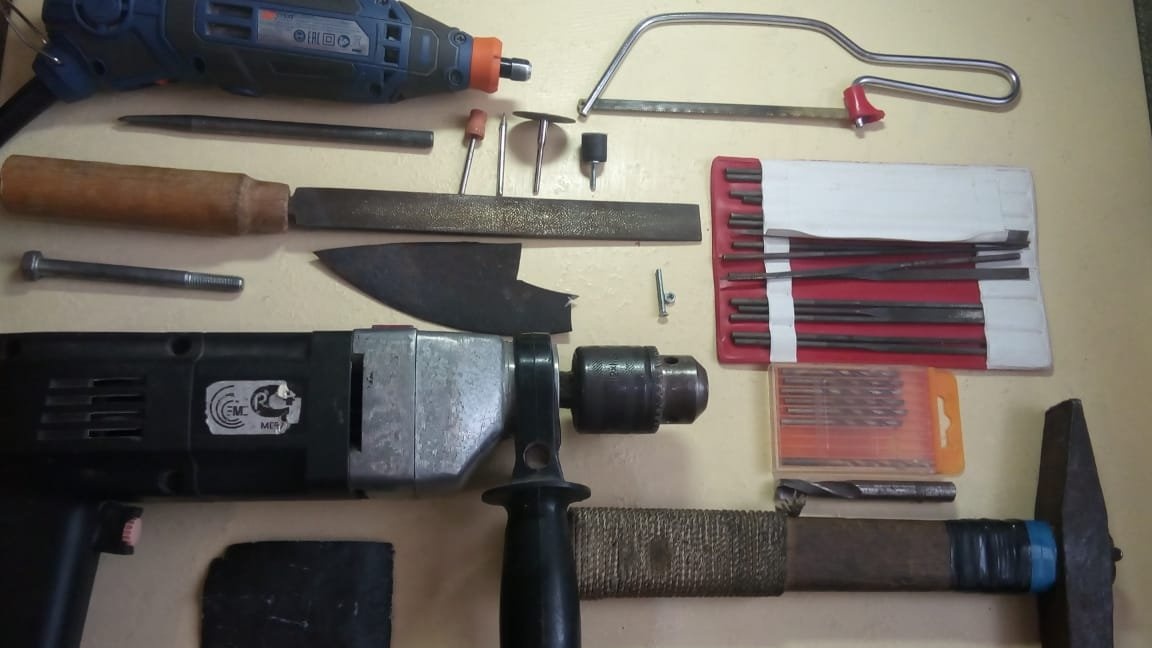
Materials and tools:
- Drill and nozzles (cutter for metal, grinding nozzle, cutting disc).
- Hacksaw for metal.
- File.
- Sandpaper (grit 320).
- Drill and drill 3 mm.
- M10 bolt (the part without thread should have a length of 60-80 mm).
- Punch.
- Hammer.
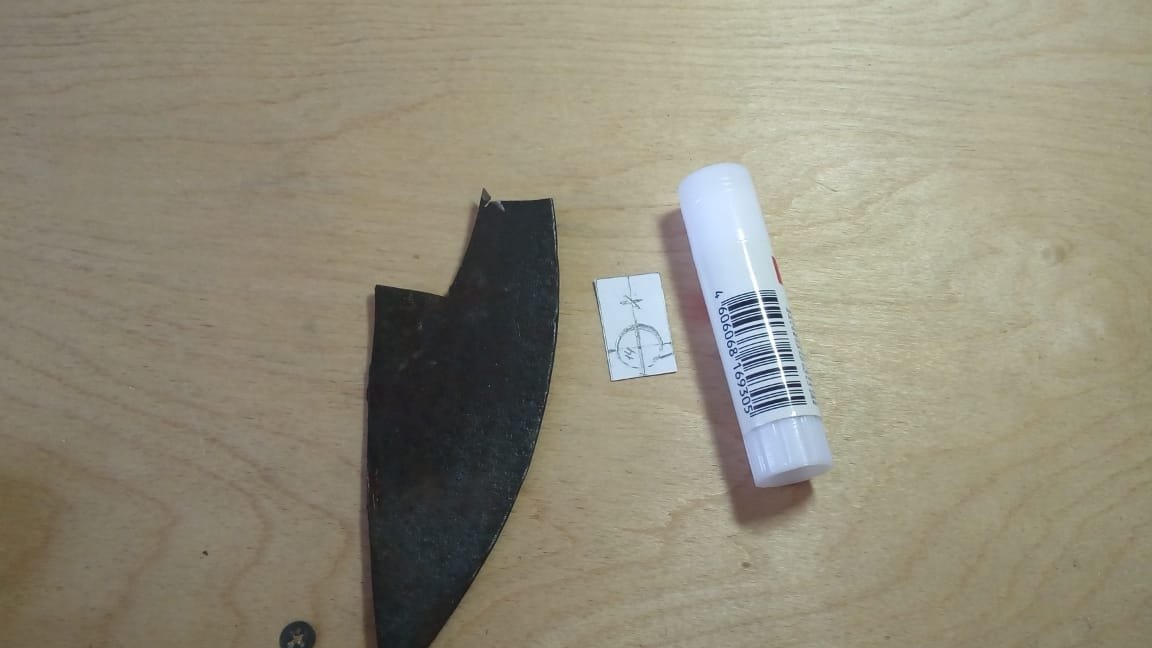
- Steel plate for the manufacture of nozzles (in my case, this is part of the shovel).
- M3 * 30 screw and nut.
- Set of files.
Manufacturing process:
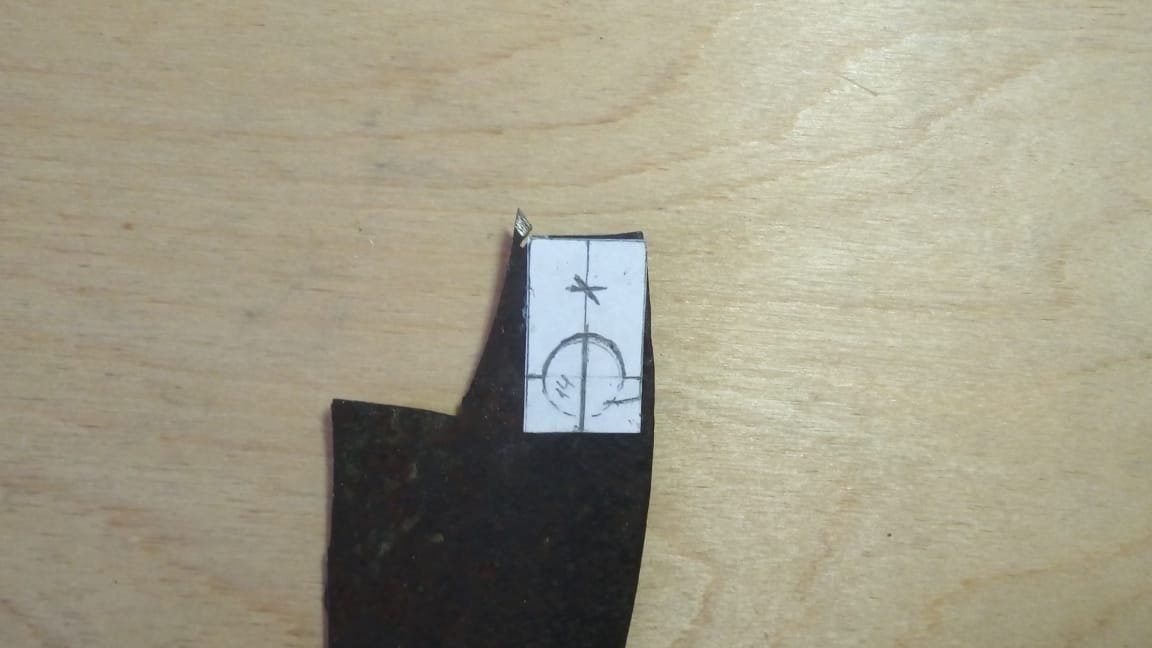
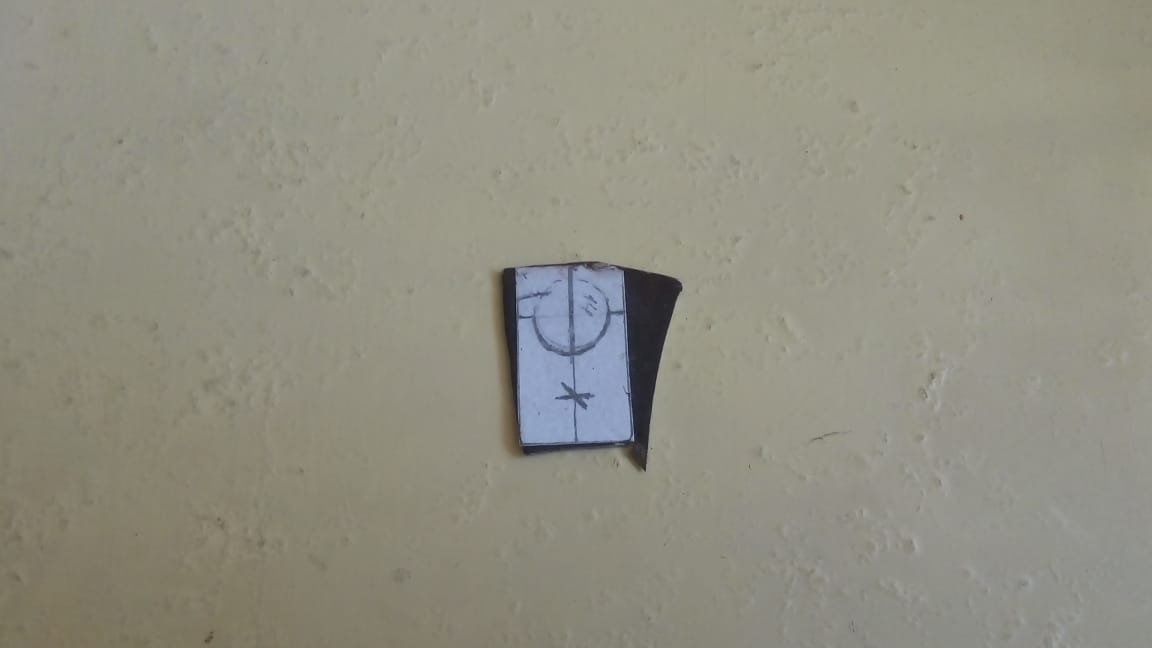
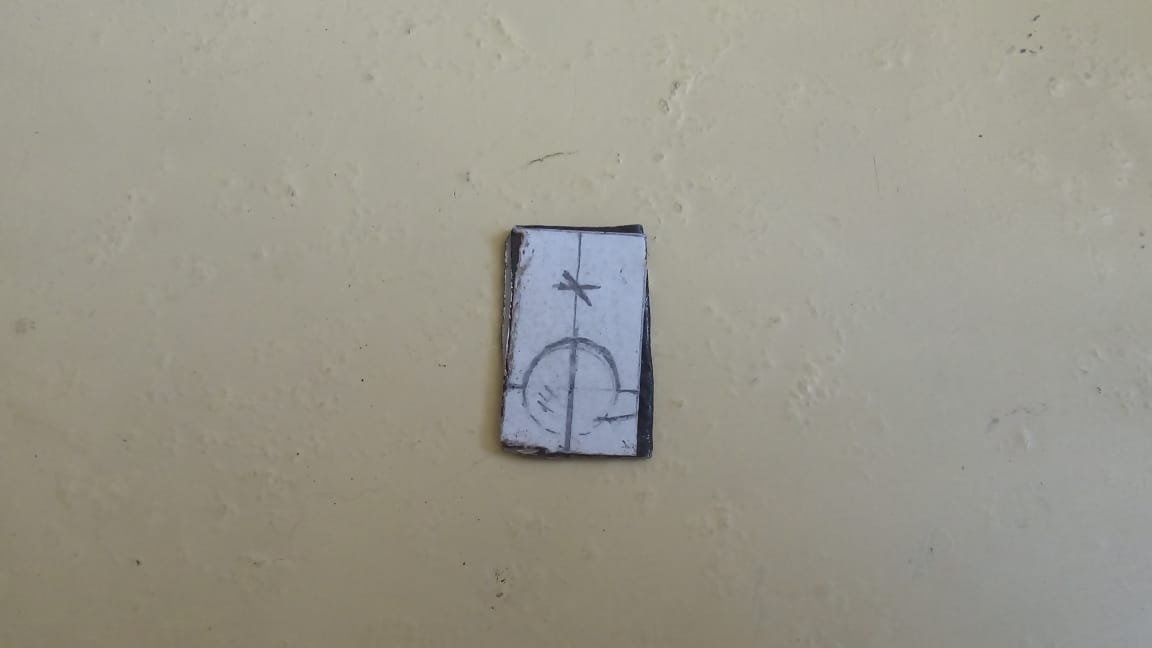
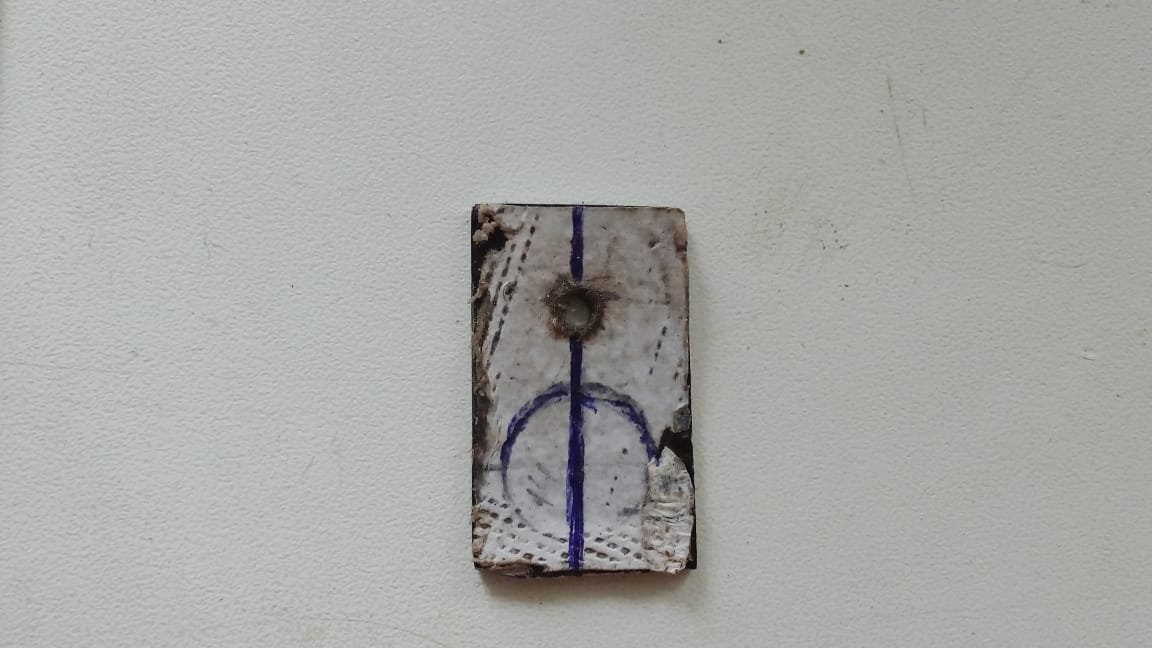
Step 1: image of the nozzle circuit and its transfer to the metal.
Using a compass and a ruler, draw a diagram of the plate.
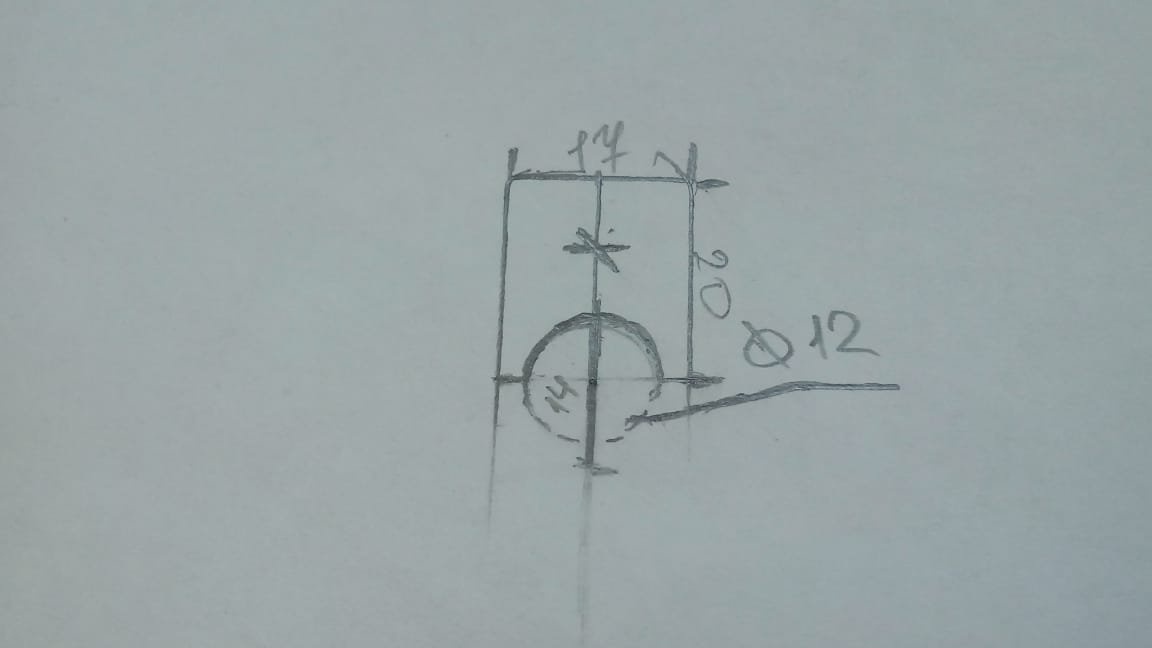
Now cut it out.
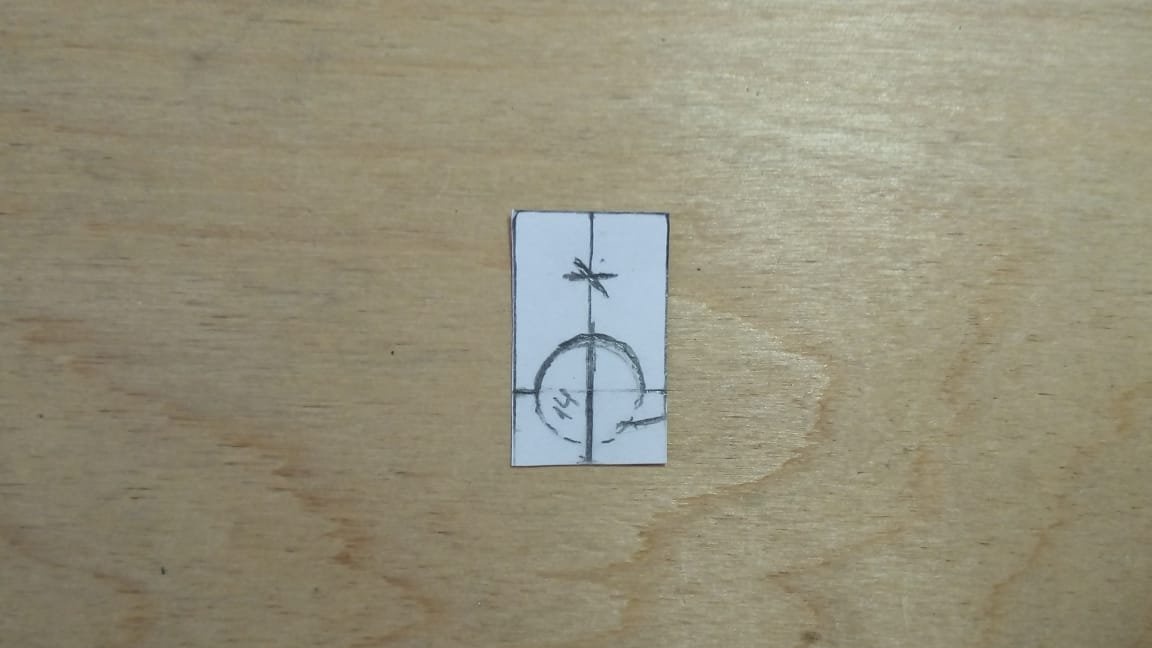
We glue the circuit and glue it on the metal.
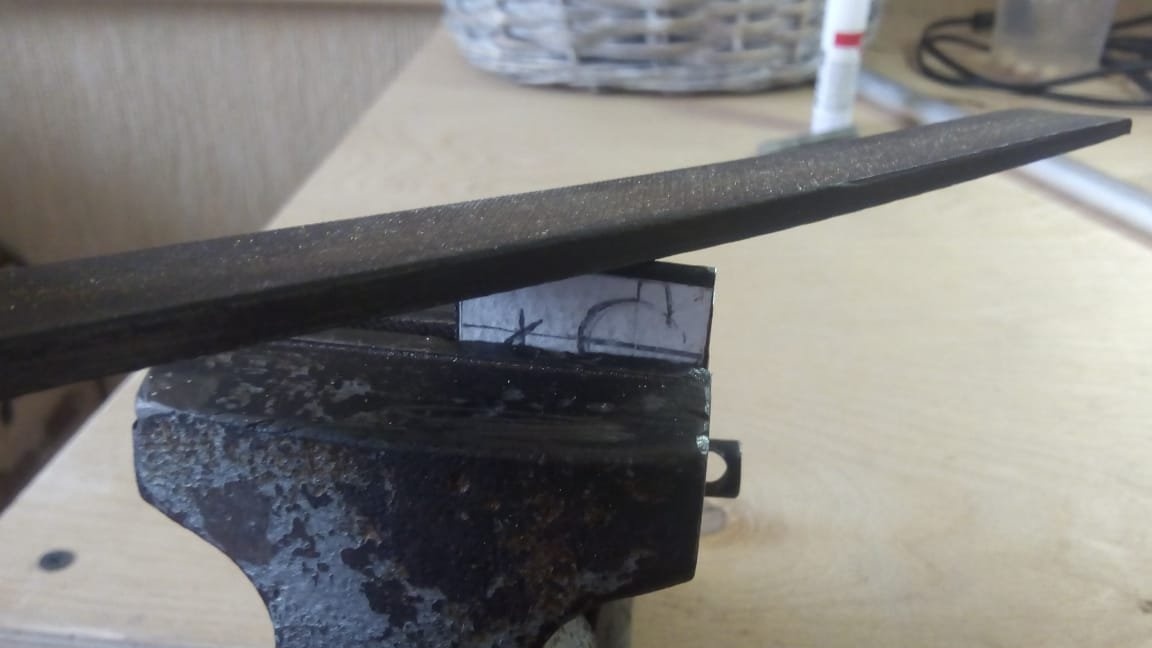
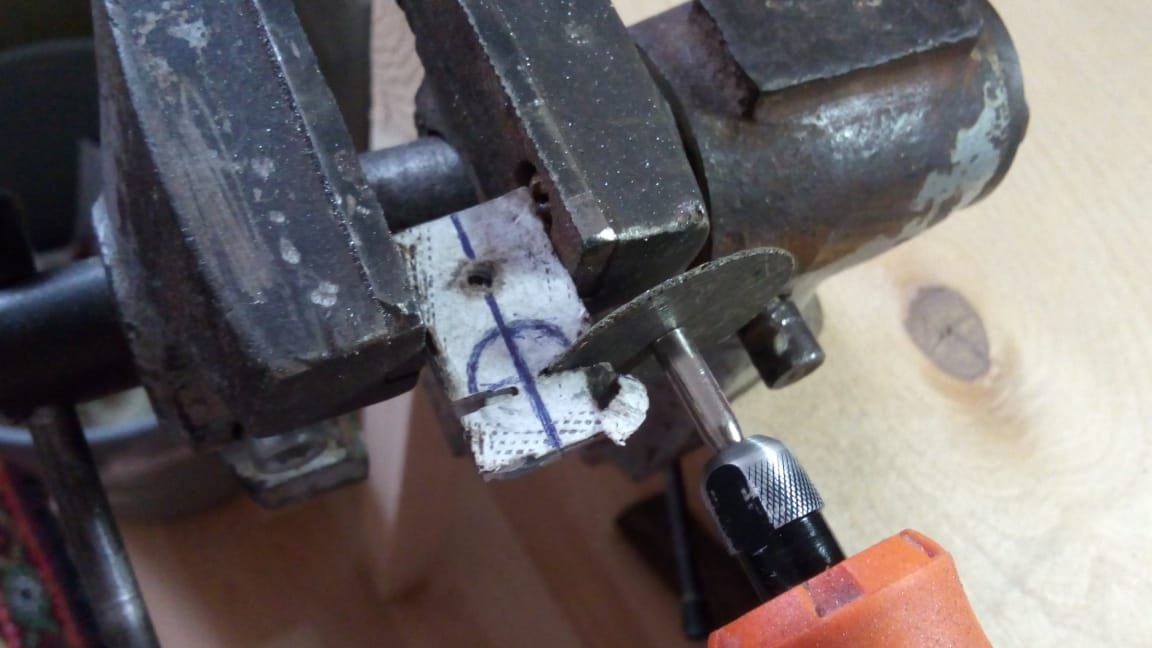
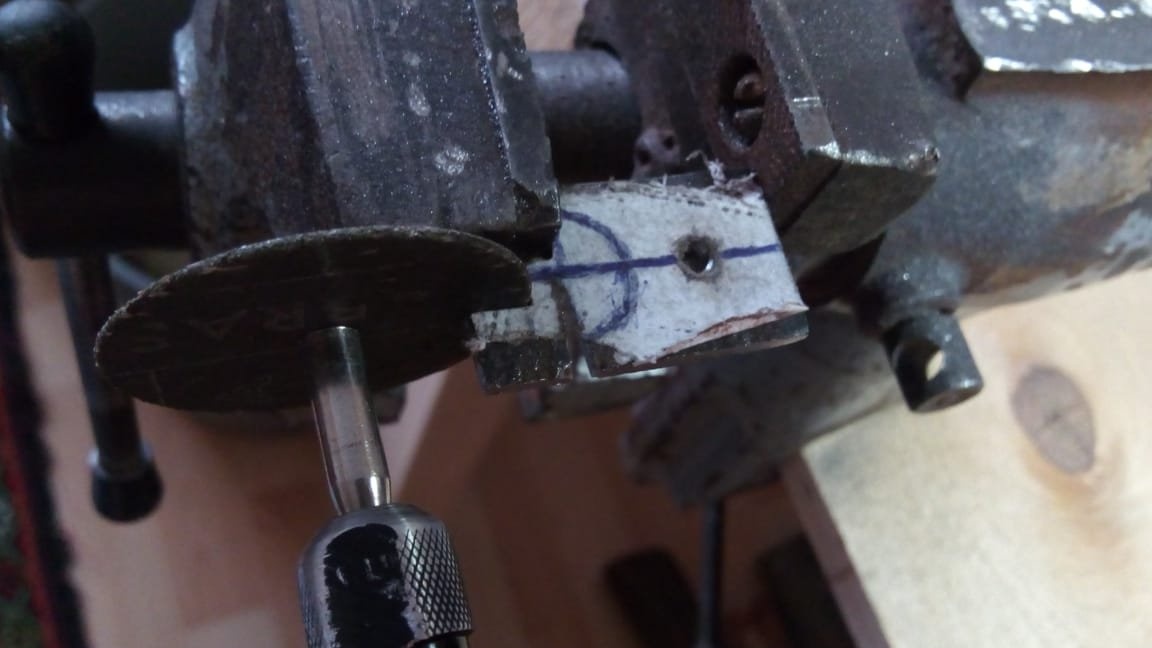
Step 2: cutting out the nozzle.
Using a drill and a cutting disc for metal, we cut the workpiece.
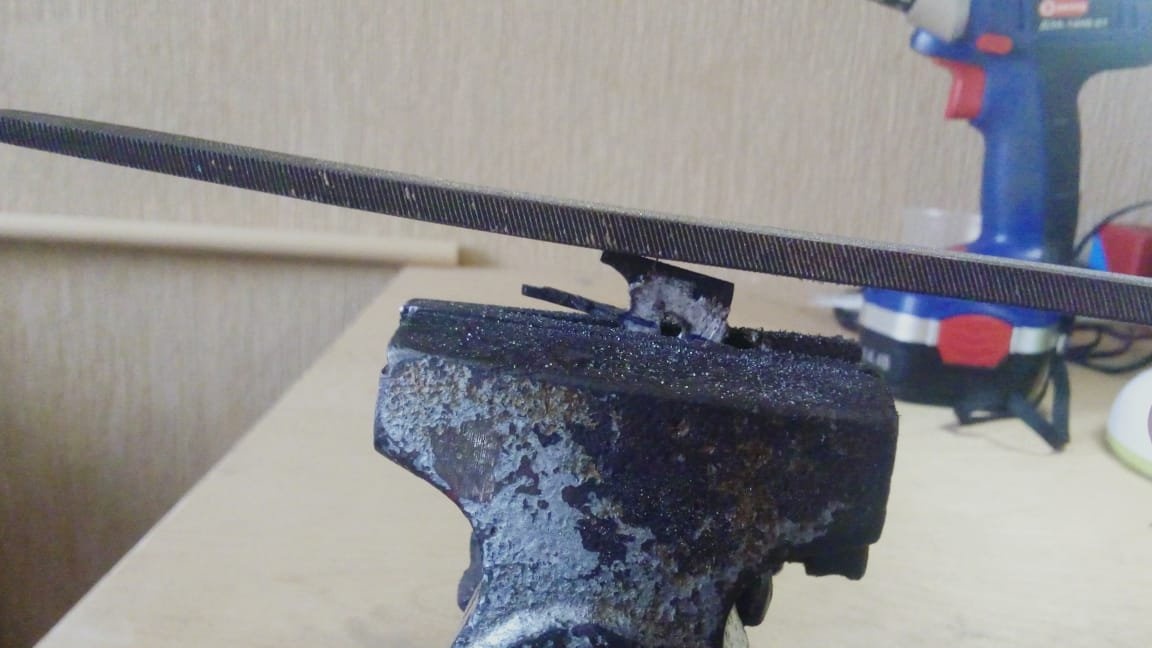
Using a file, align the workpiece.
Result:

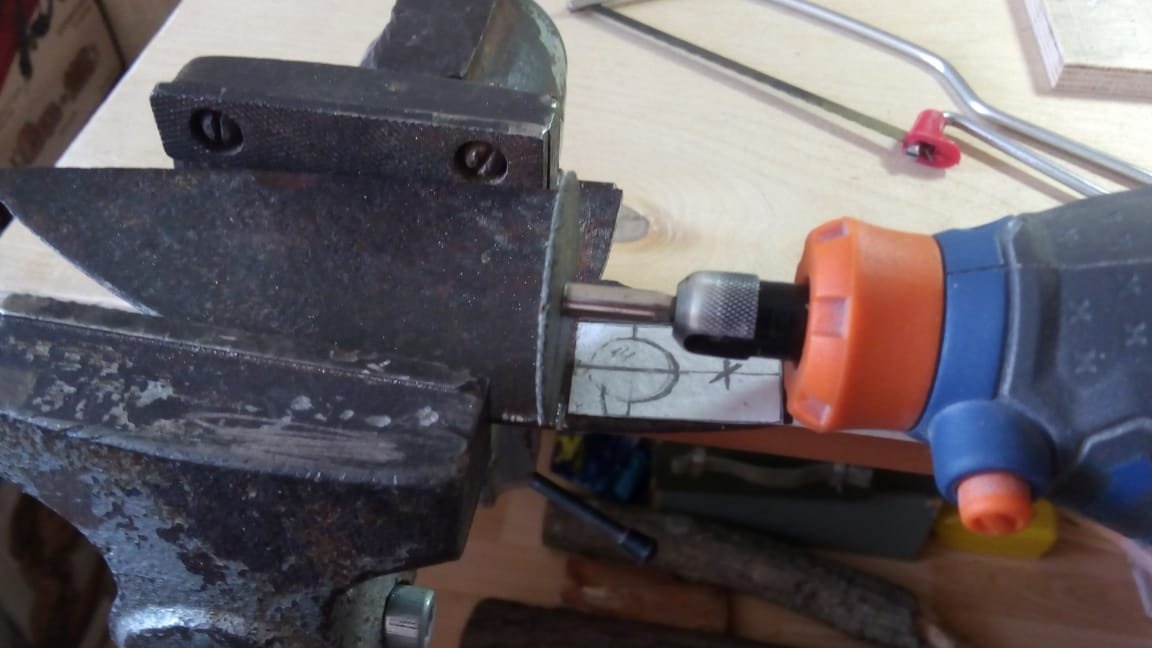
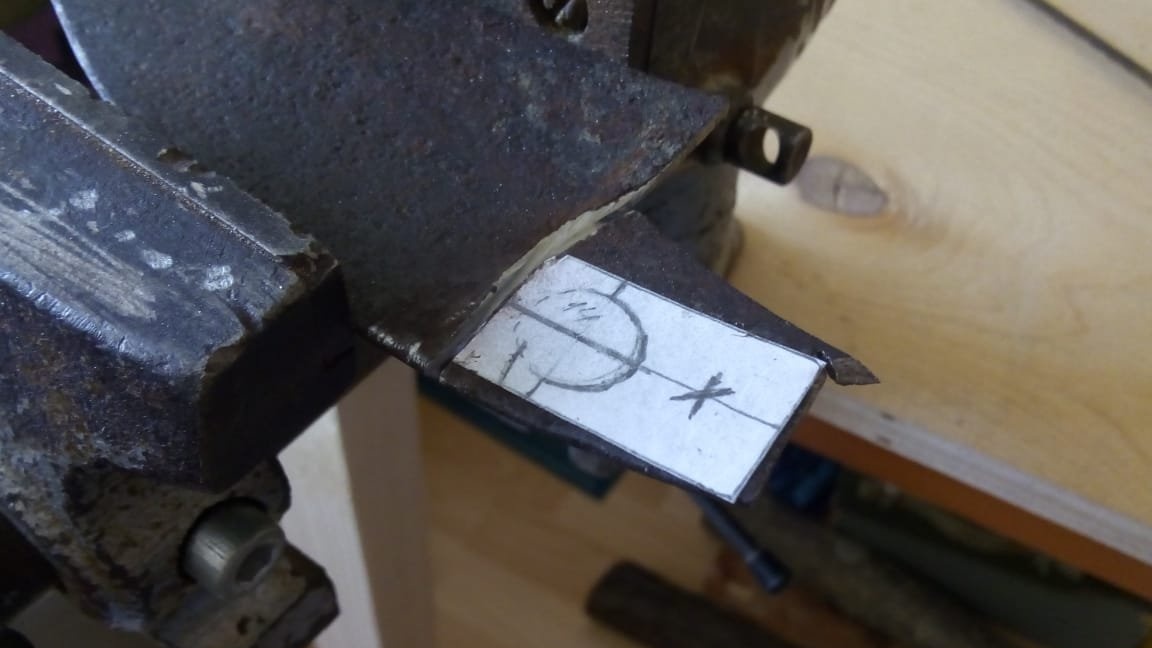
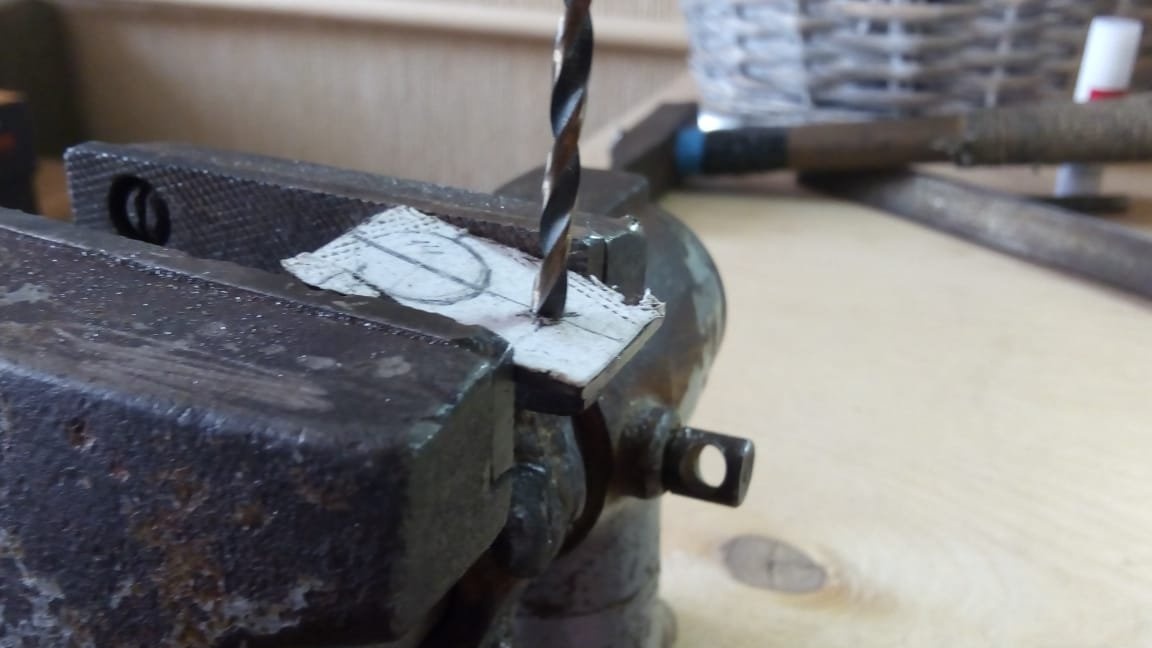
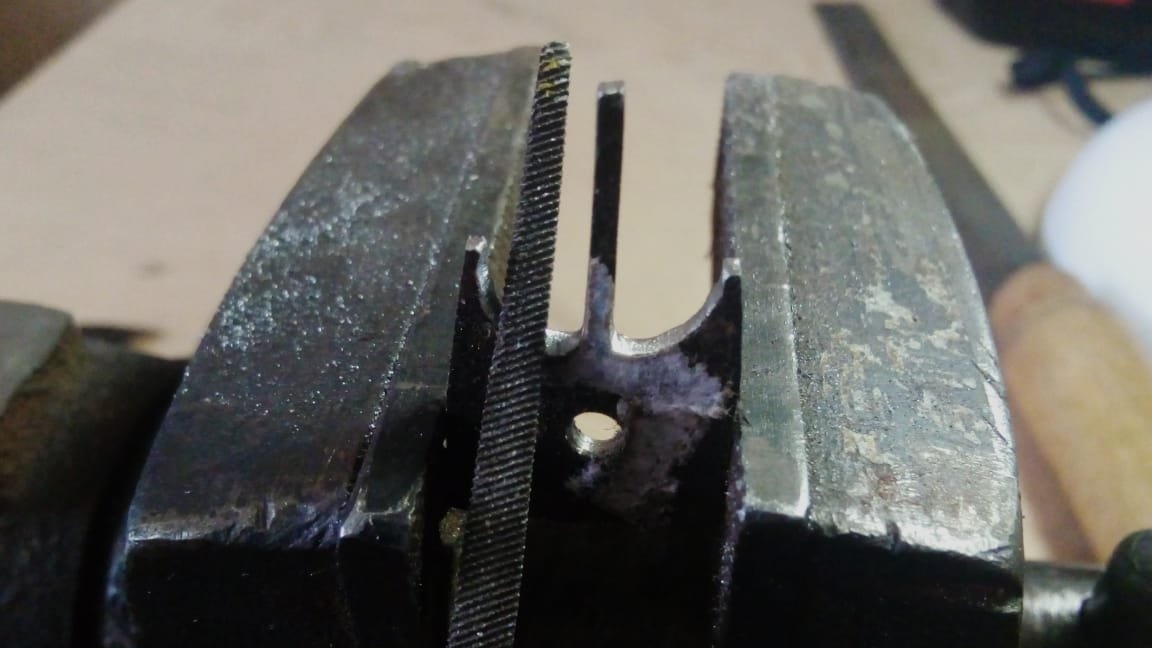
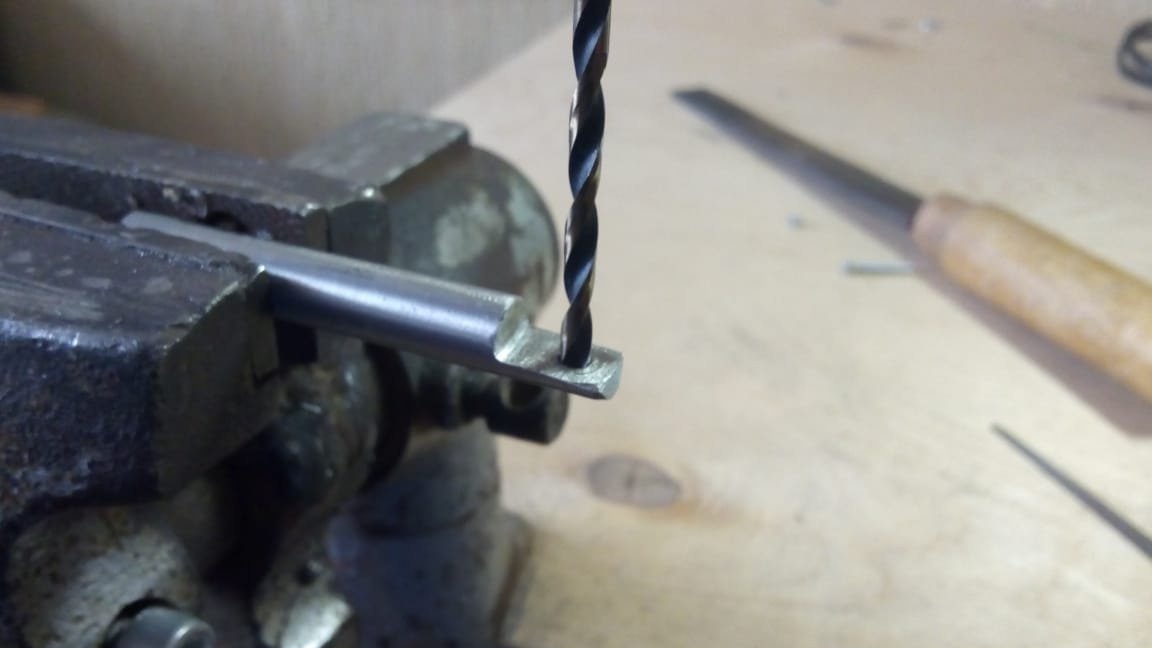
Step 3: Drilling the mounting hole.
To fix the plate to the holder, it is necessary to drill a hole in it for the screw. Kernim in the place designated in the diagram and drill. It is important to drill as straight as possible (strictly in the center and strictly at right angles).
Result:
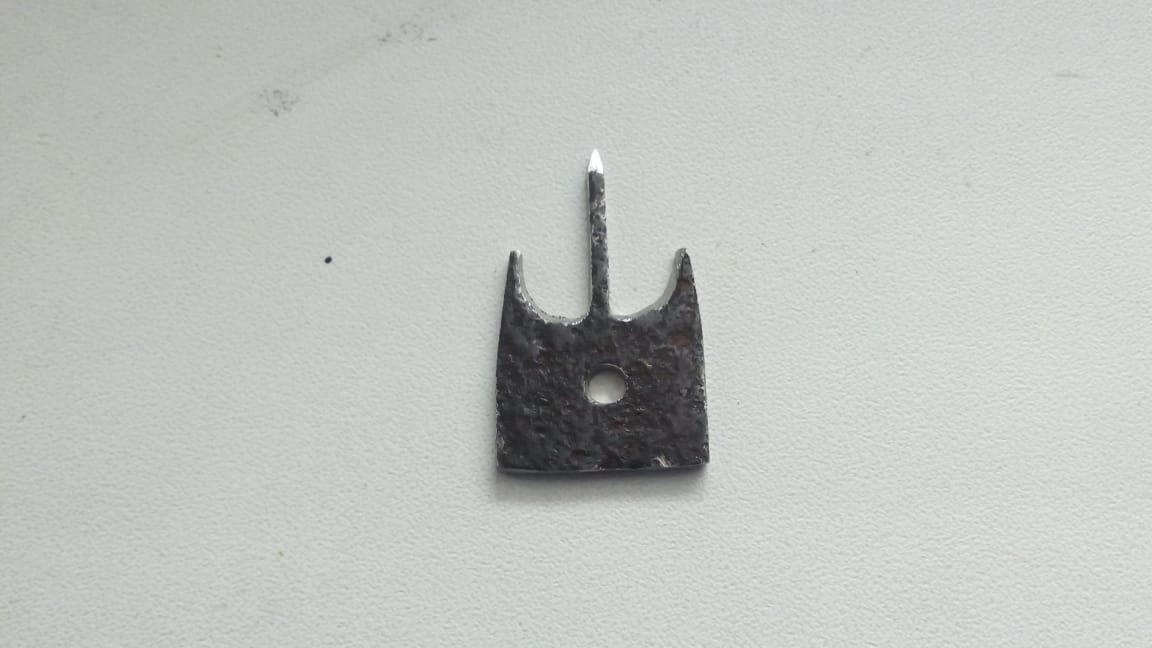
Step 4: shaping the workpiece.
With the help of a drill and a cutting disc, we cut off everything unnecessary. And then we bring the file.
Next, file down at an angle with a file on a bit on each side:
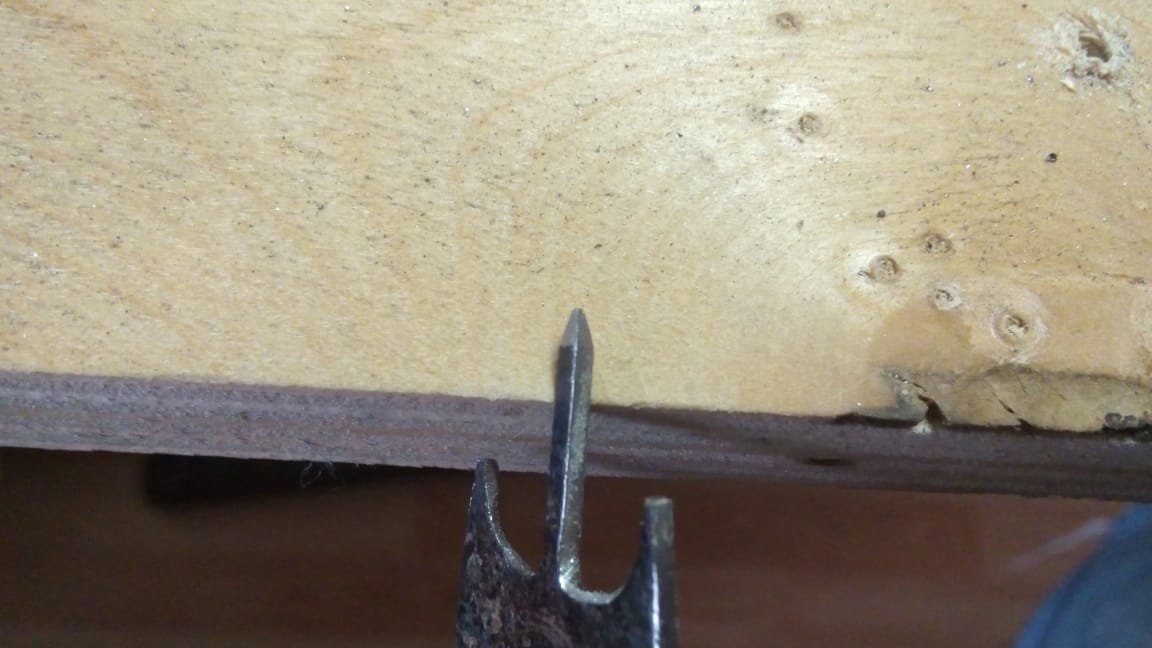
Step 5: cutting edge removal.
With the help of files, we bring out the cutting edge. The pristine side should look in the direction of rotation of the drill, and sharpened inward.
Sharpen the central guide-drill with a tetrahedral pyramid:
Finish polish the workpiece:
Result:
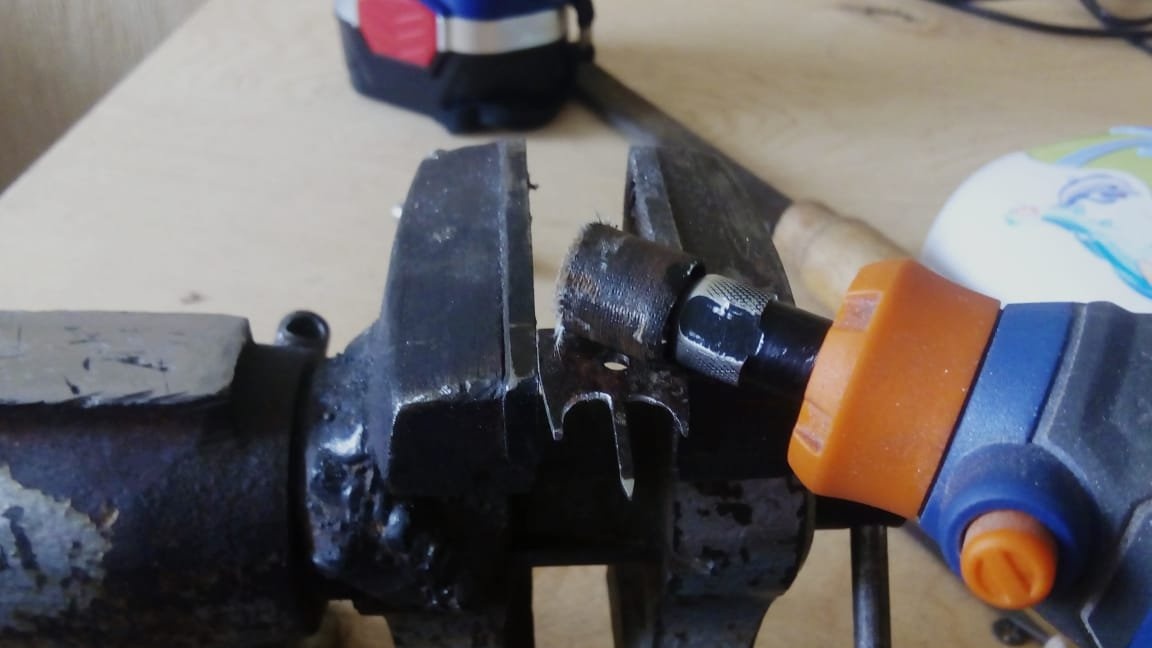
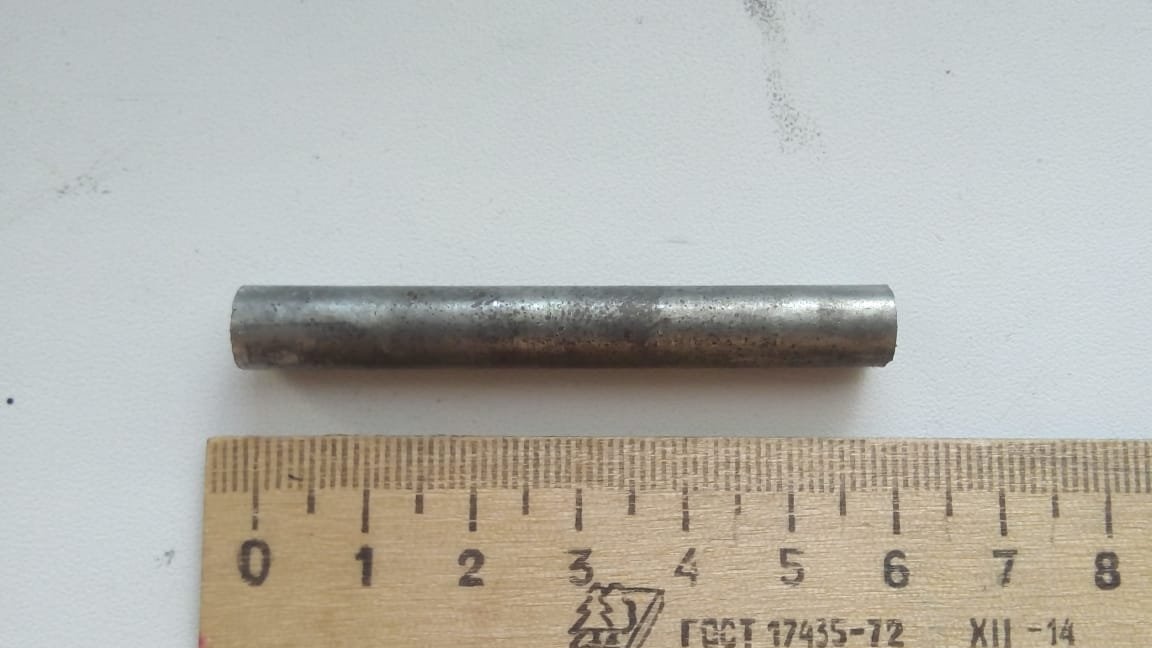
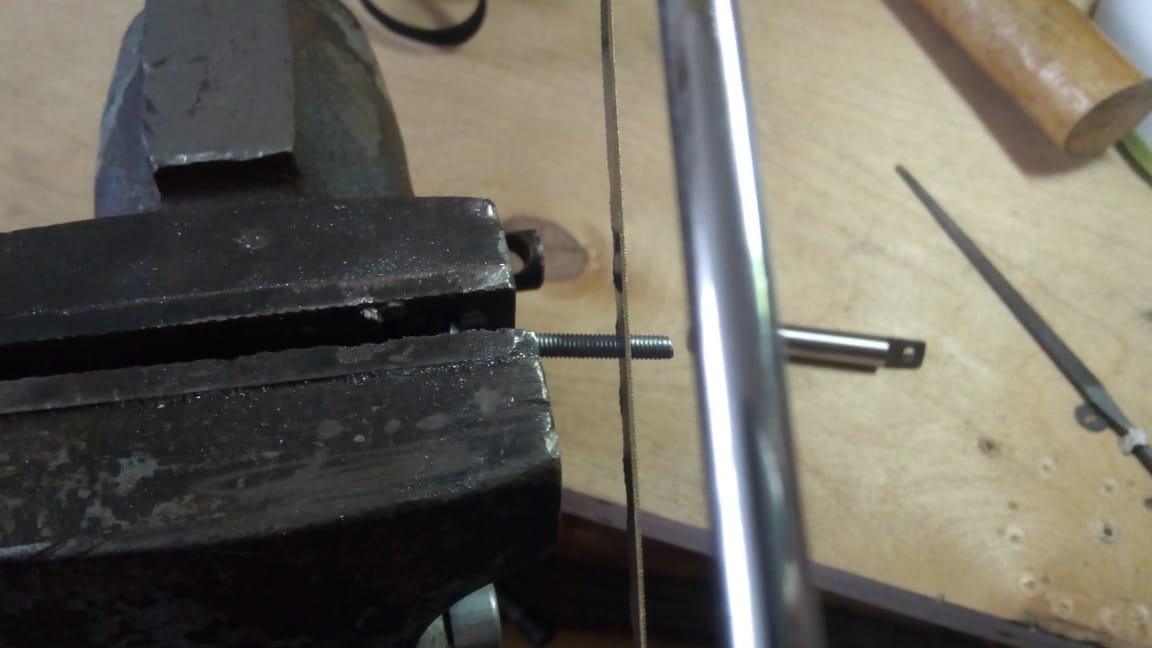
Step 6: making the holder from the bolt.
To make the holder we need an M10 bolt (the maximum diameter of the bolt depends on the diameter clamped by the drill chuck).
To begin, saw off the thread from the bolt, and then the hat:

Result:
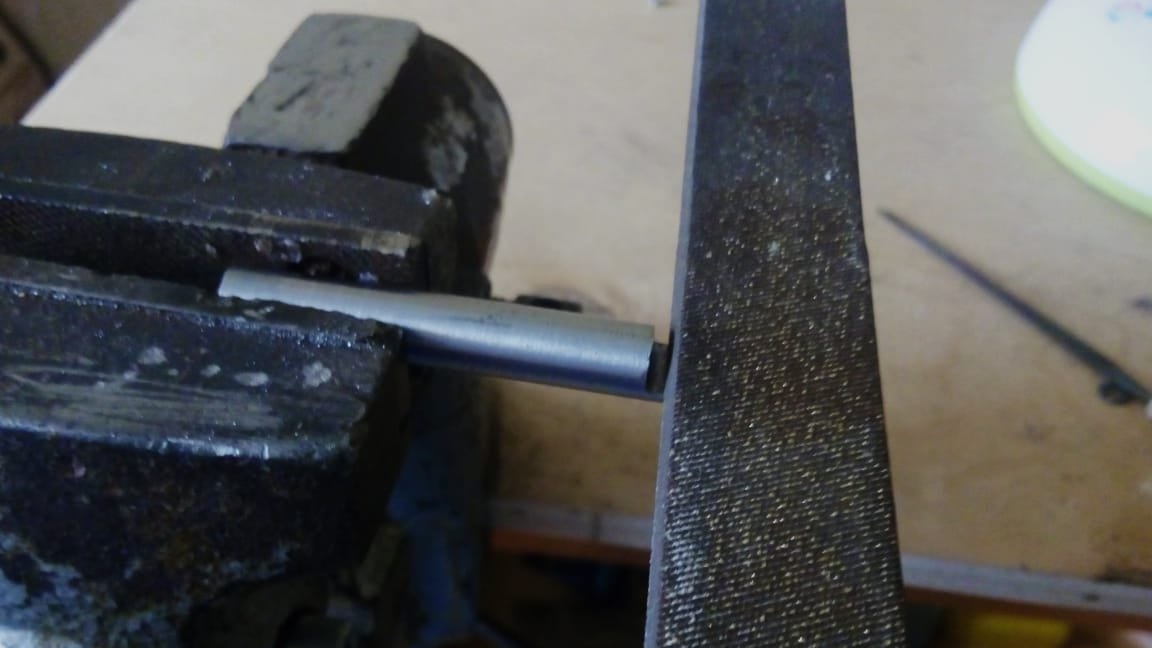
Grind the workpiece for a more aesthetic look.
Now you need to make a step to which the plate will be attached. To do this, use a file. You need to grind half the diameter of the rod plus the plate thickness of 5mm + 1.5mm.The length of the step should be 2-3 mm longer from the edge of the plate to the opposite edge of the hole.
Now drill a hole for the screw. We apply a plate resting it in a ledge, we combine the center and the core.
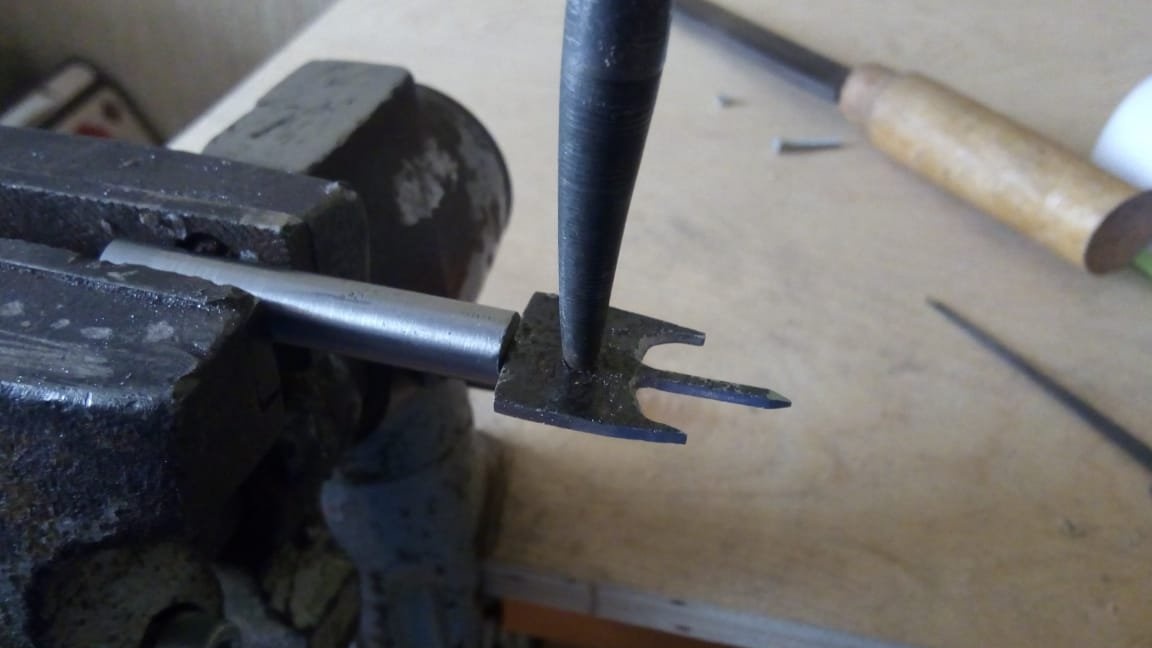
Now let's drill.
Now shorten the screw by sawing 10mm and remain 20mm.
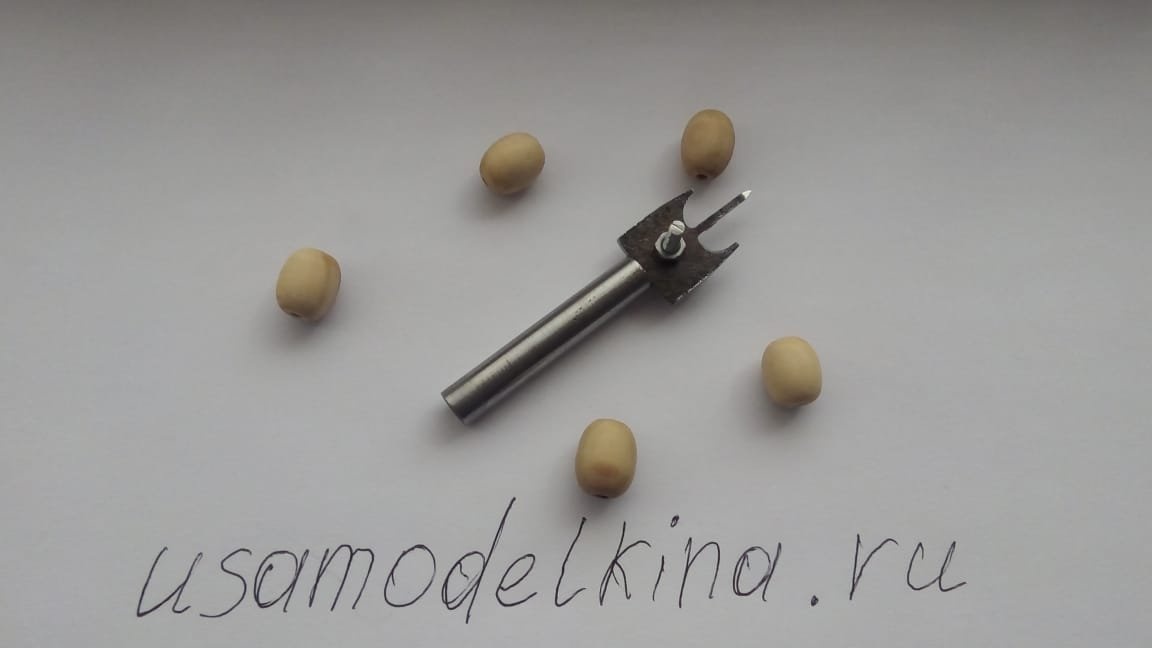
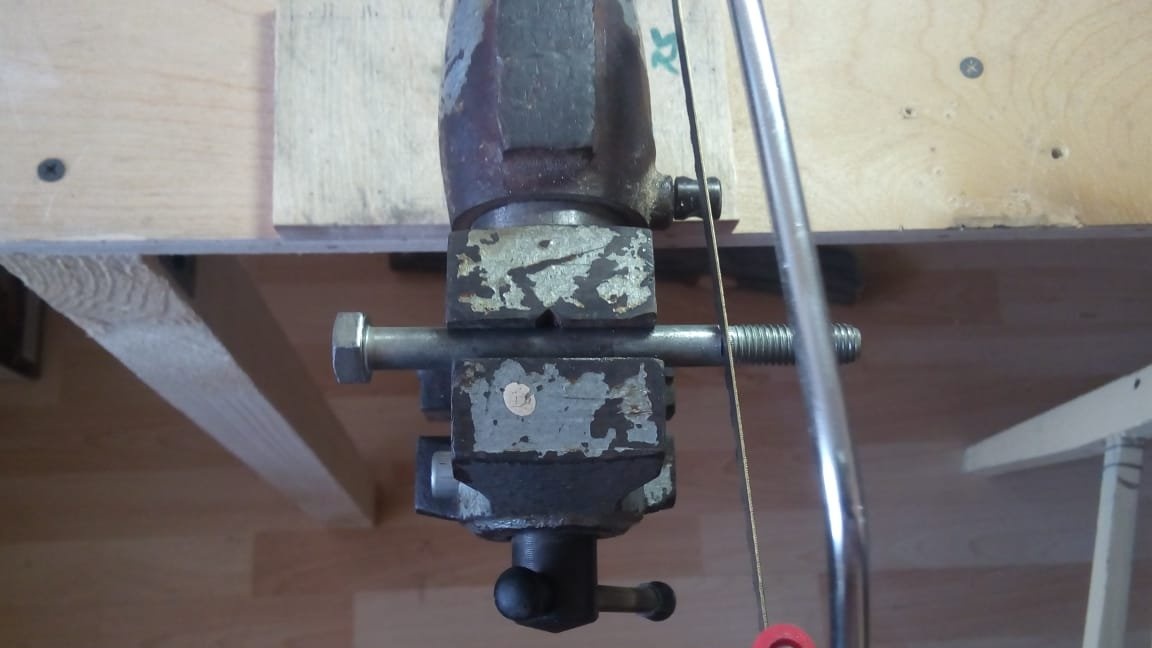
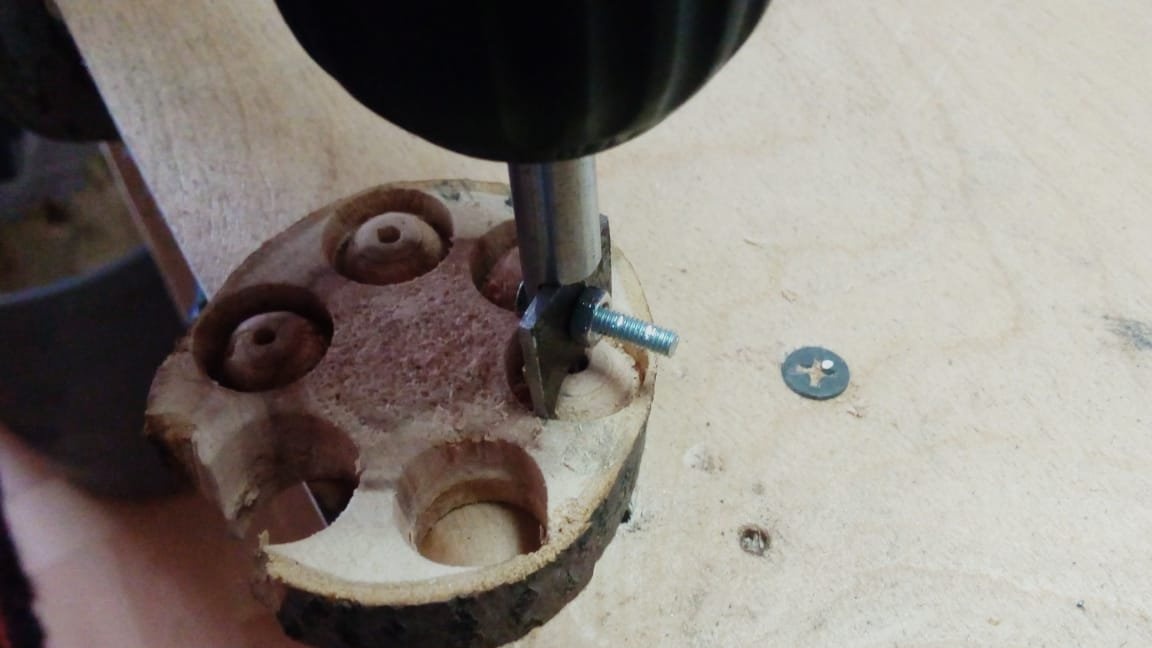
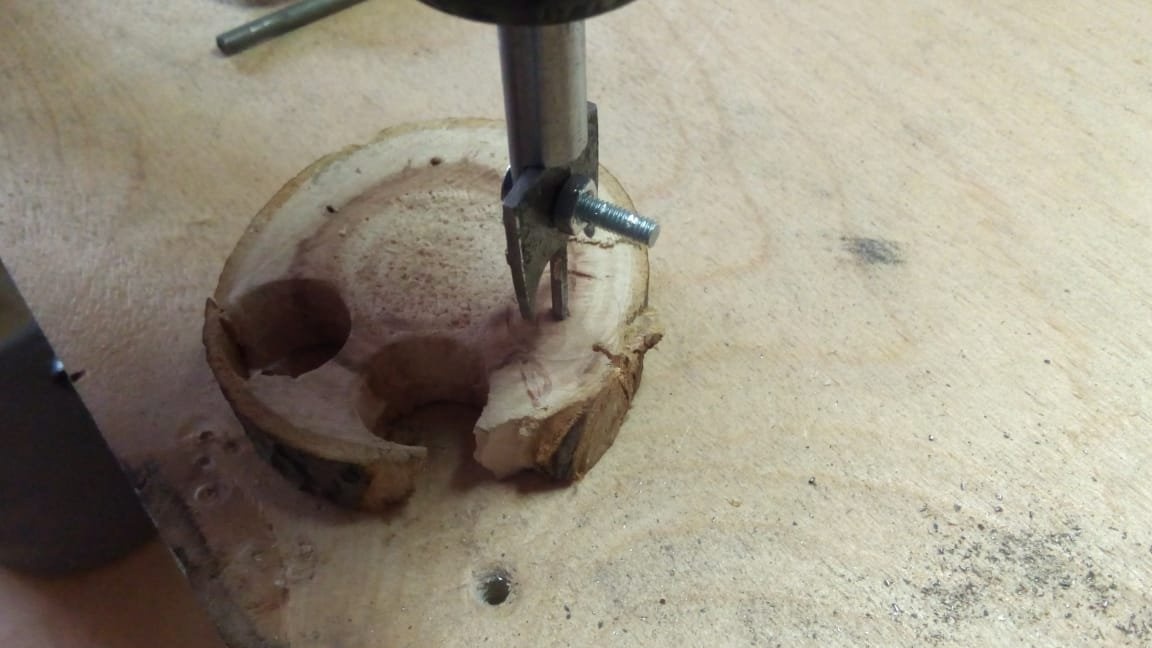
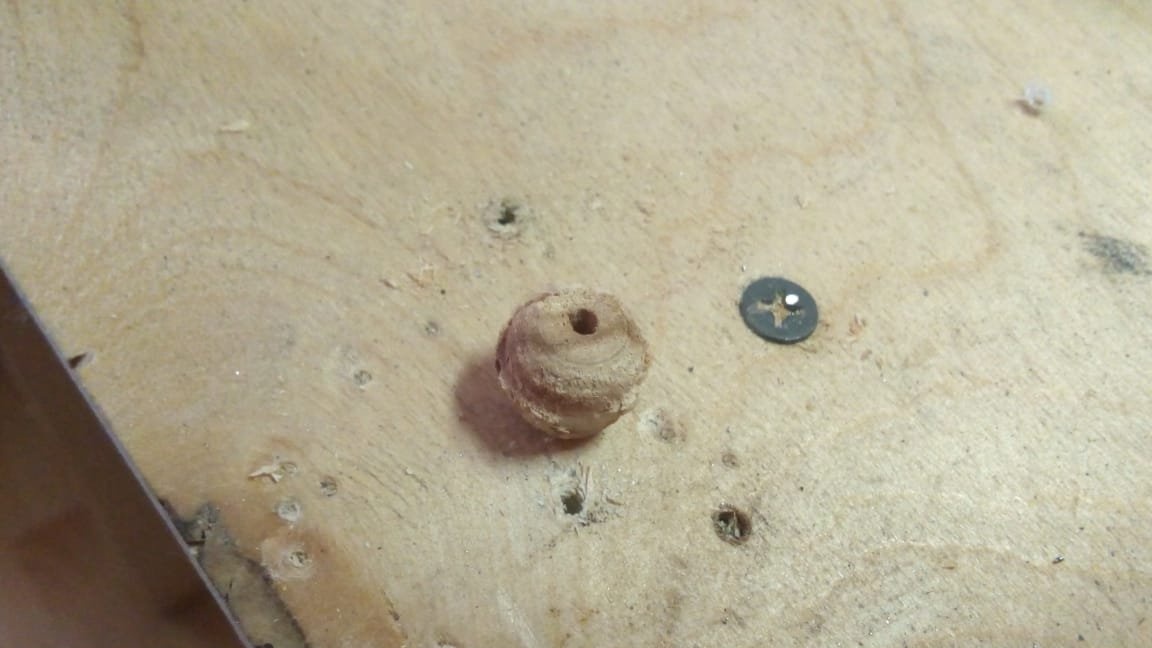
Now collect our cutter and try to make a few beads. Here is a photo of the process.
Do not hold the workpiece with your hands.
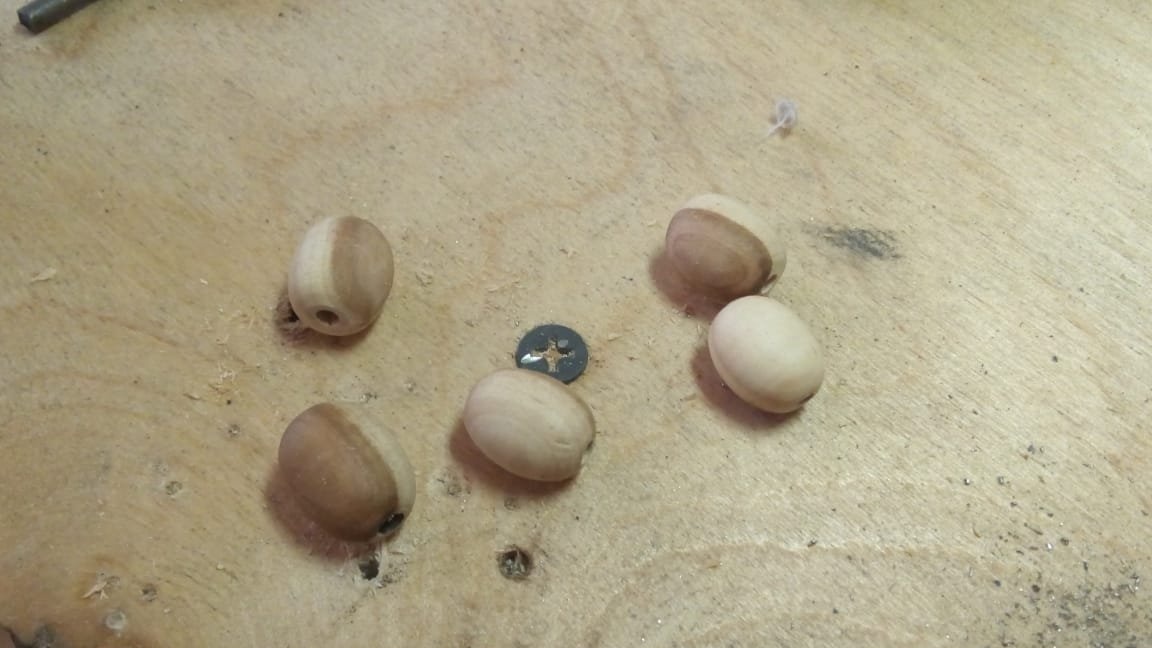
Grind and get:
Most important in making this fixtures to do everything as smoothly and accurately as possible, then its use will not cause you any inconvenience. Observe TB.