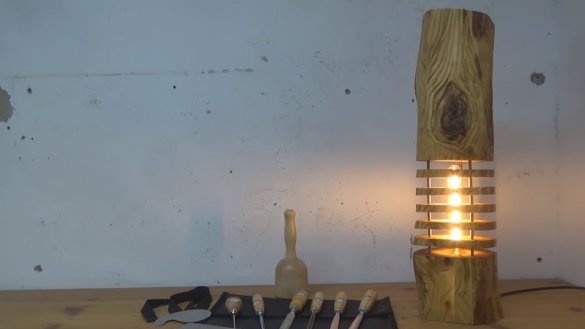
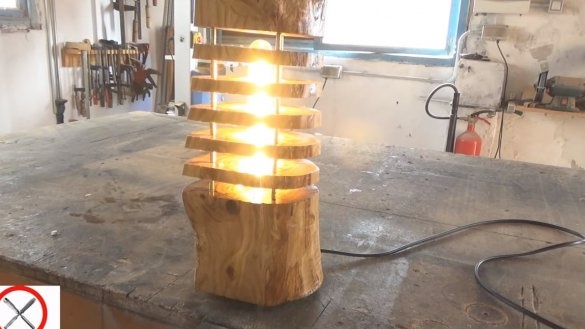
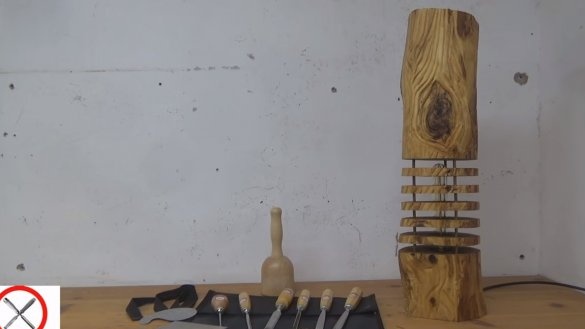
Hi everyone, I propose to consider an interesting lamp made of logs. Such homemade, of course, will create an atmosphere of comfort in your home. In manufacturing, the project is not complicated, but you will have to work a lot with muscles. The author, using different knives on wood, formed an interesting pattern on a log. The lamp inside is long, LED, it almost does not heat up, therefore it is not dangerous in terms of fire. If you are interested in the project, I propose to study it in more detail!
Materials and tools used by the author:
Material List:
- log;
- light;
- bulb holder and cable;
- threaded rods and nuts;
- brass tubes;
- varnish or oil for wood.
Tool List:
- brace;
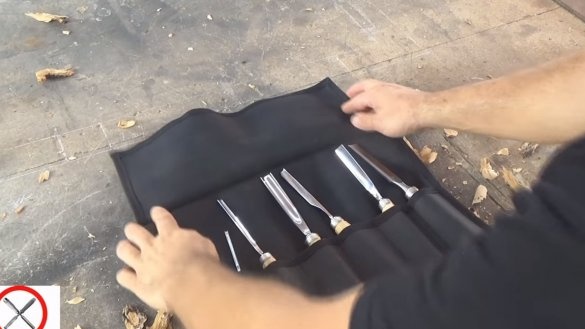
- chisels and knives on wood;
- sandpaper;
- tape cutting machine;
- drill;
- manual grinder (or petal nozzle on the grinder).
Homemade manufacturing process:
Step one. Log preparation
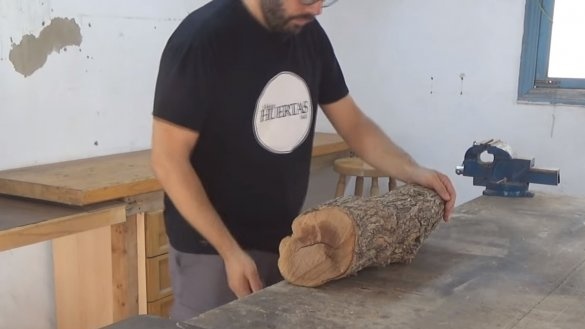
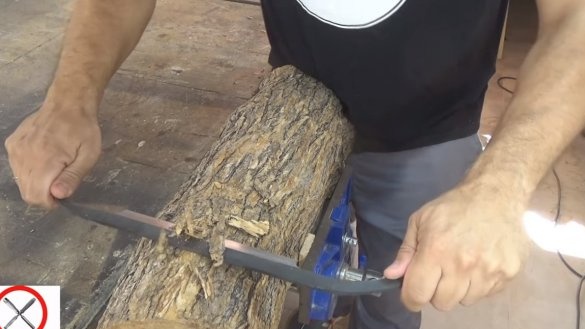
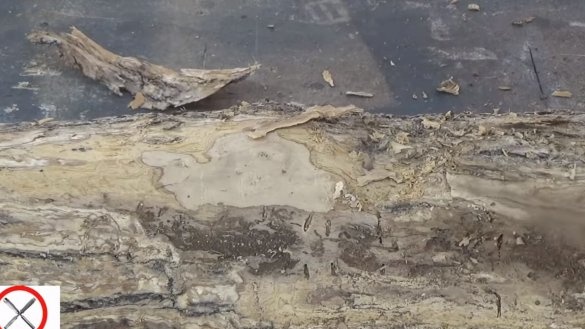
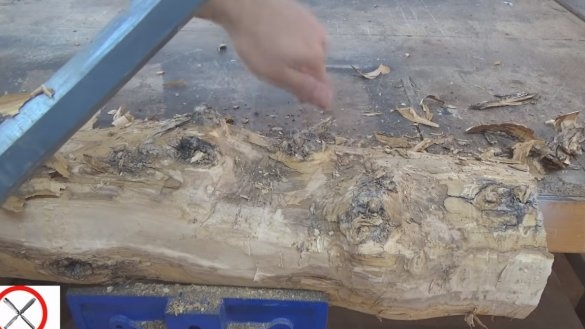
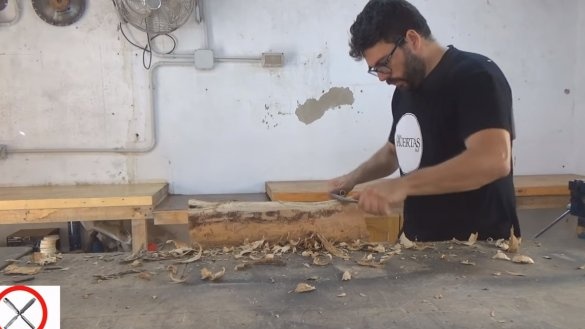
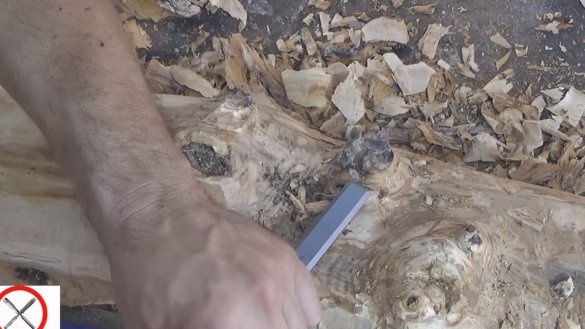
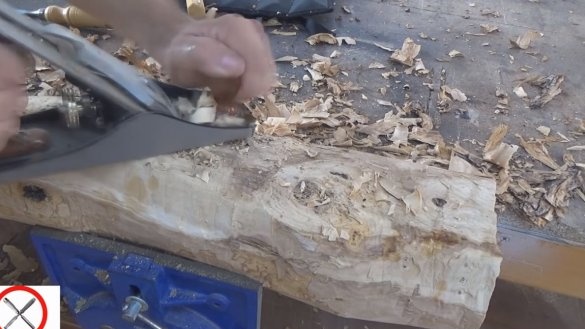
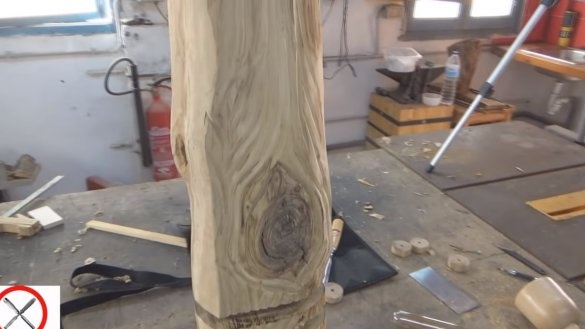
First of all, remove the bark from the log, then we need a brace. The author’s log has a large number of knots, which complicates the work, but with them an interesting pattern on the tree appears. The knots will need to be removed with a chisel, and then these places are trimmed with a plane. At the end, we carefully grind the surface of the log with a grinder with a petal nozzle or other grinding machine.
Step Two Picture
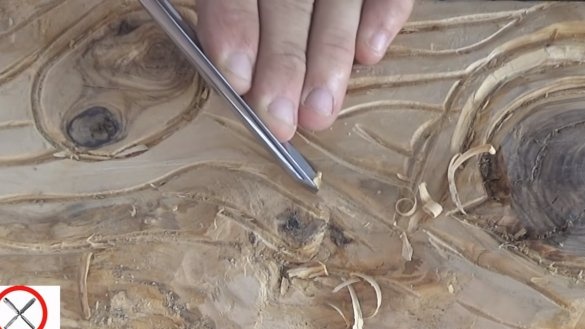
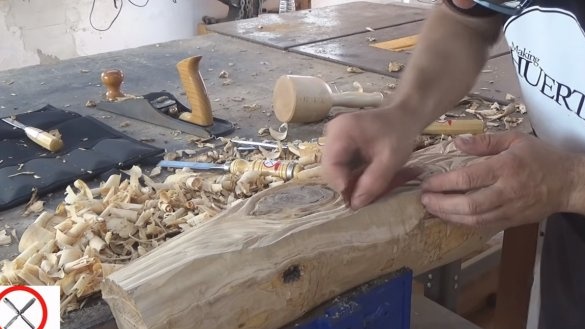
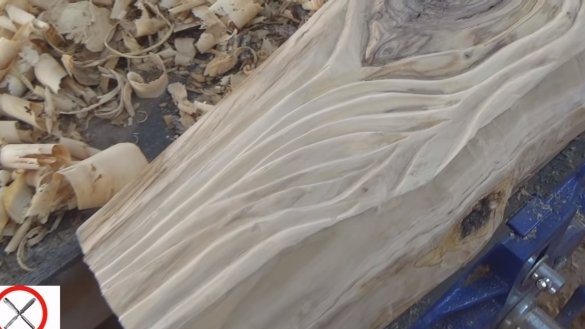
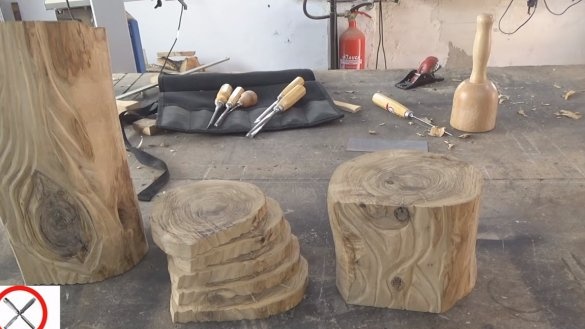
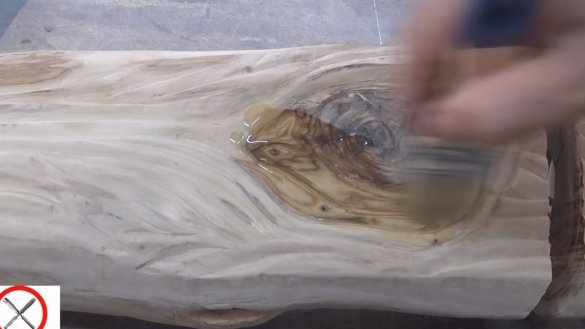
If desired, you can form a beautiful pattern on a log. For these purposes, you will need special knives for wood. After cutting, the relief can be sanded with an emery cloth to a smooth state.
Step Three Case cutting and assembly
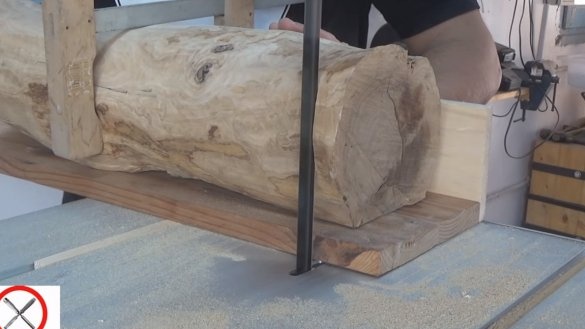
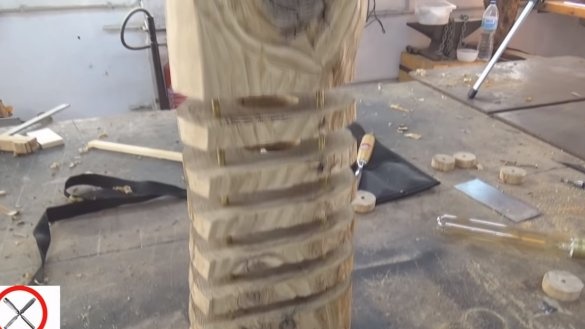
Next, we mark the log and cut it, it would be nice to have a tape cutting machine to cut such a massive piece of wood.
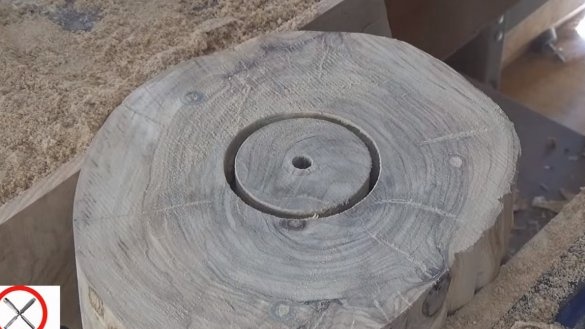
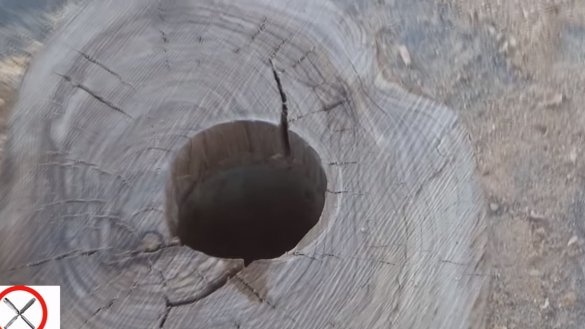
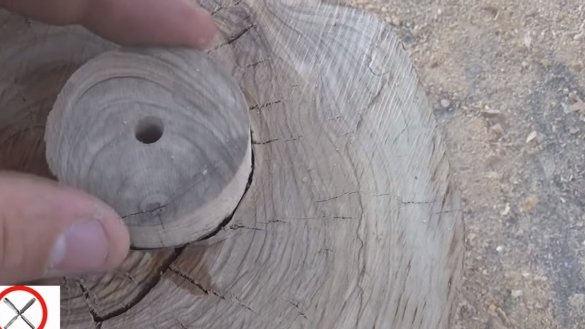
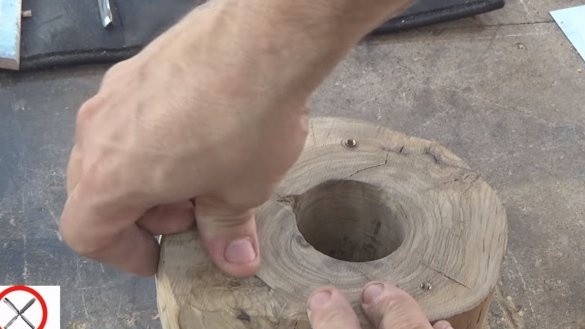
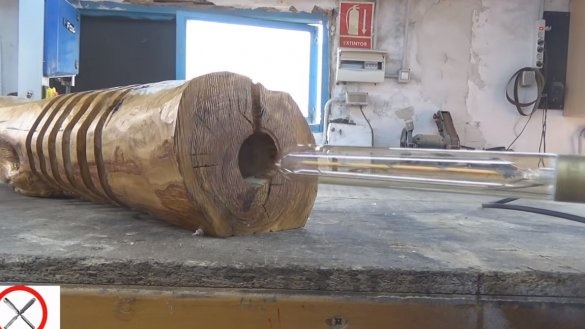
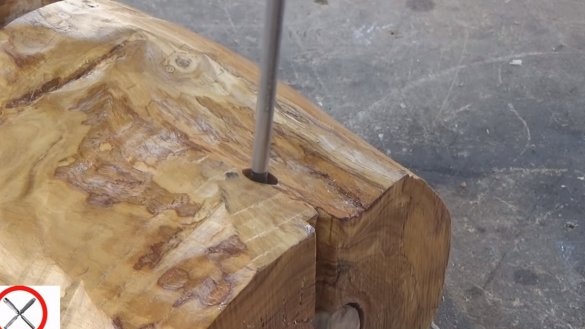
After cutting, you need to drill large-diameter holes in the center of all parts for a bulb and a cartridge. Here a drill with crowns will come to the rescue. We drill the long part in pieces, picking out the parts with the help of a chisel.
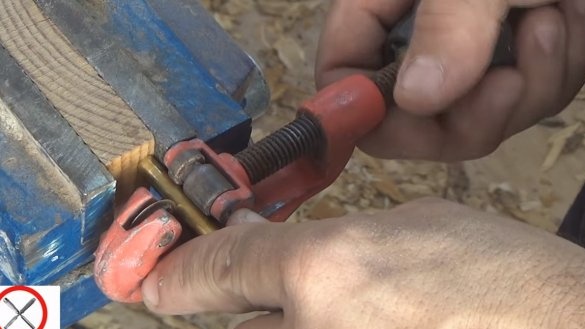
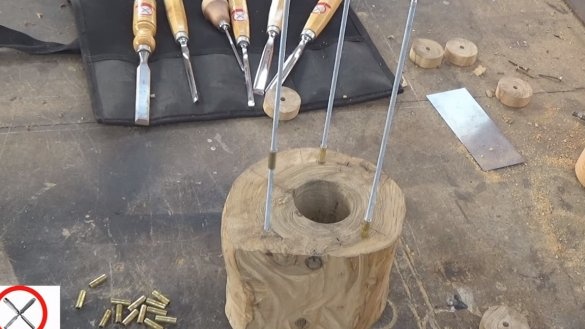
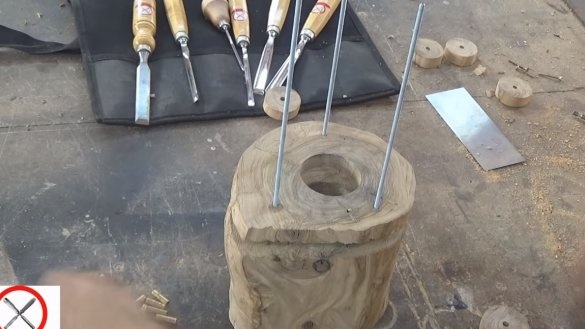
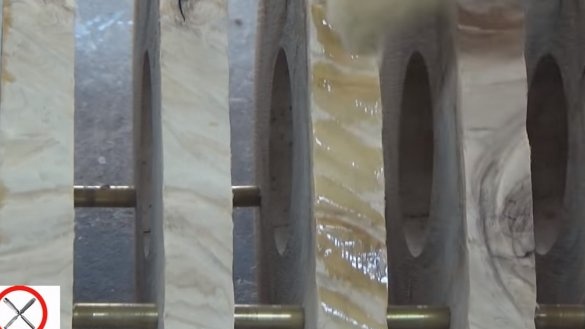
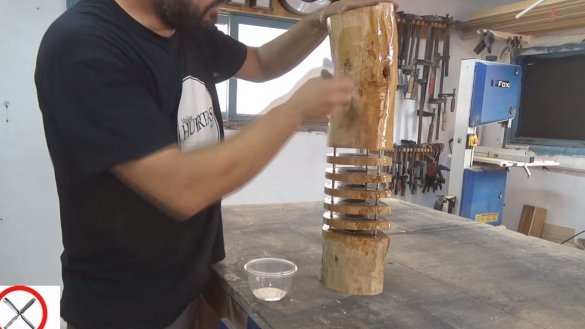
When everything is ready, we drill holes for threaded rods, nuts are installed in the lowest part of the structure.So that all parts are at some distance from each other, we use brass tubes.
Step Four Final touches
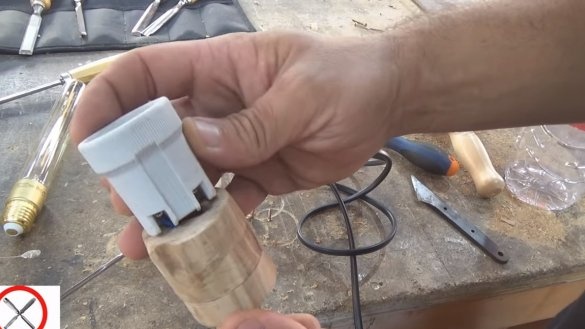
At the end, install the cartridge on a wooden cork by connecting a cable. We screw the bulb into the cartridge and fix the whole thing inside the lamp with a screw or a self-tapping screw. The tree itself can be varnished or oil to your taste. After that, the homemade product will be ready and you can experience it. The lamp looks great, I hope you also liked the project, and you found useful thoughts for yourself. Good luck and creative inspiration, if you decide to repeat this. Do not forget to share your ideas and homemade things with us!

