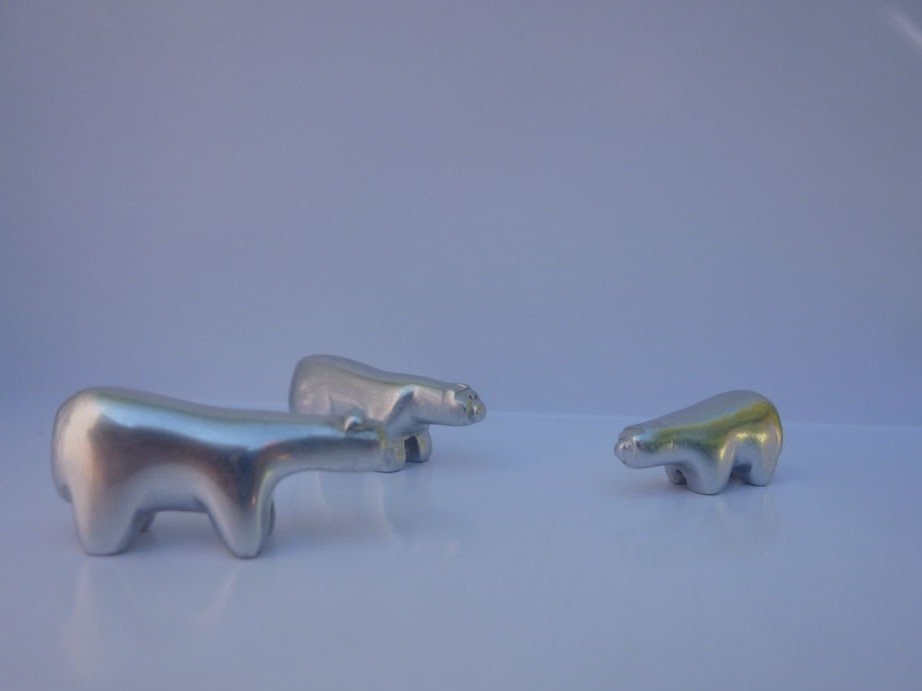
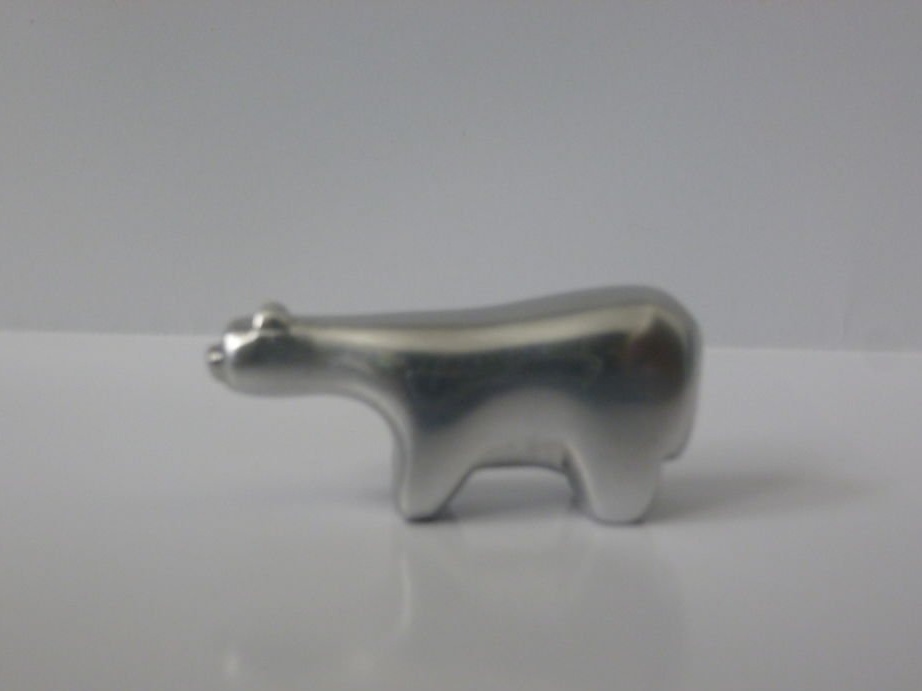
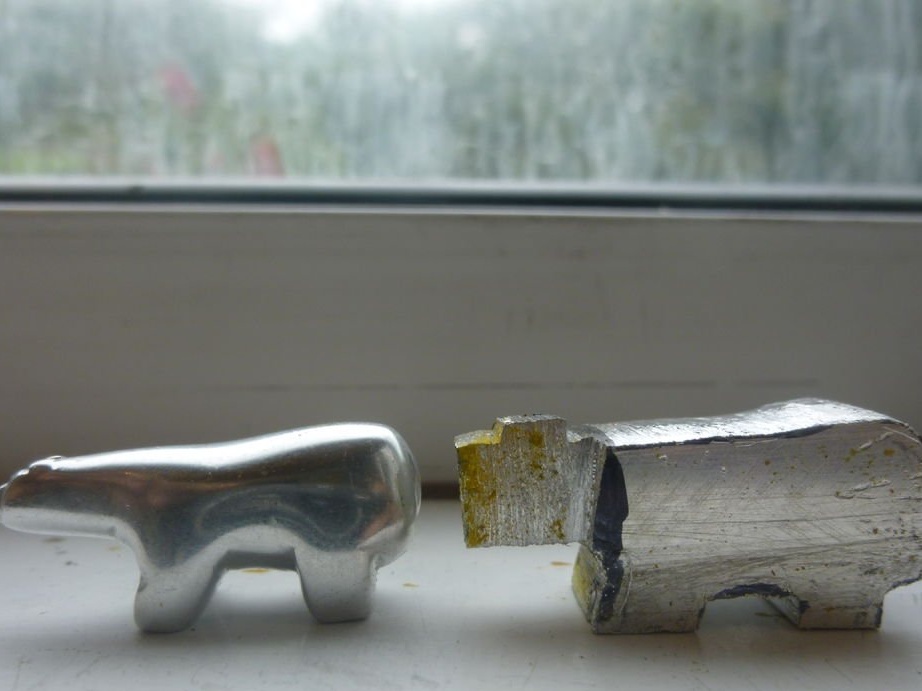
This article is about how to make a bear out of a single piece of aluminum. In the manufacture of polar bears using tools that most people have in their the garage or workshop. This work can be done in conjunction with the child.
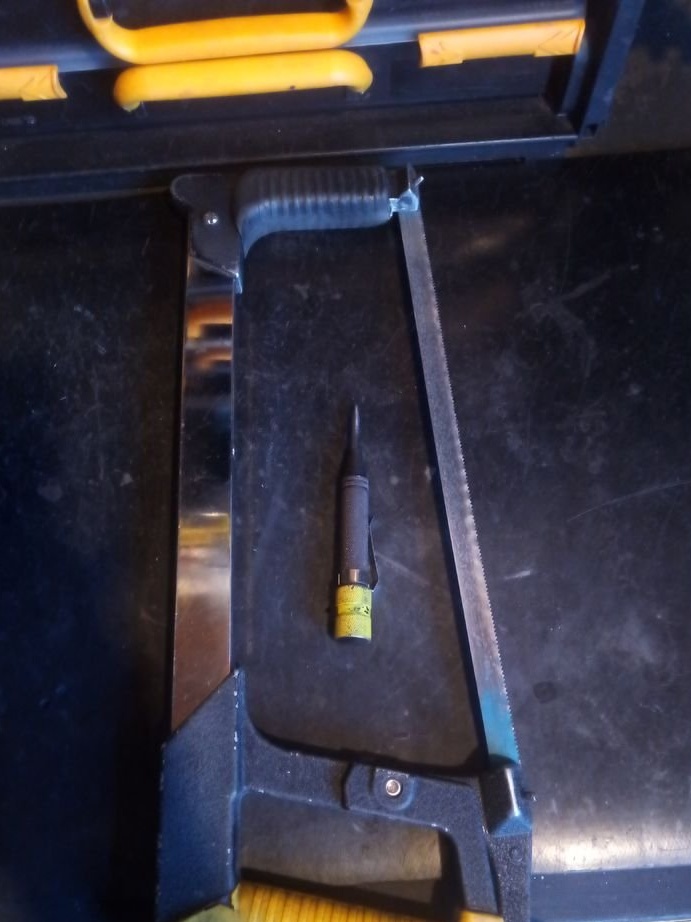
Tools and materials:
-Set of files;
-Set of files;
-Sandpaper;
-Dremel;
-Skyber;
-Pencil;
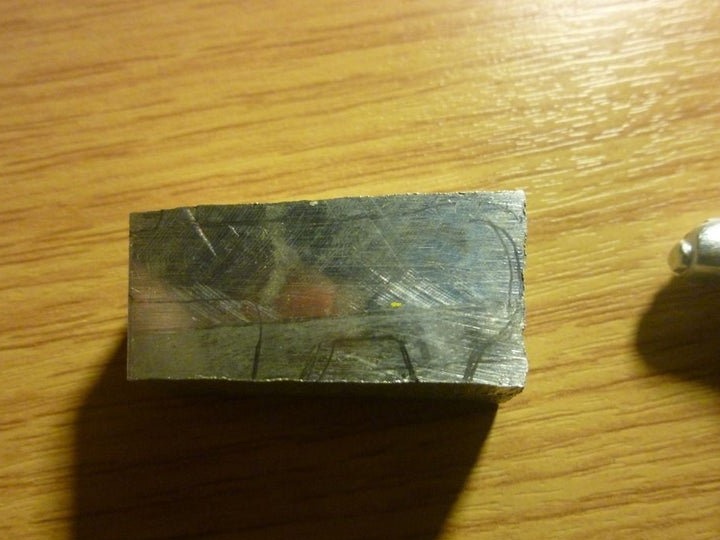
-Aluminum plate 10 mm;
-Vise;
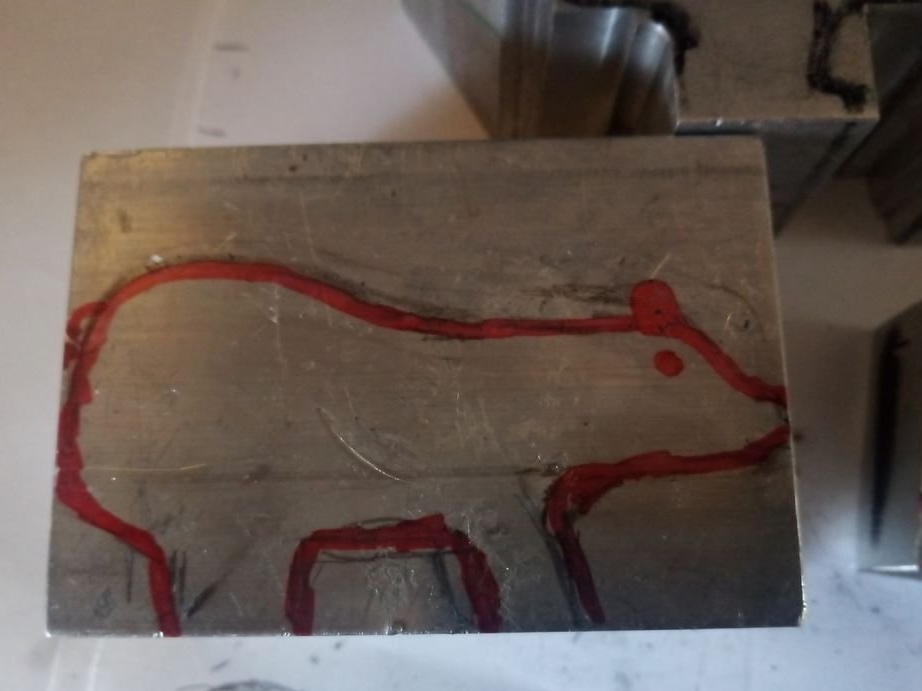
Step One: Drawing
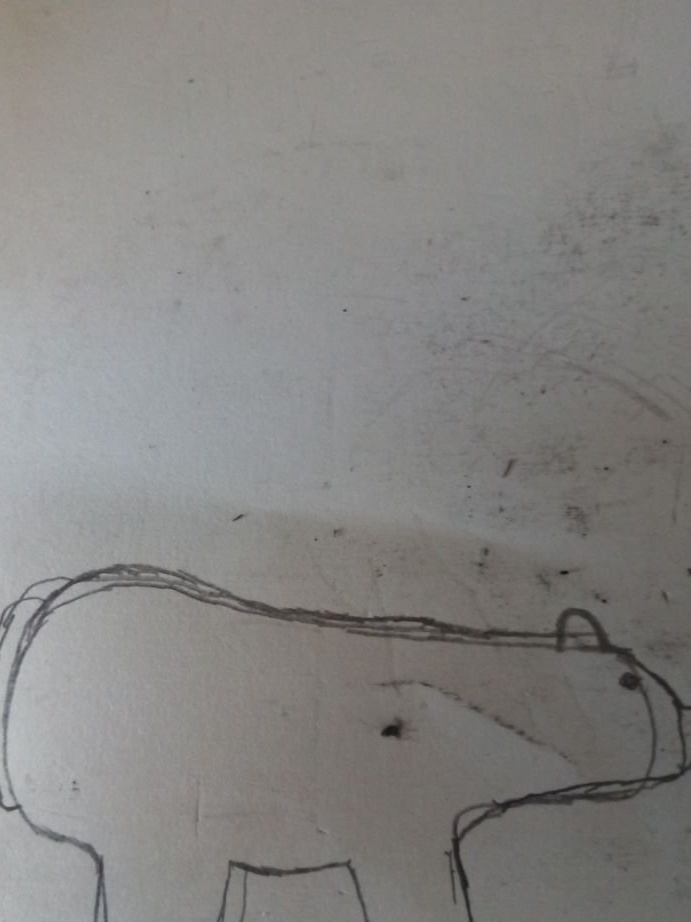
First, the master applies a drawing of a bear, side view, on an aluminum billet. If the surface of the plate is not smooth enough, then it must first be sanded. The drawing can be drawn independently or transferred from the template.
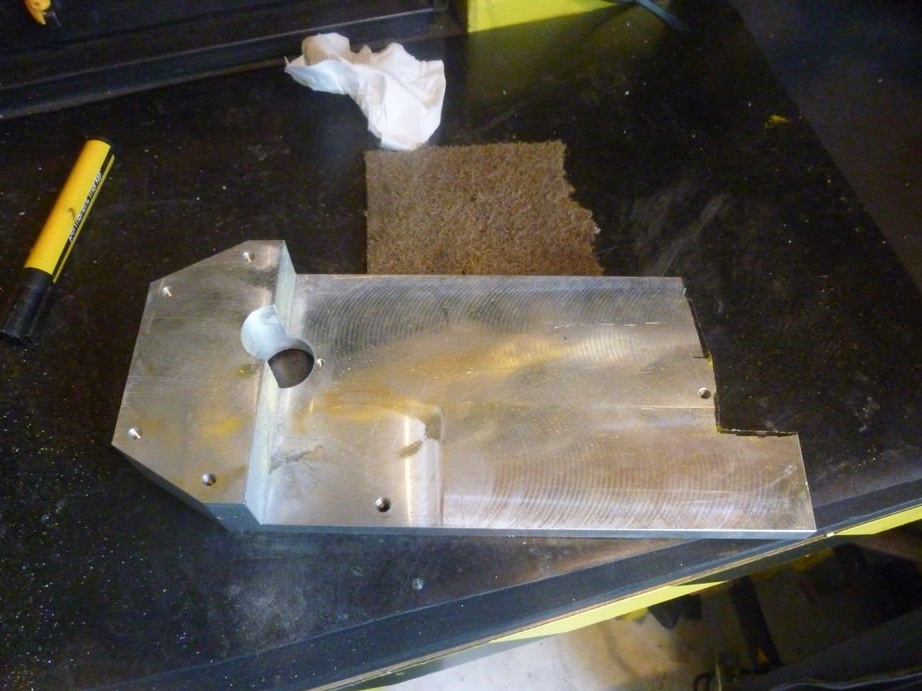
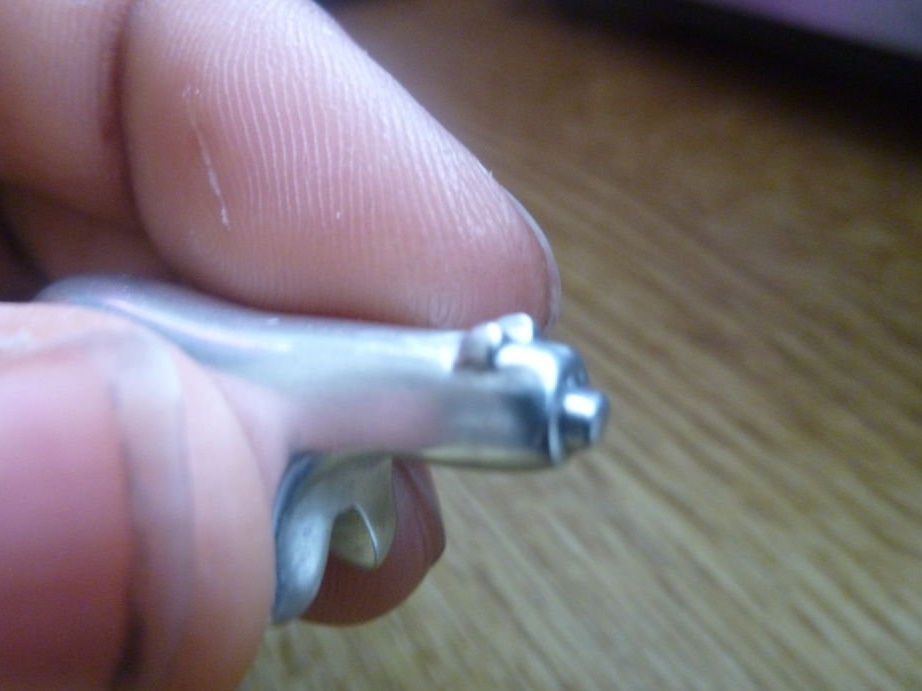
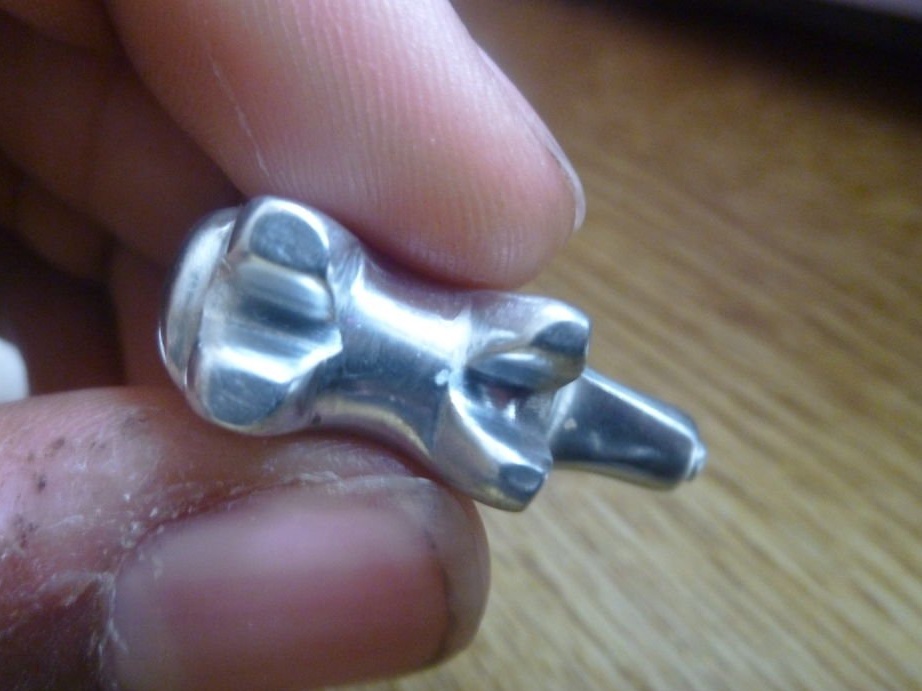
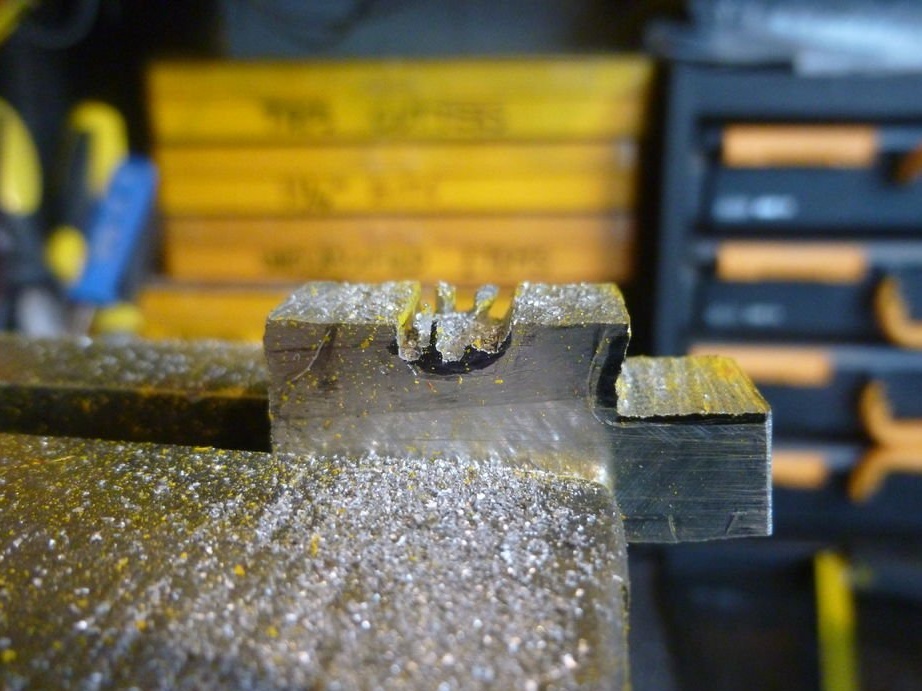
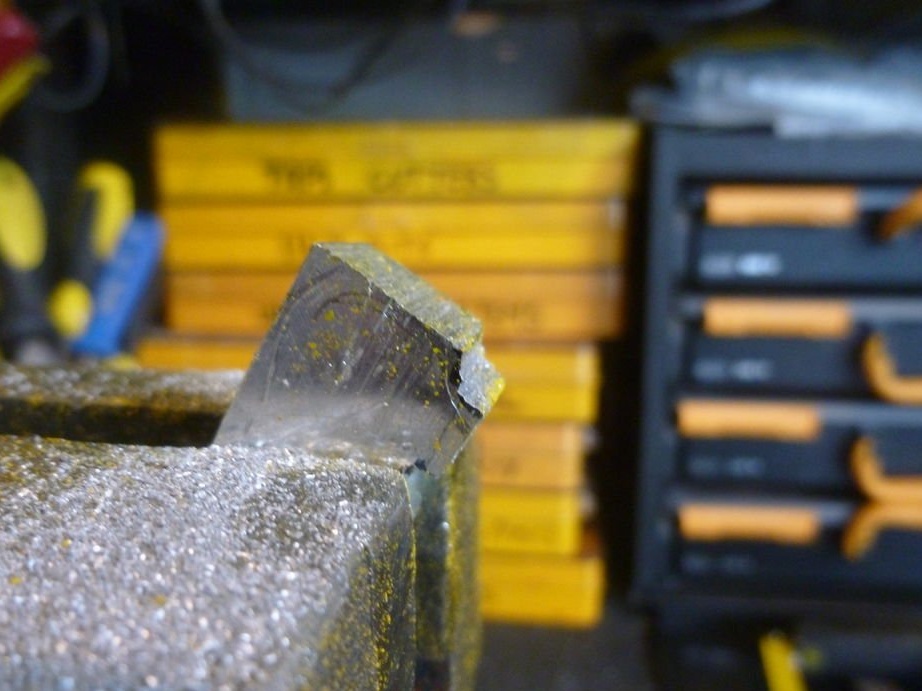
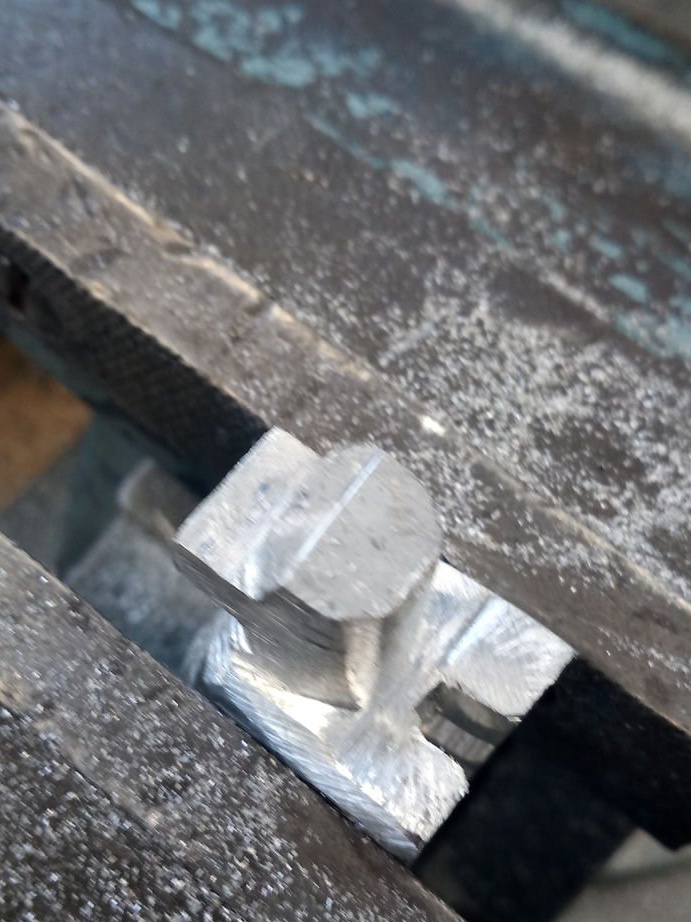
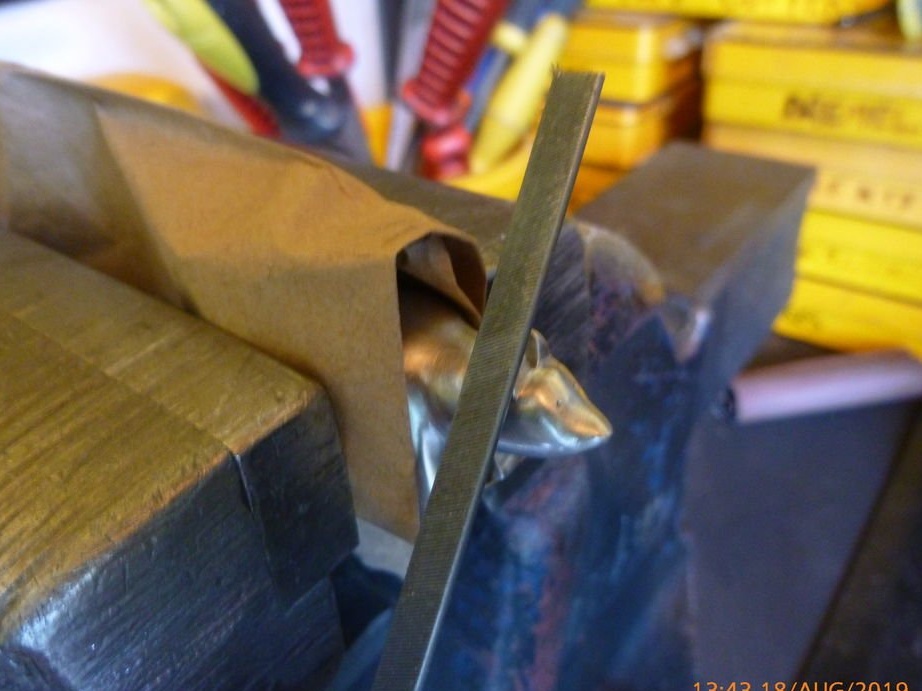
Step two: trim the bottom of the head
If you have a band saw that cuts metal, then you can use it. If there is no saw, then follow these instructions.
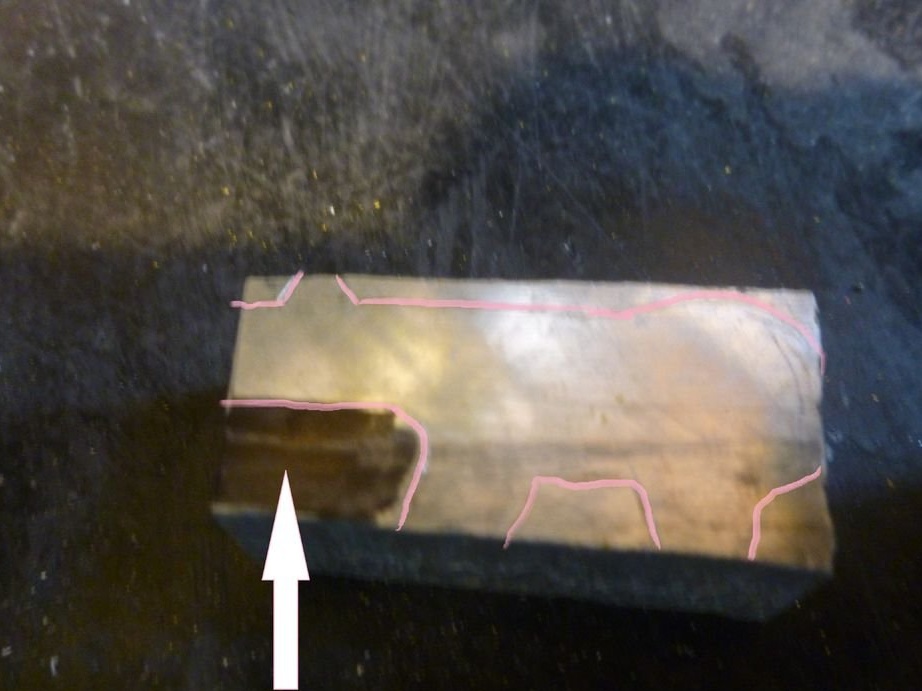
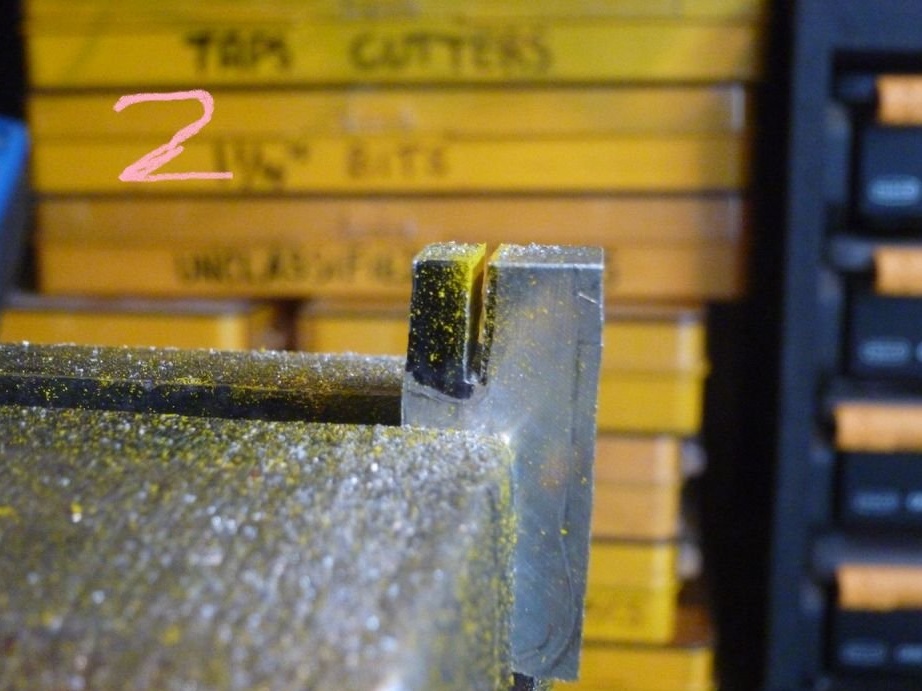
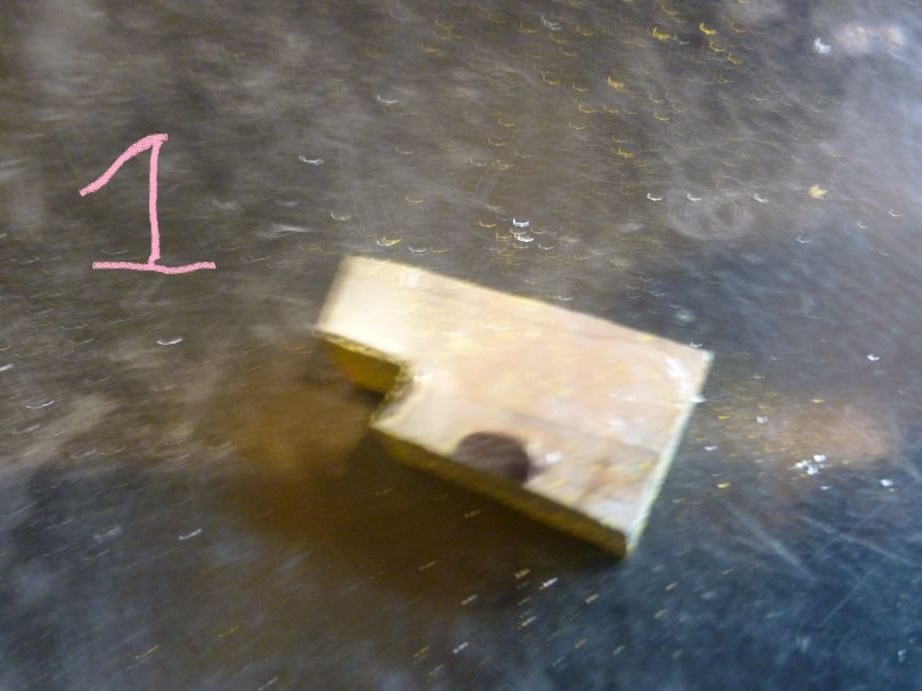
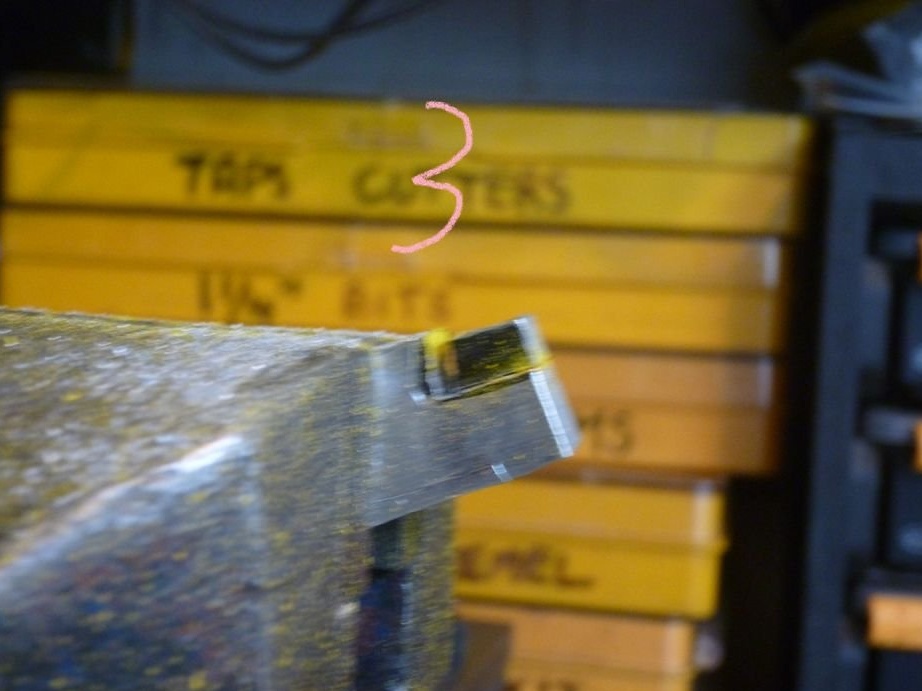
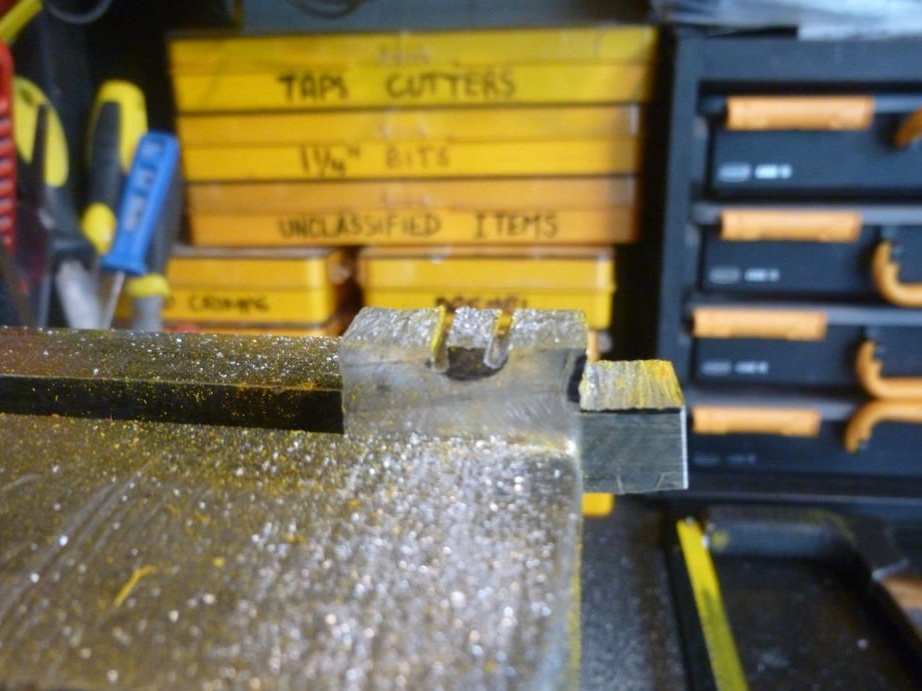
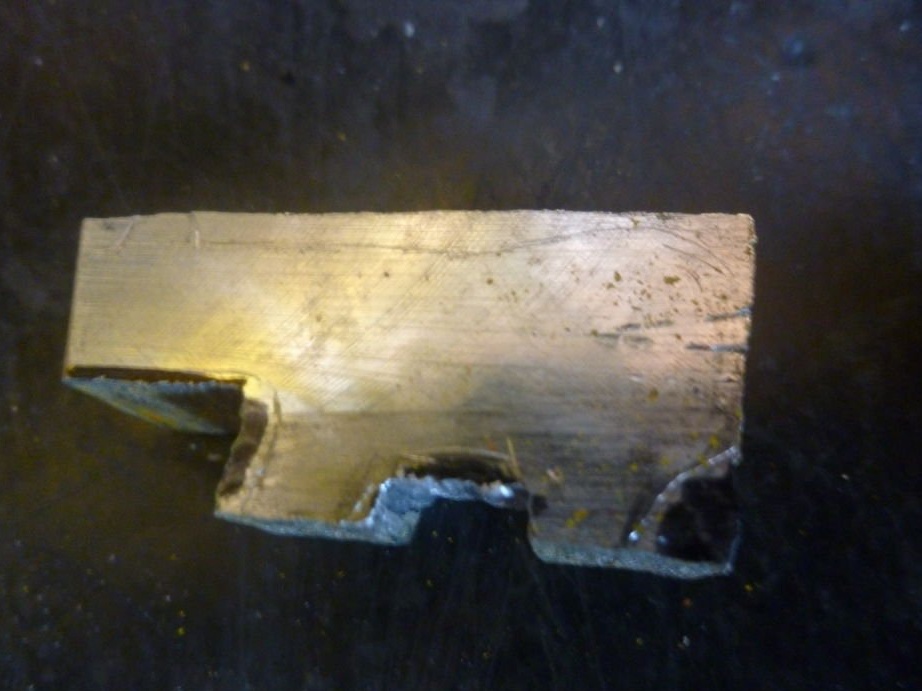
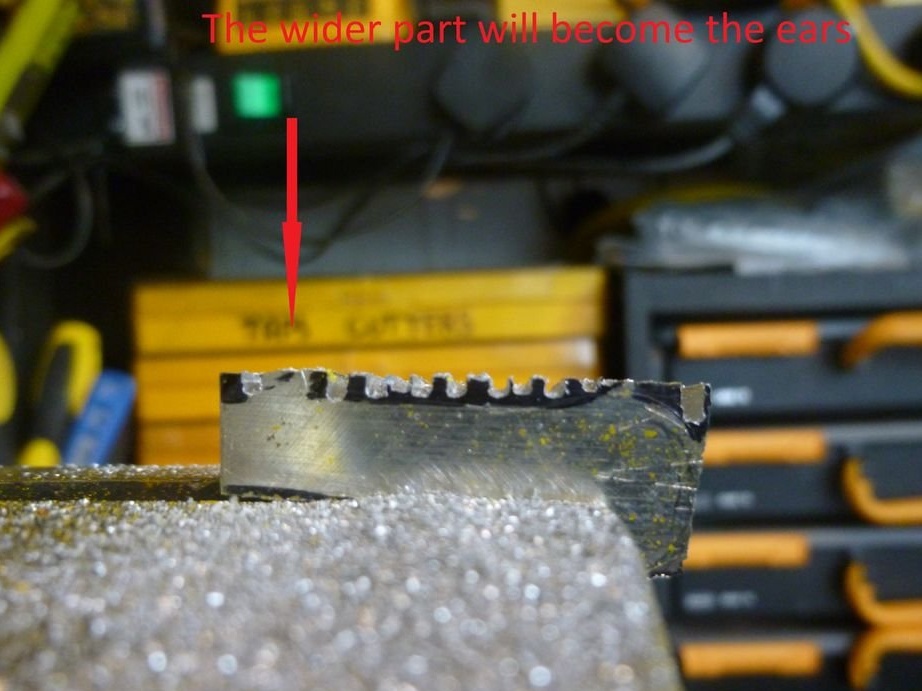
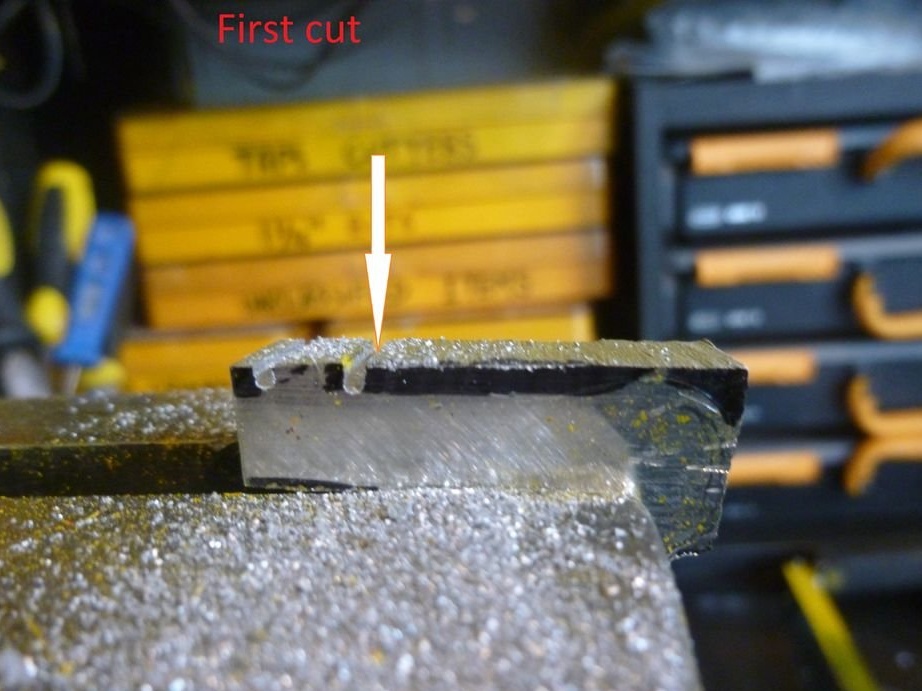
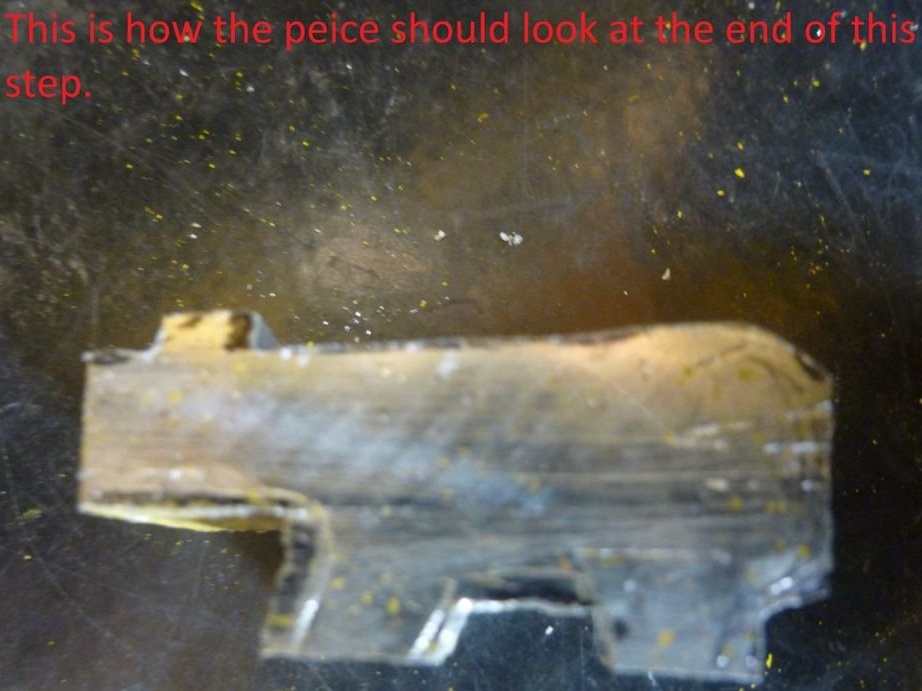
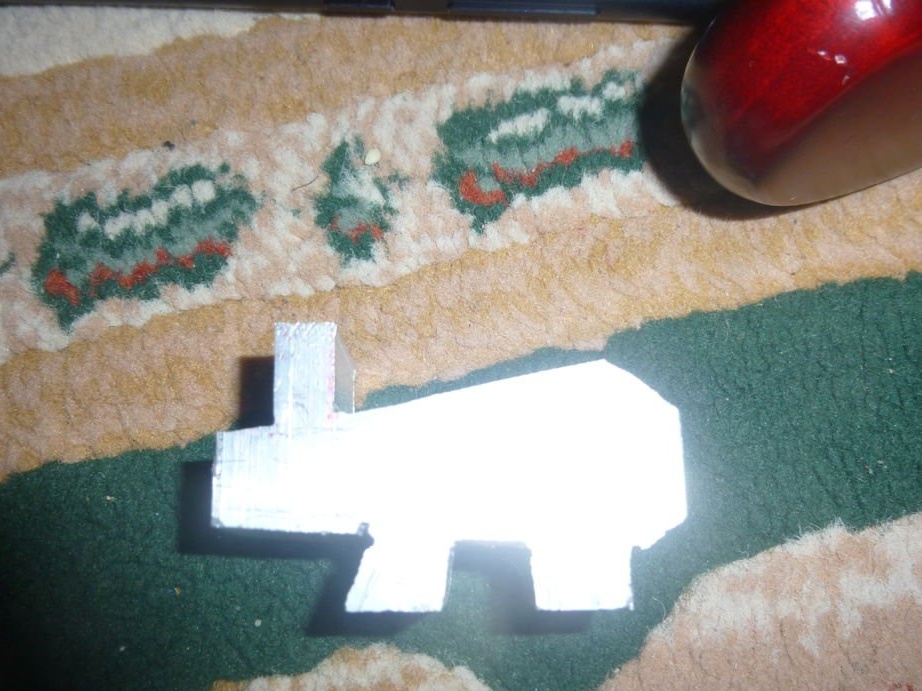
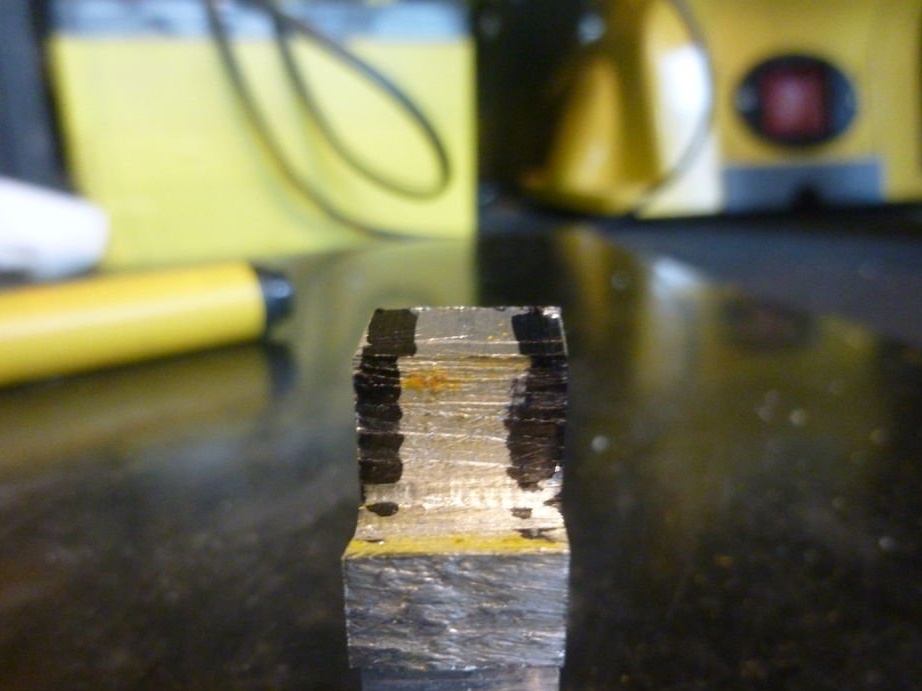
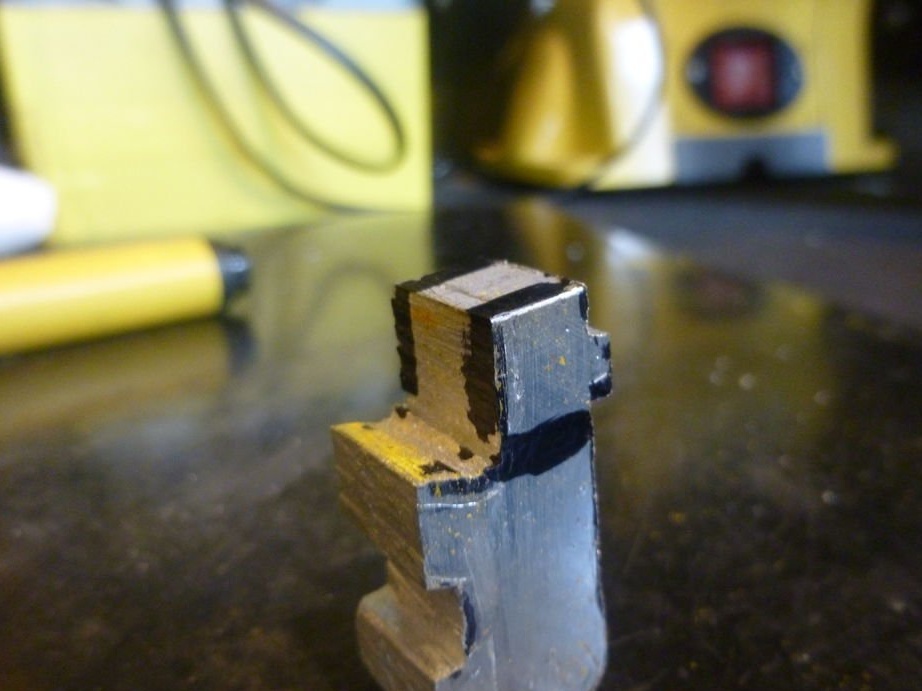
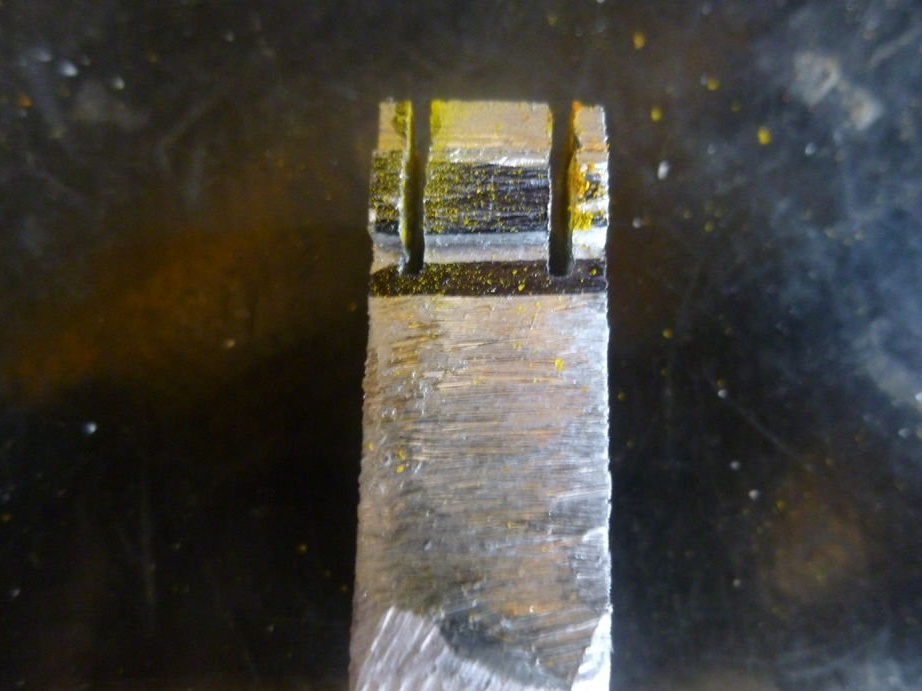
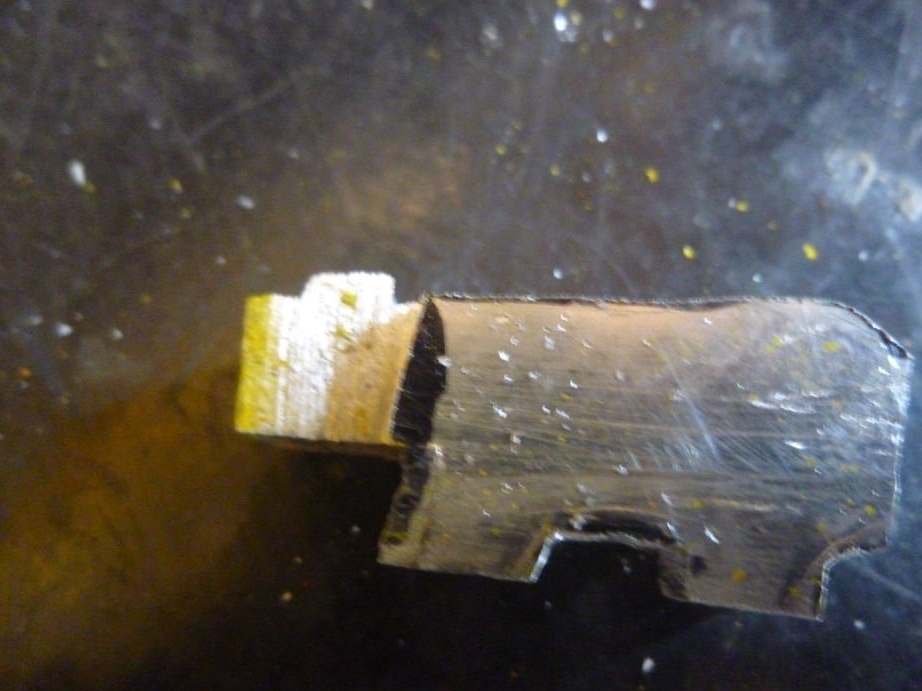
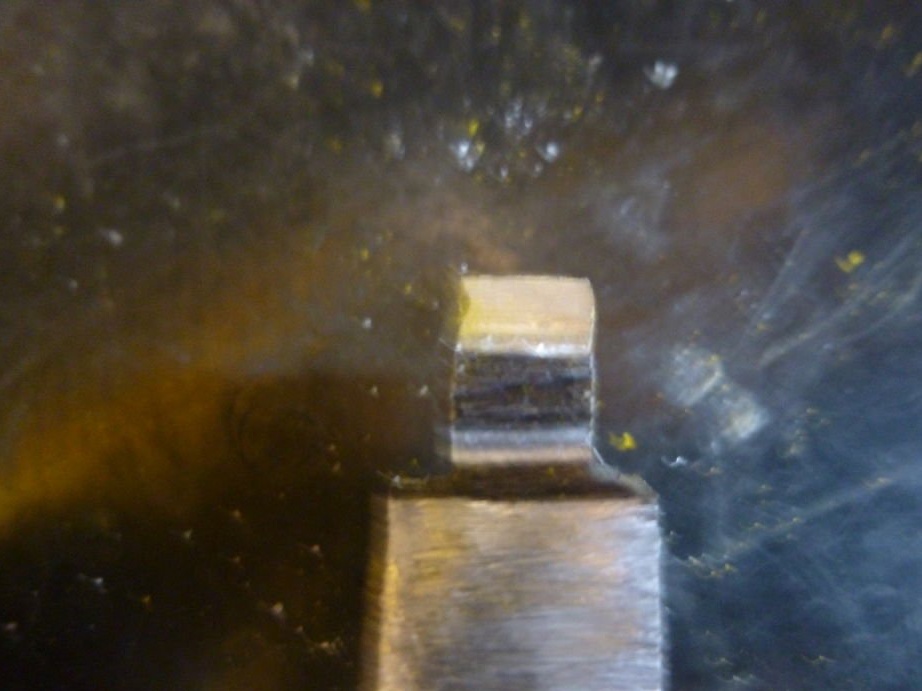
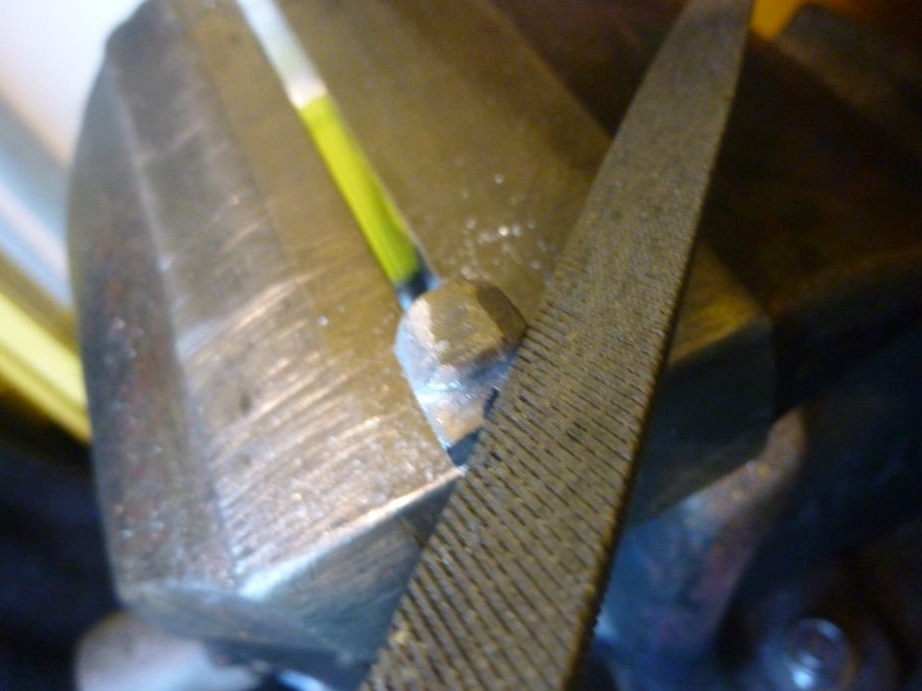
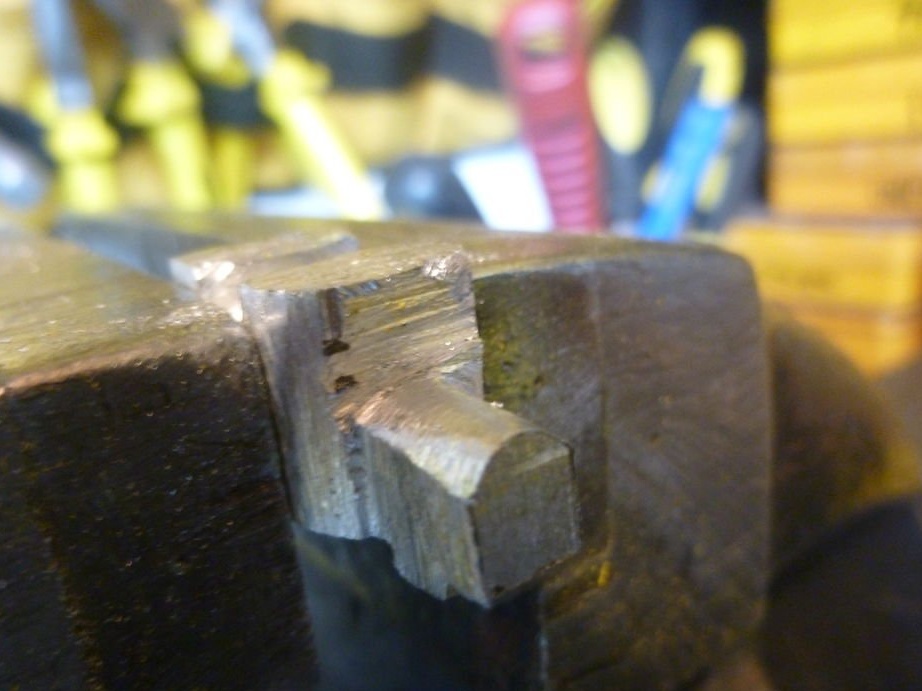
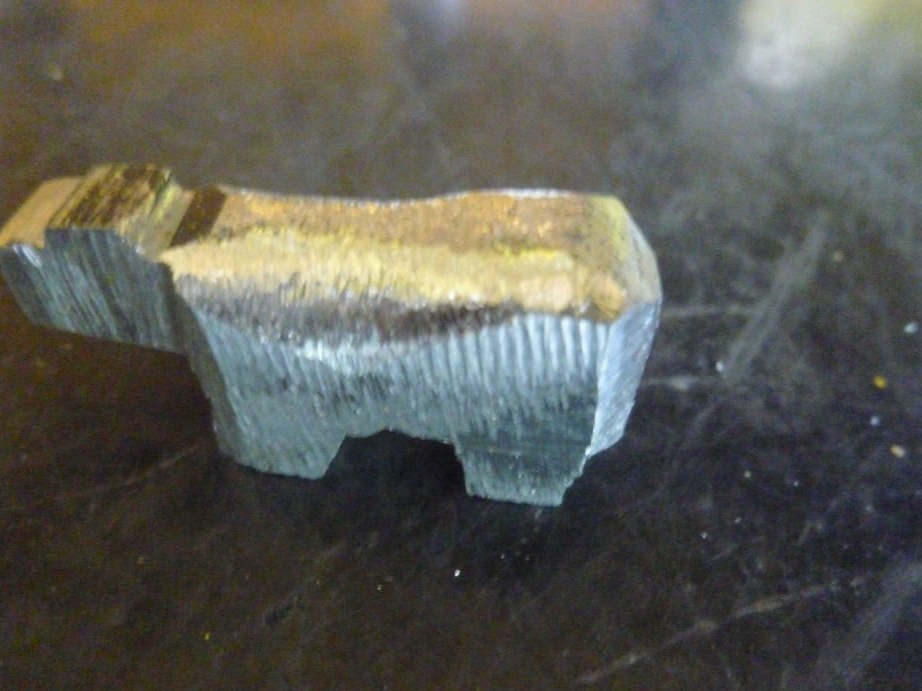
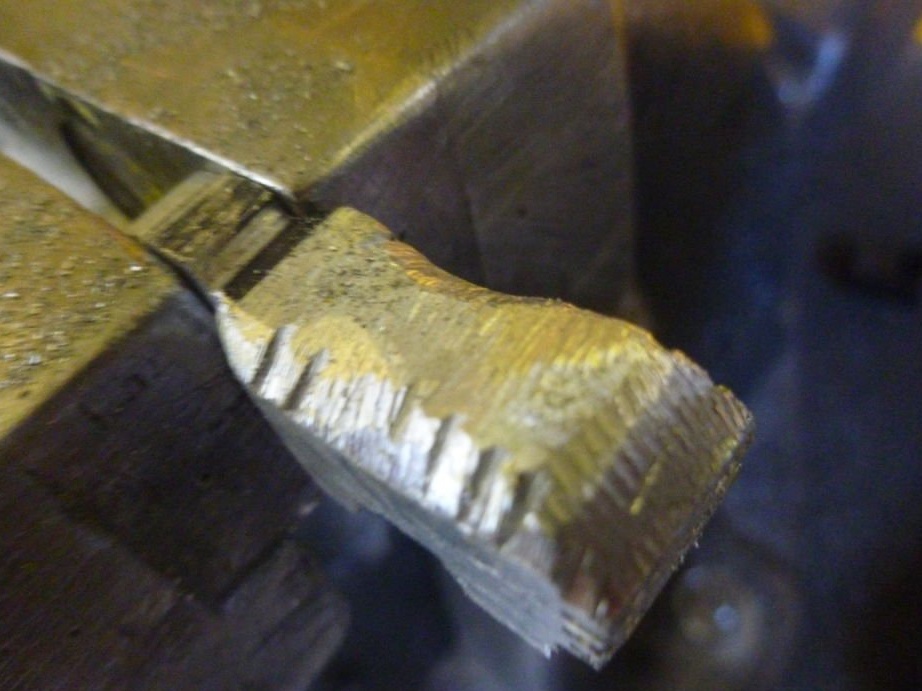
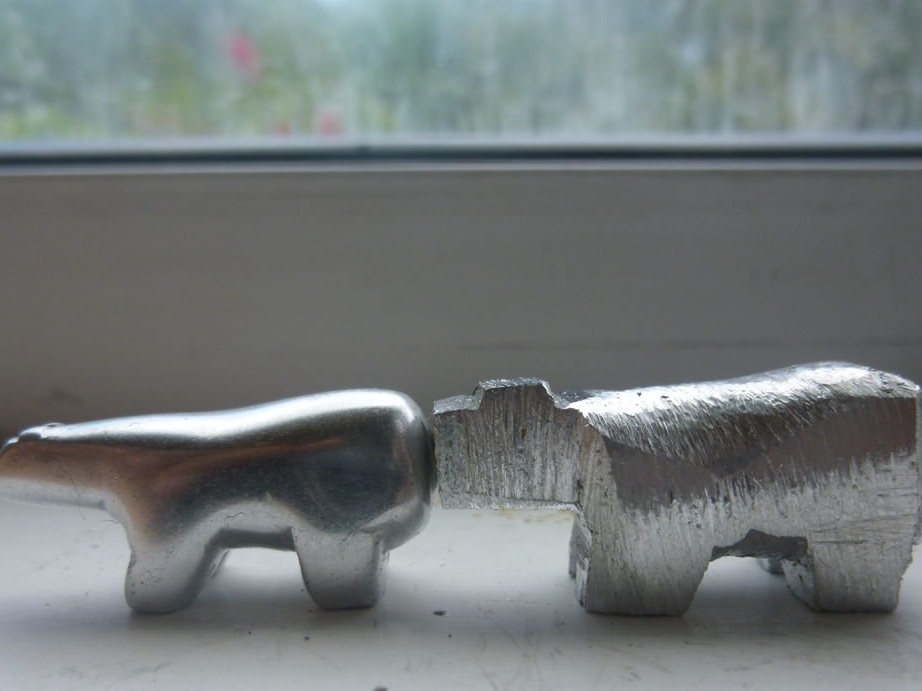
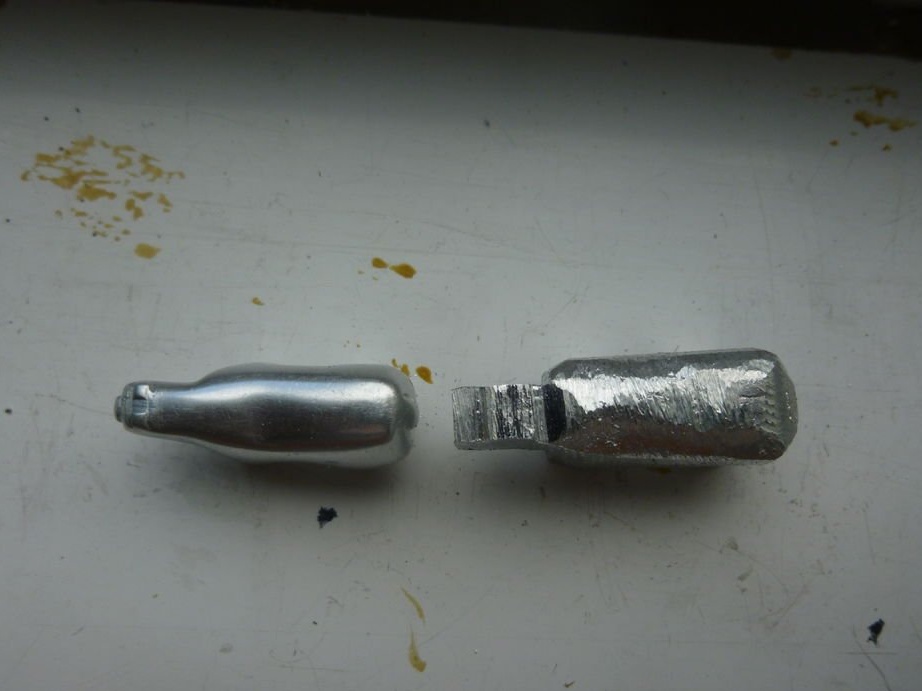
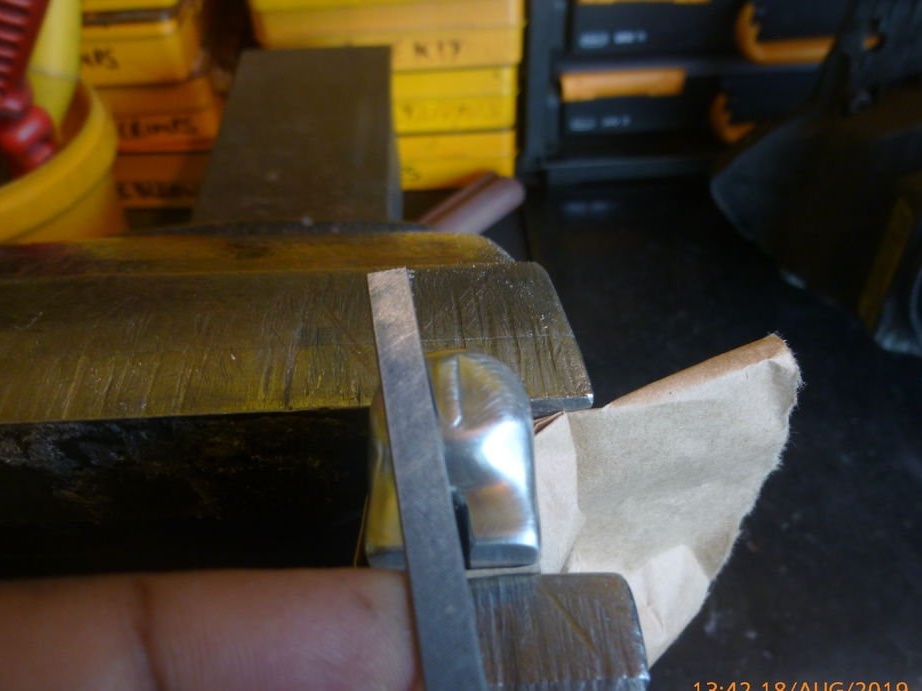
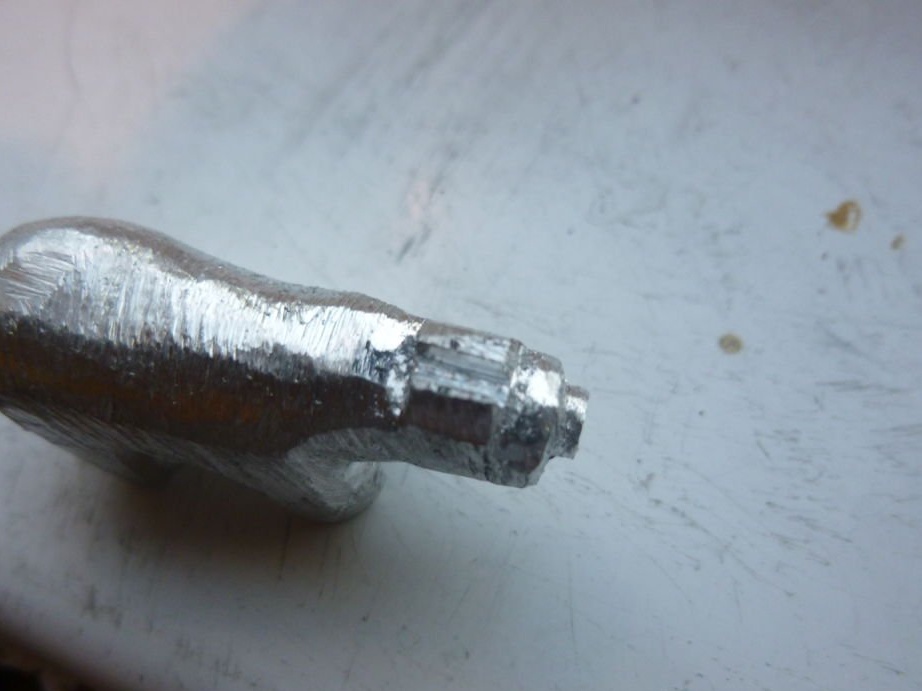
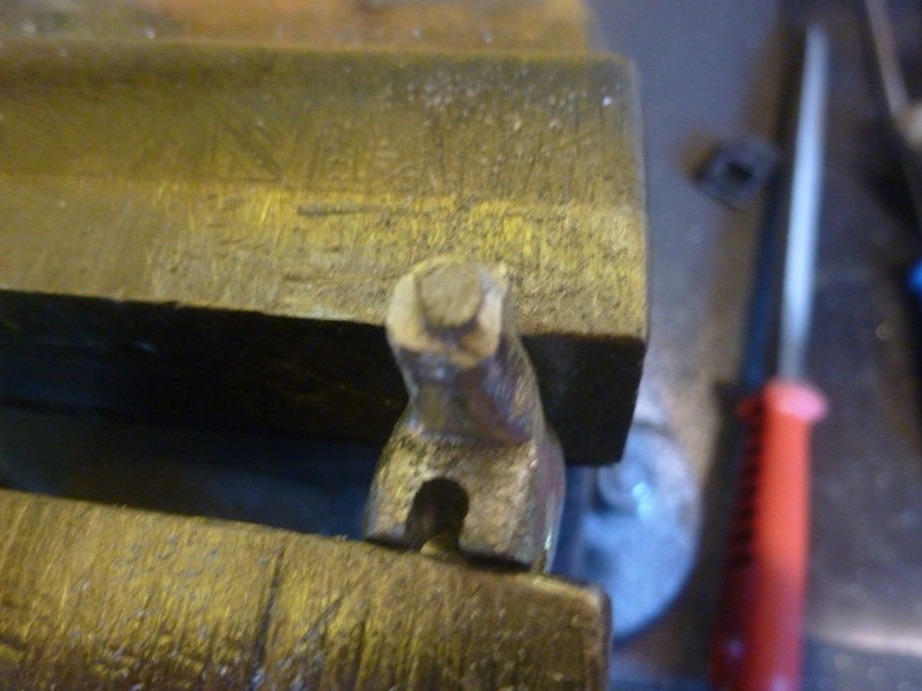
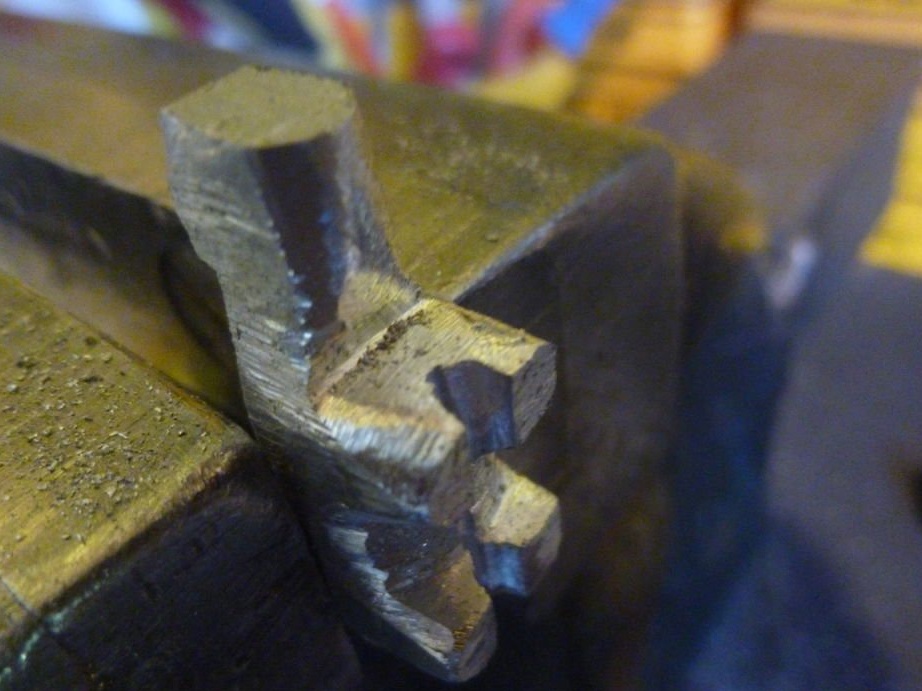
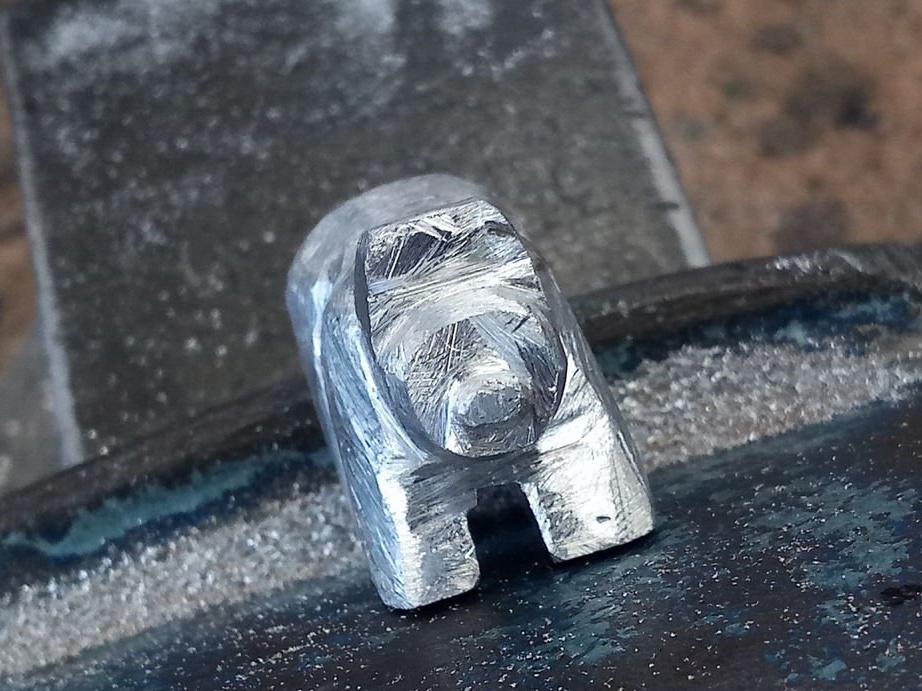
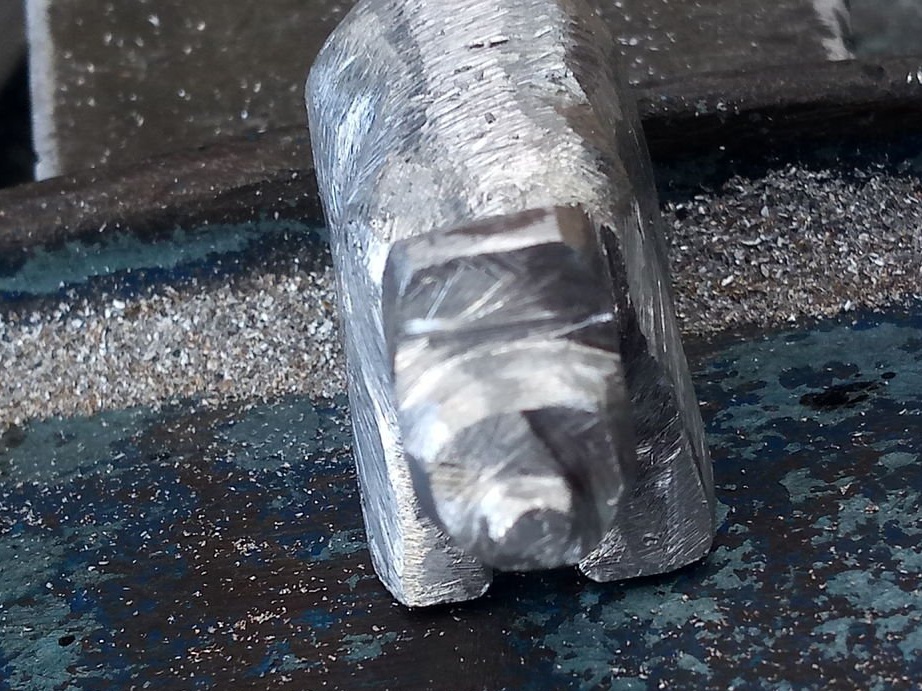
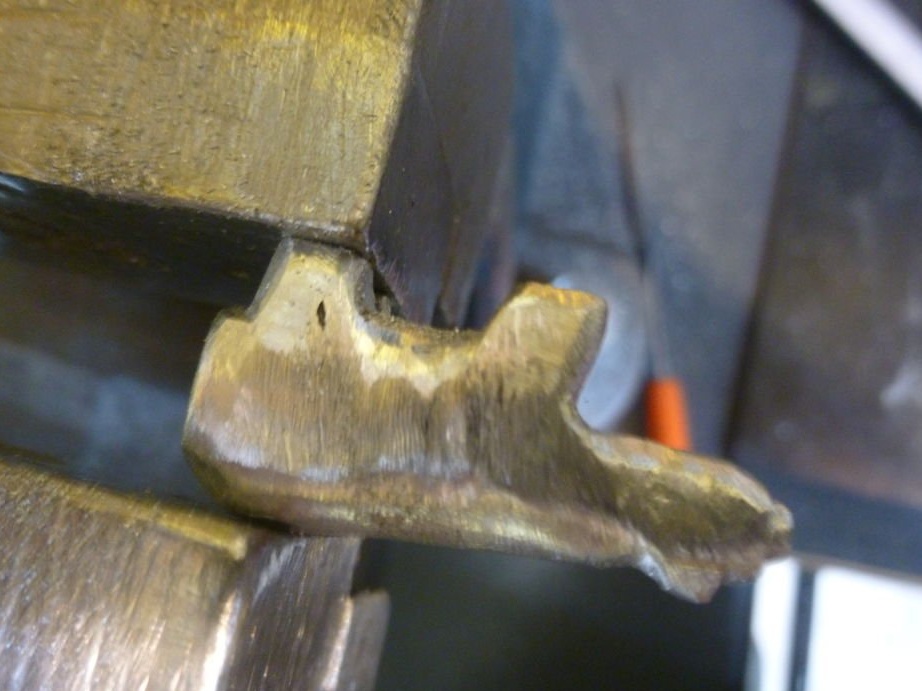
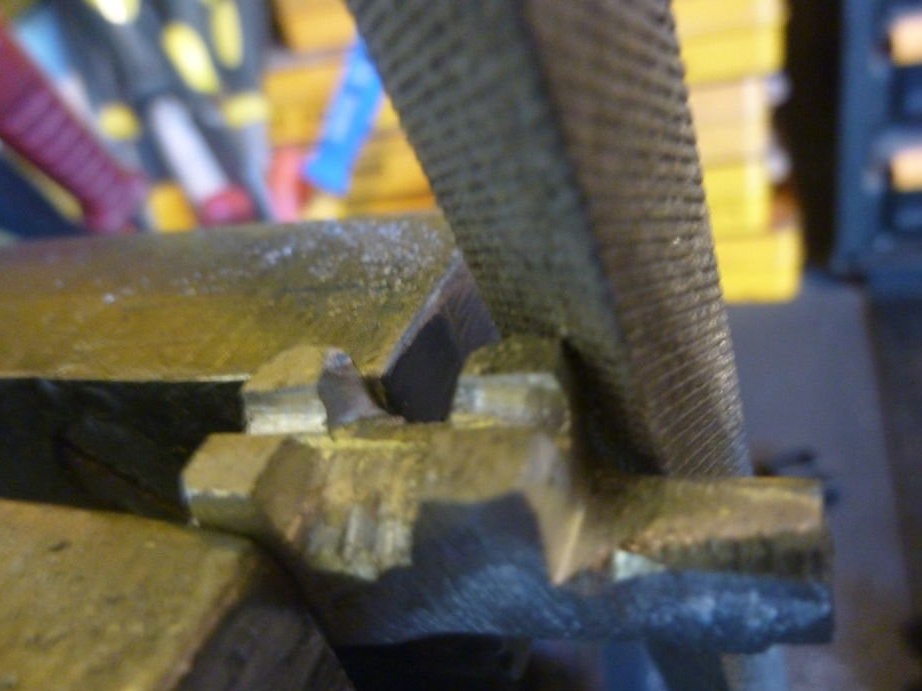
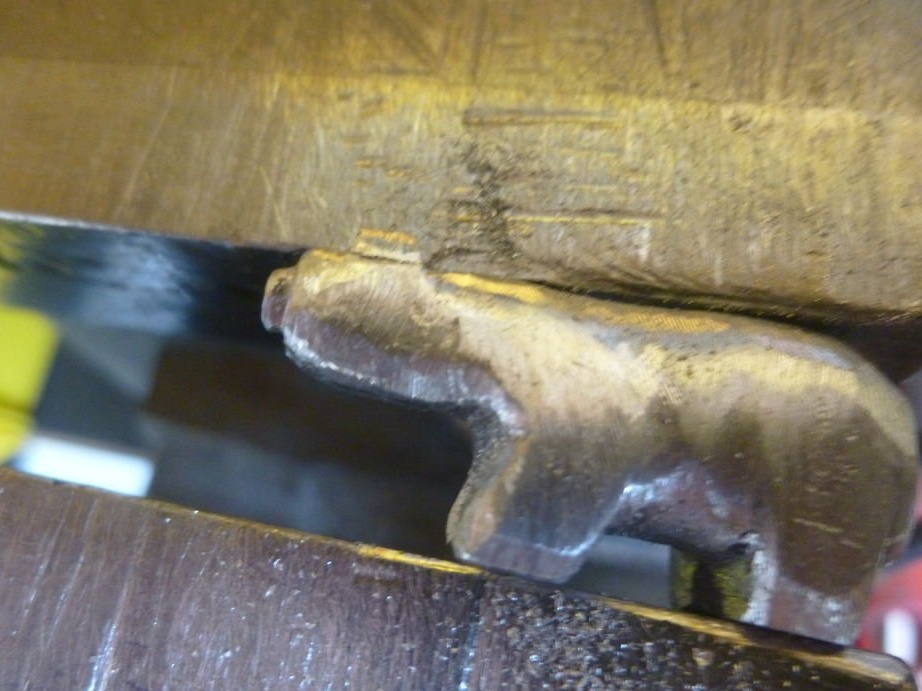
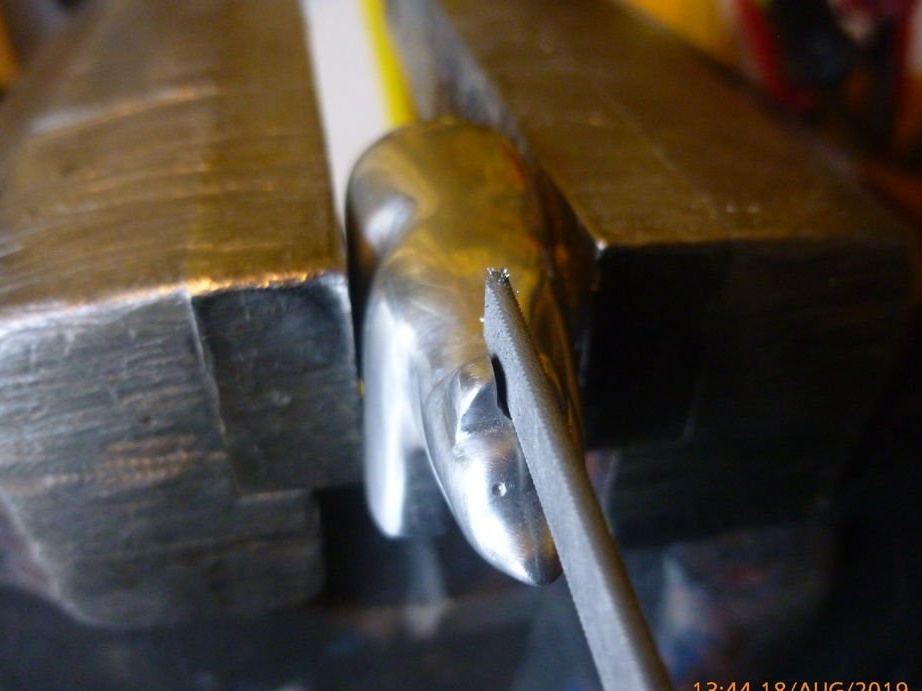
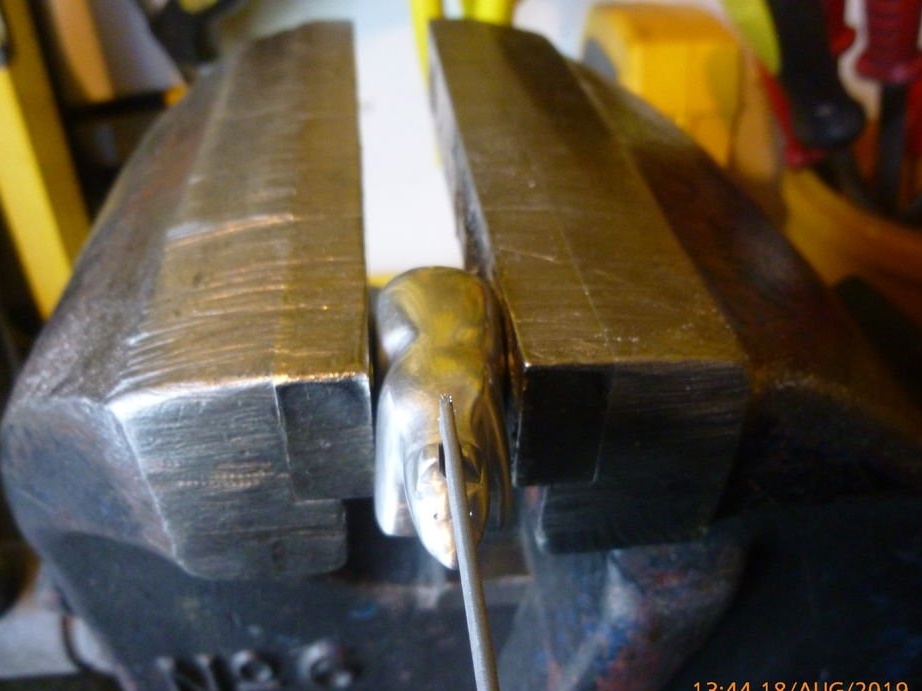
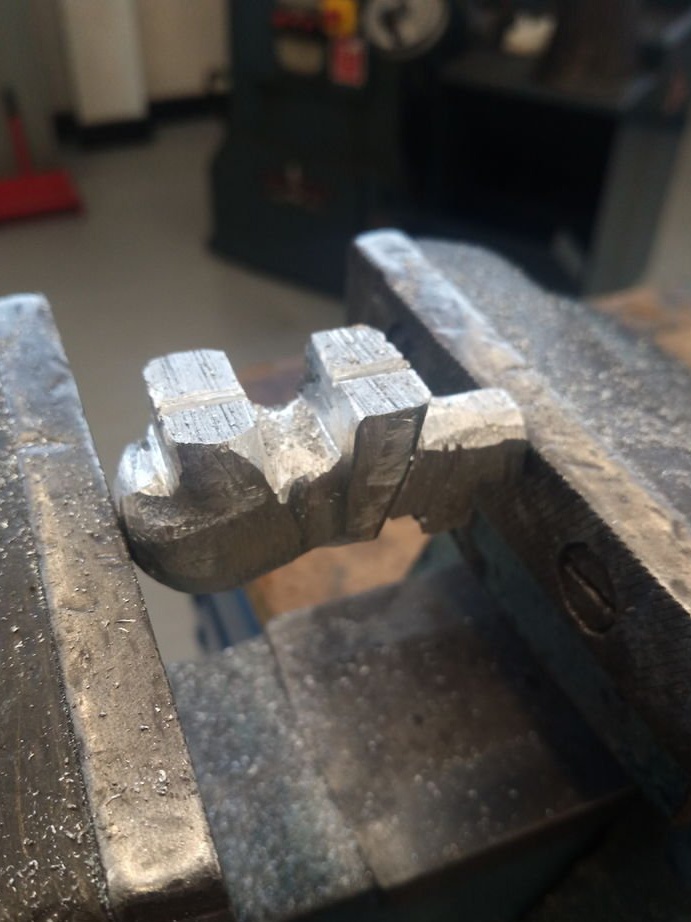
First we need to remove some of the material under the head. The master outlined the form in the image so that it is easier to see the material being removed (shaded). Hold a piece of material upright in a vice and cut it along the bottom of the head (Figure 2). Then rotate the piece of metal about 70 degrees and make another cut. Figure 3 shows the angle of the cut angle. Figure 1 shows what the shape should look like.
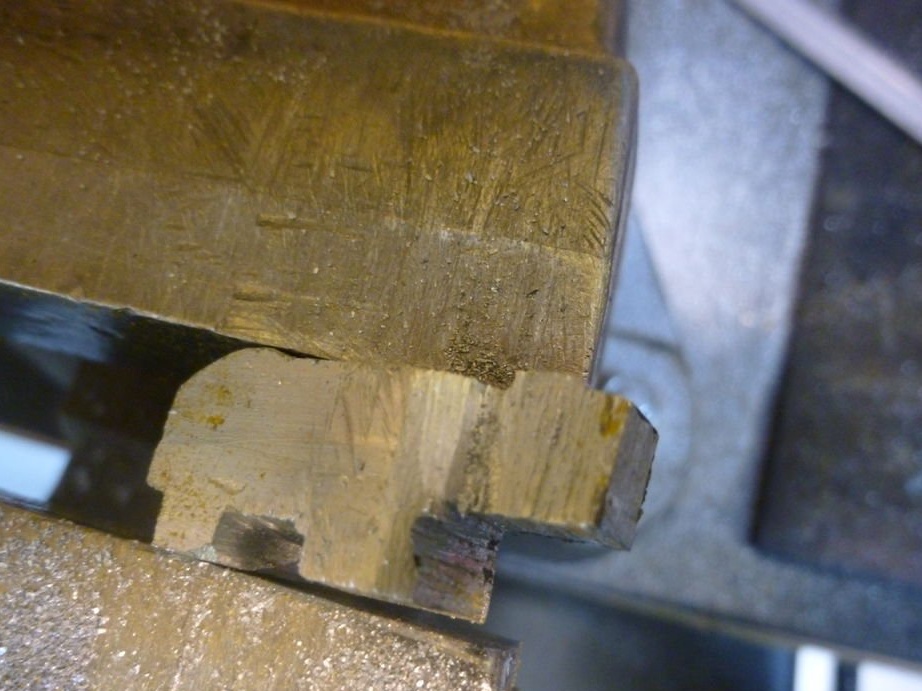
Step Three: Feet
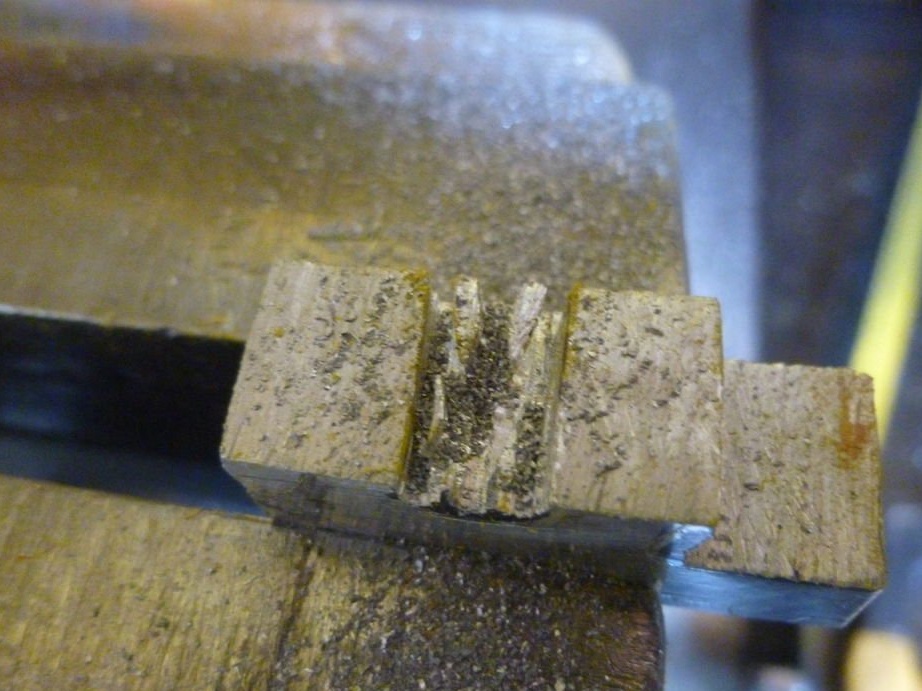
The first part of this step is to remove material near each leg. Then cut as much material as possible by making vertical cuts between the two legs, and then grind off the remaining material using a file. Ultimately, the gap should be completely drained. This will be the belly of the bear.
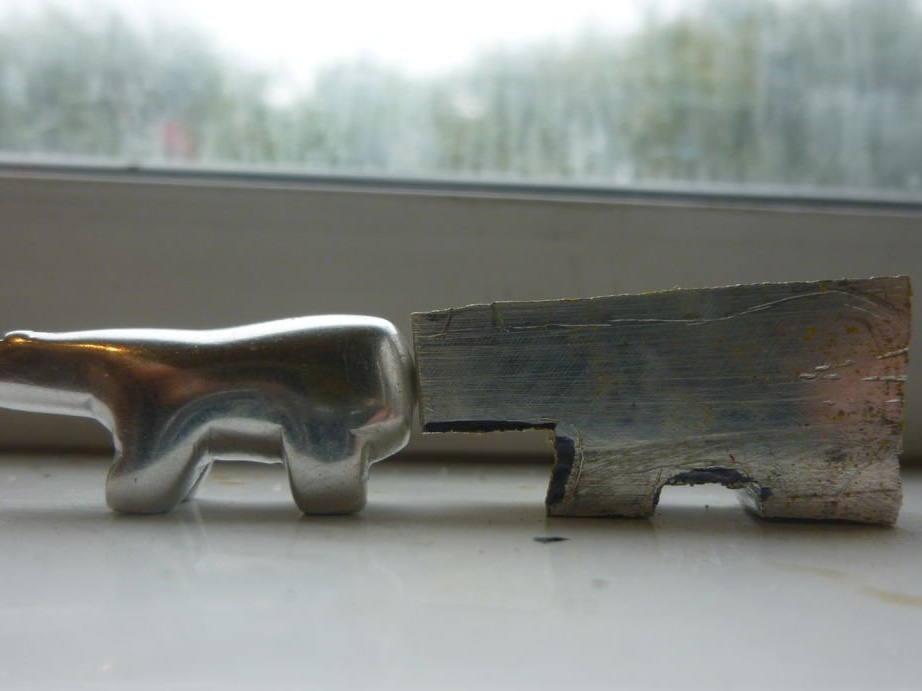
Then trims the outside around the legs.
Step Four: Cropping Your Back
The next step is to remove some of the material on the back (from tail to ears). This will require two cuts, one behind the ears and the other along the entire length of the back. Best done first behind the ears. Set the workpiece vertically in a vice and make a cut. You can make an incision at the same depth in front of the ears. Then rotate it 90 degrees and make a longer cut. File away the material. The section in front of the ears can be cut out by turning the part so that the head is pointing up and making a vertical cut down.
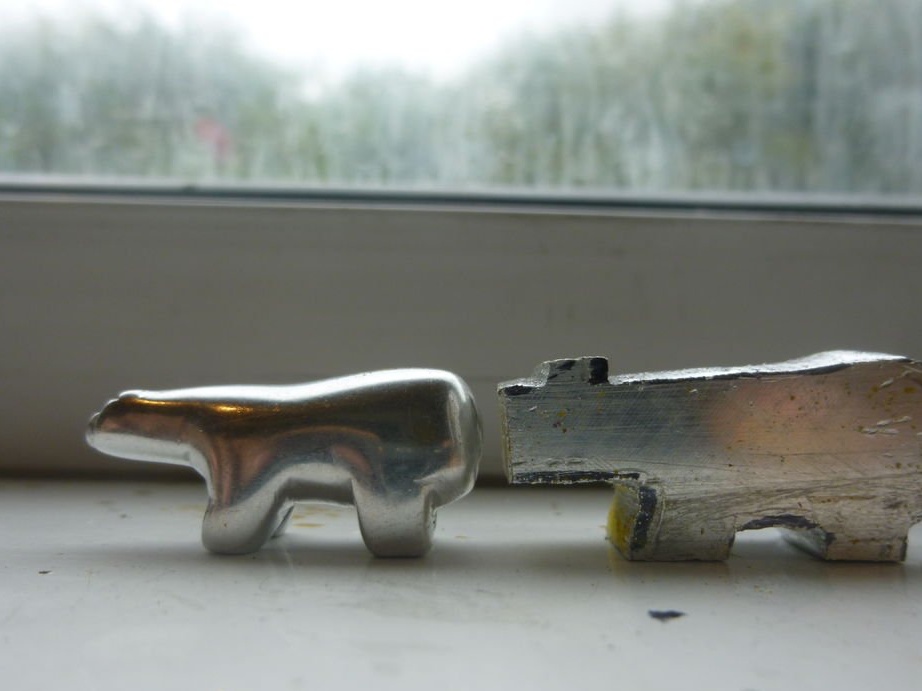
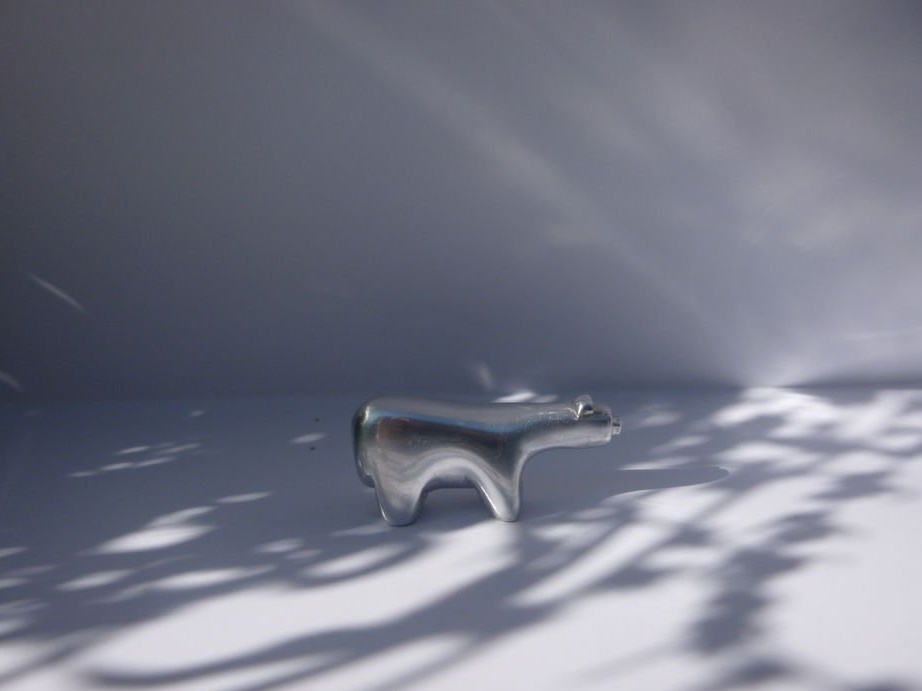
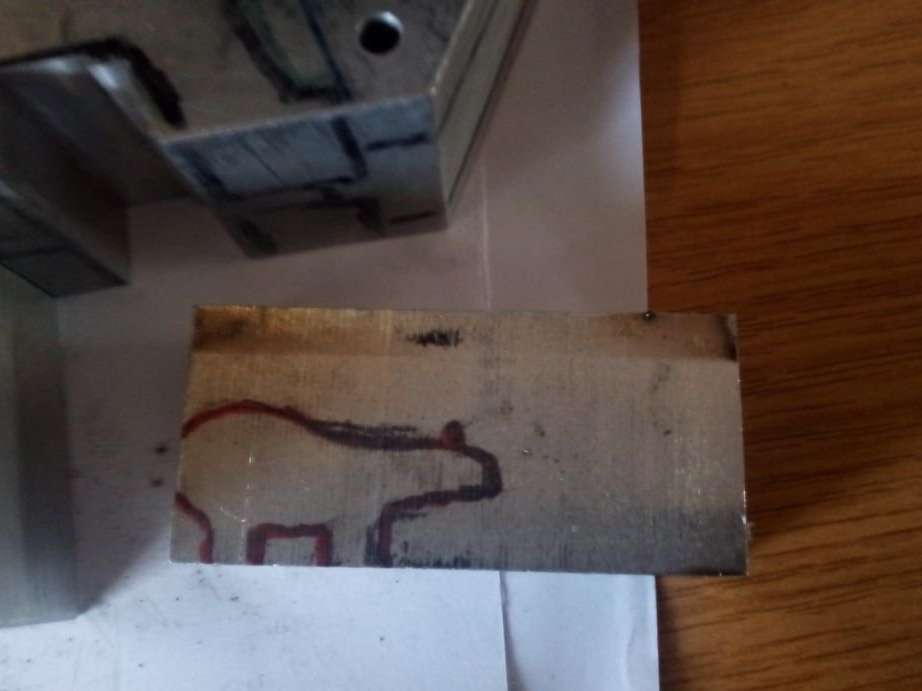
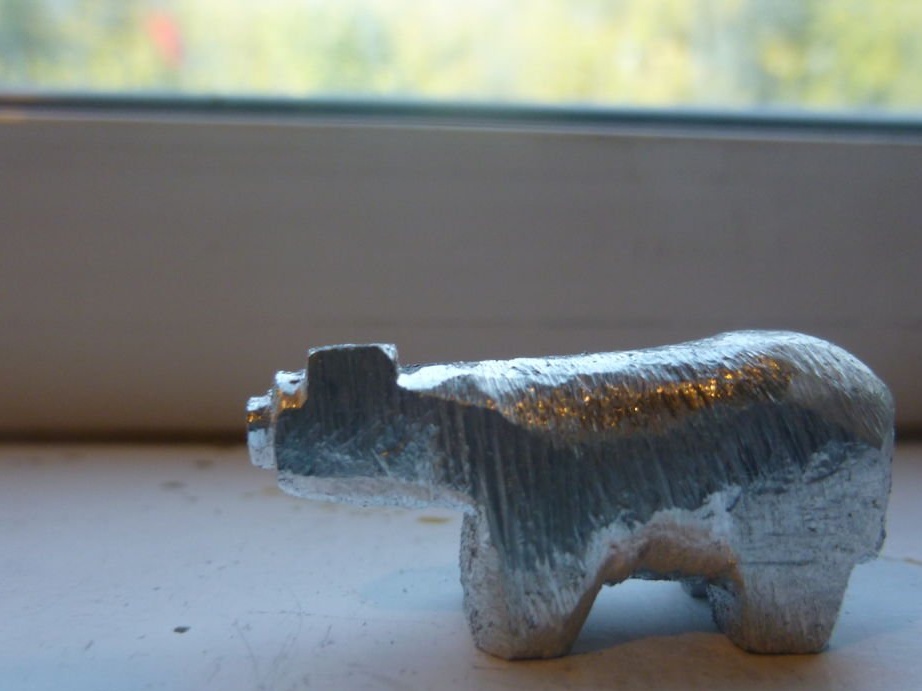
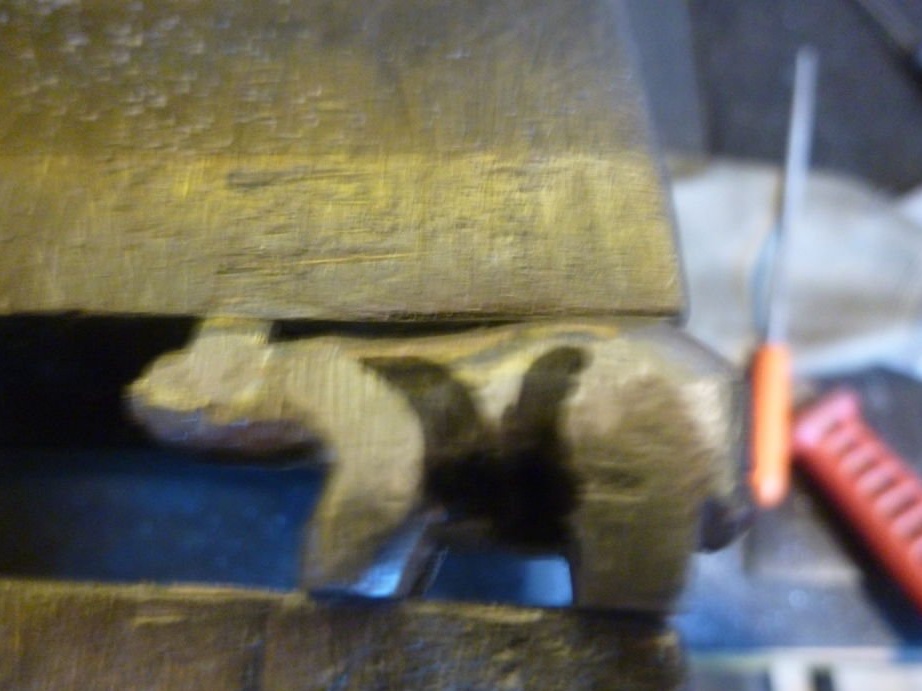
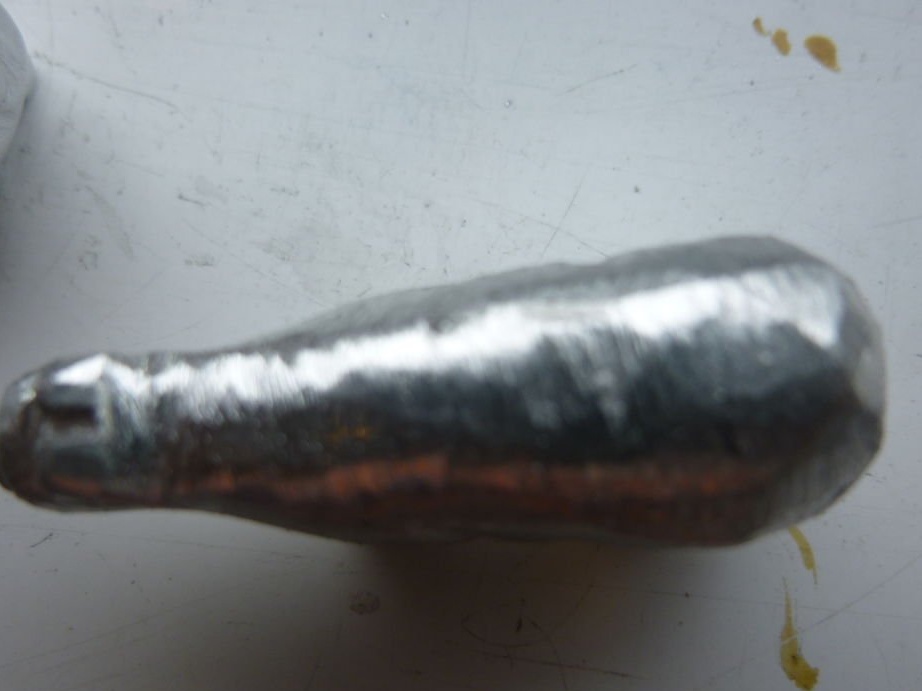
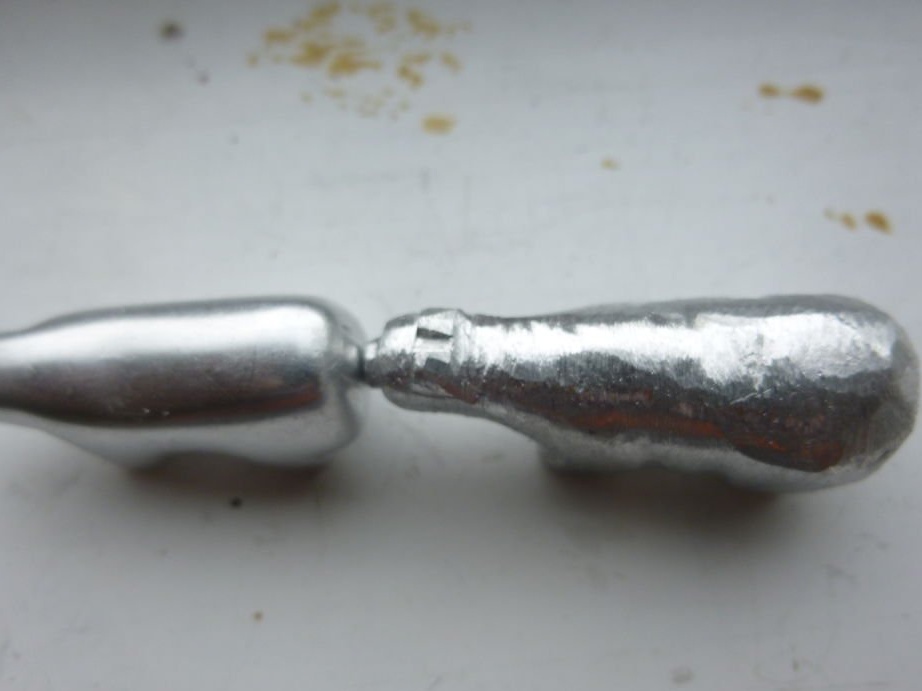
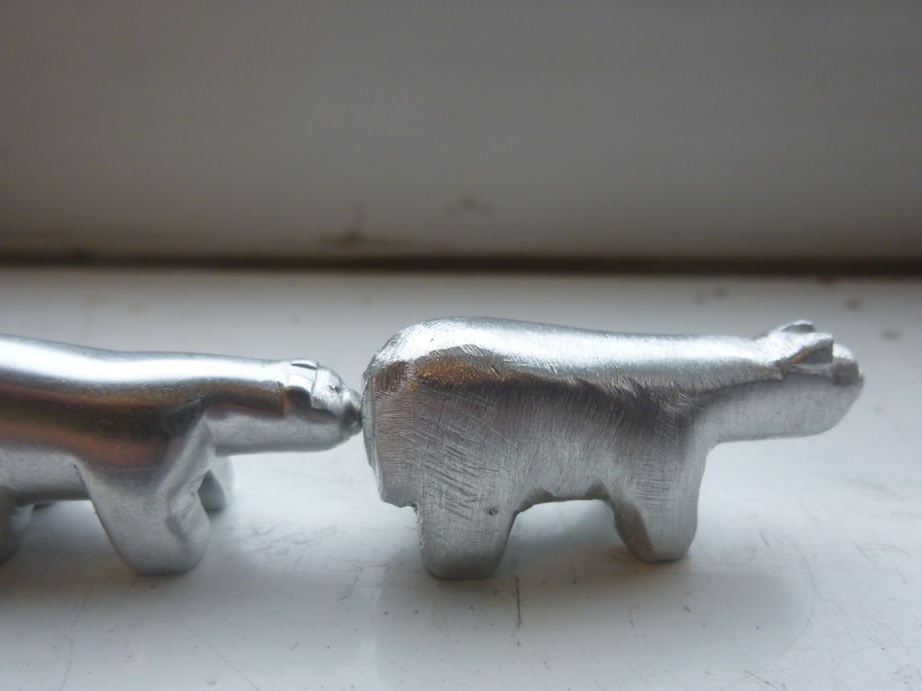
The rough workpiece from the side is ready.
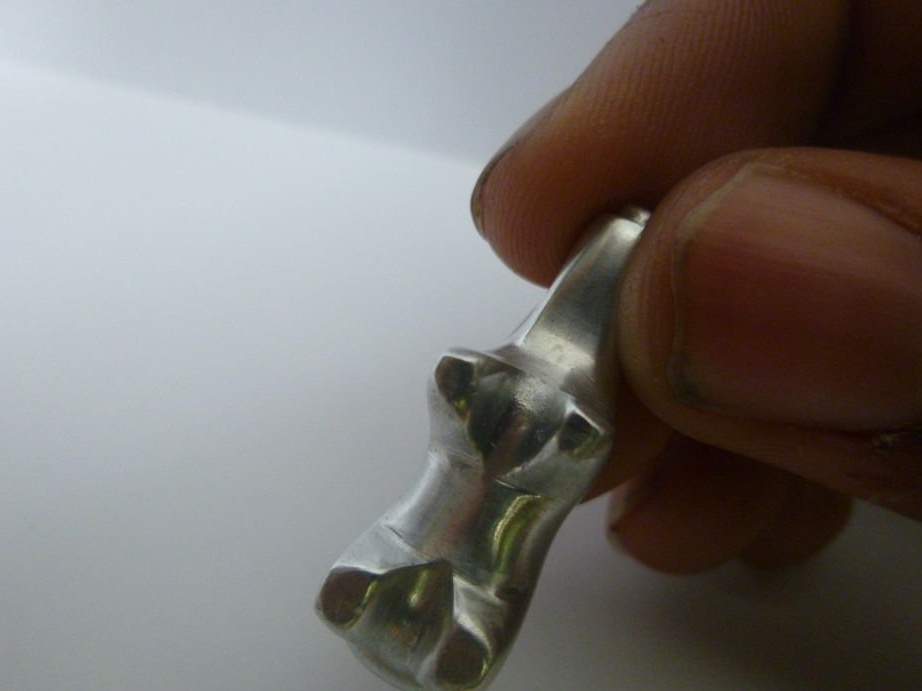
Step Five: Head
Now you need to remove excess material from the side of the head.
The head is thinner than the rest of the body, so we will remove a little less than a third of the total width on each side of the head (in one of the figures the parts shown are painted with a black marker).
Place the workpiece in a vice and cut vertically down on each side. Then rotate it 90 degrees and cut out a piece of material. Rotate it 90 degrees to the other side and do the same on the other side of the head.

Step six: narrowing your shoulders
Next, you need to shape the shoulders and neck.
Seventh step: leg cut
Now you need to make a gap between the legs. The master makes a cut and cuts the metal in the middle of the legs along the body.
Step Eight: Rounding the lower side and back
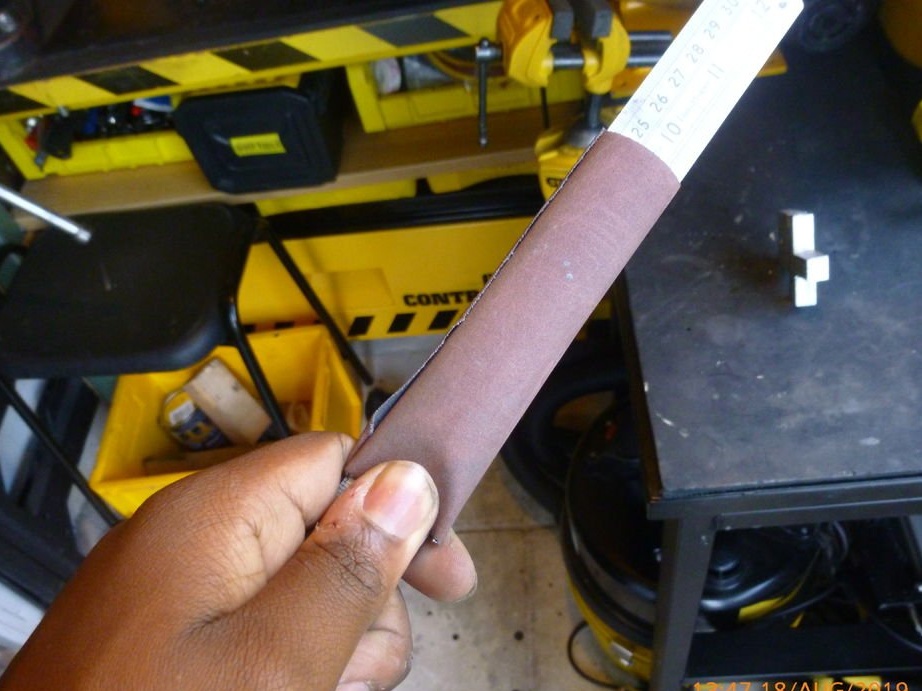
The lower abdomen may be rounded. How this piece is processed will also affect how thick the bear will look. The master likes to make the figure a little thicker than a bear usually looks, but this is a matter of preference. If you do not have a dremel with small grinding discs, it is quite difficult to round the inner edges of the legs. You can use a long strip of sandpaper.

Rounds off the bear’s back.
Step Nine: Tail
To make the tail, place the bear with its back up and feet toward you. Then grind metal on both sides of the tail.

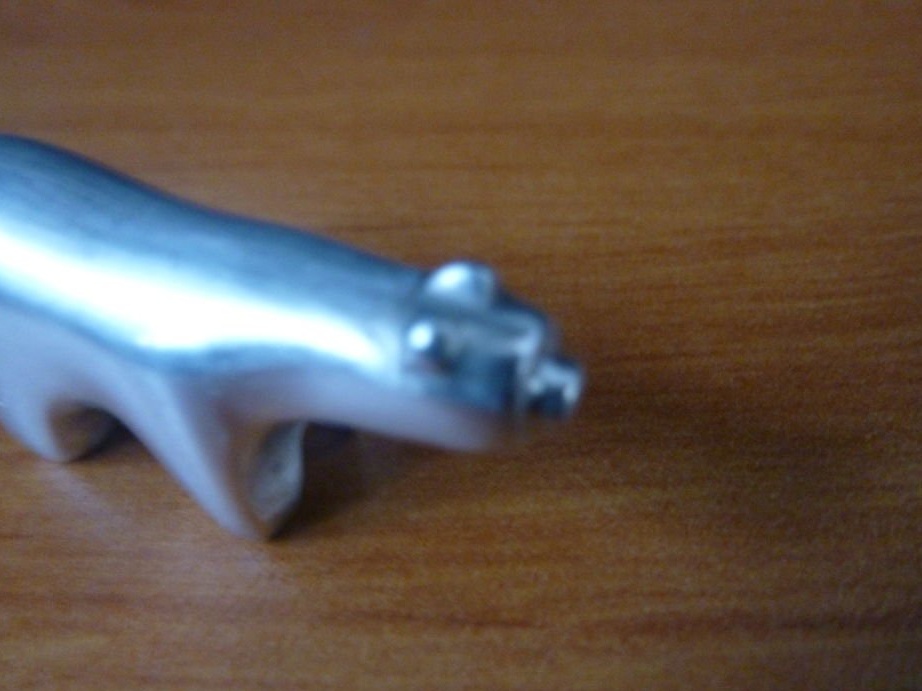
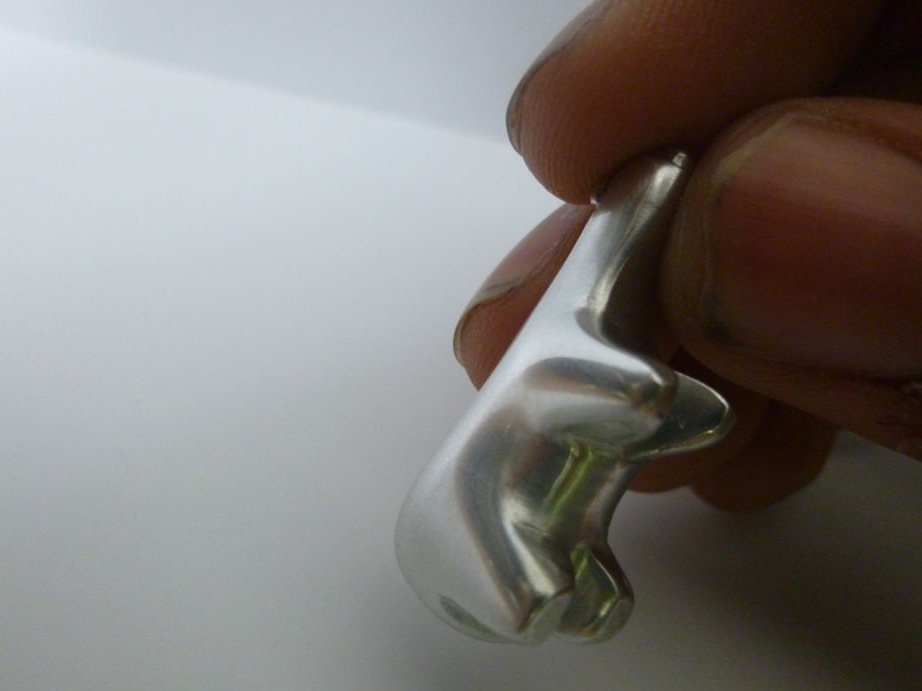
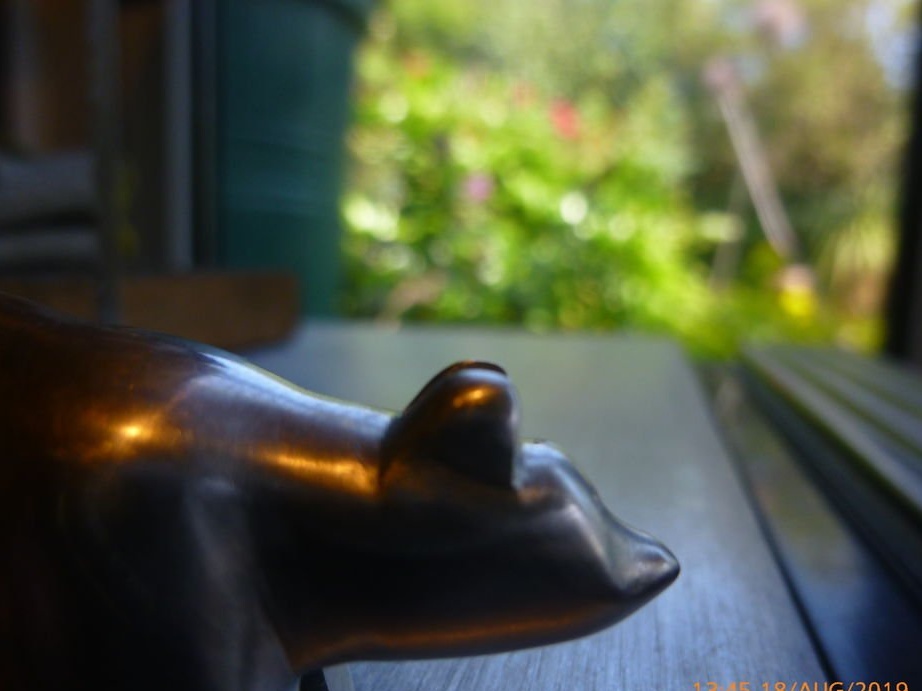
Step Ten: Nose
Fasten the bear head up. Turn the metal around the nose, giving it a round shape.

Step 11: rounding and shaping the sides of the body
Between the front and rear legs makes descents.


Stitches metal around legs.
Step Twelve: Ears
At this step, a triangular profile file will be used. Ears are one of the most uncomfortable parts, so process them slowly. First, fix the bear in a vice so that the head sticks out, on one side. Stitch the metal around the ears to the desired height. Do not round the front of your ears. Grind the front and back edges until the ears are positioned correctly. The back of the ears can be rounded, or you can narrow them so that the ears are triangular. Stitch your ears with a cone. Cut in the middle. Now we got two ears.
Step Thirteen: Grinding
Now you can polish the figure. The master clamps it in a vice, after pasting adhesive tape on the lips, and processes it with a small file.
 ]
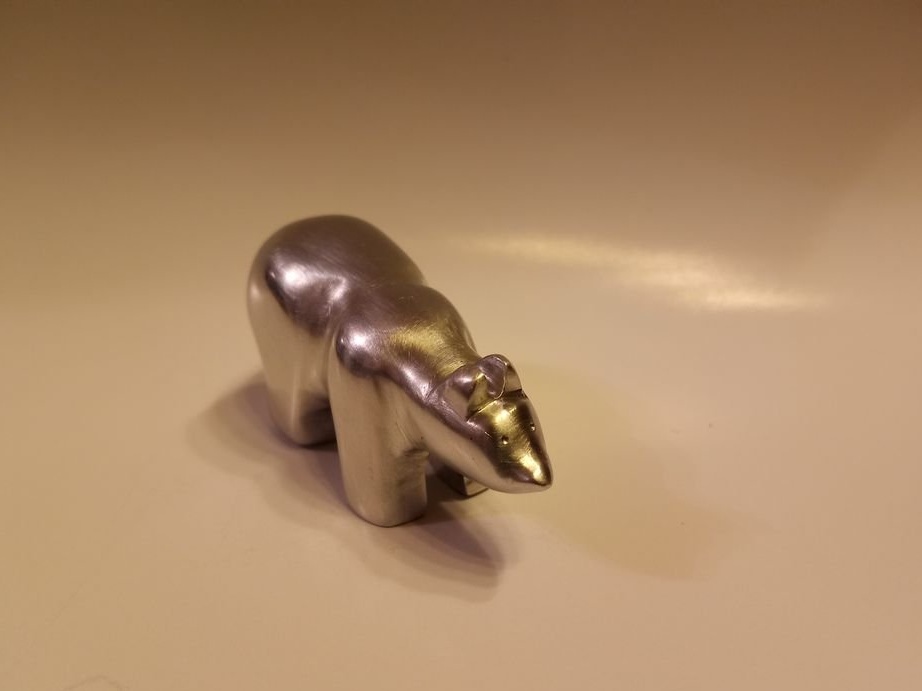
]Now you need to do the eyes. The eyes of the master simply stuffs with a punch. At first a little outlines, and then, if the location is correct, it fills completely.
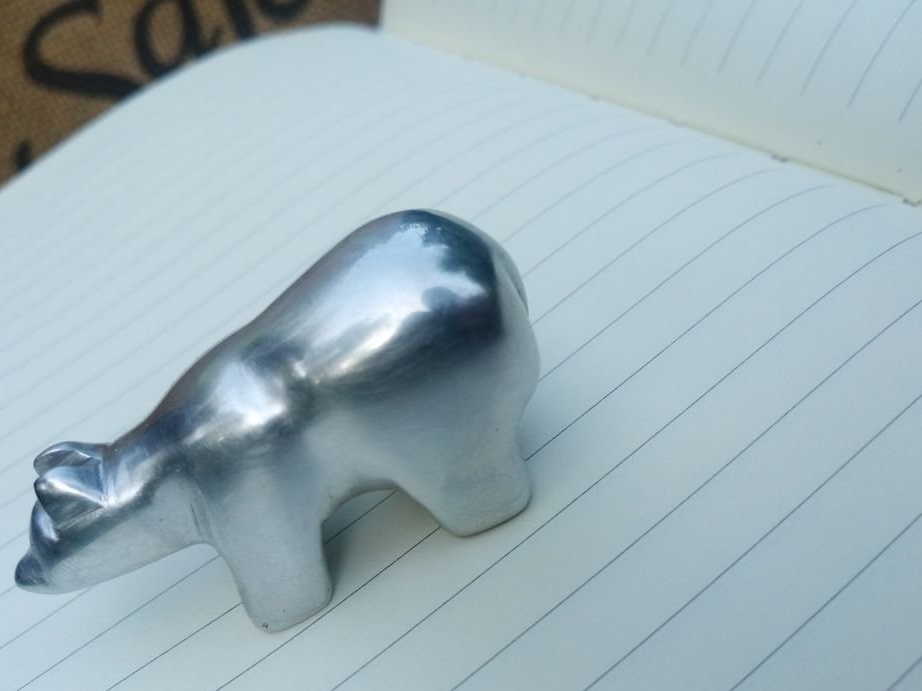
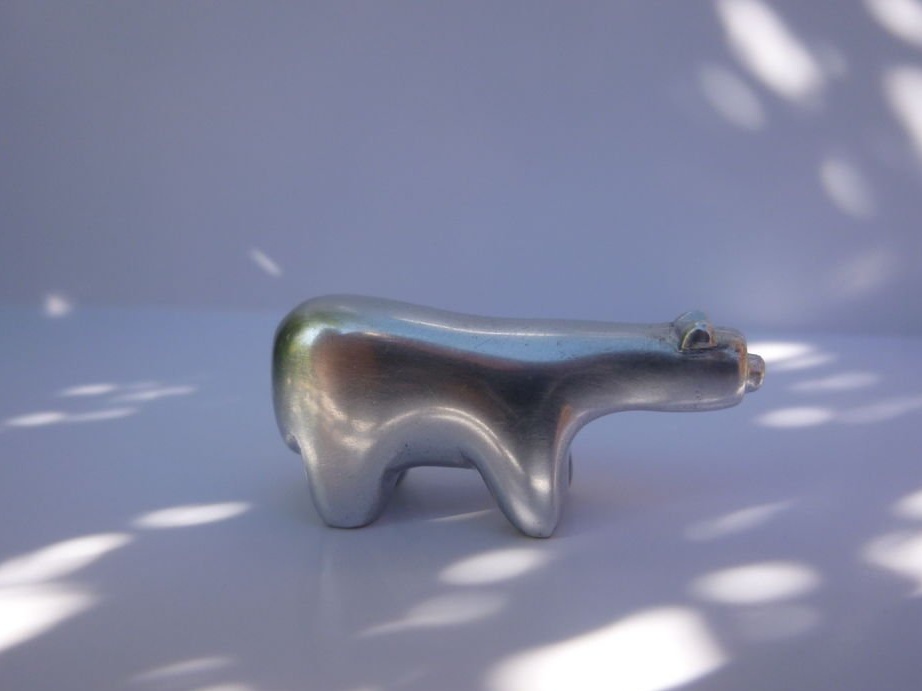
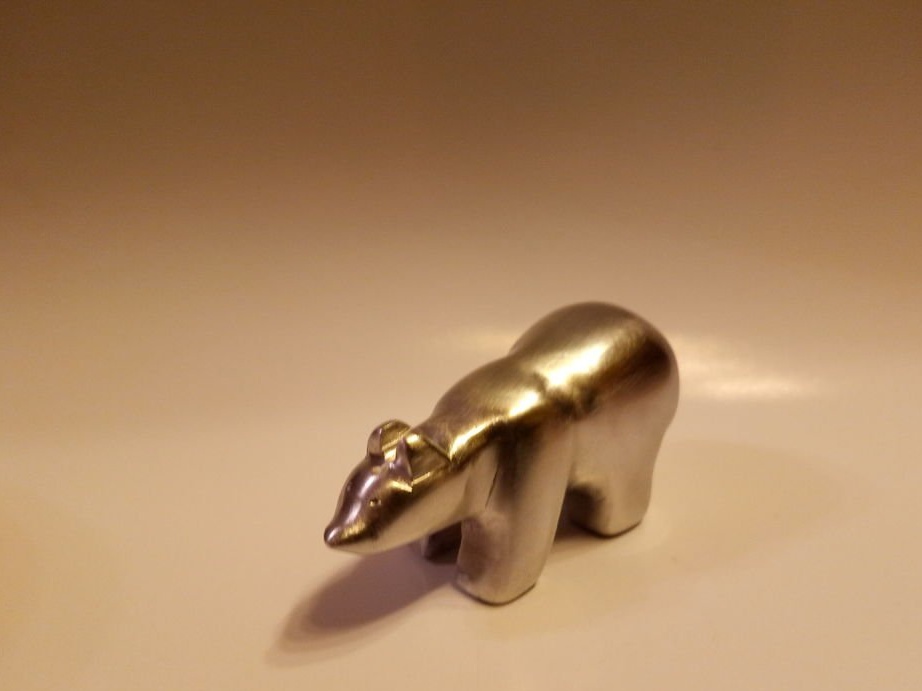
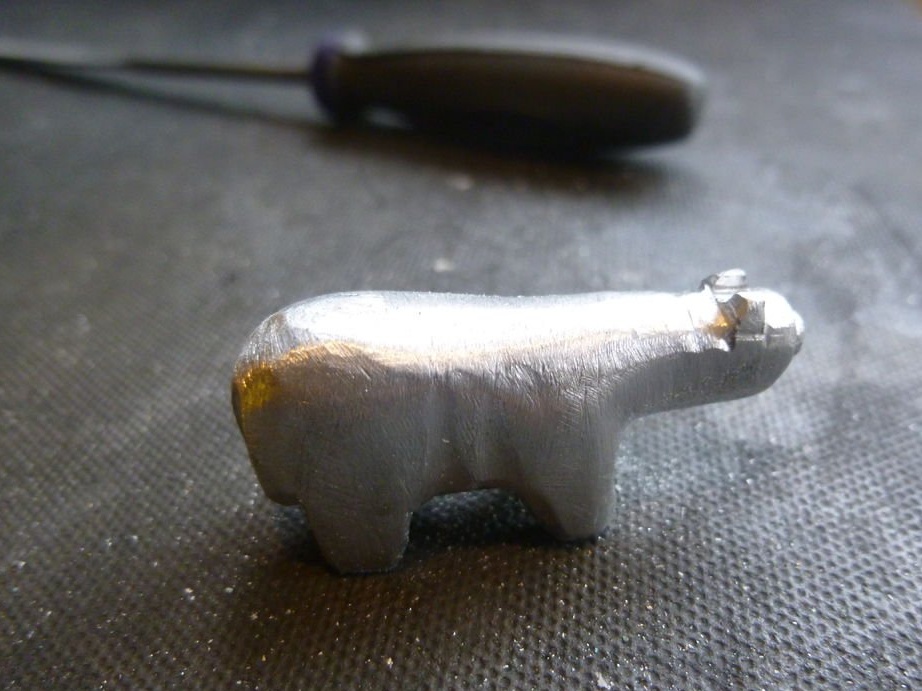
Grinds further with sandpaper, gradually lowering the grain size. After polishing, it polishes the figure.
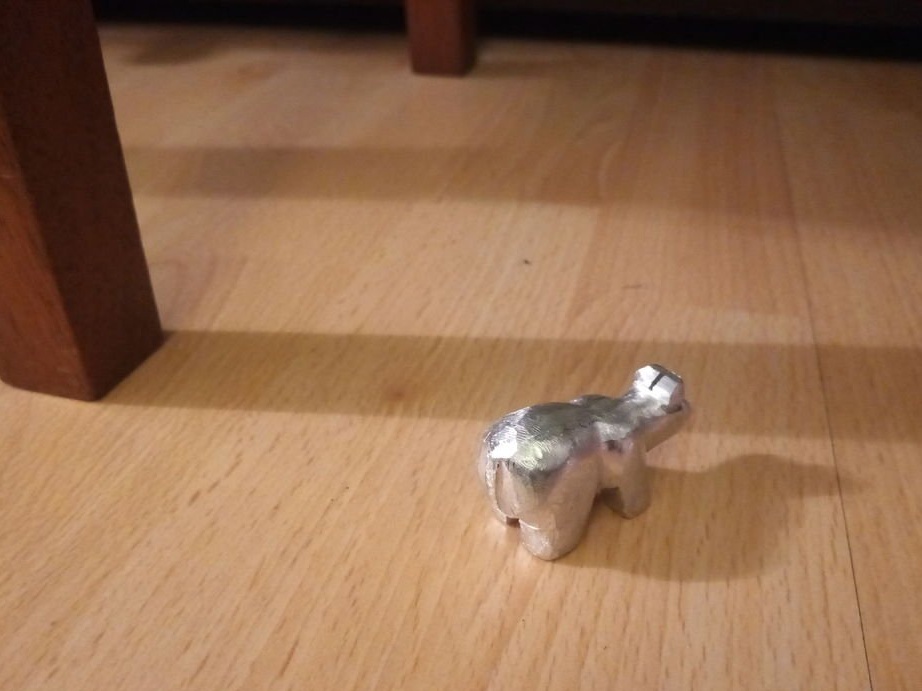
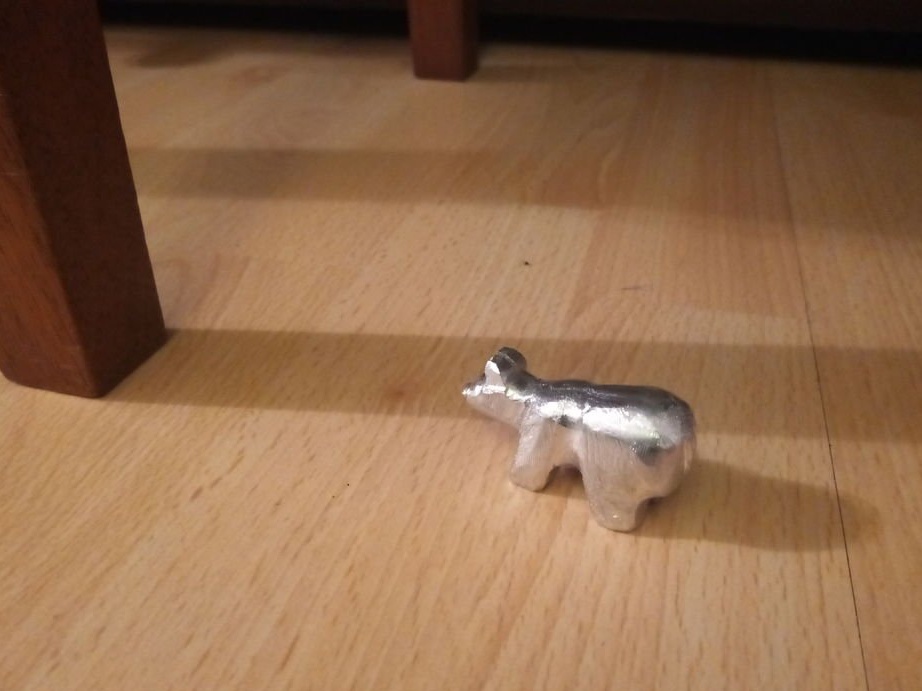
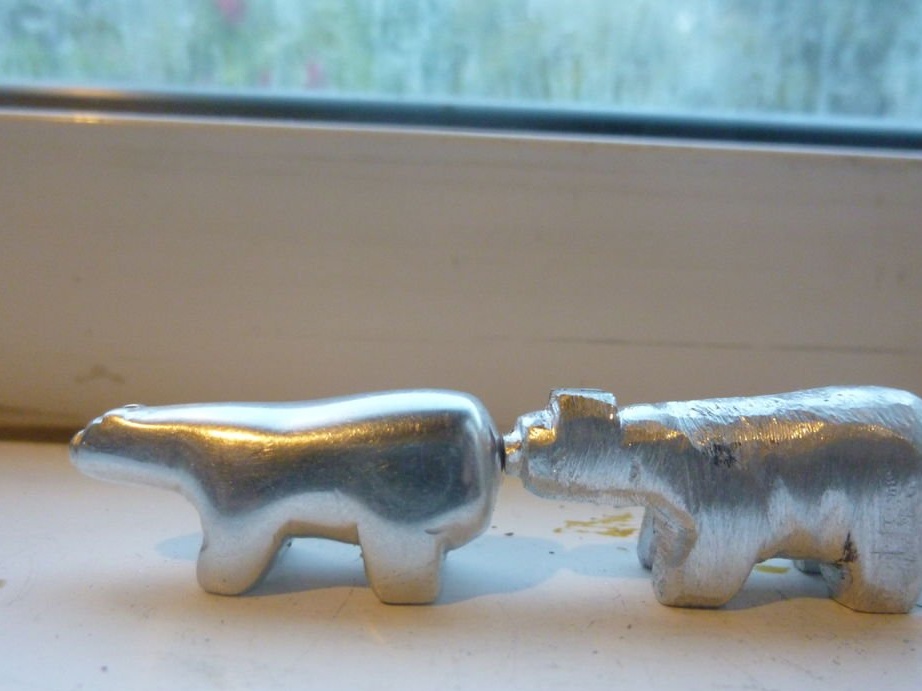
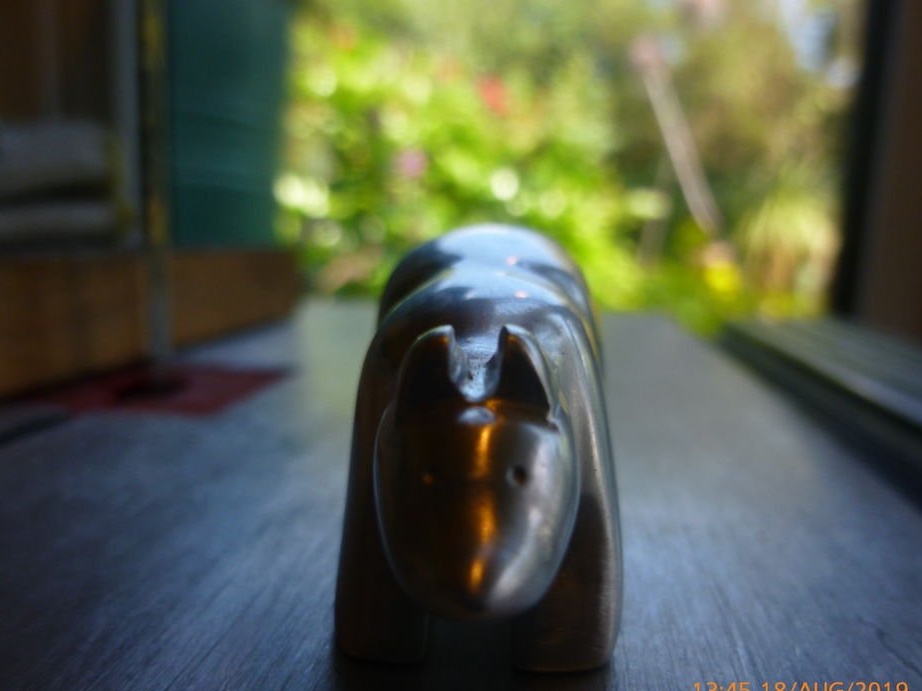
Everything is ready, your child will be delighted. Especially if you, for the manufacture of Umka, attract him.