
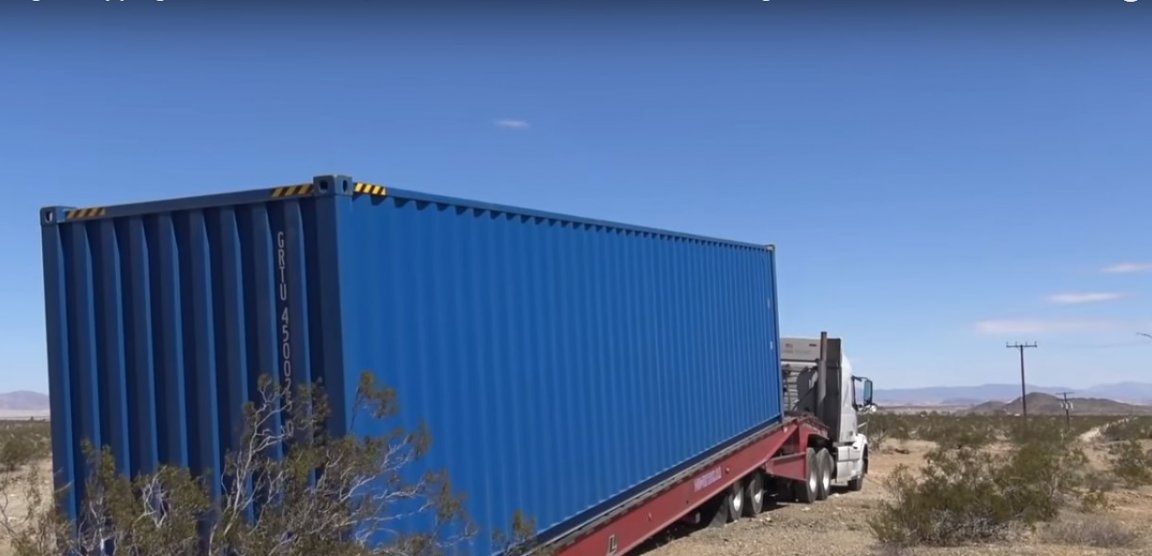
Lately construction houses from shipping containers is gaining popularity. The average cost of a 40-foot container (12m x 2.5m x 2.9m) is $ 2,000-3,000 anywhere in the world. They are extremely durable and can withstand heavy weight. In seaports, such containers are stacked on top of each other in several pieces and even this does not lead to their deformation. It is with its strength and durability, as well as its relative cheapness, that freight containers have gained popularity among those who want to acquire housing in a short time.
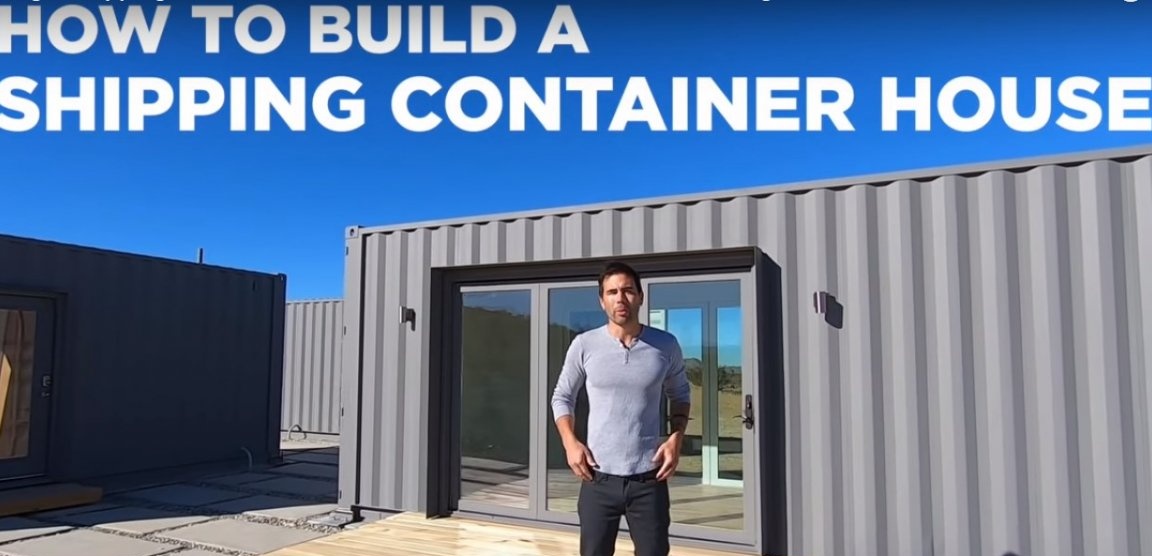
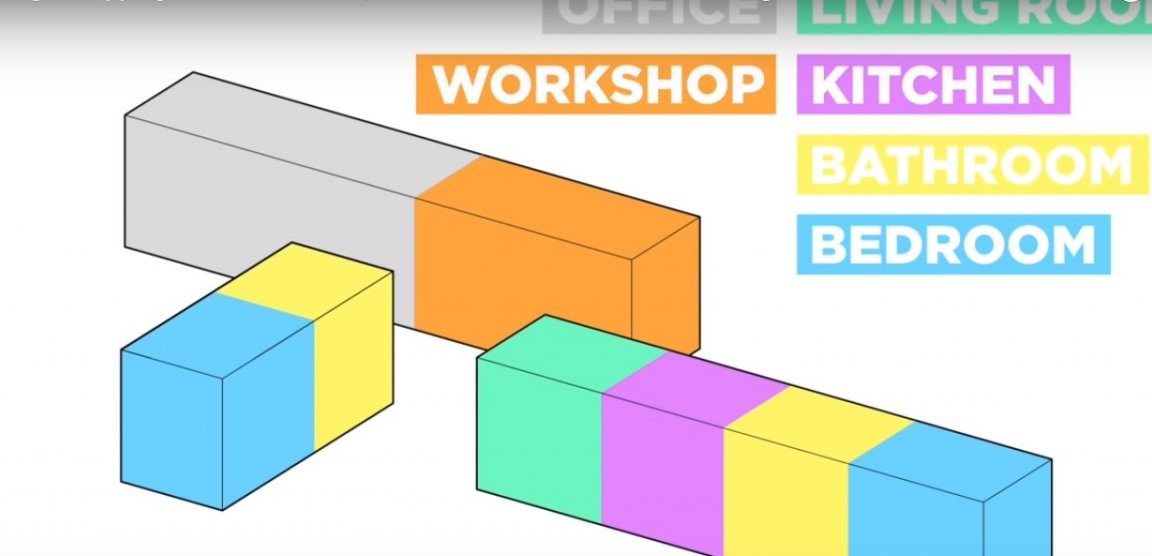
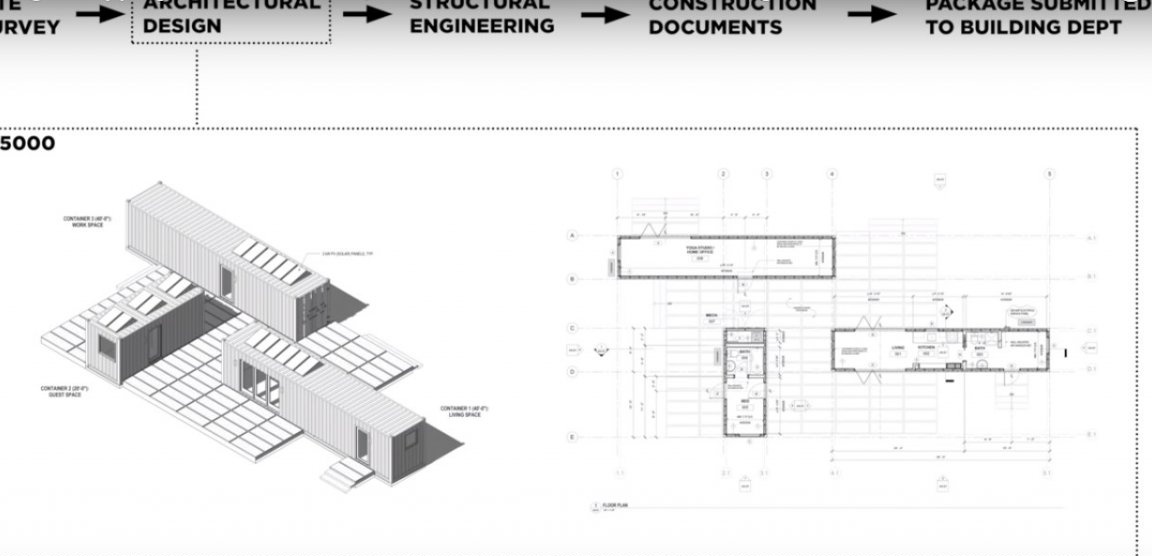
The author explains in detail how he built a container house in California. His "house" consists of 3 rooms-containers. Each container serves its purpose and replaces it with a full-fledged housing and even an office. In addition, a guest house with a bathroom is provided on the territory, under which a 20-foot container, 6 m long, will be converted.
In the first part of this article, you will learn how to prepare a site for building a house from containers, build a strip foundation and equip the house with window and doorways.
Materials:
- two 40-foot and one 20-foot freight containers;
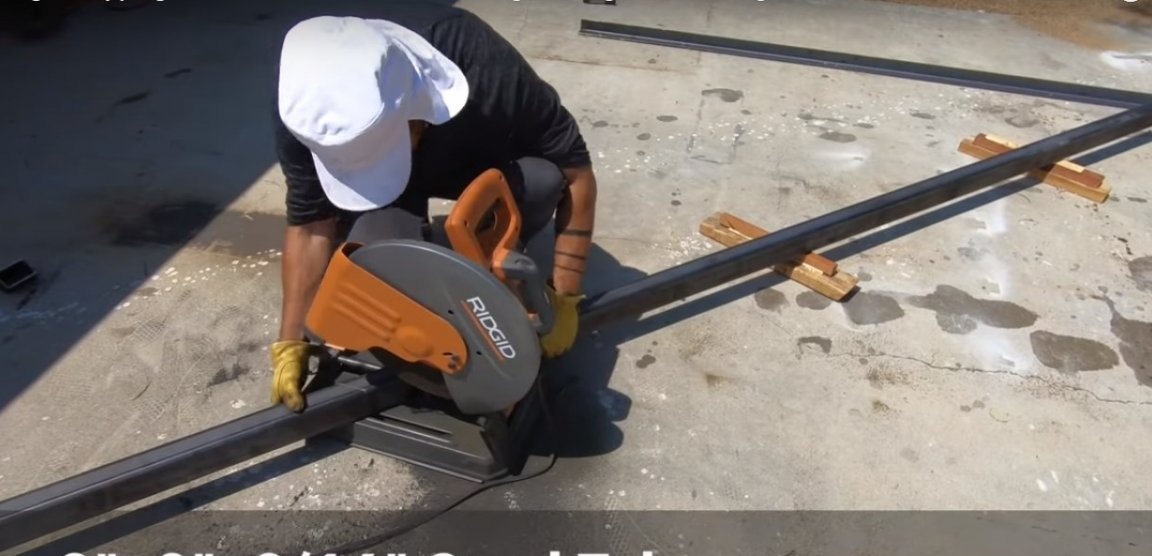
- a metal pipe of a square profile for the manufacture of window boxes;
- a metal corner for the manufacture of door frames;
- a metal plate with a width of 100 and 150 mm;
- ready-made concrete for pouring the foundation or cement, sand and aggregate;
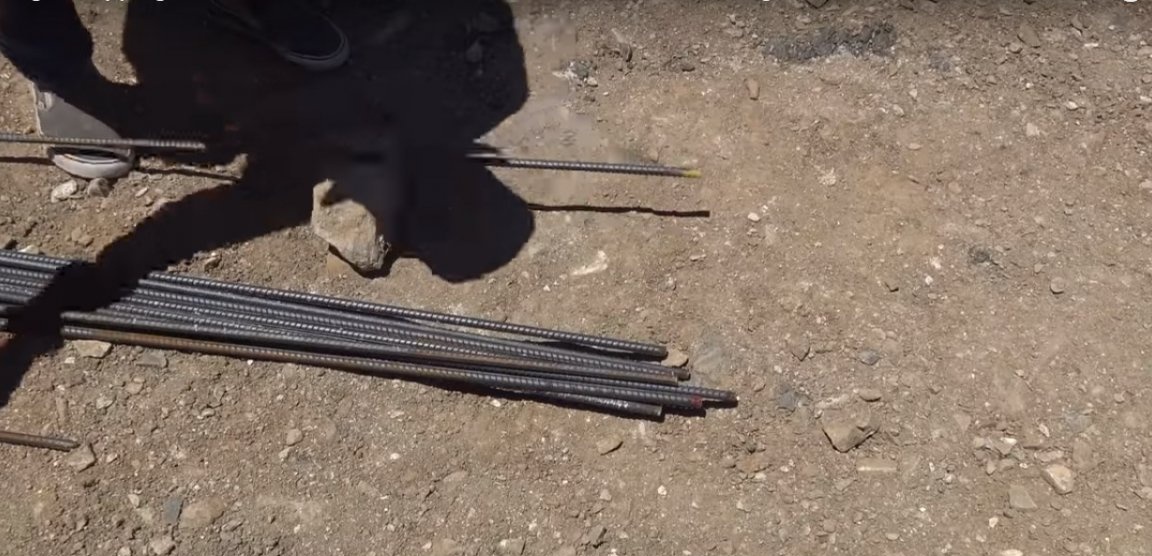
- reinforcement for reinforcing the foundation;
- doors, windows;
- pipes and fittings for water supply and sewerage.
Instruments:
- grinder;
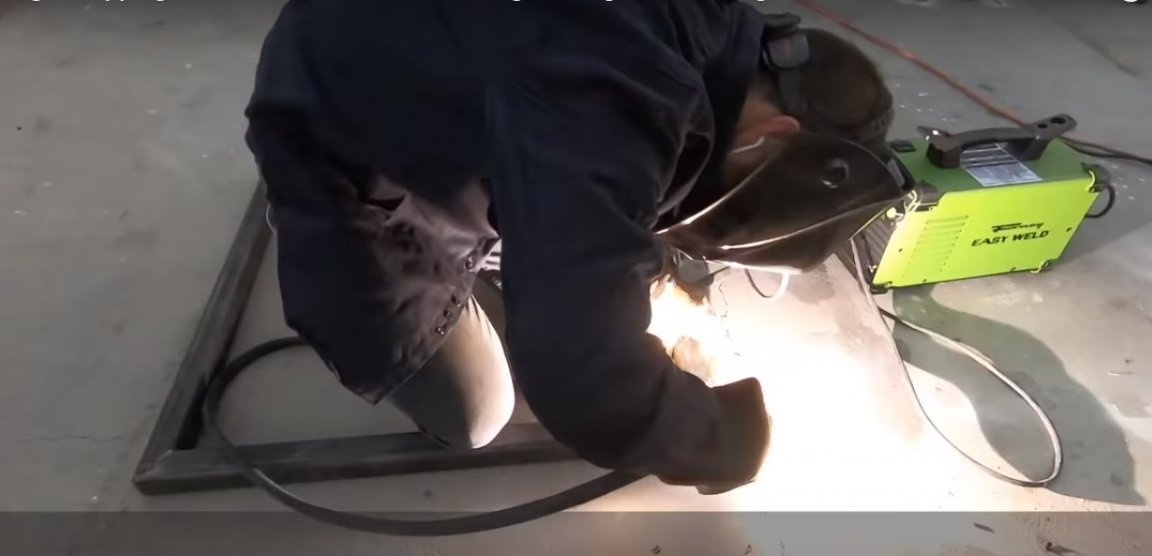
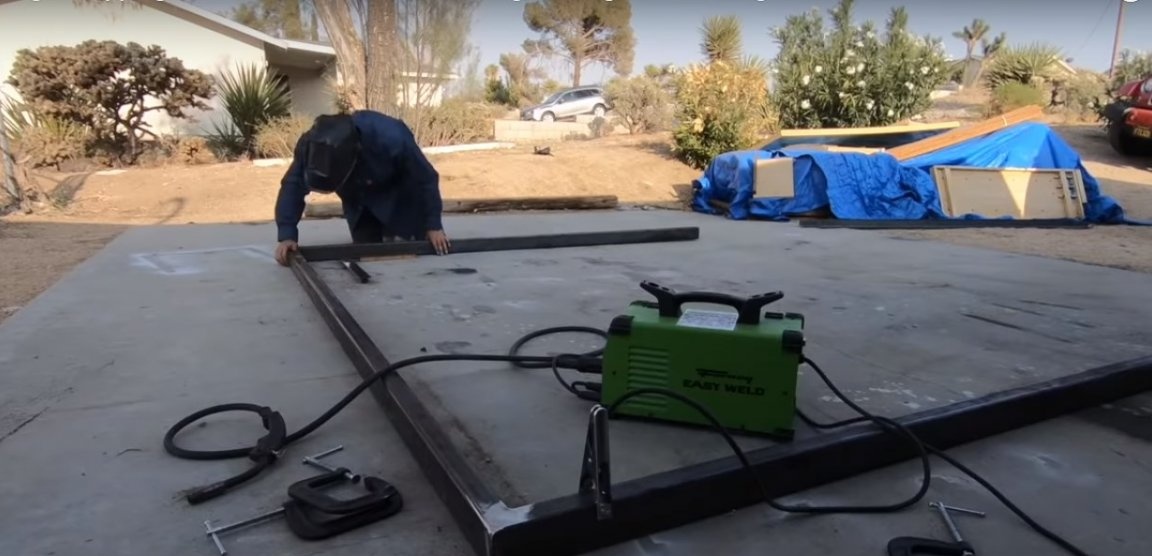
- welding machine;
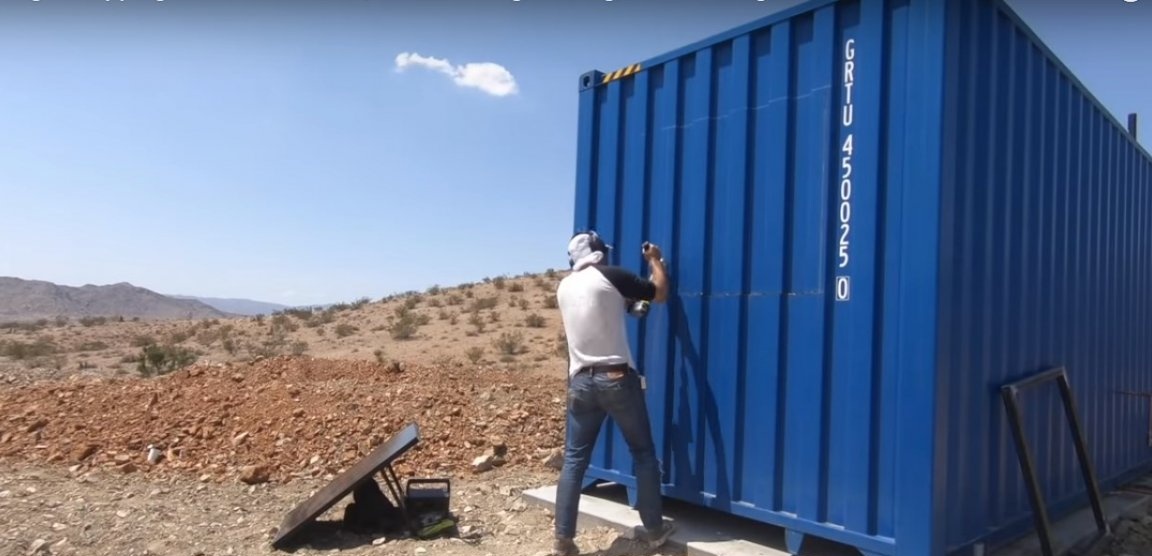
- a solar battery and a generator to ensure the operation of power tools in the absence of a central power supply;
- drill;
- screwdriver;
- a grinder, circles and nozzles for working with metal;
- vice, clamps;
- a concrete mixer, if concrete is made independently.
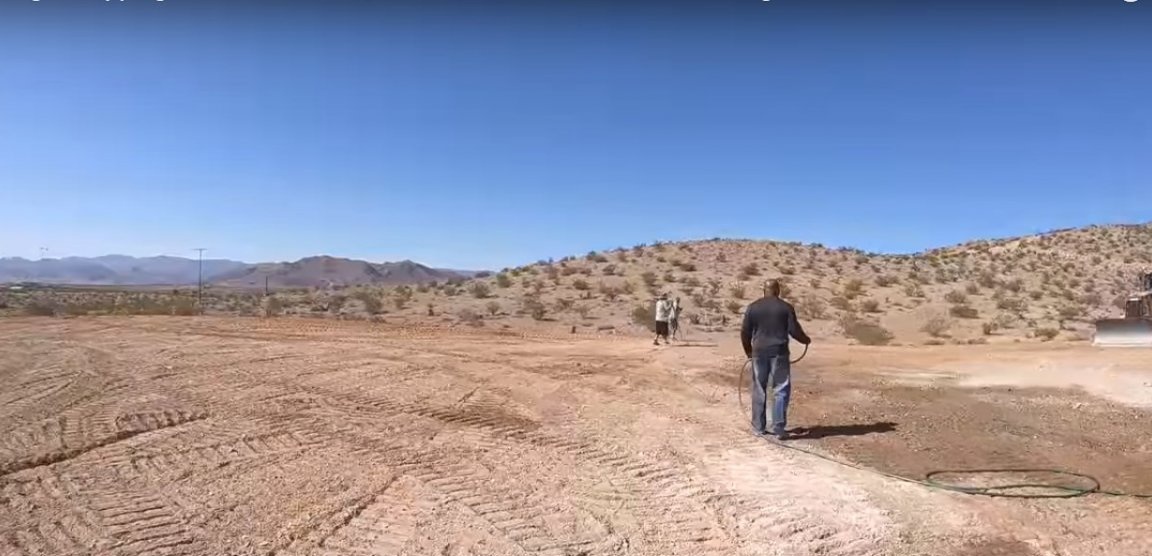
Step One: Site Preparation
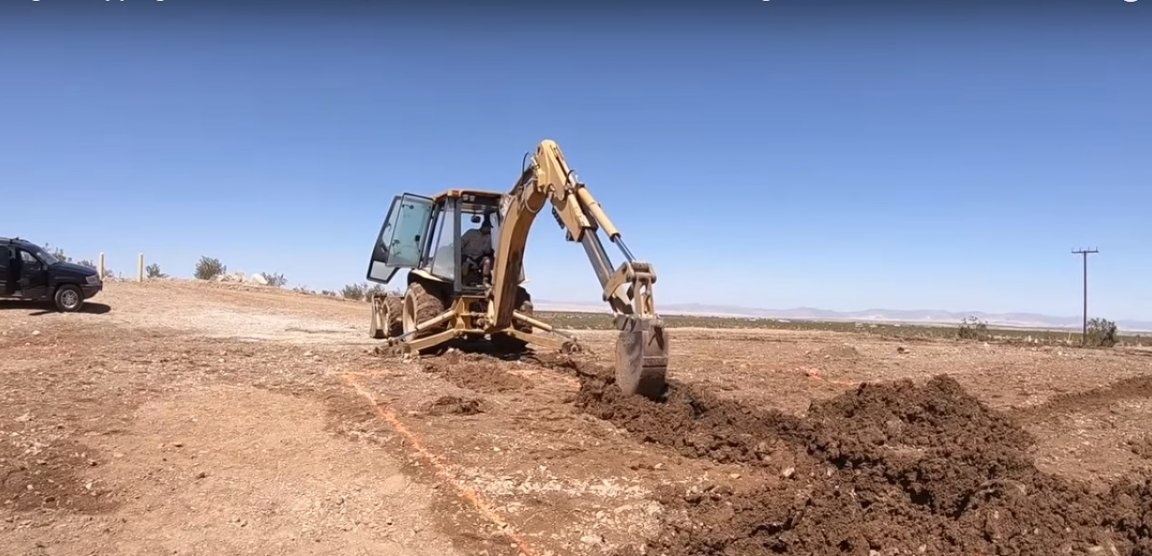
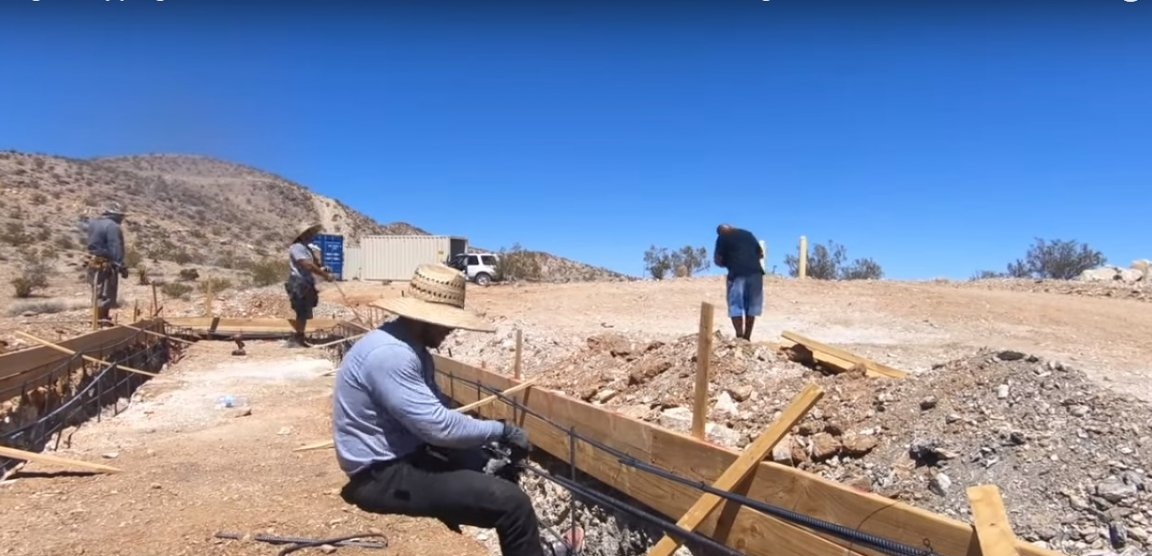
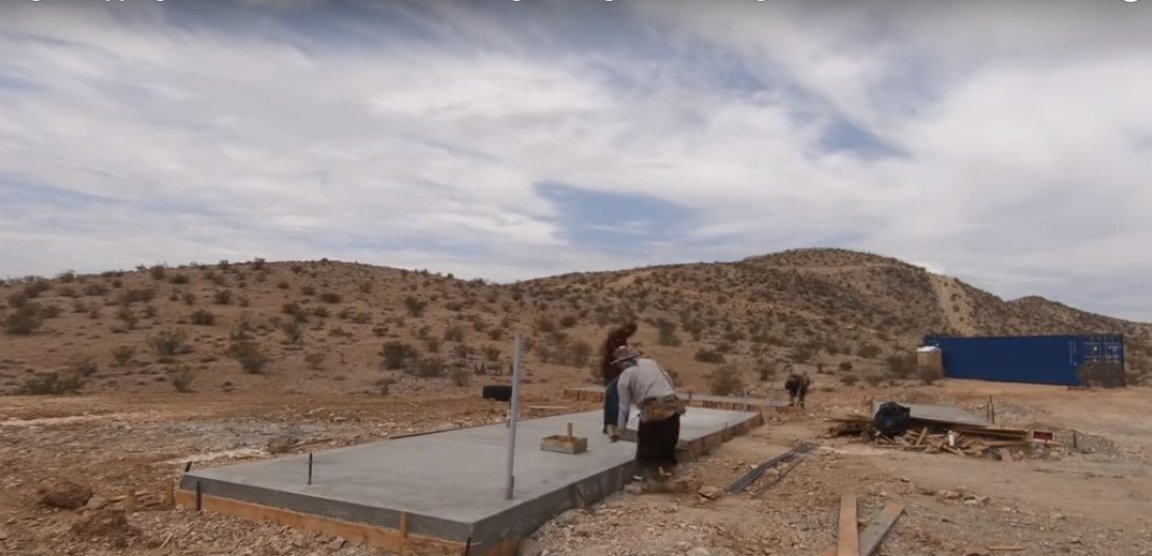
In this project, the area on which the courtyard will be located should be perfectly flat. To do this, a bulldozer worked, after which the site was leveled manually, using water to compact the soil and a hand tool.
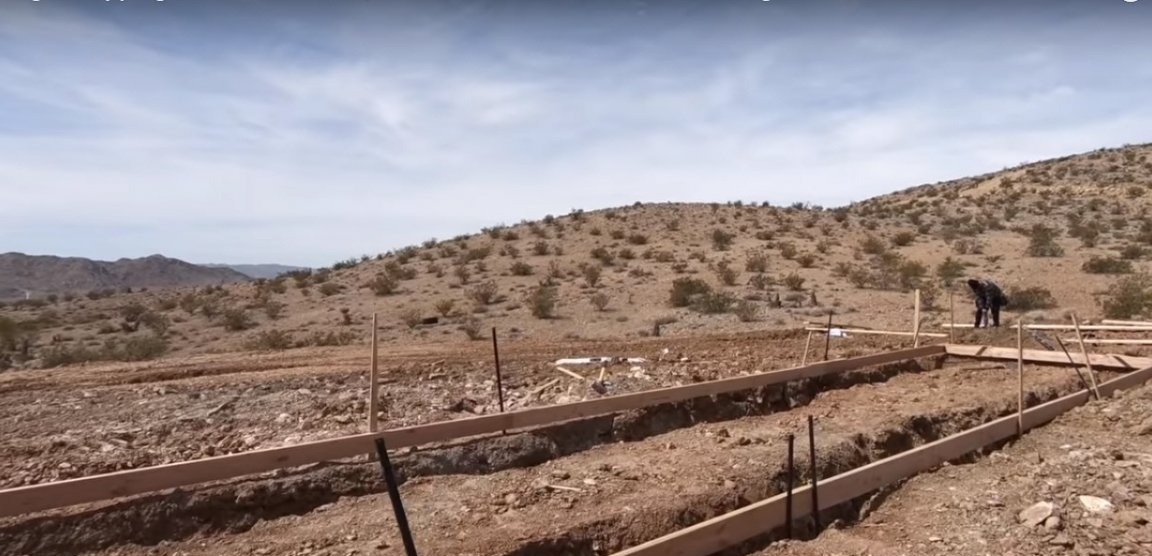
The engineers involved in the project strongly recommended the construction of a solid monolithic foundation. However, for the sake of saving money and time, we settled on the option with a strip foundation with a low fill in the center.
 / center]
[center]

Step two: pouring the foundation and installing containers
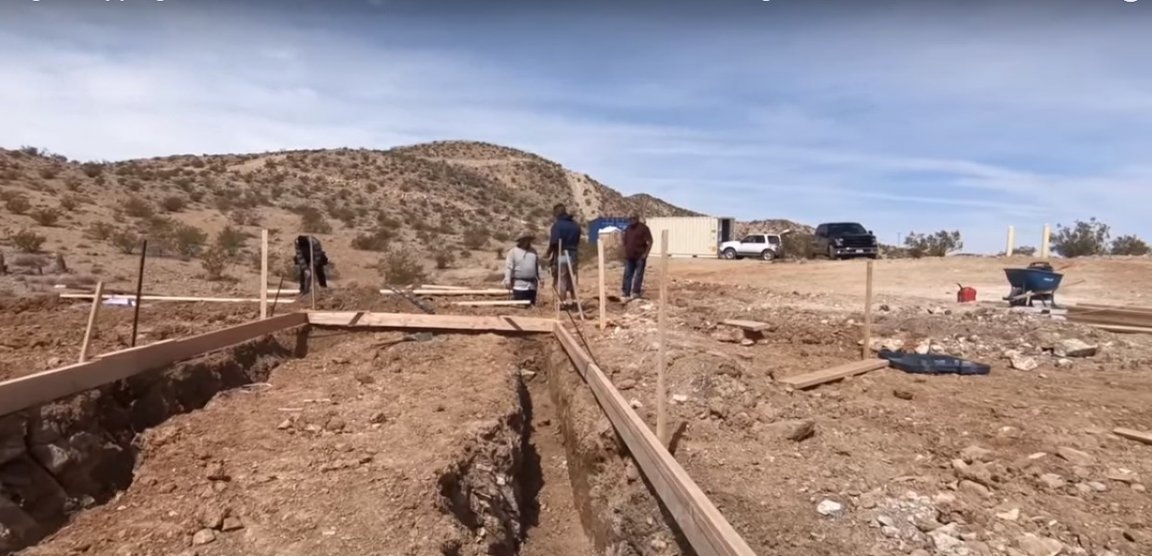
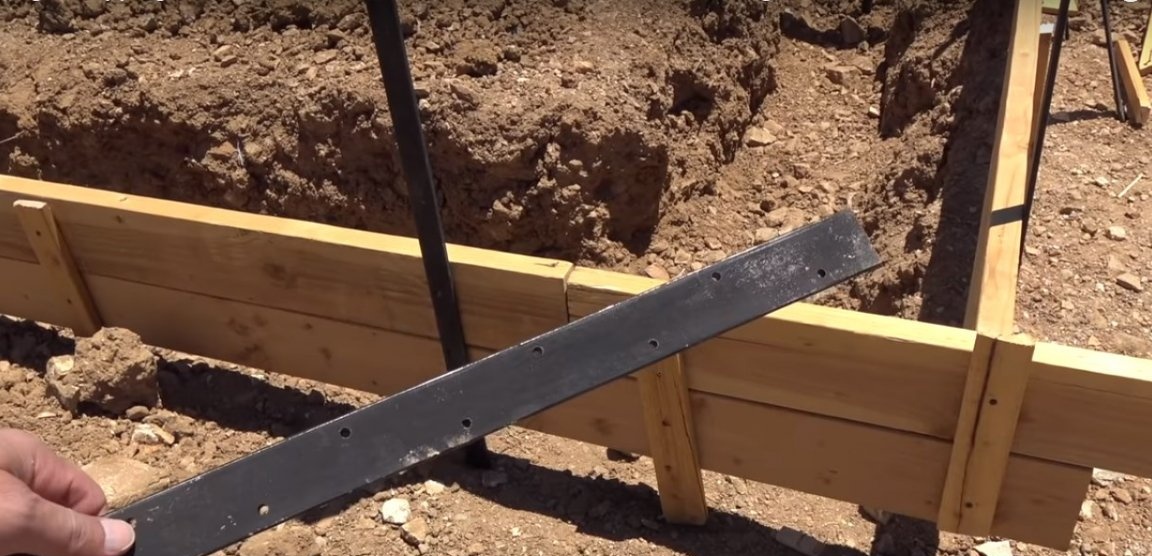
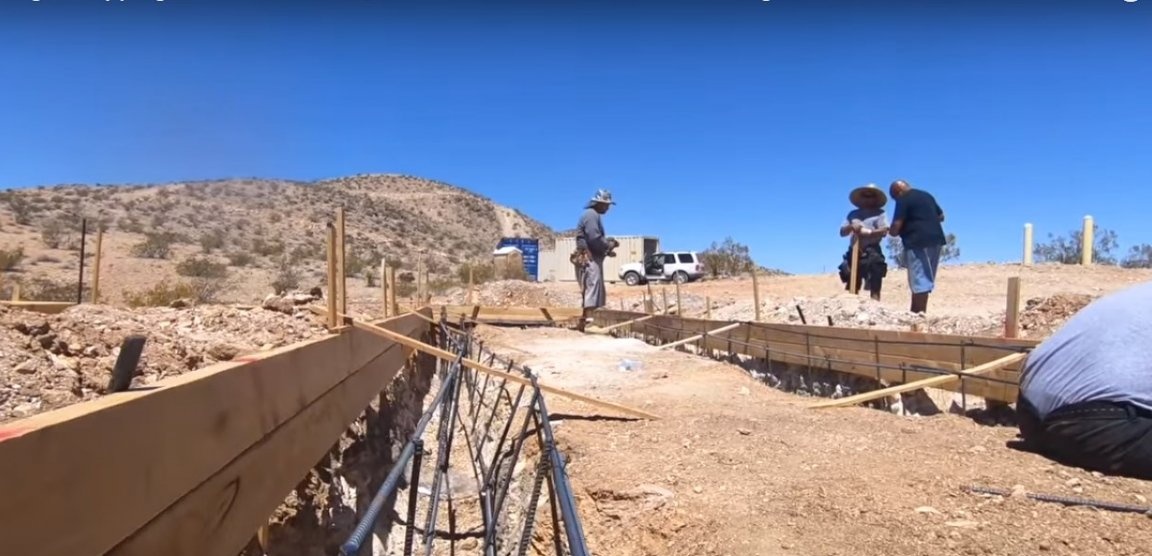
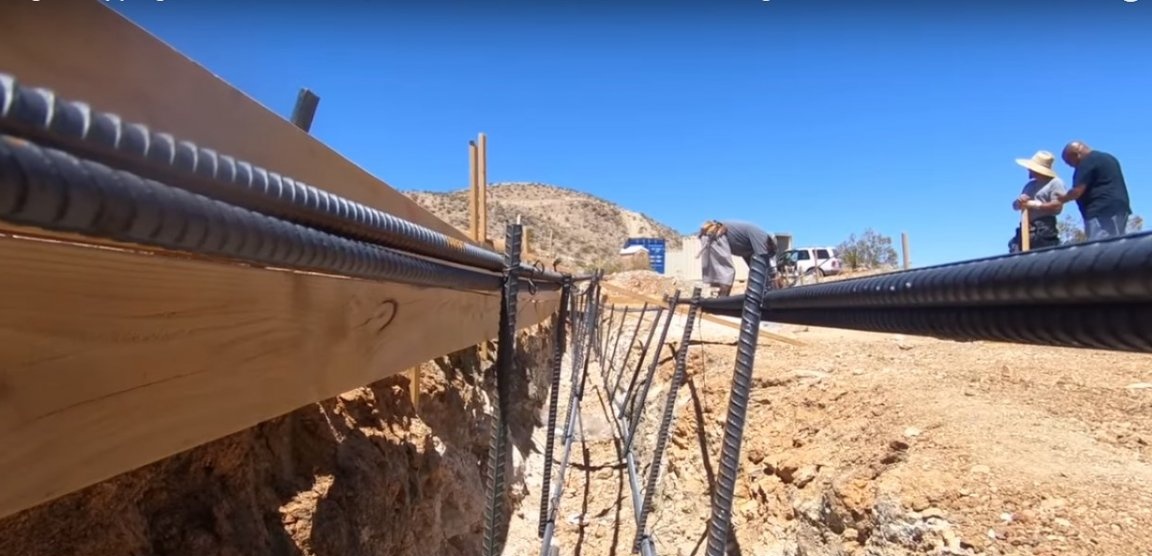
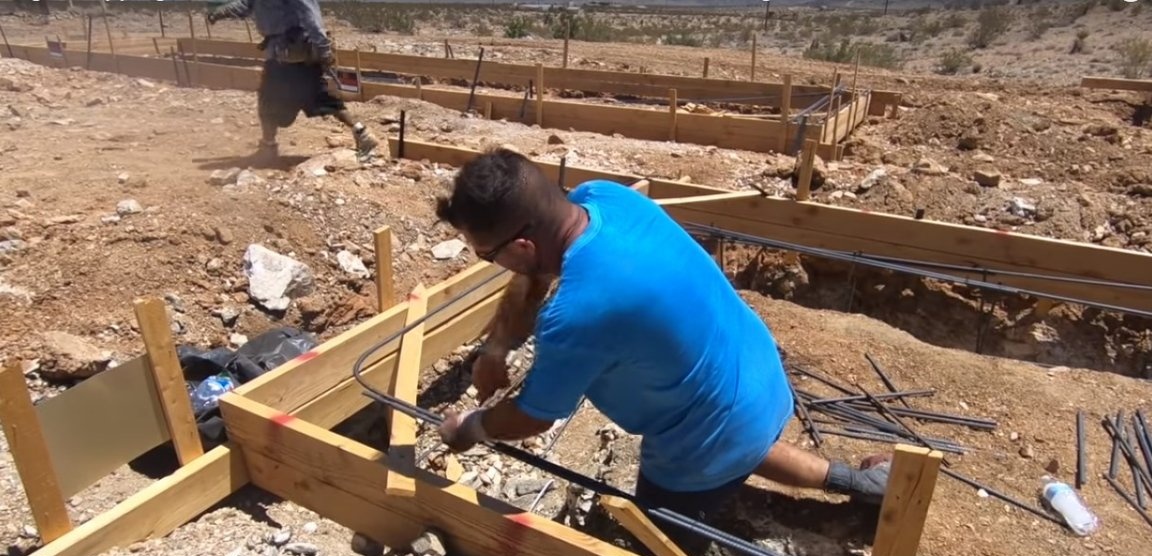
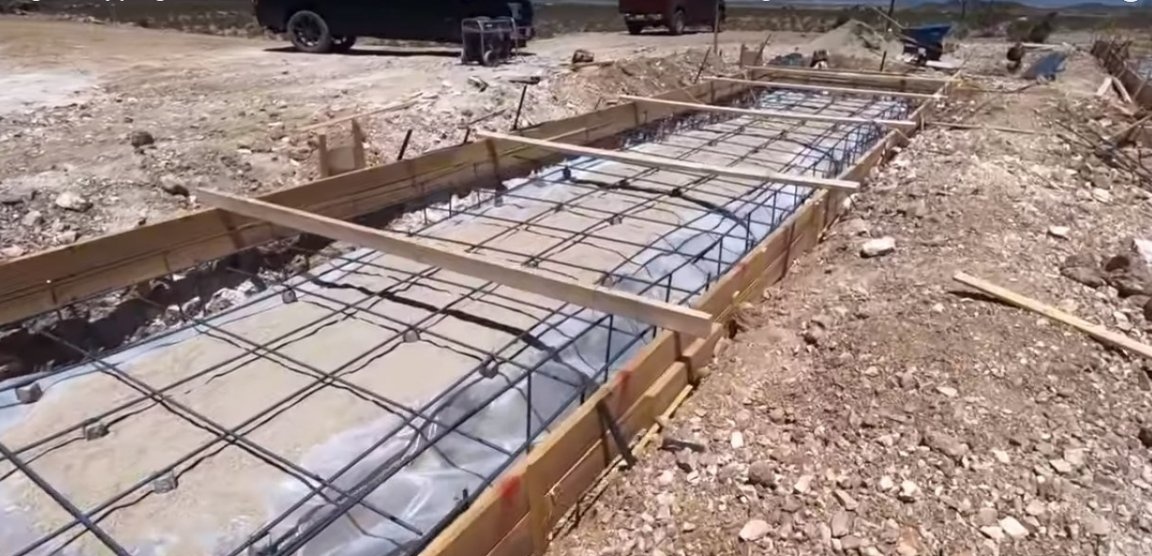
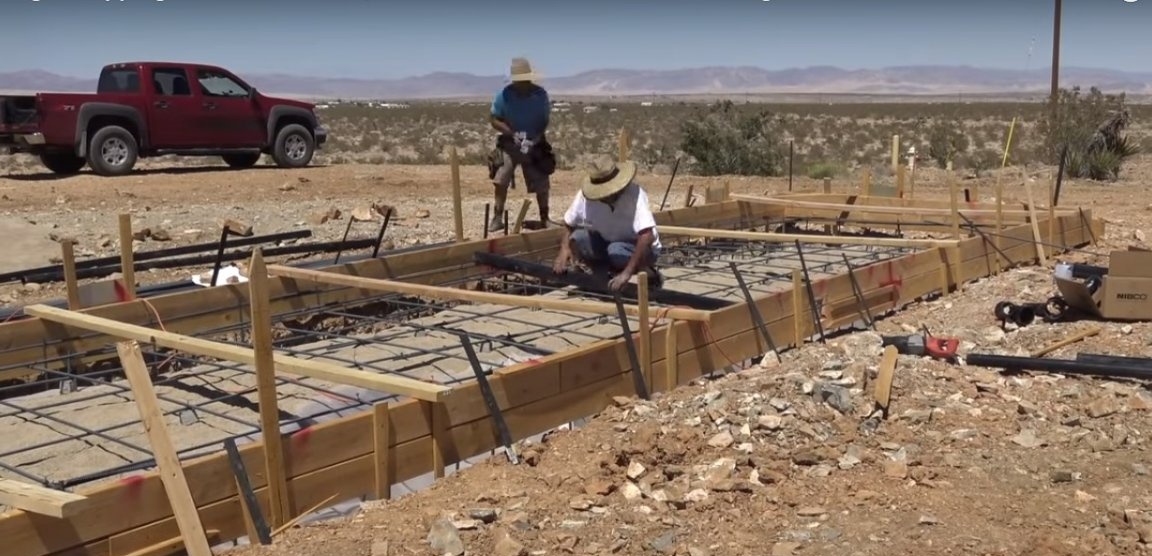
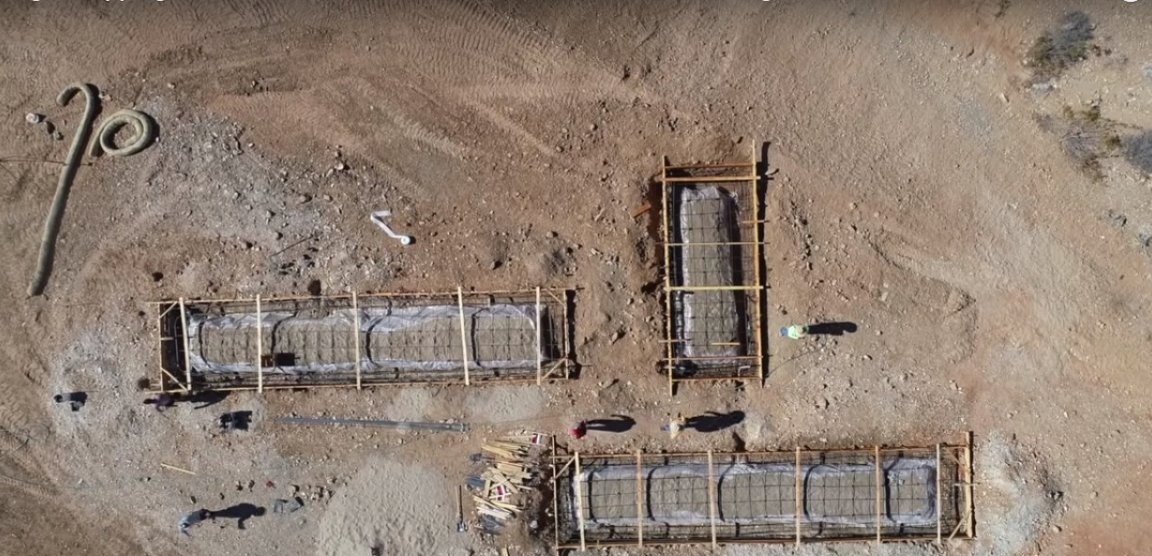
After digging a trench under the foundation, formwork was mounted above the ground level. For strength, reinforcement was used, from which the reinforced belt was made without welding.
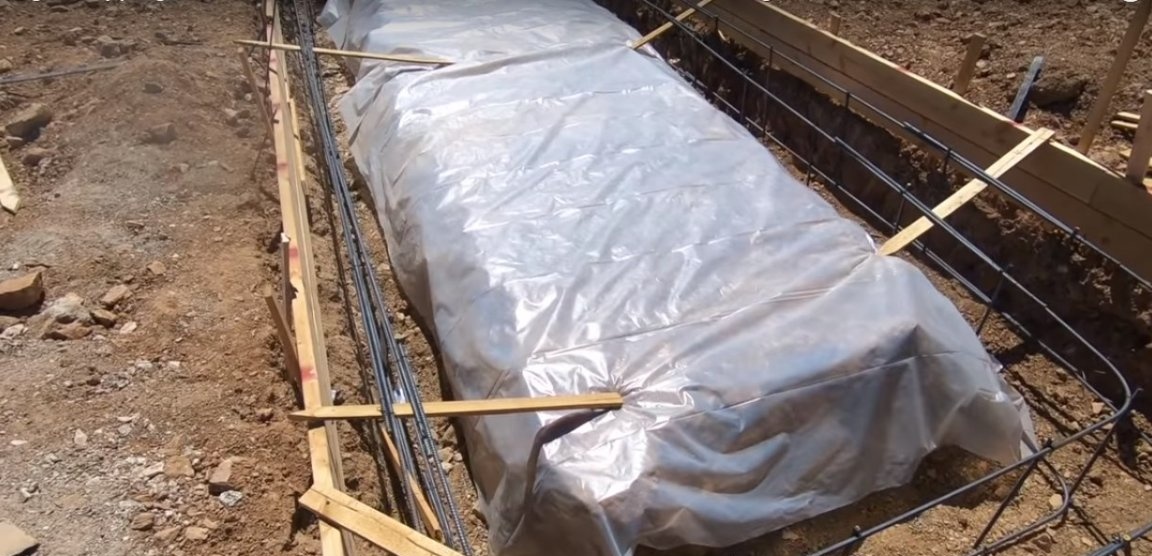
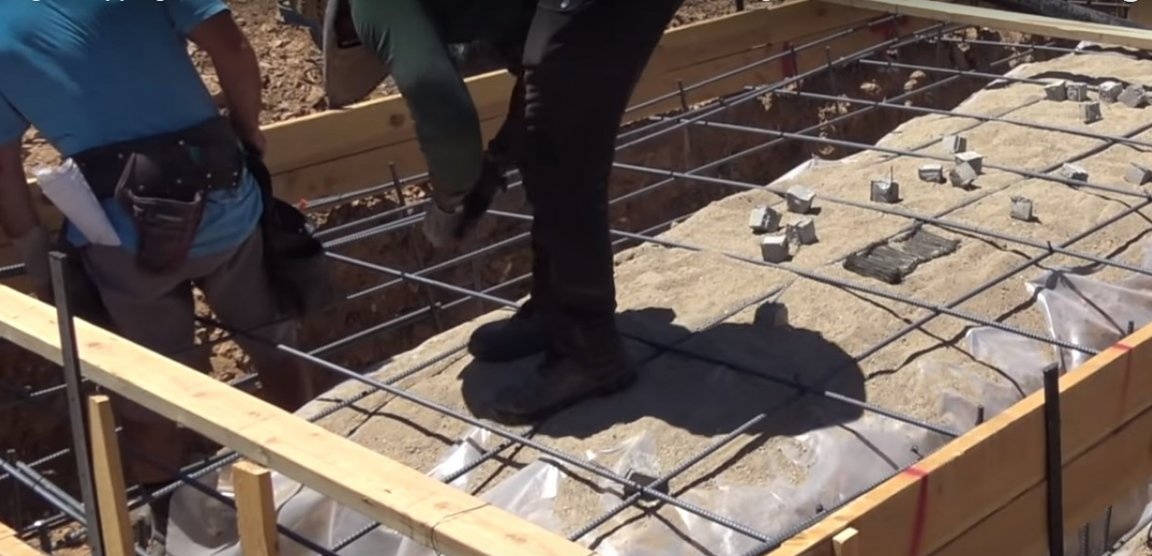
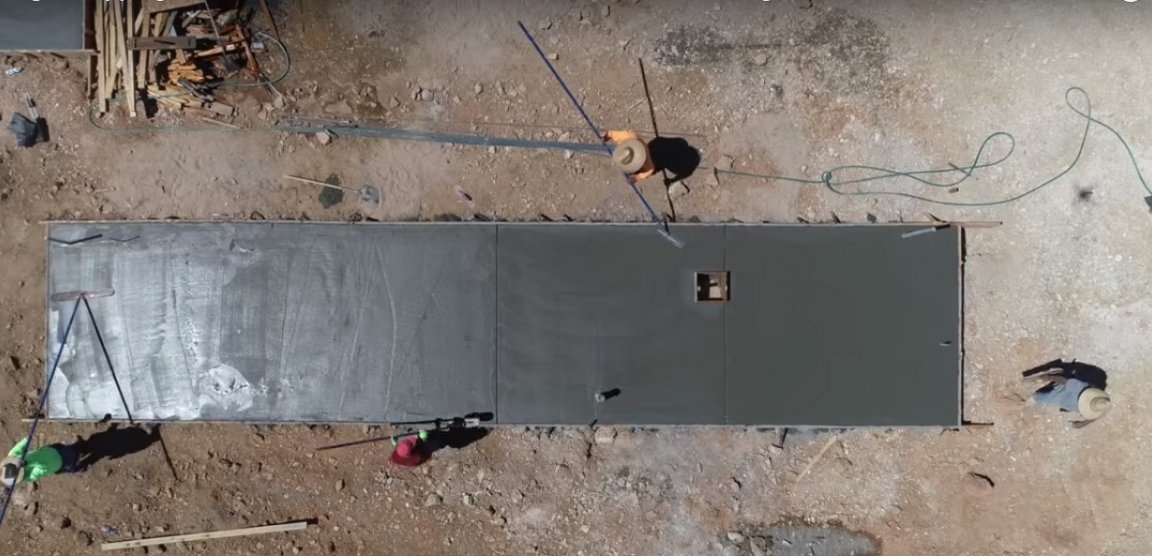
The central part was covered with plastic wrap and sprinkled with sand for fixation. This area was also reinforced with a reinforcing cage by installing it on small cement blocks.
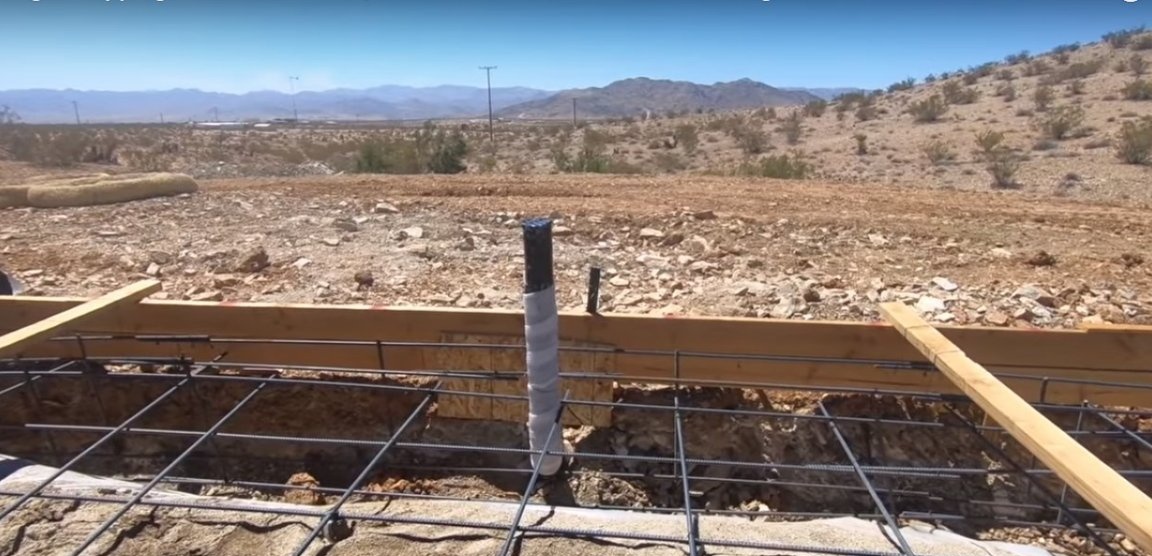
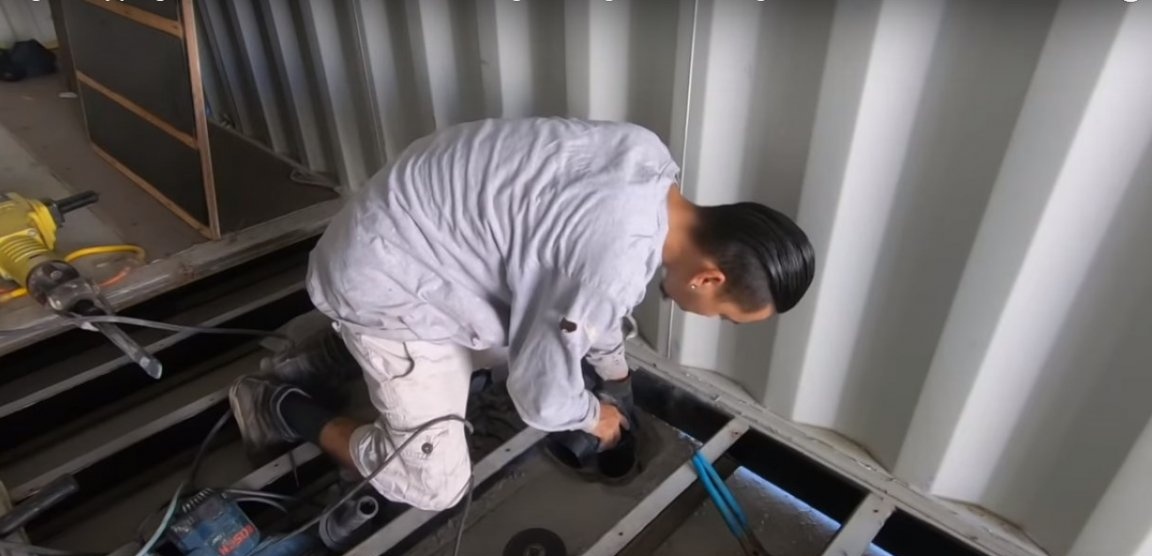
Before proceeding with the pouring of the foundation, the sewerage and water supply through the foundation were mounted.
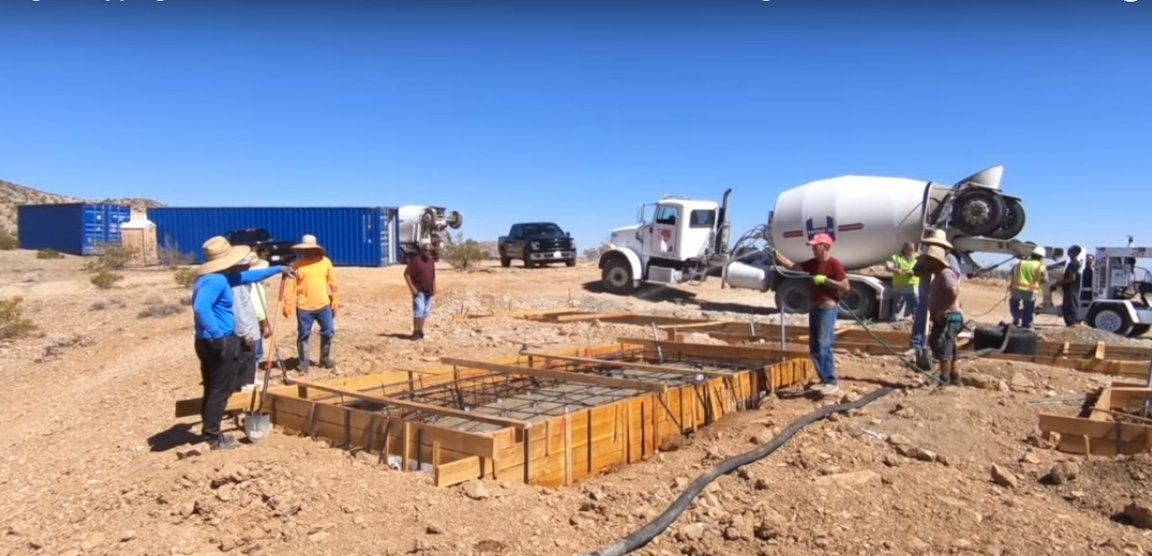
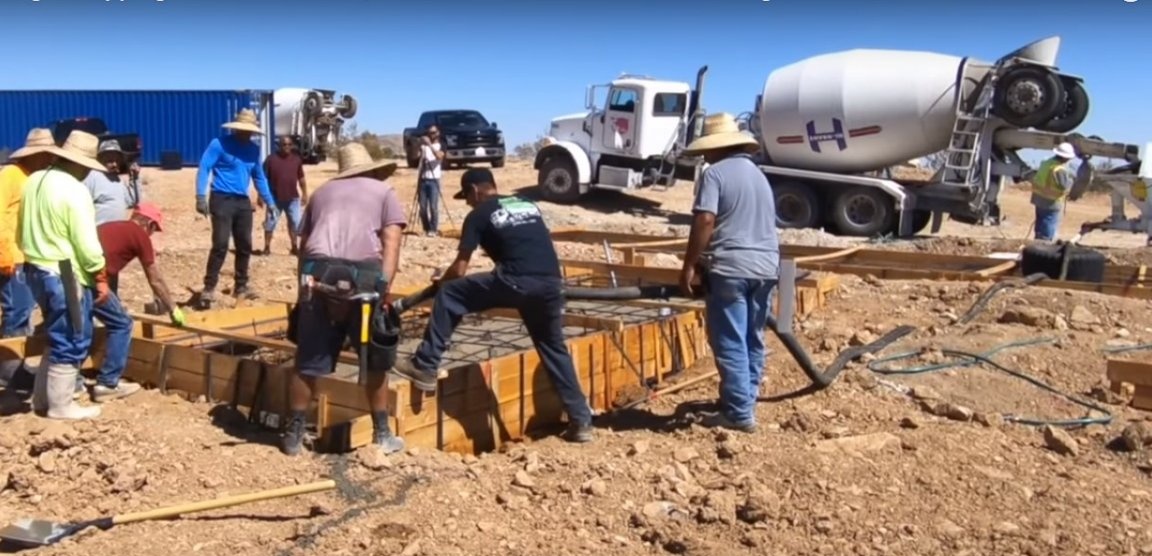
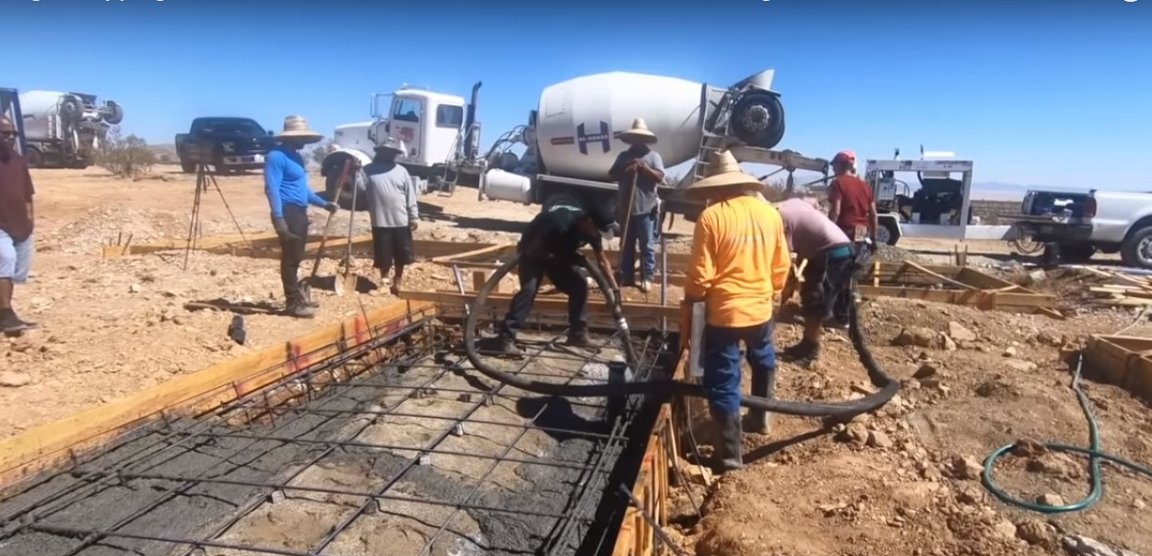
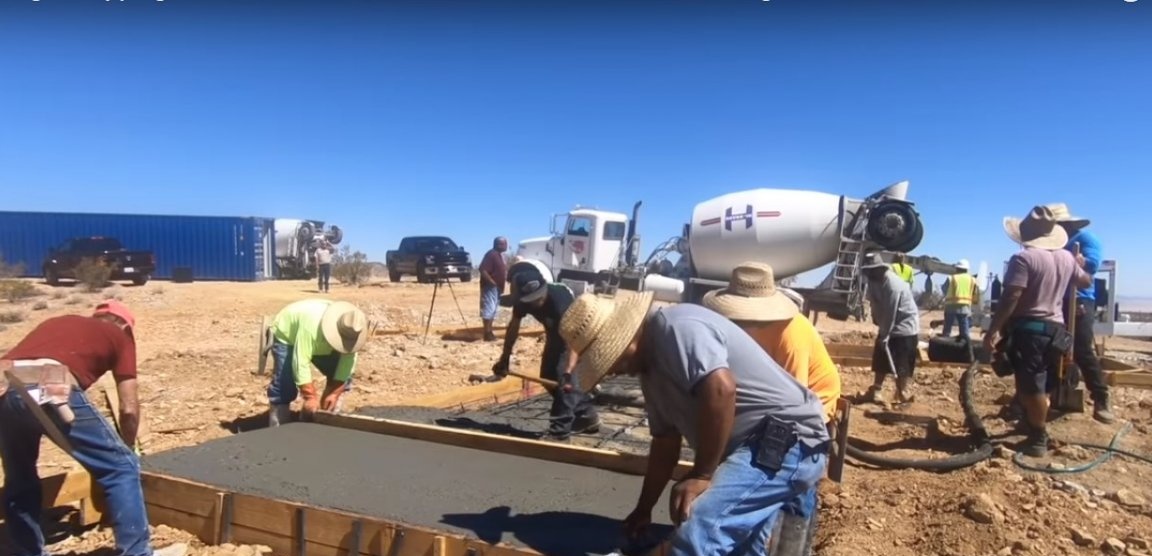
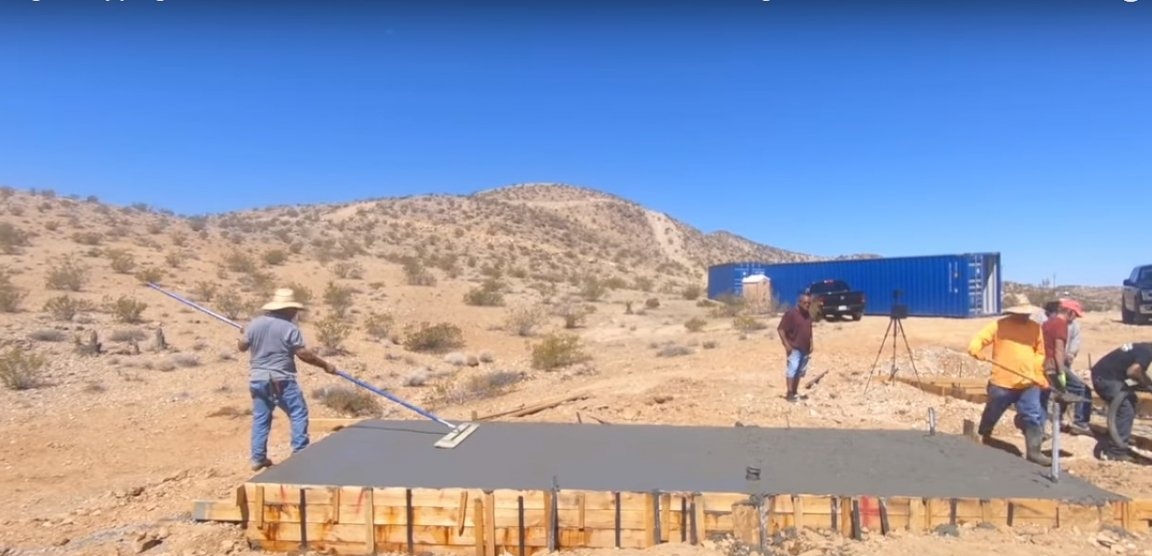
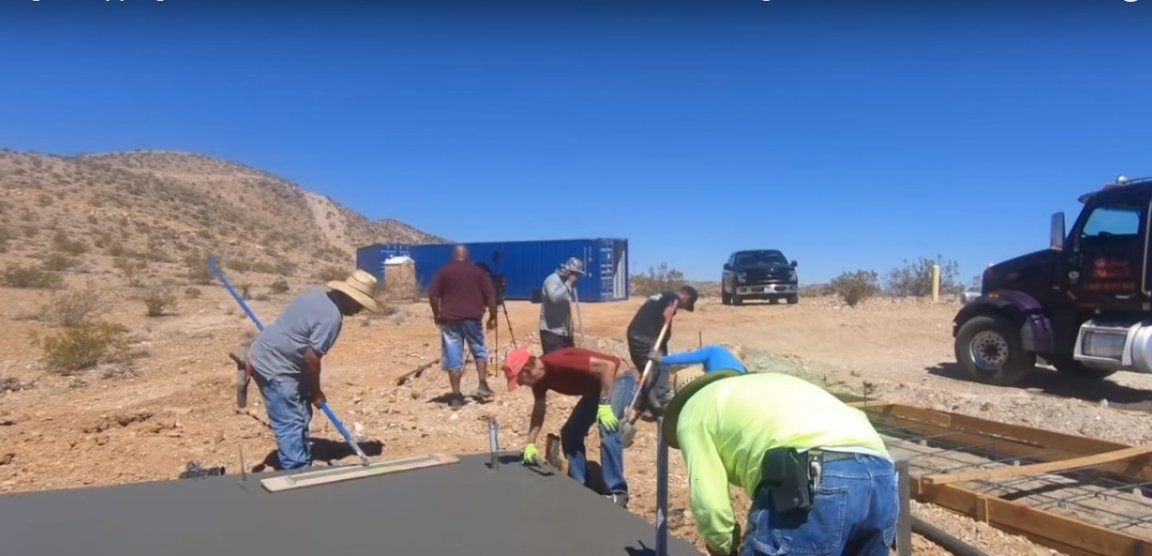
The trench and foundation center were filled with ready-made concrete, and the surface was carefully leveled with trowels.

 / center]
[center]
 / center]
[center]
 / center]
[center]
 / center]
[center]
 / center]
[center]
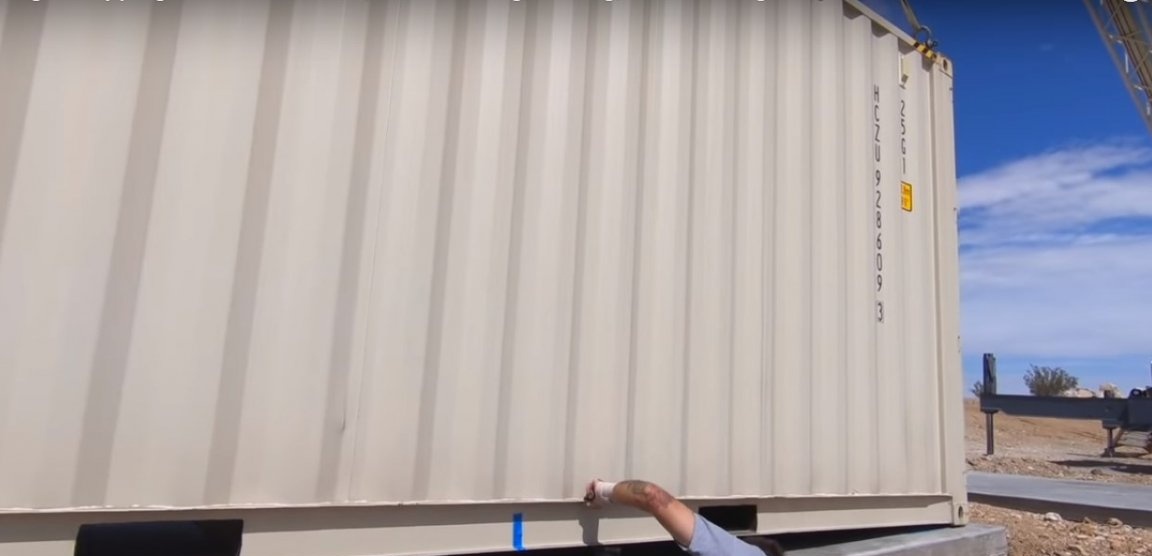
Step Three: Installing Containers
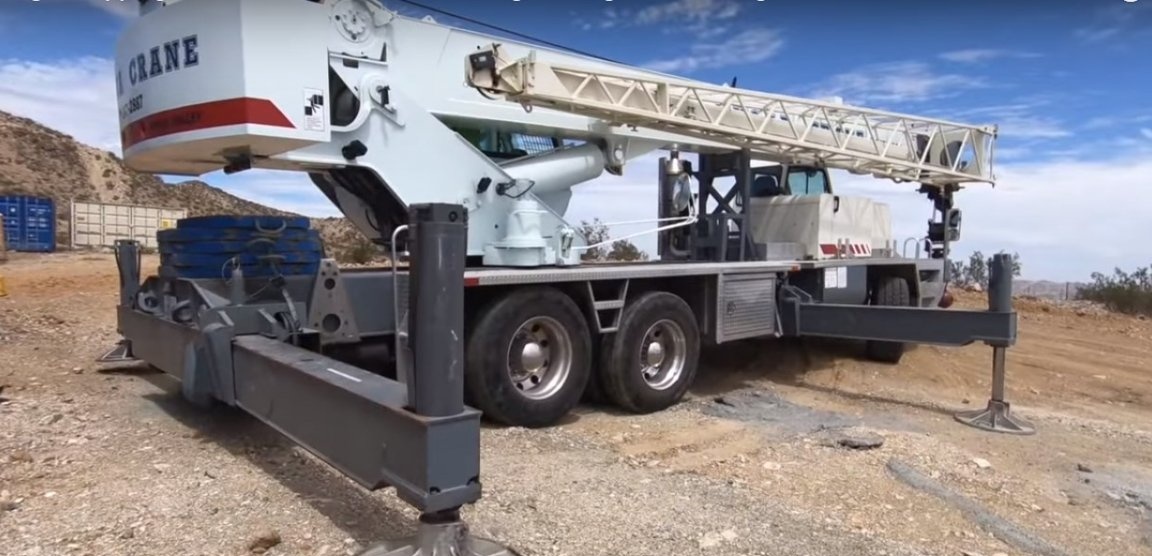
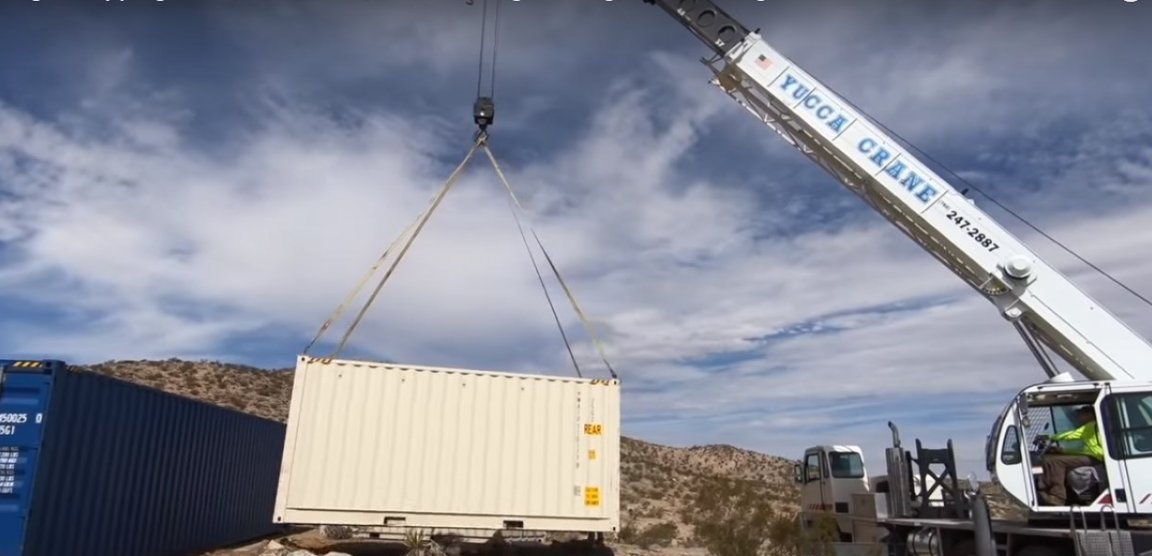
A few days after pouring the foundation, the formwork was removed. It took concrete time to gain the necessary strength. After that, the containers were installed in a permanent place.
 / center]
[center]
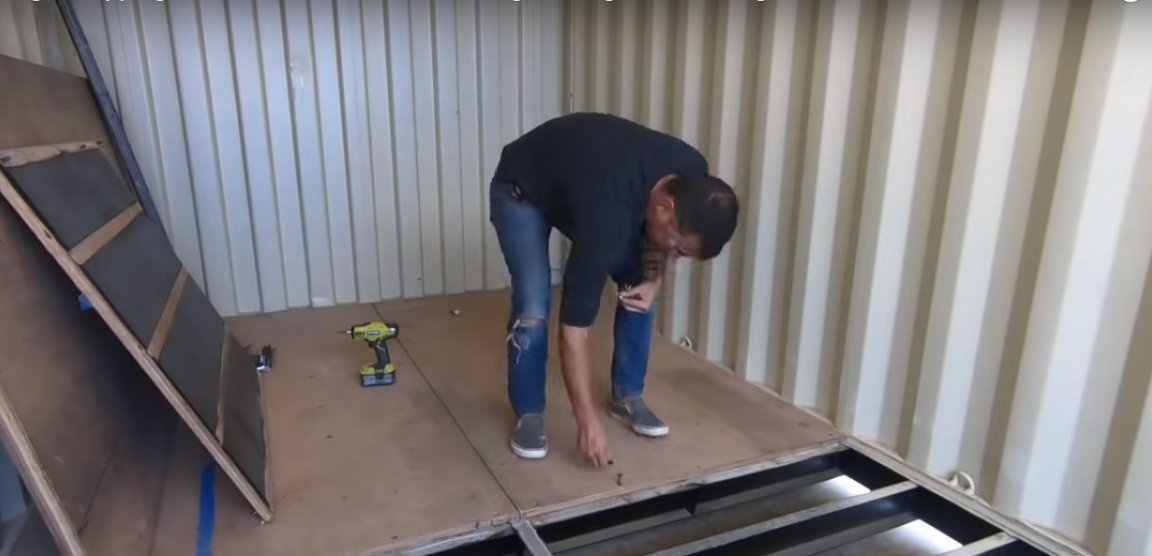
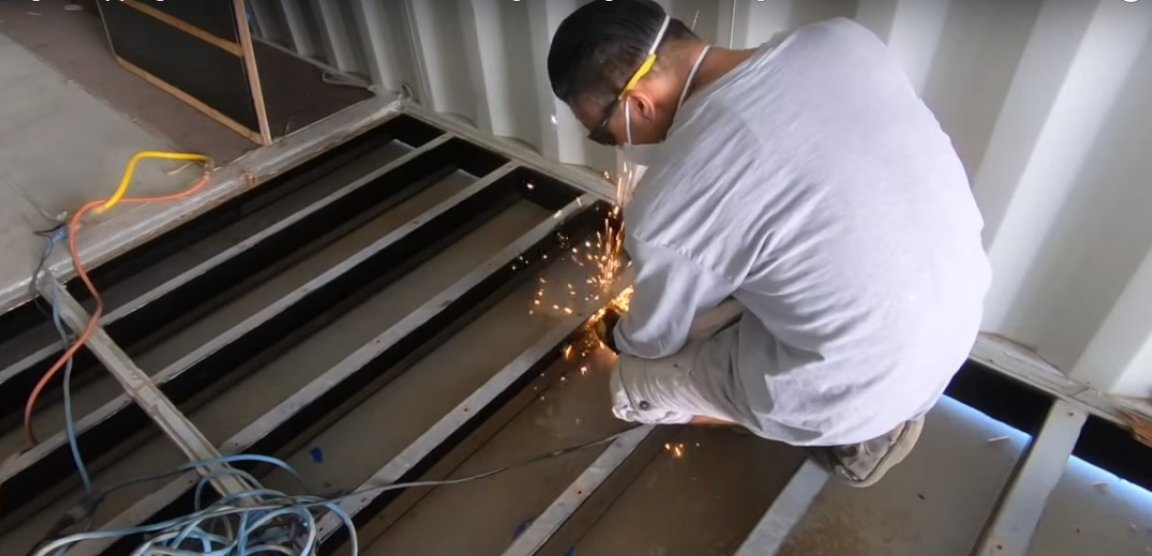
Fourth step: the first stage of floor insulation
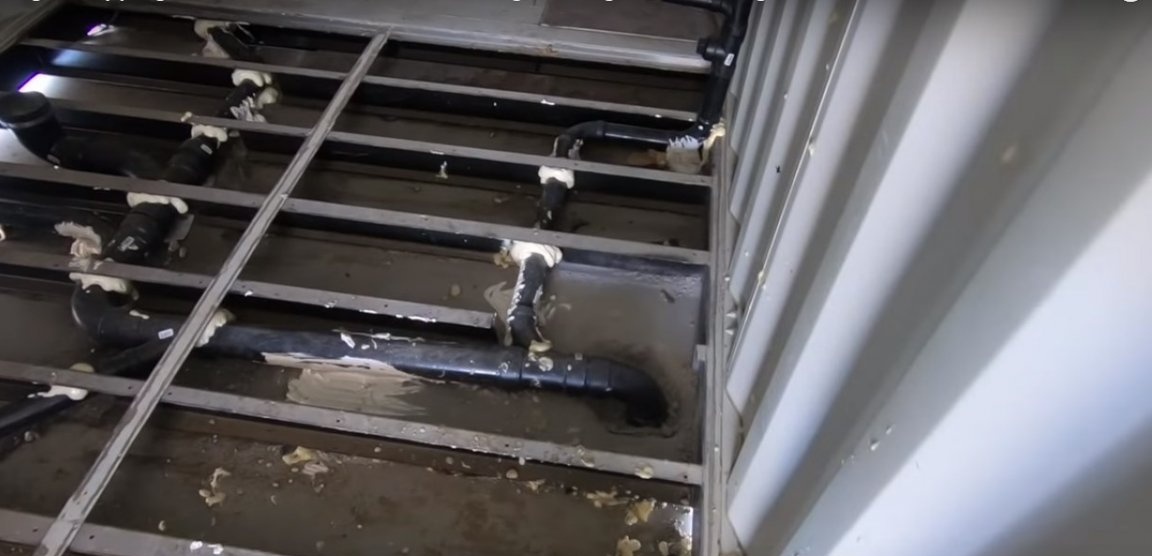
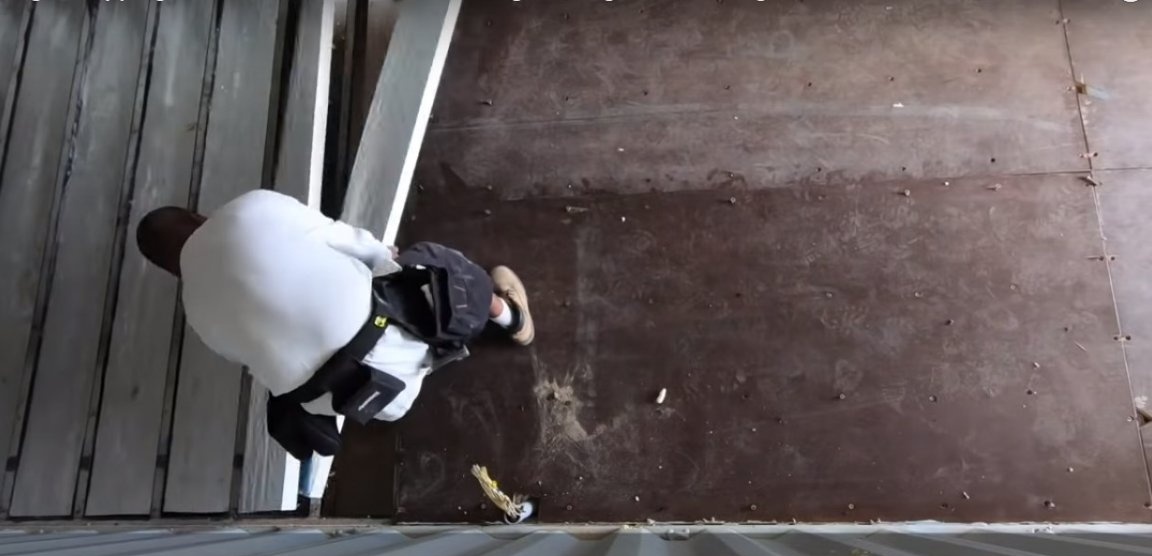
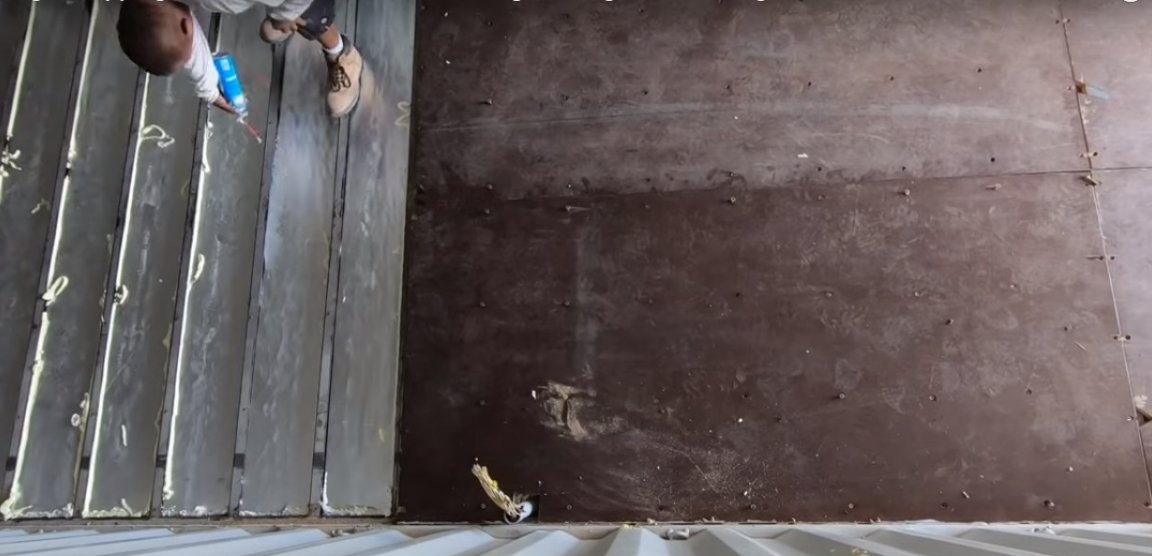
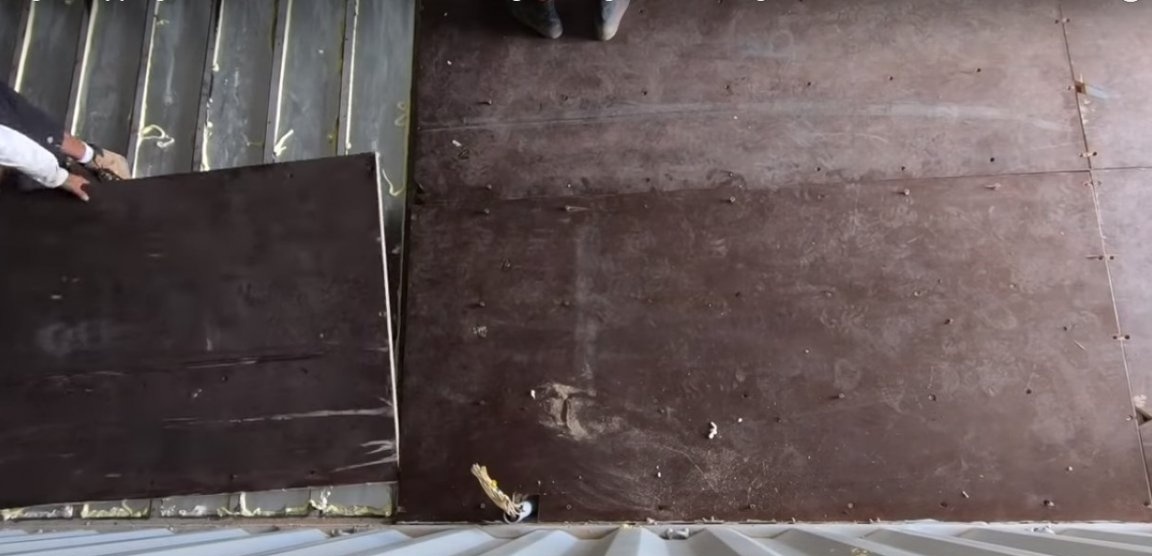
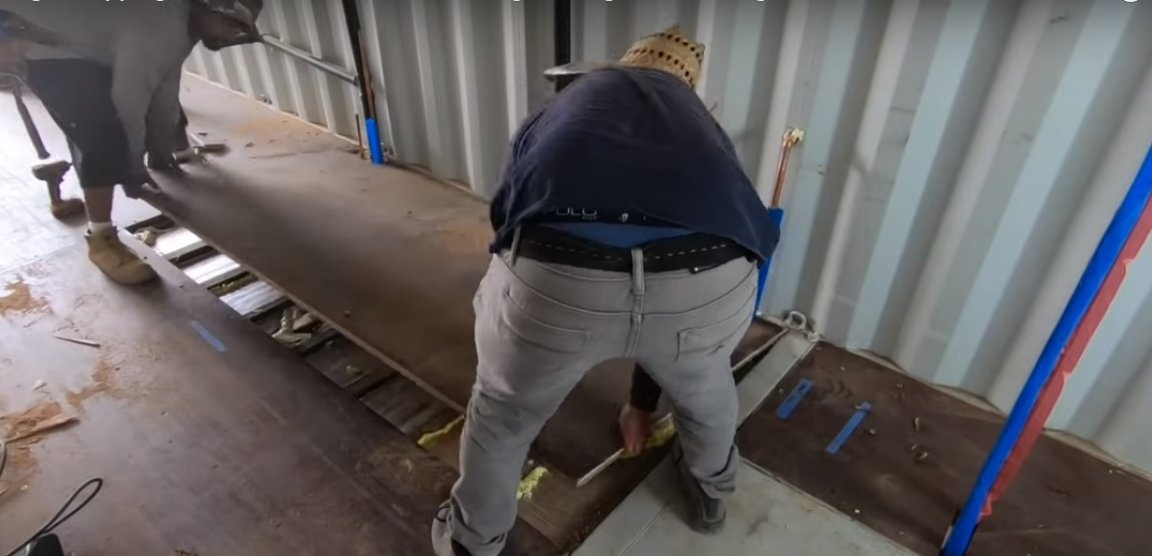
The bottom of the cargo container is, as usual, sheathed with treated plywood. It can be used instead of the rough floor, but first you need to install all water and sewer communications. Therefore, plywood was temporarily dismantled. In addition, a ventilation pipe was brought into the ceiling.
The space under the plywood was covered with insulating mats and returned to the place, after blowing all the cracks with mounting foam. This is the first stage of floor insulation.
 / center]
[center]

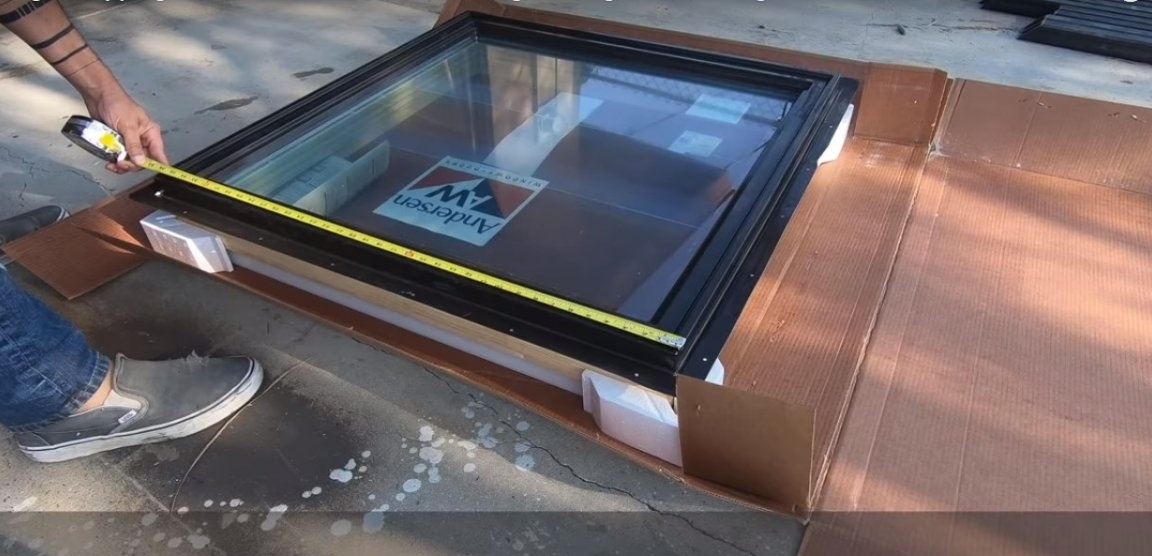
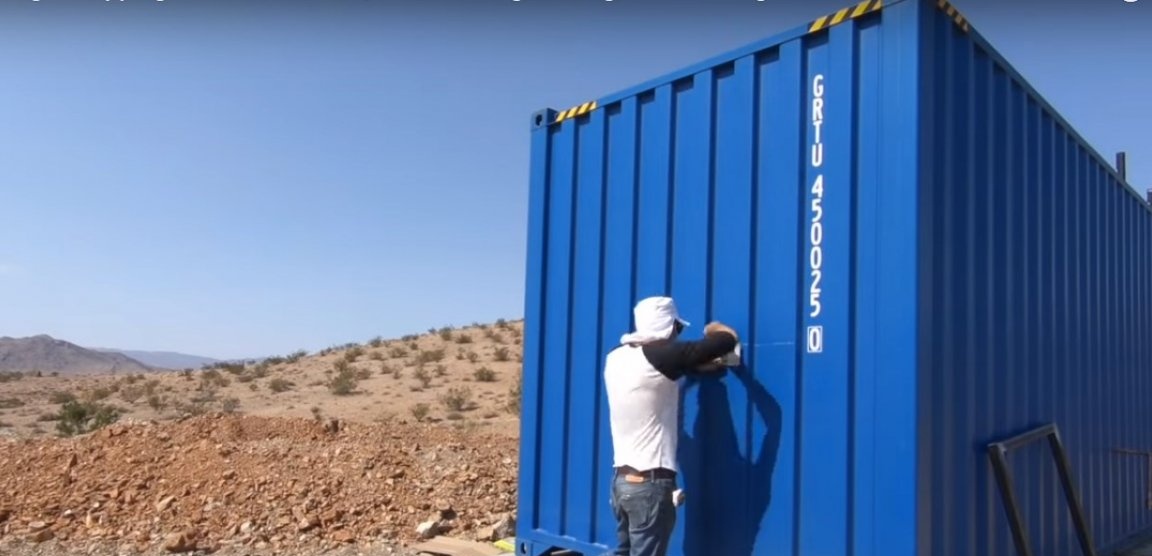
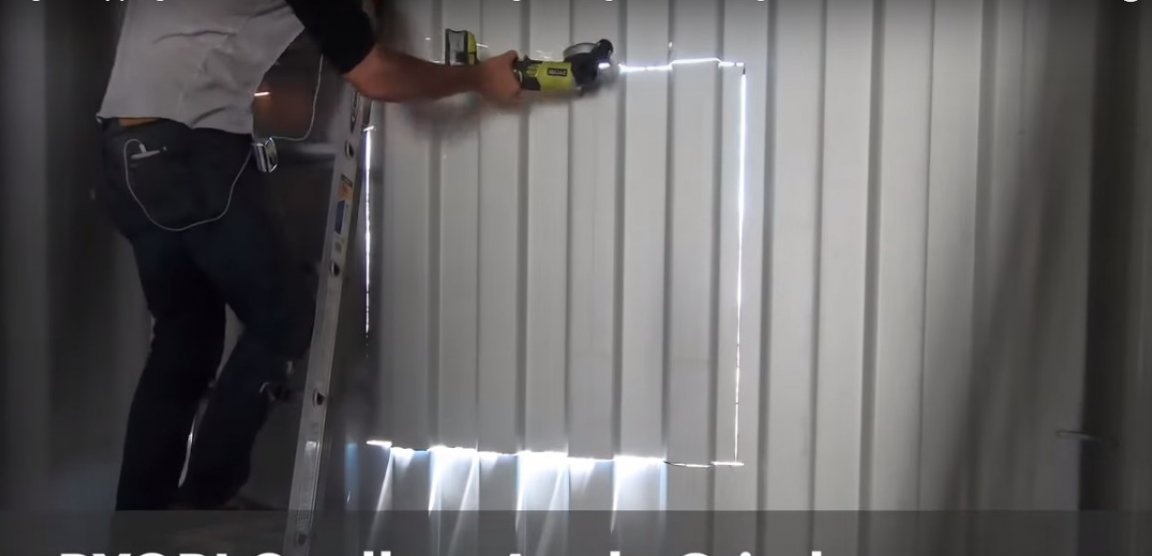
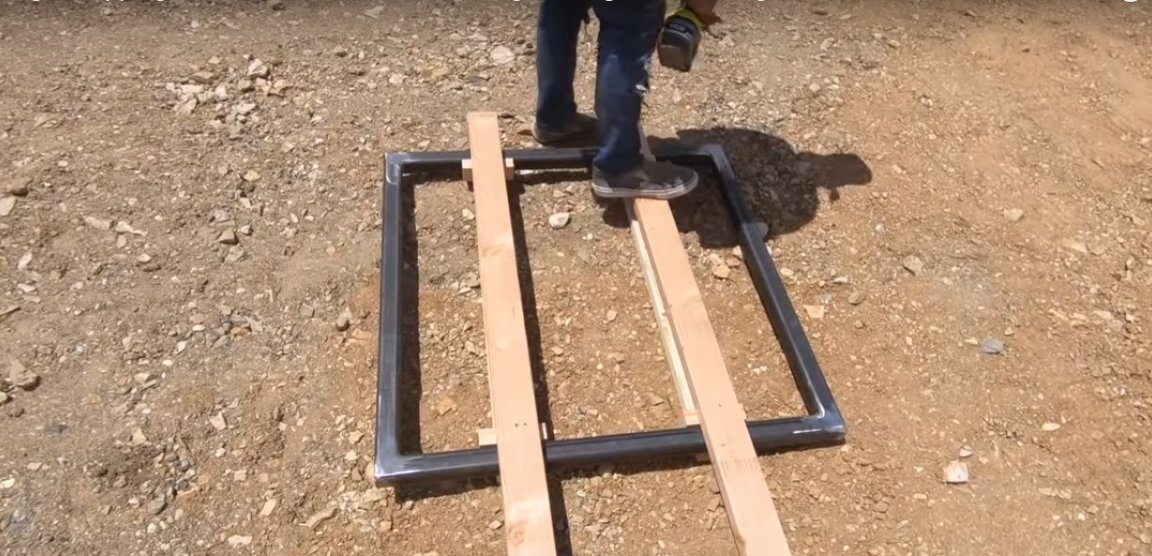
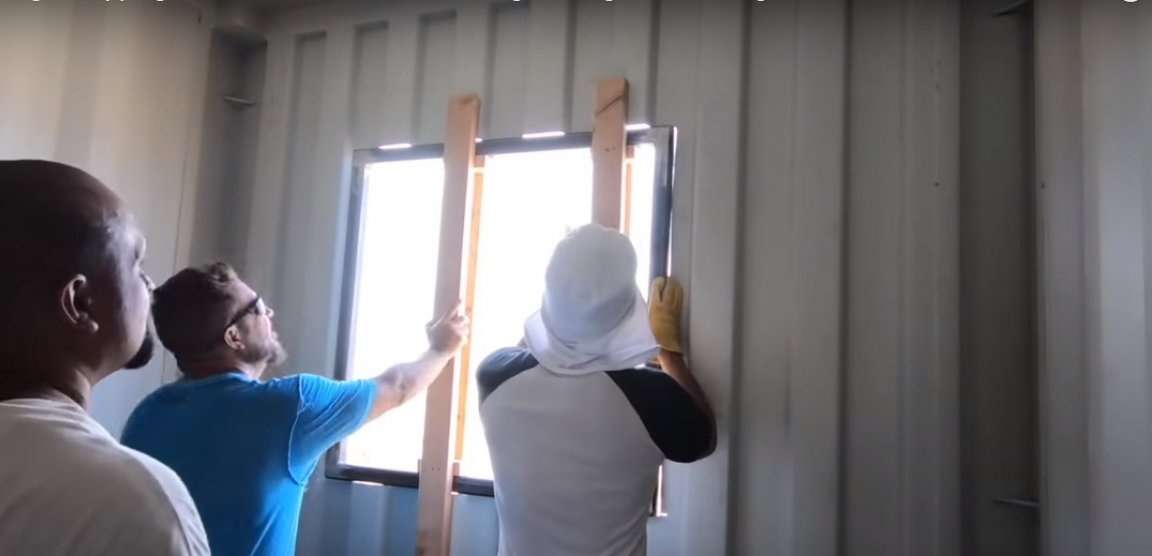
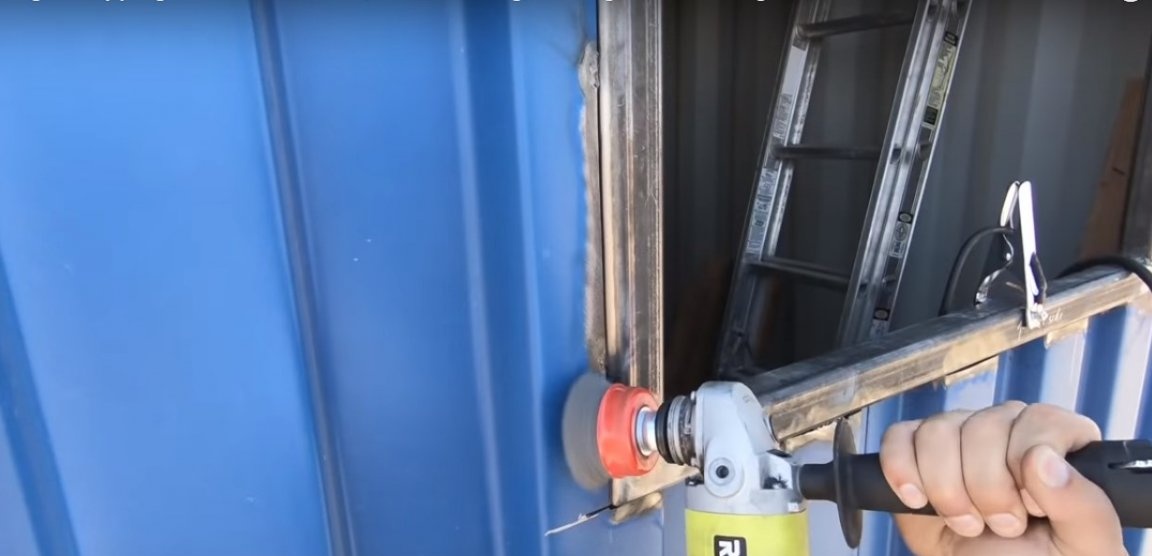
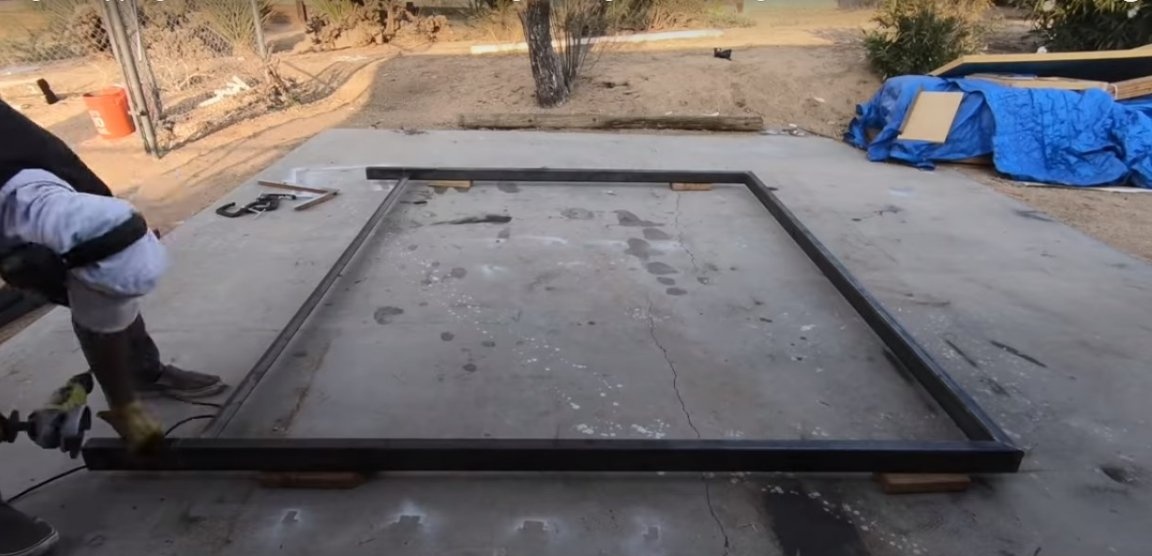
Step Five: Window Boxes and Installing Windows
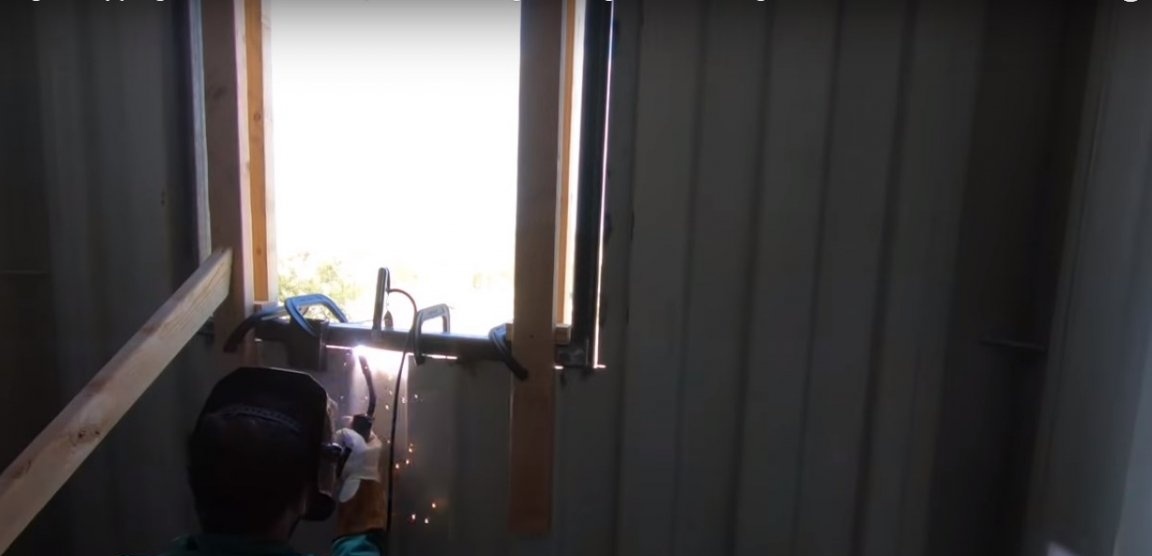
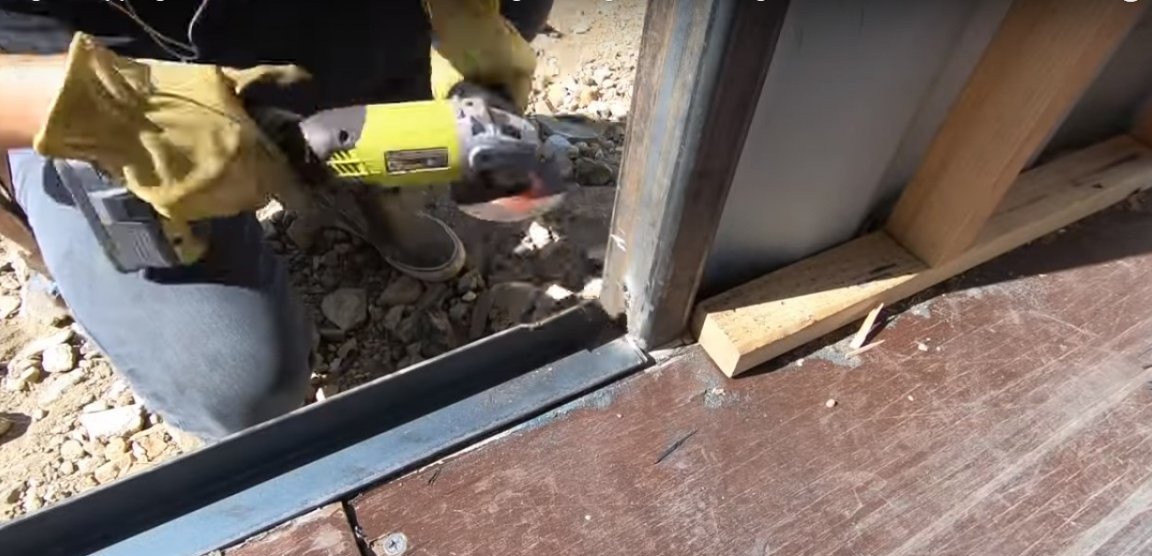
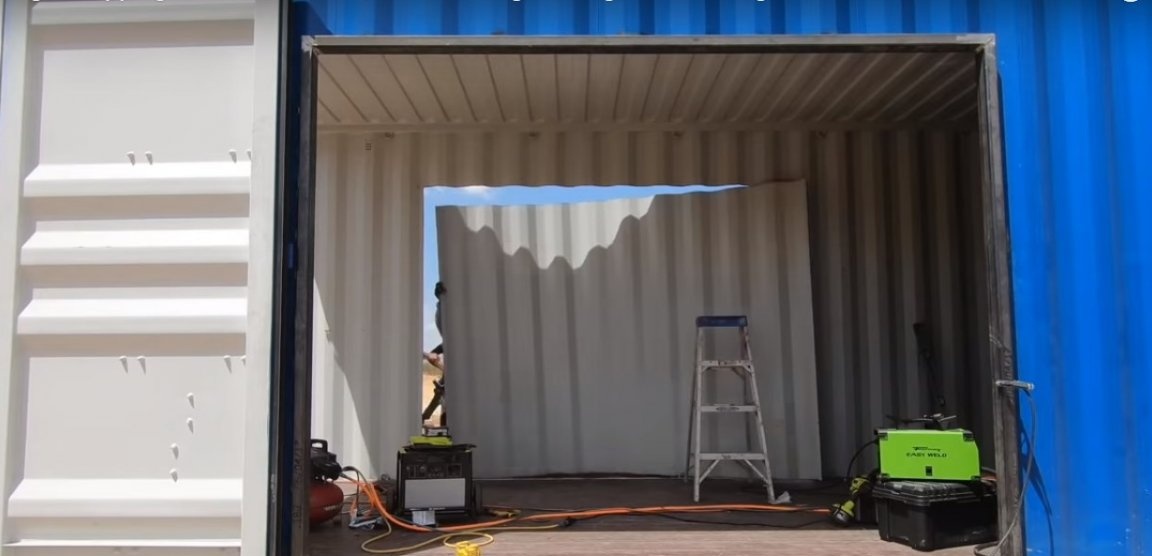
Openings for windows and doors were cut through the grinder. The marking was carried out with a cardboard pattern so that the marking line does not interrupt.
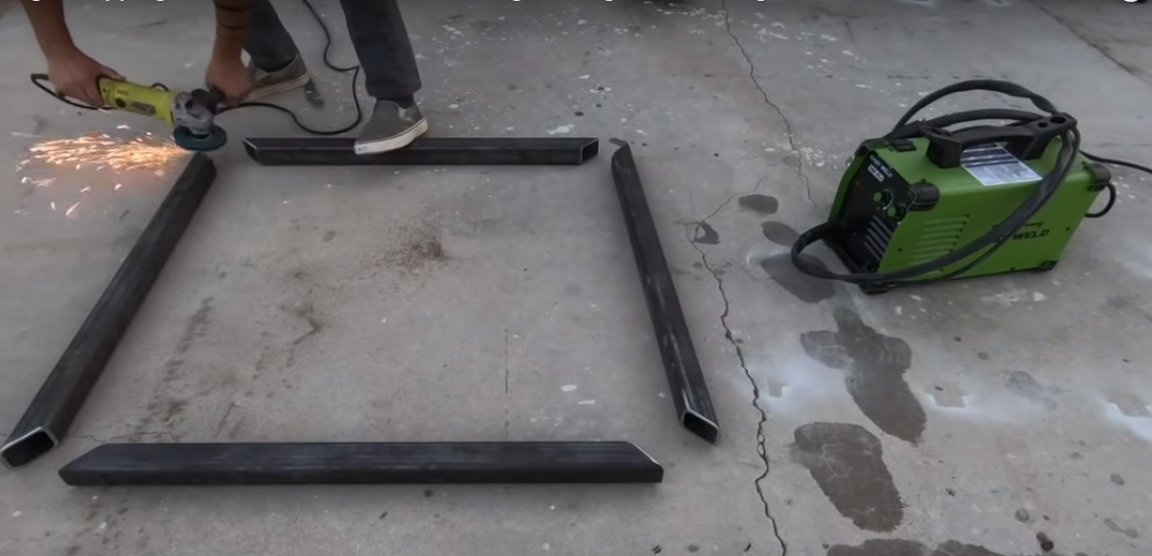
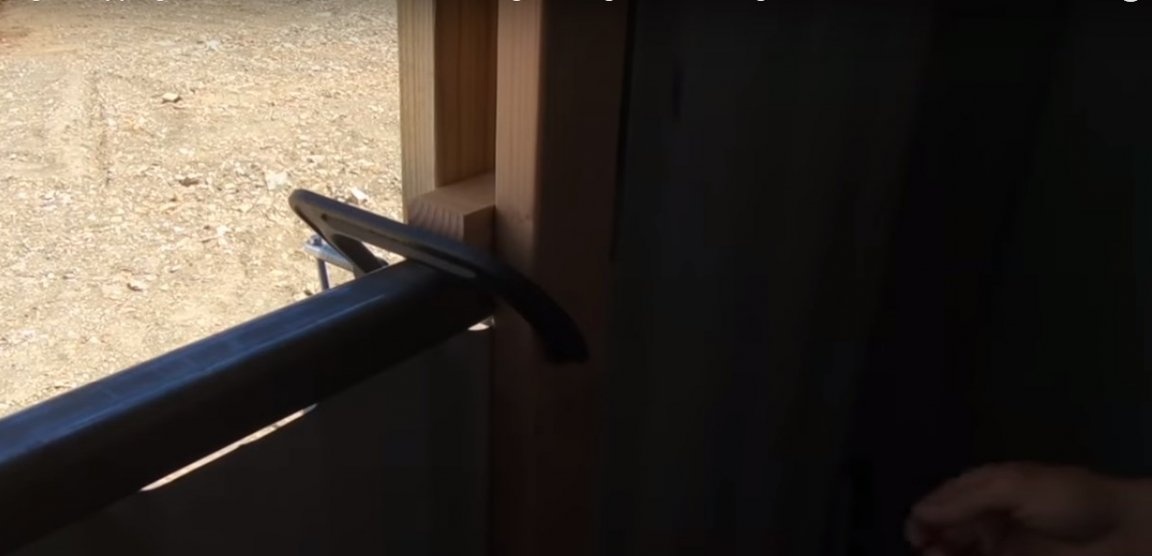
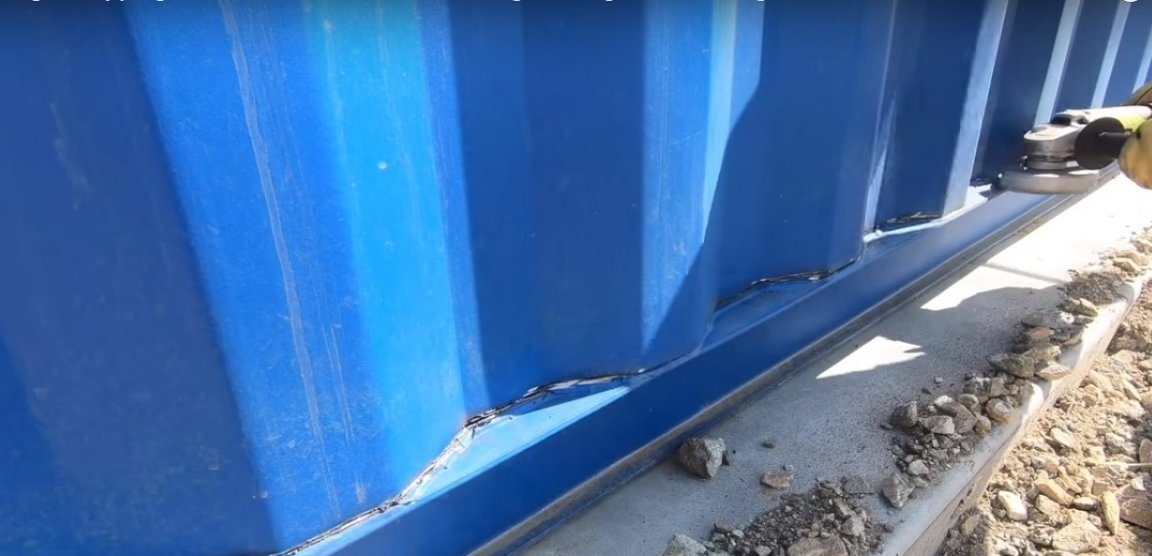
Window boxes were made of a metal pipe of square section. A wooden frame and clamps were used for fixing during welding. The paint on the outside of the container was cleaned in places of the weld.
 / center]
[center]

 / center]
[center]


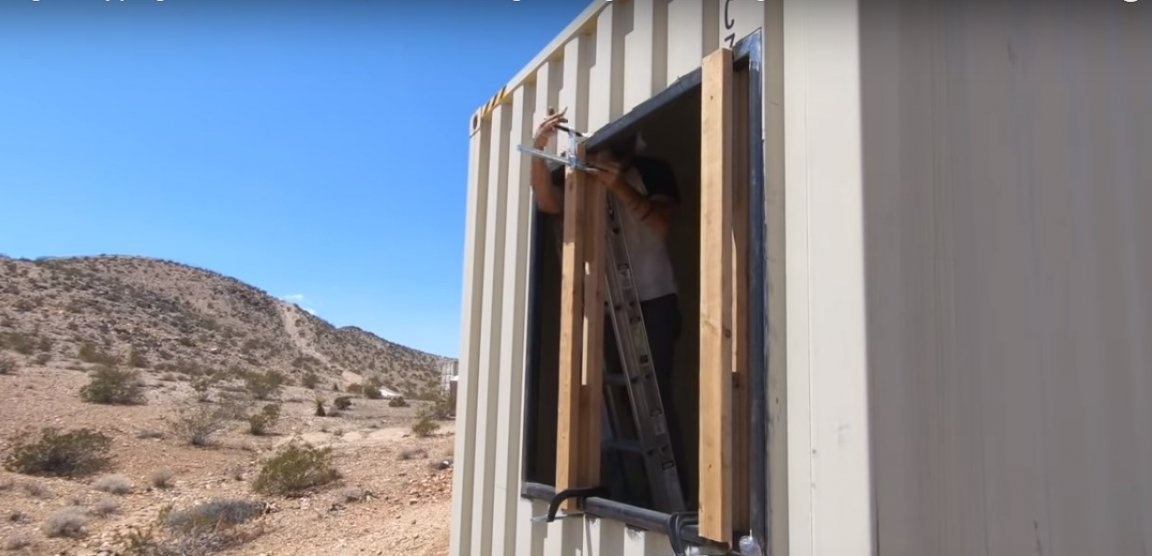
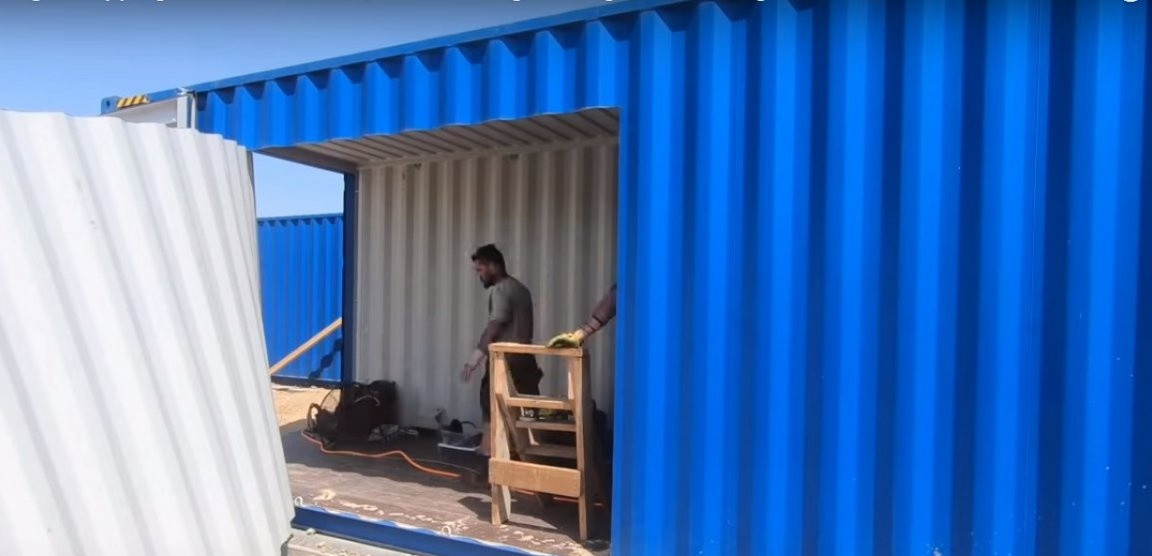
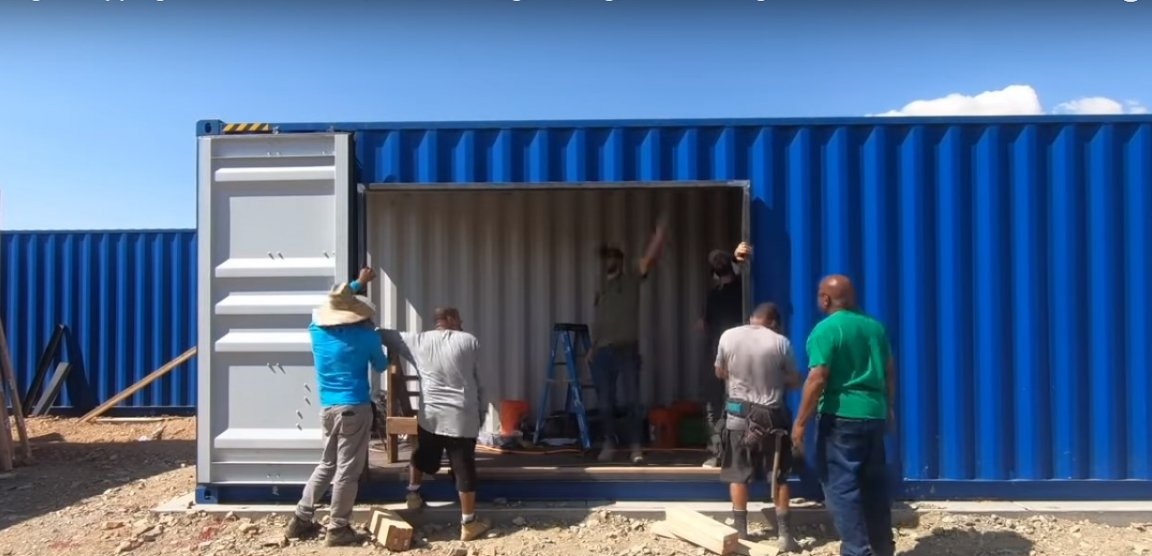
Step Six: doorways for modular doors
Door frames are also made of metal pipe. To give temporary rigidity to the frame, a corner is welded at the bottom, which will be removed after installation.
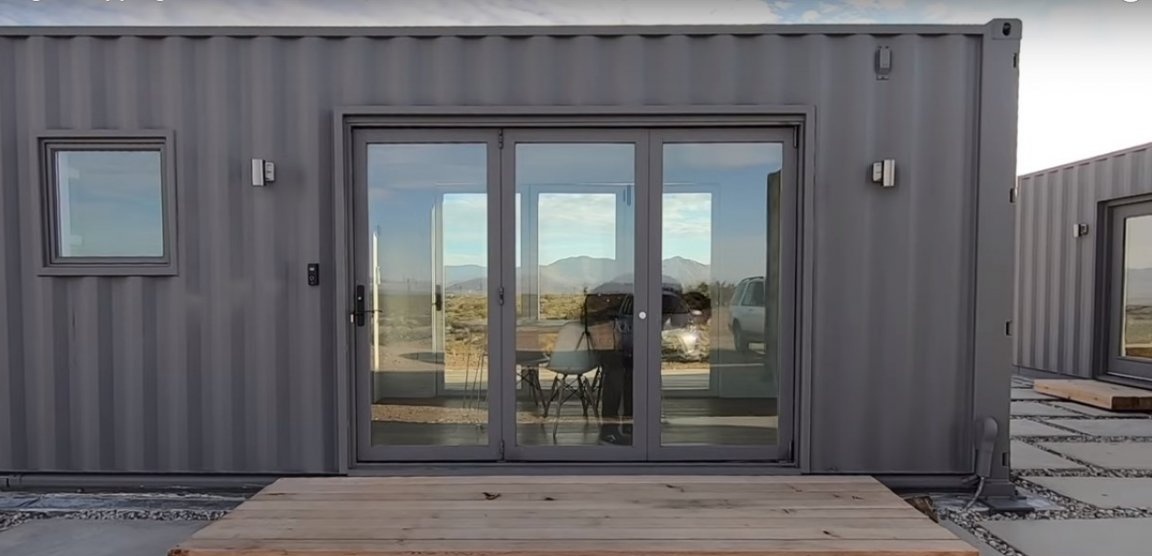
The doorways are specially designed wide and set opposite each other for the illusion of spaciousness. Modular doors will be installed here, opening completely if necessary.
 / center]
[center]
SECOND PART